

Start the connection
Open the catalog
Click Connect WooCommerce
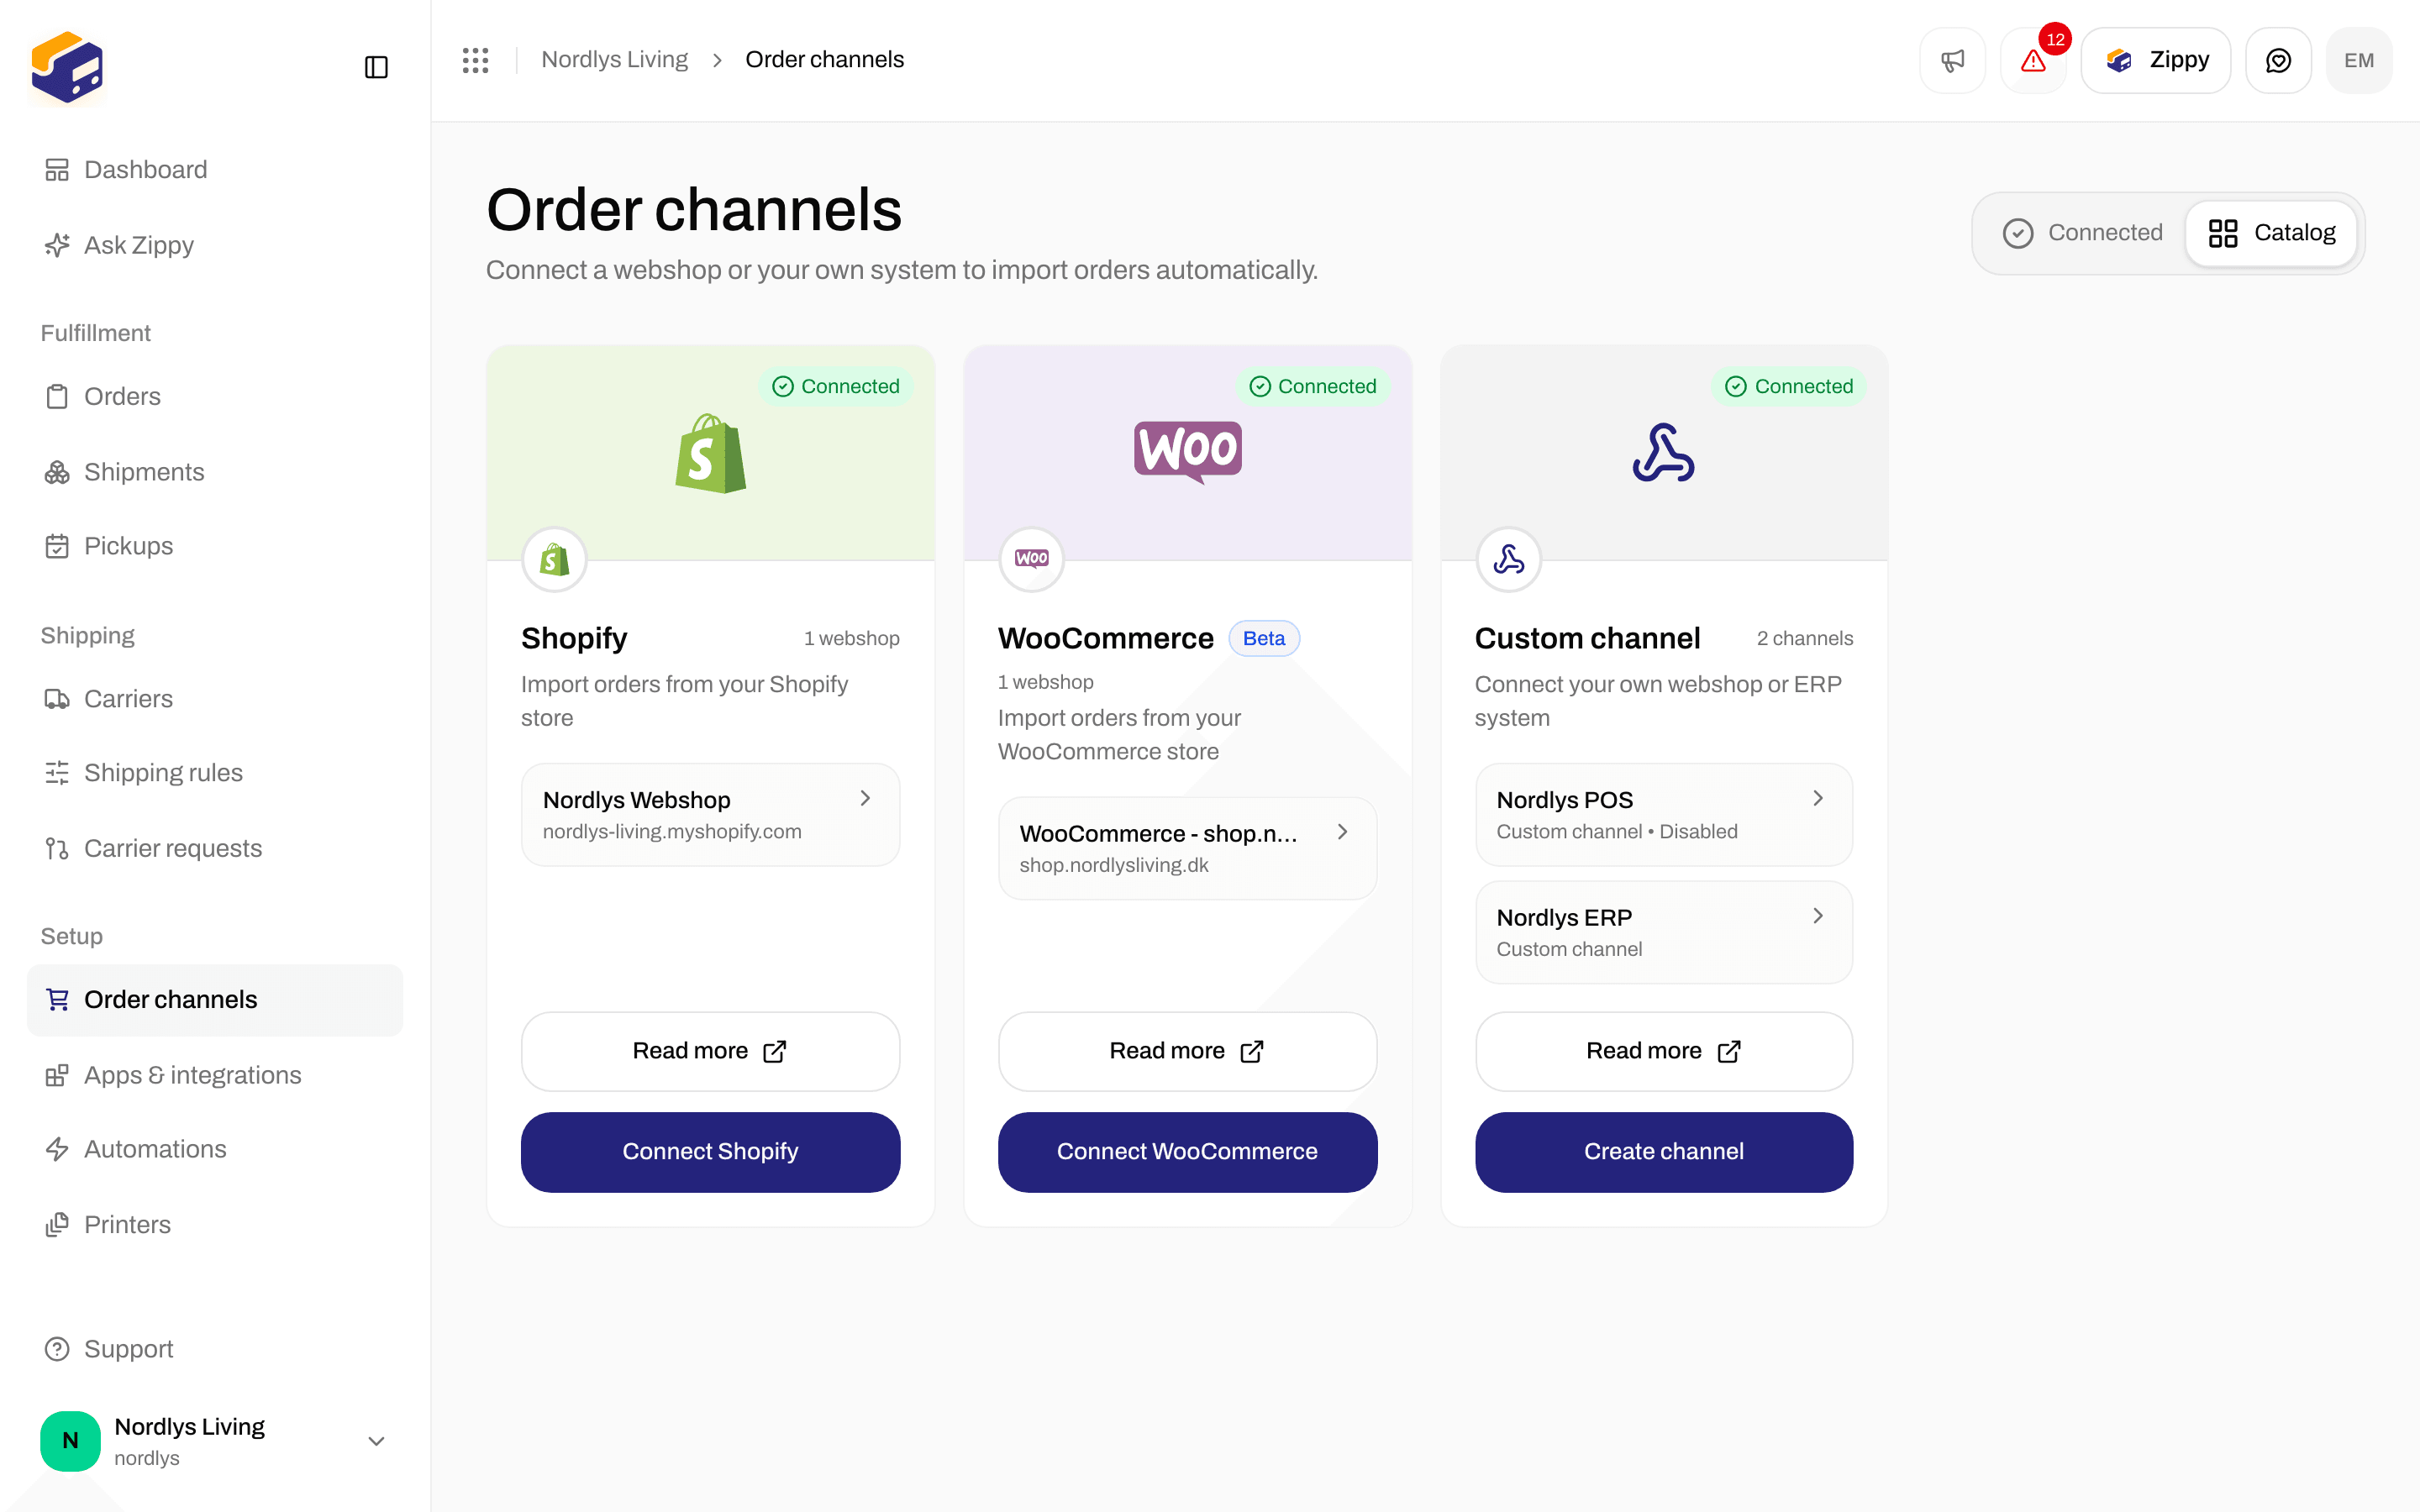
Click Connect WooCommerce on the WooCommerce card
Connect in one click
The window opens on step 1 of 2, One-click: Connect in one click. You approve the connection in your own store. This is the quickest way. WooCommerce creates the REST API keys for you.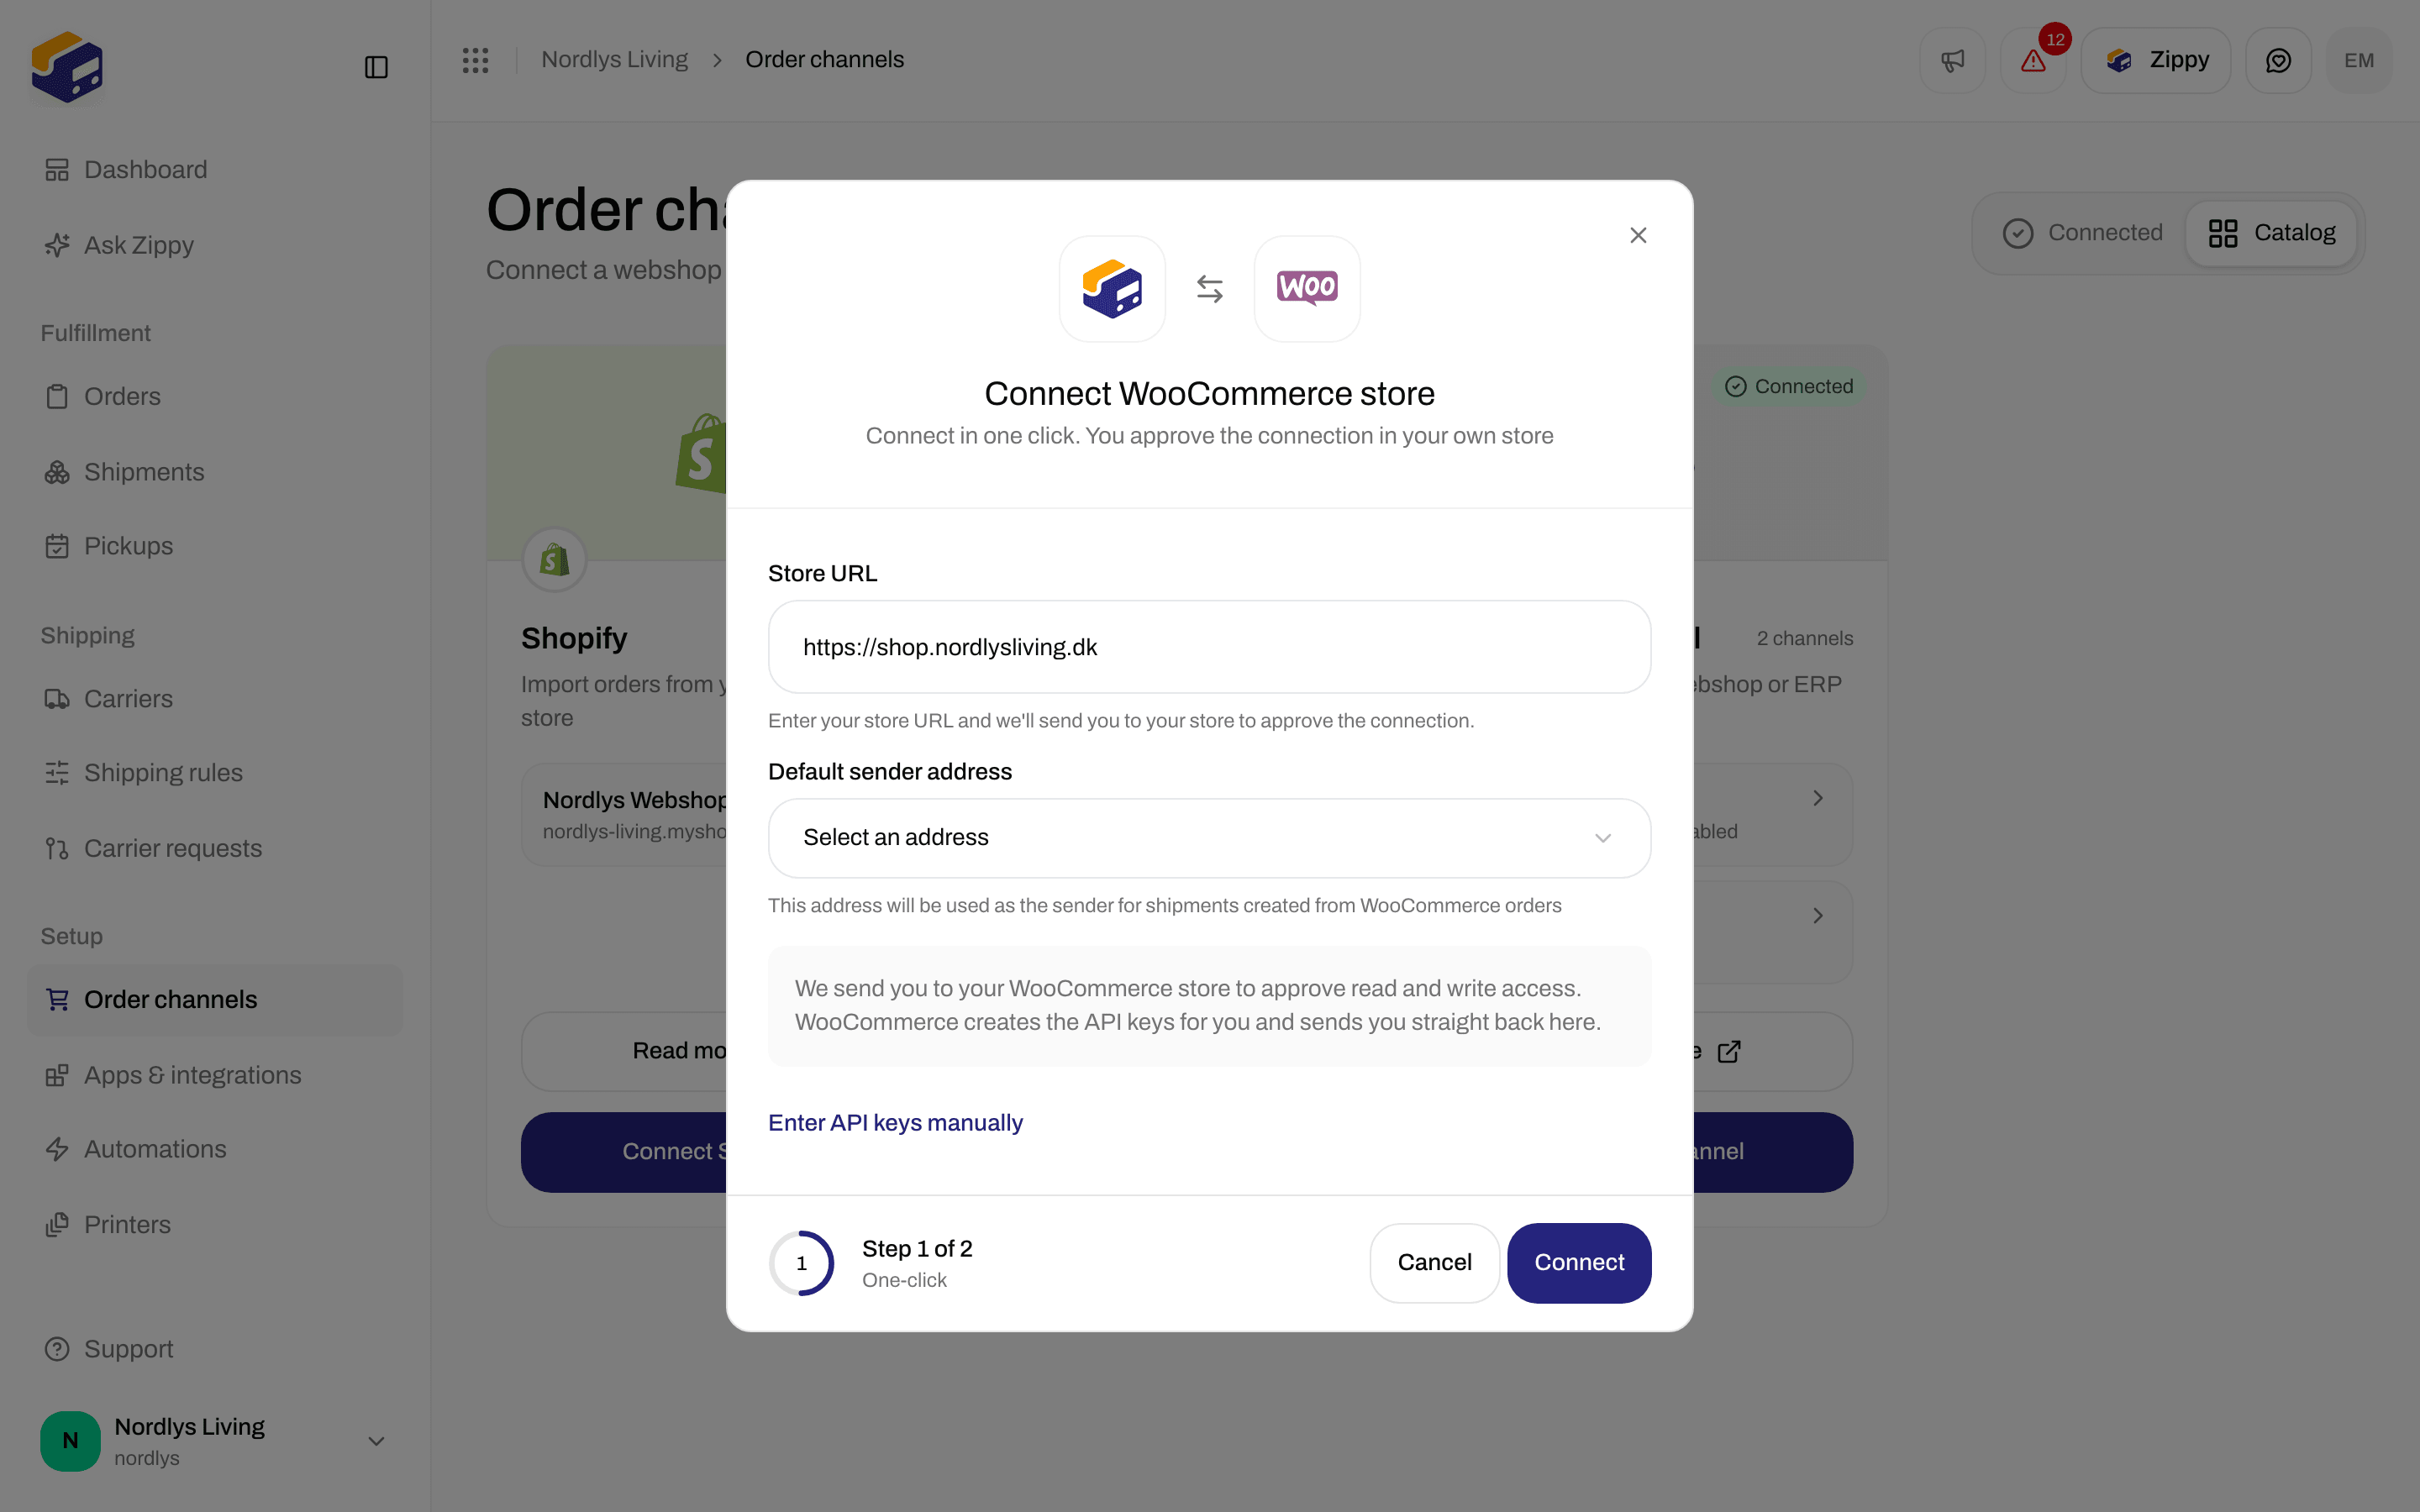
One-click step: enter your Store URL and click Connect
Click Connect
Approve on your webshop
Check the result
Enter API keys manually
Use this when your webshop is not on HTTPS, when your hosting blocks the one-click approval, or when you already have keys. First create the keys in your WordPress admin. These are WooCommerce’s own names, also listed under How to get API keys in the window:Open REST API
Add a key
Choose Read/Write
Copy both values
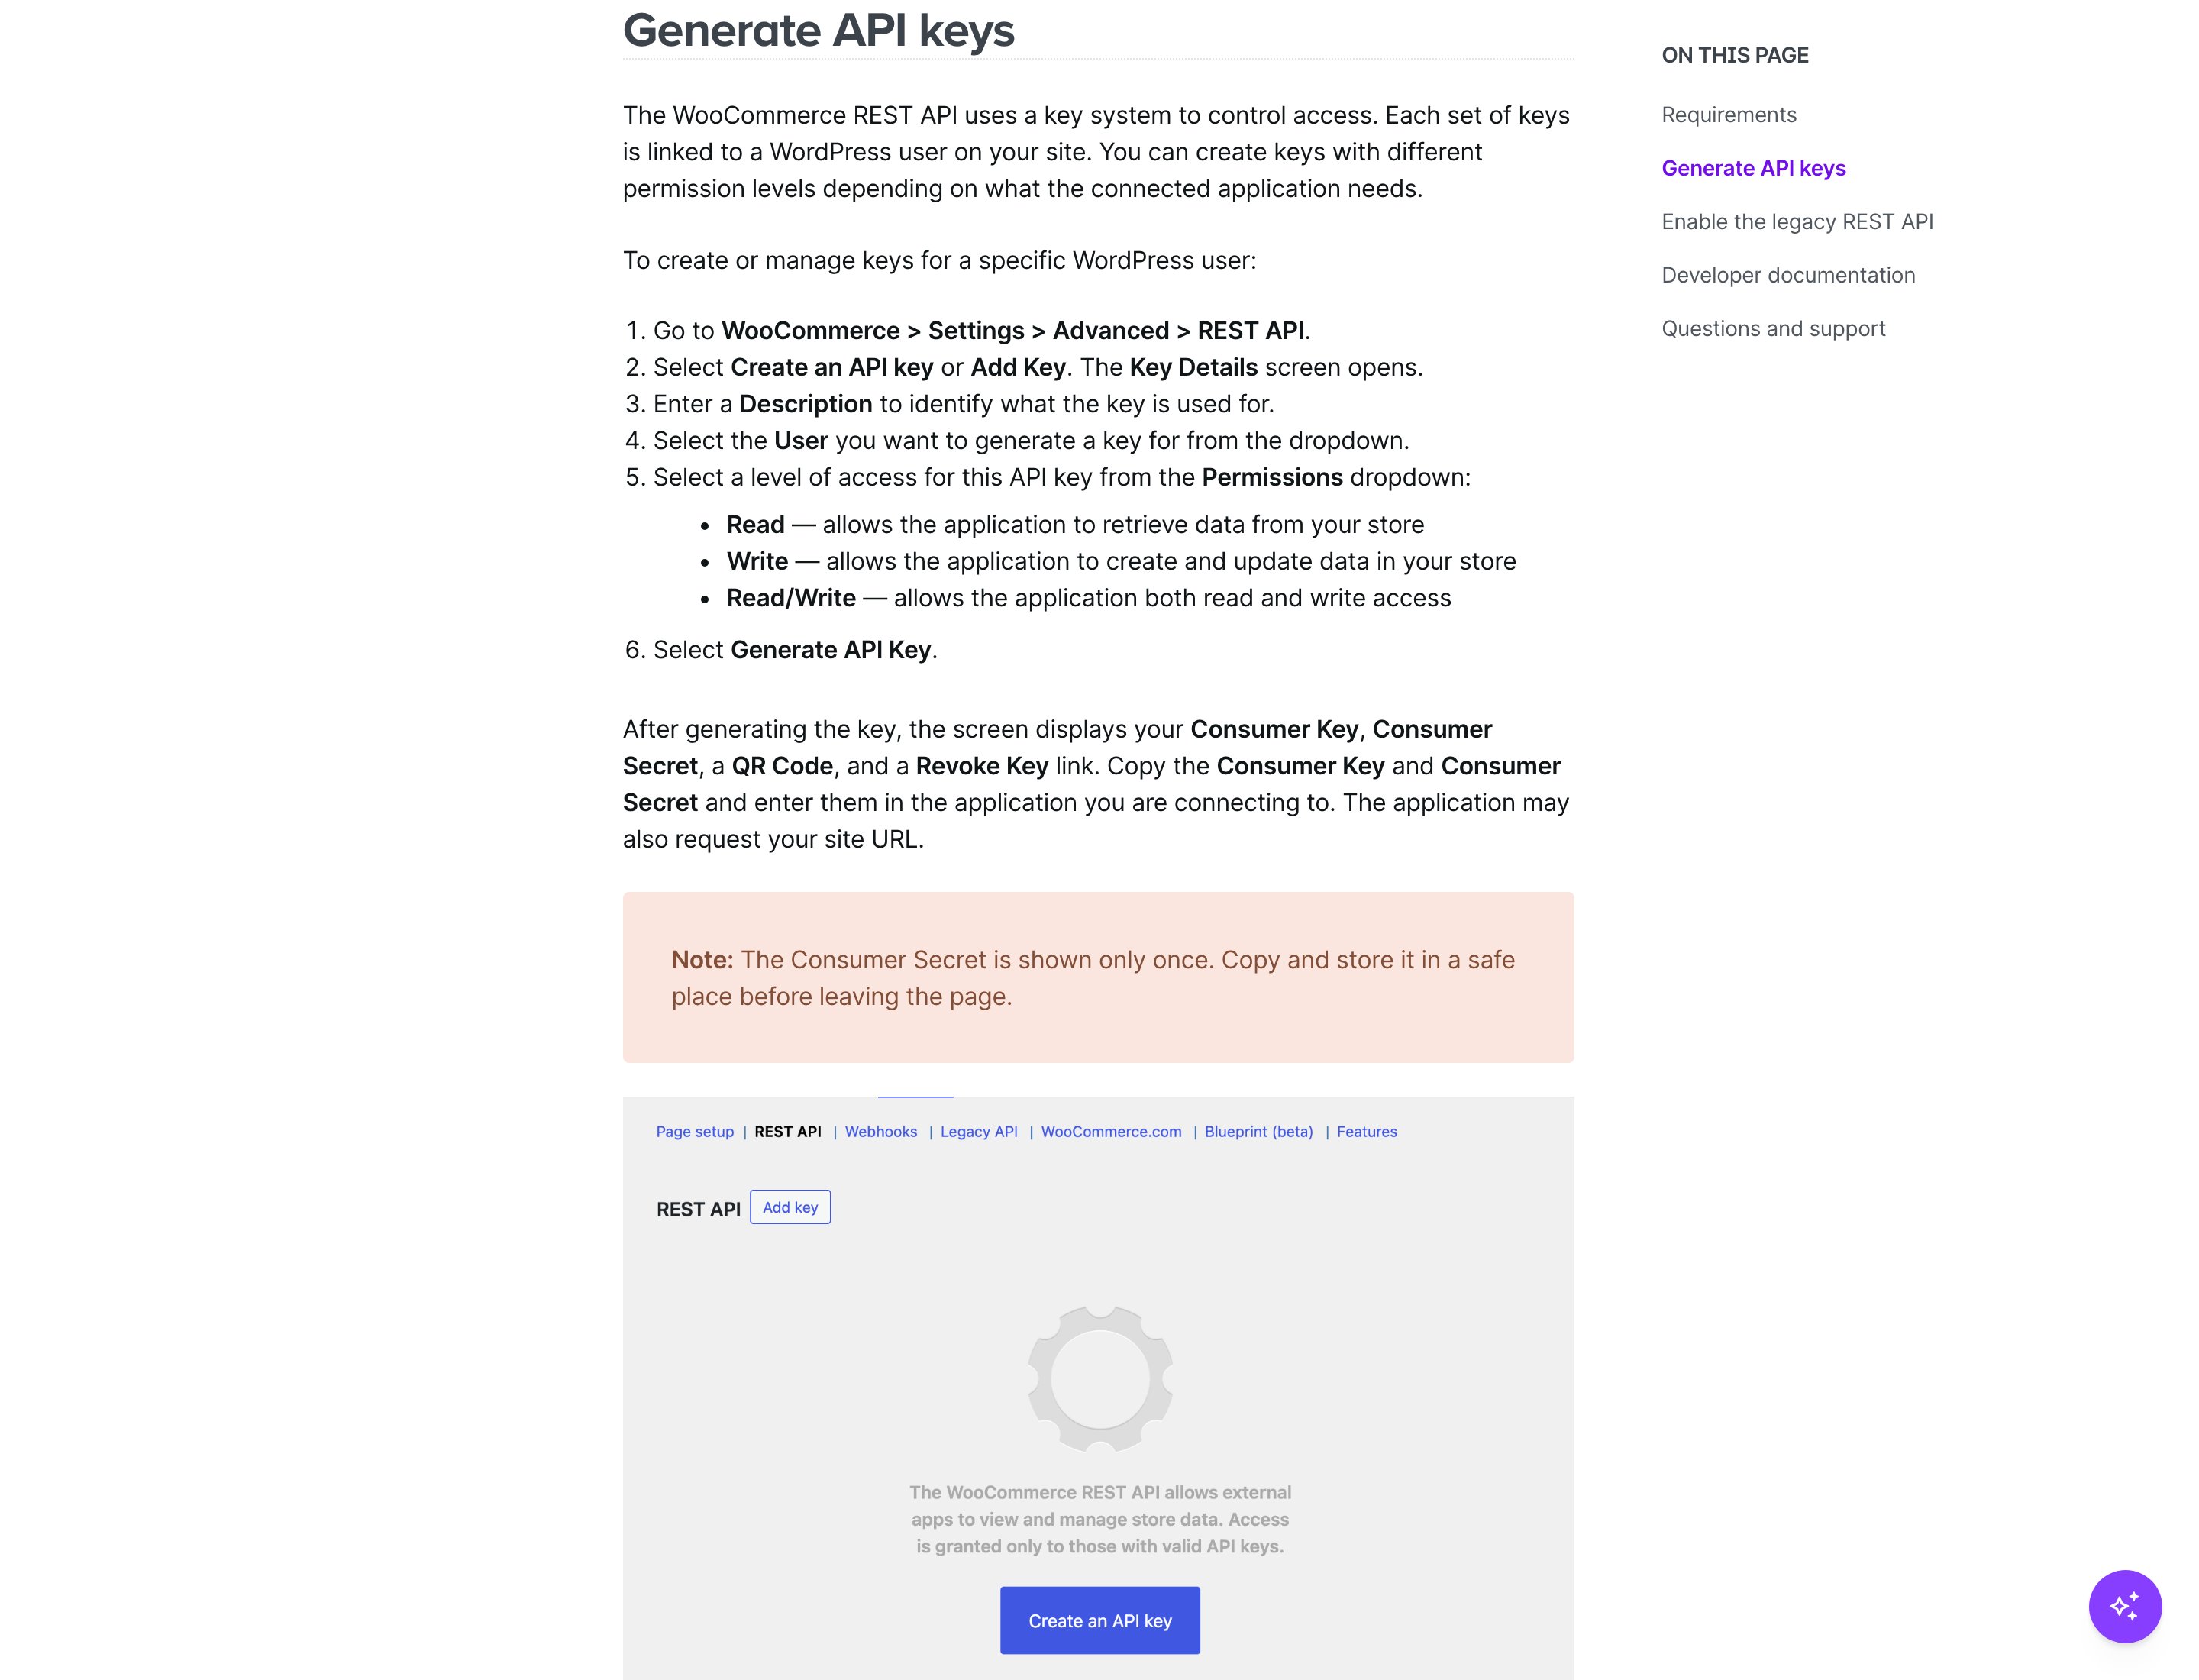
WooCommerce's guide to creating REST API keys. You create them in your own WordPress admin
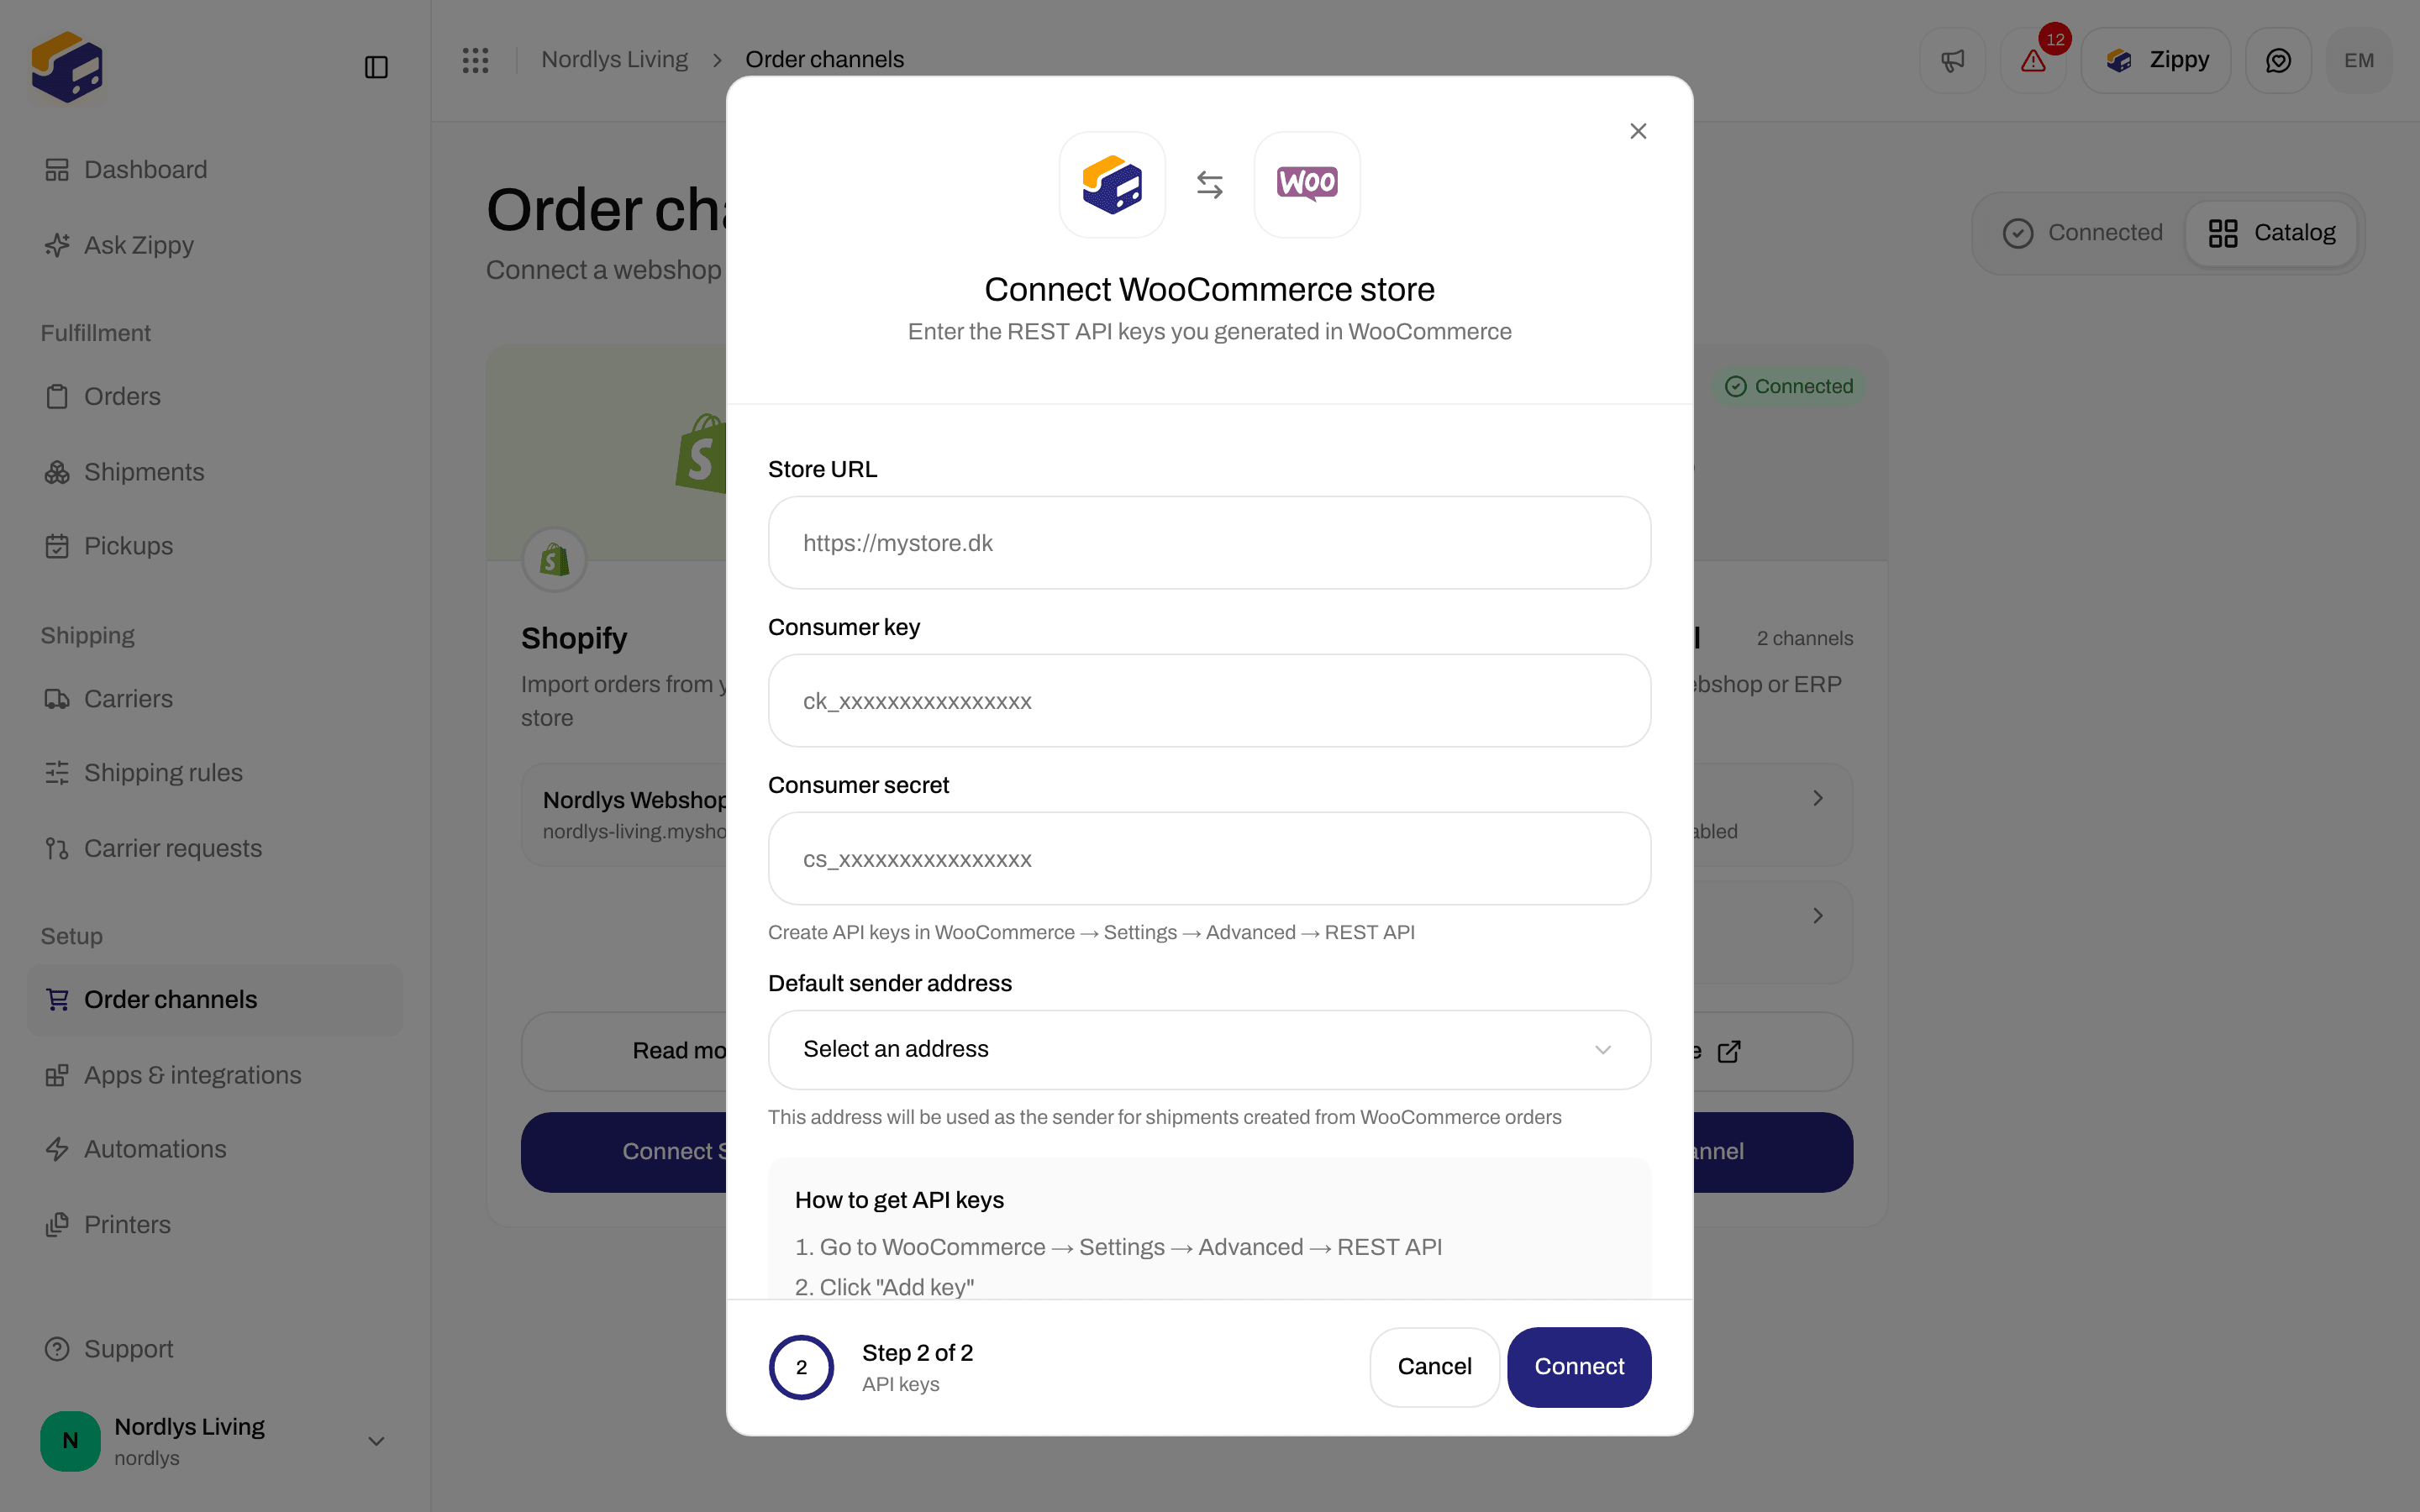
API keys step: Store URL, Consumer key, Consumer secret and Default sender address
Find your connected webshop
Your webshop is listed on the Connected tab, in the WooCommerce card. Each row shows the channel name, the webshop’s address and the brand, if one is assigned. Click the row to open its settings.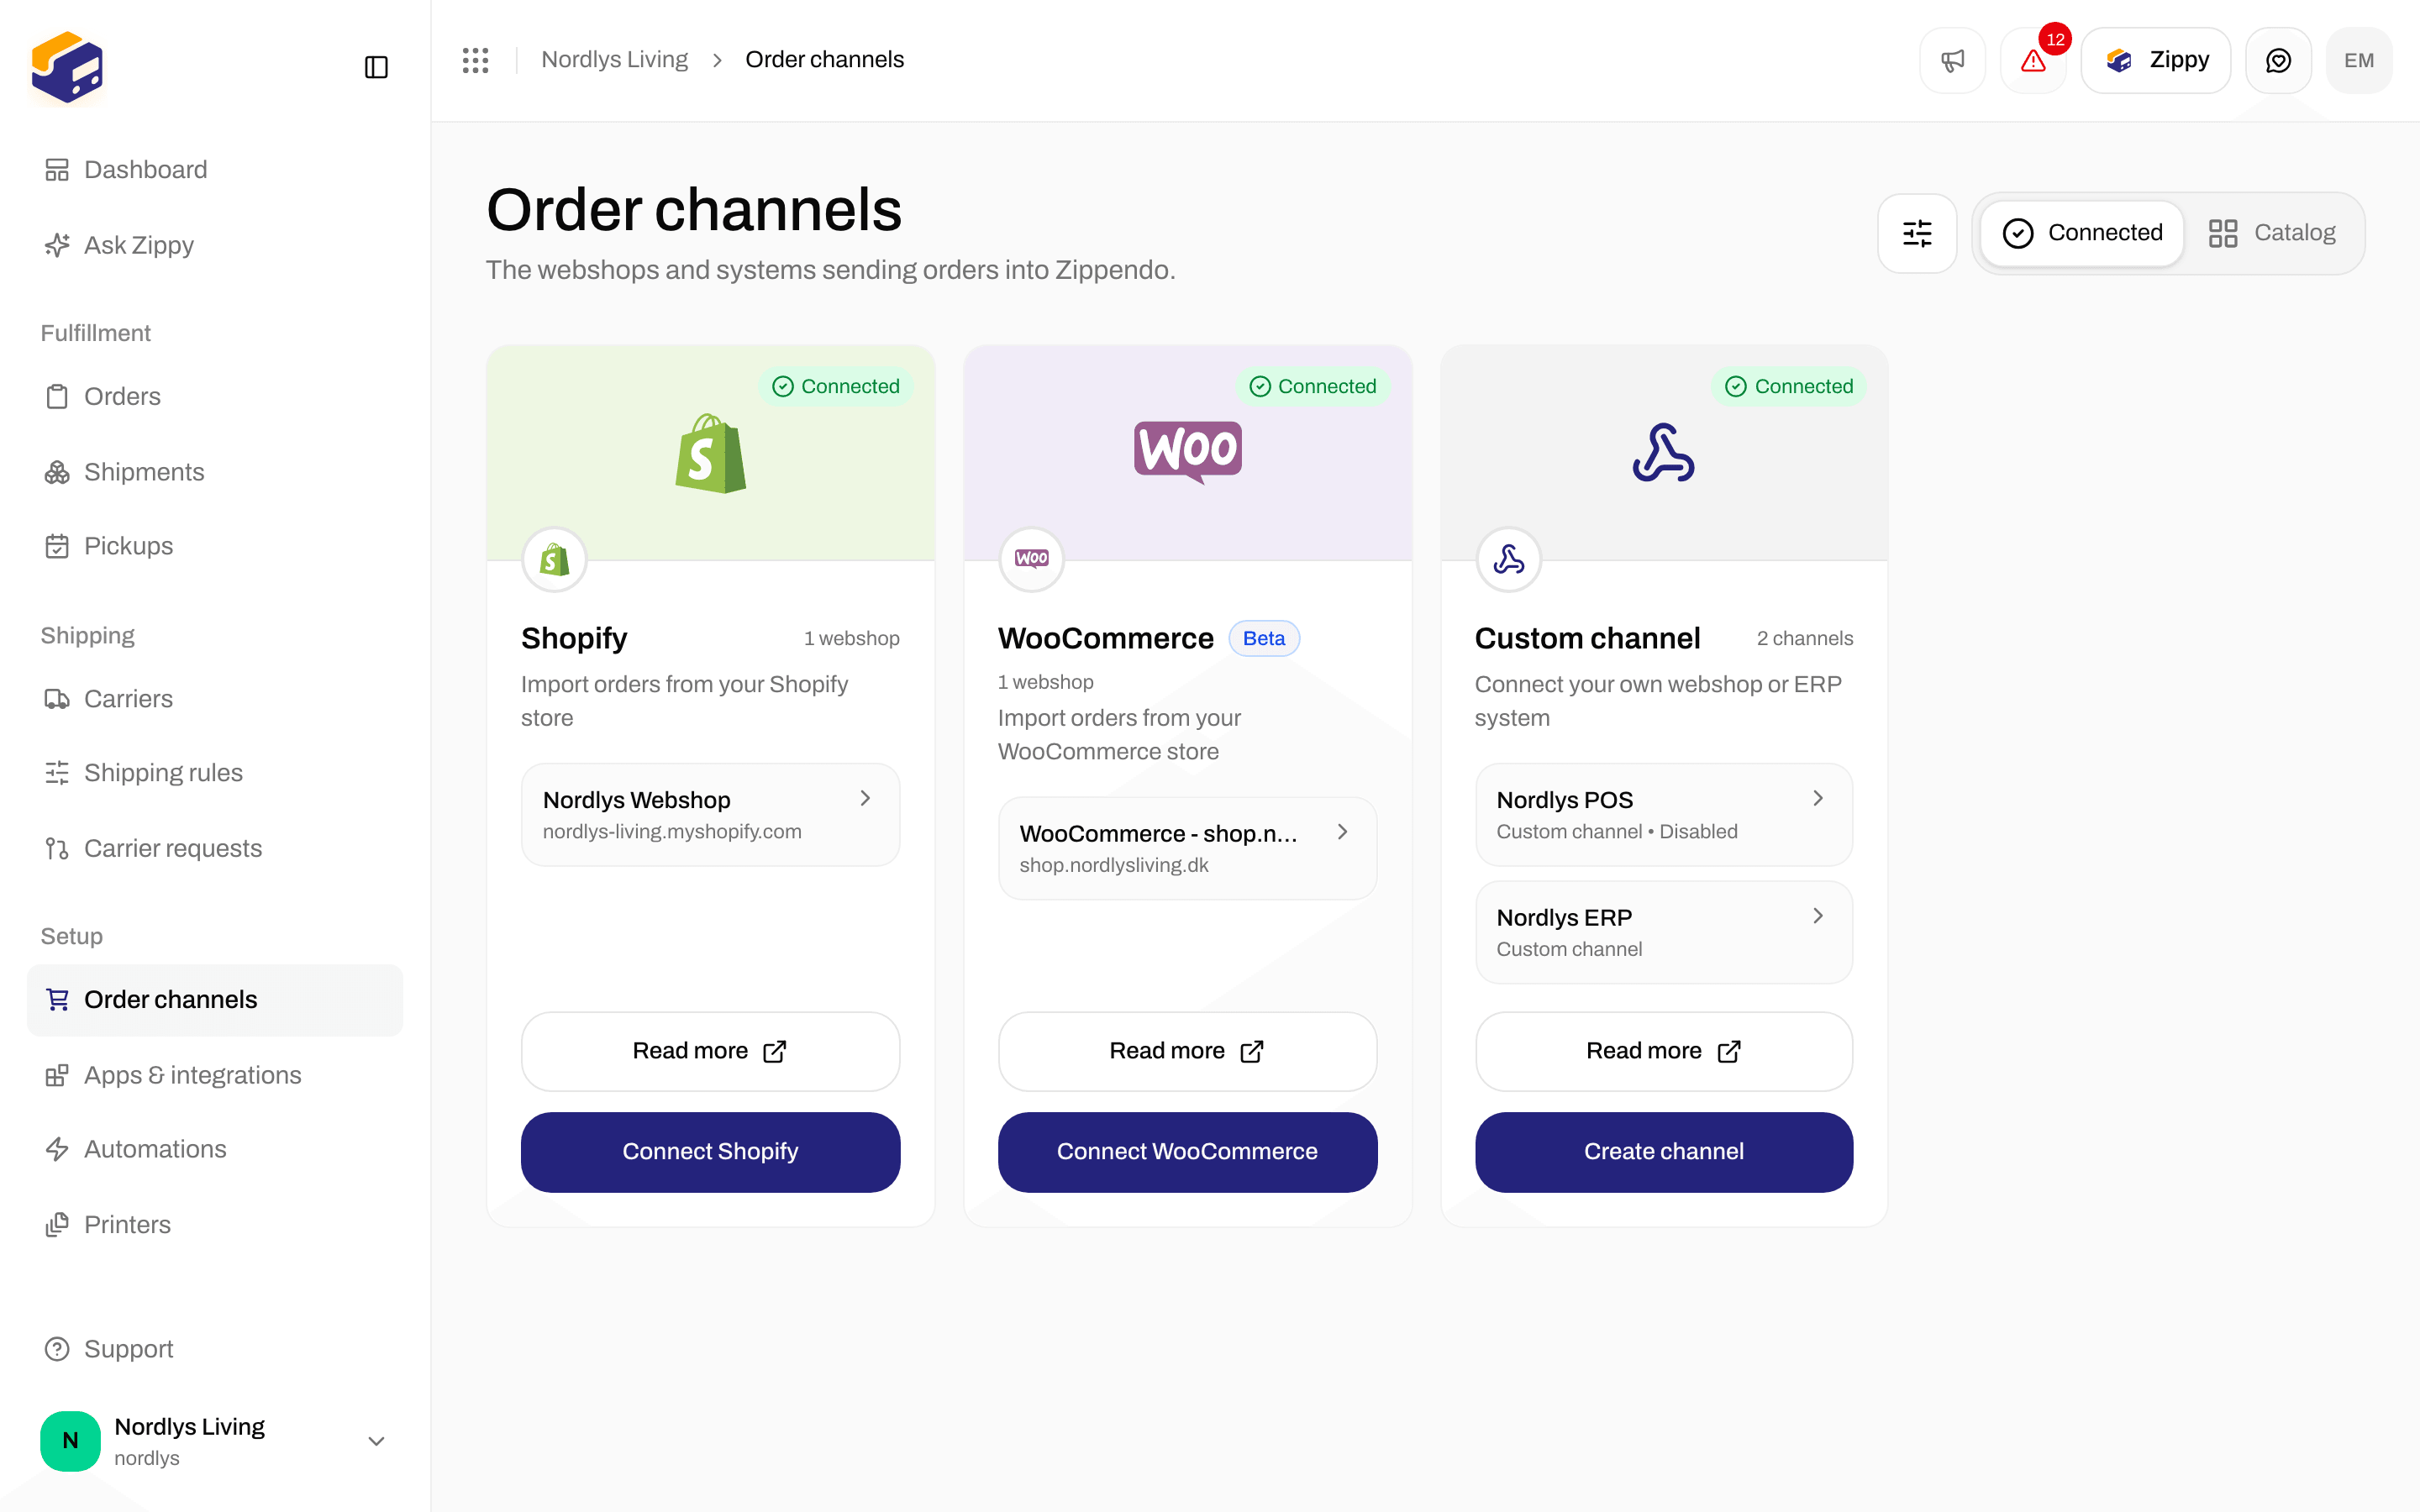
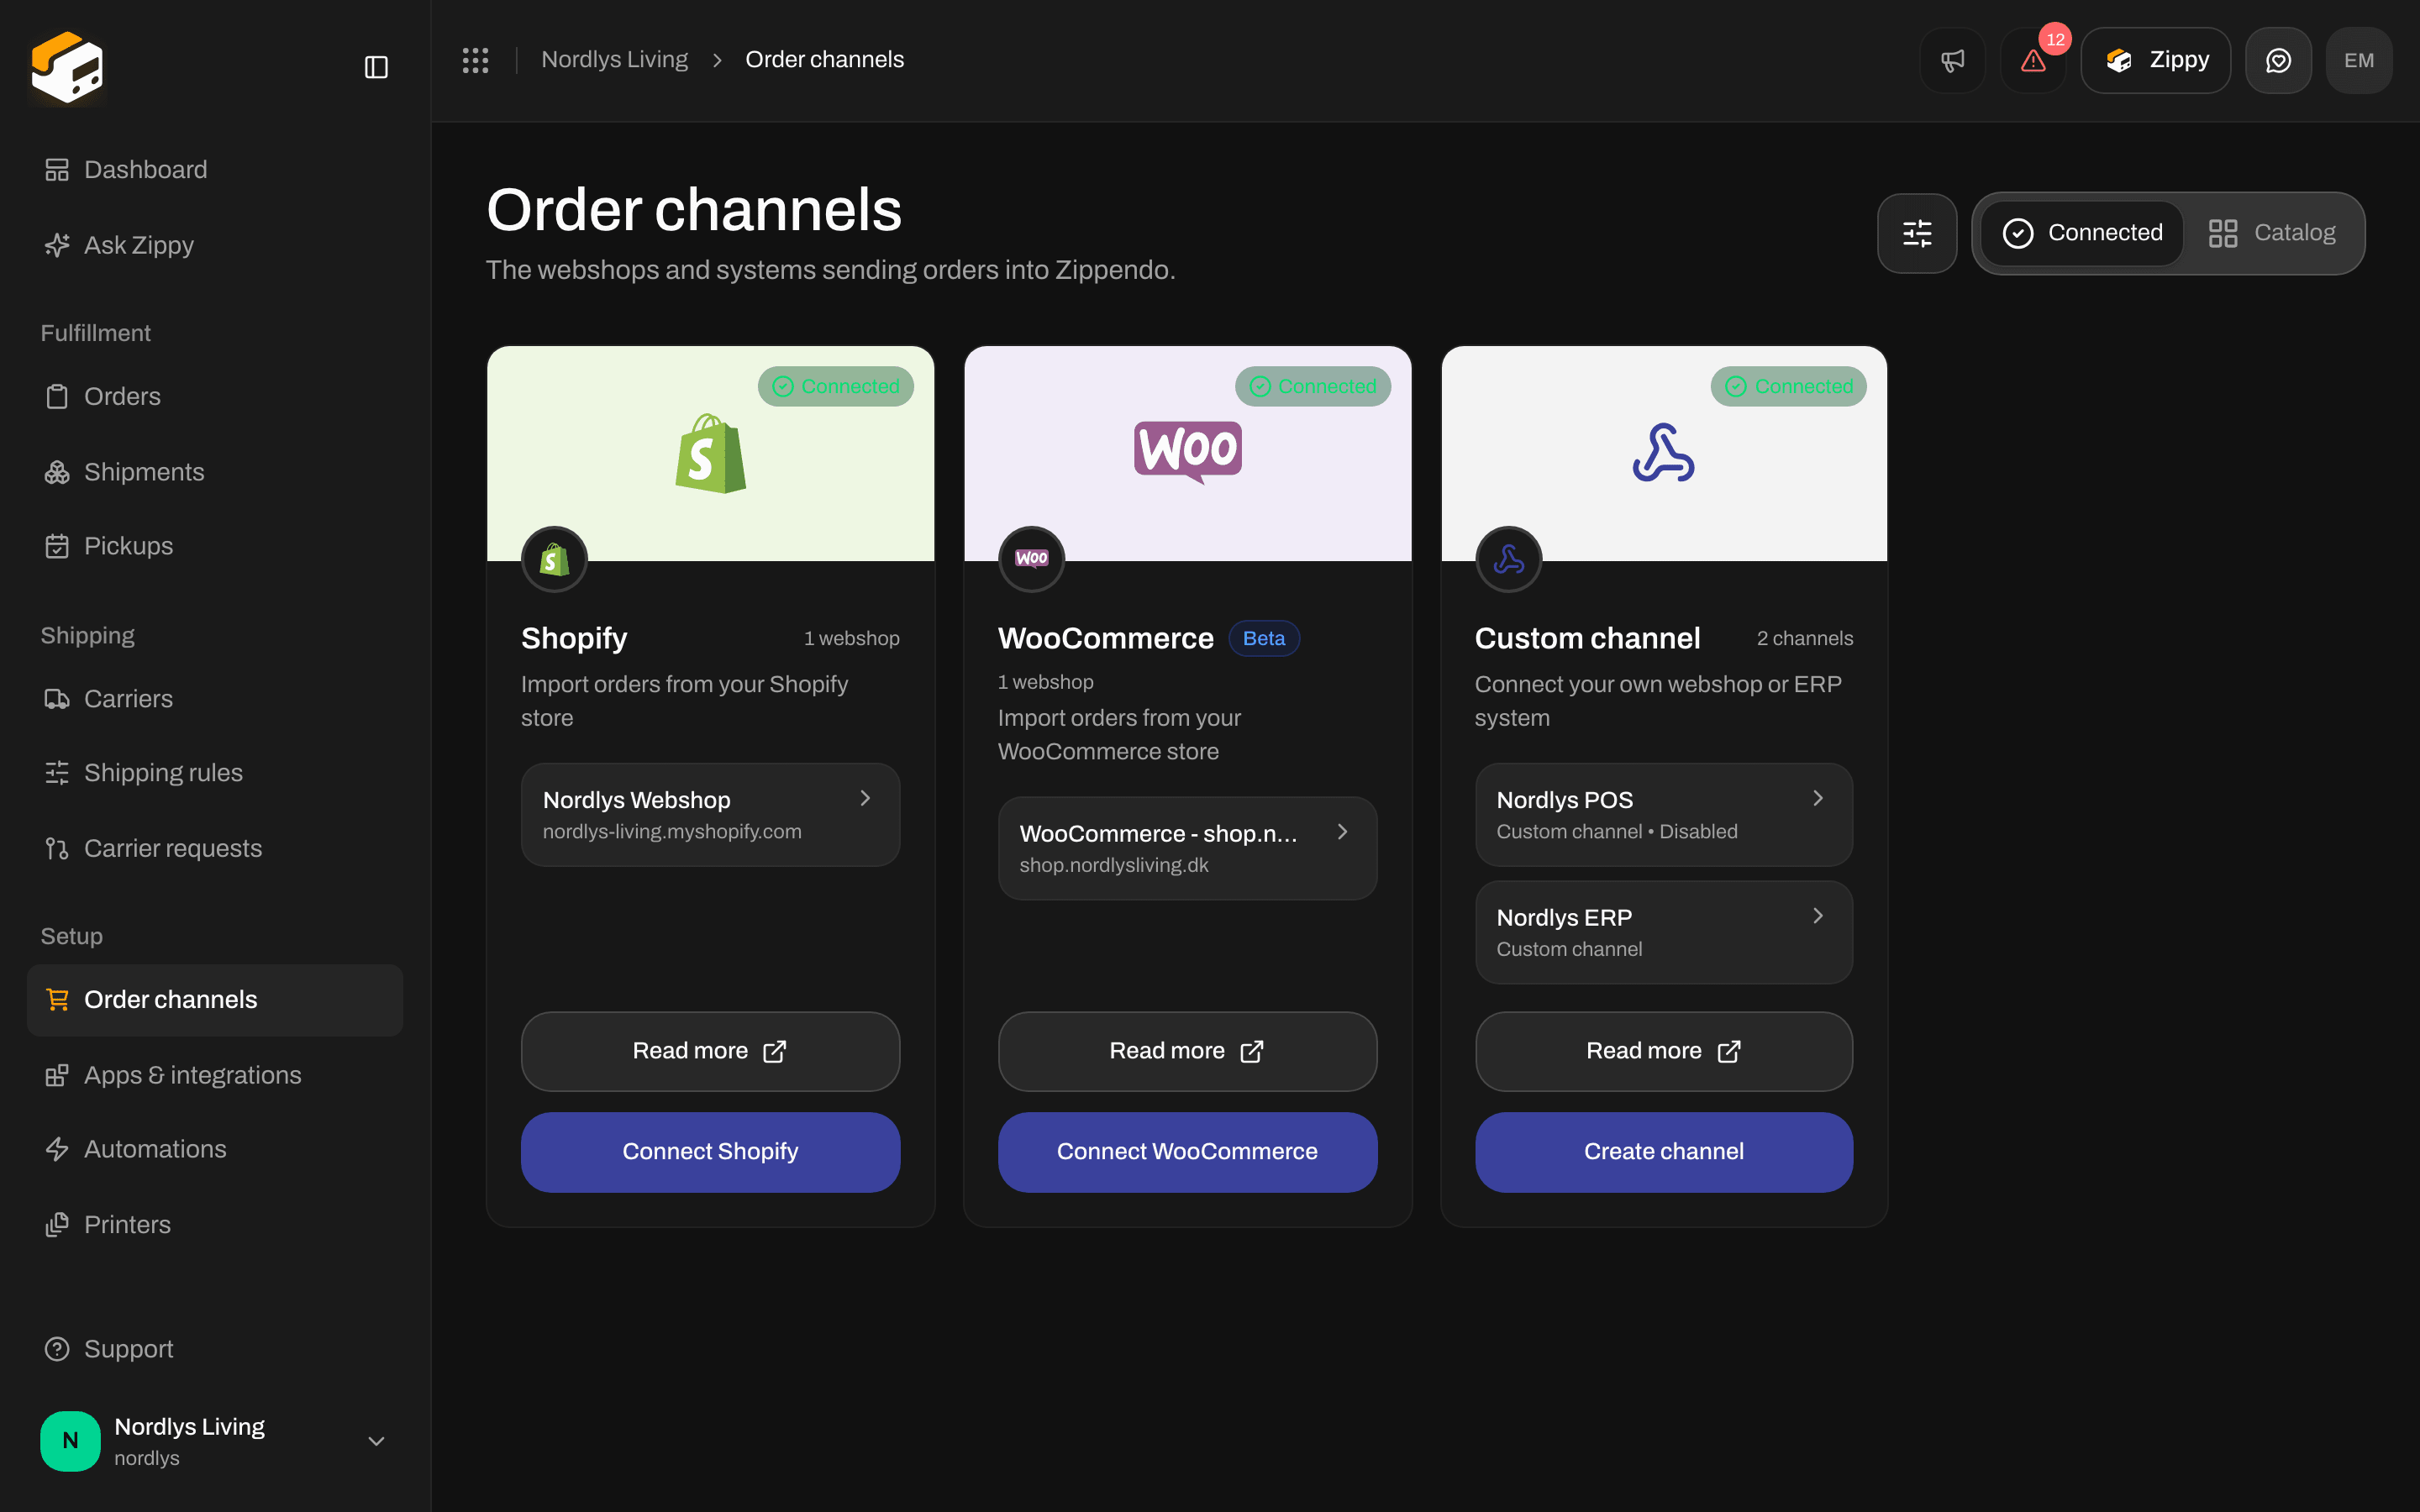
A connected WooCommerce webshop on the Order channels page
Orders & checkout
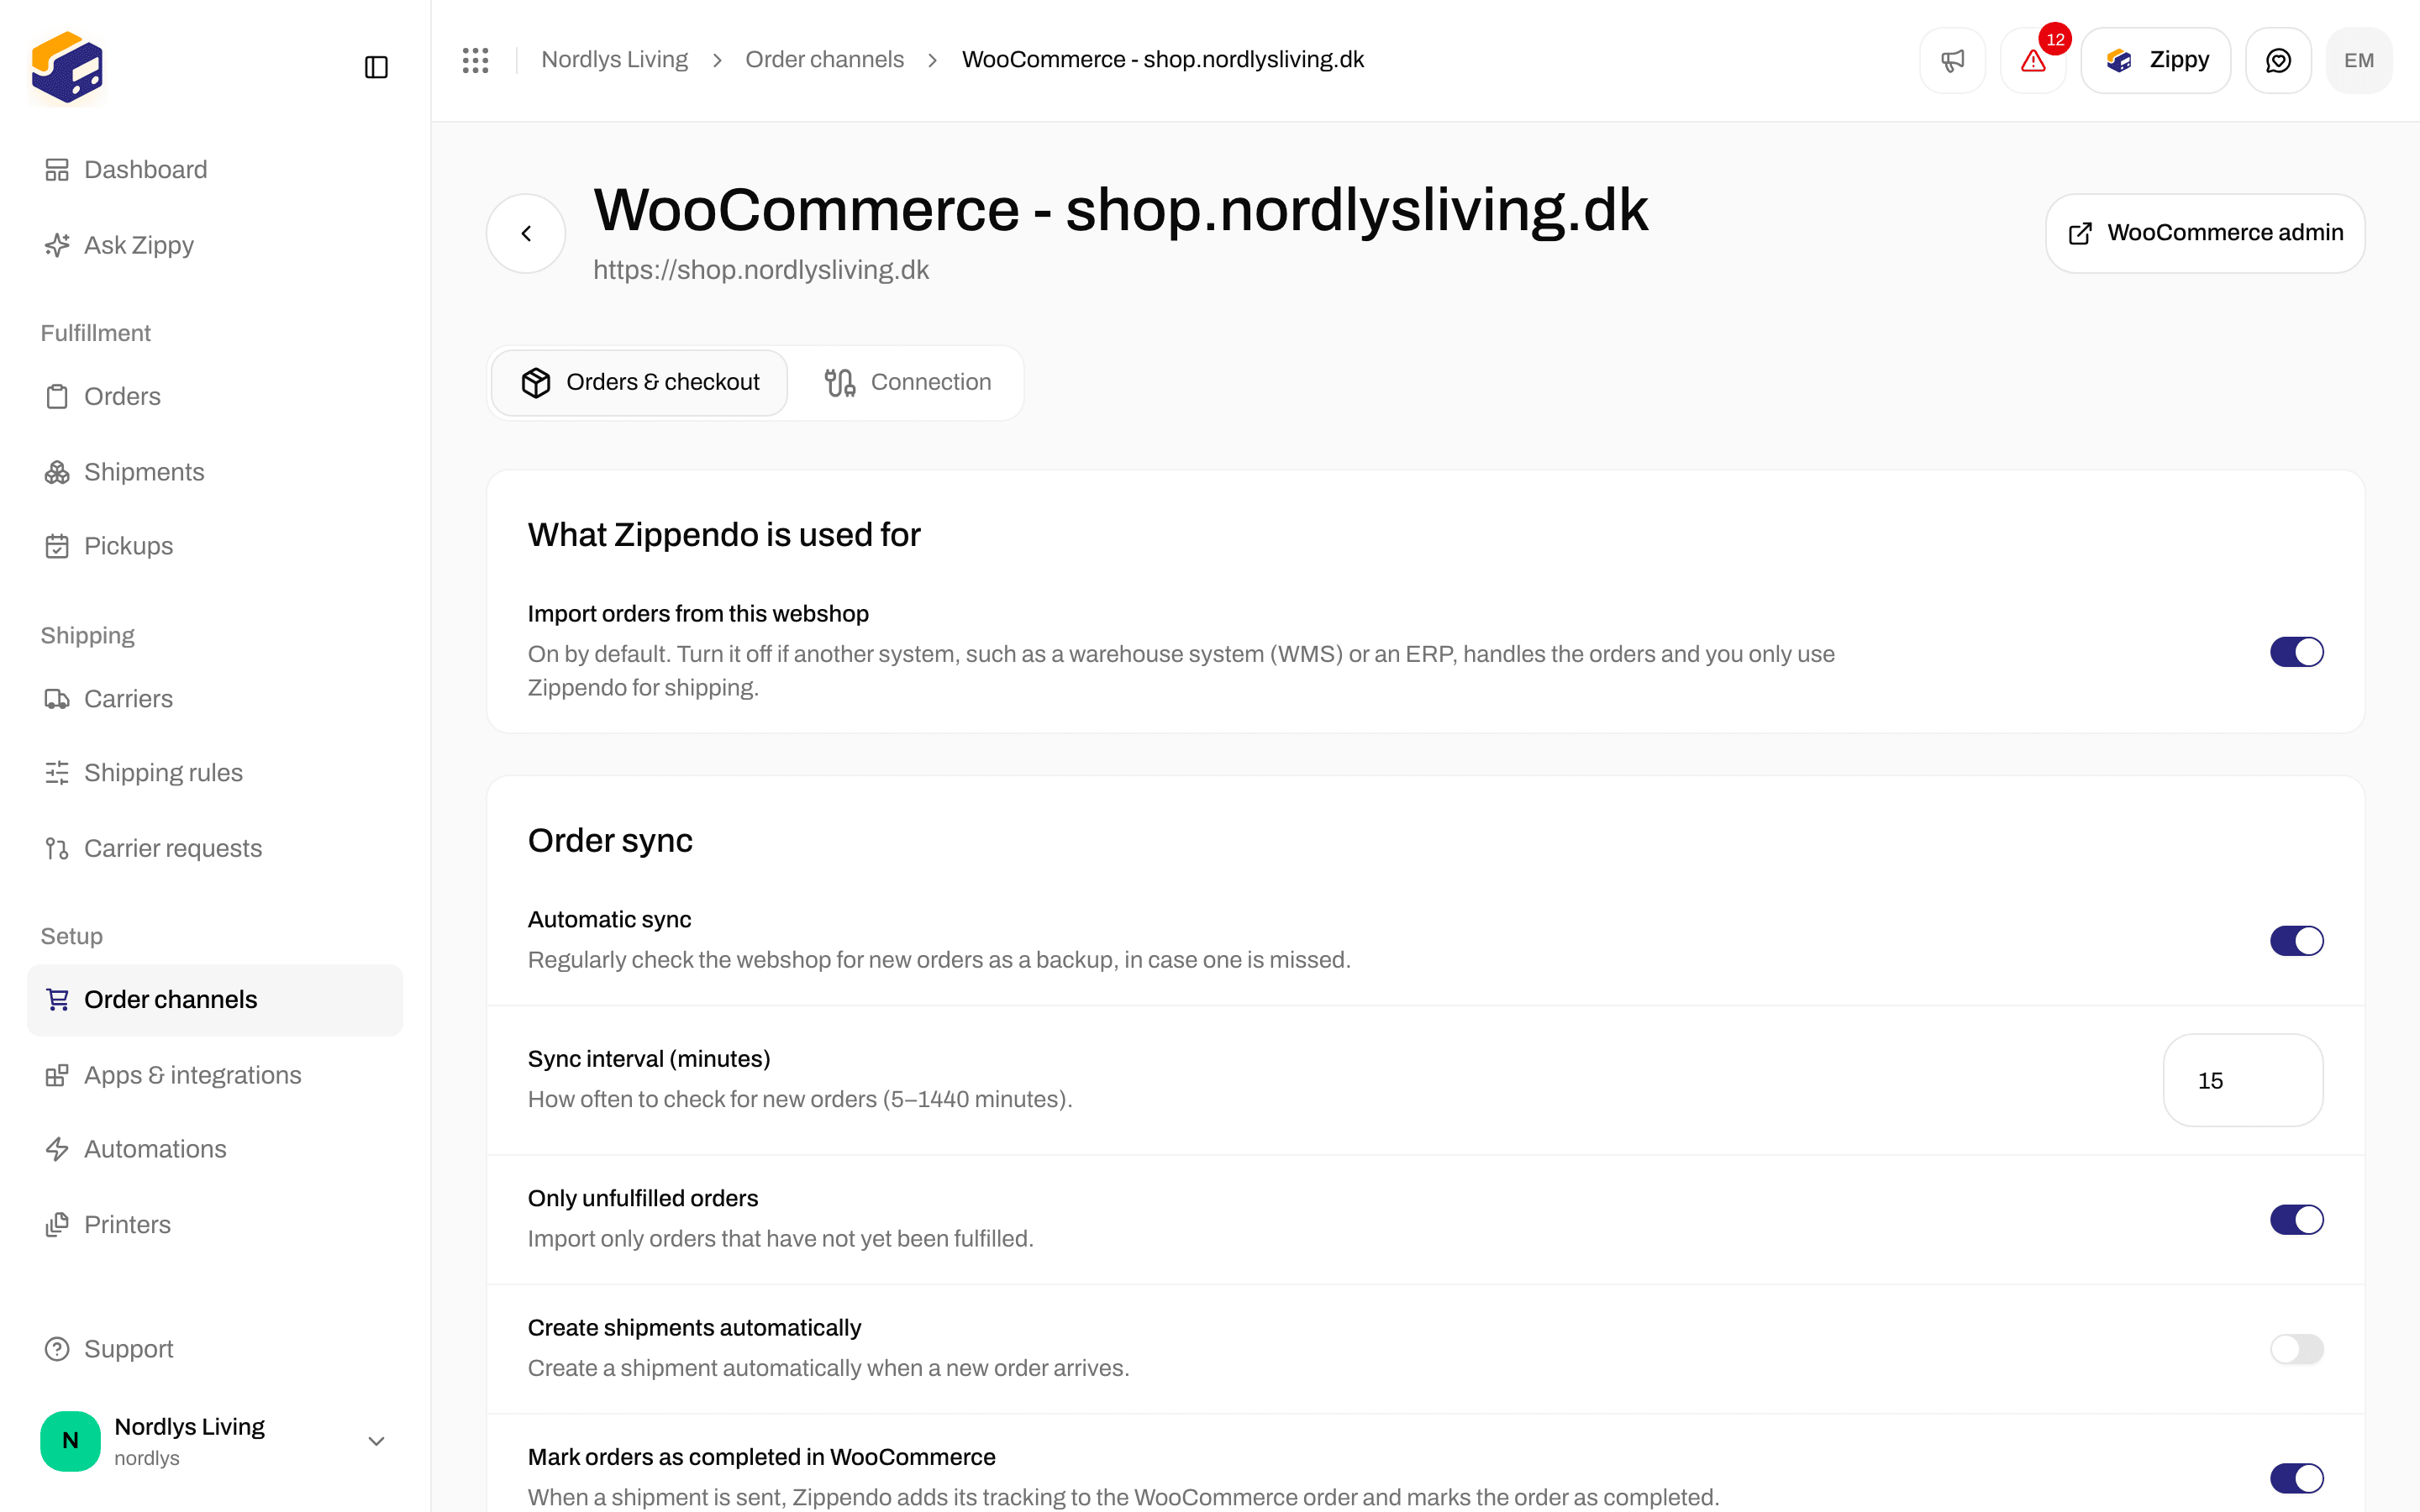
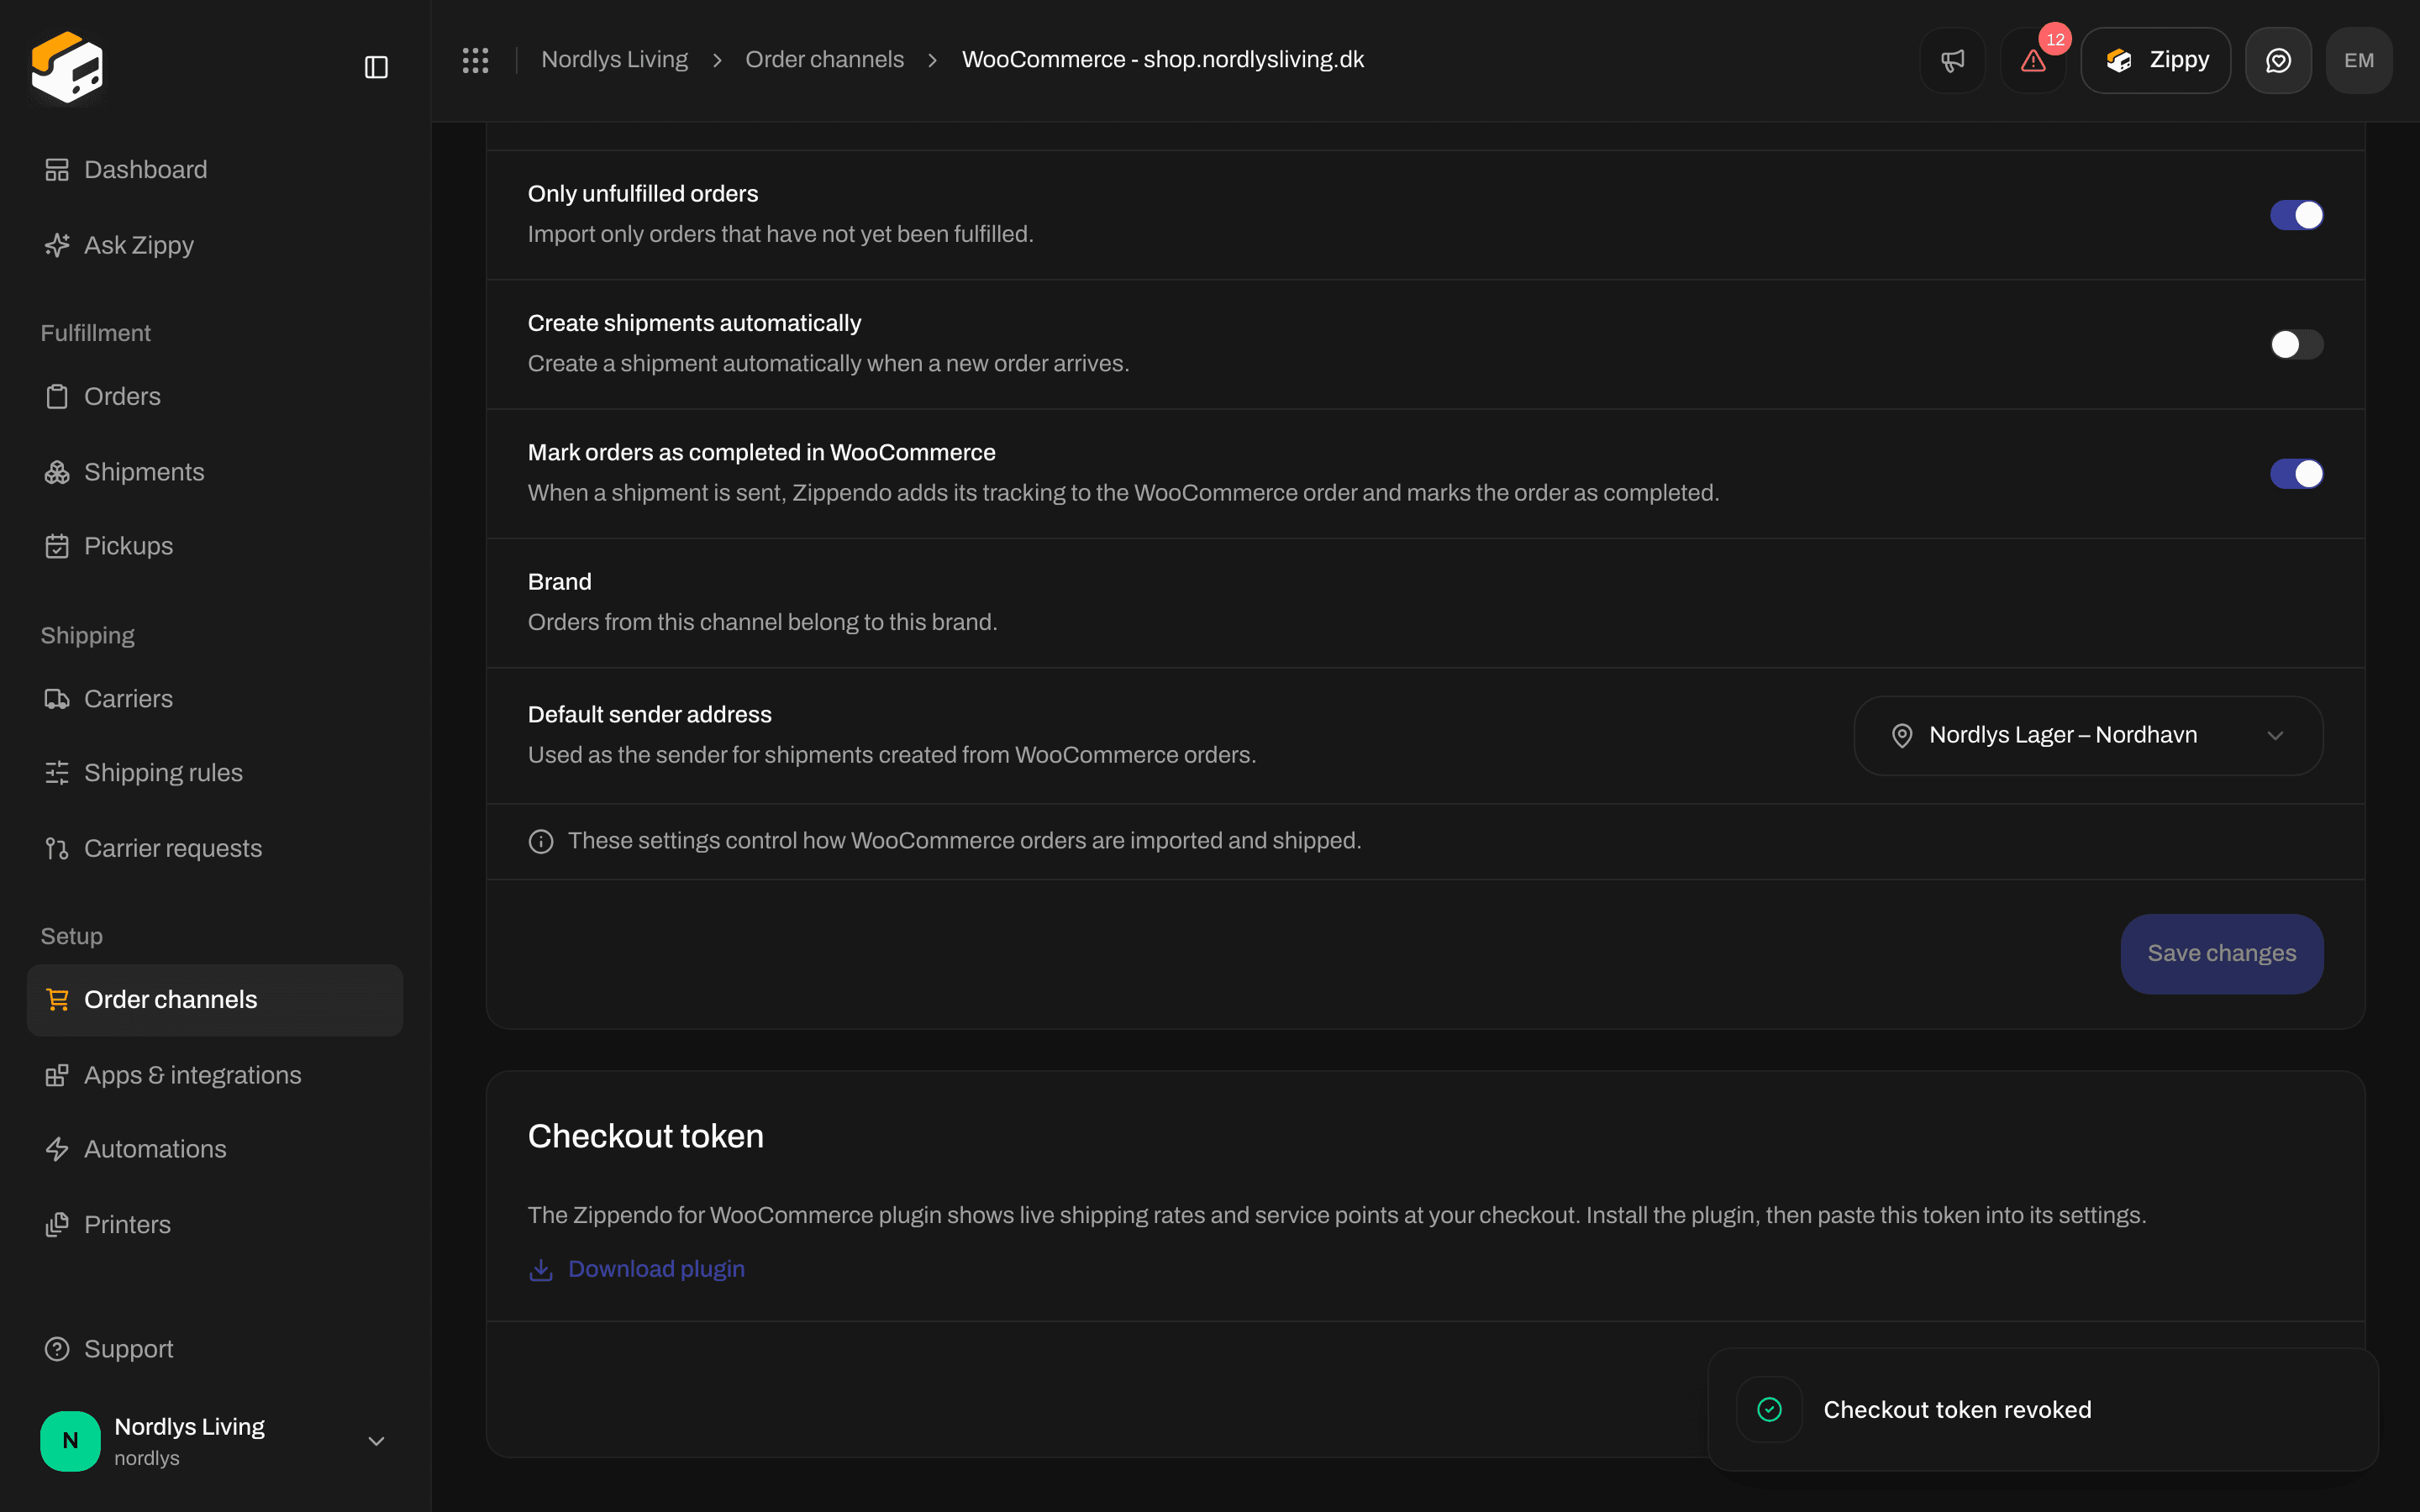
Orders & checkout: order sync settings, brand and default sender address
What Zippendo is used for
Import orders from this webshop is on by default. Turn it off if another system, such as a warehouse system (WMS) or an ERP, owns your orders and you only use Zippendo for shipping. While it is off, checkout rates and service point selection still work. Orders are not imported, and Zippendo does not mark orders as fulfilled or send tracking back to your webshop. The system that imported the order does that. The order sync settings below are hidden. When you turn it back on, Zippendo asks you to confirm, because if another system already fulfills these orders, both it and Zippendo will start creating shipments for the same order. See Connecting WooCommerce for when to use this.Order sync
Checkout token
You only need the checkout token if you install the Zippendo for WooCommerce plugin, which shows live shipping rates and service points at your checkout. Order import works without it. Full steps: WooCommerce checkout plugin.- Download plugin downloads the latest version of the plugin as a zip file. The plugin comes from Zippendo, not from the WordPress plugin directory.
- Generate token creates a token that starts with
zck_. Click Copy and paste it into the plugin settings.
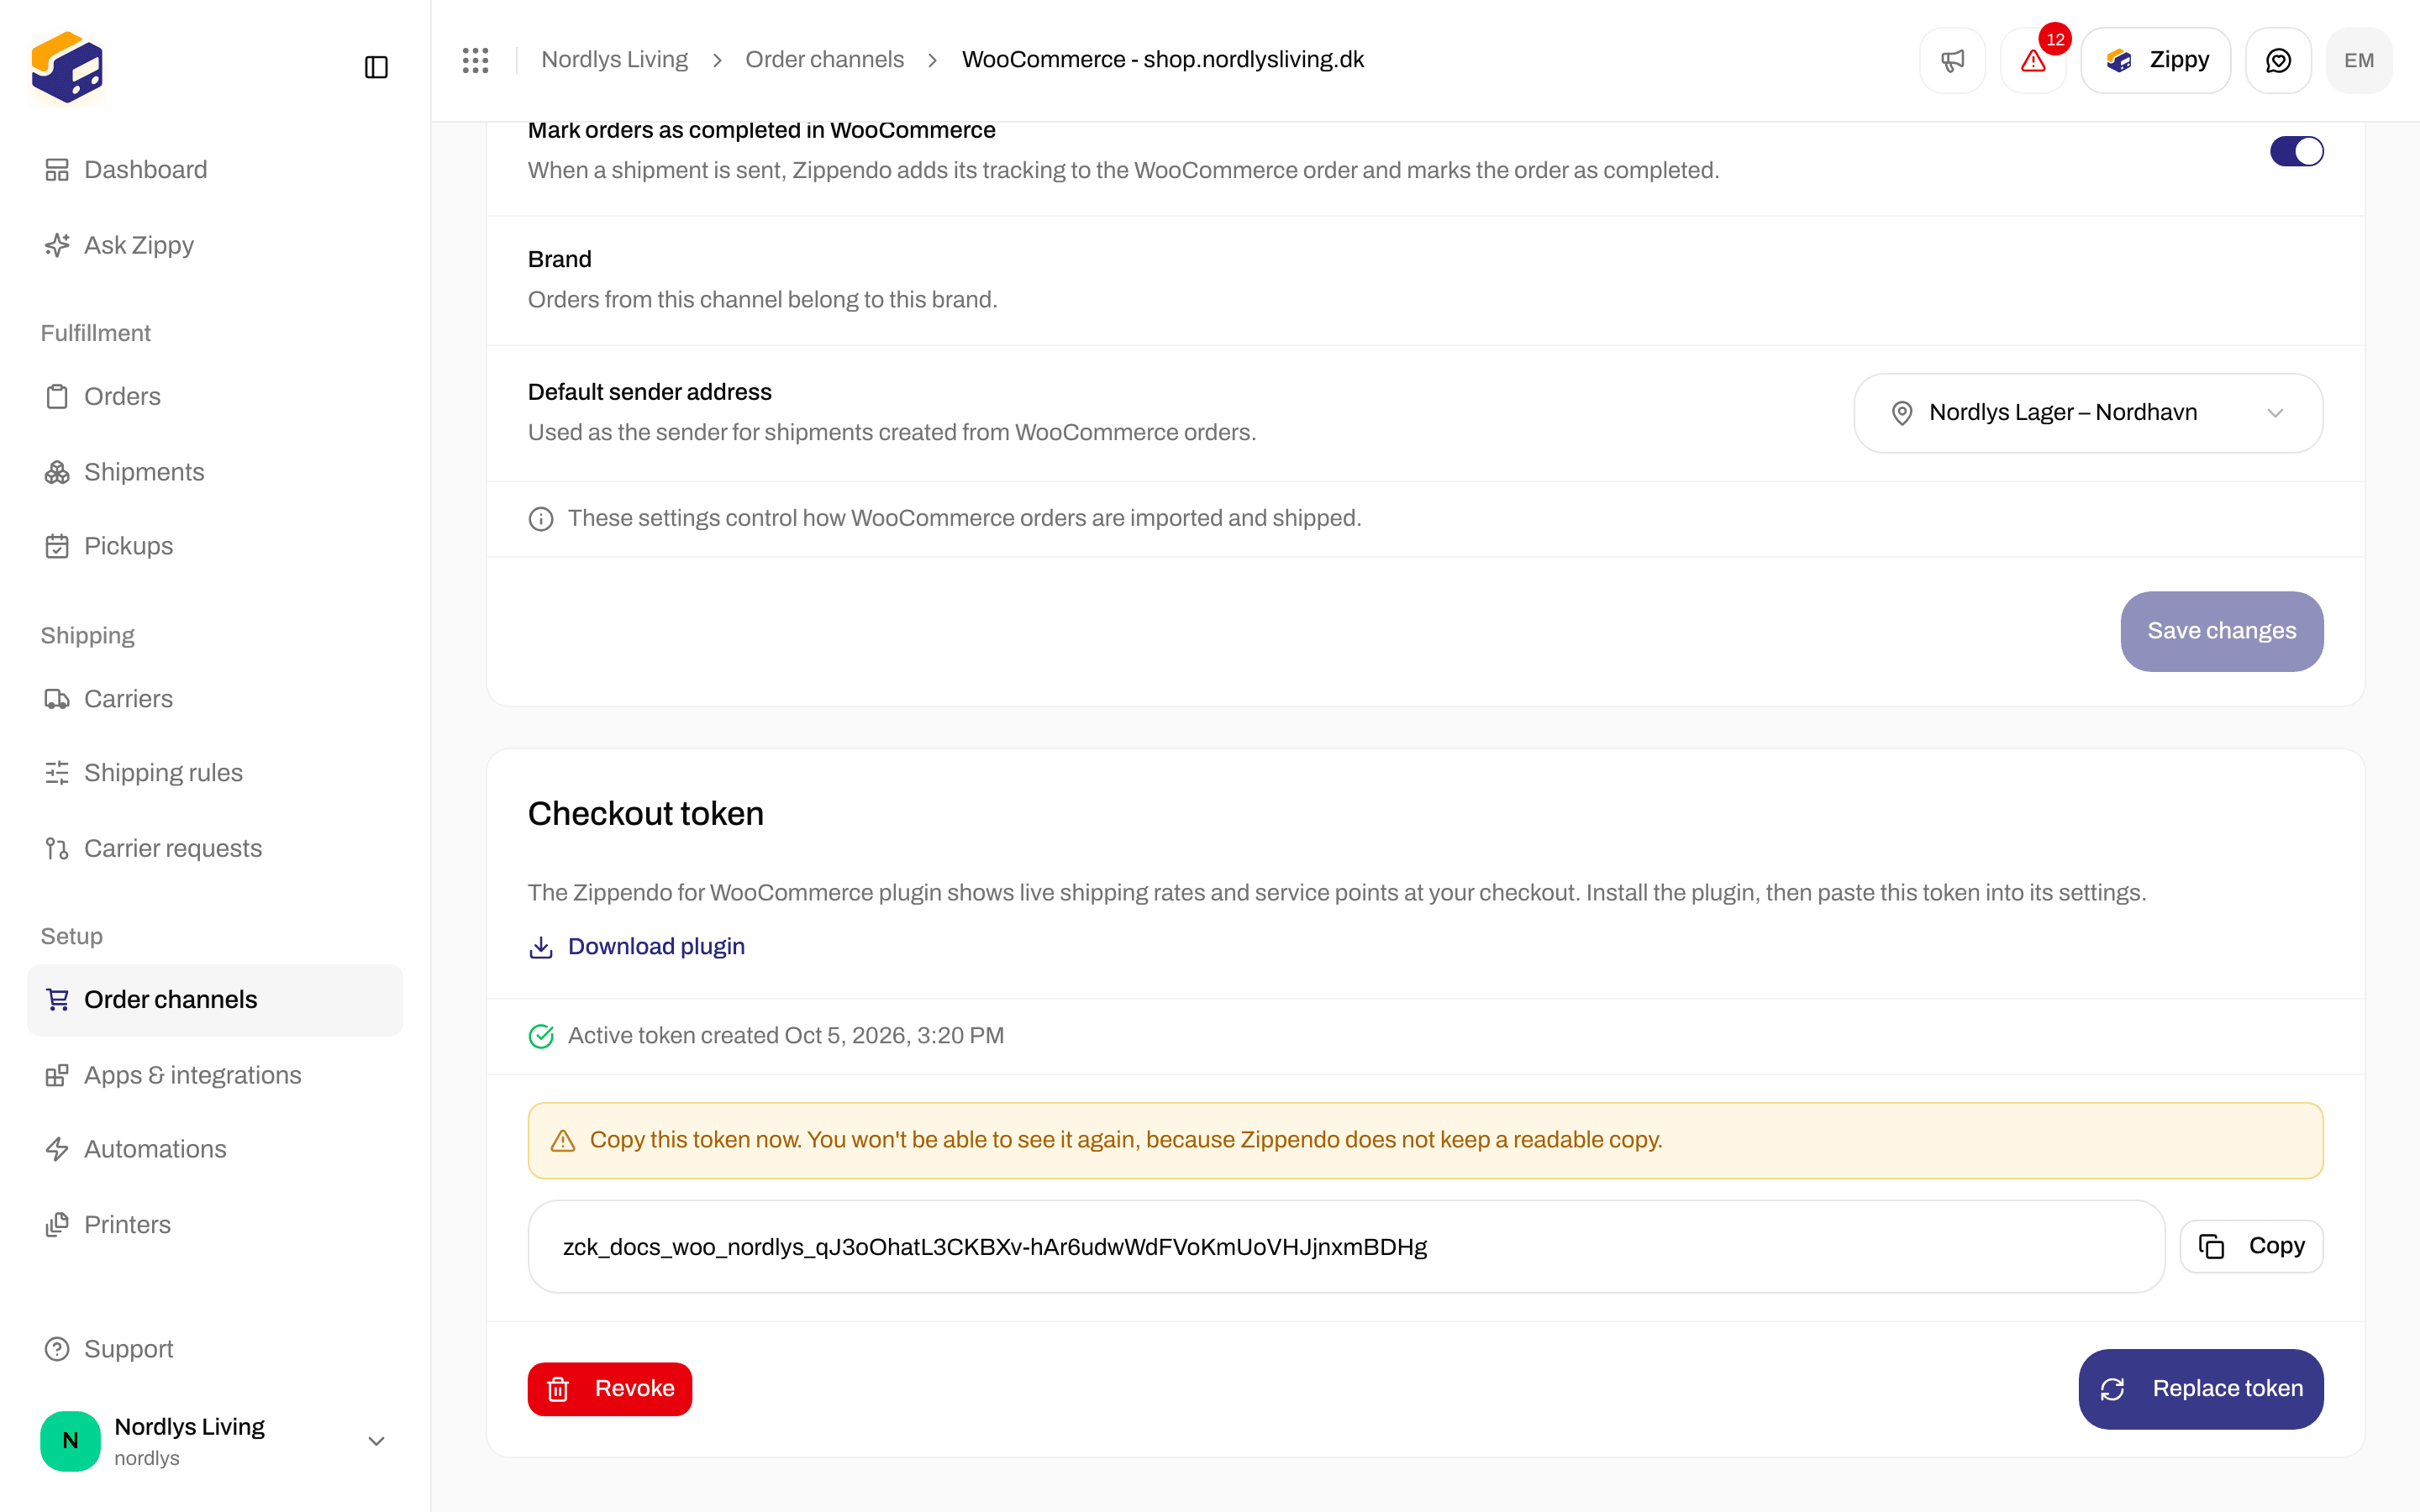
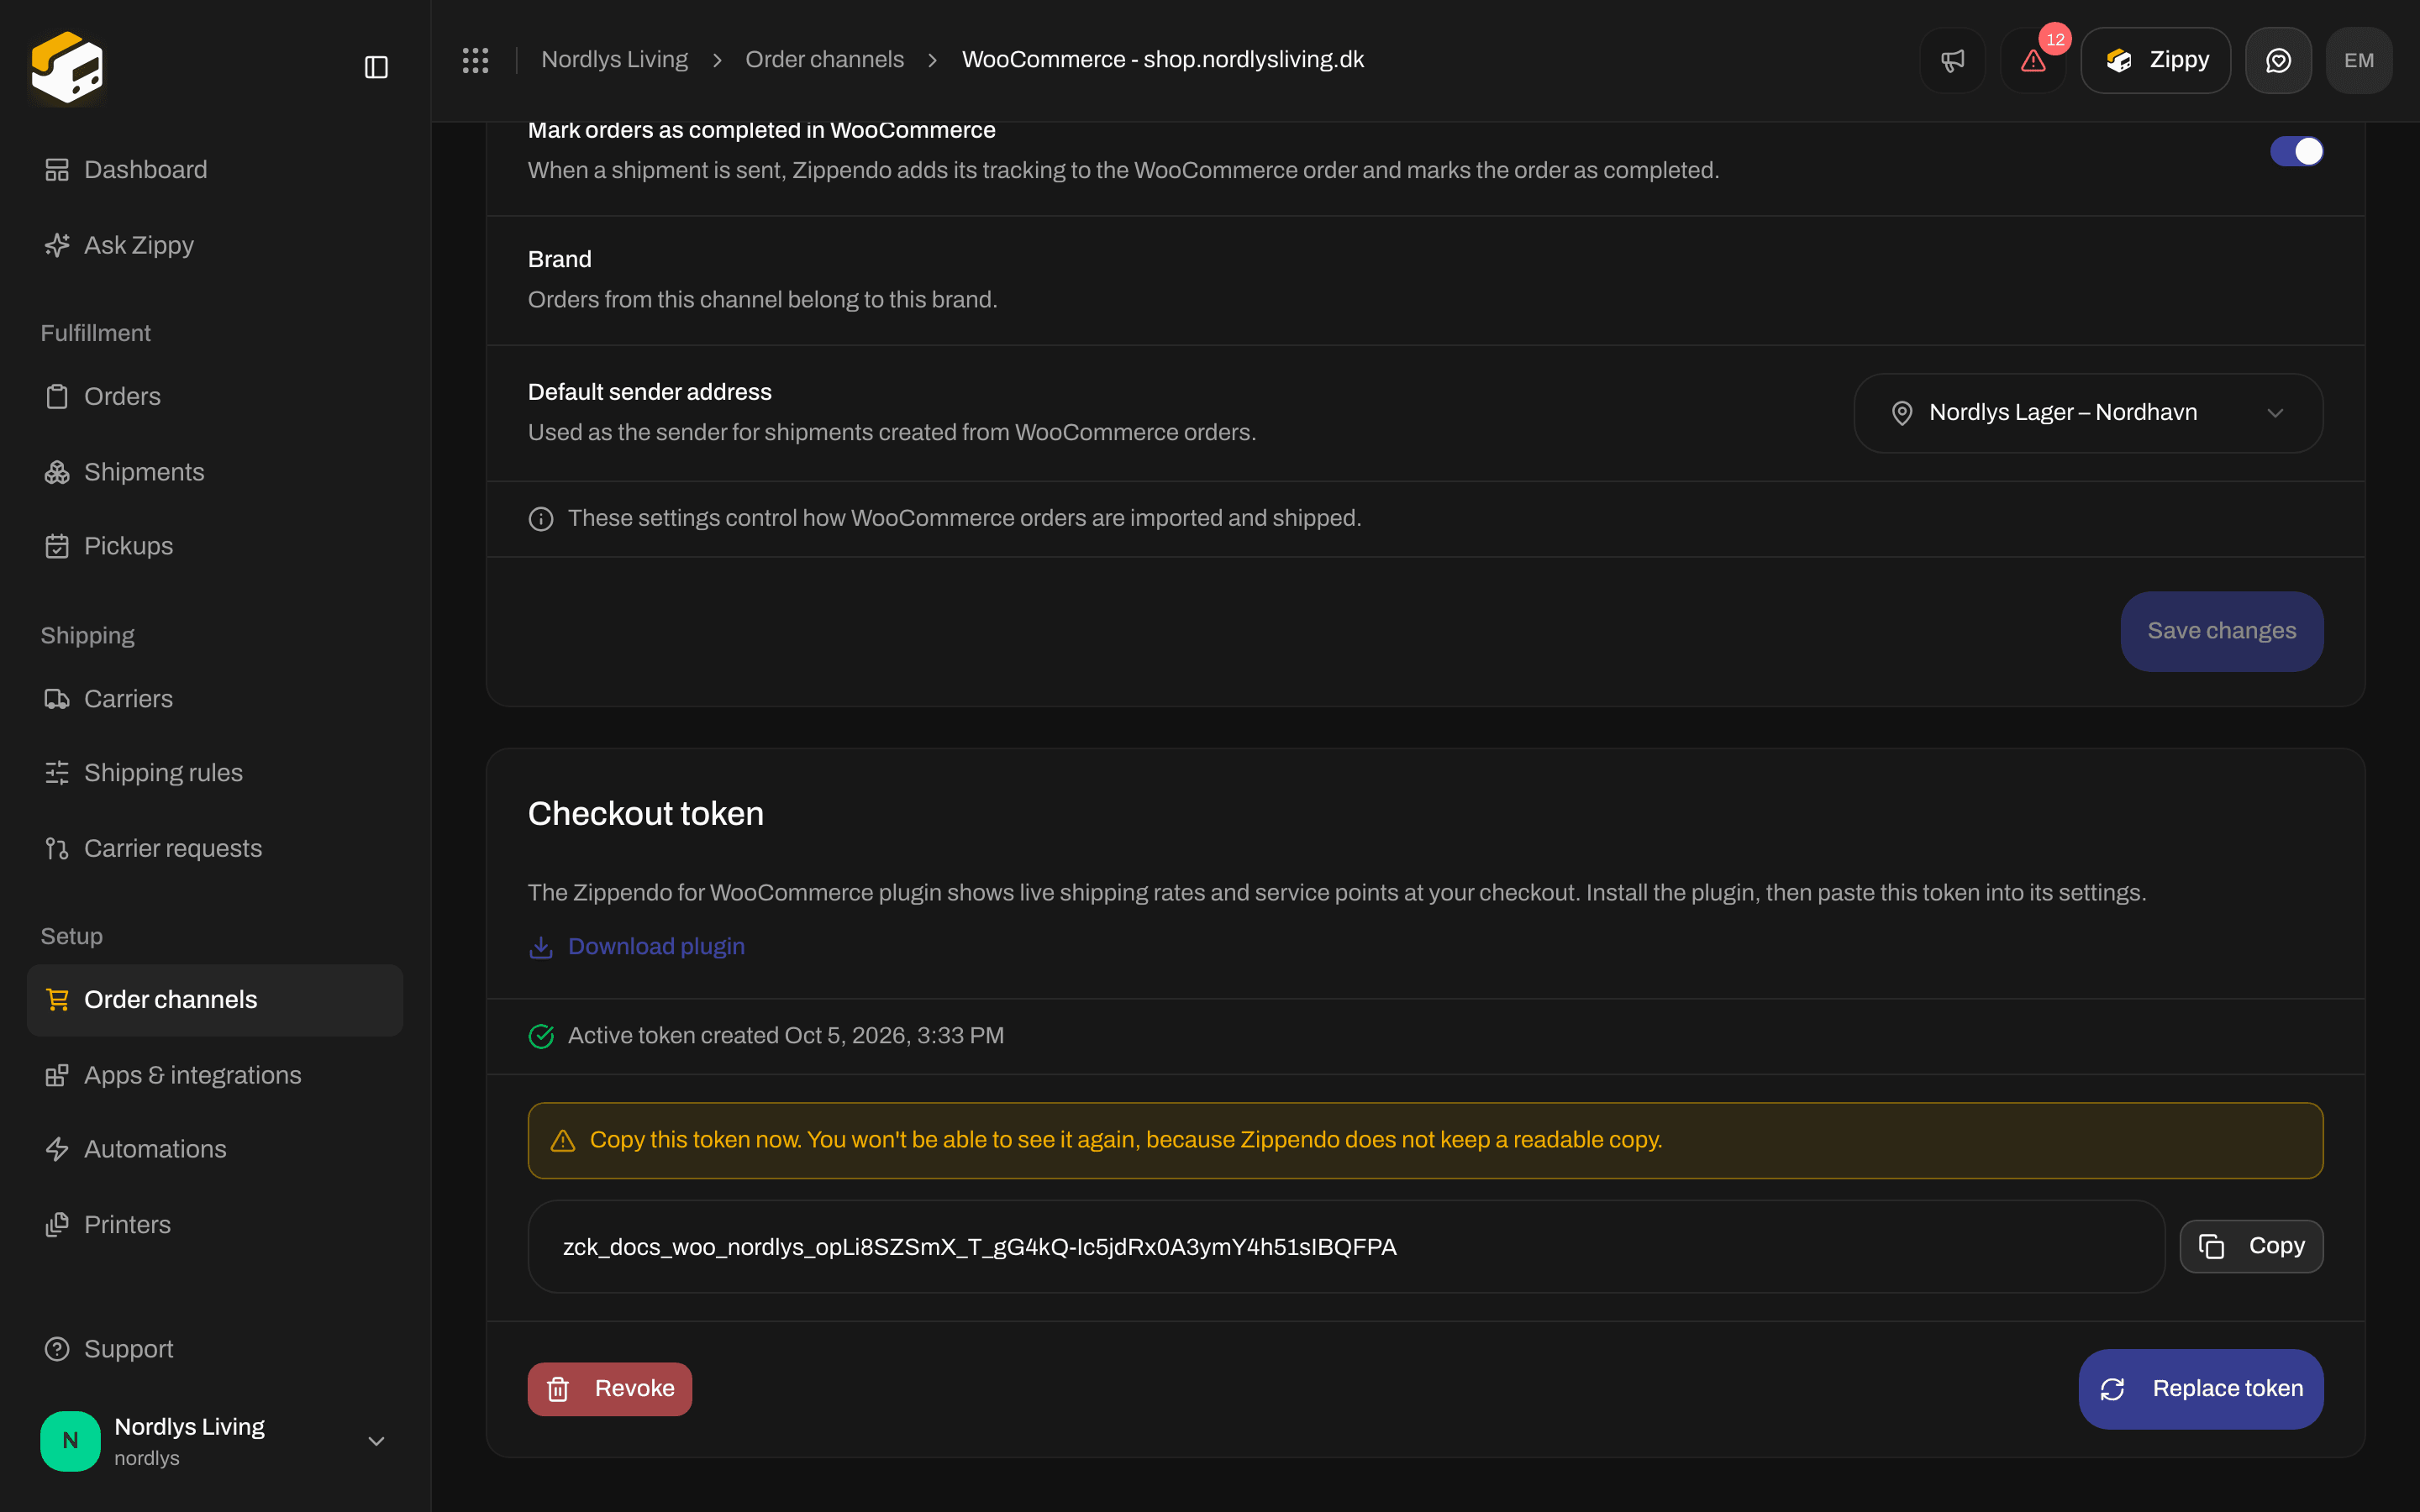
The checkout token is shown once, right after you generate or replace it
Connection
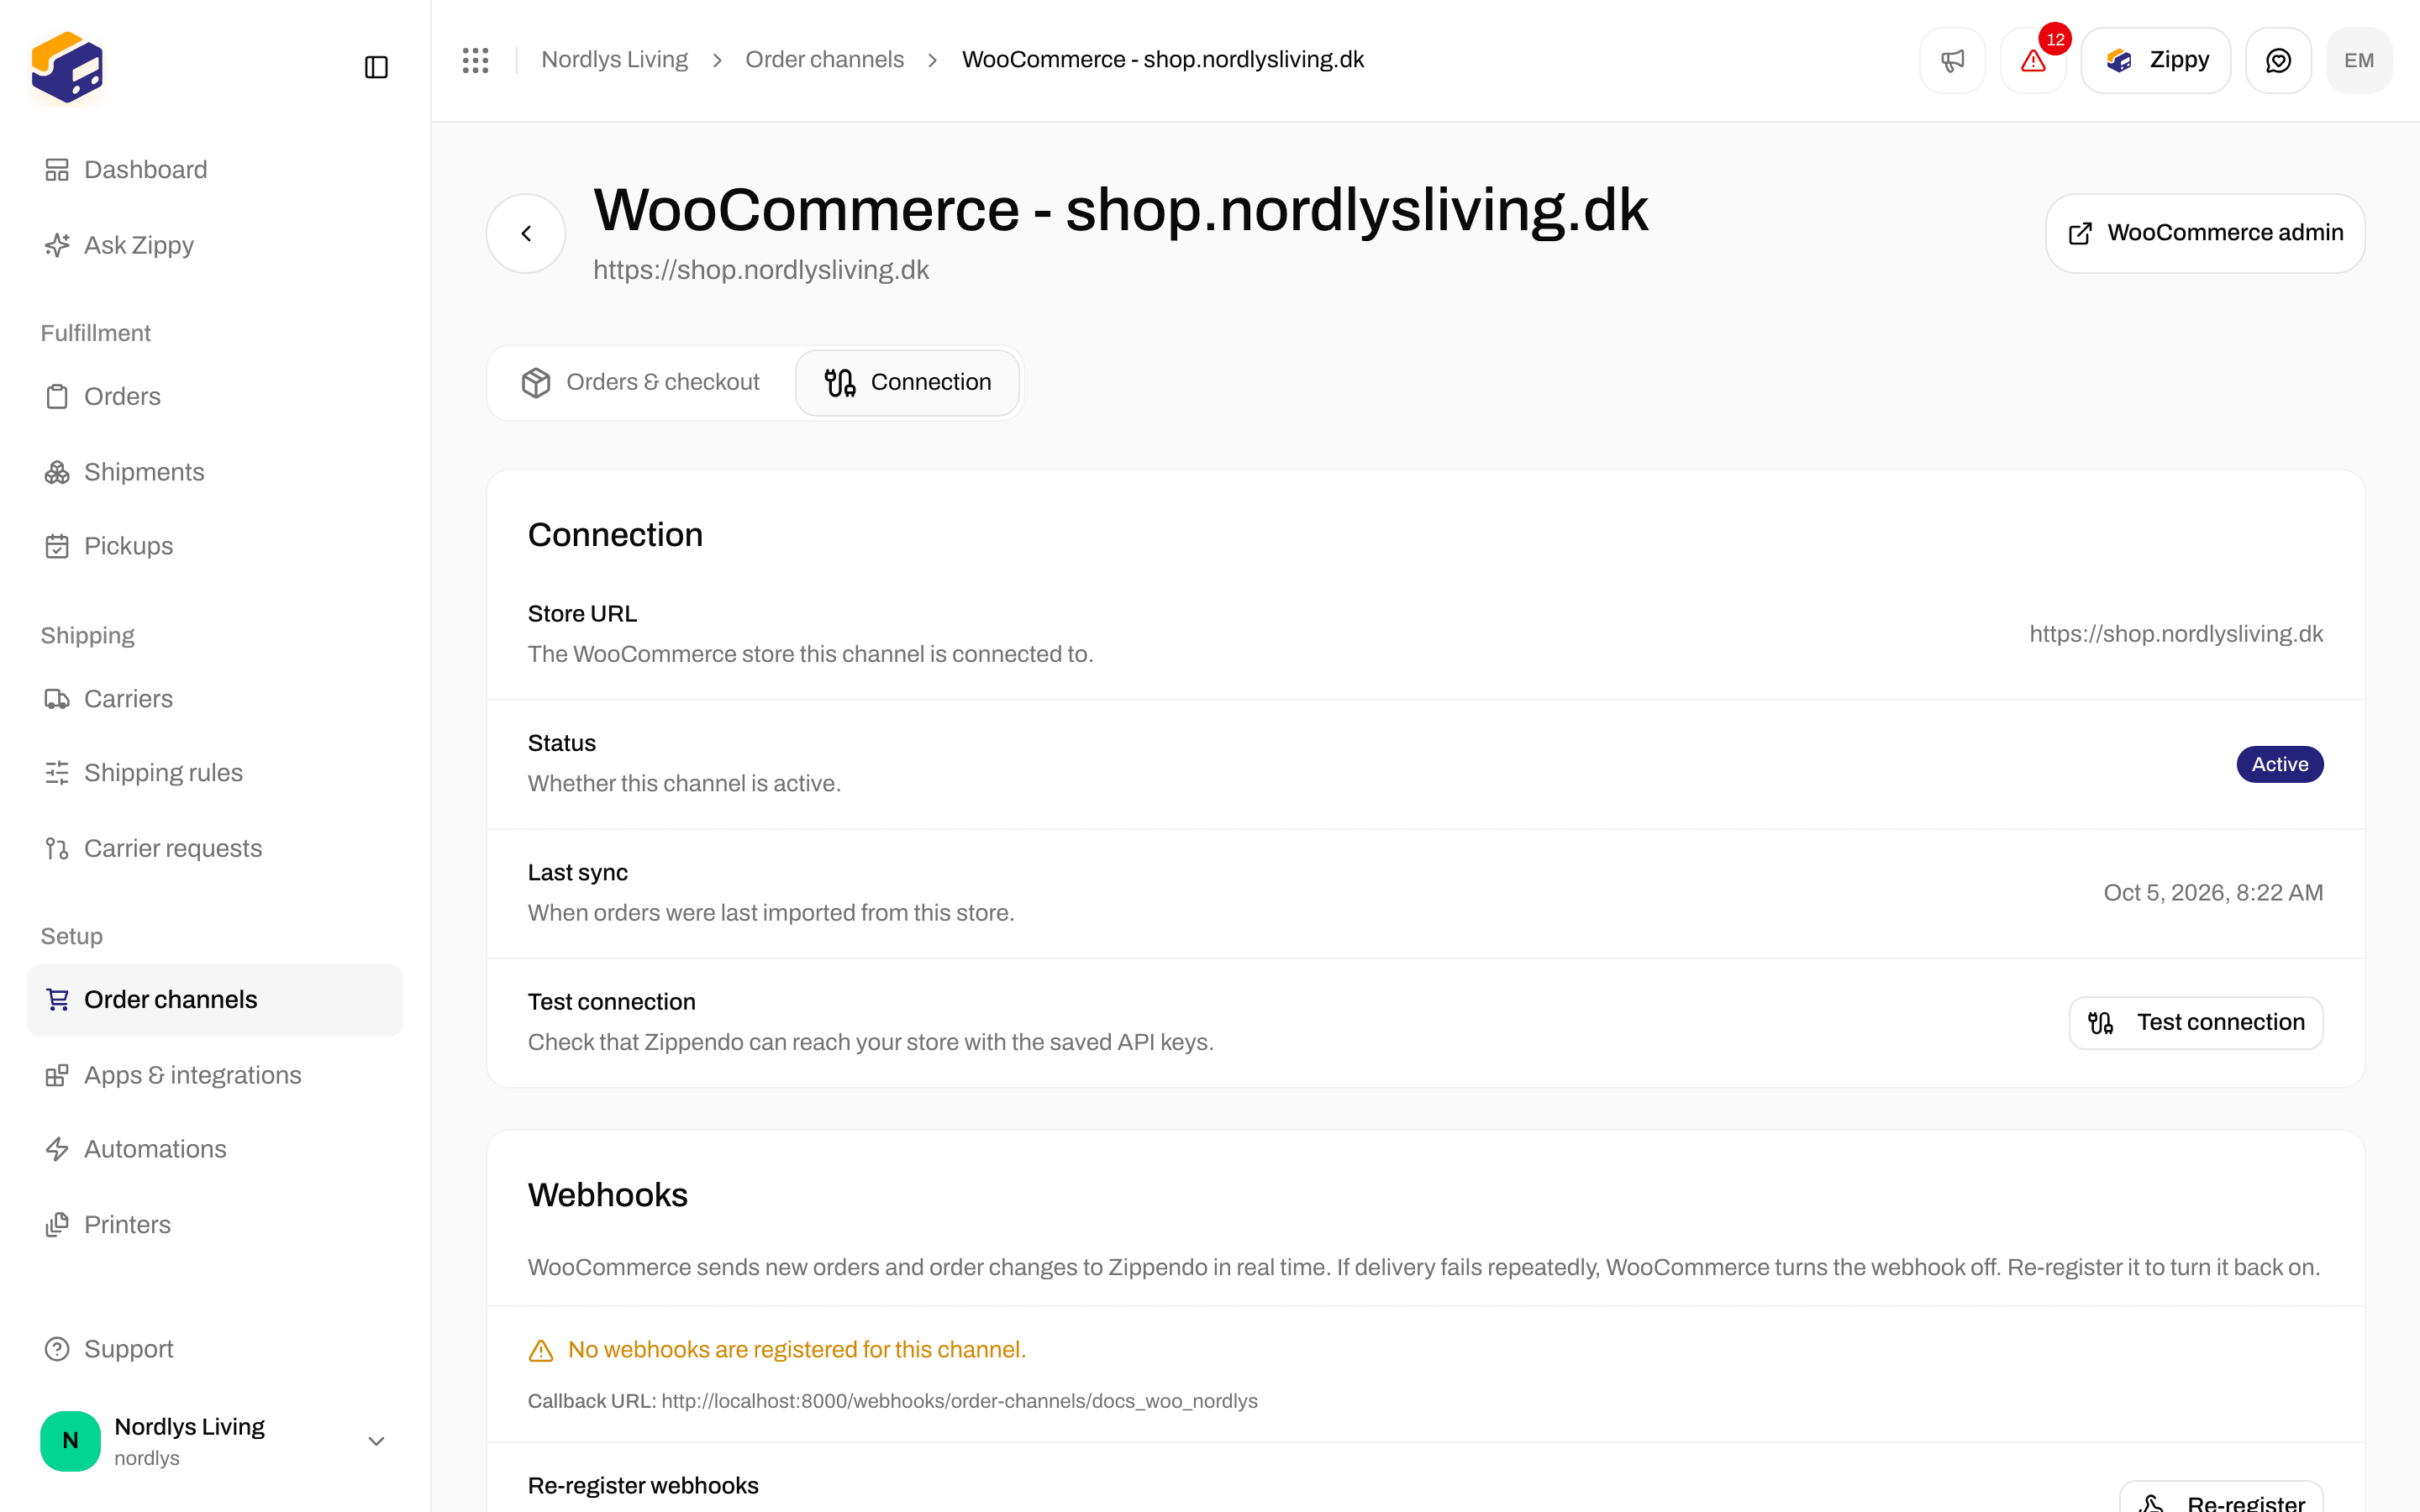
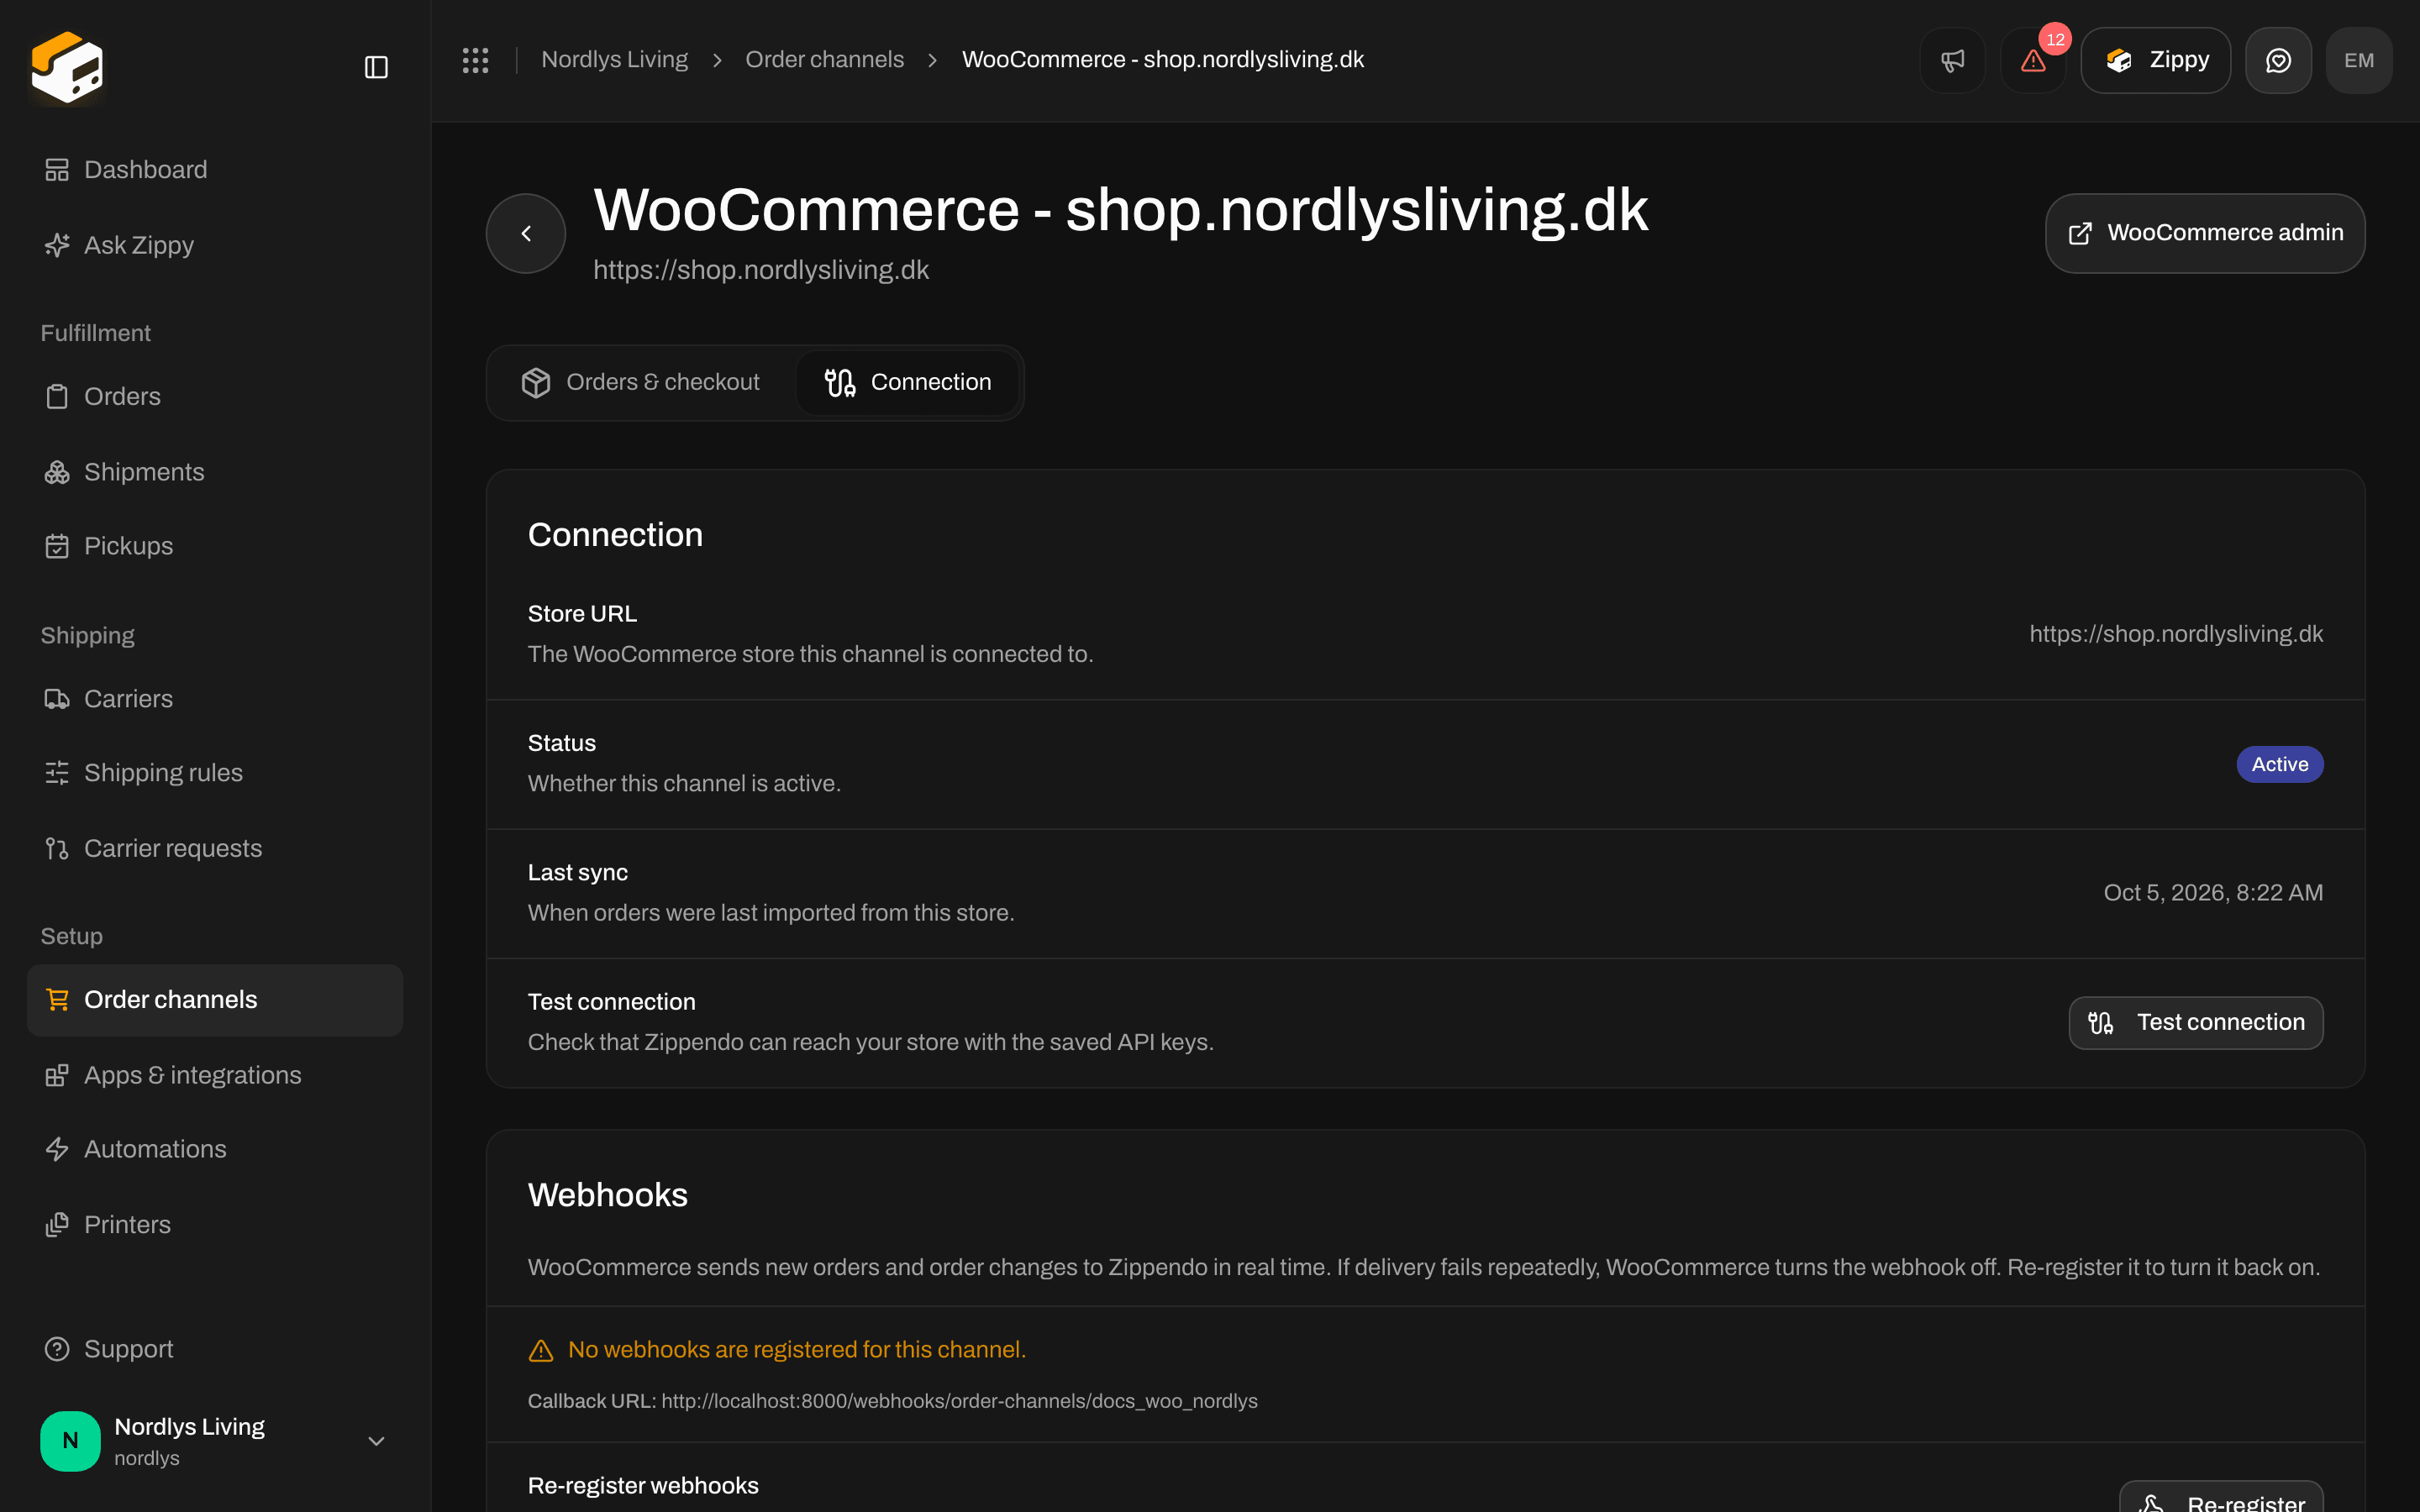
Connection tab: Store URL, Status, Last sync and Test connection
Webhooks
WooCommerce sends order events to Zippendo in real time through webhooks. WooCommerce turns a webhook off after repeated failed deliveries.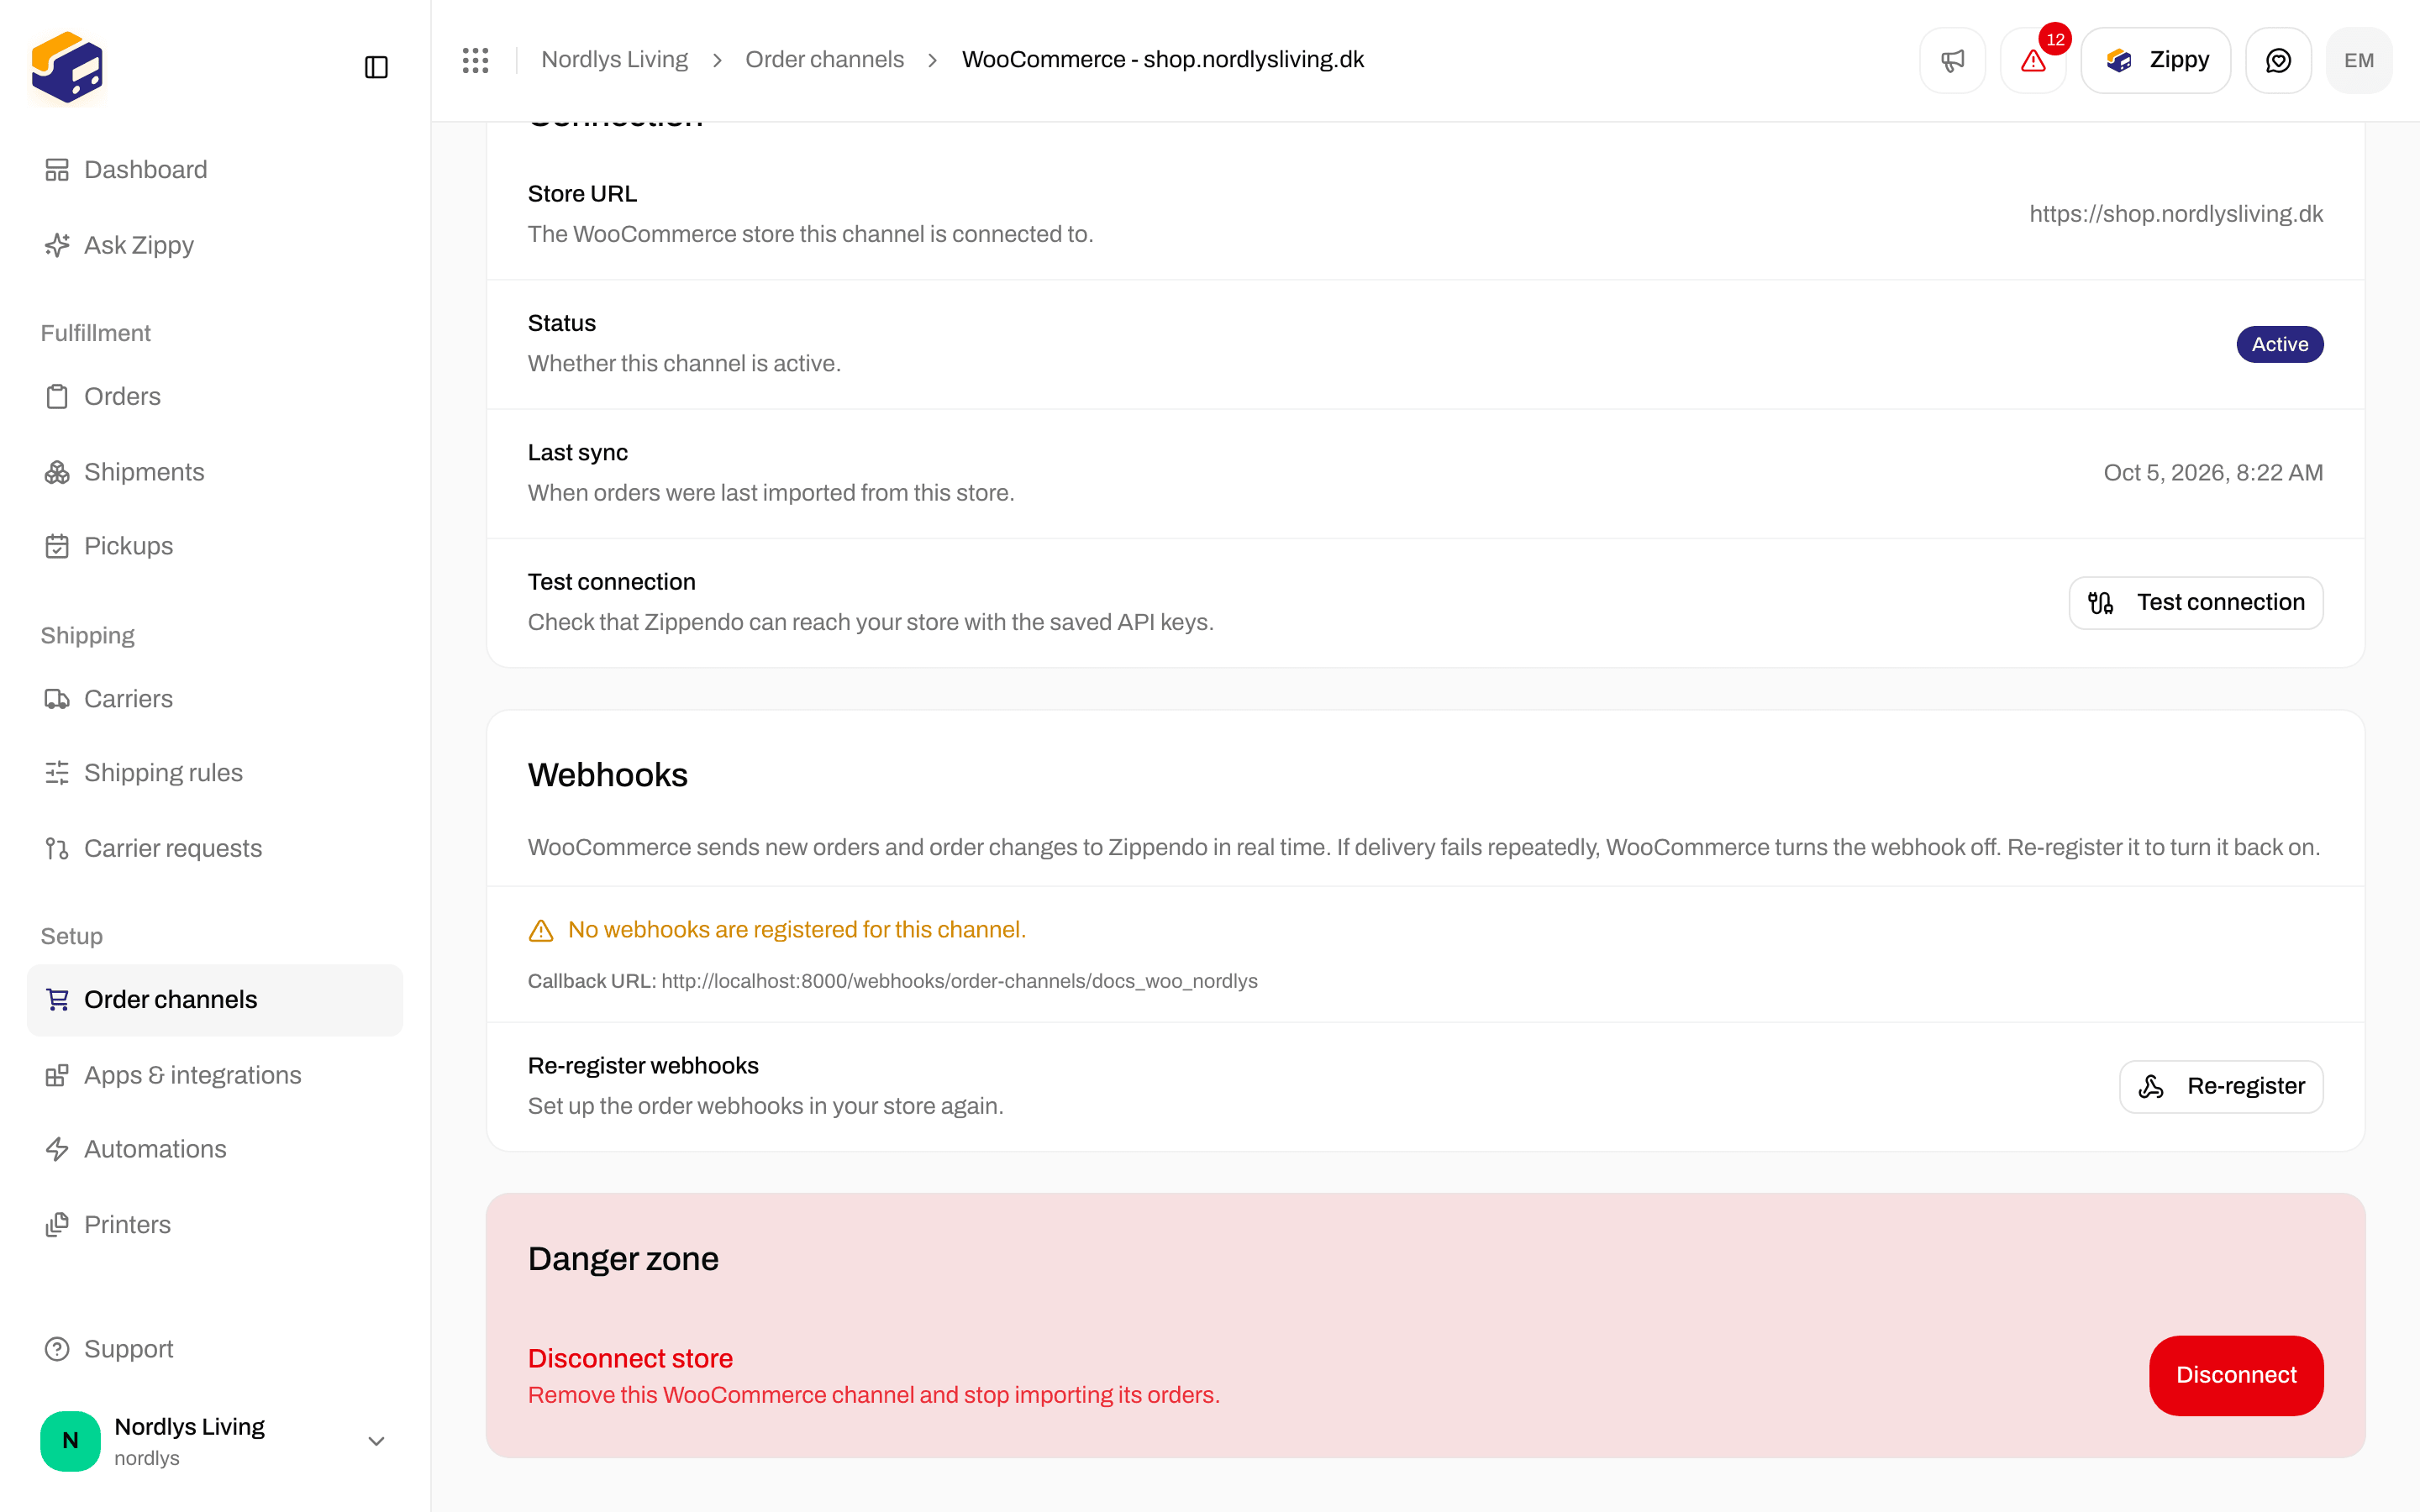
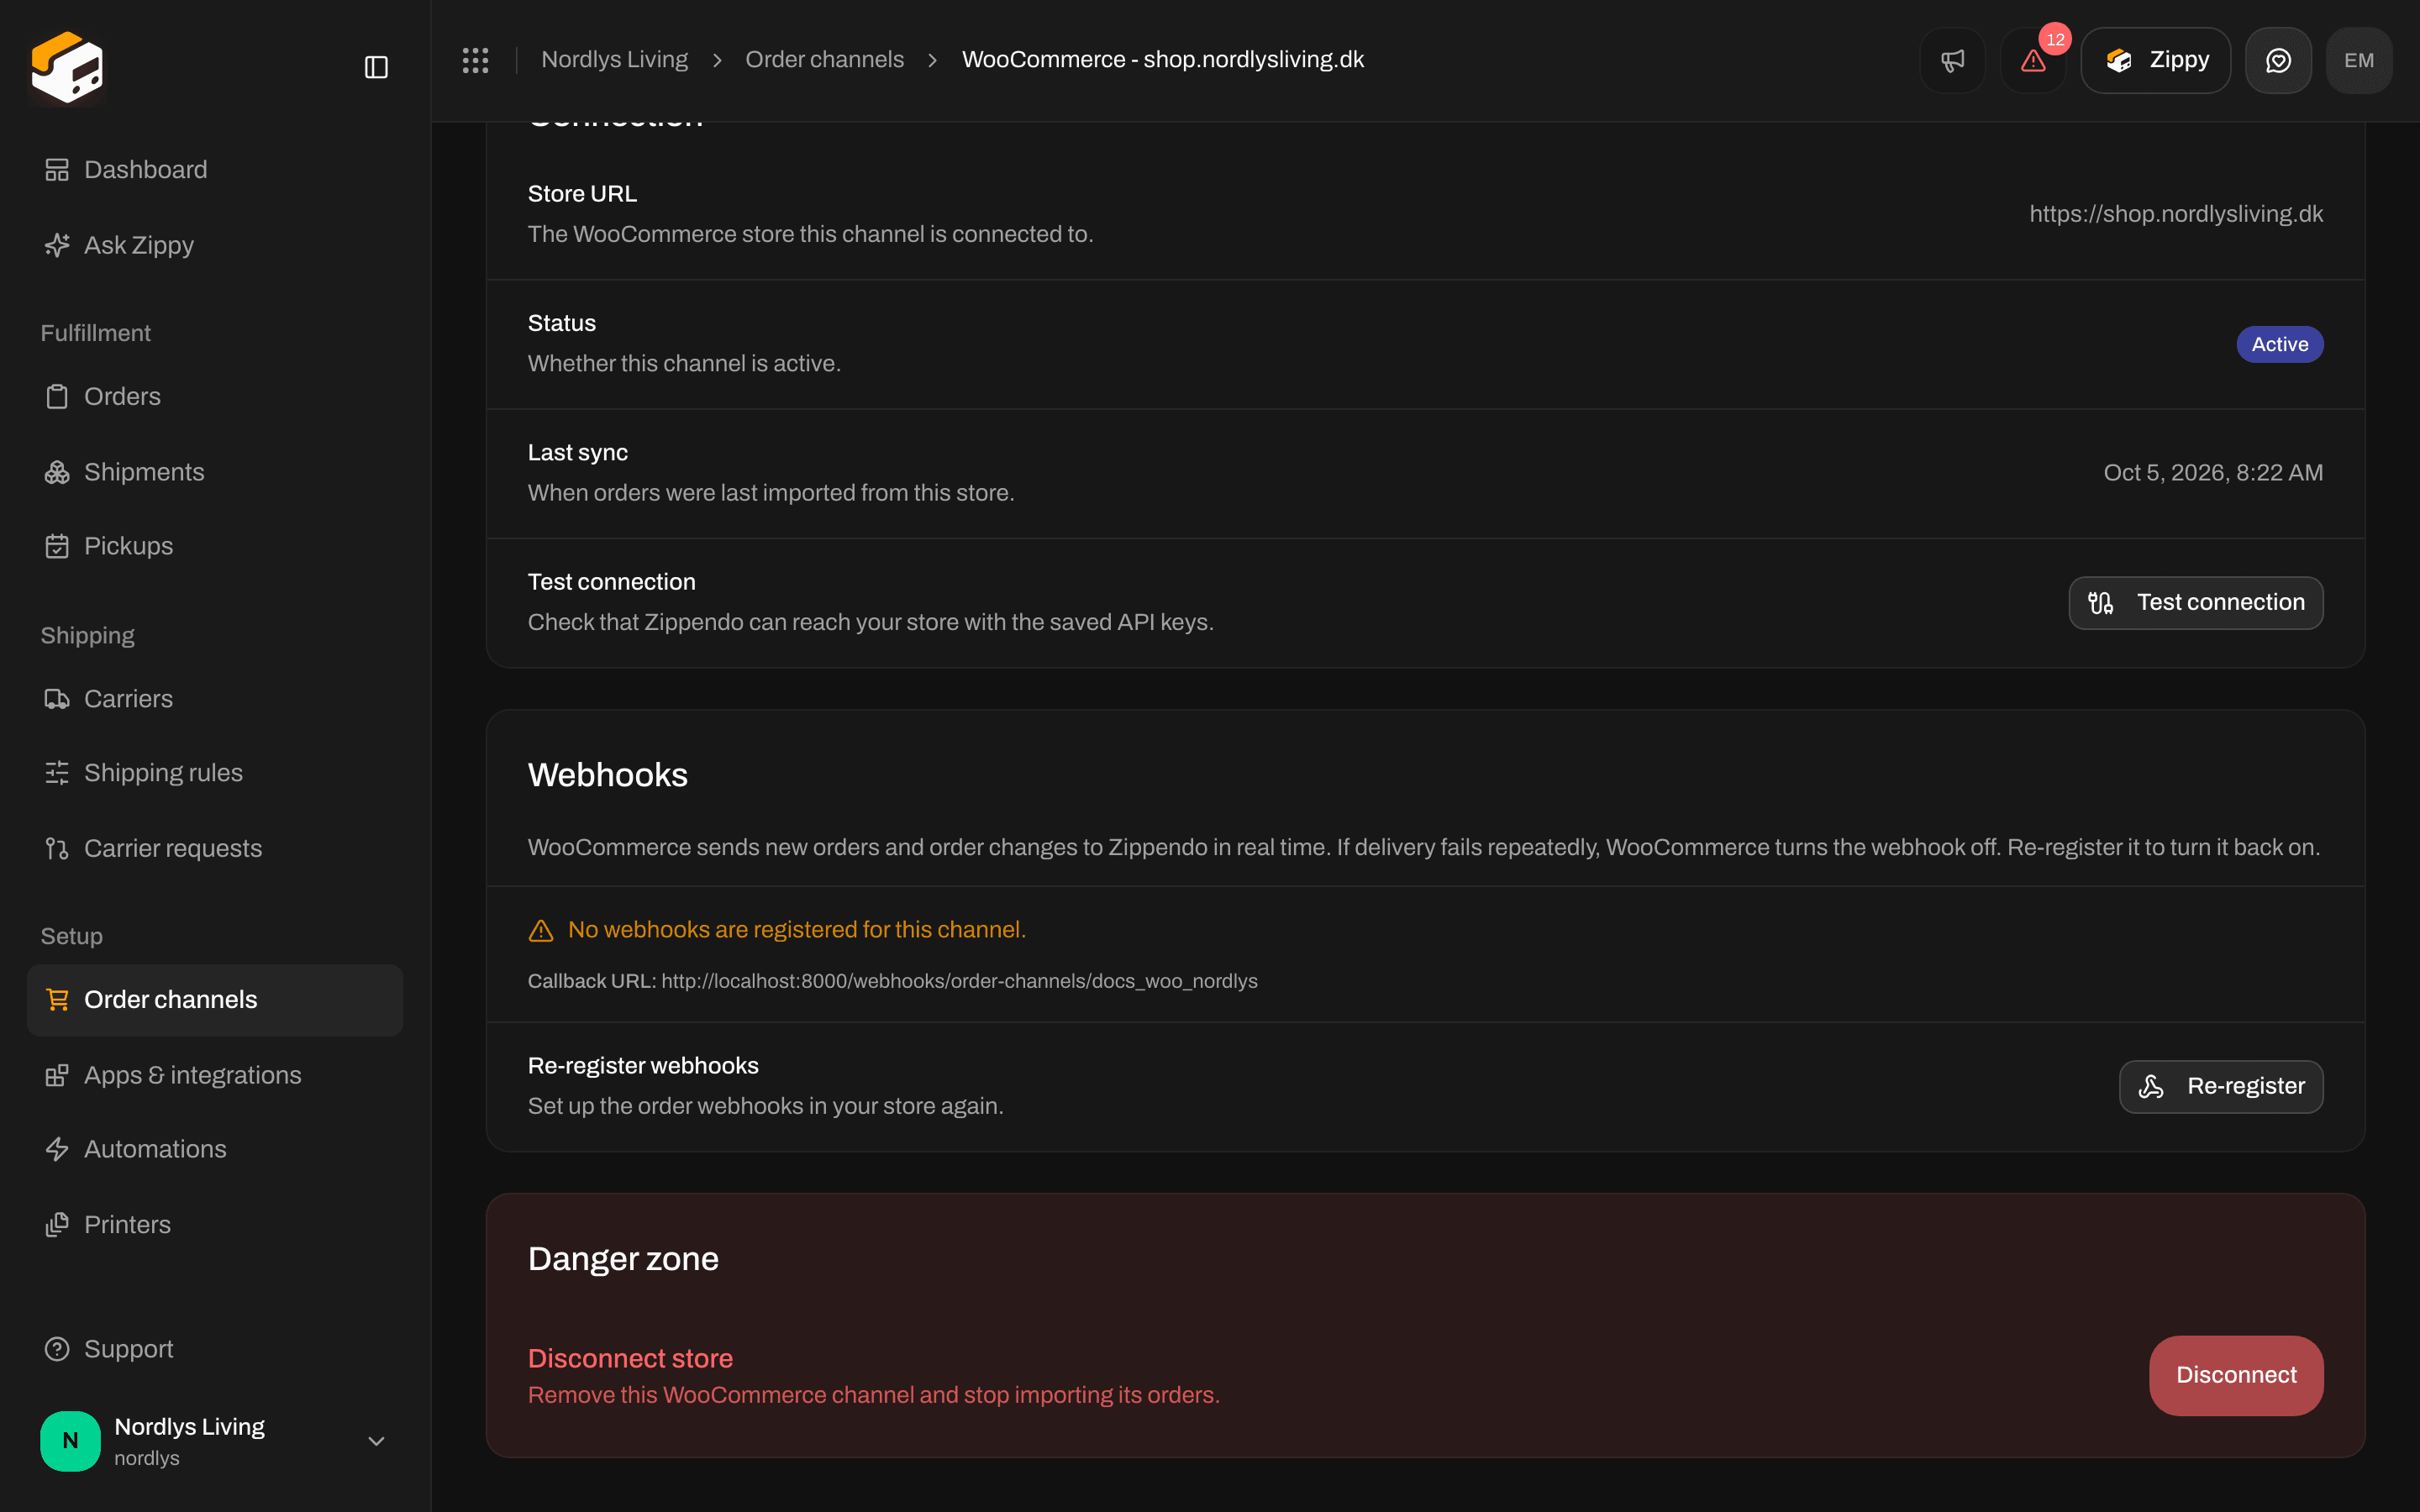
Webhooks card with the registered webhooks and Re-register
- On a working connection you see three webhooks (order created, updated and deleted), each marked Active.
- Disabled by WooCommerce means WooCommerce turned that webhook off. Click Re-register to set it up again. You see Webhooks registered, for example with “3 webhooks registered”, or Couldn’t register the webhooks.
- No webhooks are registered for this channel. means none are set up. Click Re-register.
- Couldn’t load webhook status from the store. means Zippendo could not reach your webshop. Check that it is online, then try Test connection.
- Callback URL: is the address WooCommerce sends order events to.
Disconnect
On the Connection tab, under Danger zone, find Disconnect store: Remove this WooCommerce channel and stop importing its orders.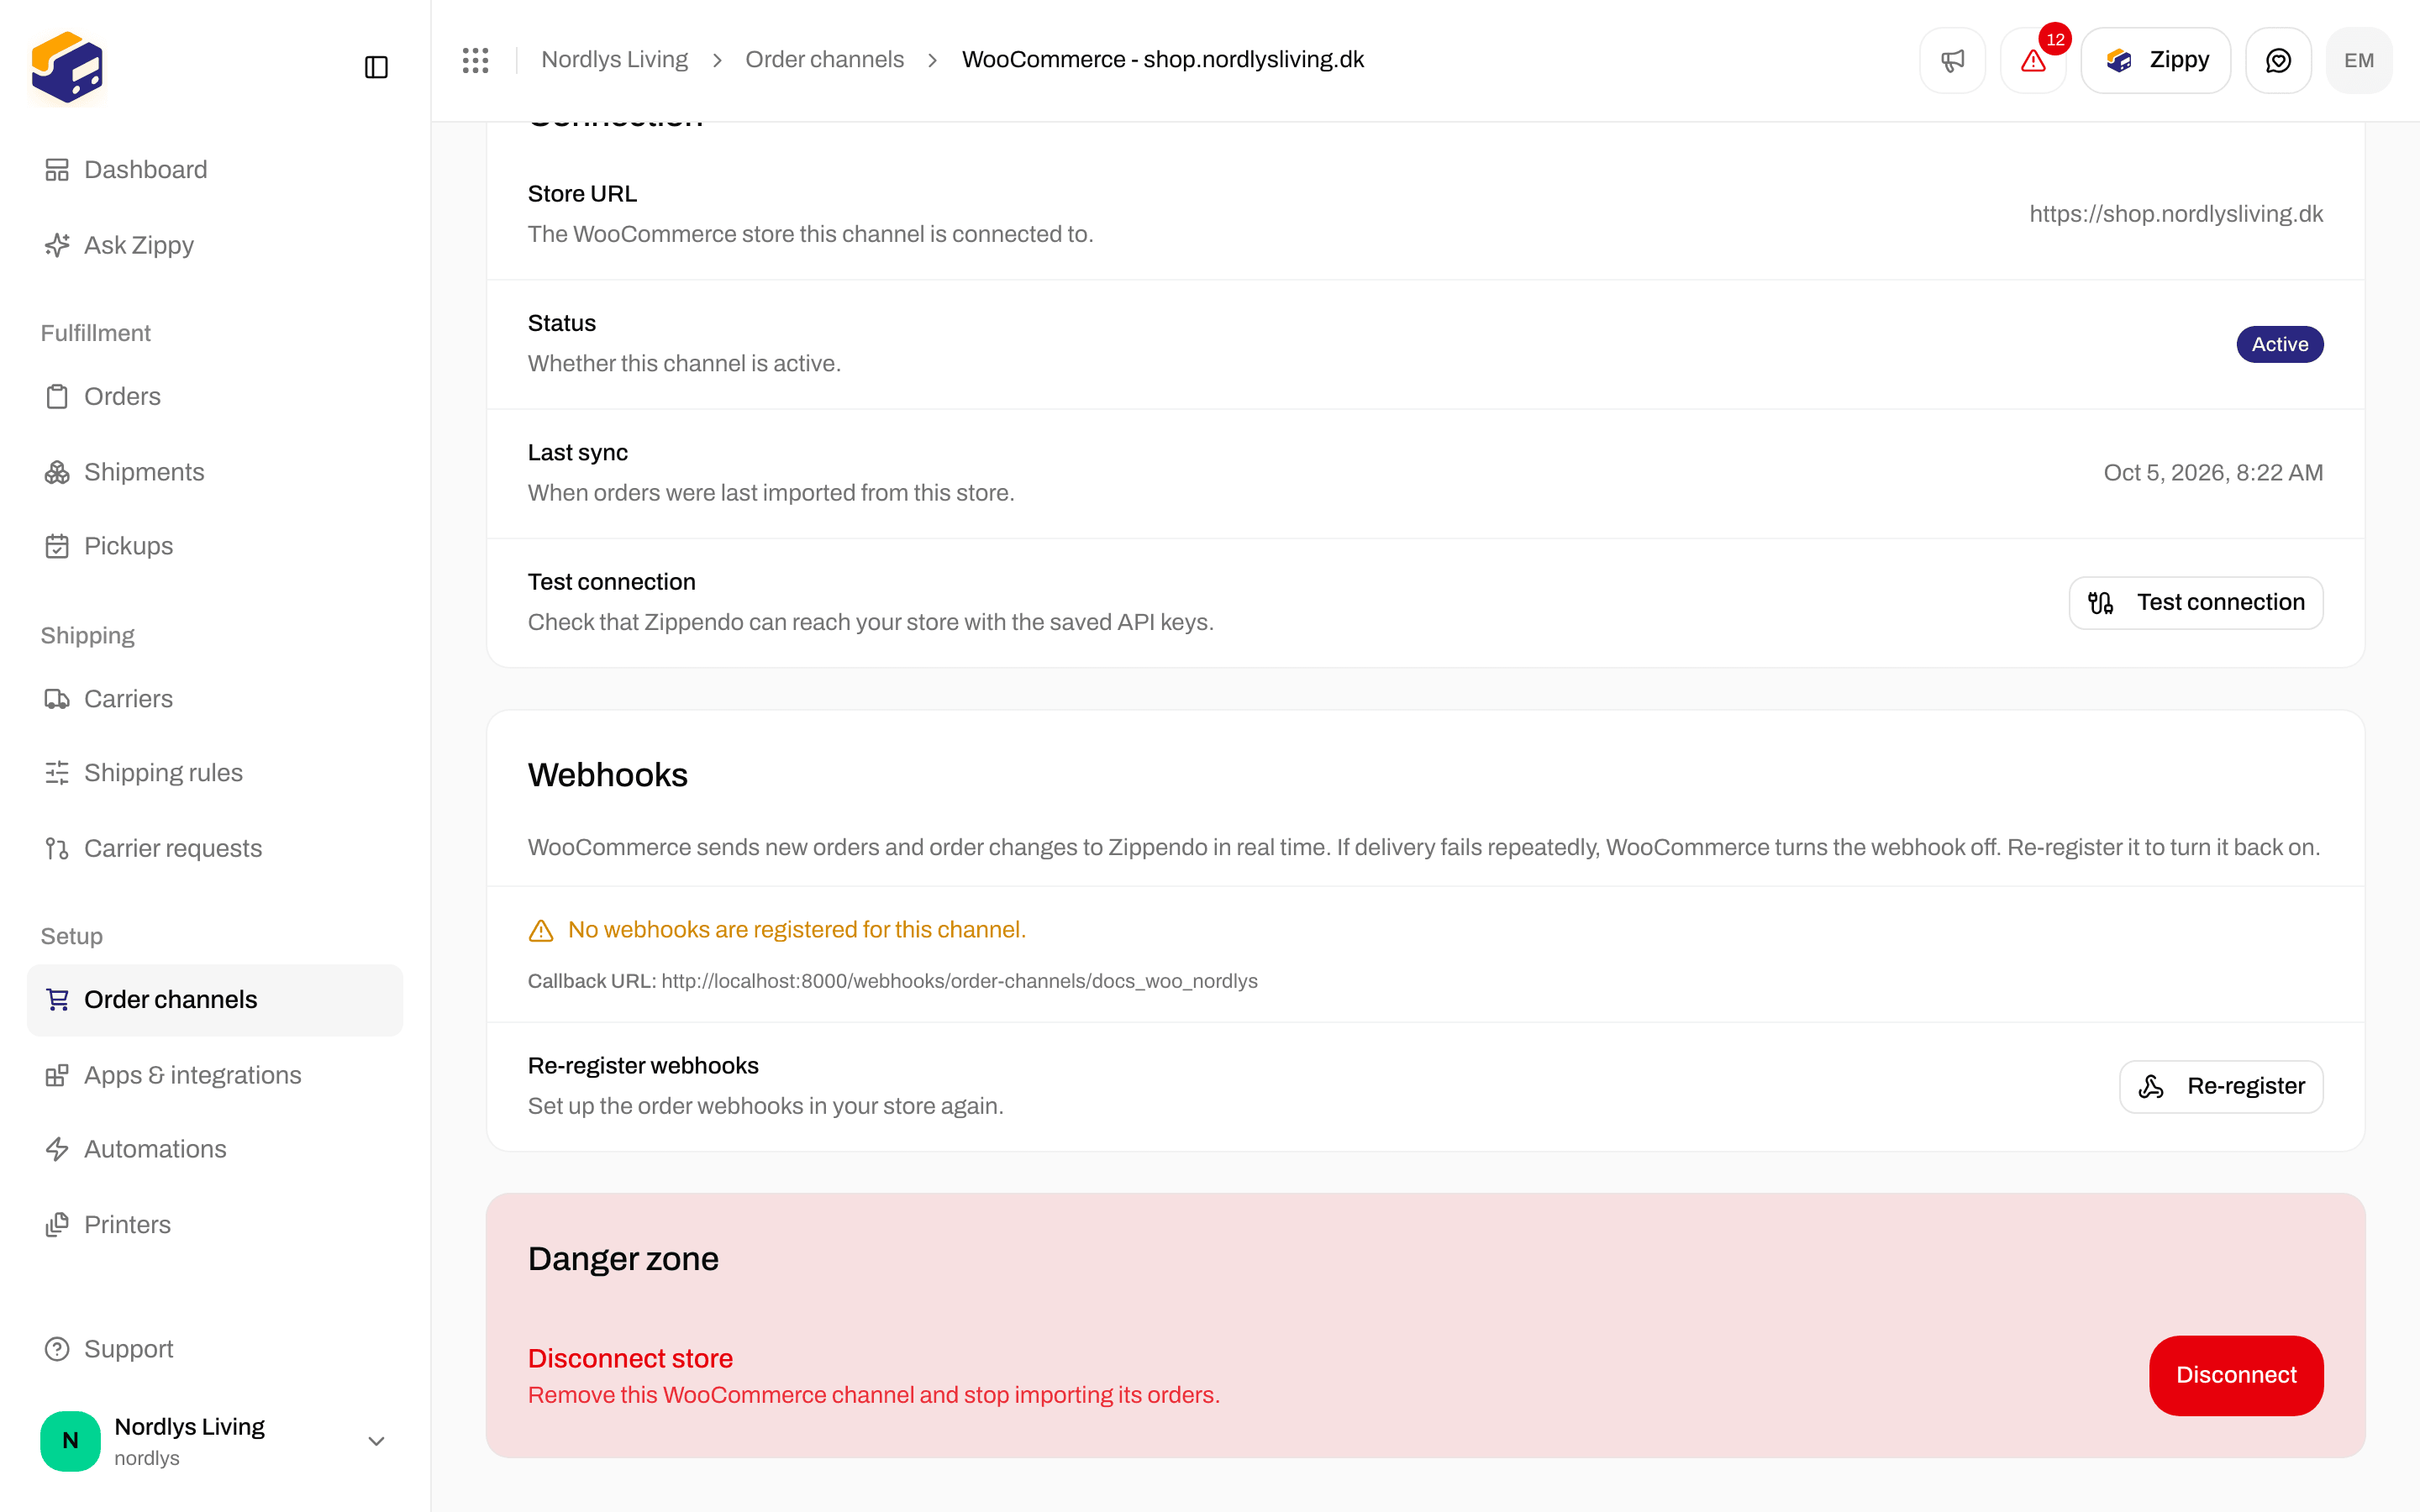
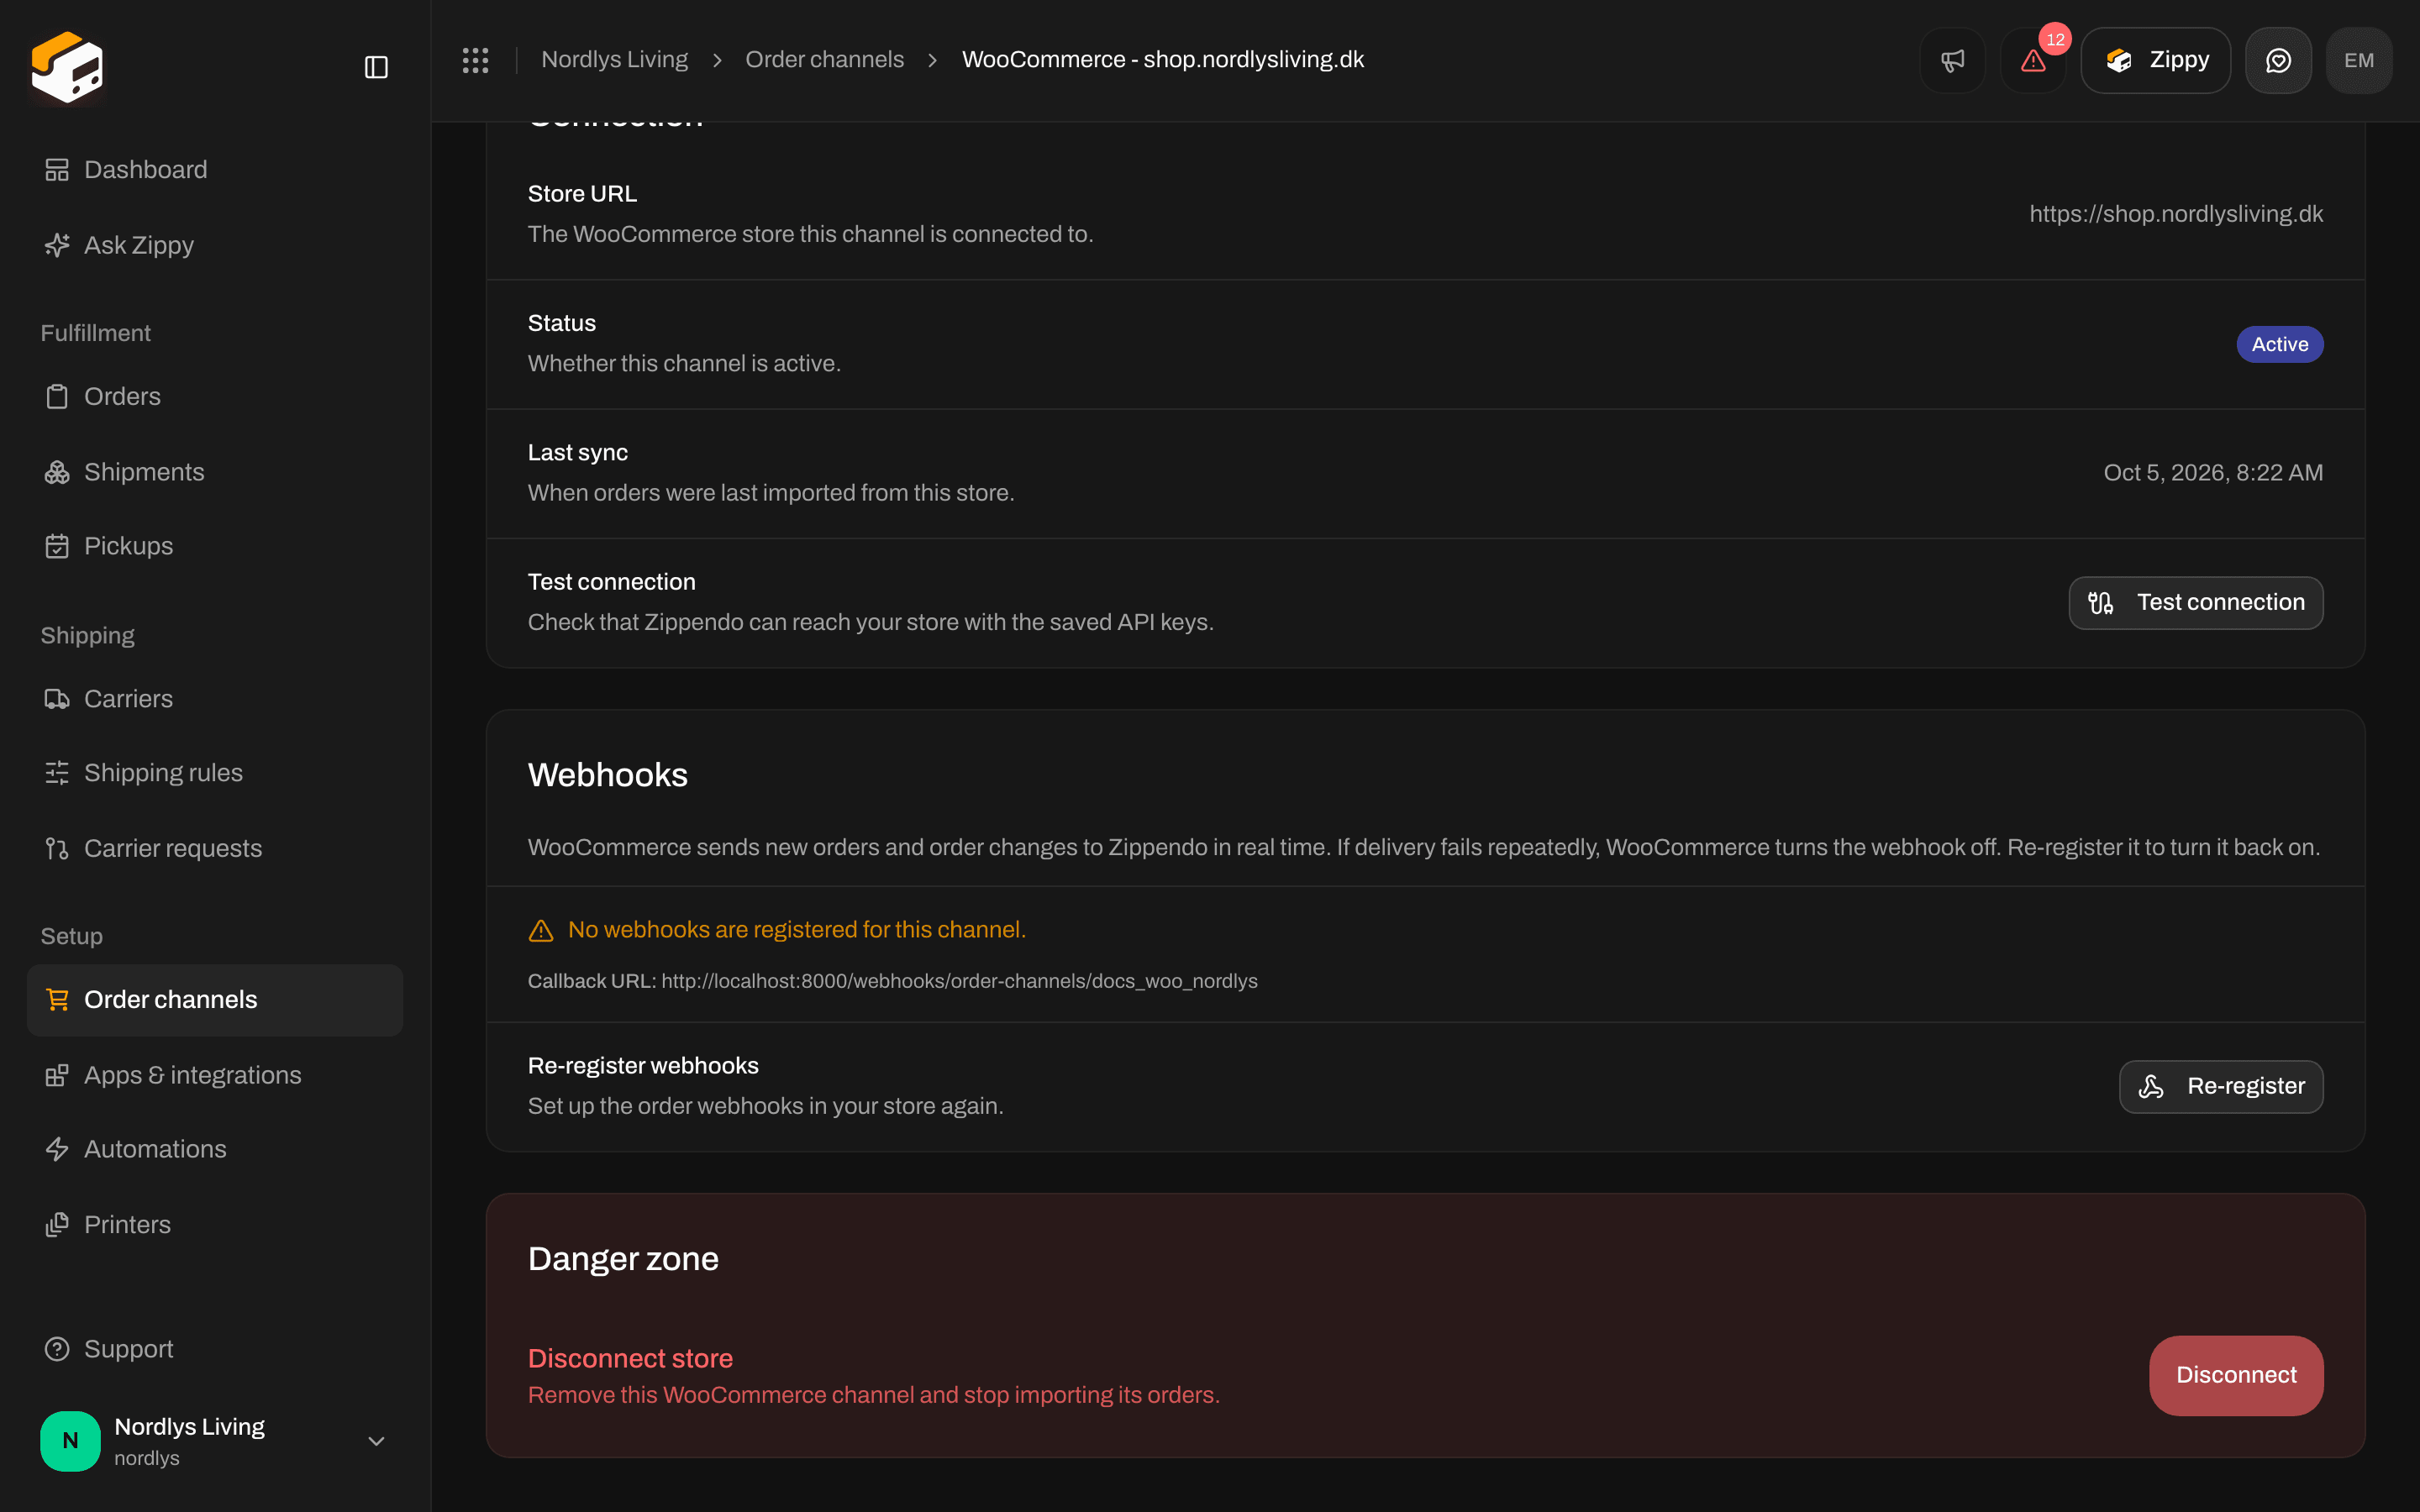
Disconnect store under Danger zone