

Every plan includes API tokens: Free up to 2, Standard 5, Growth 10, Pro and Enterprise unlimited. At the limit, creating a token fails with You’ve reached your plan’s limit. Upgrade your plan or remove something you no longer use. Delete a token you no longer use, or upgrade.
Where to find it
Open the organization menu at the bottom of the sidebar, click Manage, then the API settings tab. The button to create a token is Add API token in the top right.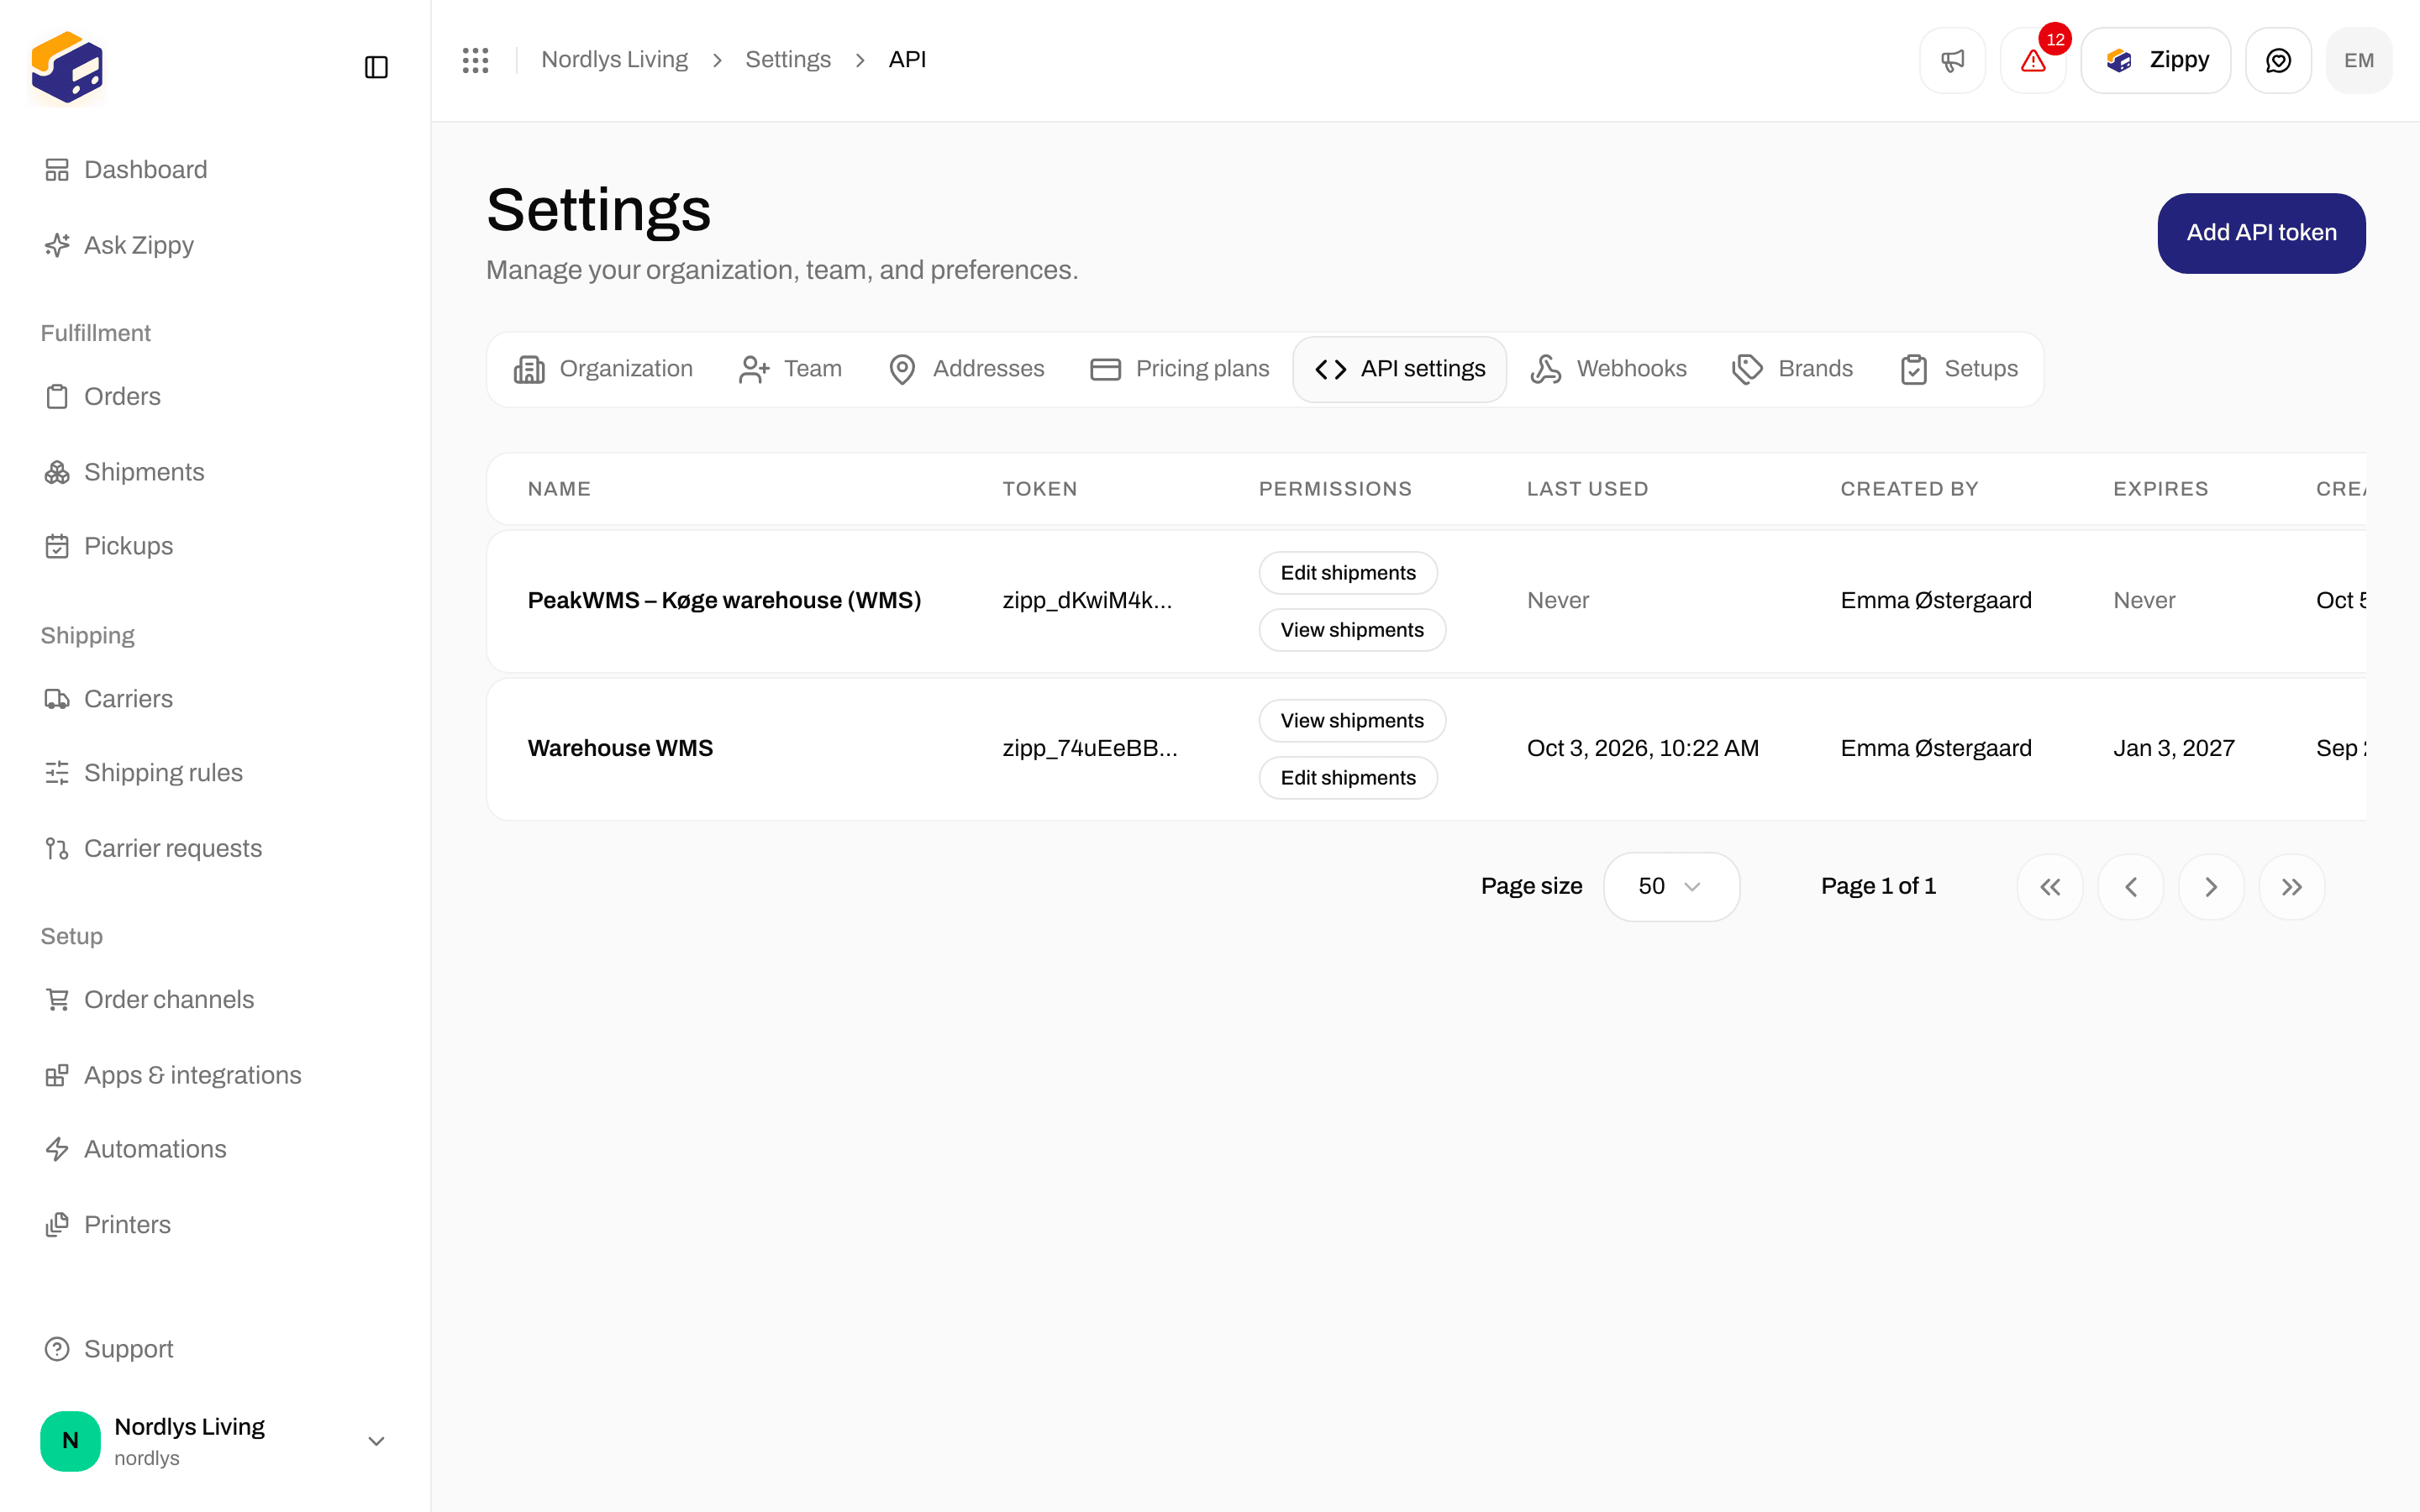
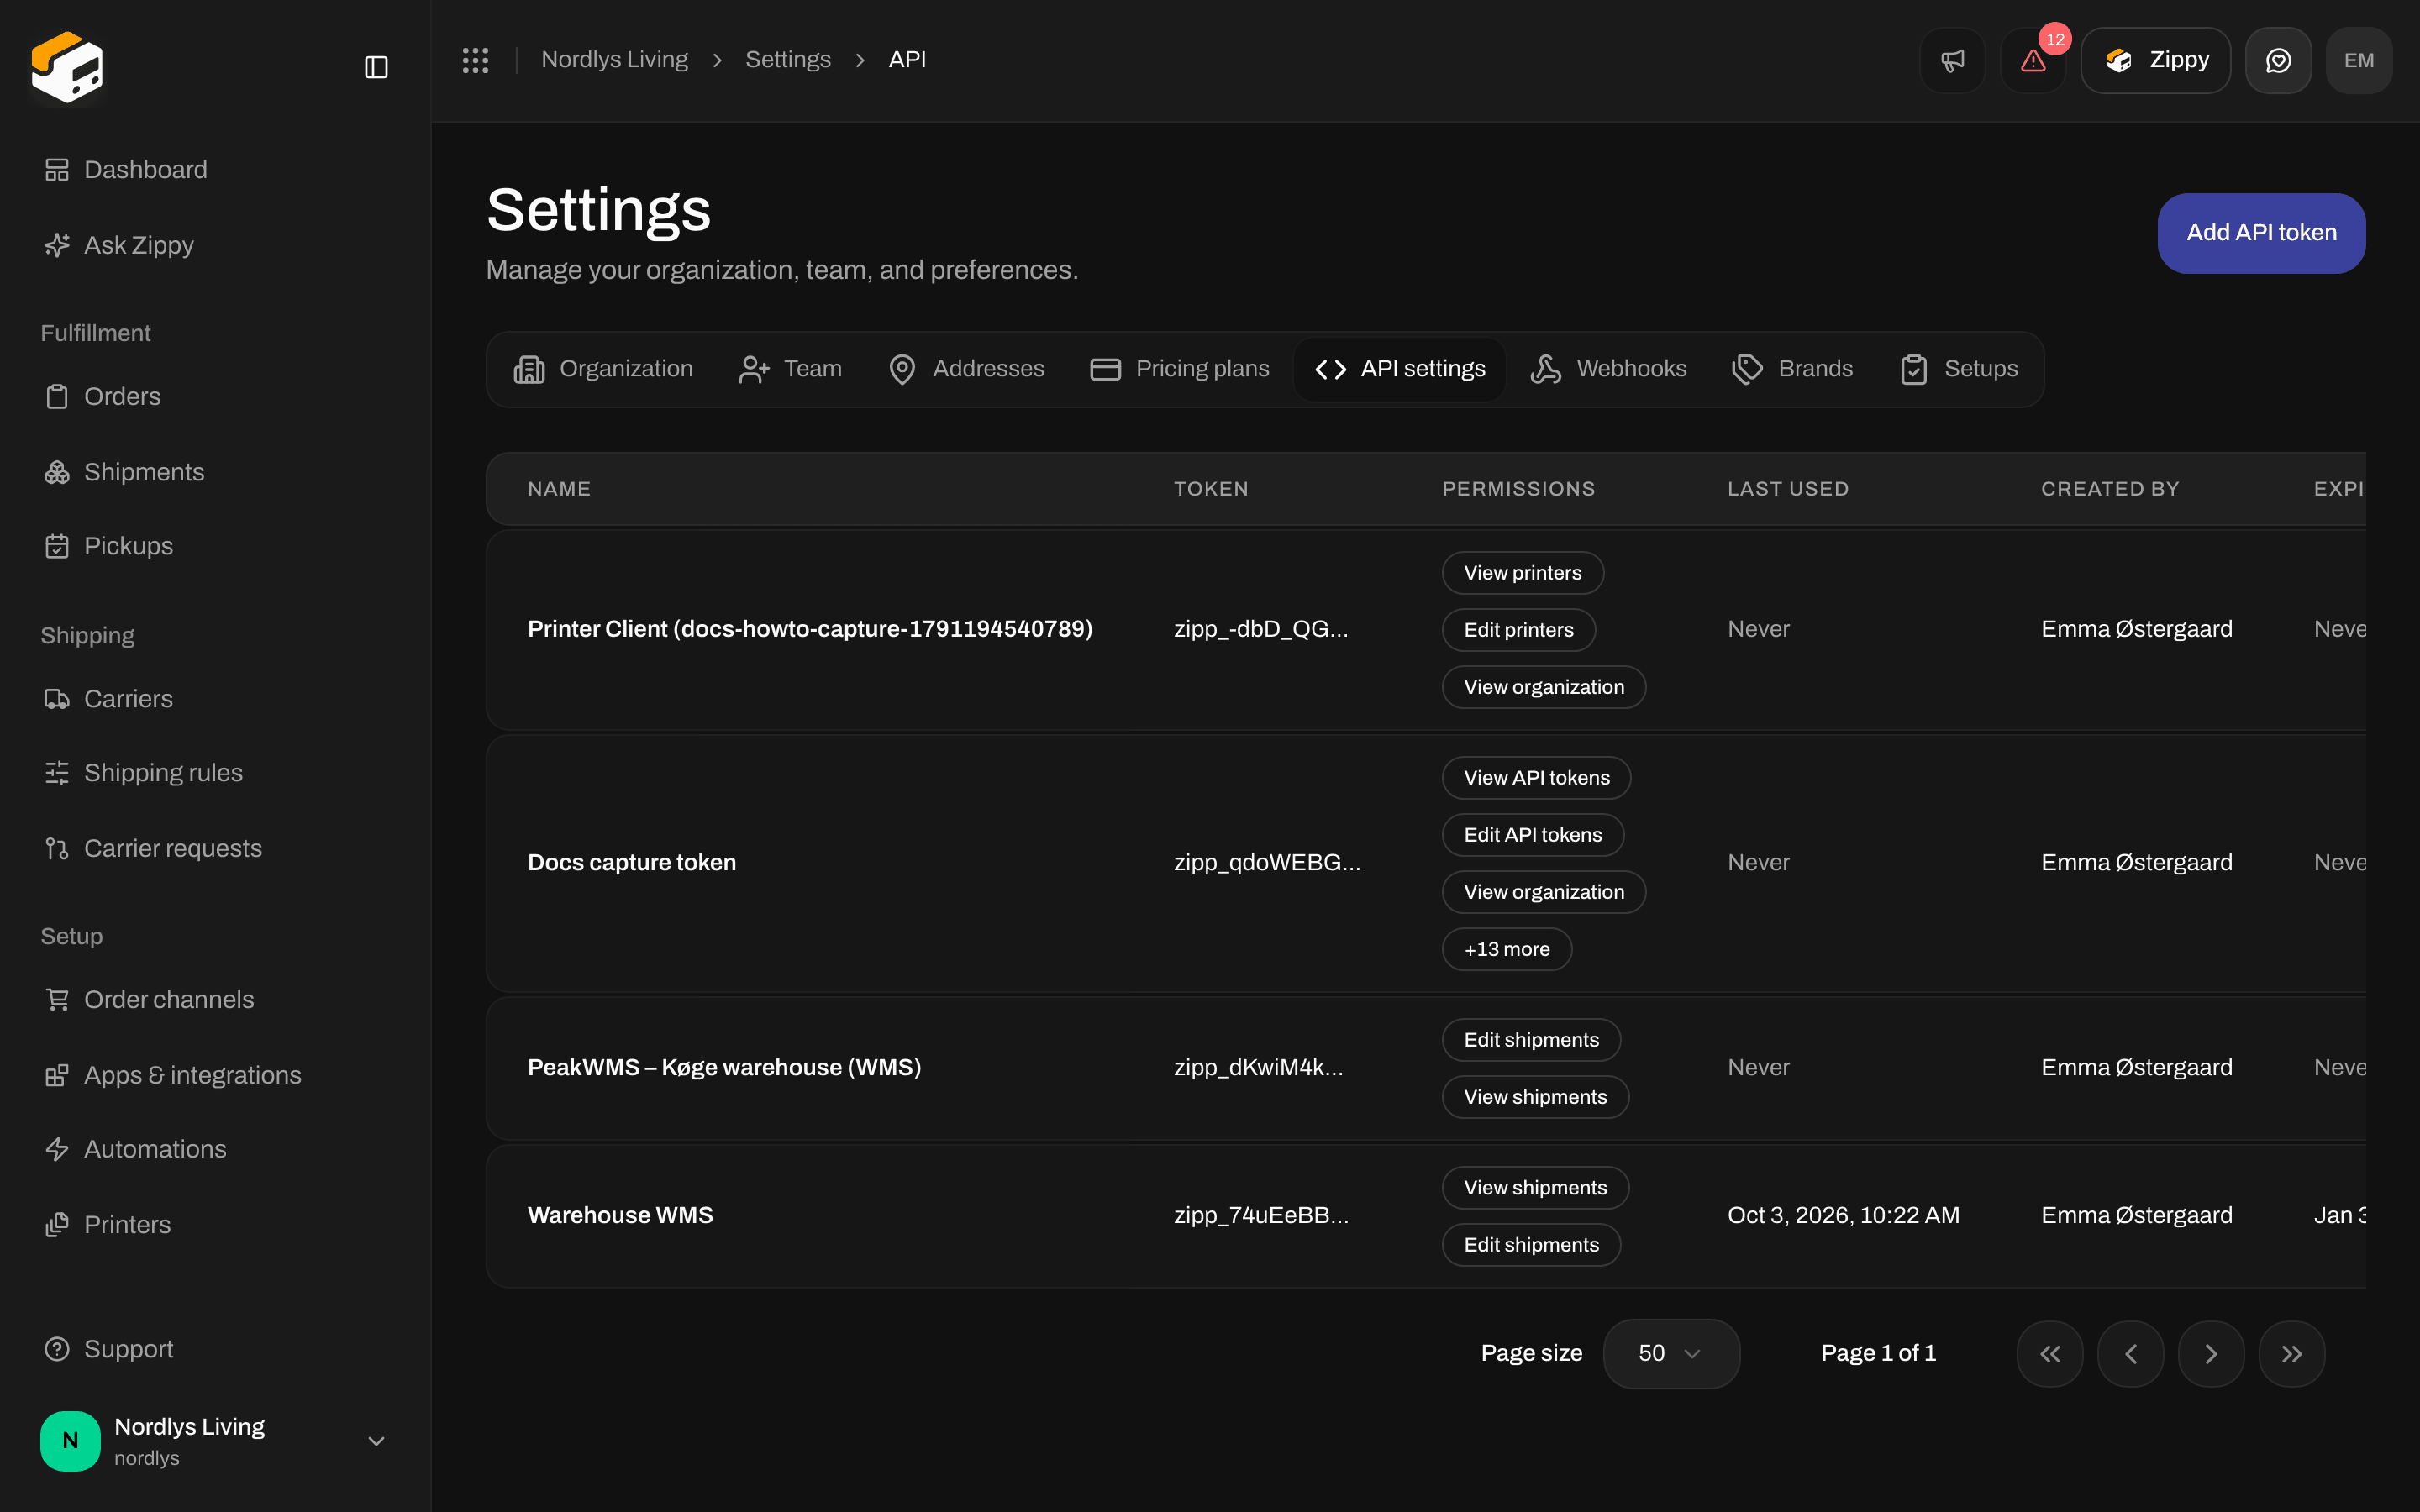
API tokens: name, the start of each token, permissions and last use
The API tokens list
The only thing you can do with a token in the list is Delete it. You can’t edit or rename a token.
With no tokens yet, the list shows No API tokens and a Create your first token button.
Create a token
1
Open the window
Click Add API token, or Create your first token when the list is empty. The Create API token window opens.
2
Name the token
Fill in Token name *, for example “Warehouse WMS”. Optionally set Expires in (days) and Restrict to brand.
3
Pick the permissions
Tick what the token may do, or click Select all.
4
Create it
Click Create token. You see API token created, and API token created opens with the full token.
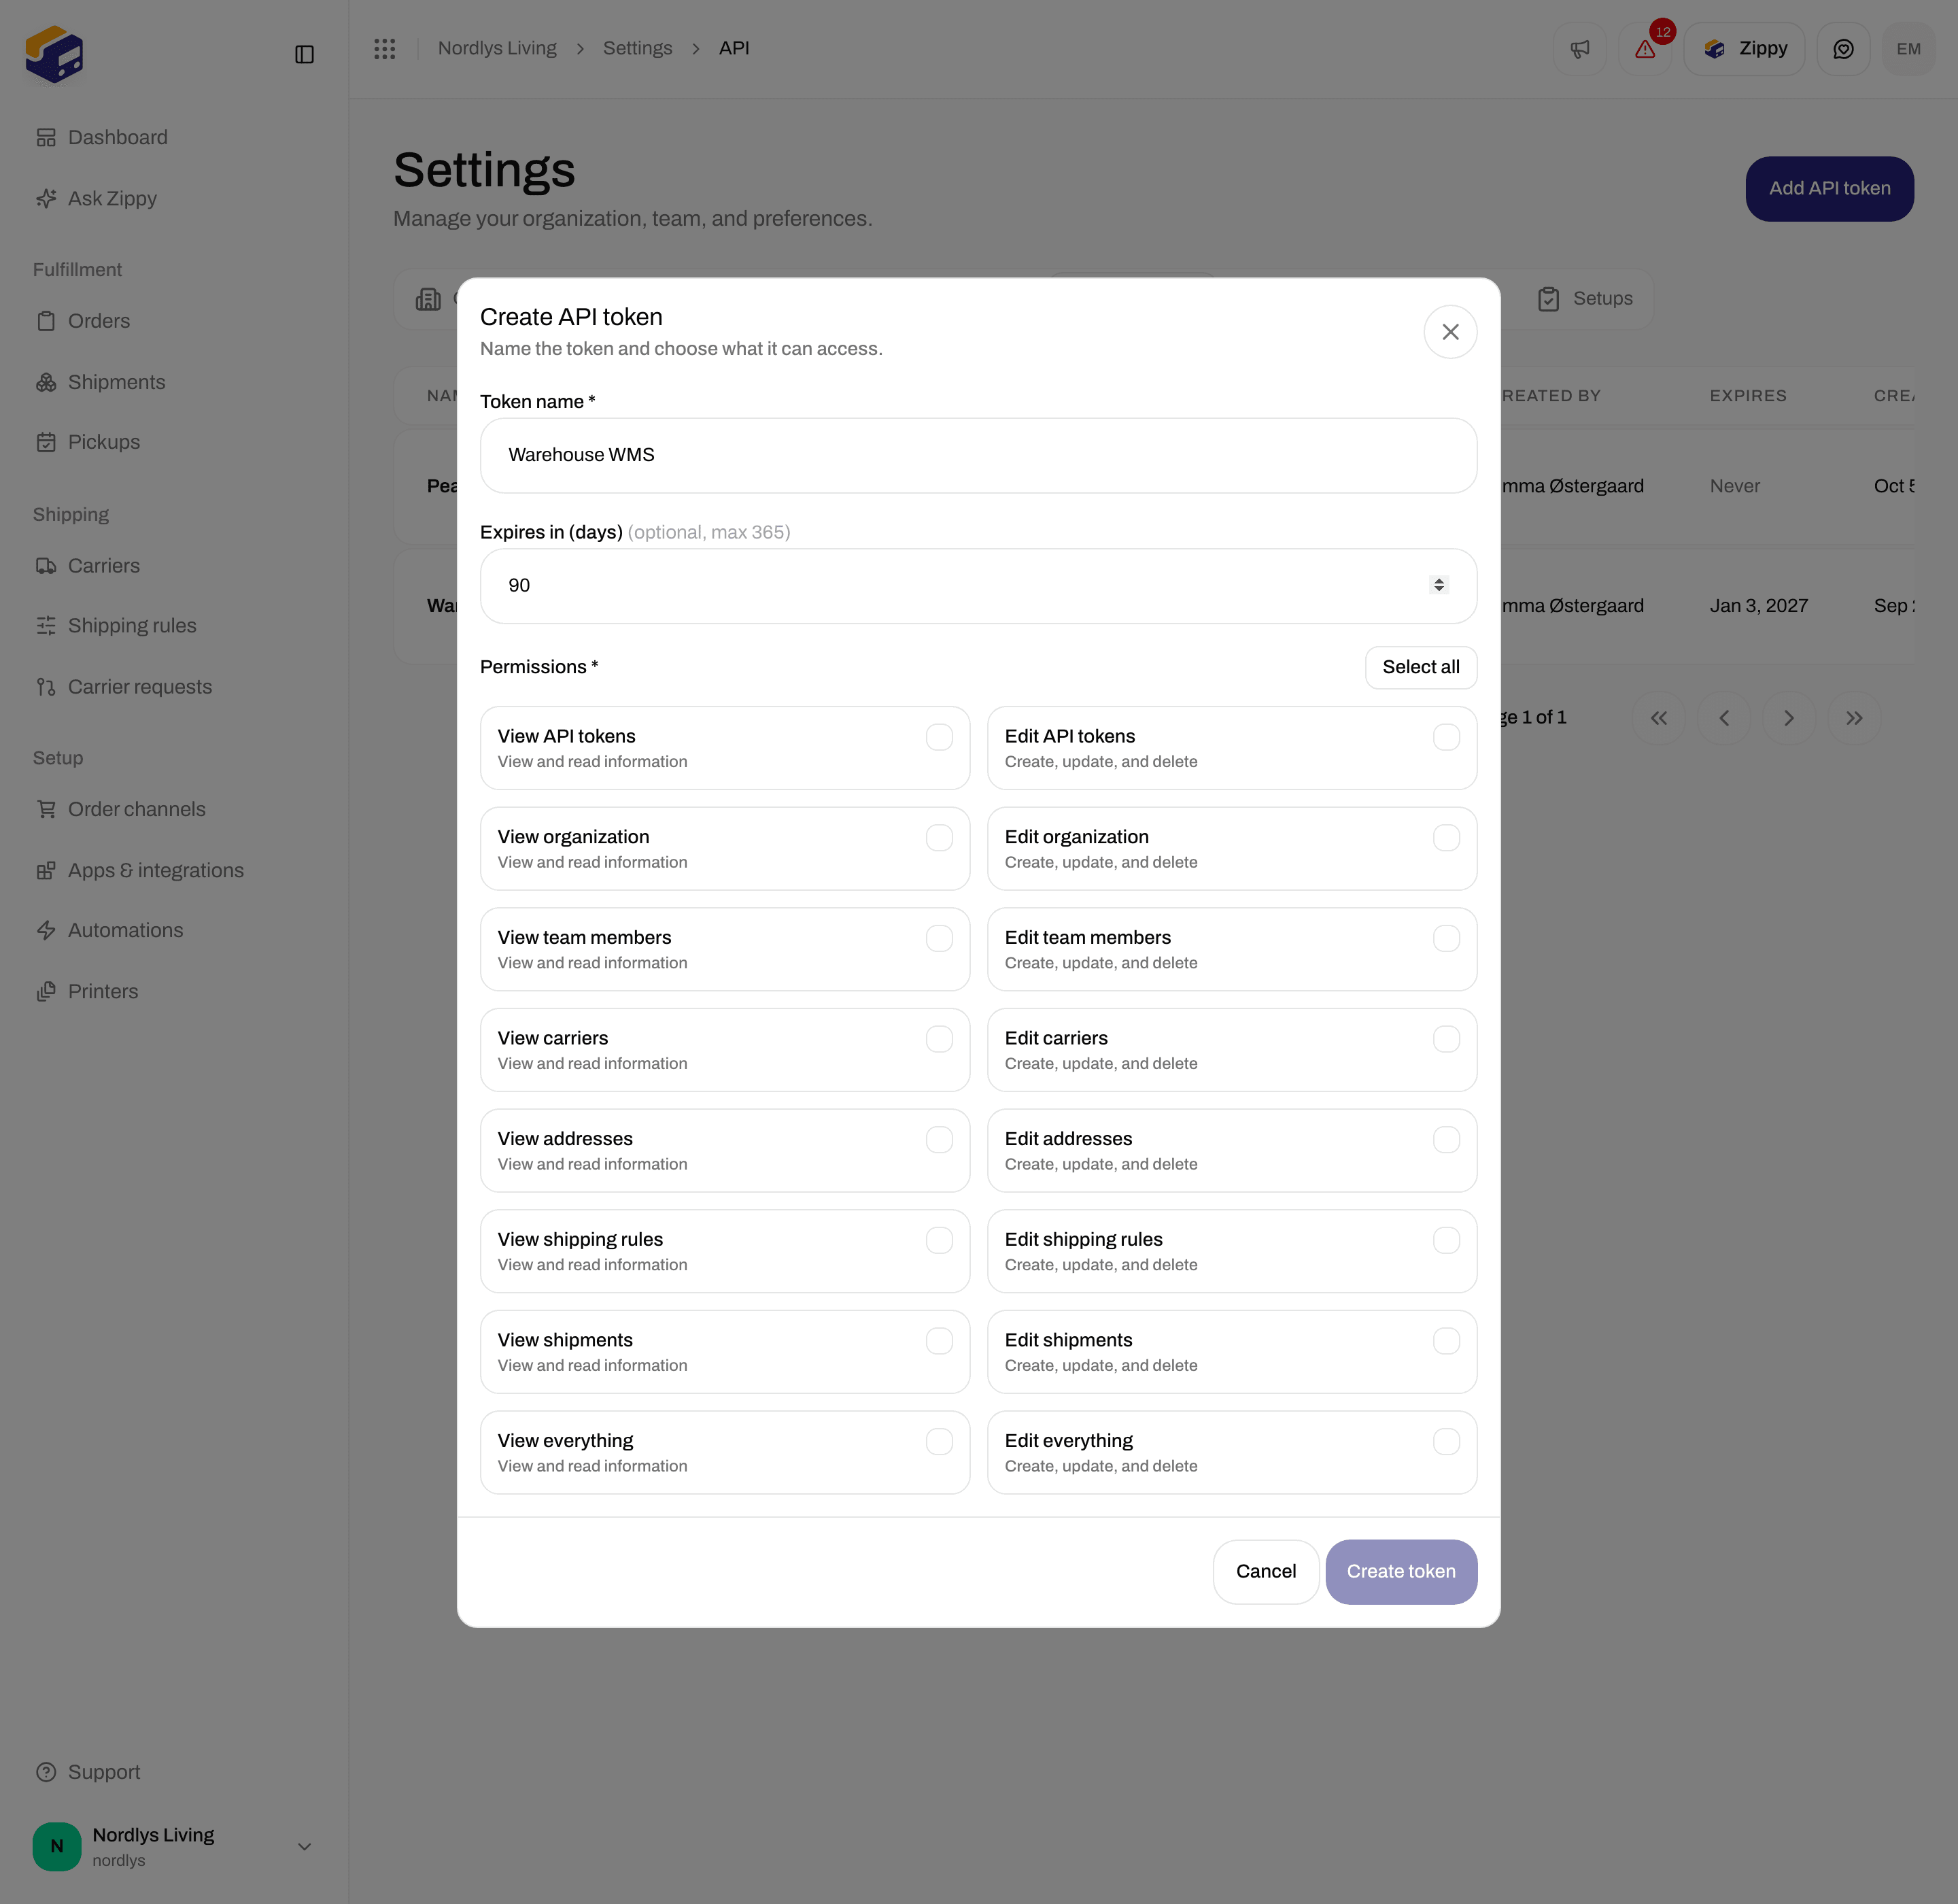
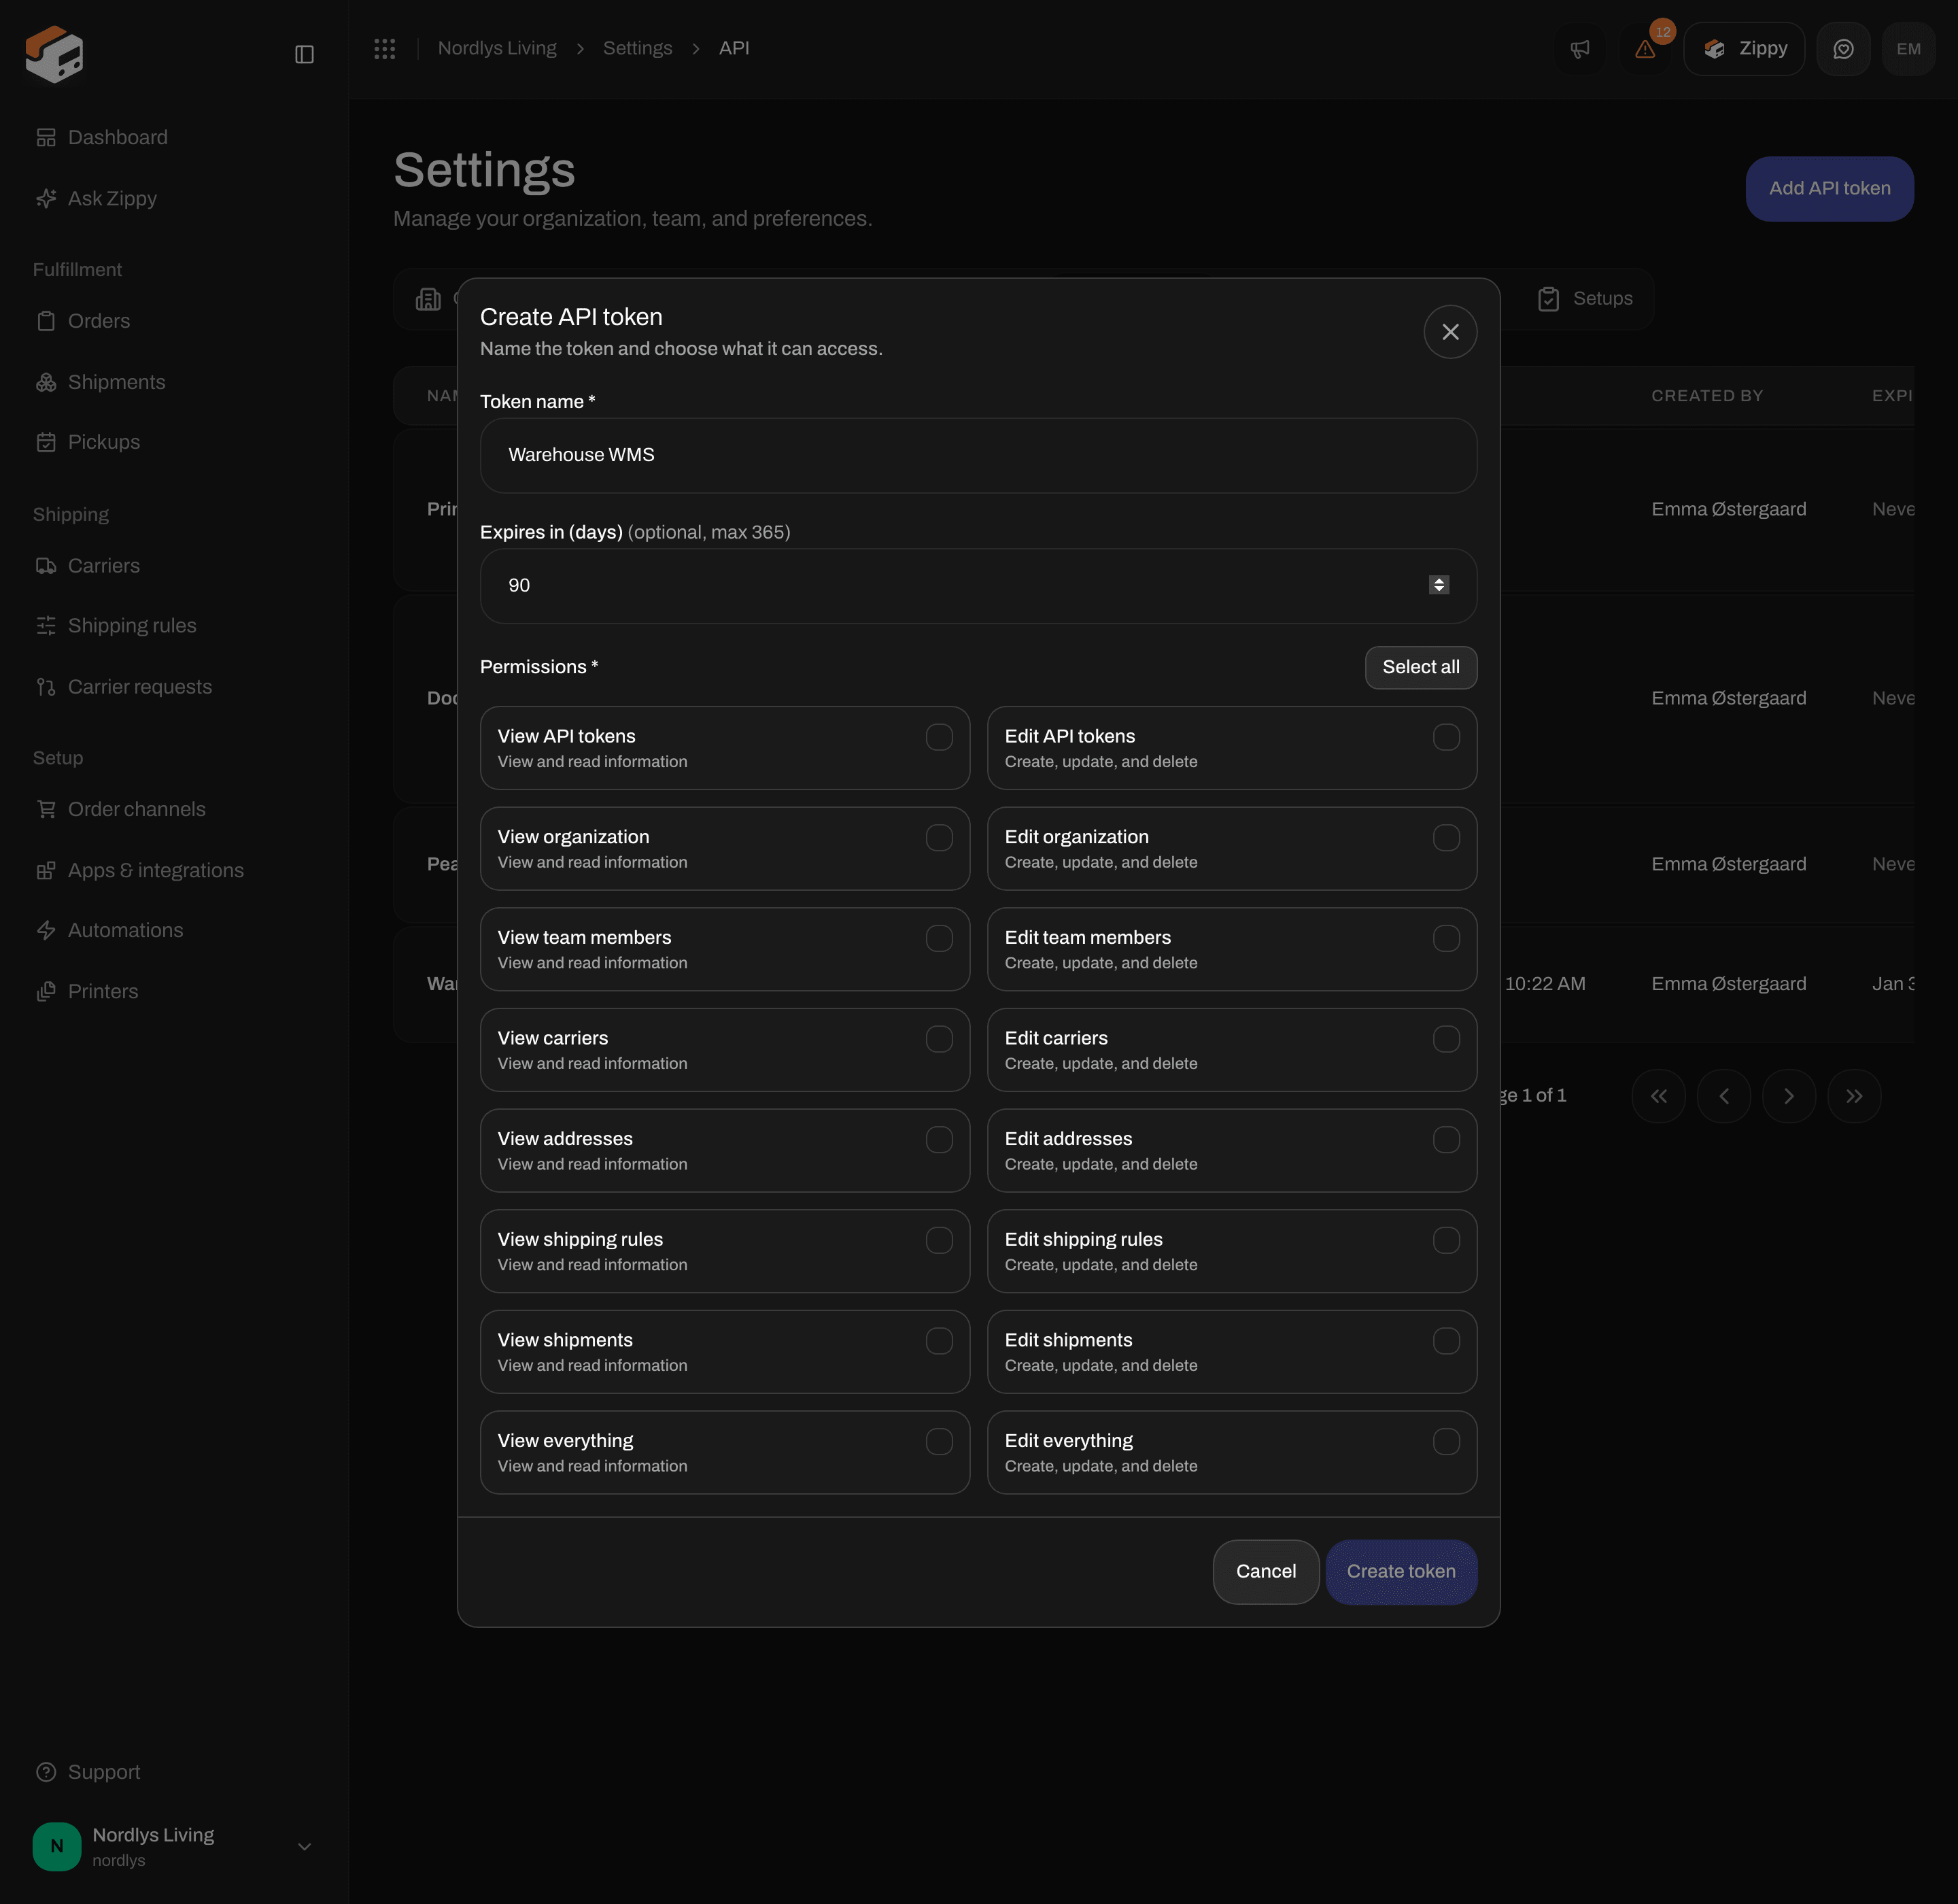
Create API token: name, optional expiry, then the permissions
Create token stays grayed out until the token has a name and at least one permission.
Permissions
Each area has a Read permission (View and read information) and a Write permission (Create, update, and delete). A Write permission includes Read for the same area.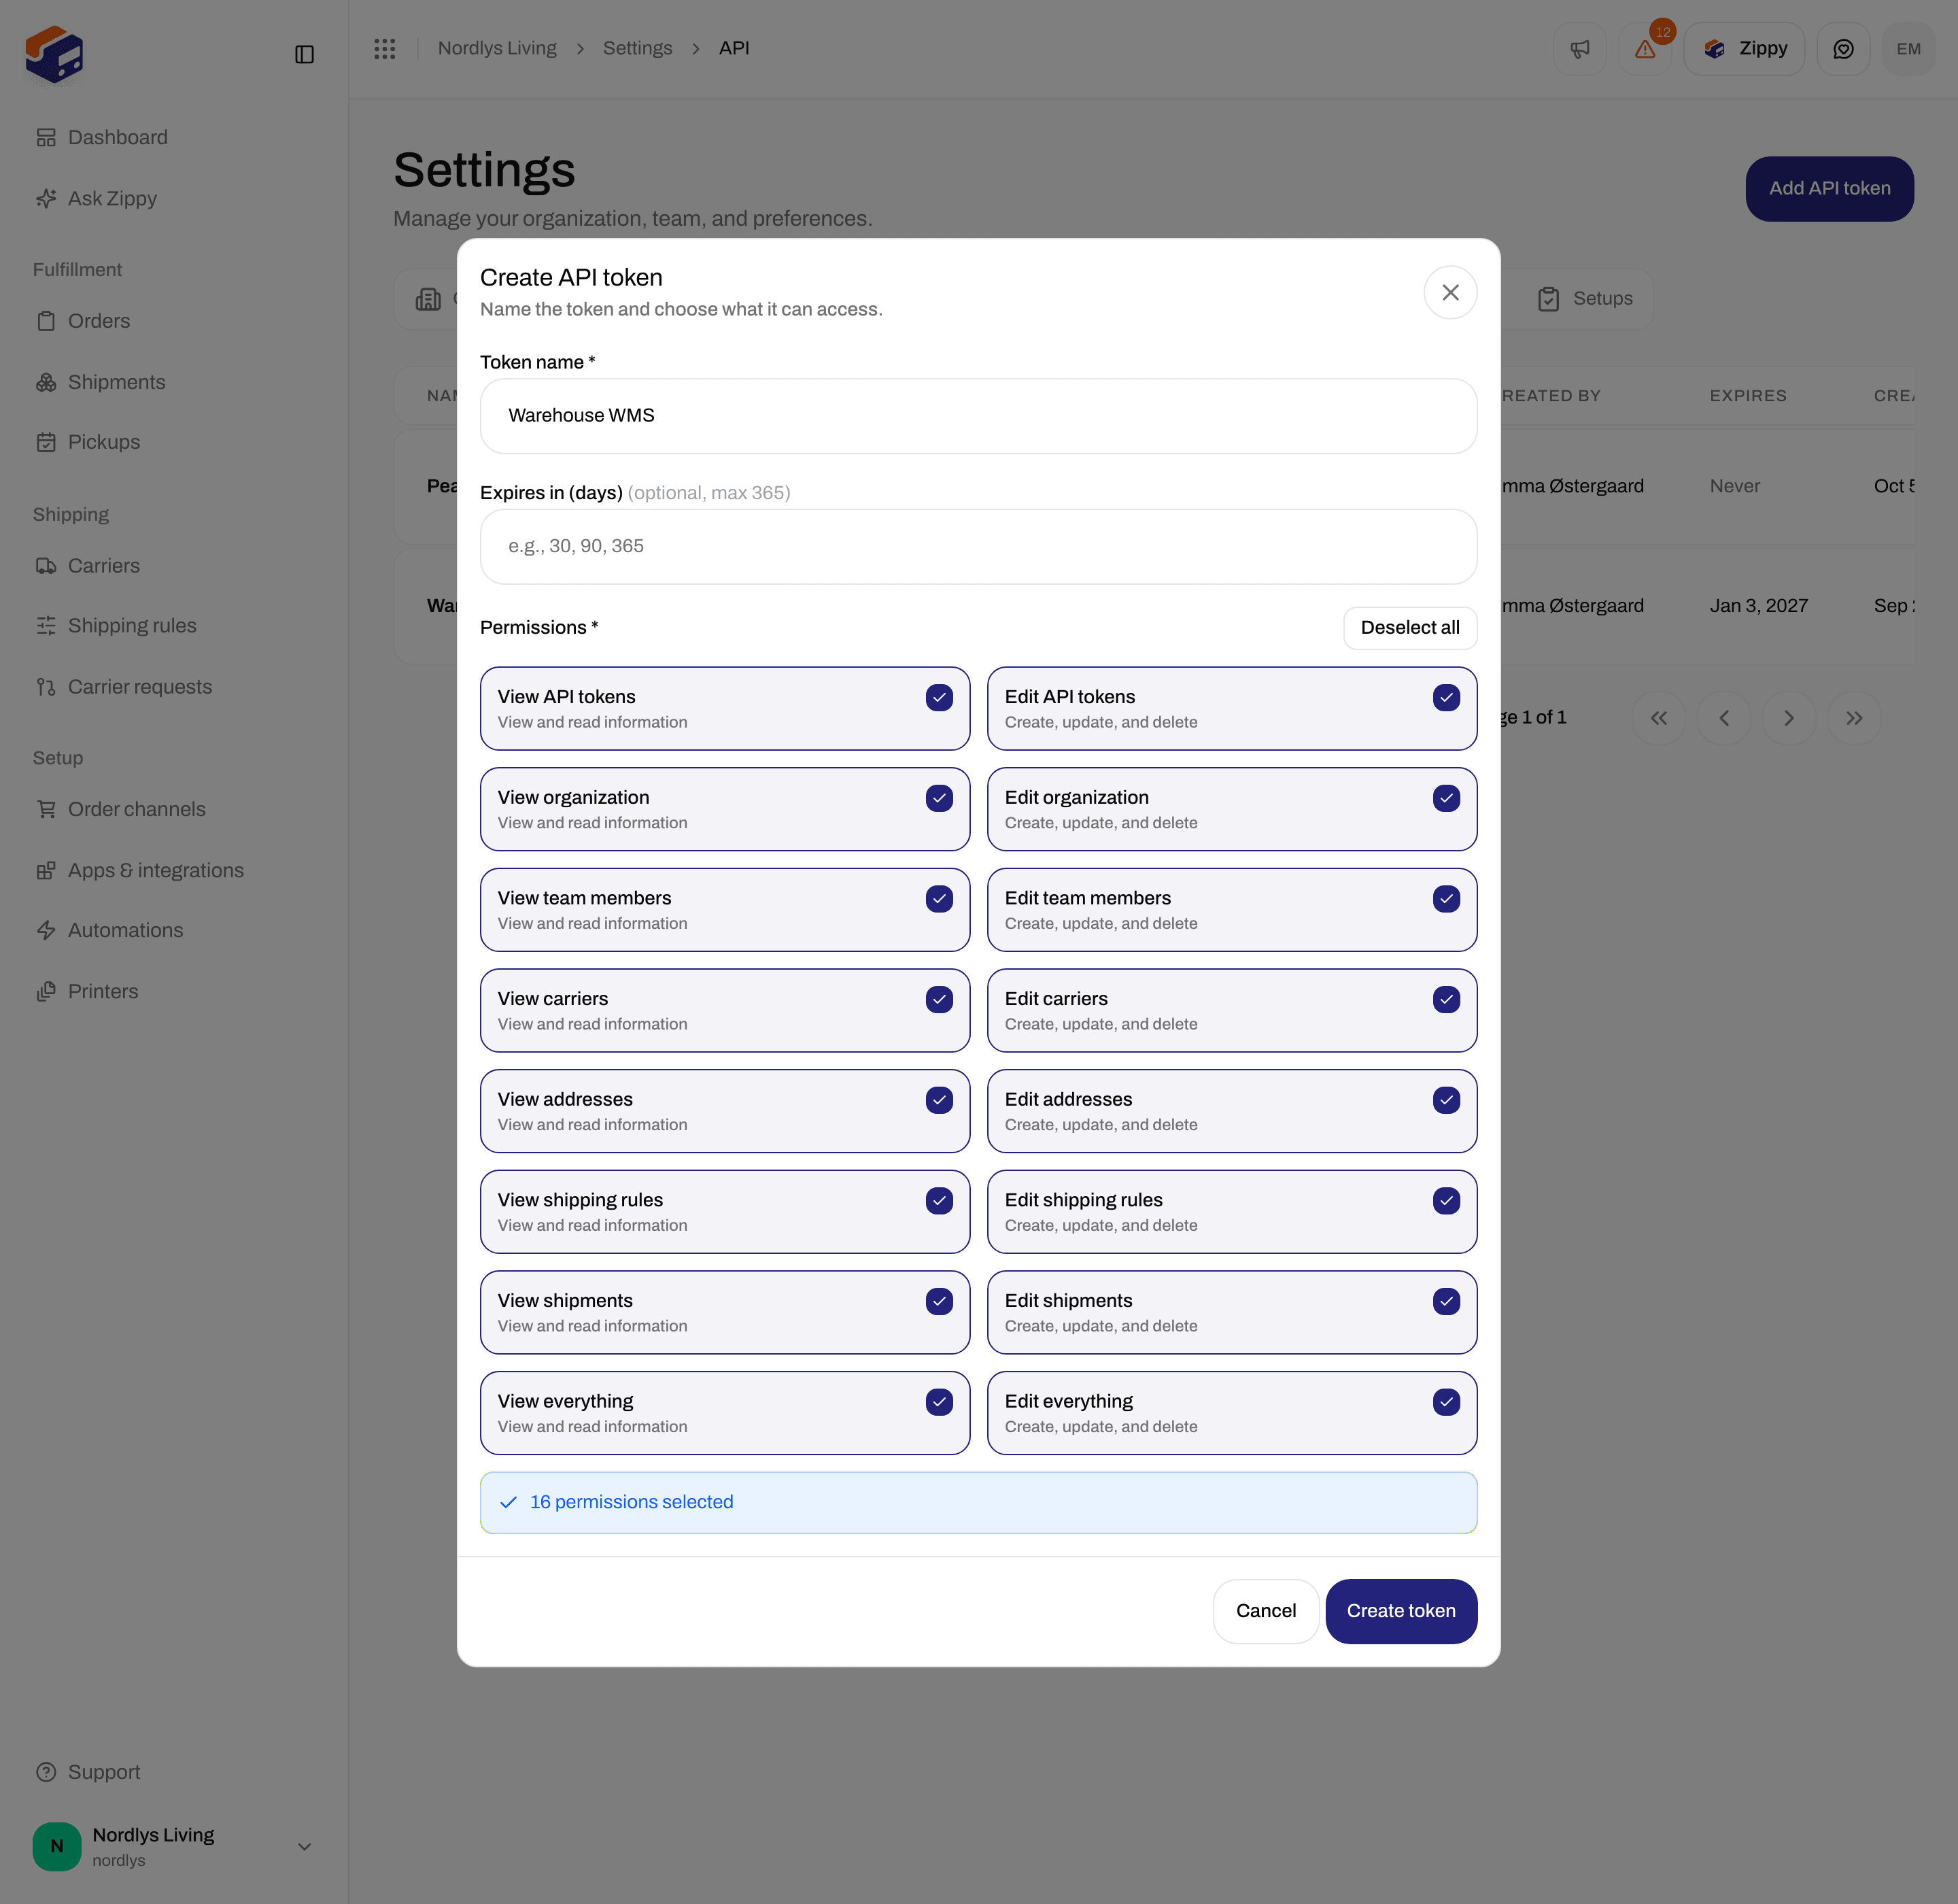
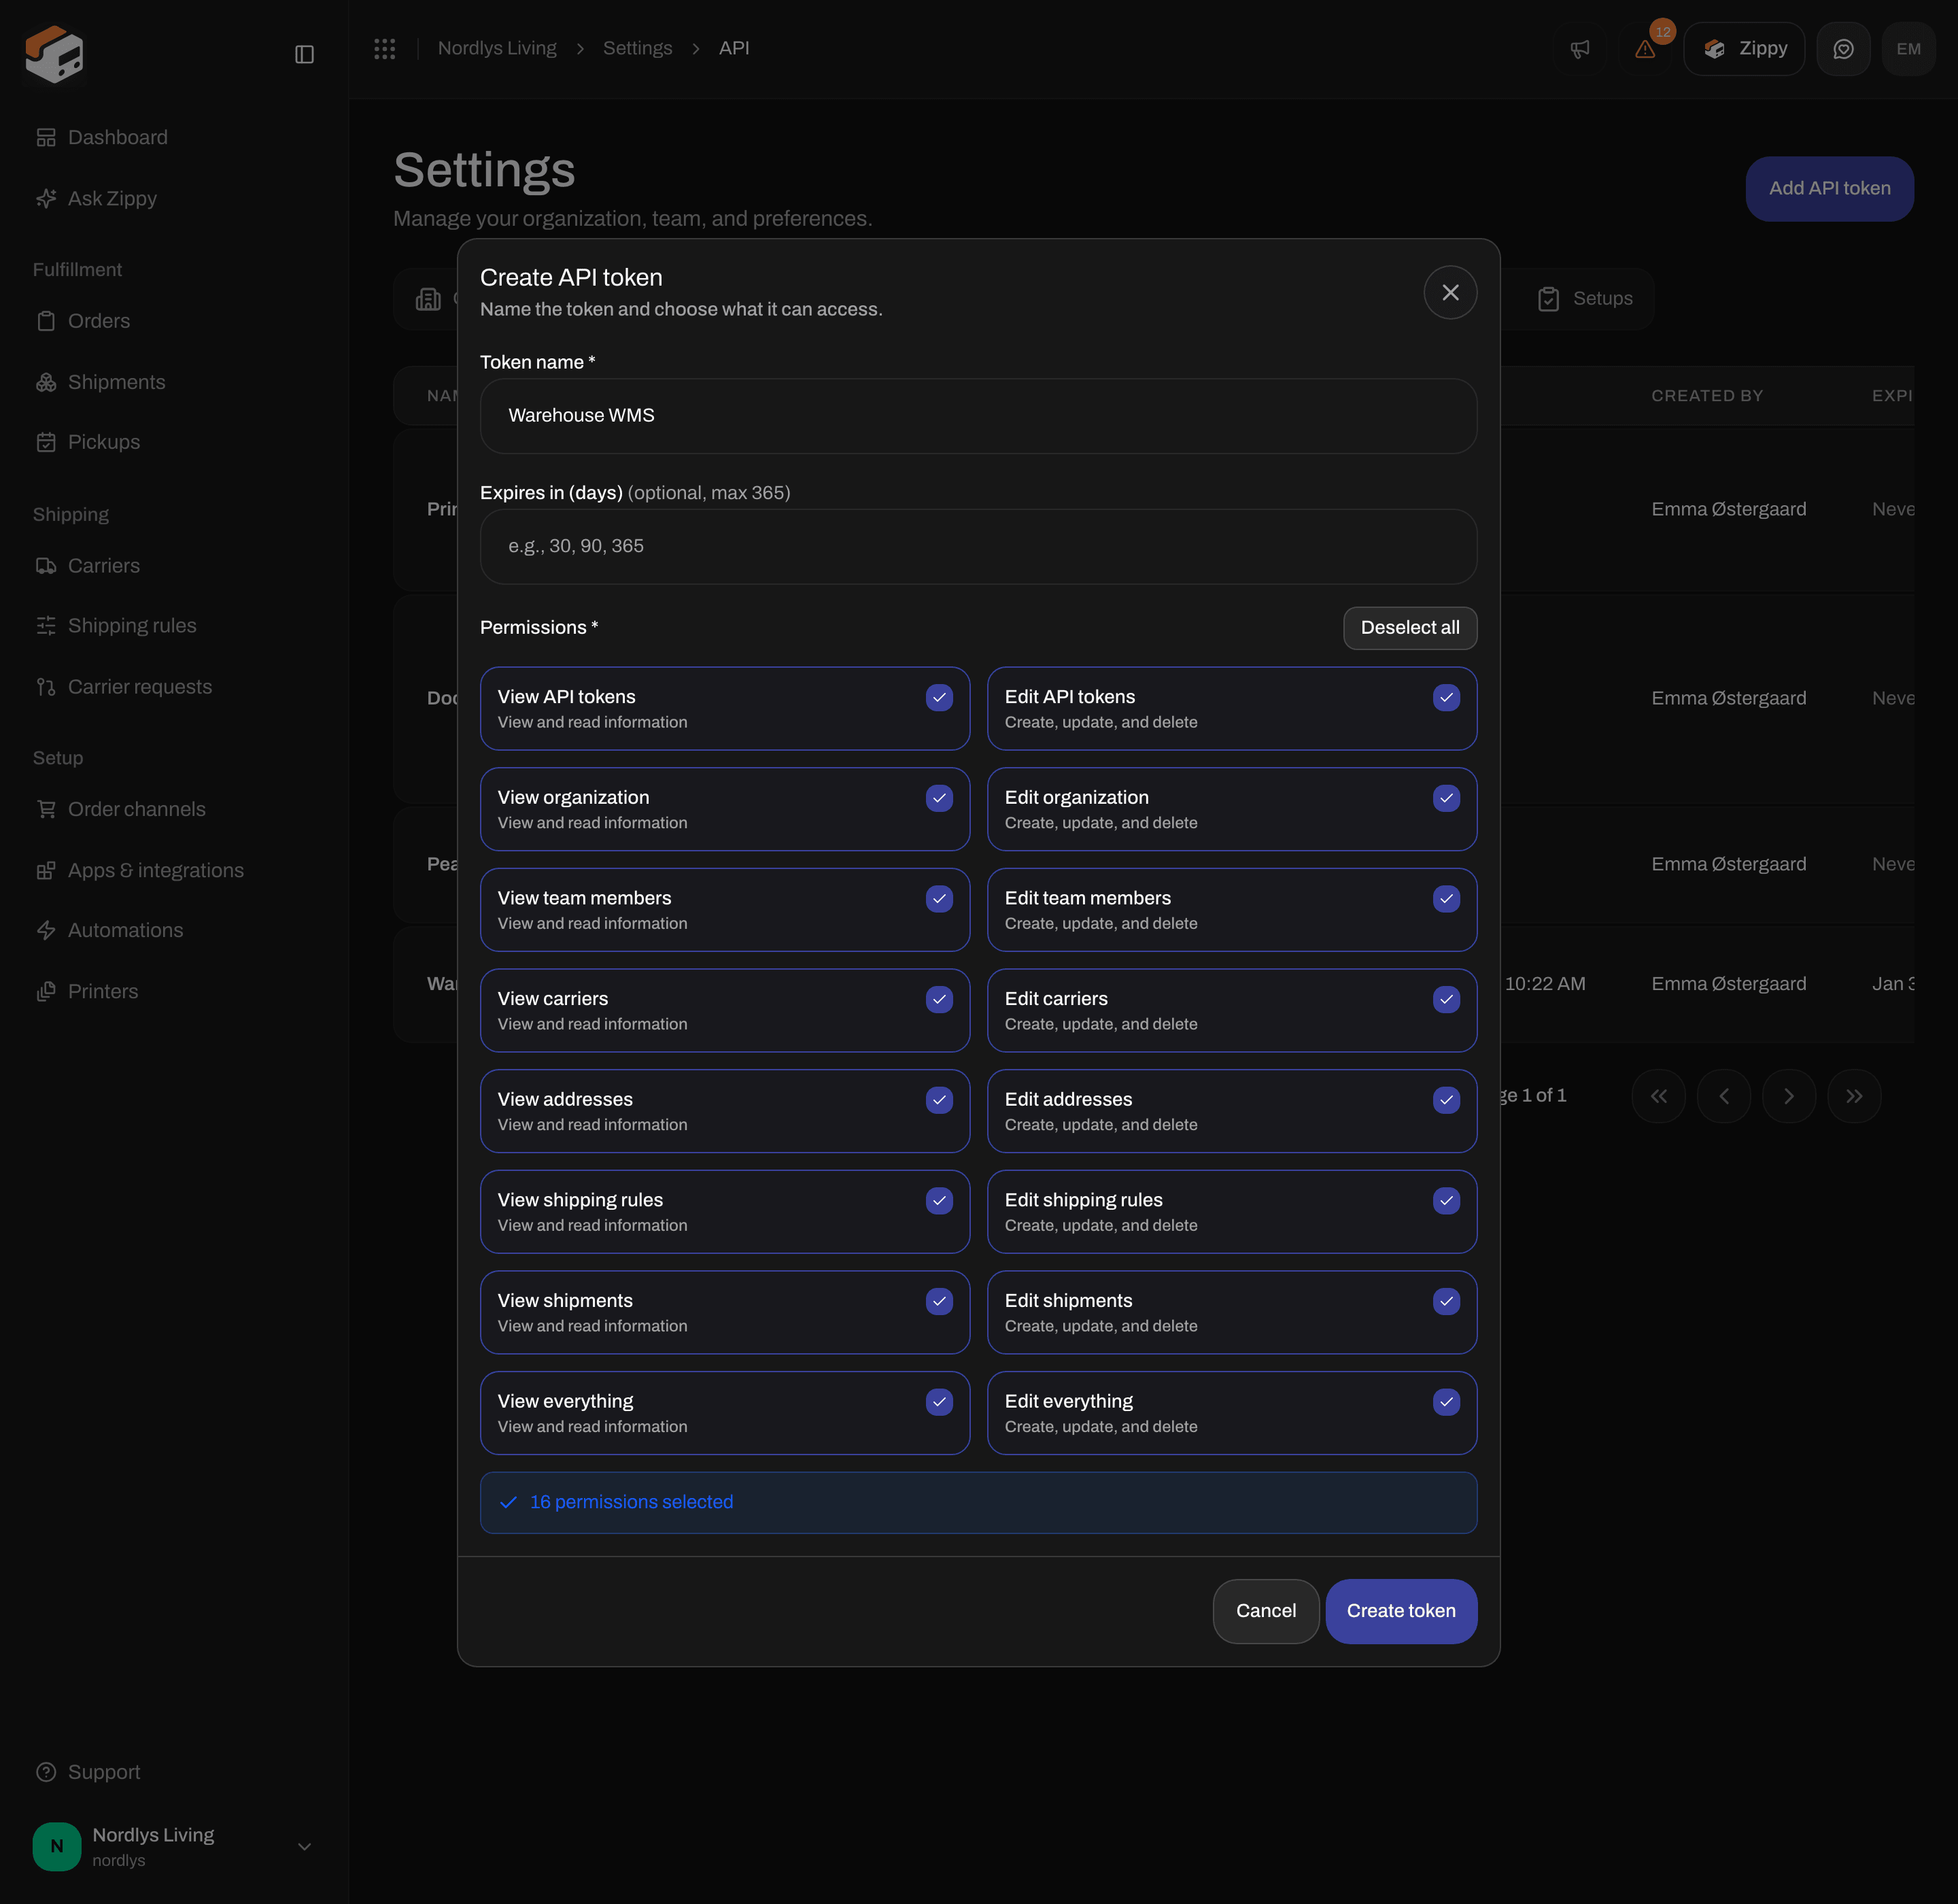
All permissions, with Select all turned on
Orders, order channels, printers, webhooks, automations and integrations have no permission of their own: a token that needs them must have View everything or Edit everything. Neither of those includes API tokens, so tick Edit API tokens as well if the token must create or delete other tokens. The same permissions are used for custom roles.
Copy the token (once)
API token created shows the full token, which starts withzipp_. The window warns: Make sure to copy this token. You won’t be able to see it again after closing this window.
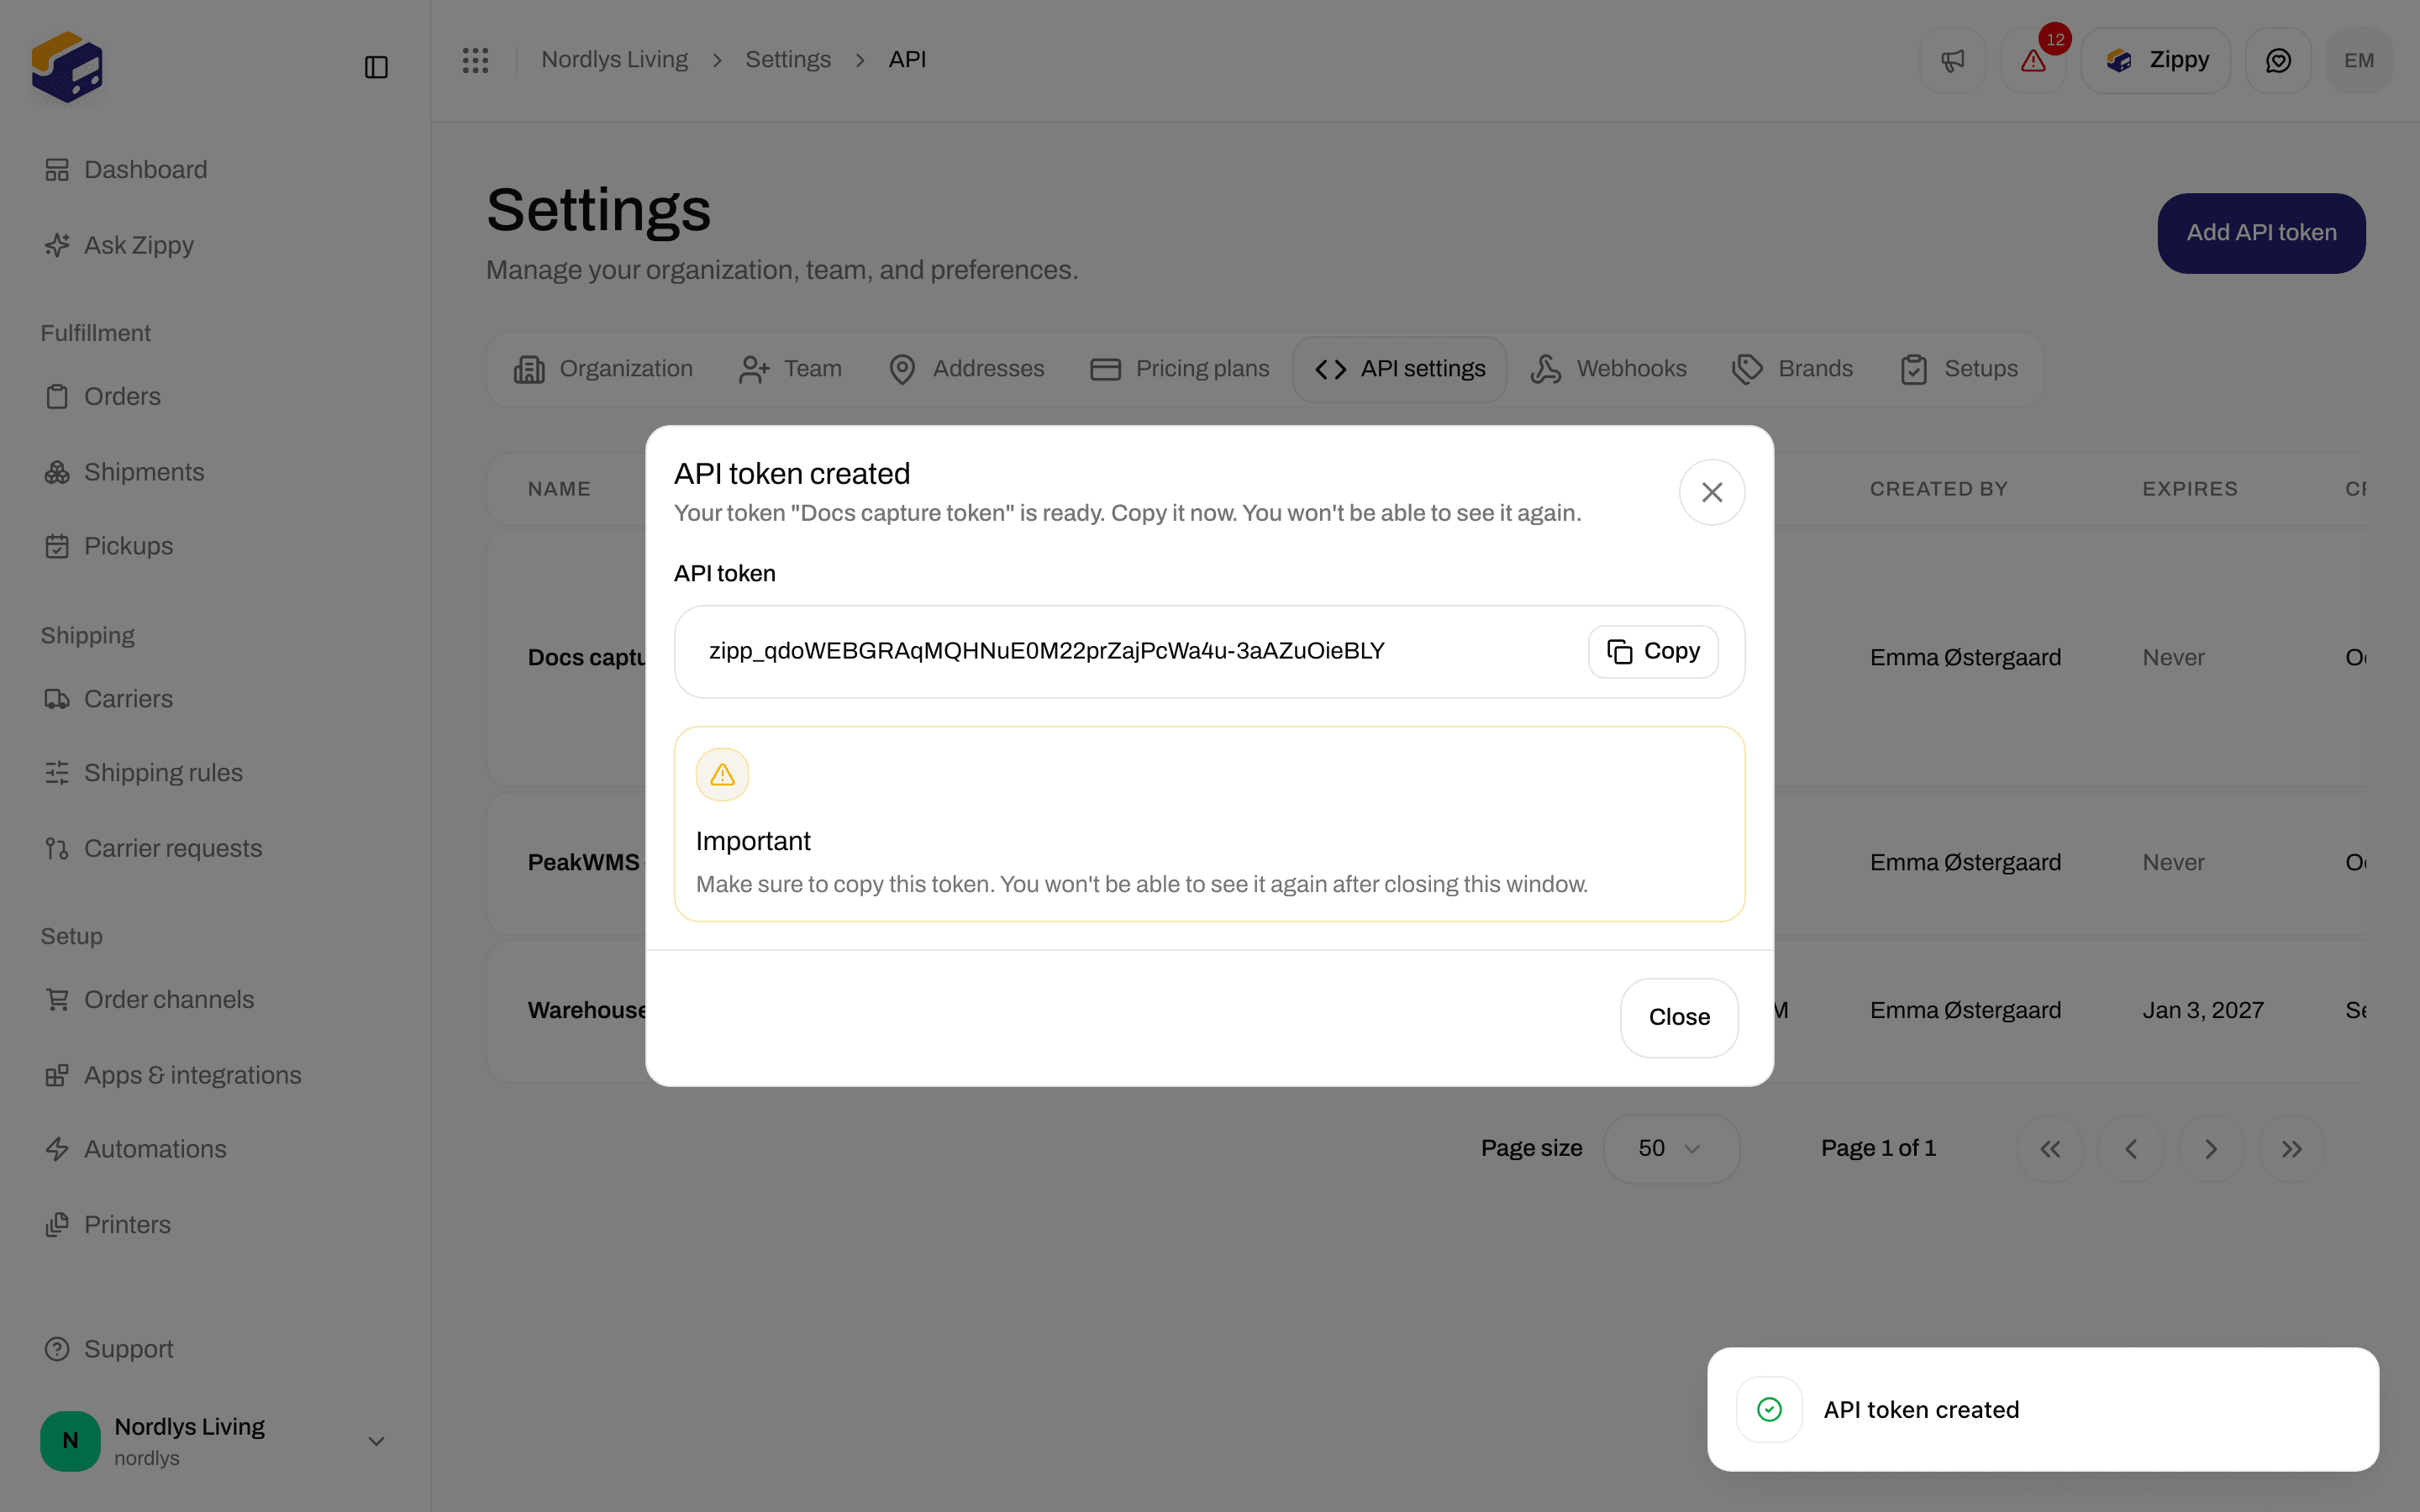
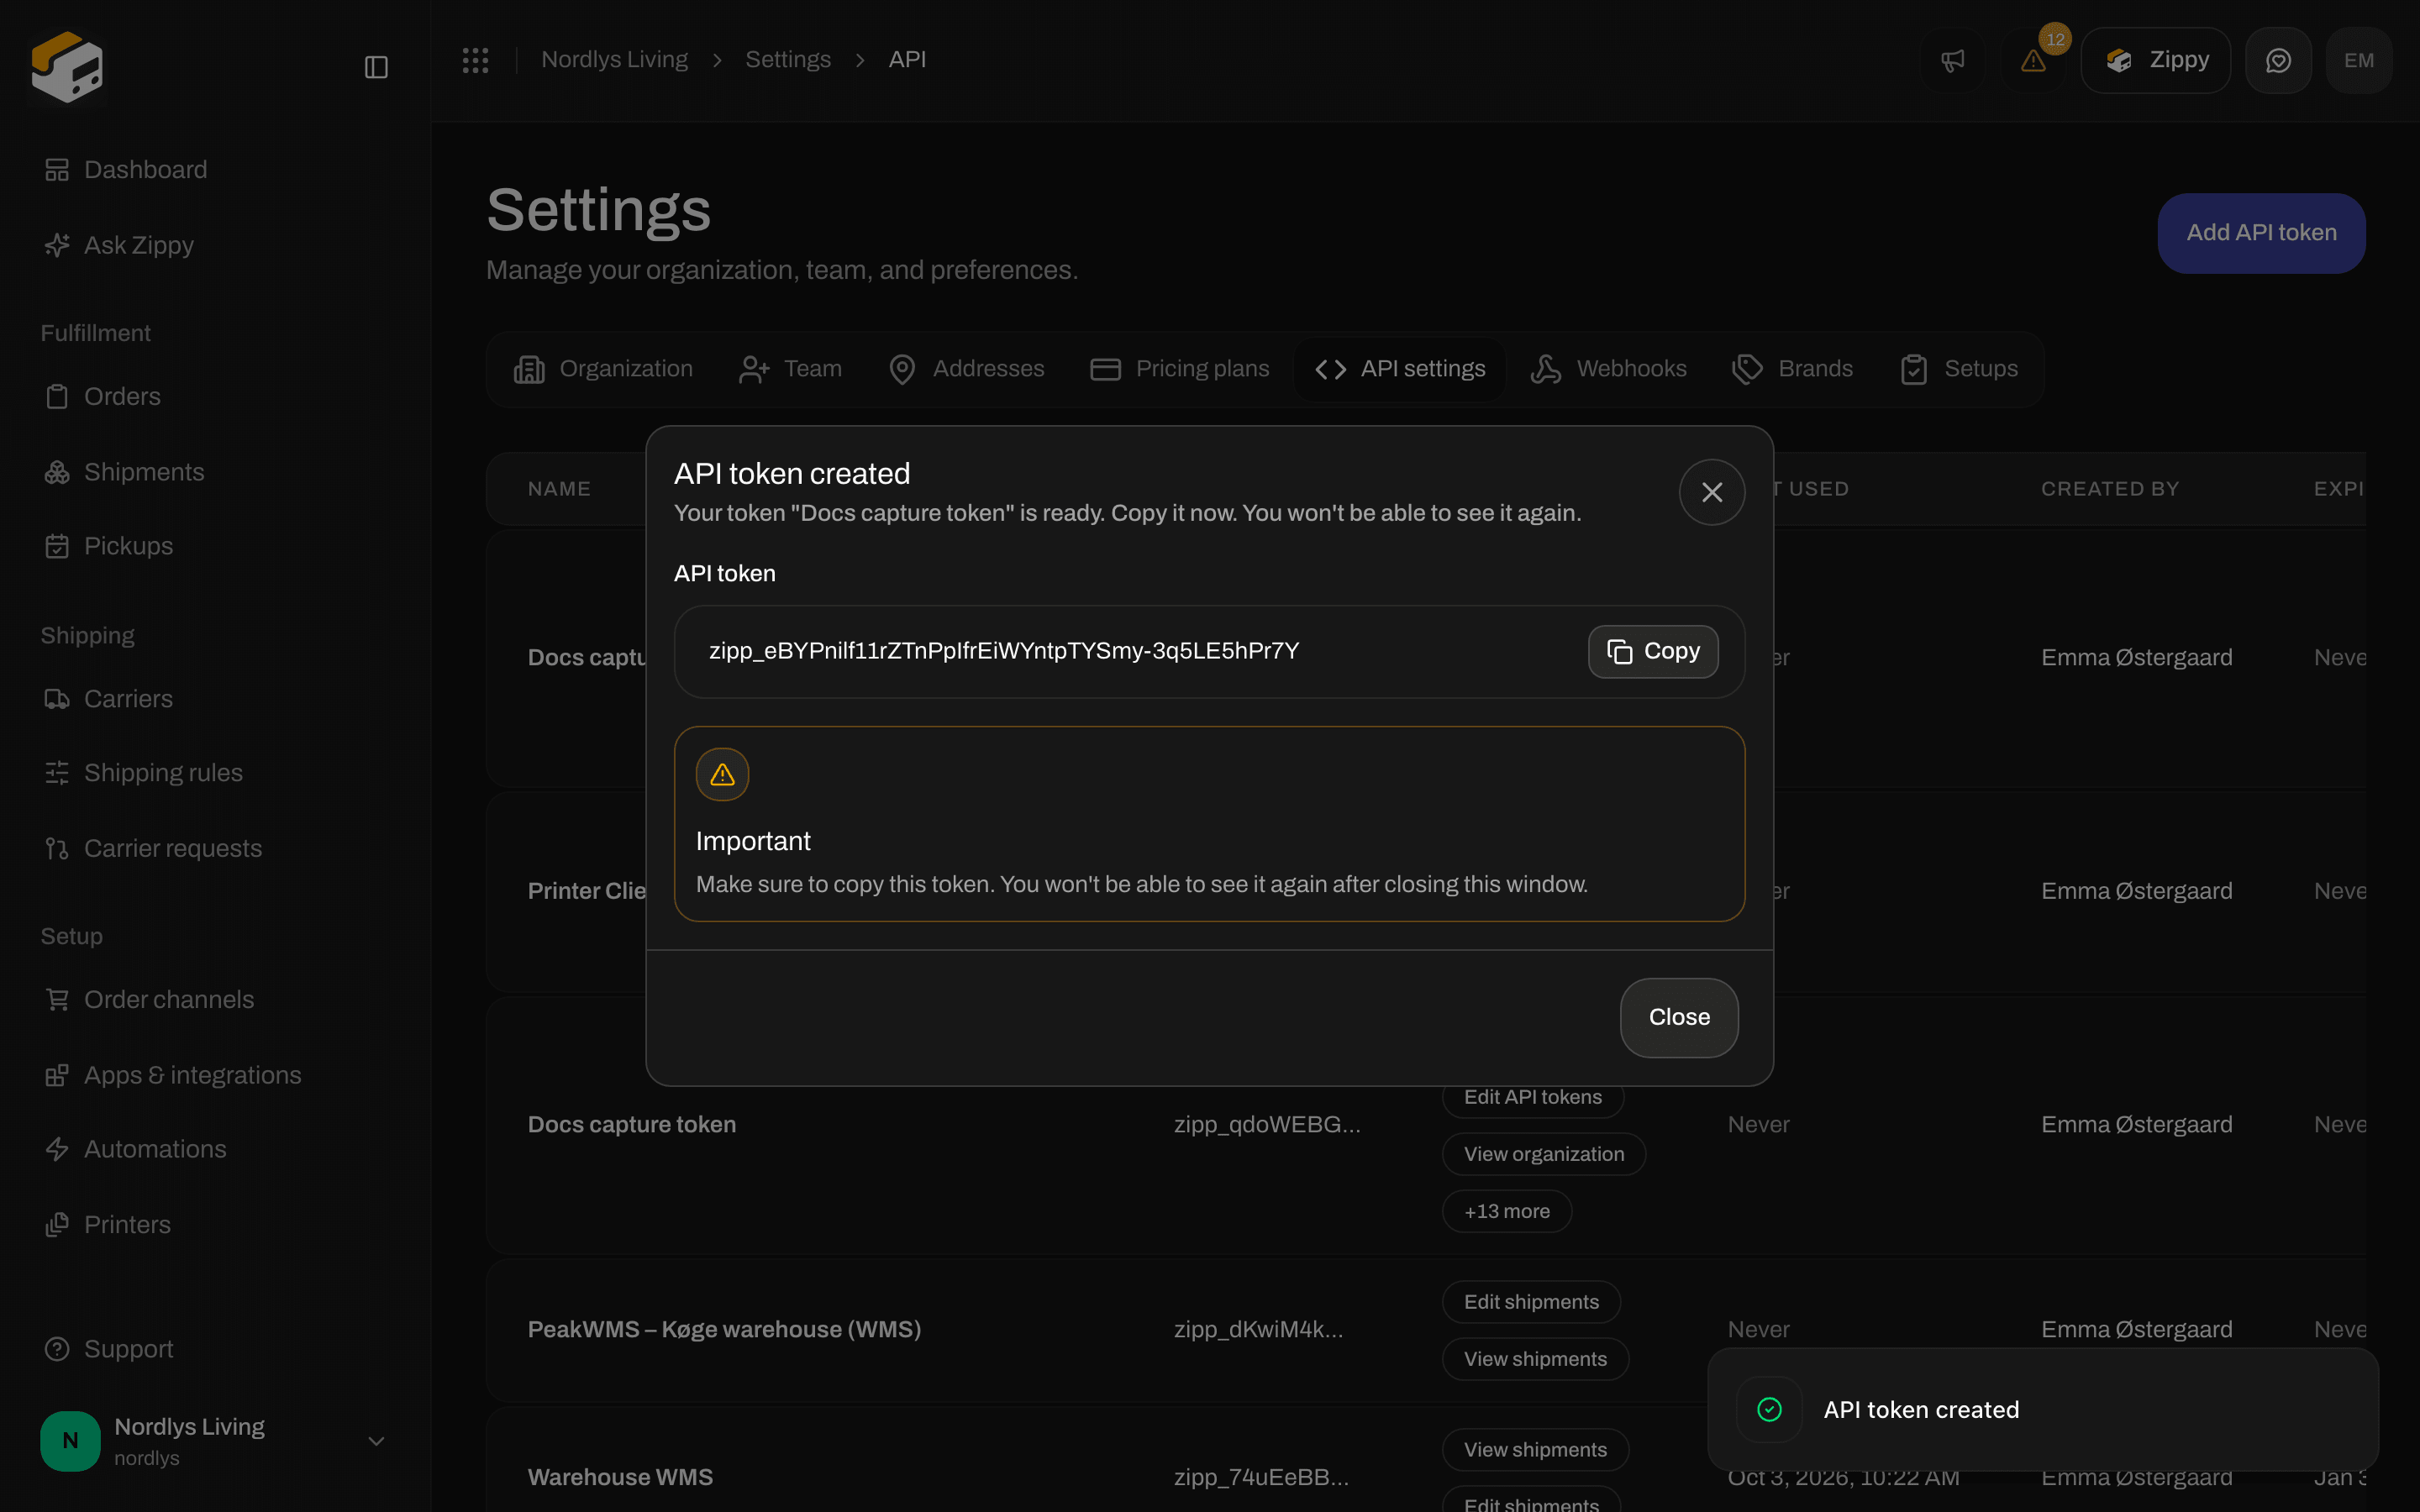
API token created: copy the token before you close the window
Use the token
Your developer sends the token with every request:{orgId} is your organization’s ID, not the name in the app’s address bar. A developer can list it with the Orgs requests in the API reference, where every request and answer is described. Ready-made clients: SDKs. Limits: Rate limits.
A token without a brand can aim a single request at one brand with the X-Zippendo-Brand header. A token created with Restrict to brand always stays within its brand. See Brands.
Delete a token
Click Delete on the token’s row. Delete API token asks you to type the token’s name in capital letters, for exampleWAREHOUSE WMS, then click Delete. You see API token deleted. Any system that uses the token can no longer connect. Deleting can’t be undone, and there is no way to pause a token instead.
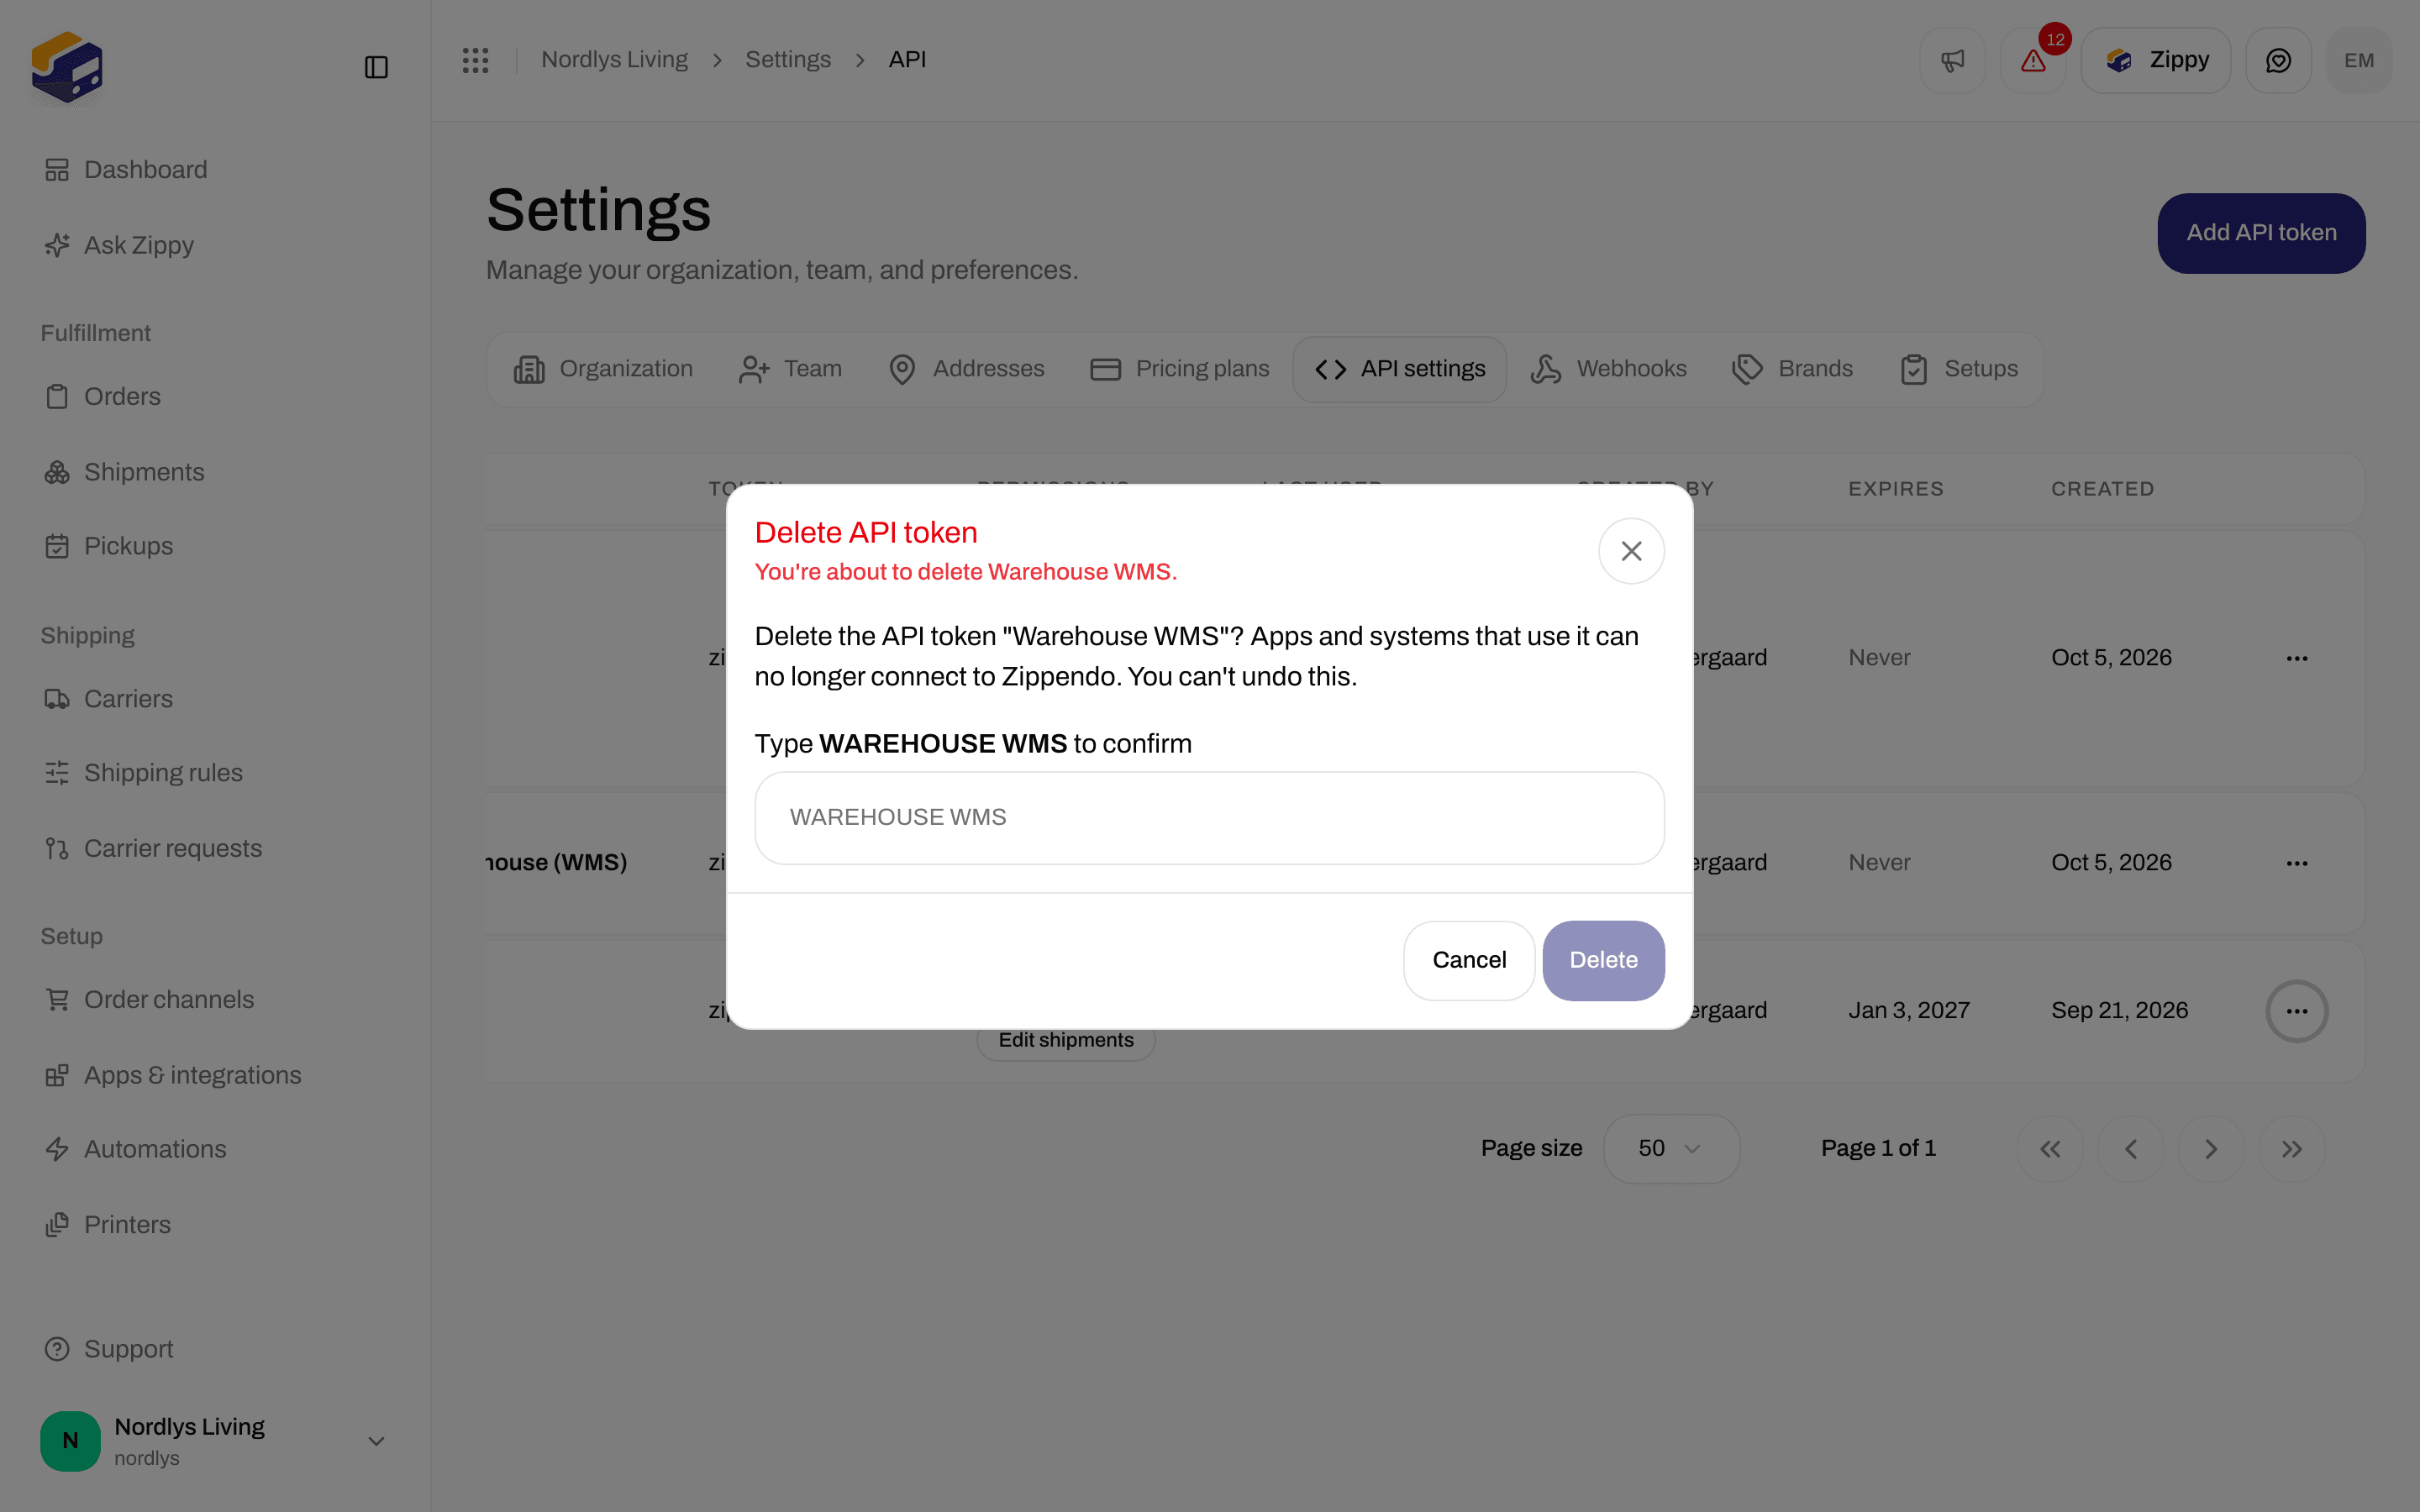
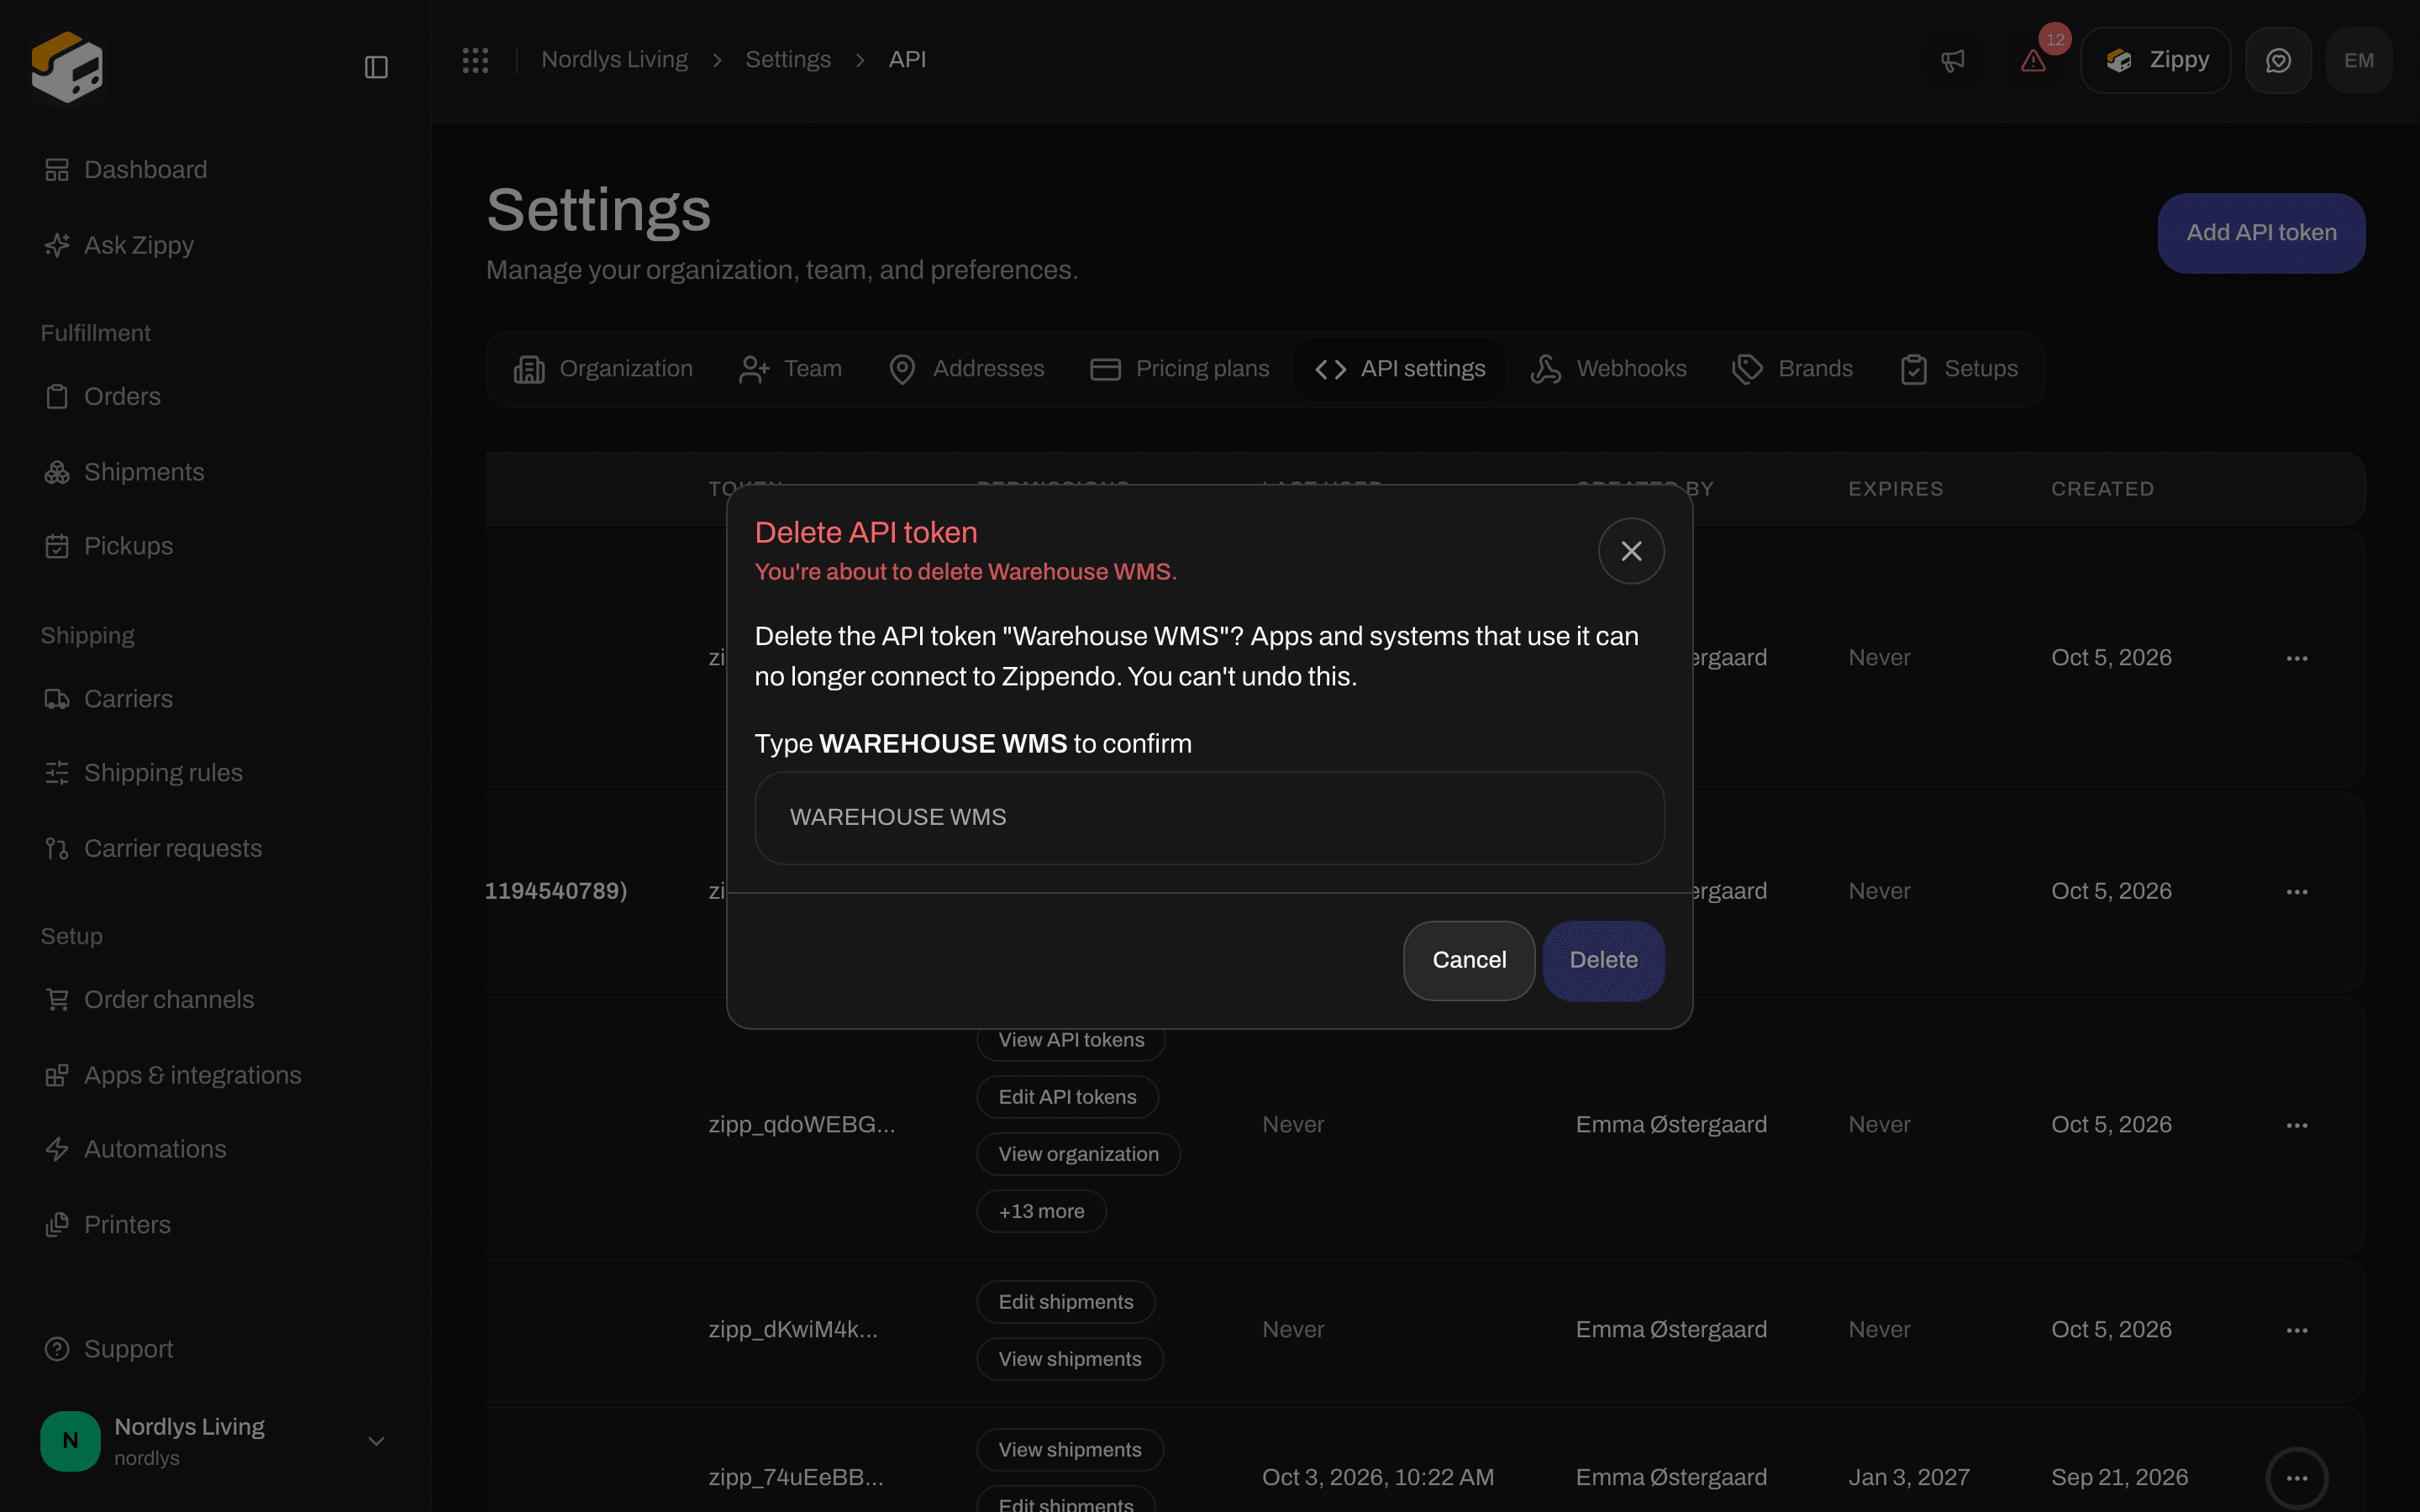
Delete API token: type the name in capital letters to confirm
Related
- Webhooks: Zippendo tells your system when something happens, instead of your system asking.
- Connect Slack, Klaviyo and other apps: ready-made connections that need no API token.
- Custom channel API: push orders from your own shop or system into Zippendo.
- Get a shipping quote: shipping prices at checkout.
- MCP authentication: connect an AI agent without pasting a token.