

What a role lets someone do
Every team member can do the daily work in Zippendo, whatever their role: orders, shipments, carriers, shipping rules, printers and inviting colleagues. A role decides who can manage the organization itself.
If someone without the right permission tries one of these, Zippendo does not save the change and shows an error, such as You don’t have permission to do this. Ask an organization manager for access.
The other checkboxes, such as View shipments or Edit carriers, are the same permissions an API token can have (see Create an API token). On a role, they do not limit what the team member can do in the Zippendo app.
A team member who is restricted to a brand cannot manage brands, even with Edit everything. See Create a brand.
Where to find it
Click the organization switcher at the bottom of the sidebar, then Manage (or Invite team members), and open the Team tab. Custom roles is the first section.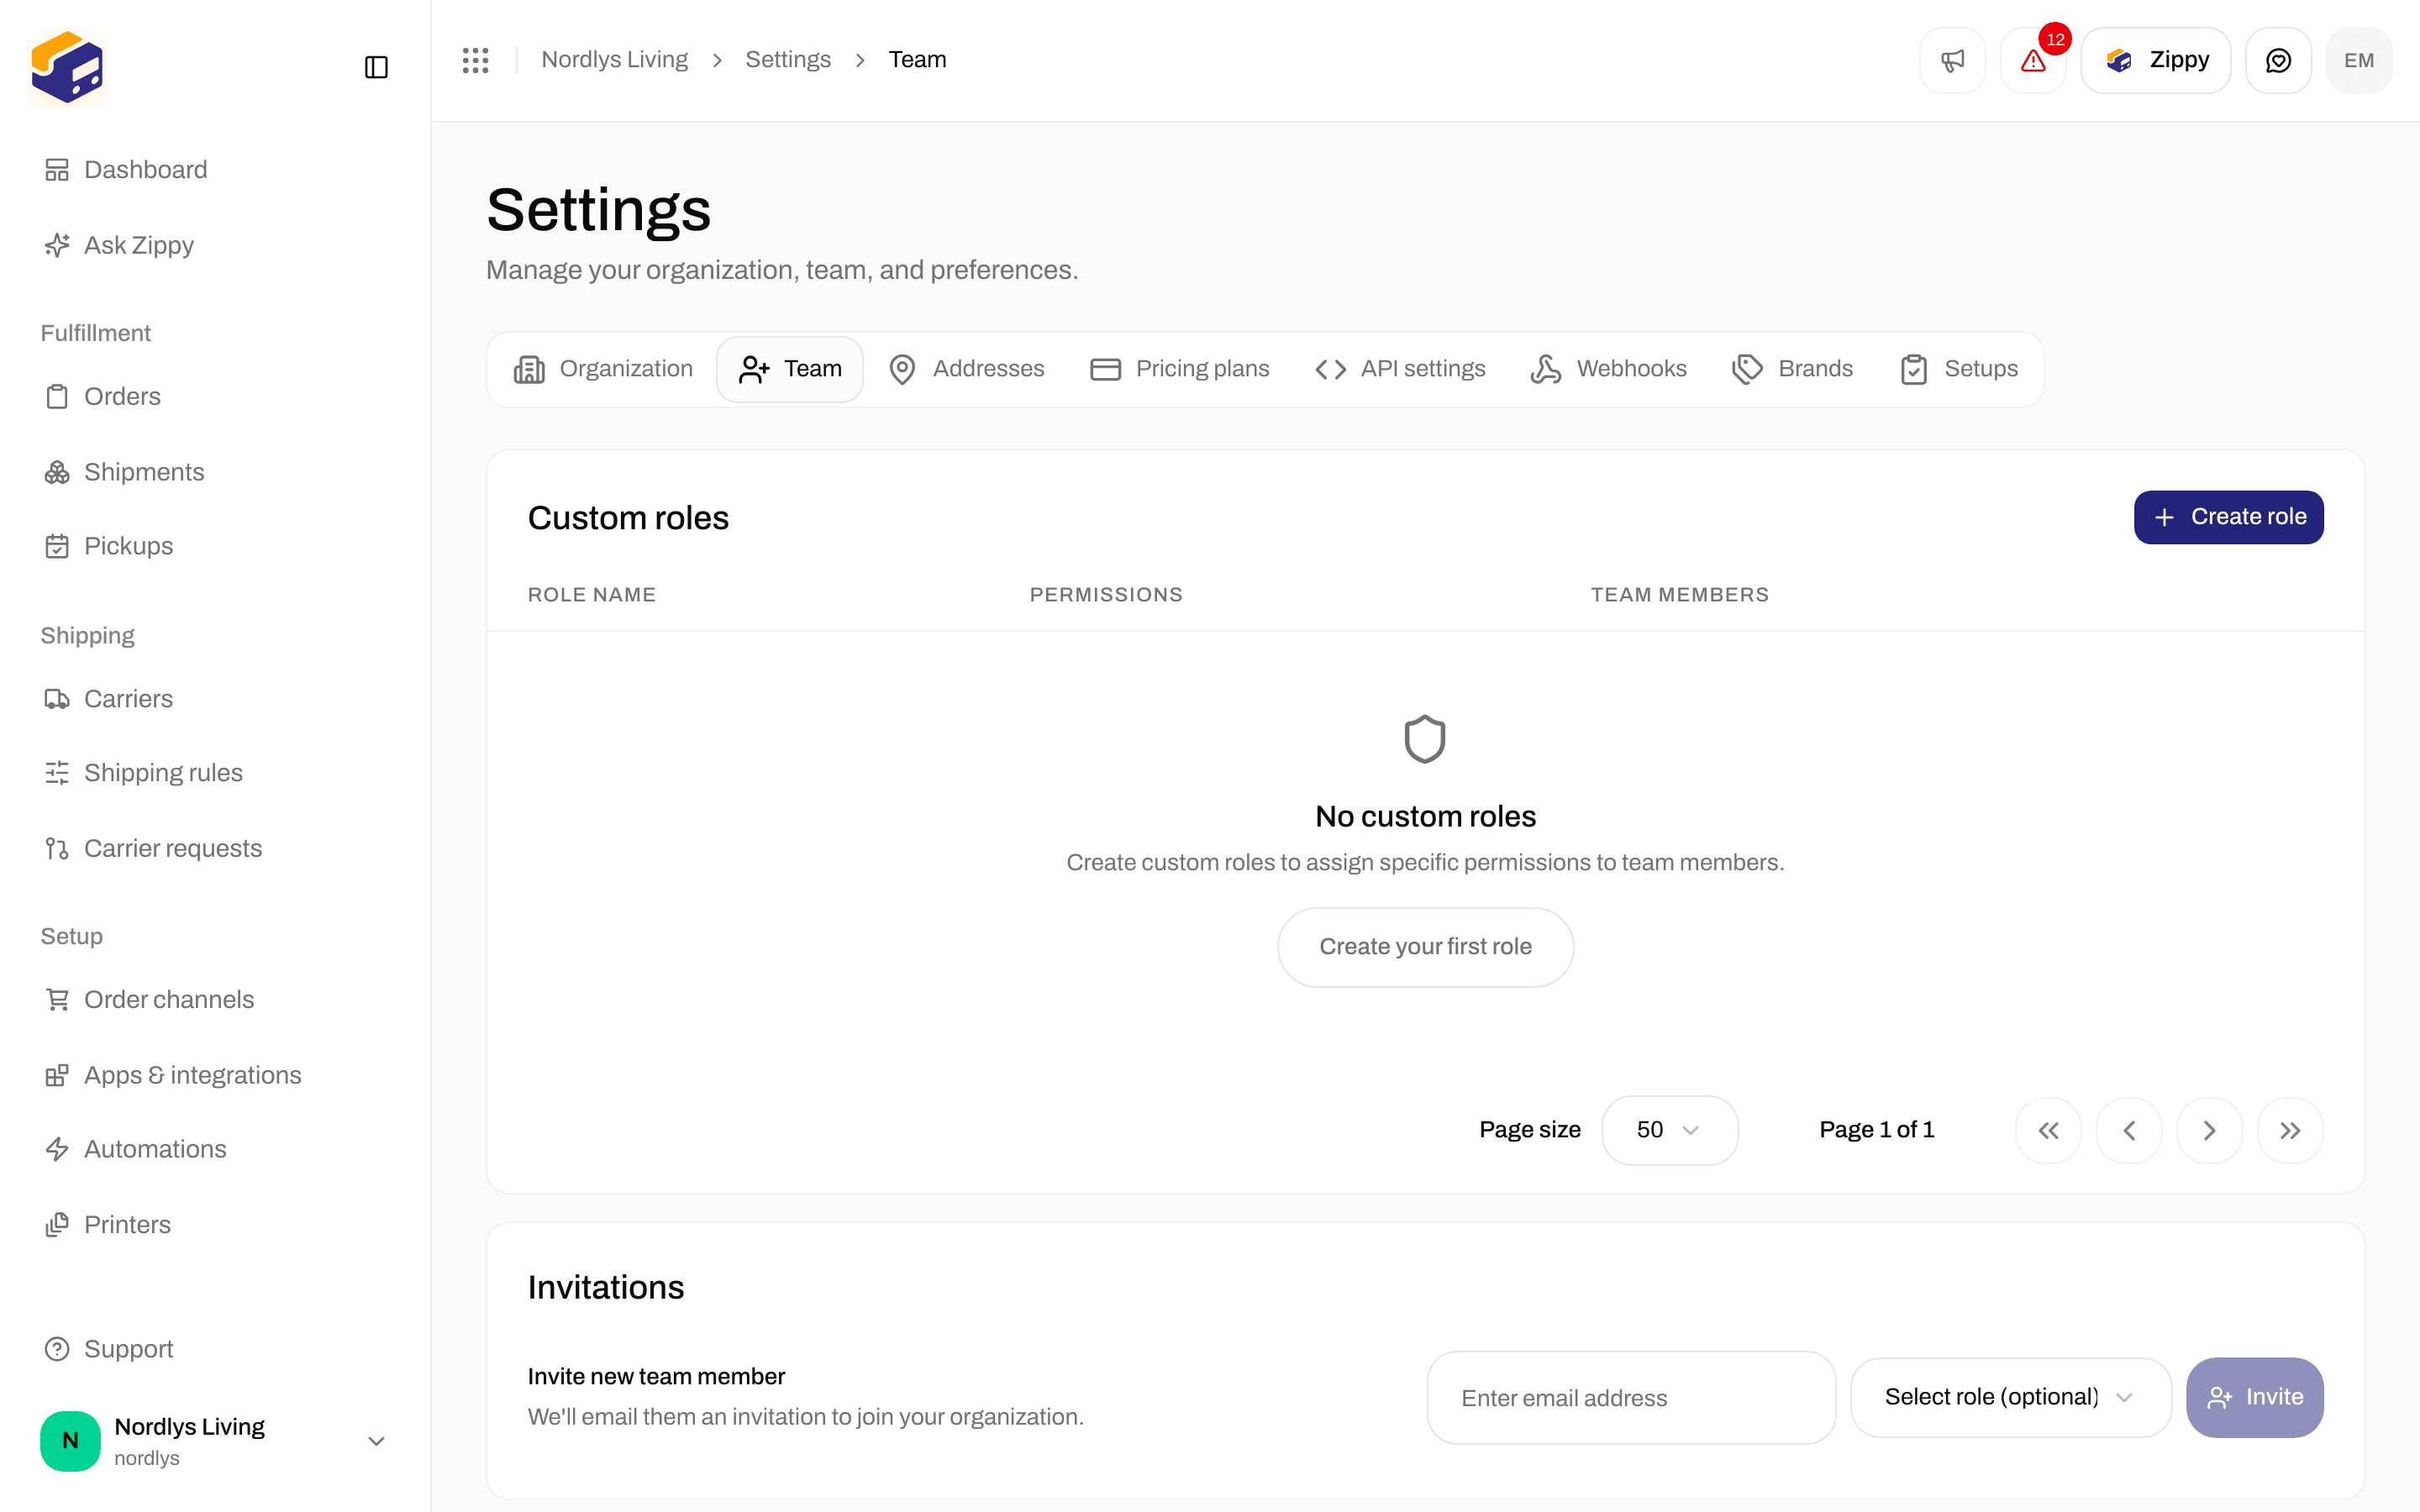
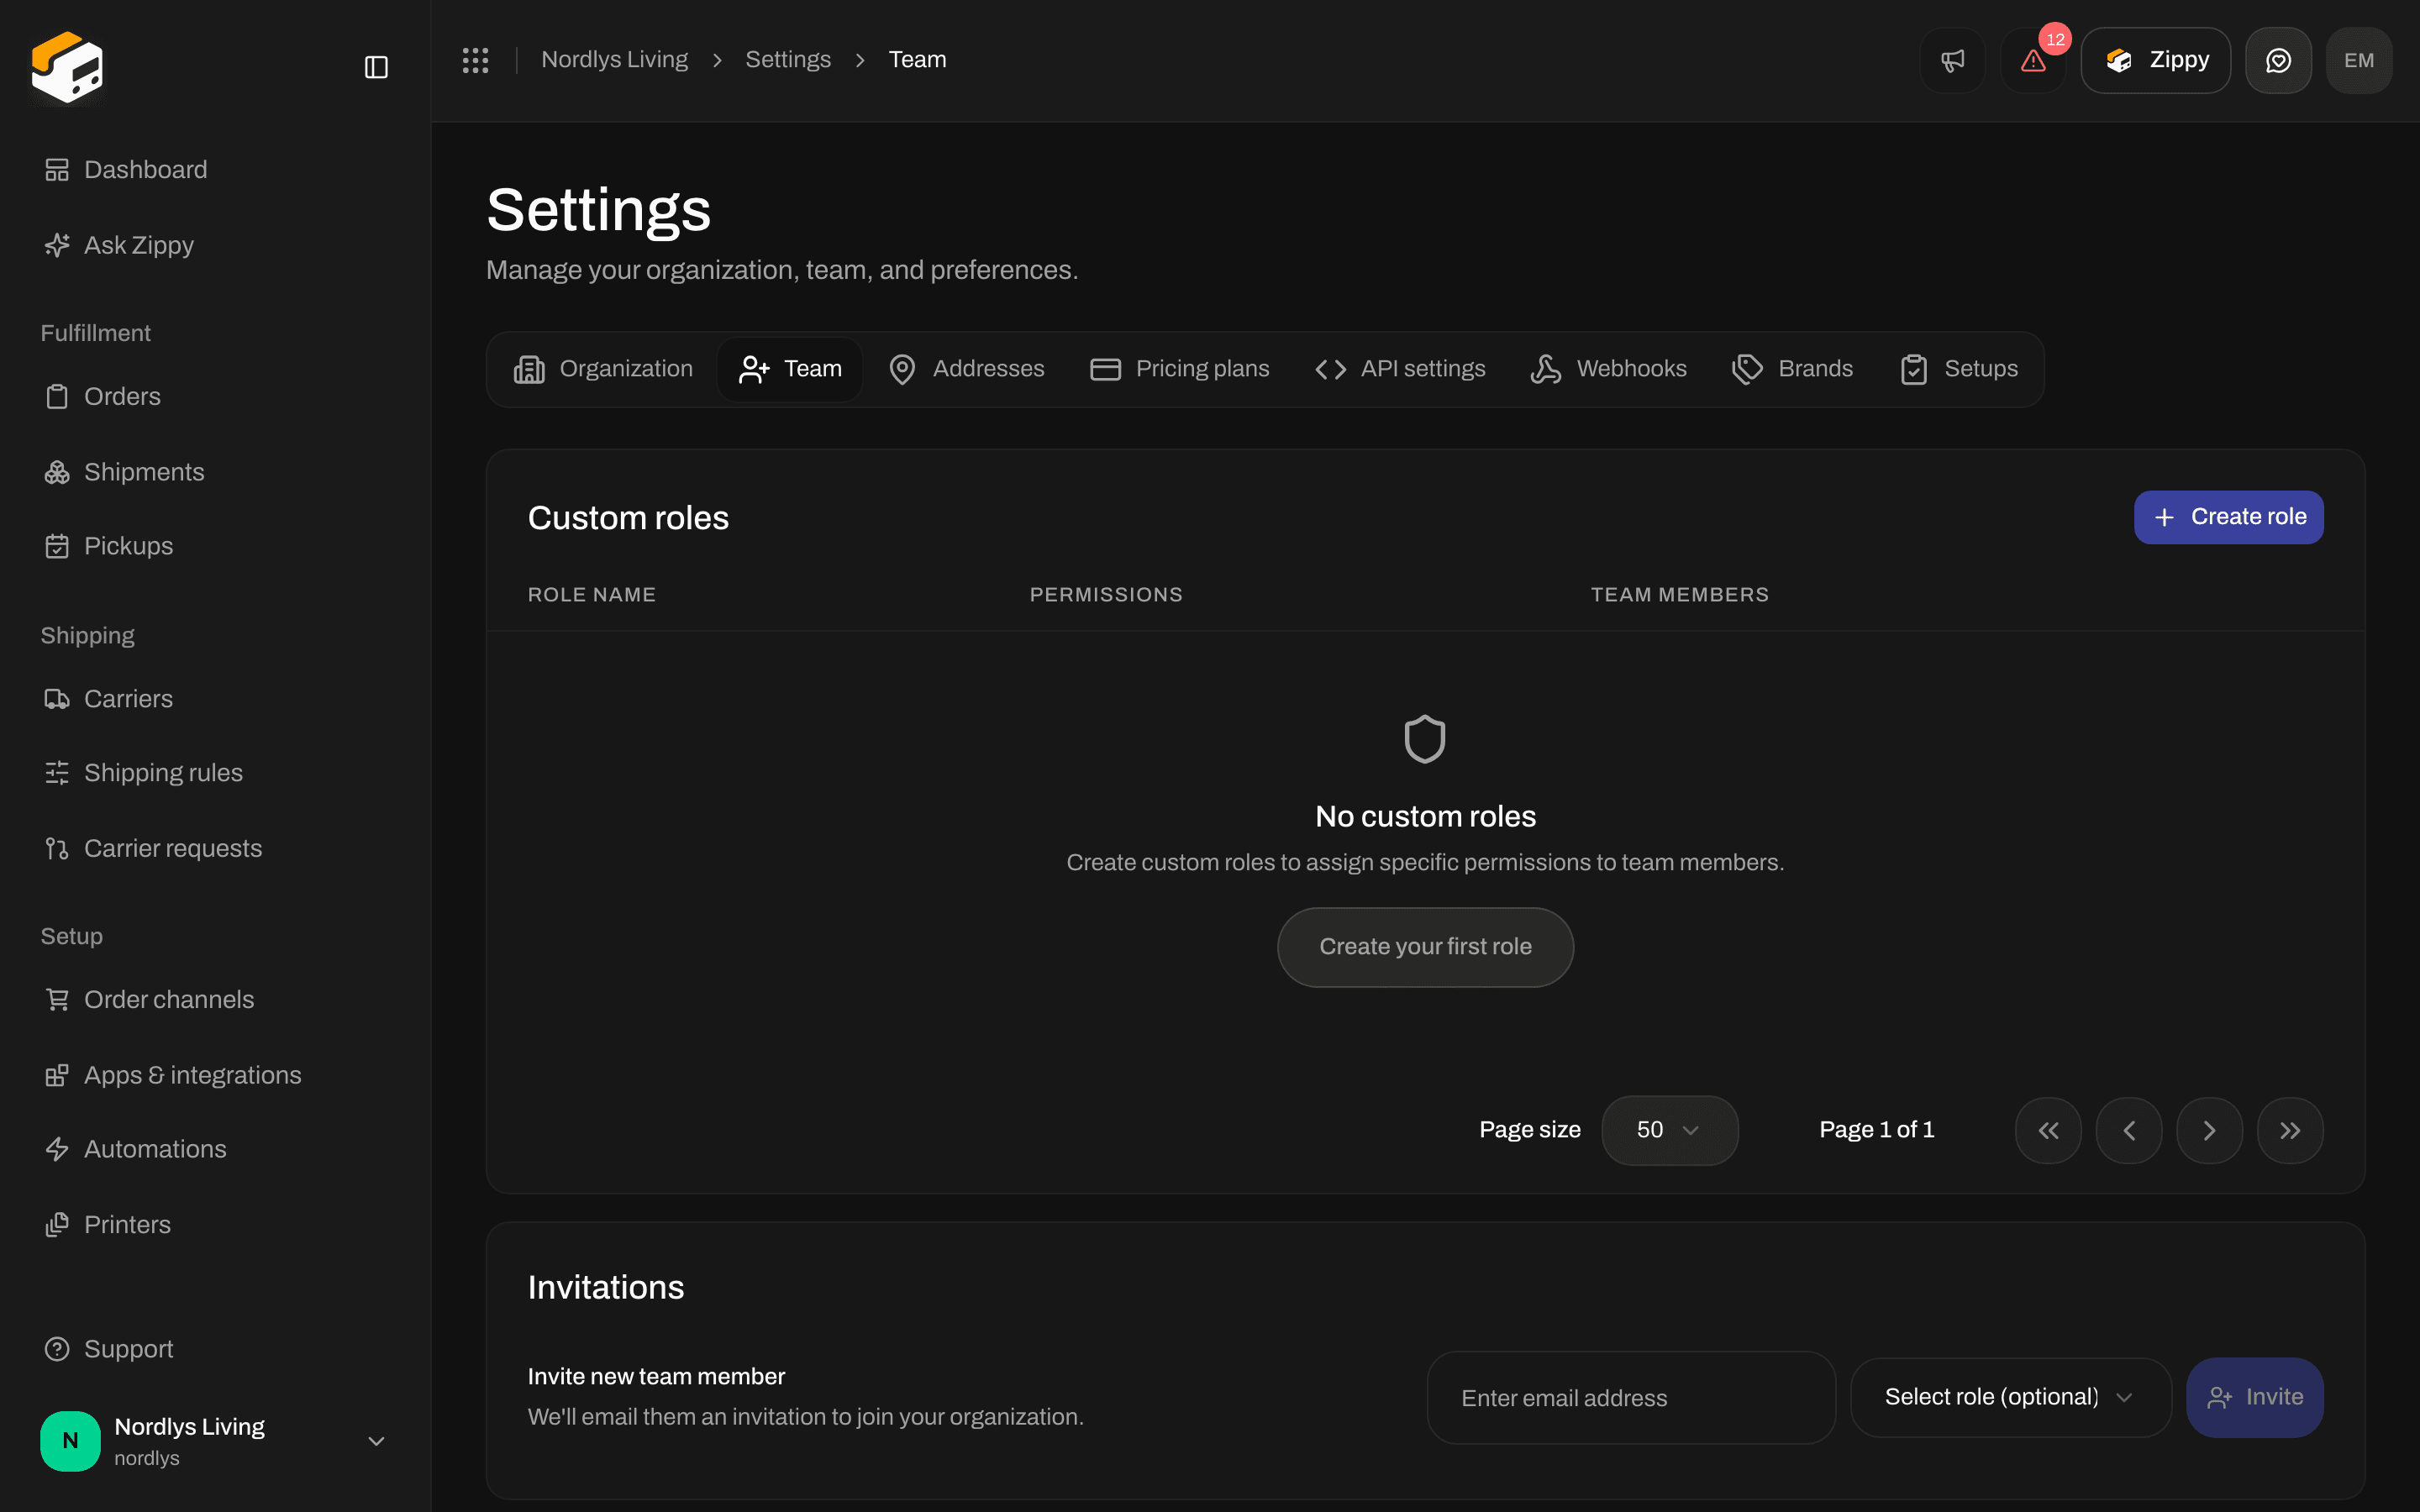
Custom roles - empty state with Create role
Click a row or Edit to change a role. Click Delete to remove it.
Create a role
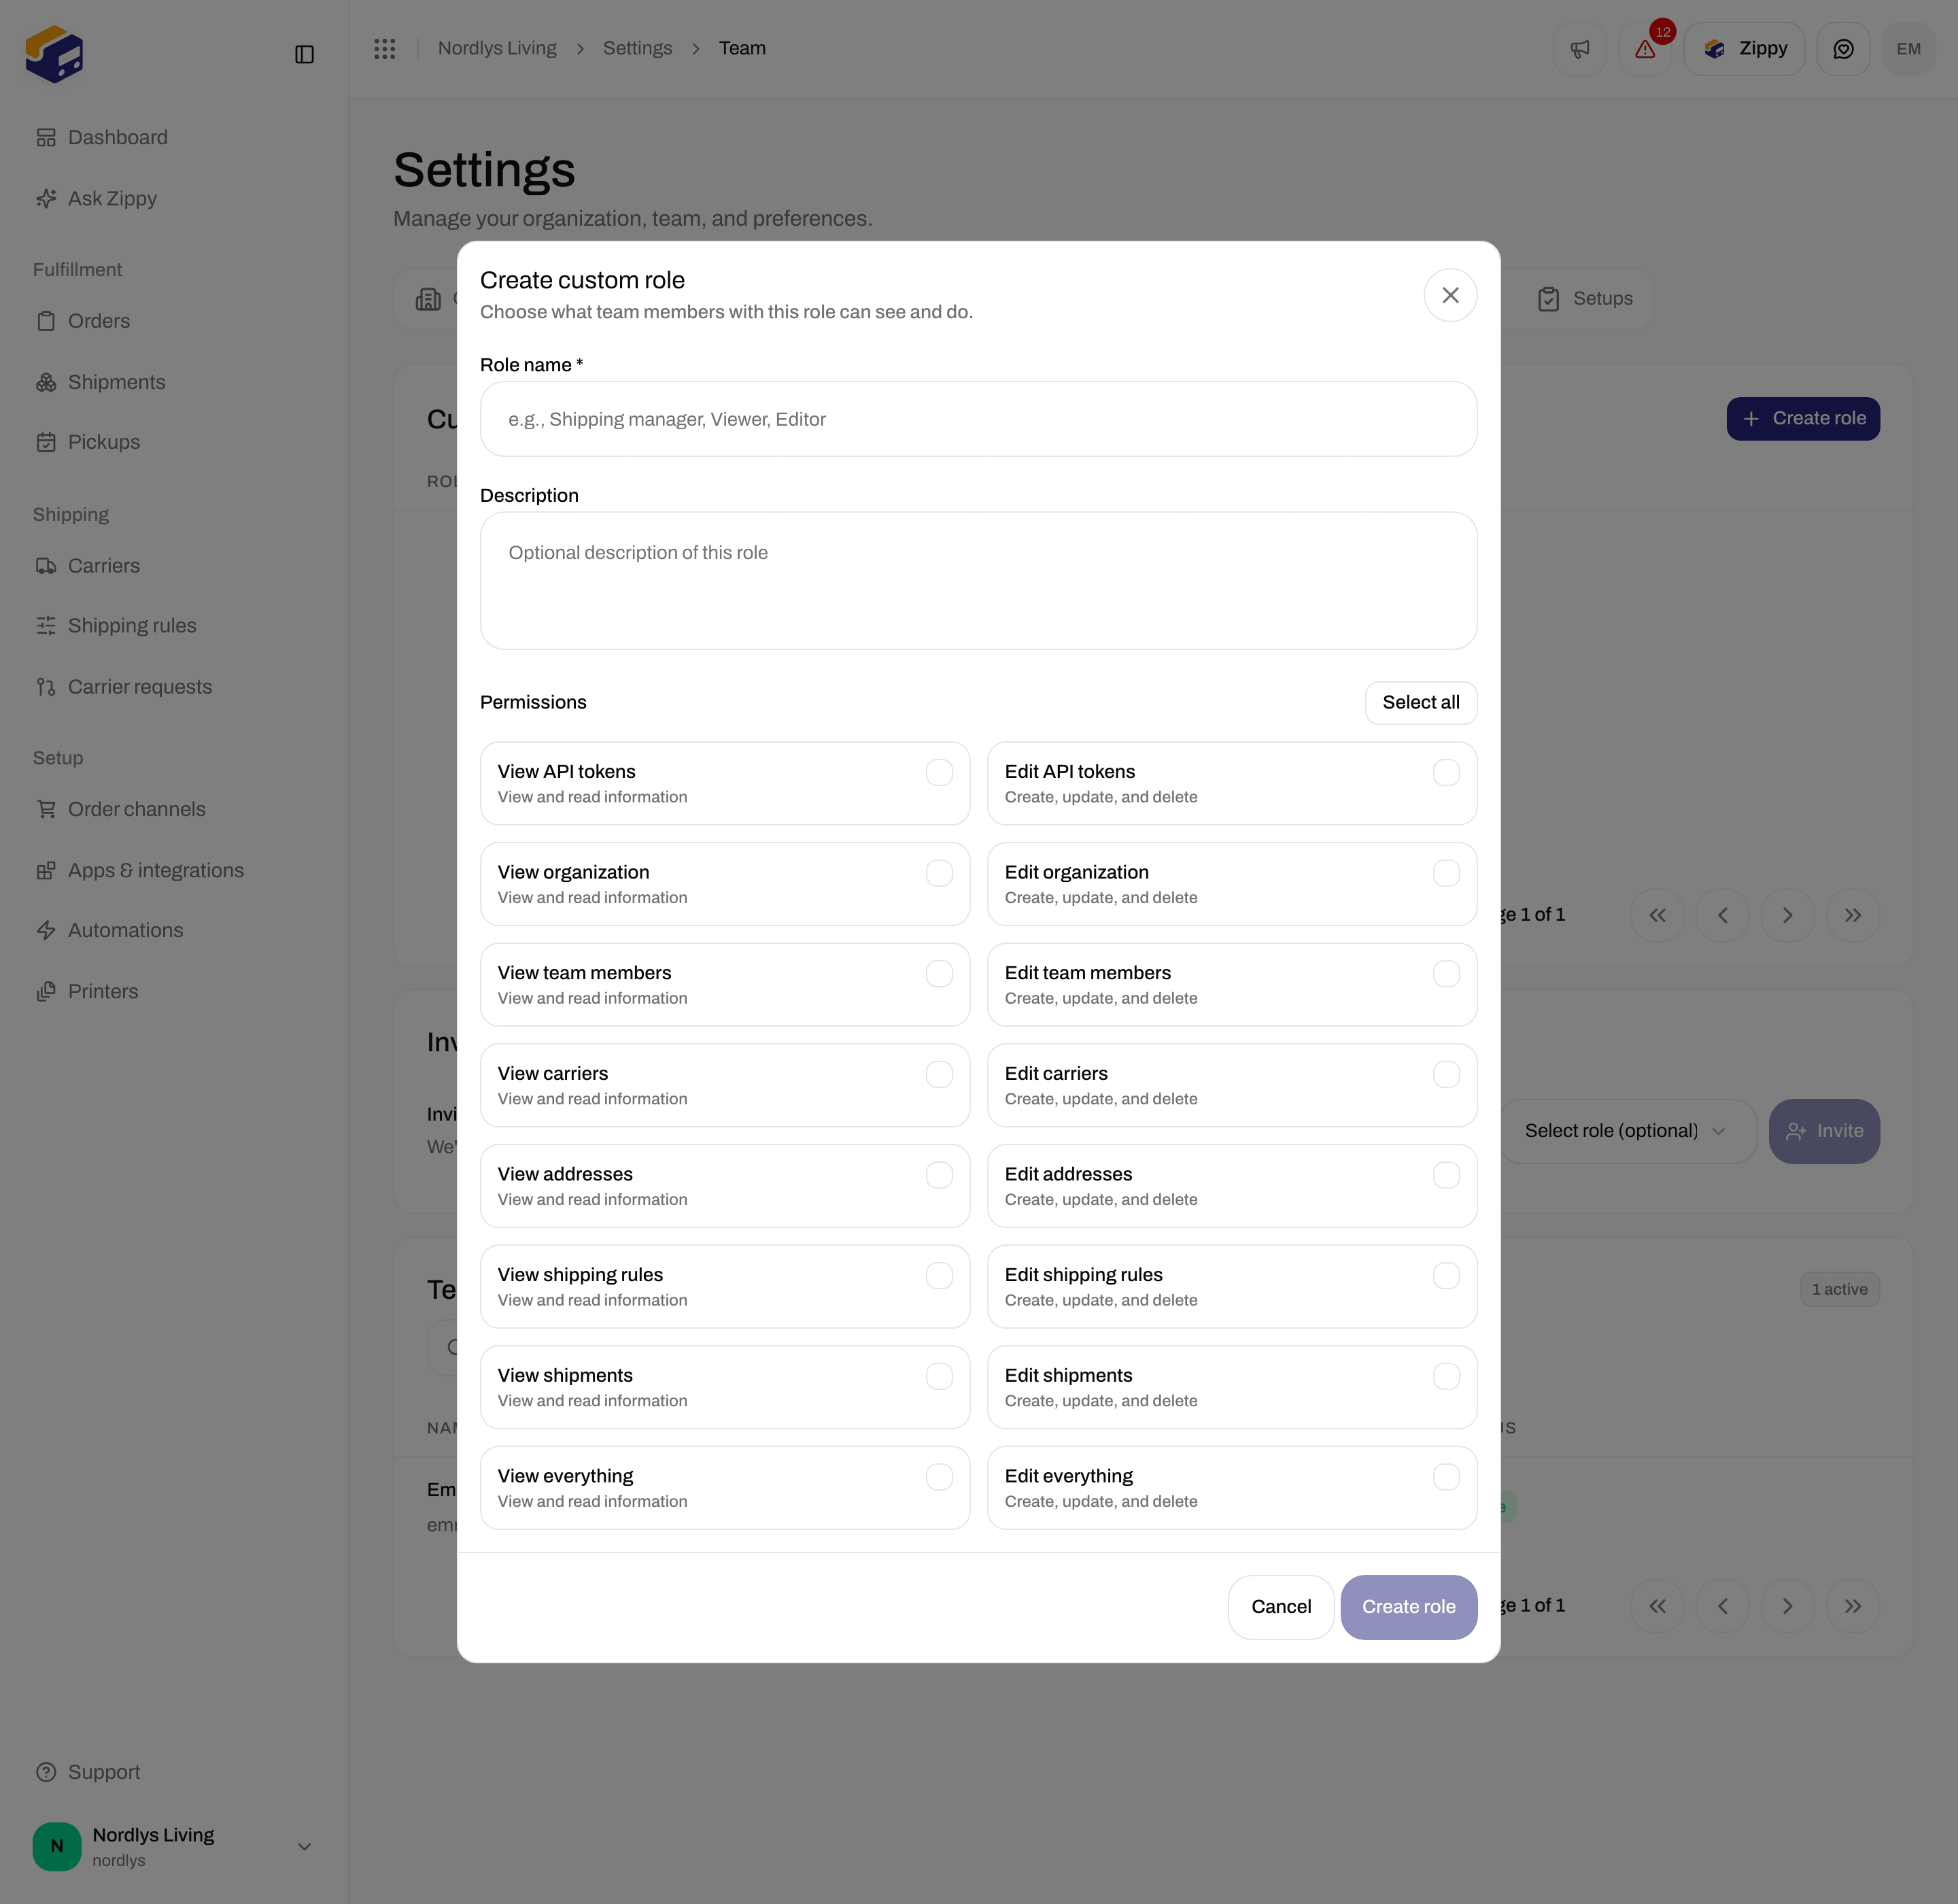
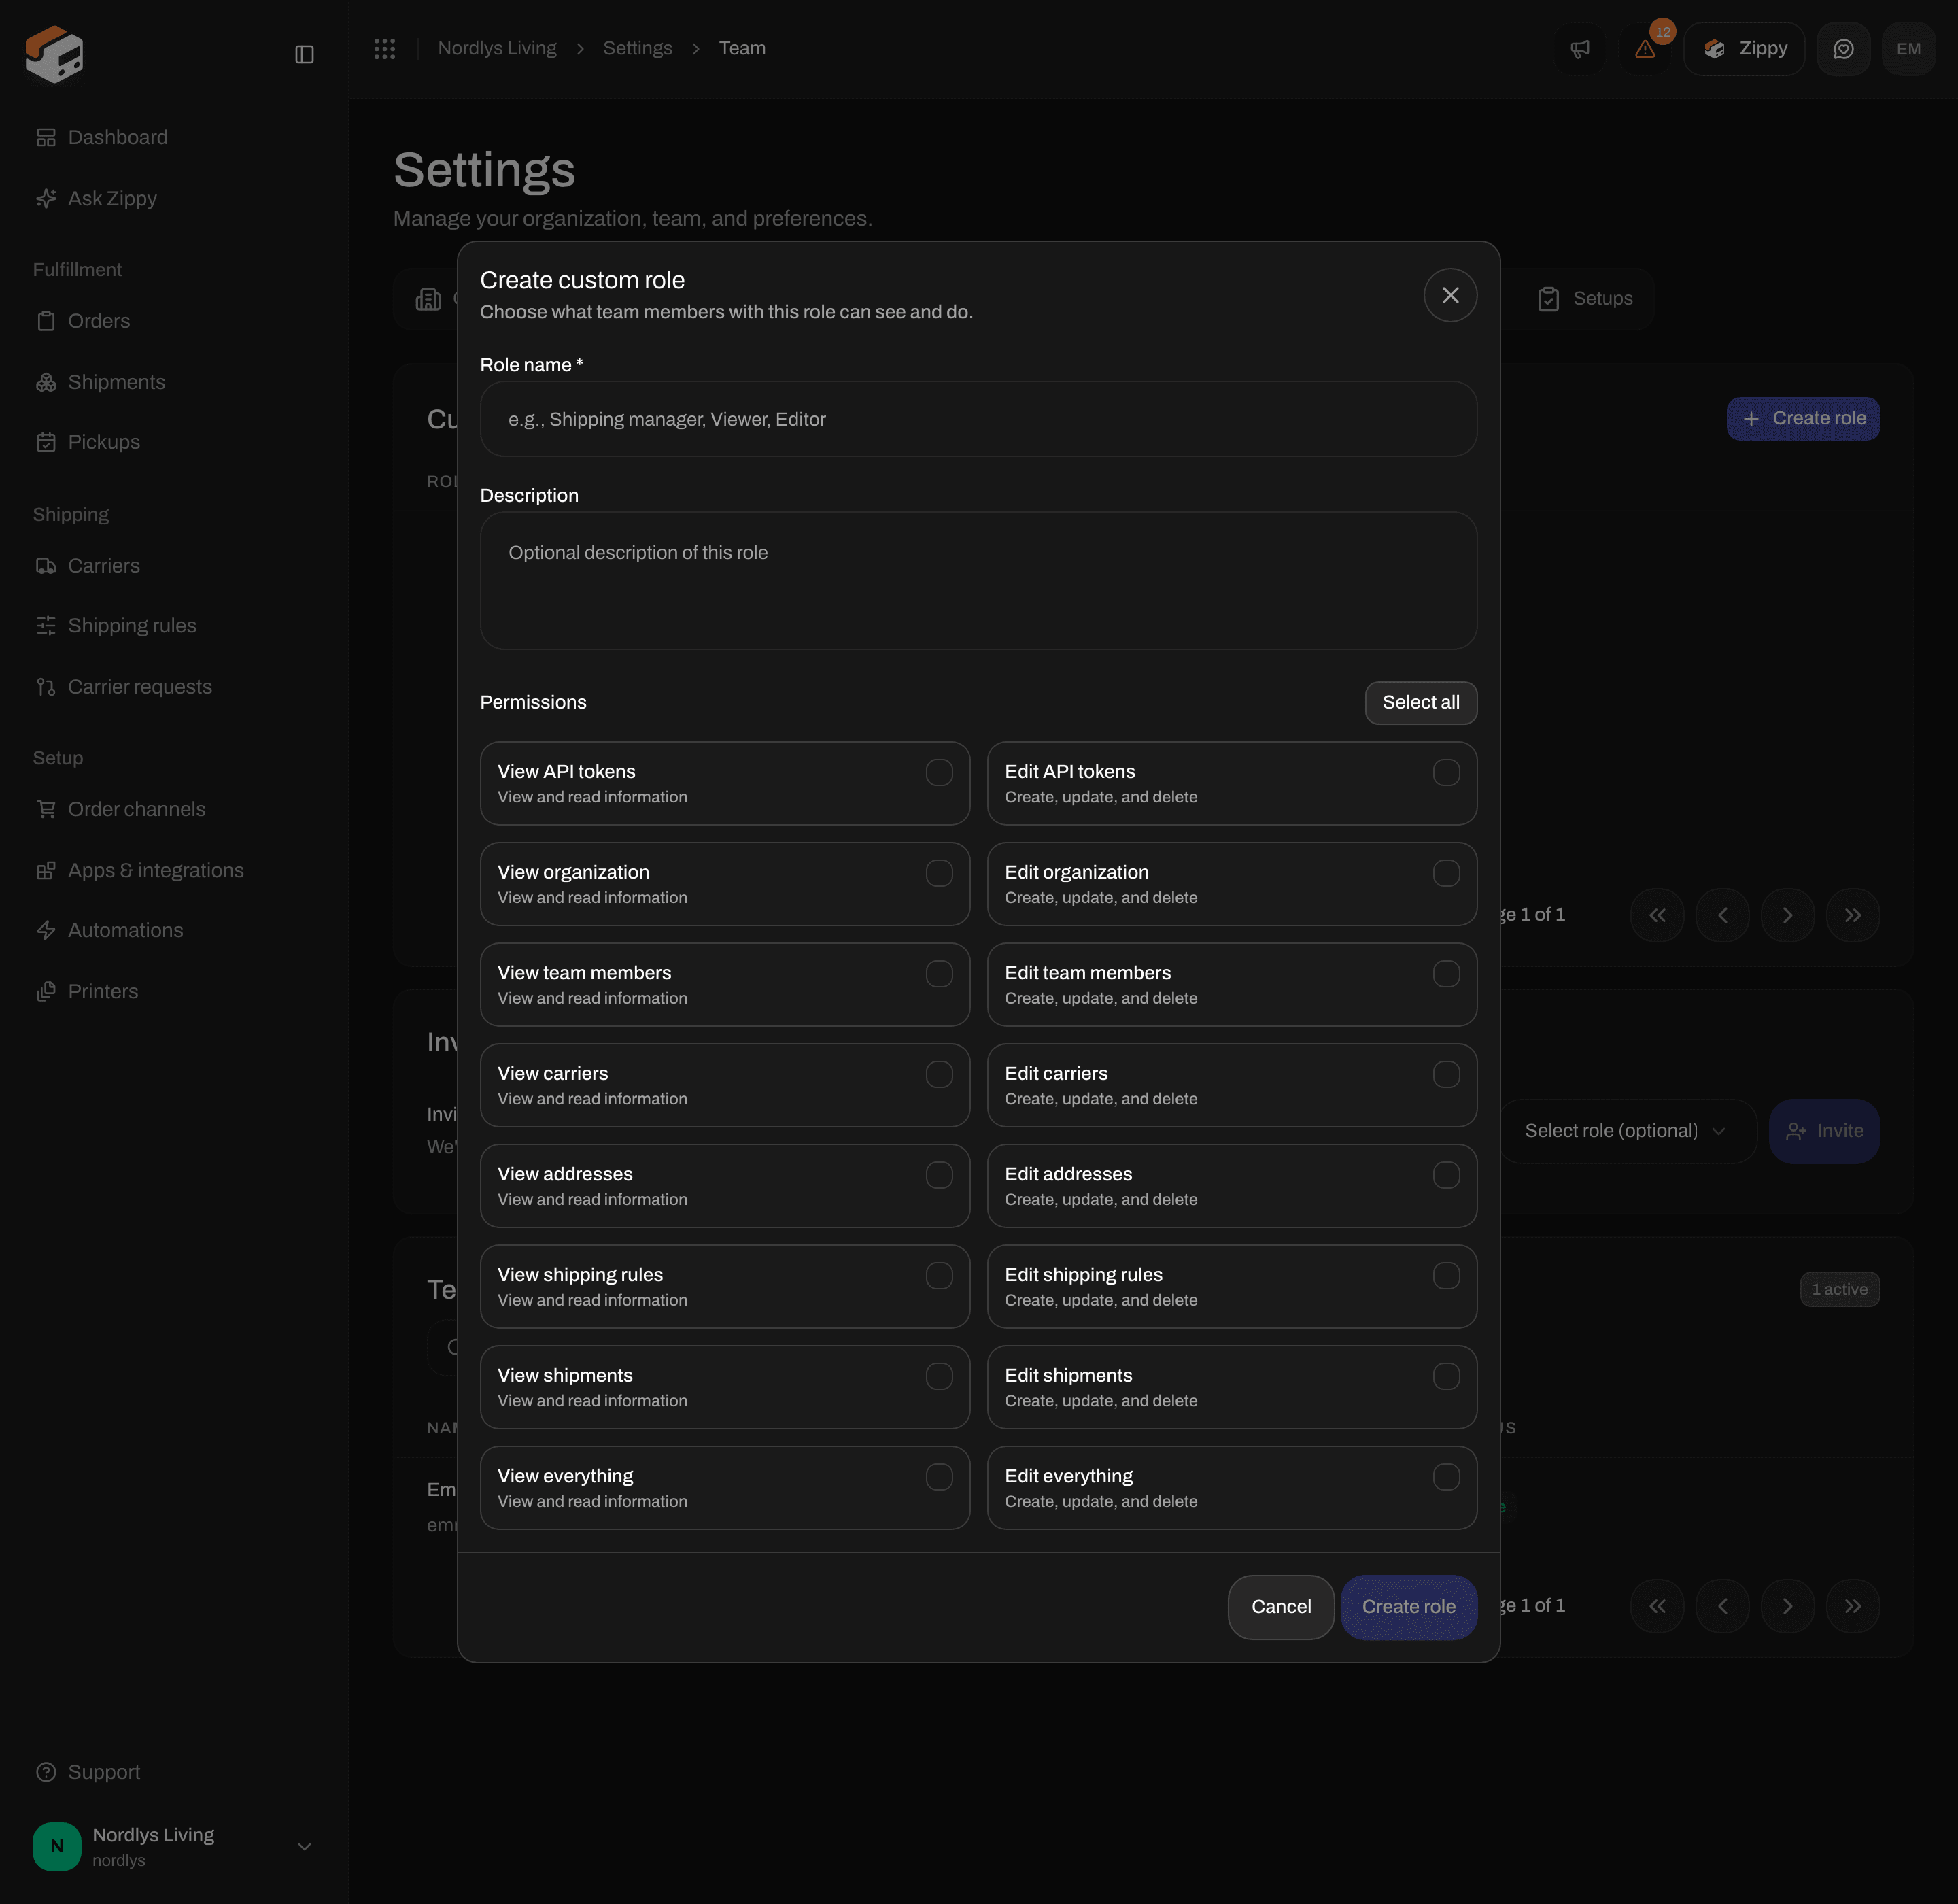
Create custom role - name, description and the permission checkboxes
A line under the checkboxes counts your choice, for example 3 permissions selected.
The permission checkboxes
Each area has a Read box (View and read information) and a Write box (Create, update, and delete):- View API tokens / Edit API tokens
- View organization / Edit organization
- View team members / Edit team members
- View carriers / Edit carriers
- View addresses / Edit addresses
- View shipping rules / Edit shipping rules
- View shipments / Edit shipments
- View everything / Edit everything
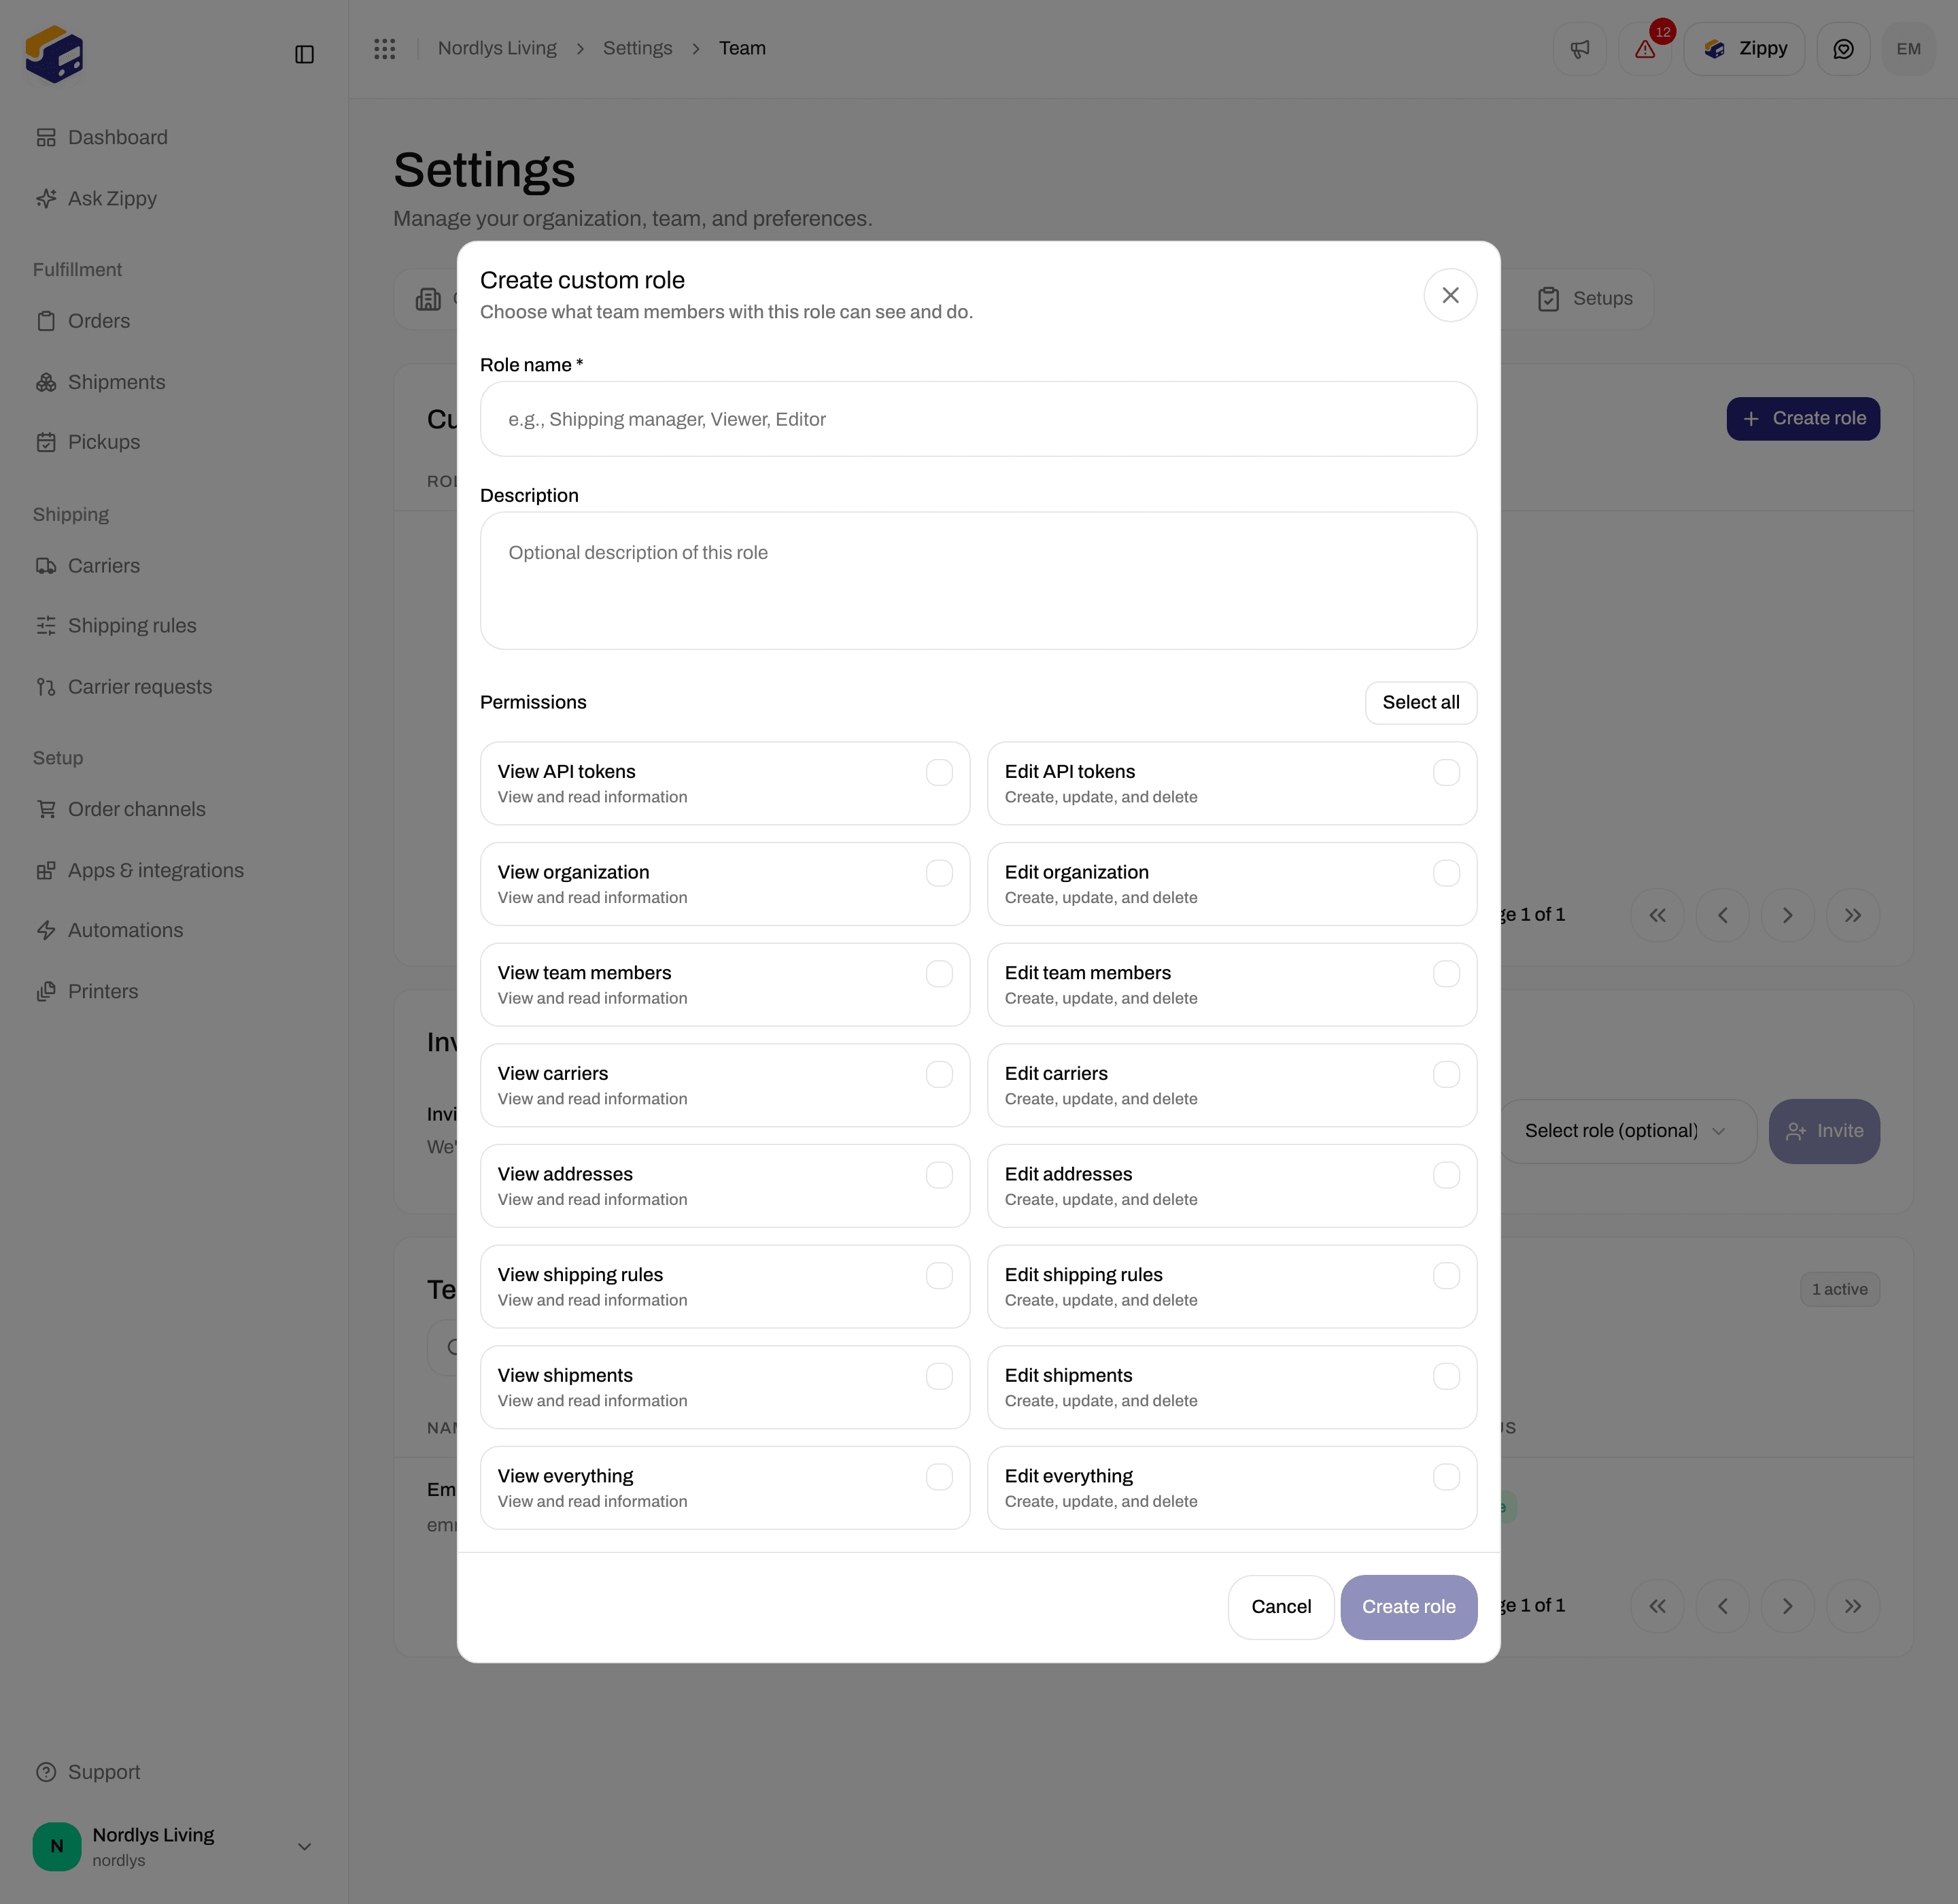
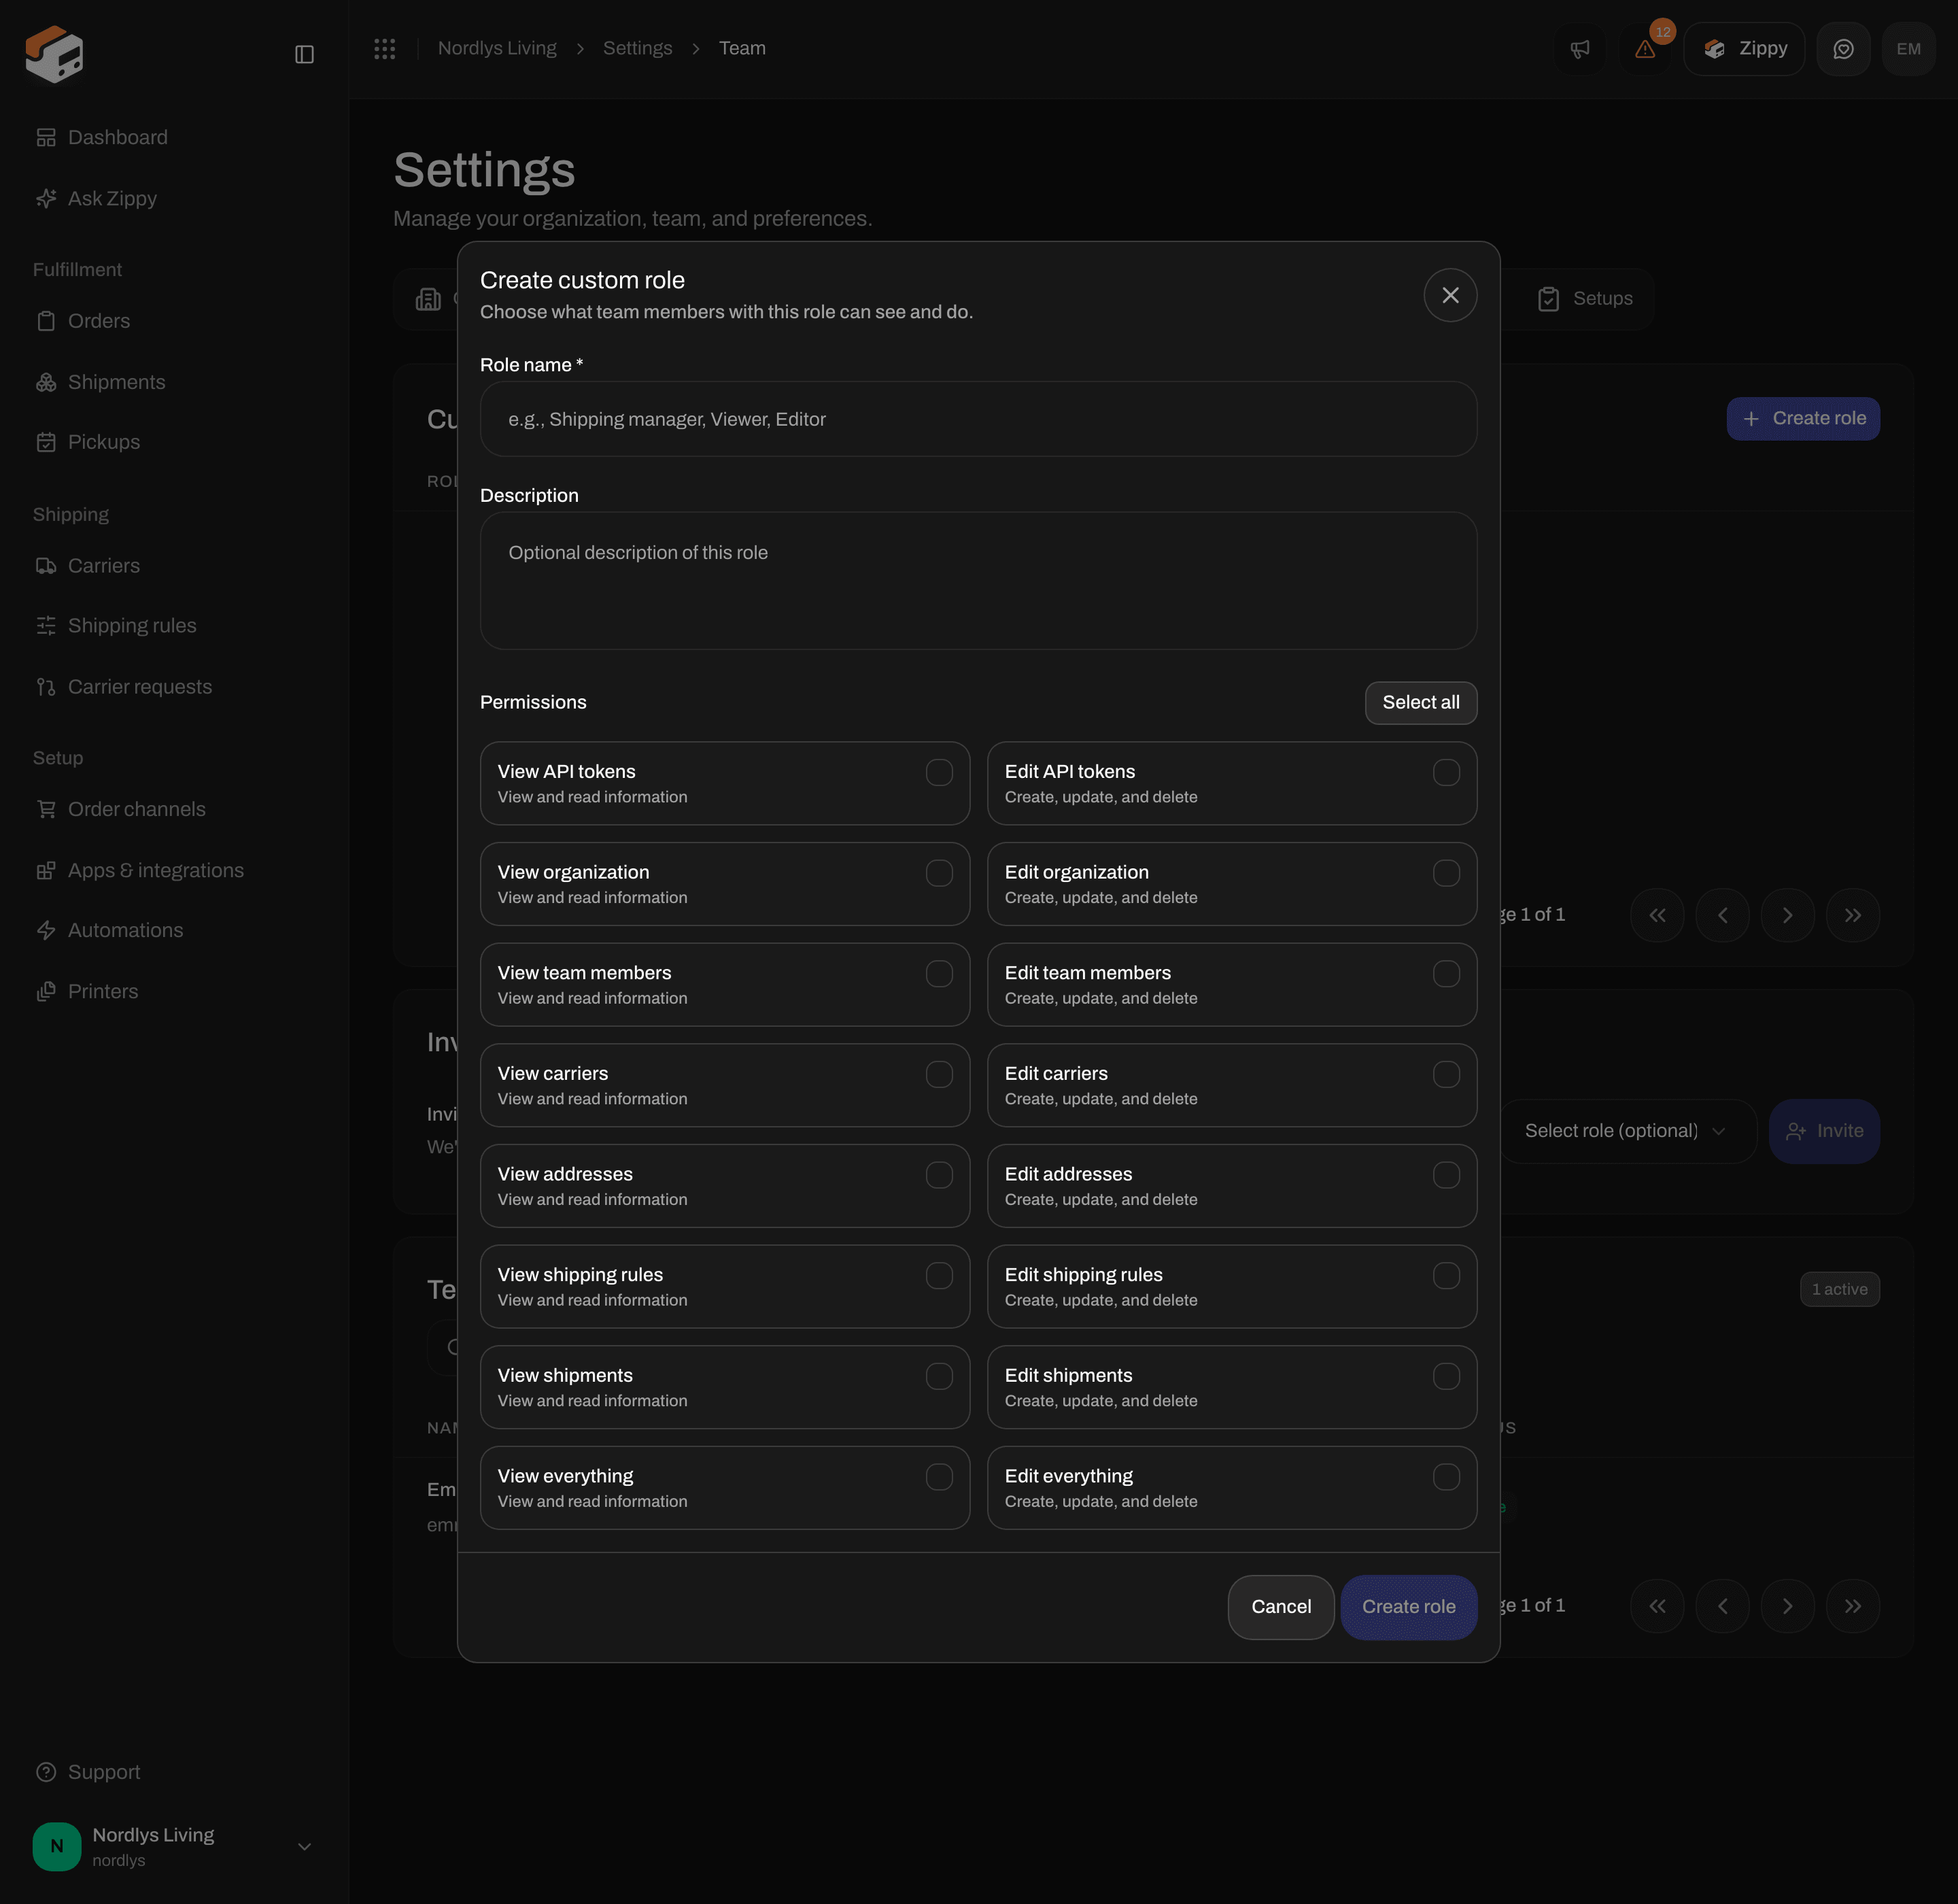
The rest of the checkboxes - Shipping rules, Shipments and All
1
Open the window
Click Create role or Create your first role.
2
Name the role
Fill in Role name *. Add a Description if you like.
3
Pick permissions
Tick the permissions the role should have, or click Select all.
4
Click Create role
The button stays grayed out until the role has a name and at least one permission. You see Role created, and the role appears in the table.
Edit a role
Click the role’s row or Edit. The Edit custom role window has the same fields. Click Update role to save. You see Role updated. The change applies to every team member who has the role.Delete a role
1
Click Delete
The Delete role window tells you how many team members lose the role, for example This removes the role from 2 team members.
2
Confirm
Type the role name in capital letters, for example
SHIPPING MANAGER. Then click Delete.Related
- Invite team members - give the role when you invite, or change it later.
- Create an API token - API tokens use the same permission checkboxes.
- Team and invitations - overview of the Team tab.