

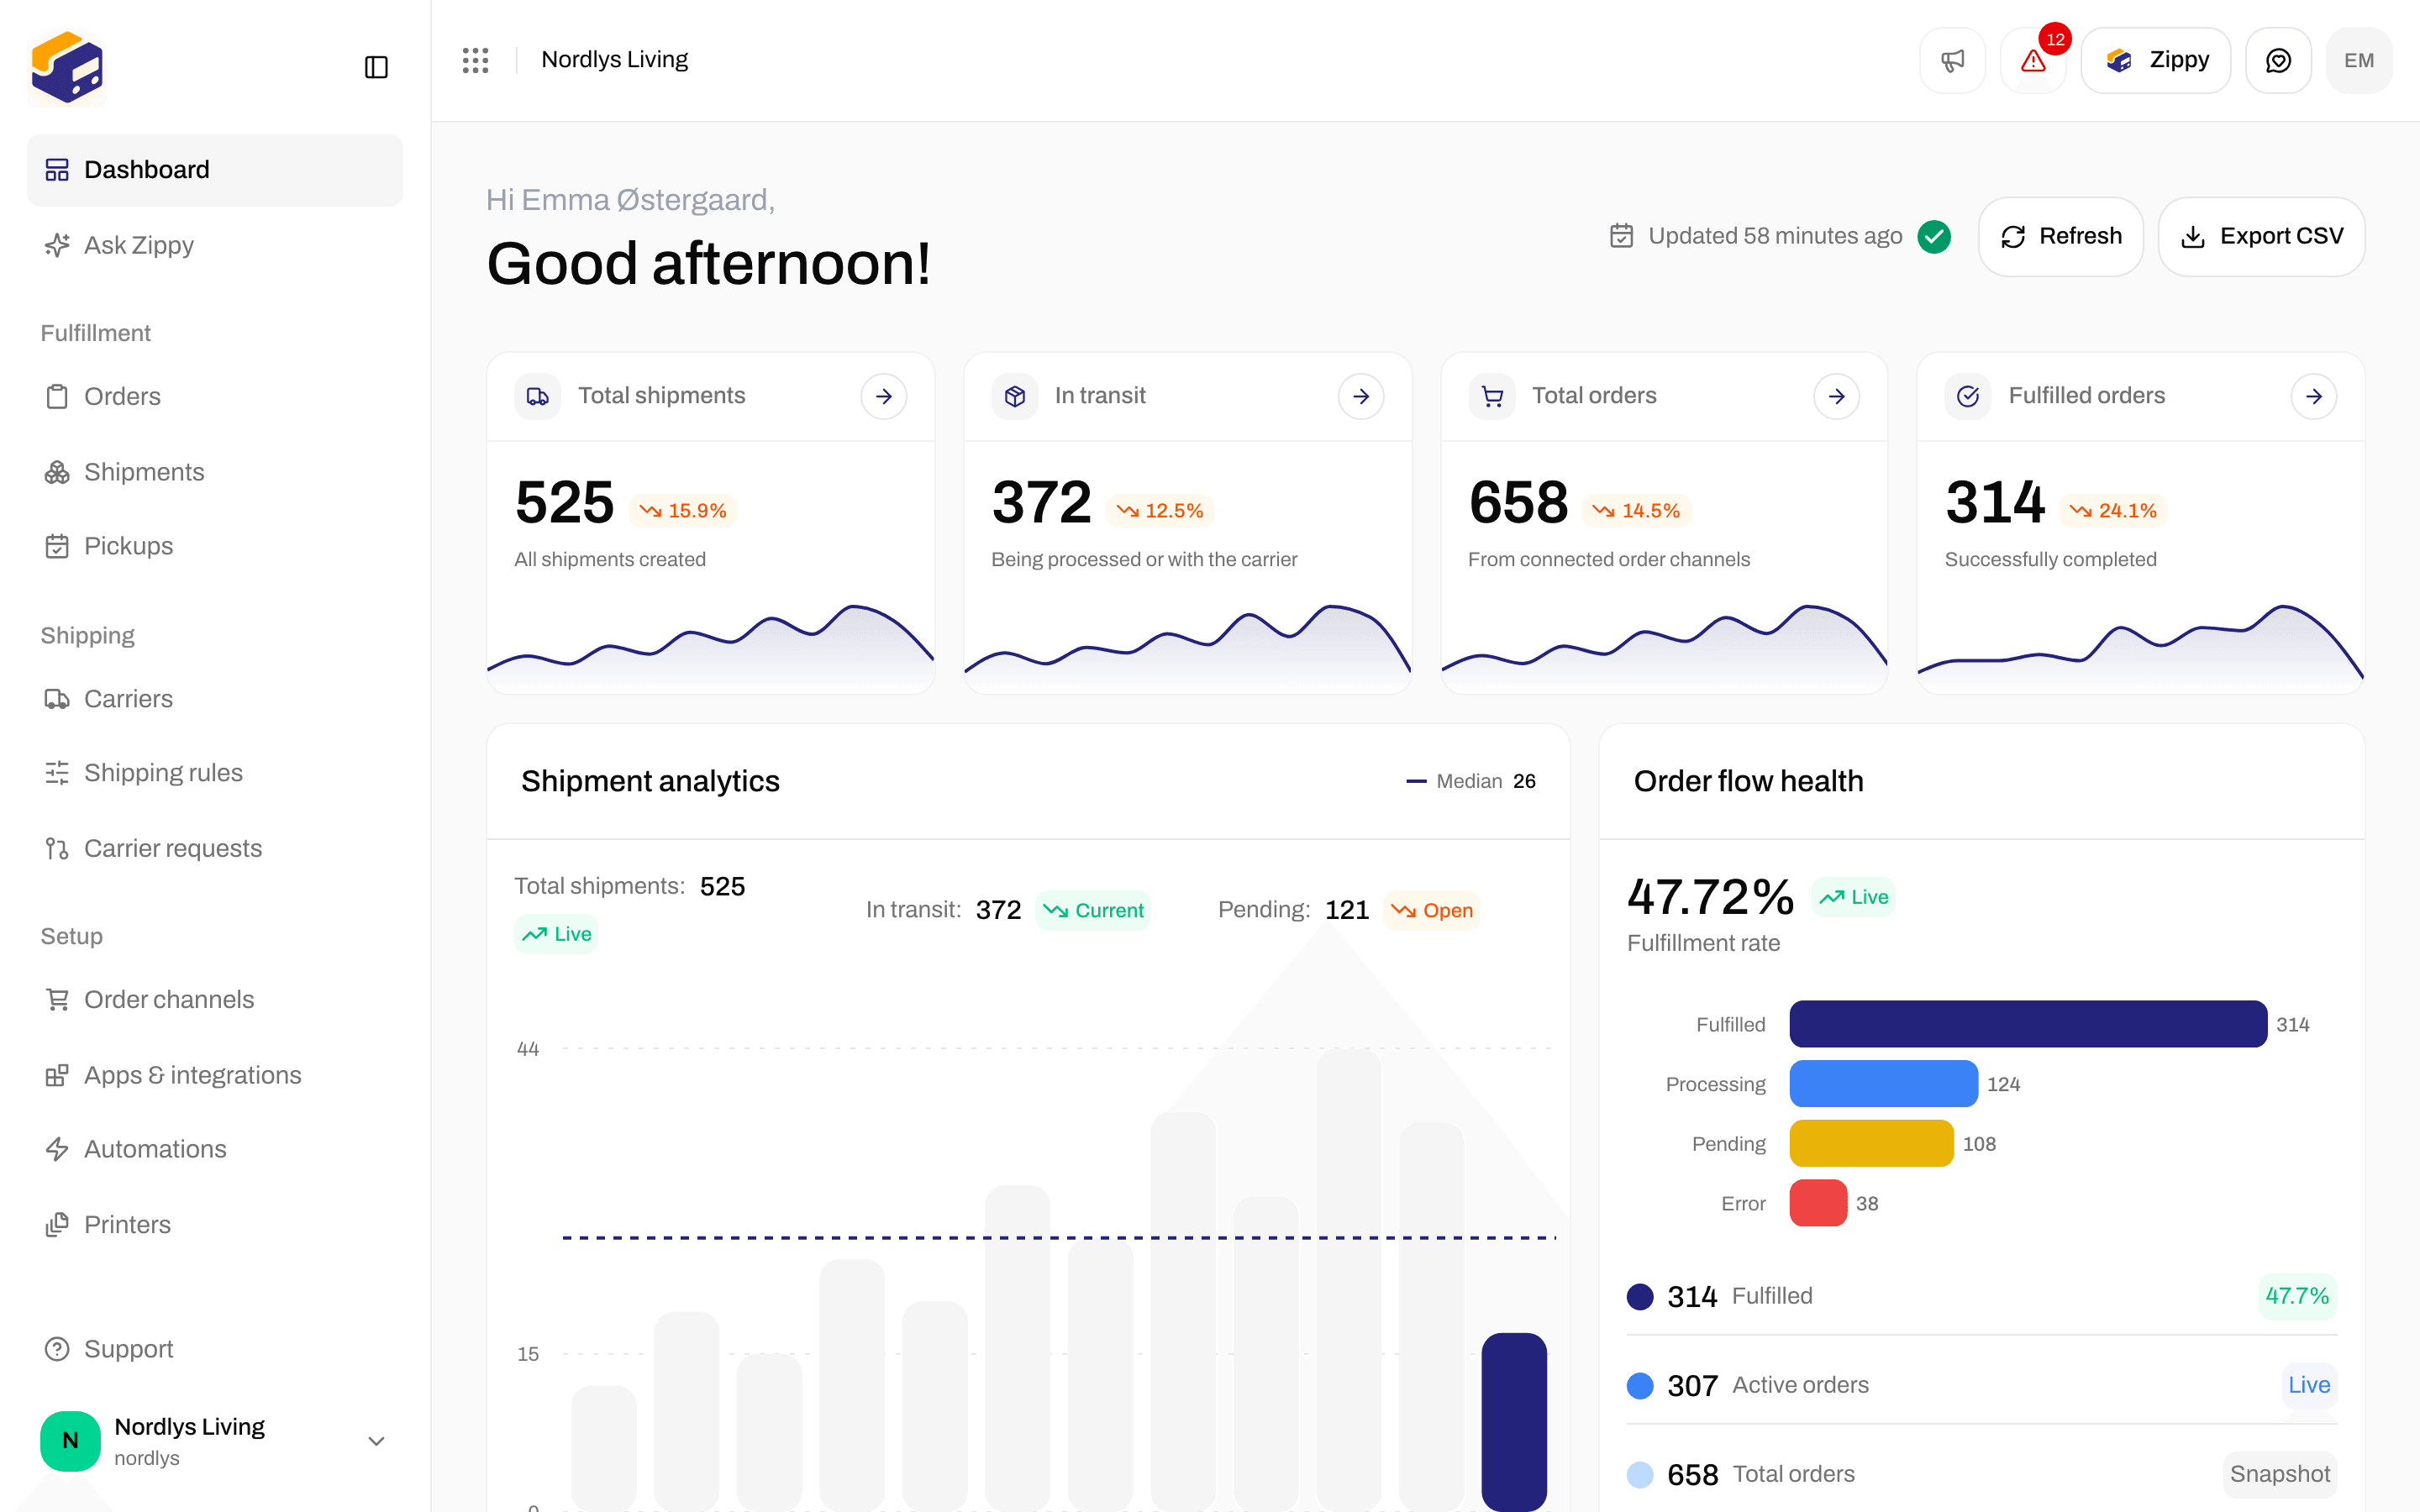
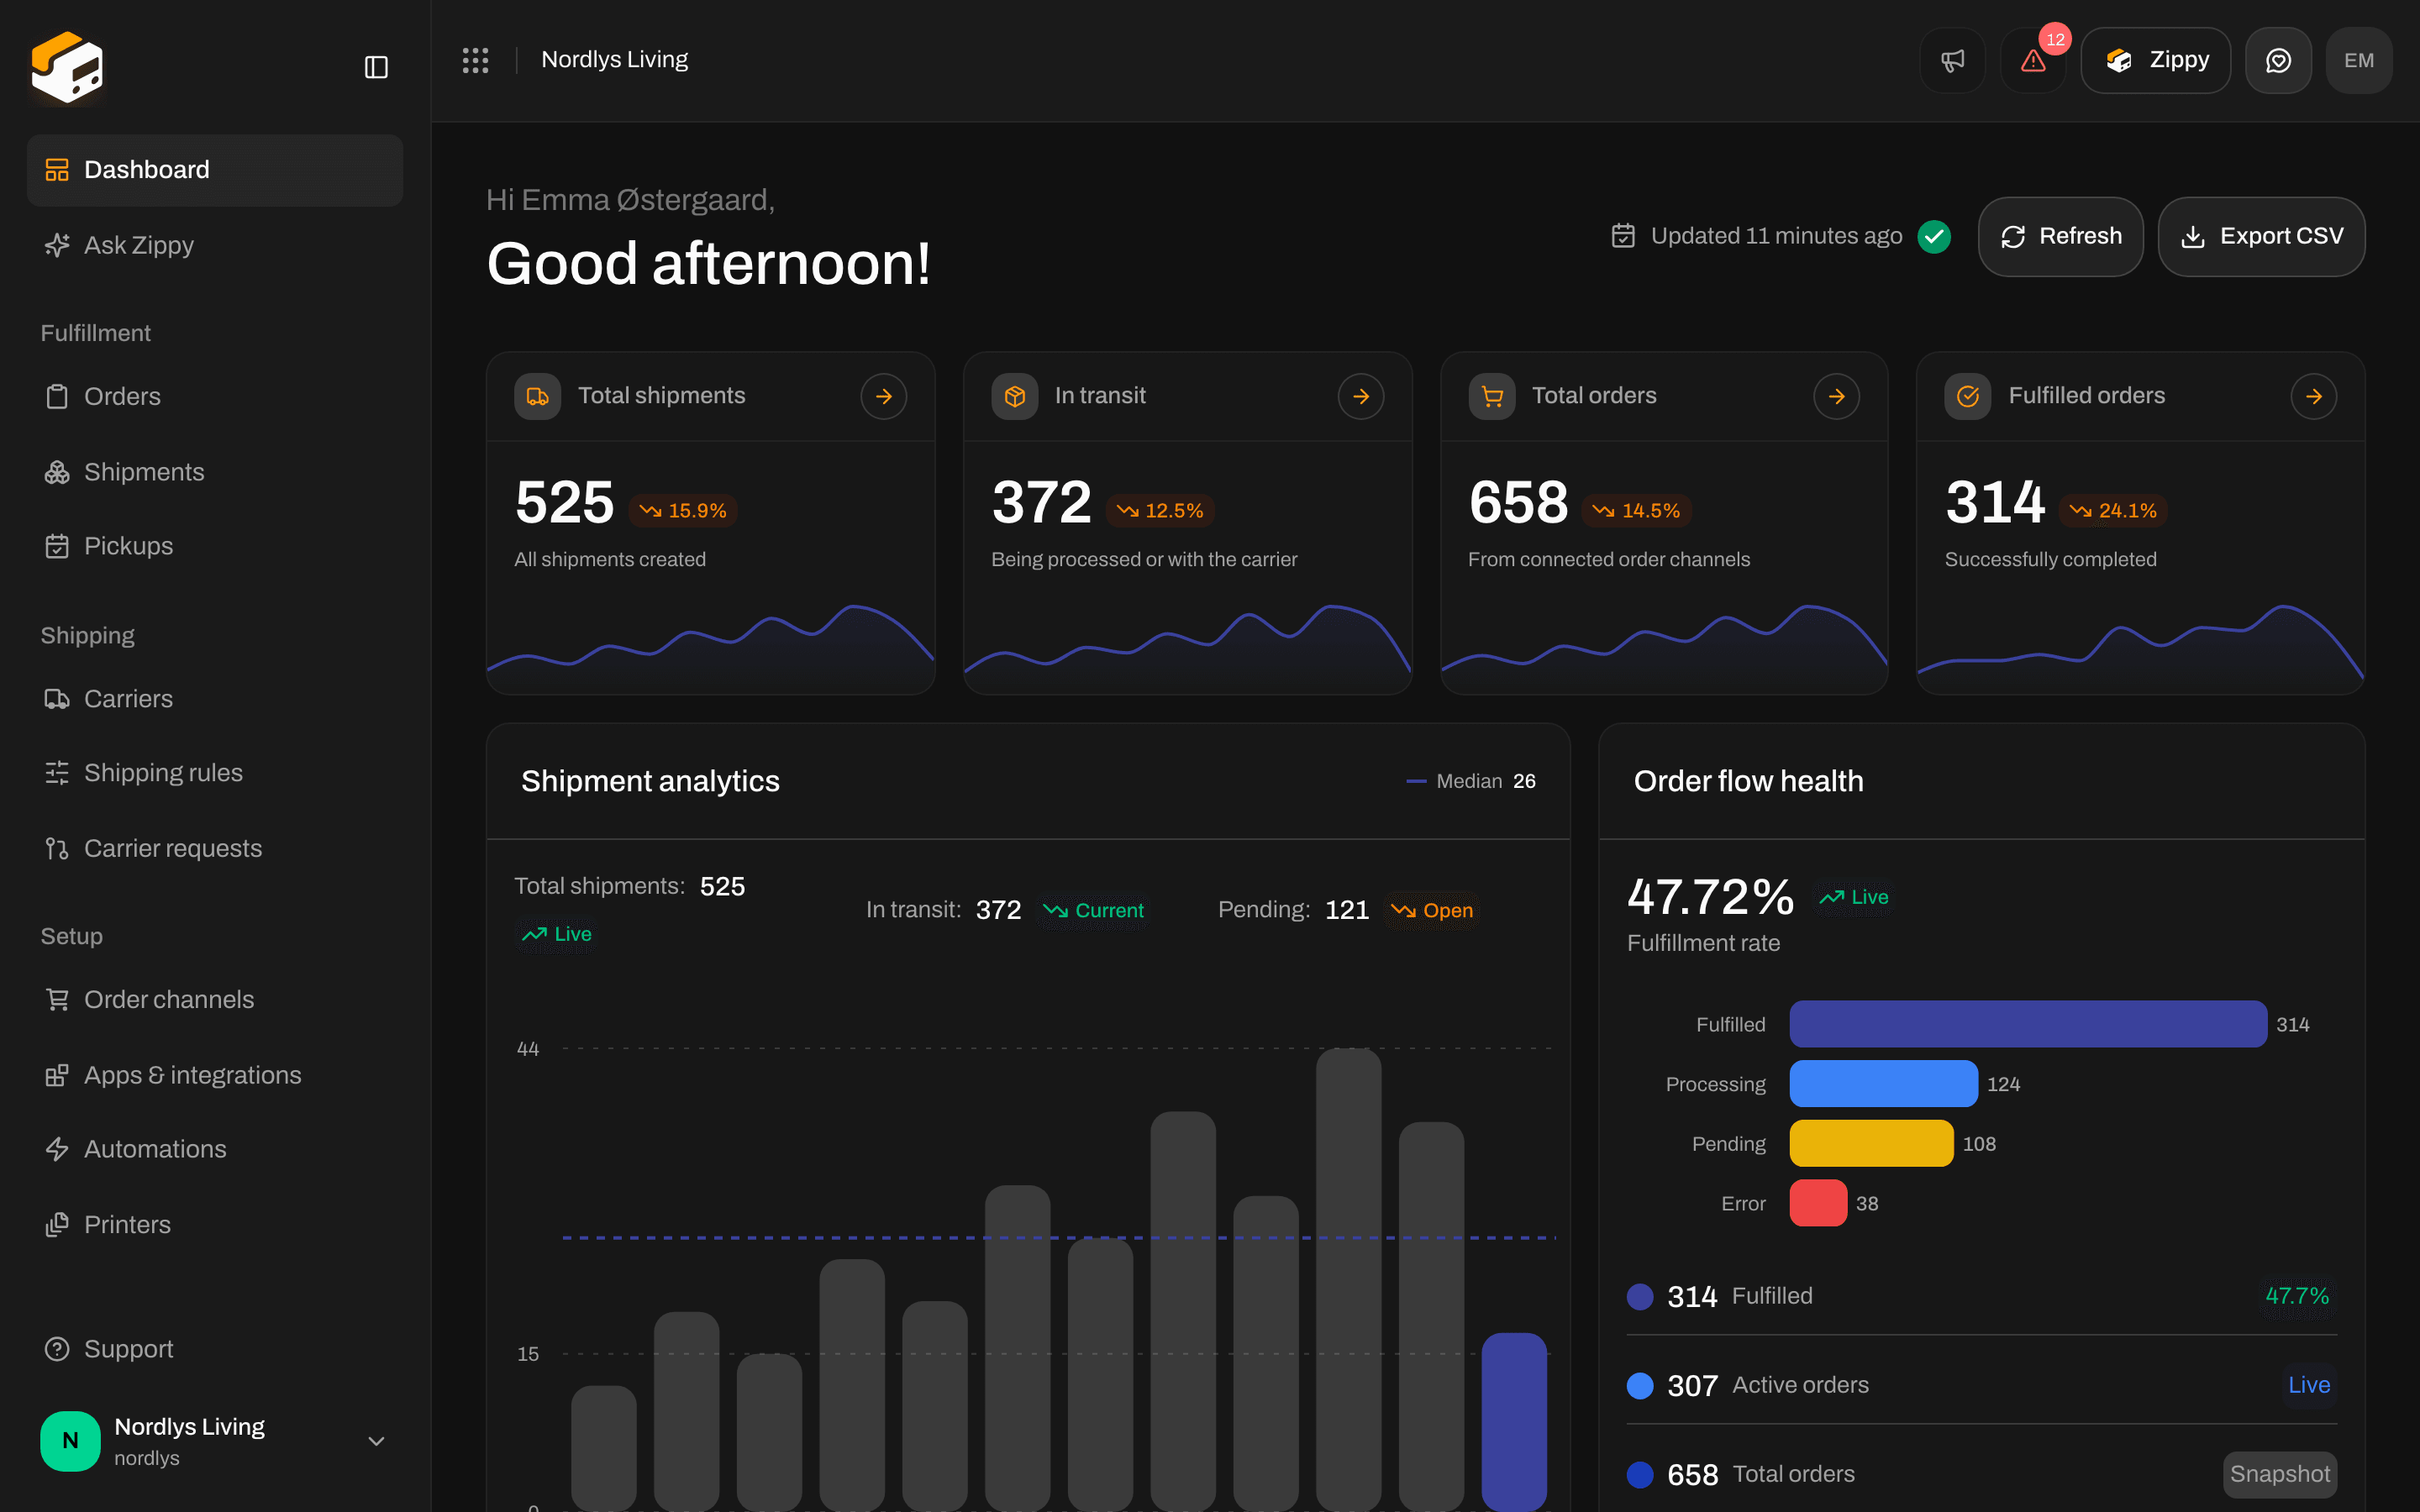
Dashboard once carriers and orders are connected
What Zippendo does for you
Most teams use Zippendo every day like this:- Connect a carrier (PostNord, GLS, DHL, Bring and others), so labels and tracking use your own carrier account.
- Add a sender address: the “from” address printed on labels.
- Create a shipment by hand, or from an order that came in from your webshop.
- Print or download the label, hand the parcel to the carrier, and follow the tracking until it is delivered.
- Order channels: Shopify, WooCommerce or your own system, so orders appear under Orders without copying and pasting.
- Shipping rules: Zippendo picks the carrier and product for you based on destination, weight, order value and number of items.
- Checkout prices: show your shipping rules as shipping methods in your Shopify or WooCommerce checkout, including service points.
- Returns: create a return shipment from a sent shipment once a return shipping rule is set up.
- Brands, team and printers: keep separate shops apart as brands, invite team members, and print labels automatically when a shipment is sent.
How to use these tutorials
Each tutorial is one job (connect Shopify, print a label, invite a team member). If you are new, read them in order. If you already ship, jump to the one that matches the page you are on. Suggested order for a new organization1
Get set up
Getting started covers signing in, the setup wizard and your first sender address. Dashboard shows you around the start page.
2
Send a parcel
Carriers → Create a shipment → Labels and printing → Tracking. That is the everyday routine: connect, send, print, follow.
3
Connect your webshop (optional)
Connect Shopify or Connect order channels so your orders come in by themselves. Then use Orders to ship from the order instead of typing the address again.
4
Let Zippendo choose
Shipping rules pick the product for you. Checkout shows those shipping methods to your customers. Returns covers parcels coming back.
5
Set up your company
Settings, team, and brands covers invites, roles, and running more than one brand in the same organization.
You need at least one sender address and one connected carrier before you can create a shipment. Everything else in these tutorials is optional until you need it.
The tutorials link to the matching how-to guides for the fields on each page, and to the documentation for statuses and settings. You don’t need to read both: follow the tutorial, and open the how-to guide when a field is unclear. Some pairs: Create a shipment and Send a shipment, Labels and printing and Printer jobs, Dashboard and Ask Zippy.
Getting started
Getting started
Create your account, work through the setup wizard, and add the sender address your labels need.
Dashboard
Key numbers, shipment charts, recent shipments, and shortcuts to your orders.
Shipments and labels
Create a shipment
Create a shipment from Shipments or from an order: carrier, product, parties and parcels.
Labels and printing
Download, print, or print labels automatically (PDF or ZPL).
Tracking
Follow a shipment after it is sent and see what each status means.
Carriers
Connect PostNord, GLS, DHL and others, see their products, and use test mode.
Orders and order channels
Orders
Open the orders from your webshop and create a shipment from one.
Filters and saved views
Narrow orders or shipments down to today’s packing and save it as a view for your team.
Connect Shopify
Install Zippendo on your Shopify store and check that orders come in.
Connect order channels
WooCommerce, your own webshop or system, and more than one webshop.
Checkout
Show carrier prices and service points in your Shopify or WooCommerce checkout.
Warehouse
Connect PeakWMS
Let PeakWMS print Zippendo labels at the packing table: connection, key, web addresses and Host IDs.
Automation
Shipping rules
Pick the carrier product by destination, weight, order value and brand.
Returns
Create a return shipment from a sent outbound shipment.
Account
Settings, team, and brands
Organization settings, invites and roles, and separate brands on one bill.
If you already know what you need
- Your first label today → Getting started, then Create a shipment.
- Your Shopify store is already live → Connect Shopify.
- Same destination, same product, every time → Shipping rules.
- Customers should see real shipping prices at checkout → Checkout.
- The same list of orders to pack every morning → Filters and saved views.
- Your warehouse runs PeakWMS → Connect PeakWMS.
- Labels should print without a click → Labels and printing and the automatic printing part of Shipping rules.
Prefer a short checklist without screenshots? Use the onboarding checklist. For a one-page summary of Zippendo, see What is Zippendo?.