Every warehouse has a handful of questions it asks the order list all day long. What is waiting to be packed for Sweden and Norway? Which orders over 1.000 kr. still have no shipment? What came in since yesterday? This tutorial shows how to ask those questions with filters, combine them, and save the useful ones as views so nobody has to rebuild them tomorrow. Everything here works the same on Orders and Shipments. The screenshots use the orders list.
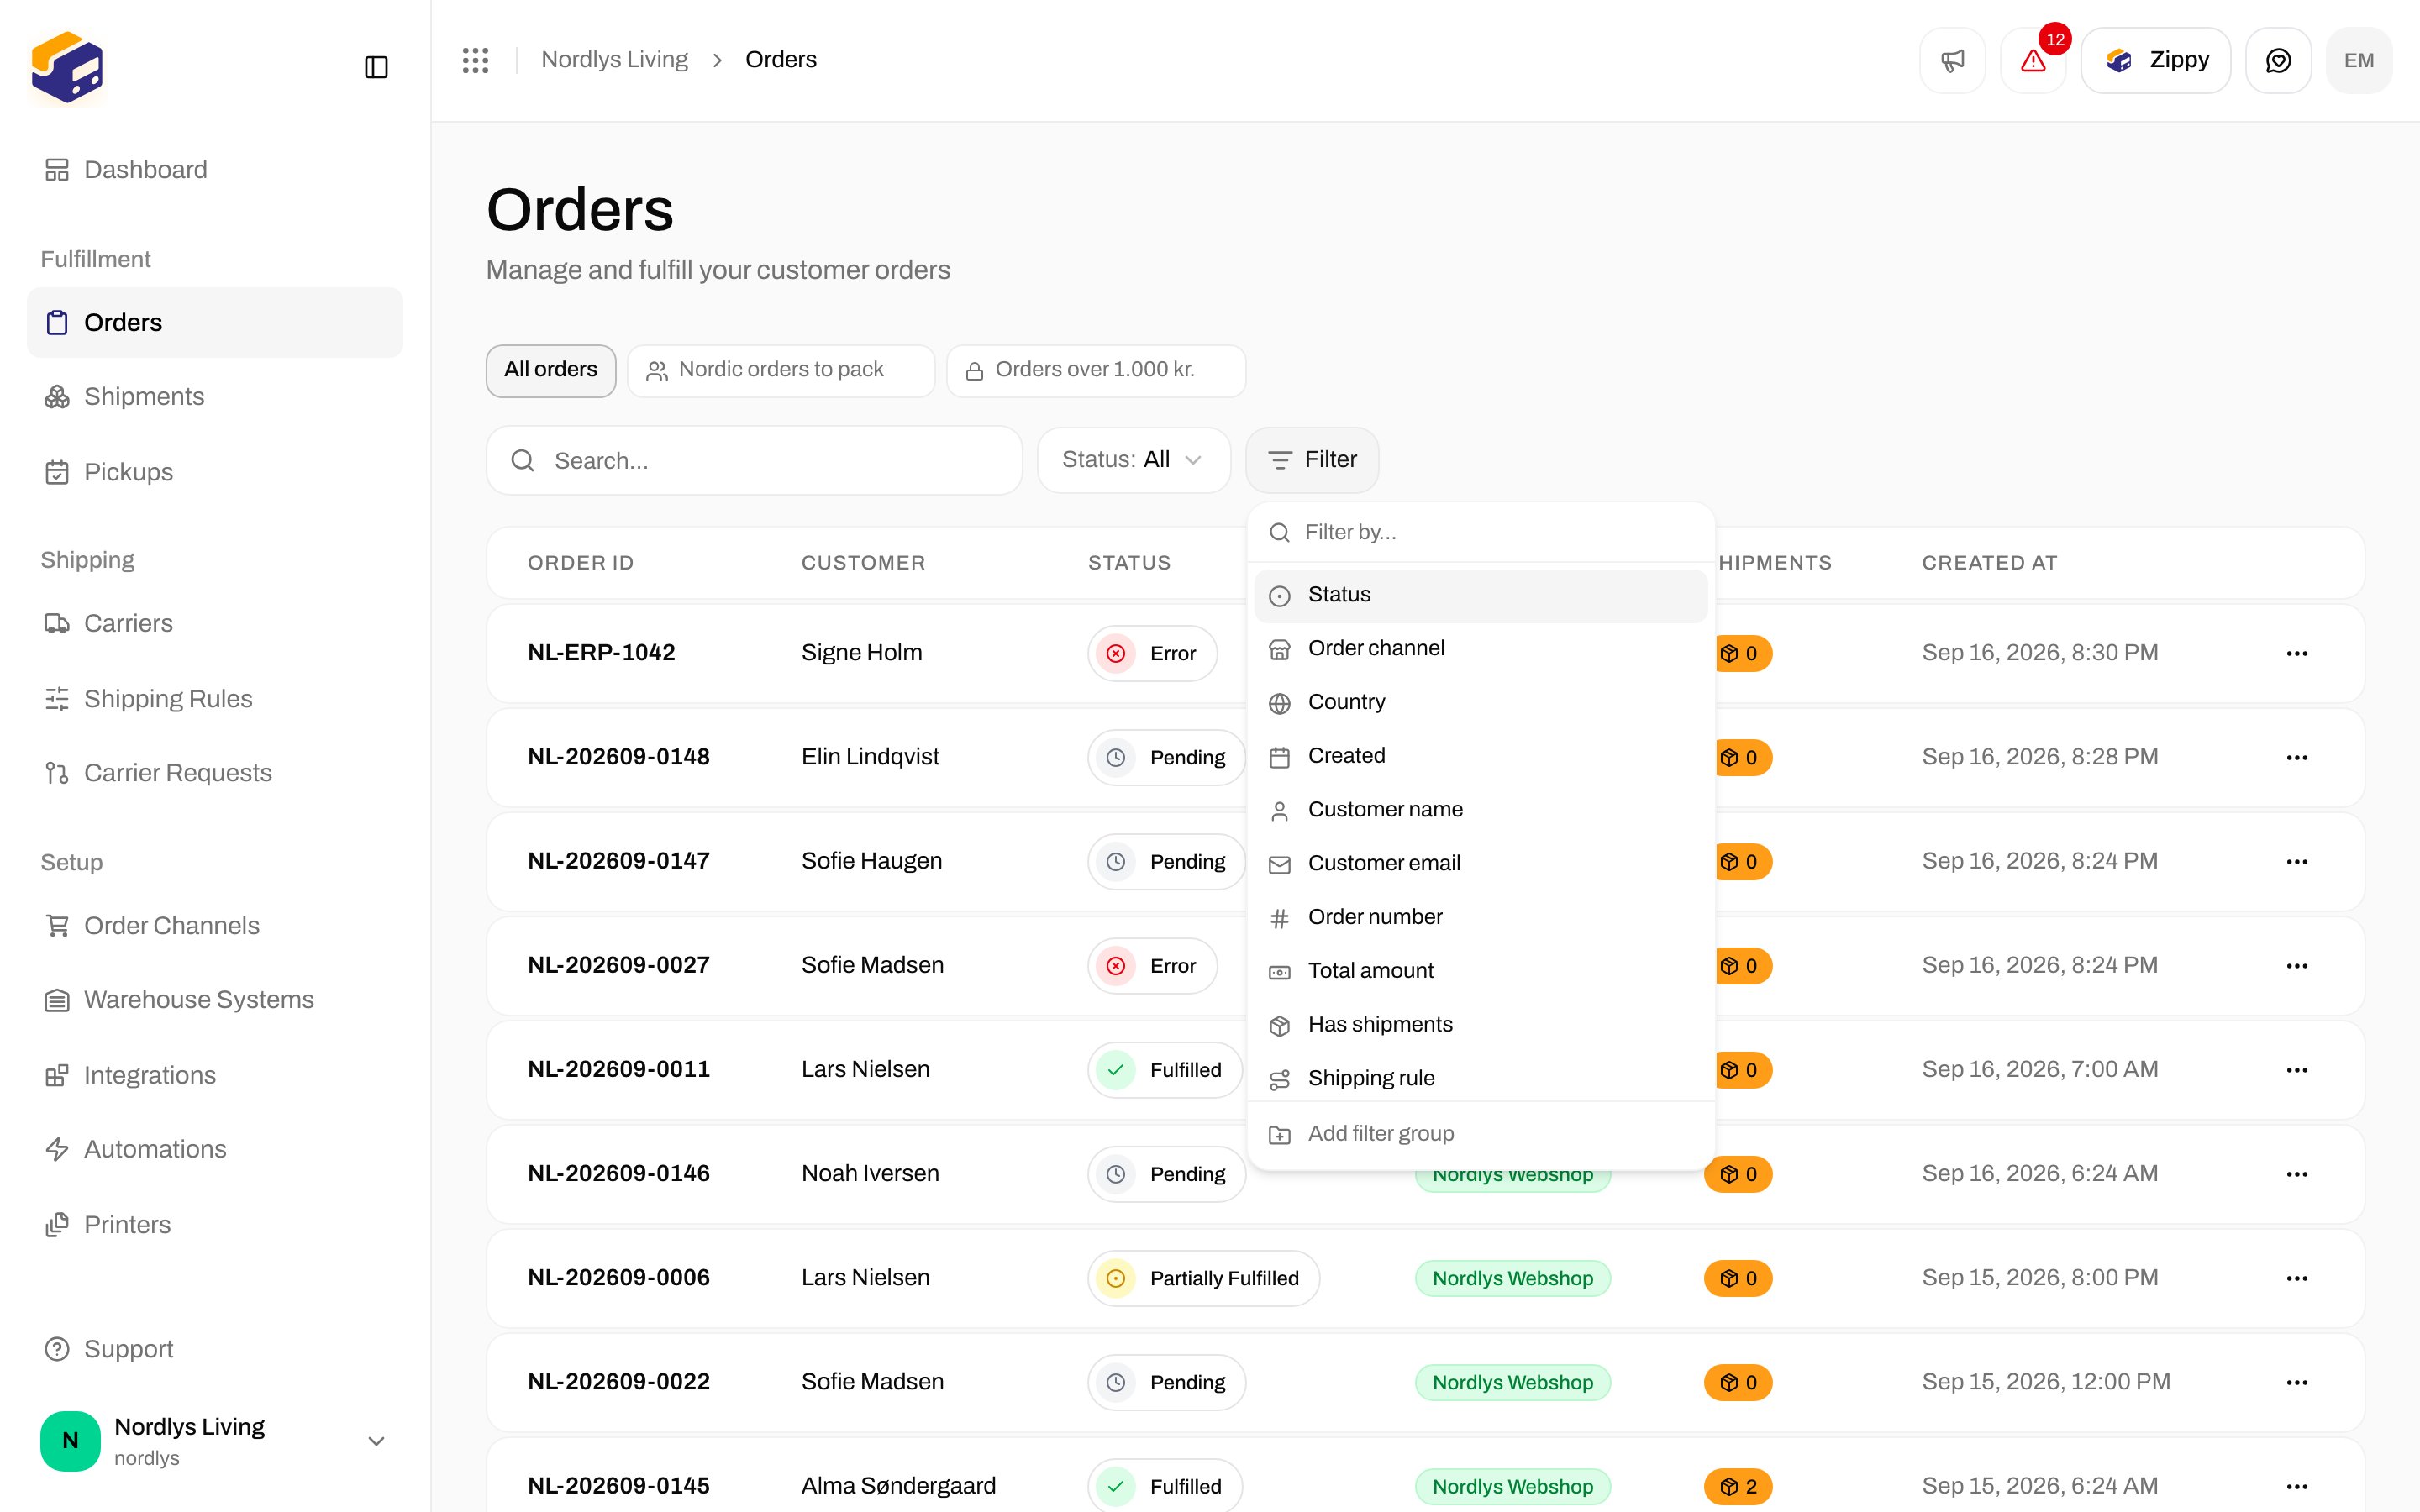
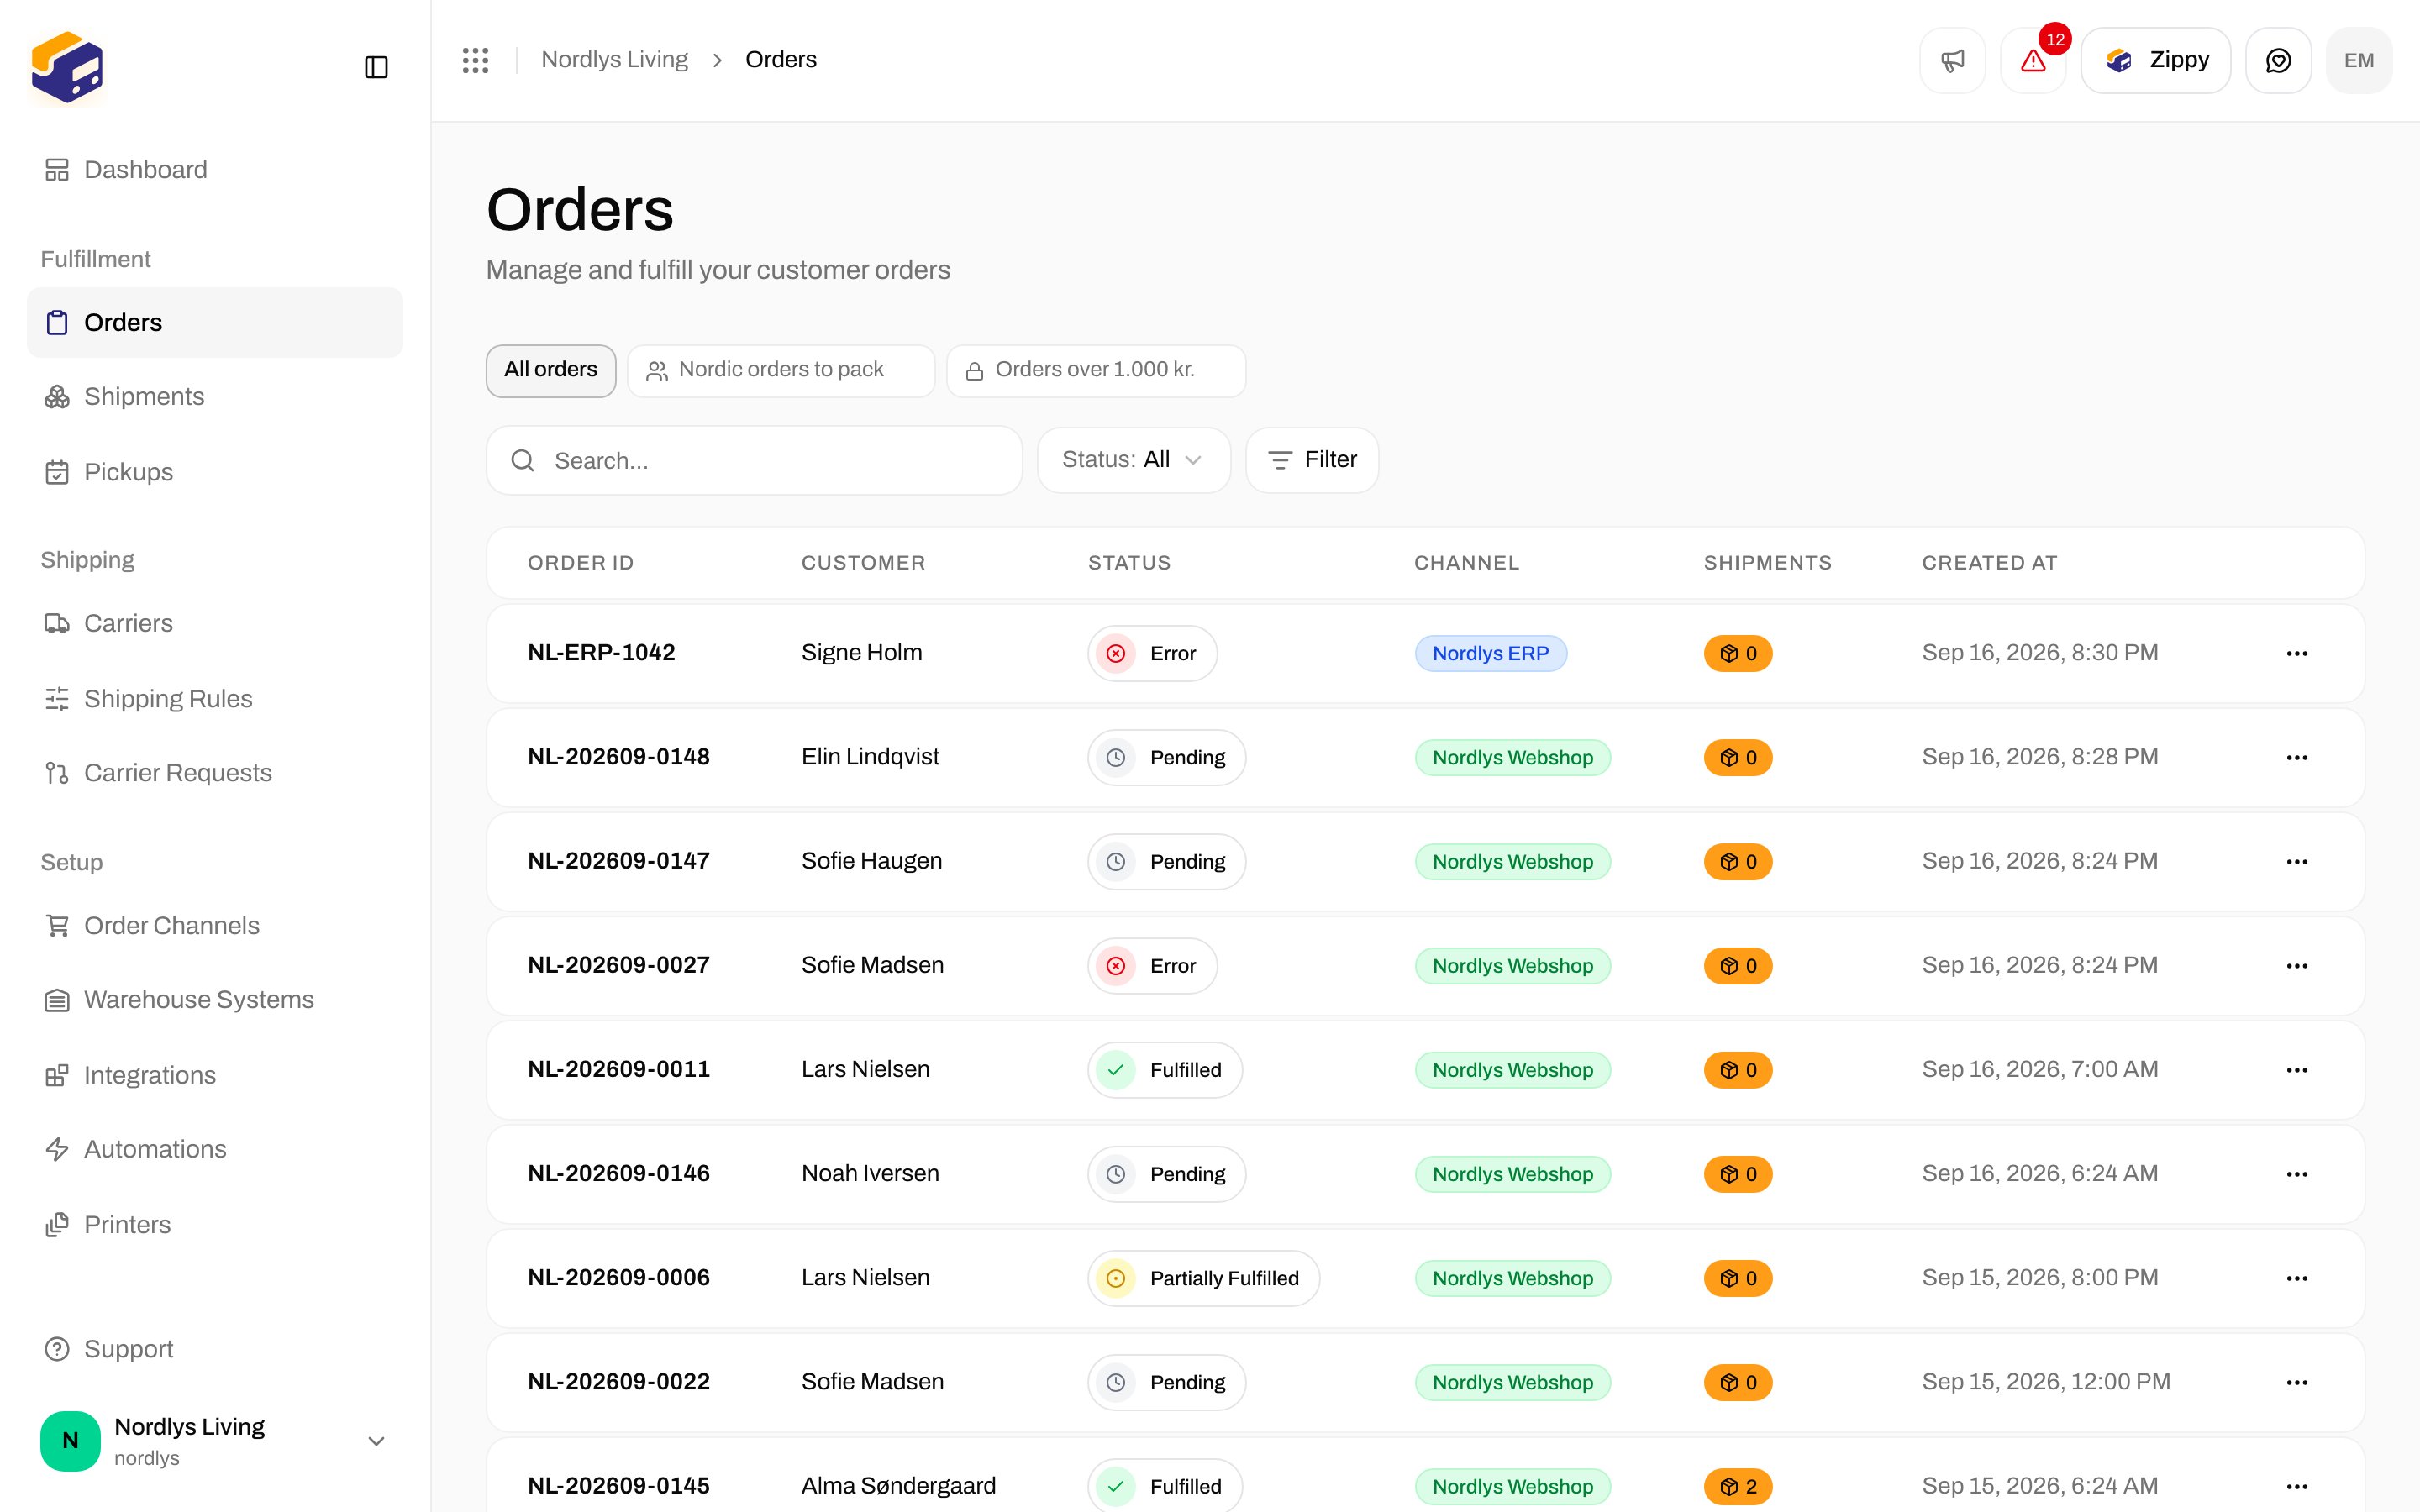
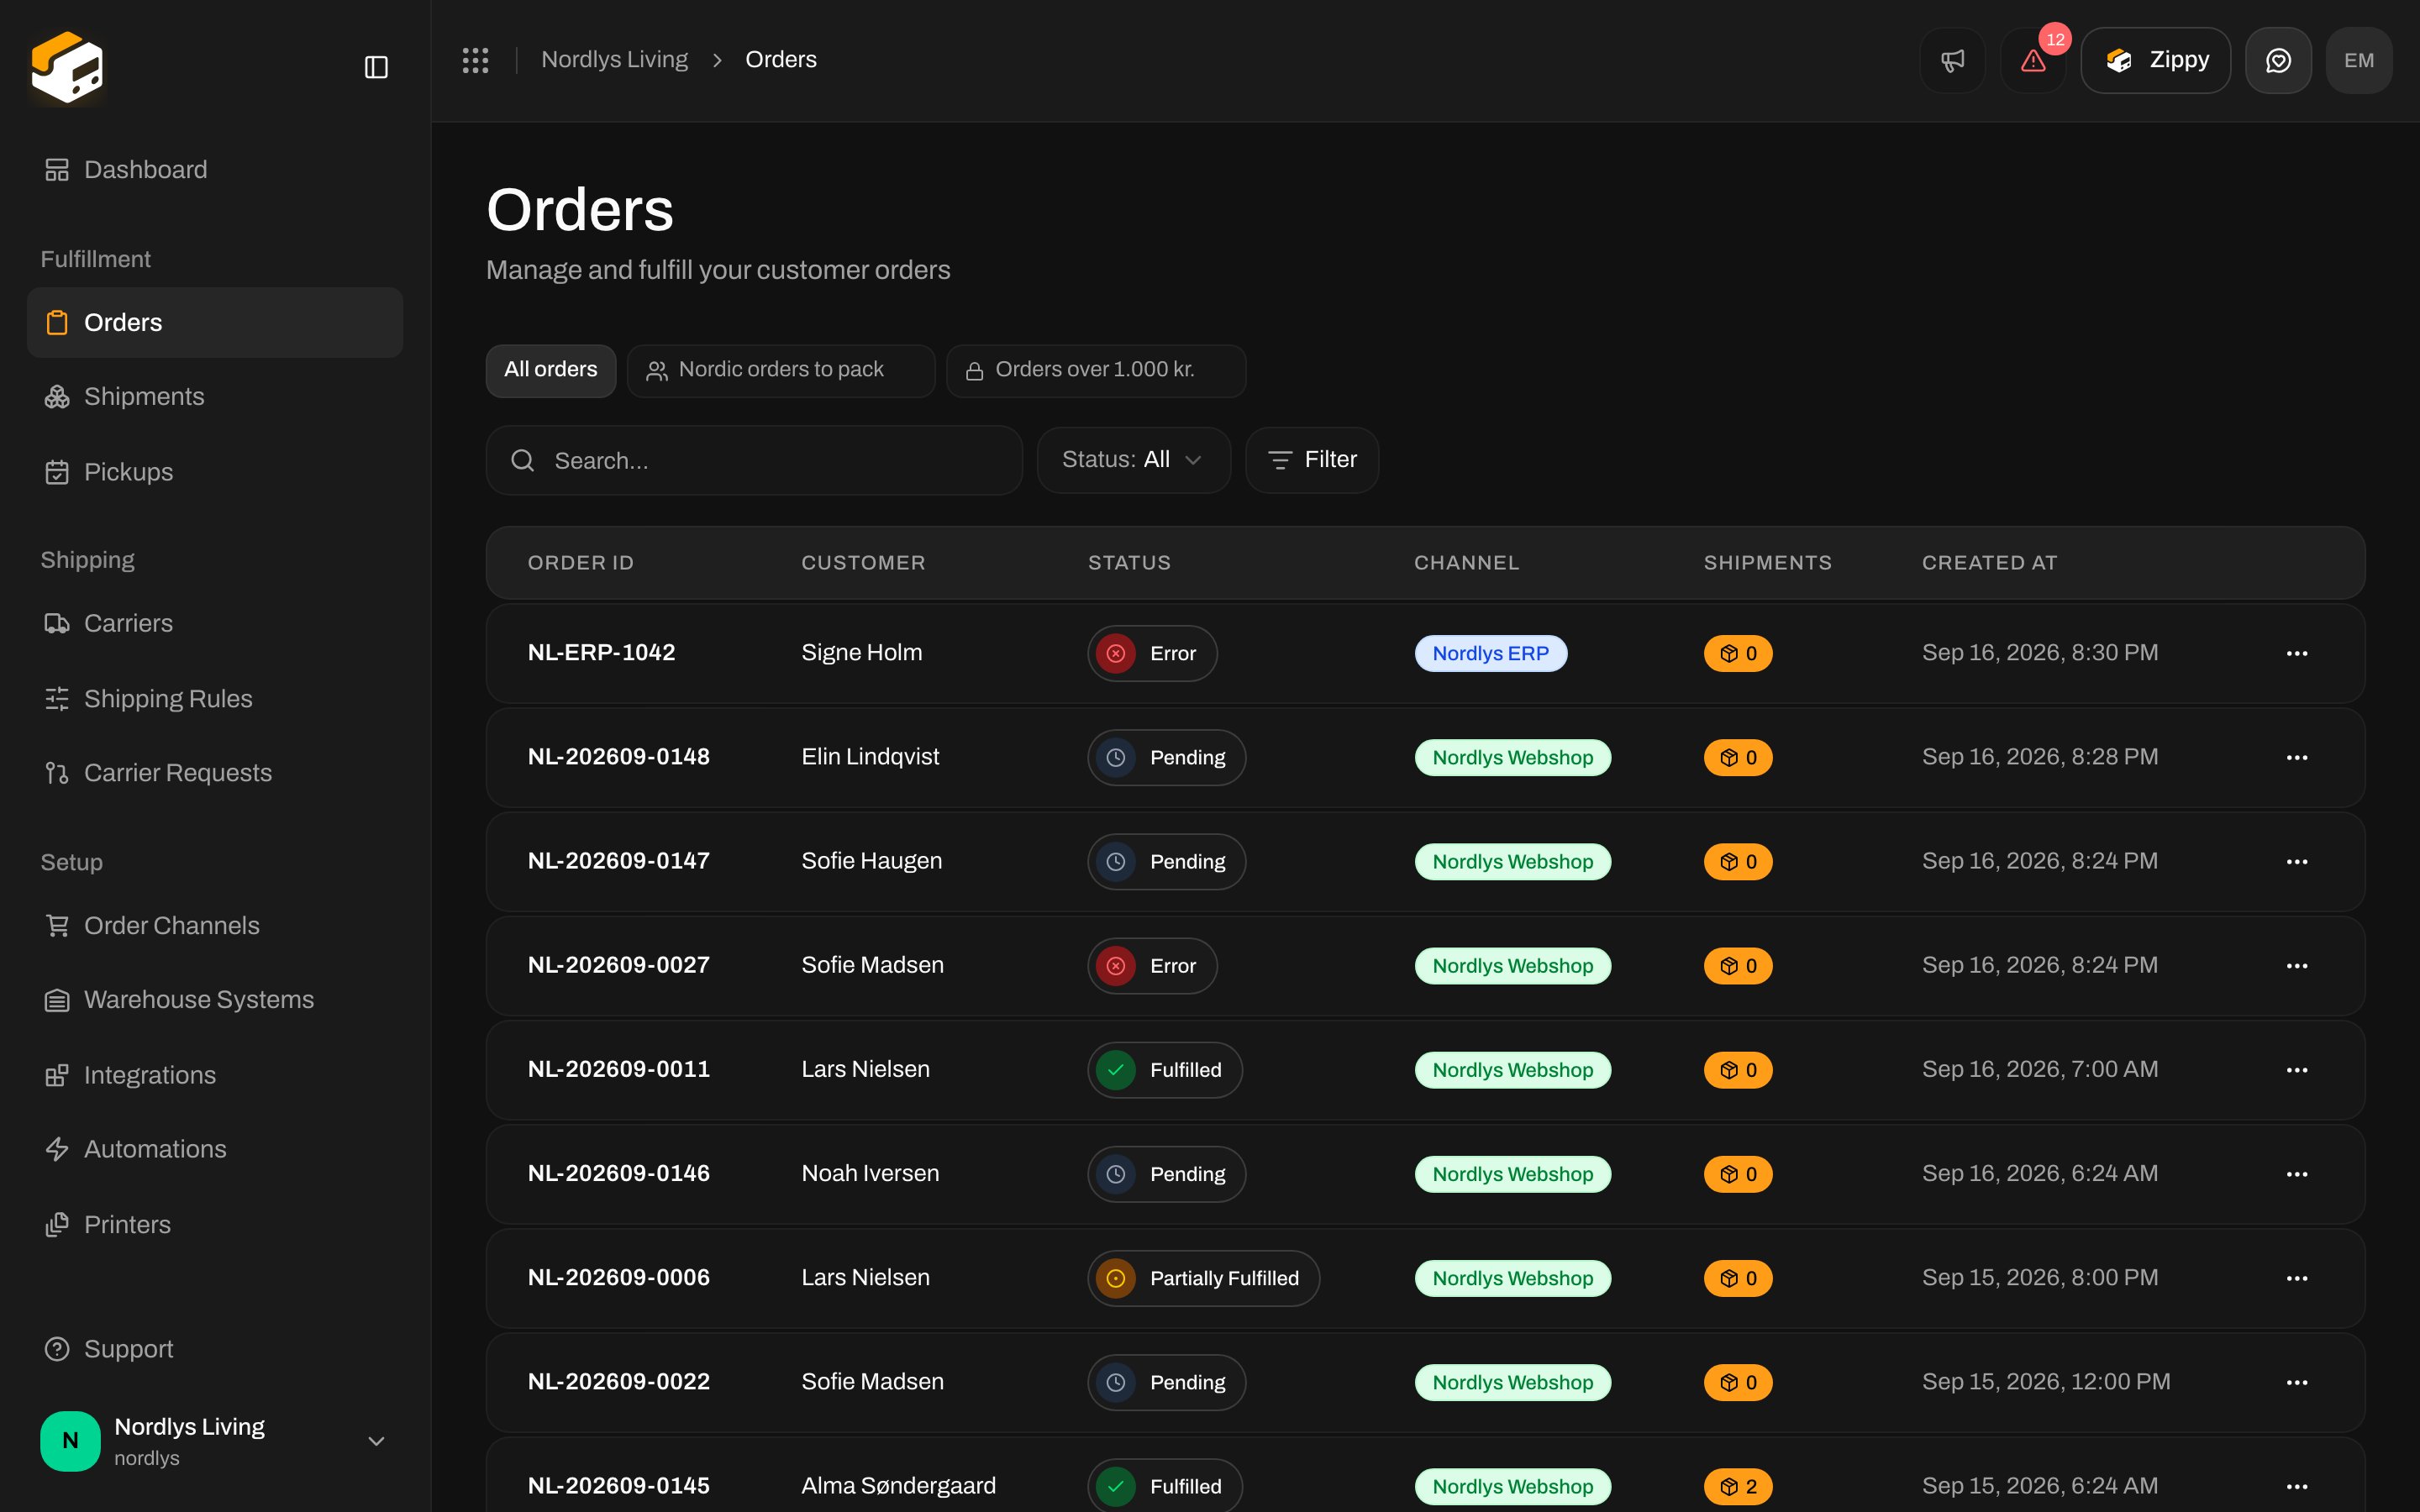
Orders list with search, status and Filter controls above the tableOrders list with search, status and Filter controls above the table

The Orders list with the Filter button next to the quick filters

Before you start

  • You need a few orders in the list. If you have none yet, connect a store first: Connect order channels.
  • Anyone who can open the list can filter it and save views. No special role is needed.

1. Add your first filter

1

Click Filter

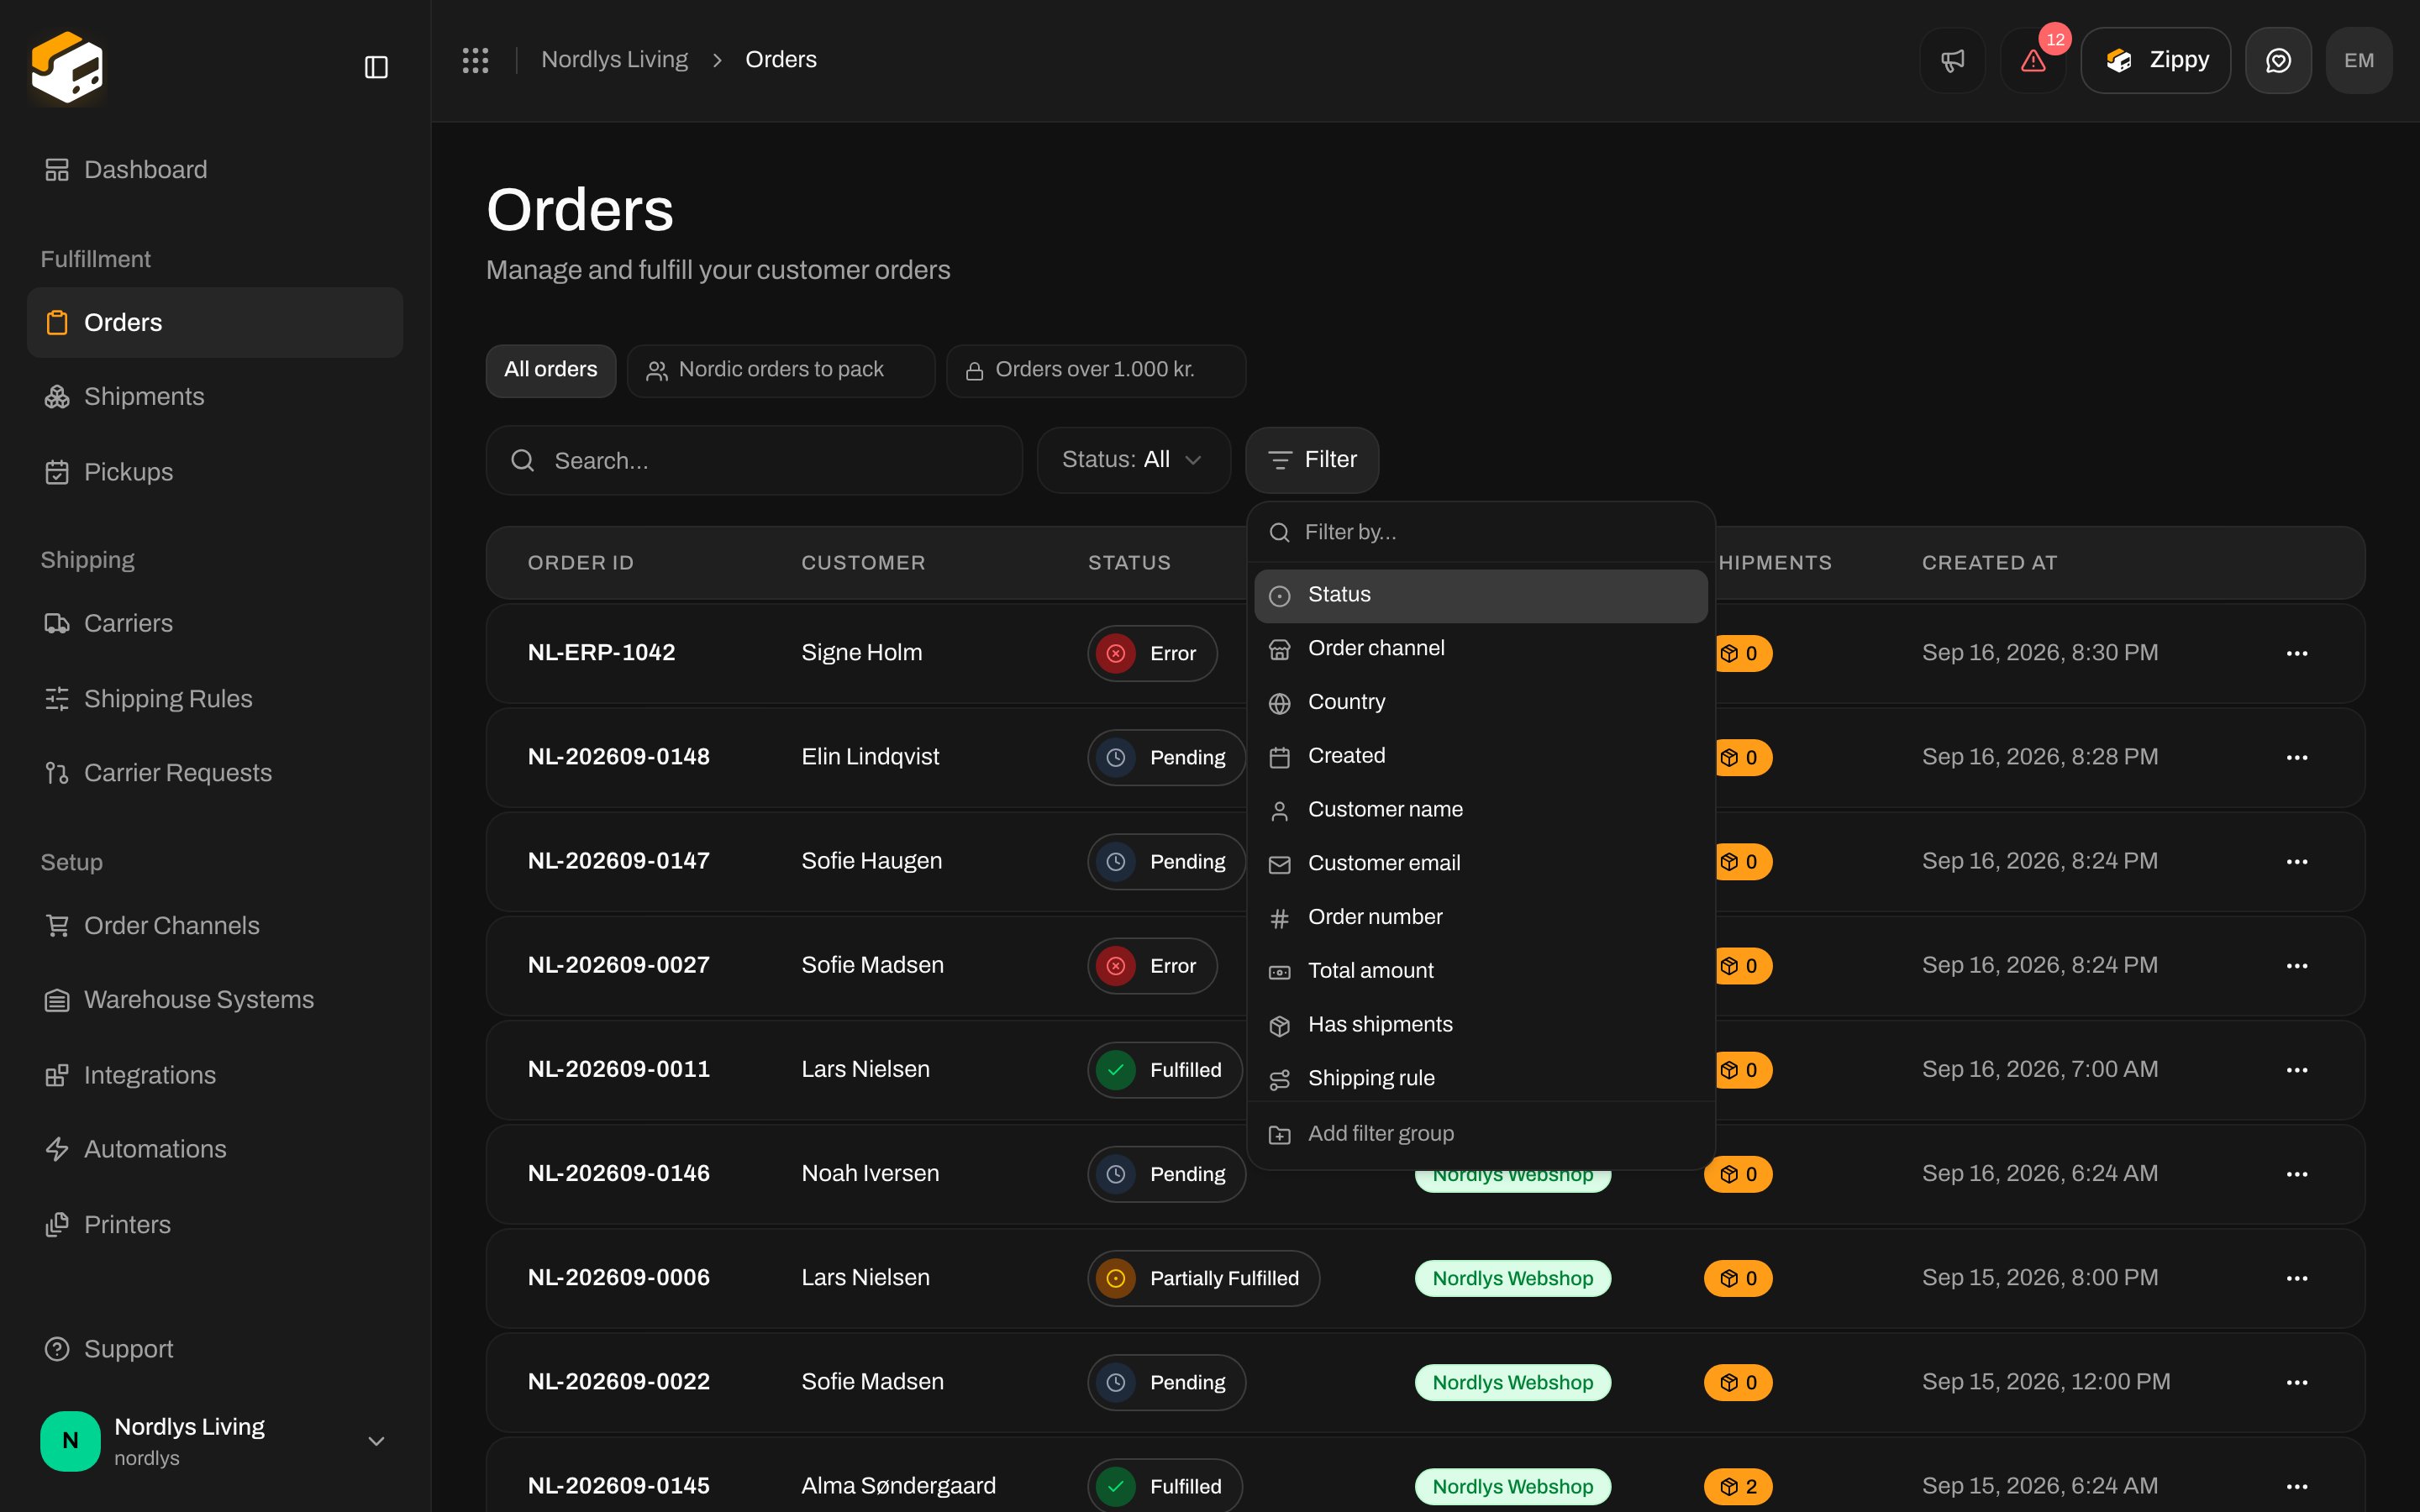
Above the table, next to the search box, click Filter. A list of everything you can filter on opens: status, order channel, country, customer name and email, order total, whether the order has a shipment yet, and when it was created or updated.
Filter menu listing Status, Order channel, Country, Created and other propertiesFilter menu listing Status, Order channel, Country, Created and other properties

The Filter button opens the list of properties

Start typing to find a property faster, or use the arrow keys and Enter.
2

Pick what to filter on, then tick the values
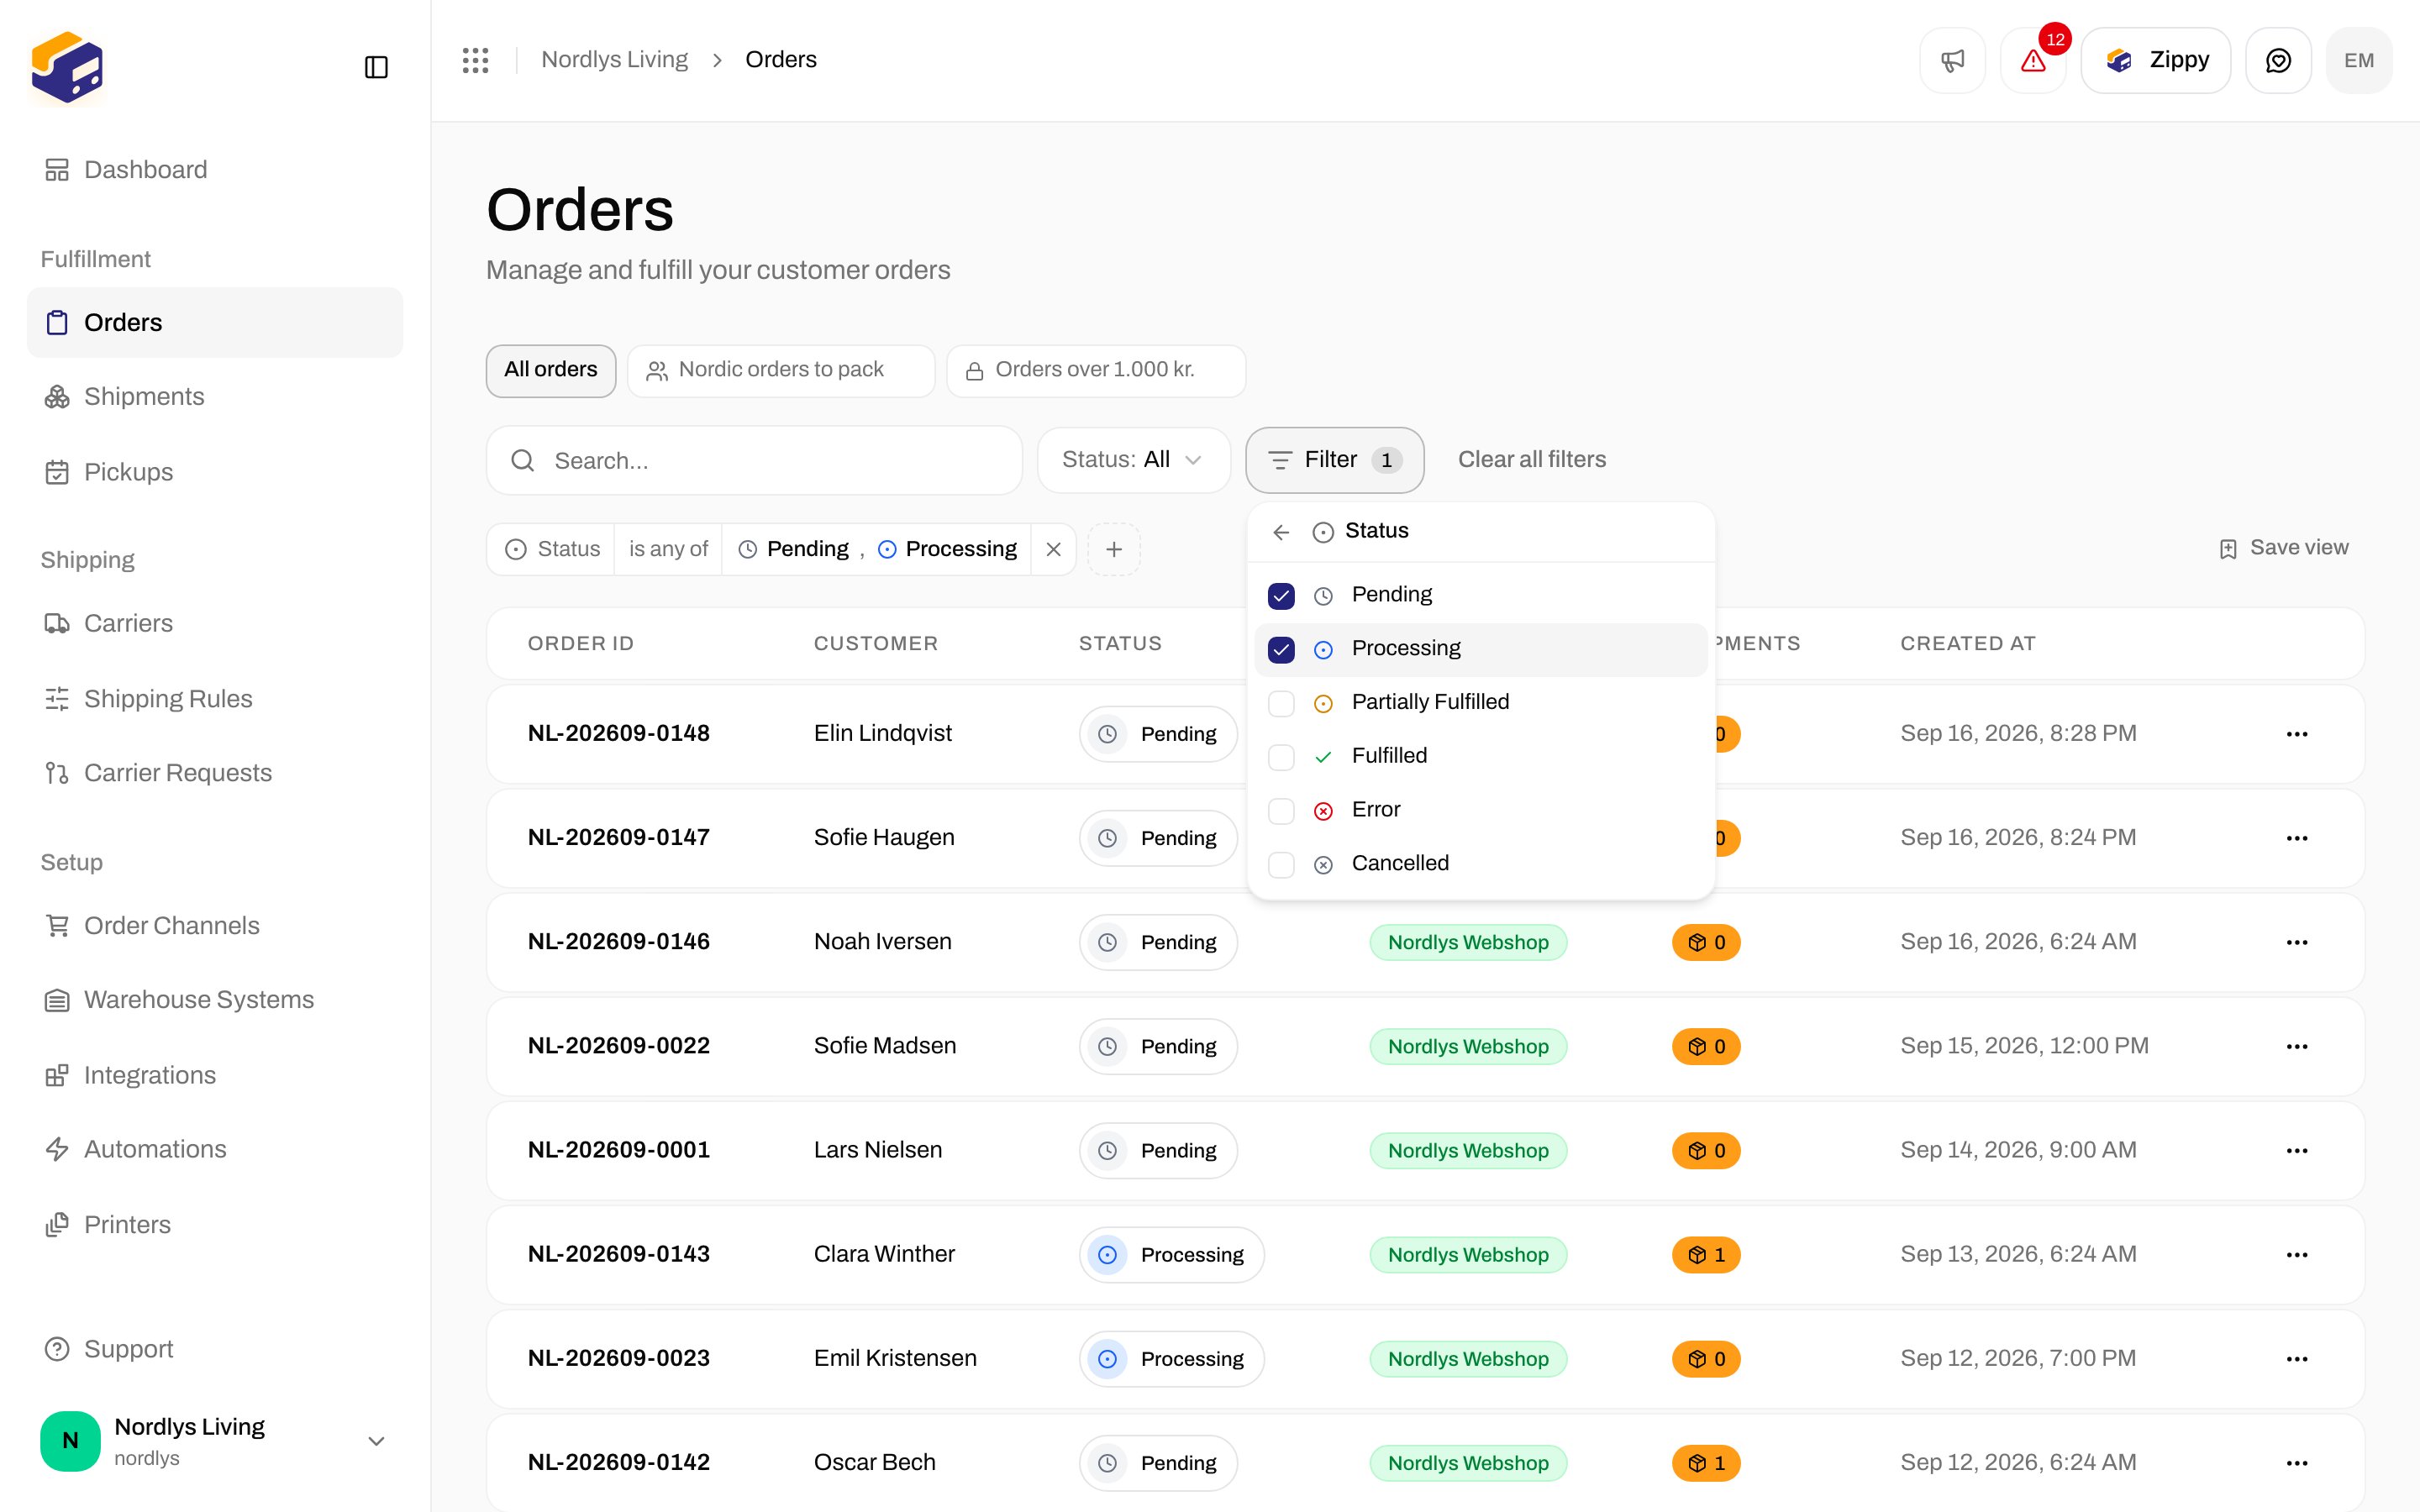
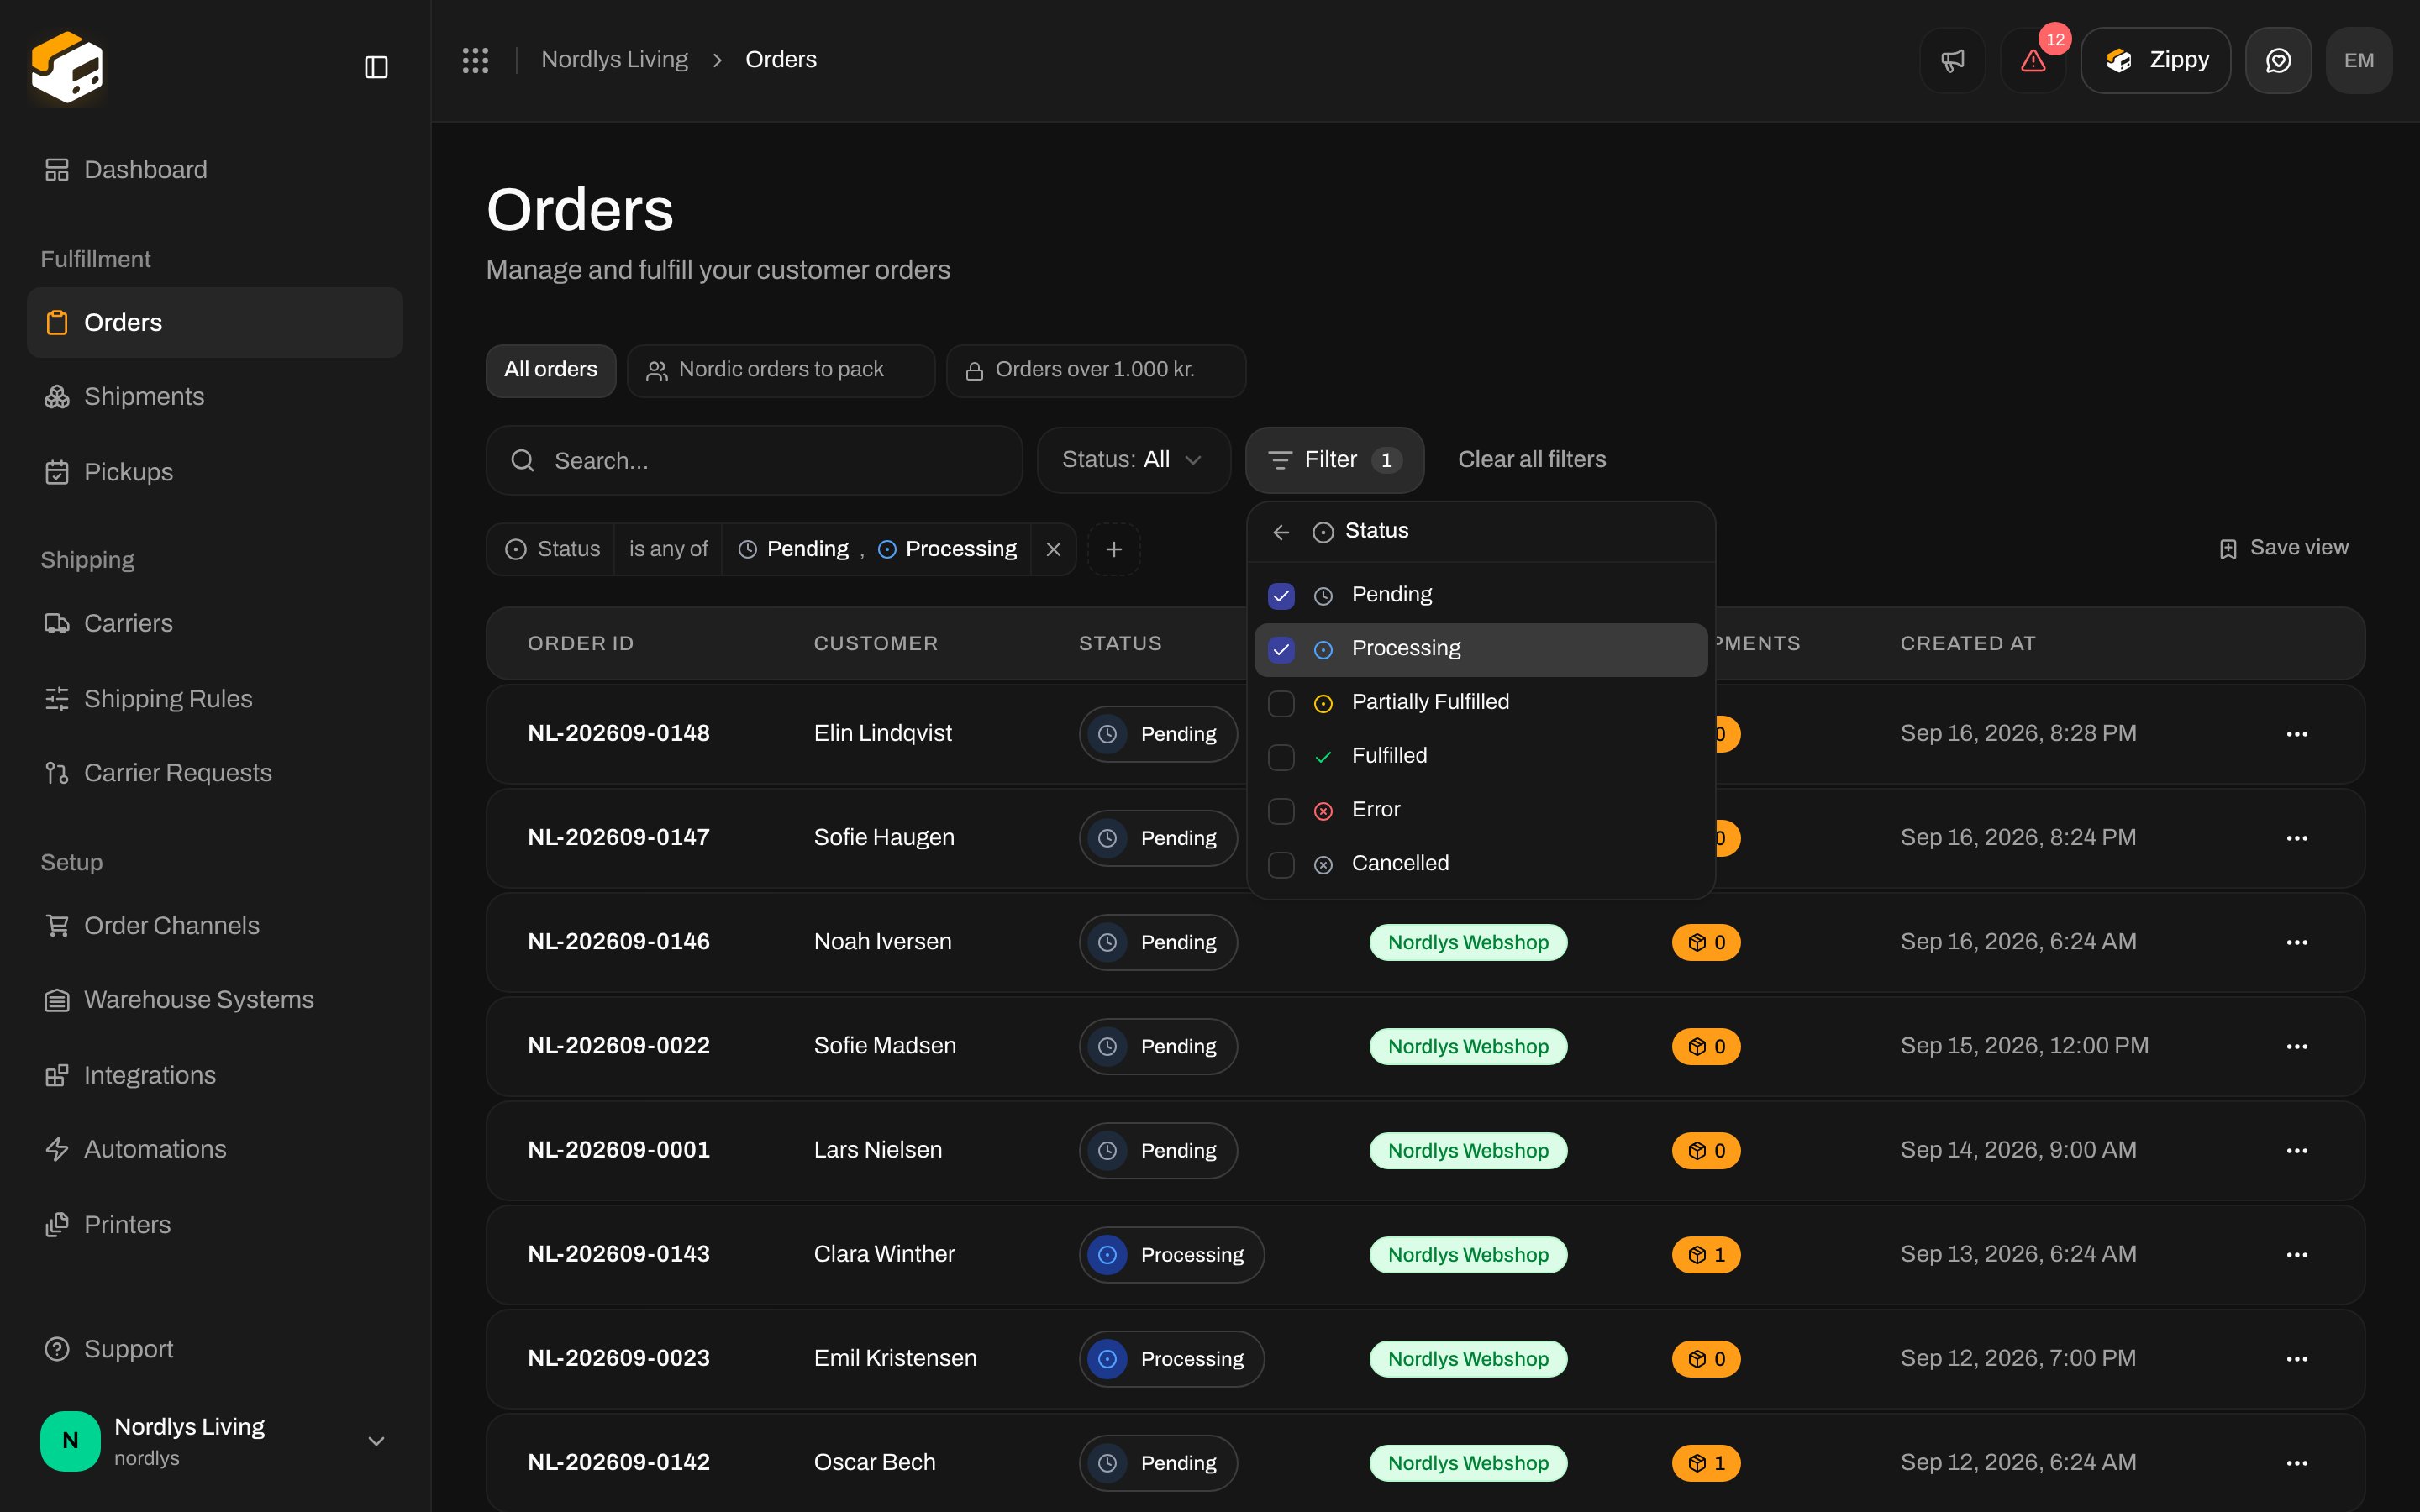
Choose Status, then tick Pending and Processing. The filter appears as a small tag above the table the moment you tick the first value, and the list updates behind it. Keep ticking or unticking until it reads the way you want, then click anywhere outside to close the menu.
Status value list with Pending and Processing ticked and a Status tag above the tableStatus value list with Pending and Processing ticked and a Status tag above the table

Ticking values adds the filter tag straight away

3

Add a second filter

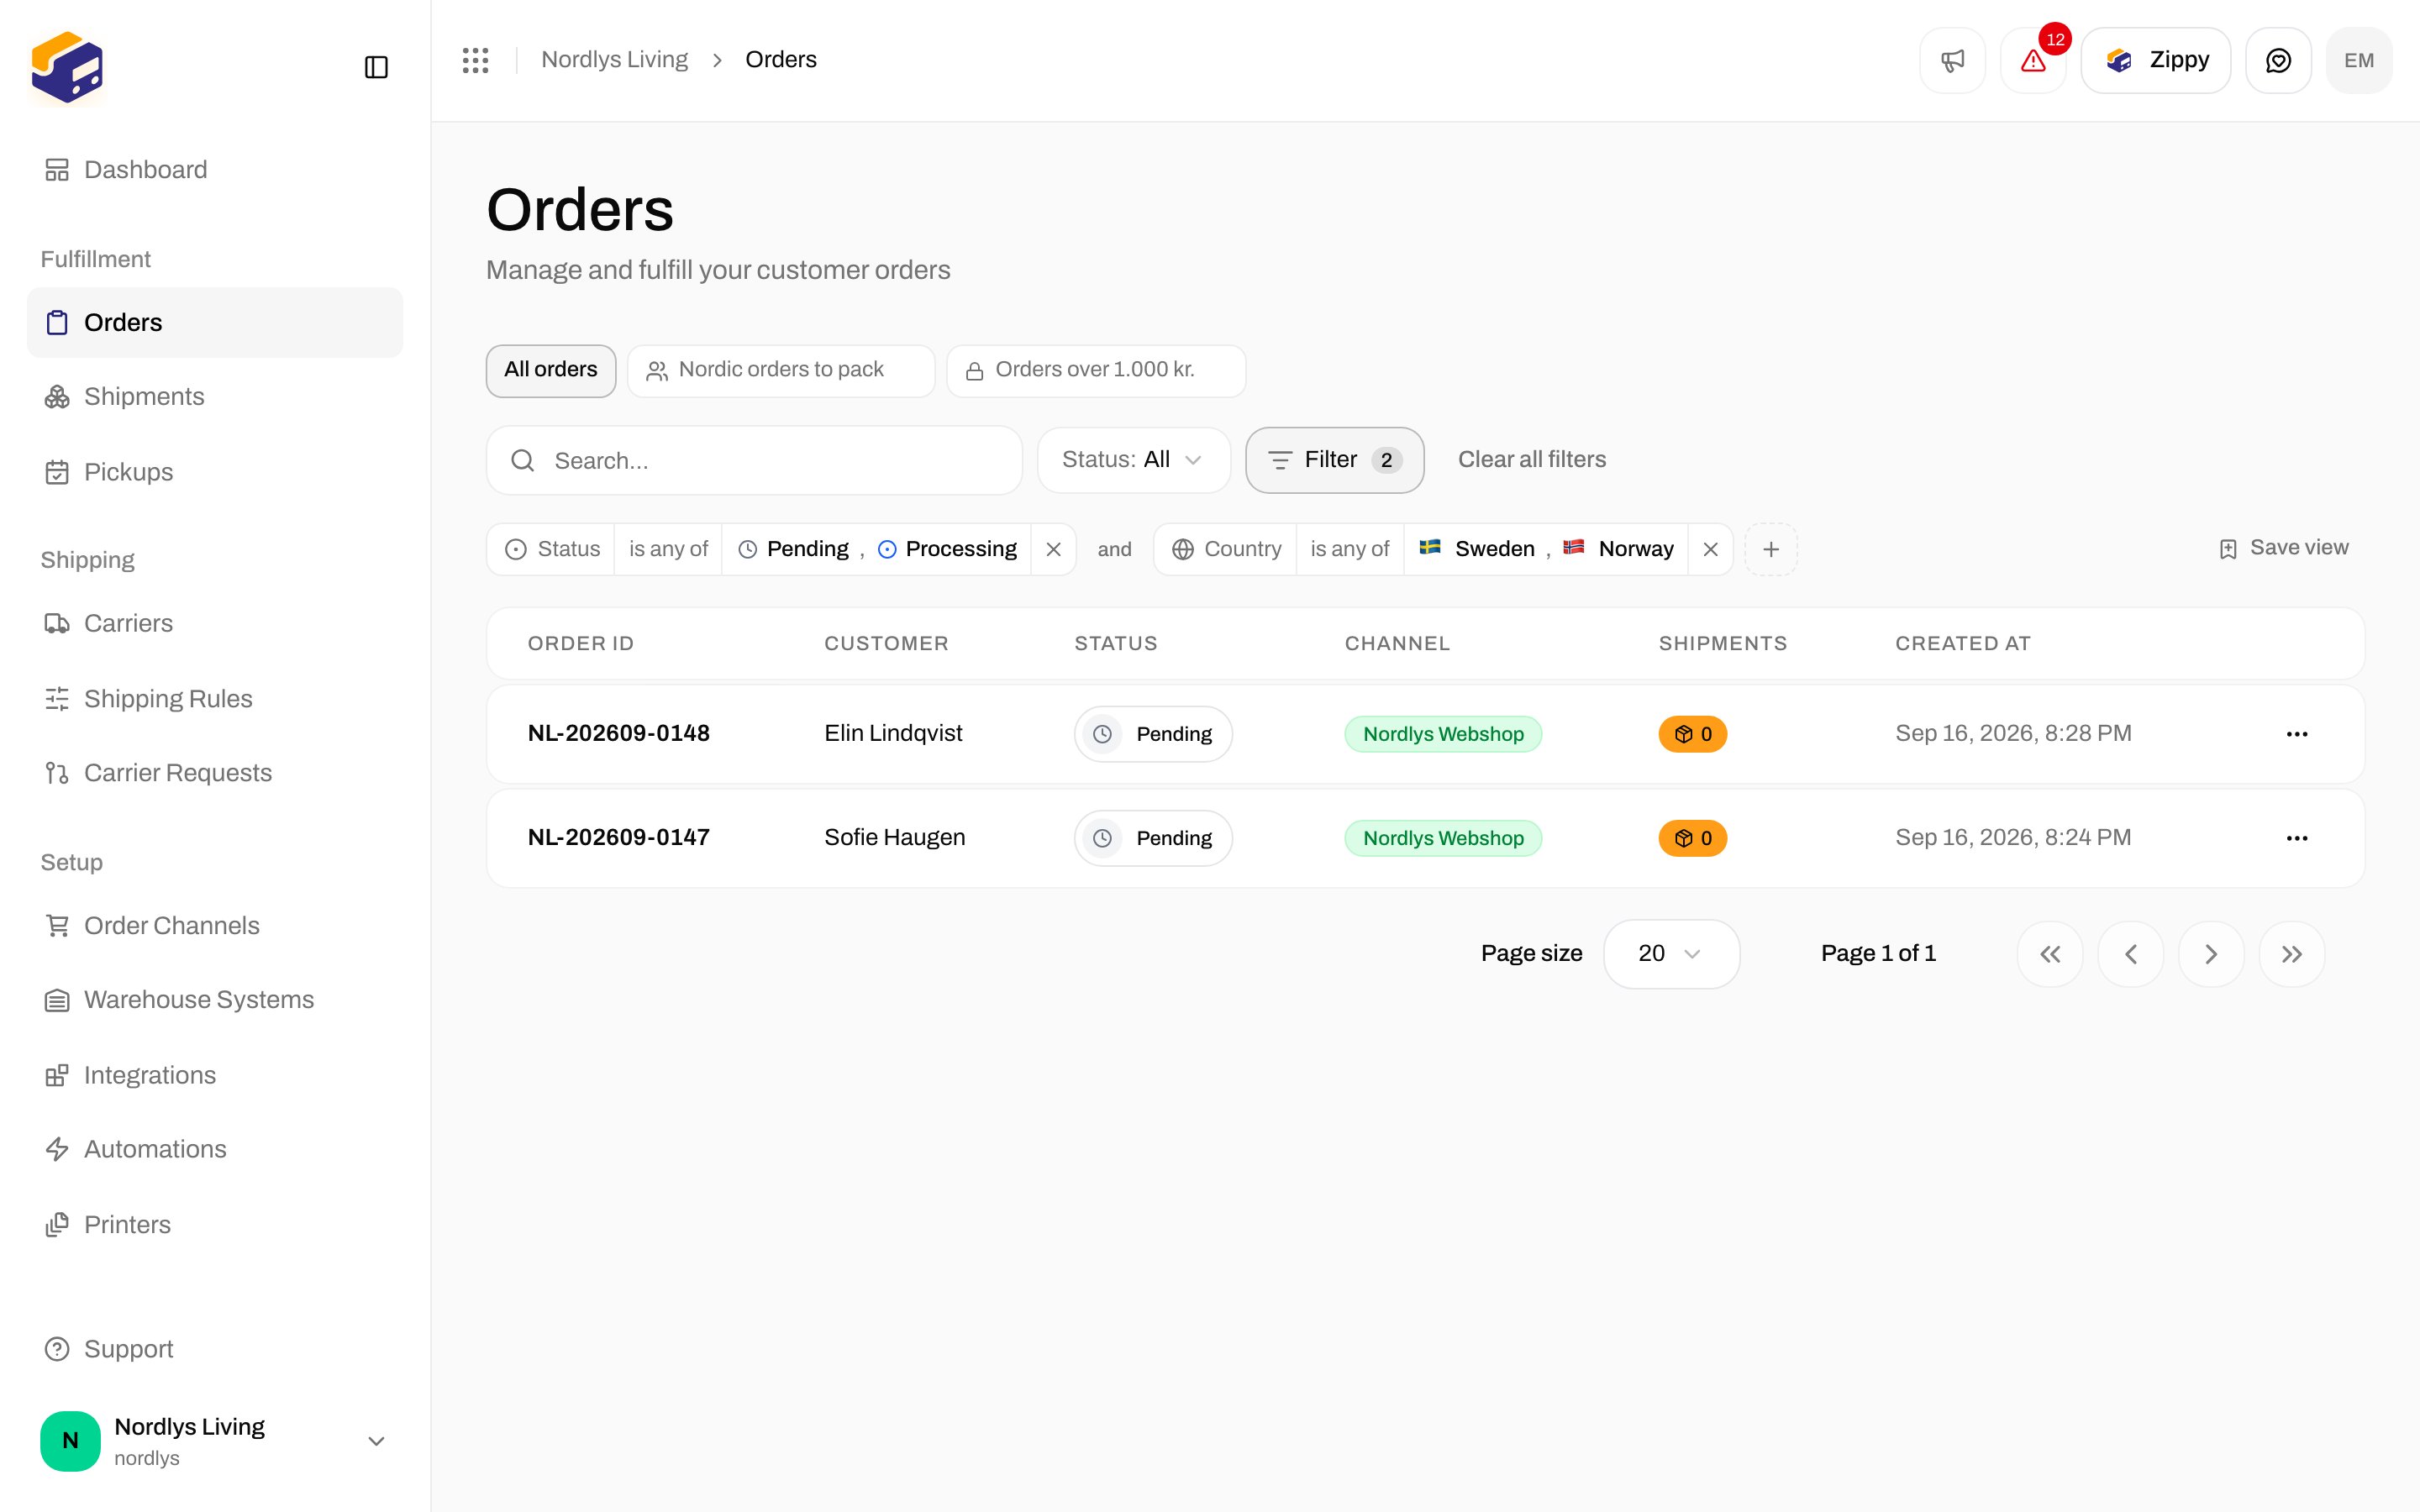
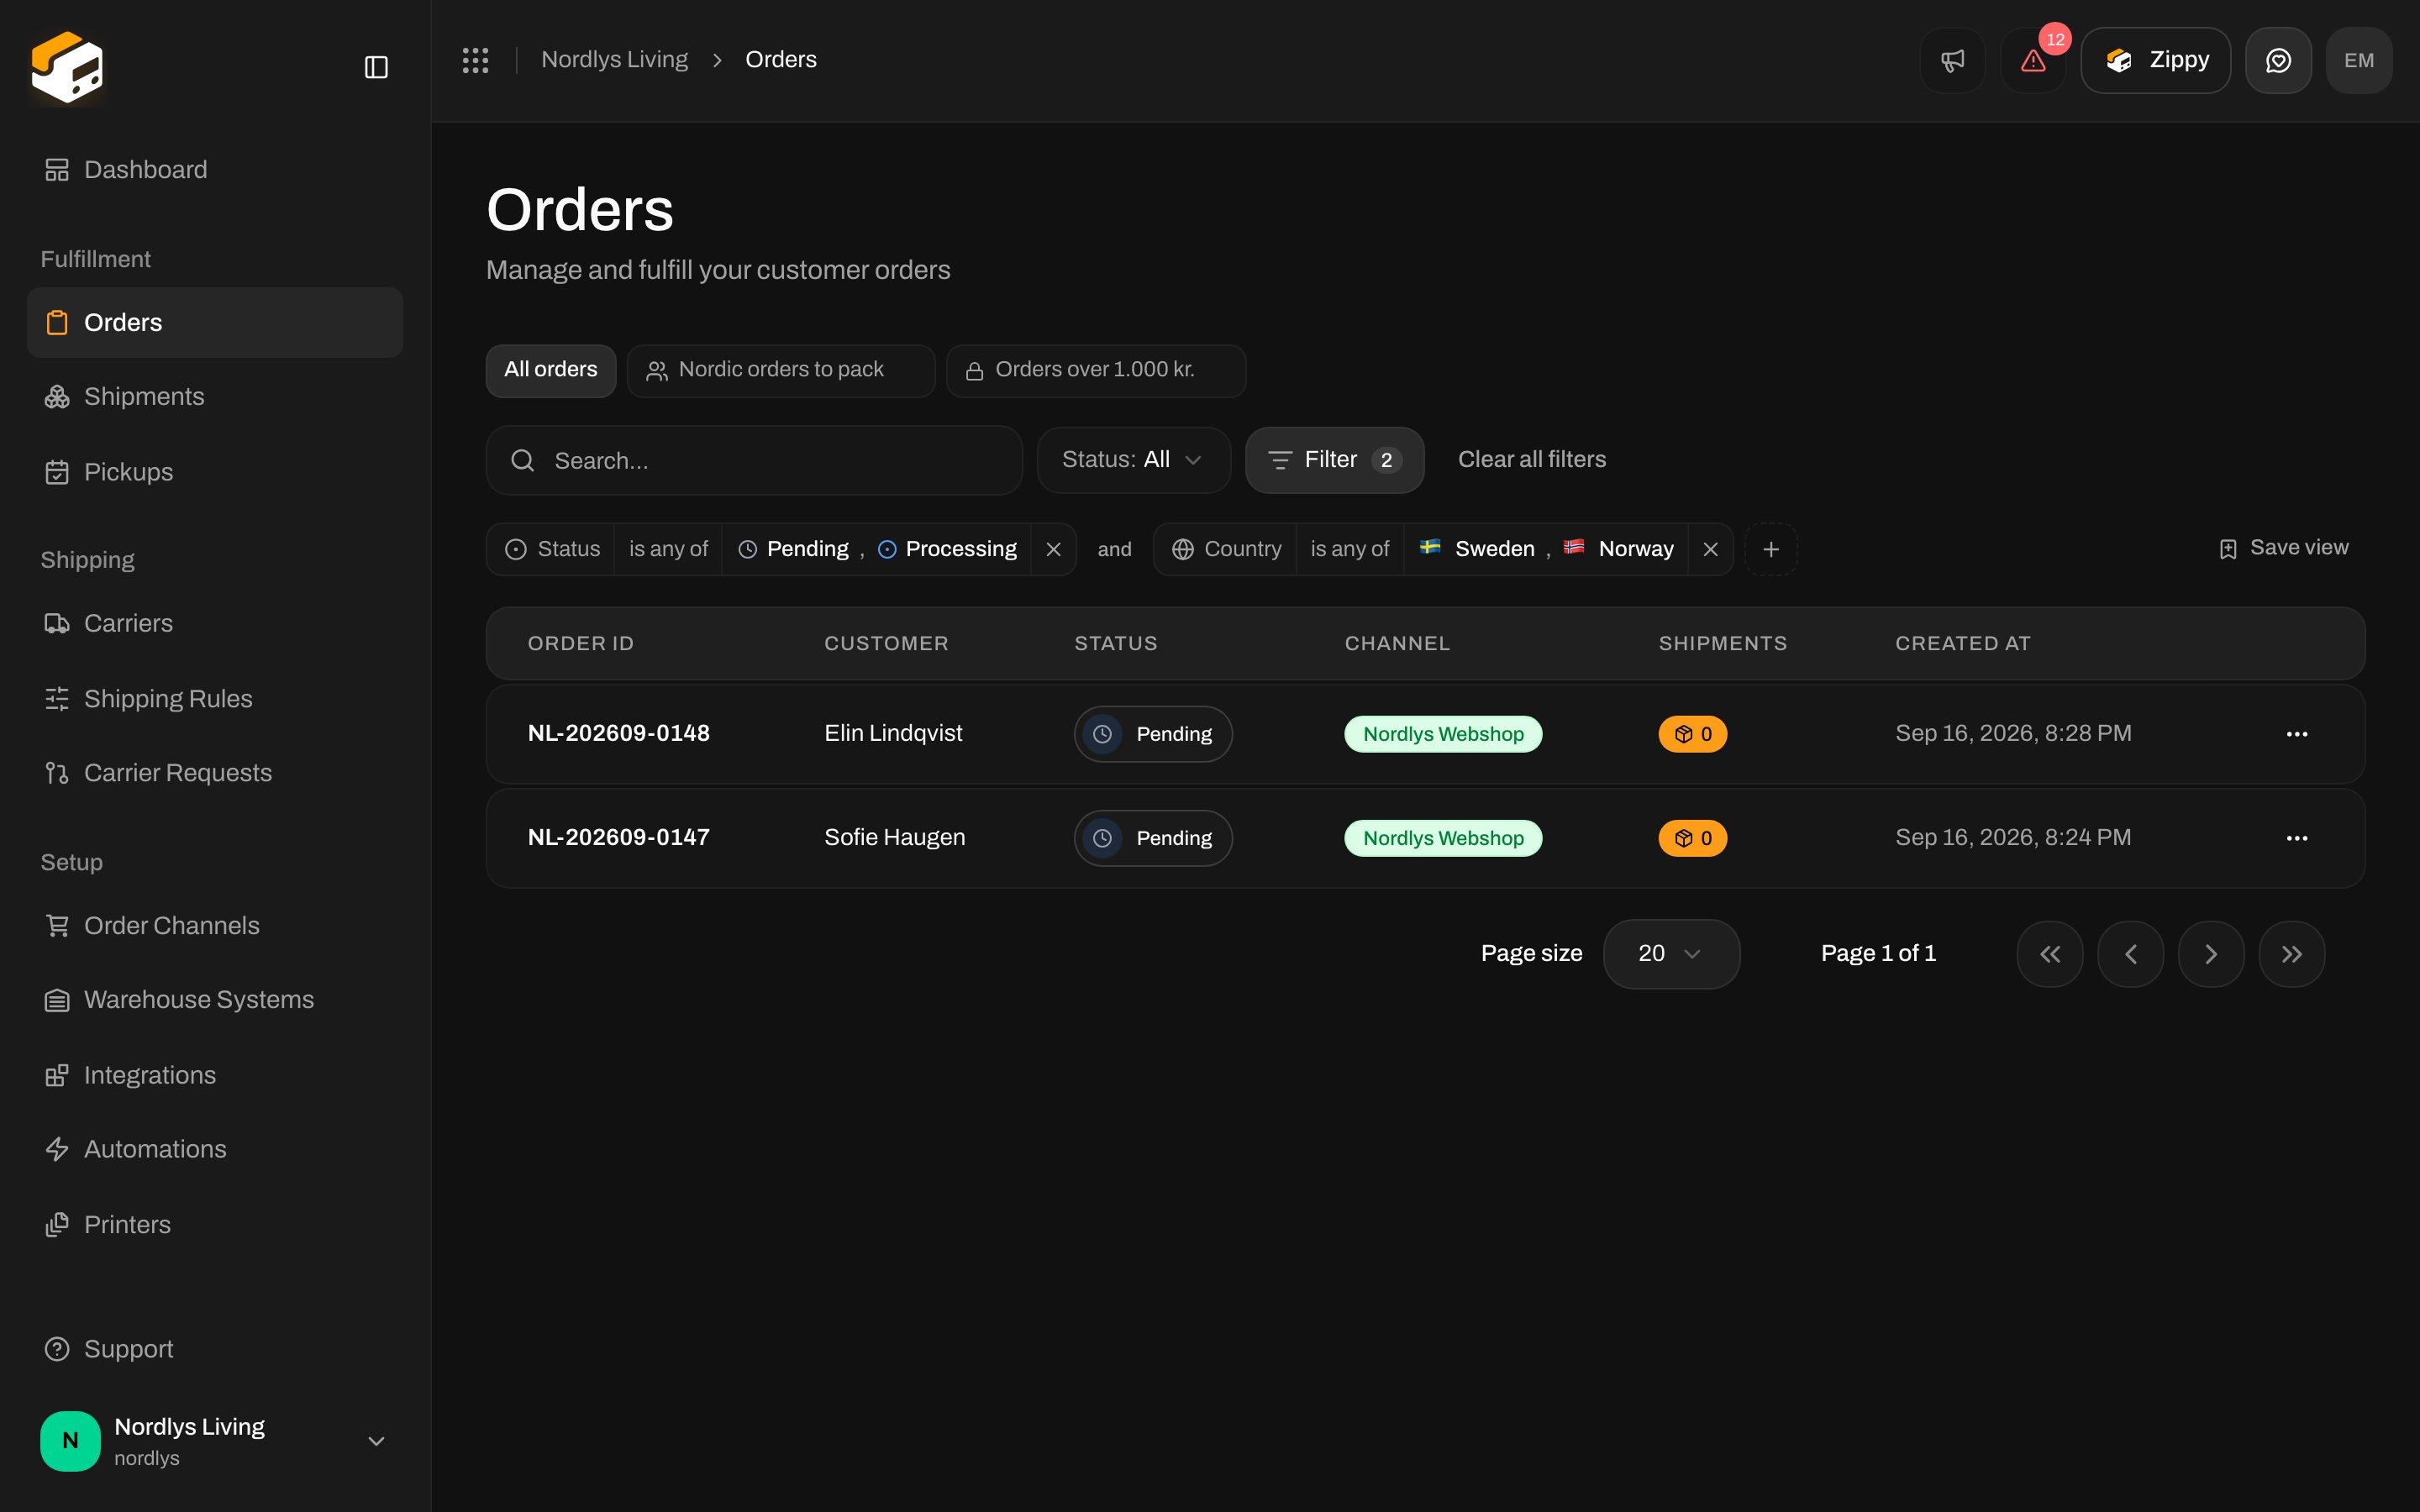
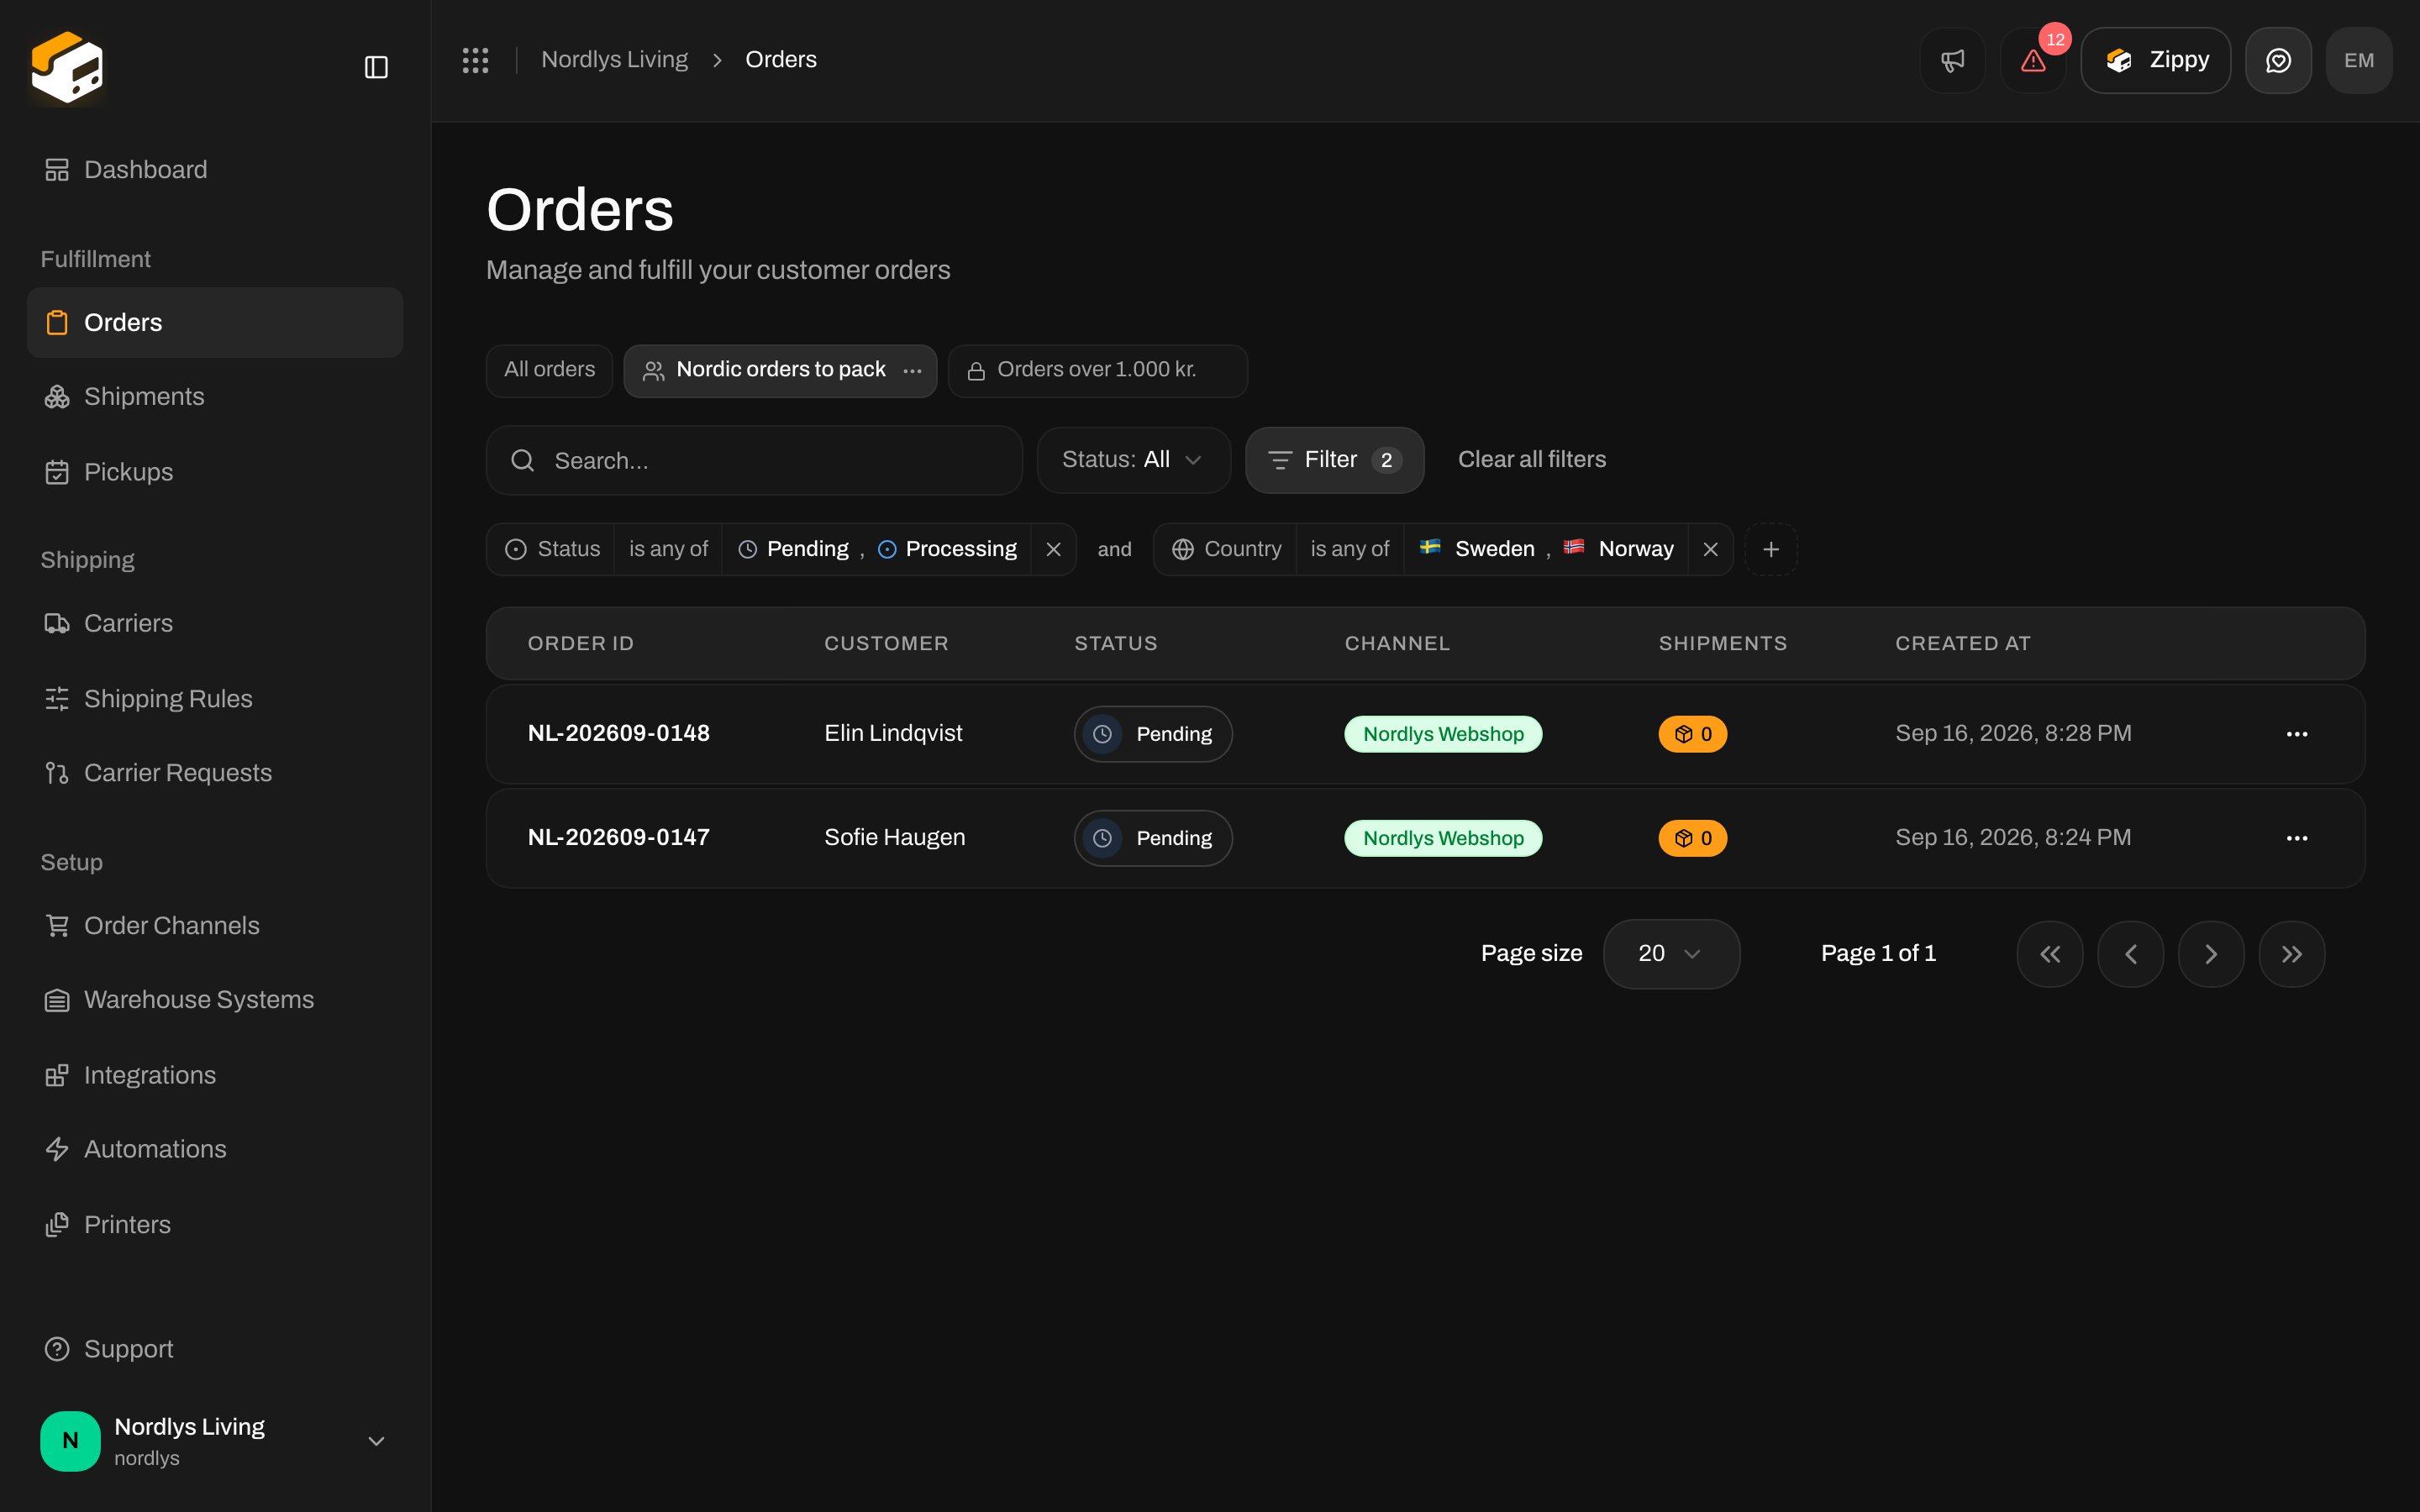
Click the small + at the end of the tags and choose Country. Tick Sweden and Norway. The two tags are joined by the word and, so an order has to match both to stay in the list.
Orders list narrowed by a Status tag and a Country tag joined by andOrders list narrowed by a Status tag and a Country tag joined by and

Two tags joined by and: pending or processing orders going to Sweden or Norway

The number on the Filter button tells you how many filters are active. To remove one, click the × at the end of its tag.

2. Change how a filter matches

Each tag has three parts: the property, how it matches, and the value. Click the middle part to change how it matches. For a list such as Country the choices are is any of and is not any of. Text properties such as Customer email offer contains, does not contain, starts with and ends with. Amounts offer is greater than, is at least, is less than and is at most. Anything that can be empty also offers is empty and is not empty.
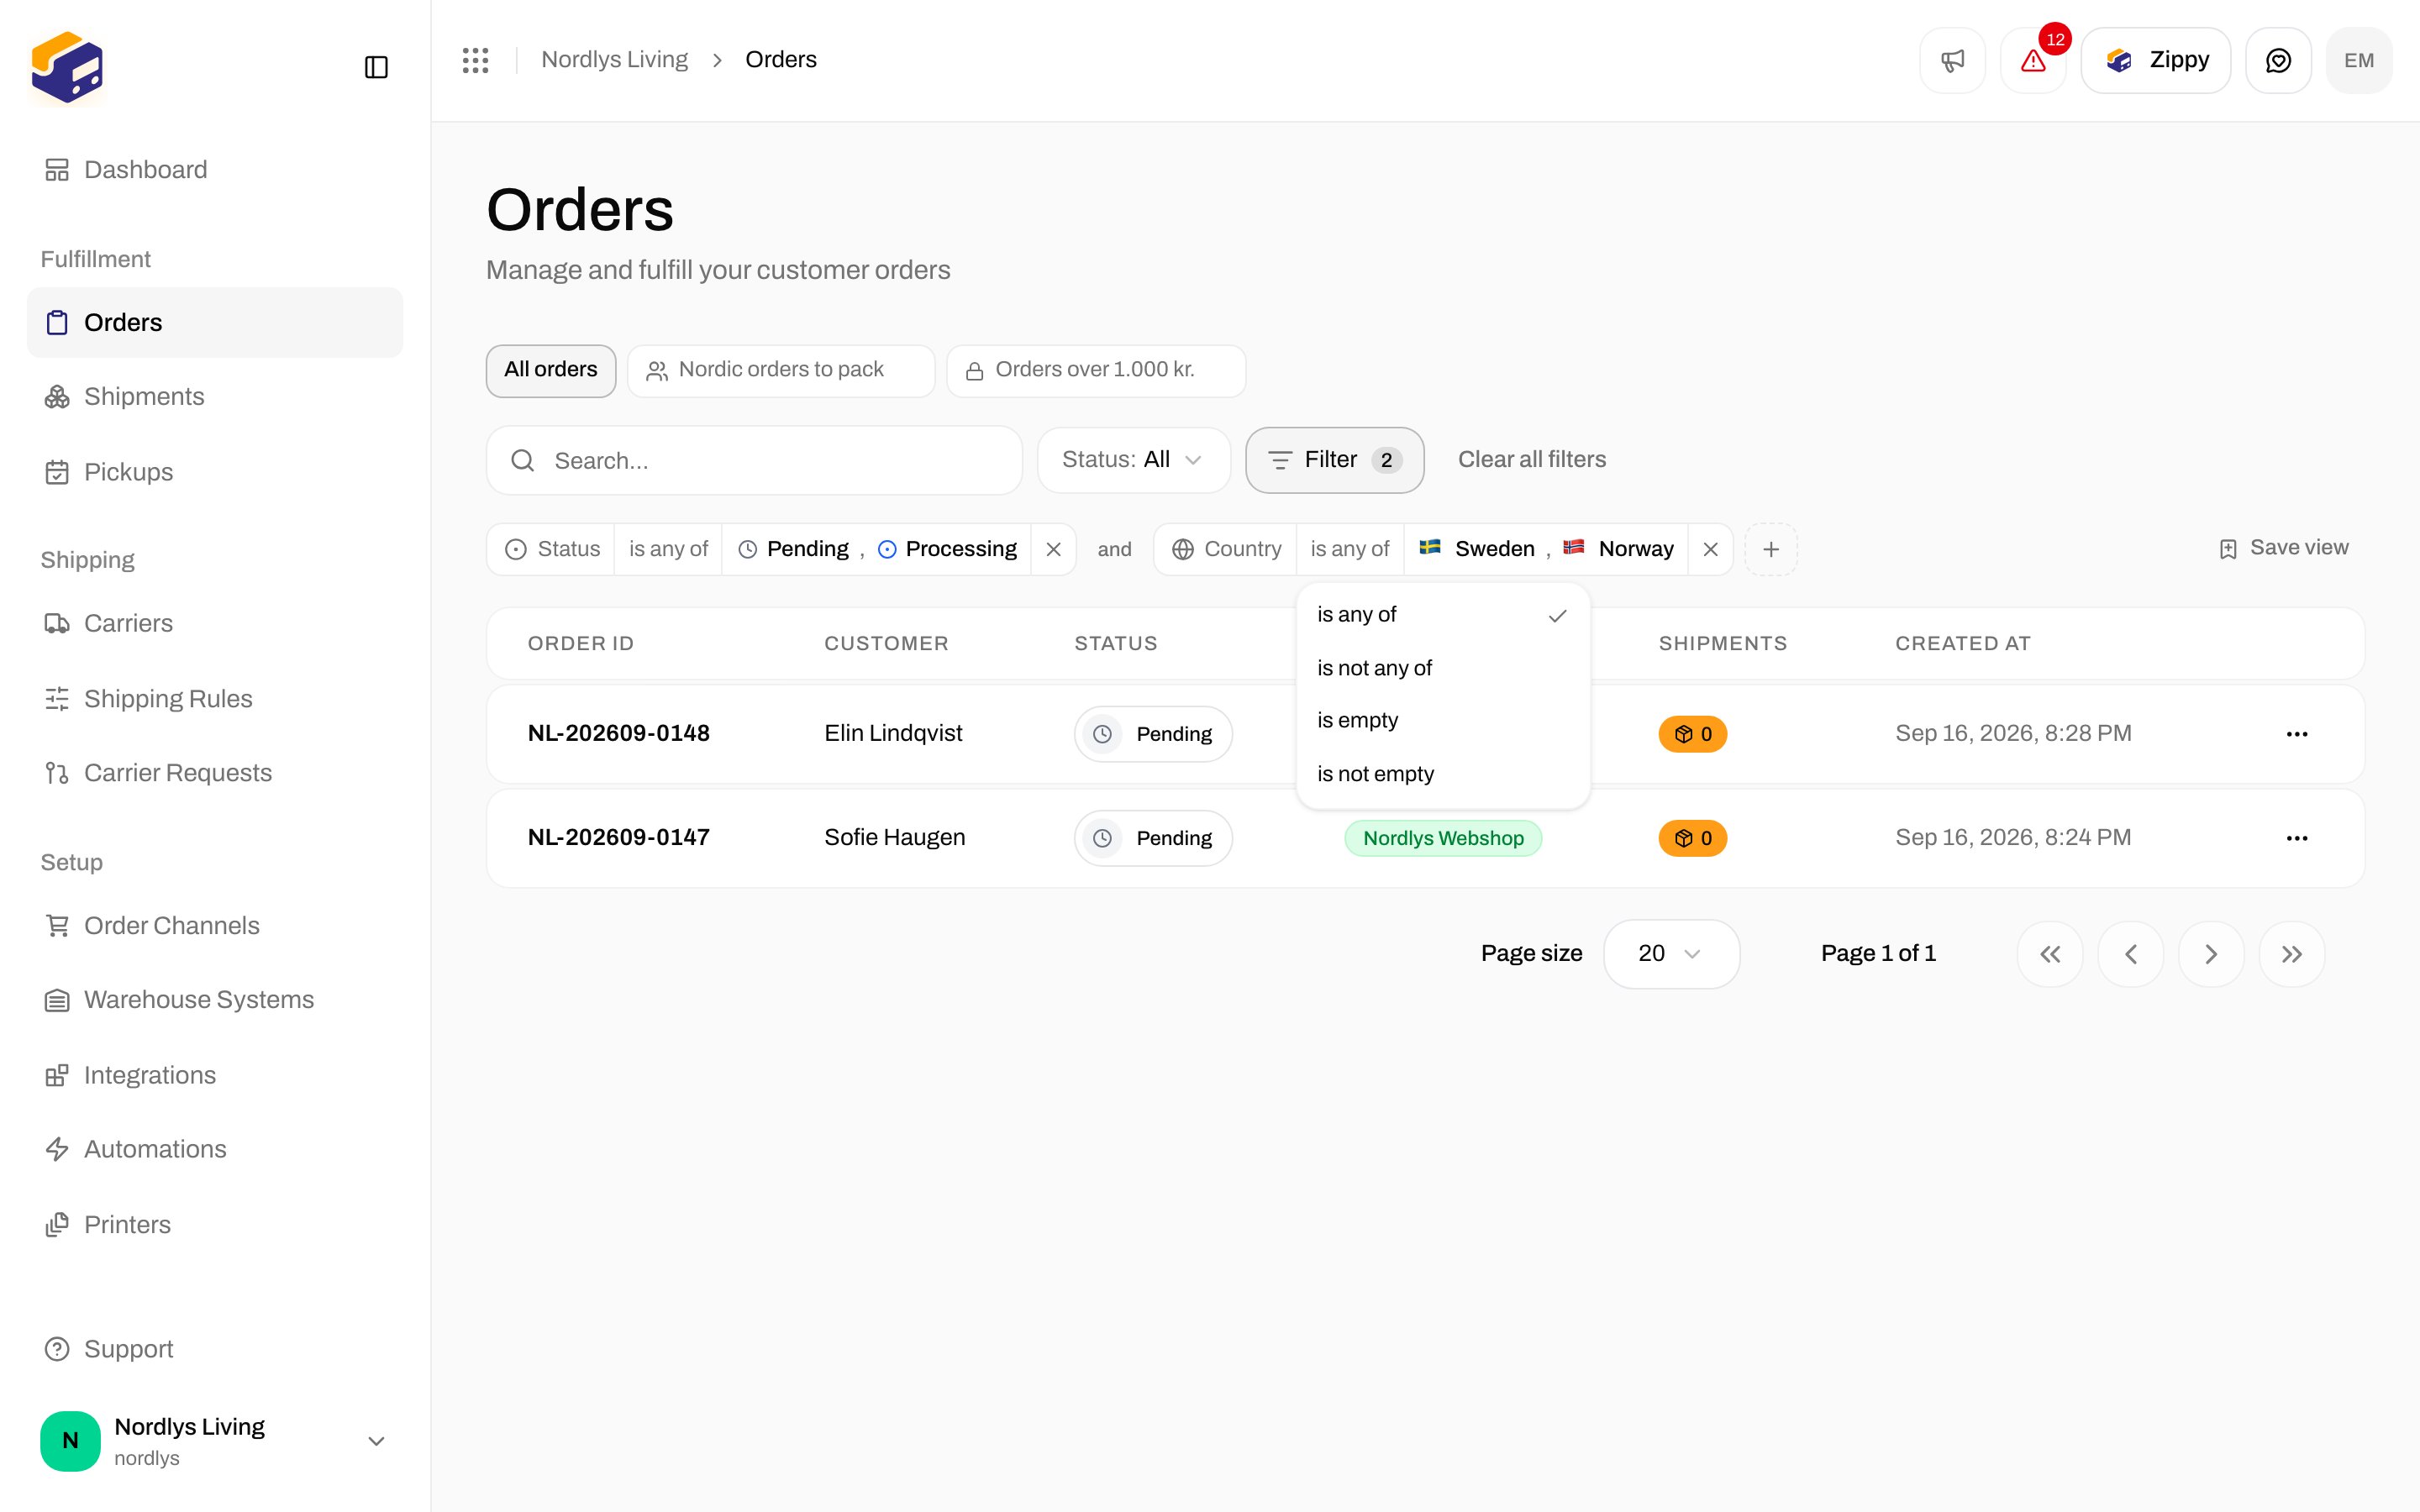
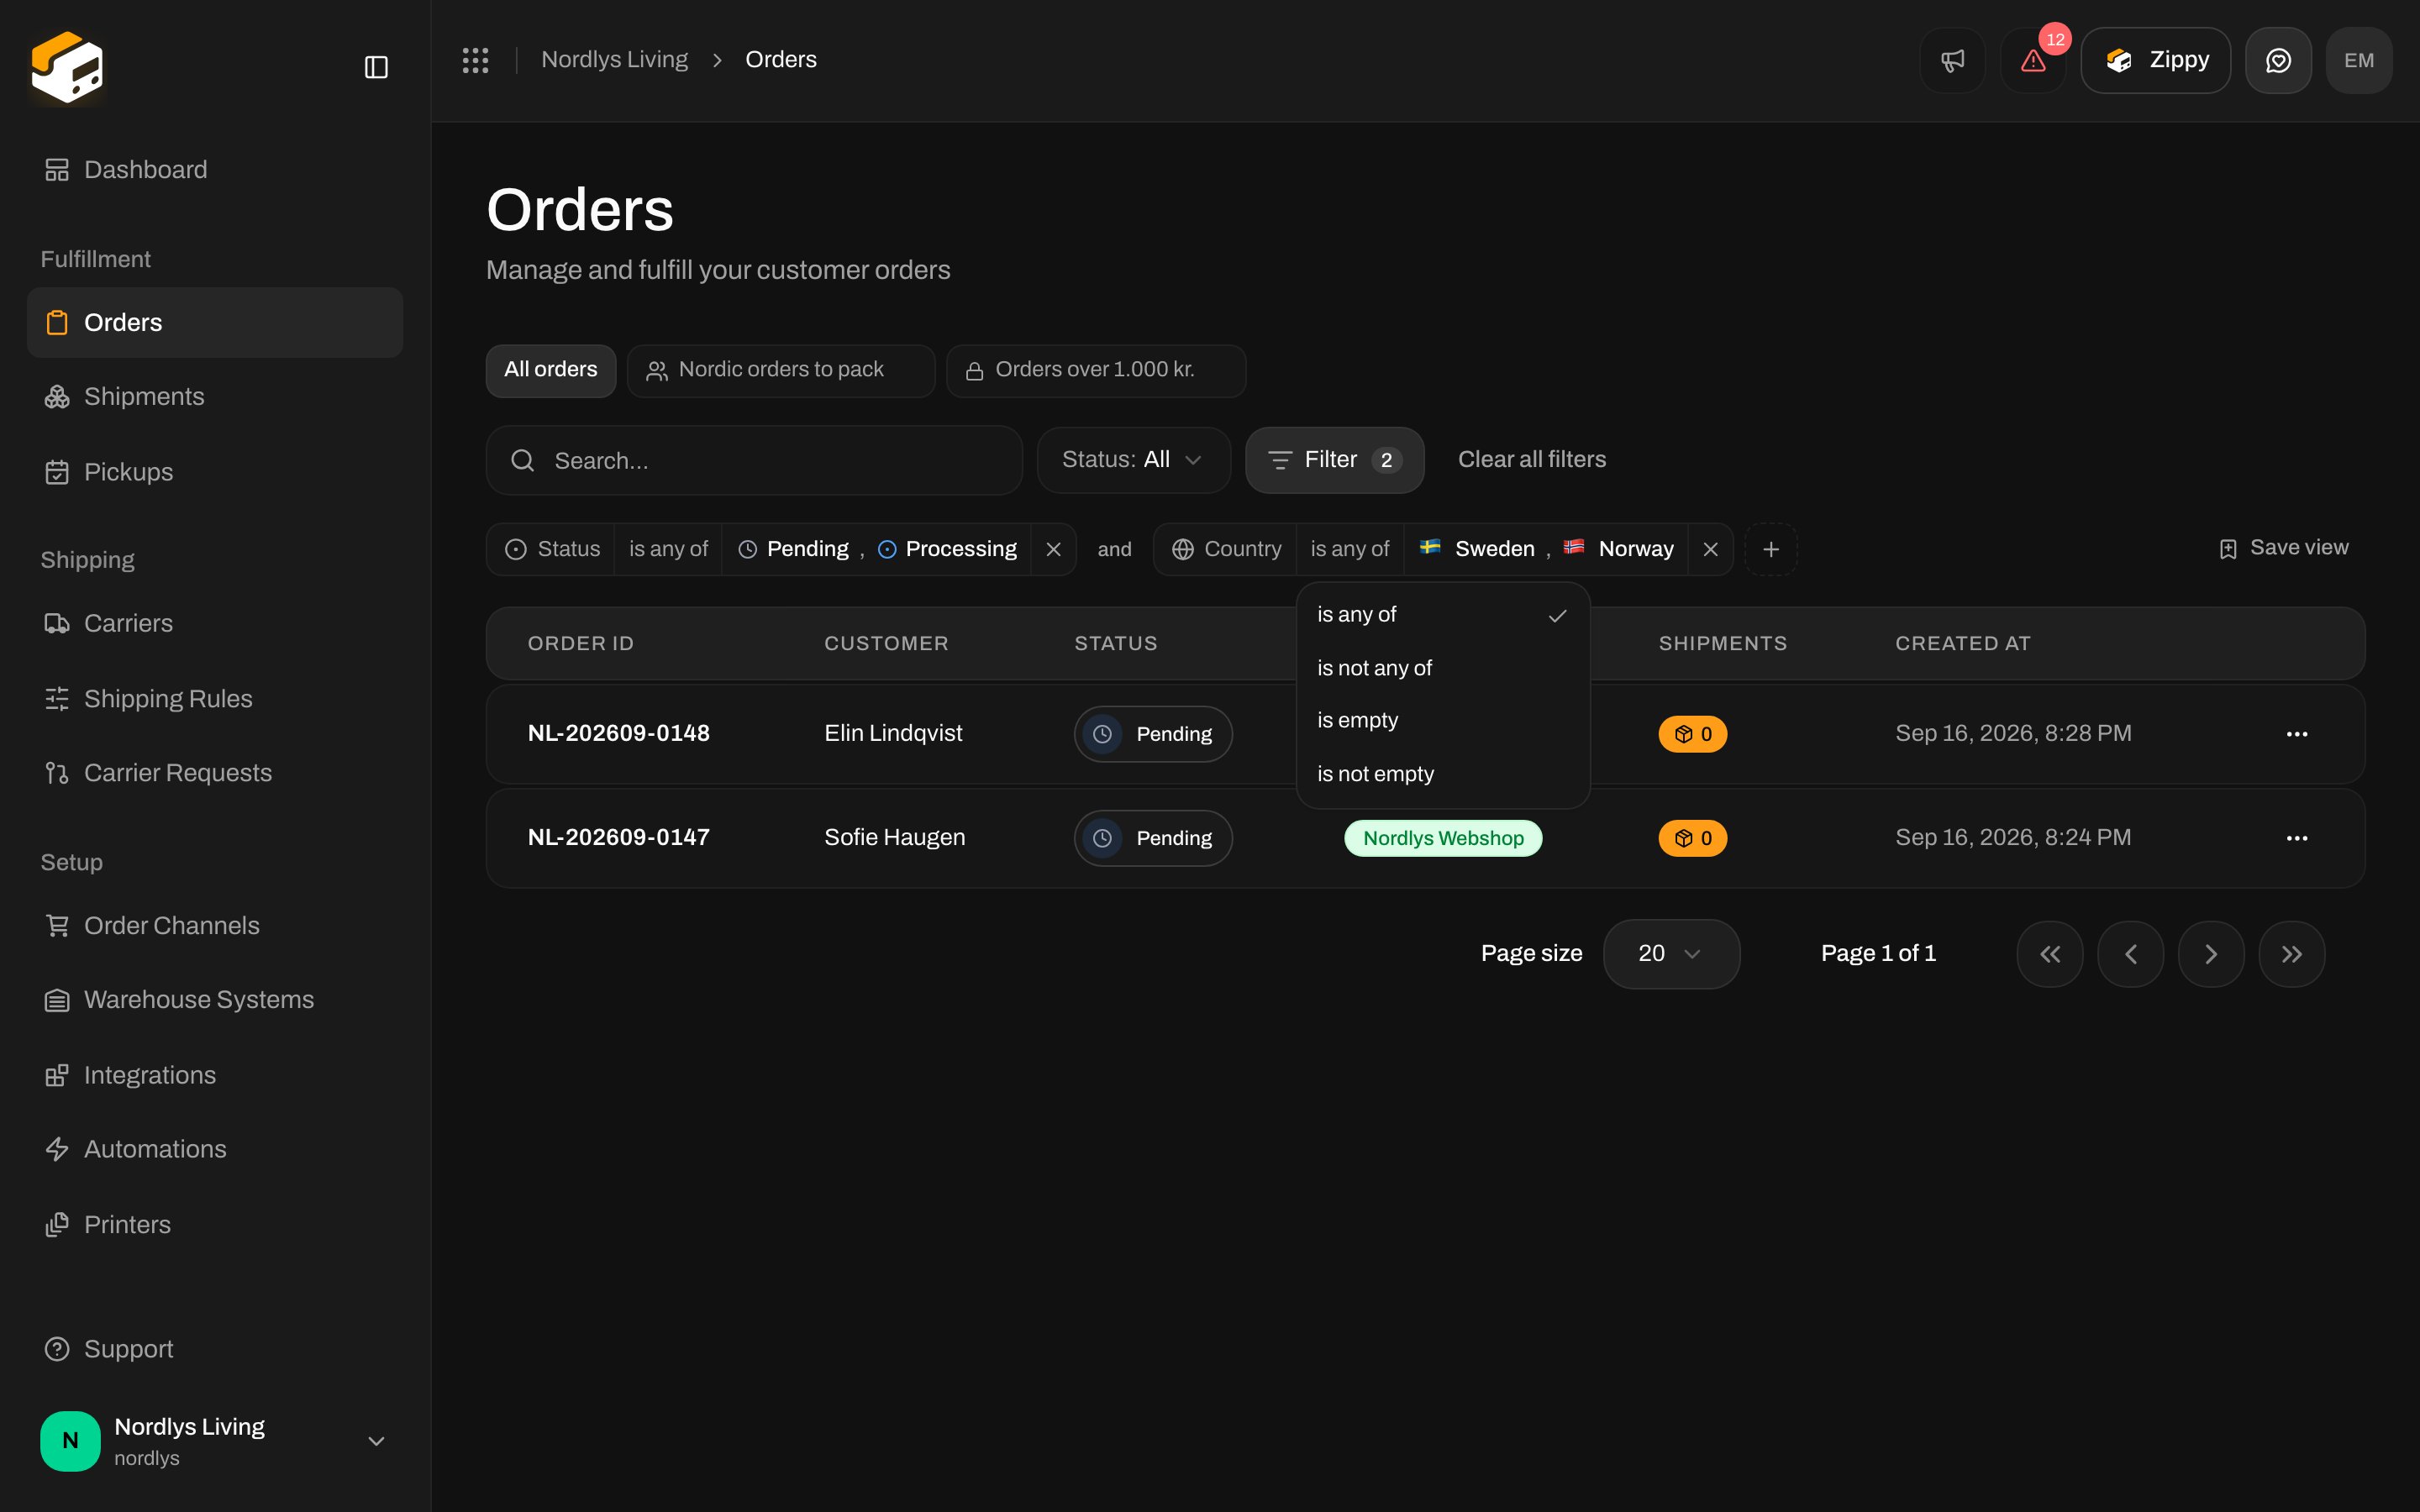
Country tag with the matching options open: is any of, is not any of, is empty, is not emptyCountry tag with the matching options open: is any of, is not any of, is empty, is not empty

Click the middle of a tag to change how it matches

Is not keeps the orders where the value is missing. “Country is not Denmark” also shows orders that have no address yet, because those are not Denmark either. That is usually what you want when you are looking for problems.

3. Match all, or match any

Click the word and between two tags and it becomes or. With and, an order has to match every tag. With or, matching one is enough. When you need both in the same filter, put some tags in a group. Click Filter, choose Add filter group at the bottom, and pick the first property for the group. The group shows as a bracket with its own and / or.
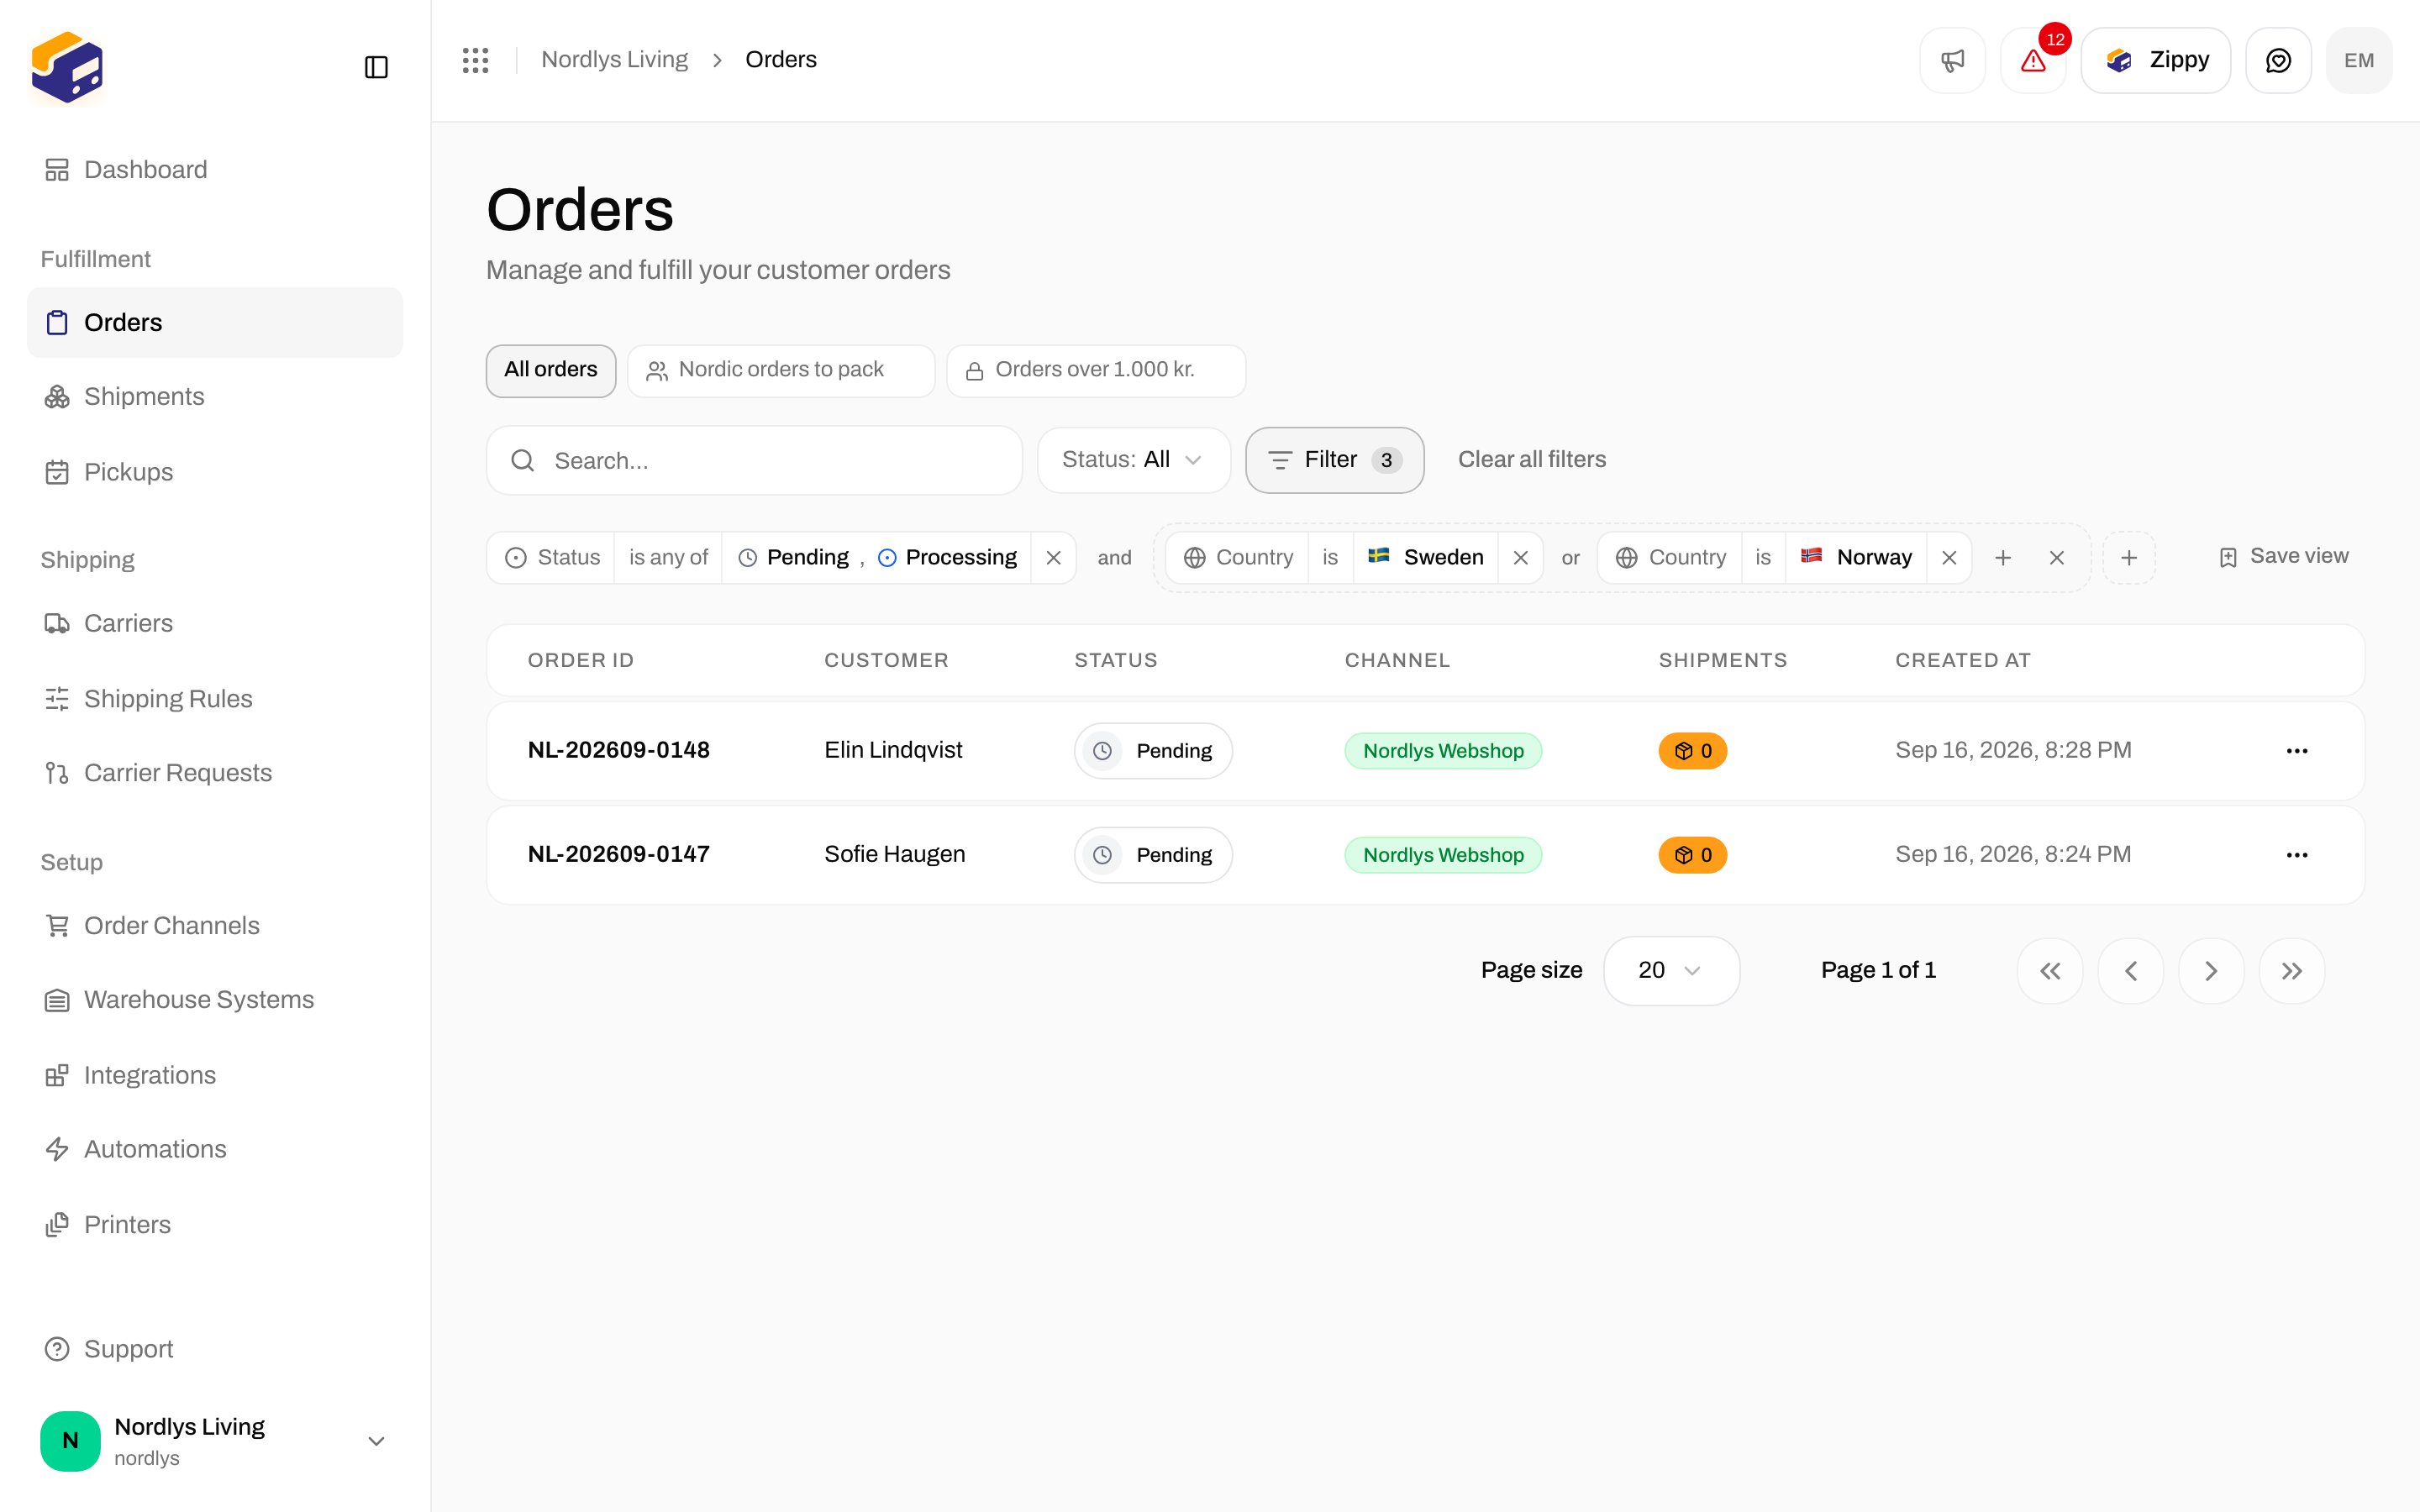
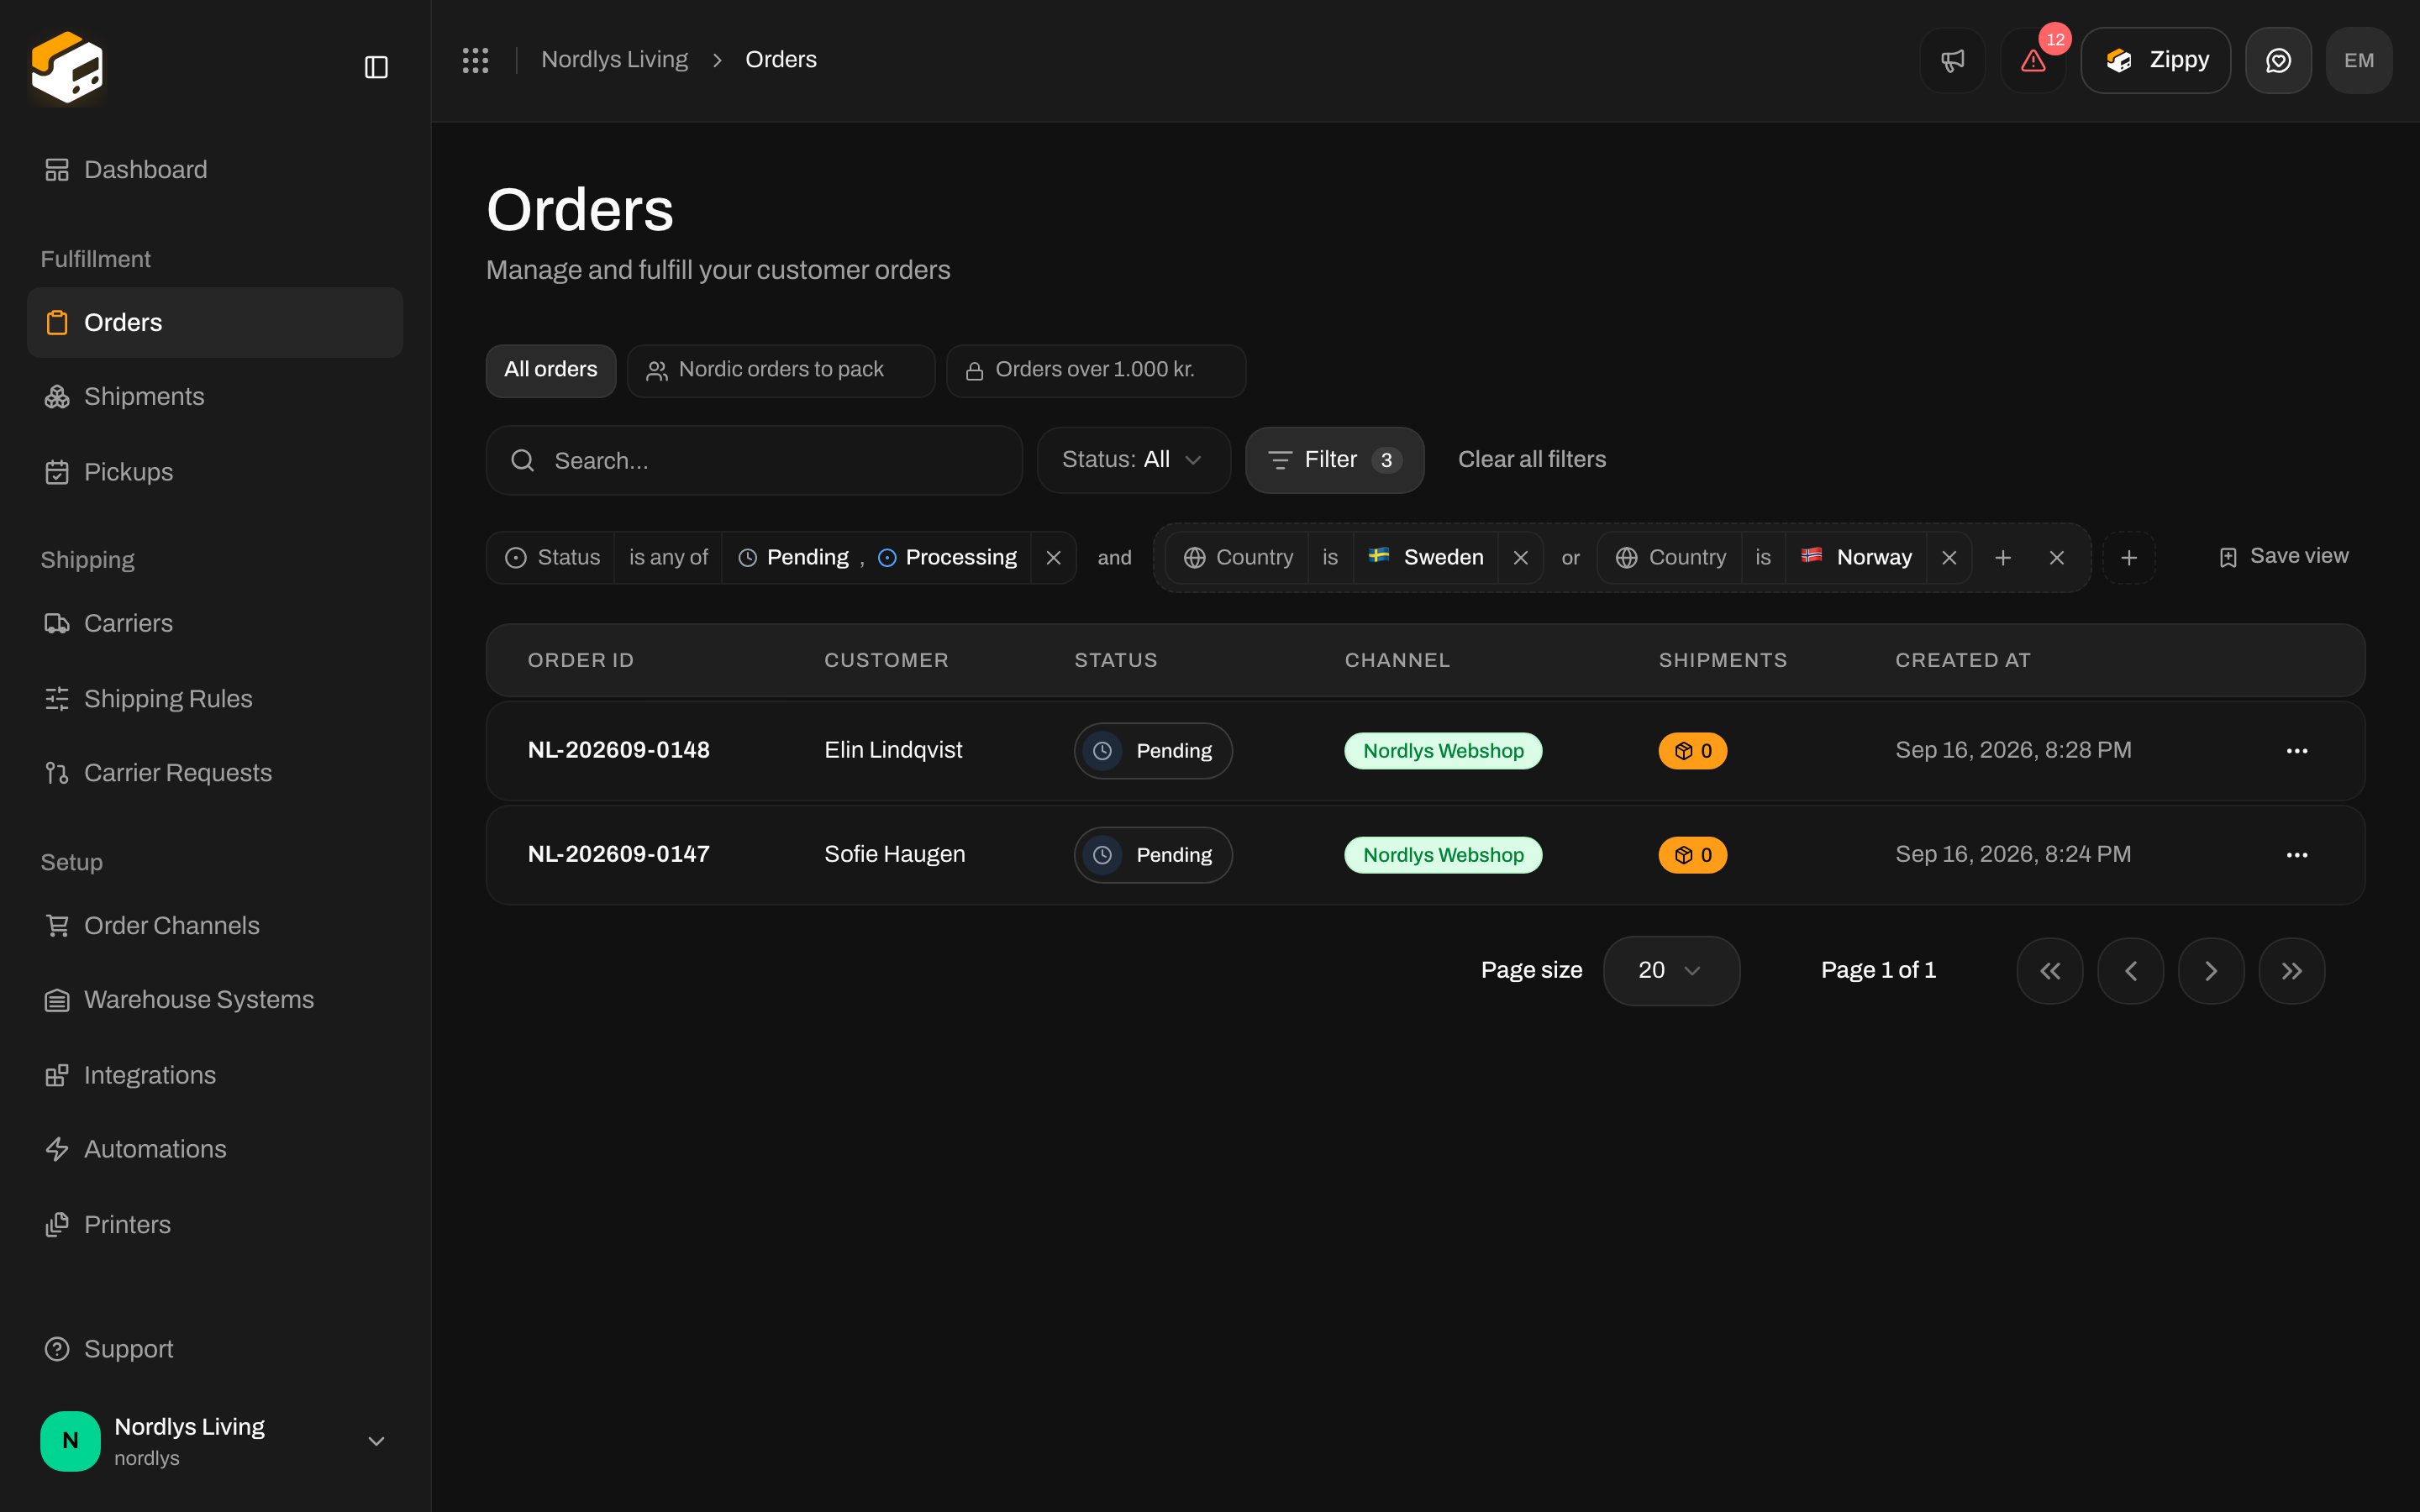
Filter tags with a bracketed group containing Country is Sweden or Country is NorwayFilter tags with a bracketed group containing Country is Sweden or Country is Norway

A group in brackets: pending or processing, and going to Sweden or Norway

4. Filter by date

Dates have shortcuts: Today, Yesterday, 1 week ago, 2 weeks ago, 1 month ago and 3 months ago, or Custom date… to pick a day from the calendar. “Created is on or after 1 week ago” gives you the last seven days.
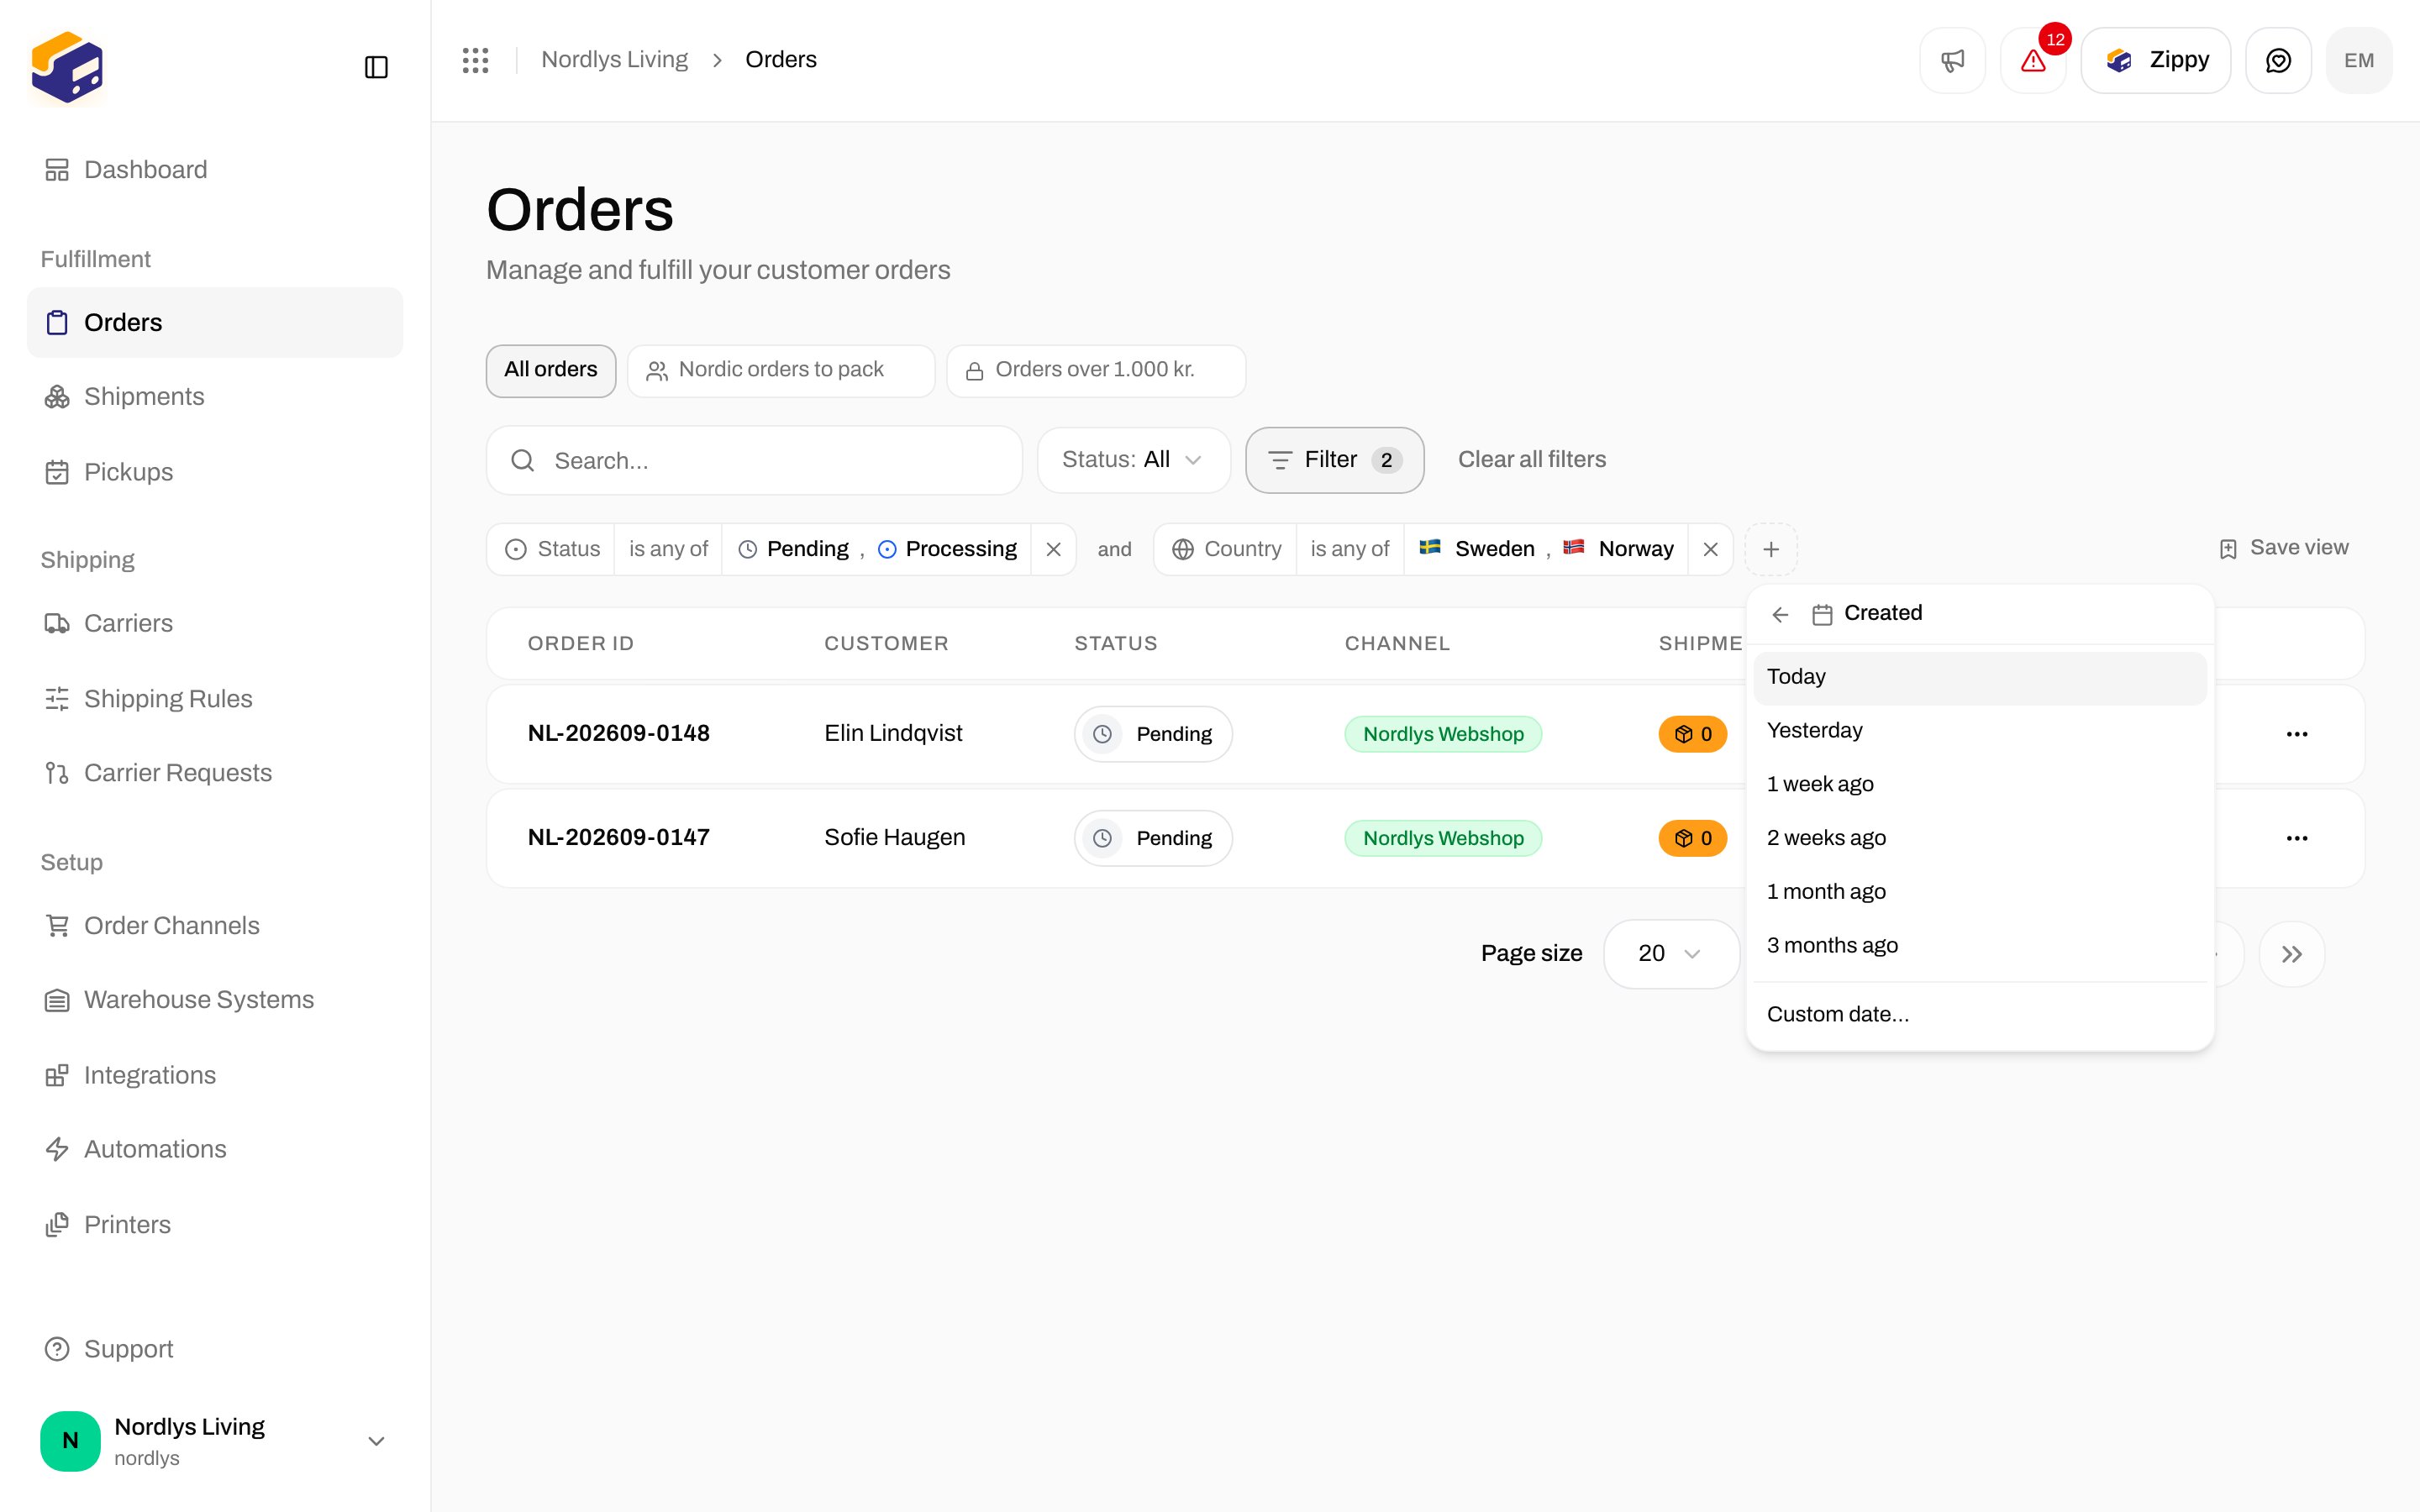
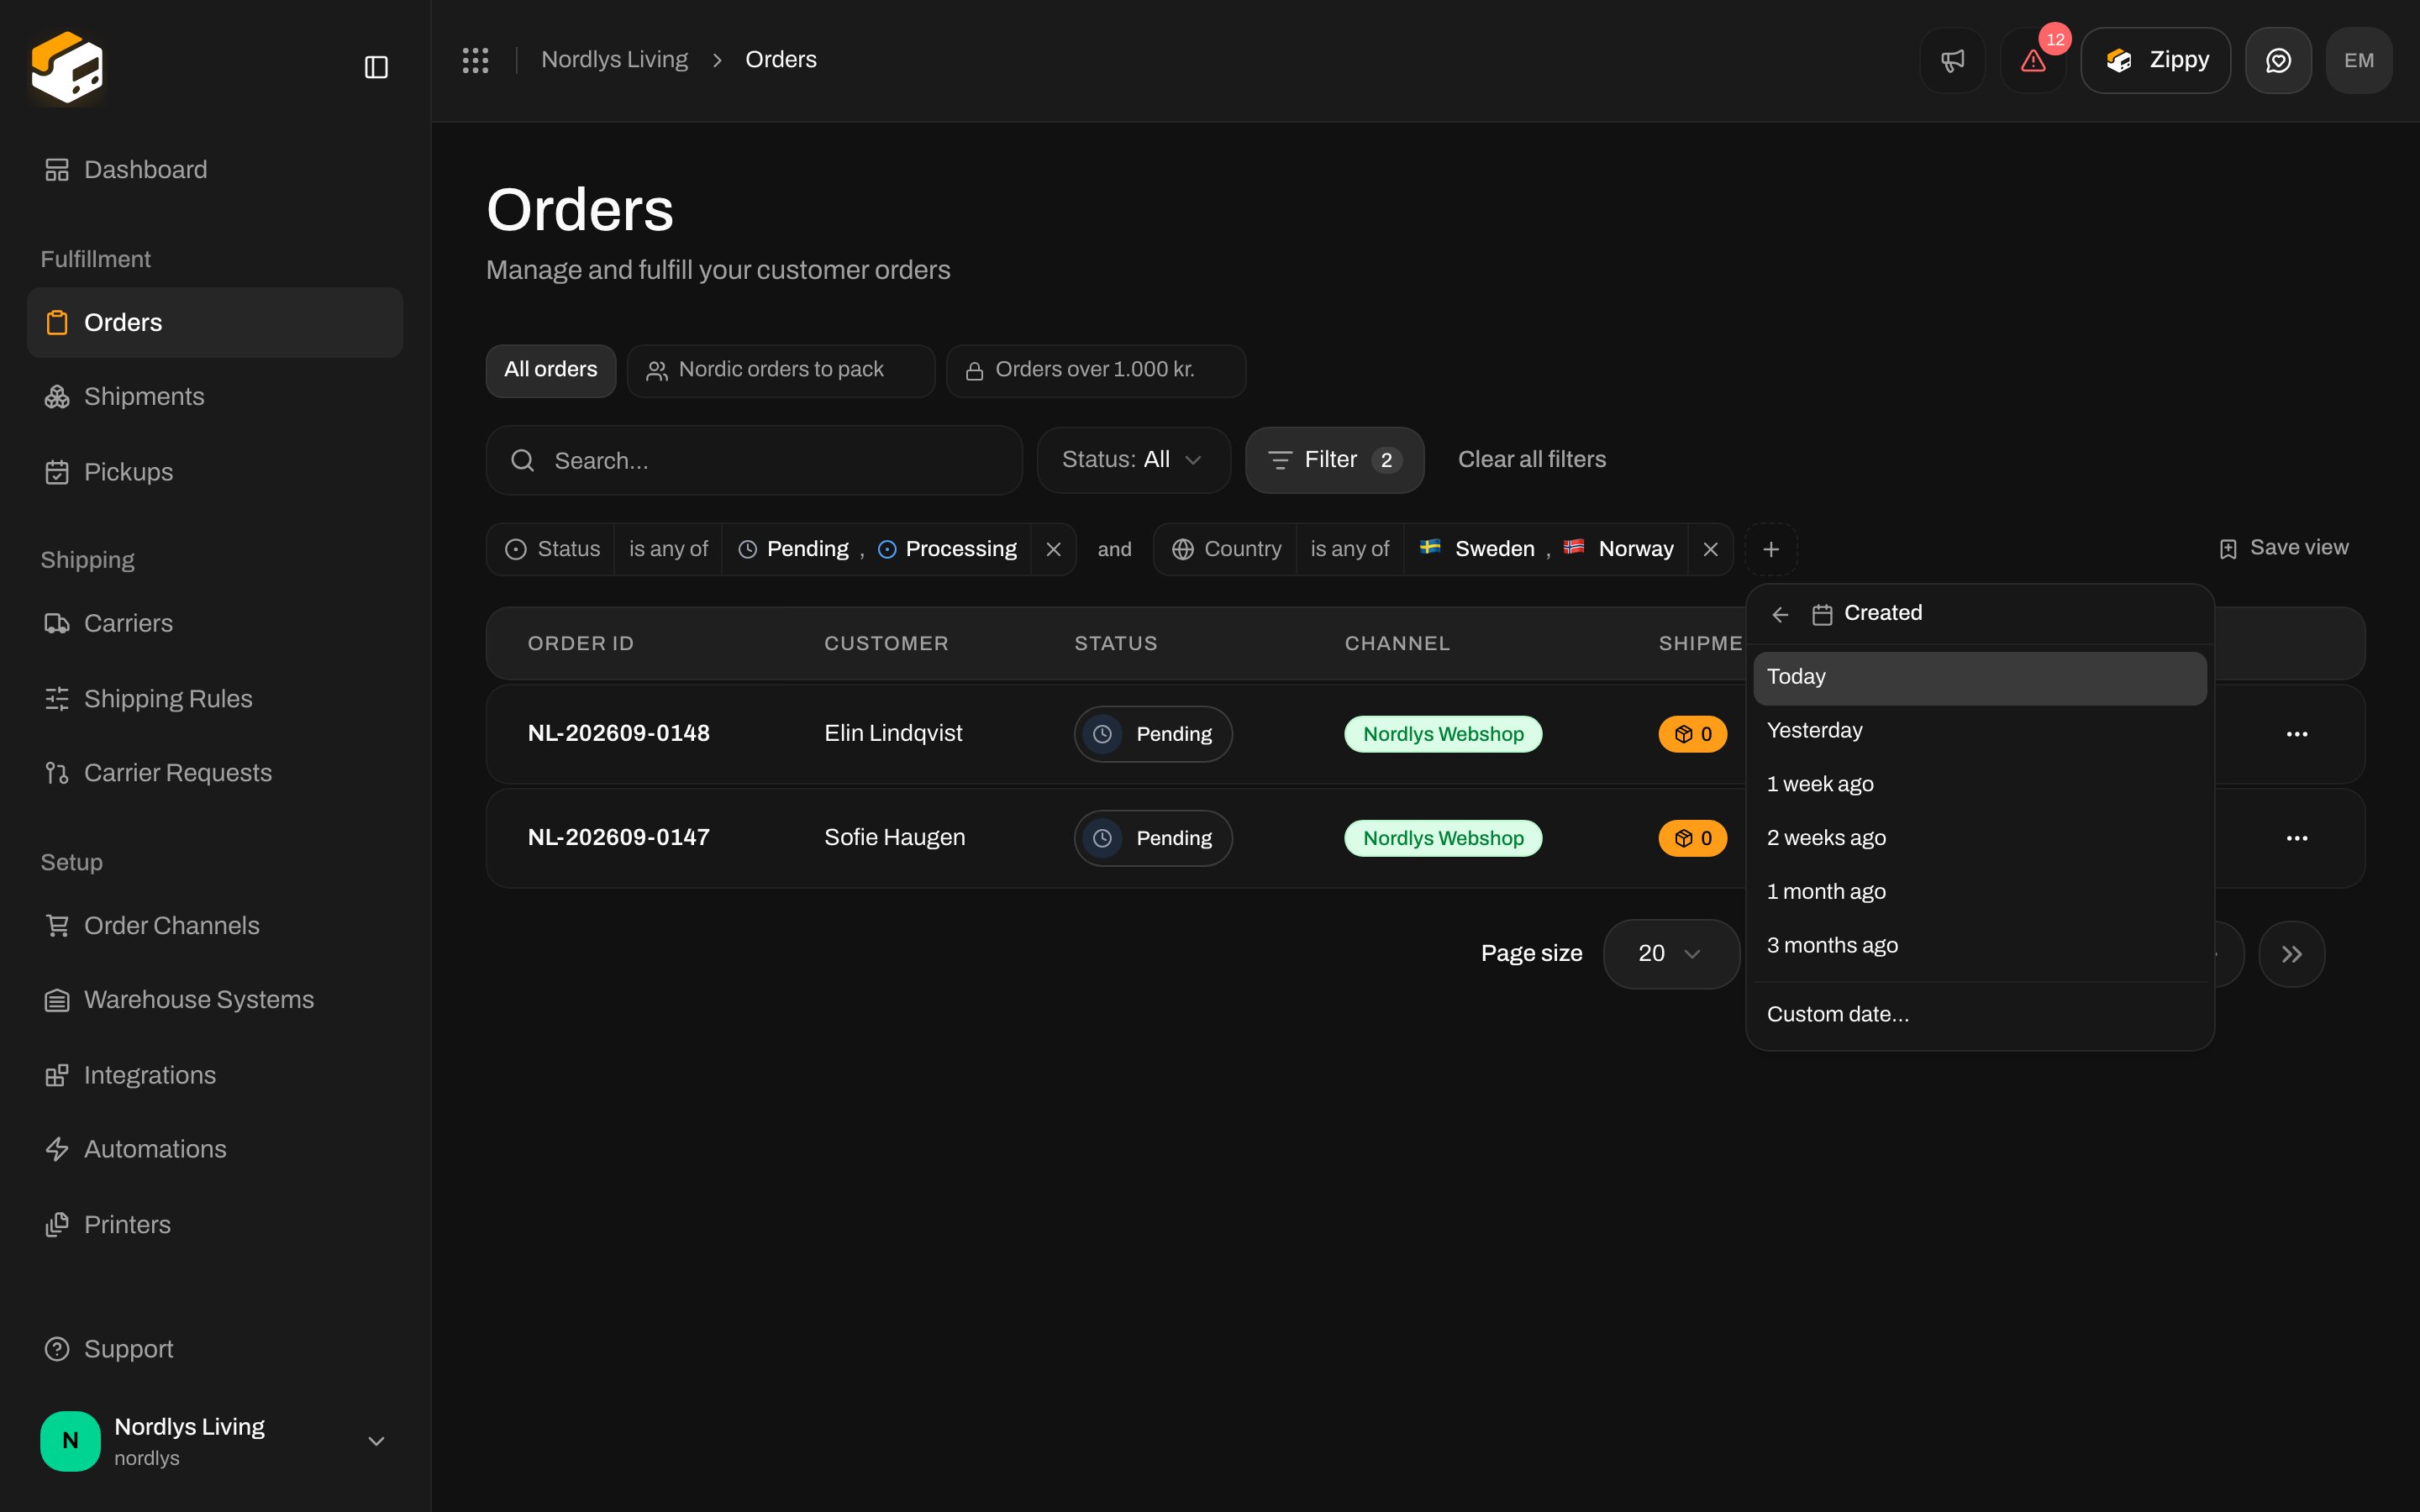
Created filter with Today, Yesterday, 1 week ago, 1 month ago and Custom date choicesCreated filter with Today, Yesterday, 1 week ago, 1 month ago and Custom date choices

Date shortcuts for the Created property

The shortcuts move with the calendar. A view saved with 1 week ago still means “the last seven days” when you open it next month. A Custom date stays fixed on that day.

5. Save the filter as a view

Once a filter is worth keeping, save it.
1

Click Save view

At the right end of the tags, click Save view.
2

Name it and choose who sees it

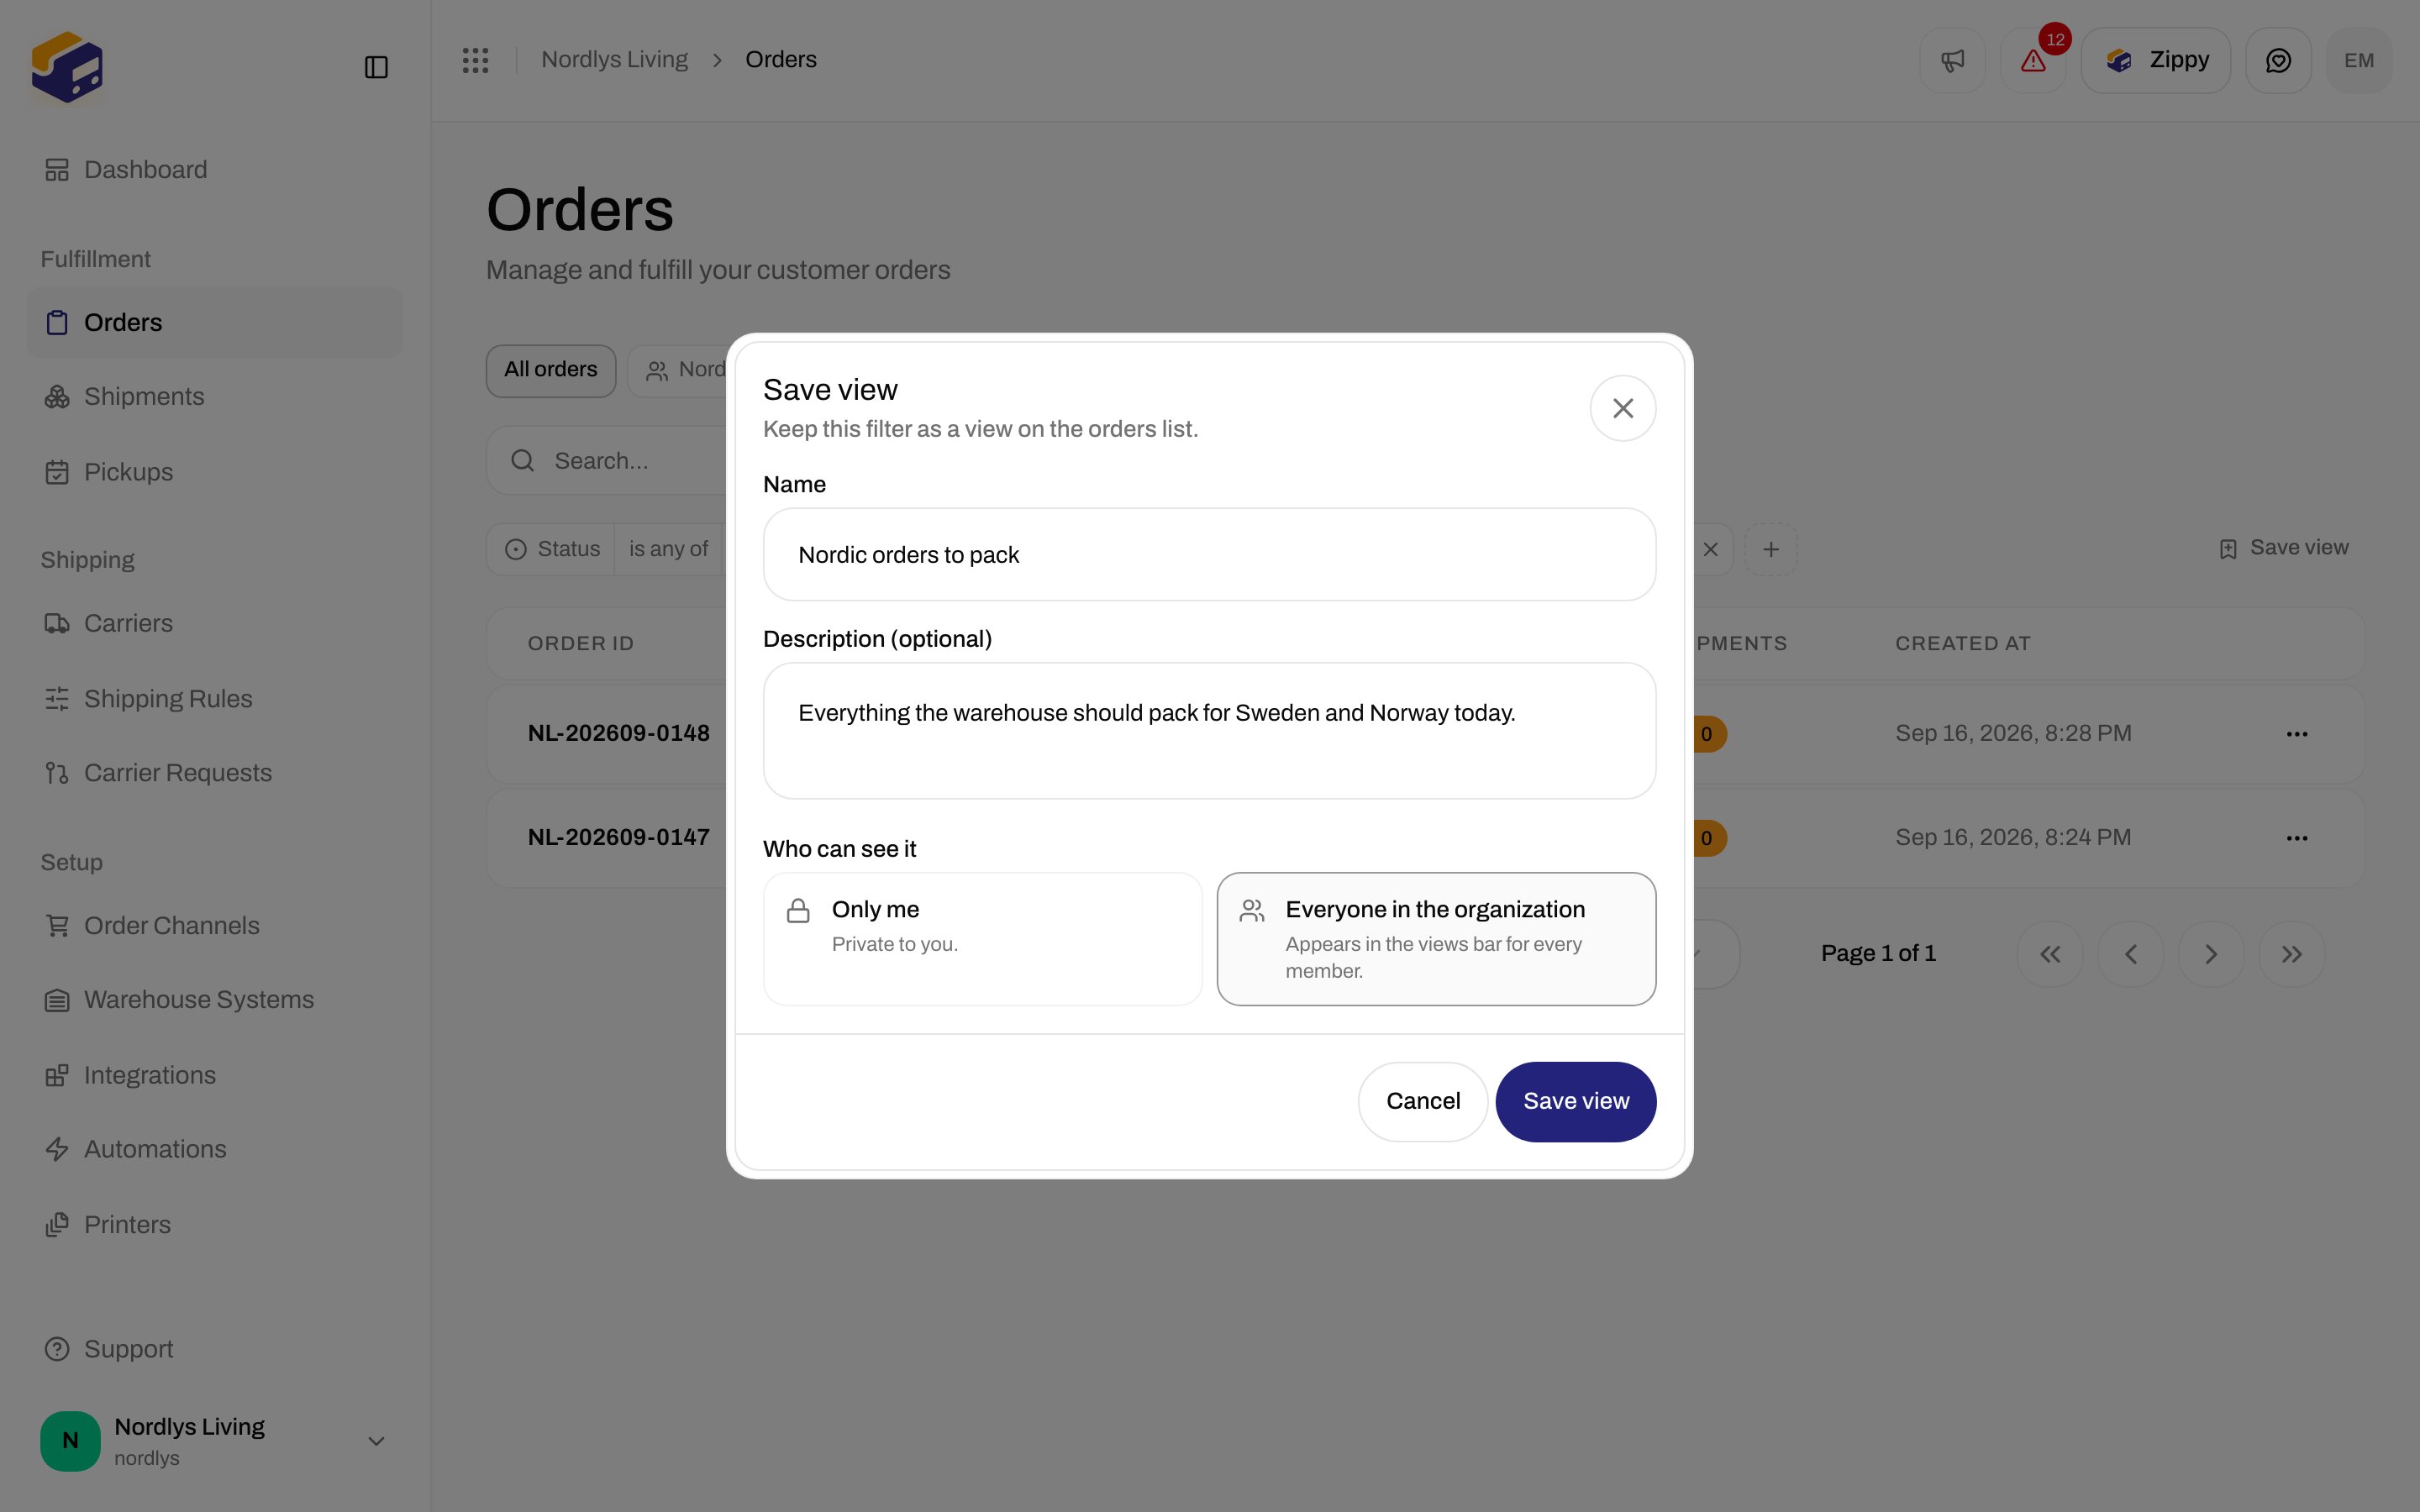
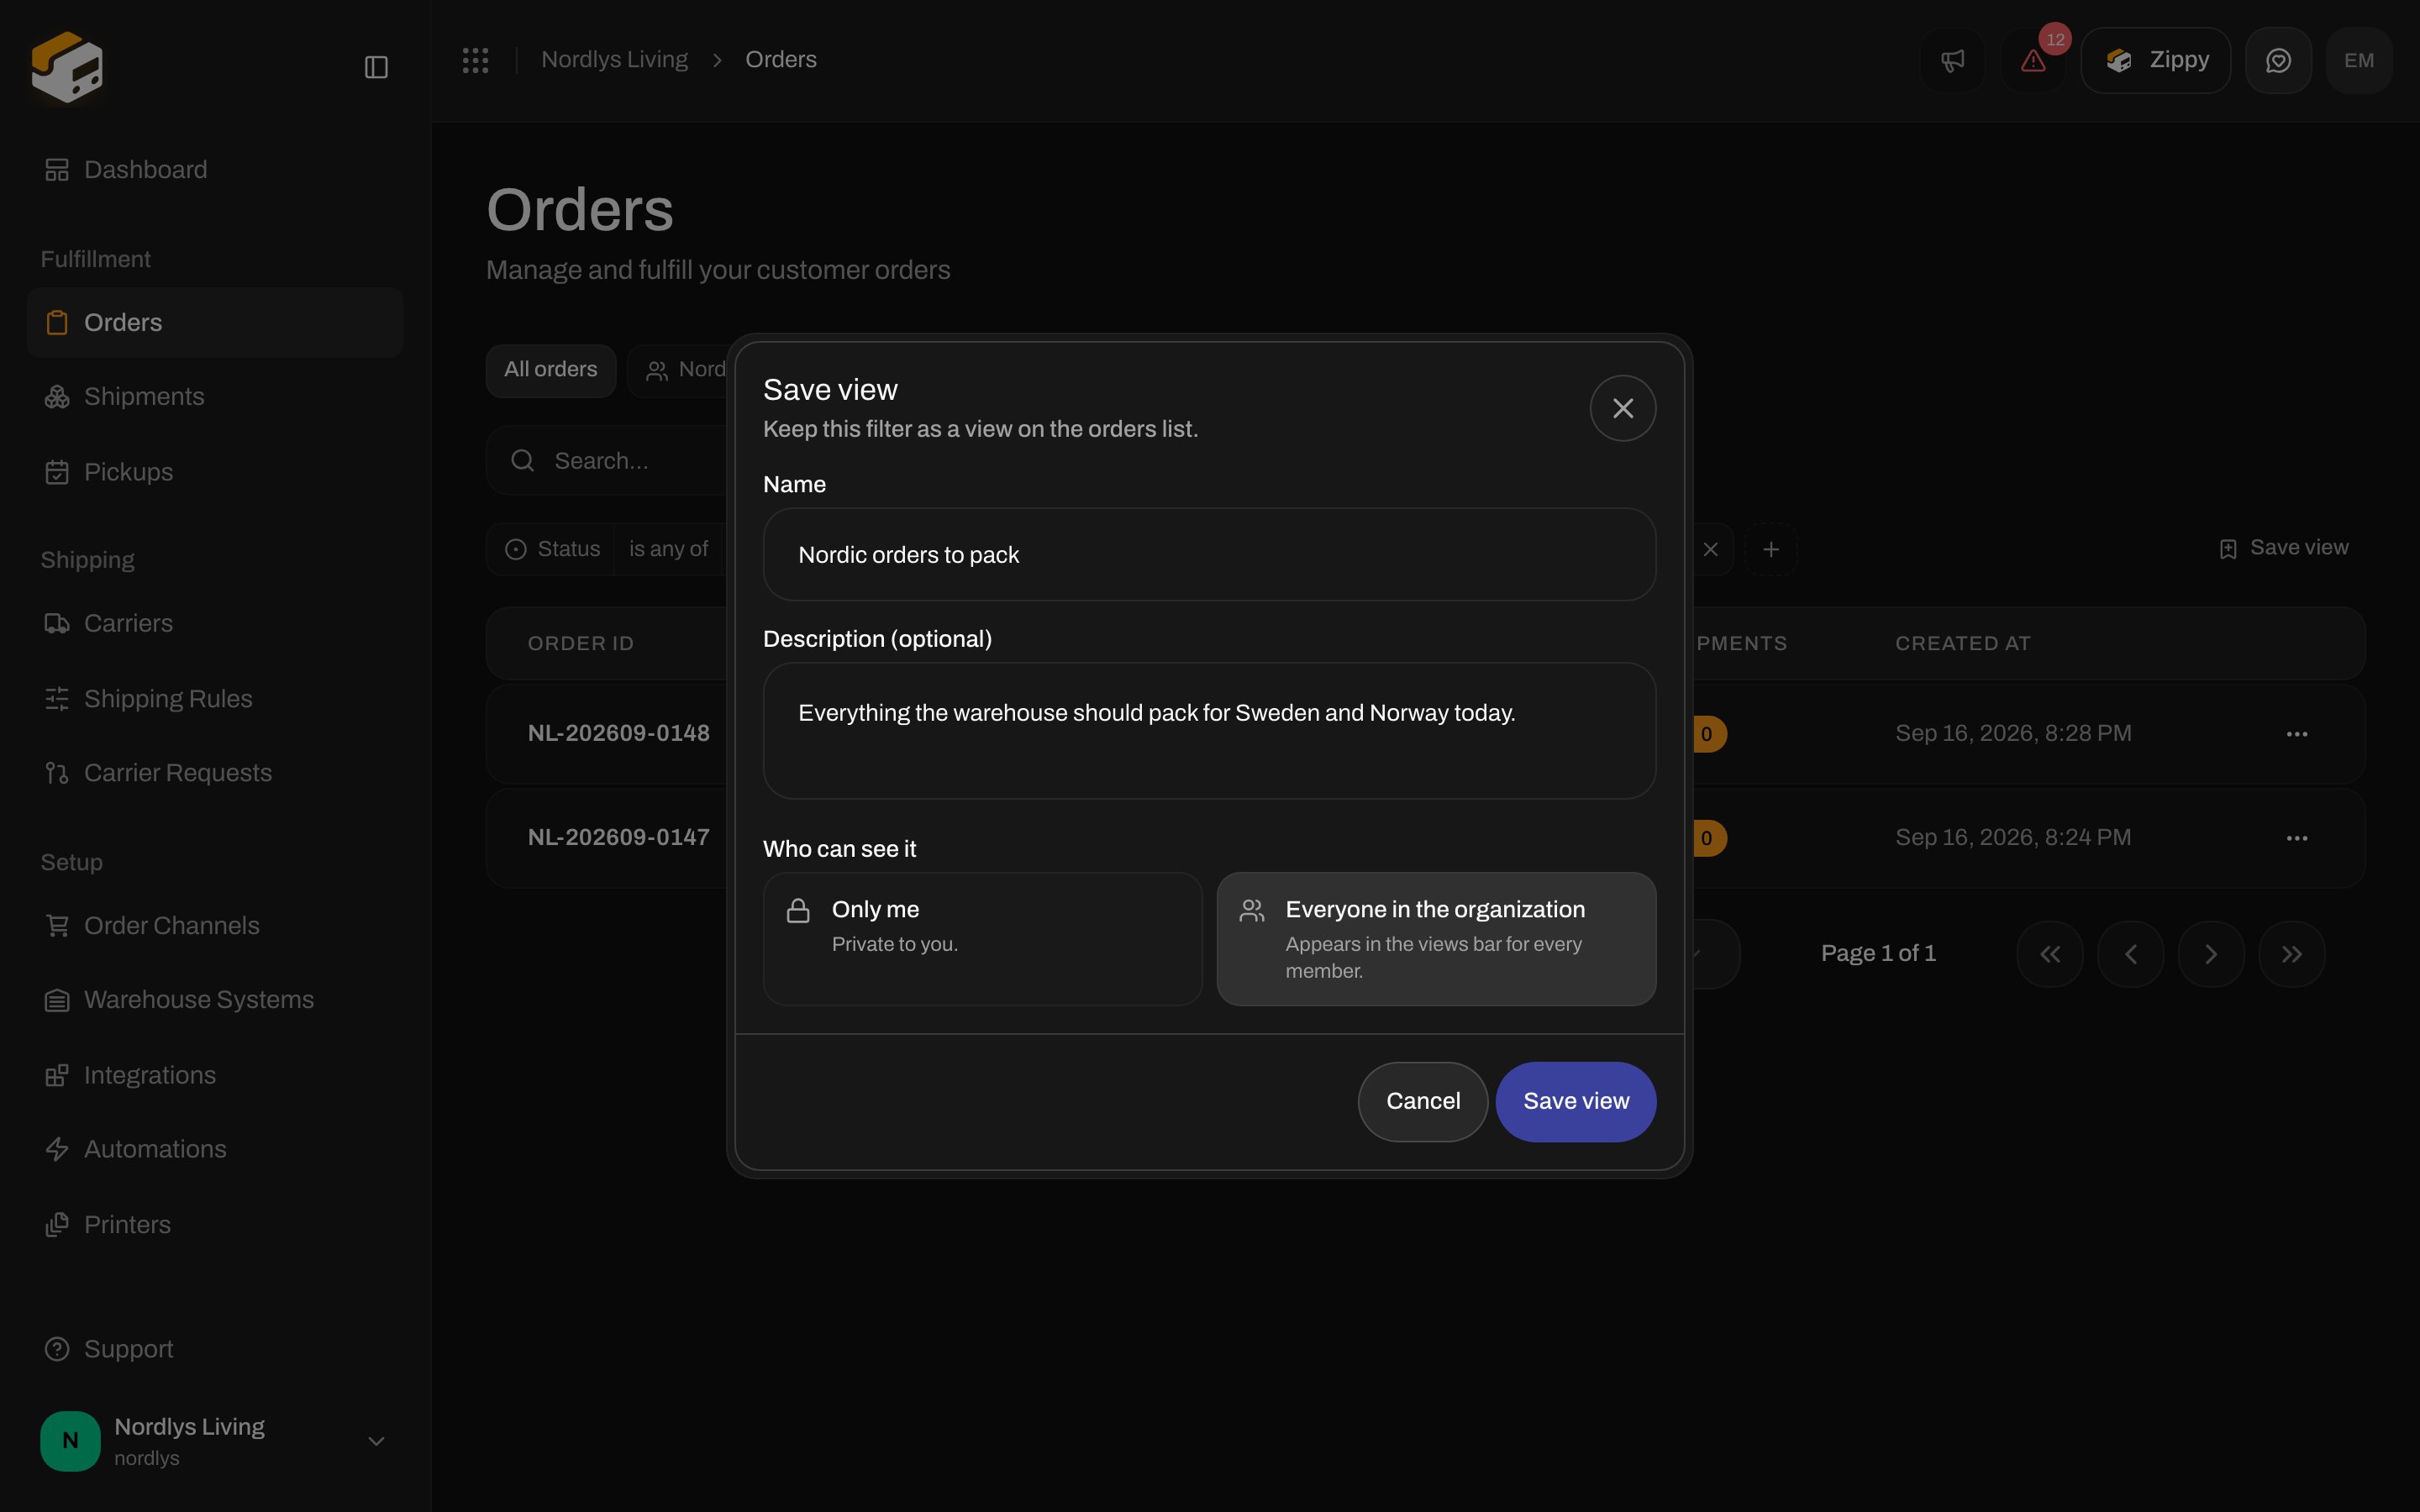
Give the view a short name your team will recognise, add a note if it helps, and choose Only me or Everyone in the organization.
Save view dialog with a name, a description and the choice between Only me and Everyone in the organizationSave view dialog with a name, a description and the choice between Only me and Everyone in the organization

Saving the filter as a shared view called Nordic orders to pack

3

Open it from the bar

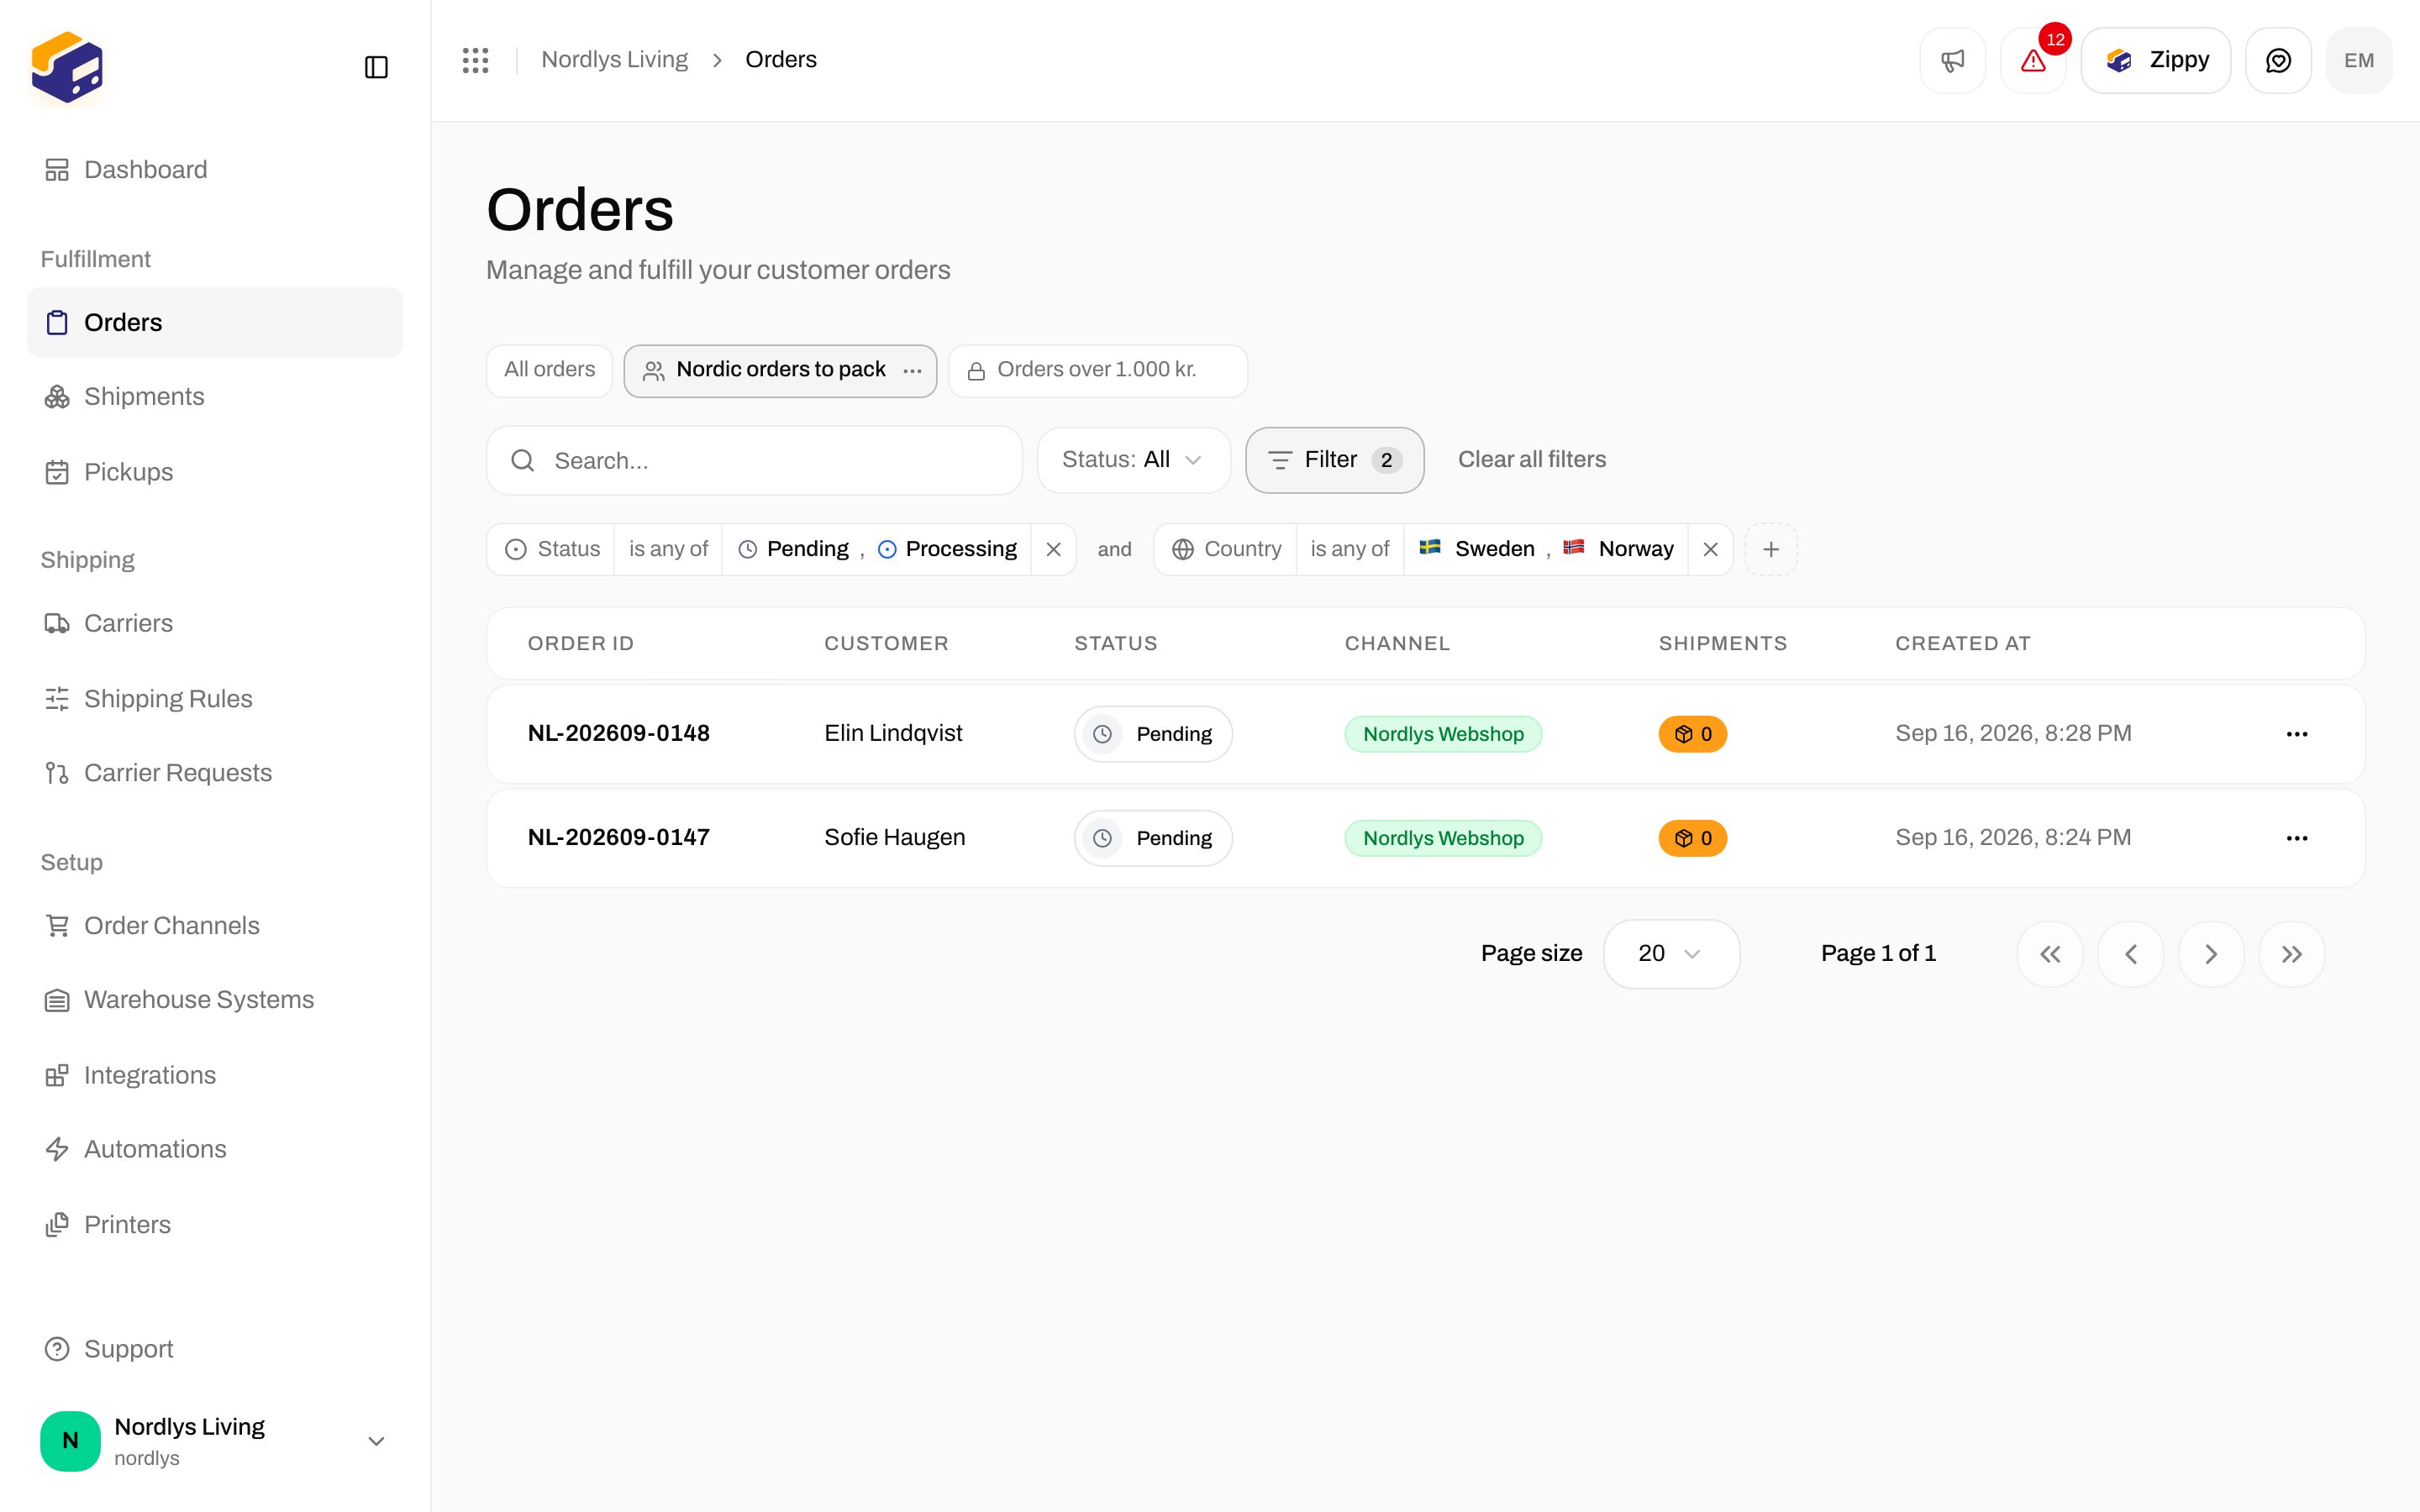
Saved views appear as tabs above the filters, after All orders. Click a tab to load its filter. The tab you are on is highlighted, and the little icon tells you whether the view is shared or personal.
Tabs above the filters: All orders, Nordic orders to pack (active) and a personal viewTabs above the filters: All orders, Nordic orders to pack (active) and a personal view

The views bar with the shared view Nordic orders to pack open

The filter is also in the page address. Copy the link from your browser and send it to a colleague, and they land on the same filtered list, even without a saved view.

6. Change a view later

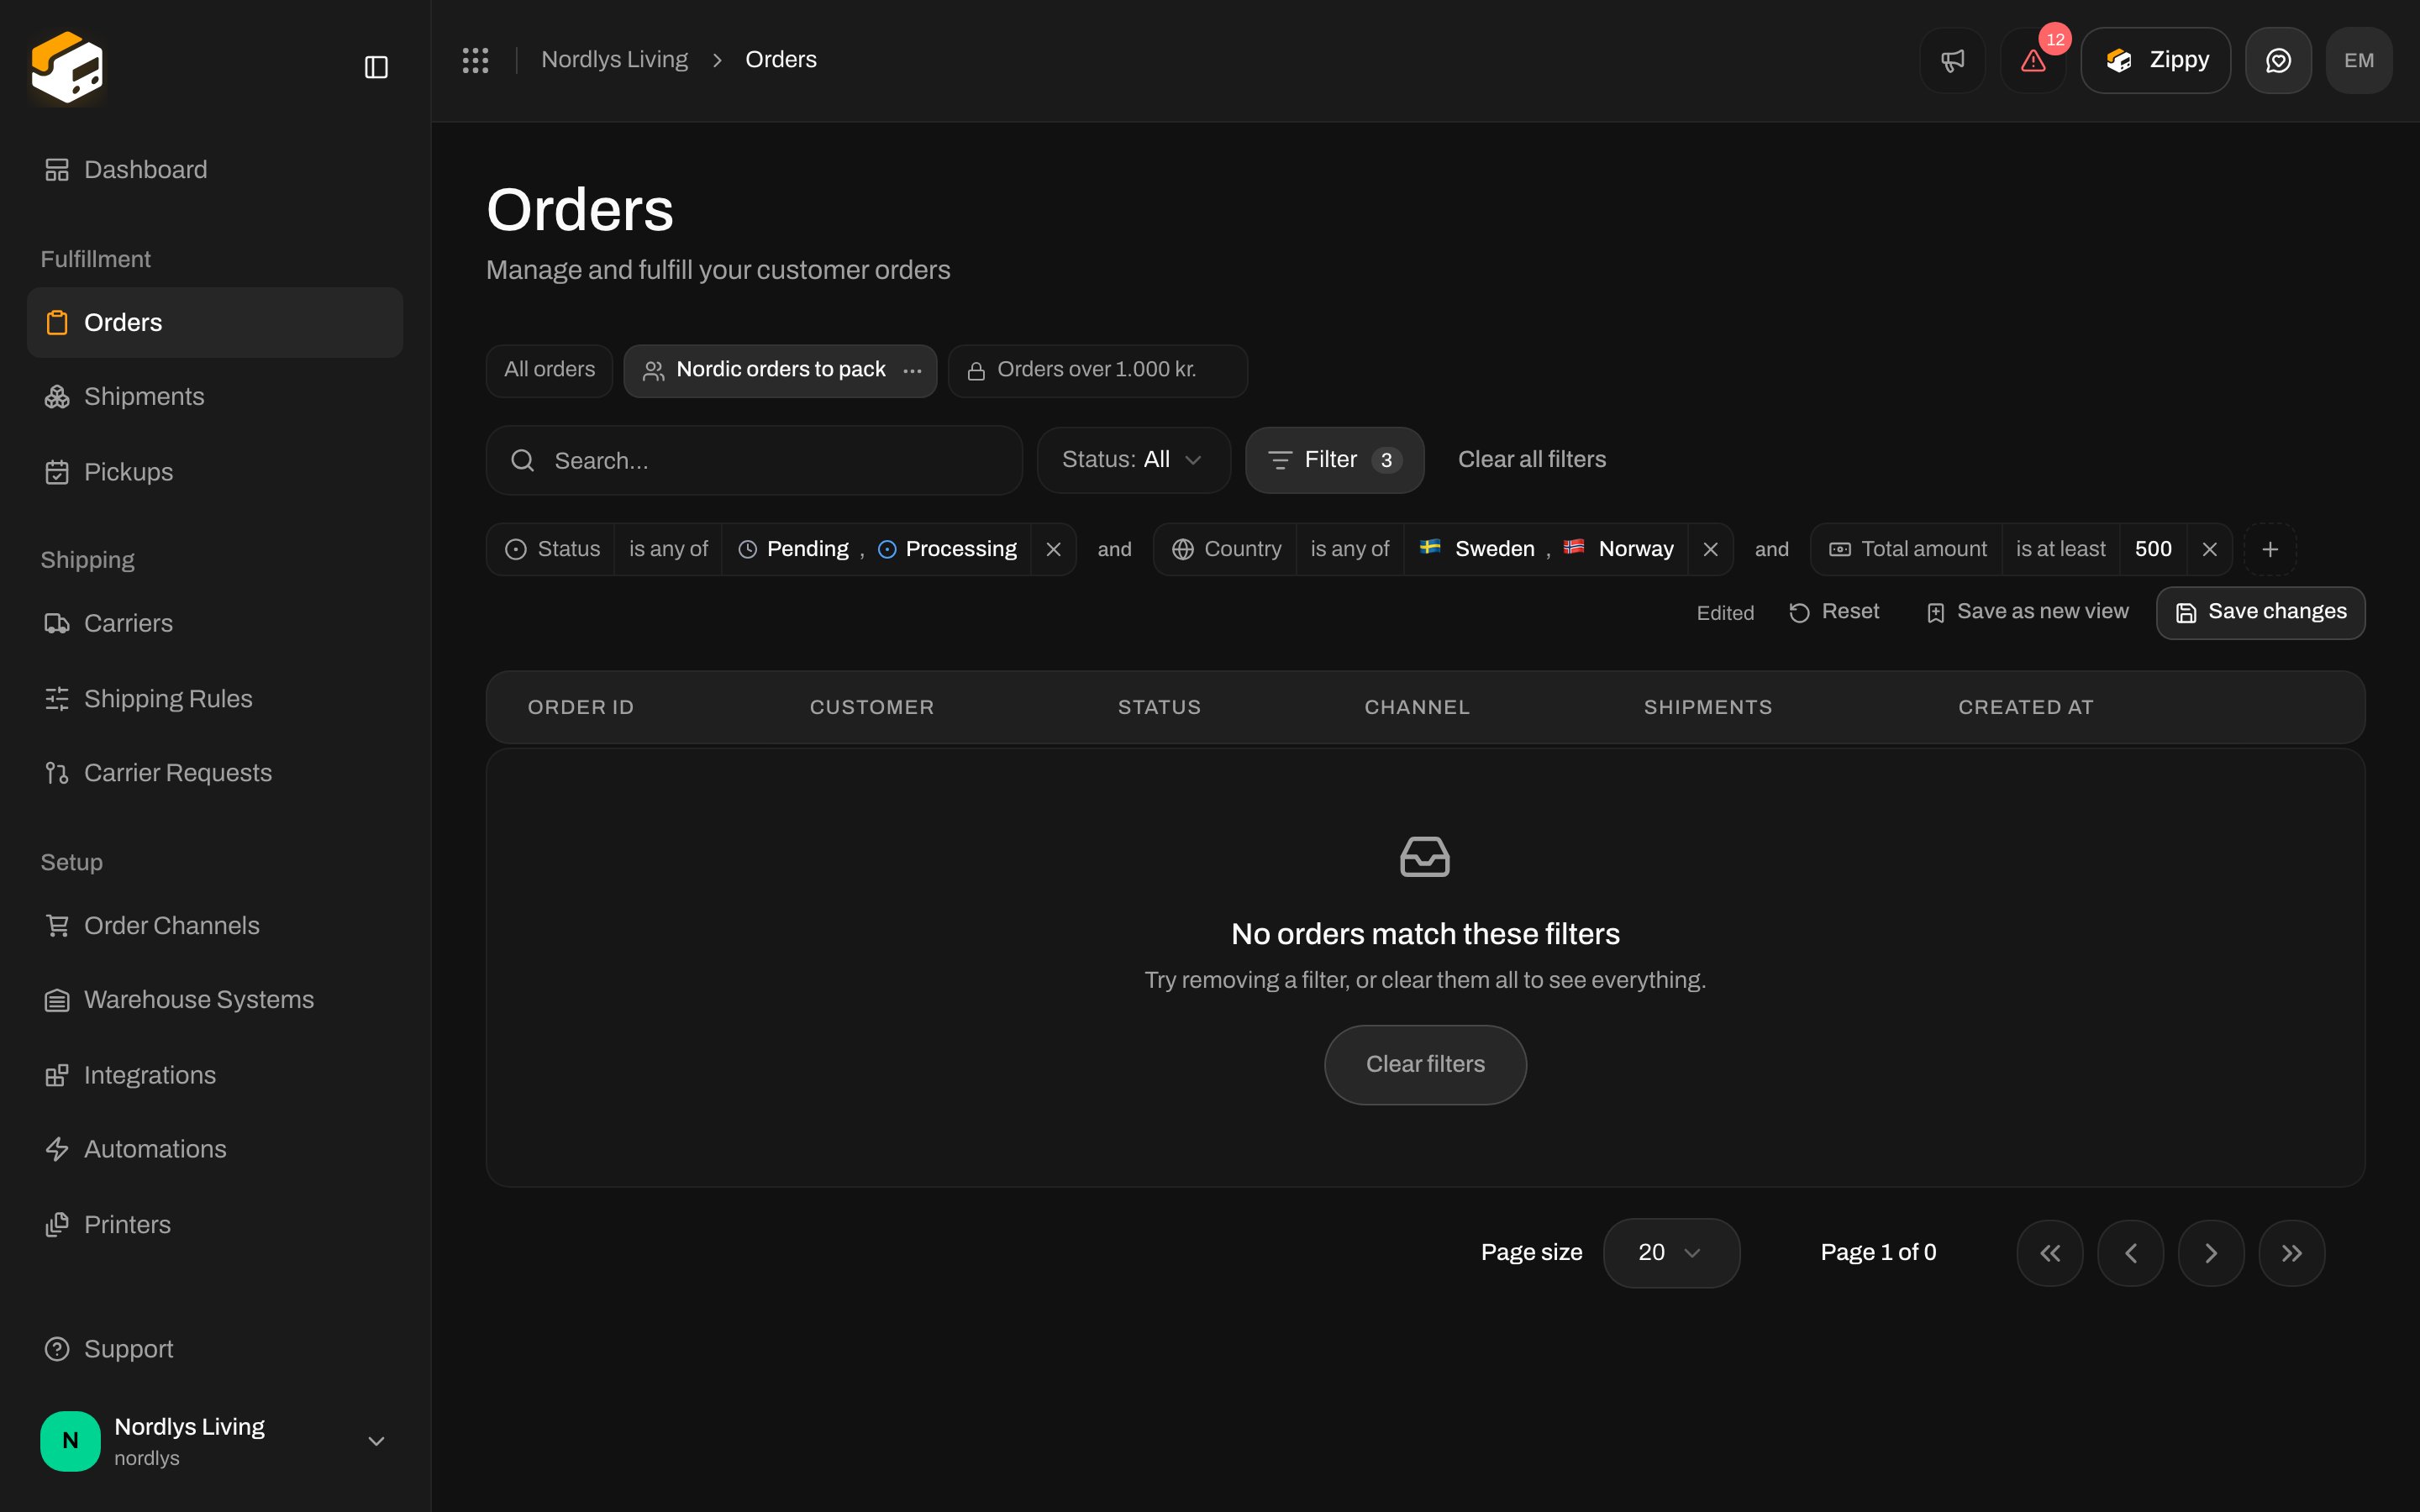
Open a view and change its filter. The bar marks the view as Edited and offers three choices:
  • Reset puts the saved filter back.
  • Save changes updates the view for everyone who can see it.
  • Save as new view keeps the original and stores your changes as a second view.
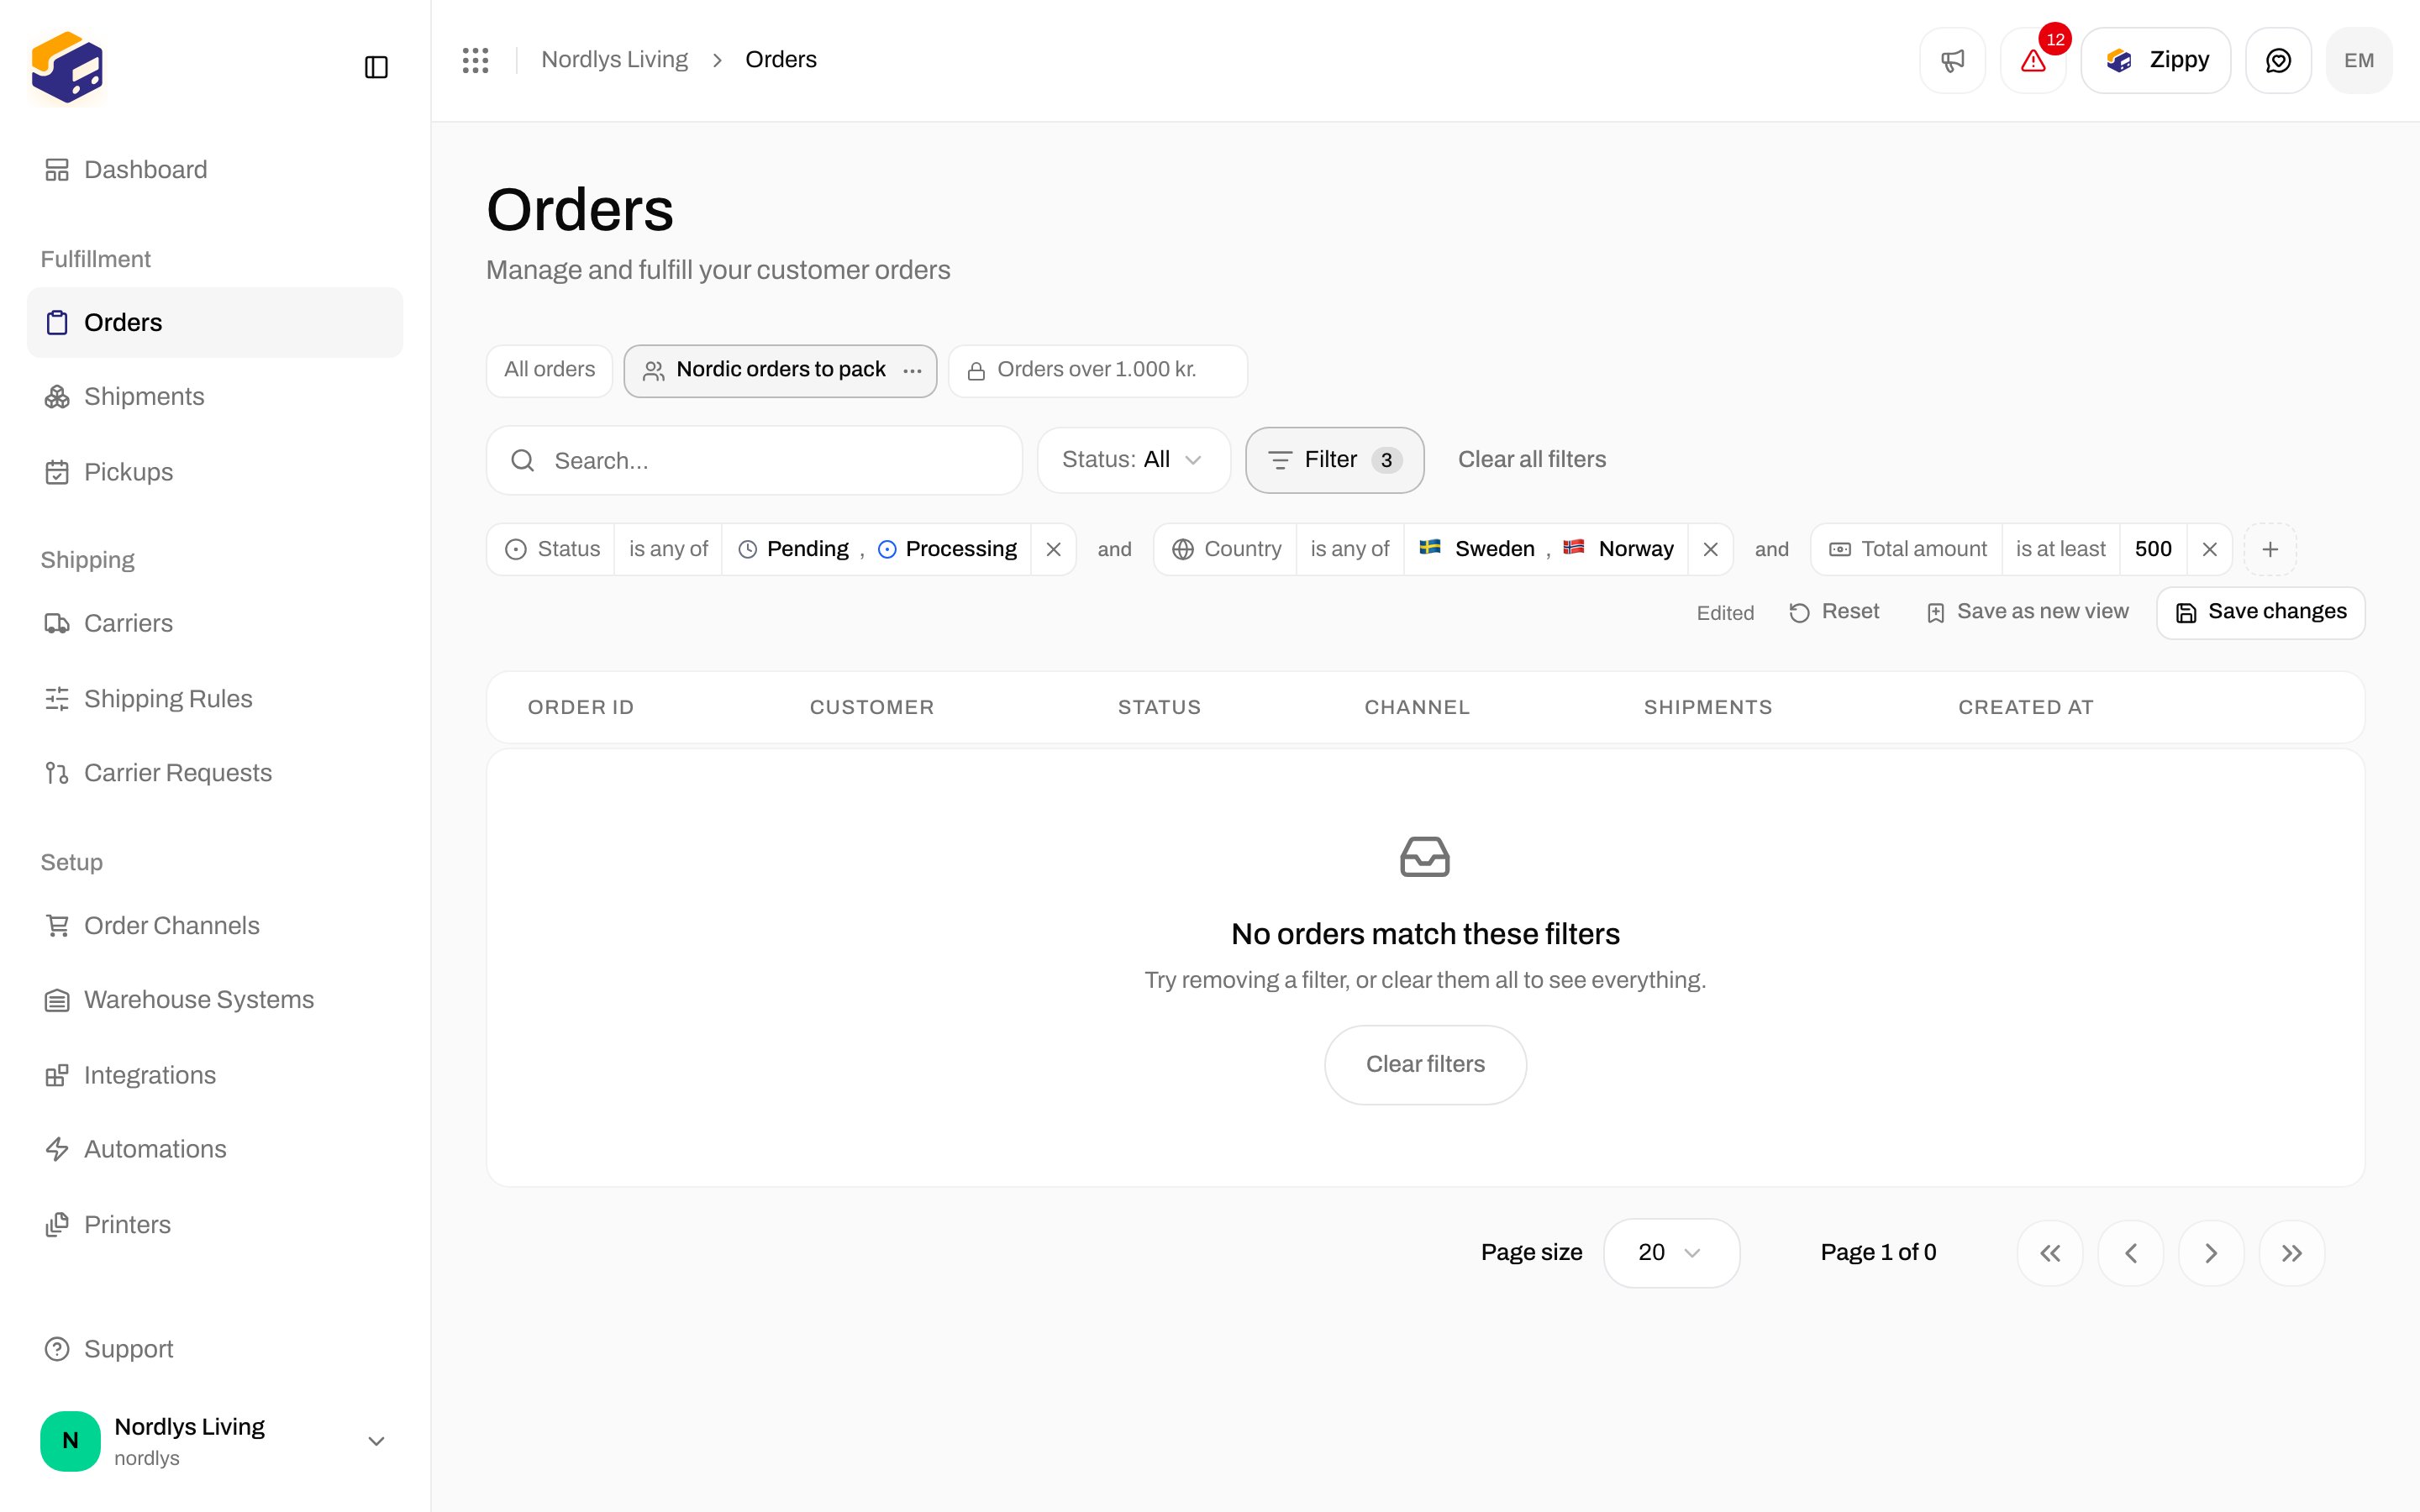
Views bar showing Edited next to Reset, Save as new view and Save changes buttonsViews bar showing Edited next to Reset, Save as new view and Save changes buttons
An edited view: Reset, Save as new view and Save changes

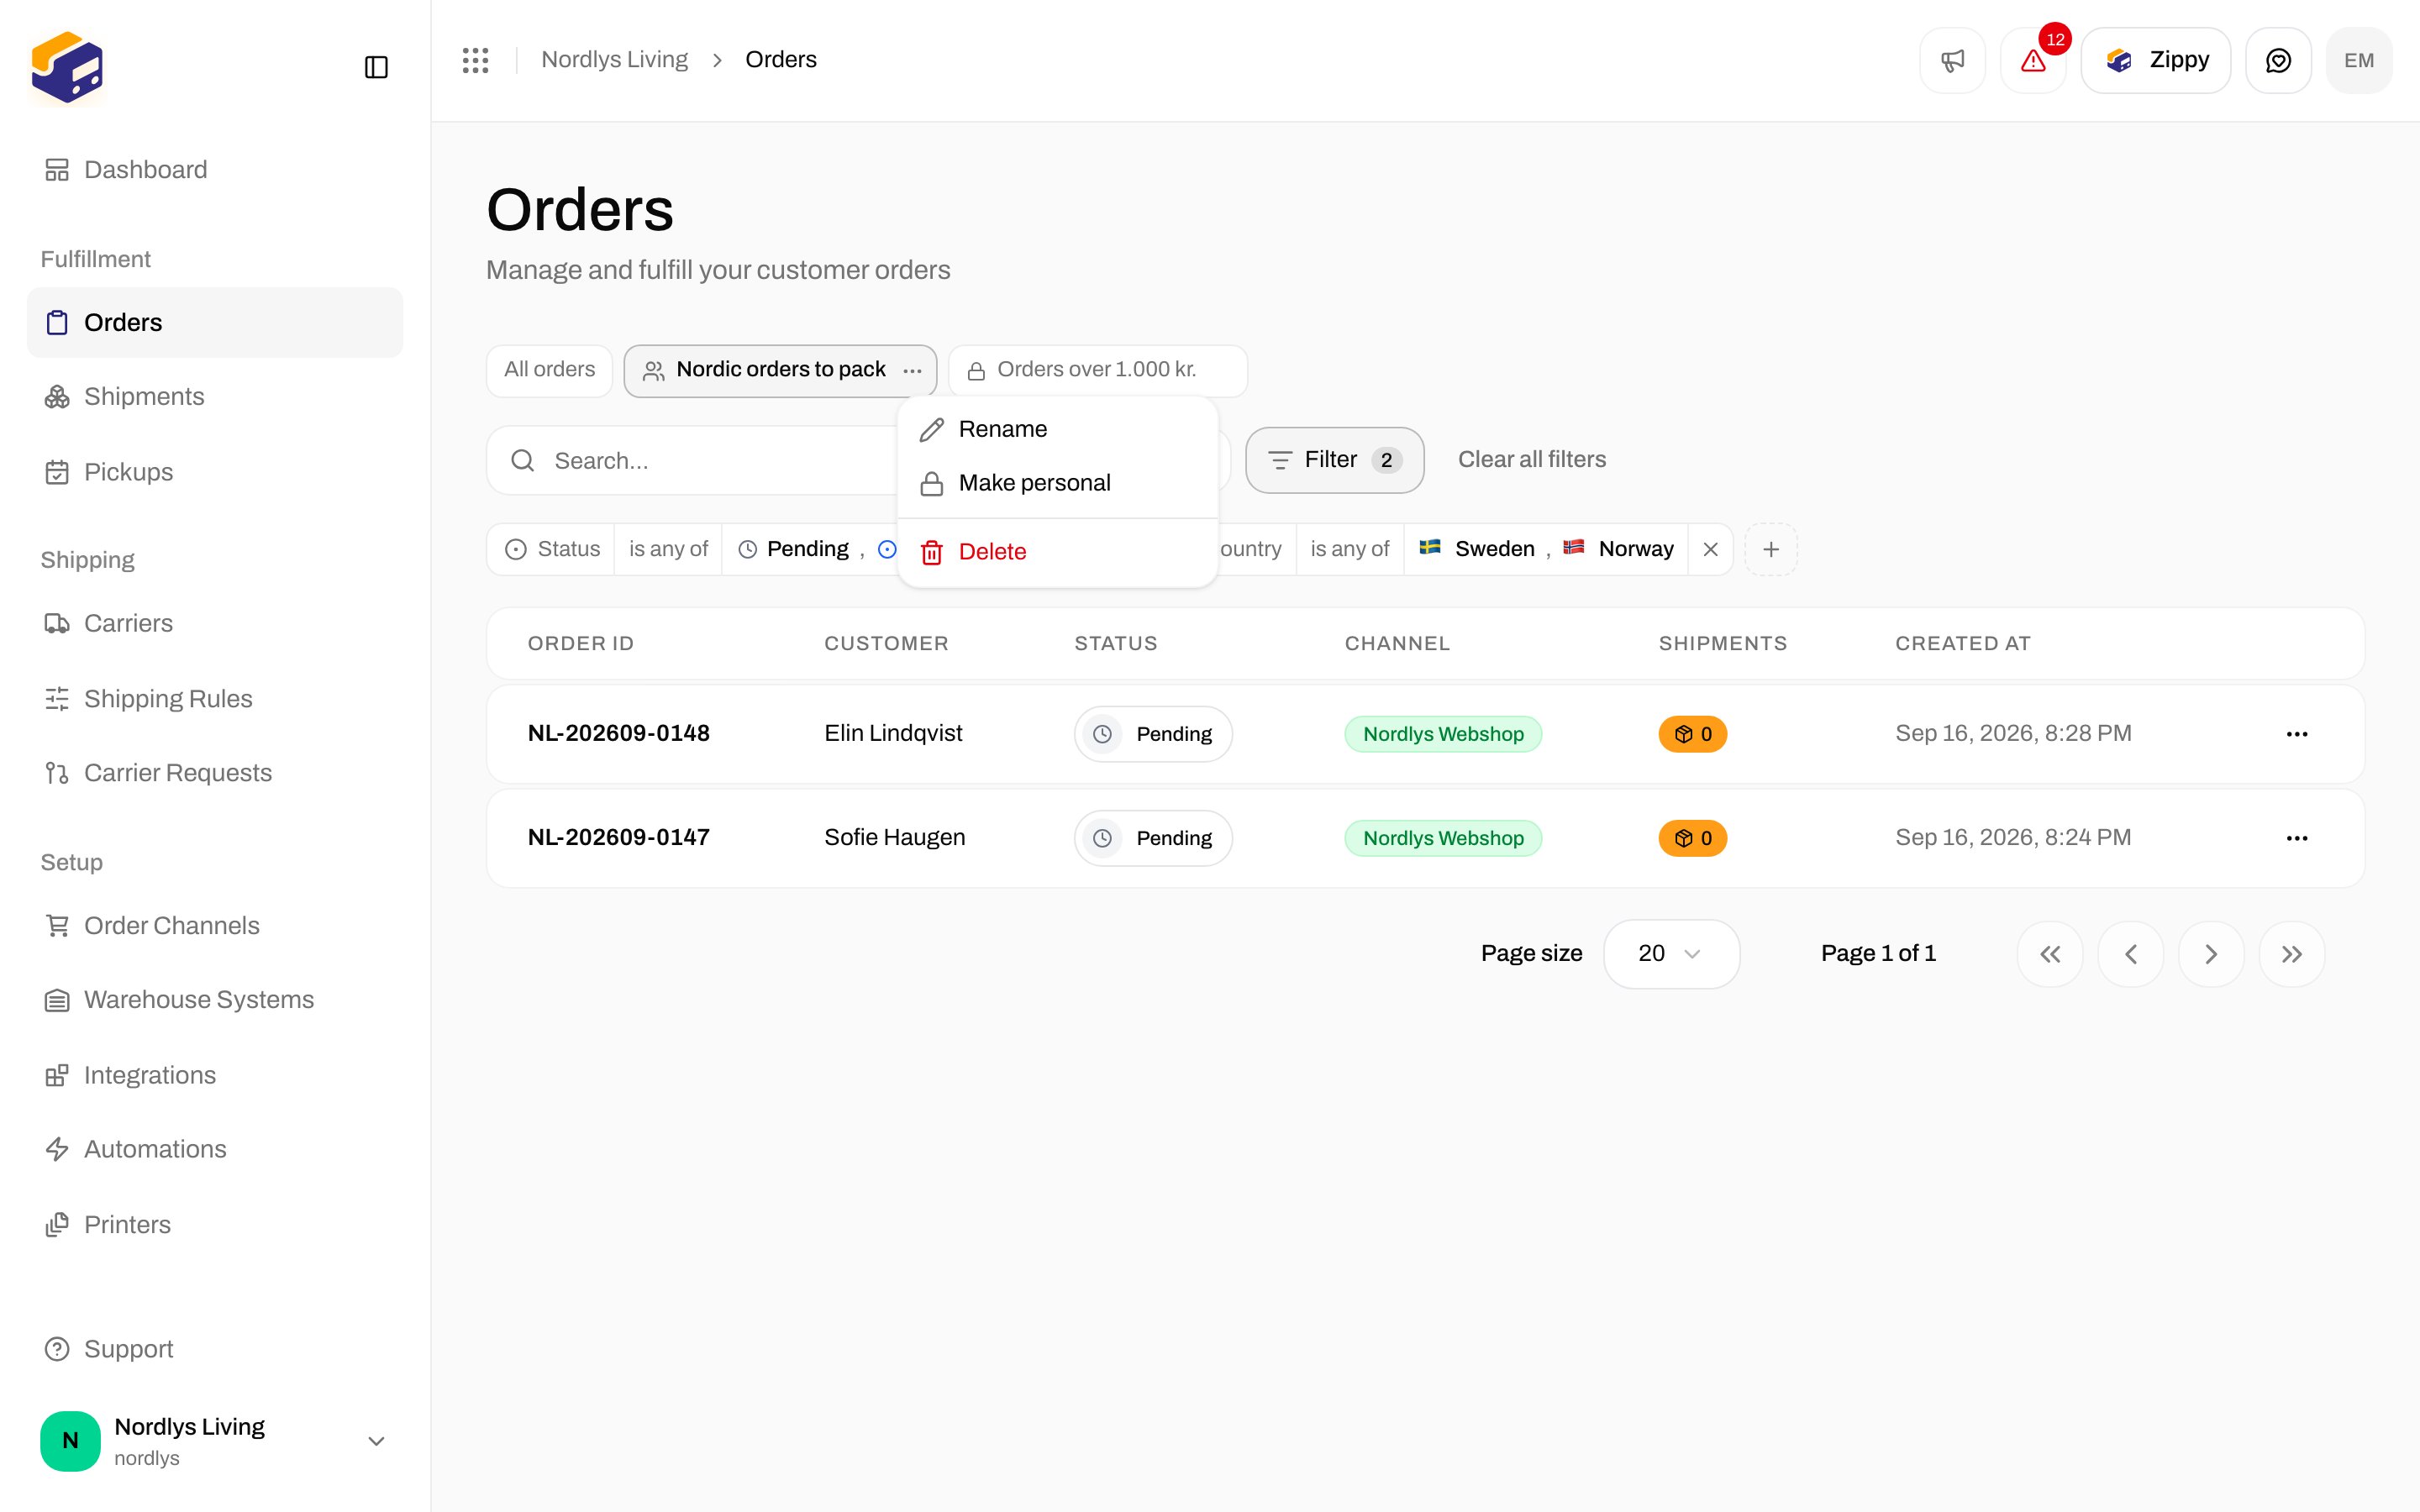
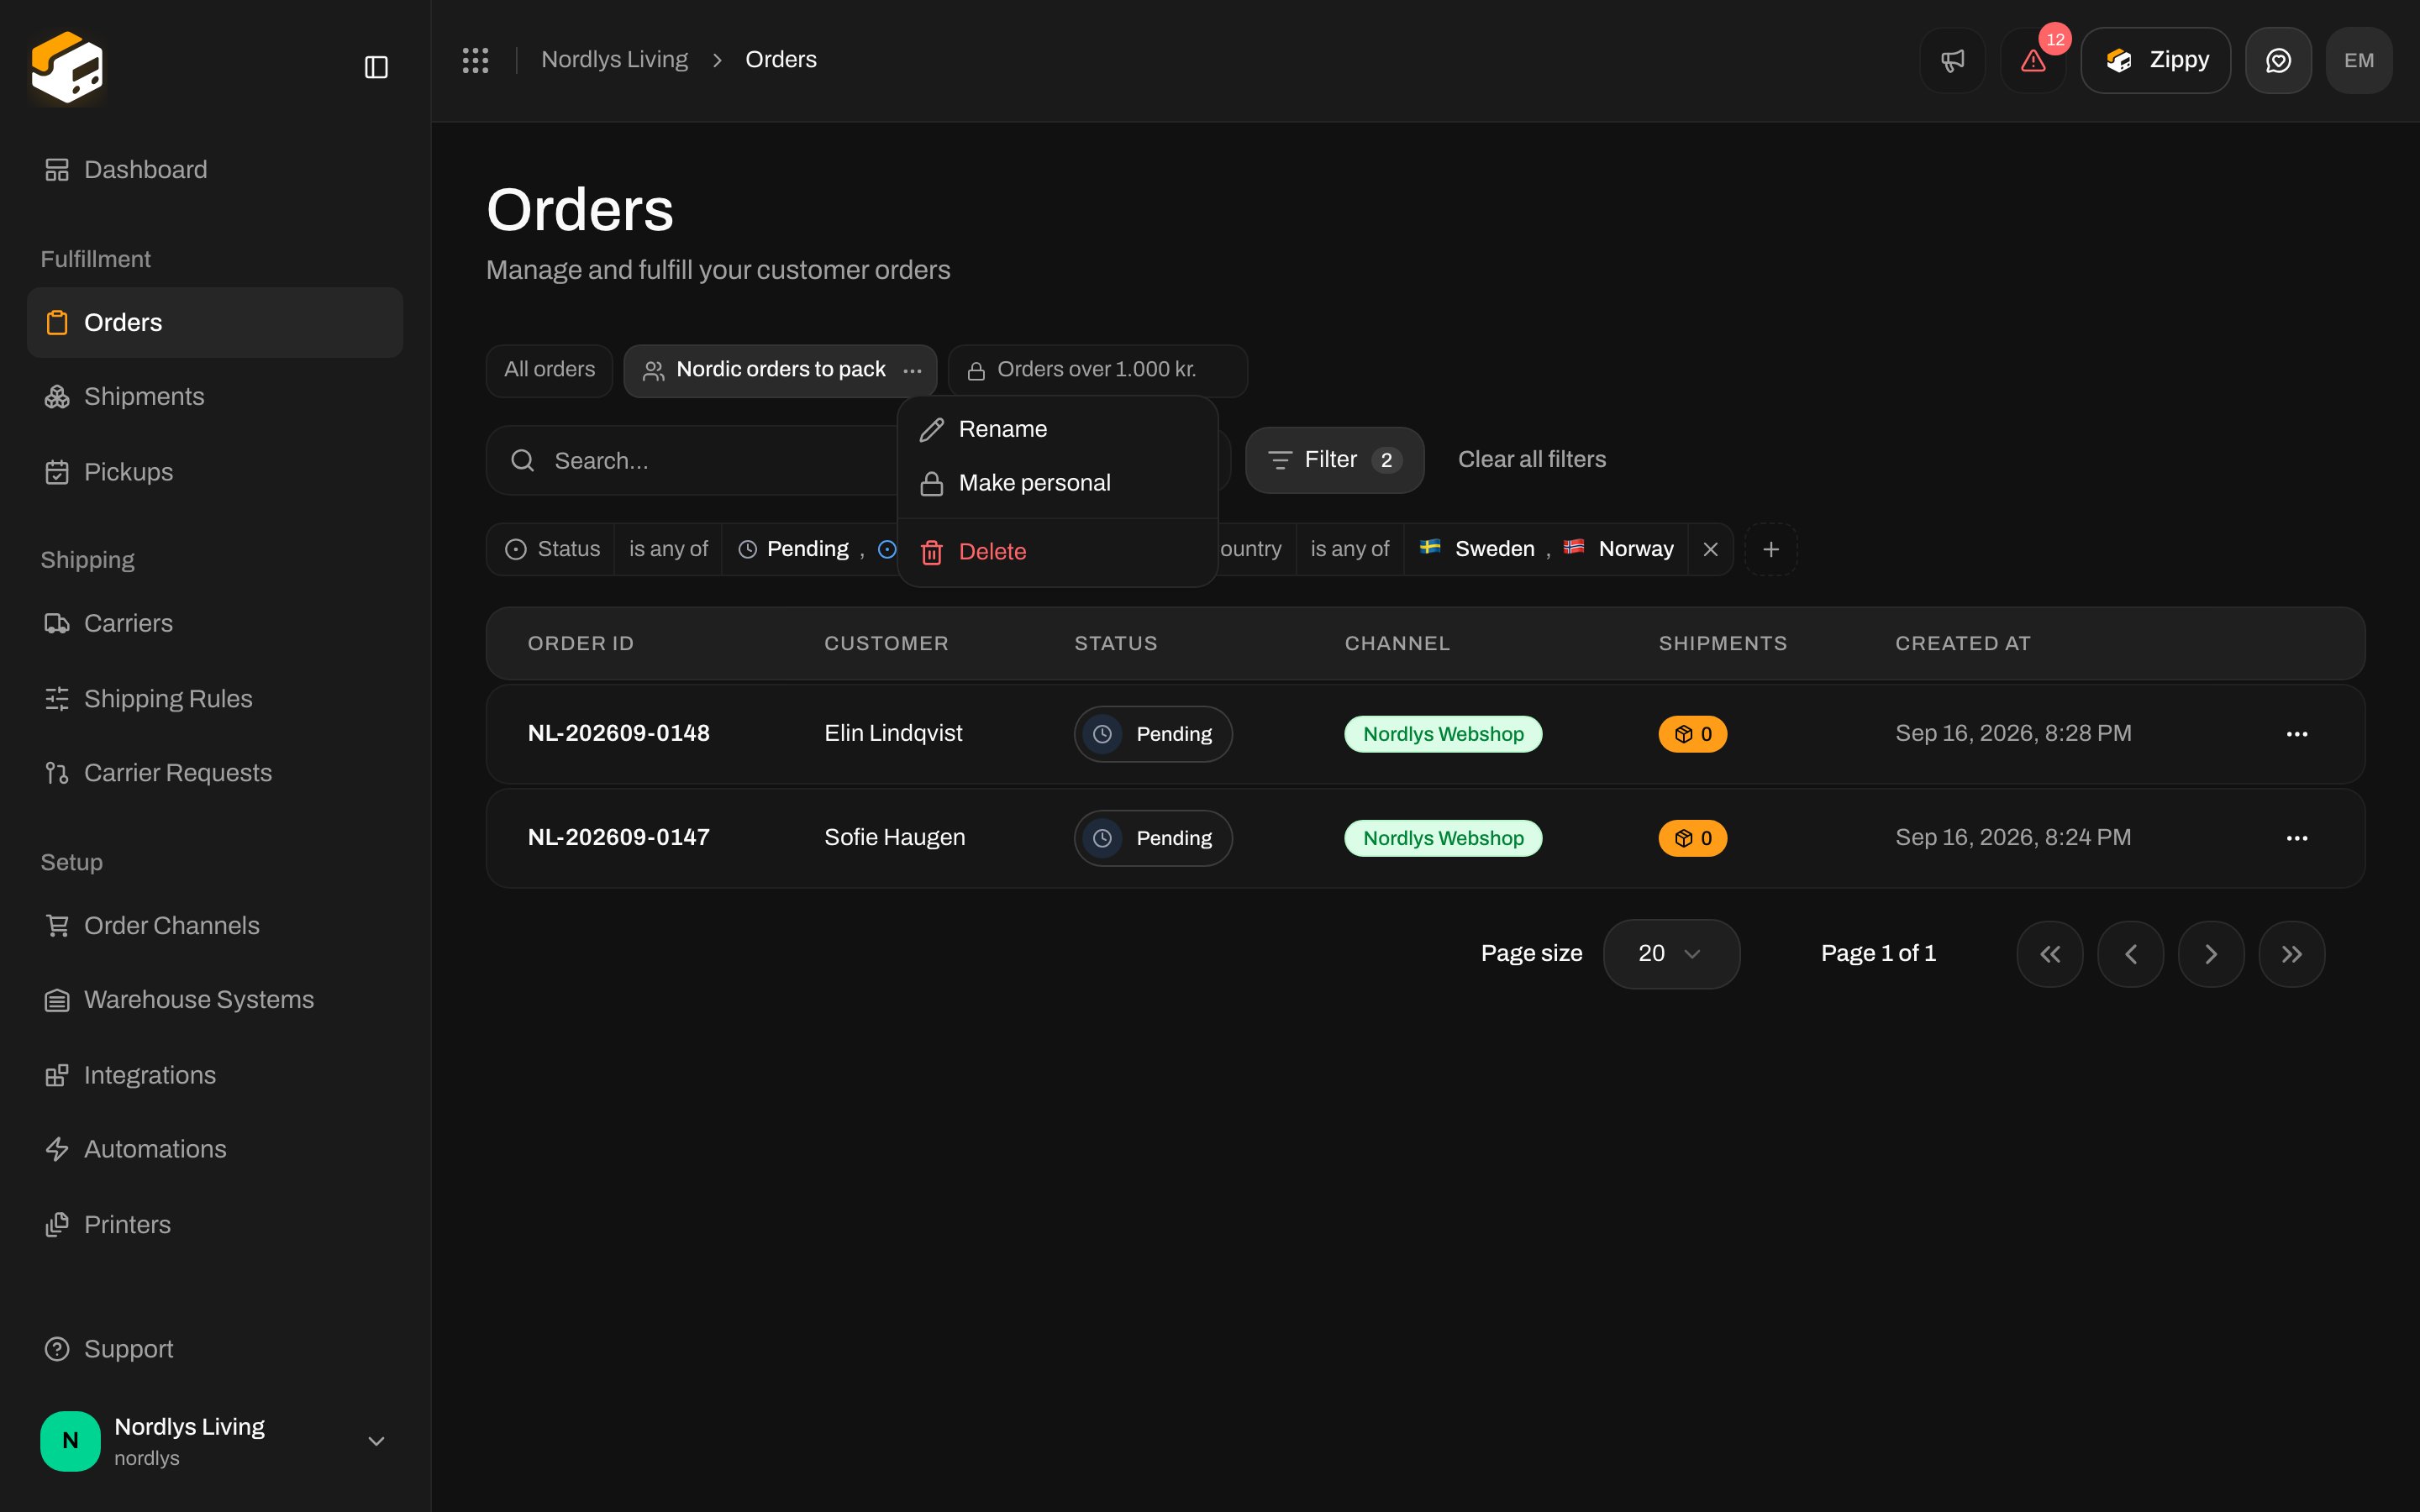
The small menu on a view tab lets you Rename it, switch it between Share with the organization and Make personal, or Delete it.
View tab menu with Rename, Share with the organization and DeleteView tab menu with Rename, Share with the organization and Delete

The menu on a view tab

Deleting a shared view removes it for everyone who could see it. The orders themselves are never affected by anything you do with filters or views.

7. The same on Shipments

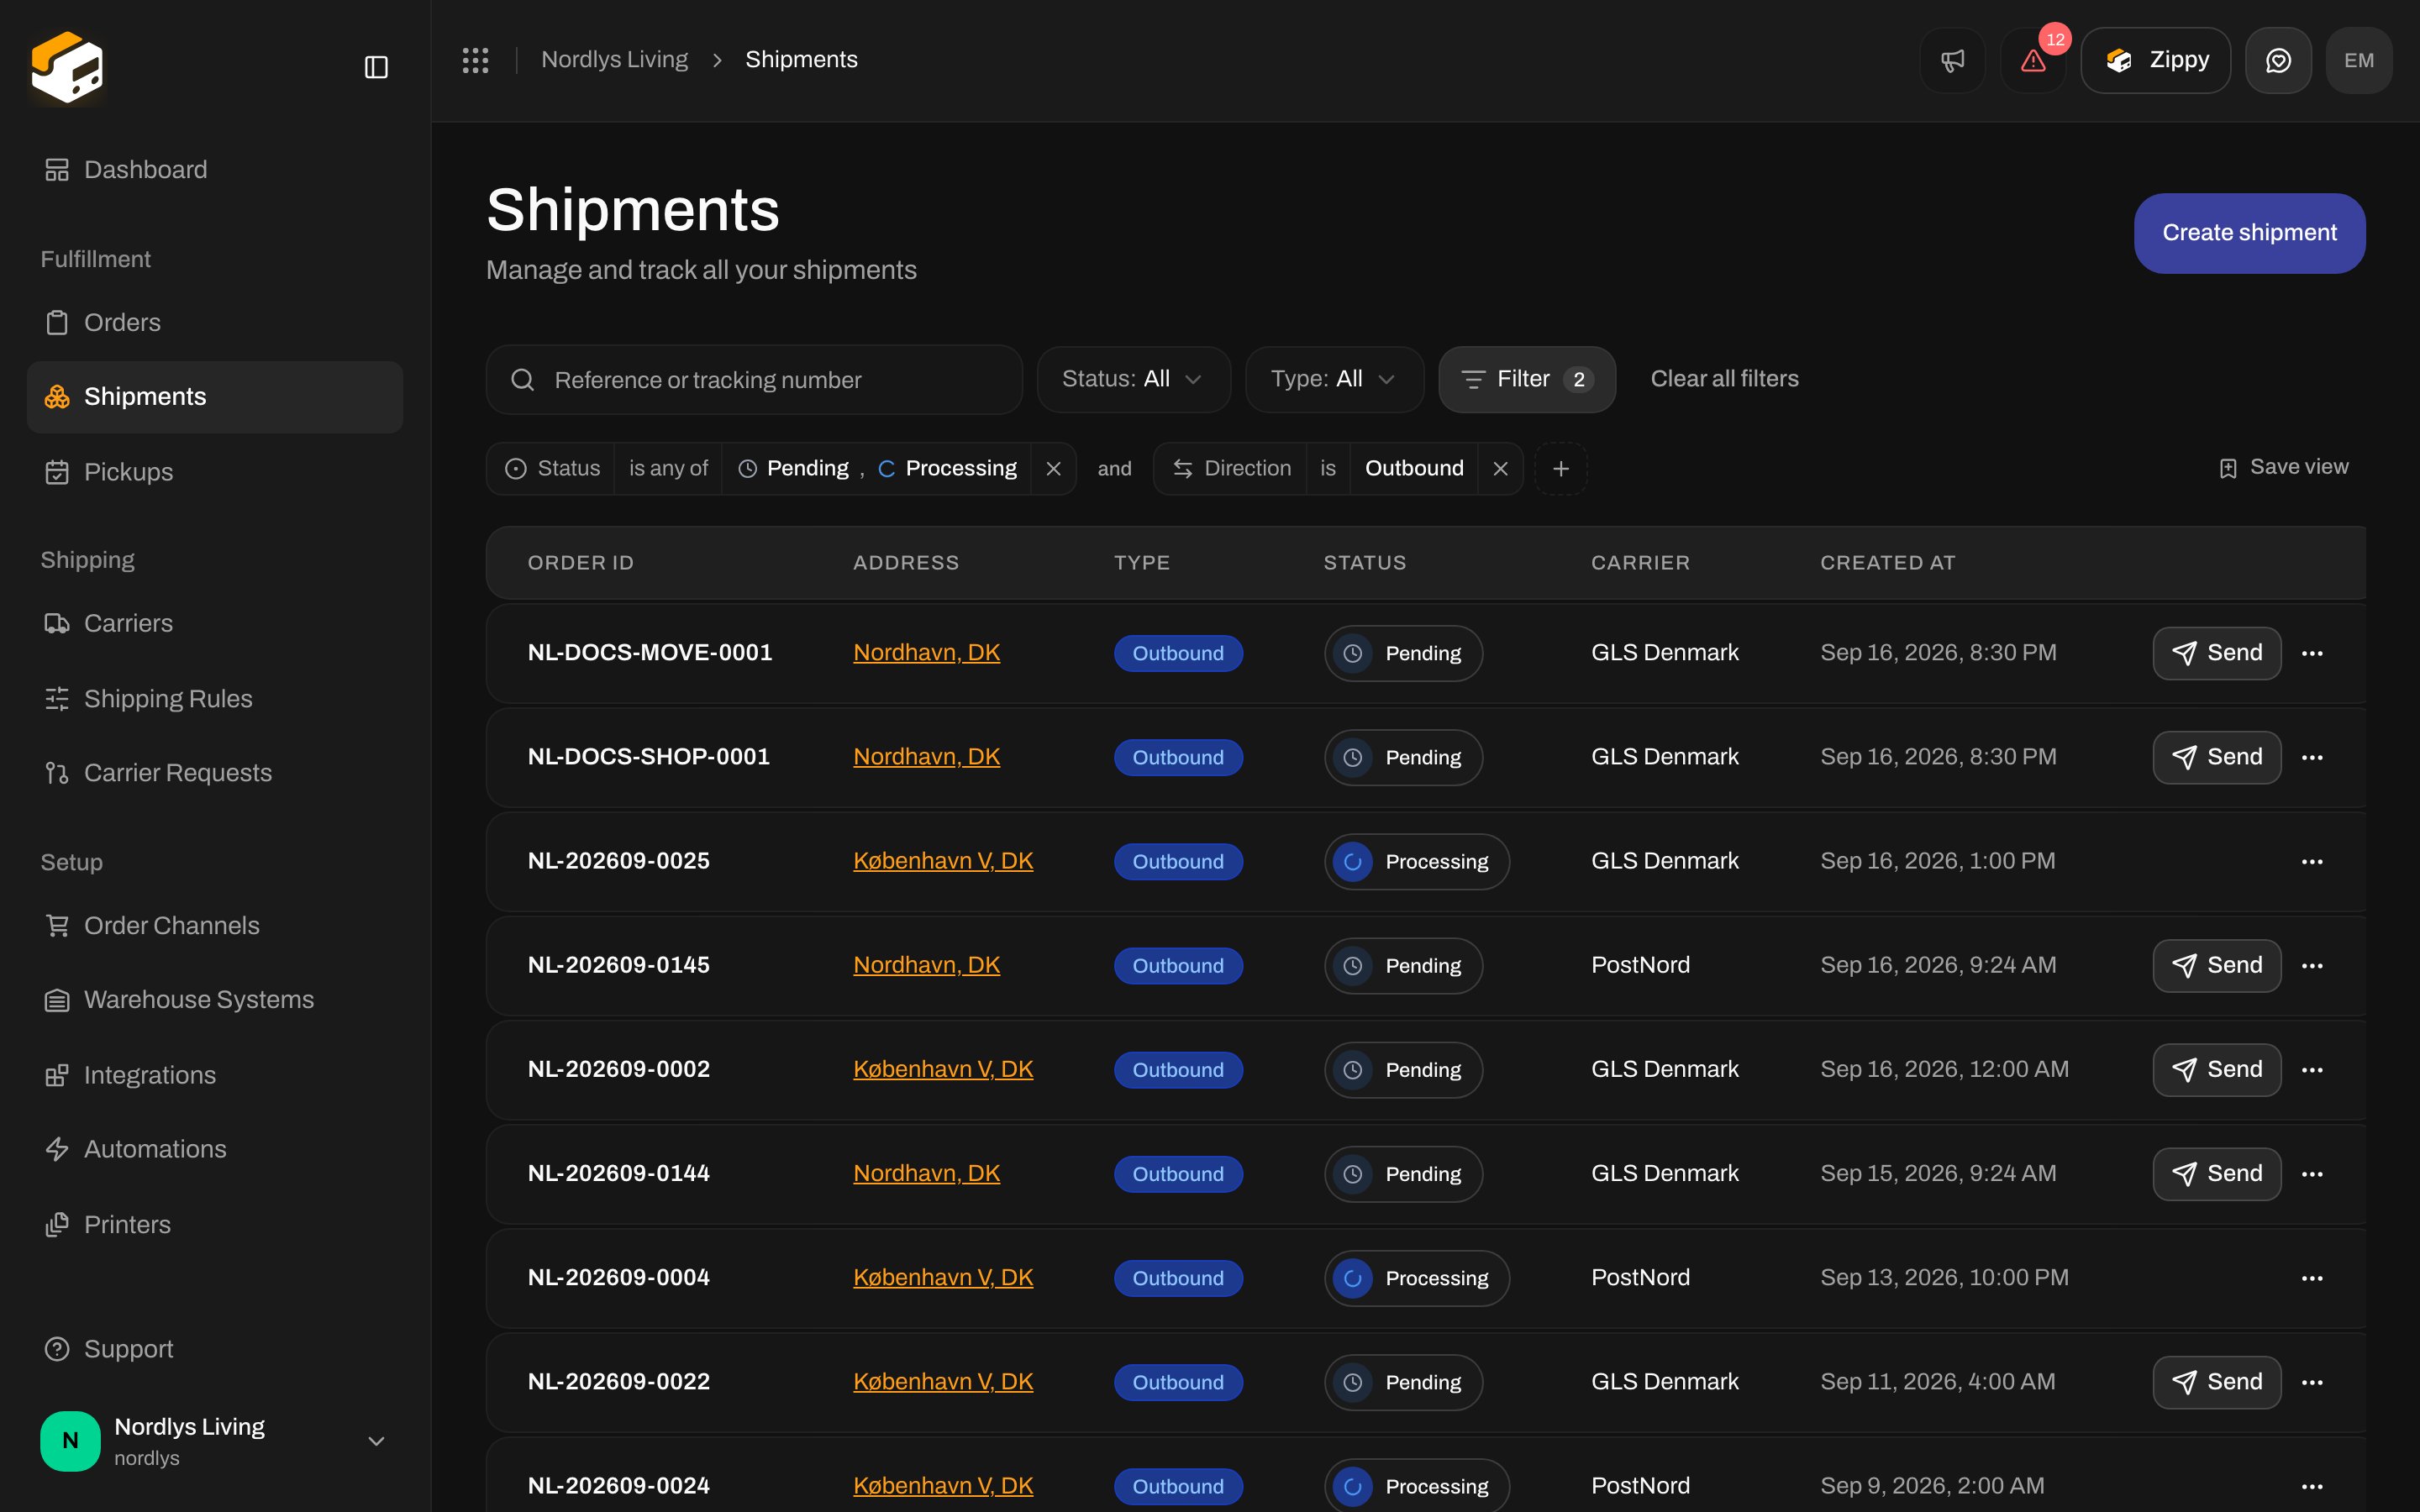
The Shipments list has its own Filter button with shipment properties: status, tracking status, direction, carrier, carrier product, recipient country, reference, tracking number, and whether the shipment has an order or documents. Its saved views are kept separately from the orders views.
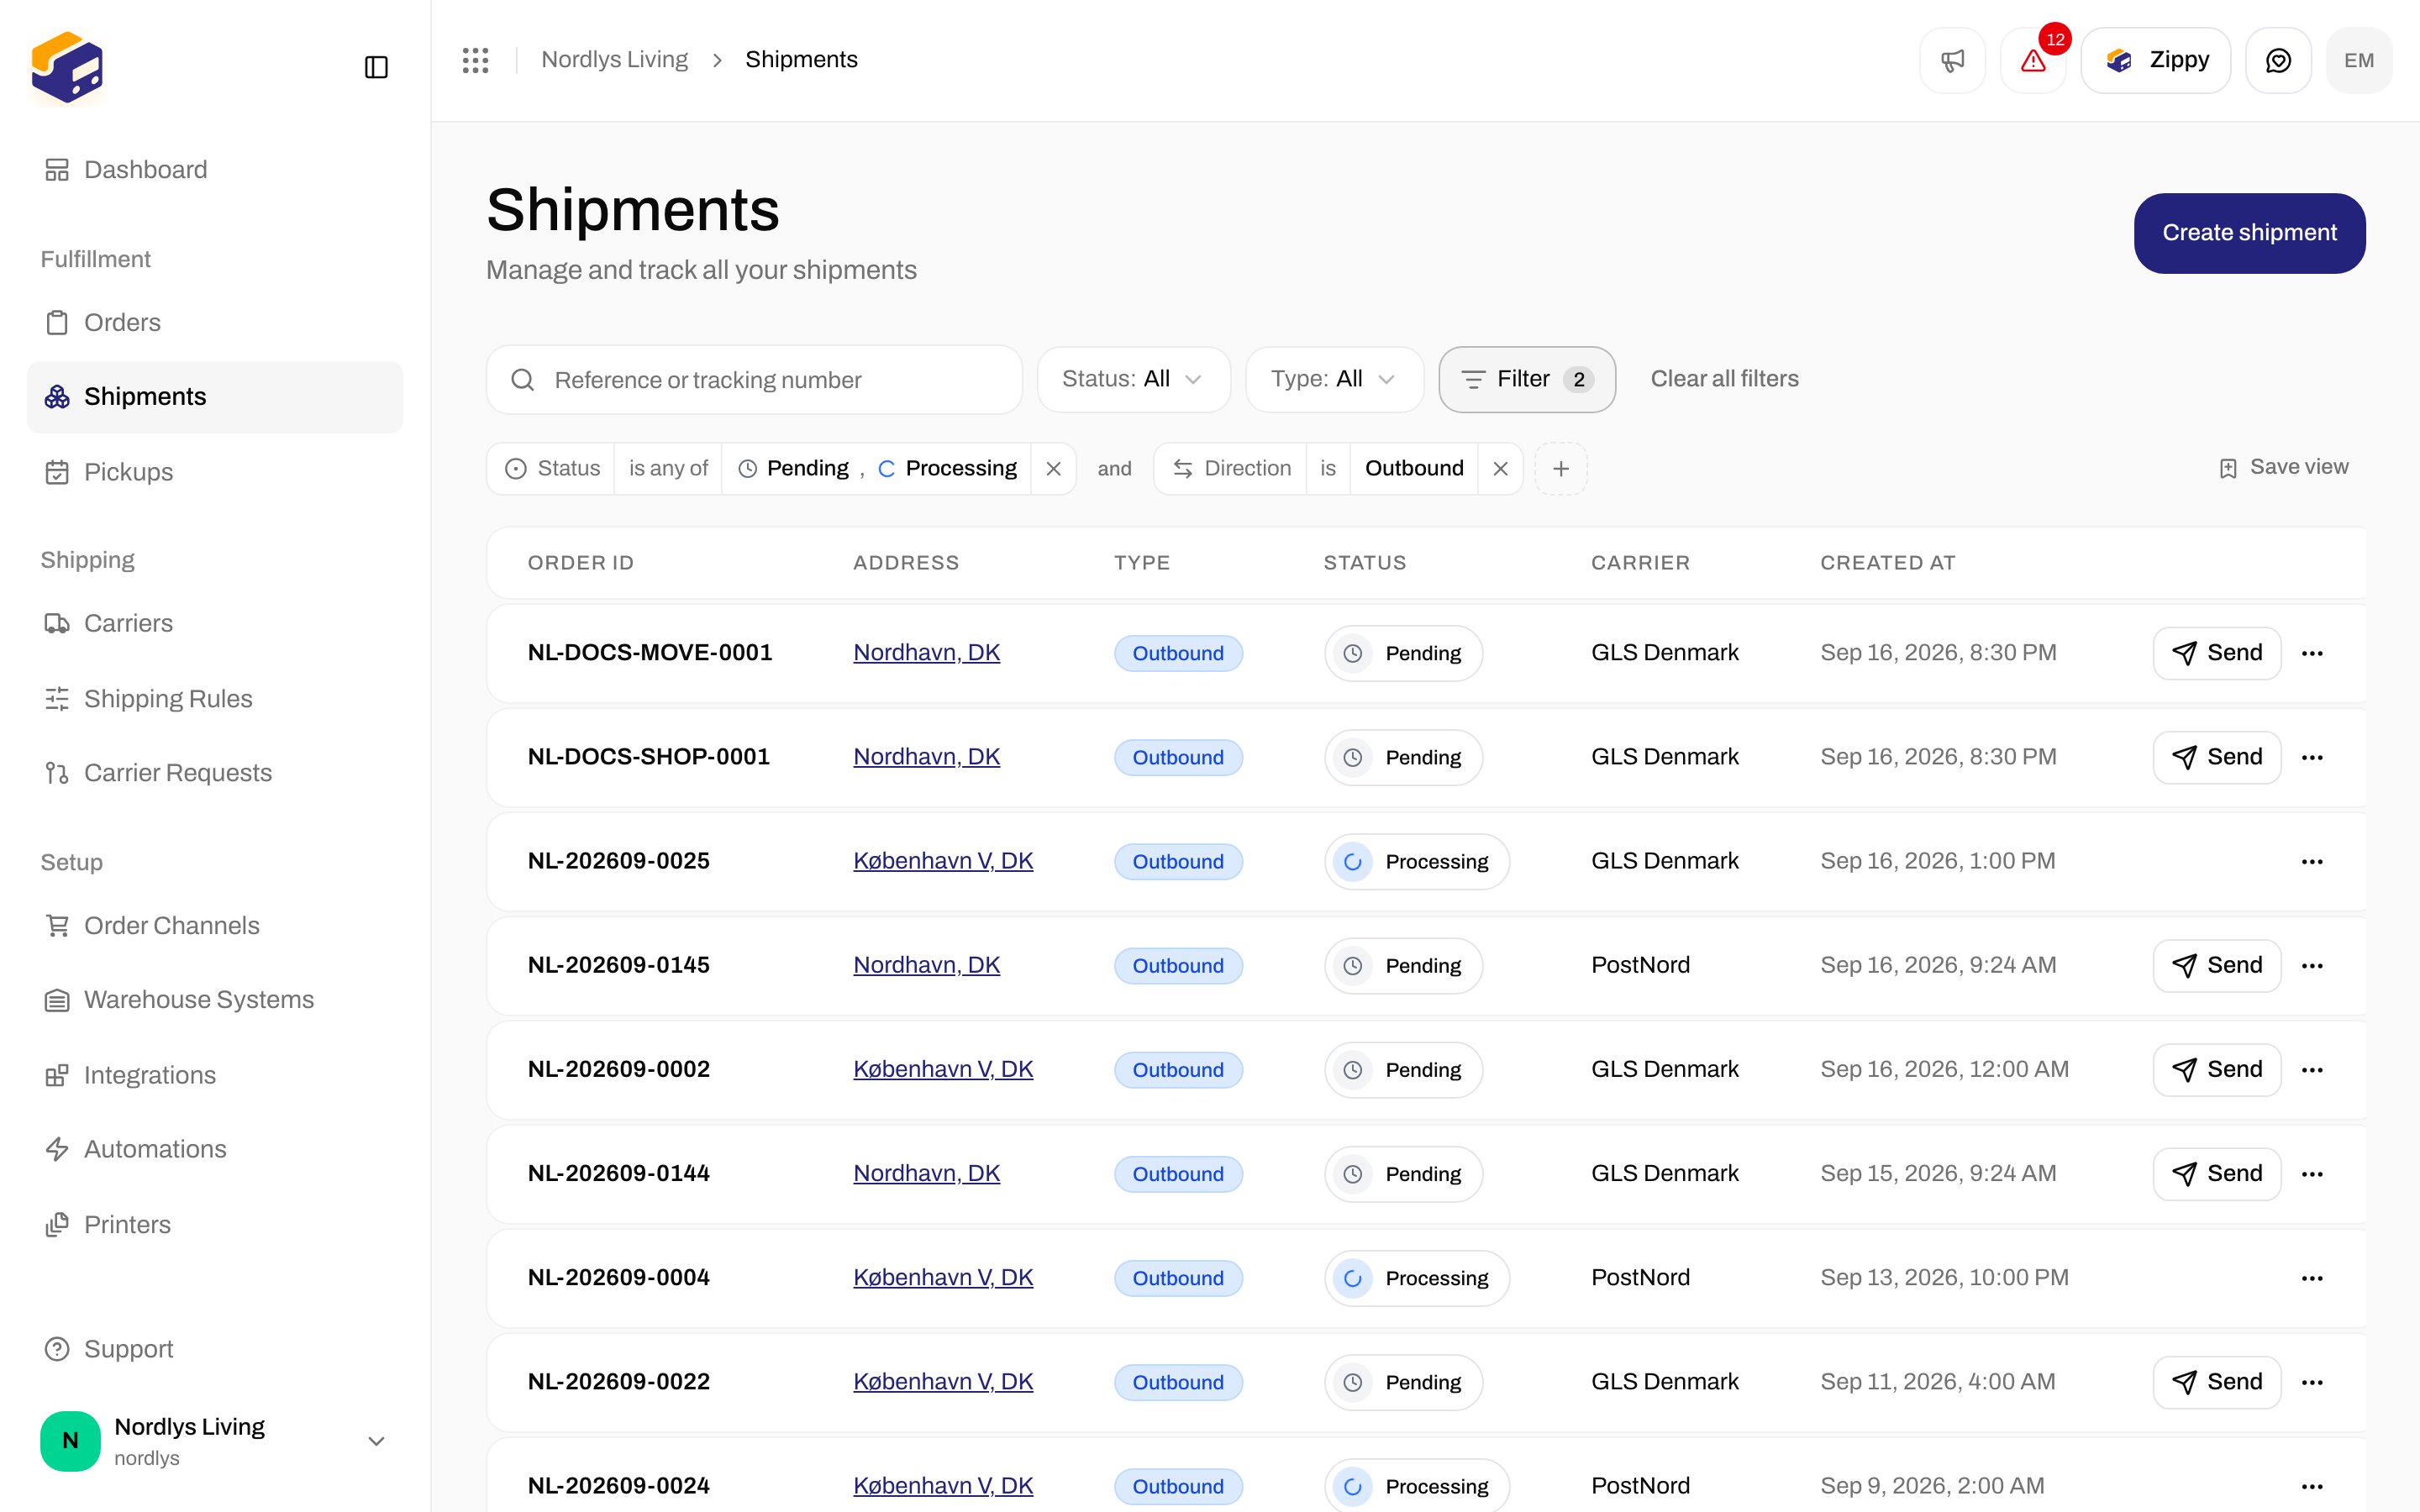
Shipments list with a Status tag and a Direction tagShipments list with a Status tag and a Direction tag

Shipments filtered to outbound shipments that are pending or processing

When nothing matches

If a filter leaves nothing behind, the table says so and offers Clear filters. It does not mean your orders are gone.
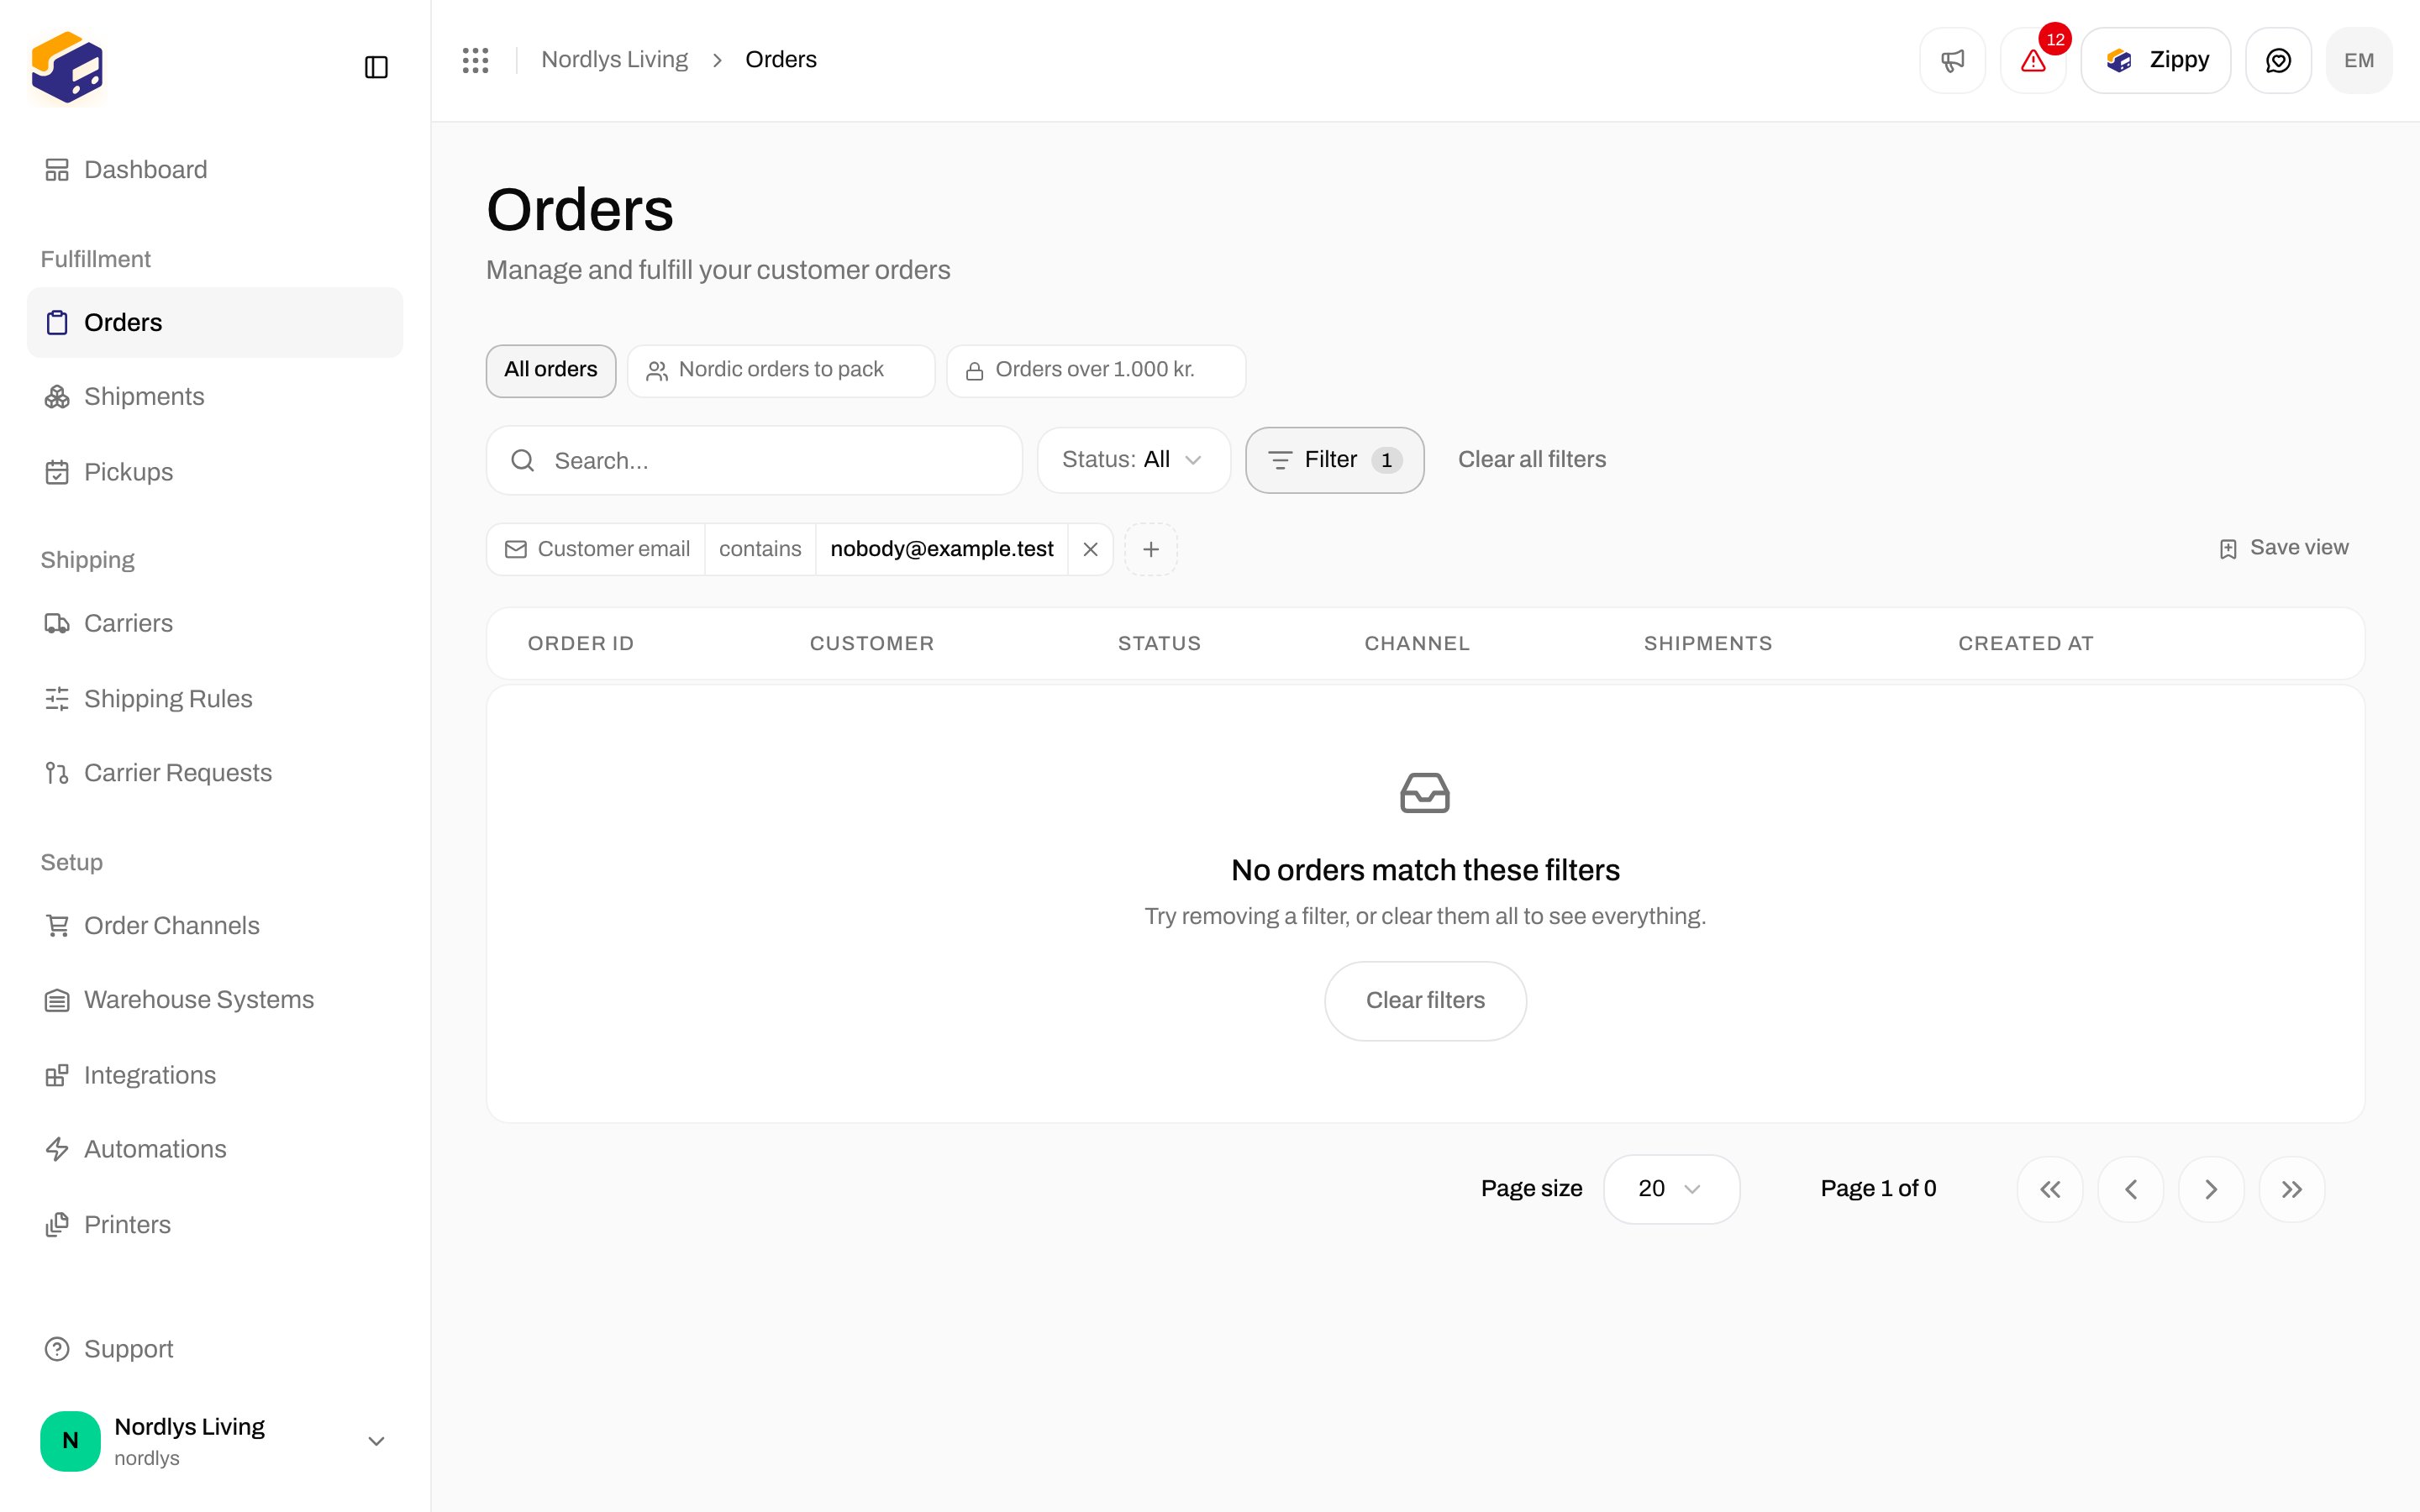
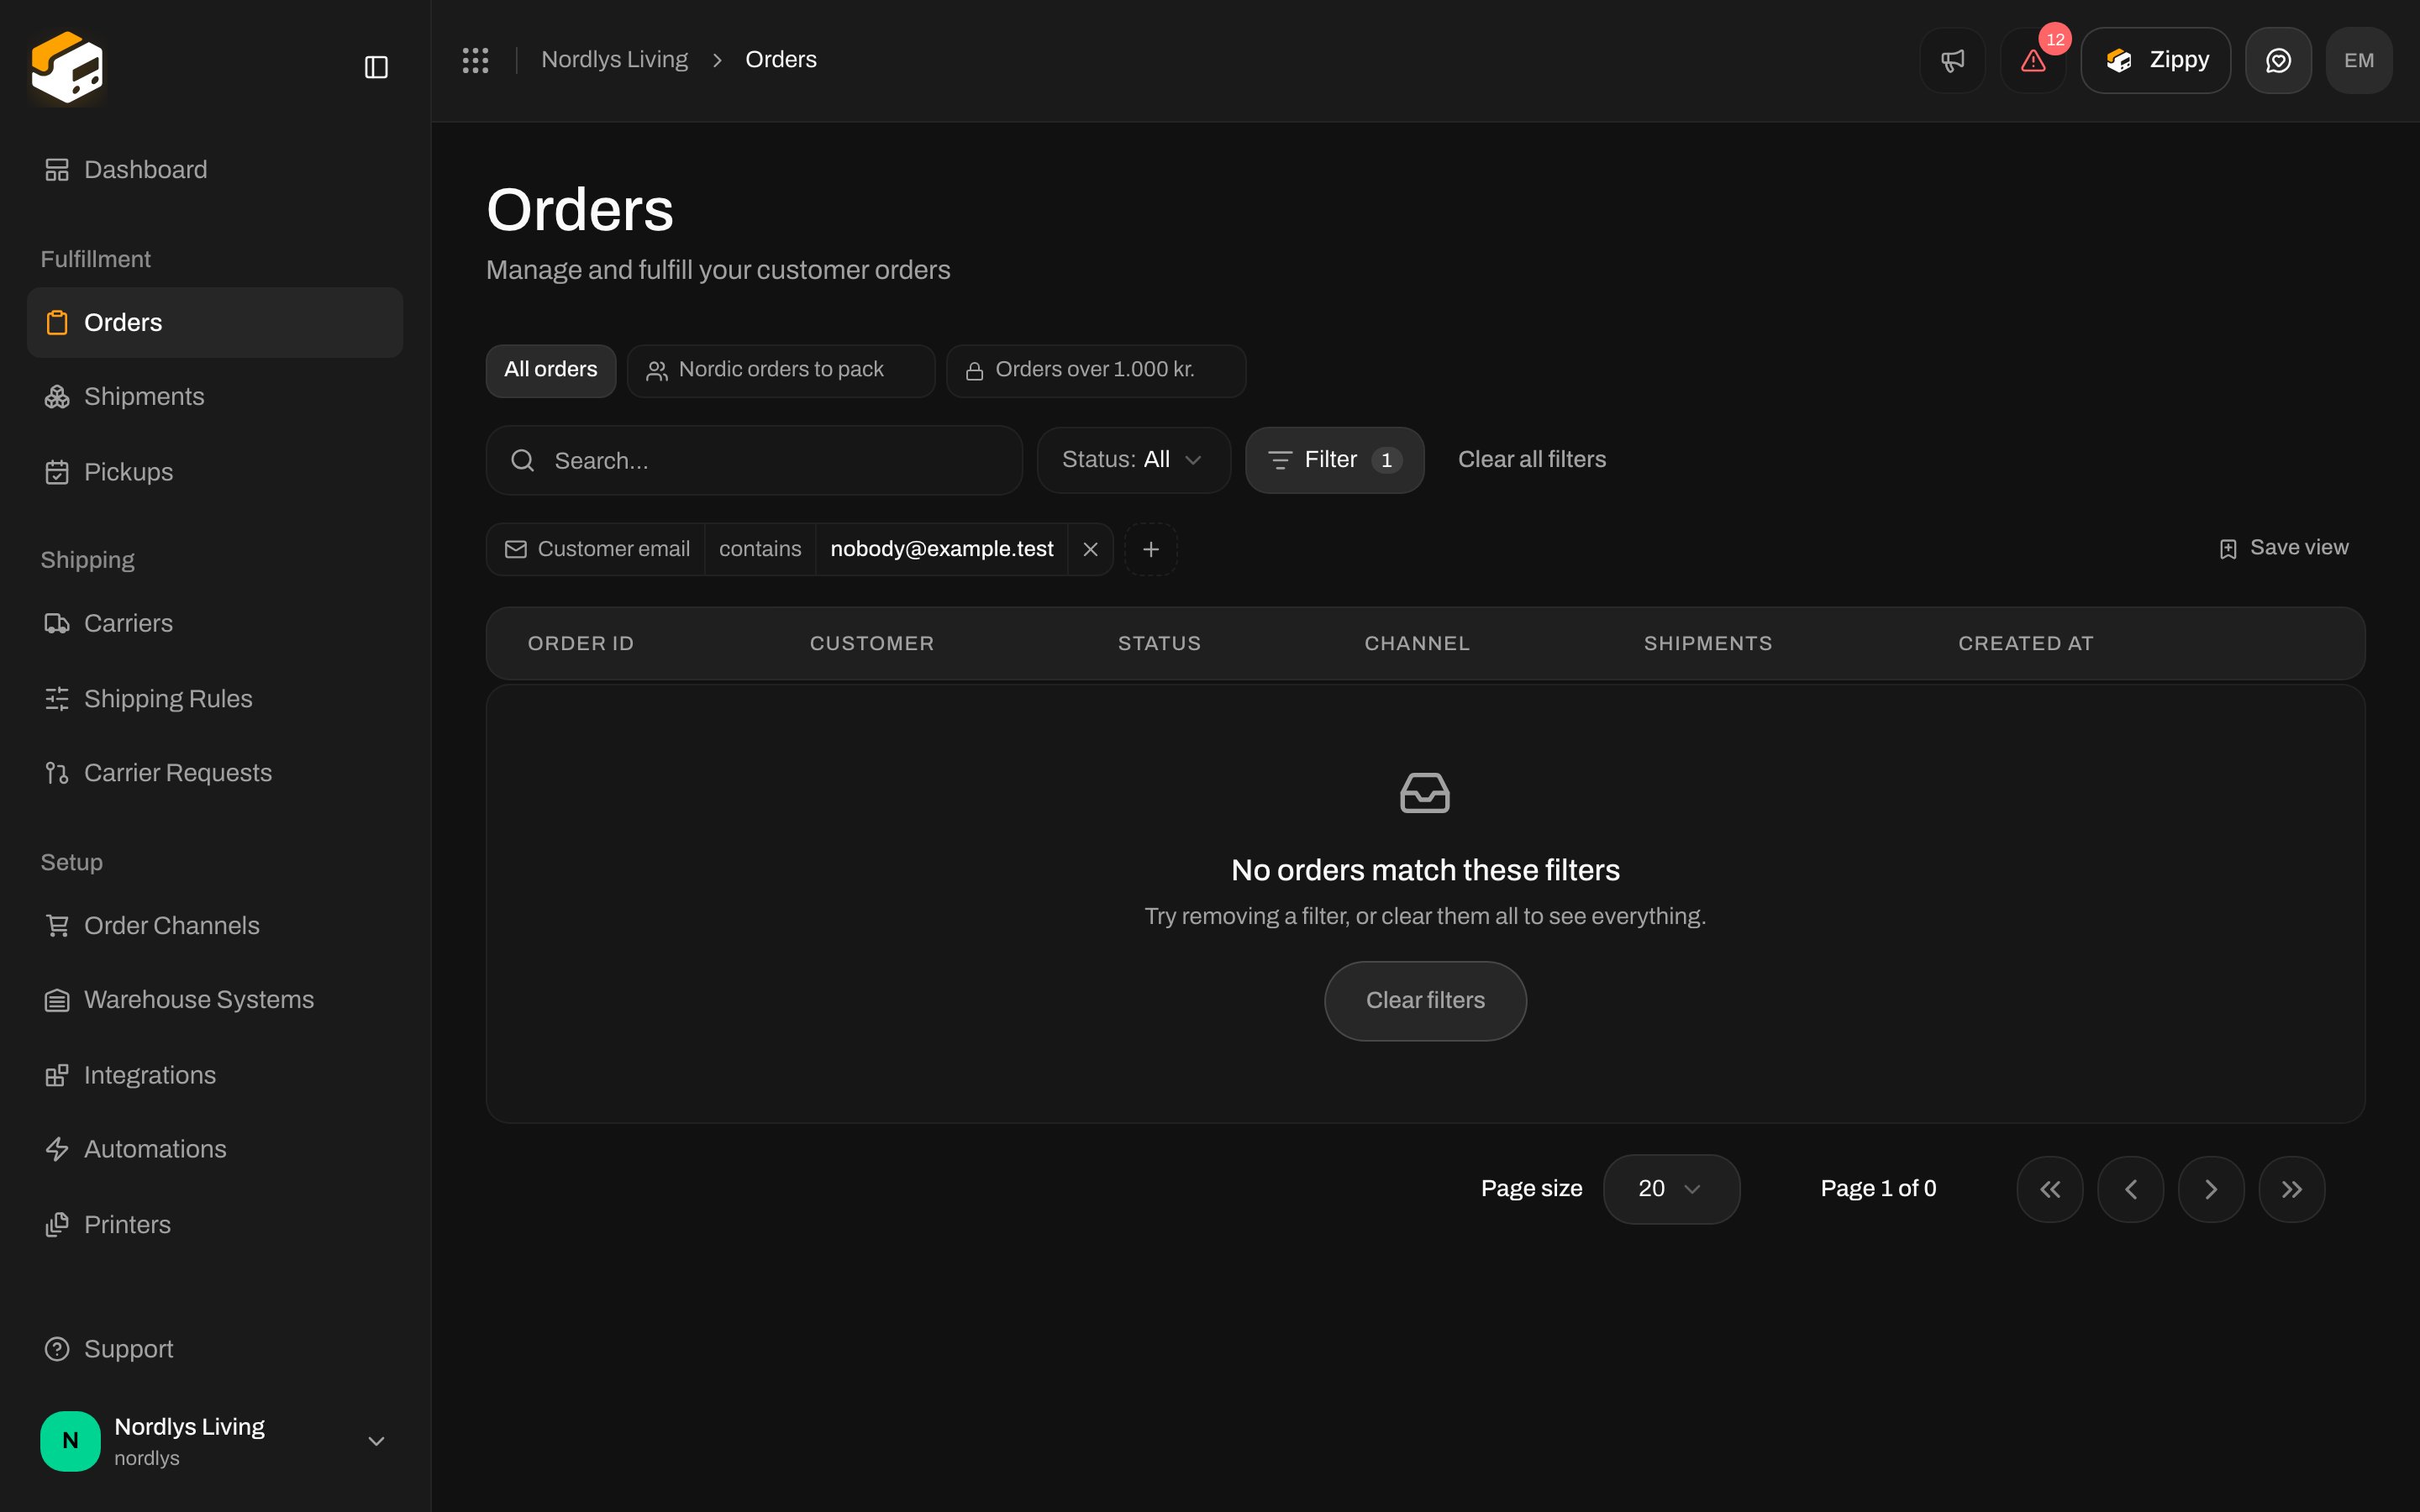
Empty orders table with No orders match these filters and a Clear filters buttonEmpty orders table with No orders match these filters and a Clear filters button

No orders match these filters, with a Clear filters button

Ideas for views

Good to know

  • Each list can hold up to 50 saved views.
  • If your organization uses brands, a view saved while you are looking at one brand only appears inside that brand and in the whole-organization view. Inside a brand, the Brand property is not offered, since every order there already belongs to that brand.
  • Personal views are yours alone. Nobody else sees them, including administrators.