

What an order channel does
An order channel is a named connection in your organization. Once it is connected:- New orders from that webshop or system appear under Orders.
- Its name is listed in the sidebar under Channel orders, so you can open that webshop’s orders with one click.
- Each order shows its Order channel, the customer, the address and the items. Use Create shipment (or Send order if the order already has a shipment) to ship it.
The Order channels page
Click Order channels in the sidebar. The page has two tabs: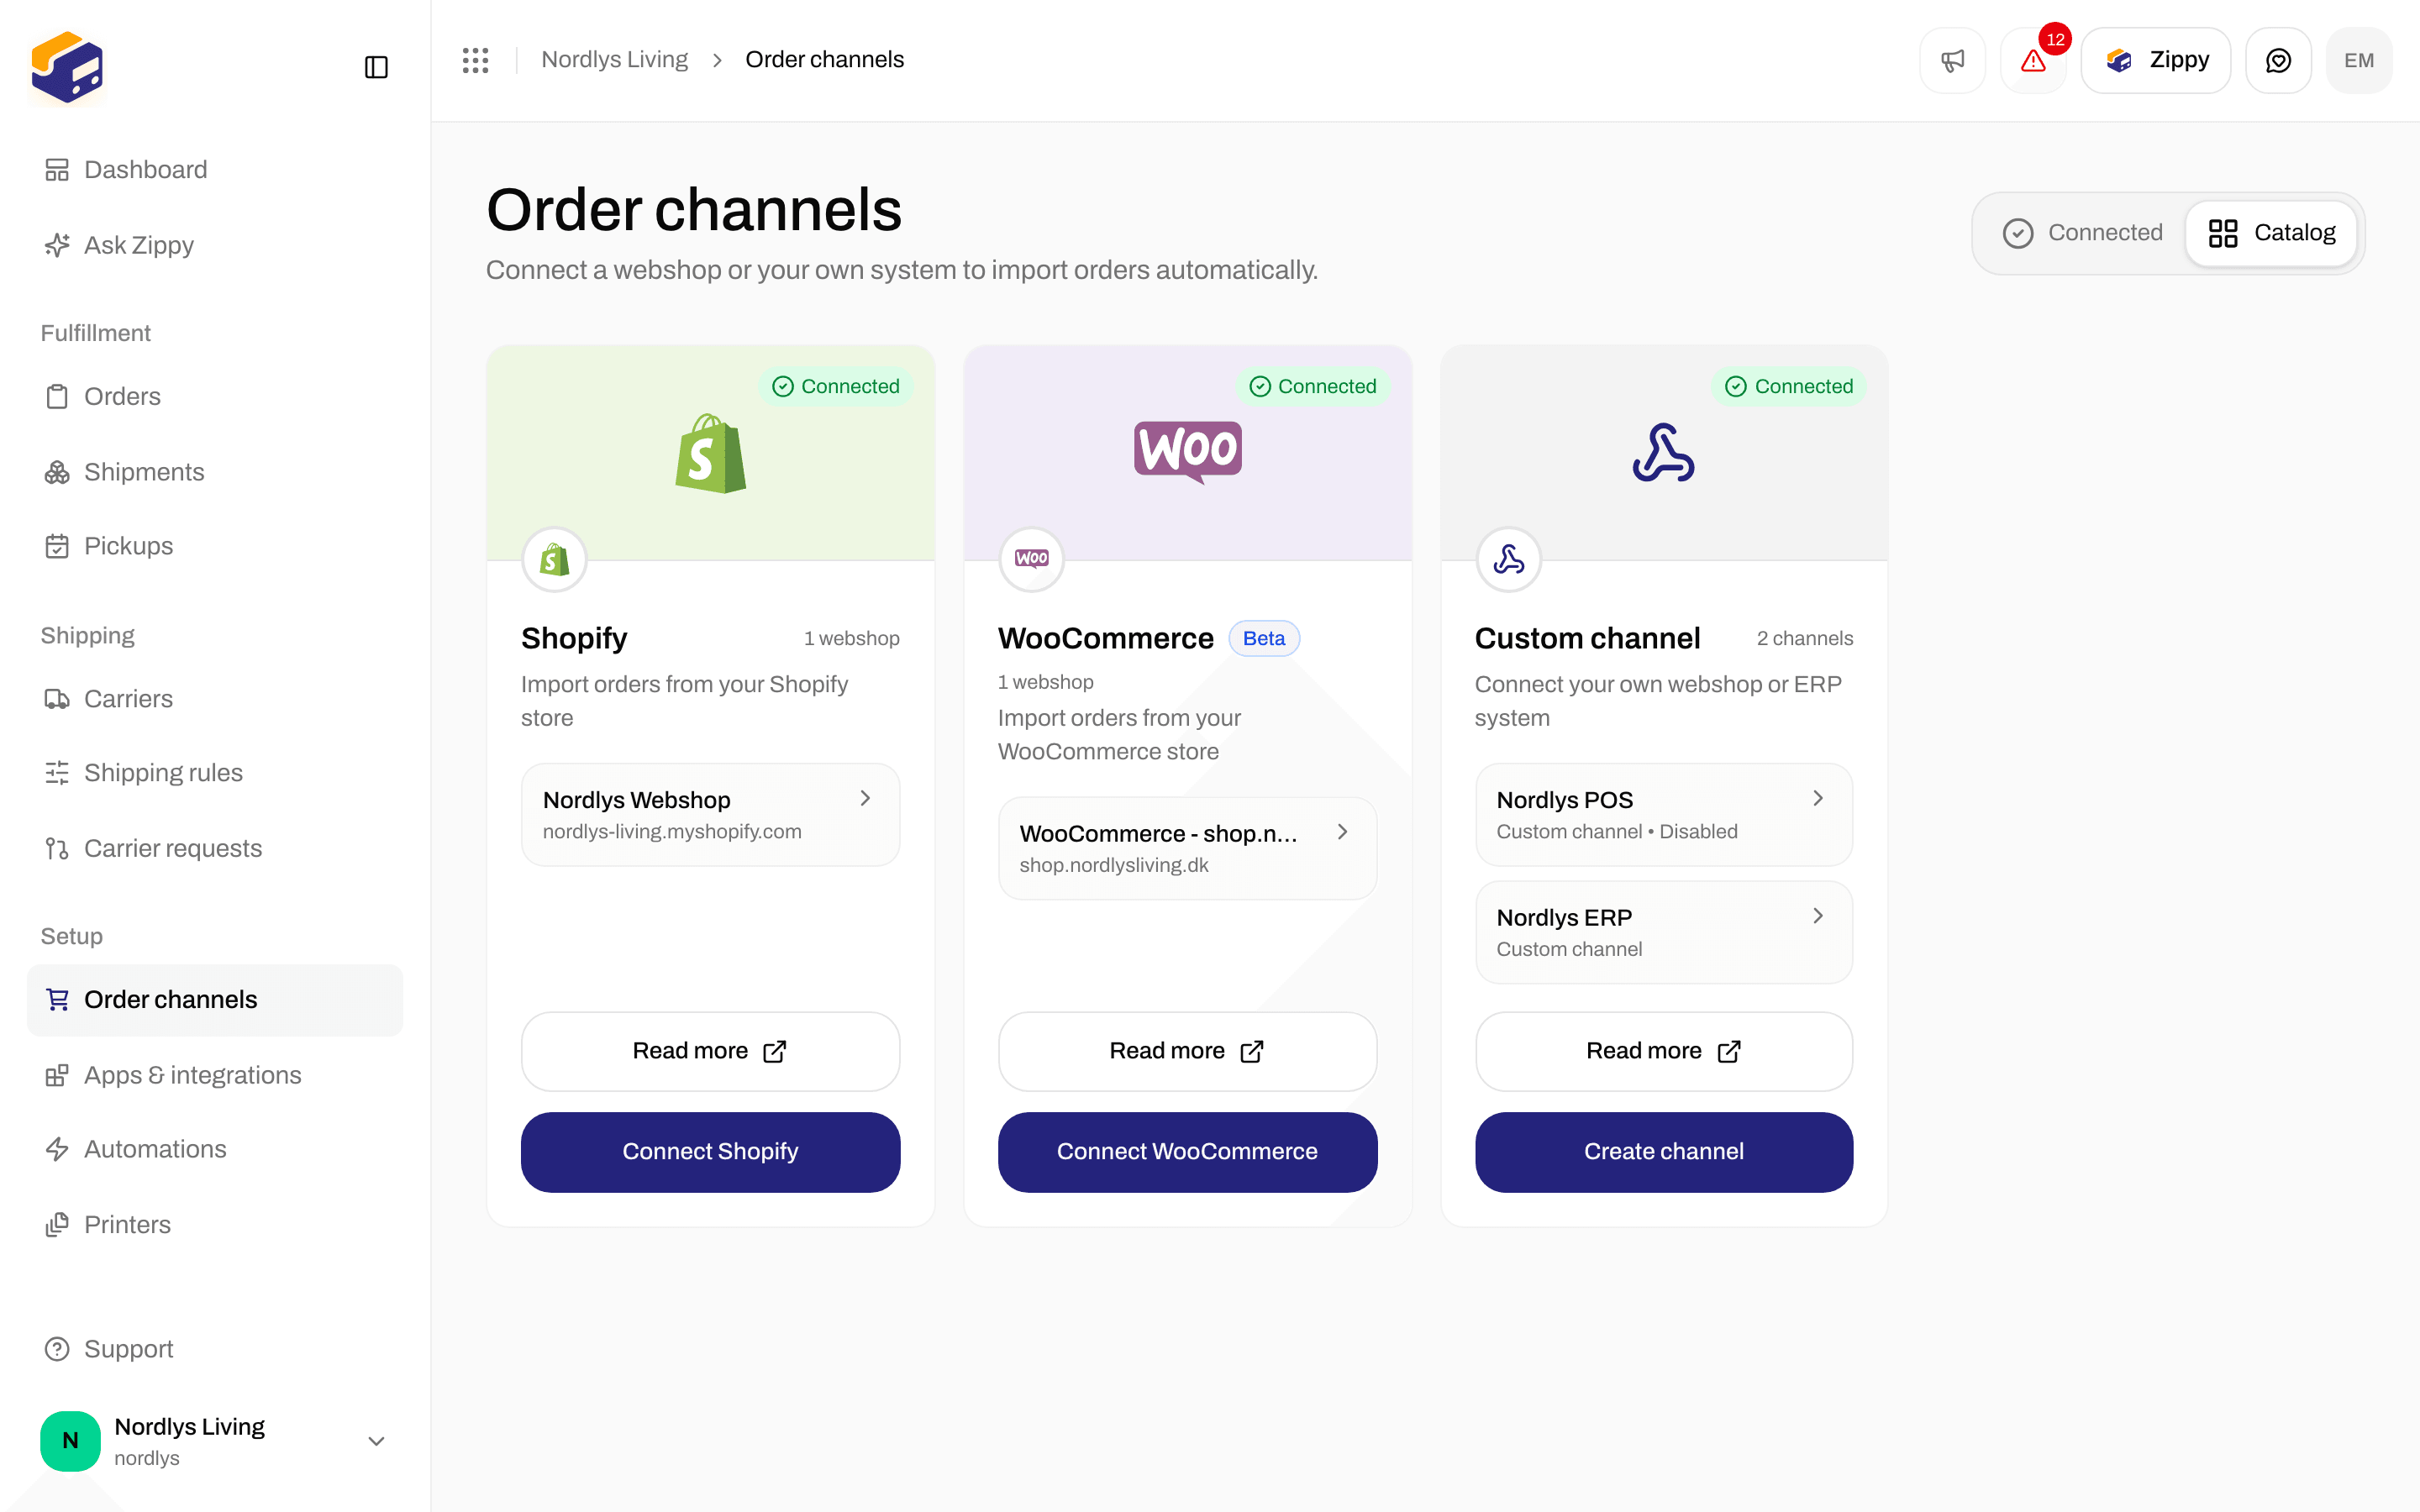
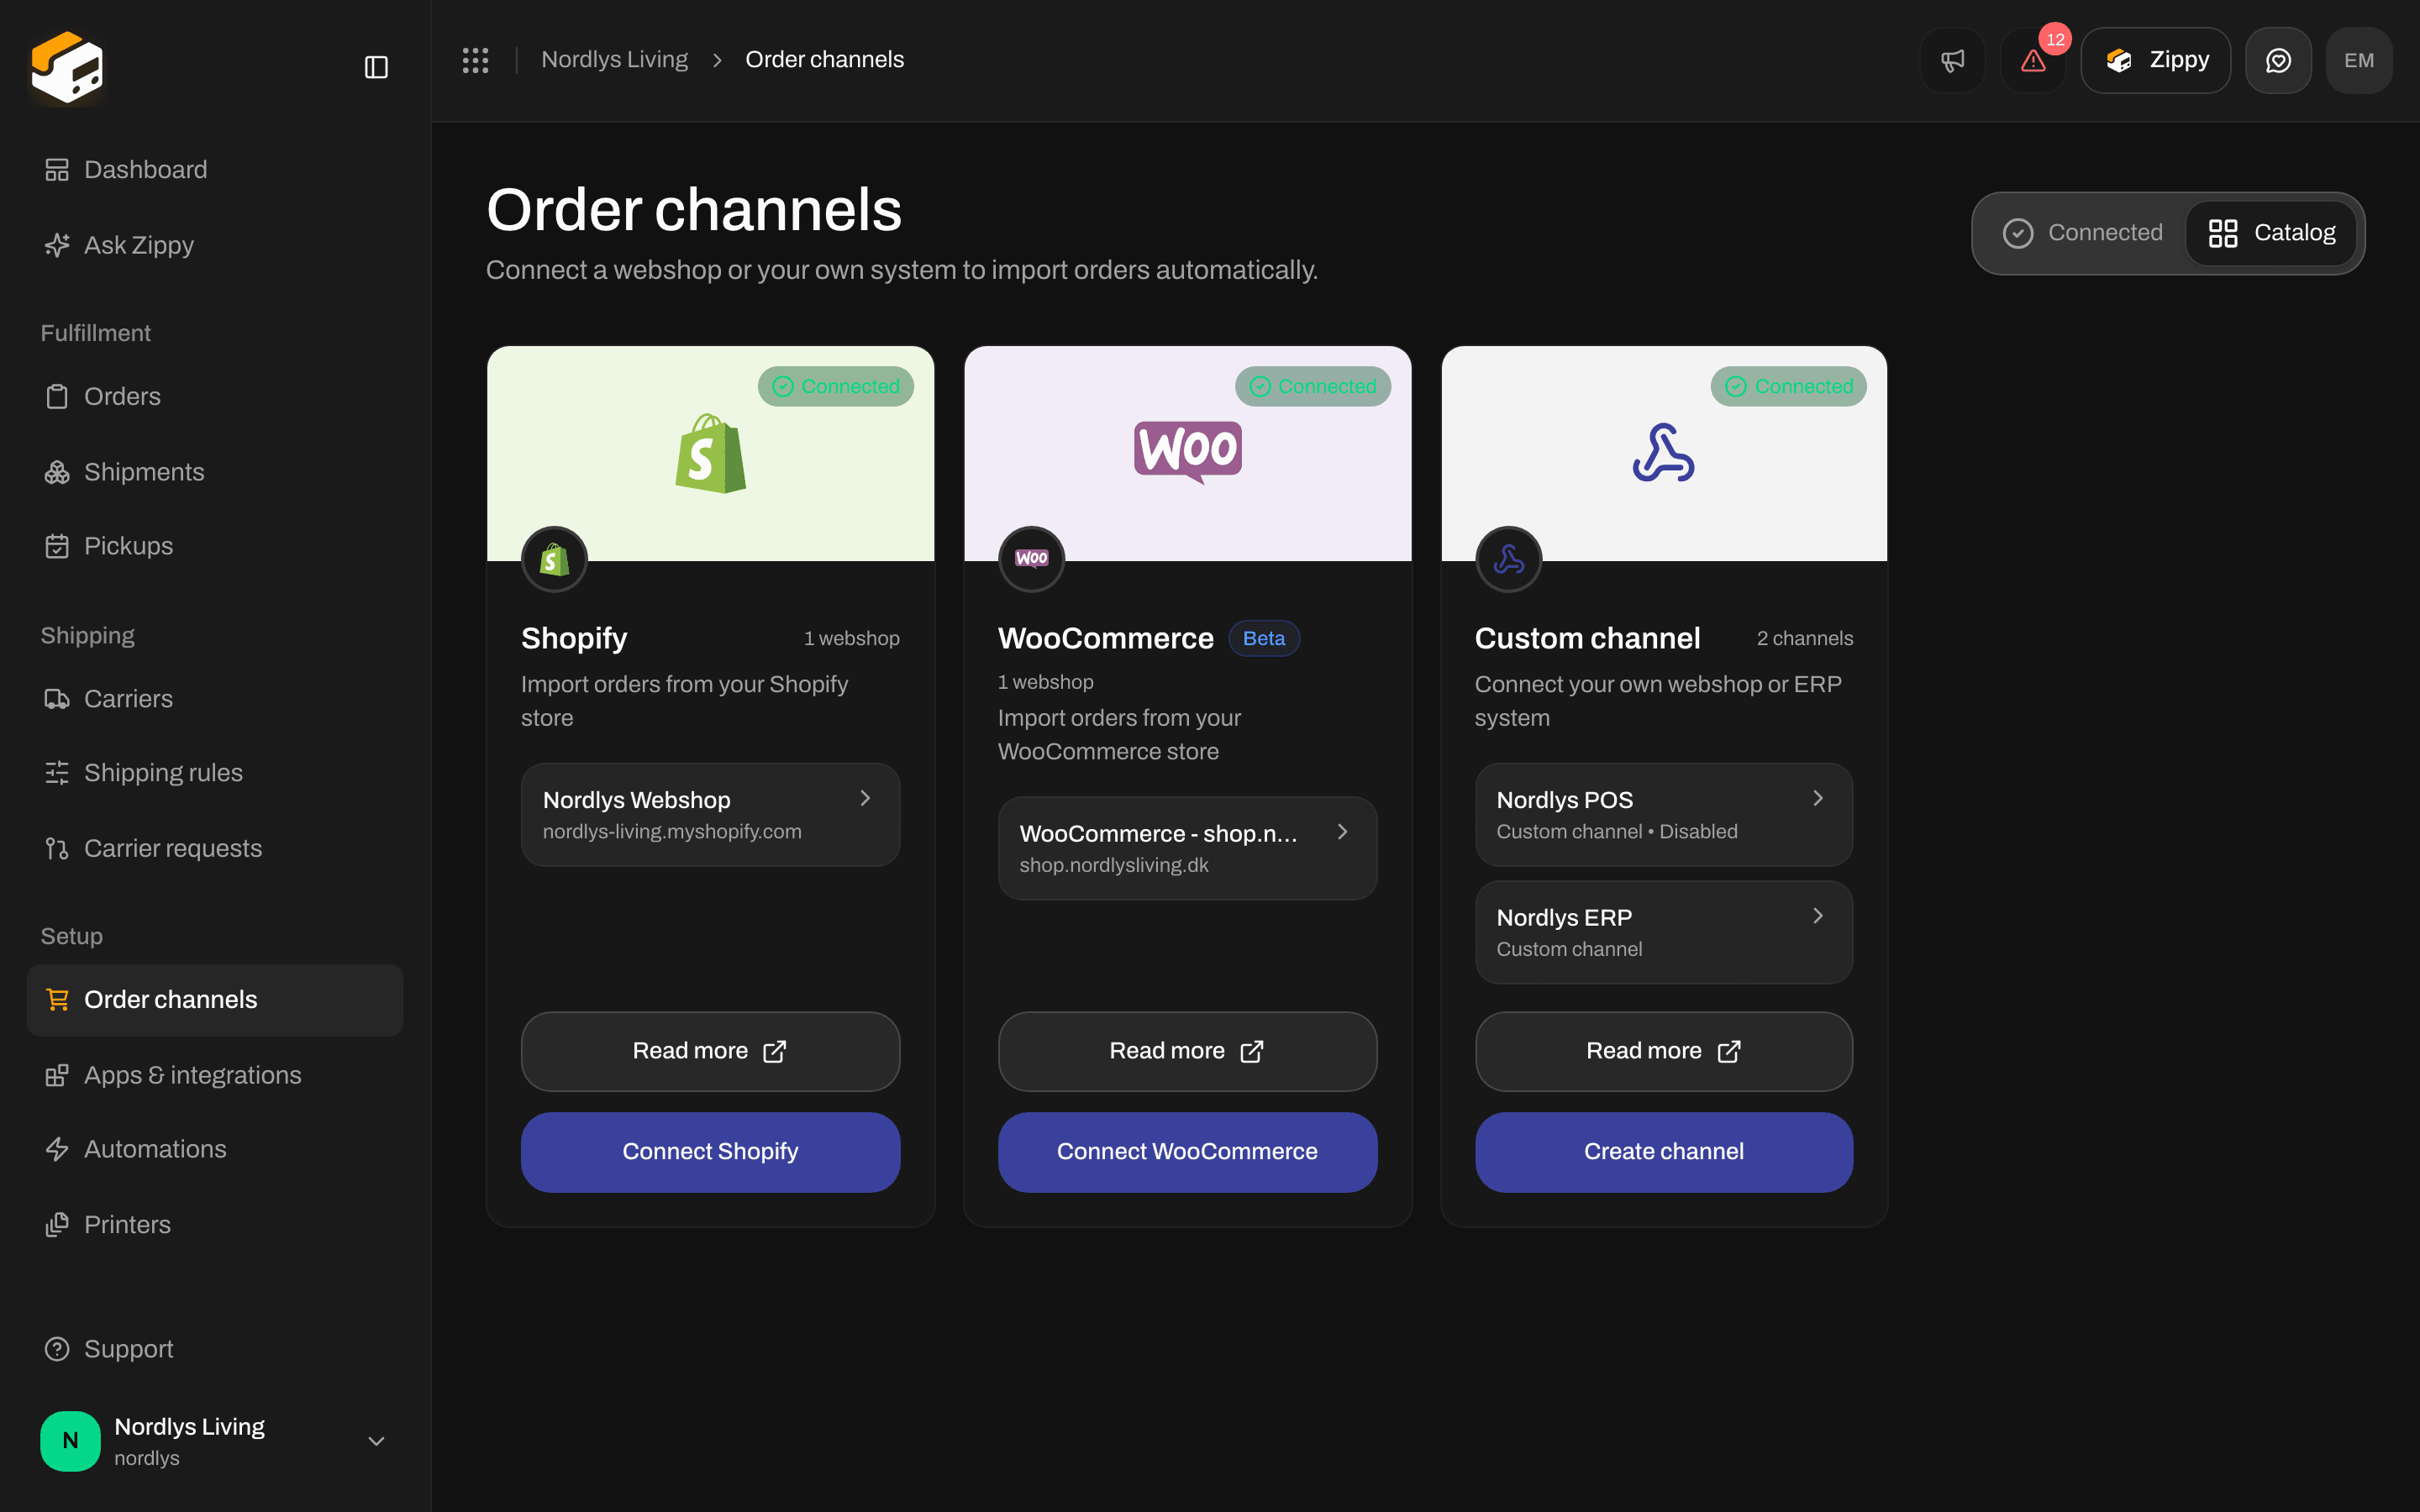
The three ways to connect: Shopify, WooCommerce and Custom channel
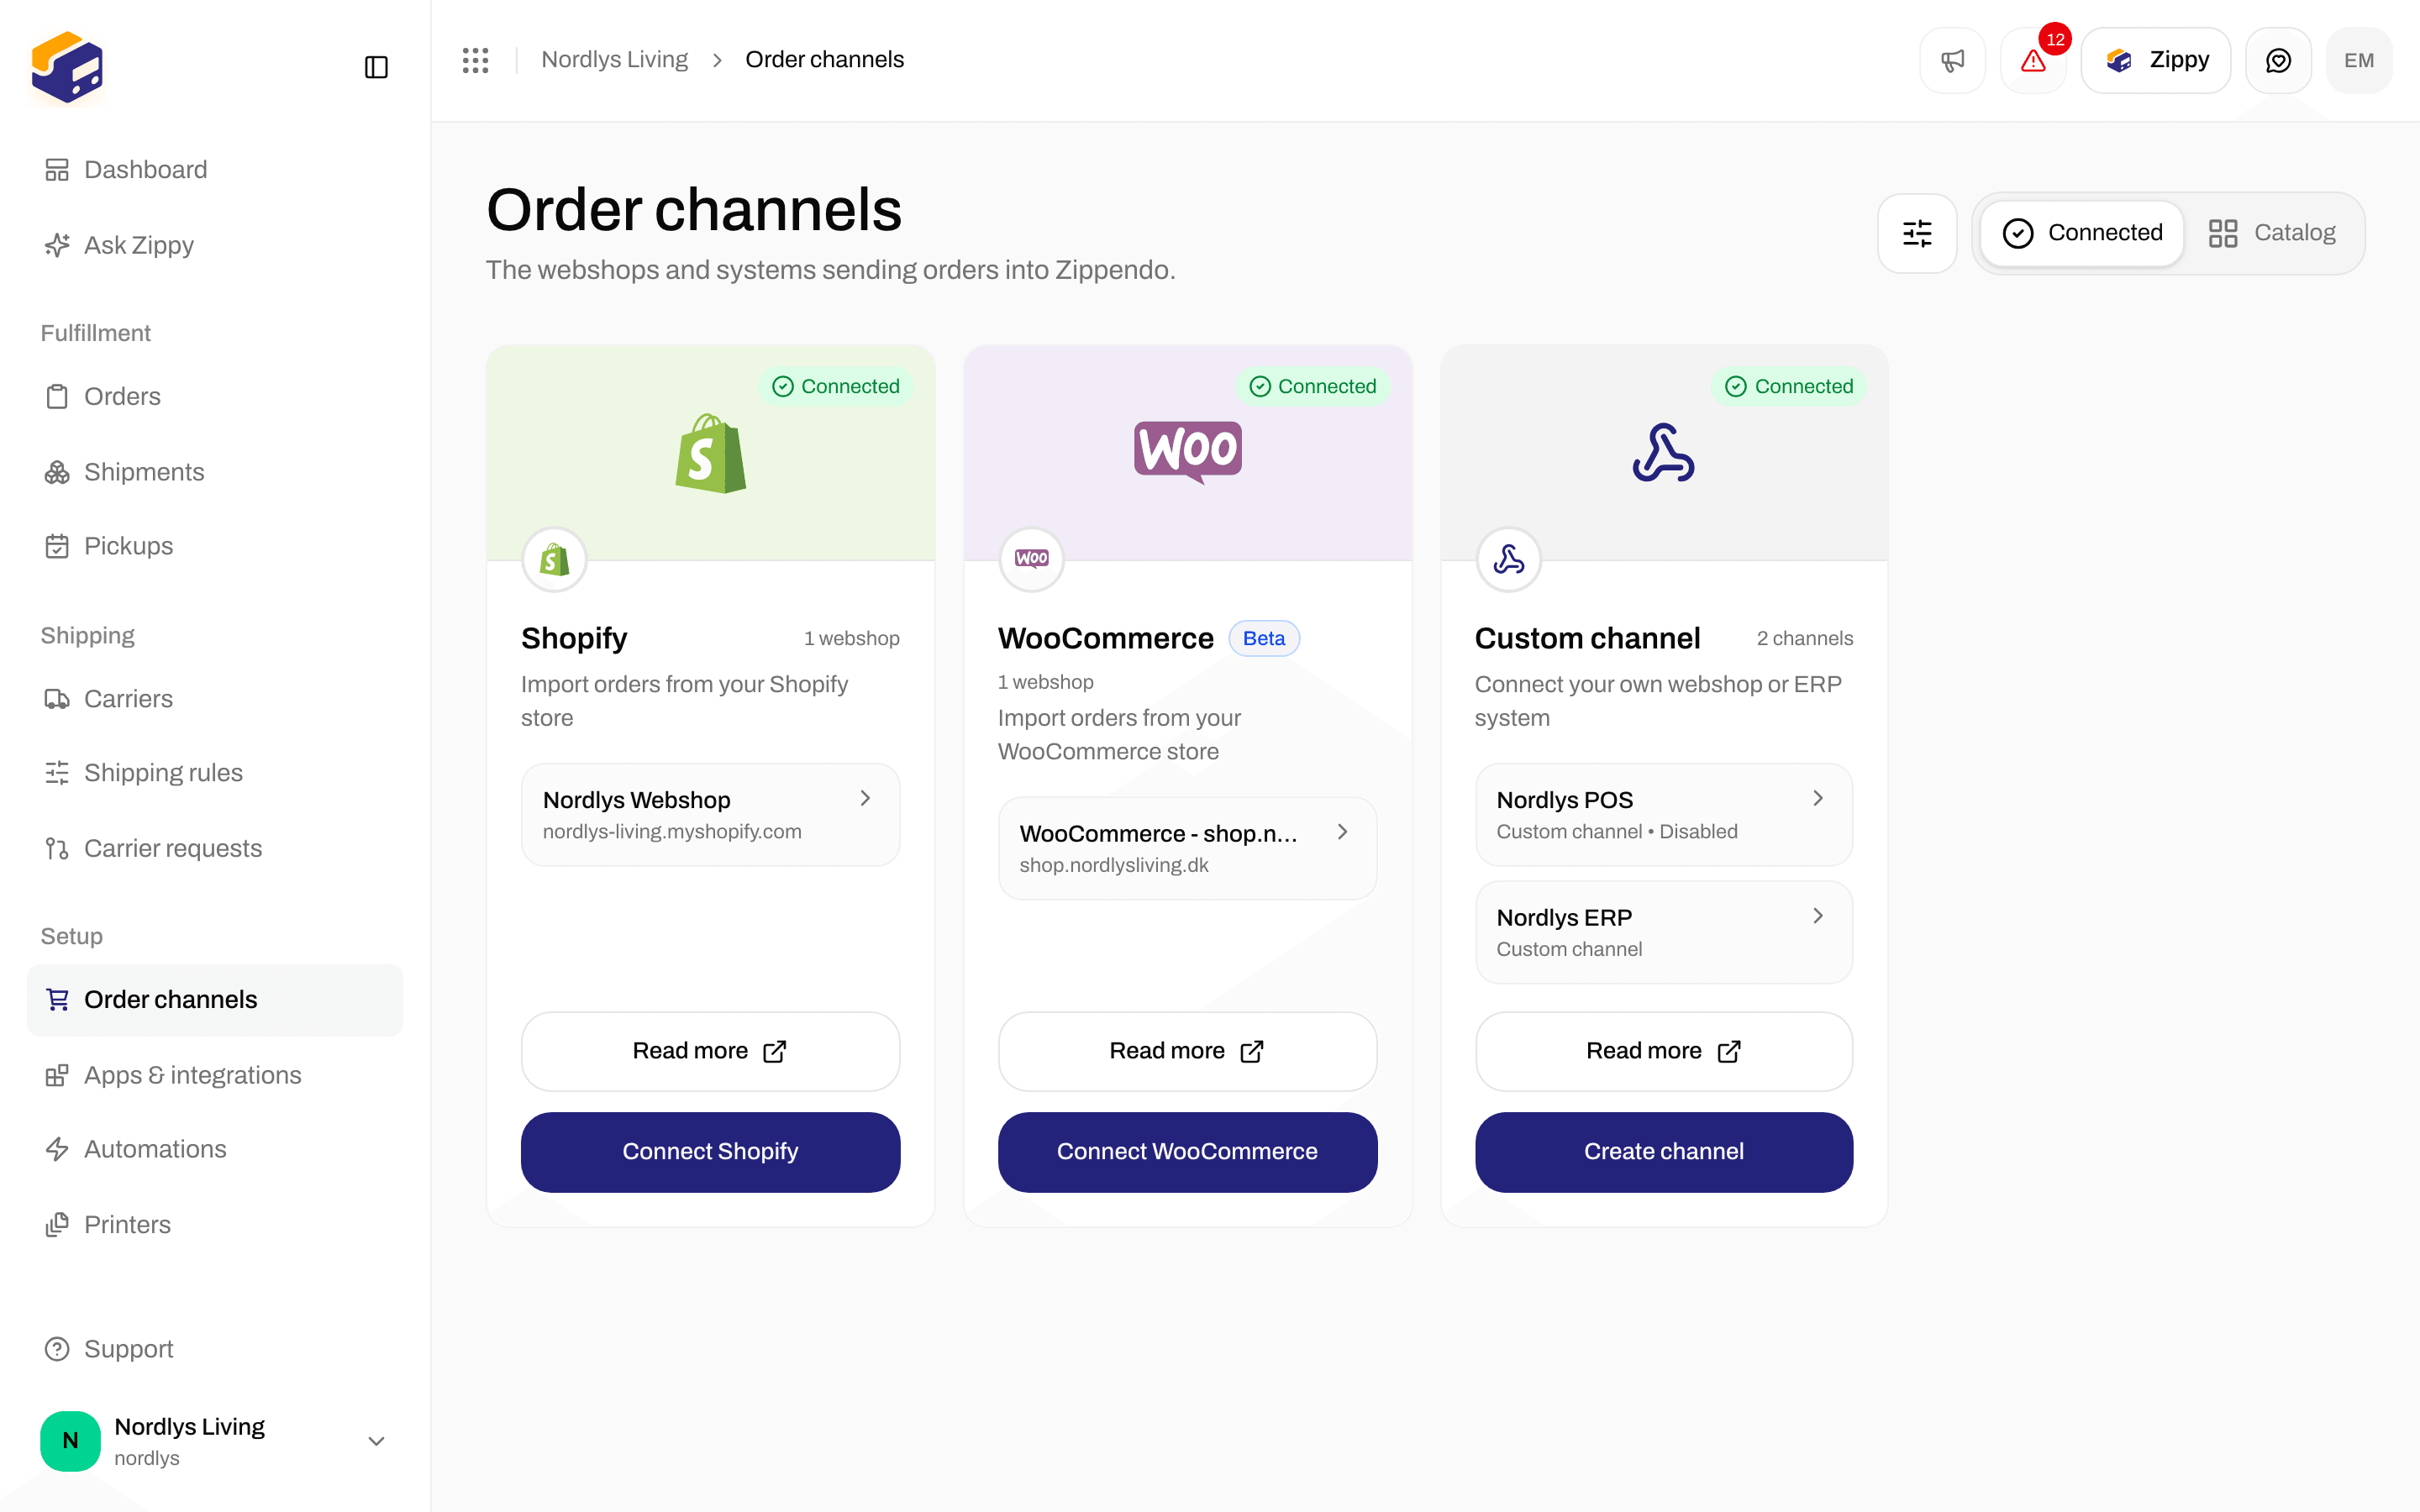
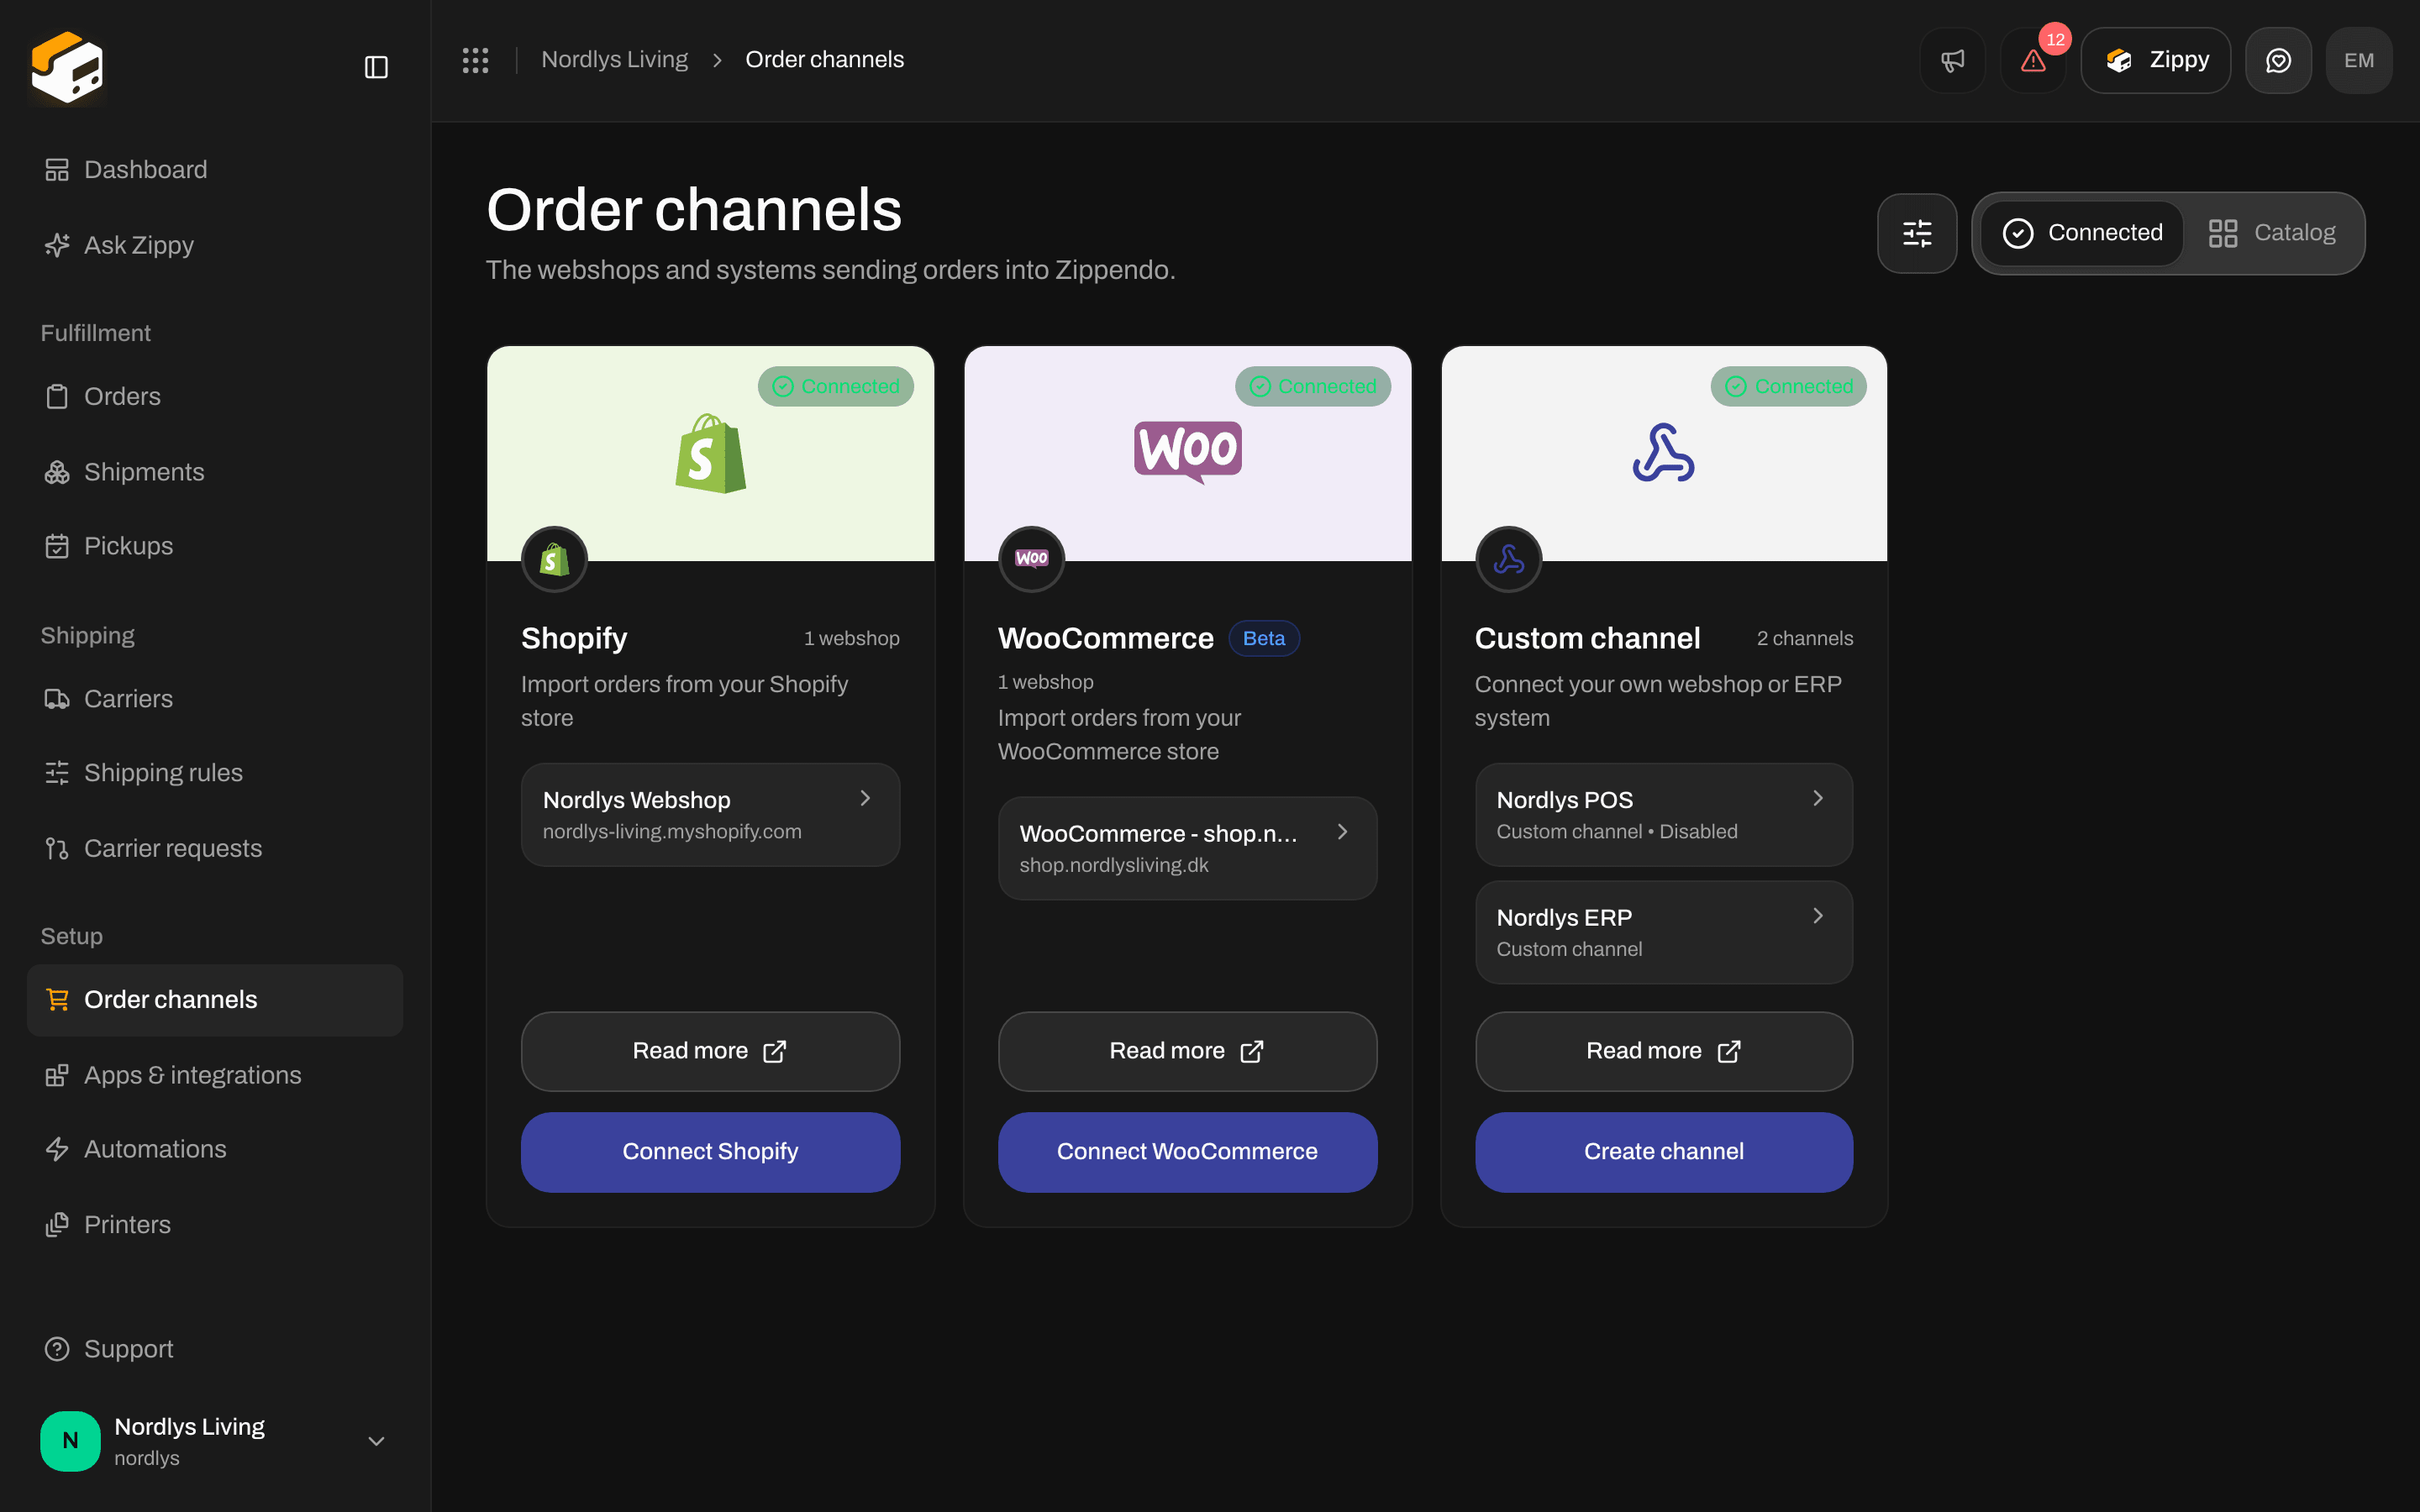
Connected order channels, each listed on the Shopify, WooCommerce or Custom channel card
- Shopify and WooCommerce rows show the name and the web address.
- Custom channel rows show the name and Custom channel.
- Disabled is added when the order channel is switched off.
- If your organization has brands, the row shows the brand.
Leftover order channels
A row with No active connection and Disconnected is left over from a webshop that was removed. It has no settings page. If you no longer need it, click the bin icon (Remove) and confirm with Remove channel. This also deletes every order imported through it, and cannot be undone.Connect WooCommerce
The quickest way is one-click connect: you enter your webshop’s address, approve the connection in your own WooCommerce admin, and WooCommerce creates the API keys for you. If you would rather paste keys you created yourself in WordPress, click Enter API keys manually in the same window.Before you start
- Admin access to your WooCommerce webshop.
- A webshop address that starts with
https://. If it does not, use the API keys instead. - A sender address under Settings → Addresses, if you want to choose a Default sender address now (the sender for shipments created from this webshop’s orders). You can skip it and set it later.
One-click connect
Open the Catalog tab
Click Connect WooCommerce
Enter the Store URL
https://mystore.dk. Pick a Default sender address if you want one.Click Connect
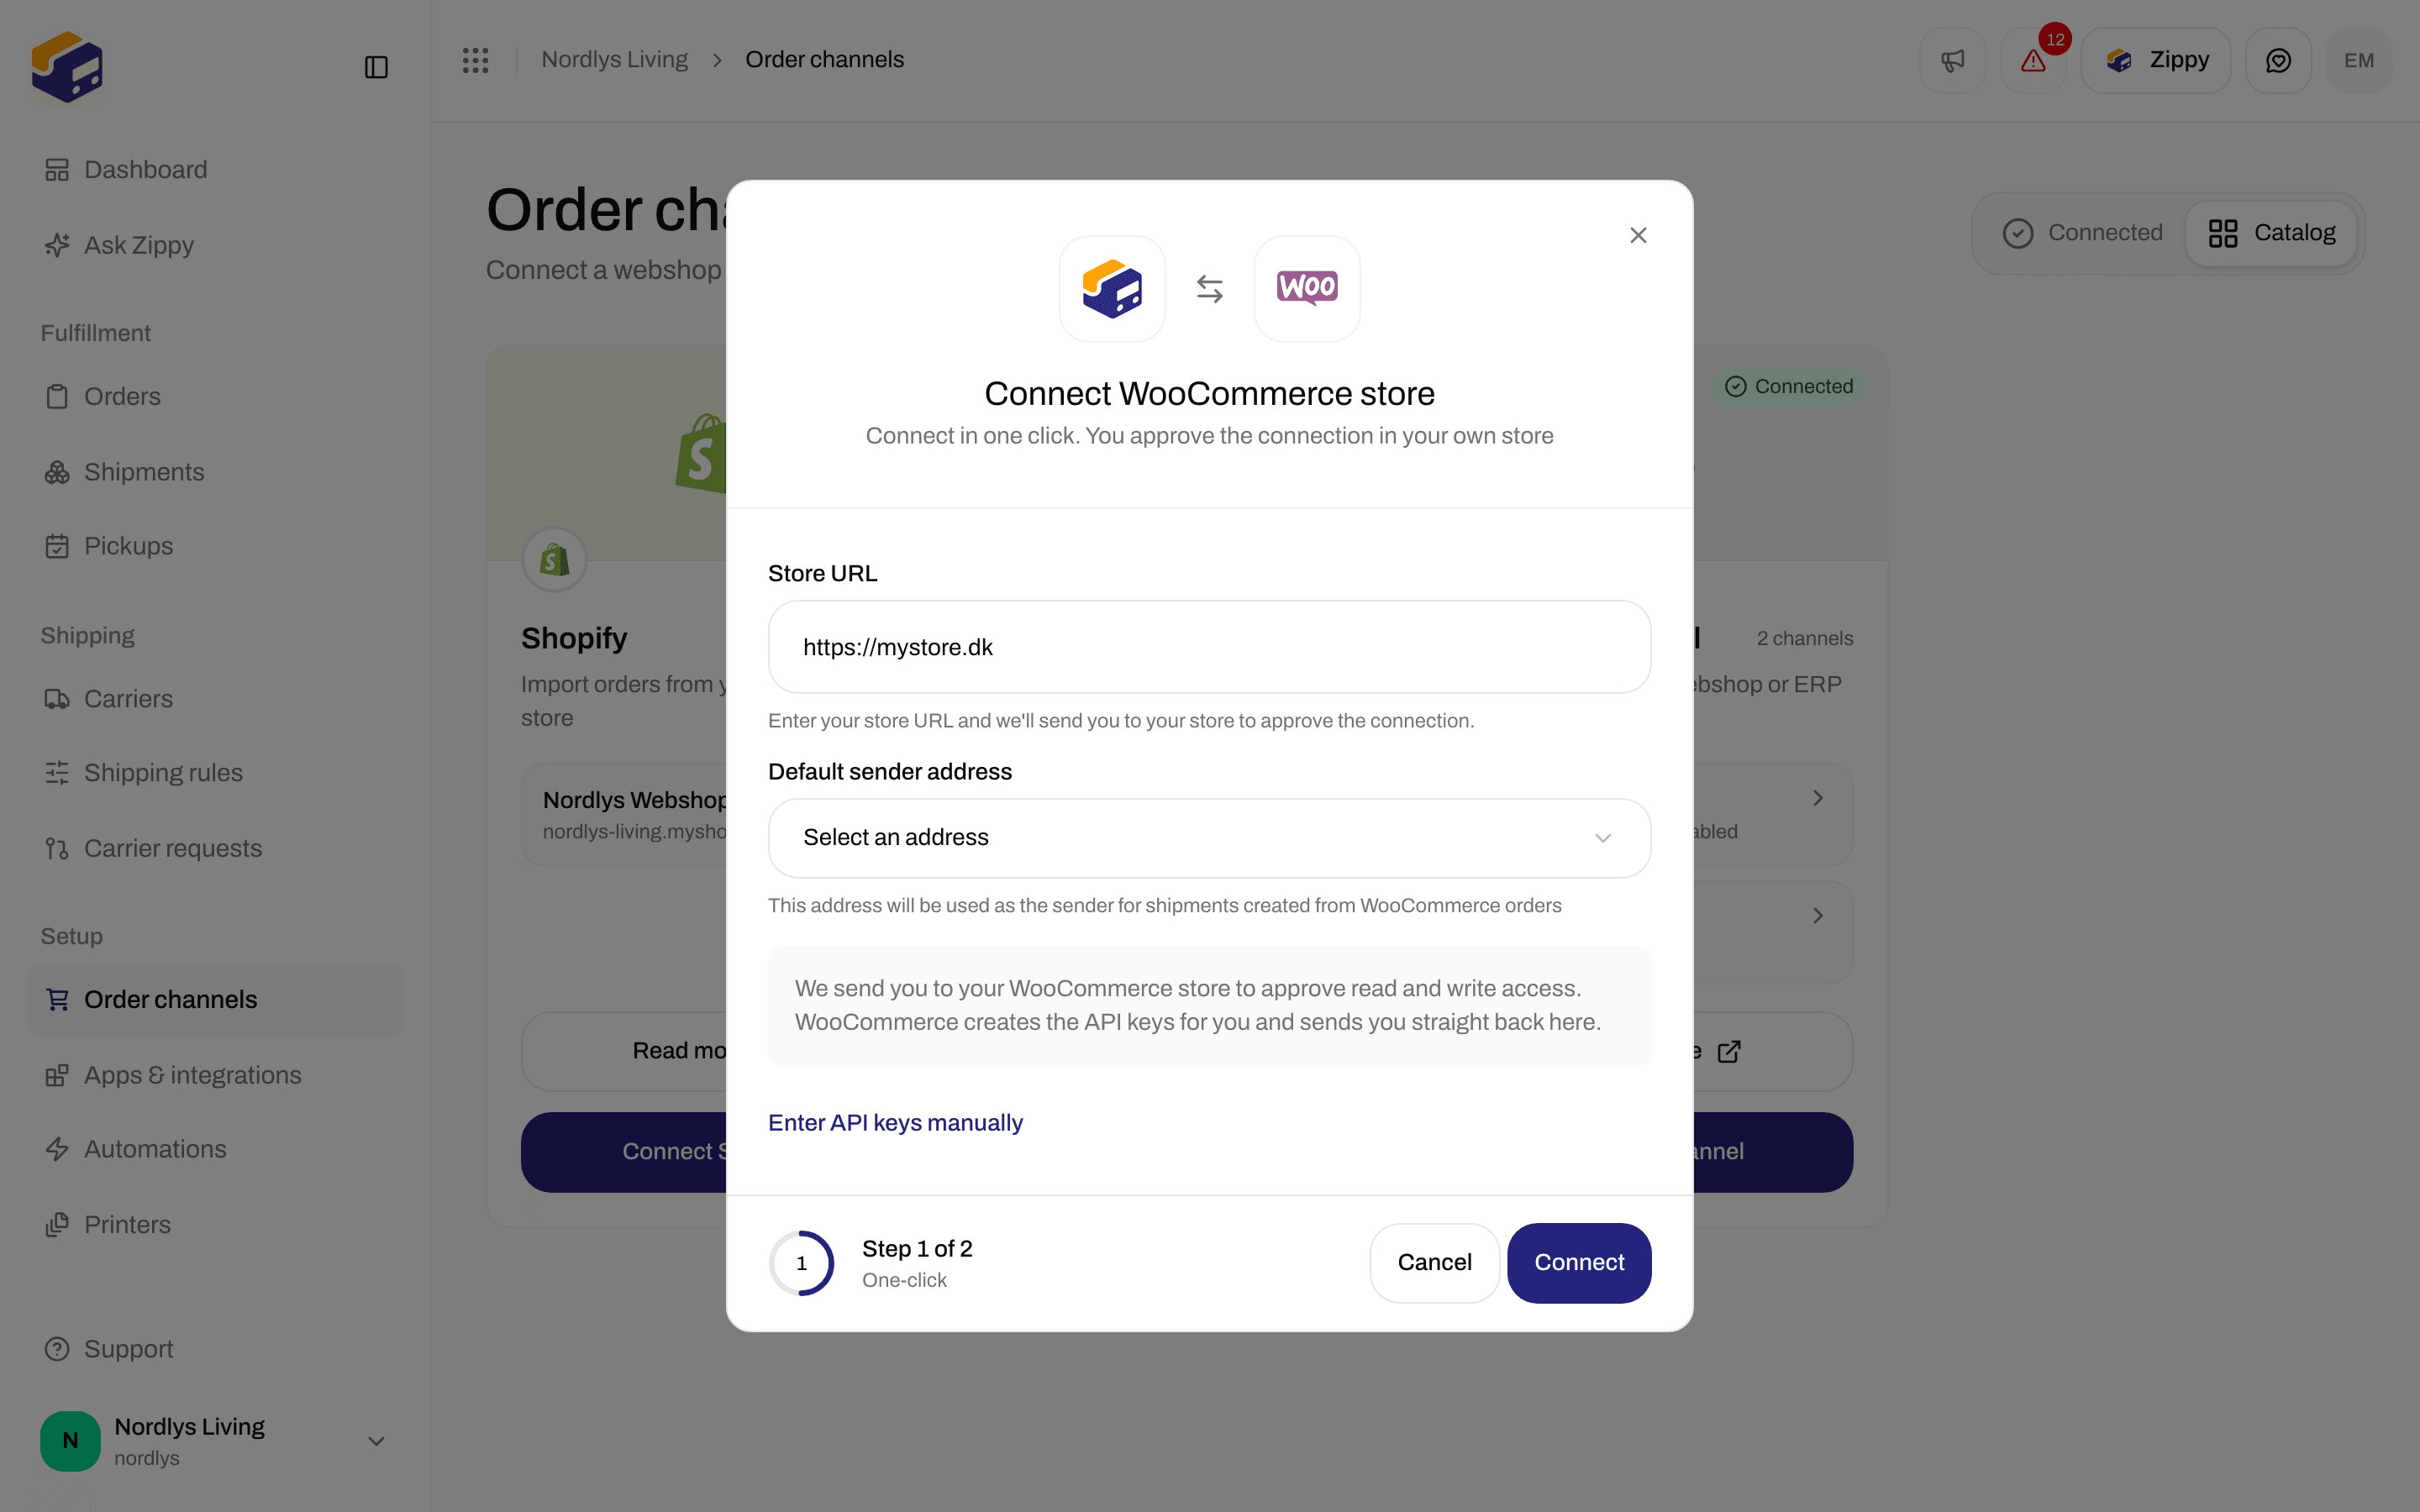
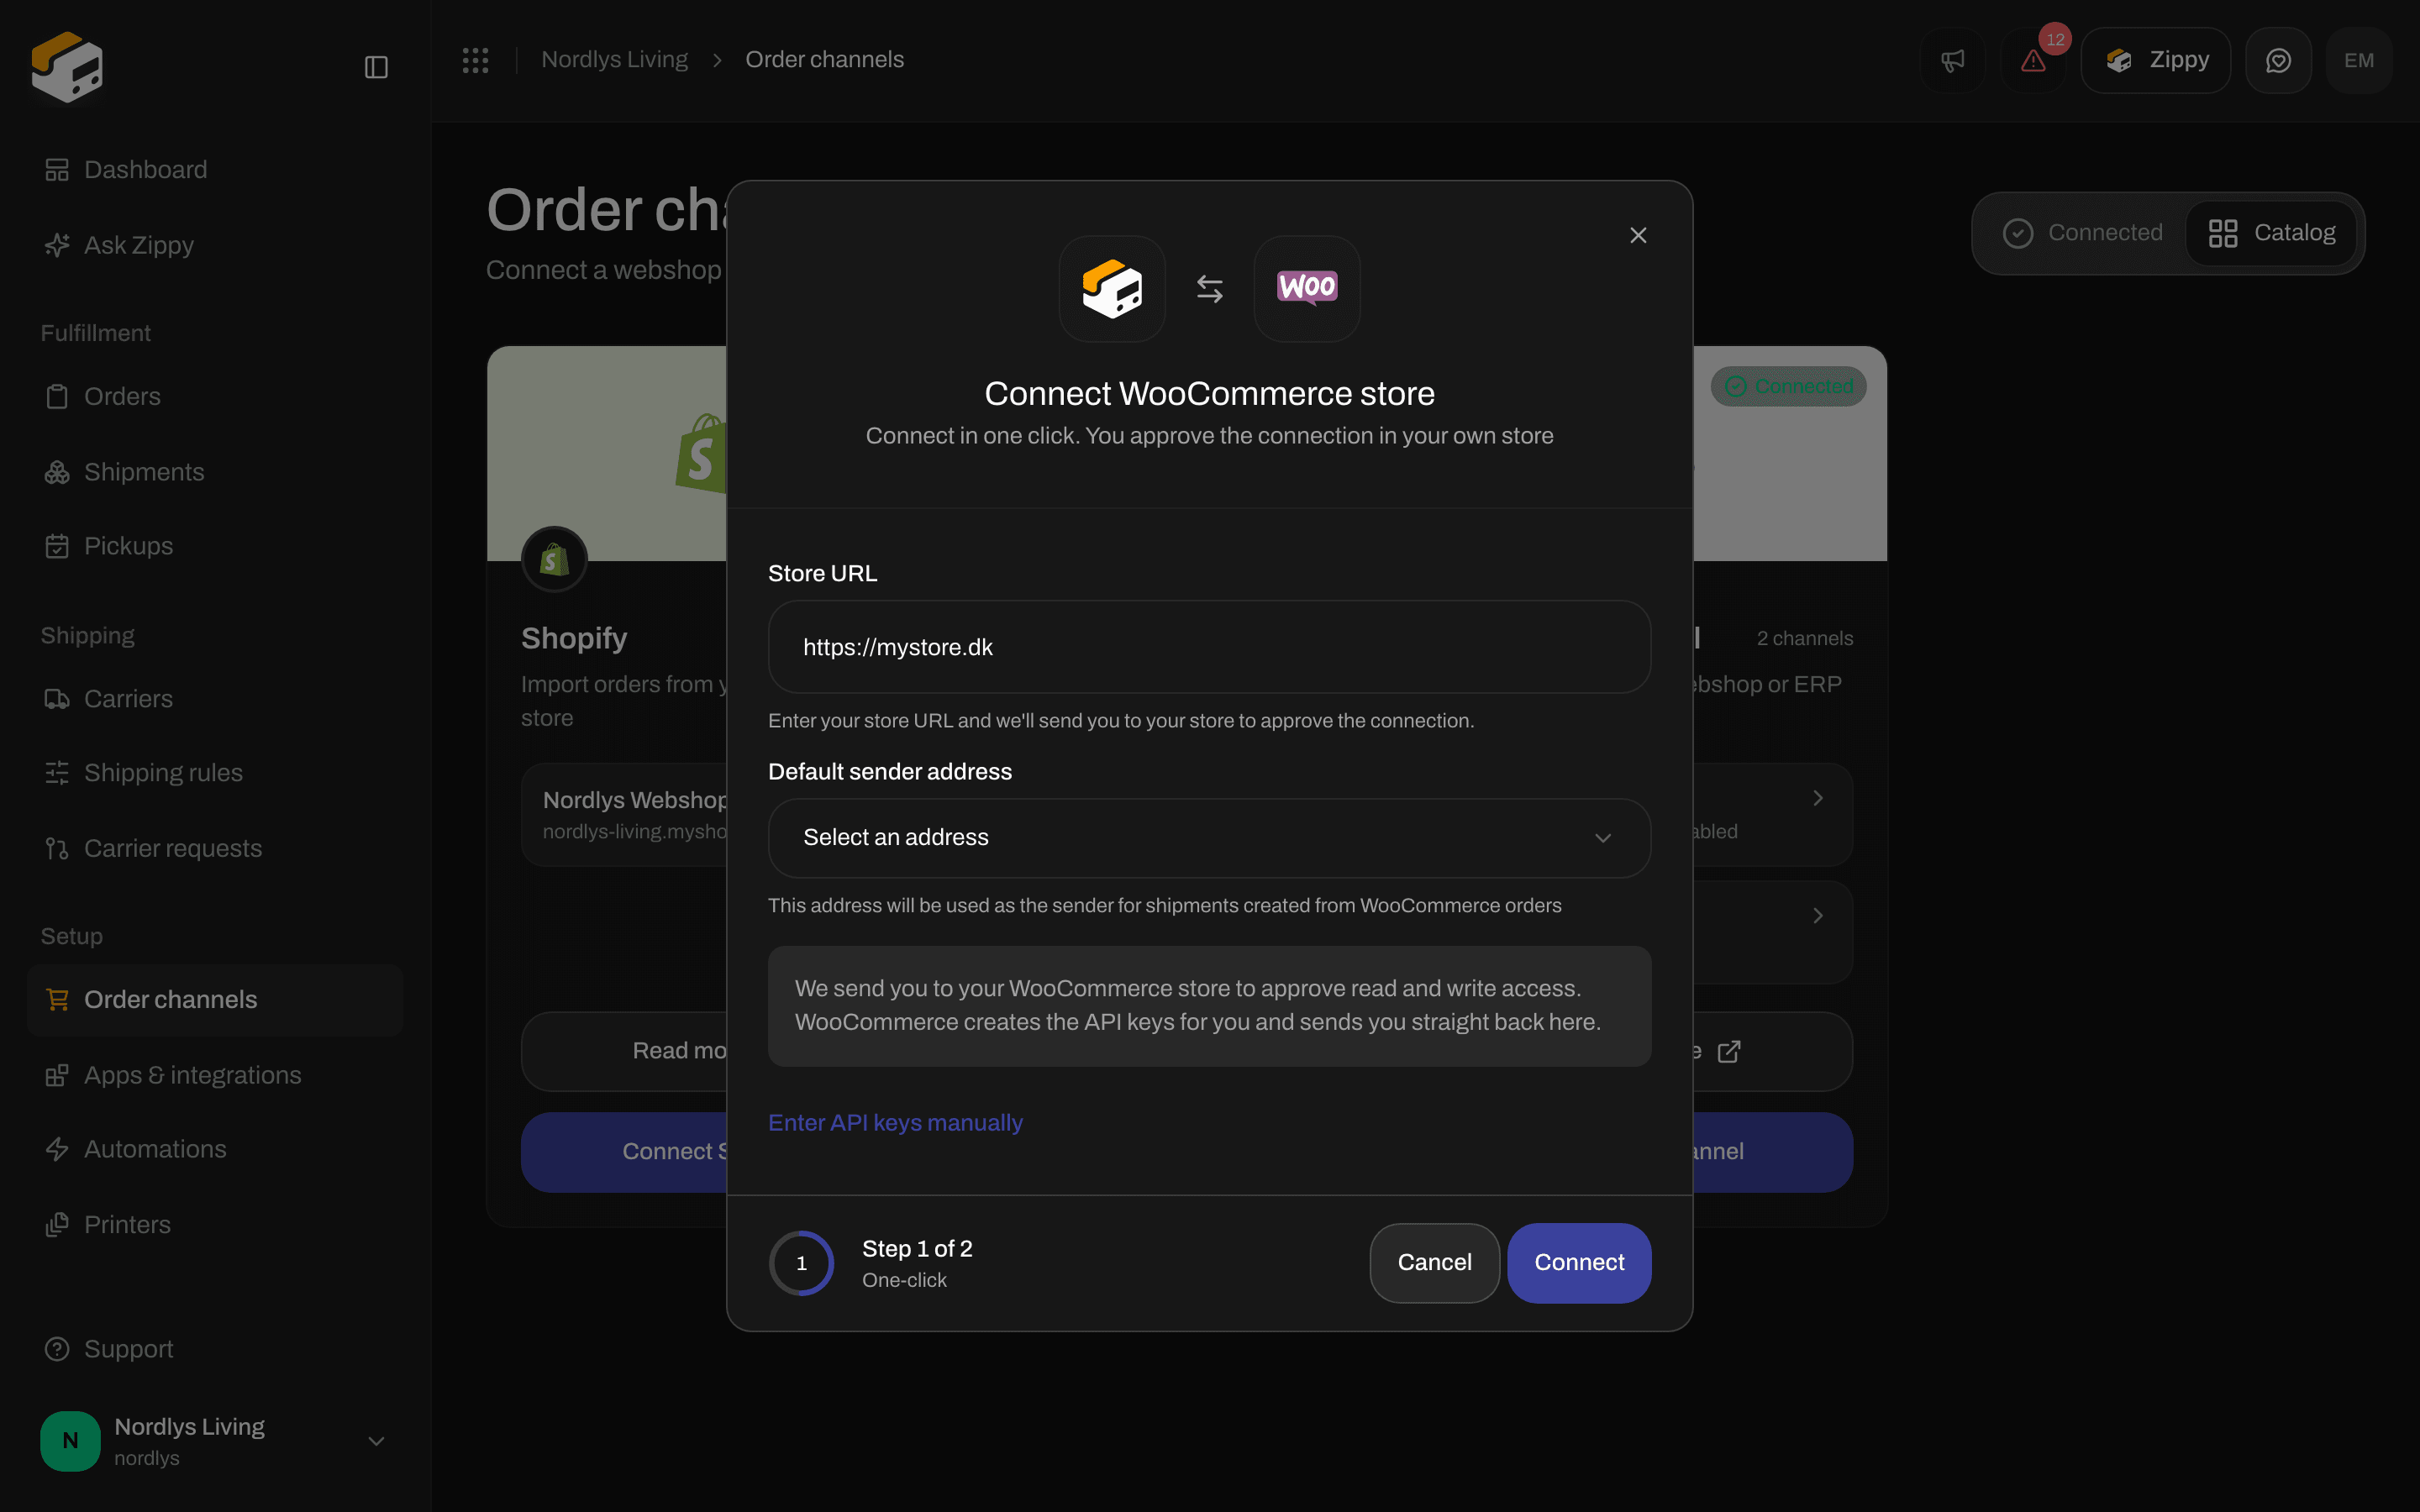
The Connect WooCommerce store window on the One-click step
Enter API keys manually
Use this when you already have keys, or when one-click connect cannot reach your webshop.Create an API key in WooCommerce
Switch to API keys in Zippendo
Fill in Store URL, Consumer key and Consumer secret
Click Connect
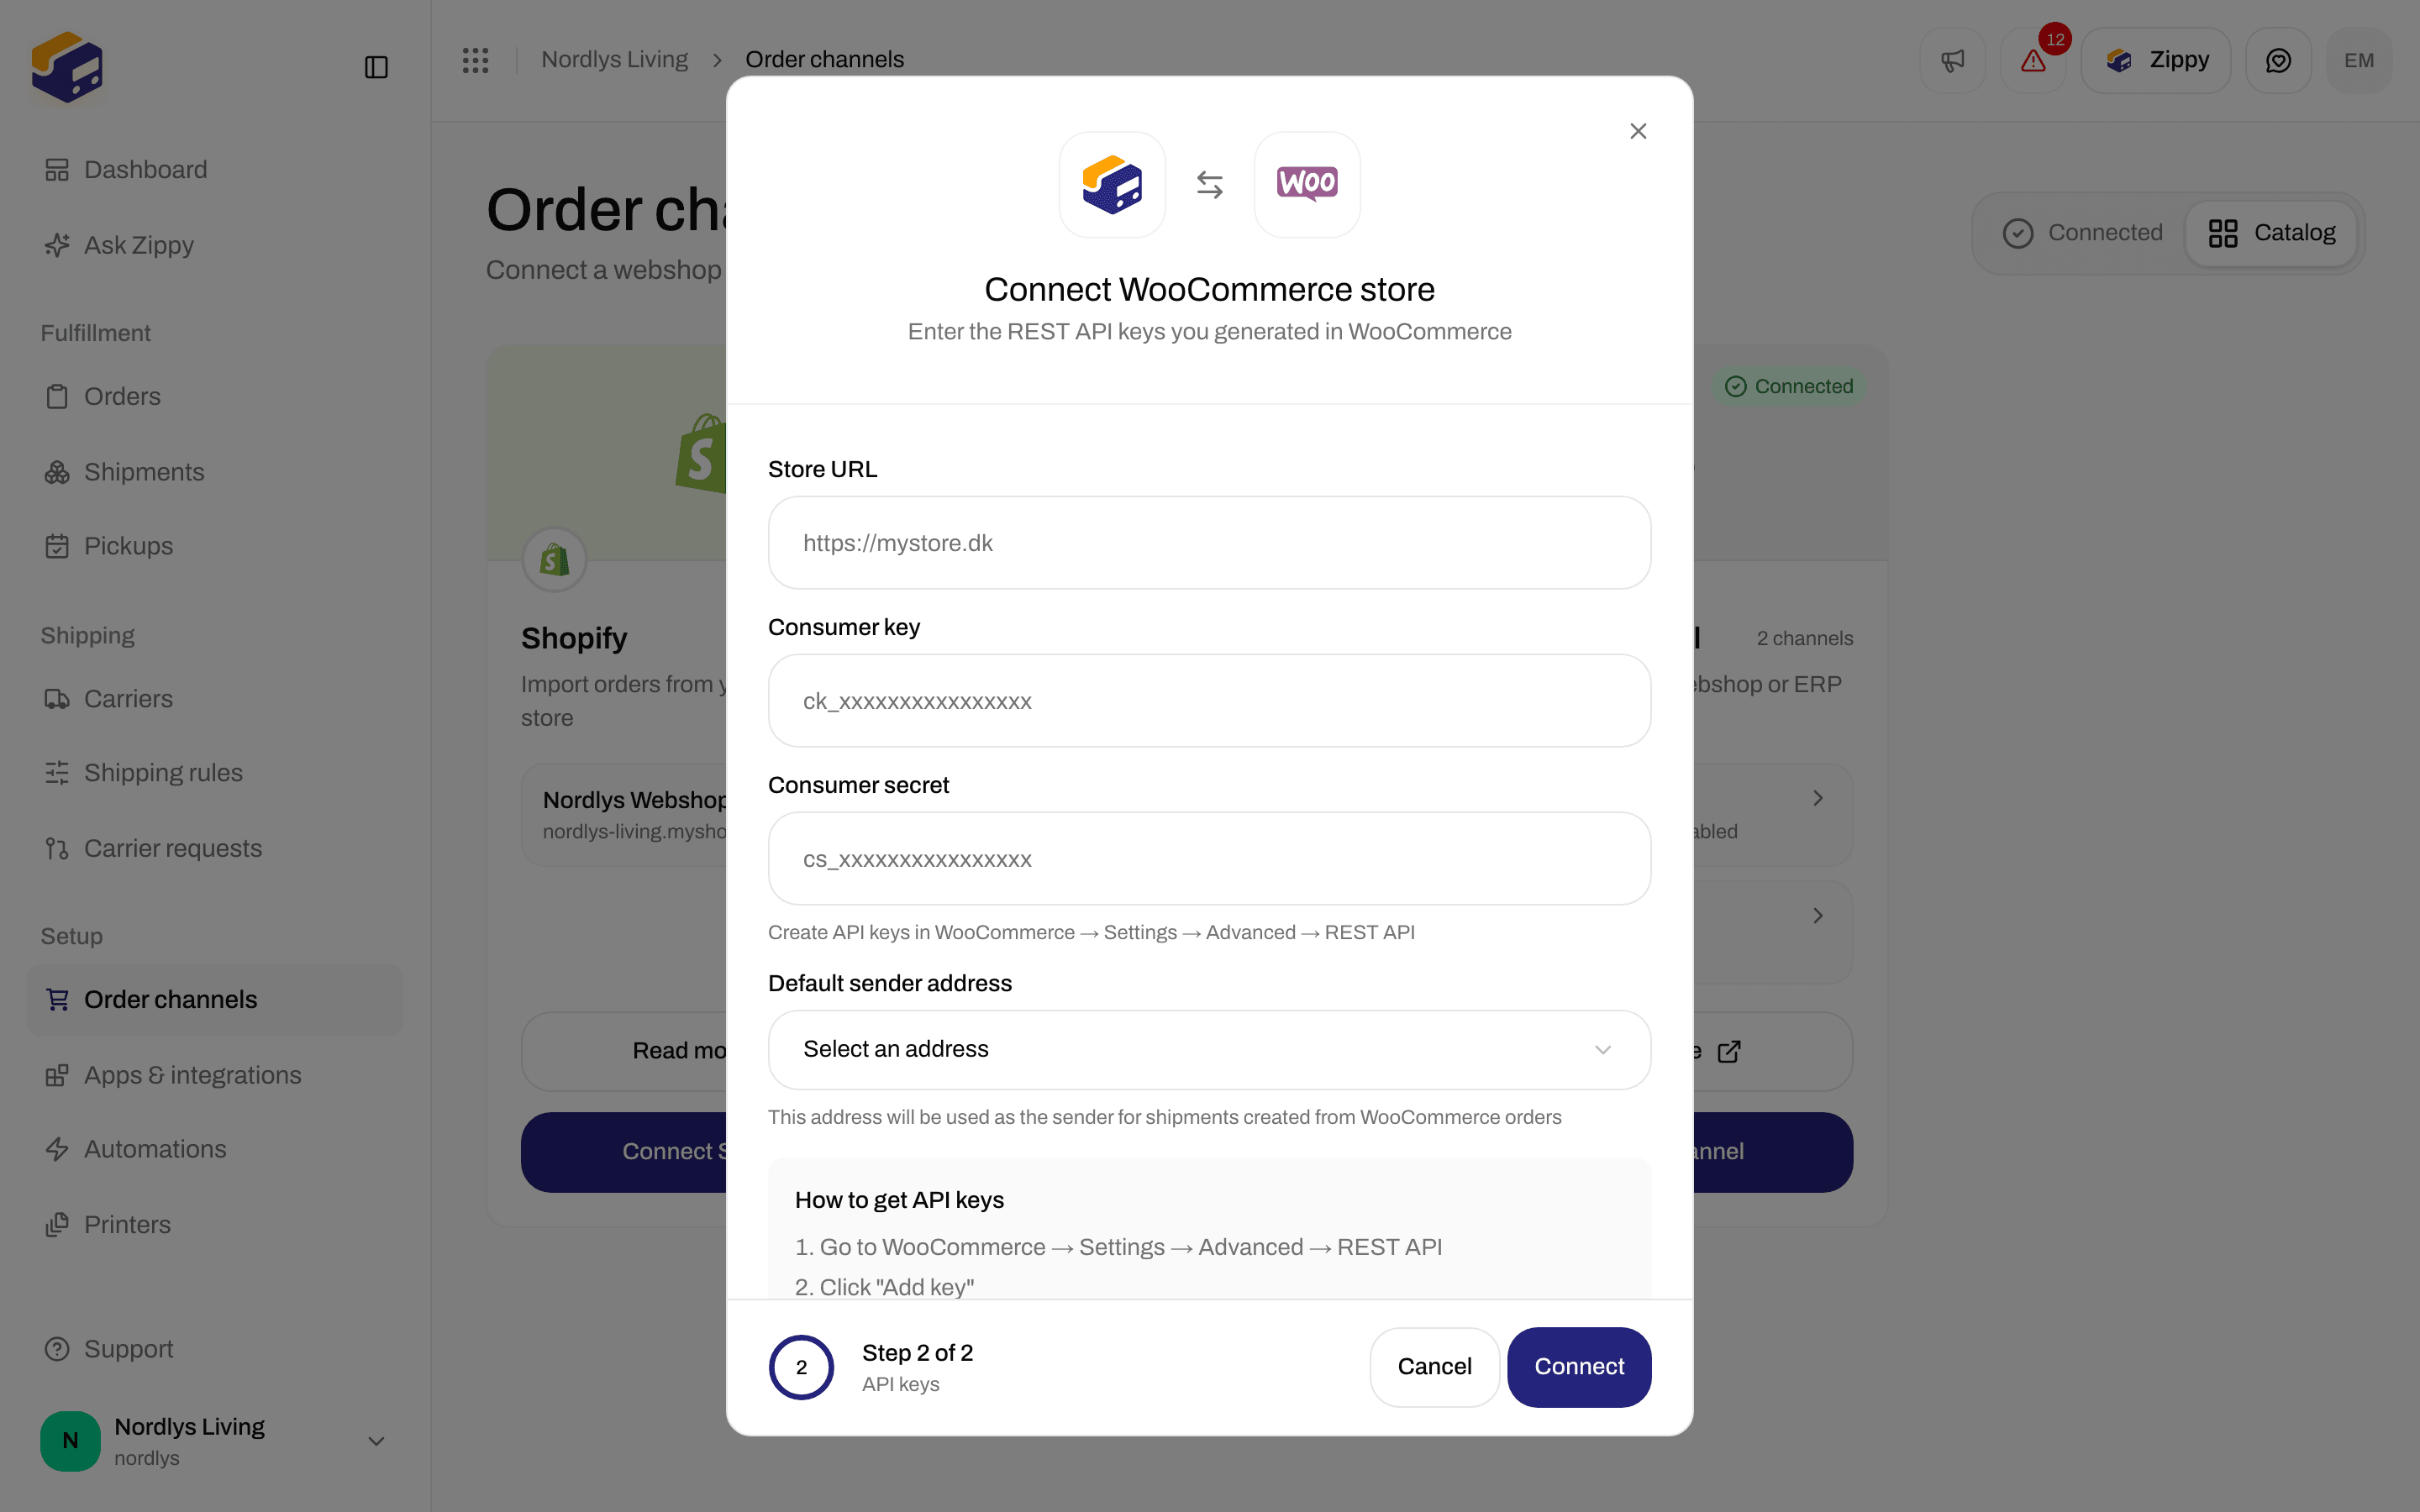
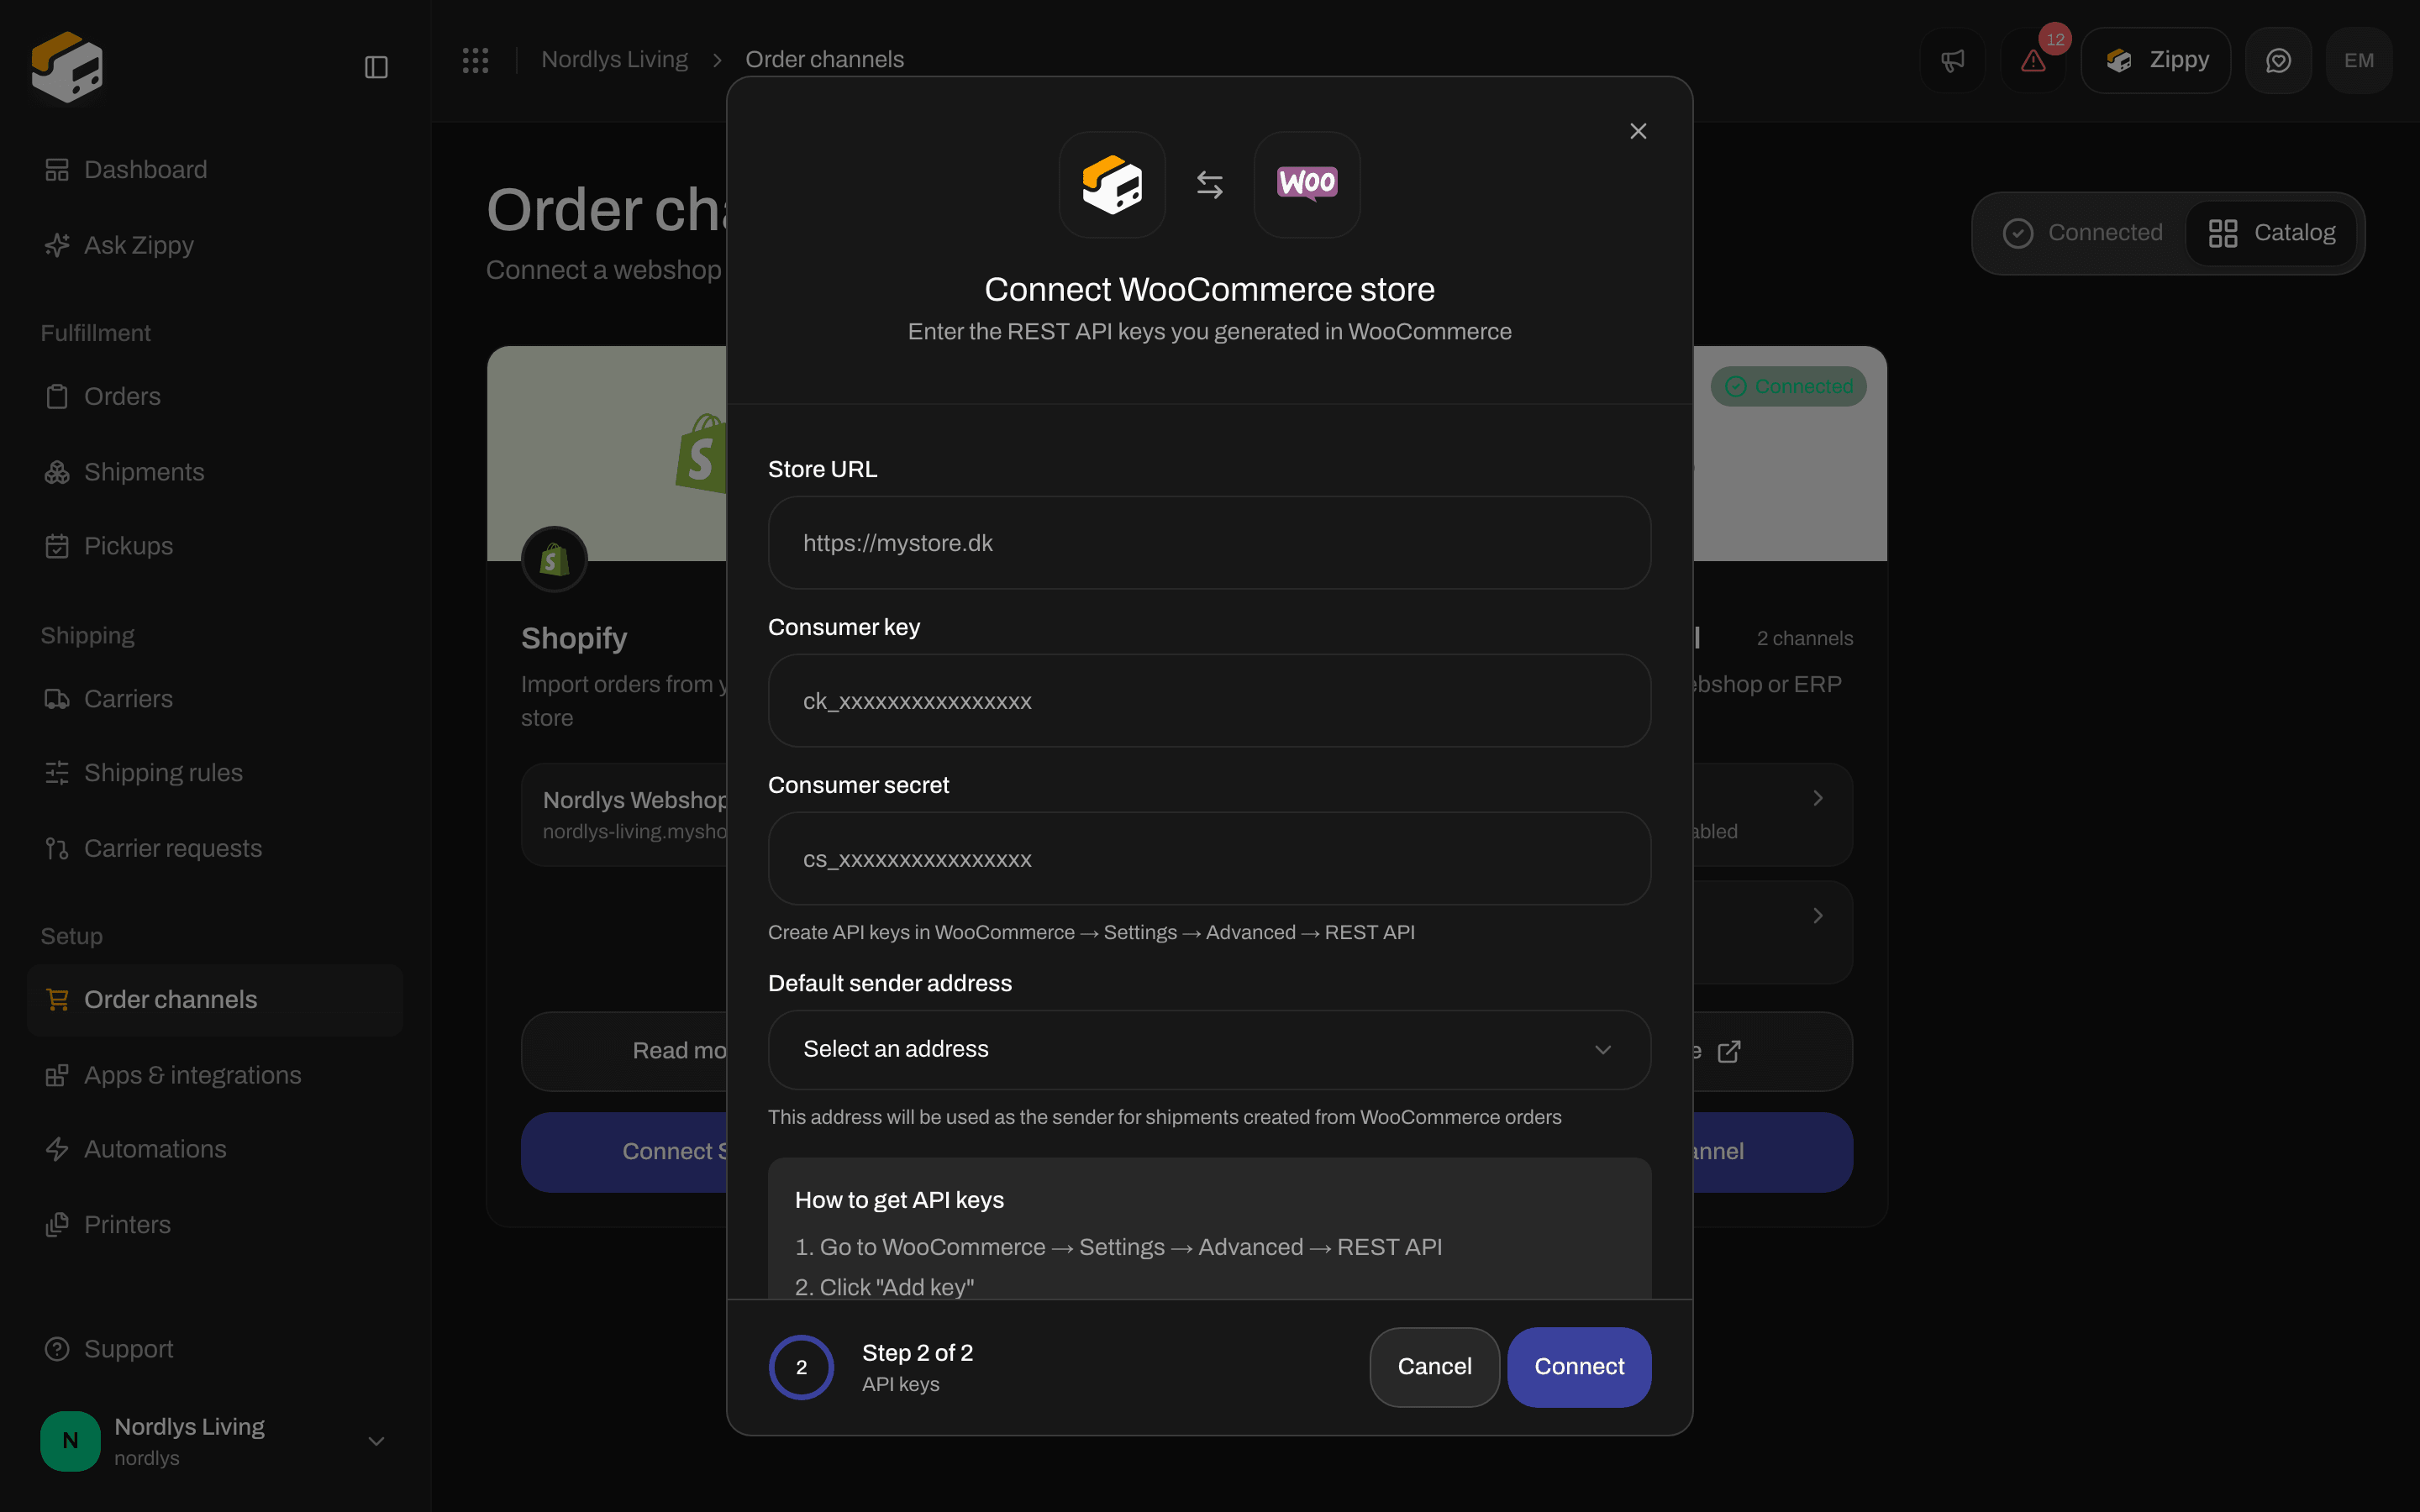
The API keys step with Consumer key, Consumer secret and How to get API keys
WooCommerce settings
Click the webshop on the Connected tab. The page shows your webshop’s address under the name, and WooCommerce admin opens your WordPress admin in a new tab. The settings are on two tabs. Orders & checkout- Import orders from this webshop (under What Zippendo is used for) - on by default. Switch it off if another system, such as a warehouse system (WMS) or an ERP, handles the orders and Zippendo is only used for shipping prices at checkout. While it is off, the order import settings below are hidden.
- Automatic sync - regularly checks the webshop for new orders, as a backup in case one is missed.
- Sync interval (minutes) - how often to check, from 5 to 1440 minutes.
- Only unfulfilled orders - import only orders that are not yet fulfilled.
- Create shipments automatically - create a shipment as soon as a new order arrives.
- Mark orders as completed in WooCommerce - on by default. Sends the tracking number back to WooCommerce when you send the shipment.
- Brand - shown if your organization has brands. Orders from this order channel belong to this brand.
- Default sender address - the sender for shipments created from this webshop’s orders.
- Click Save changes when you are done.
- Checkout token - for the Zippendo for WooCommerce plugin, which shows shipping prices and service points at your checkout. Click Generate token, then copy it straight away: it is shown only once. Later you can Replace token or Revoke it.
- Store URL, Status (Active or Disabled) and Last sync (or Never).
- Test connection - checks that Zippendo can still reach your webshop with the saved keys.
- Webhooks - how WooCommerce tells Zippendo about new orders right away, with their status (Active or Disabled by WooCommerce). WooCommerce switches one off after it fails several times in a row. Click Re-register to set them up again.
- Danger zone - Disconnect removes the order channel. New orders stop coming in. Orders already in Zippendo stay.
Create a custom channel
Use Custom channel for a webshop, ERP or warehouse system that has no ready-made connection. Your developer sets up your system to send orders to Zippendo, either to the channel’s Ingest URL or through the Zippendo API with an API token. Tracking updates go back to your system through webhooks in your settings, not through the order channel.Open the Catalog tab
Click Create channel
Enter a Channel name
My webshop. If your organization has brands, you can pick a Brand too.Click Create channel
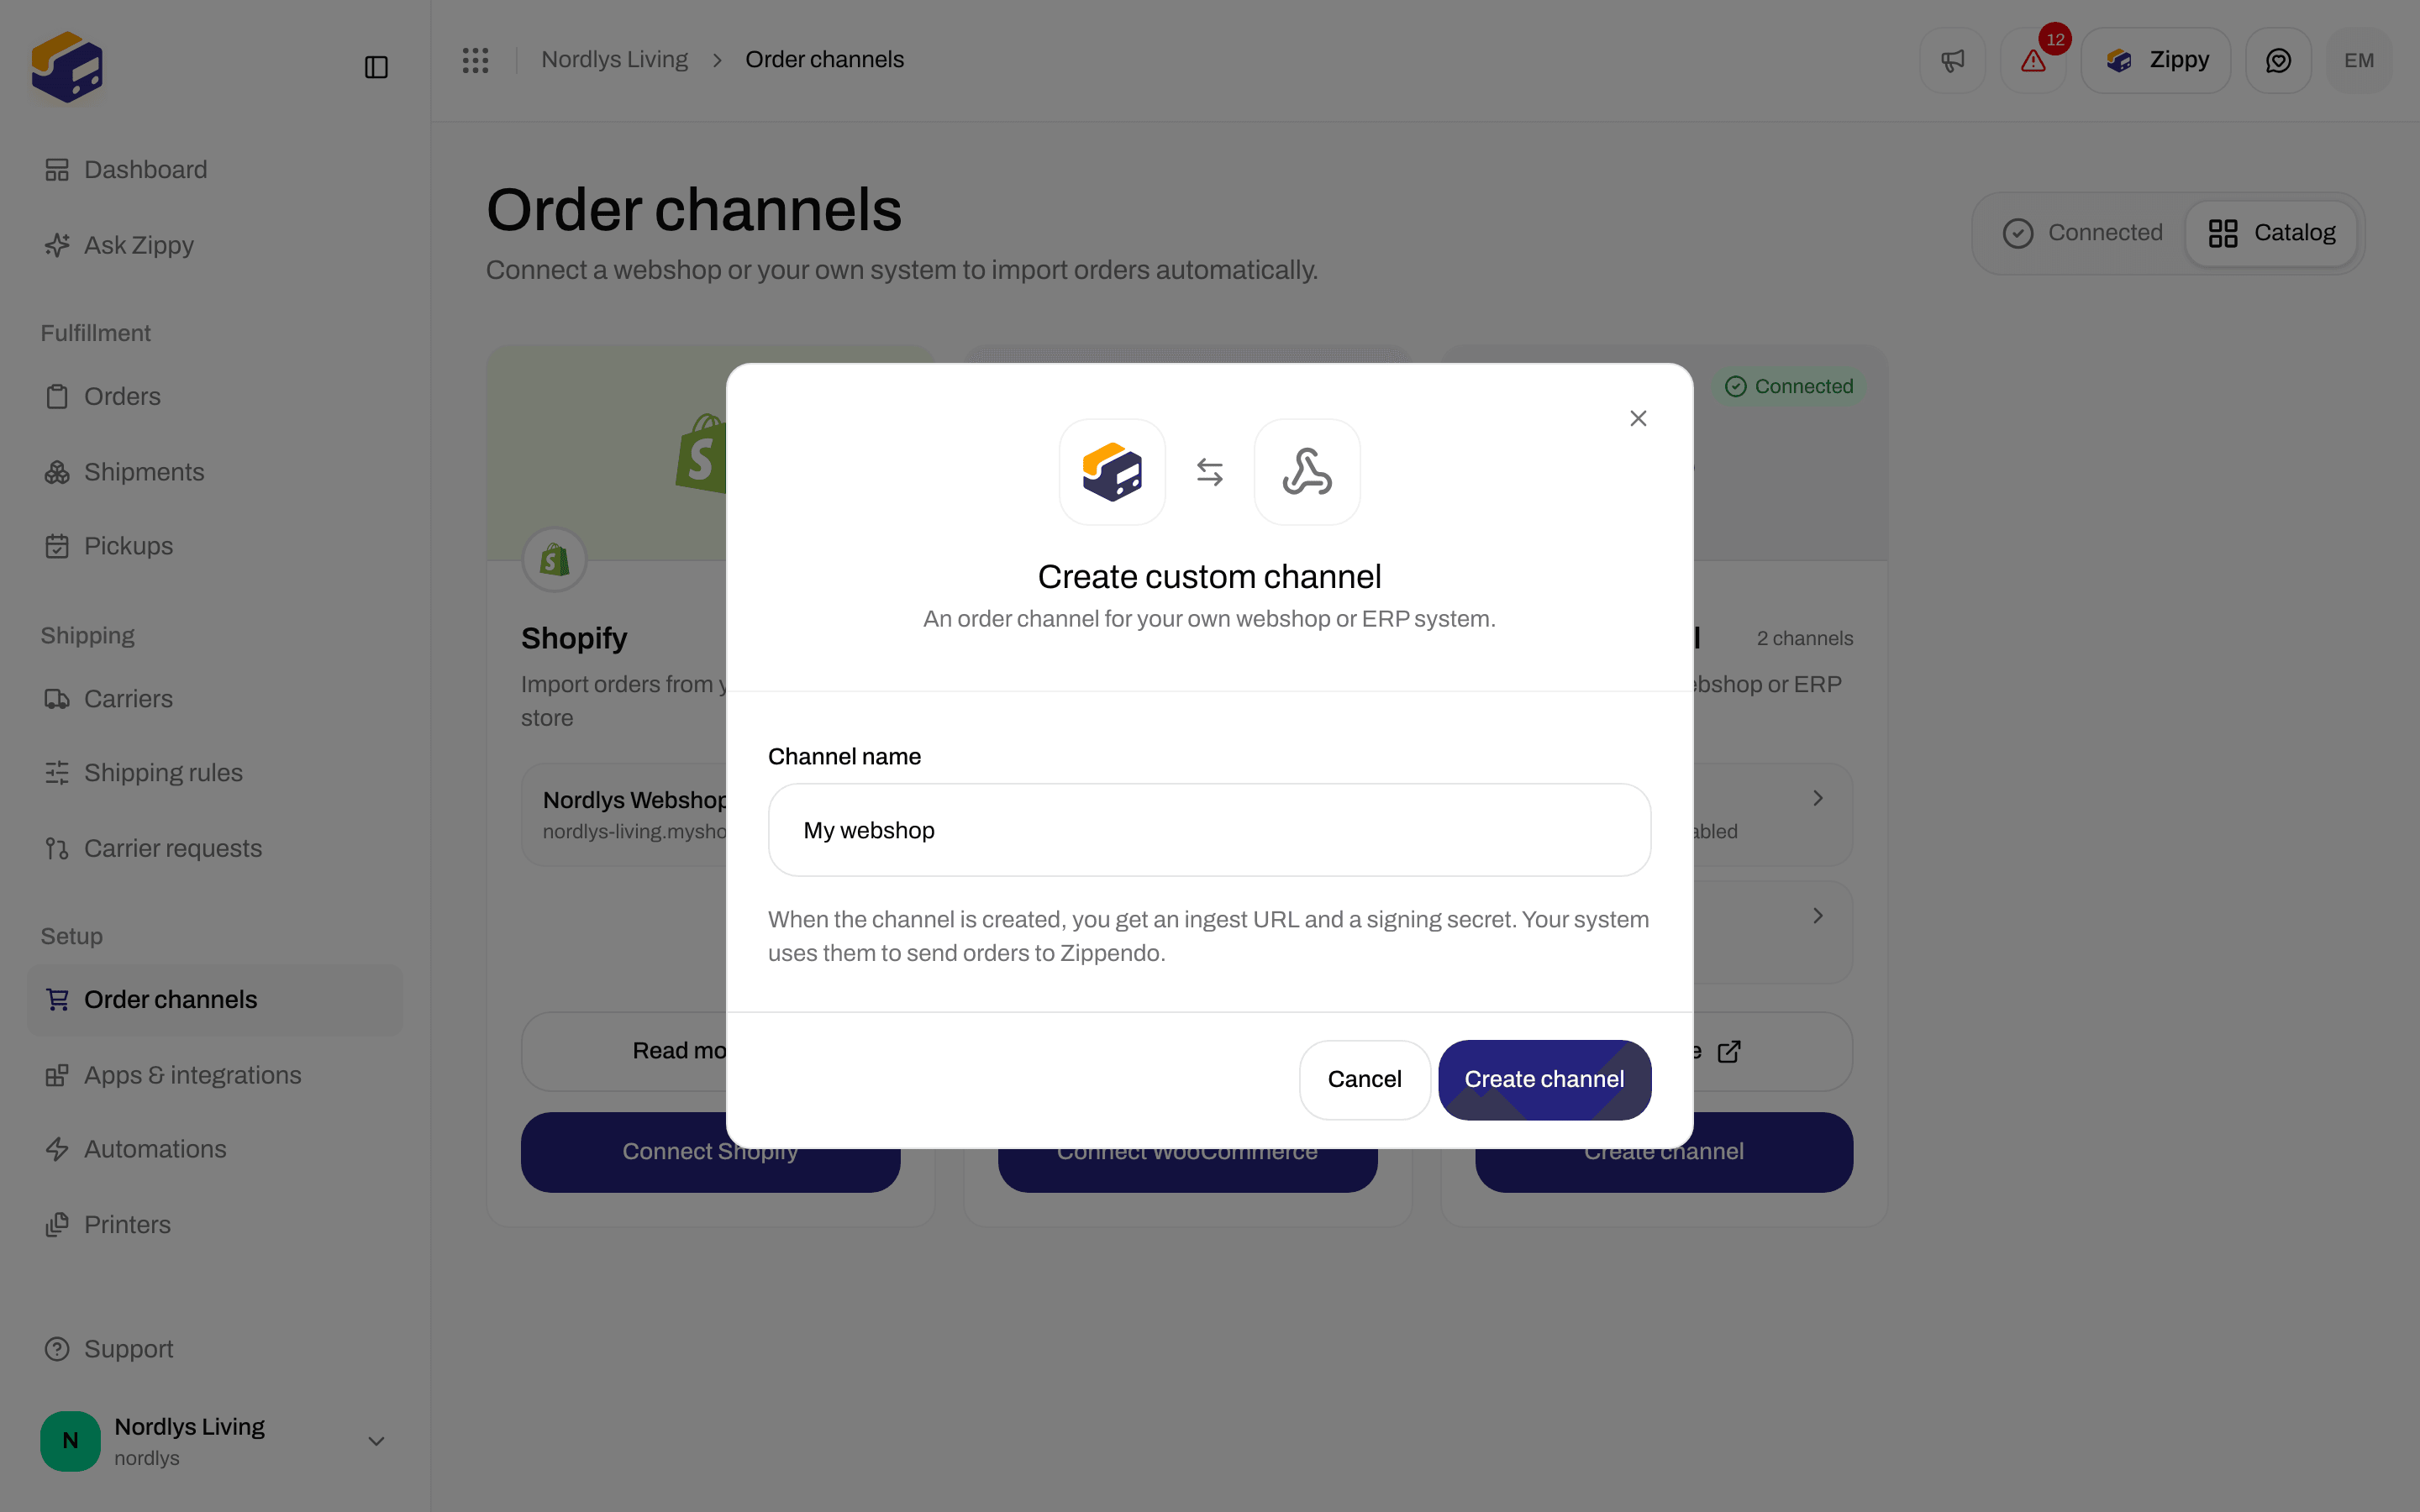
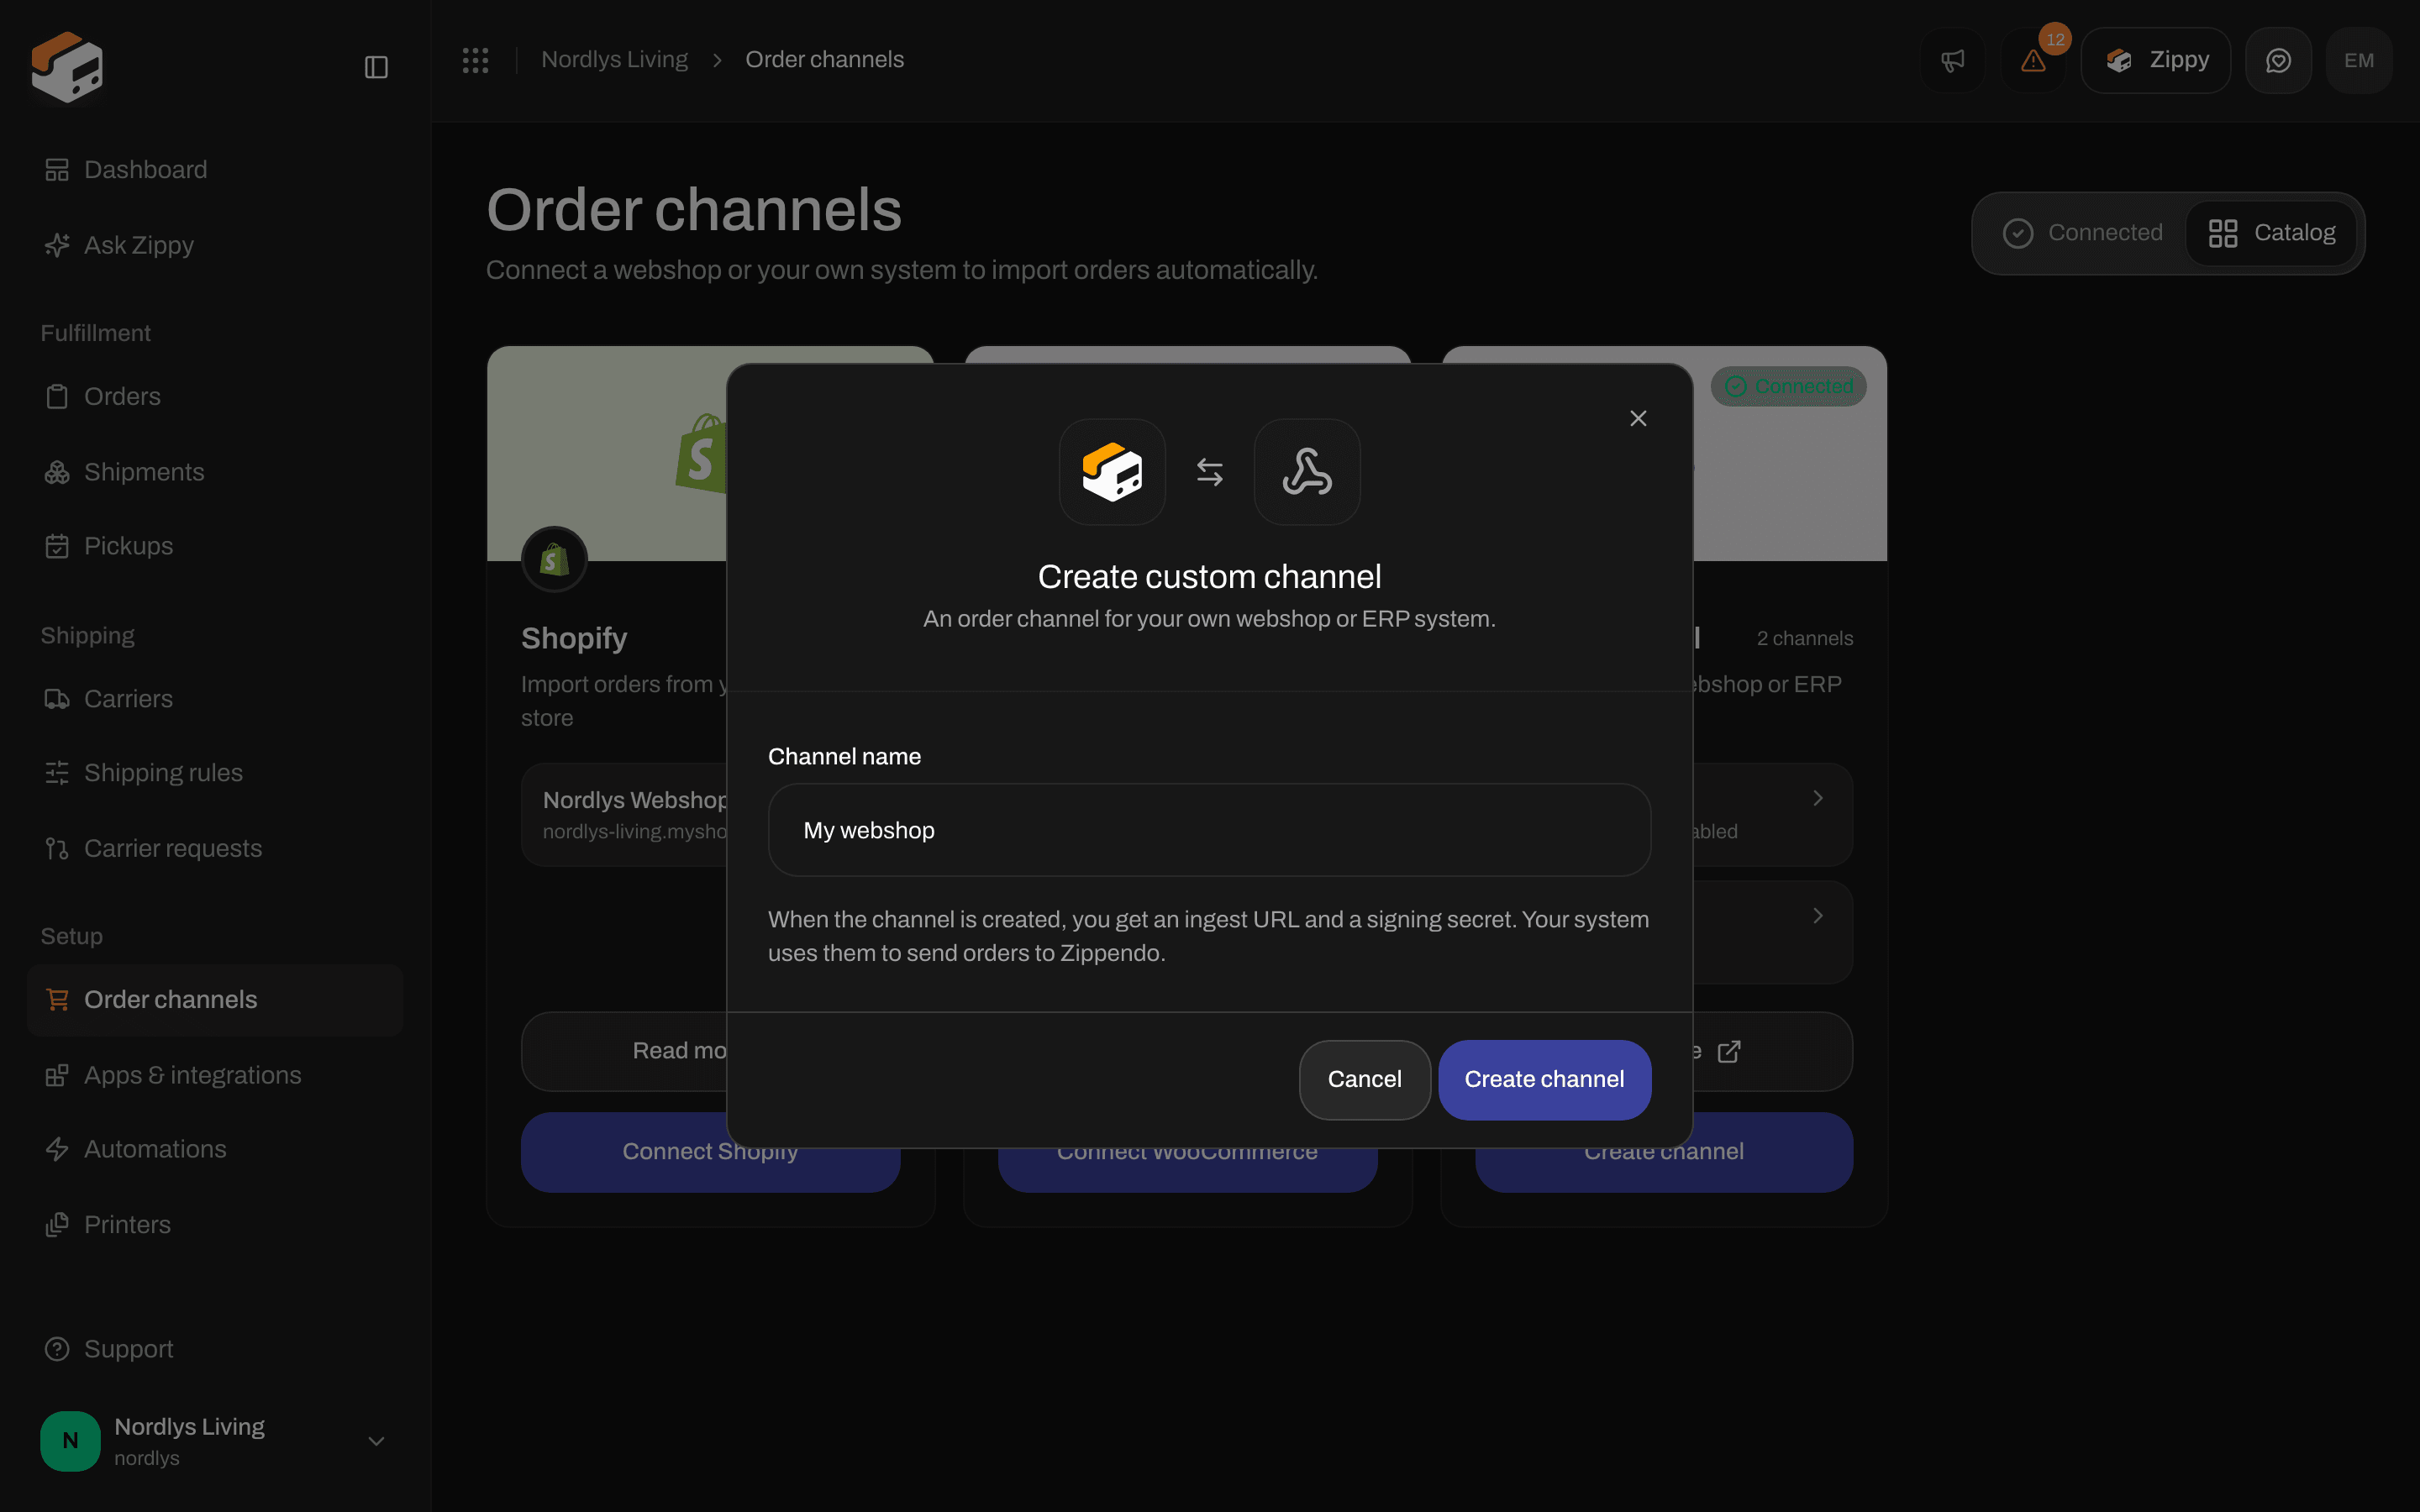
The Create custom channel window
Custom channel settings
The settings page is titled with the channel’s name: Your own integration: send orders to the ingest URL, or use the API and SDKs. View documentation opens Custom channels, the technical reference for your developer.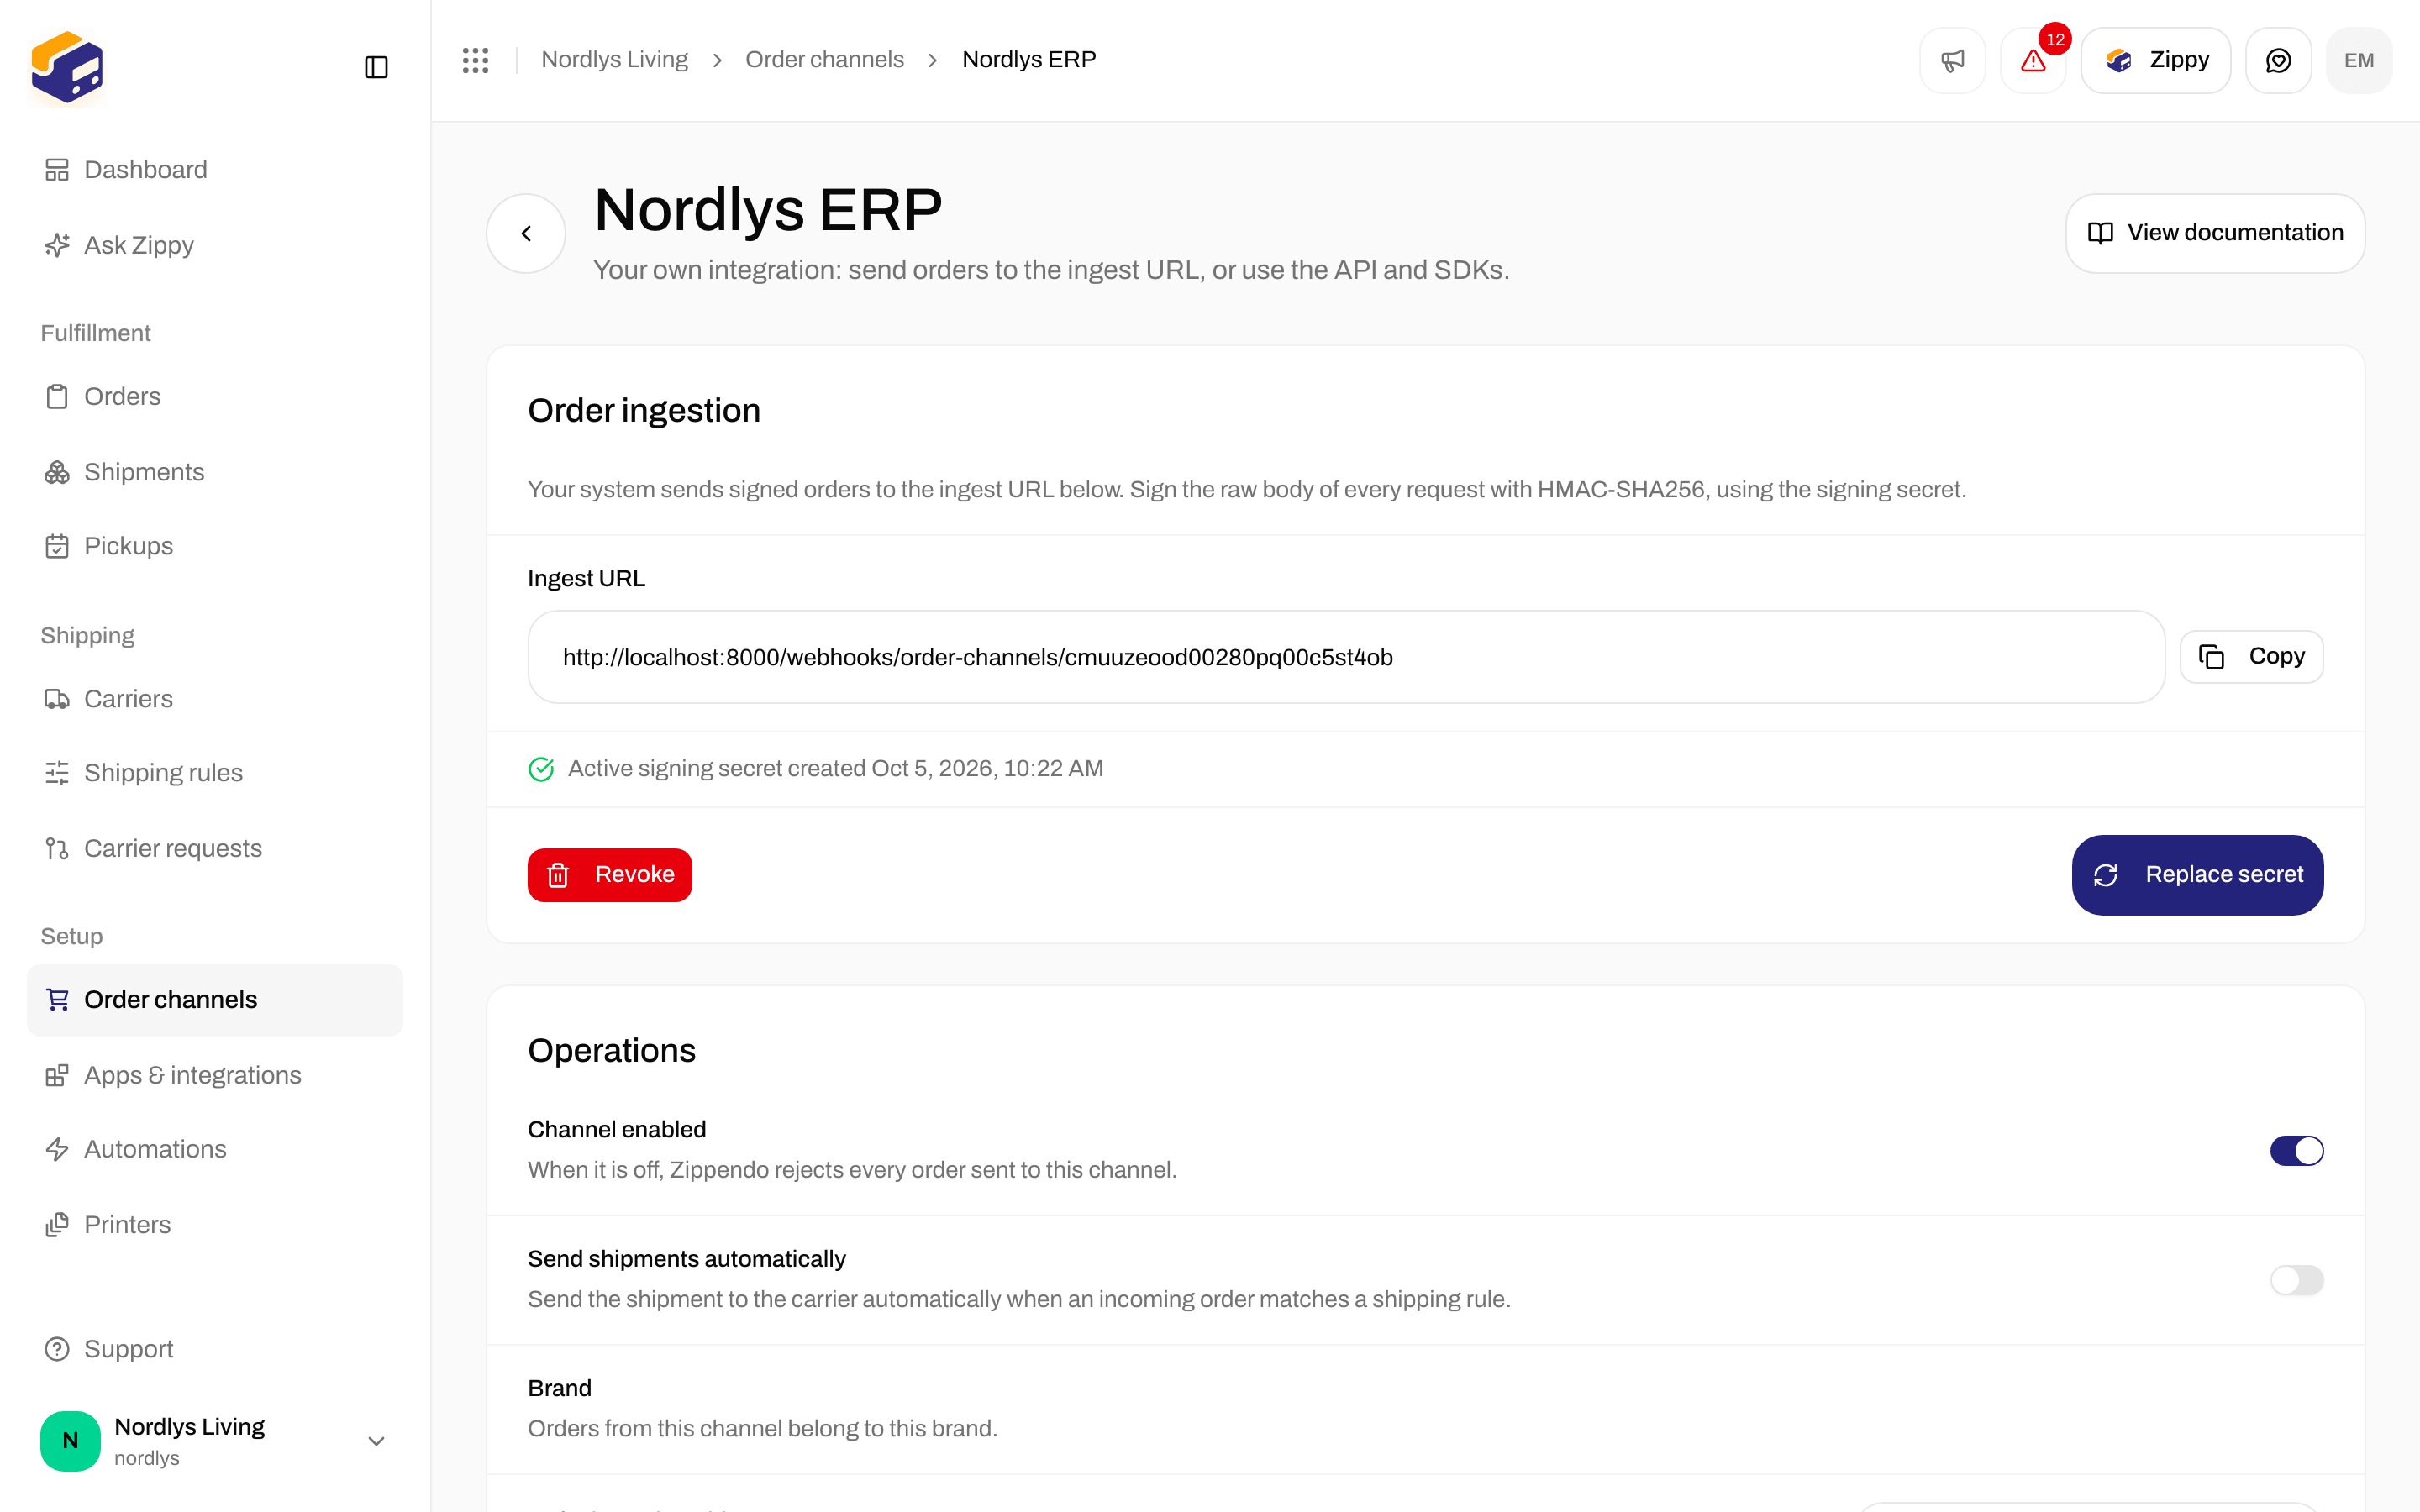
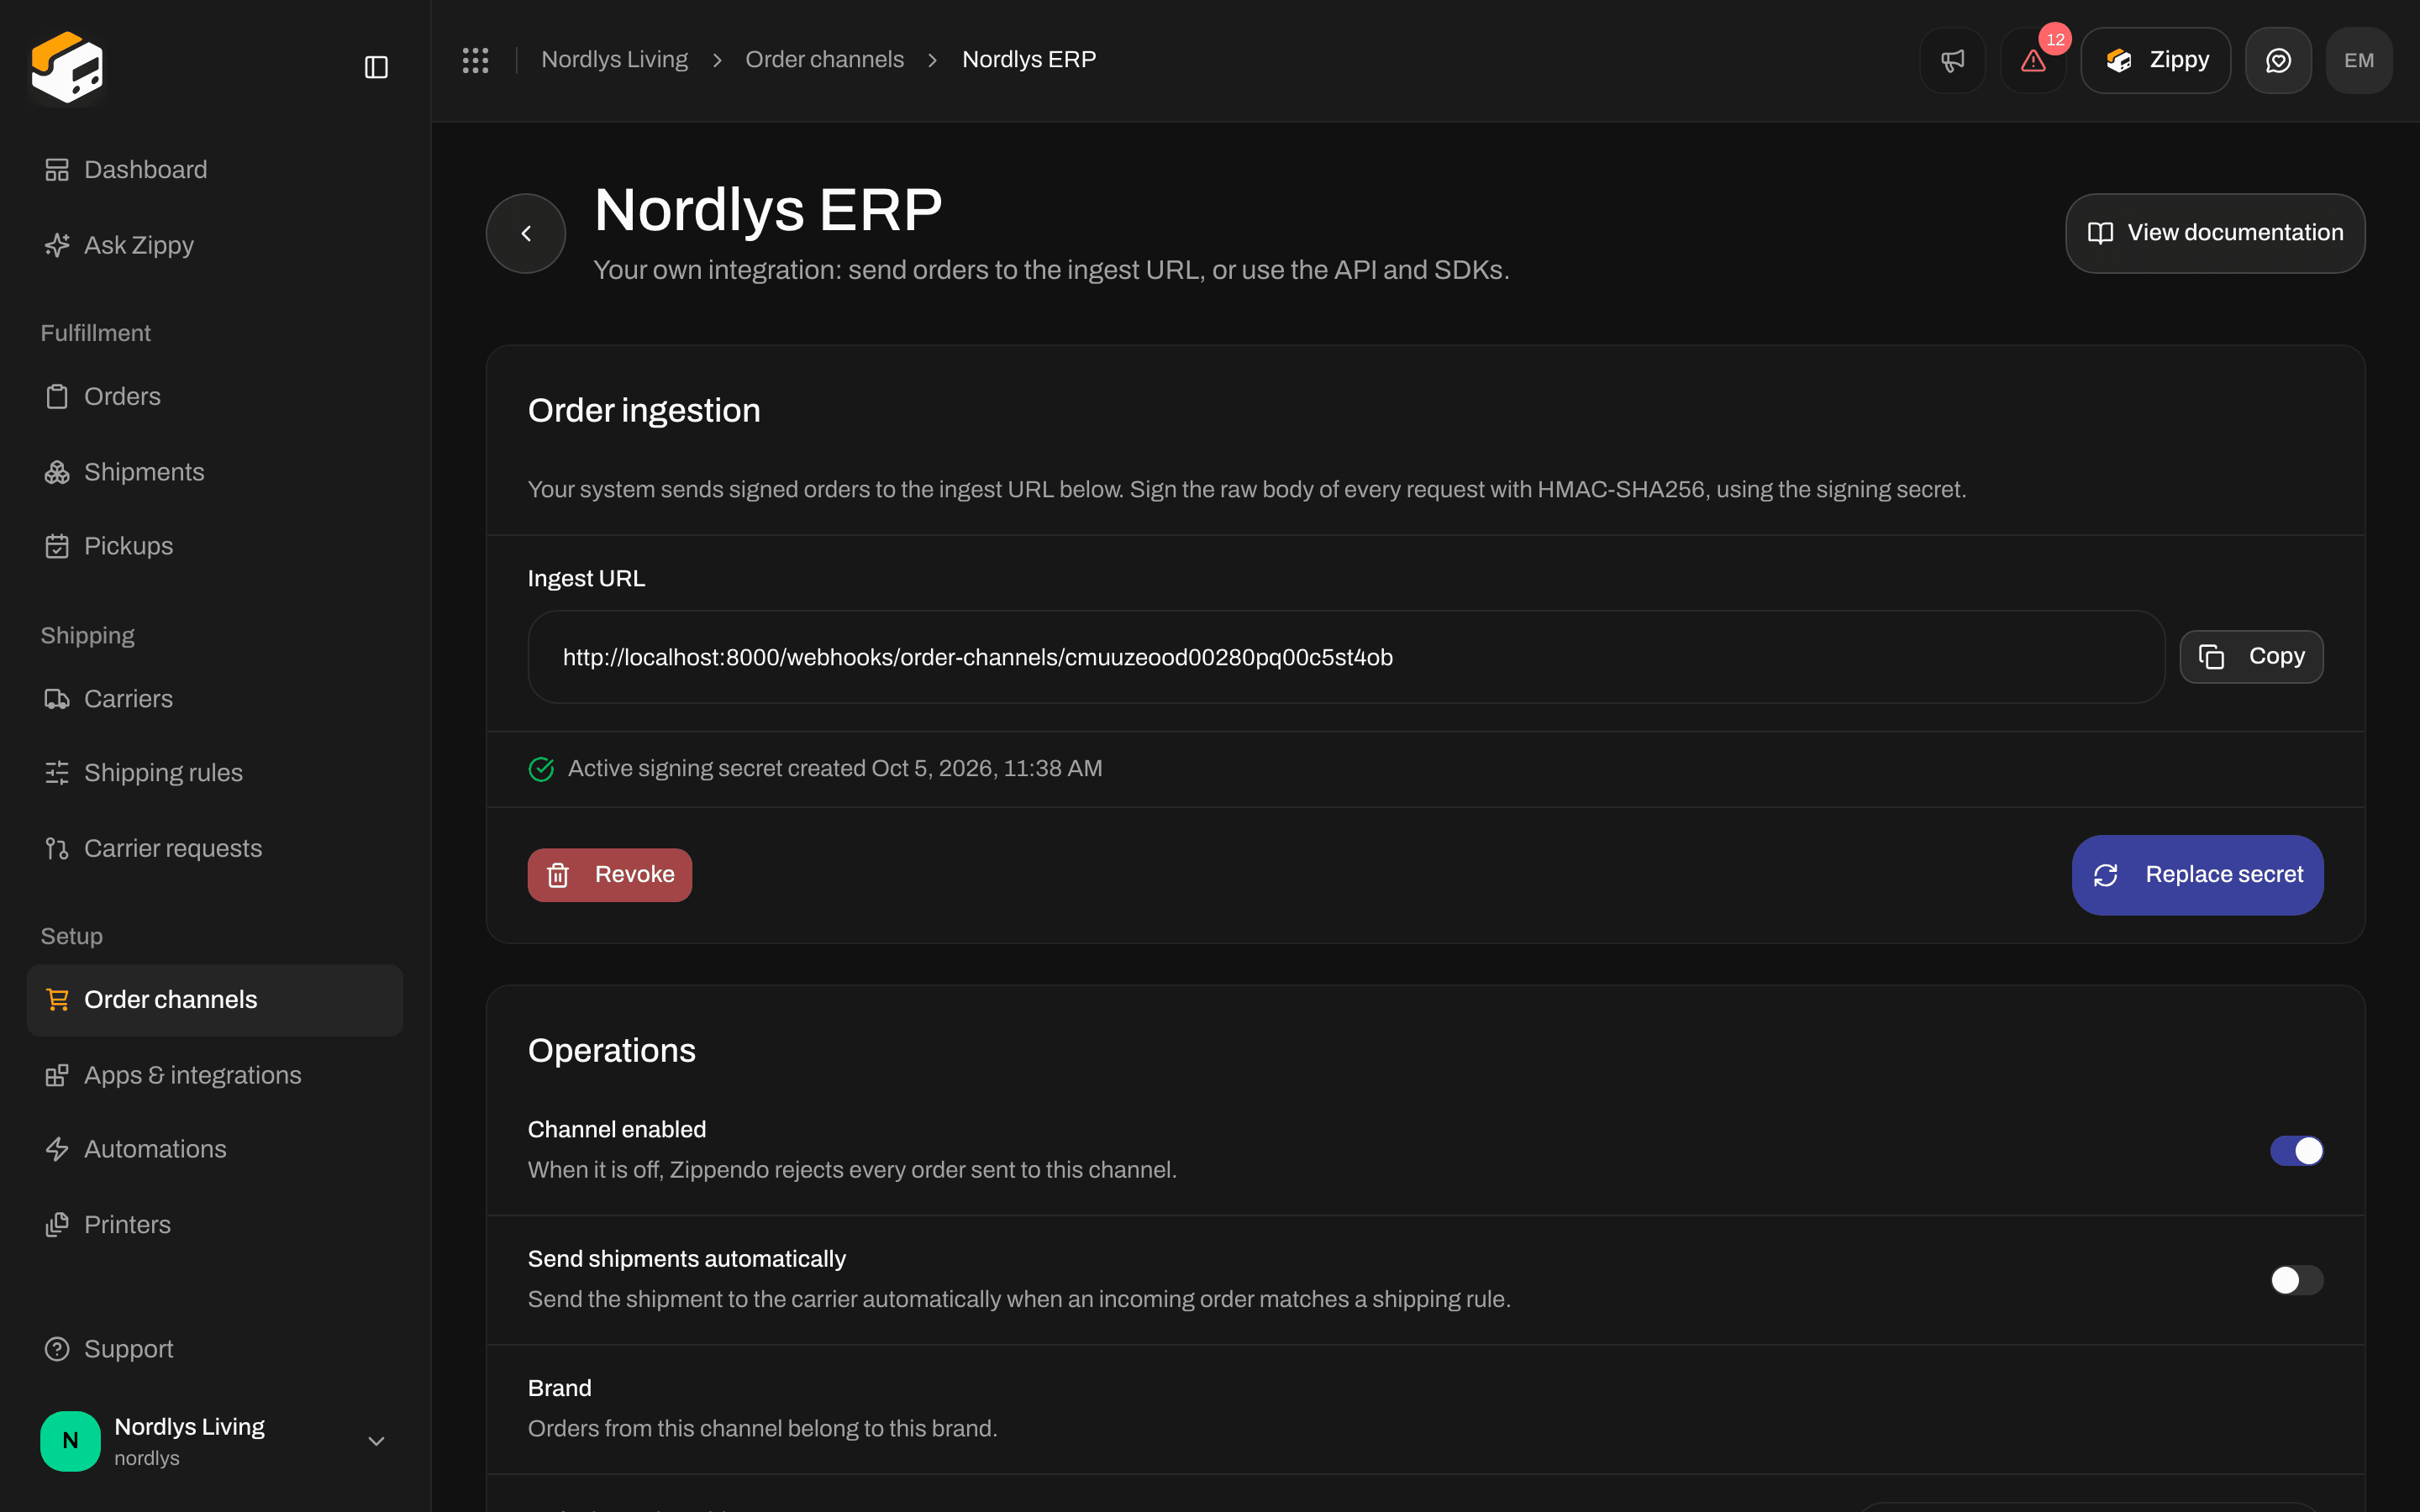
Custom channel settings: Order ingestion and Operations
- Ingest URL - the address your system sends orders to. Click Copy and give it to your developer. Always copy it from your own settings page.
- Generate secret - creates the signing secret your system uses to prove the orders come from you. Later you can Replace secret or Revoke it.
- Copy the secret as soon as it appears: Copy the secret now. It is only shown once. If you replace it later, the current secret stops working at once.
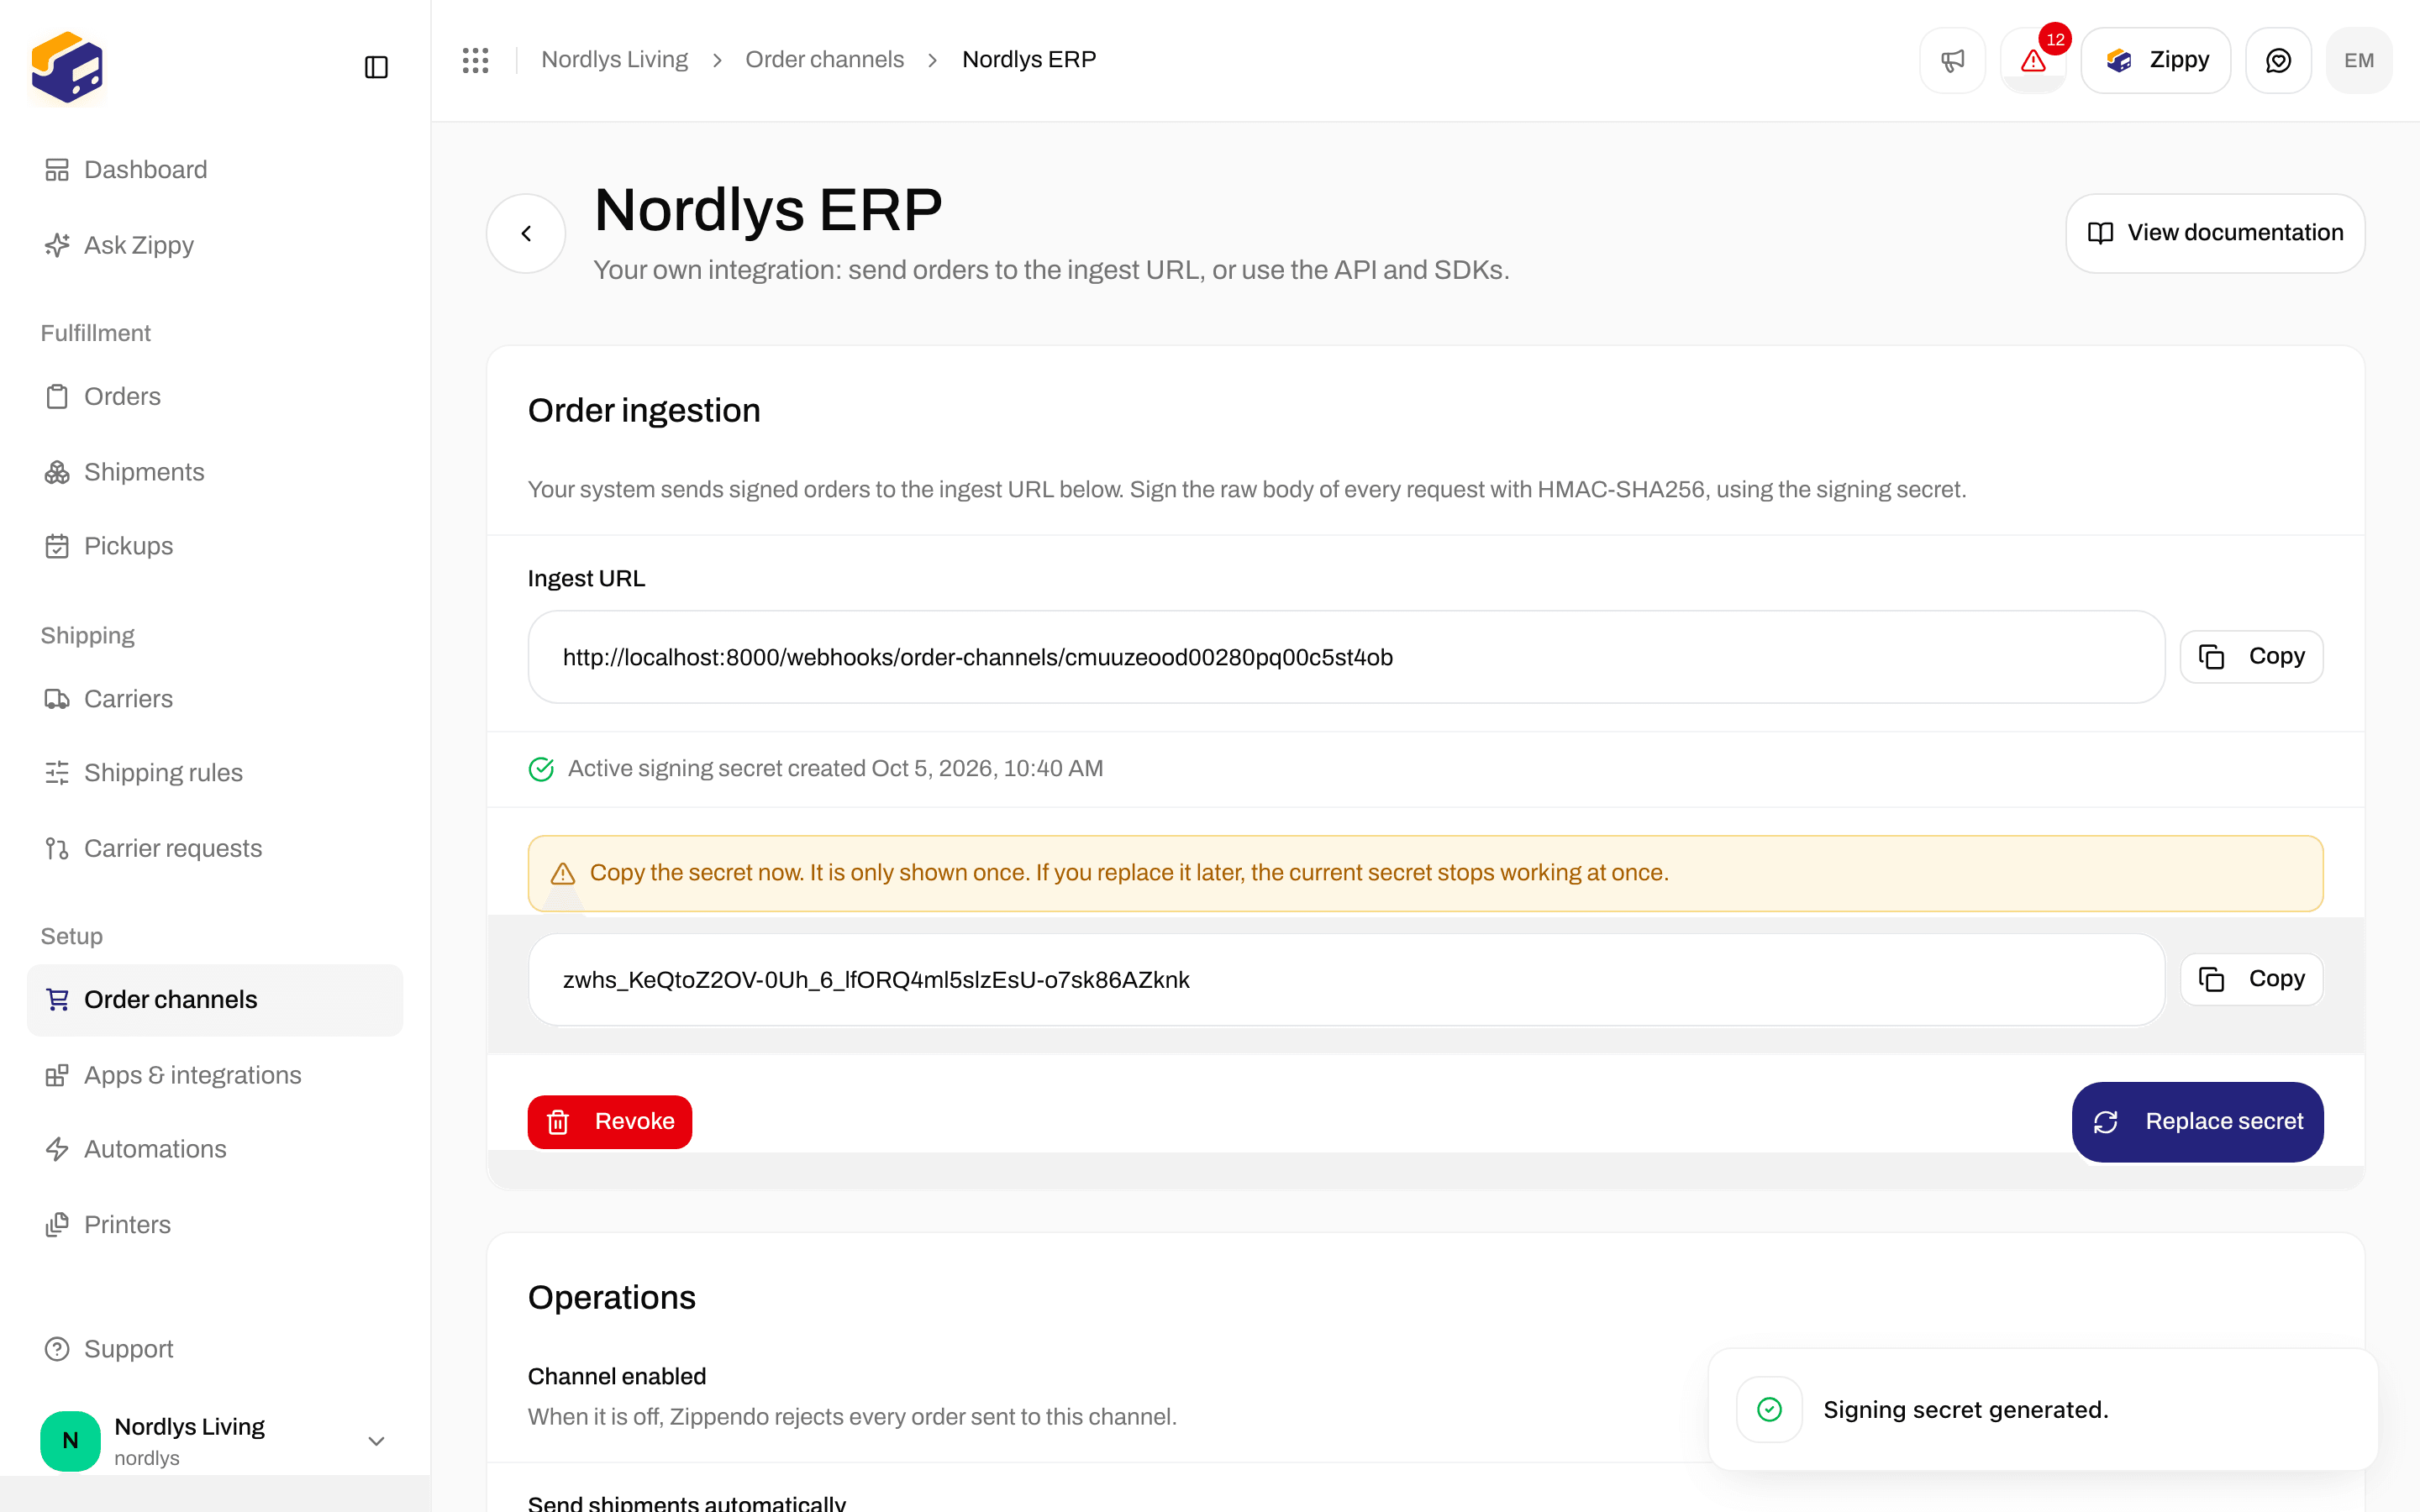
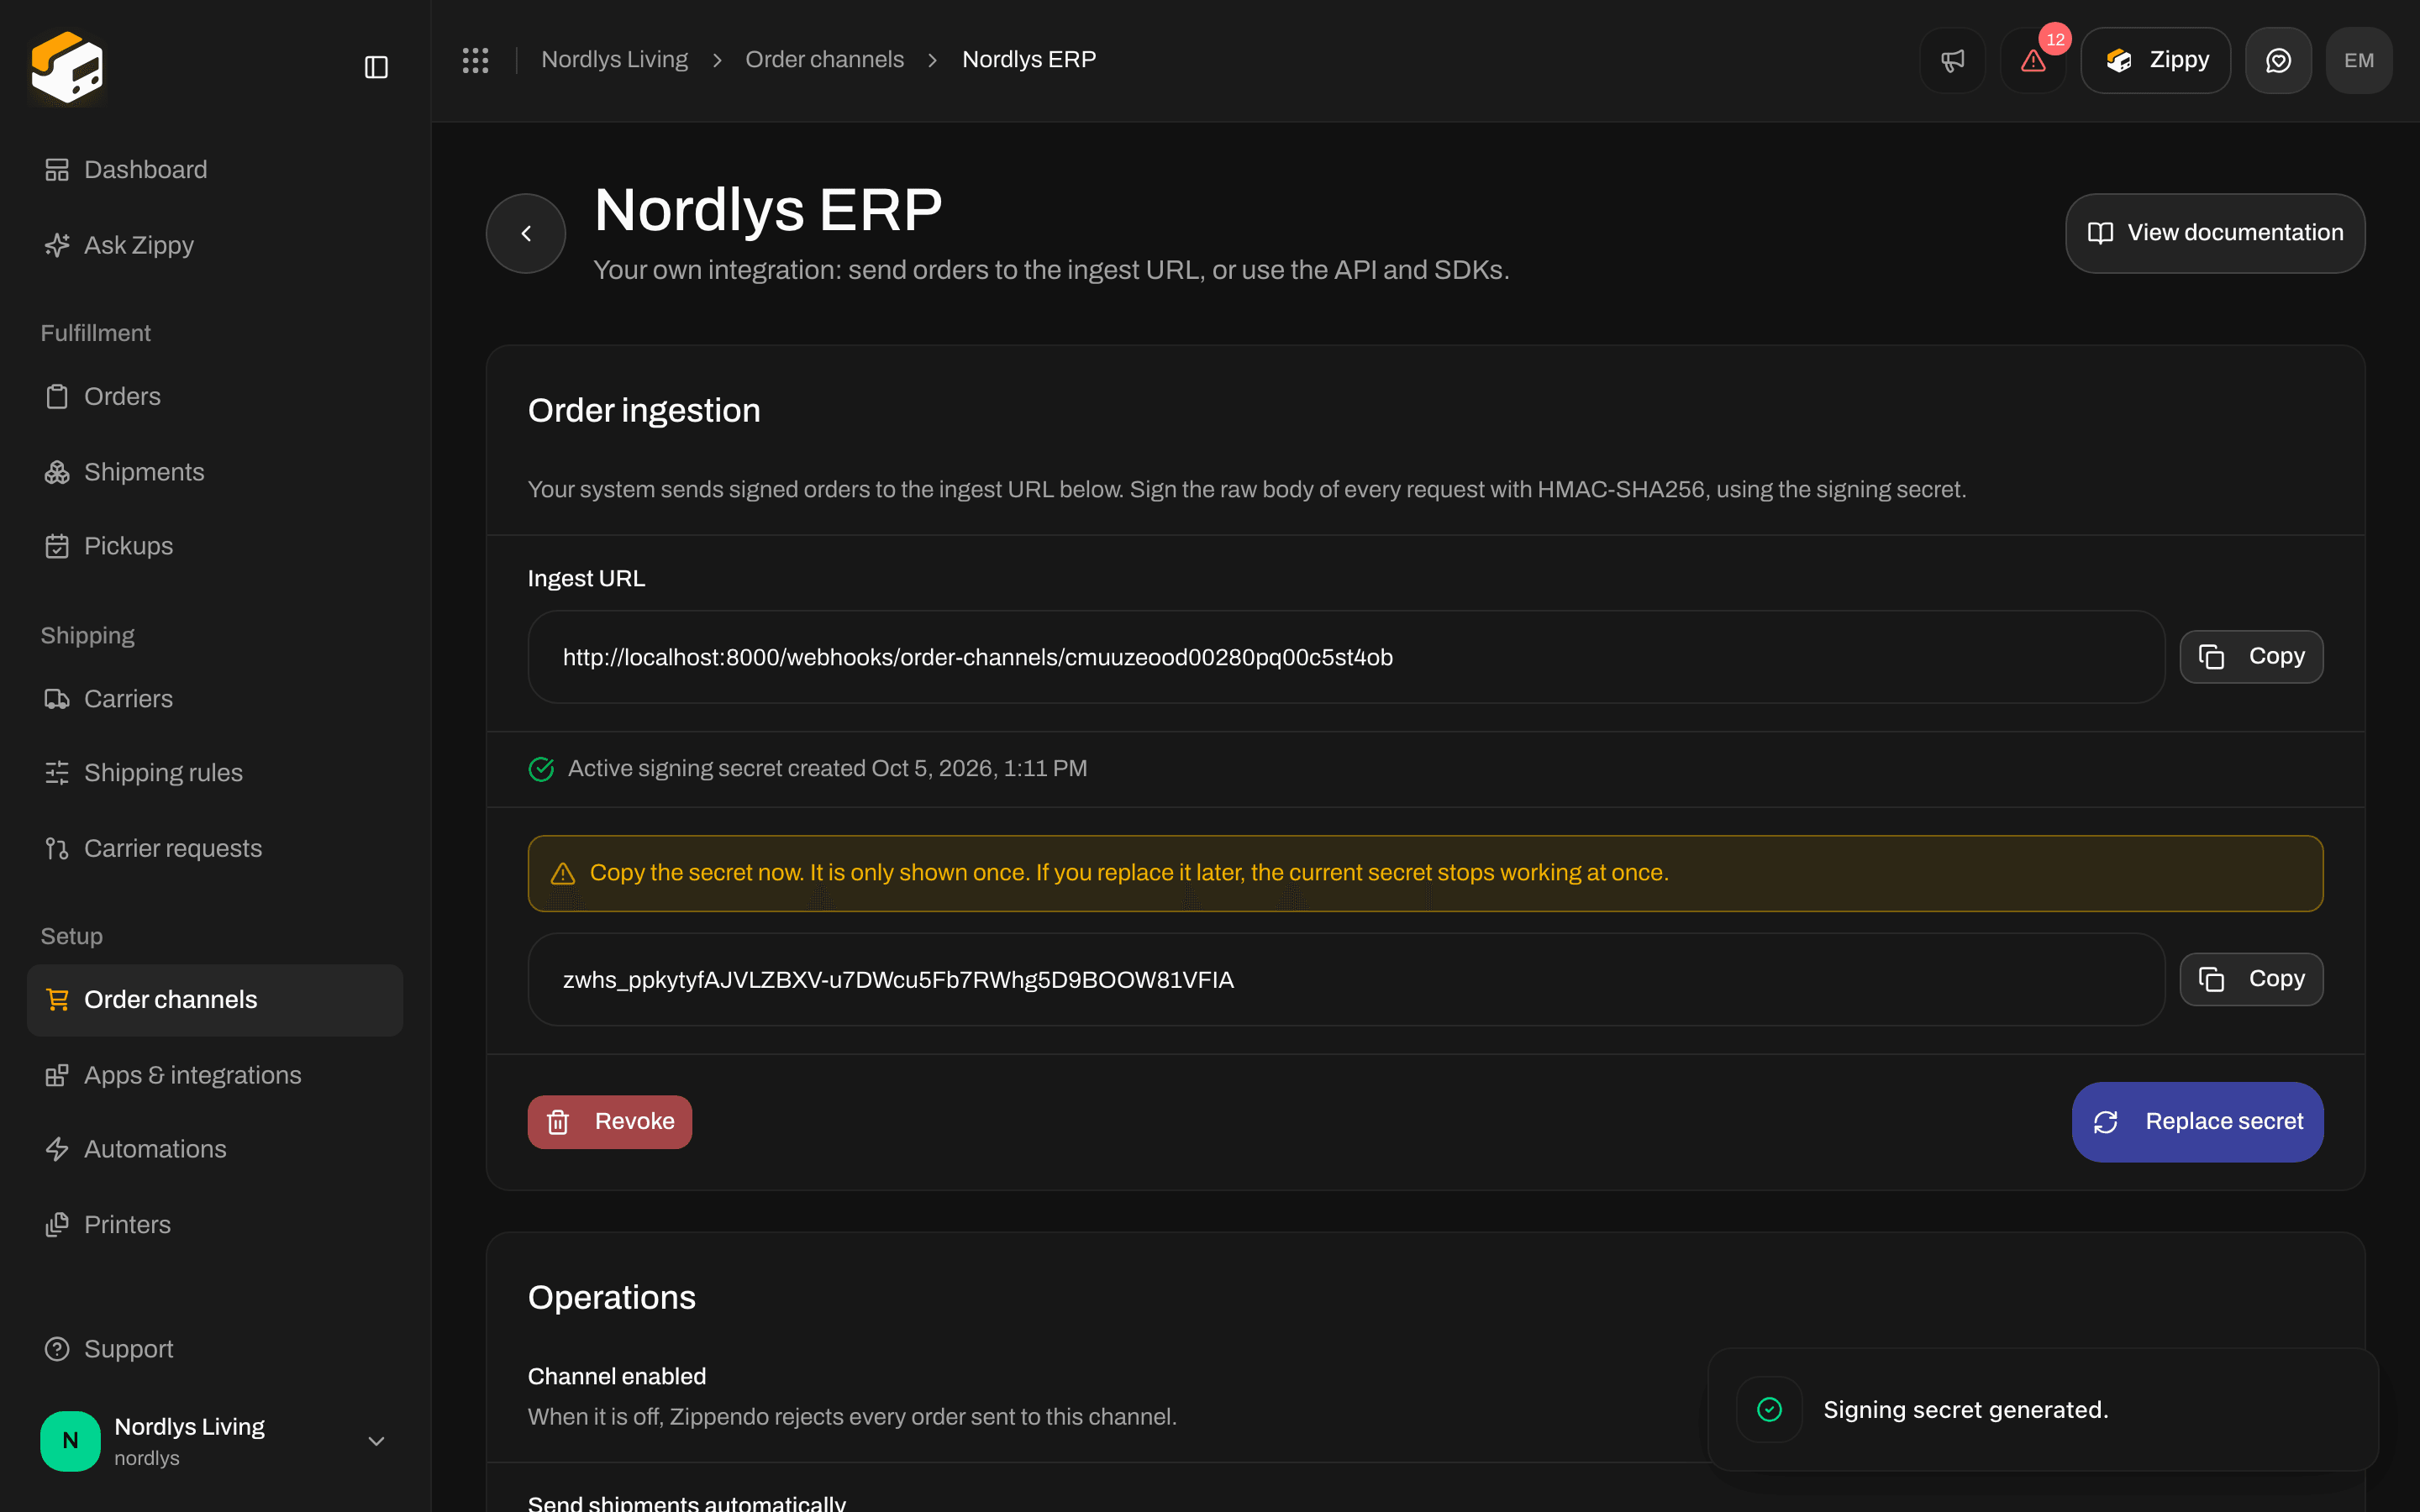
Copy the signing secret right after Generate secret or Replace secret
Other ways orders come in
The Catalog tab only has Shopify, WooCommerce and Custom channel. Orders can also come in like this, always through an order channel you already have:- The Zippendo API: your developer creates orders for a custom channel (or another order channel). Zippendo refuses a second order with the same External ID on the same order channel, so an order cannot come in twice. See Custom channels and the REST API quickstart.
- Older manual order channels: they have no card and no settings page. They show up as leftover rows on the Connected tab. Click Remove if you no longer need them.
How orders appear after connecting
WooCommerce tells Zippendo about new, changed and cancelled orders right away, and Automatic sync checks for missed ones at the interval you set. A custom channel gets orders when your system sends them, or when your developer creates them through the API. Either way, they end up in the same list.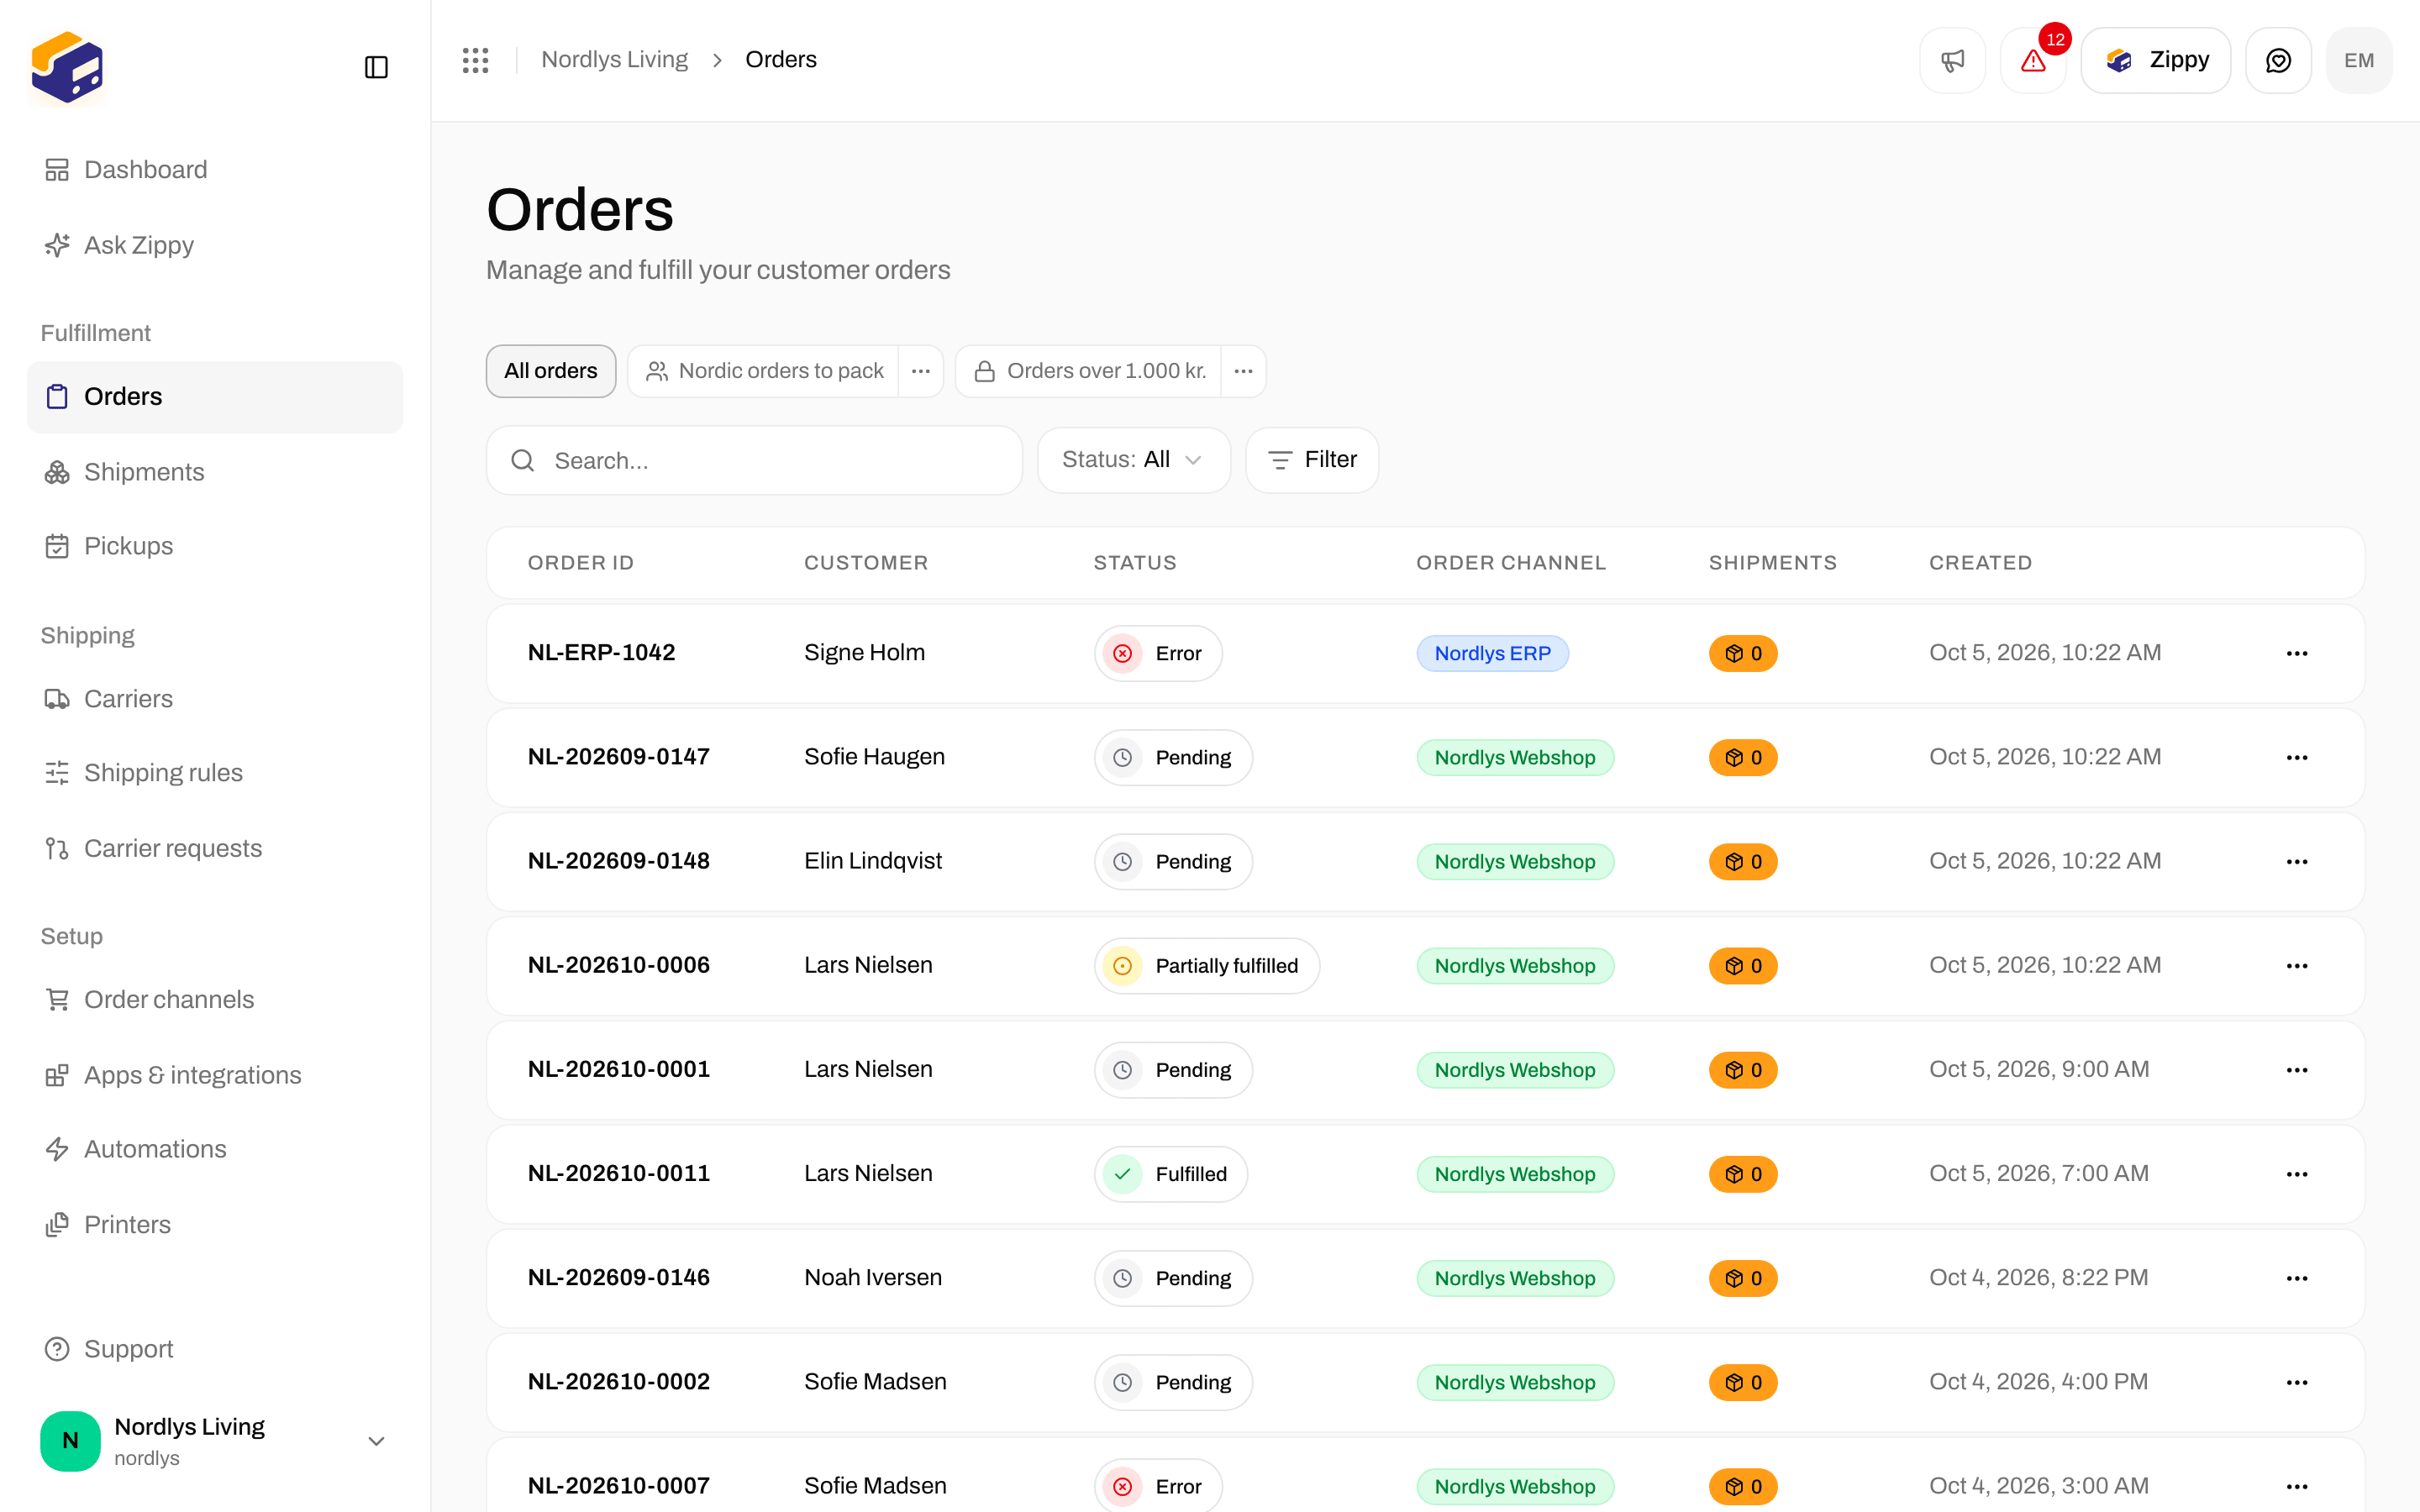
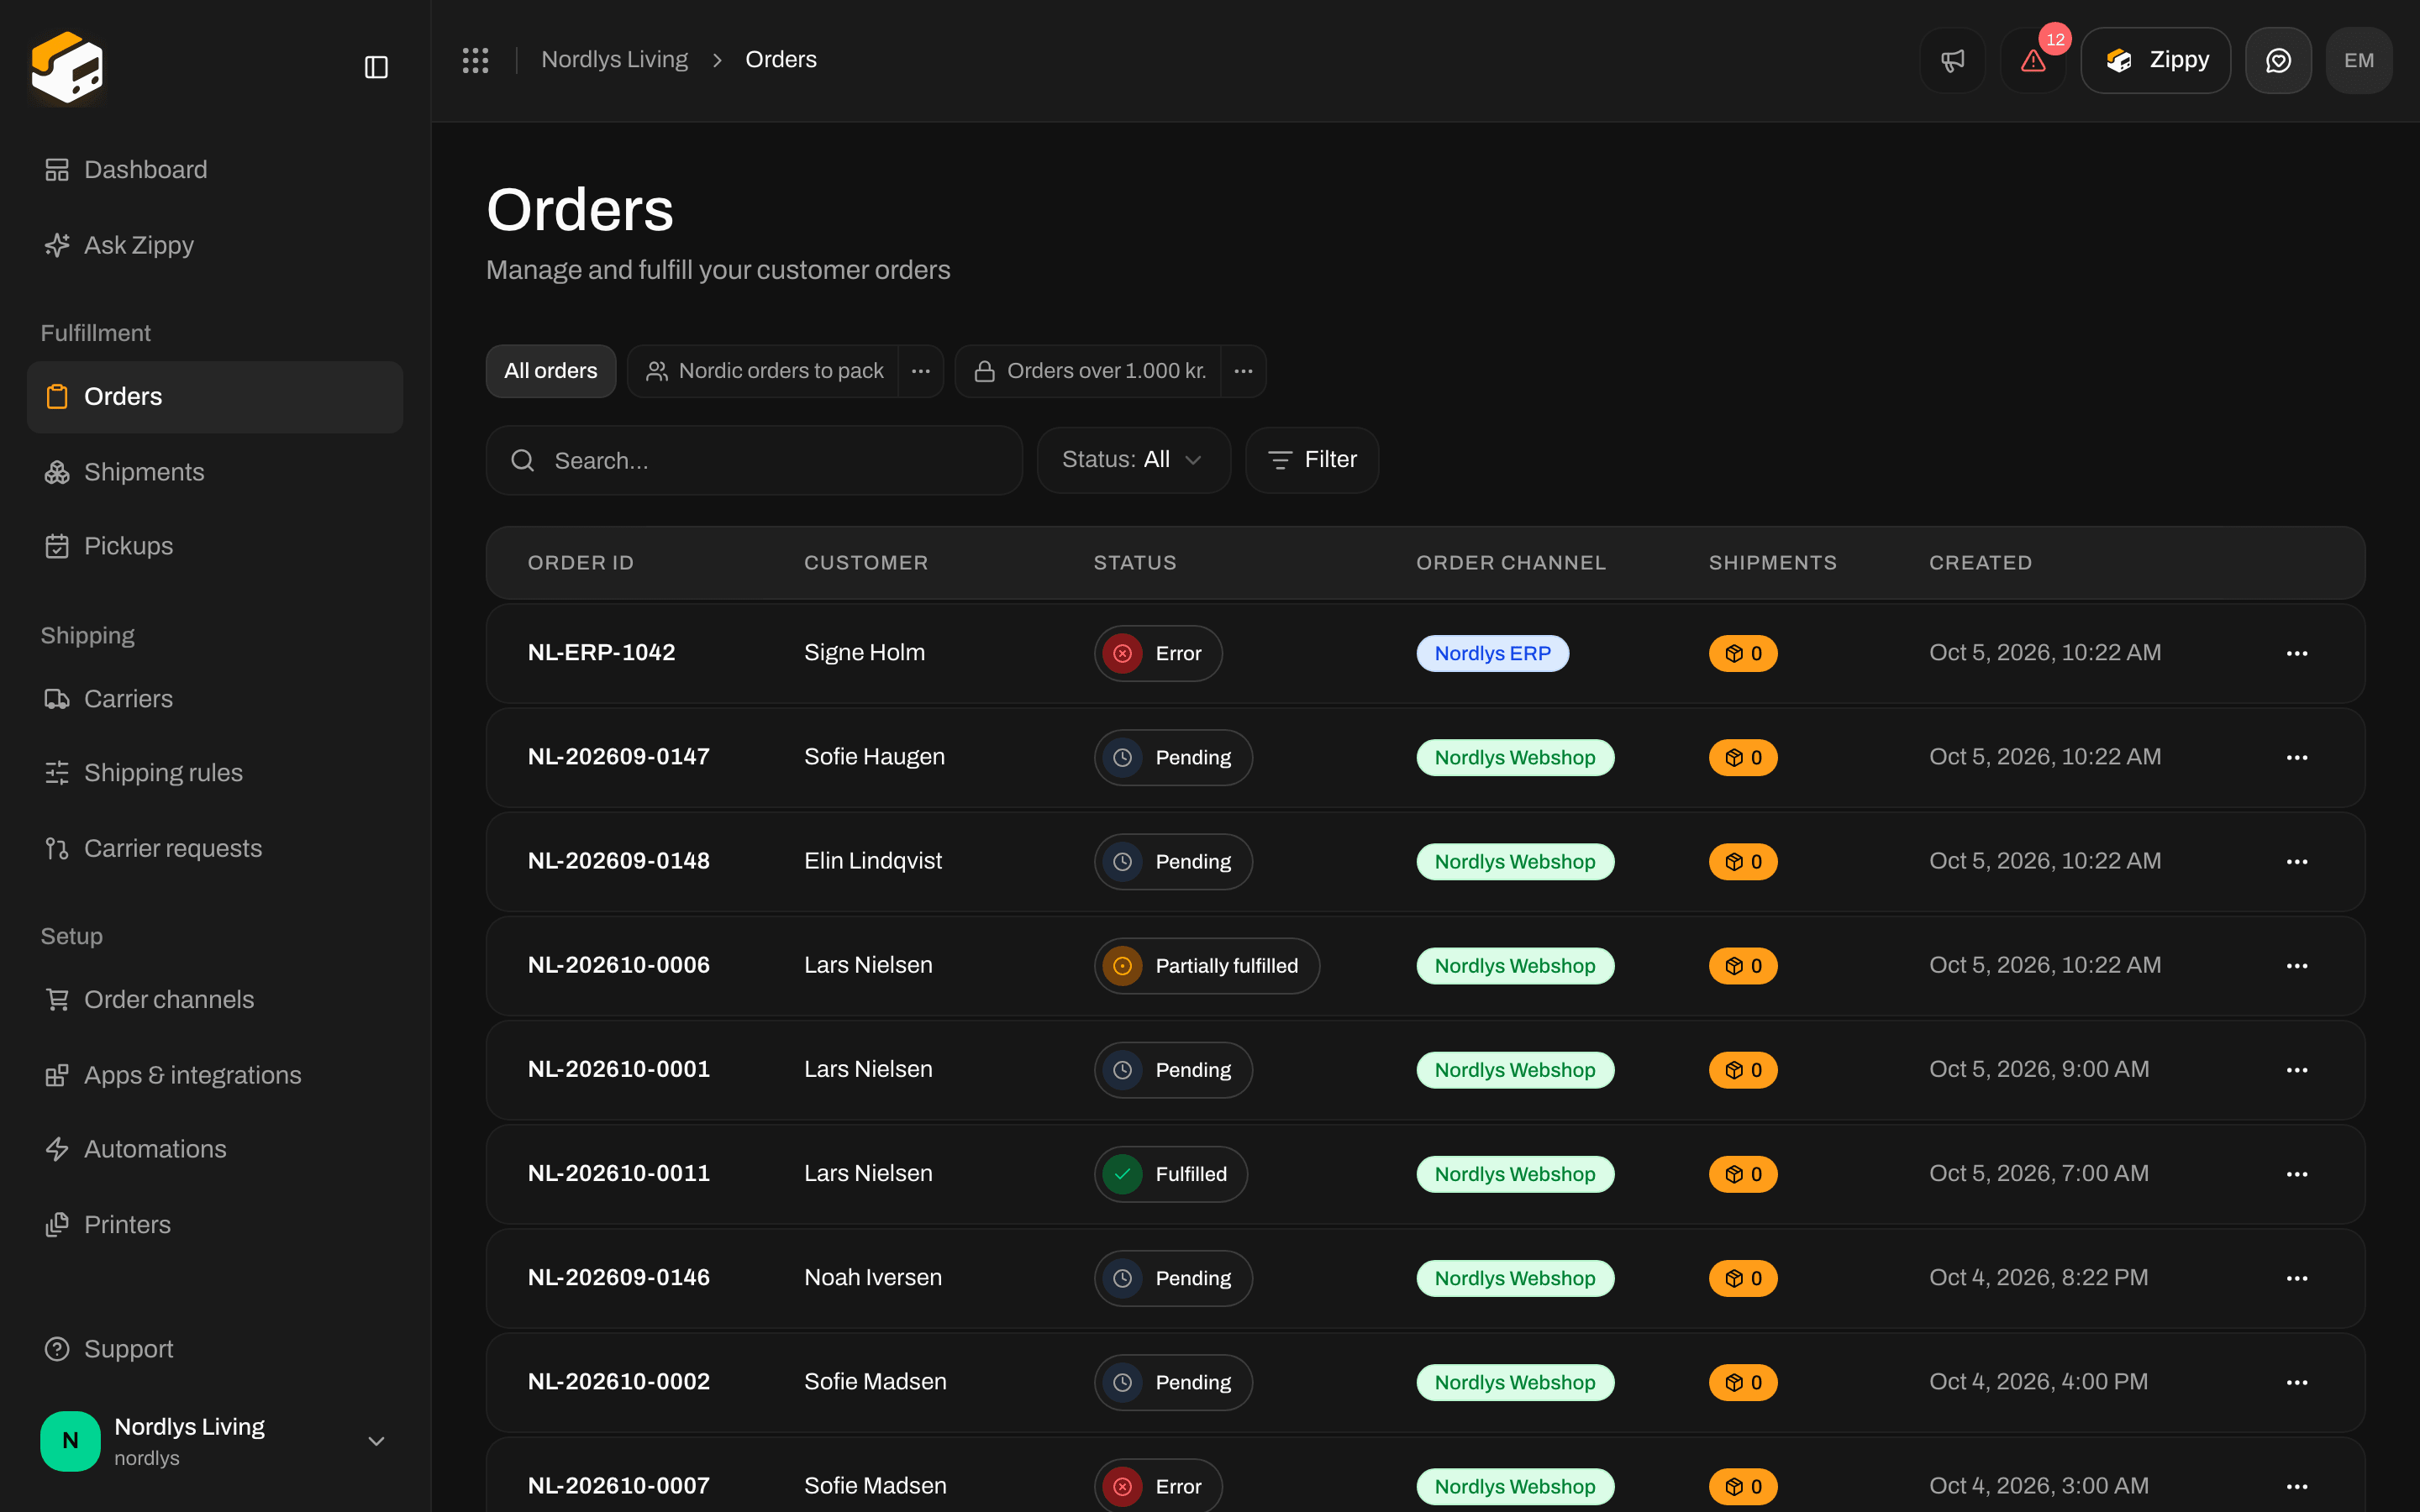
The orders list: Order ID, Customer, Status, Order channel, Shipments and Created
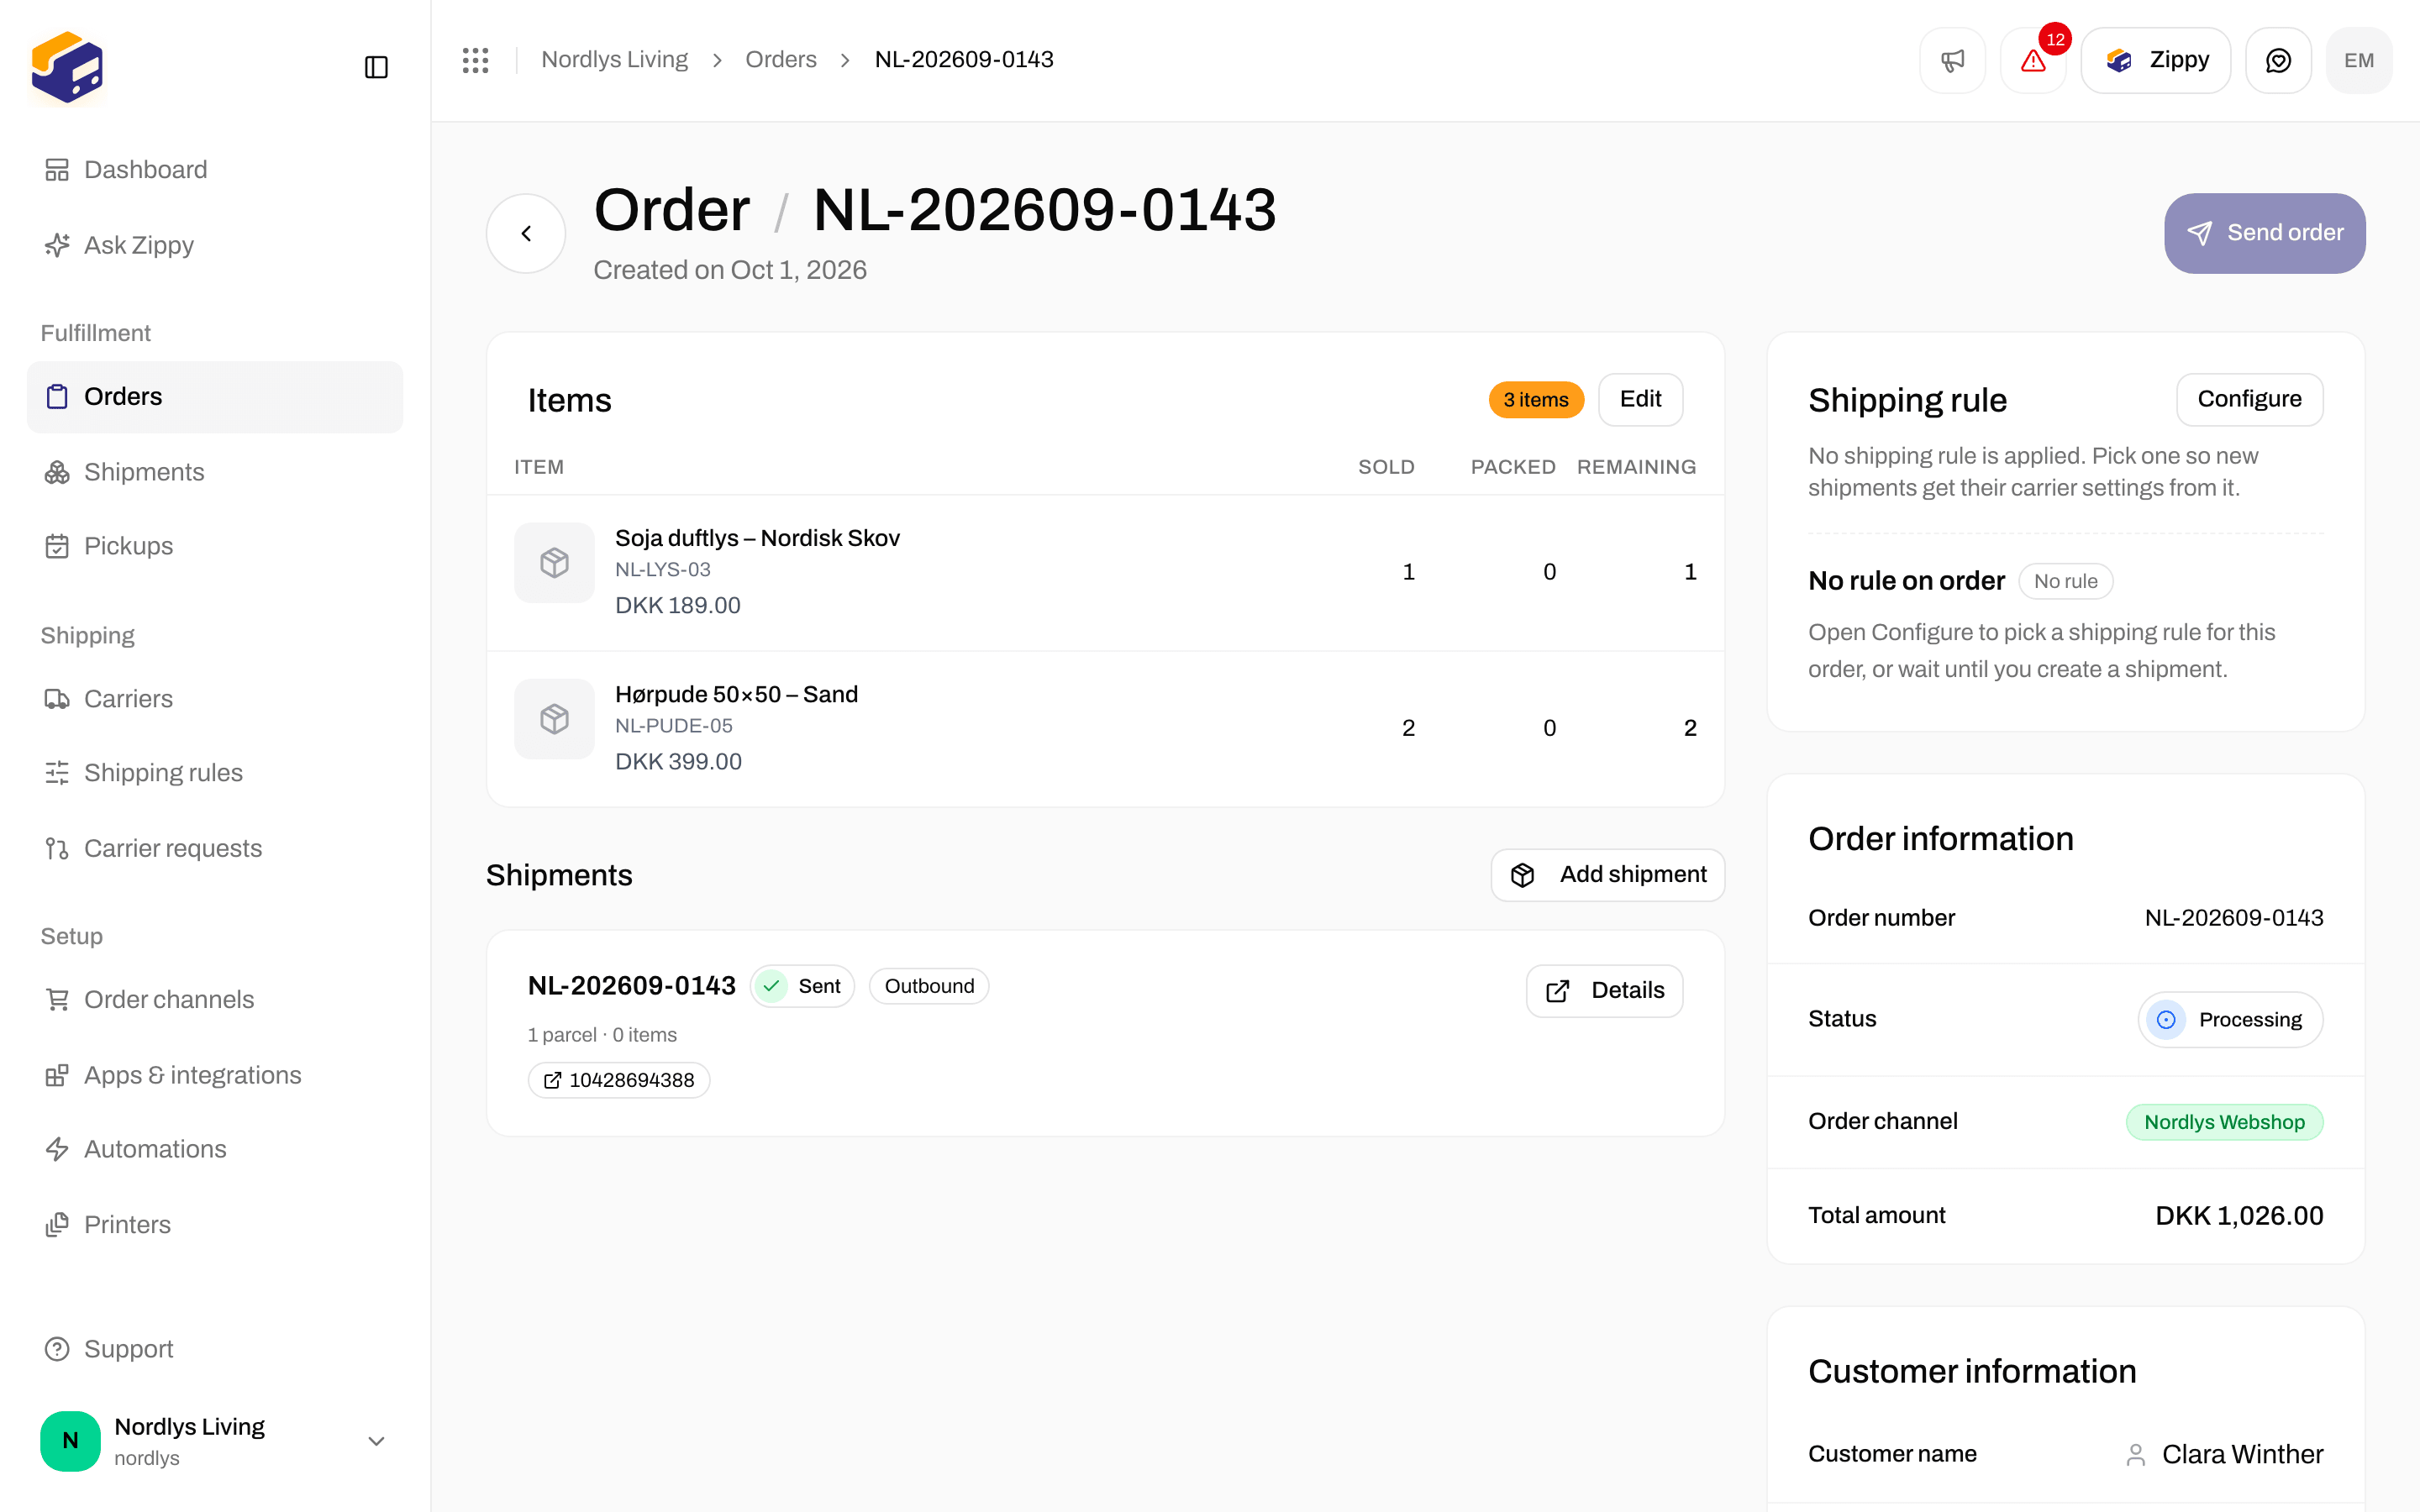
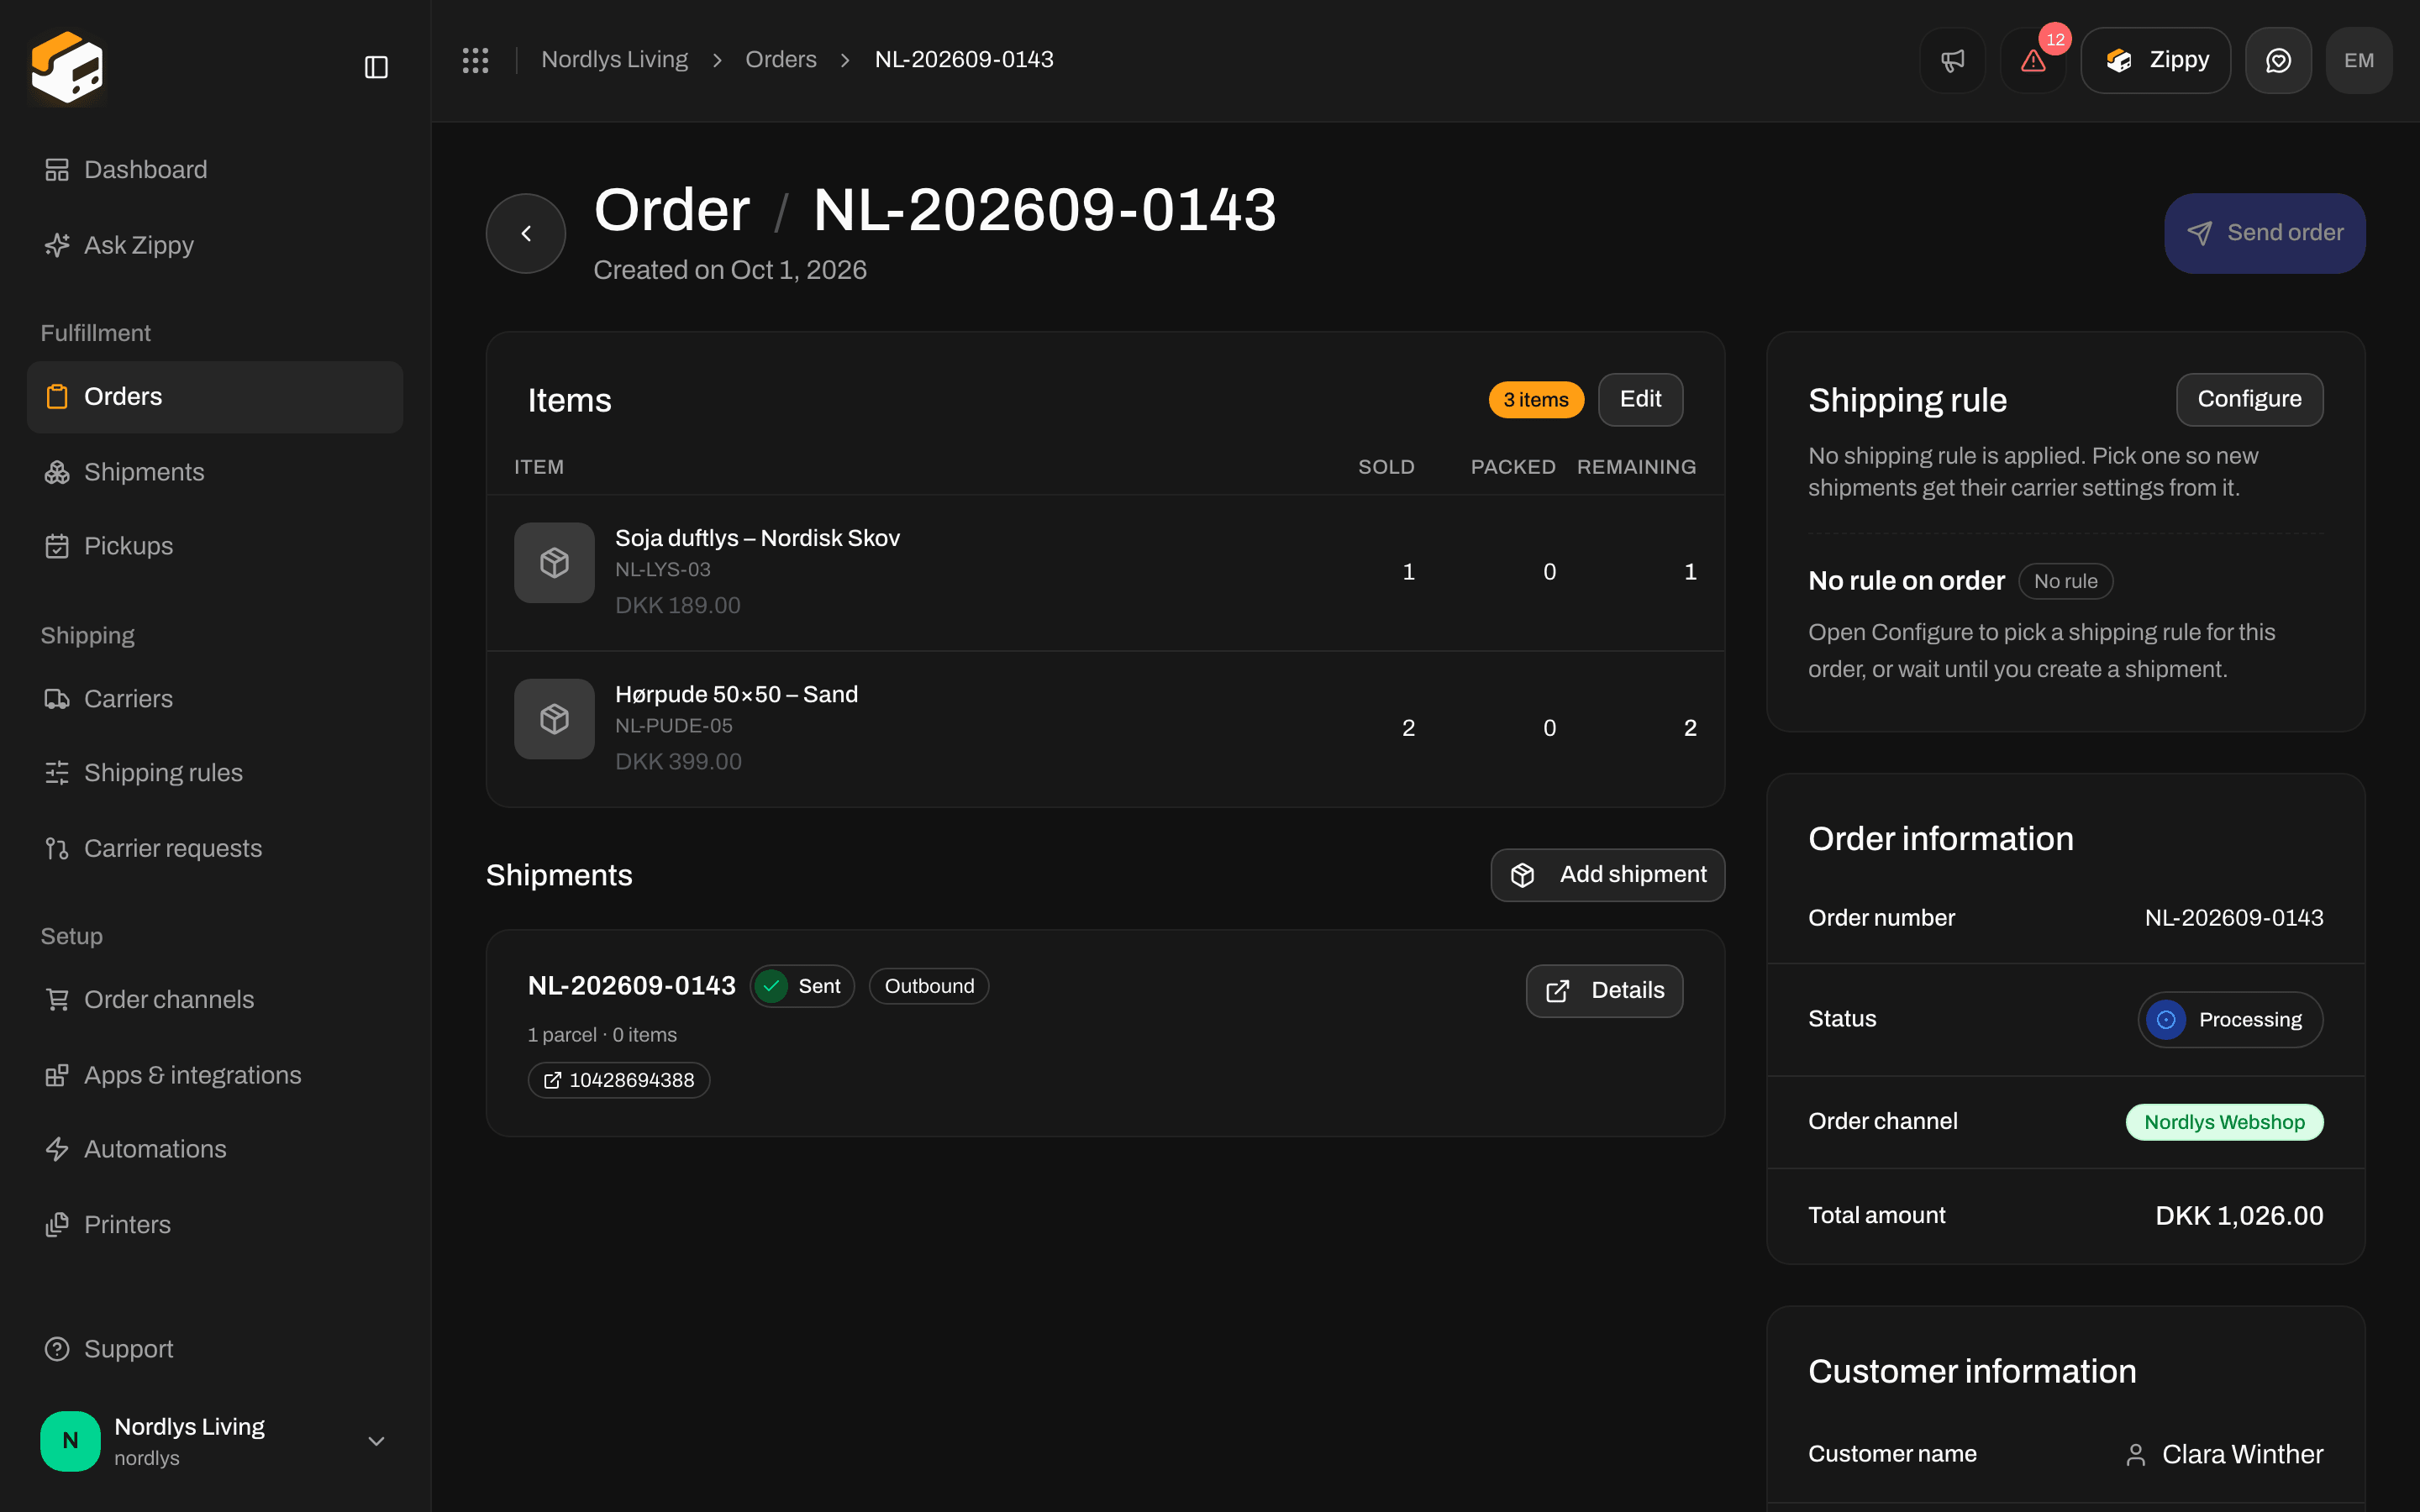
An order with its Order channel and items, and Send order because it already has a shipment
- No shipment yet, and the order is not Fulfilled or Cancelled: the button at the top is Create shipment.
- The order already has a shipment: the button at the top is Send order.
- The Shipments section lists the order’s shipments, or says No shipments yet.