A carrier is a shipping company you book labels with — GLS, PostNord, Bring, and the rest of the catalog. Connecting one stores that account’s credentials on your organization so you can pick its products when you create a shipment. This walkthrough uses the Carriers screen in the client. For the catalog list and credential notes, see Supported carriers and Adding and managing carriers.
You do not pick a sender address on the connect form. Add at least one sender address before you create a shipment — the address is chosen on the shipment, not on the carrier.

My Carriers

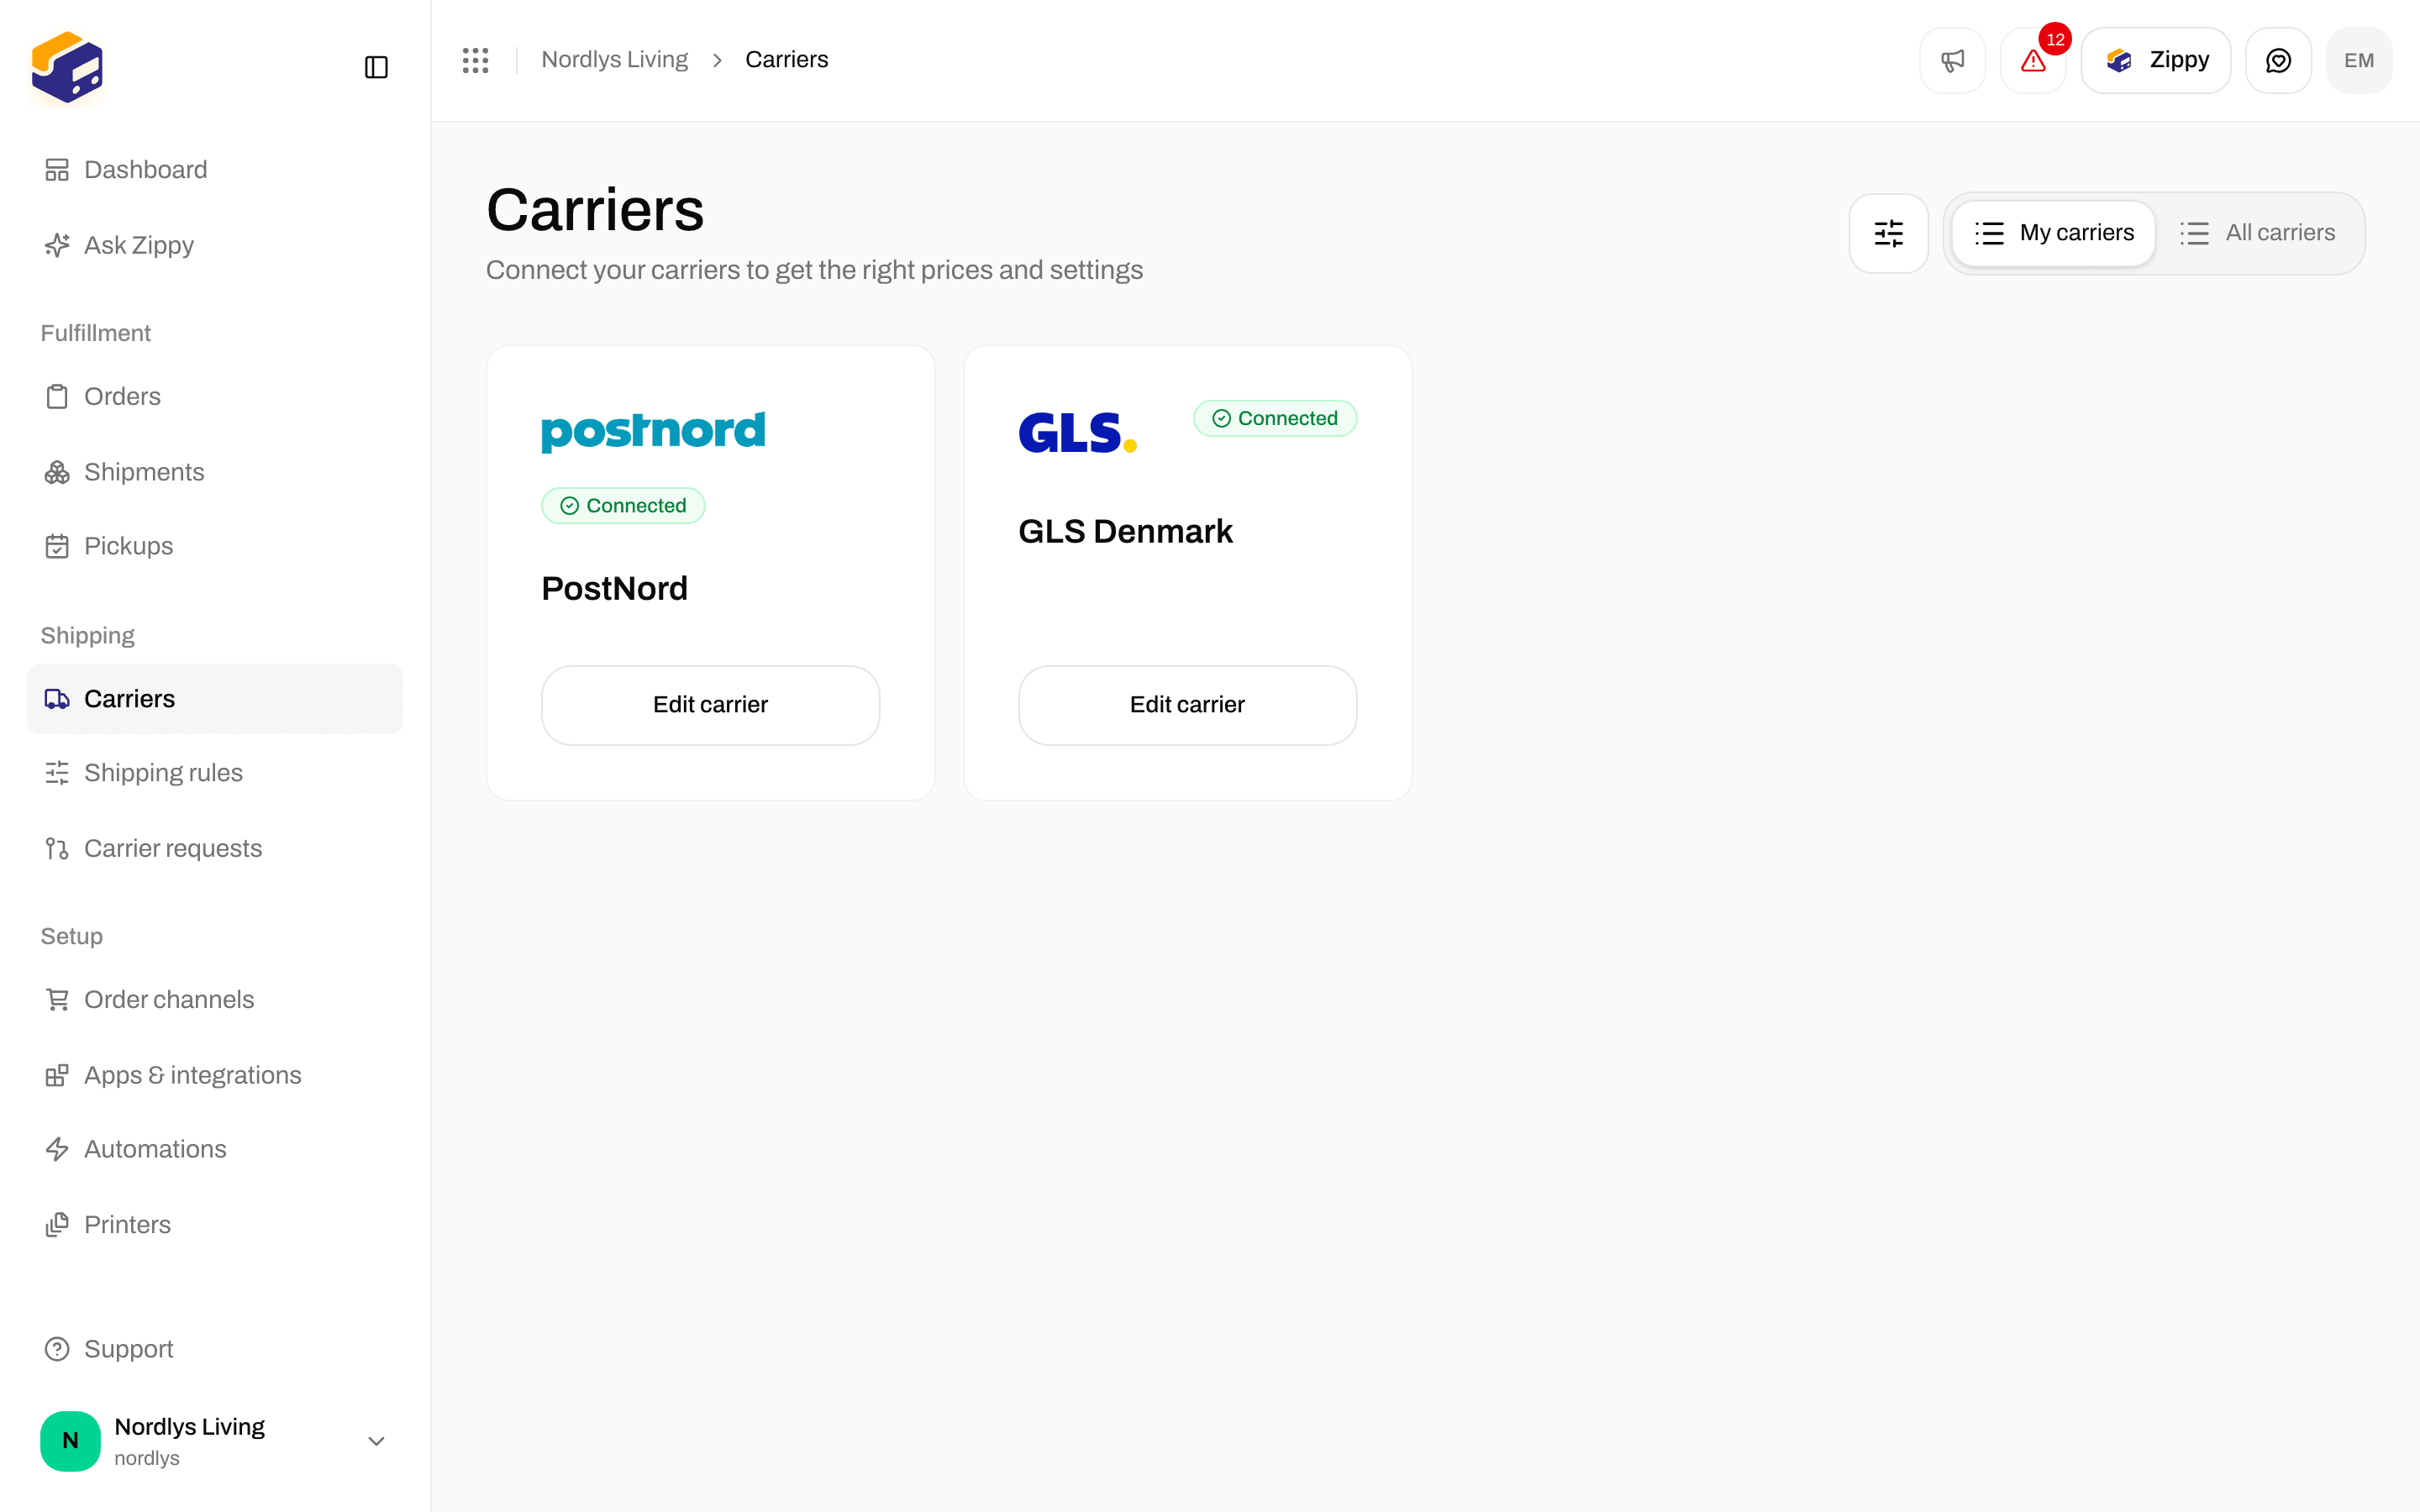
Open Carriers in the sidebar. The page title is Carriers / Integrations. Two tabs sit in the header:
  • My Carriers — accounts you have already connected (?tab=my-carriers).
  • All Carriers — the catalog you can connect from (?tab=all-carriers).
Each connected card shows the carrier logo, the name you gave the connection, a Connected badge, and Edit Carrier.
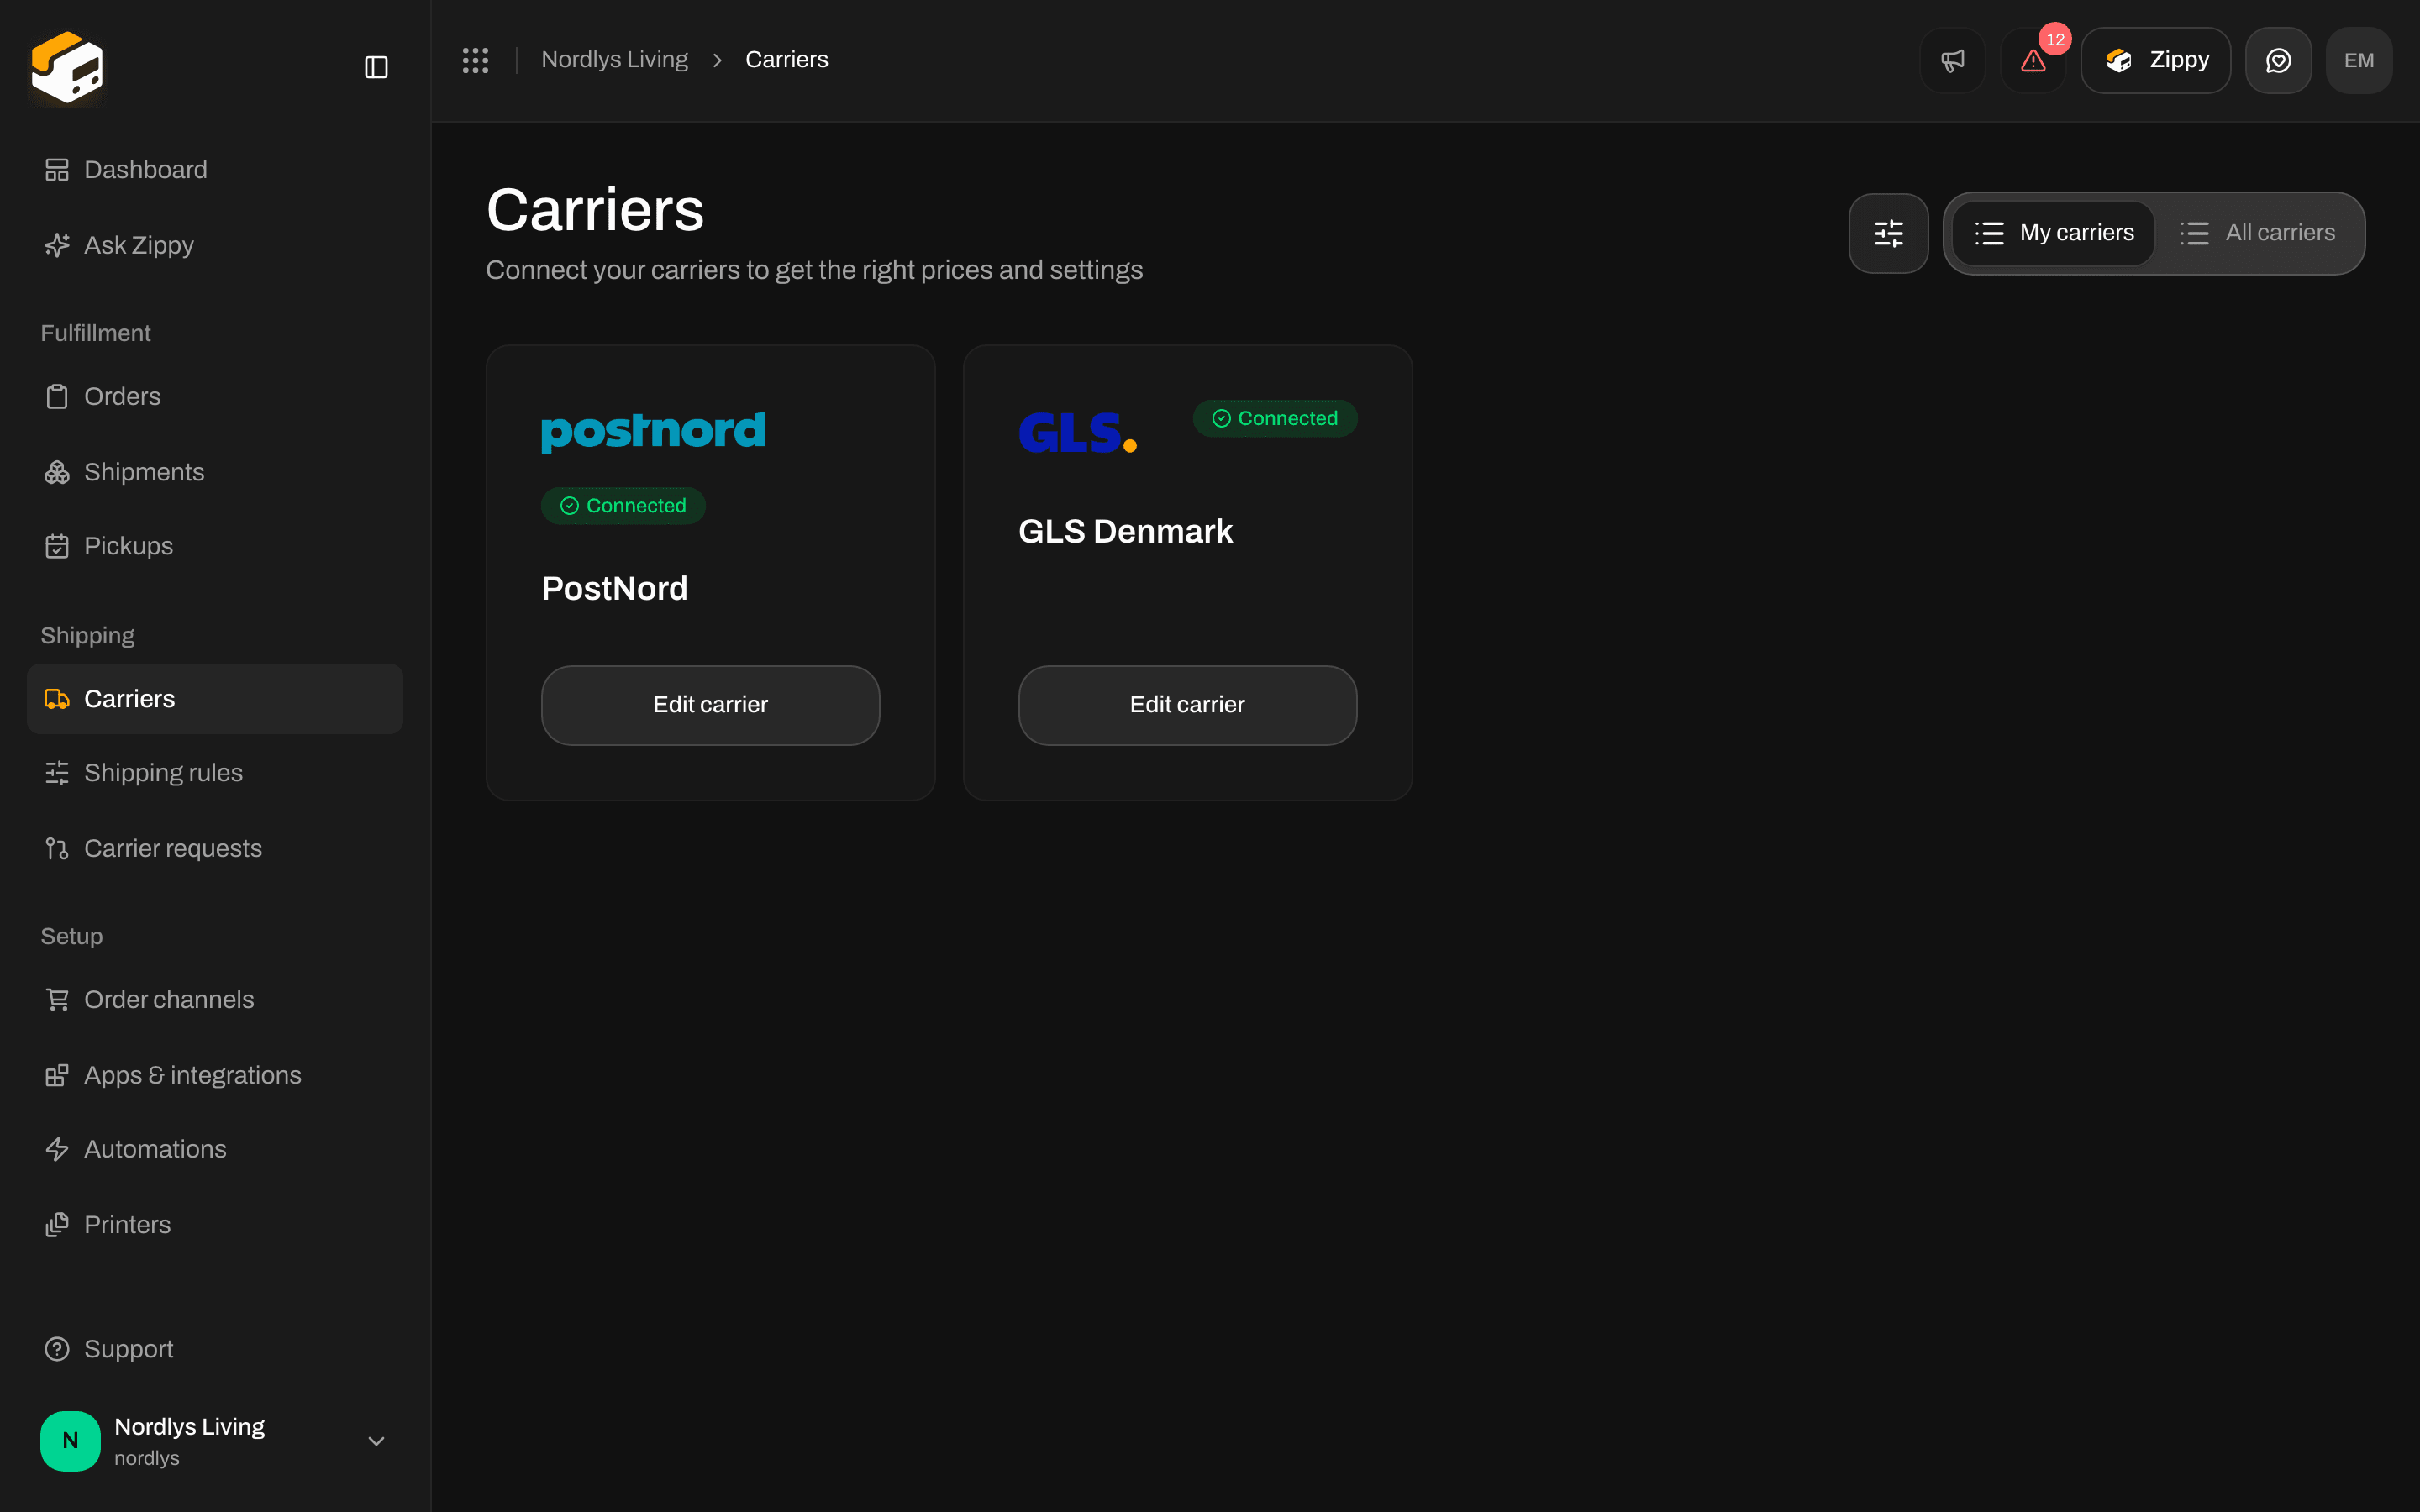
Carriers / Integrations on My Carriers with PostNord and GLS Denmark cards, each with a Connected badge and Edit CarrierCarriers / Integrations on My Carriers with PostNord and GLS Denmark cards, each with a Connected badge and Edit Carrier

My Carriers lists every connected account — PostNord and GLS Denmark in this organization

If you have not connected anyone yet, the tab shows No carriers yet and a Browse Carriers button that switches you to All Carriers. You can connect the same carrier type more than once (for example two GLS accounts) as long as each connection has its own name and credentials.

All Carriers

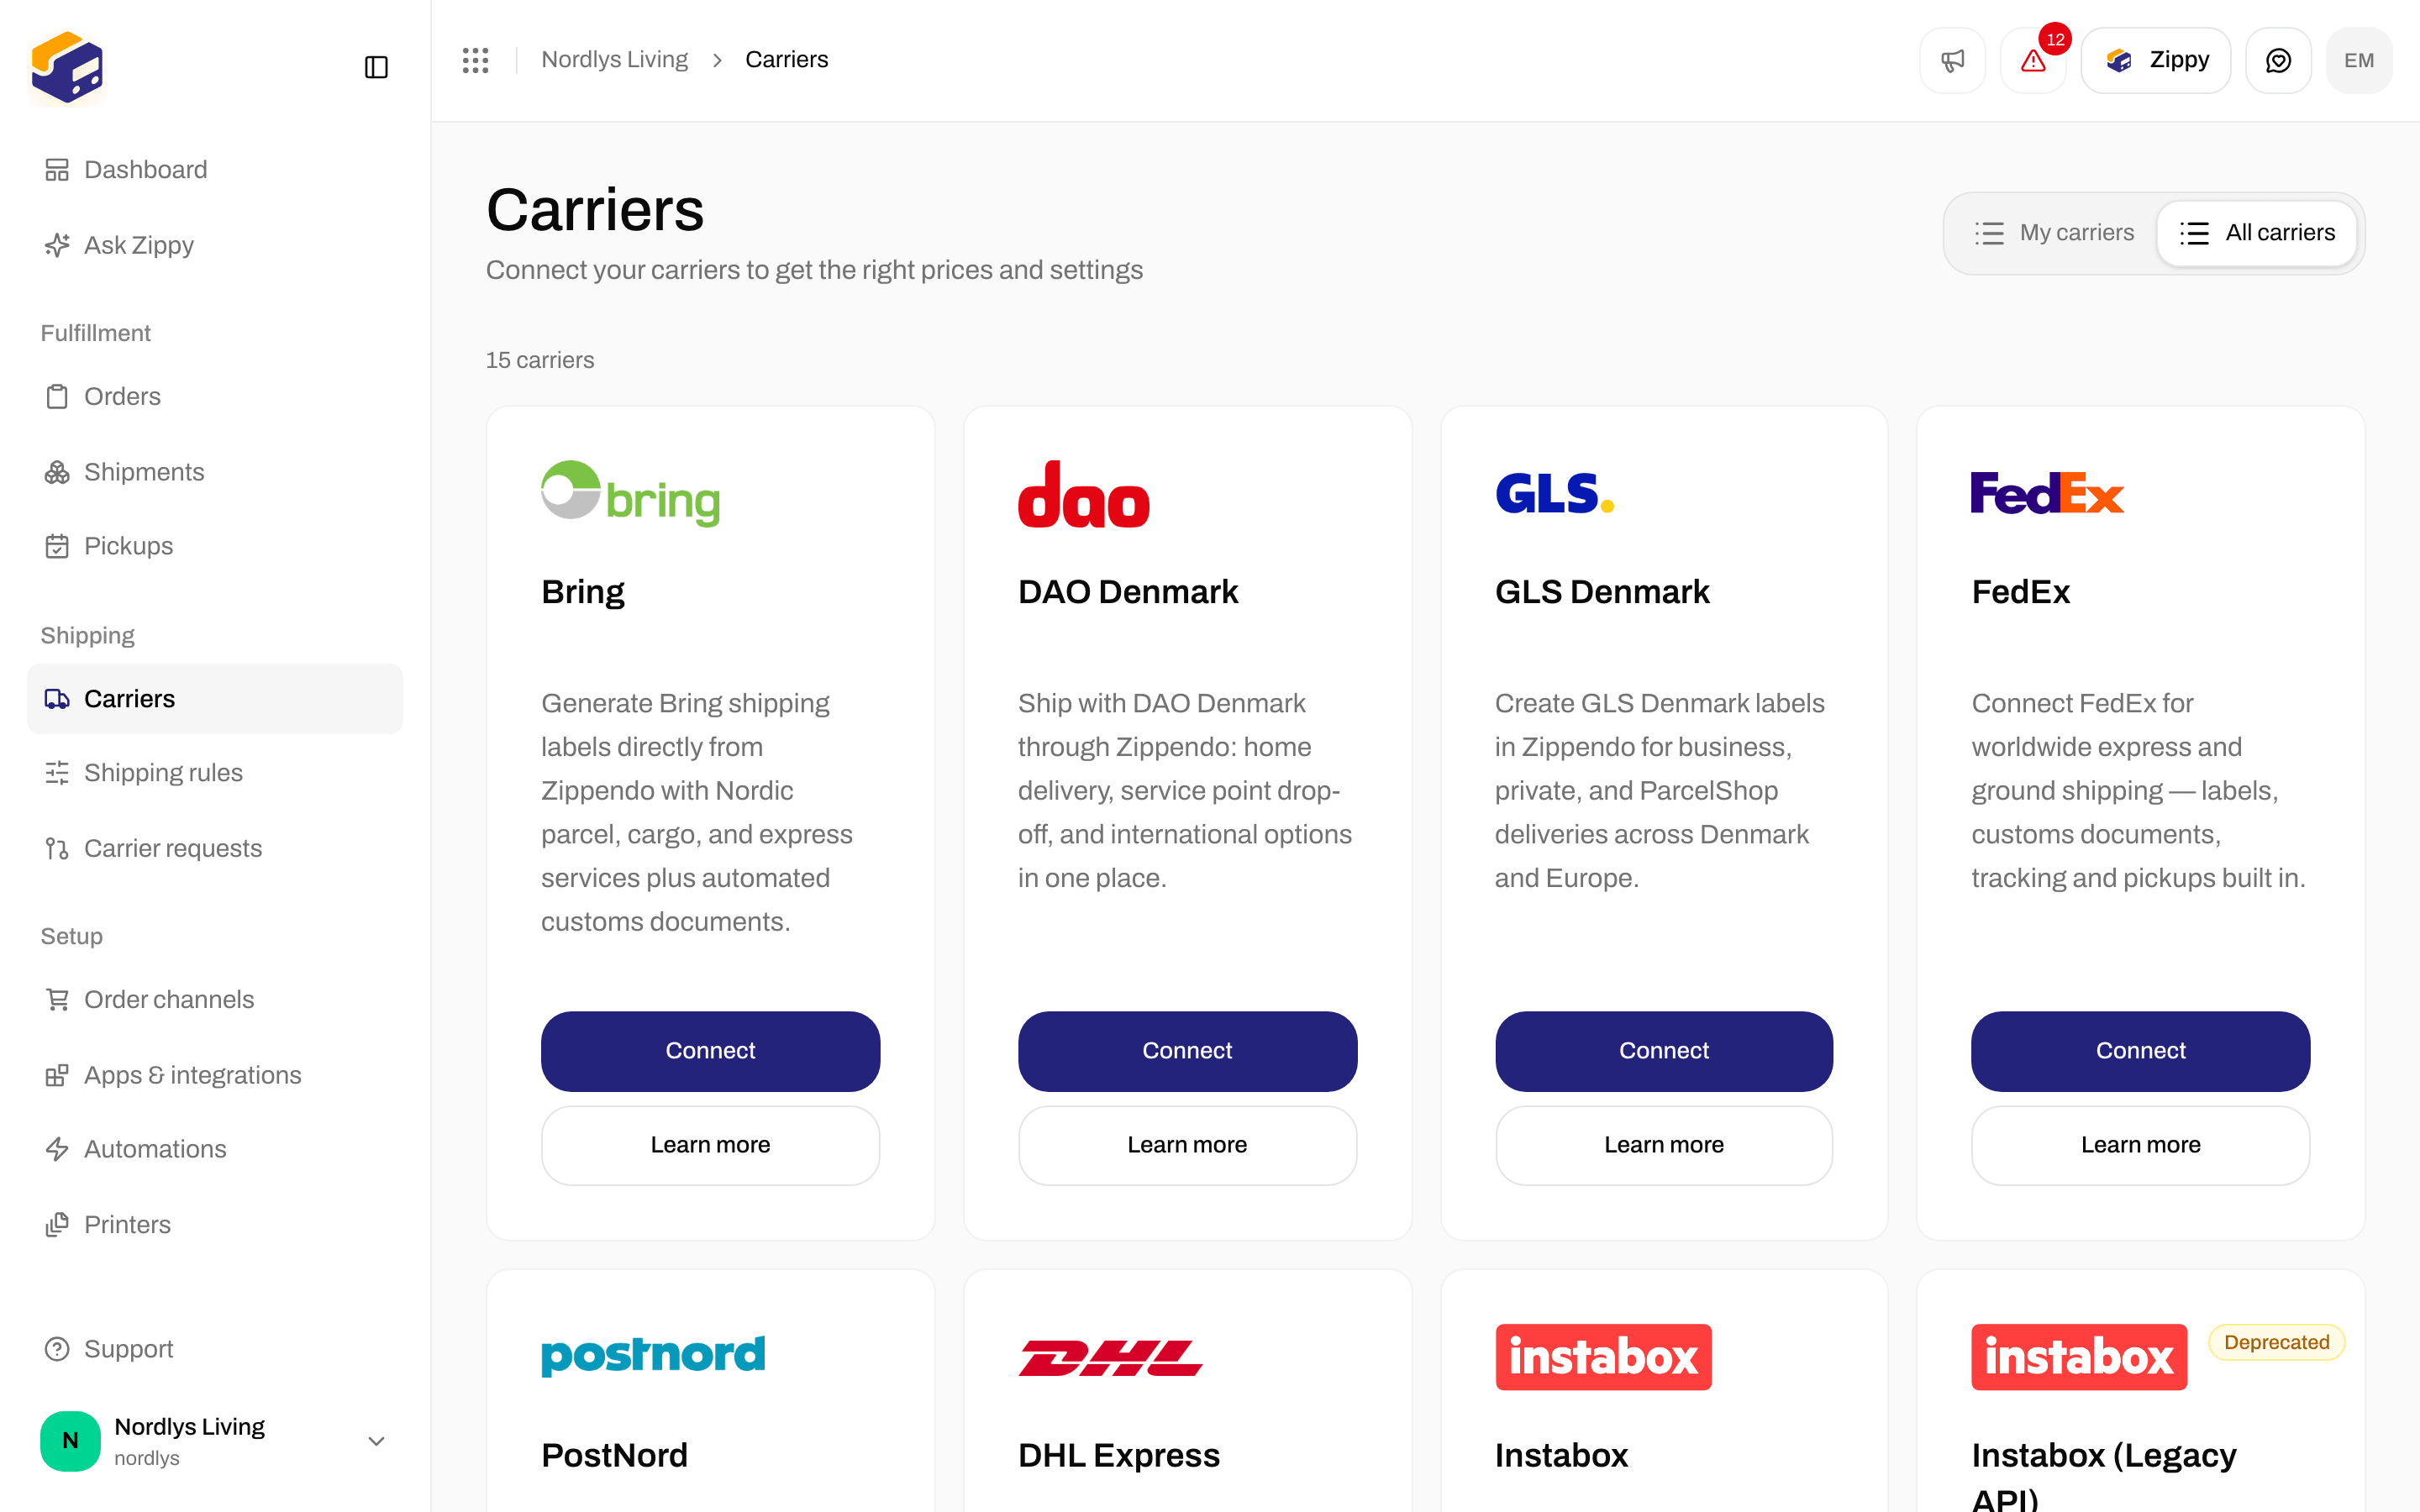
Switch to All Carriers to see the catalog. The count above the grid is the number of integrations available today.
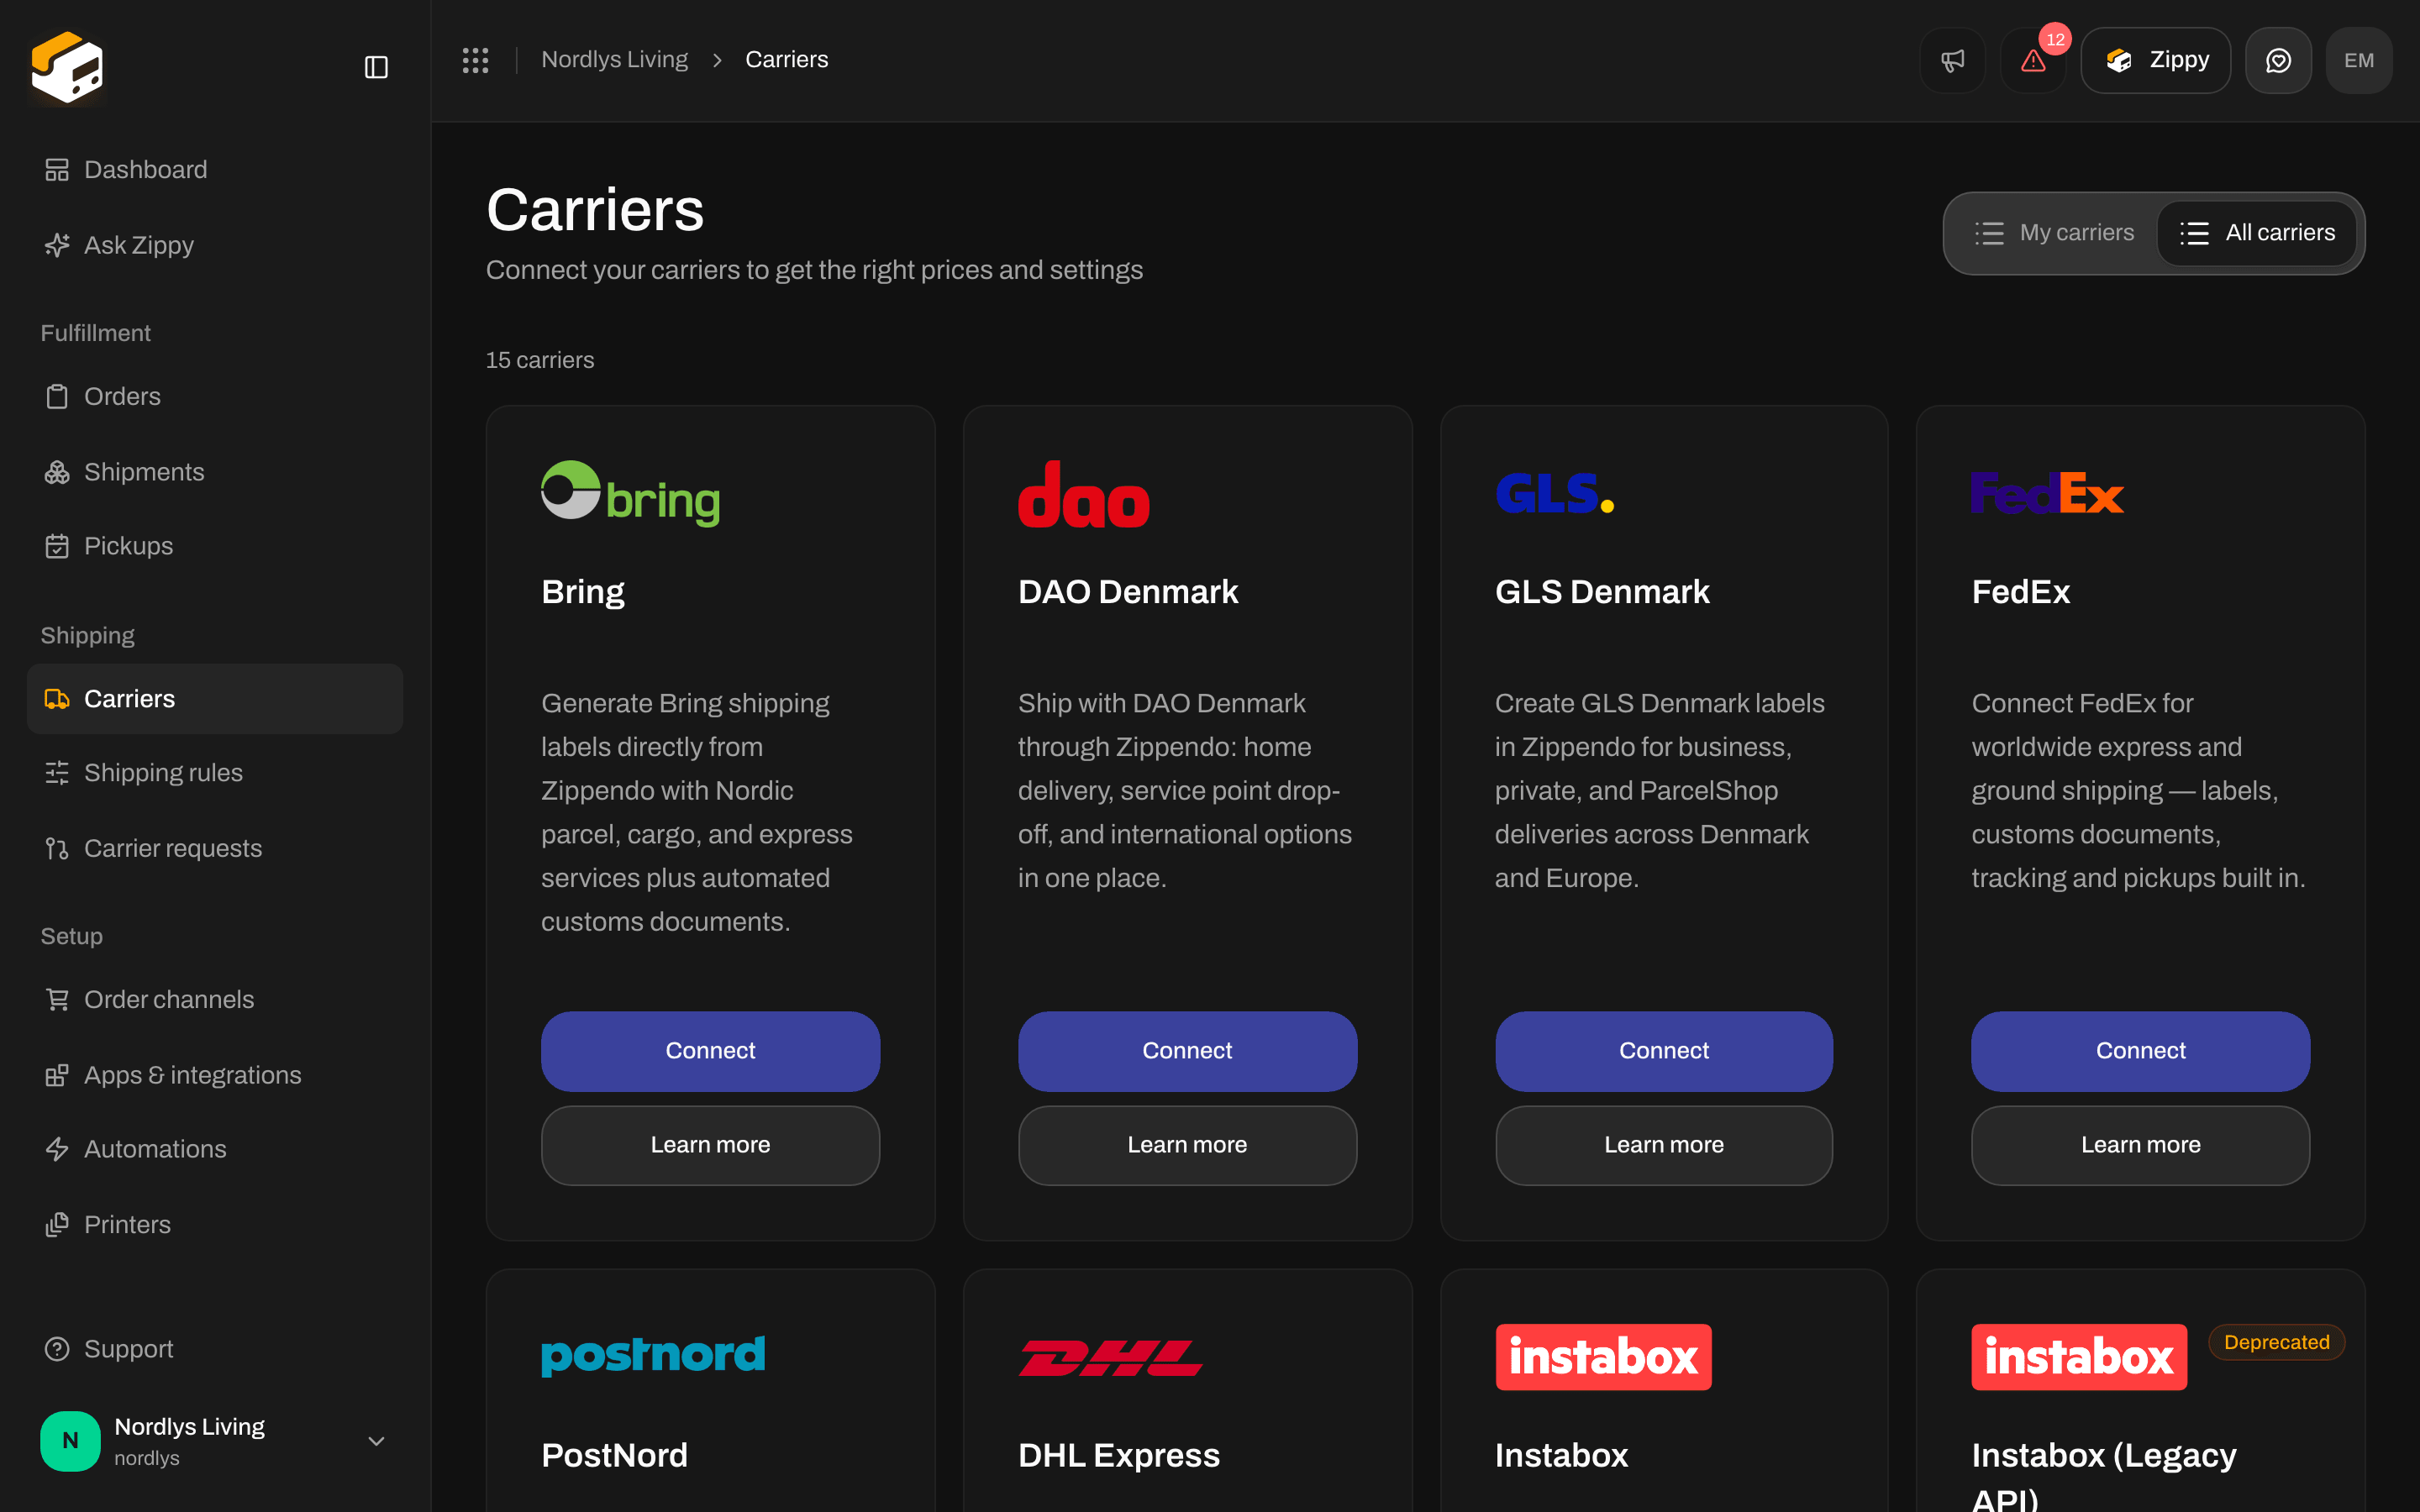
All Carriers grid with Bring, DAO Denmark, GLS Denmark, FedEx and other carrier cardsAll Carriers grid with Bring, DAO Denmark, GLS Denmark, FedEx and other carrier cards

All Carriers is the catalog — Connect starts a new account, Learn more opens the carrier’s site

Each card has:
  • A short description of what the integration books.
  • Connect — opens Create new carrier.
  • Learn more — the carrier’s public site.
Some cards are marked Deprecated (for example an older Instabox API). Prefer the current integration unless you still need the legacy one. The grid is the source of truth for what you can connect. Supported carriers is the same list in documentation form.

Connect a carrier

1

Open All Carriers

Go to Carriers → All Carriers.
2

Click Connect

Find the carrier (for example Bring) and click Connect.
3

Name the connection

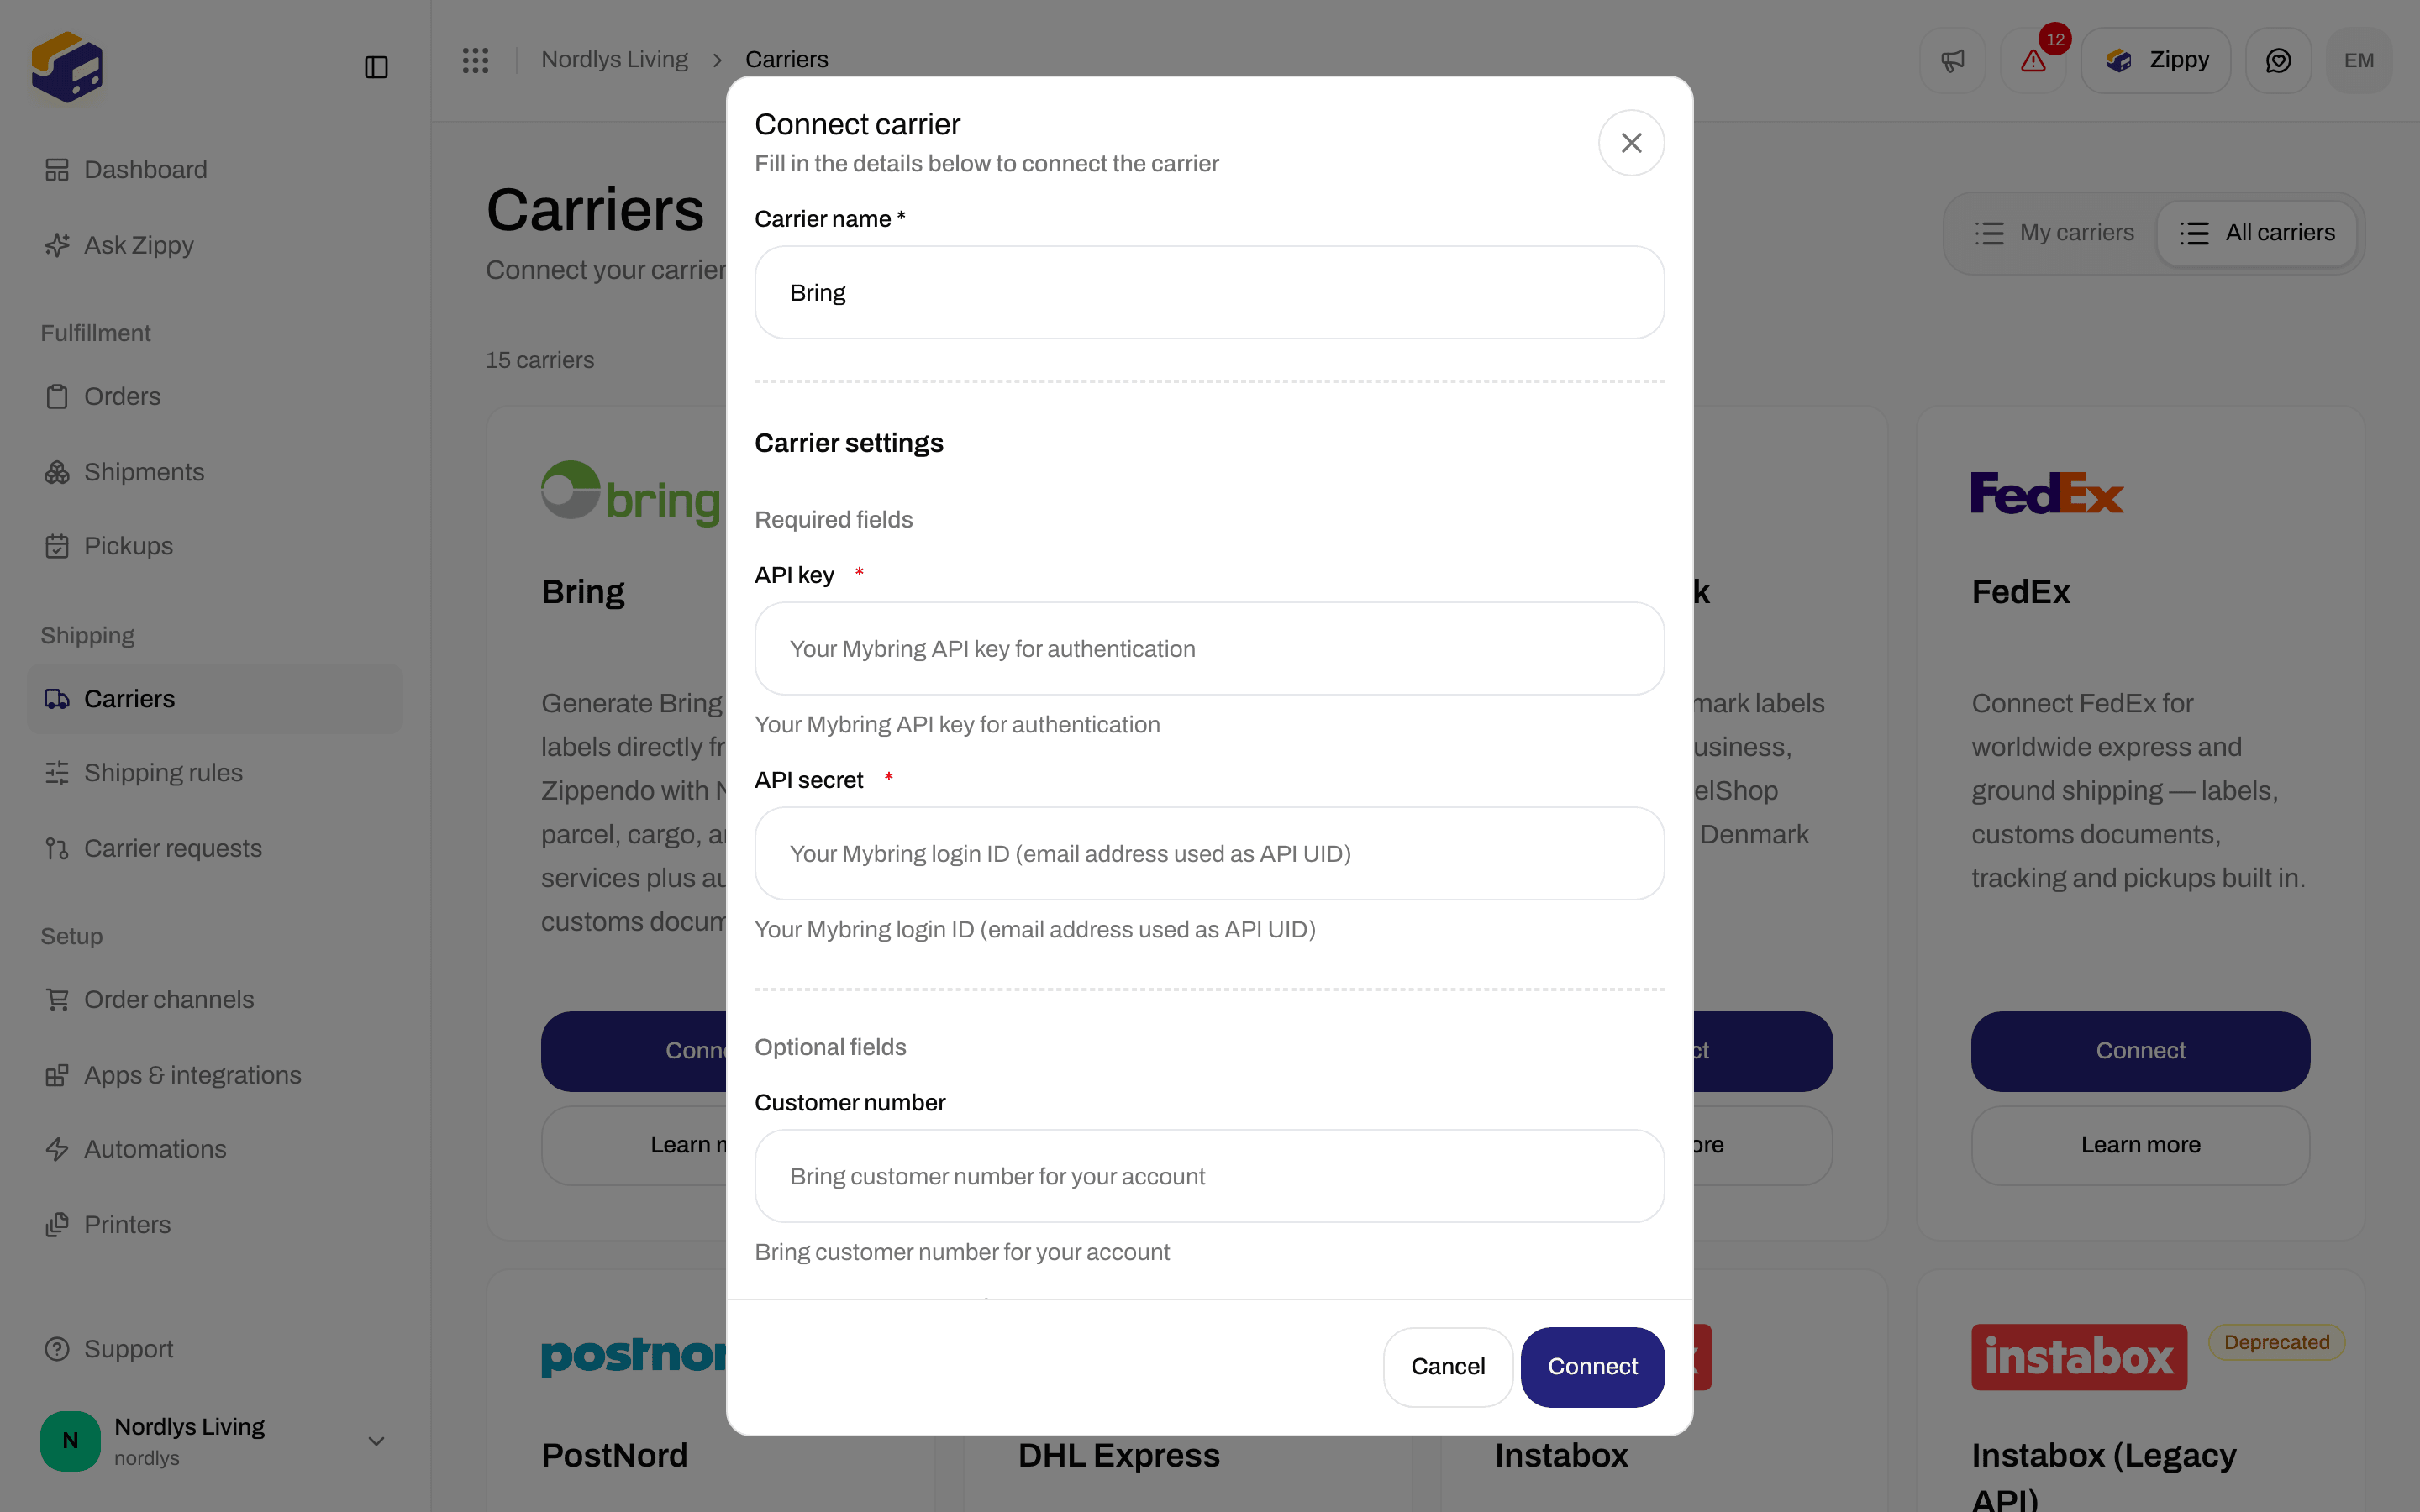
The dialog title is Create new carrier. Carrier name * is required. It defaults to the catalog name; change it if you will connect the same carrier twice.
4

Fill Carrier Configuration

Required Fields must be completed before Create is enabled. Optional Fields are extras the carrier accepts — customer numbers, return customer numbers, and Sandbox Mode.
5

Create

Click Create. A toast confirms Carrier created successfully, and the connection appears under My Carriers.
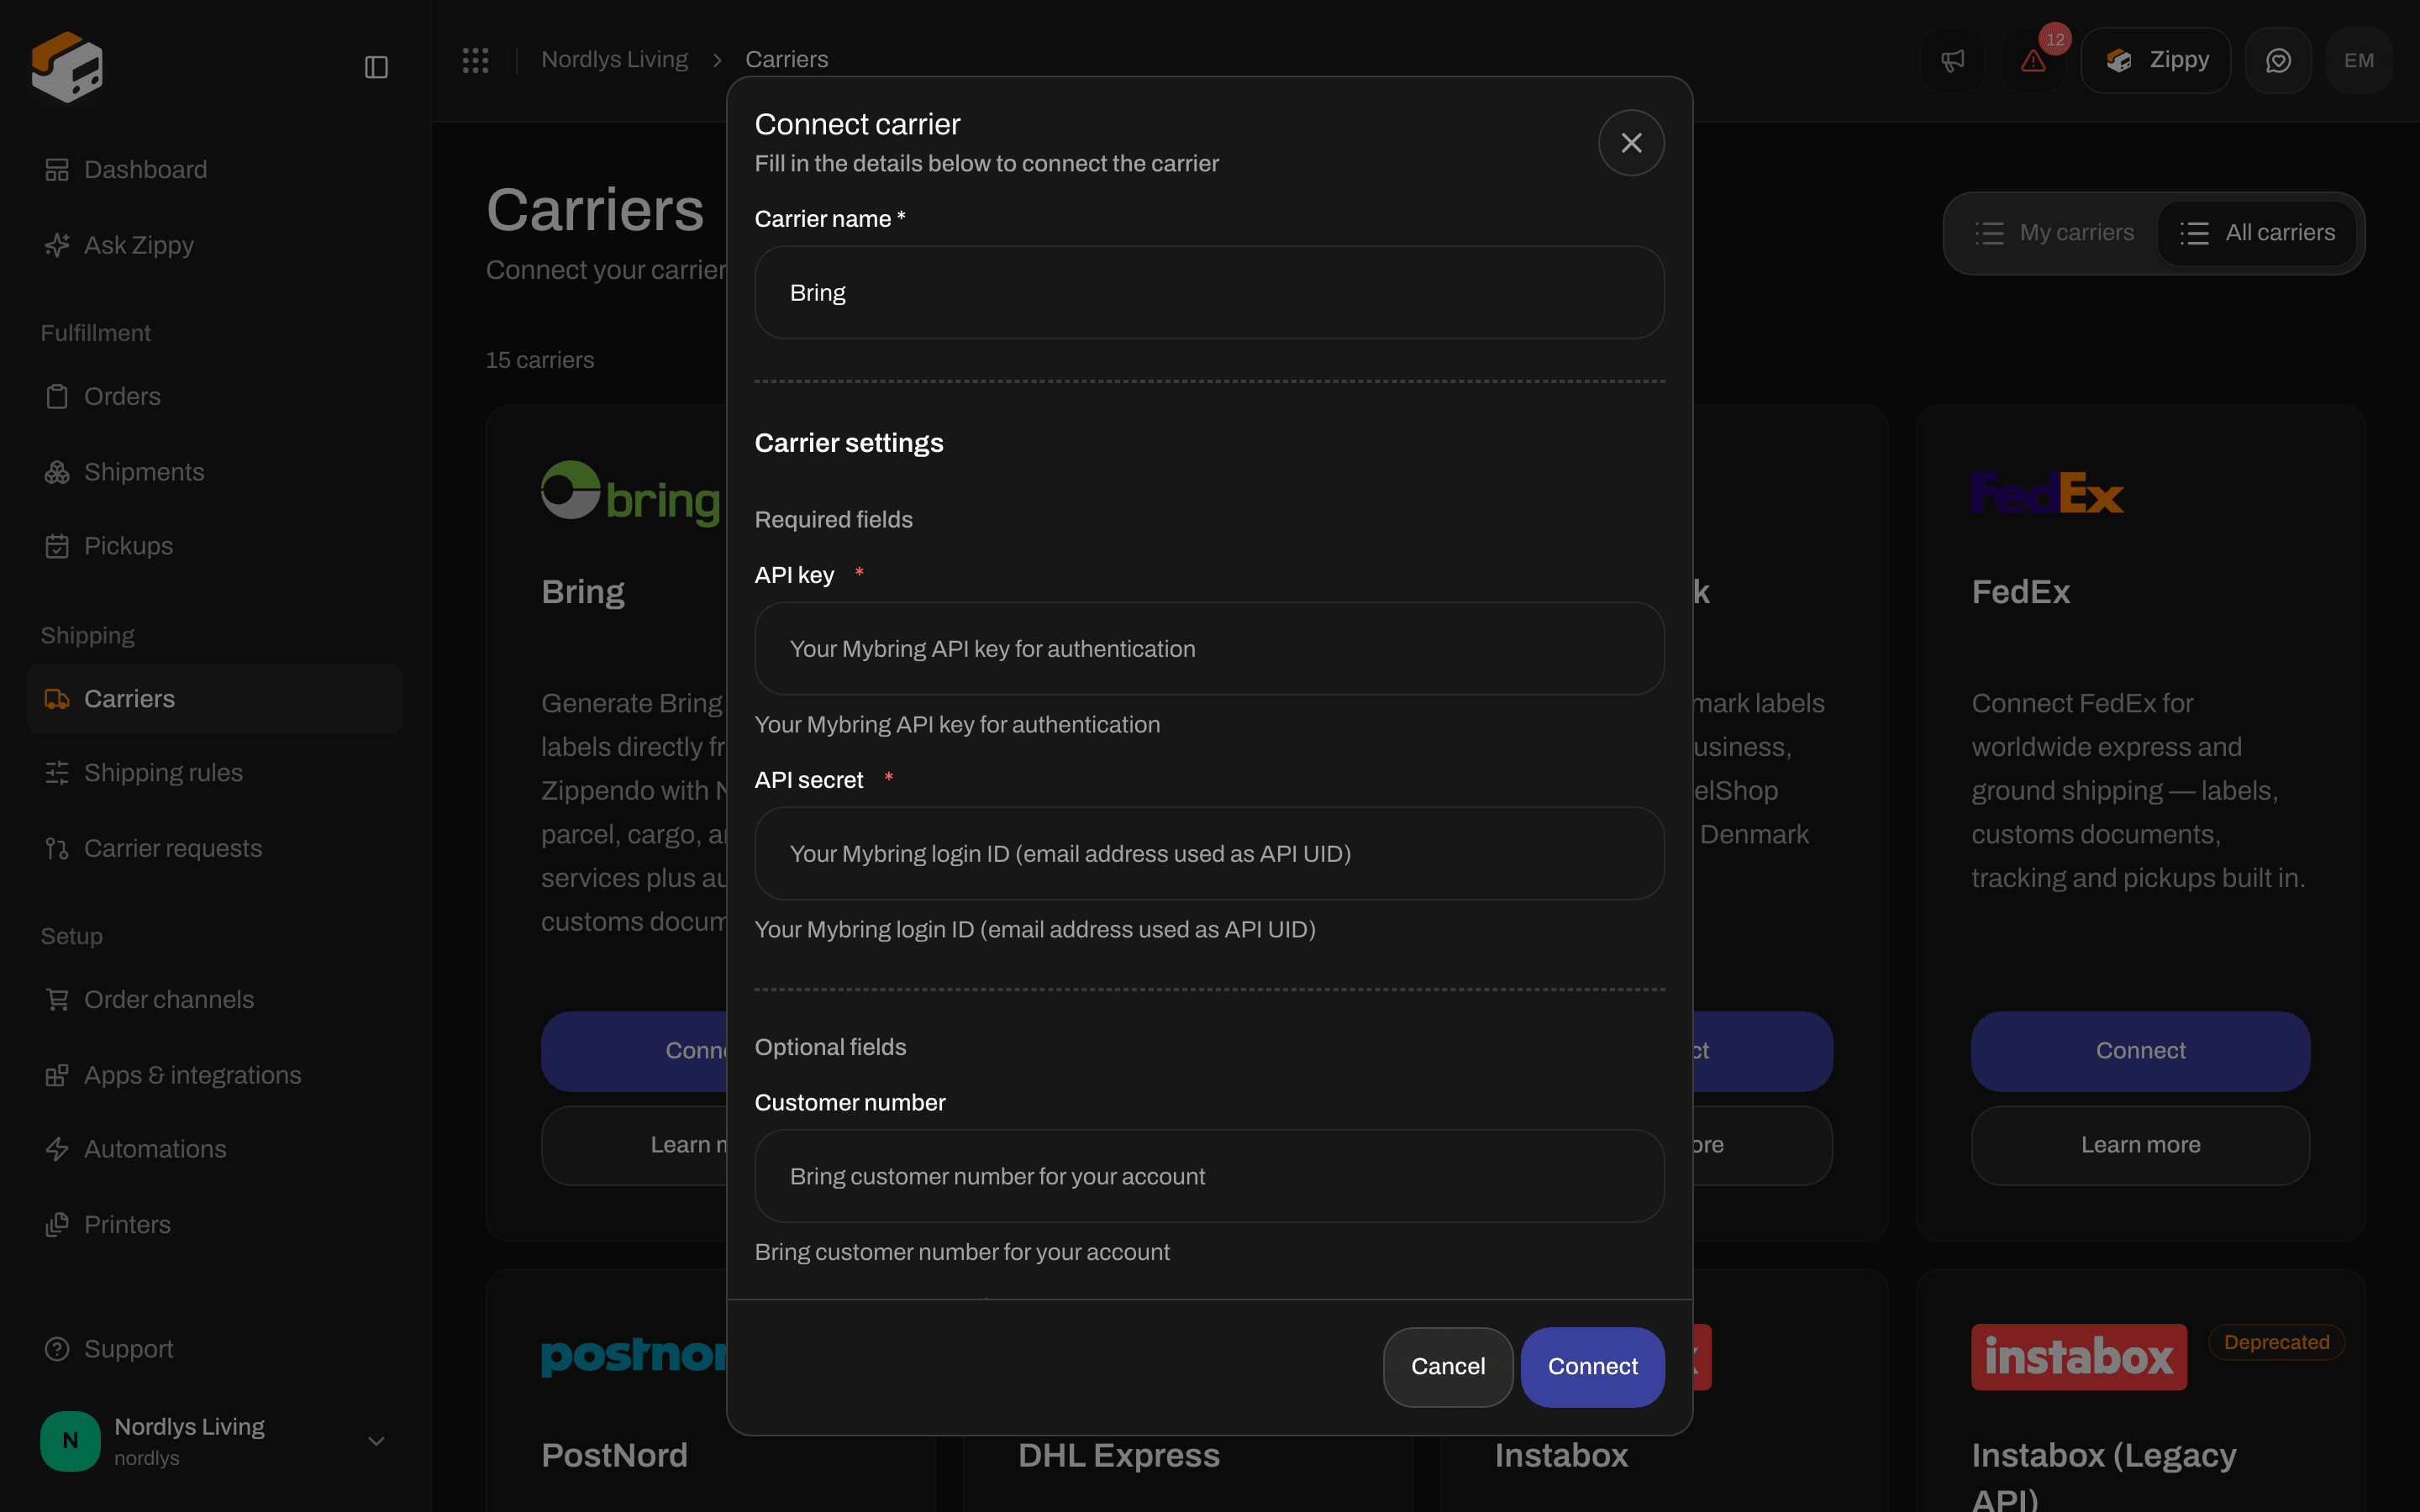
Create new carrier dialog with Carrier name Bring and Carrier Configuration fields for API Key and API SecretCreate new carrier dialog with Carrier name Bring and Carrier Configuration fields for API Key and API Secret

Create new carrier for Bring — name, then required API Key and API Secret

There is no sender-address picker on this dialog. Scroll Optional Fields for extras that sit below the fold (Bring’s Return Customer Number and Sandbox Mode).

Credentials by carrier

The form is generated from that carrier’s config. Typical fields: Sandbox Mode books against the carrier’s test environment. Leave it off for live labels.
If your organization has brands, a Brand field appears on this dialog and on the edit page. Assigning a brand means only that brand can use the connection. Leave it unset for an organization-wide carrier. The field is hidden when you have no brands.
If Create fails, check required fields and that keys have no extra spaces. Auth errors after you send a shipment are covered in Carrier authentication failures.

Edit a carrier

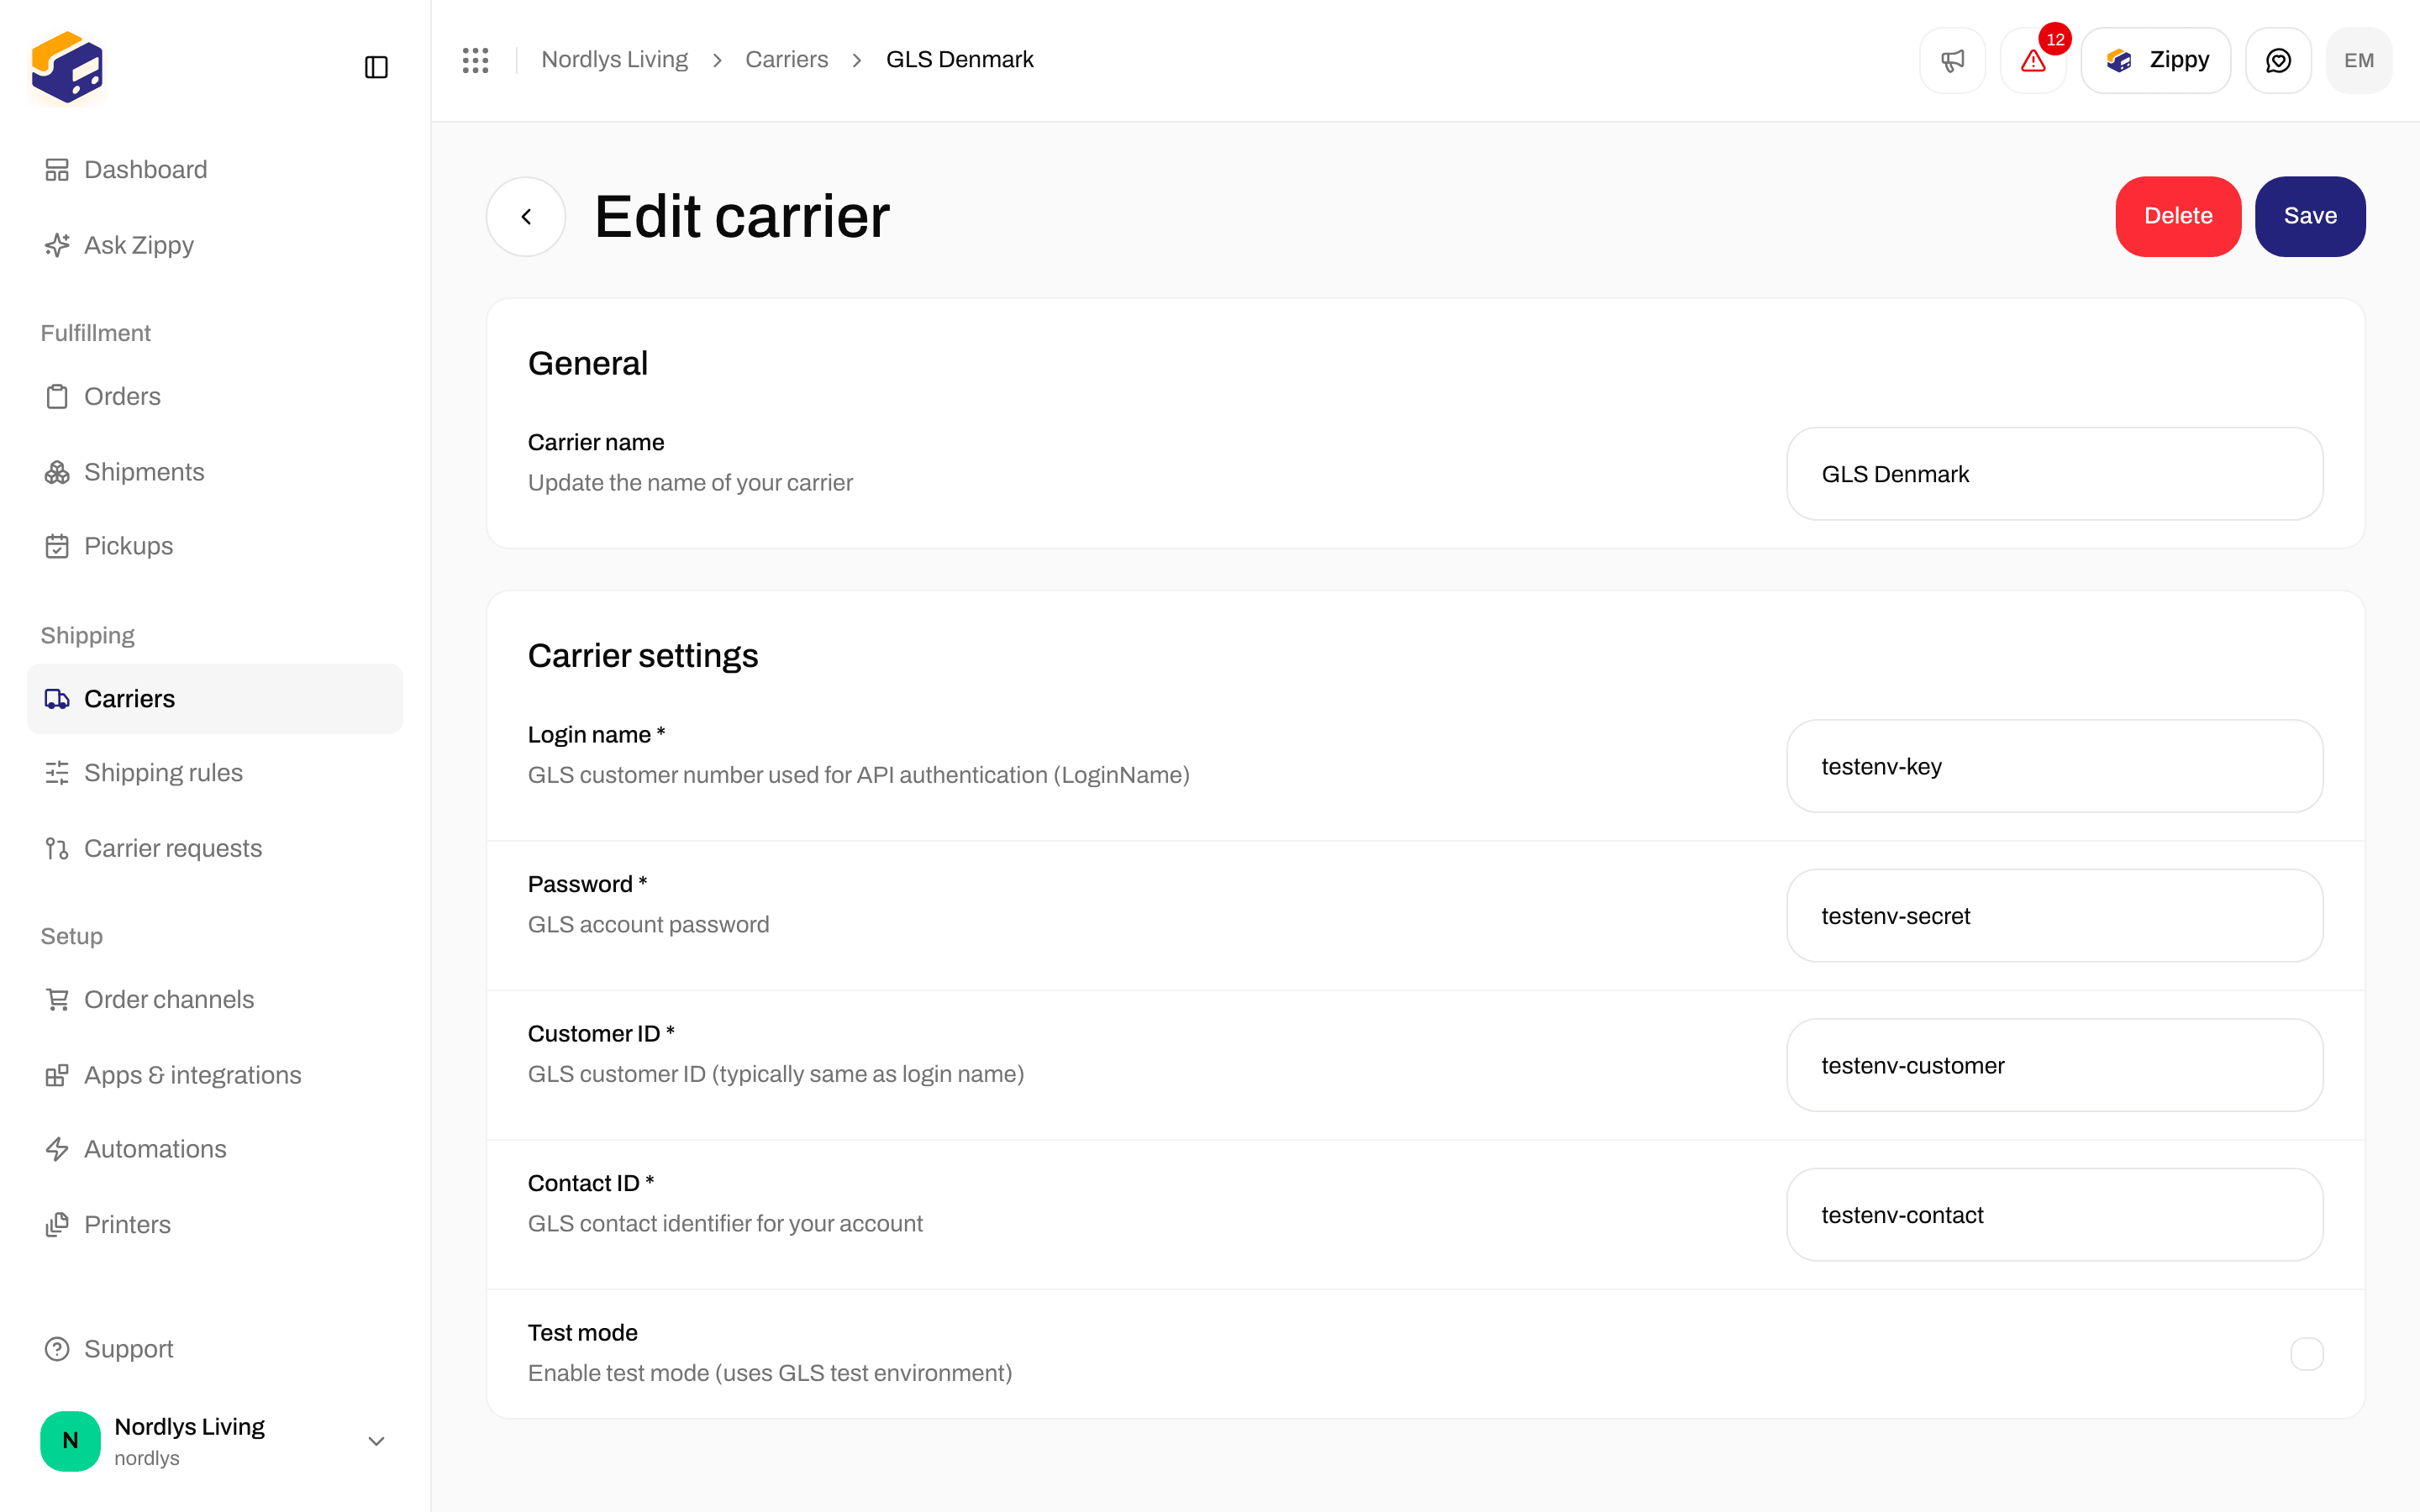
On My Carriers, click Edit Carrier. The page title is Edit your carrier.
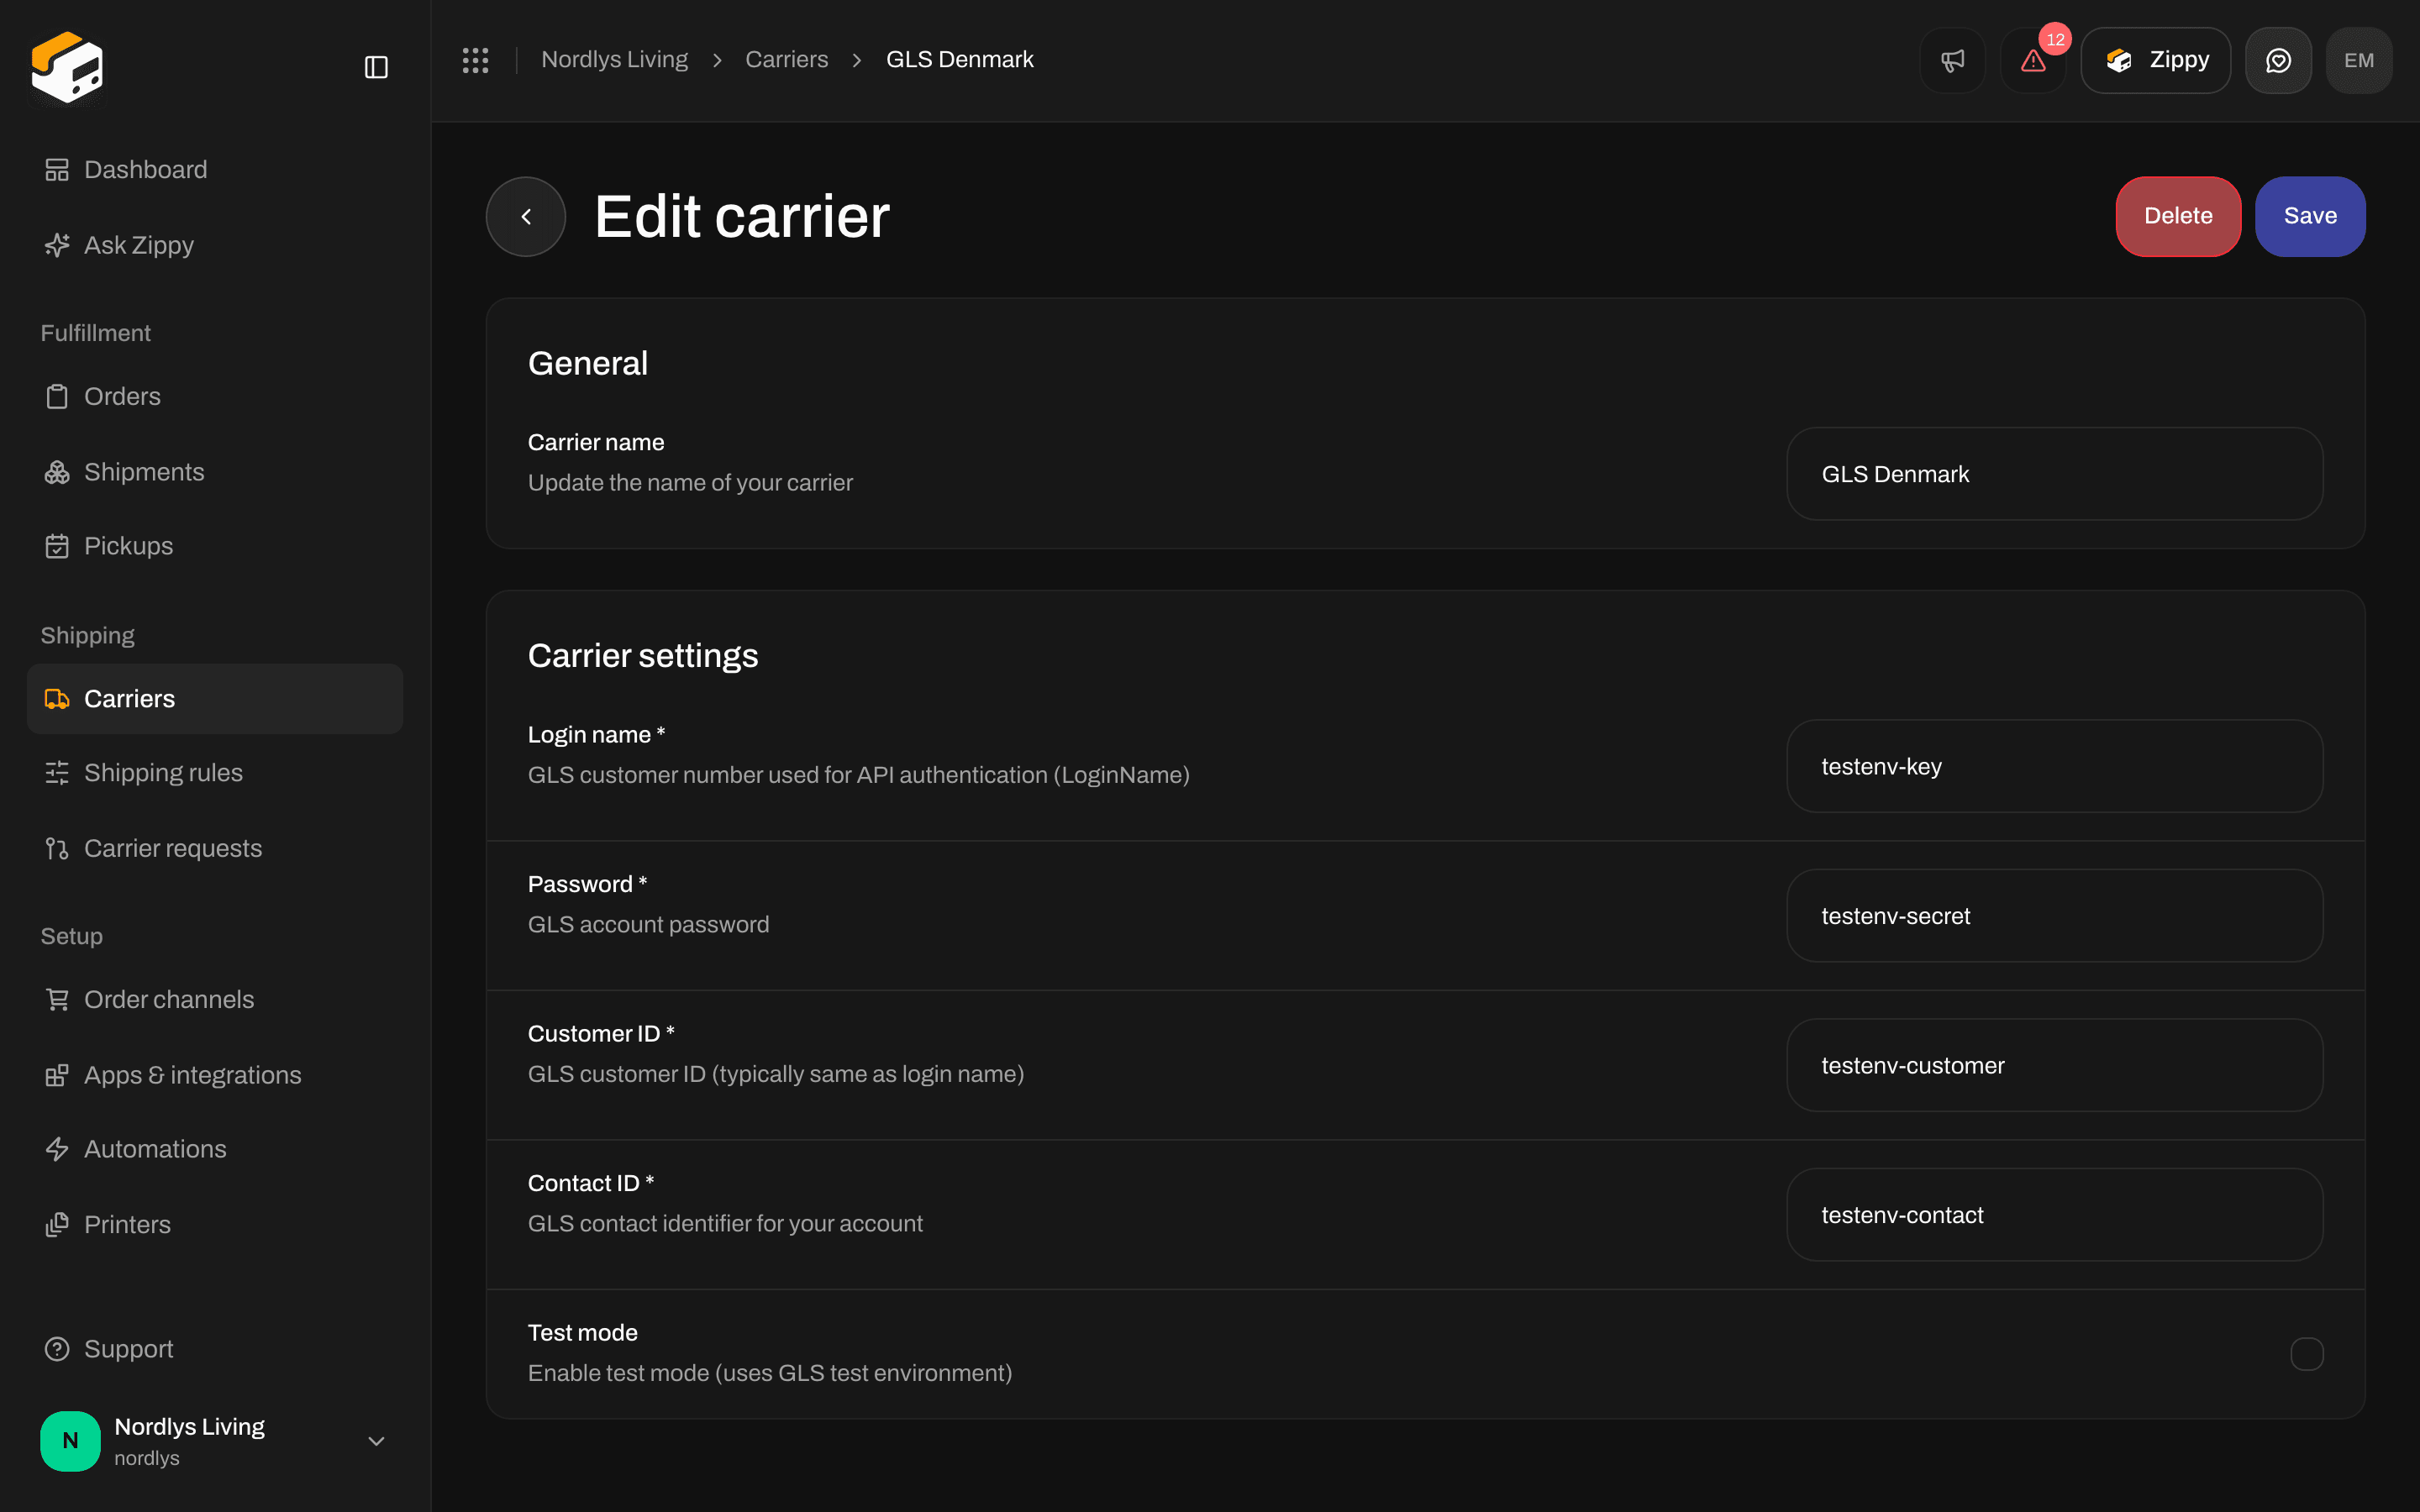
Edit your carrier for GLS Denmark with Login Name, Password, Customer ID, Contact ID, and Sandbox ModeEdit your carrier for GLS Denmark with Login Name, Password, Customer ID, Contact ID, and Sandbox Mode

Edit your carrier — General name plus Carrier settings, including Sandbox Mode

Two cards:
  • GeneralCarrier name, and Brand if the organization has brands.
  • Carrier settings — the same dynamic fields as connect (credentials plus Sandbox Mode).
Header actions are Delete and Save. Saving shows Carrier updated successfully. This page does not include ZPL, cancel-at-carrier, or print-on-error toggles. Those are not carrier-form settings. Label format and printers live on the shipment and under Printers.

Products

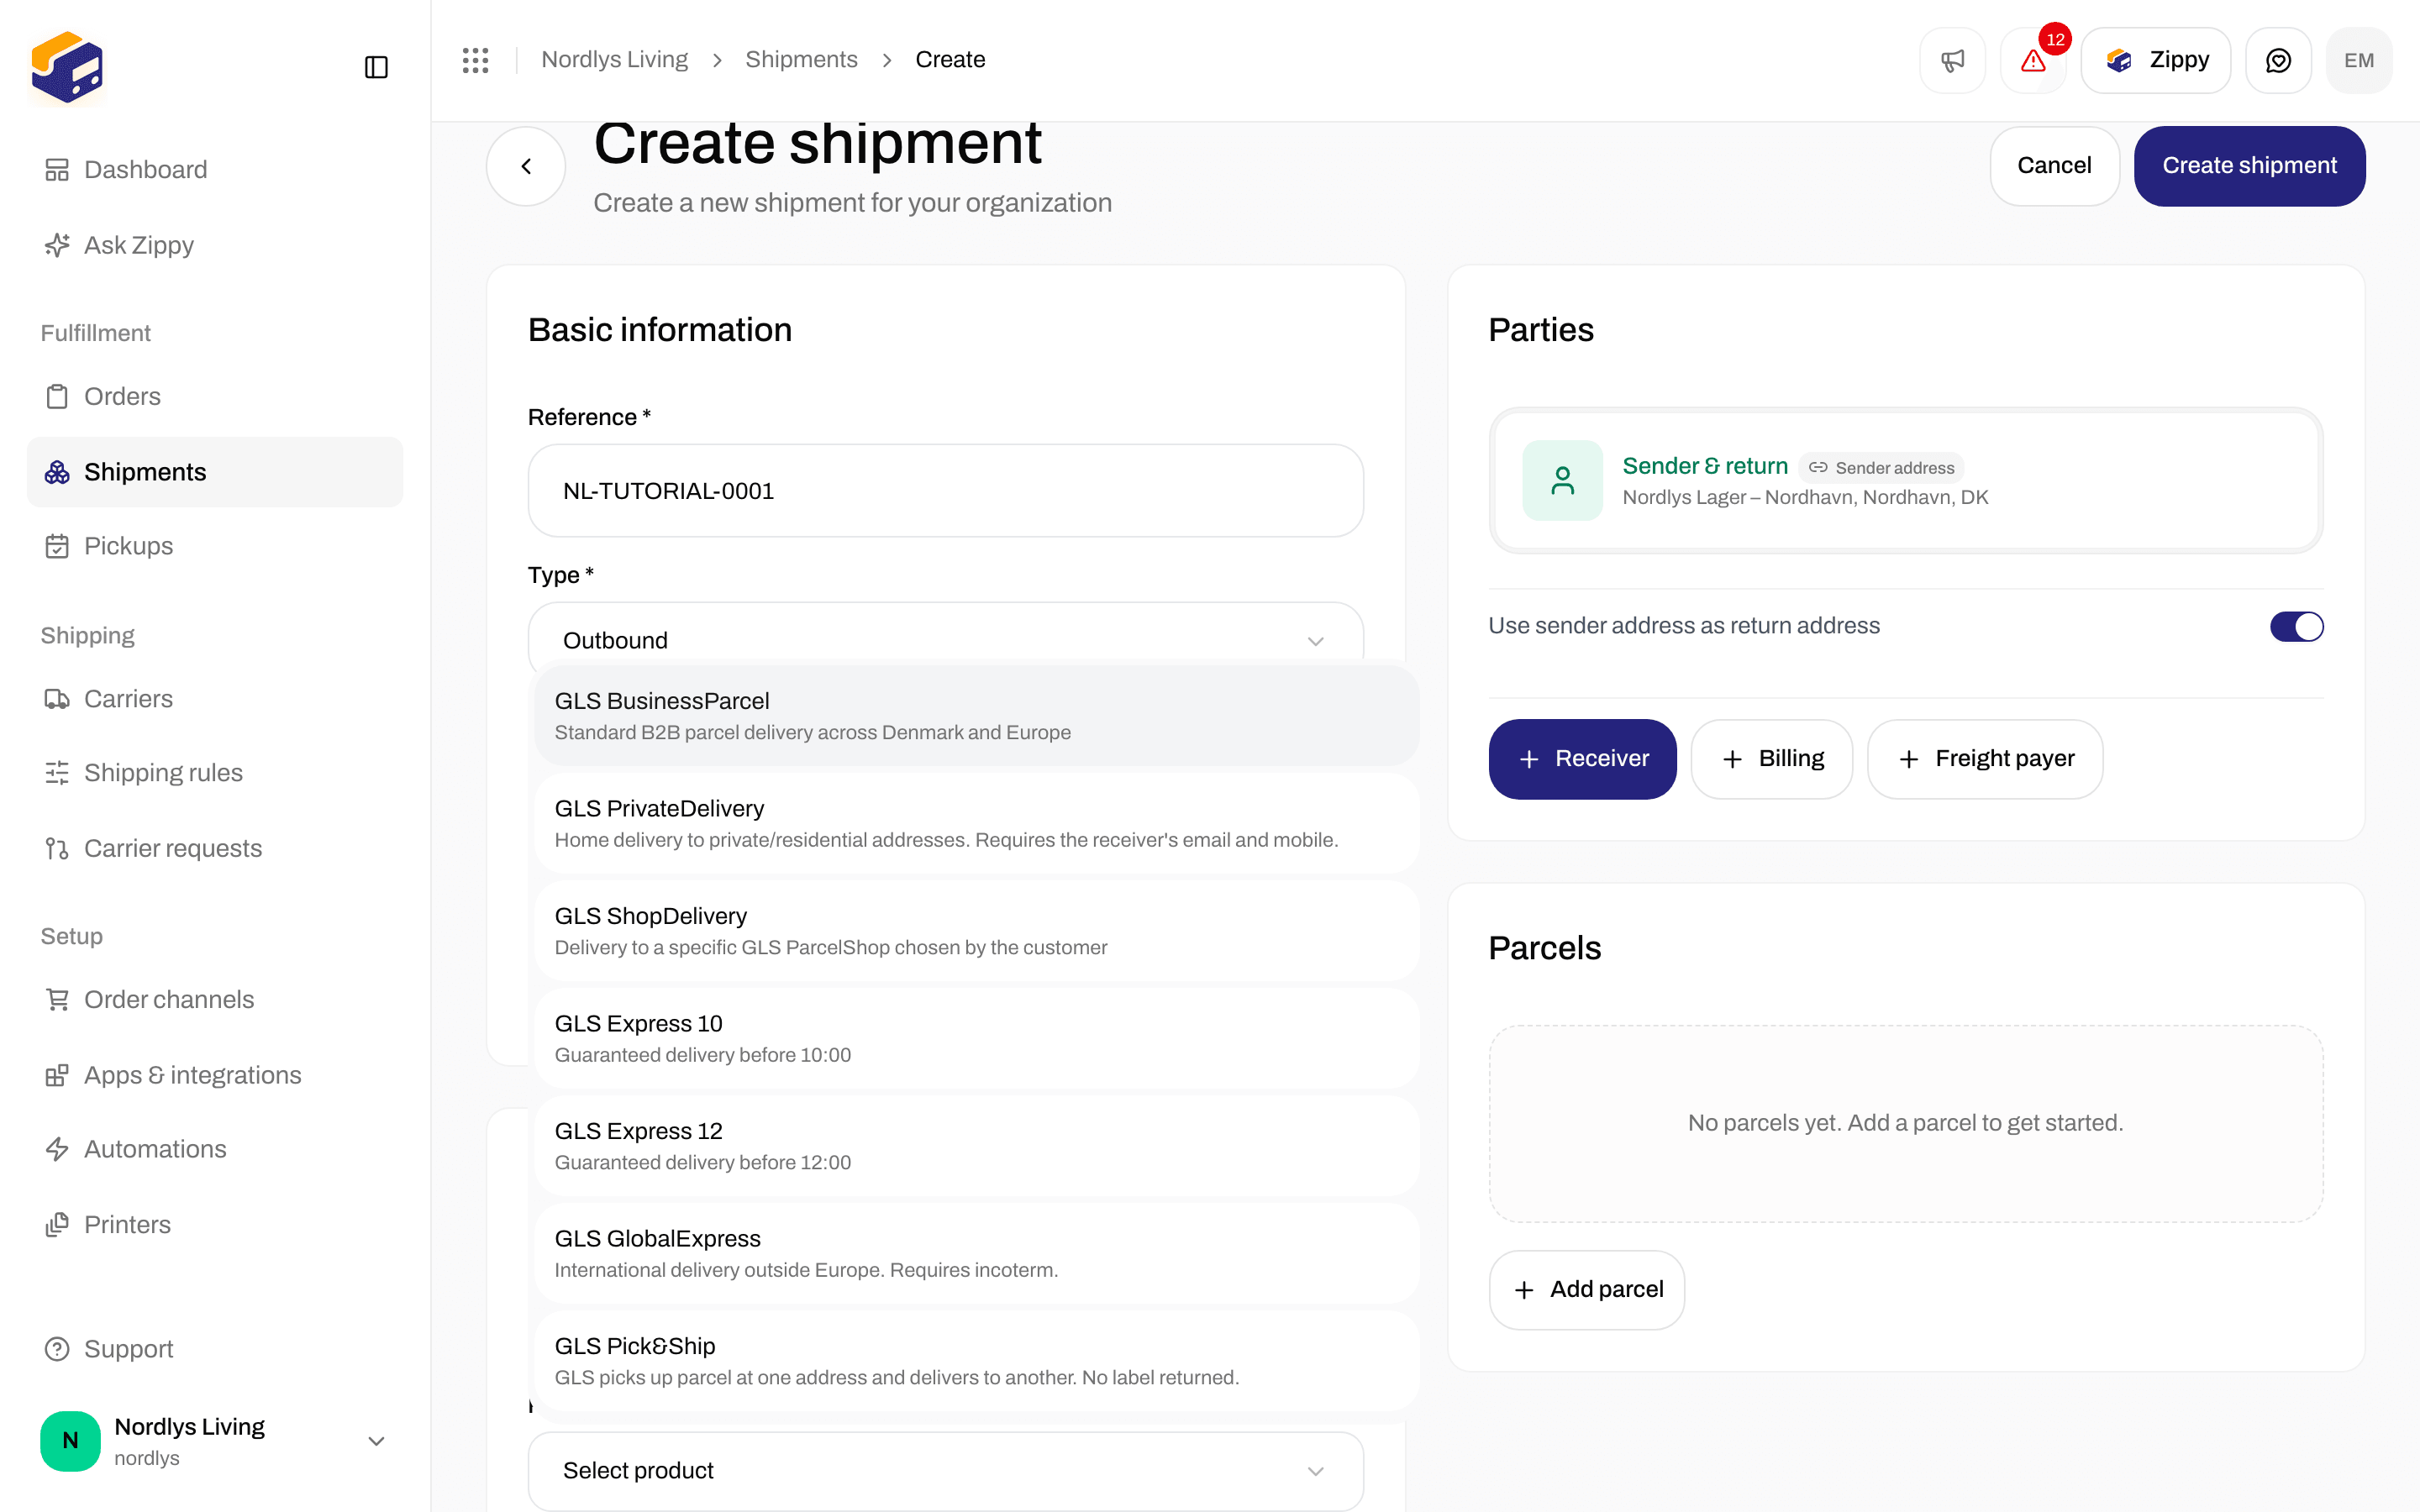
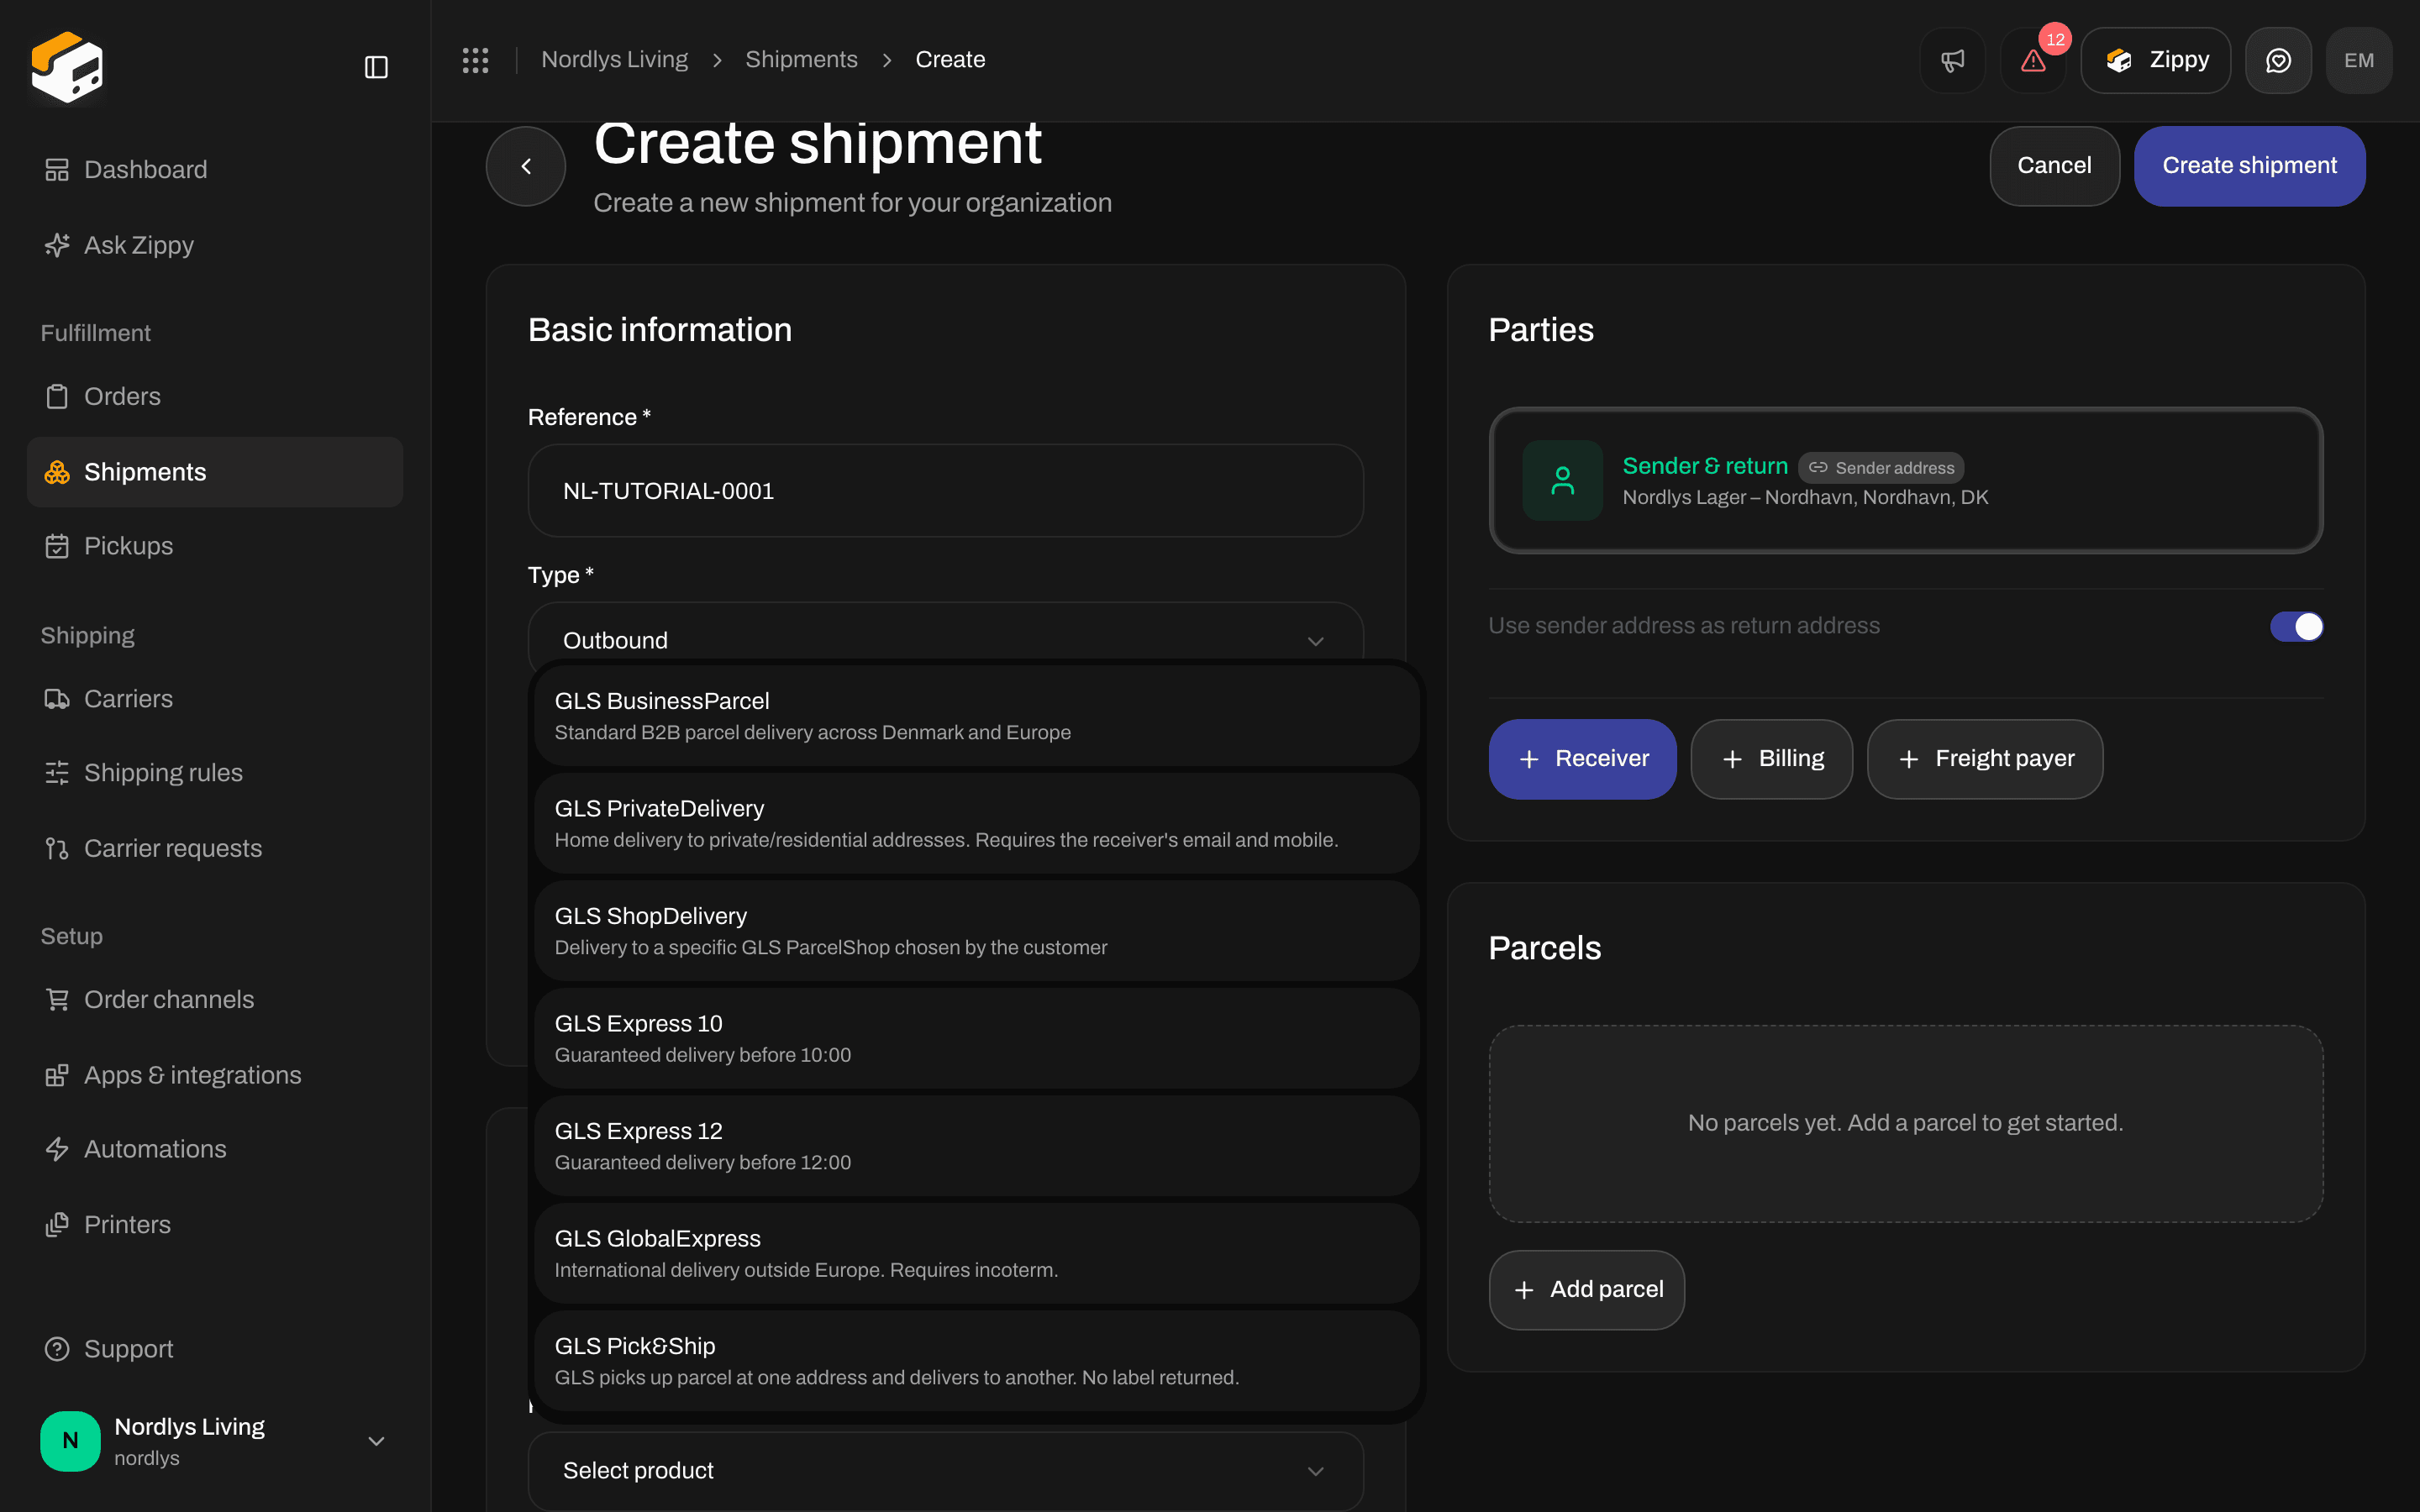
Connecting a carrier does not pick a product. Products appear when you create a shipment, under Carrier Settings: choose Carrier *, then Product *.
Create Shipment with the GLS Denmark product list openCreate Shipment with the GLS Denmark product list open

After you select GLS Denmark, Product lists BusinessParcel, PrivateDelivery, ShopDelivery, and the express products

The list is filtered by shipment Type: outbound products for Outbound, return products for Inbound. Each option shows a short description. It does not show a live price. After you pick a product, Zippendo may show a weight range, Services (for example Notification Email), and extra options that product requires. Shipping rules can pre-select carrier and product so you do not pick them by hand every time. The full create flow is in Create a shipment and Creating a shipment.

Service points (drop points)

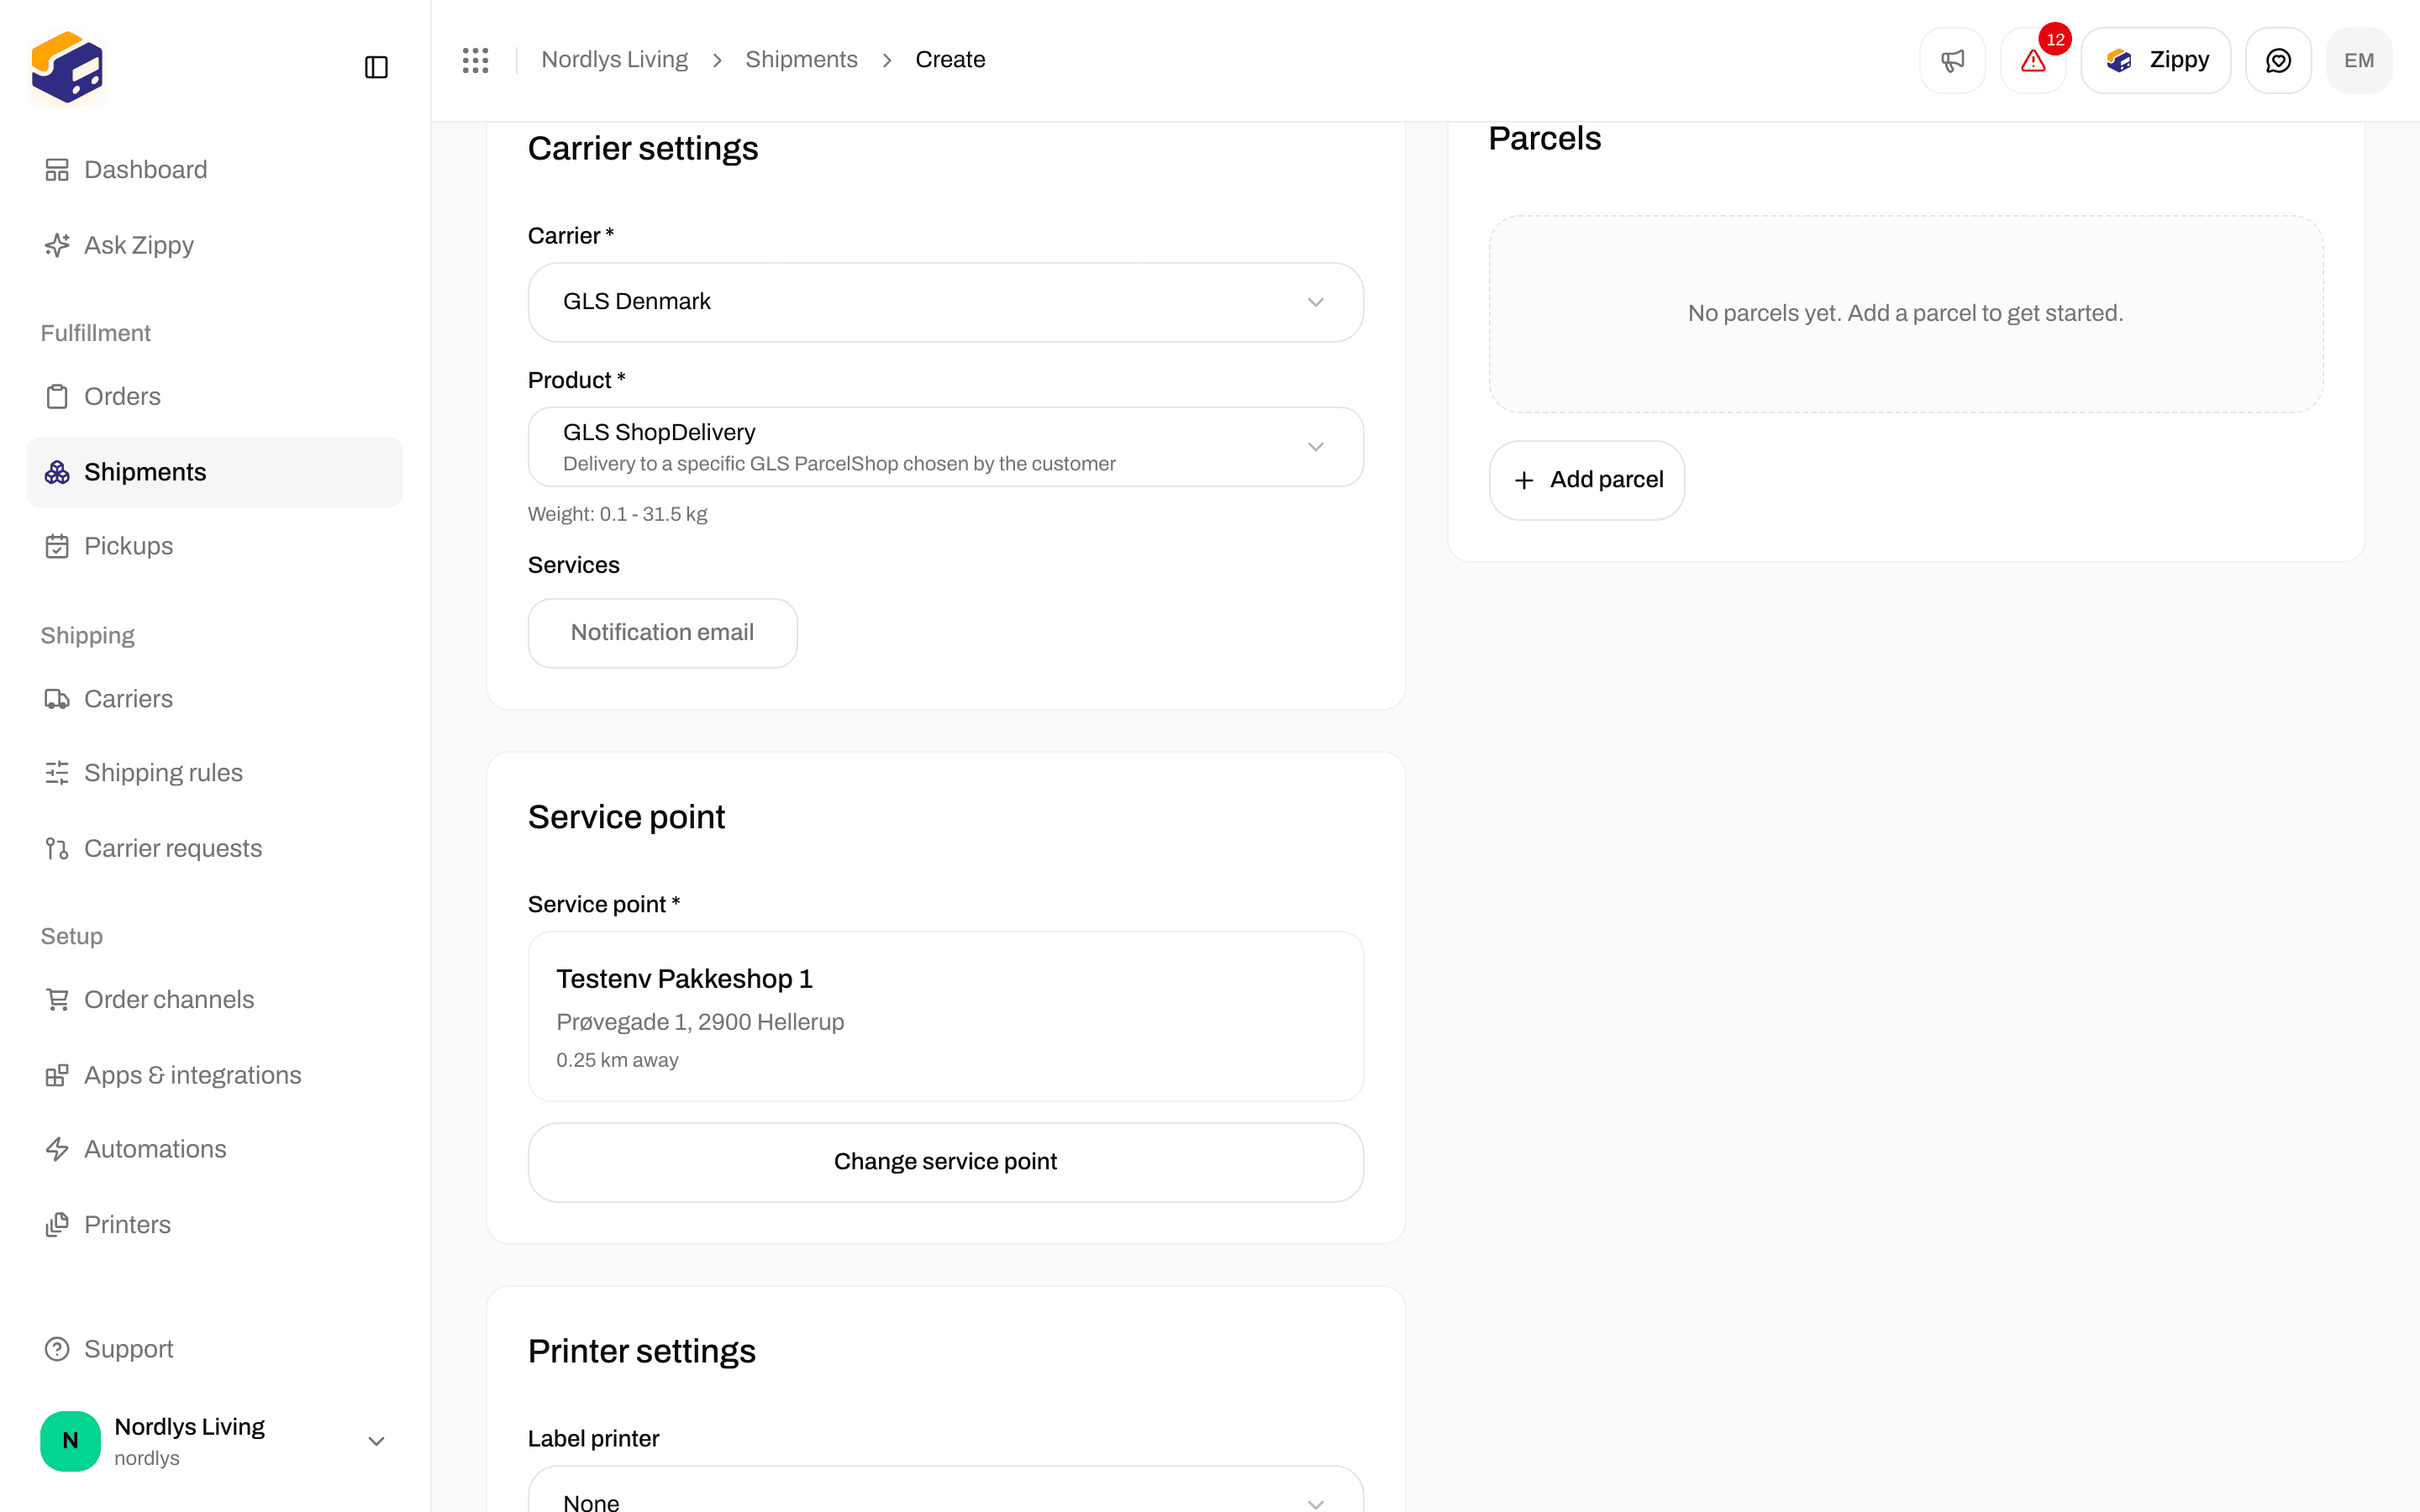
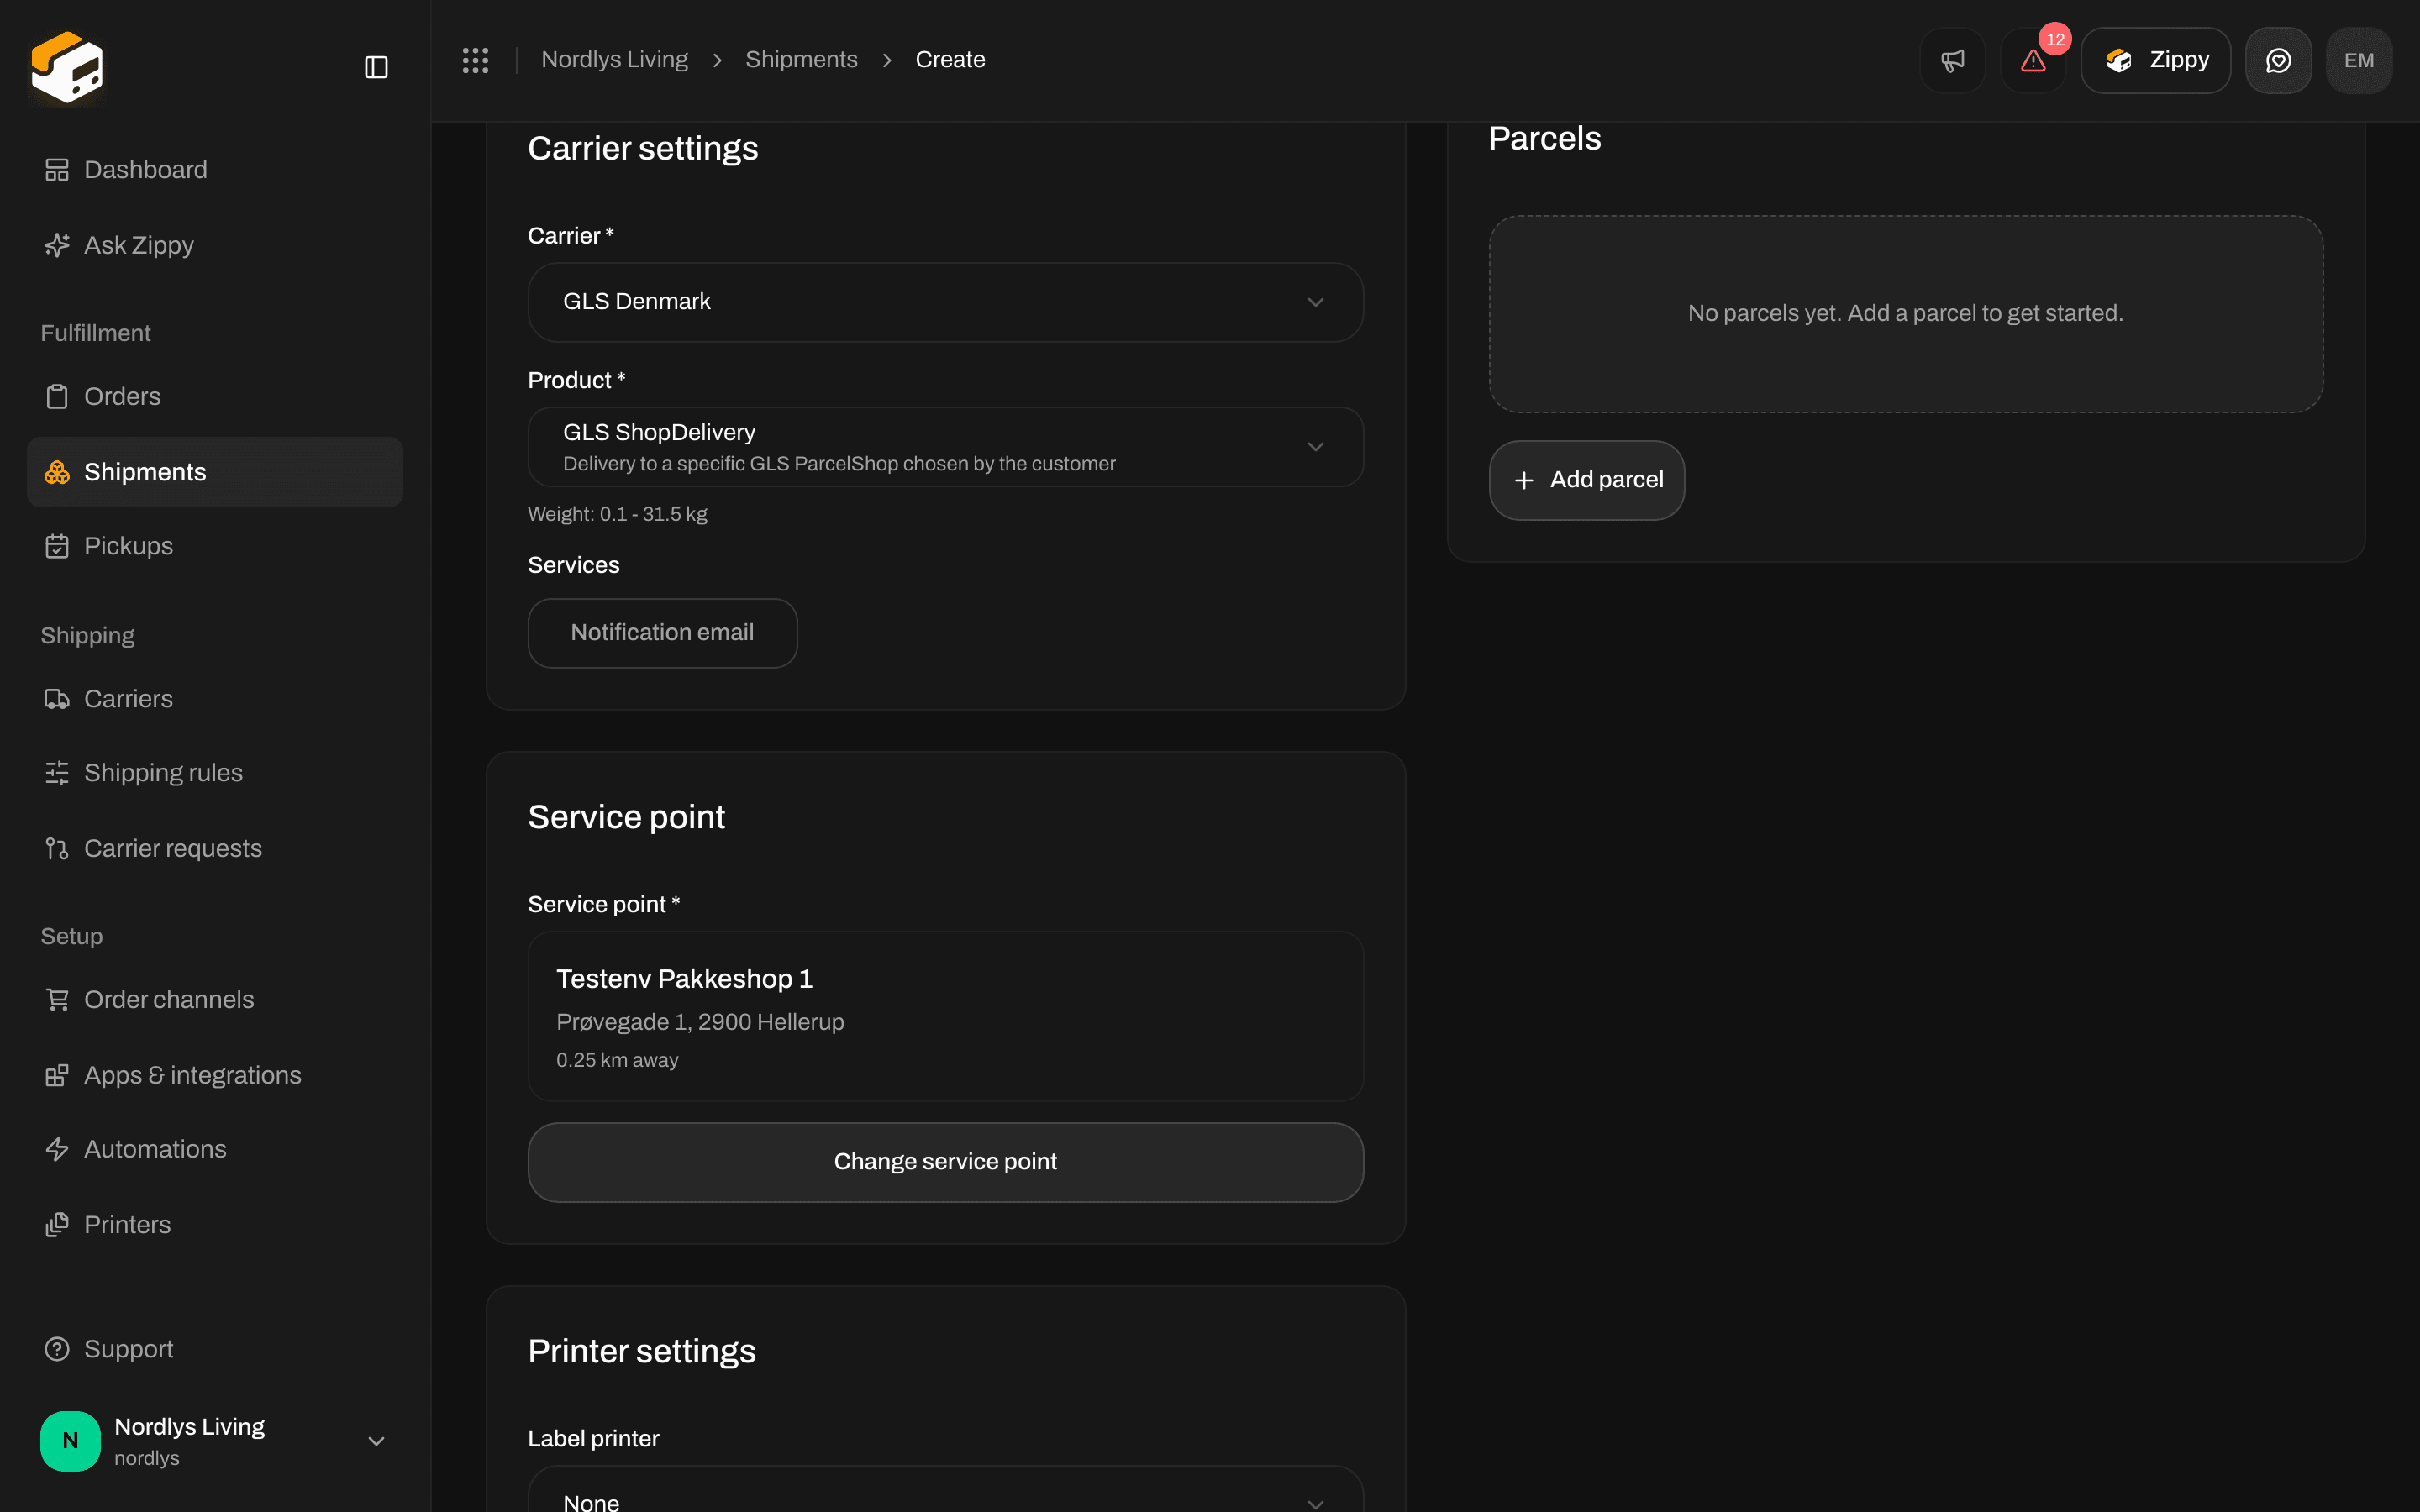
Some products deliver to a parcel shop or locker instead of the door. In the app that is Drop Point / Service Point. GLS ShopDelivery is one of those products. Pick the shop product. The Drop Point card appears under Carrier Settings. Until the receiver has address, postal code, city, and country, it shows Please add a receiver address first to find nearby droppoints.
Create Shipment with GLS ShopDelivery, Notification Email, and a Drop Point card asking for a receiver addressCreate Shipment with GLS ShopDelivery, Notification Email, and a Drop Point card asking for a receiver address

GLS ShopDelivery selected — Drop Point waits for a complete receiver address

1

Add the receiver

Click Receiver, fill name, address line 1, postal code, city, and a 2-letter country code, then save.
2

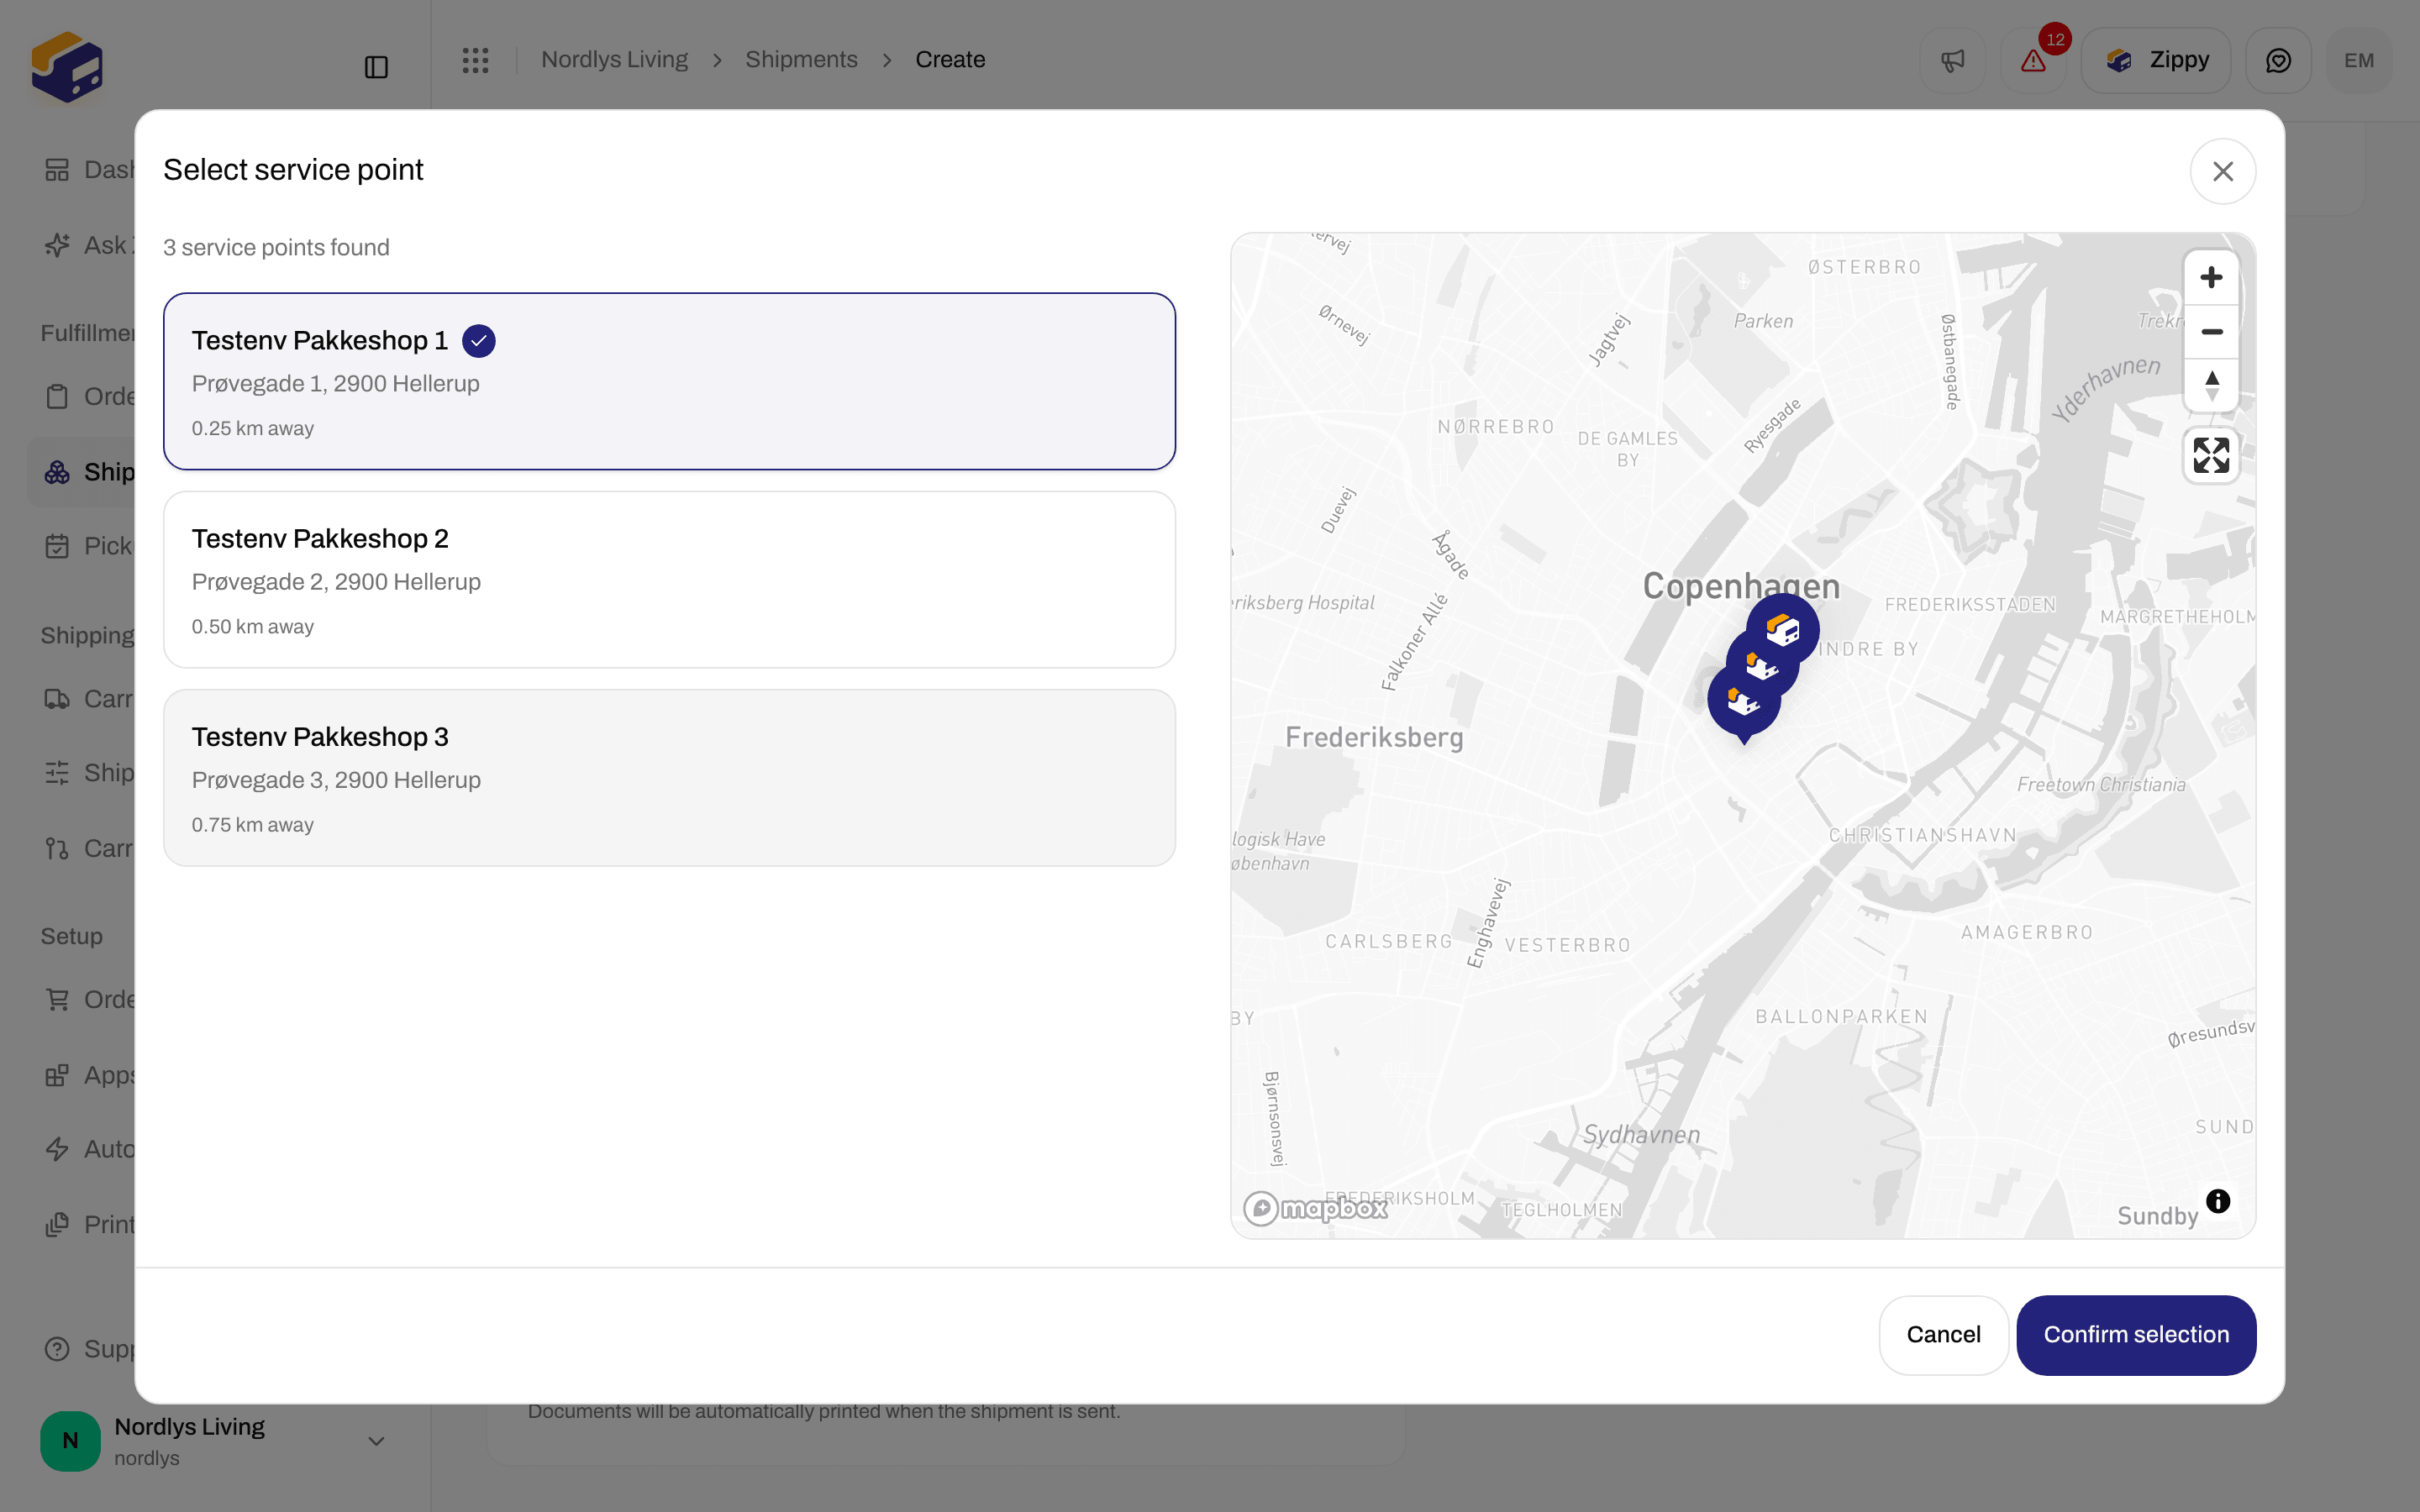
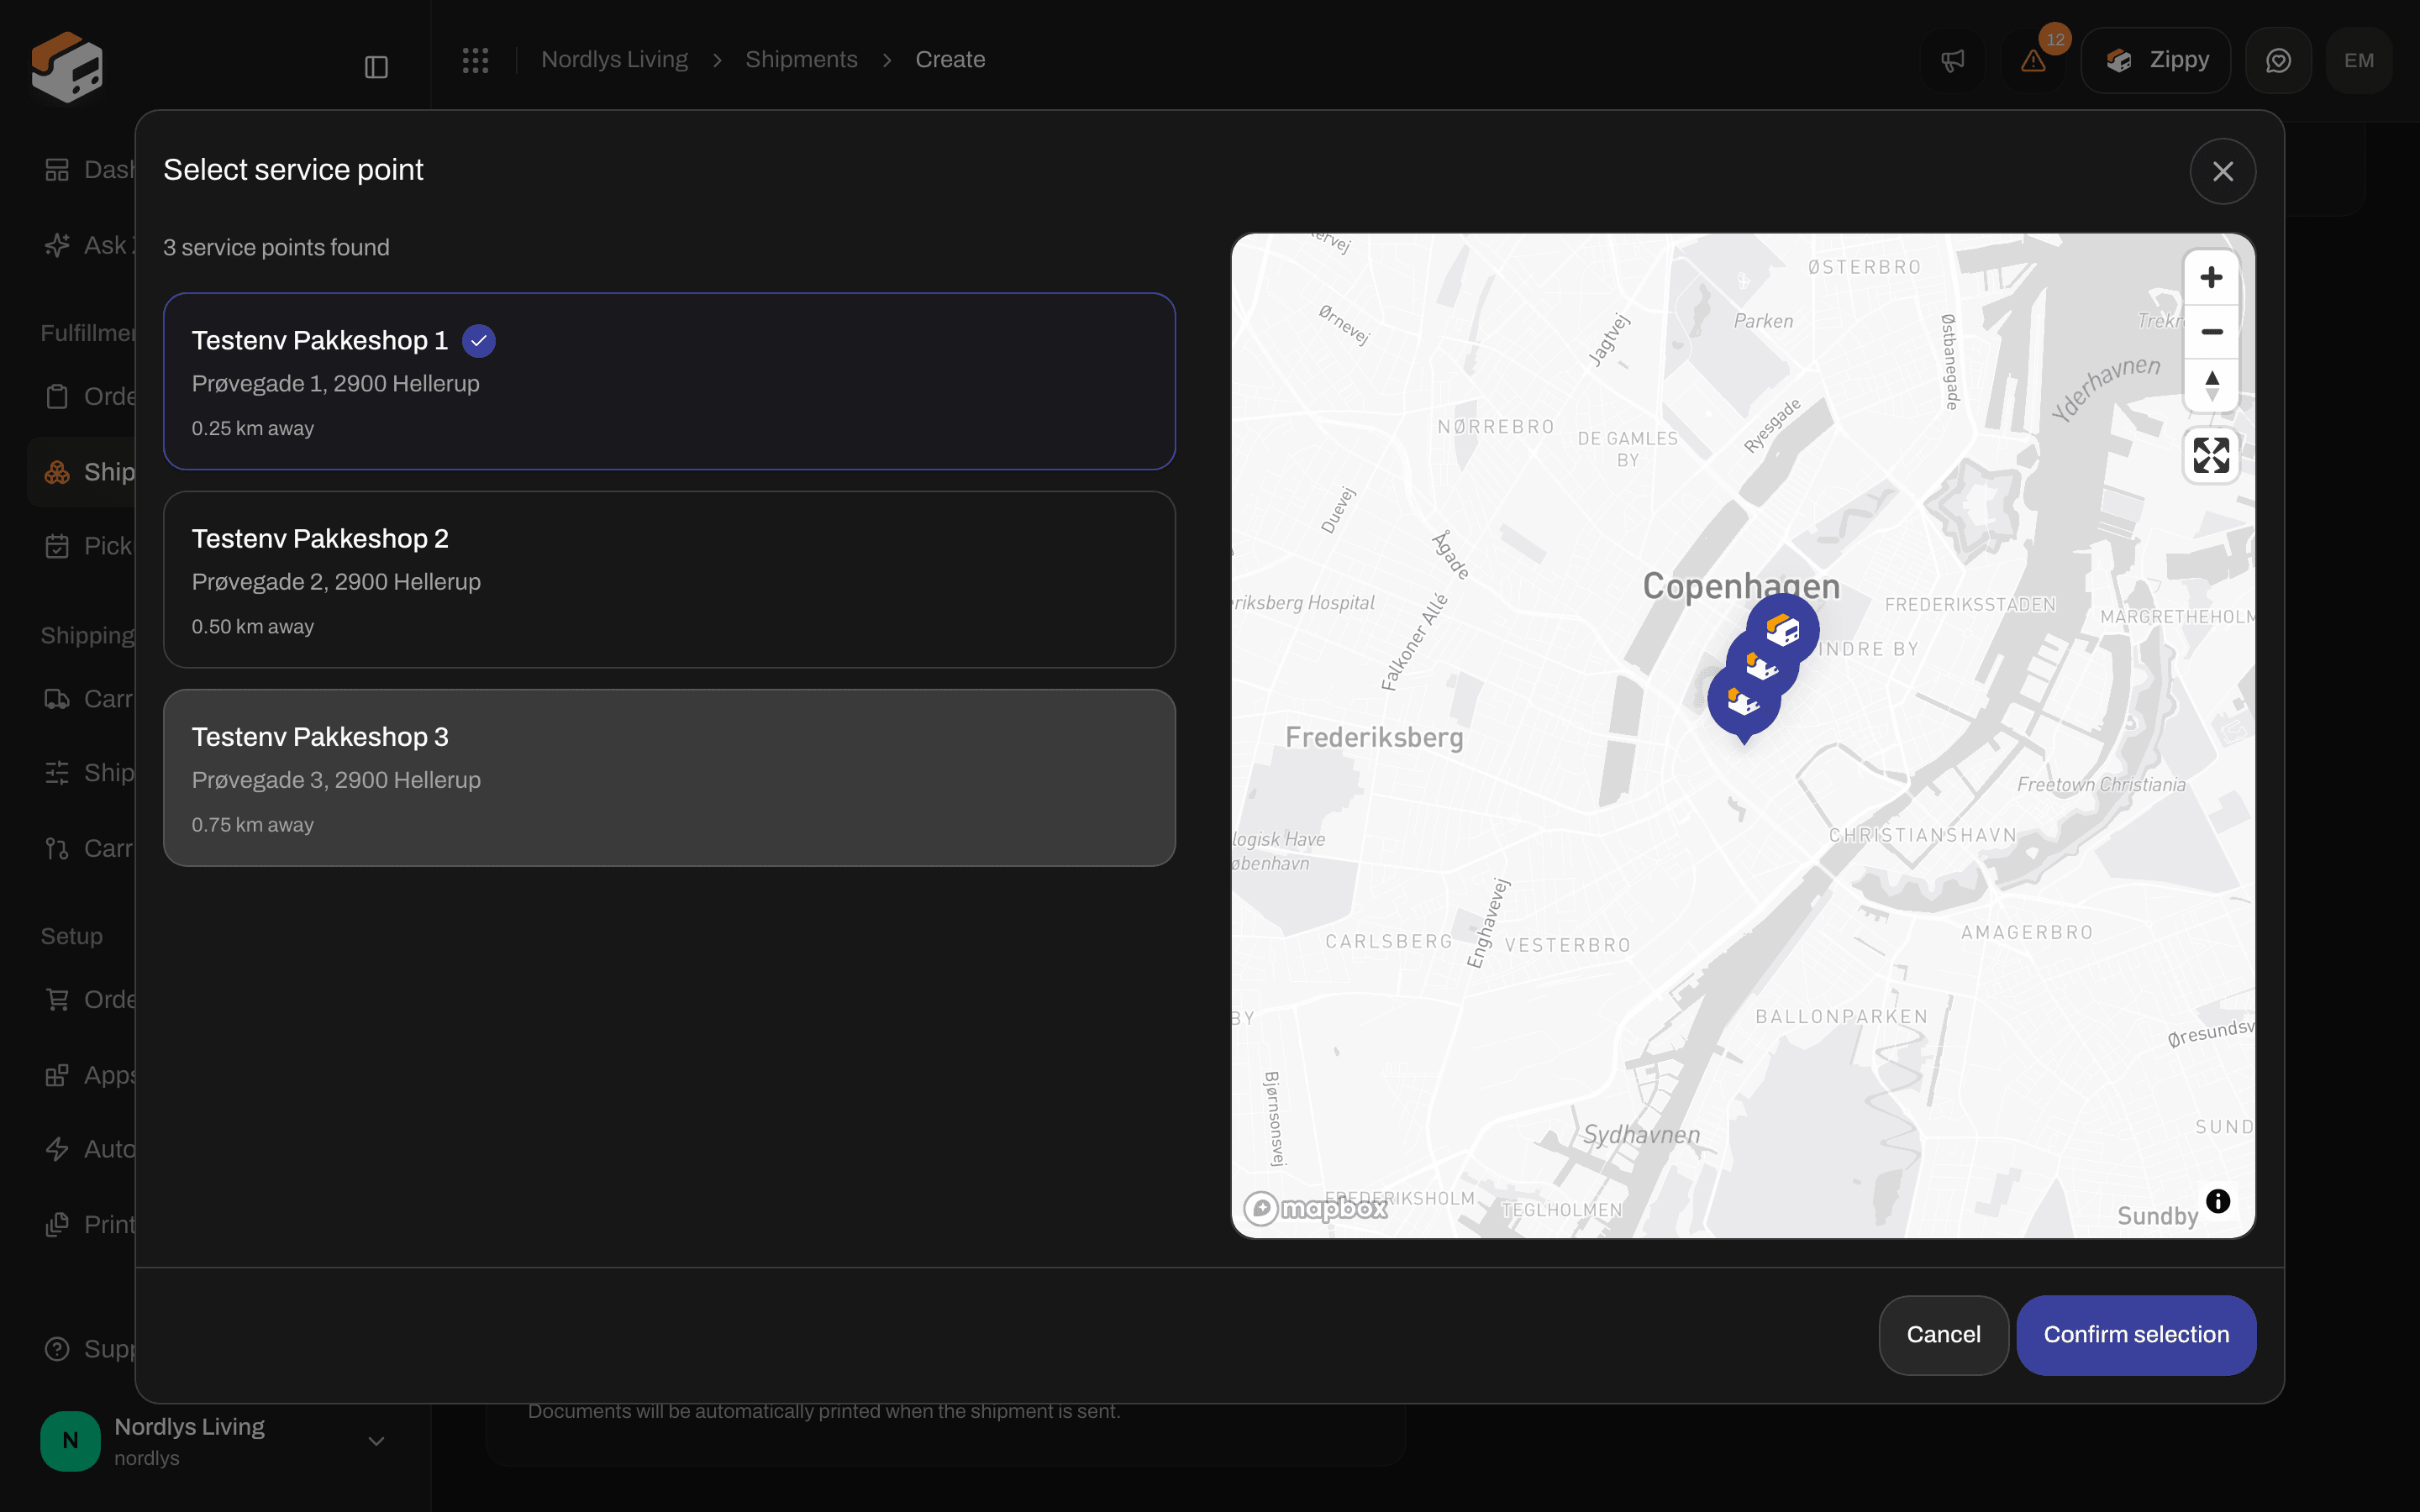
Select Service Point

The Drop Point card searches nearby shops. Click Select Service Point (or Change Service Point if one is already filled).
3

Confirm Selection

The Select Service Point dialog lists points with distance and a map. Choose one and click Confirm Selection.
Select Service Point dialog with three shops and a map of CopenhagenSelect Service Point dialog with three shops and a map of Copenhagen

Select Service Point lists nearby shops on a map — confirm to attach one to the shipment

You cannot create the shipment until a service point is selected on a shop product. If search returns nothing, check the receiver address and use Retry. More detail: Droppoint search. Pickup (the carrier collects from you) is a different thing — a service on some products, or a later scheduled pickup. It is not the Drop Point card.

Request a missing carrier

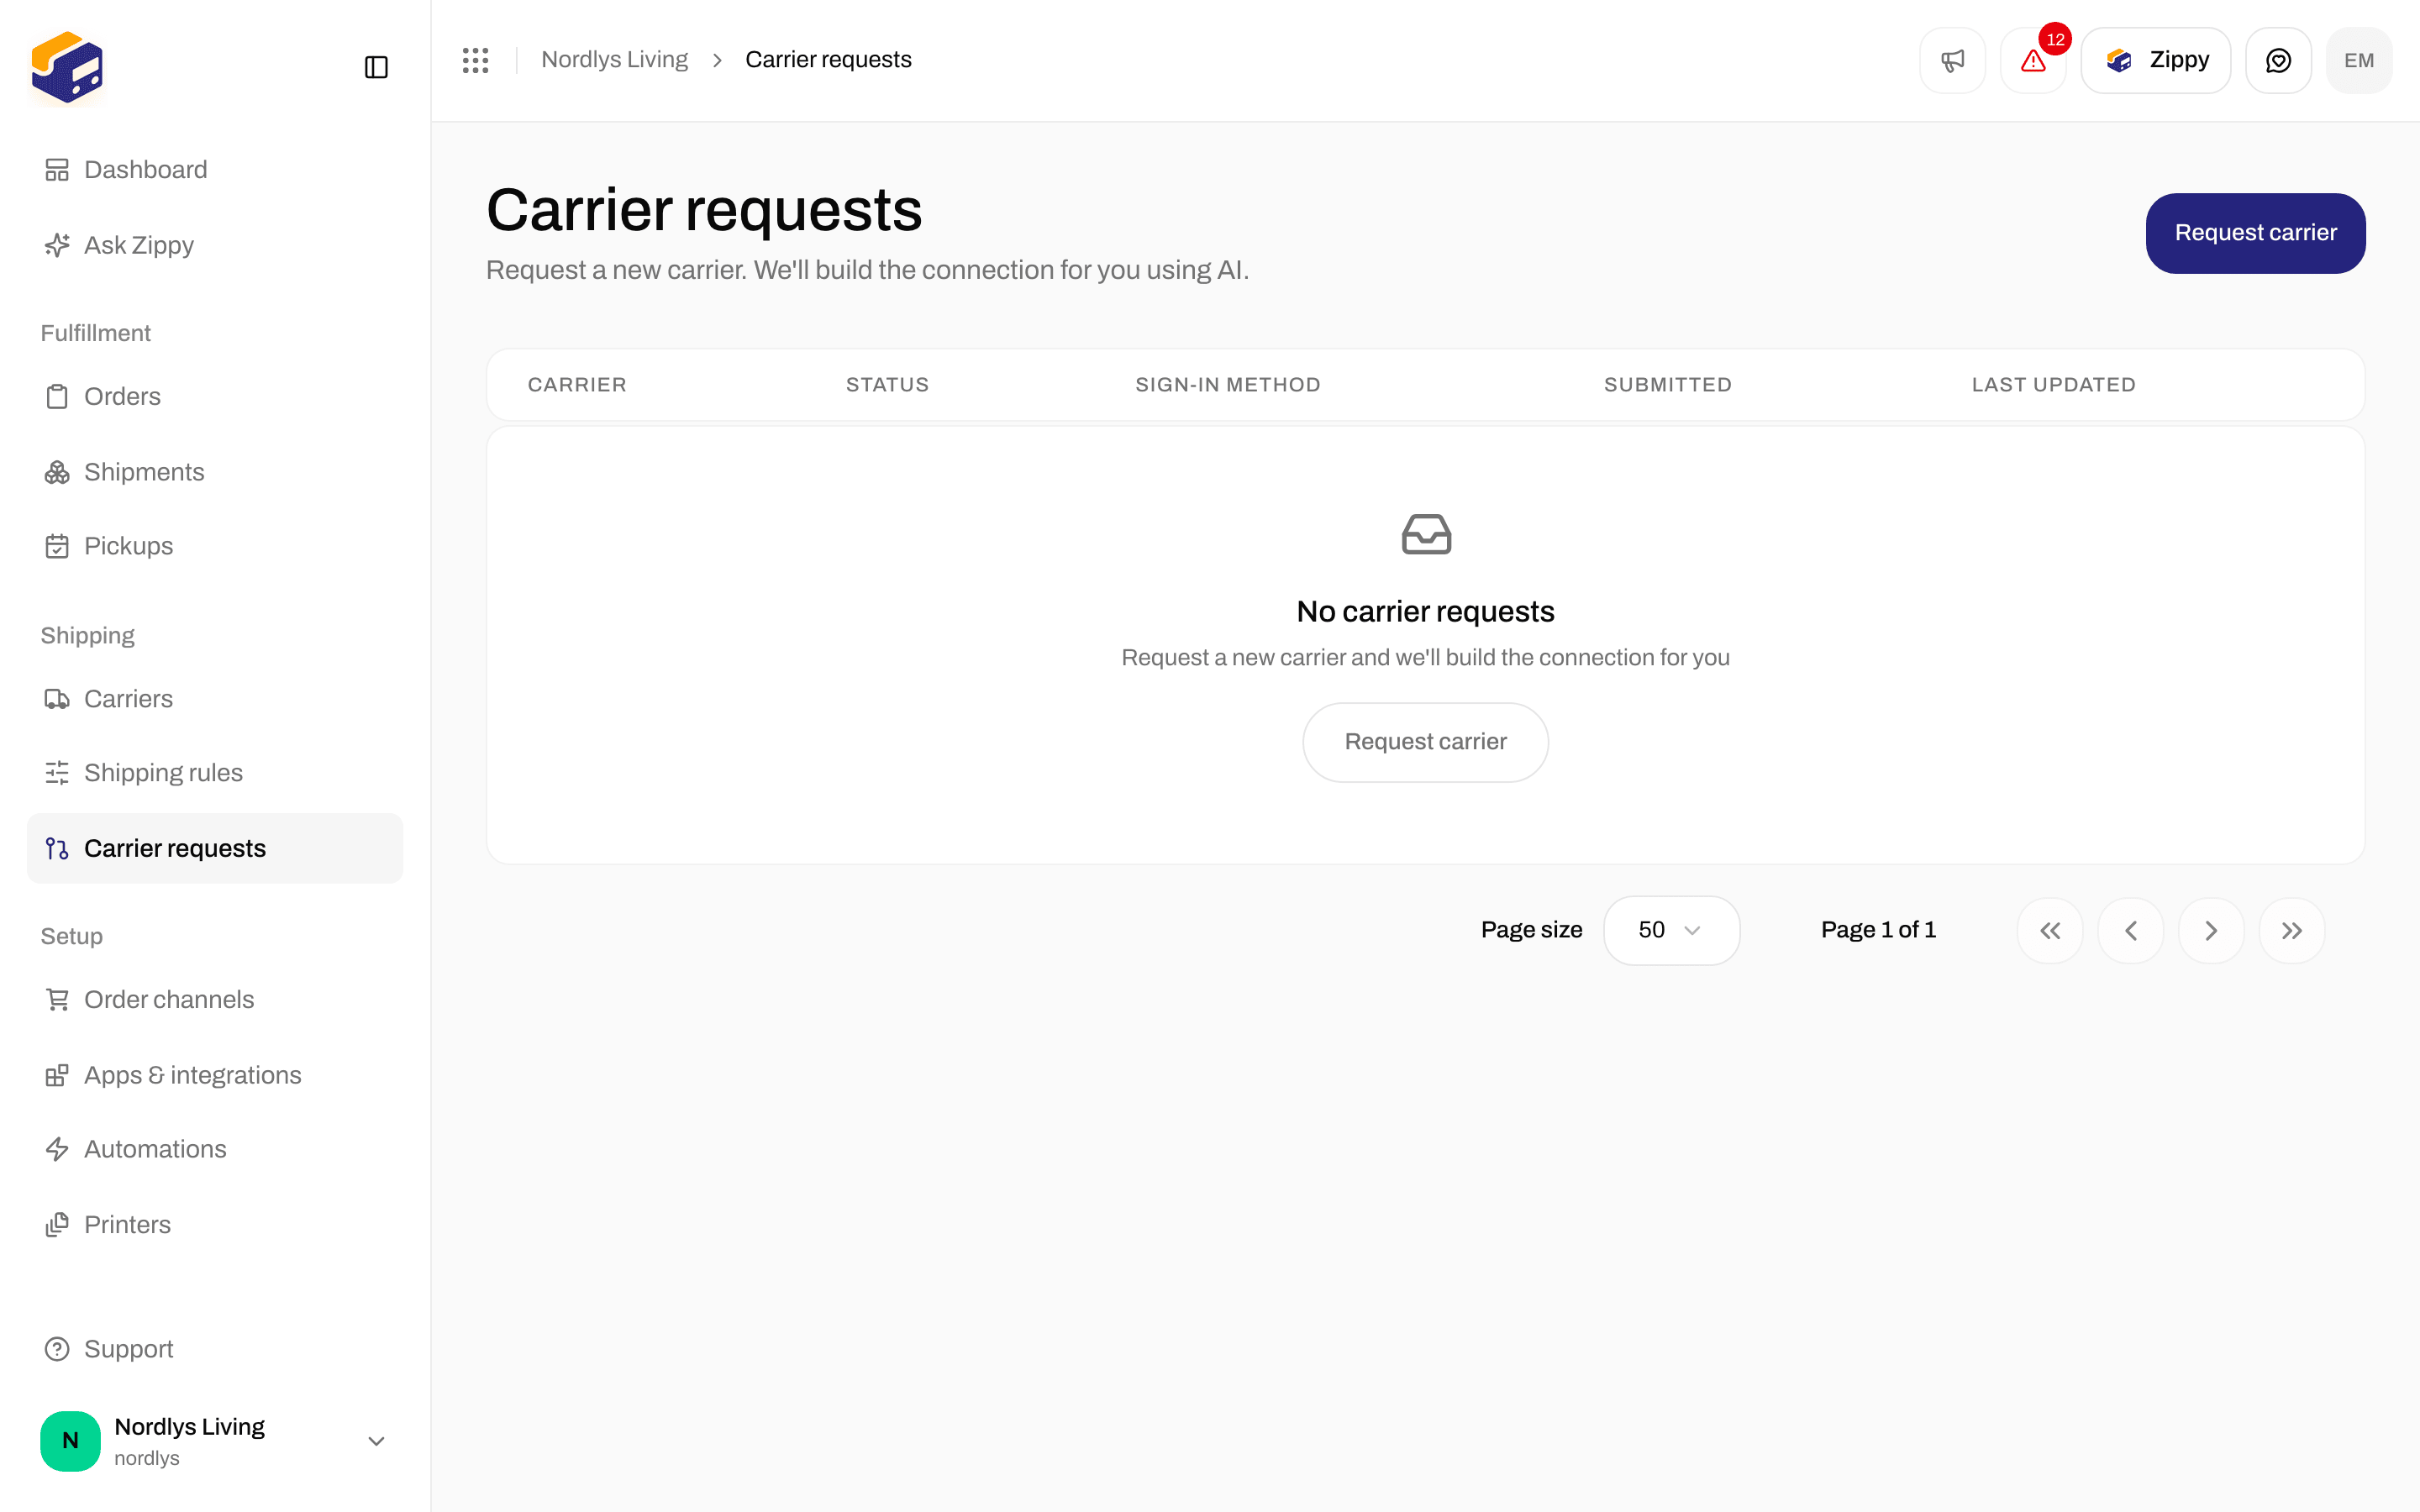
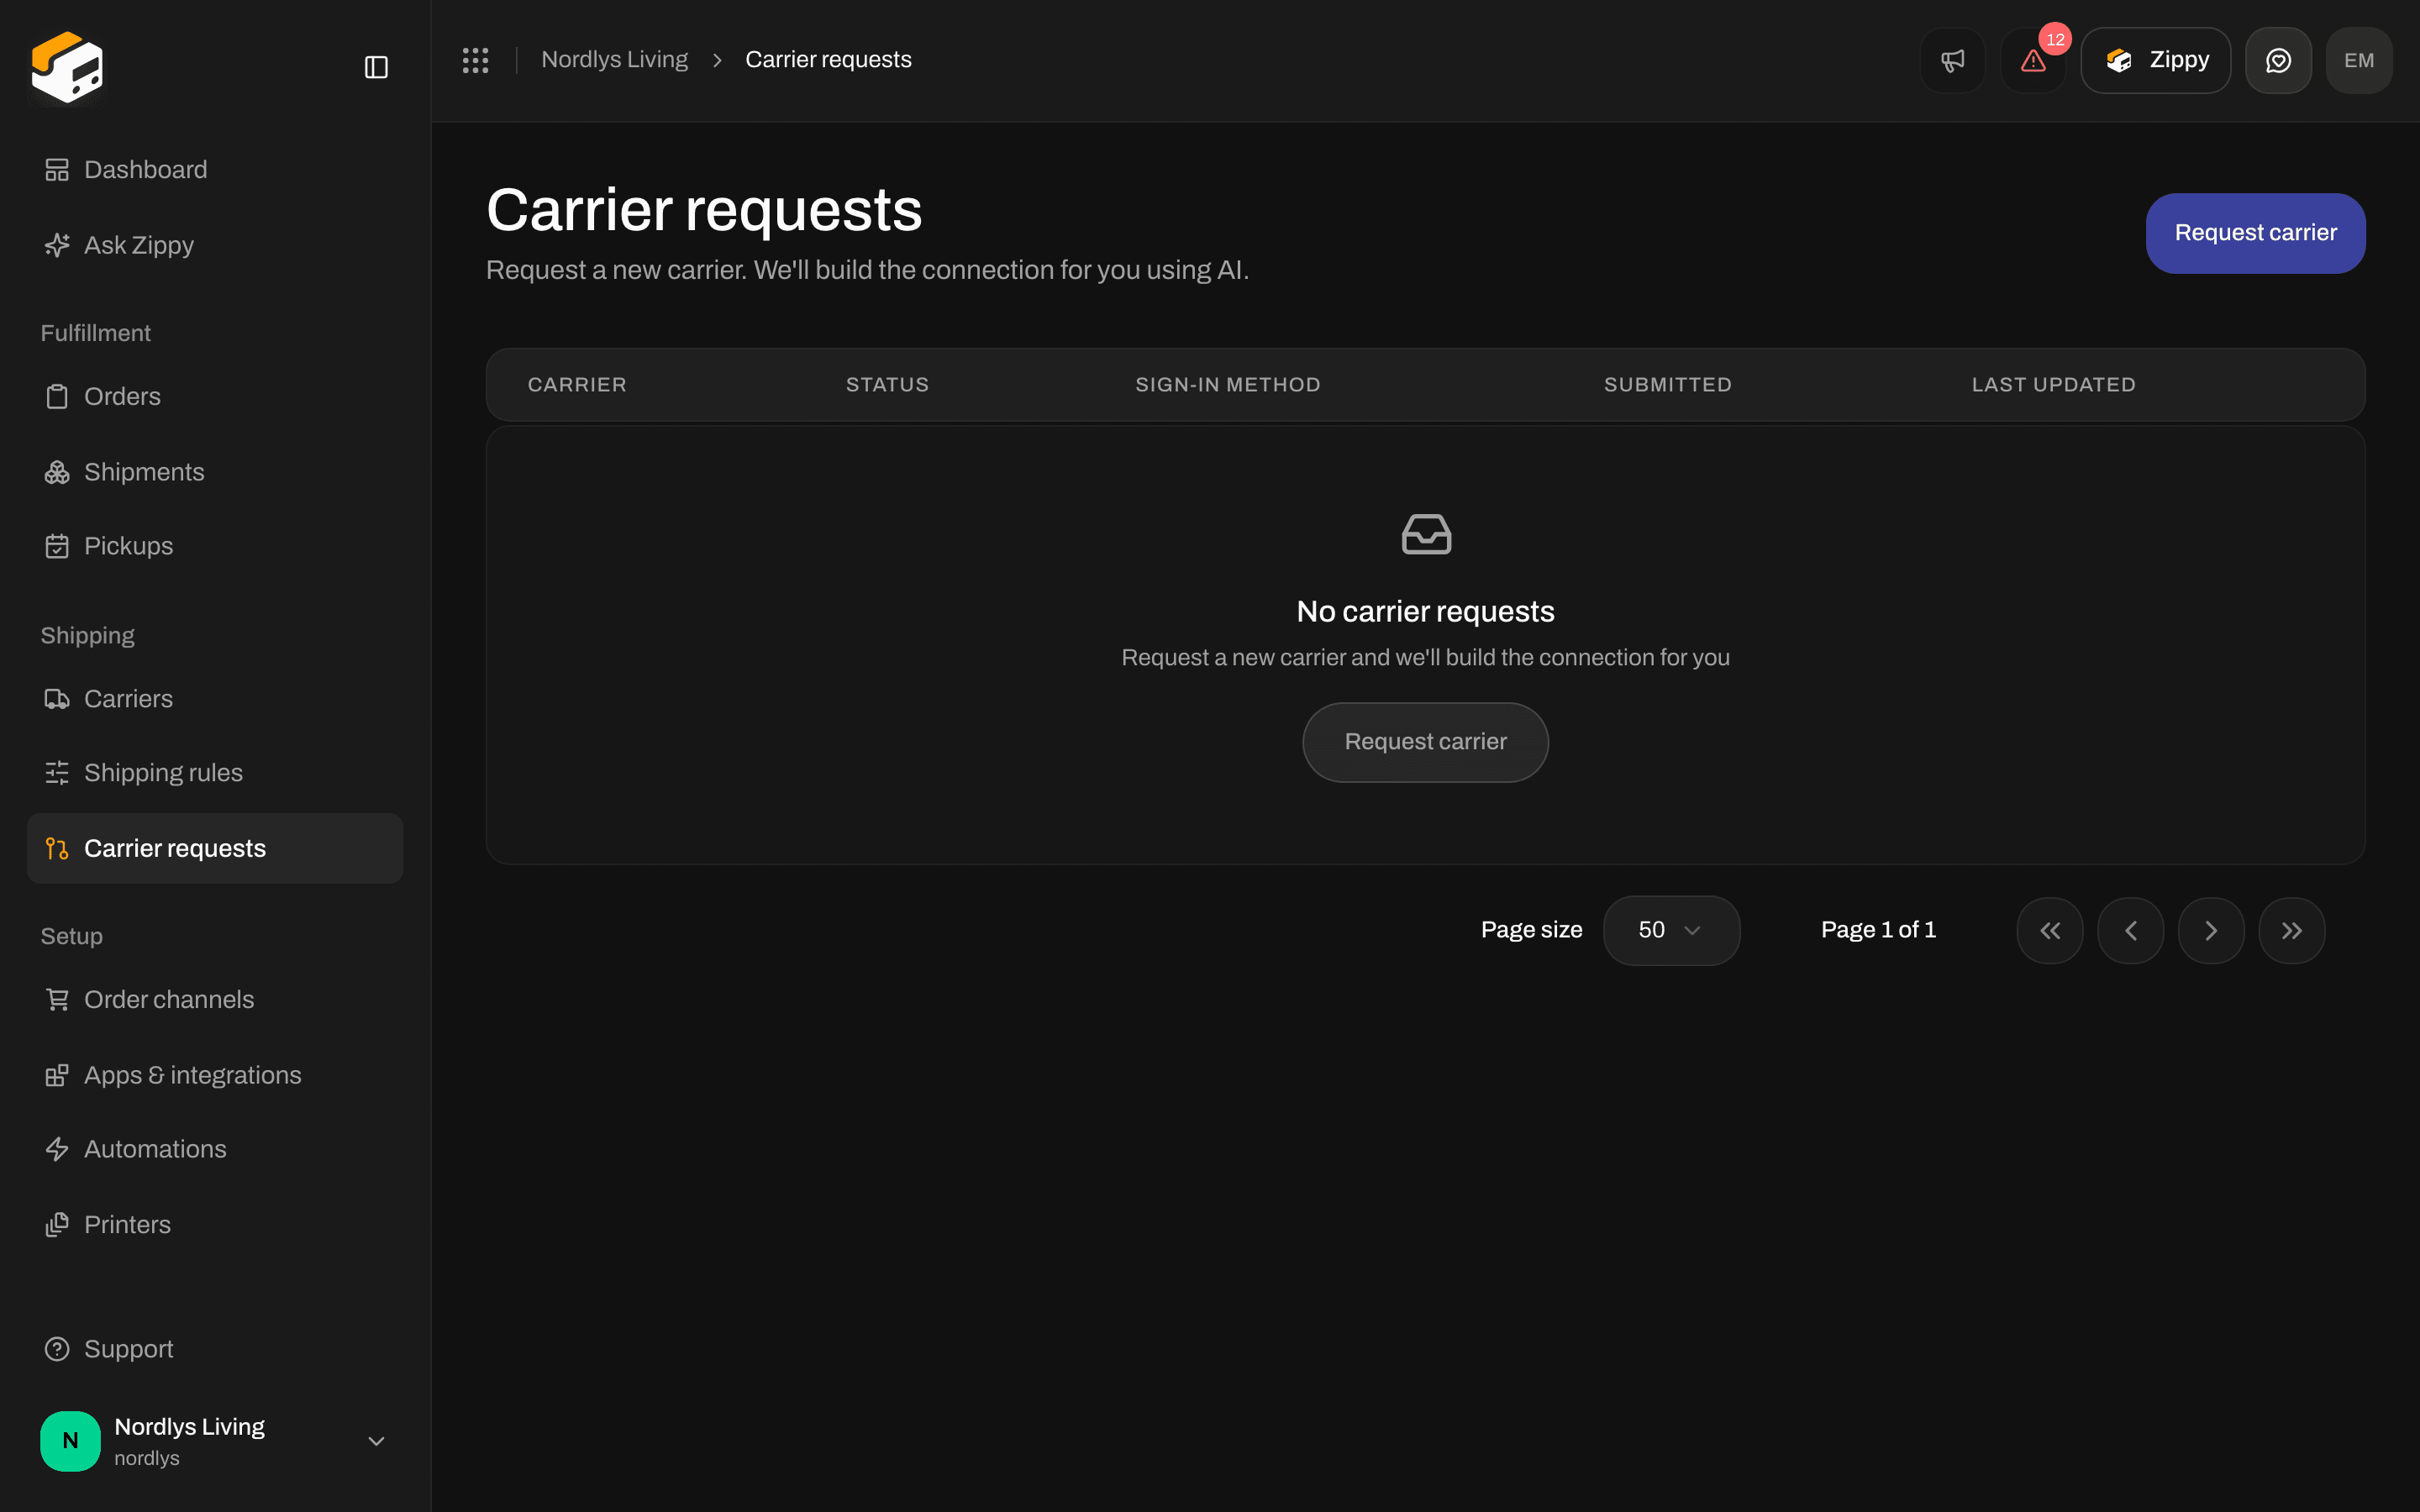
If the catalog does not include the carrier you need, open Carrier Requests in the sidebar. The page title is Carrier Integration Requests. This is a request queue, not a health dashboard.
Carrier Integration Requests empty state with Request IntegrationCarrier Integration Requests empty state with Request Integration

Carrier Integration Requests — submit a new integration or review the ones you already sent

1

Request Integration

Click Request Integration in the header or the empty state.
2

Describe the carrier

The Request carrier integration dialog asks for Carrier Name, optional website and docs URLs, Authentication Type (API Key, OAuth 2.0, Basic Auth, or Custom), test credentials, and Notes.
3

Submit request

Zippendo tracks the request under Your requests with Carrier, Status, Auth Type, Submitted, and Last Updated.
Statuses include Pending, Approved, In Progress, Awaiting Review, Completed, Released, Rejected, and Failed.

Delete a carrier

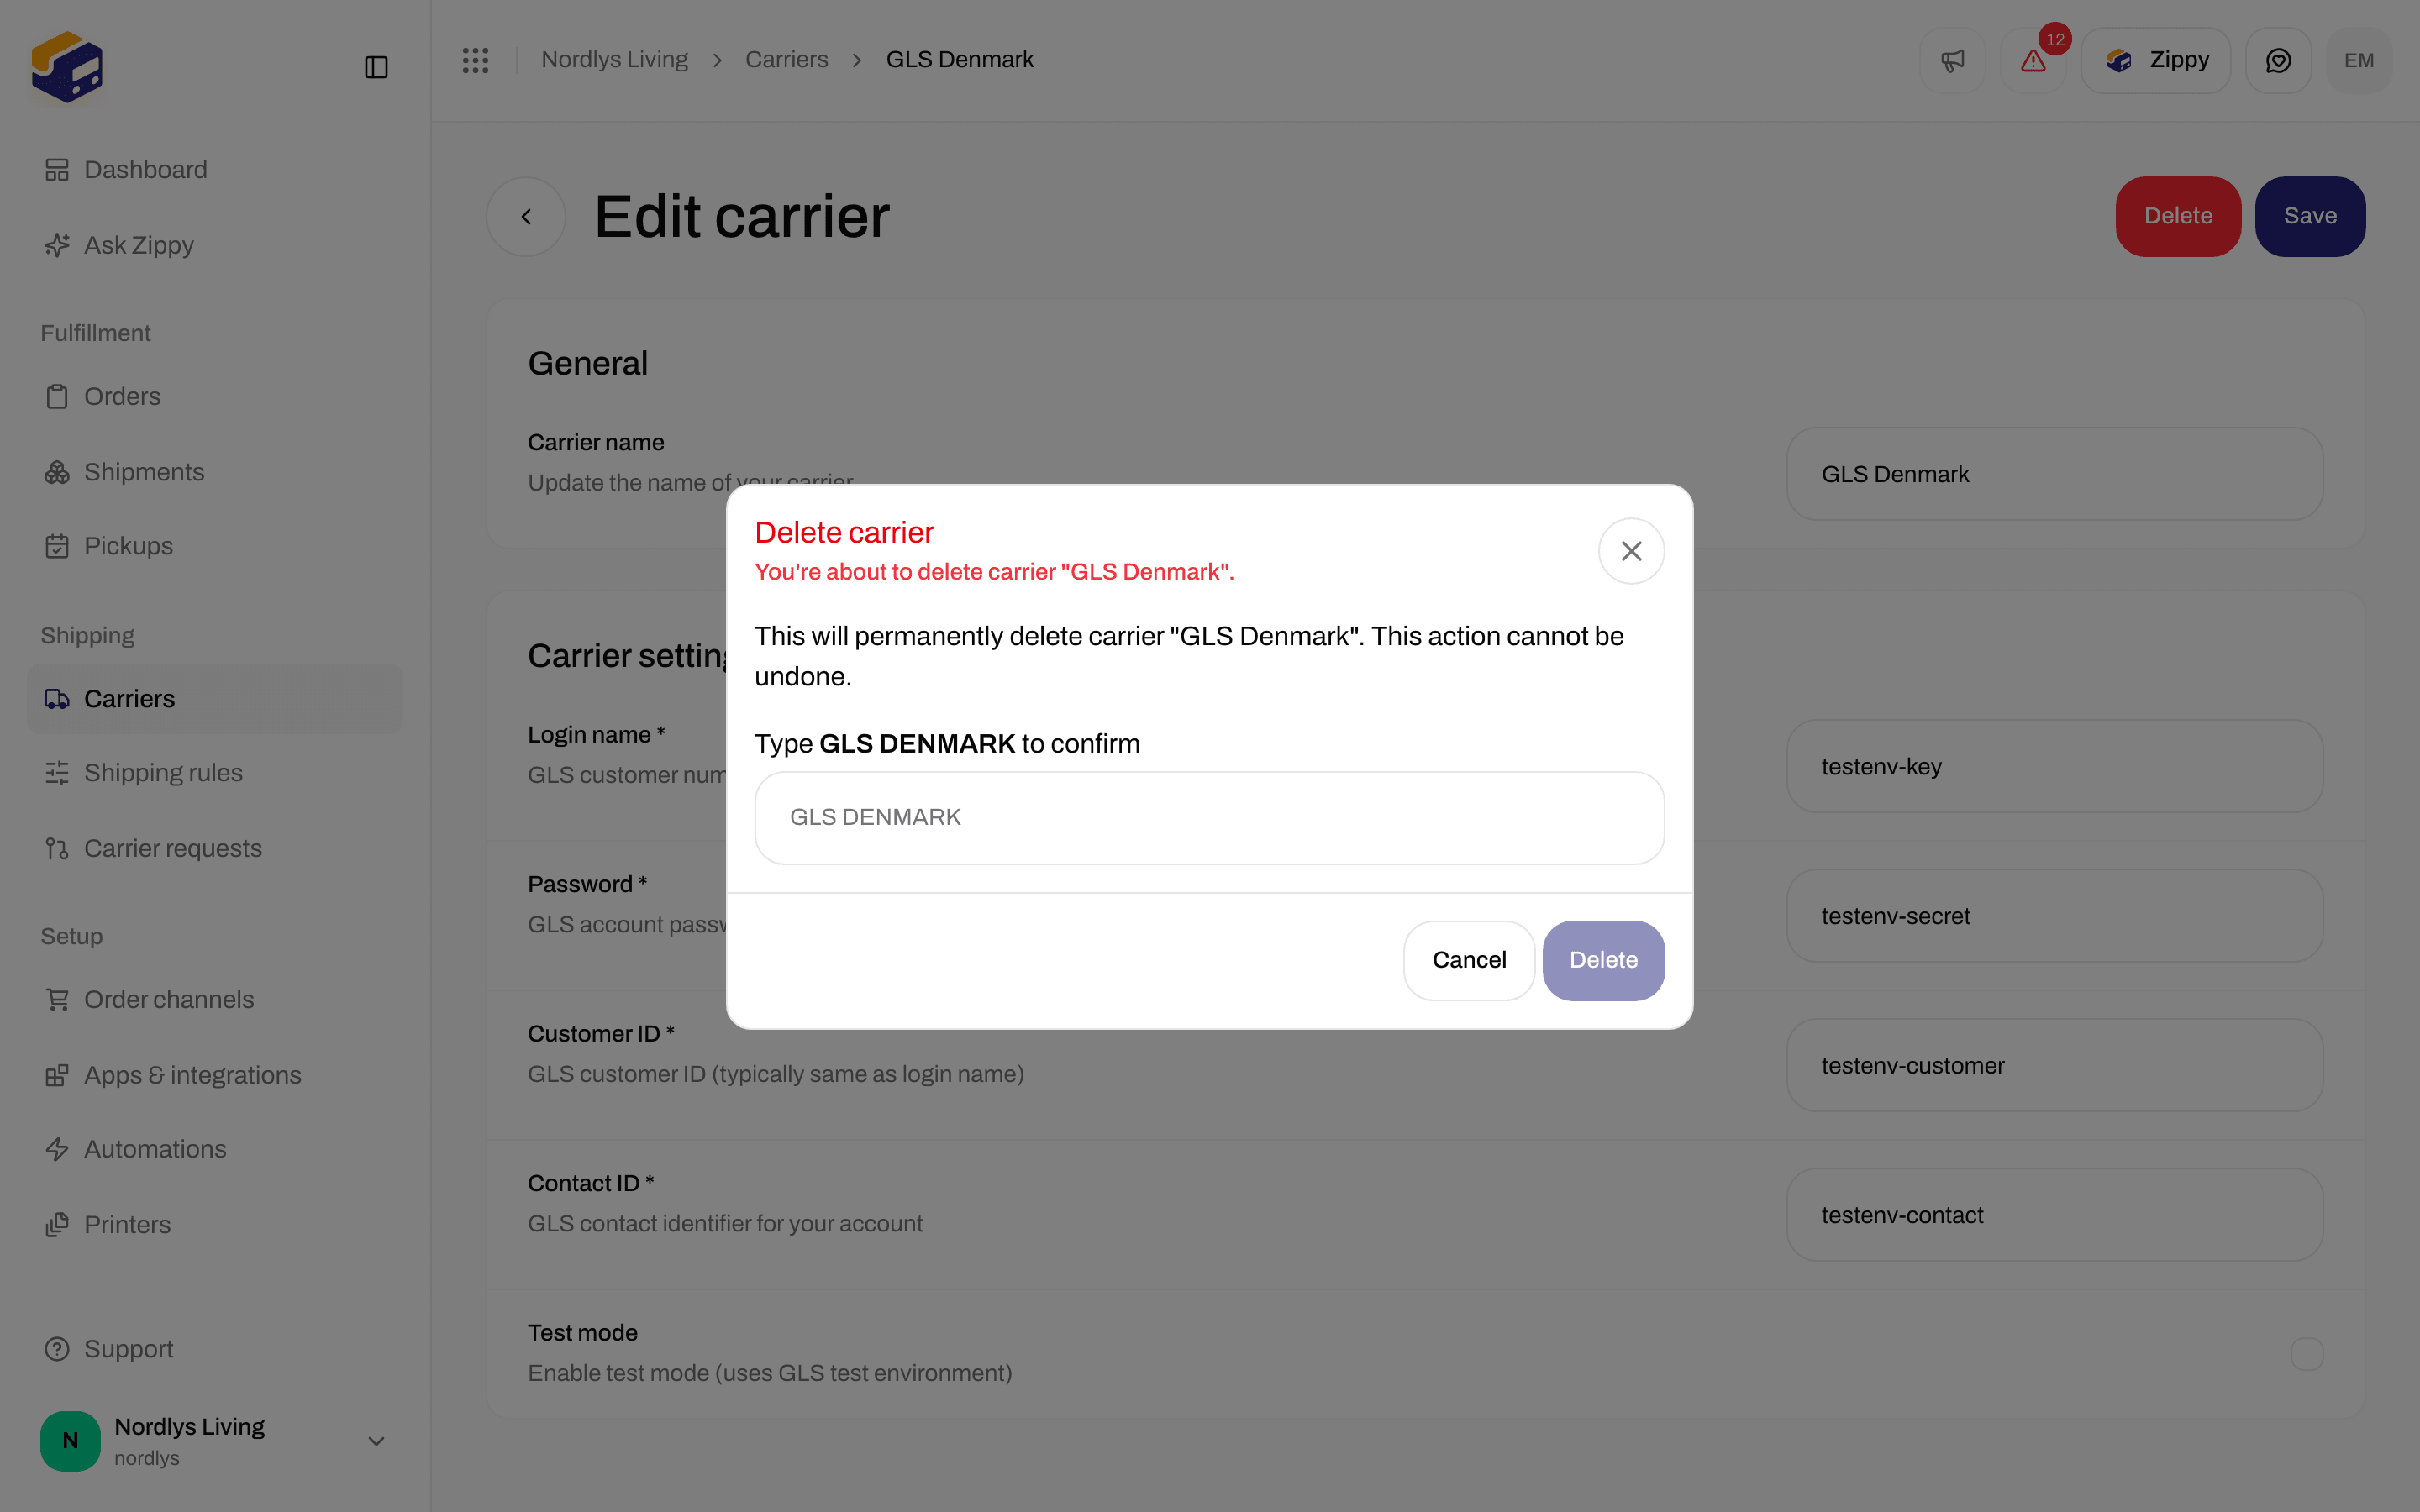
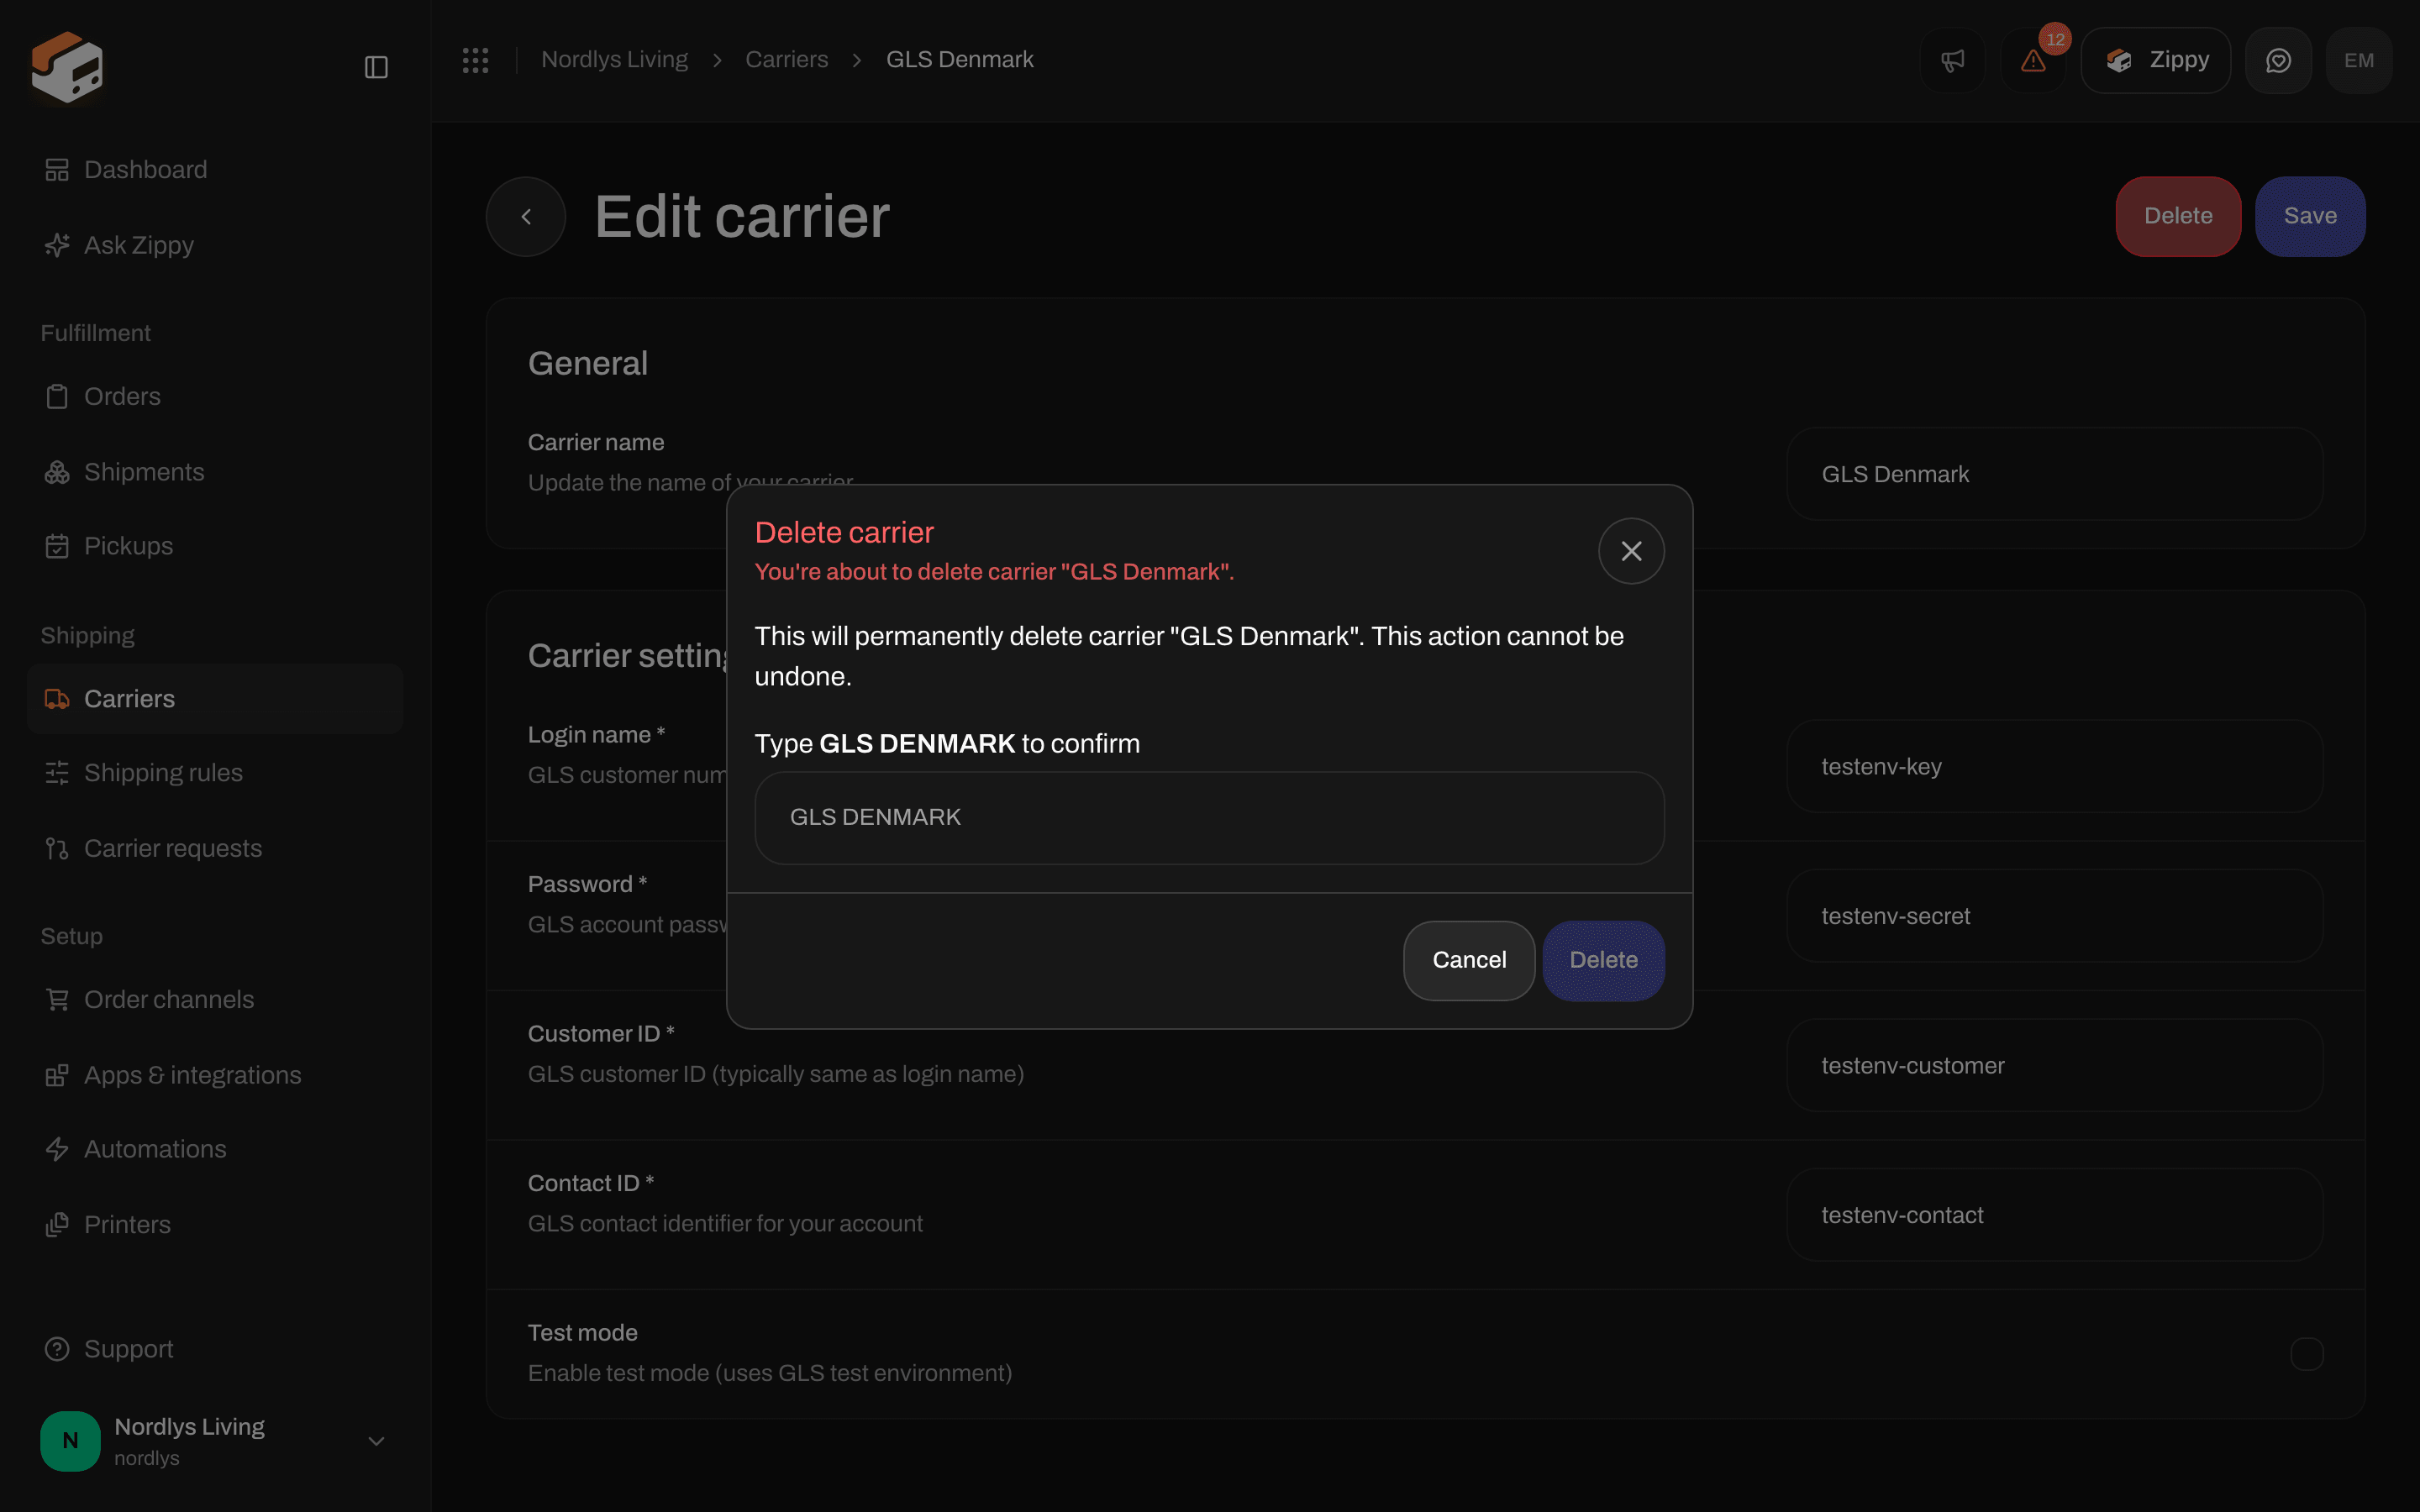
On Edit your carrier, click Delete. Confirm in the Delete Carrier dialog.
Delete Carrier dialog for GLS Denmark with the name typed in uppercase to confirmDelete Carrier dialog for GLS Denmark with the name typed in uppercase to confirm

Delete Carrier asks you to type the connection name in uppercase before you can confirm

The copy is This will permanently delete carrier "". This action cannot be undone. Type the carrier name in uppercase to enable Delete. A toast confirms Carrier deleted successfully. Disconnecting is safe if you need to reconnect with corrected credentials. Shipments already booked with that account keep their labels and tracking.

When a send fails

There is no separate carrier-health screen in the client. If Send Shipment fails:
  • The shipment shows a Shipment failed to send banner on the overview, with the localized error and Request Logs.
  • Open the shipment’s request logs for the carrier response.
  • Re-check Edit your carrier — wrong keys, mixed sandbox/live credentials, or an expired password are the usual causes.
See Carrier authentication failures and Labels not generating.

Next steps

Create a shipment

Pick carrier and product, then send.

Labels and printing

Book the label and print it.

Shipping rules

Pre-select carrier and product from order data.

Settings, team, and brands

Assign a carrier to a brand.
Field-level: Carrier credentials · Sandbox mode · Products and services · Request a carrier