Zippendo does not host a shopper checkout widget or a rate sandbox in the dashboard. Live rates appear in your store checkout — Shopify Carrier-Calculated Shipping, the Zippendo for WooCommerce plugin, or POST /orgs/:orgId/shipping-quote on a headless storefront. What you configure in Zippendo is which shipping rules become those options, how many pickup points to show, and (Shopify) whether the Zippendo Shipping carrier service is registered.
Connect the store first — Connect Shopify or Connect order channels — and add at least one outbound shipping rule. Without a rule, checkout has nothing to offer.

What the shopper sees

A matching shipping rule becomes a shipping method. The shopper’s destination country, cart weight, order value, and item count decide which rules appear and what they cost. Service-point rules expand into individual pickup locations. After checkout, the order syncs into Orders with that rule attached, so creating a shipment fills carrier, product, and sender from the rule.
You cannot preview a cart inside Zippendo. The Test button on a shipping rule tests conditions (would this rule match this cart?), not a live carrier quote. See Shipping rules.

Prerequisites

1

Connect the store

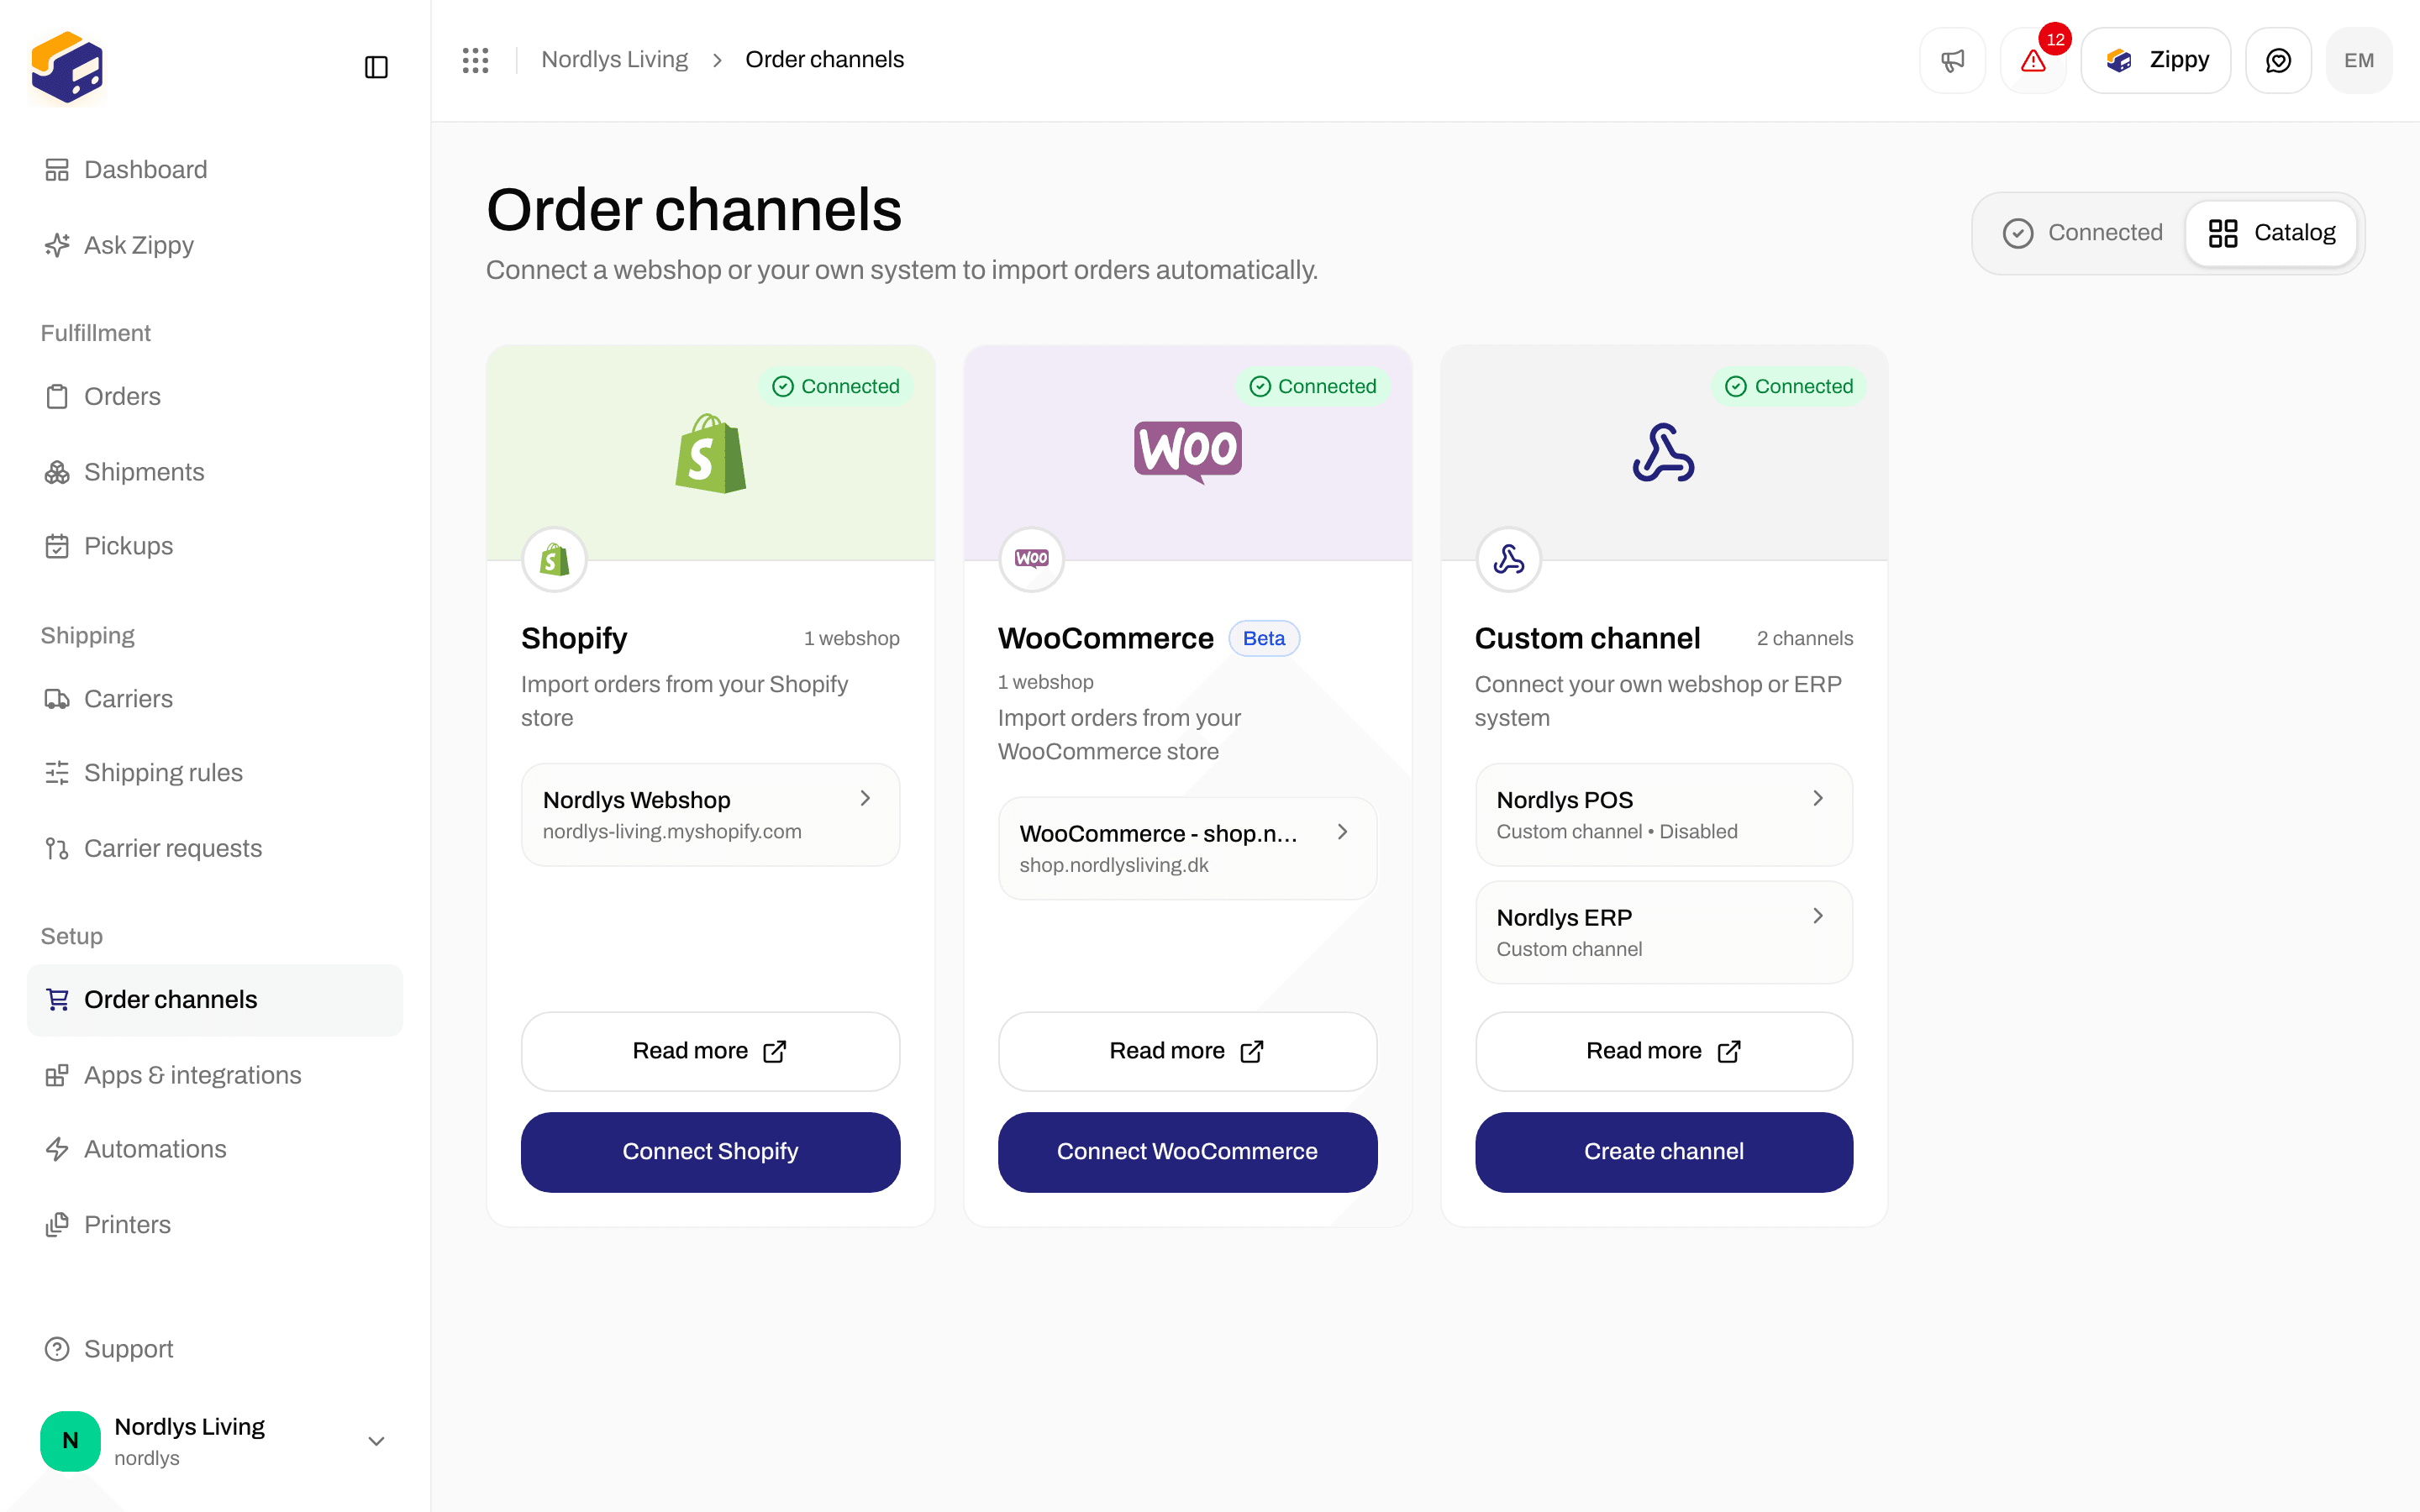
Order Channels → Available integrations. Shopify, WooCommerce, or a custom channel.
2

Connect carriers

Carriers → All Carriers. Rates use the products on those accounts — Carriers.
3

Add outbound shipping rules

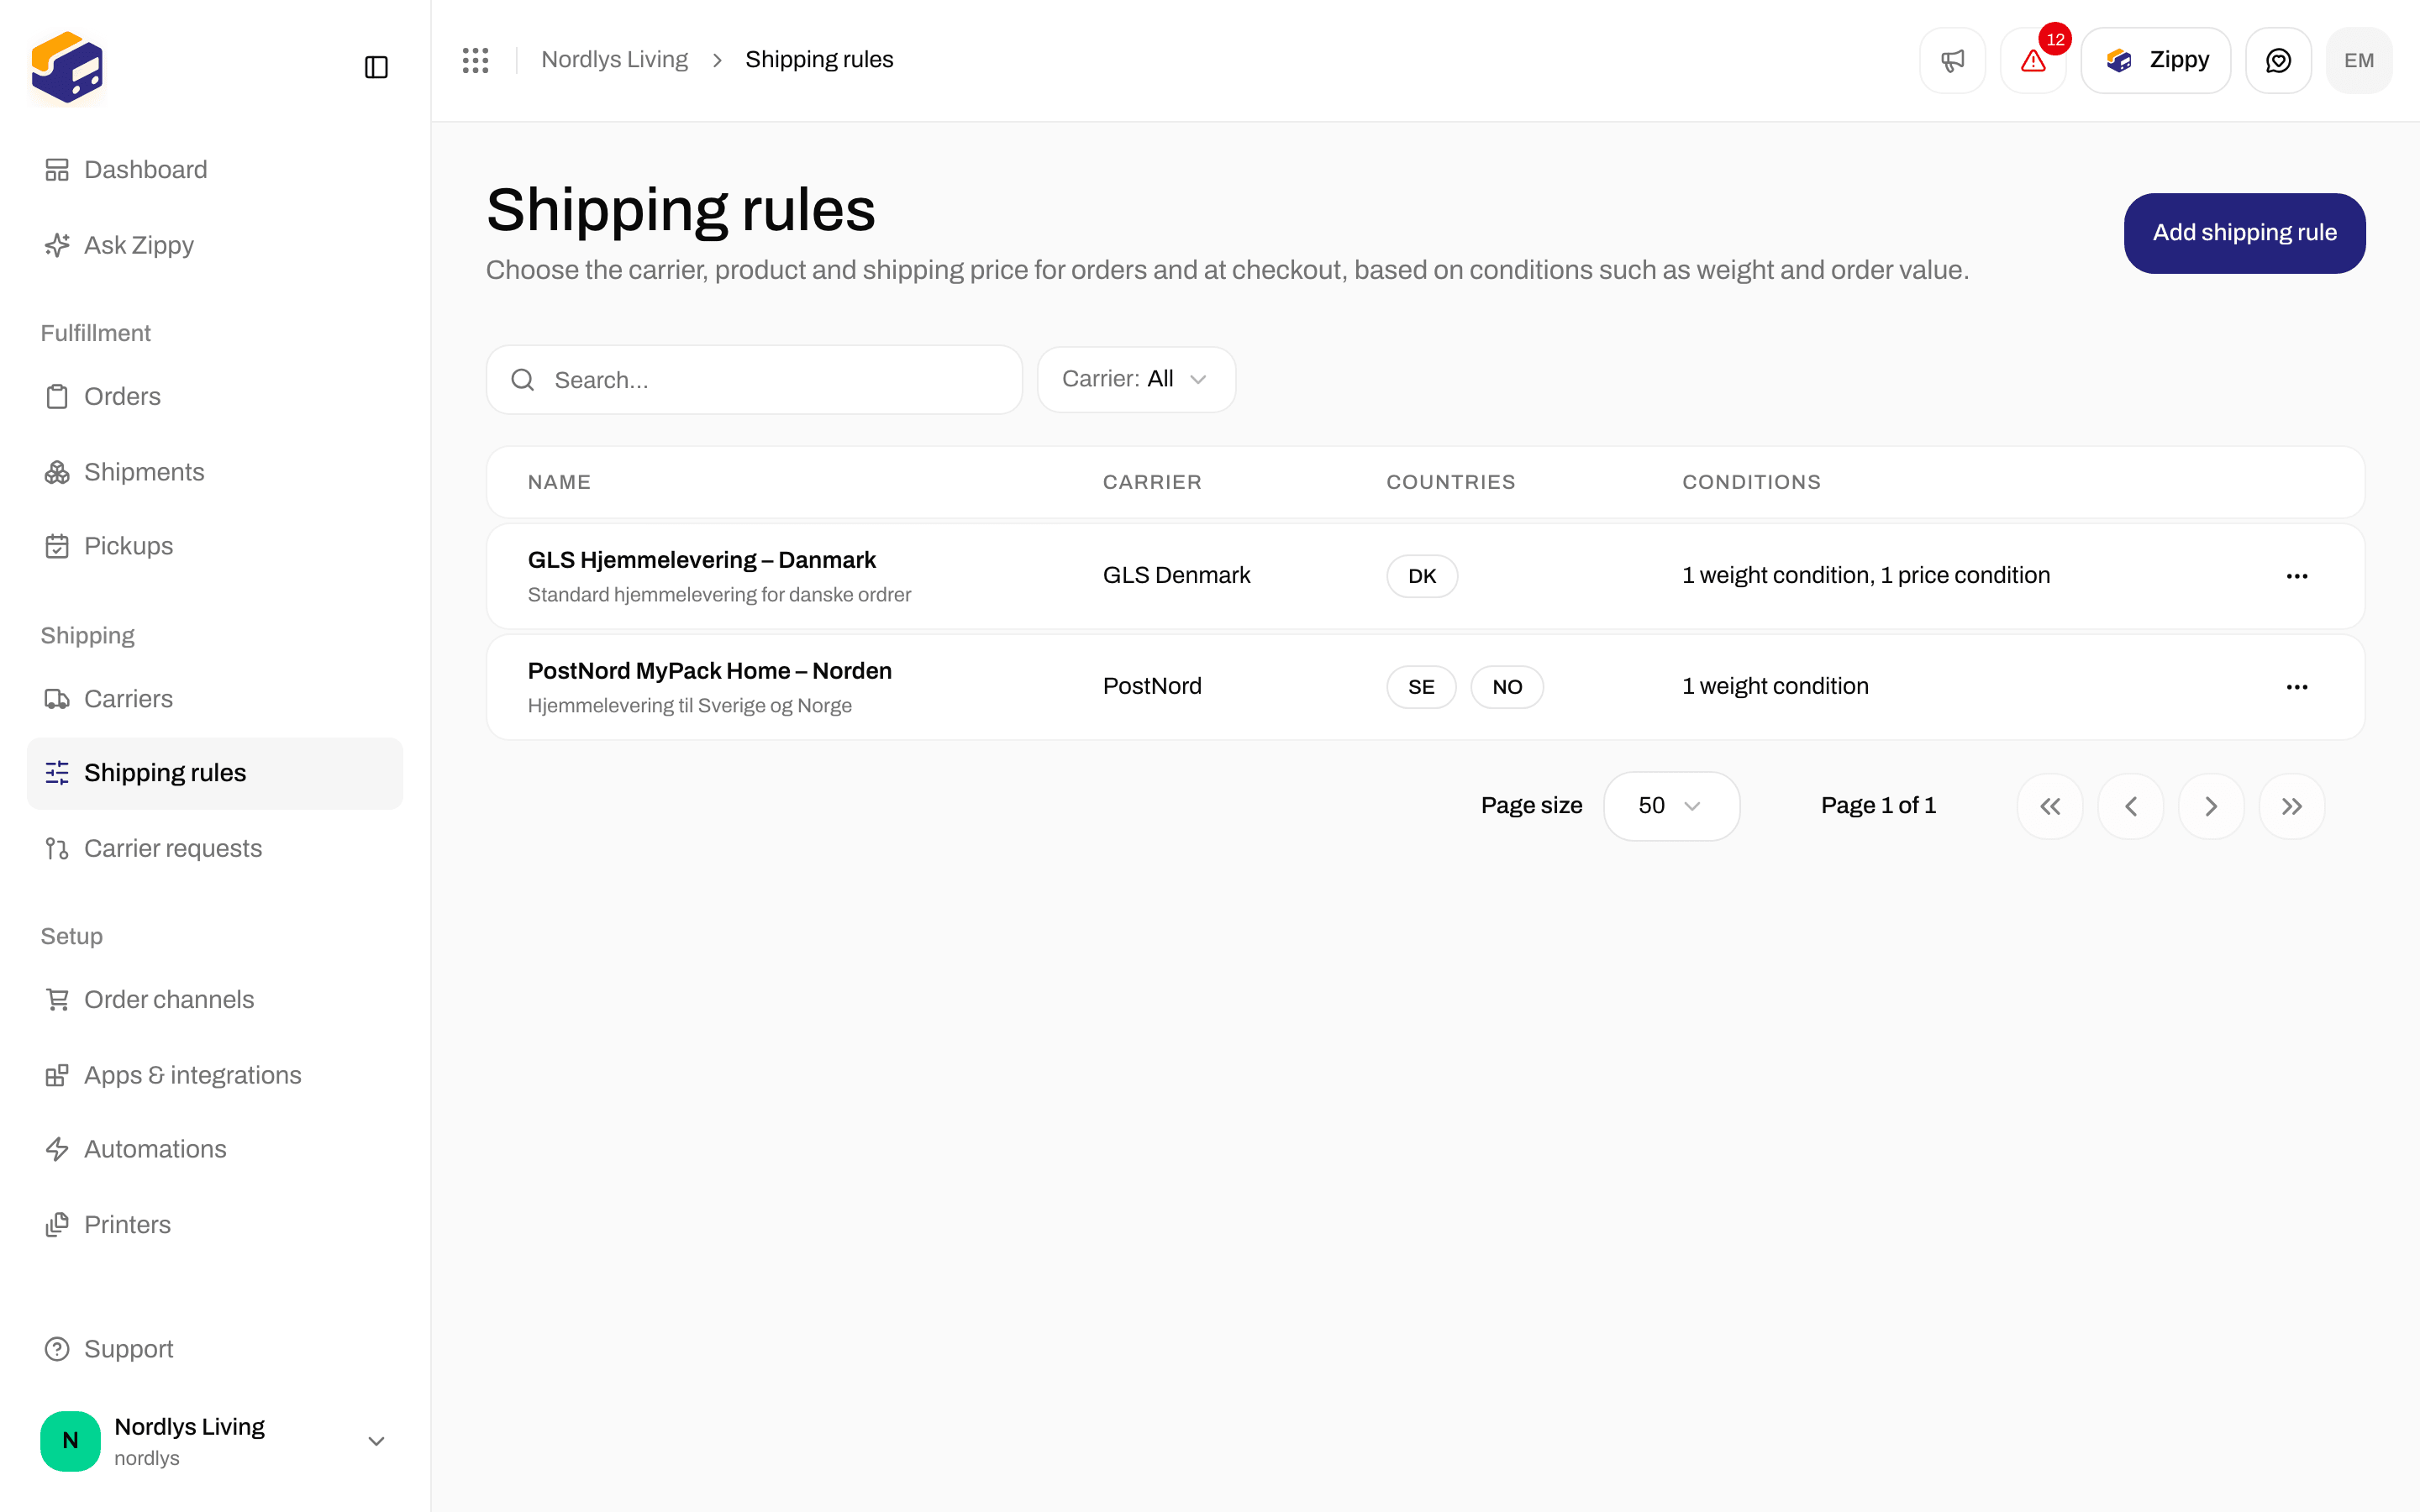
Shipping Rules → Add Shipping Rule. Name the rule the way customers should read it. Set destination countries and conditions. Shipping rules.
Order Channels catalog with Connect Shopify, Connect WooCommerce, and Create channelOrder Channels catalog with Connect Shopify, Connect WooCommerce, and Create channel

Available integrations — Shopify, WooCommerce, and Custom channel

Shipping Rules list with GLS Hjemmelevering – Danmark and PostNord MyPack Home – NordenShipping Rules list with GLS Hjemmelevering – Danmark and PostNord MyPack Home – Norden

Shipping Rules power the methods shoppers see at checkout

Shopify: Zippendo Shipping

Shopify checkout uses carrier-calculated rates. Zippendo registers a carrier service named Zippendo Shipping. Shopify calls Zippendo when the shopper reaches shipping; Zippendo returns the selected rules (and pickup points) as rates.

Install the store

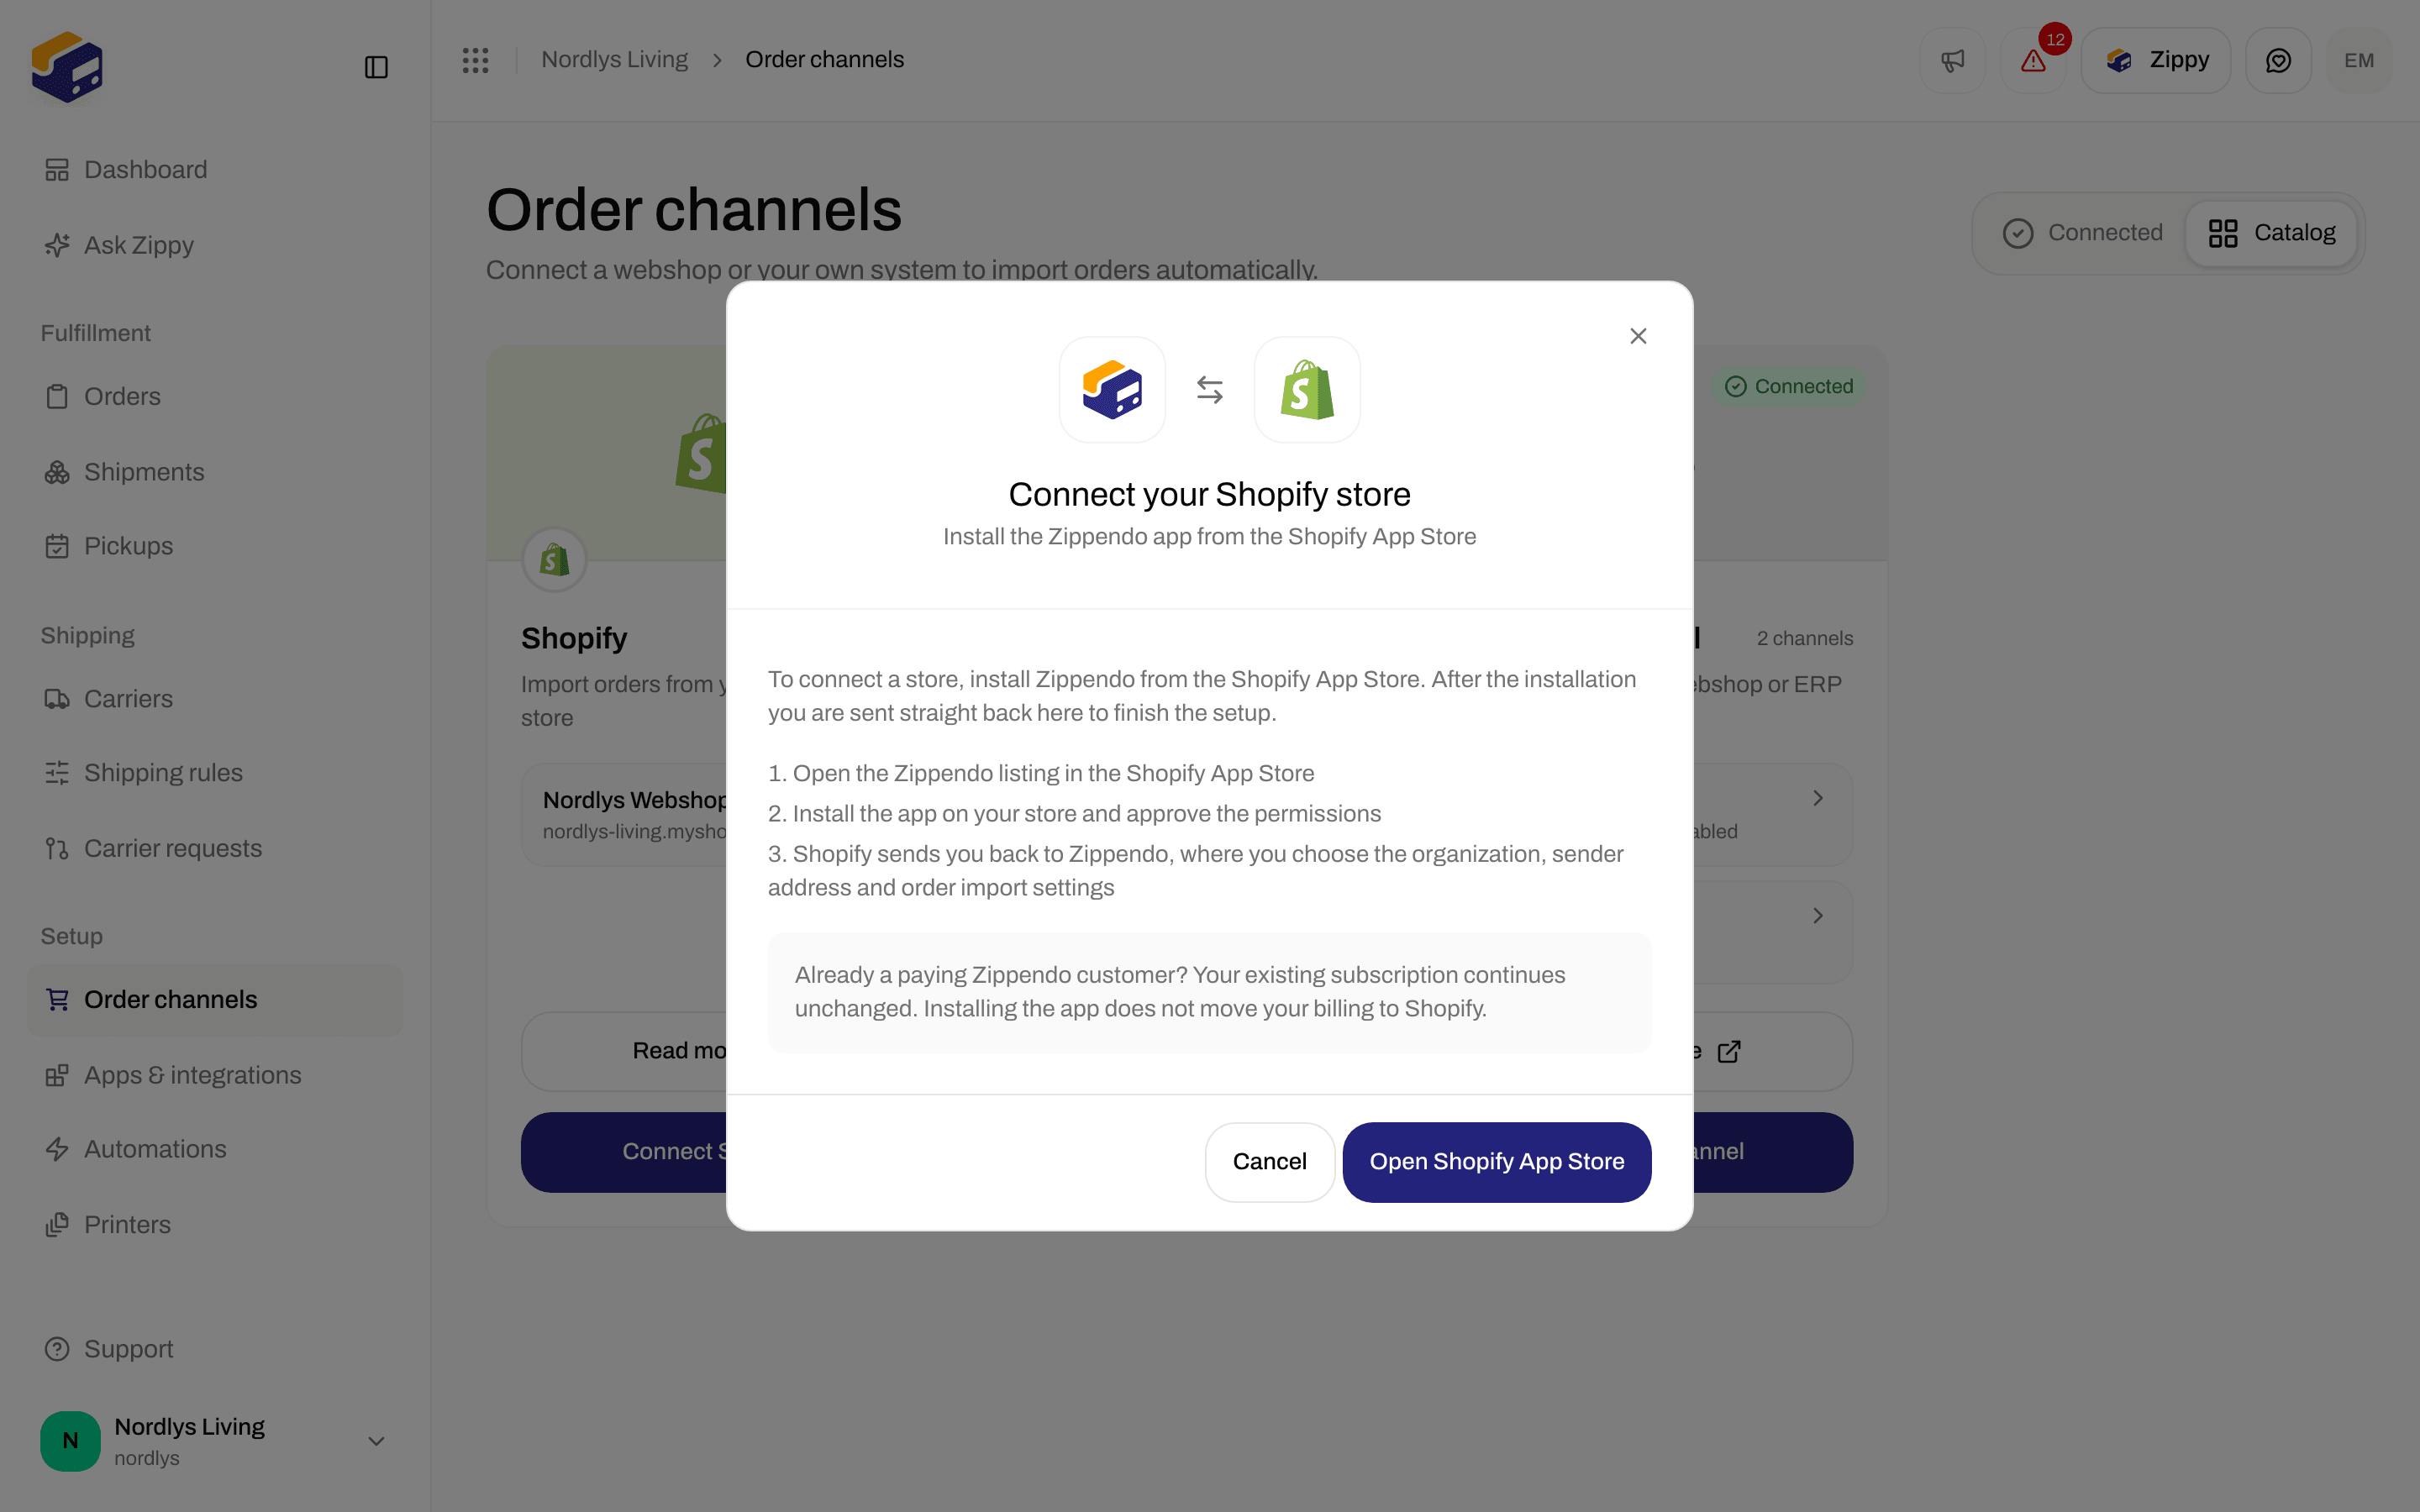
From Available integrations, click Connect Shopify. The modal is Connect your Shopify store.
Connect your Shopify store modal with Open Shopify App StoreConnect your Shopify store modal with Open Shopify App Store

Connect your Shopify store — install from the Shopify App Store

1

Open the Zippendo listing in the Shopify App Store

2

Install the app on your store and approve the permissions

3

You are redirected back to Zippendo to choose organization, sender address and order import

Already a paying Zippendo customer? Your existing subscription continues unchanged — installing the app does not move billing to Shopify. The rest of the install: Connect Shopify.

Choose which rules appear

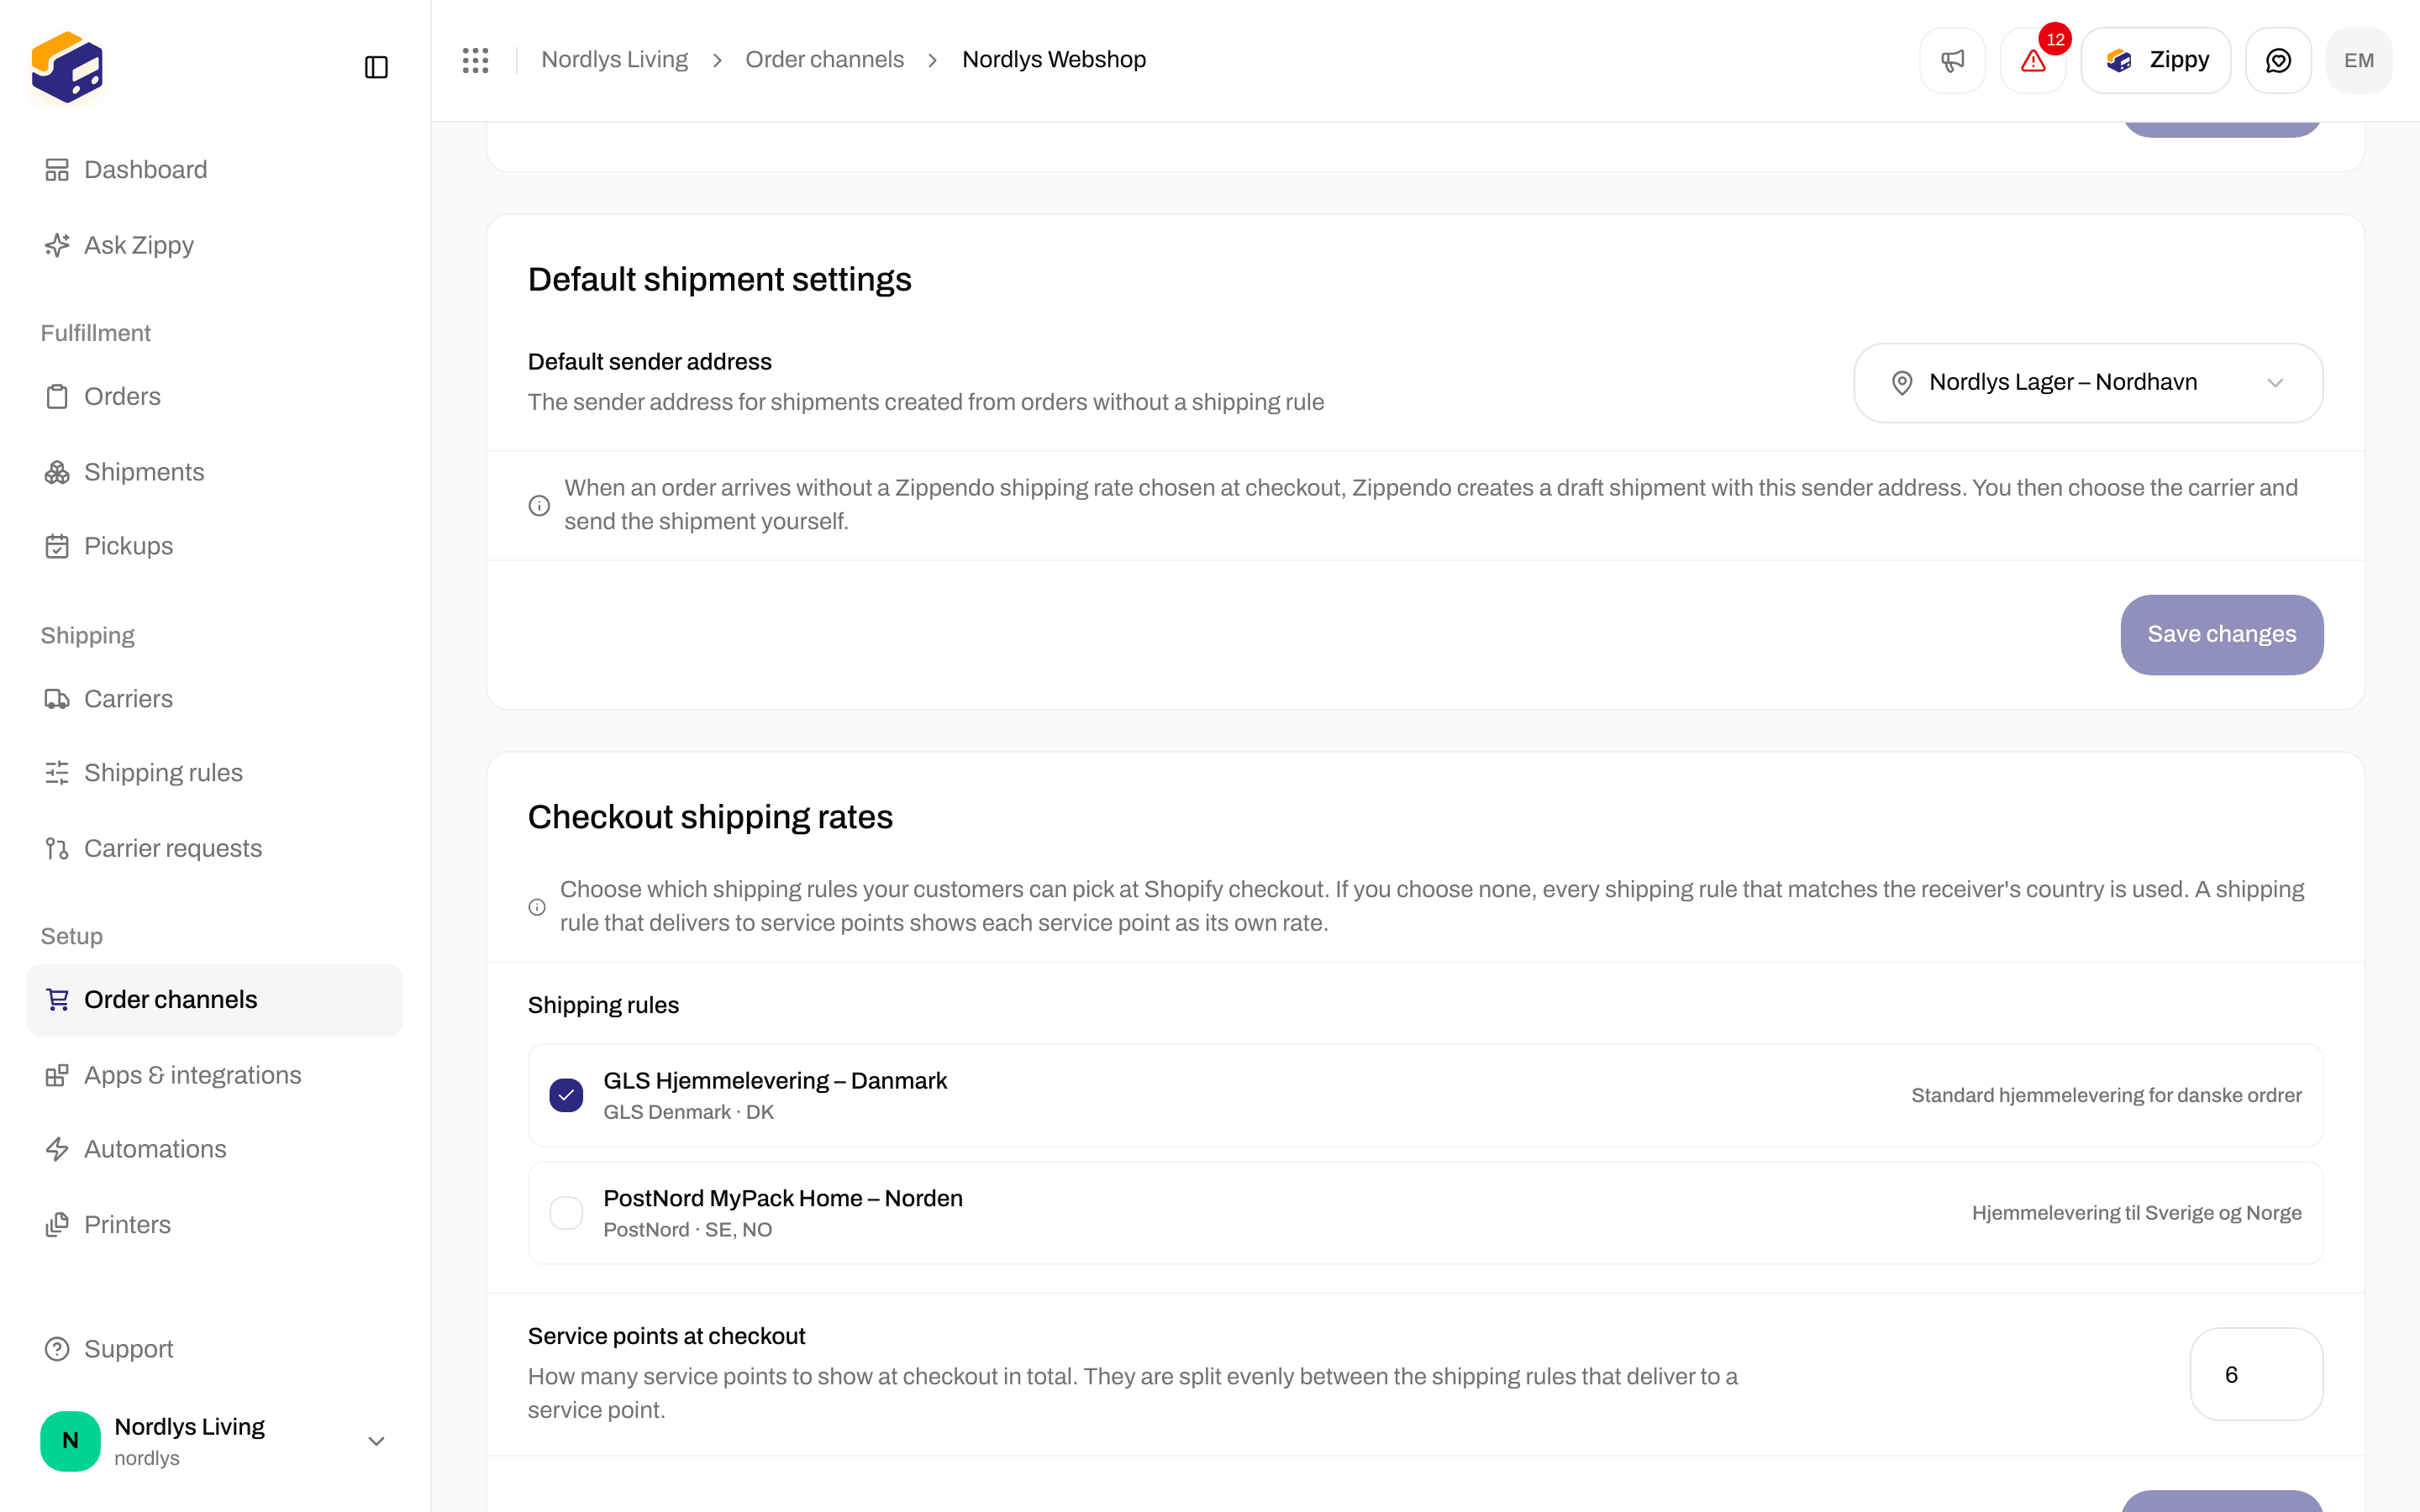
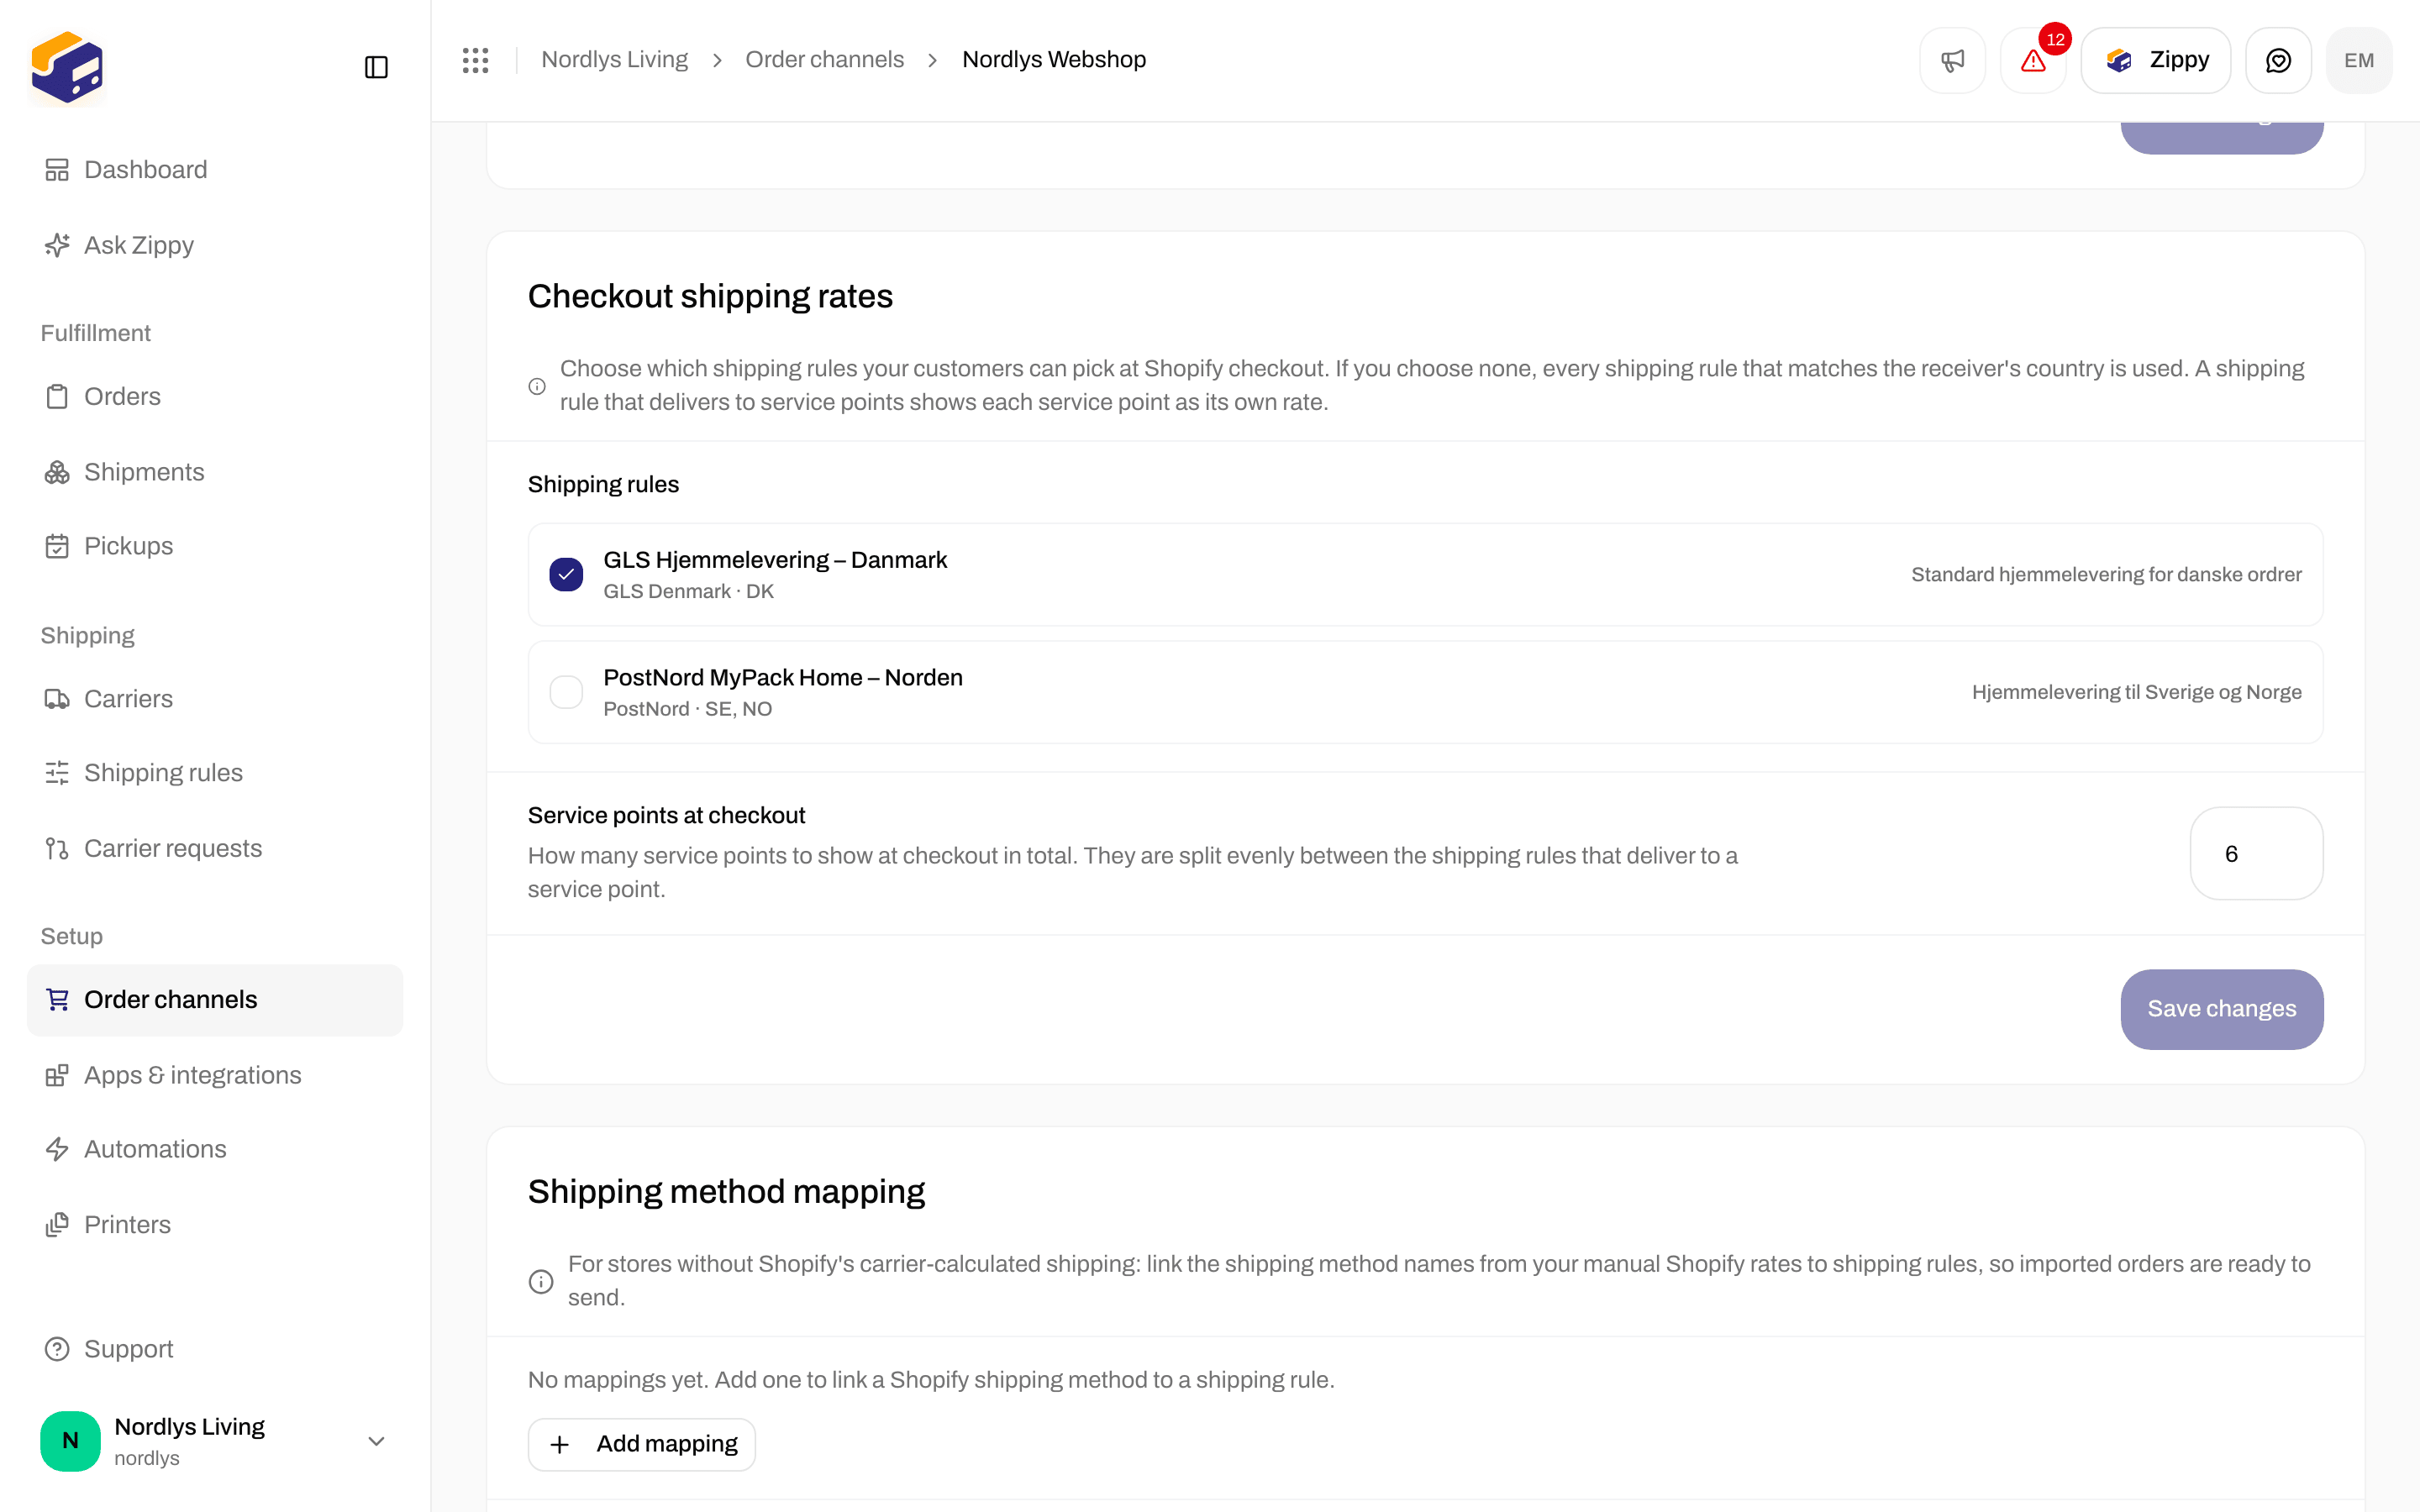
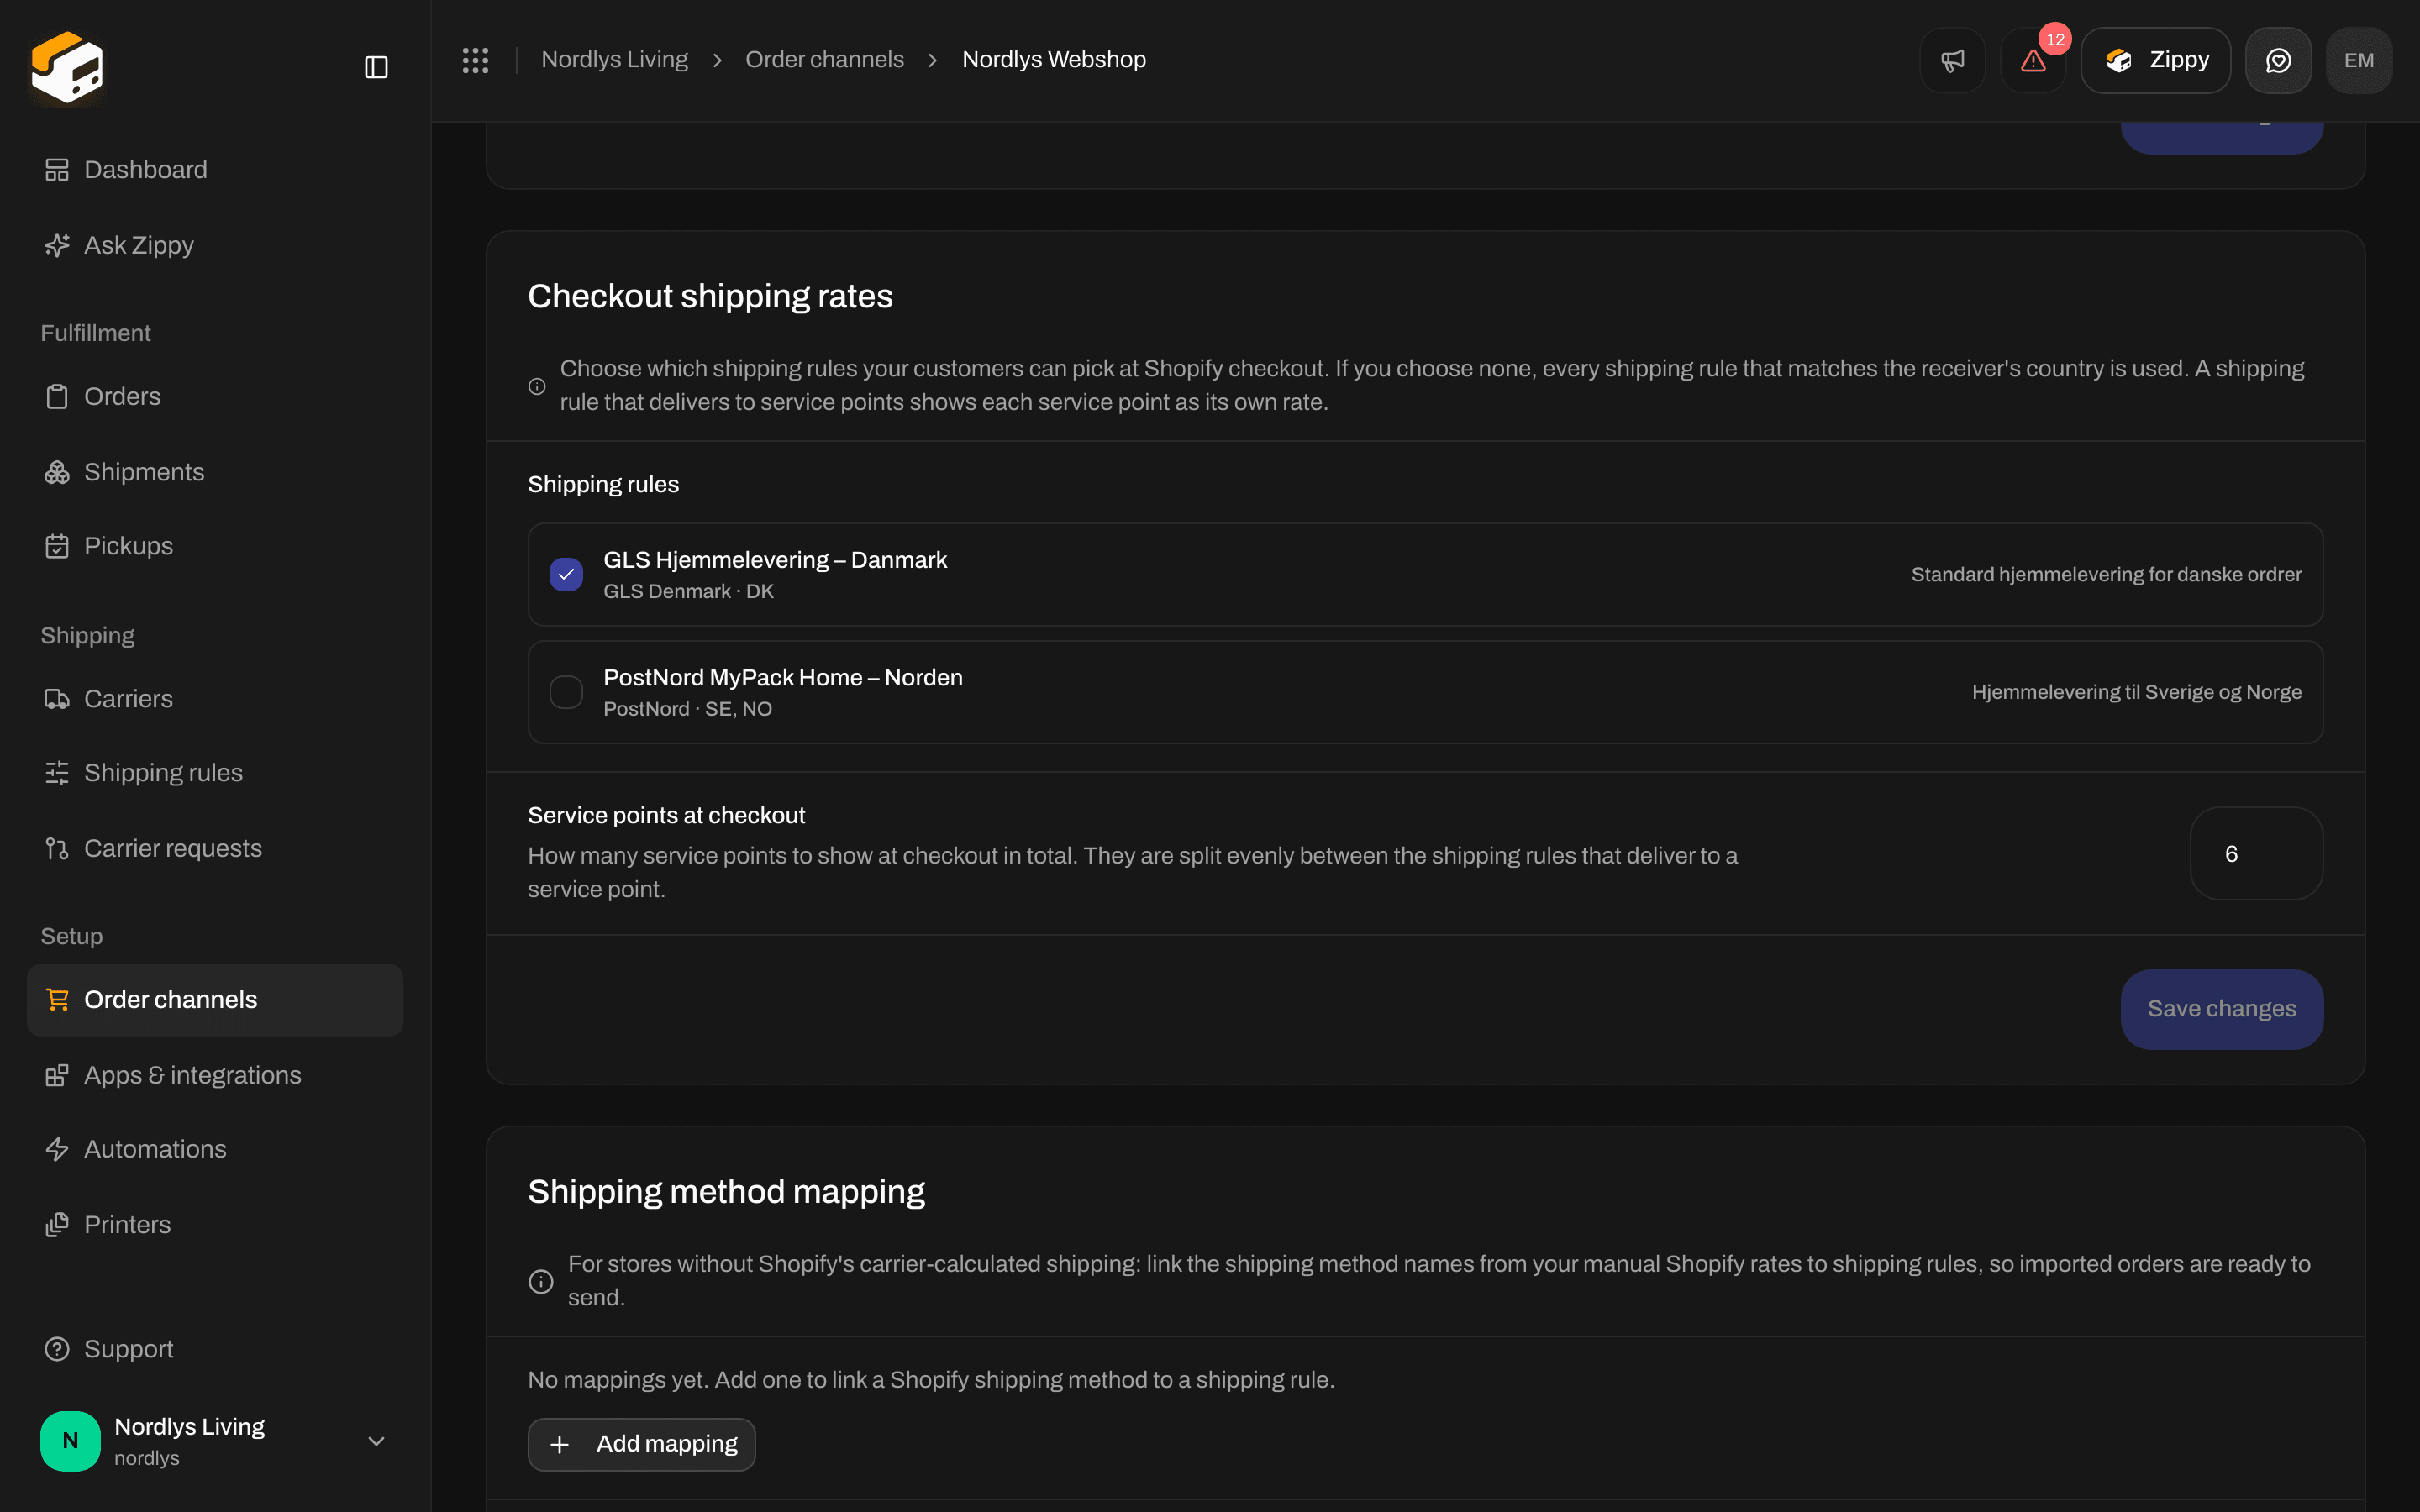
Open the Shopify store under Connected stores. Stay on Orders & checkout. Scroll to Checkout Shipping Rates.
Checkout Shipping Rates with GLS Hjemmelevering – Danmark selected and PostNord MyPack Home – Norden unselectedCheckout Shipping Rates with GLS Hjemmelevering – Danmark selected and PostNord MyPack Home – Norden unselected

Checkout Shipping Rates — tick the rules Shopify should offer

The hint on the card: Select which shipping rules should be available at Shopify checkout. If none are selected, all organization rules matching the destination country will be used. Service point rules will show individual pickup locations as separate rates. Tick the rules this store should offer, then Save Changes. Above this card, Default Shipment Settings sets the sender for orders that arrive without a Zippendo rate (manual Shopify methods, or a shopper who never hit calculated rates).

Service points per checkout

On the same card, Service Points per Checkout is Total number of pickup point locations to show at checkout. These are divided evenly among service point shipping rules. Allowed range is 1–20 (the docs org uses 6).
Service Points per Checkout set to 6, with Shipping method mapping empty belowService Points per Checkout set to 6, with Shipping method mapping empty below

Service Points per Checkout and Shipping method mapping on the same tab

Register the carrier service

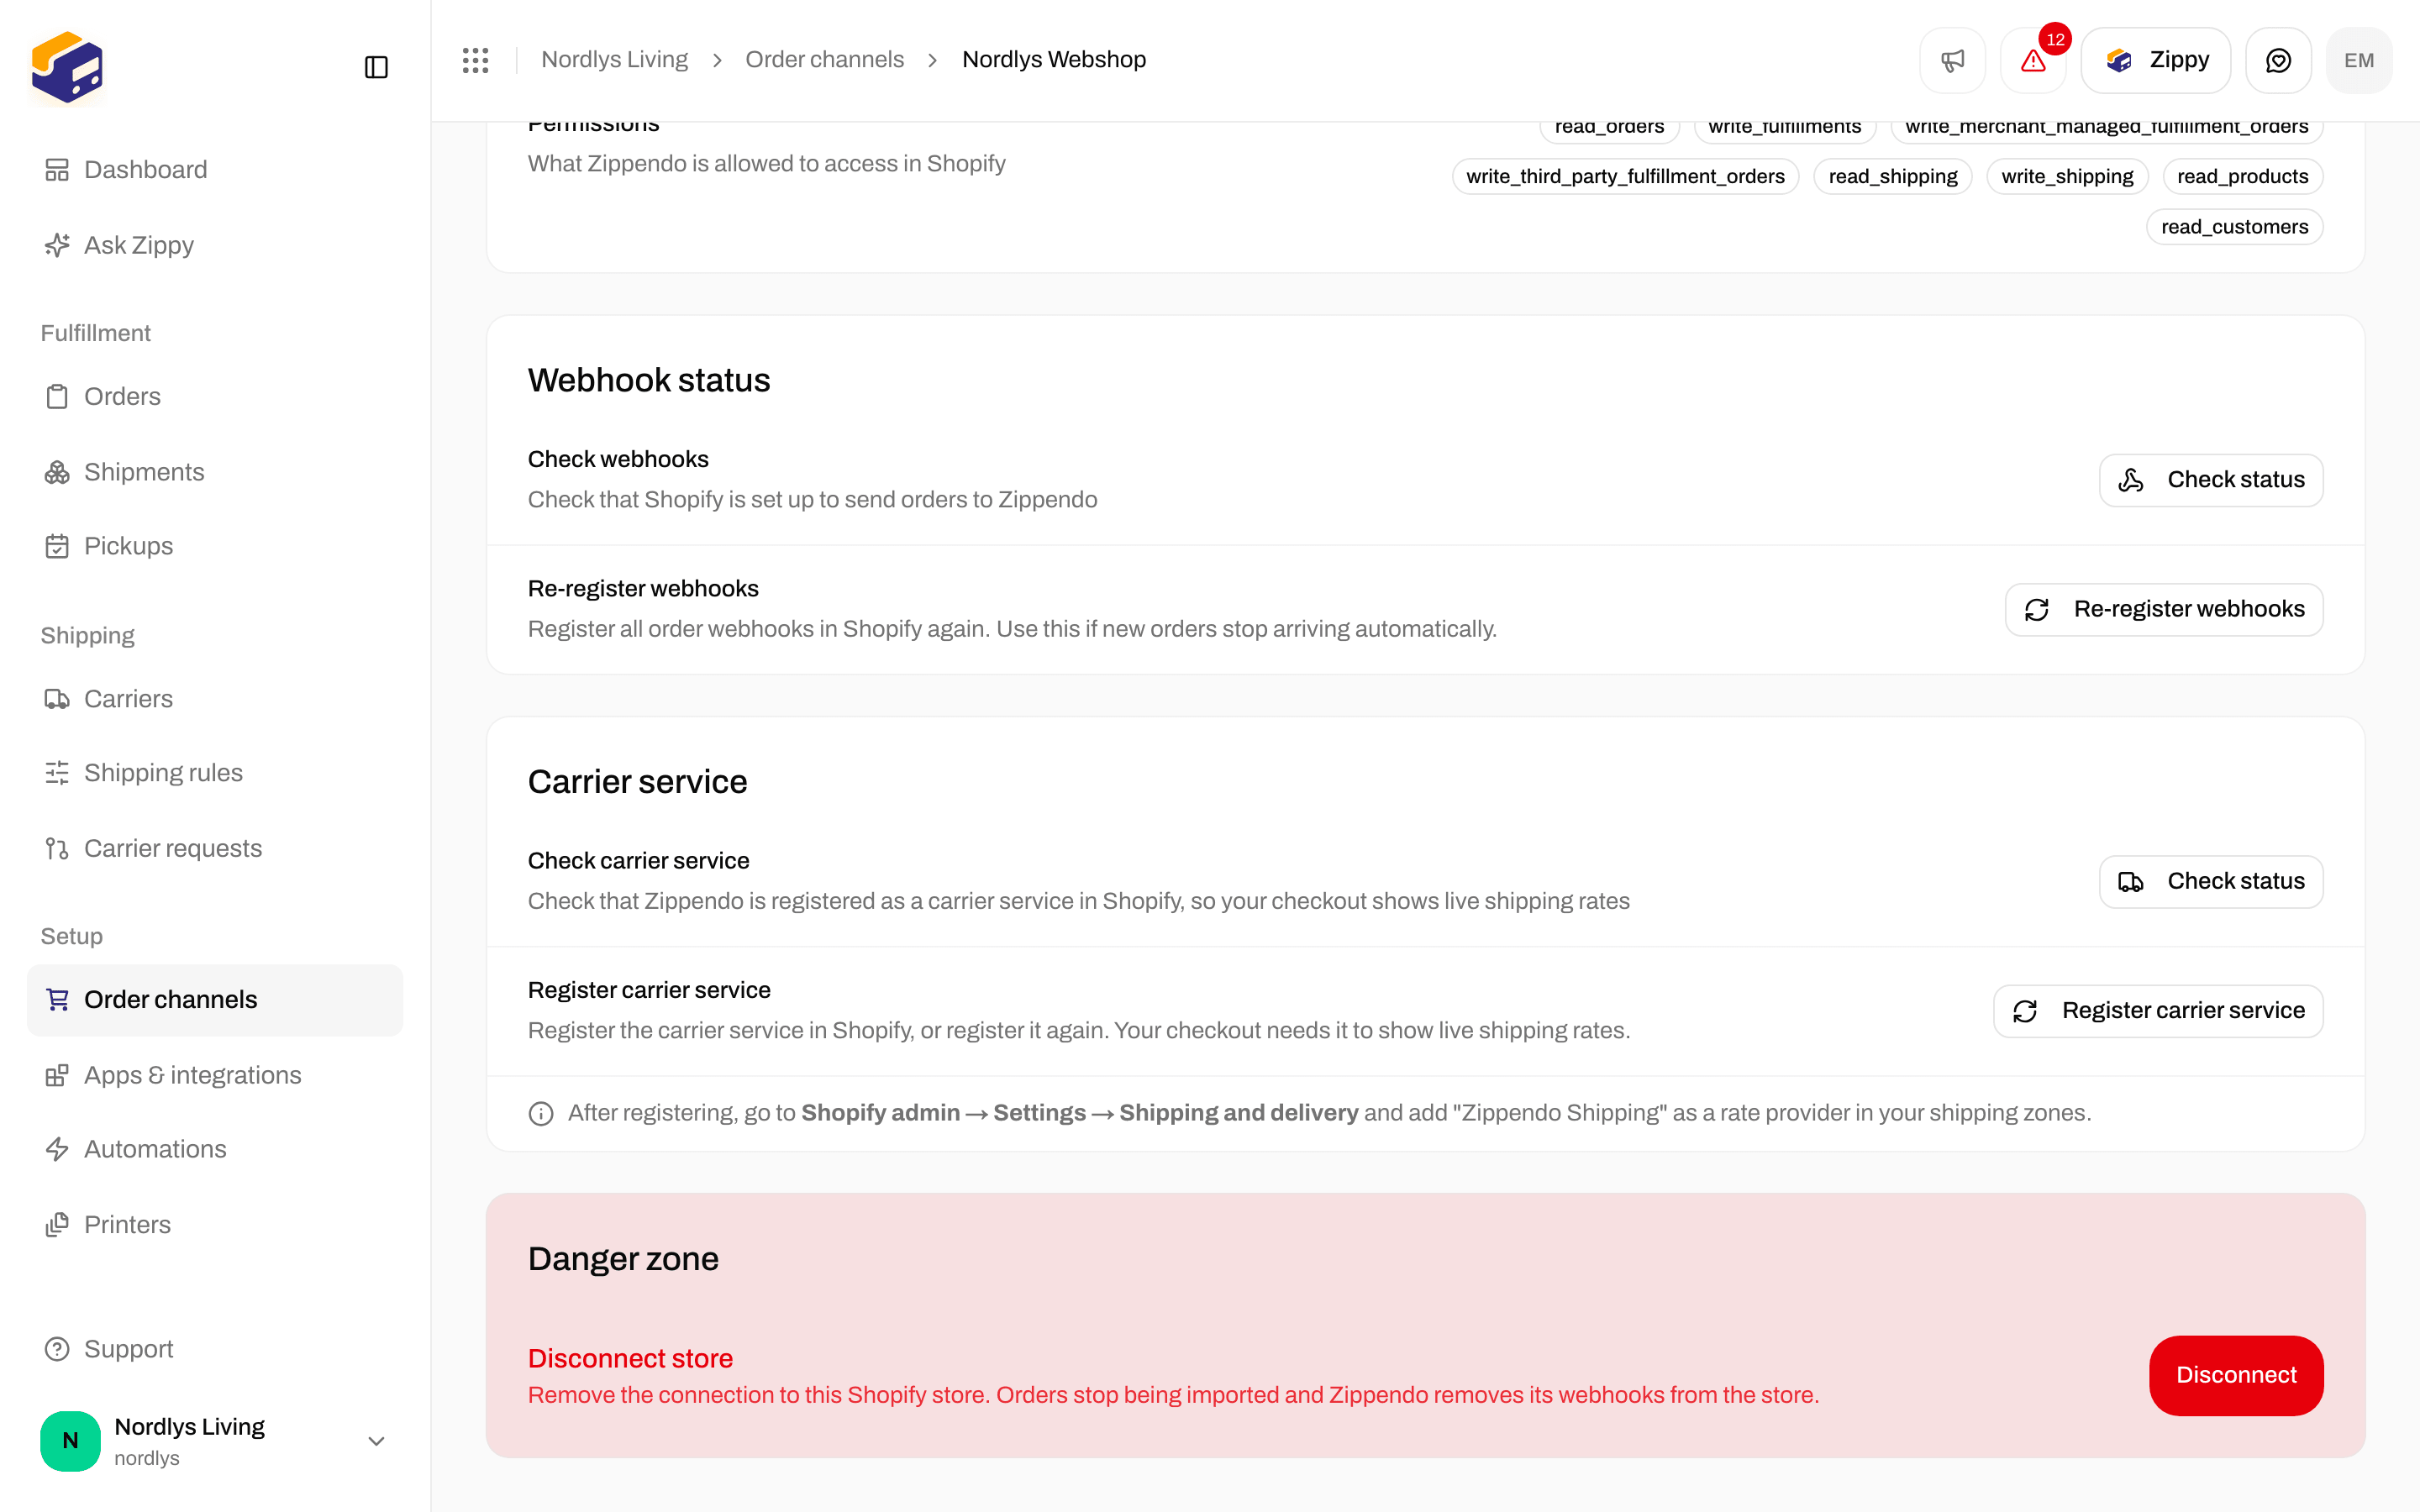
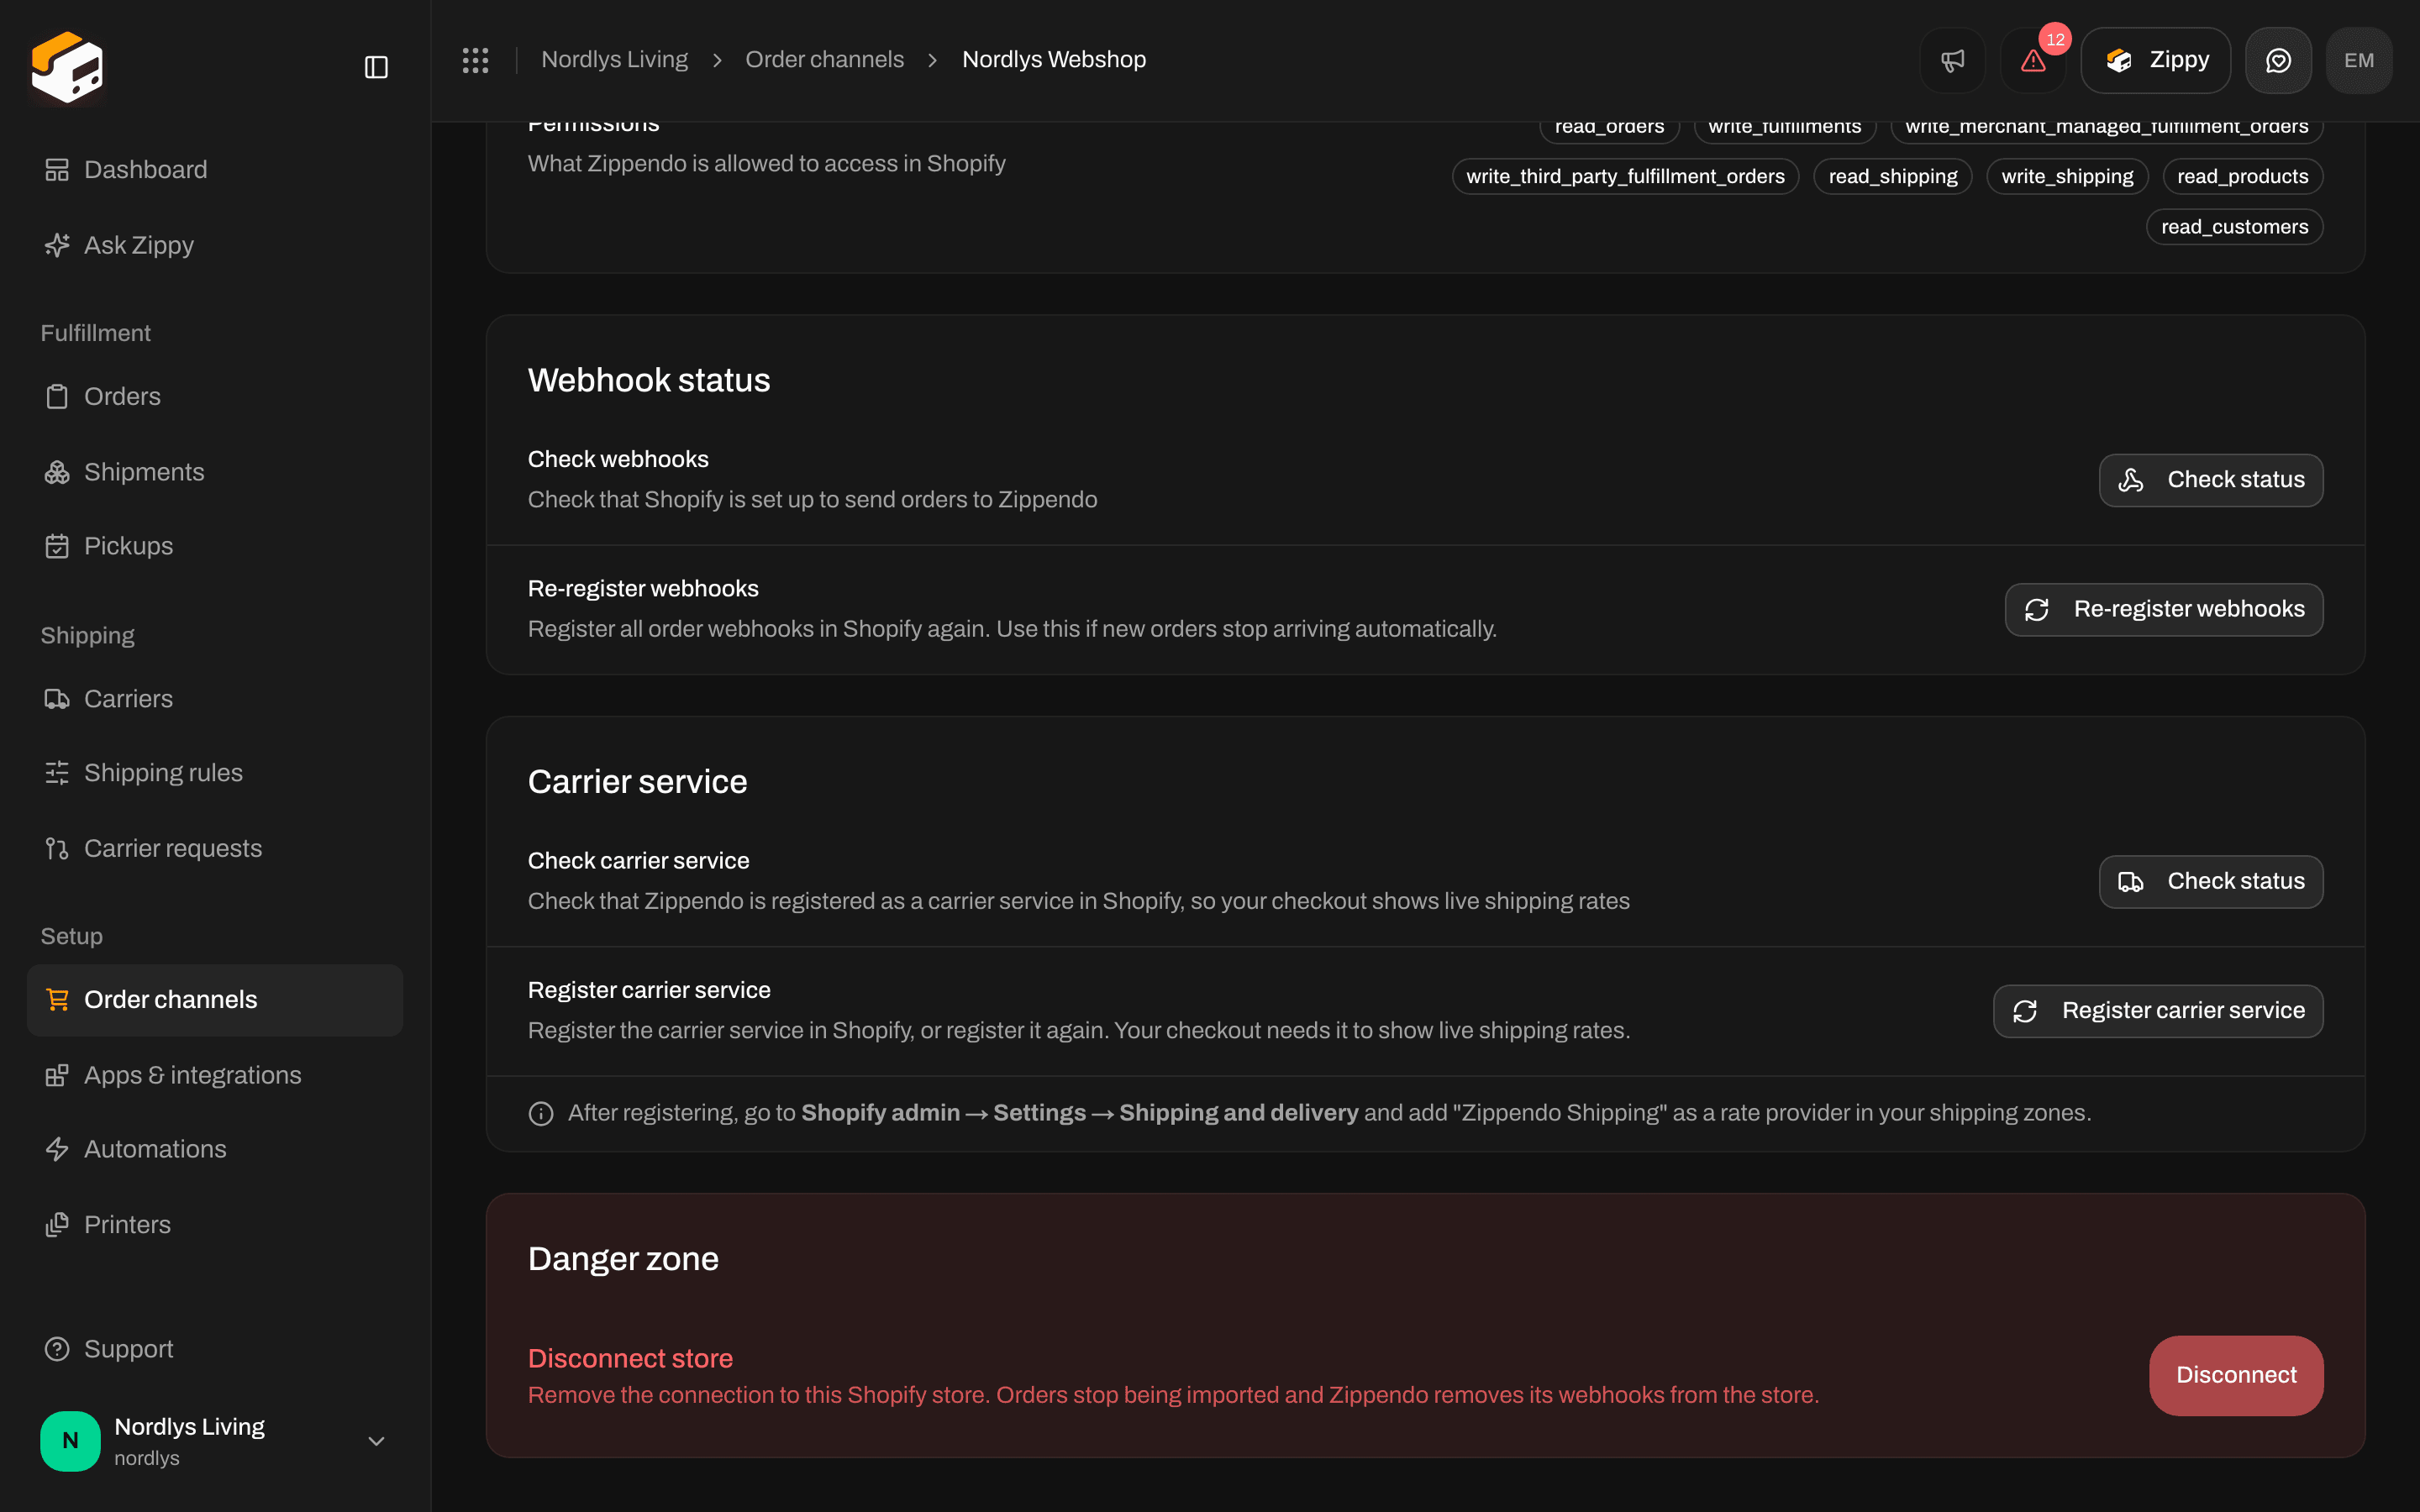
Open Connection & integration. Scroll to Carrier Service.
Carrier Service card with Check Status and Register Carrier Service, plus Danger ZoneCarrier Service card with Check Status and Register Carrier Service, plus Danger Zone

Check Carrier Service — register Zippendo Shipping with Shopify

1

Check Status

Check Carrier Service verifies the carrier service is registered with Shopify for calculated rates. If none is registered, rates will not appear at checkout.
2

Register Carrier Service

Use Register Carrier Service if the check finds nothing (or after a reconnect).
3

Add Zippendo Shipping in Shopify Admin

This step is in Shopify, not Zippendo: Shopify Admin → Settings → Shipping and delivery, then add Zippendo Shipping as a rate provider in your shipping zones.
Until Zippendo Shipping is added in Shopify Admin shipping zones, shoppers will not see Zippendo rates — even if Check Carrier Service is green and rules are ticked.

Fallback: shipping method mapping

Shipping method mapping is for stores without Shopify Carrier-Calculated Shipping. Map the shipping method names from your manual Shopify rates to shipping rules so imported orders are ready to ship. Click Add mapping, enter the Shopify method name (for example GLS Home Delivery), pick a shipping rule, and choose how parcel shops are selected (Nearest automatically or Choose manually). If you already use Zippendo Shipping, you can leave mappings empty.

WooCommerce: plugin and checkout token

WooCommerce checkout is the Zippendo for WooCommerce plugin plus a Checkout token (zck_…) stored on the channel.
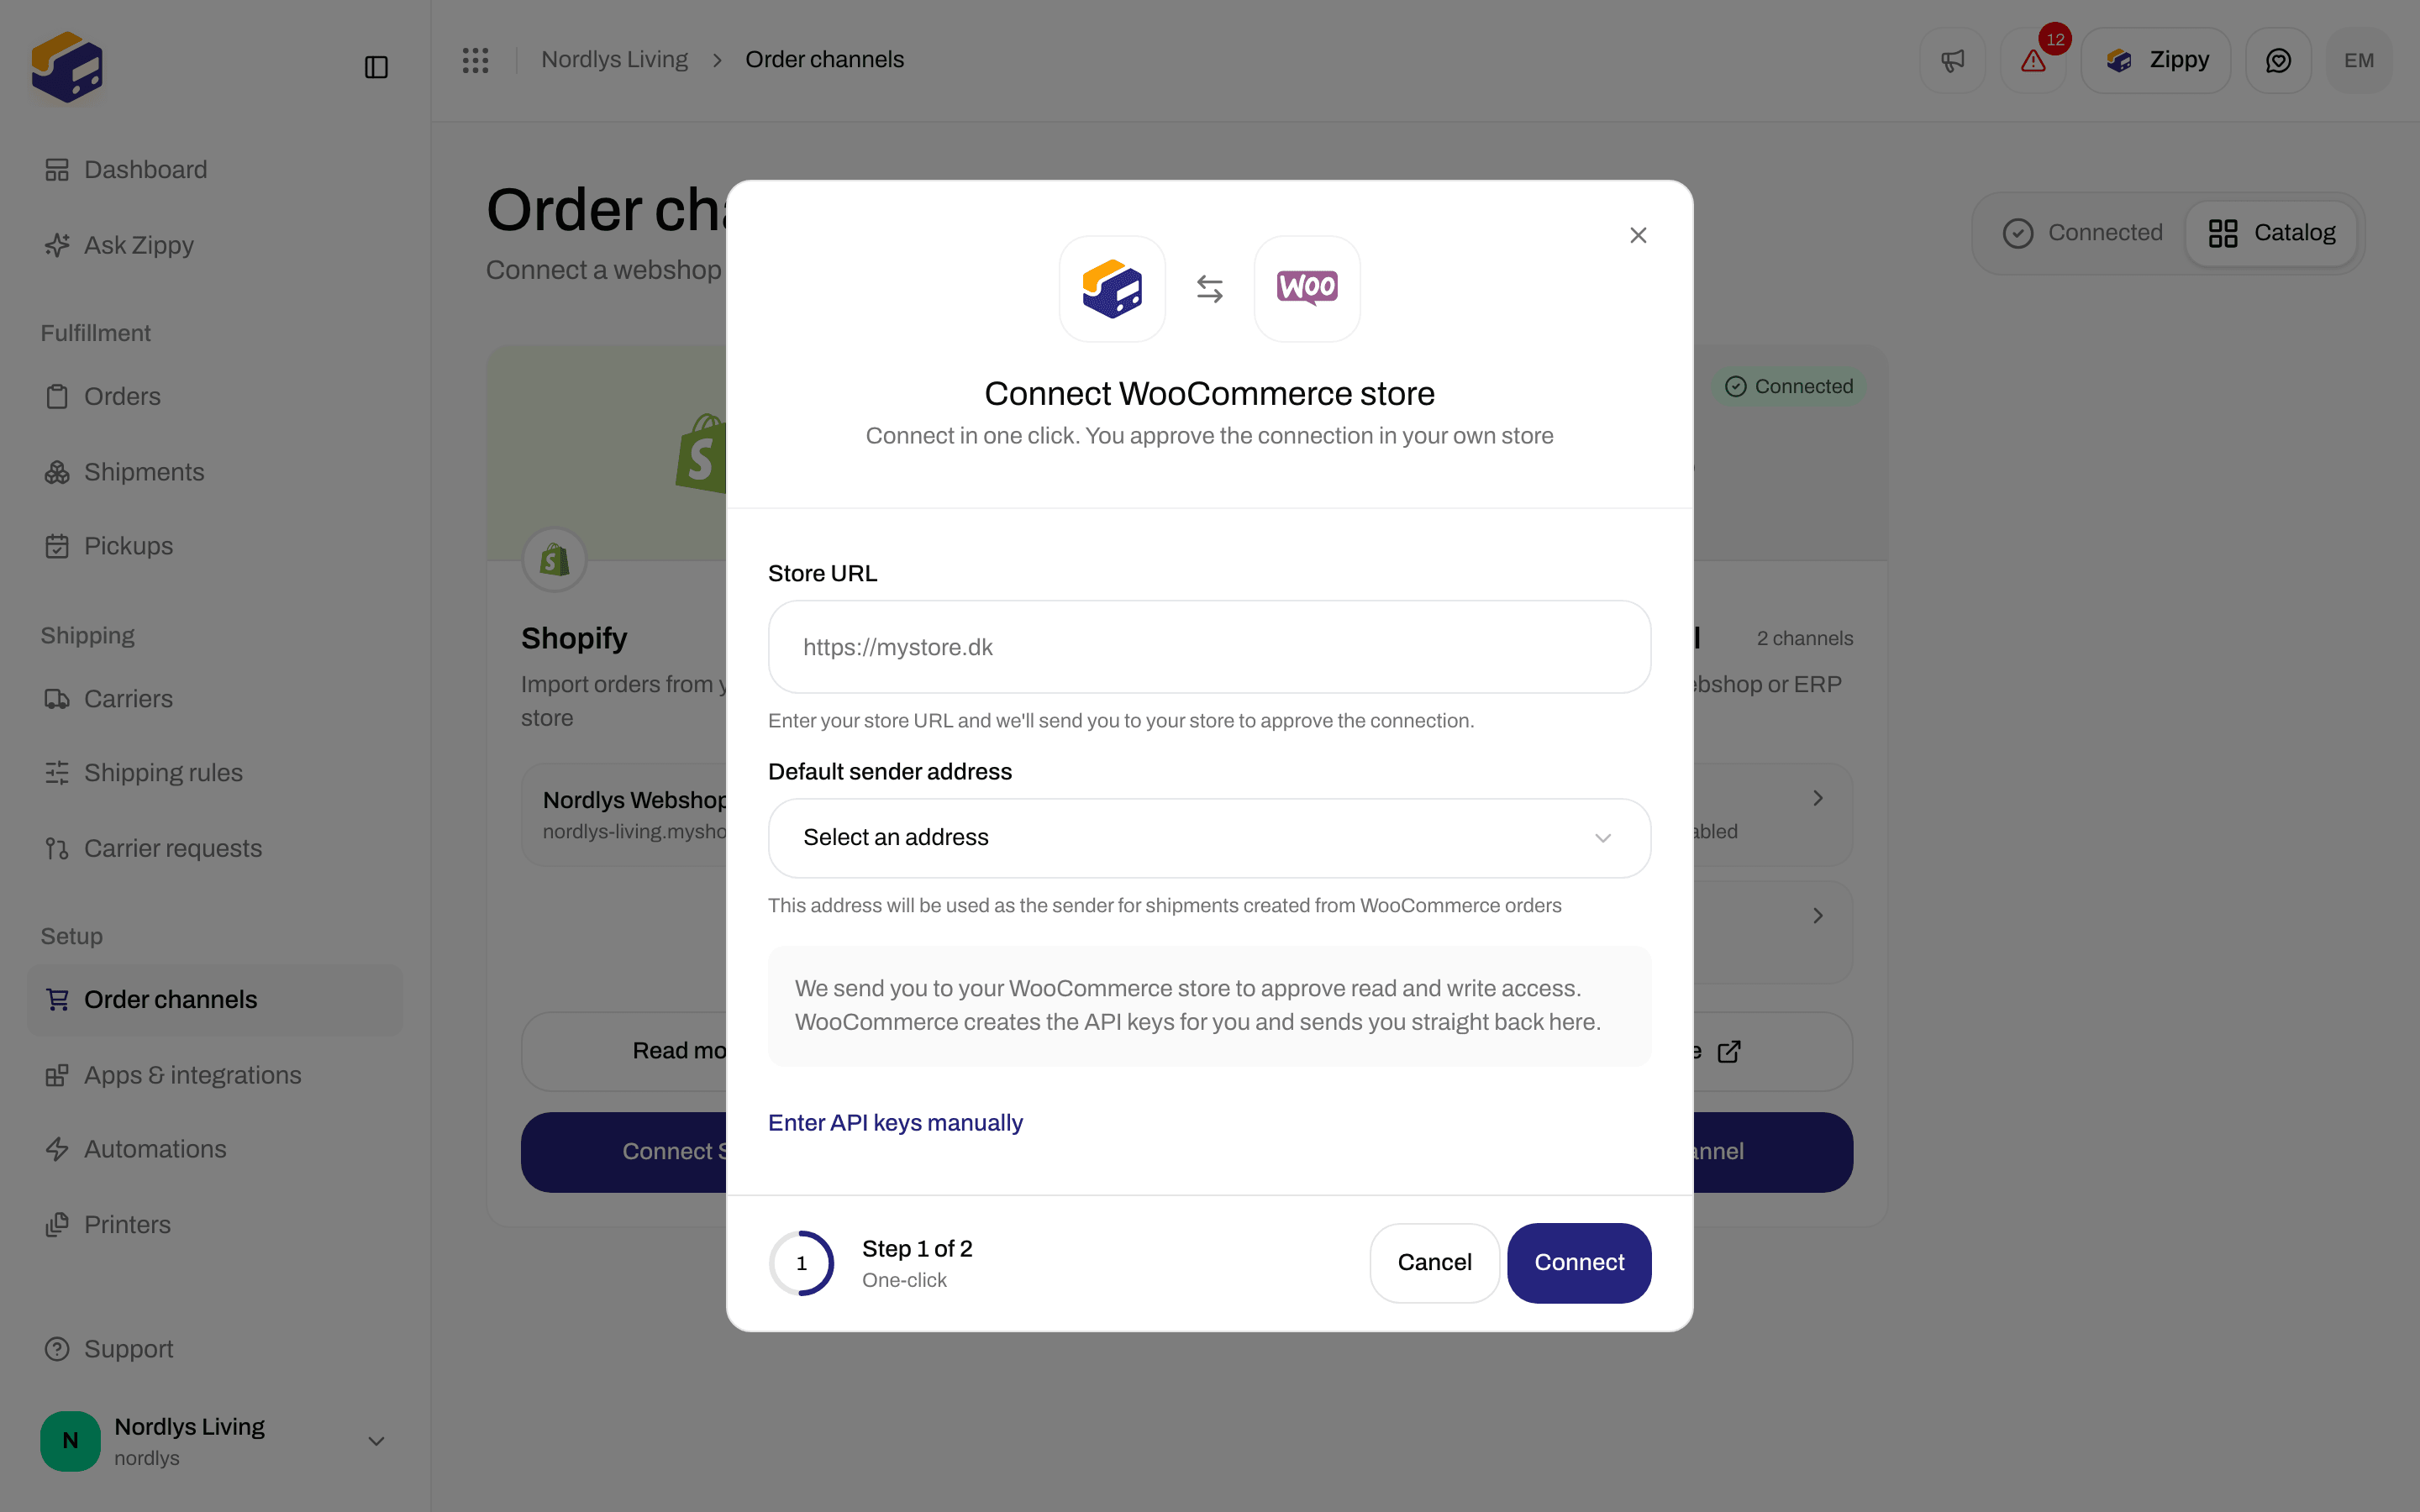
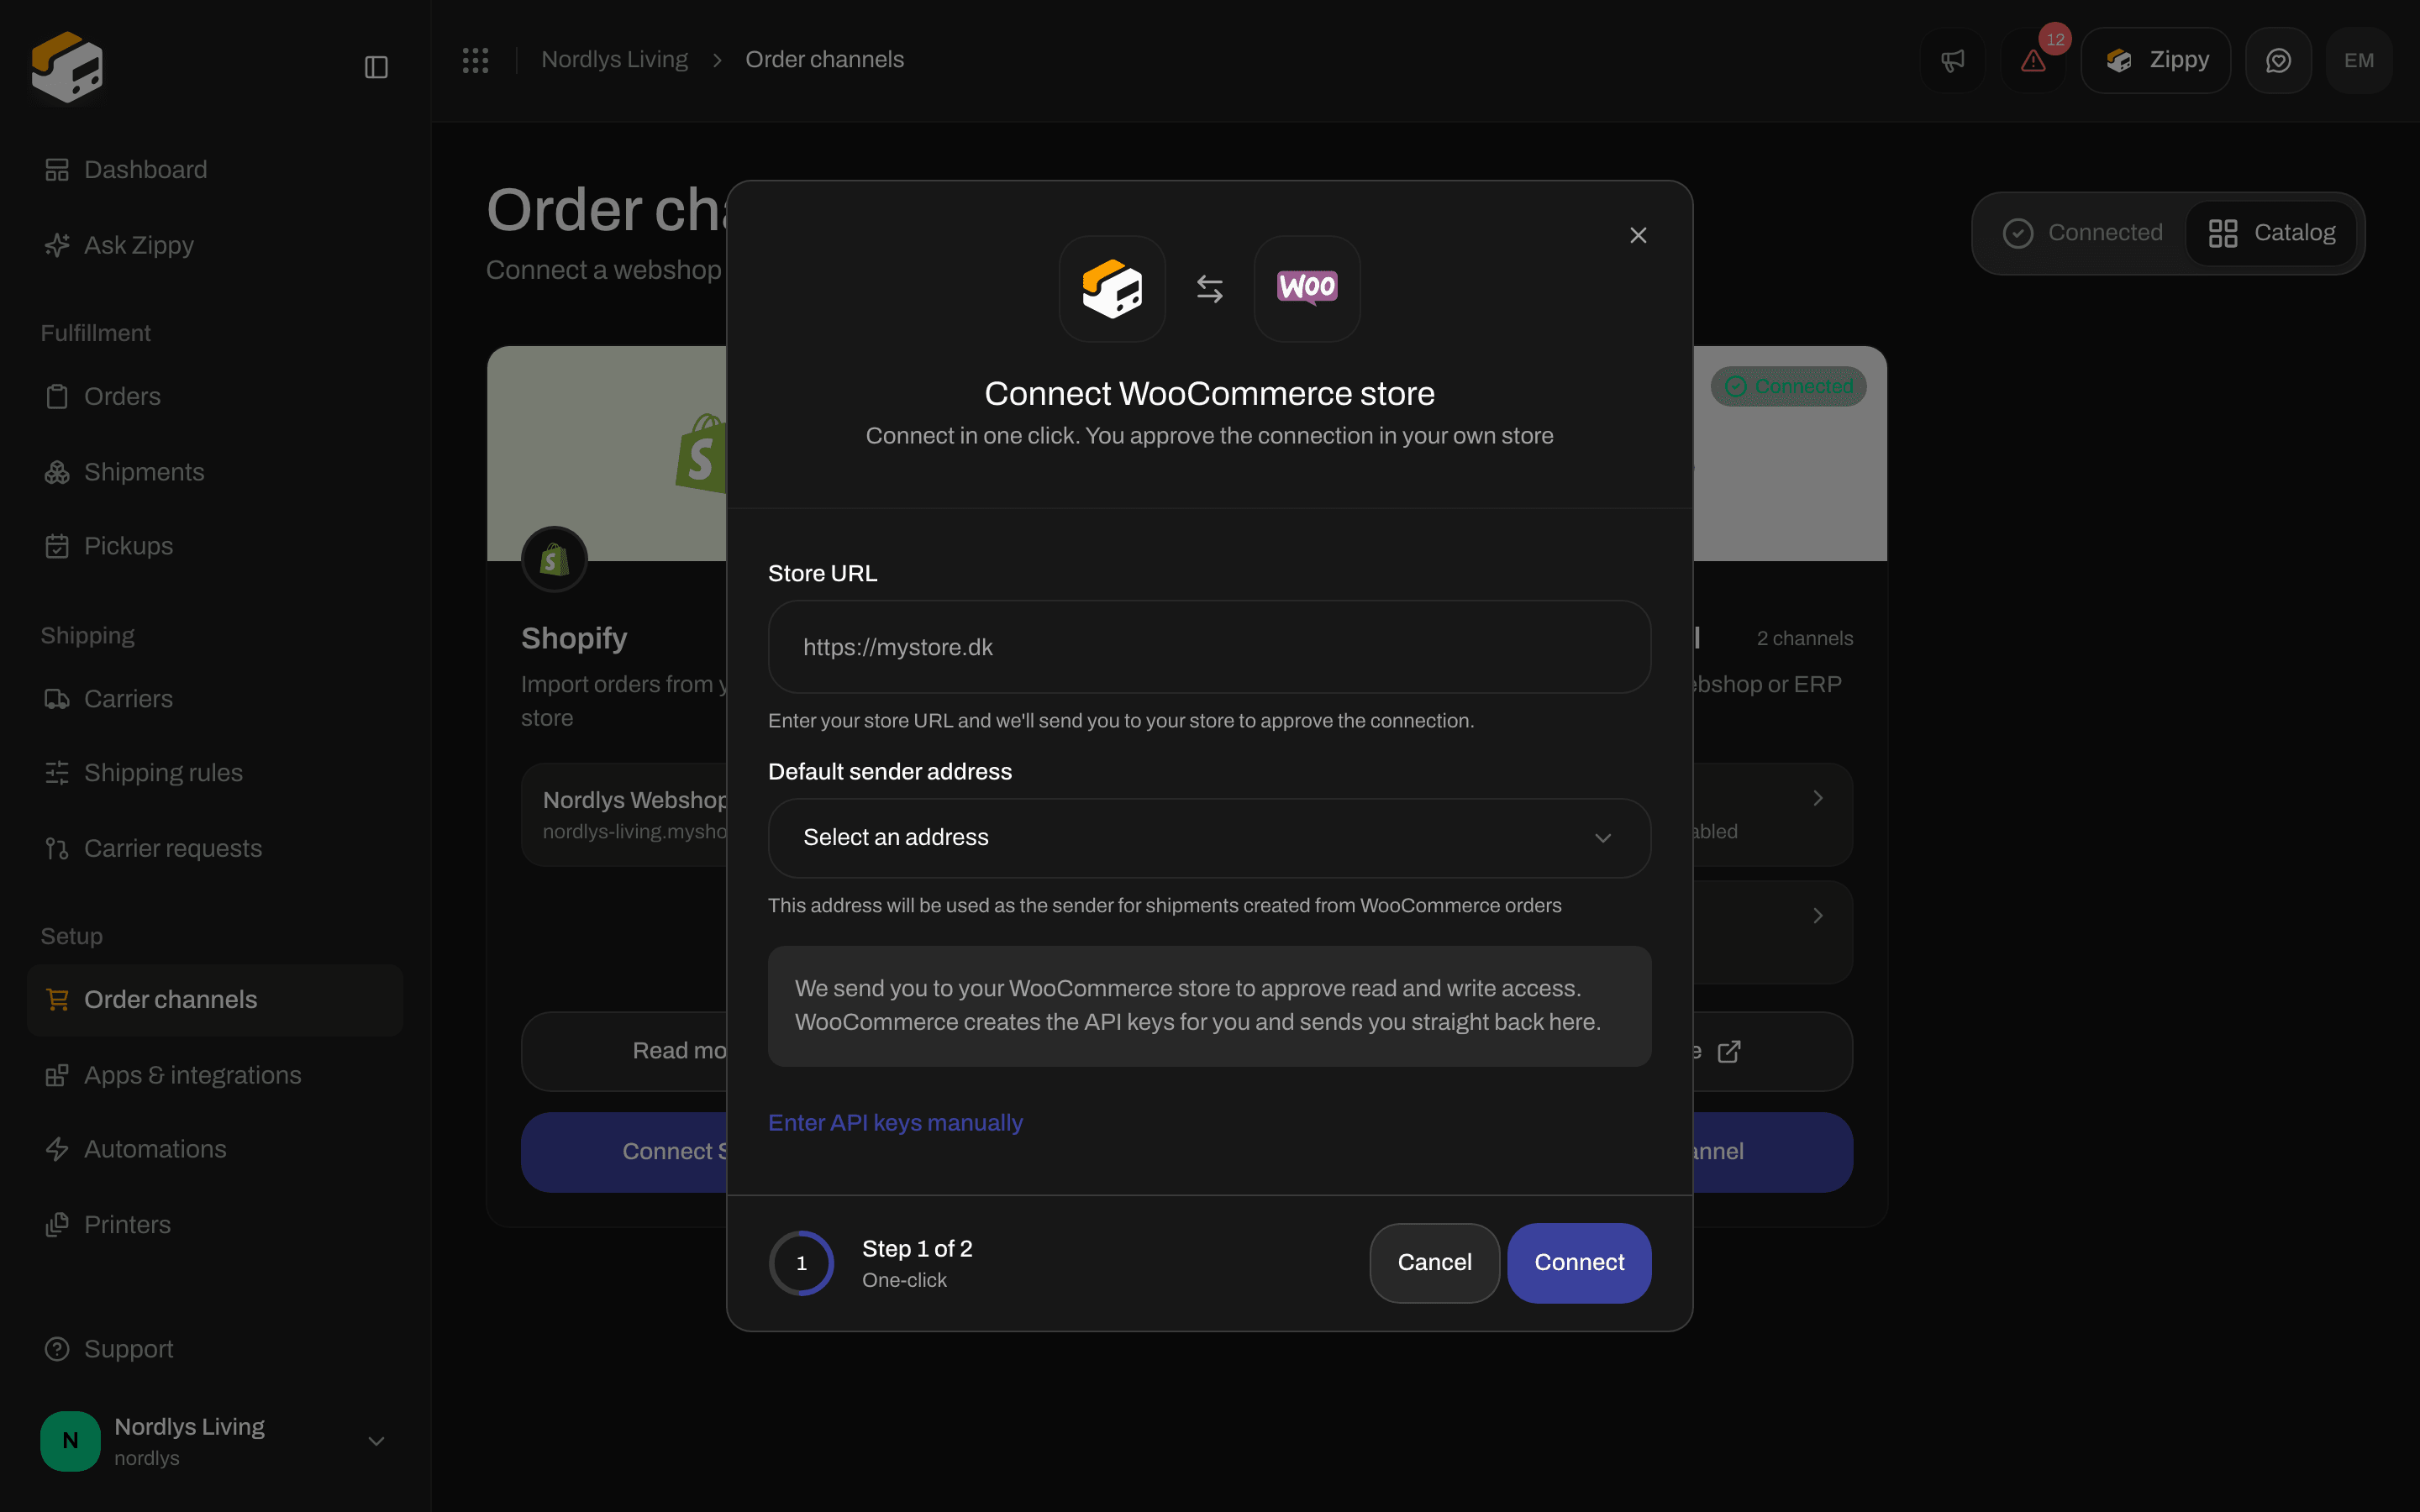
Connect WooCommerce Store modal with Store URL, Default Address, and ConnectConnect WooCommerce Store modal with Store URL, Default Address, and Connect

Connect WooCommerce Store — store URL and default sender, then approve on the store

Connect the store as in Connect order channels. Live WooCommerce wc-auth cannot be completed in this documentation environment, so the channel settings below are described from the product UI (the same labels you will see after a successful connect). Then open the WooCommerce channel and stay on Orders & checkout:
1

Download the plugin

The Checkout token card includes Download plugin. Install Zippendo for WooCommerce on the WordPress site.
2

Generate a checkout token

Click Generate token. Copy it immediately — only a hash is stored. The token is shown once.
3

Paste the token into the plugin

In WordPress, open the plugin settings and paste the token. Rotate token invalidates the old key immediately; Revoke stops the plugin until you generate a new one.
The plugin calls POST /woocommerce/checkout/rates (and POST /woocommerce/checkout/service-points when the shopper changes postcode). Those routes authenticate with the checkout token, not your dashboard session. Test connection on the WooCommerce channel Connection tab is different: it verifies the stored REST API keys can reach the store (order sync). It does not quote checkout rates. The plugin can ping GET /woocommerce/checkout/ping to confirm the token.
WooCommerce rates still come from your Shipping Rules. Create the rules in Zippendo first; the plugin only displays what those rules return for the cart.

Custom and headless storefronts

A Custom channel imports orders (signed ingest or the API). It does not render a Zippendo checkout UI. To show live rates in your own checkout, call POST /orgs/:orgId/shipping-quote with destination, items, and currency. Requirements and a sample body: Shipping quotes quickstart. You need an API token — Settings, team, and brands covers API Settings.

How to test rates

There is no in-app checkout preview. Test on the surface the shopper uses: If a rate is missing, check the rule’s Receiving Countries, hard limits, and conditions before assuming the carrier service is down.

After checkout

1

Confirm the order landed

Orders — the channel badge and shipping rule should match what the shopper picked. Orders.
2

Create the shipment

Open the order → Create Shipment (or Add Shipment). The rule fills carrier and product. Create a shipment.
3

Print and track

Shipping rules

Build the methods checkout offers — destination, weight, and price.

Connect Shopify

Install the app and finish organization, address, and import.

Connect order channels

WooCommerce and custom channels, including more than one store.

Shipping quotes

Headless checkout via POST /orgs/:orgId/shipping-quote.
Field-level: Get a shipping quote · Shopify settings · Droppoint vs service point