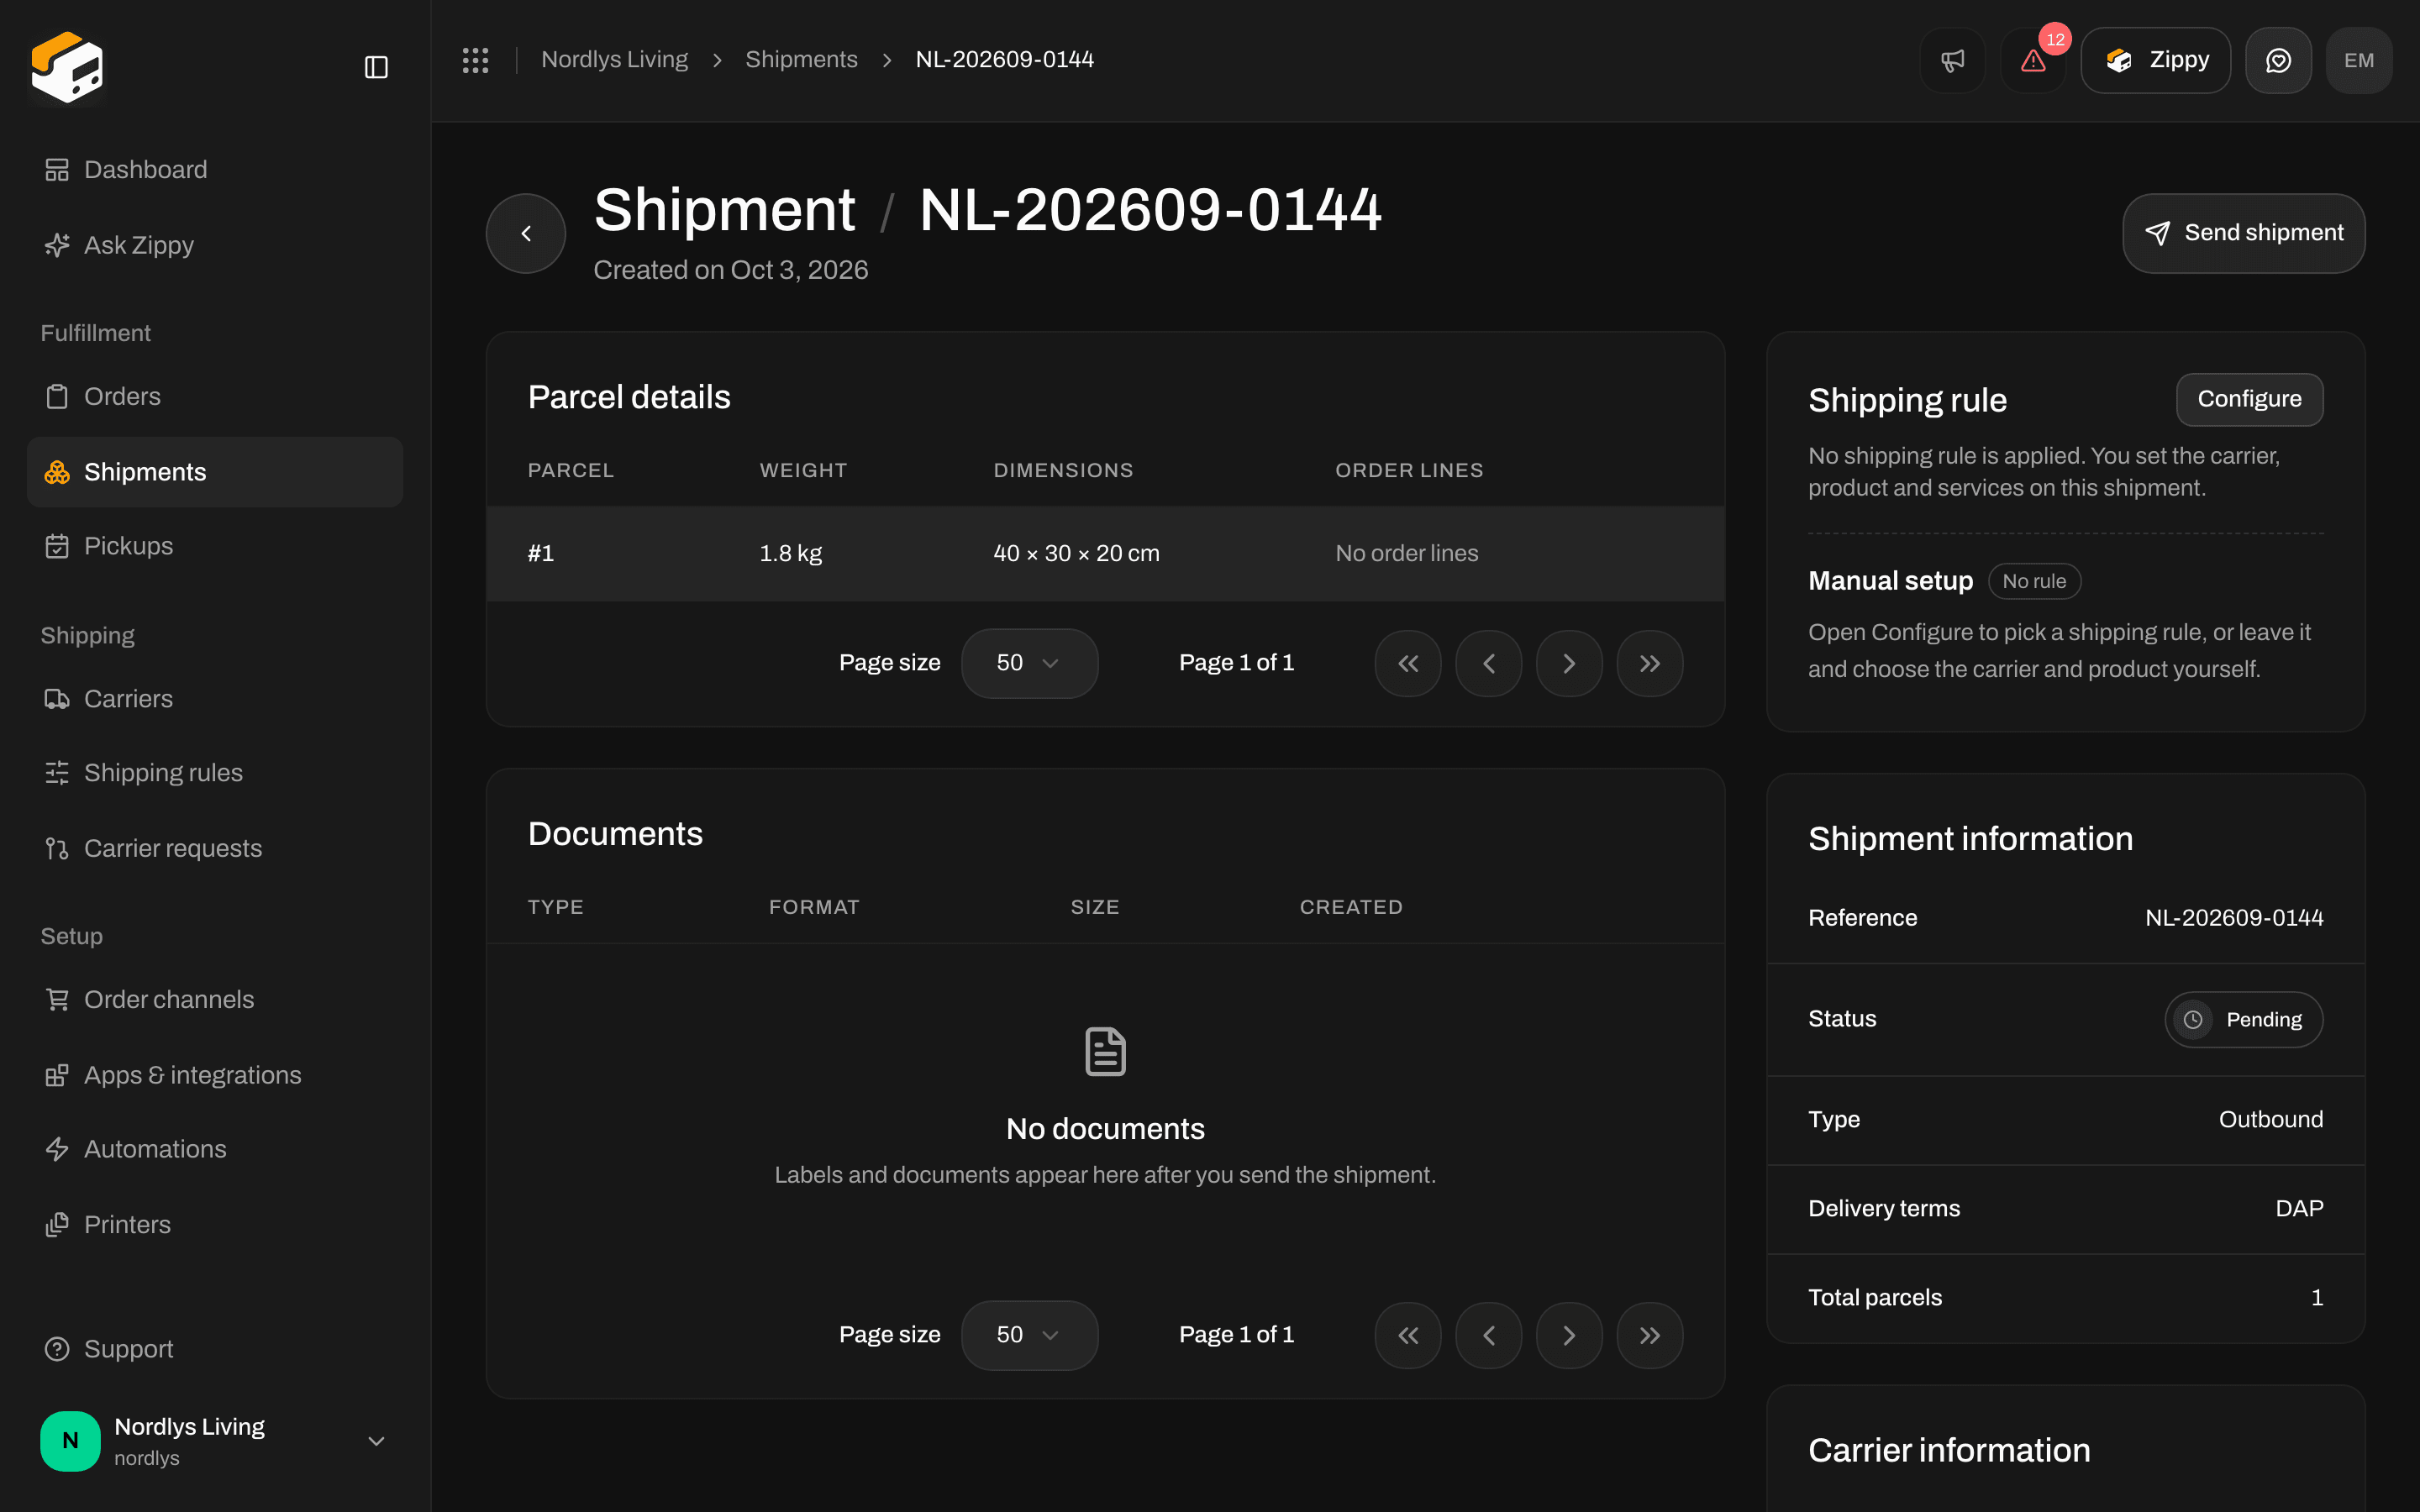
A shipment is the parcel (or set of parcels) you book with a carrier. This walkthrough covers both ways to create one in the Zippendo client: a standalone shipment you type in yourself, and a shipment created from a synced order. Creating a shipment does not buy the label. The new shipment is saved as Pending. You book it with the carrier in a second step — Send Shipment. That step is covered here and in Labels and printing.
You need at least one sender address and one connected carrier before you can create a shipment. If either is missing, the form or modal tells you — add them first.

Where to create a shipment

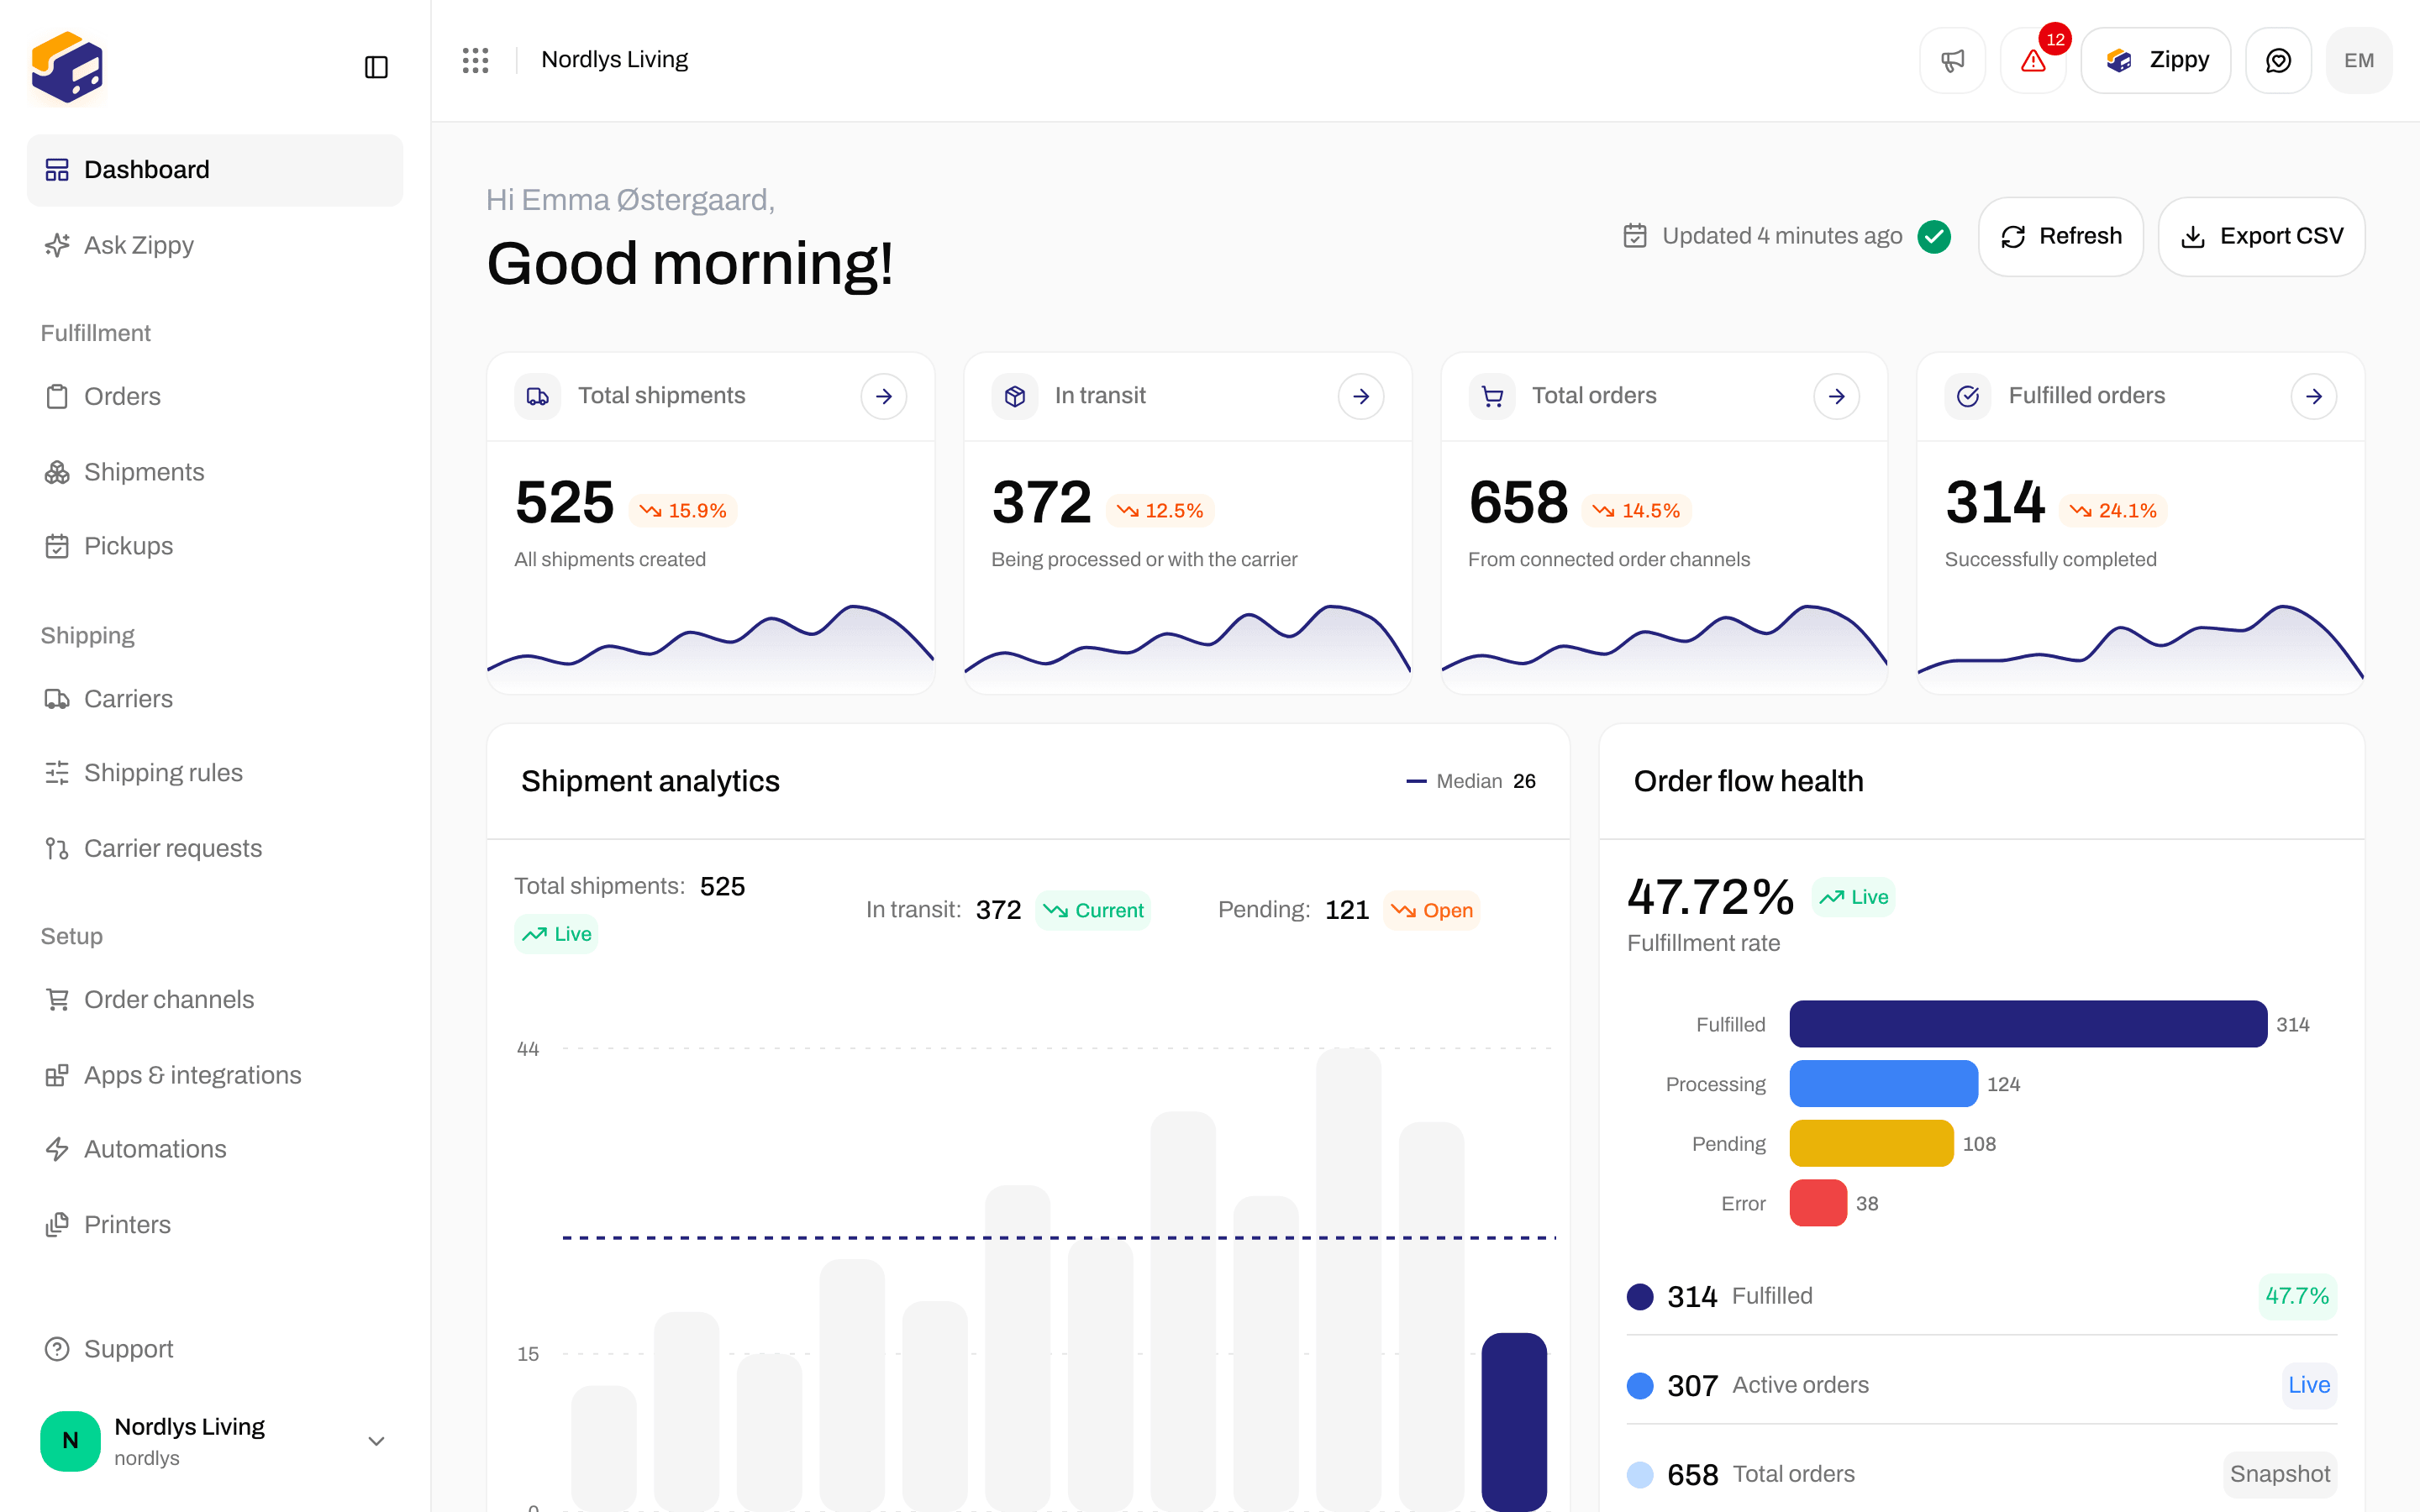
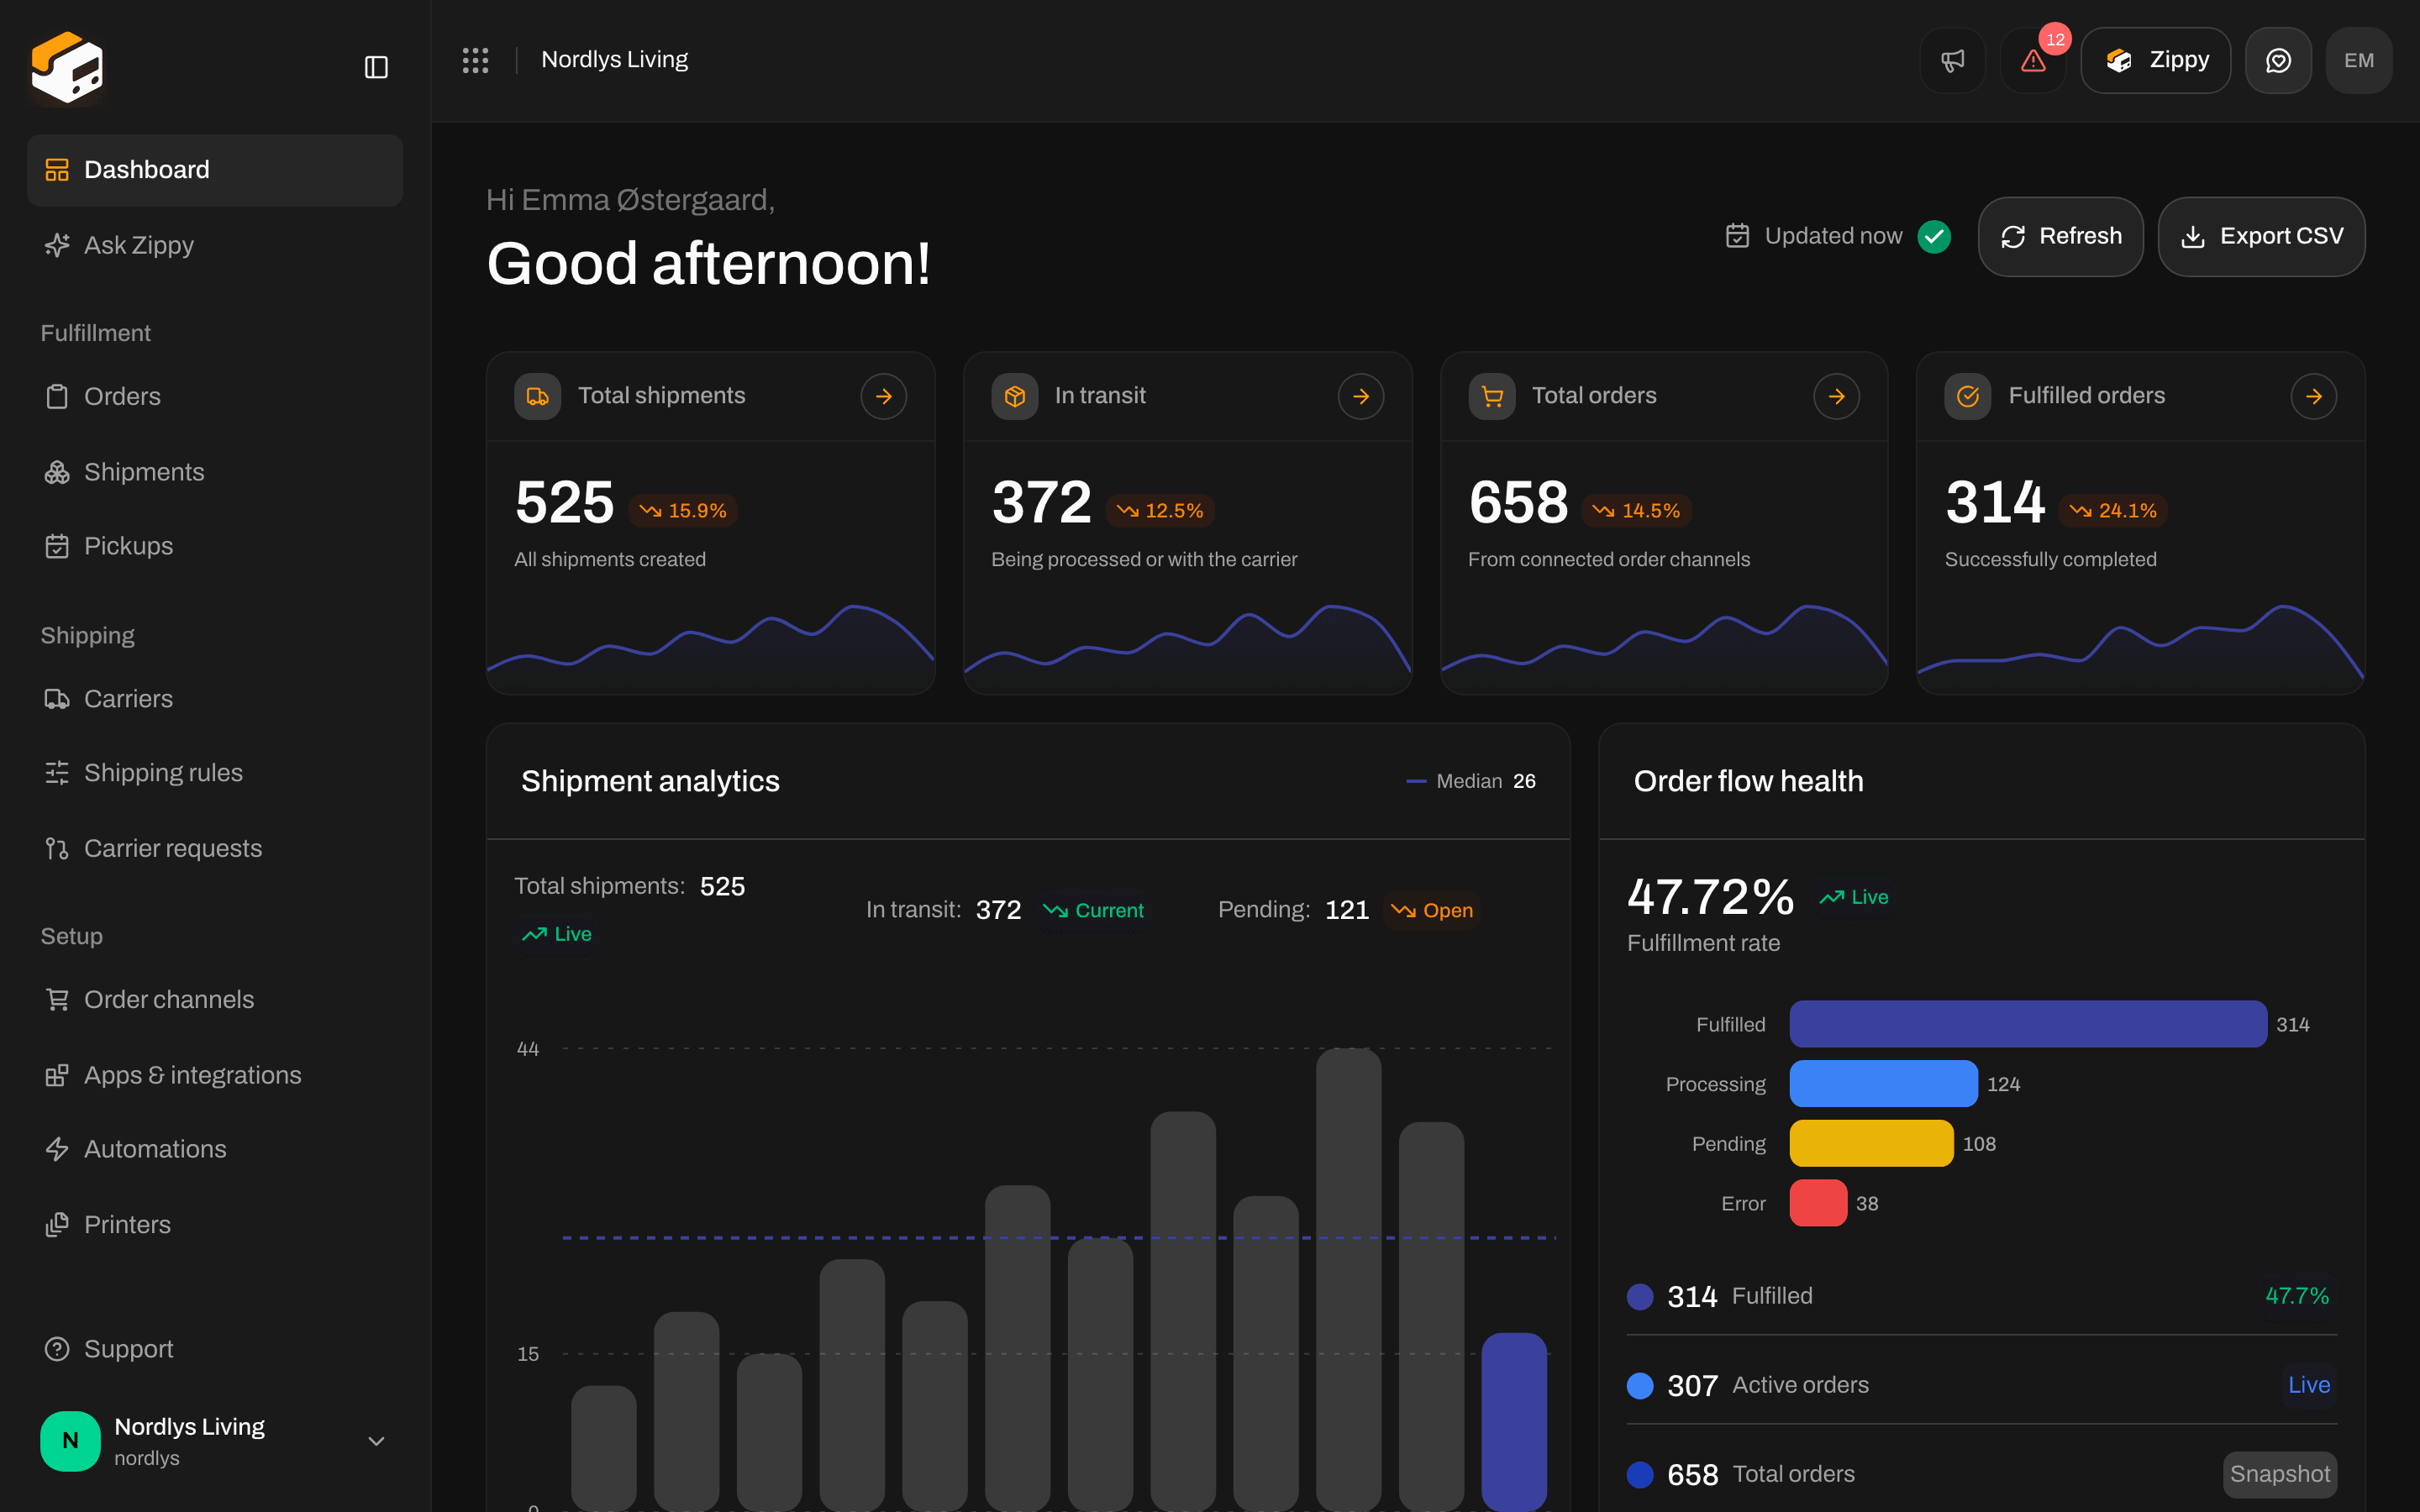
There is no Create shipment button on the dashboard itself. From the dashboard you open Shipments in the sidebar, or click Total shipments / In transit to jump to the list.
Dashboard with Total shipments, In transit, and the Shipments item in the sidebarDashboard with Total shipments, In transit, and the Shipments item in the sidebar

Open Shipments from the sidebar, or click Total shipments on the dashboard

Use one of these entry points:
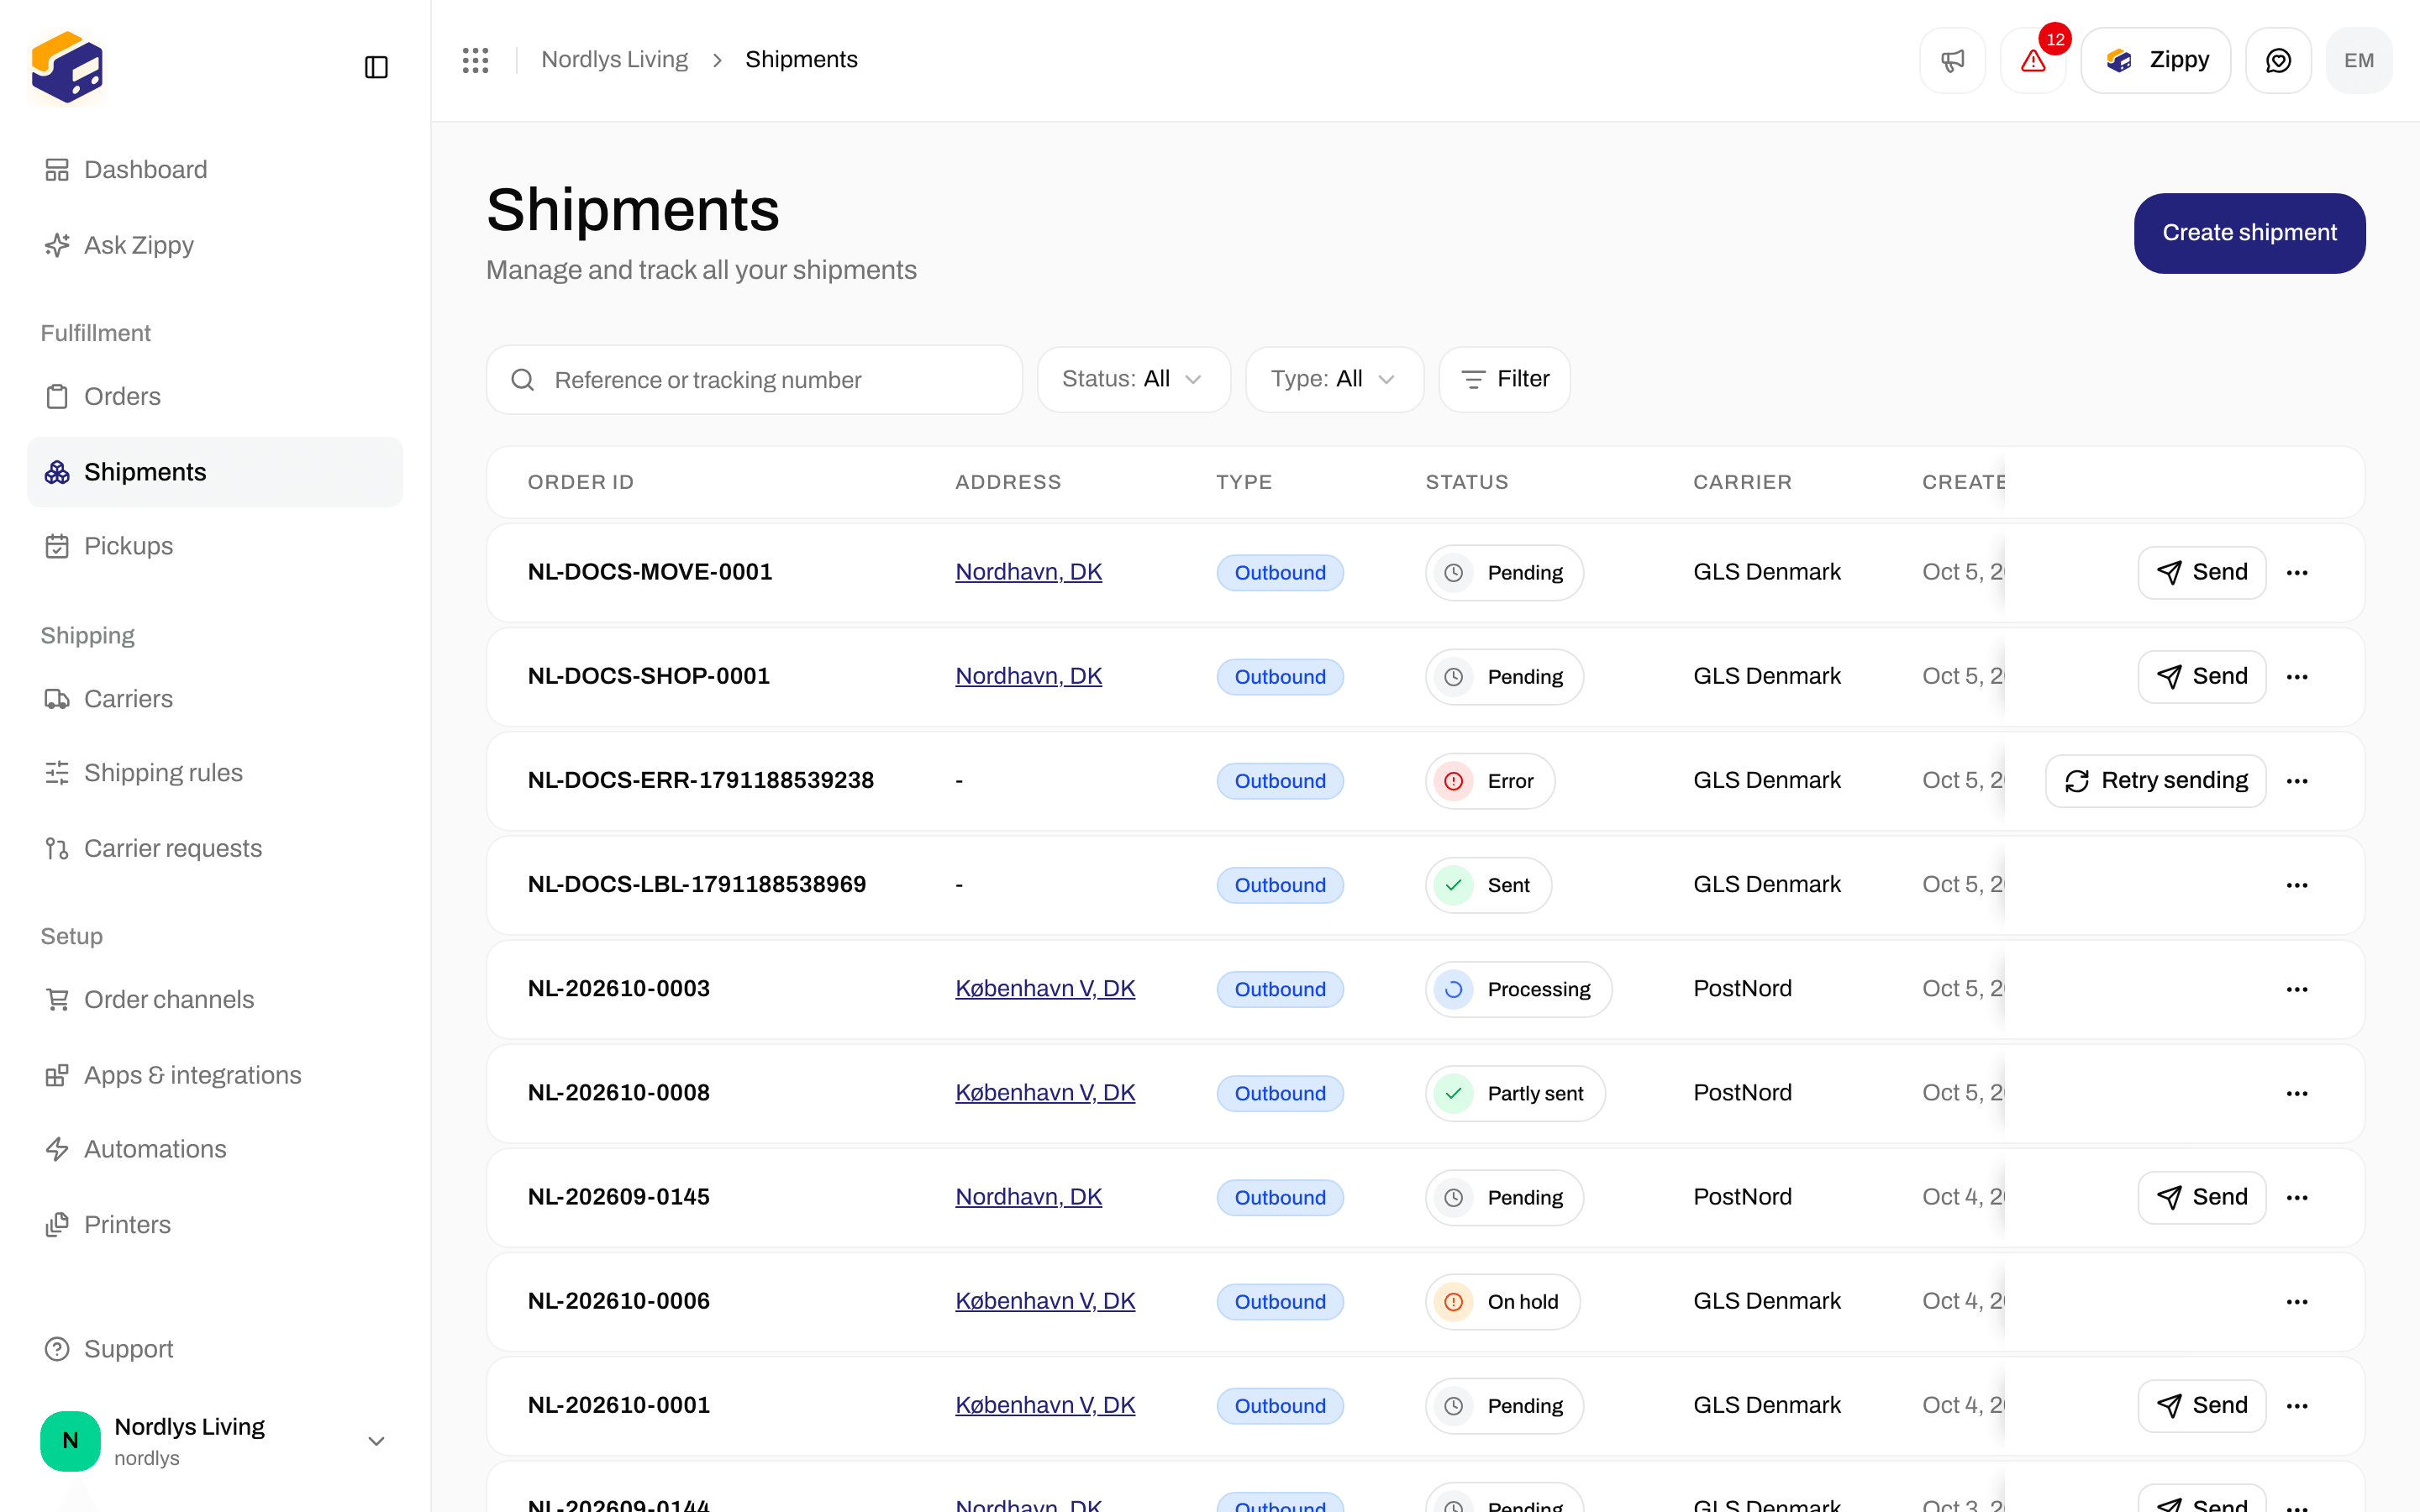
Shipments list with the Create shipment button in the headerShipments list with the Create shipment button in the header

Click Create shipment on the Shipments list

Creating from an order is faster: Zippendo copies the customer, shipping address, and order lines. A standalone shipment is for ad-hoc sends, samples, or anything that never lived as an order.

Before you start

  • Sender address — Settings → Sender (the “from” on the label).
  • Carrier — at least one connected under Carriers. Products come from that carrier (for example GLS PrivateDelivery or PostNord MyPack).
  • Order channel — optional. Skip it if you are creating a standalone shipment.
You do not pick a live price on this screen. The create form asks for carrier and product, not a rate quote. Checkout rates are a separate flow — see Checkout and the shipping quotes quickstart.

Create a standalone shipment

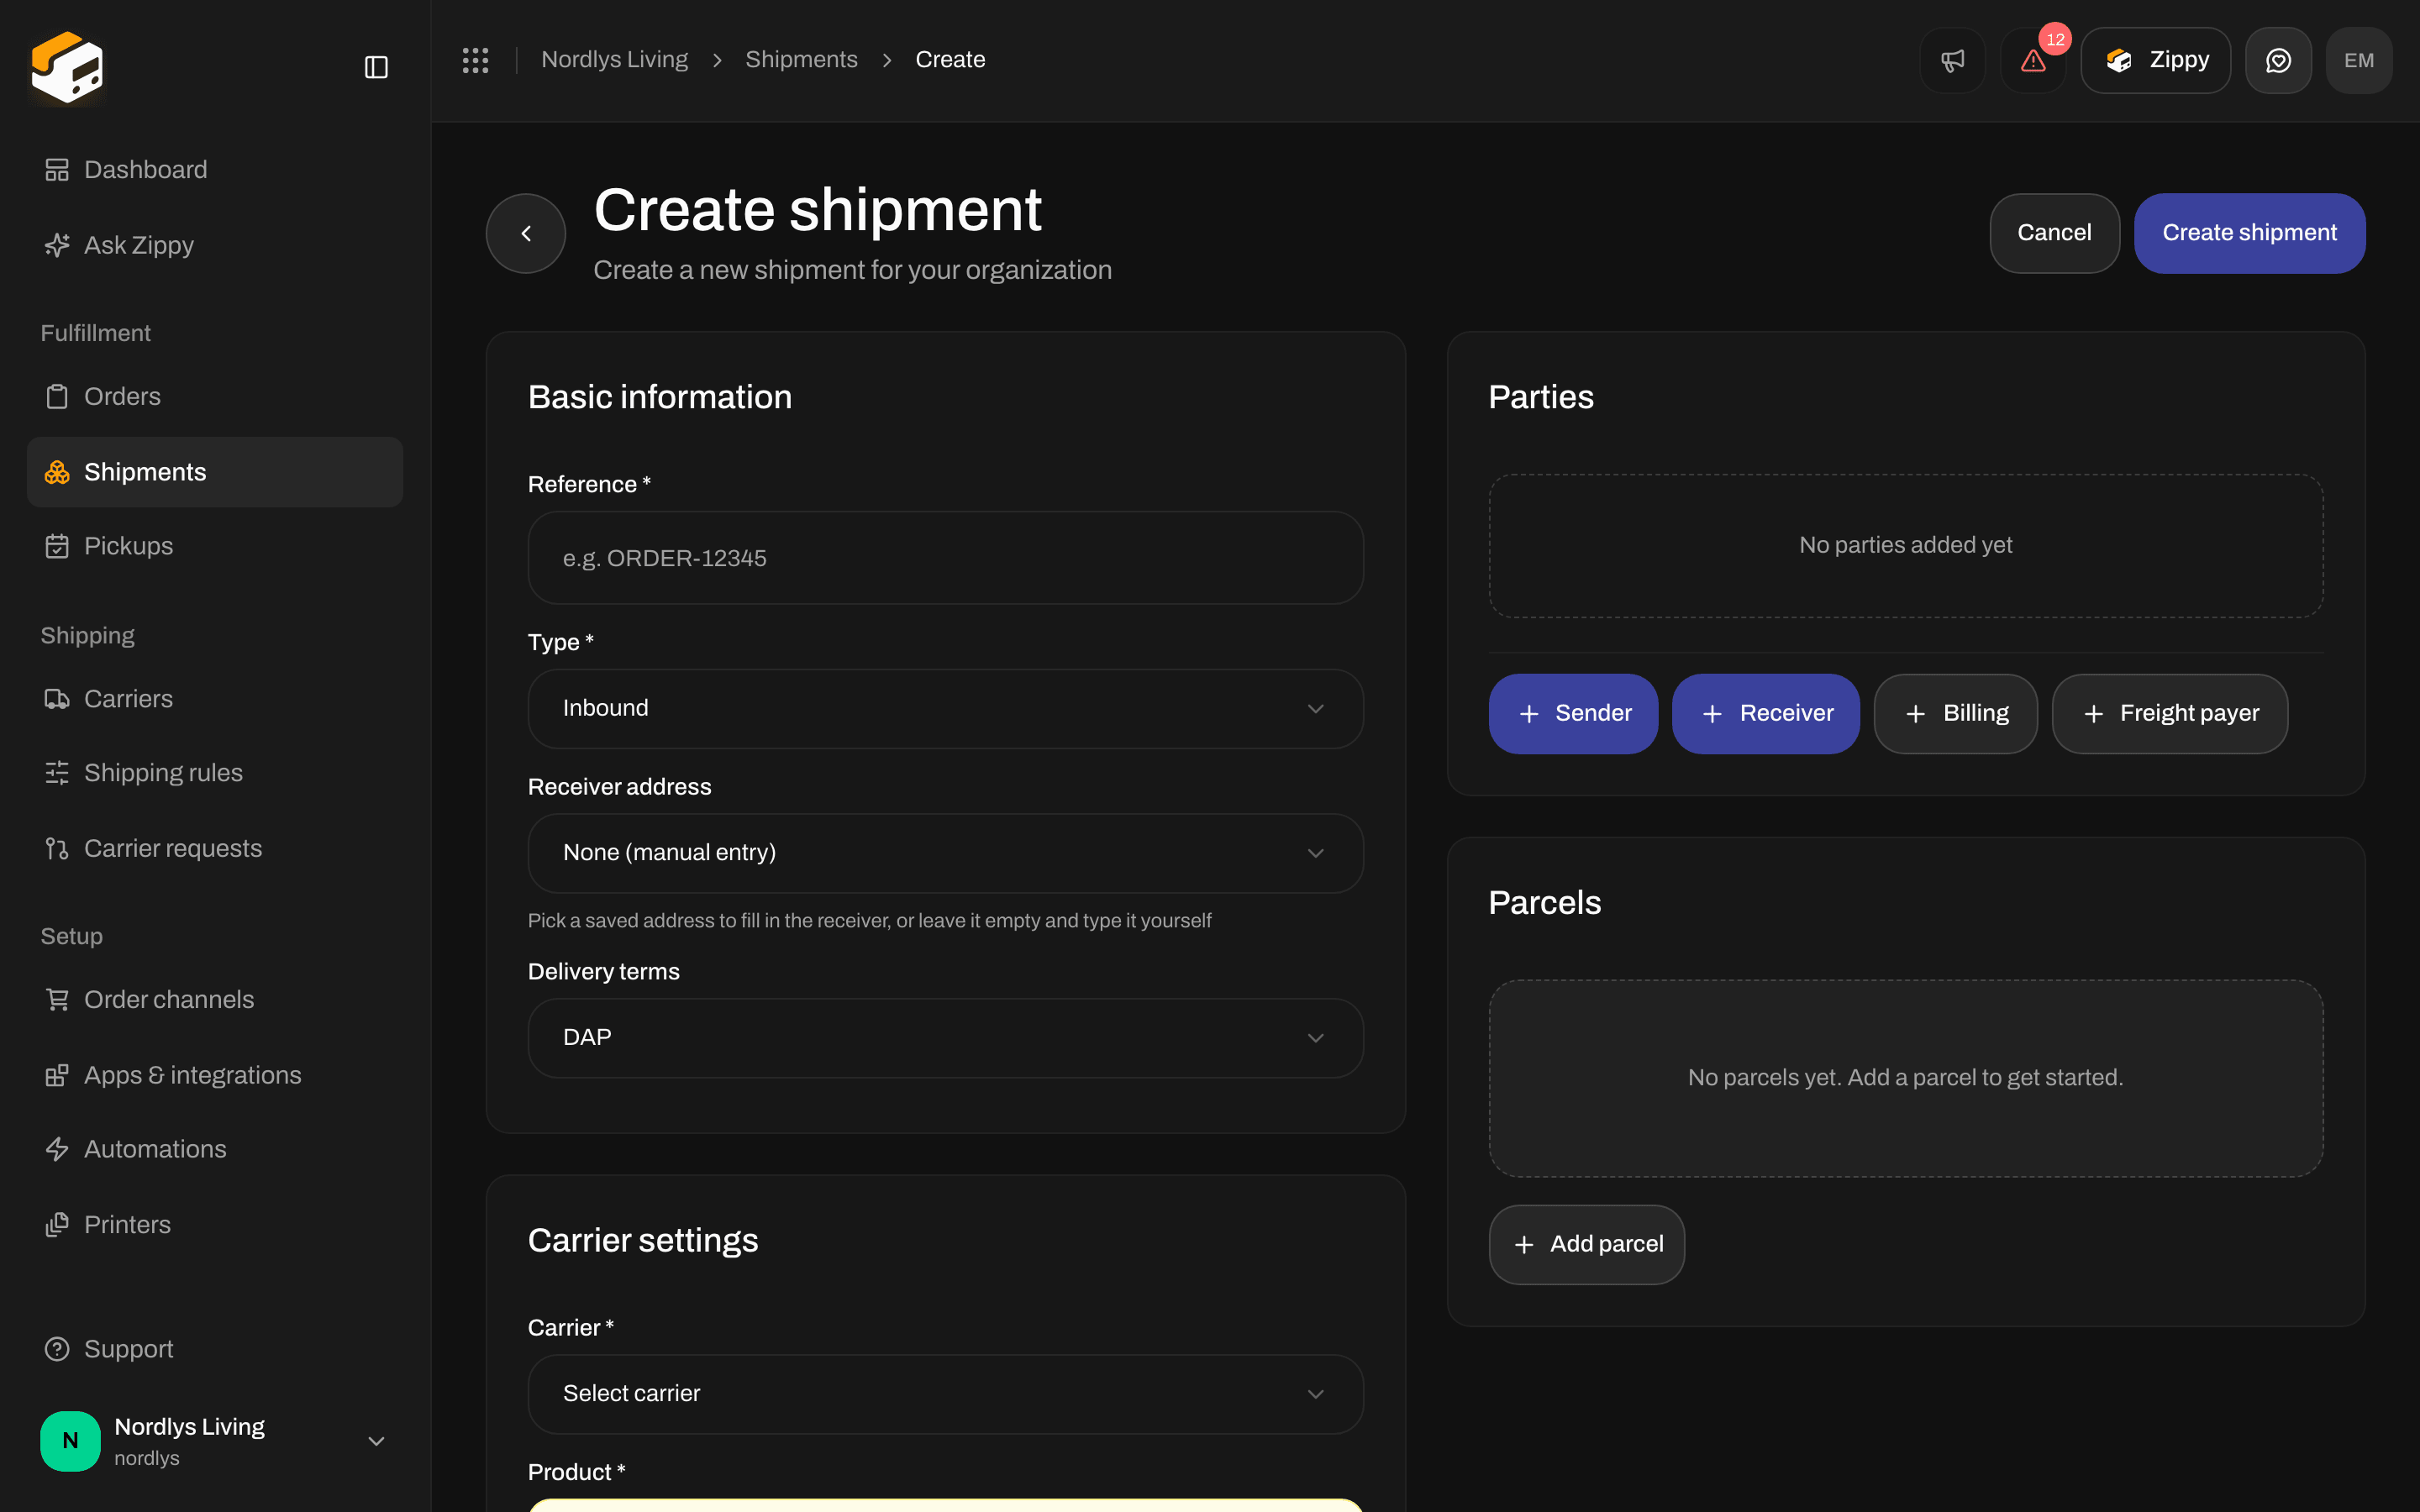
Open Shipments → Create shipment. The page title is Create Shipment. Two columns hold the form: settings on the left, Parties and Parcels on the right.
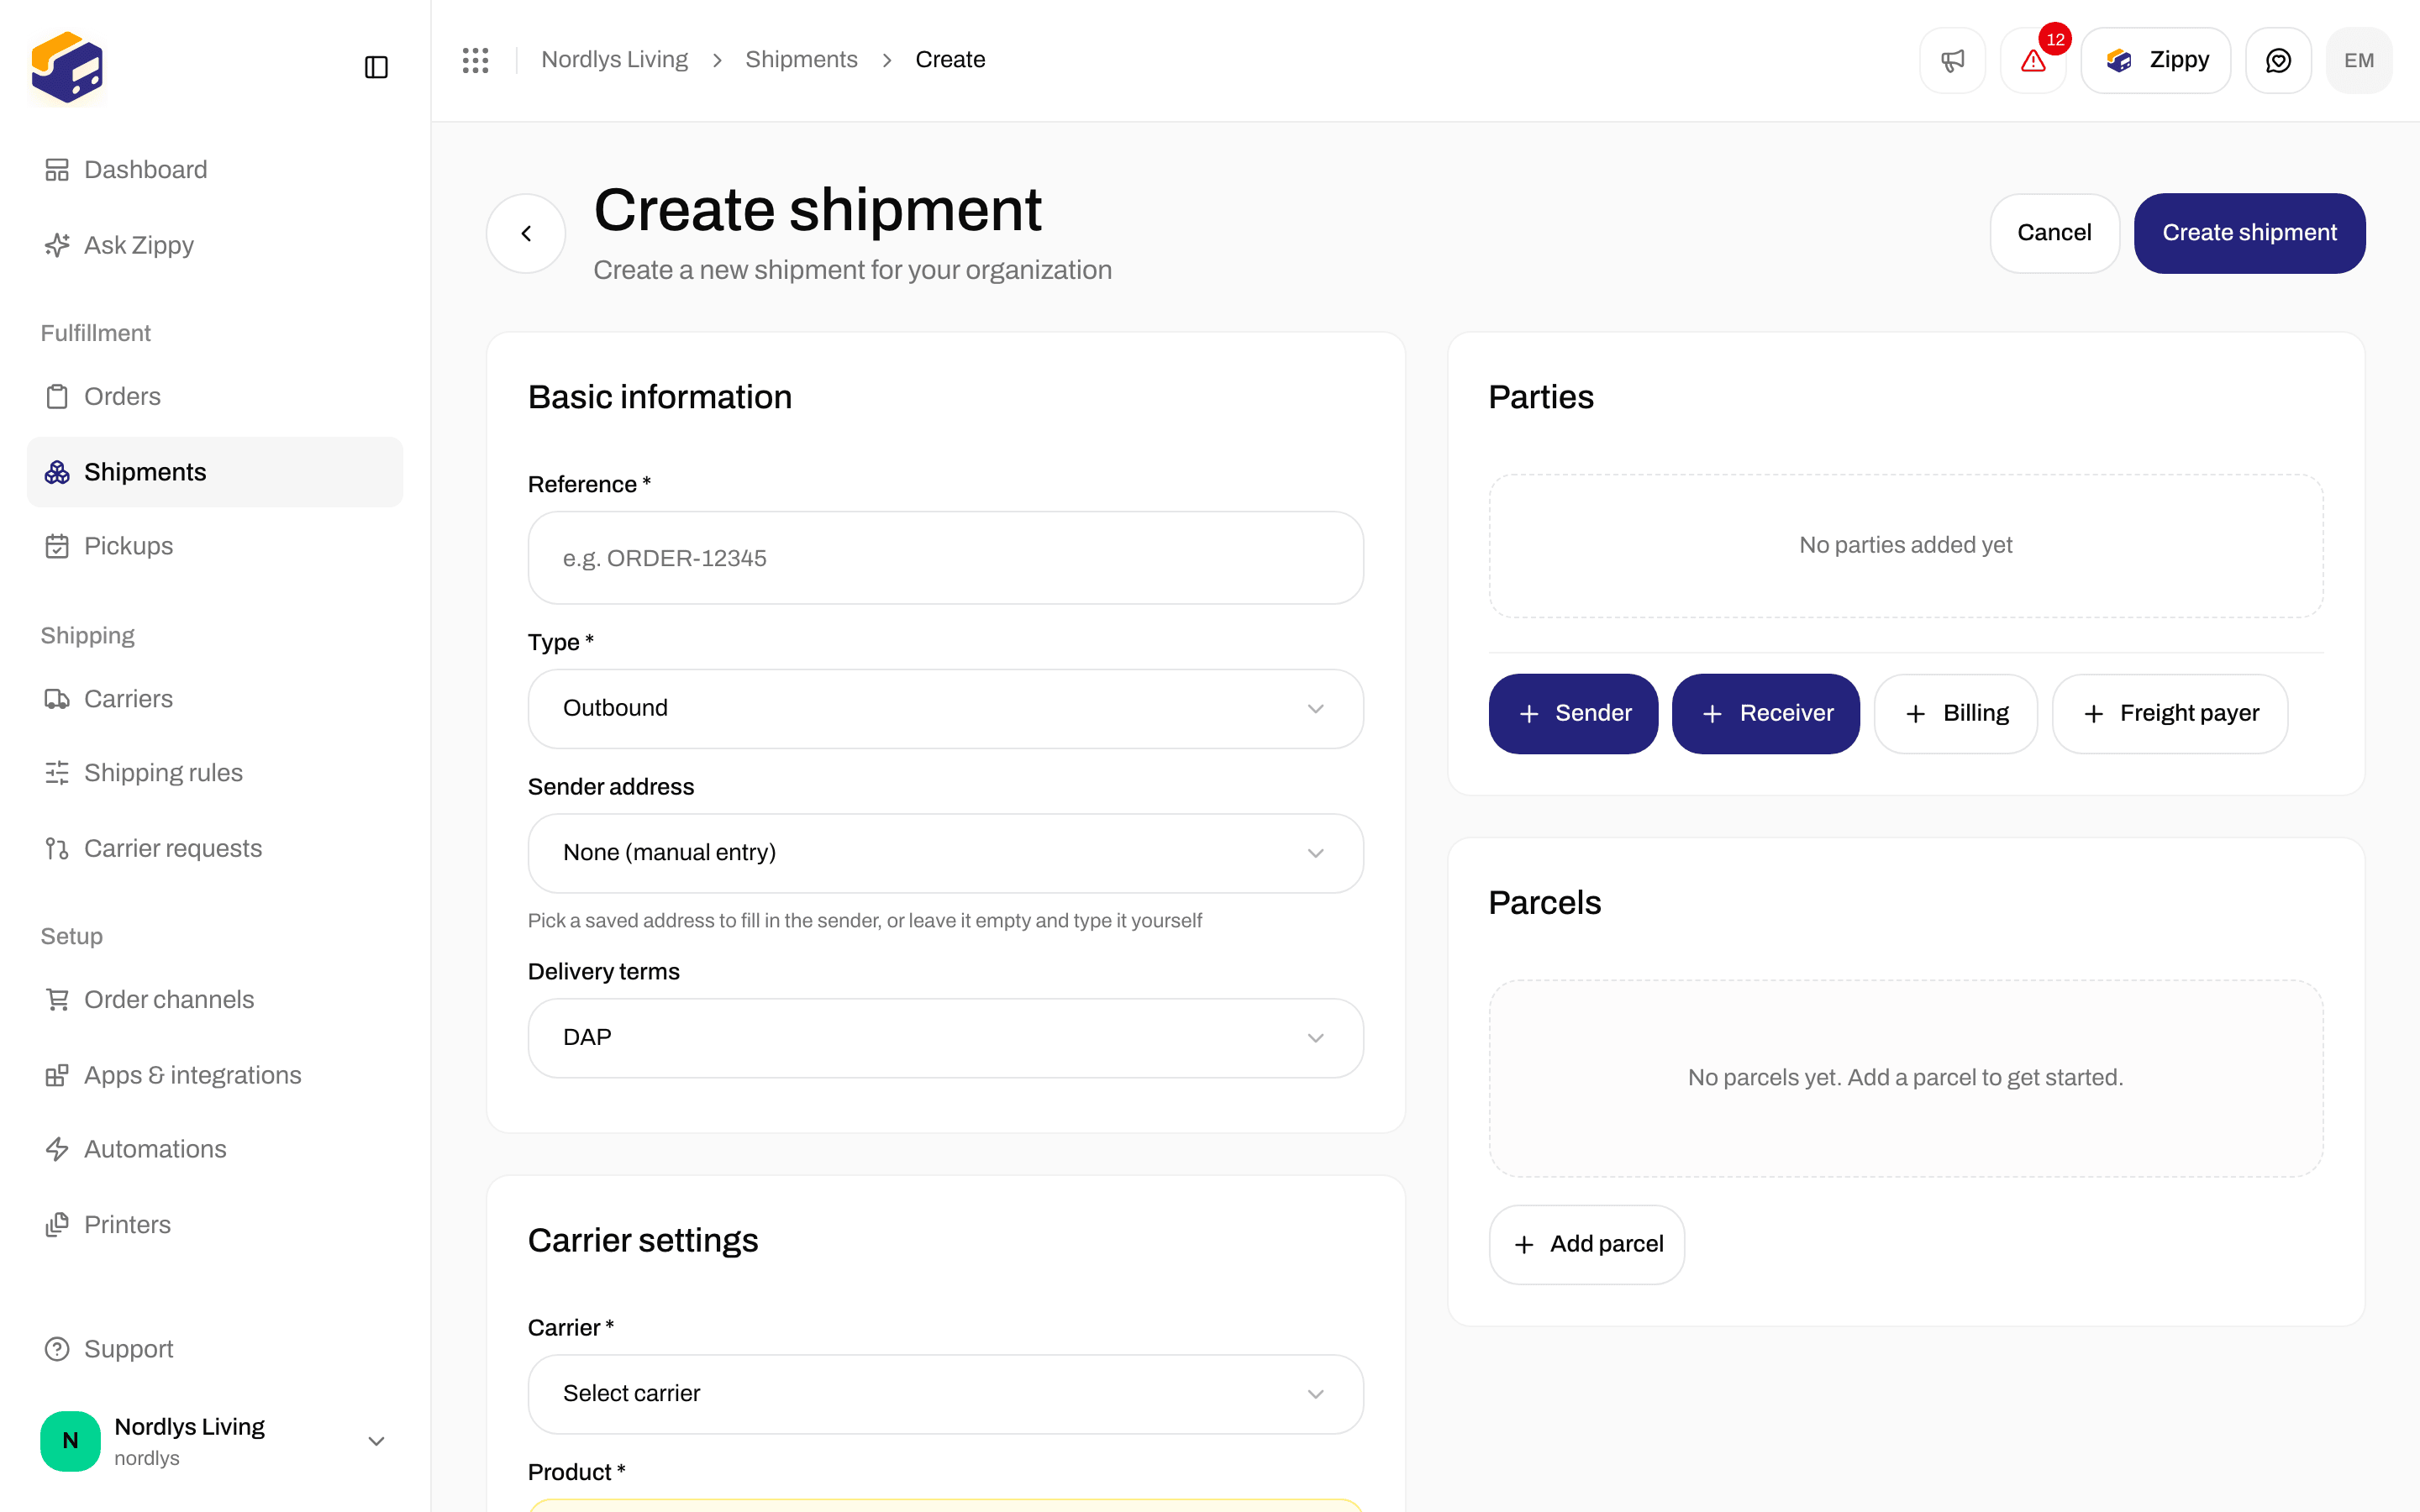
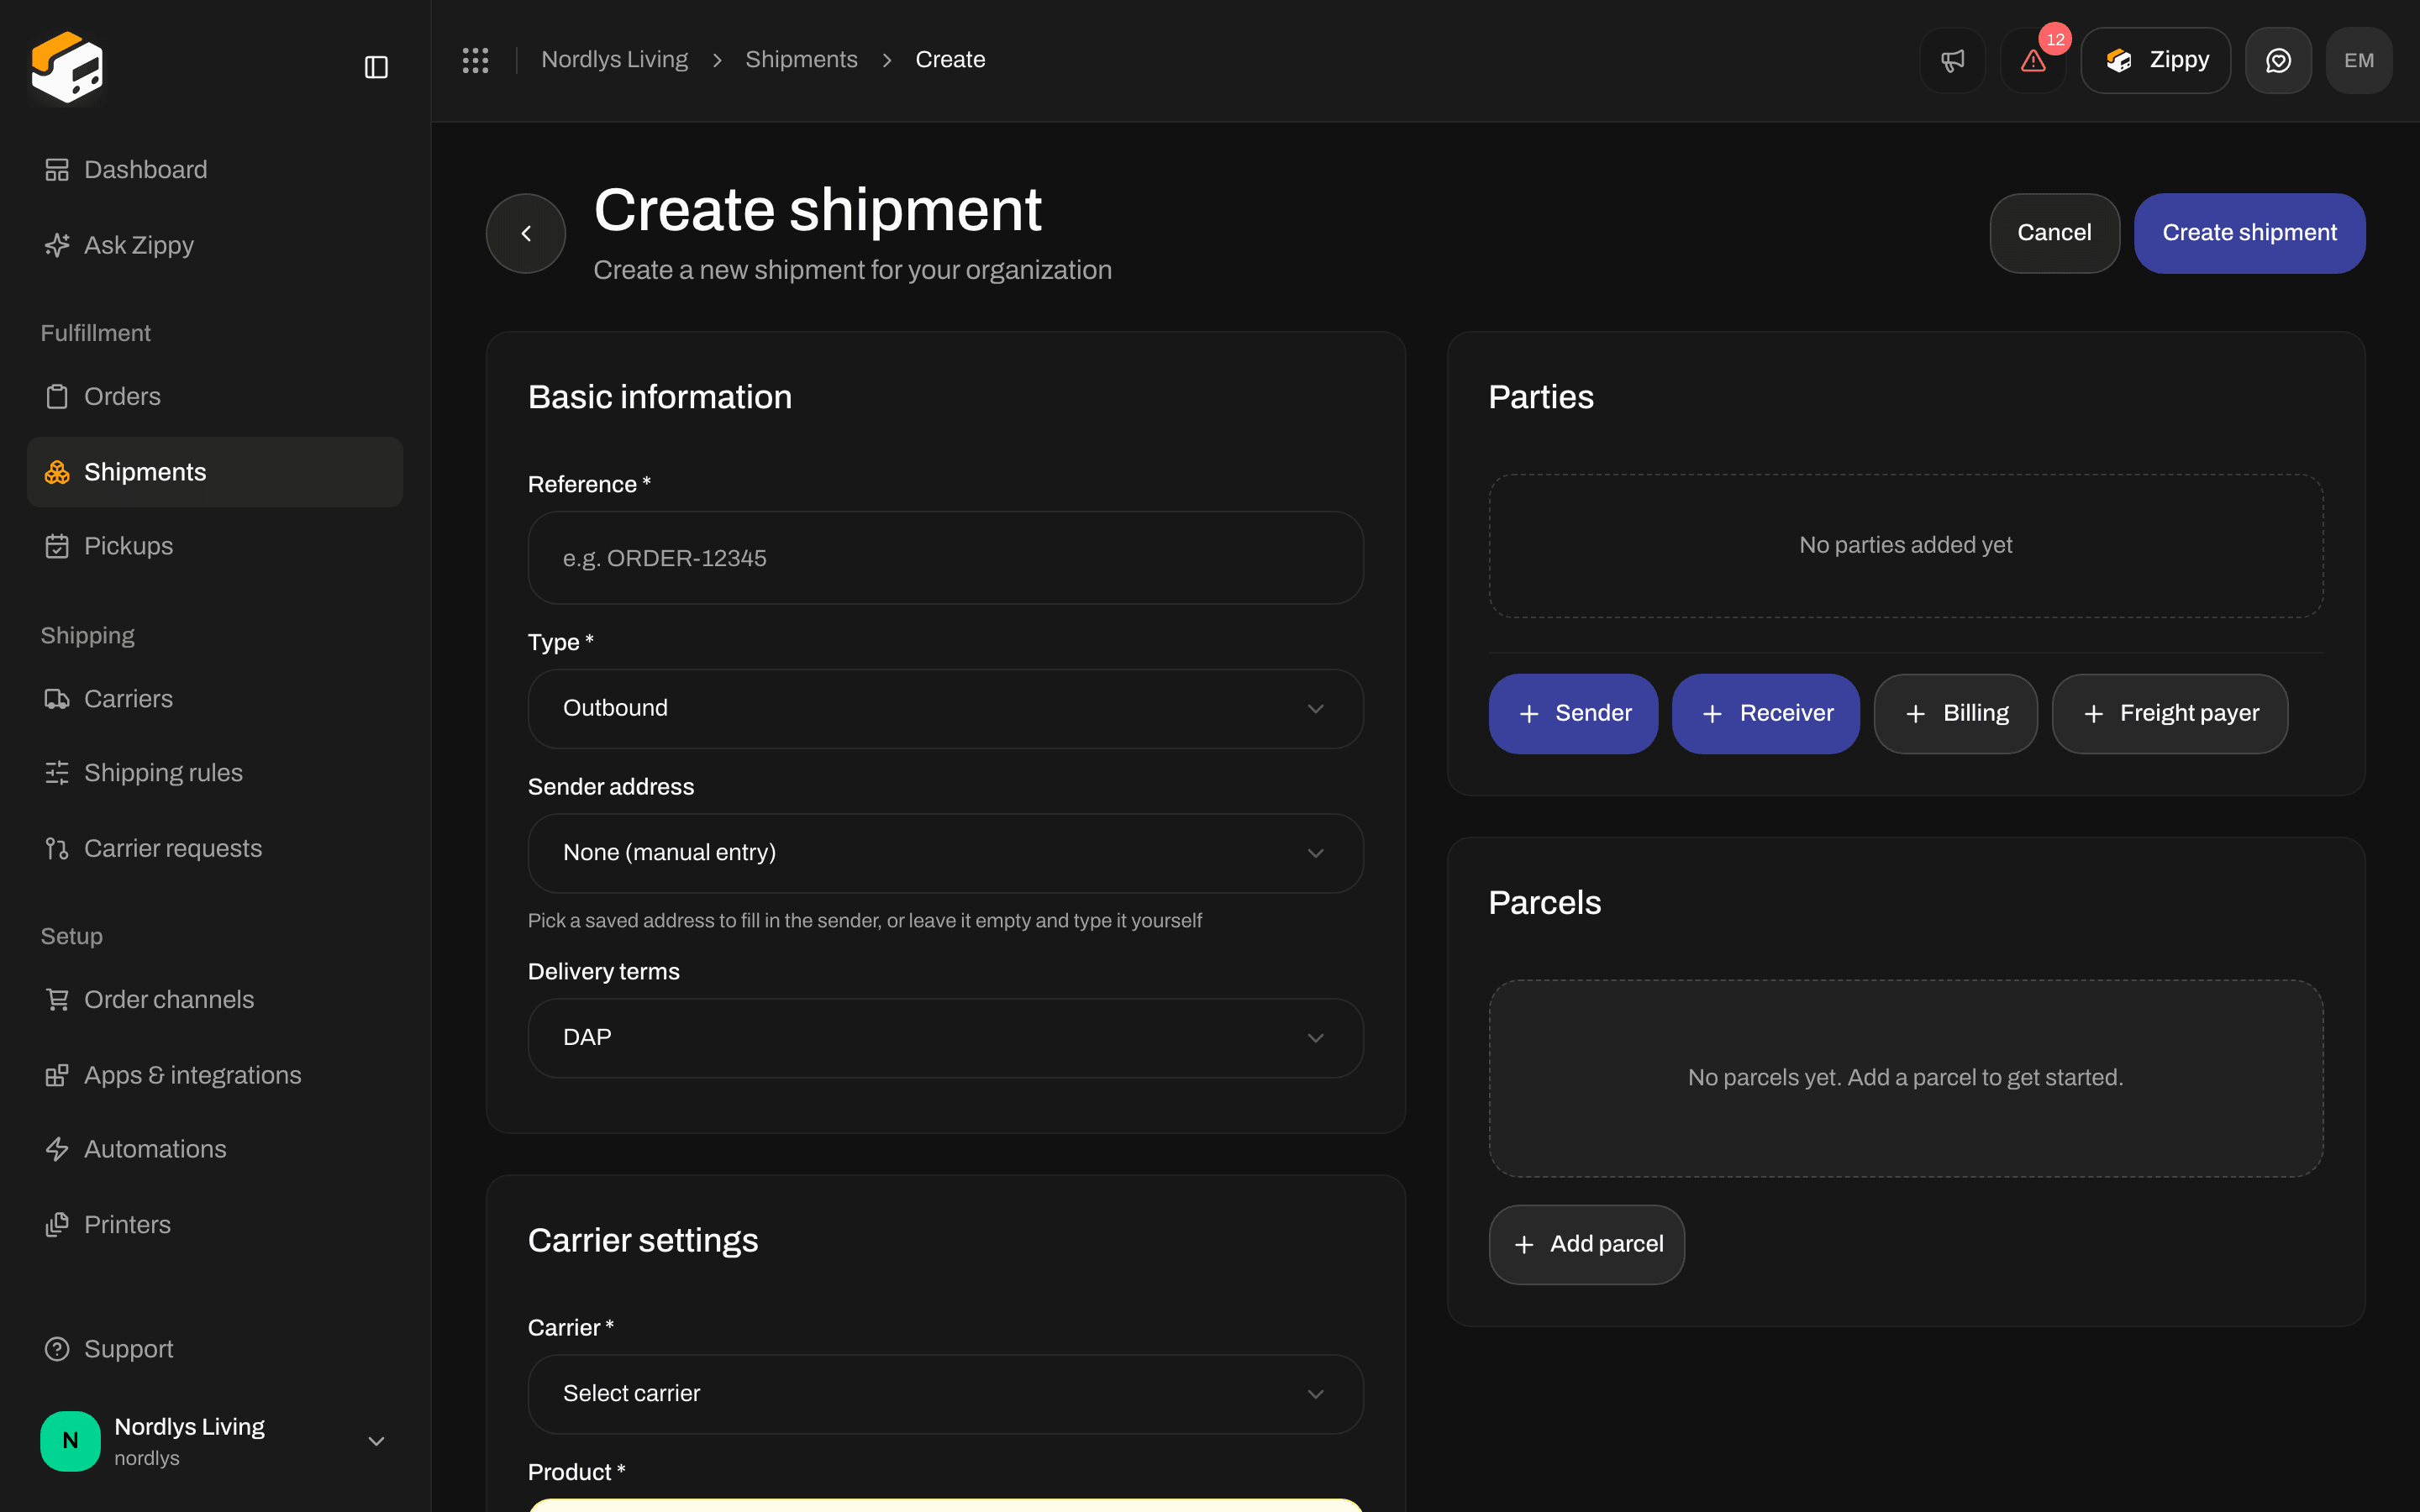
Create Shipment form with Basic Information, Carrier Settings, Printer Settings, Parties, and ParcelsCreate Shipment form with Basic Information, Carrier Settings, Printer Settings, Parties, and Parcels

The Create Shipment form before anything is filled in

1

Basic Information

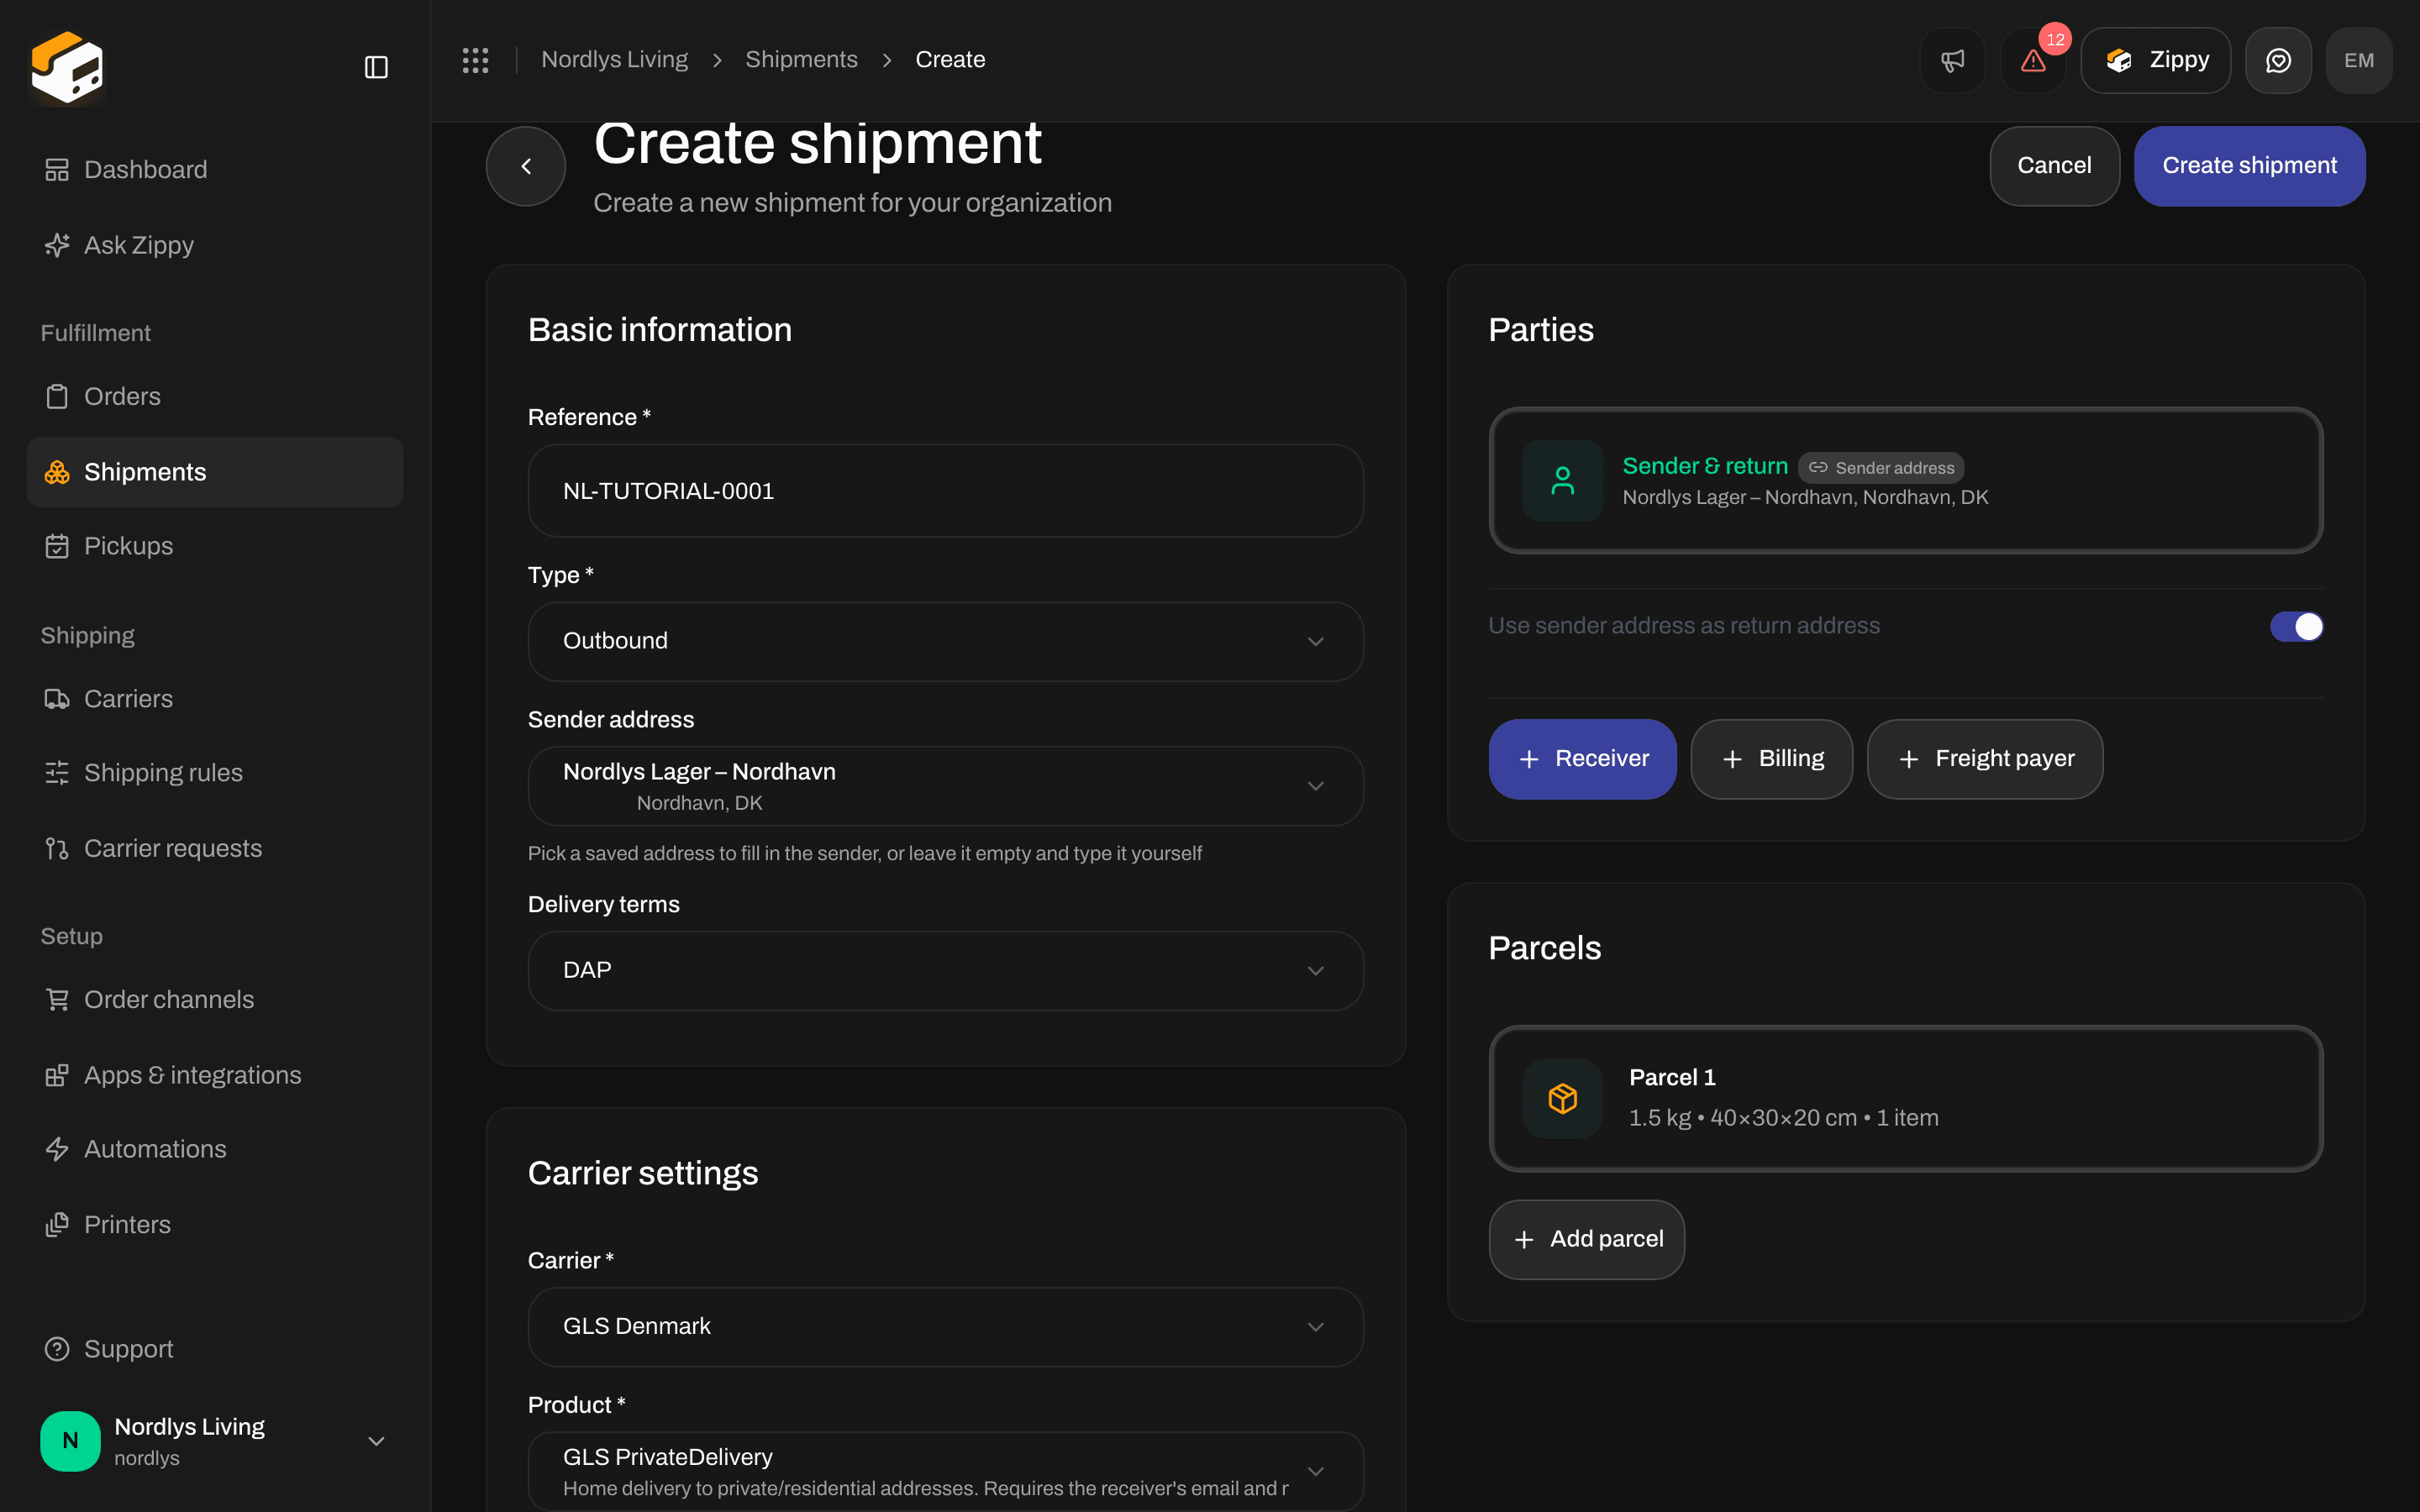
Fill in Reference * (for example ORDER-12345 — required). Set Type * to Outbound (to a customer) or Inbound (a return coming back to you).Choose a Sender Address to auto-fill the sender party, or leave None (manual entry) and type the sender in Parties. Term of Trade defaults to DAP. Change it when customs needs a different Incoterm.
2

Carrier Settings

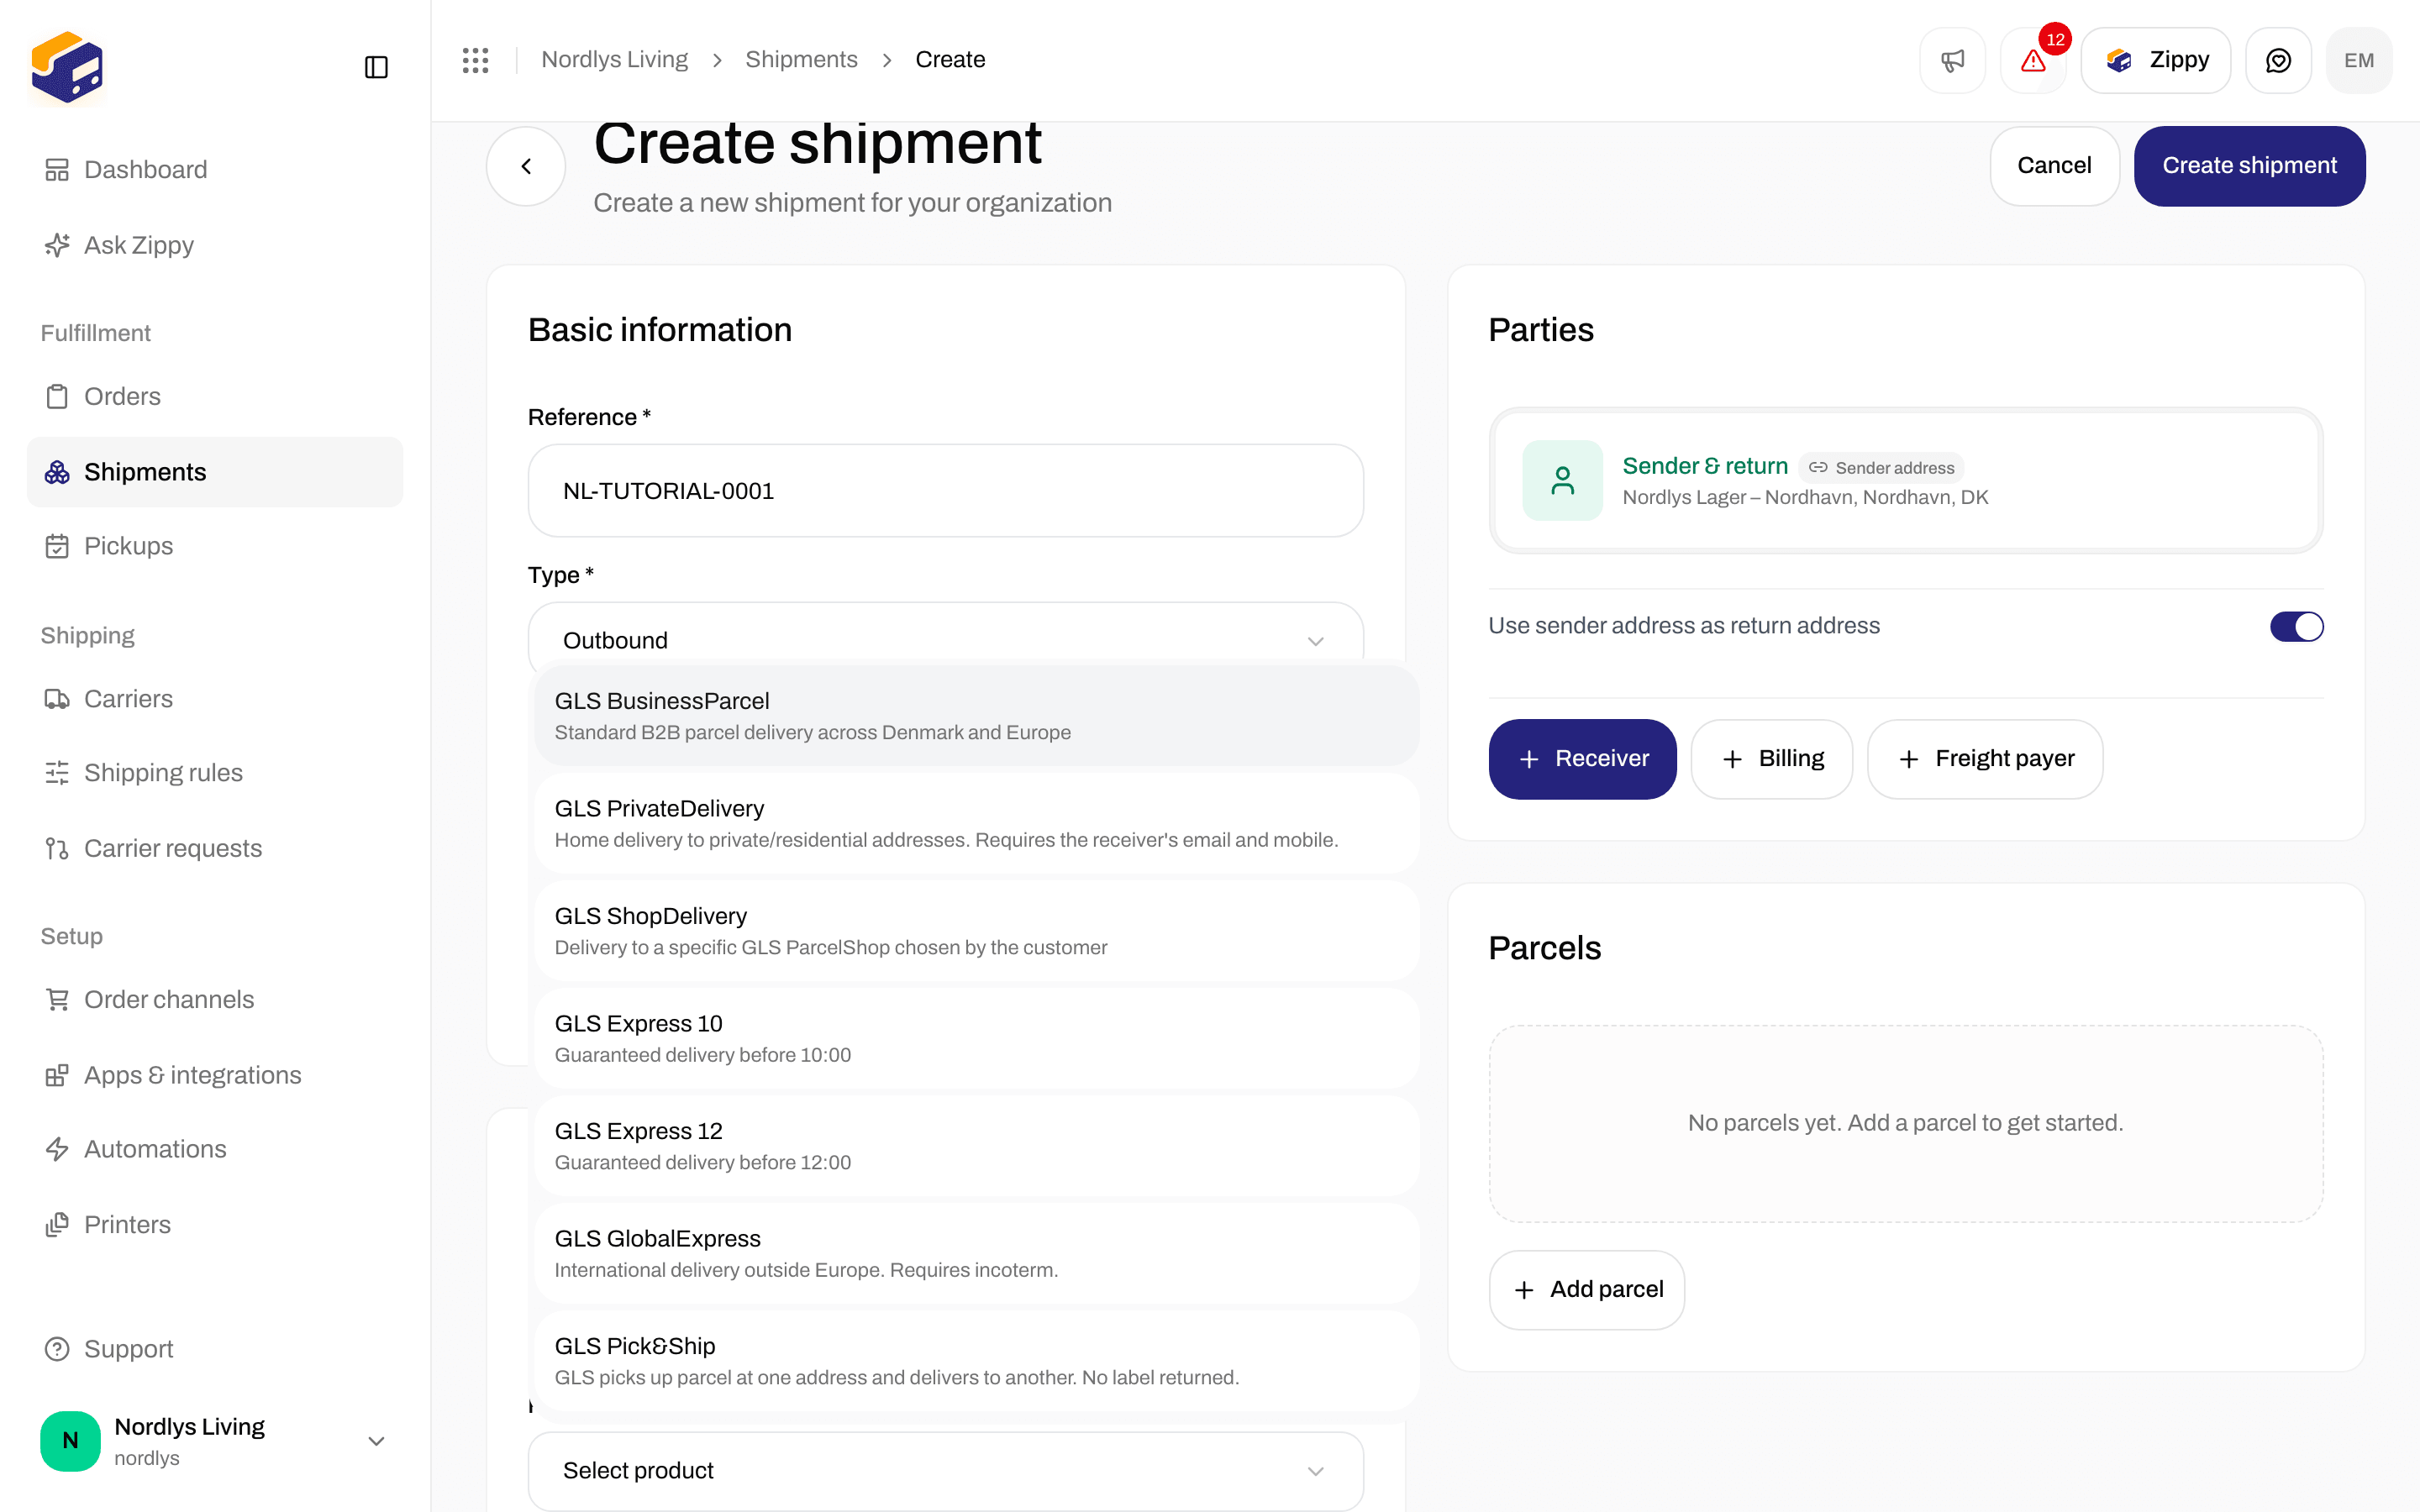
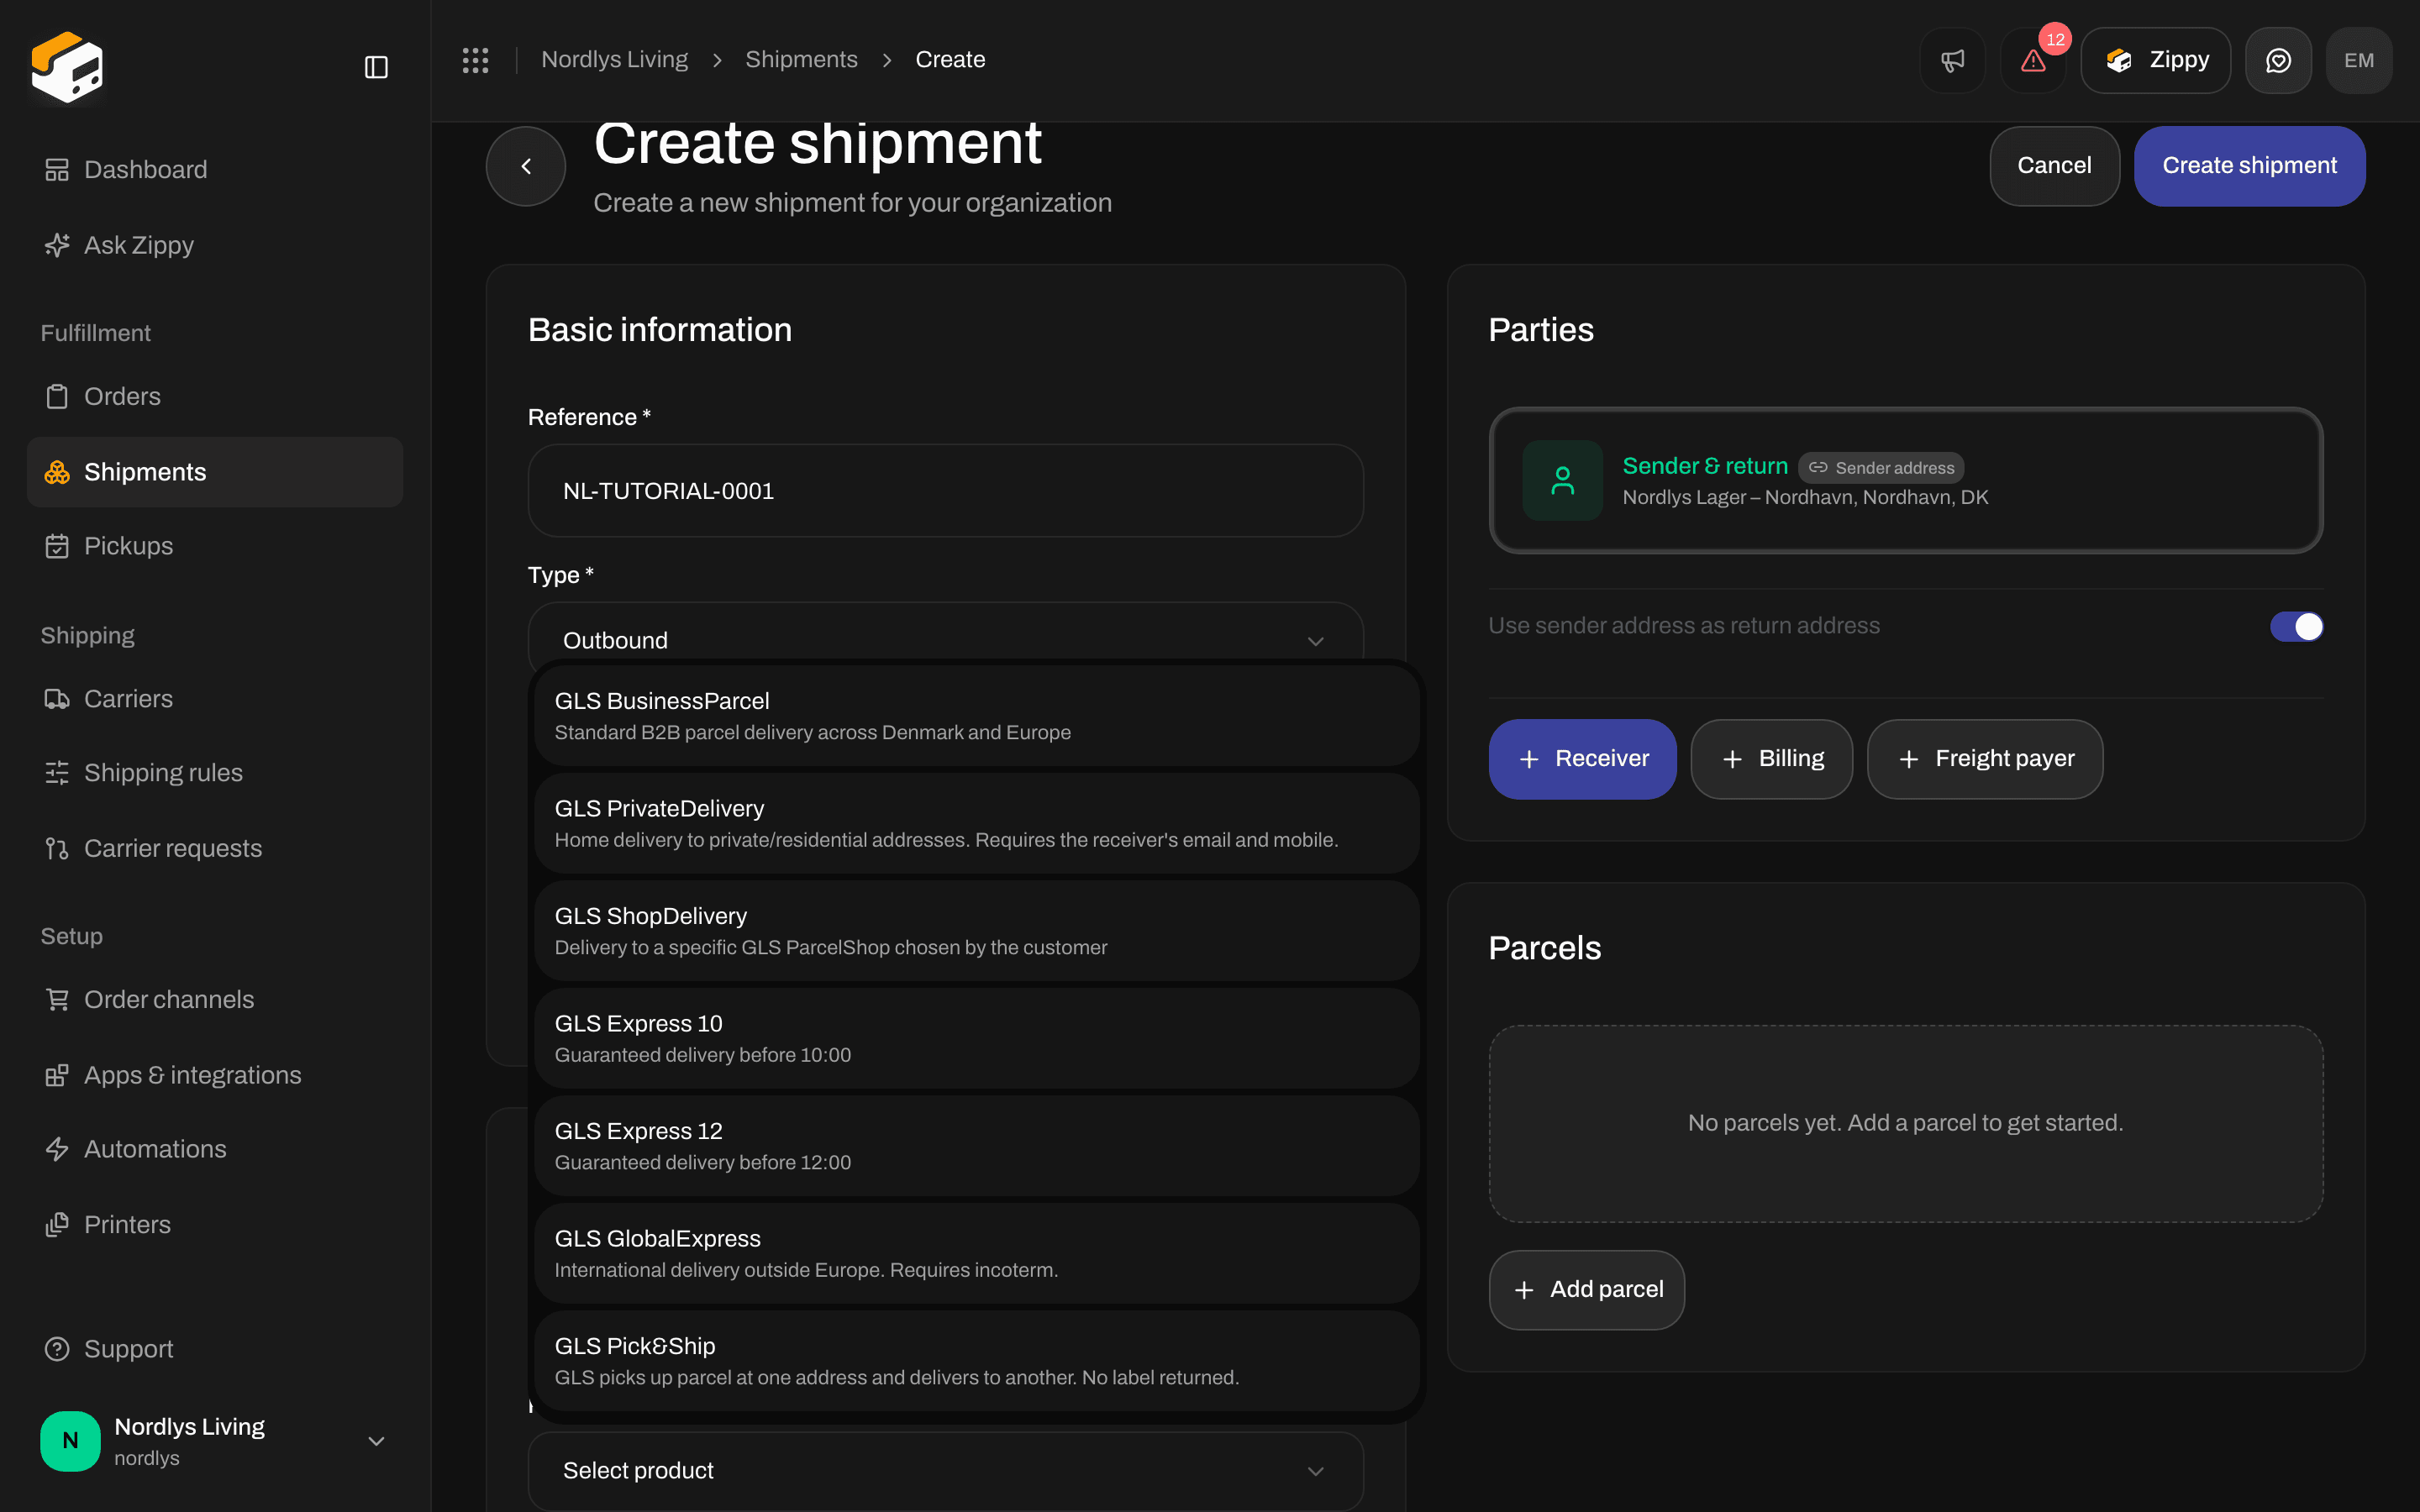
Choose Carrier *, then Product *. The product list is filtered by type: outbound products for Outbound, inbound products for Inbound. After you pick a product, Zippendo may show:
  • A weight range for that product (for example 0.1–31.5 kg).
  • Services you can toggle (notification email, pickup, and similar).
  • Additional Options required by that product.
3

Parties

You must have both a Sender and a Receiver. Selecting a sender address fills the sender for you.Optionally add Billing, Return, or Freight Payer. Use the switches Use receiver address as billing address and Use sender address as return address when those addresses are the same.
4

Parcels

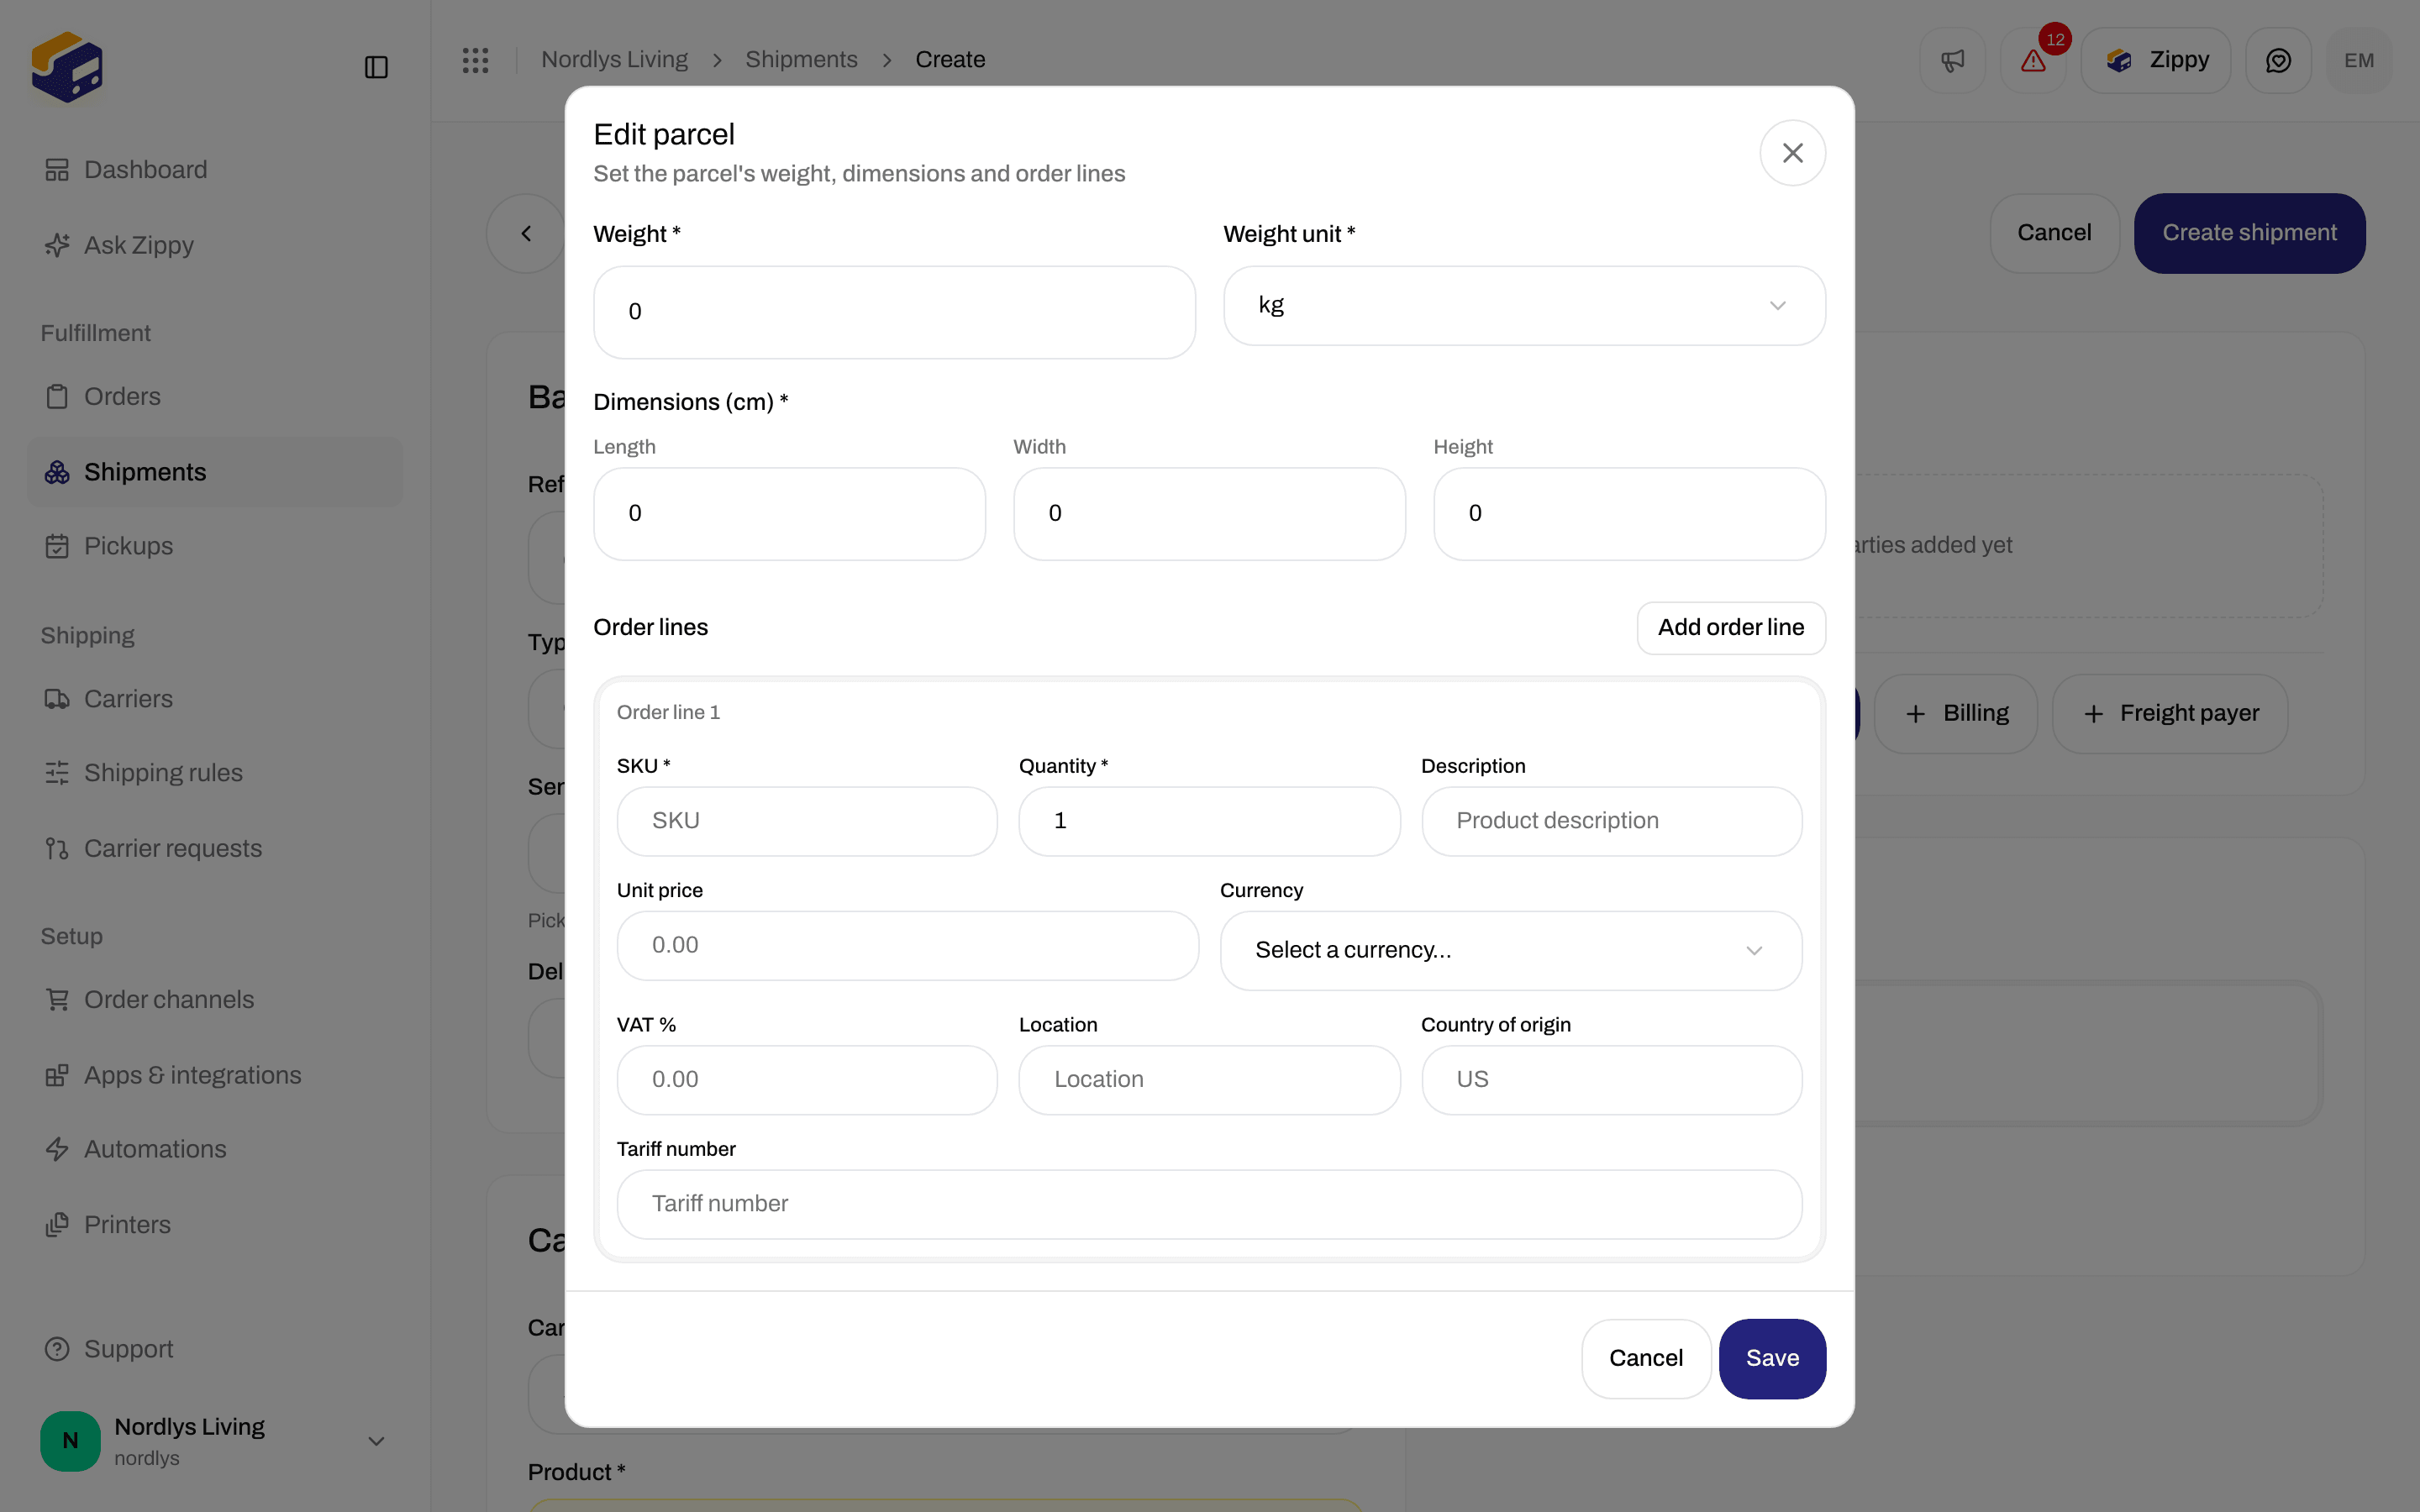
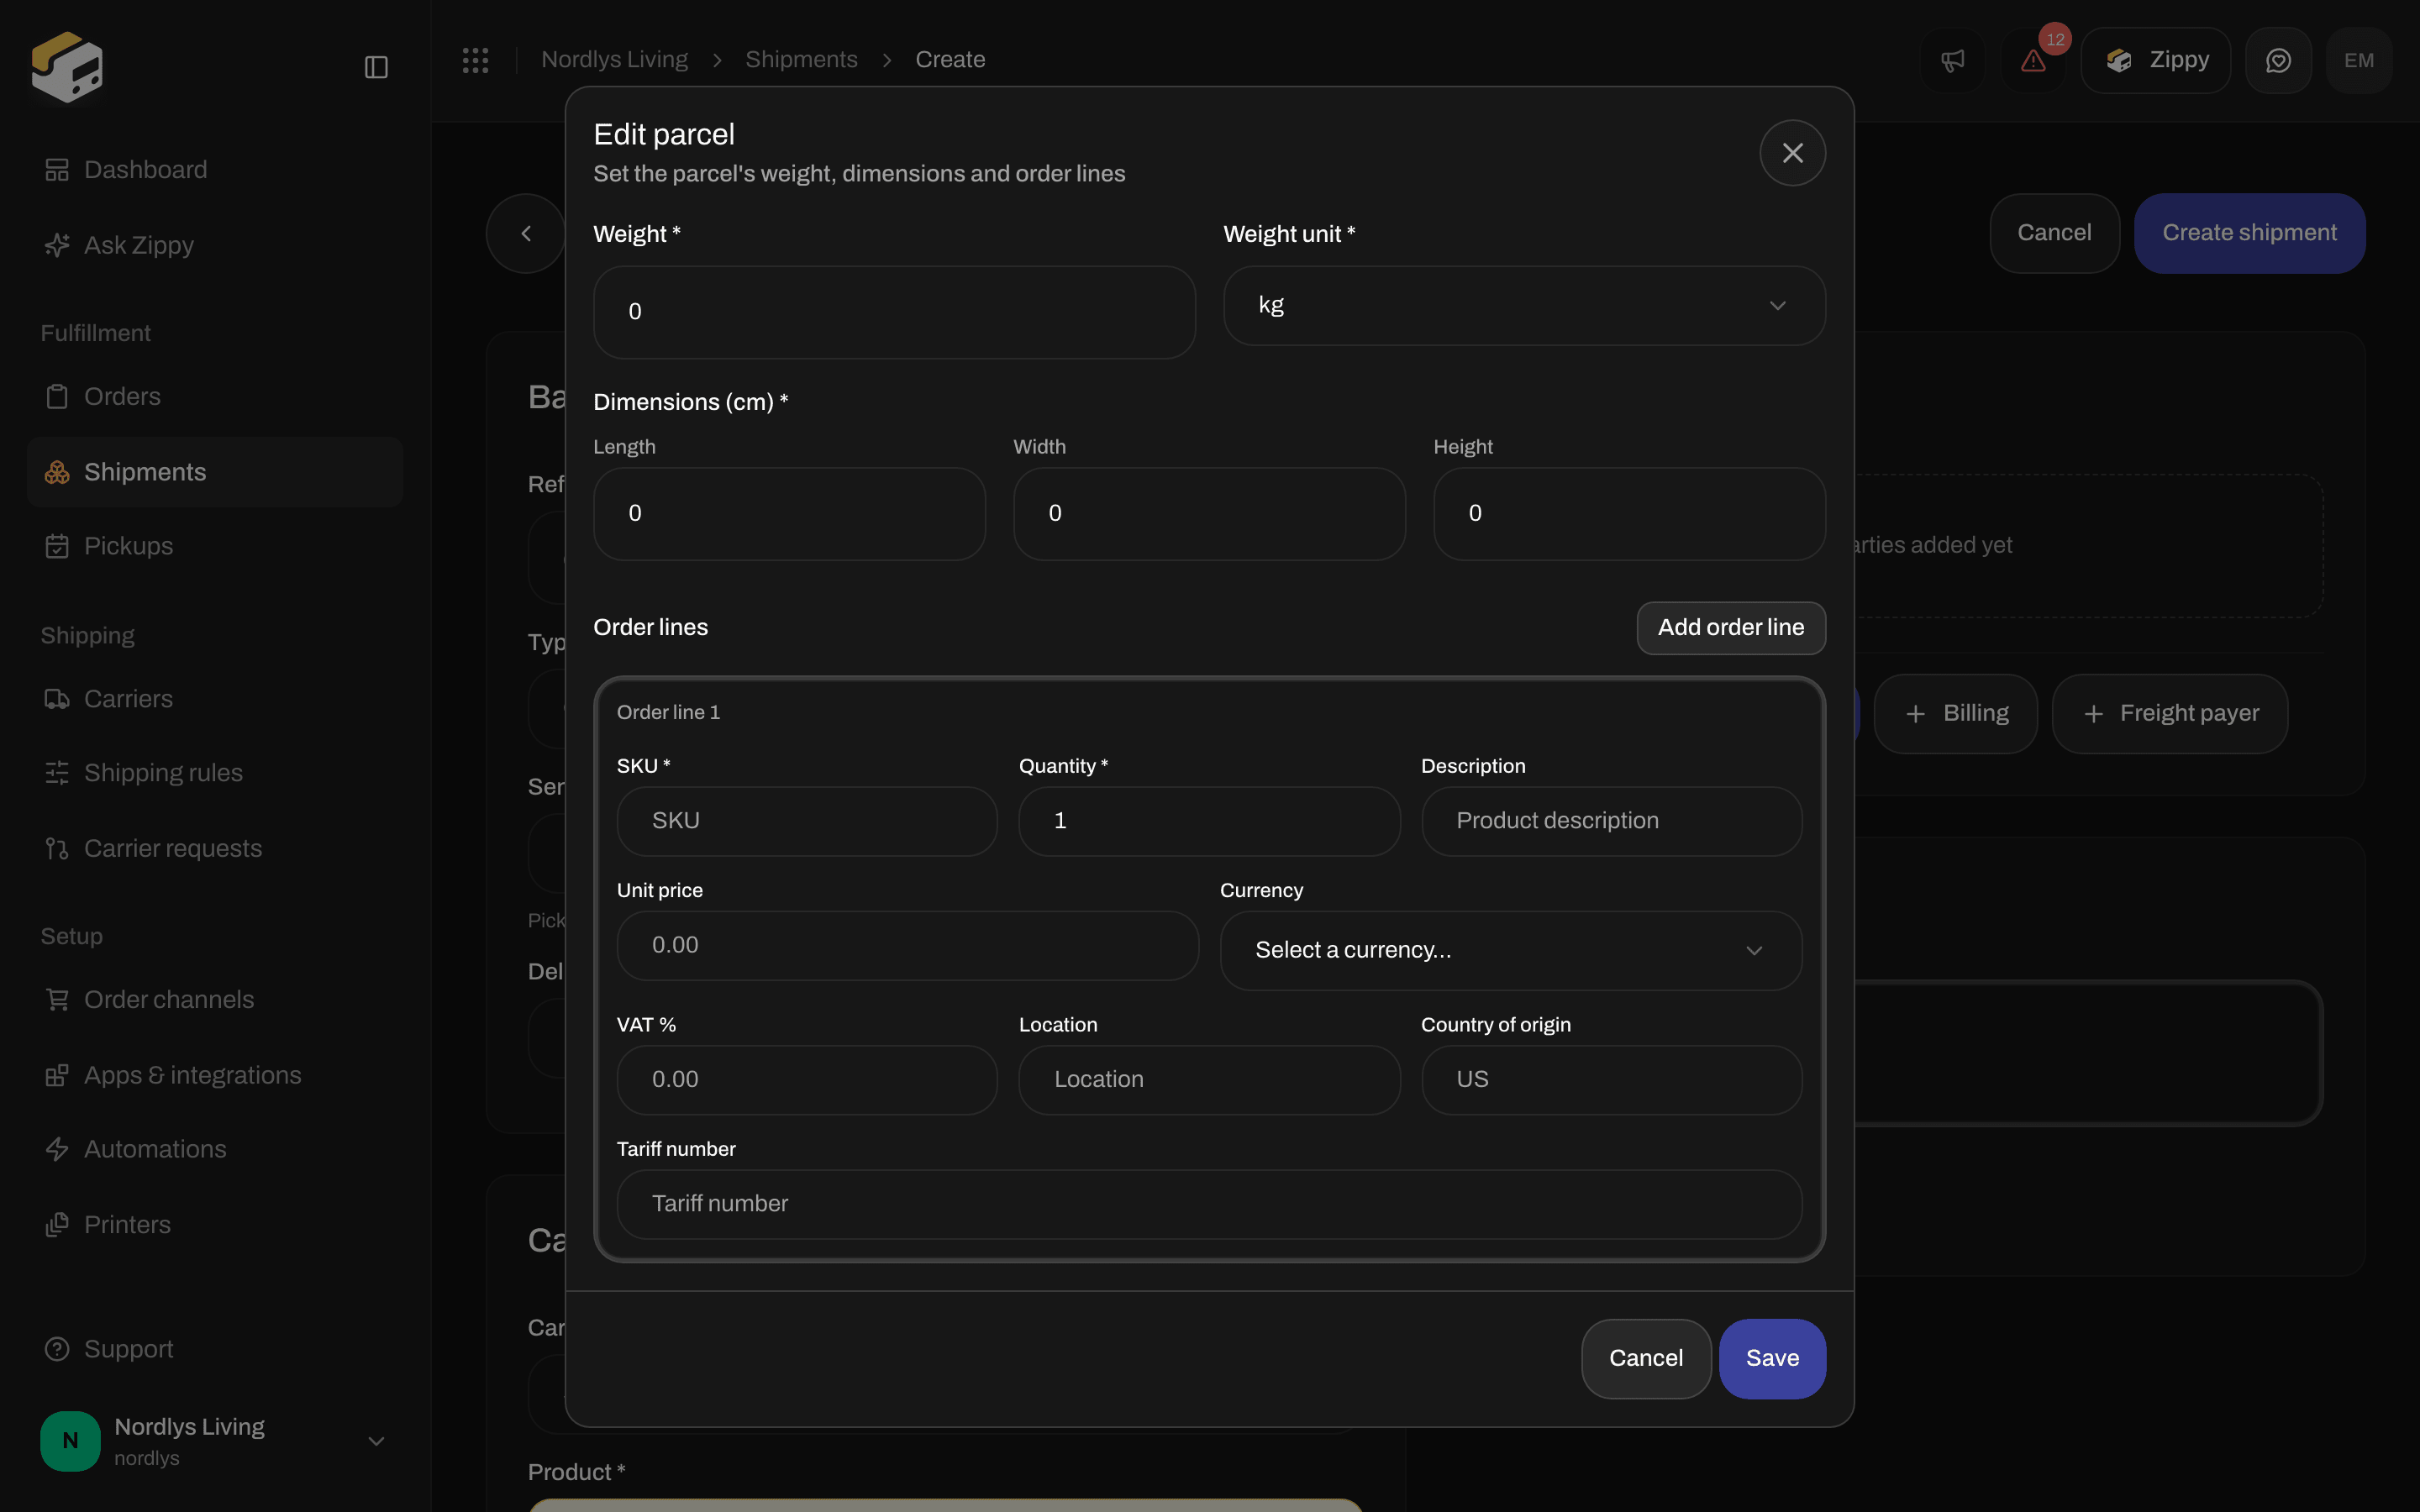
Click Add Parcel. The Edit Parcel dialog opens. Enter Weight *, Weight Unit *, and Dimensions (cm) * (length, width, height). Add at least one order line (SKU is optional; quantity must be at least 1). Click Save.Repeat Add Parcel for a multi-parcel shipment. Each parcel gets its own label when you send.
5

Optional cards

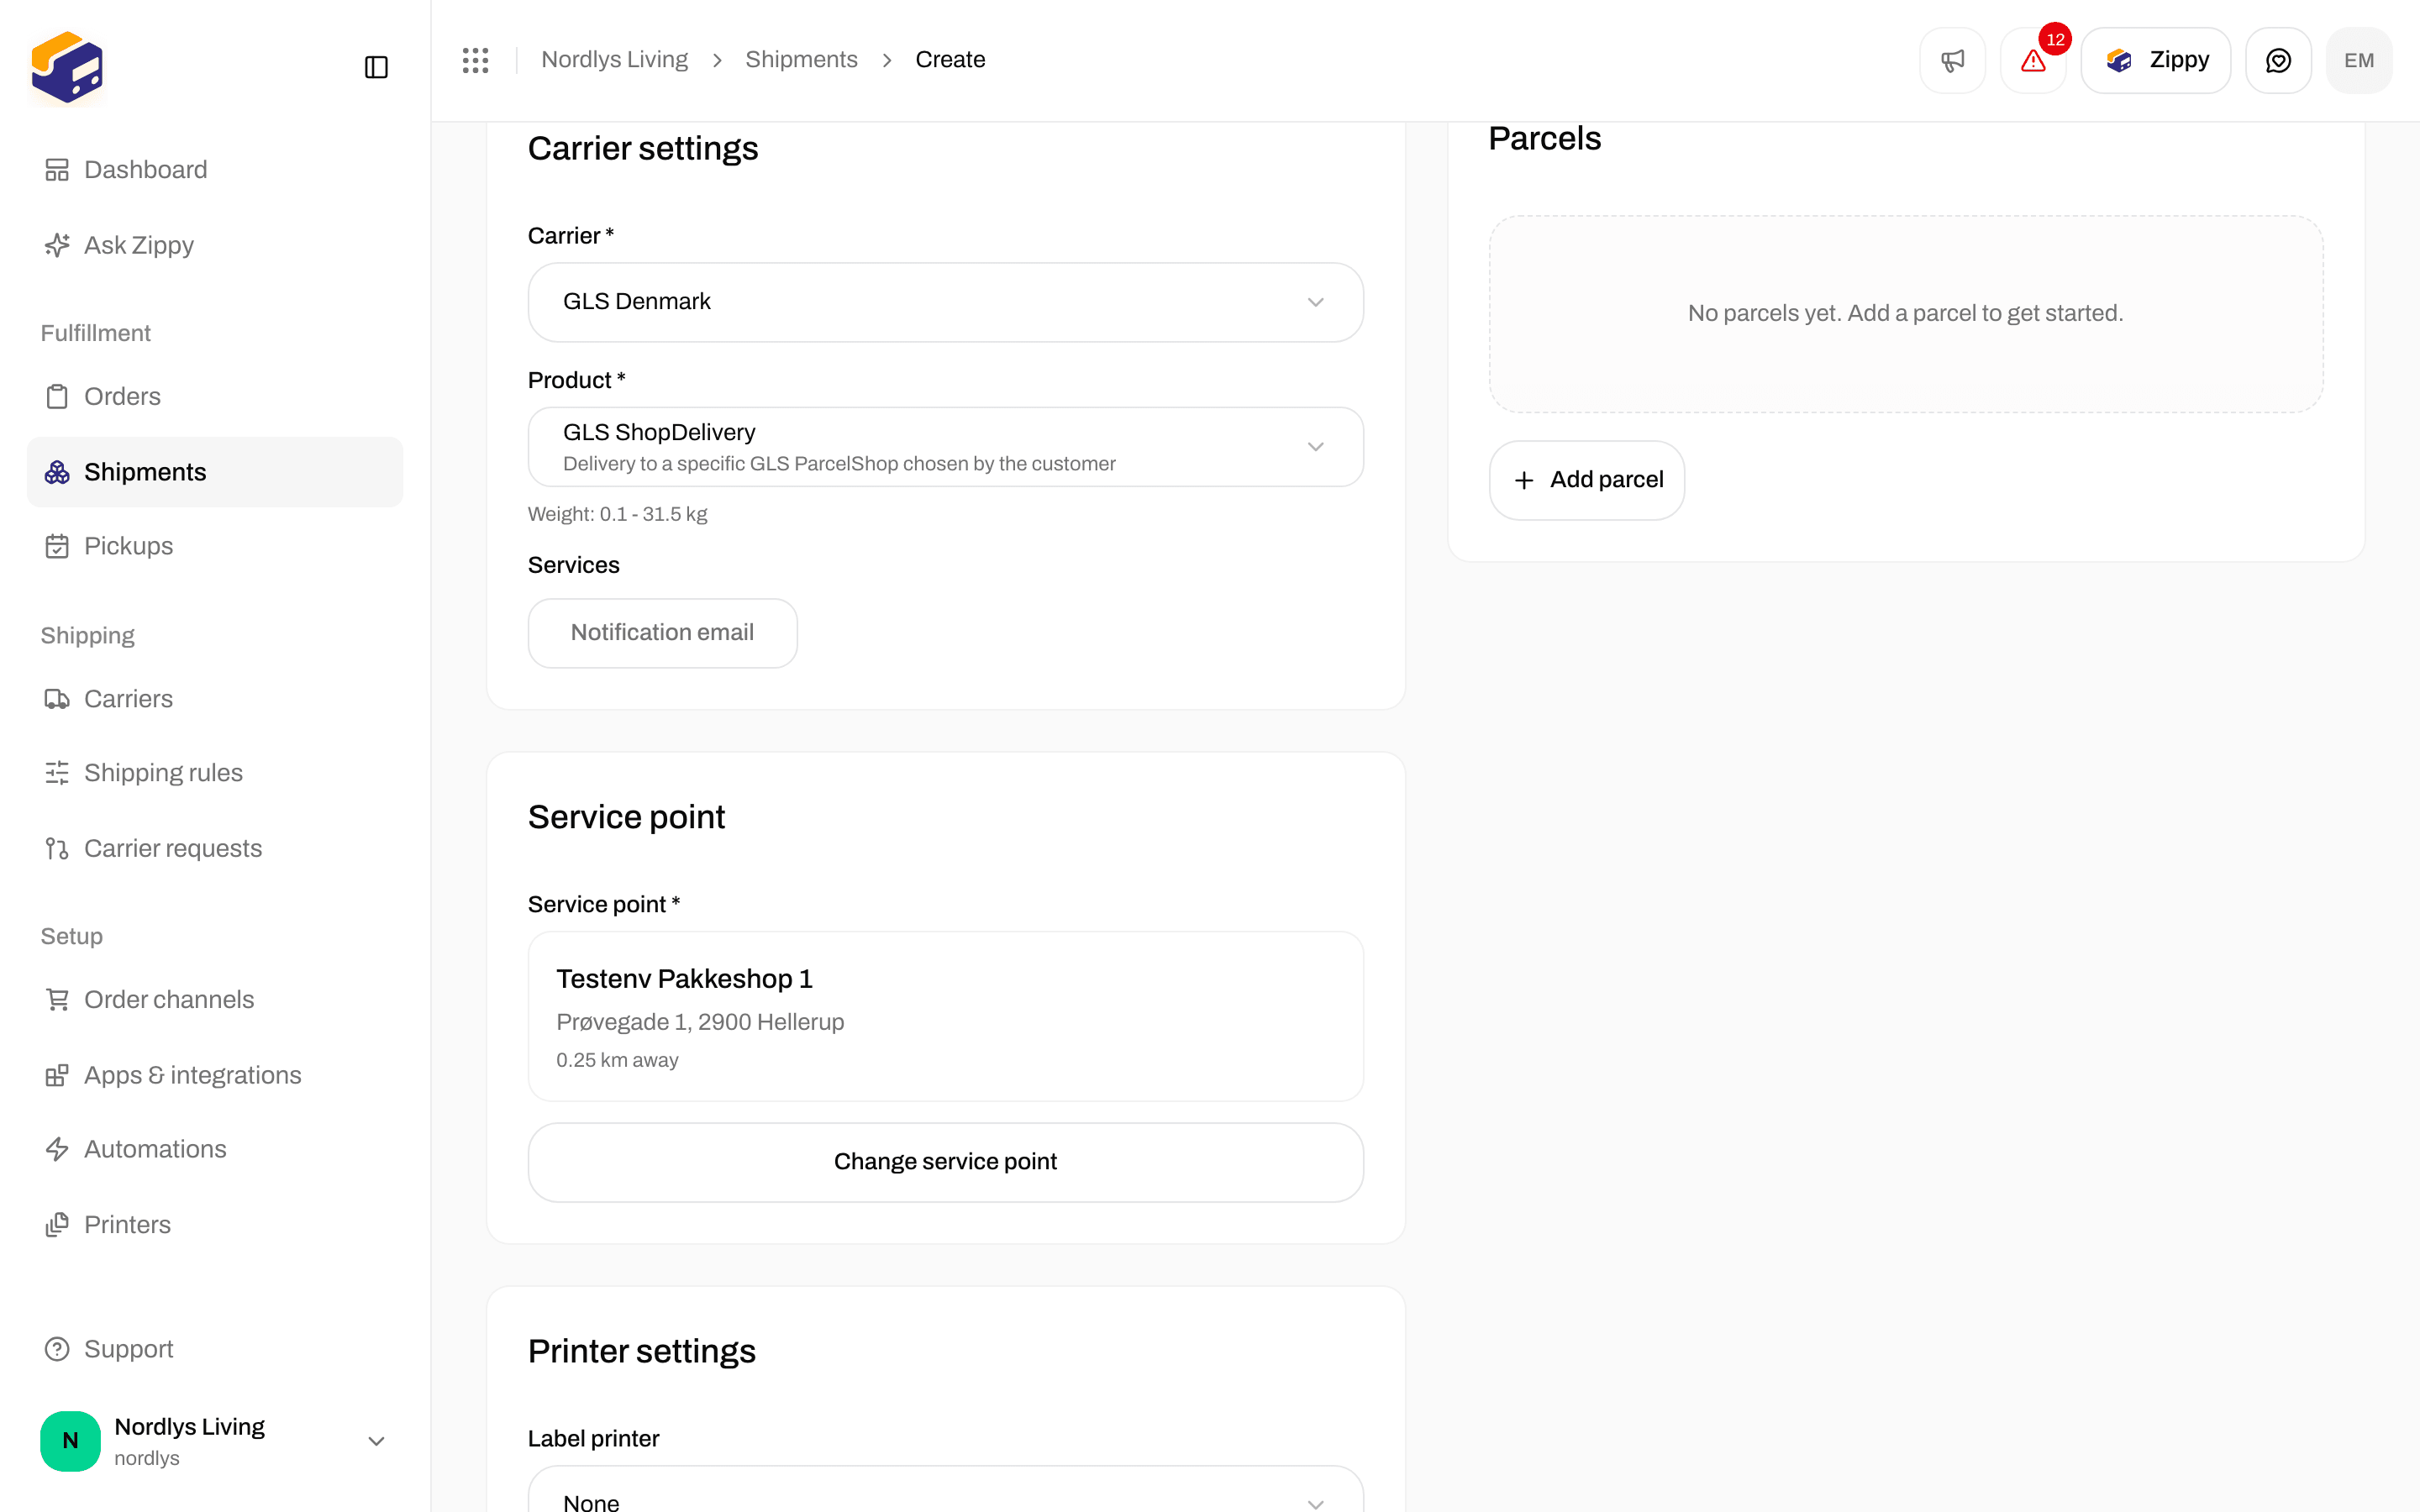
Printer Settings — pick a label printer and a document printer so labels print when you send. Leave None to download later.Pickup Details — appears only if you enable a pickup service. Enter Pickup Date *, Time Window *, and optional instructions.Drop Point — appears only if the product is a service-point product (for example GLS ShopDelivery). You must add a complete receiver address first, then Select Service Point.
6

Create Shipment

Click Create Shipment in the header. A toast confirms Shipment created successfully, and a completion dialog offers View Shipments. The shipment is Pending — it is not booked with the carrier yet.
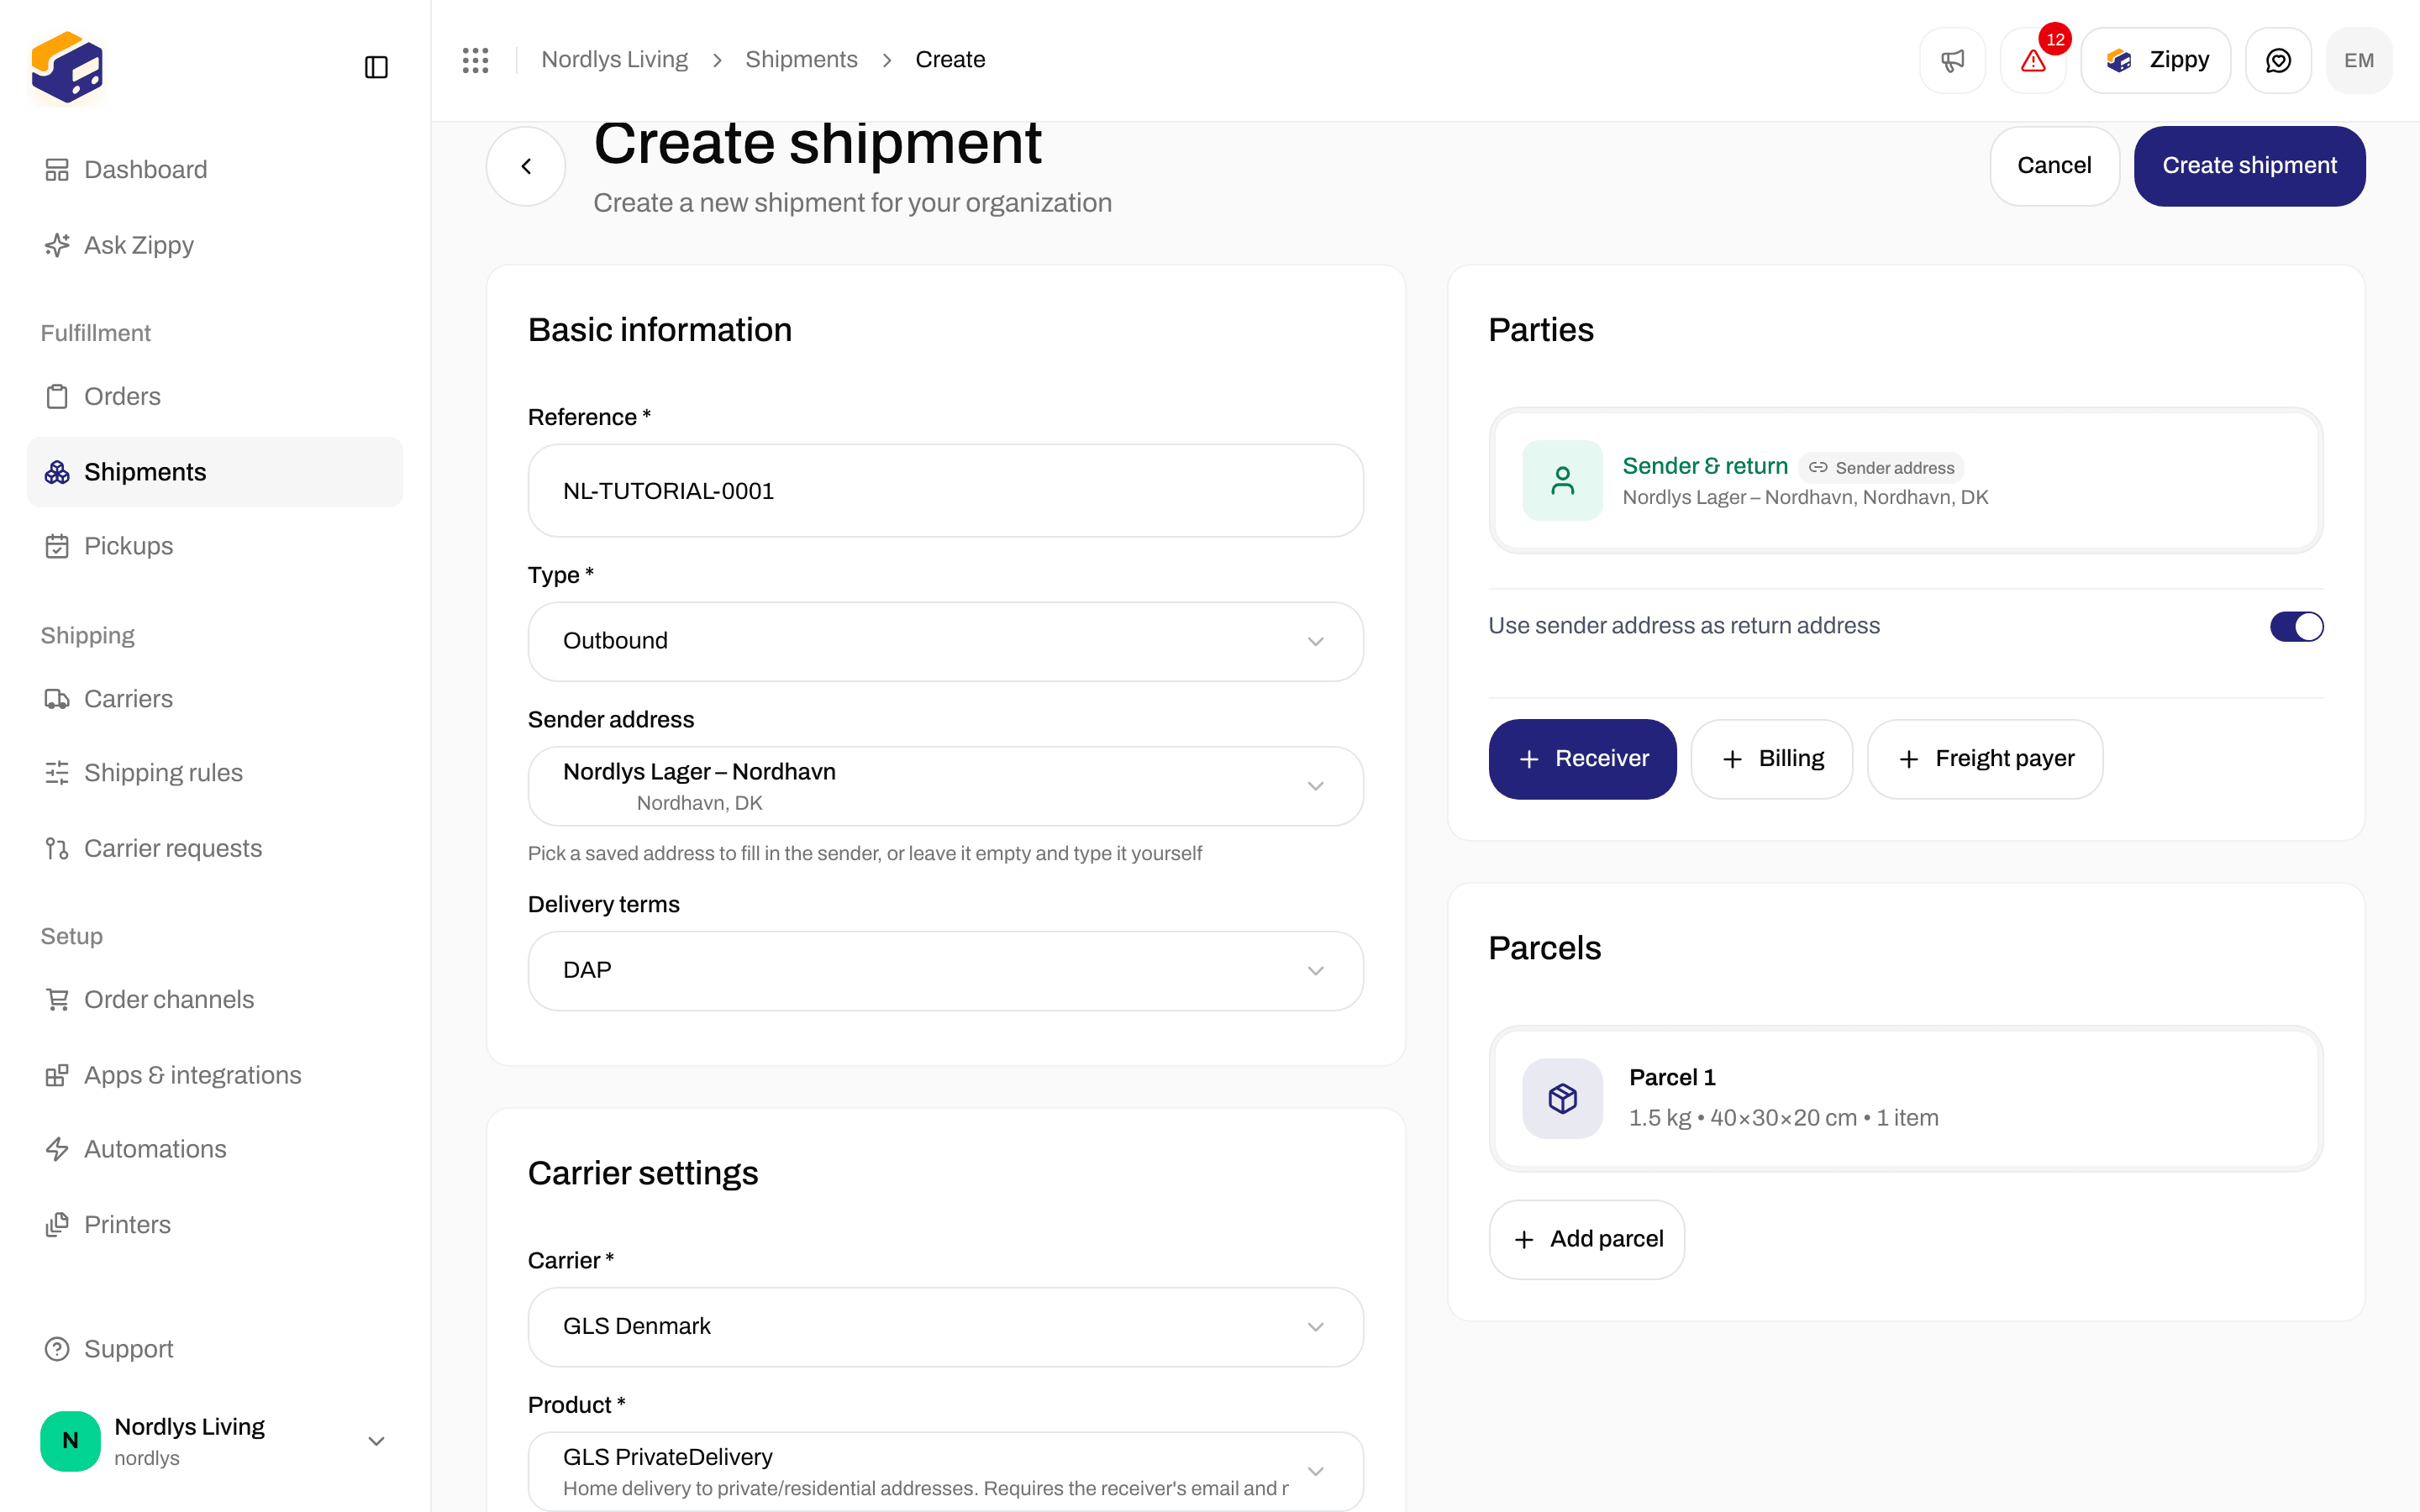
Create Shipment form filled with reference, Nordlys warehouse sender, GLS PrivateDelivery, and one parcelCreate Shipment form filled with reference, Nordlys warehouse sender, GLS PrivateDelivery, and one parcel

A filled standalone form: reference, sender address, GLS PrivateDelivery, and one parcel

Required fields

Email and phone on a party are optional. Carriers often still want a phone on the receiver for notifications.

Choosing a carrier product

After you pick a carrier, open Product * and choose the service you sell — home delivery, shop / parcel shop, express, or a return product on inbound shipments.
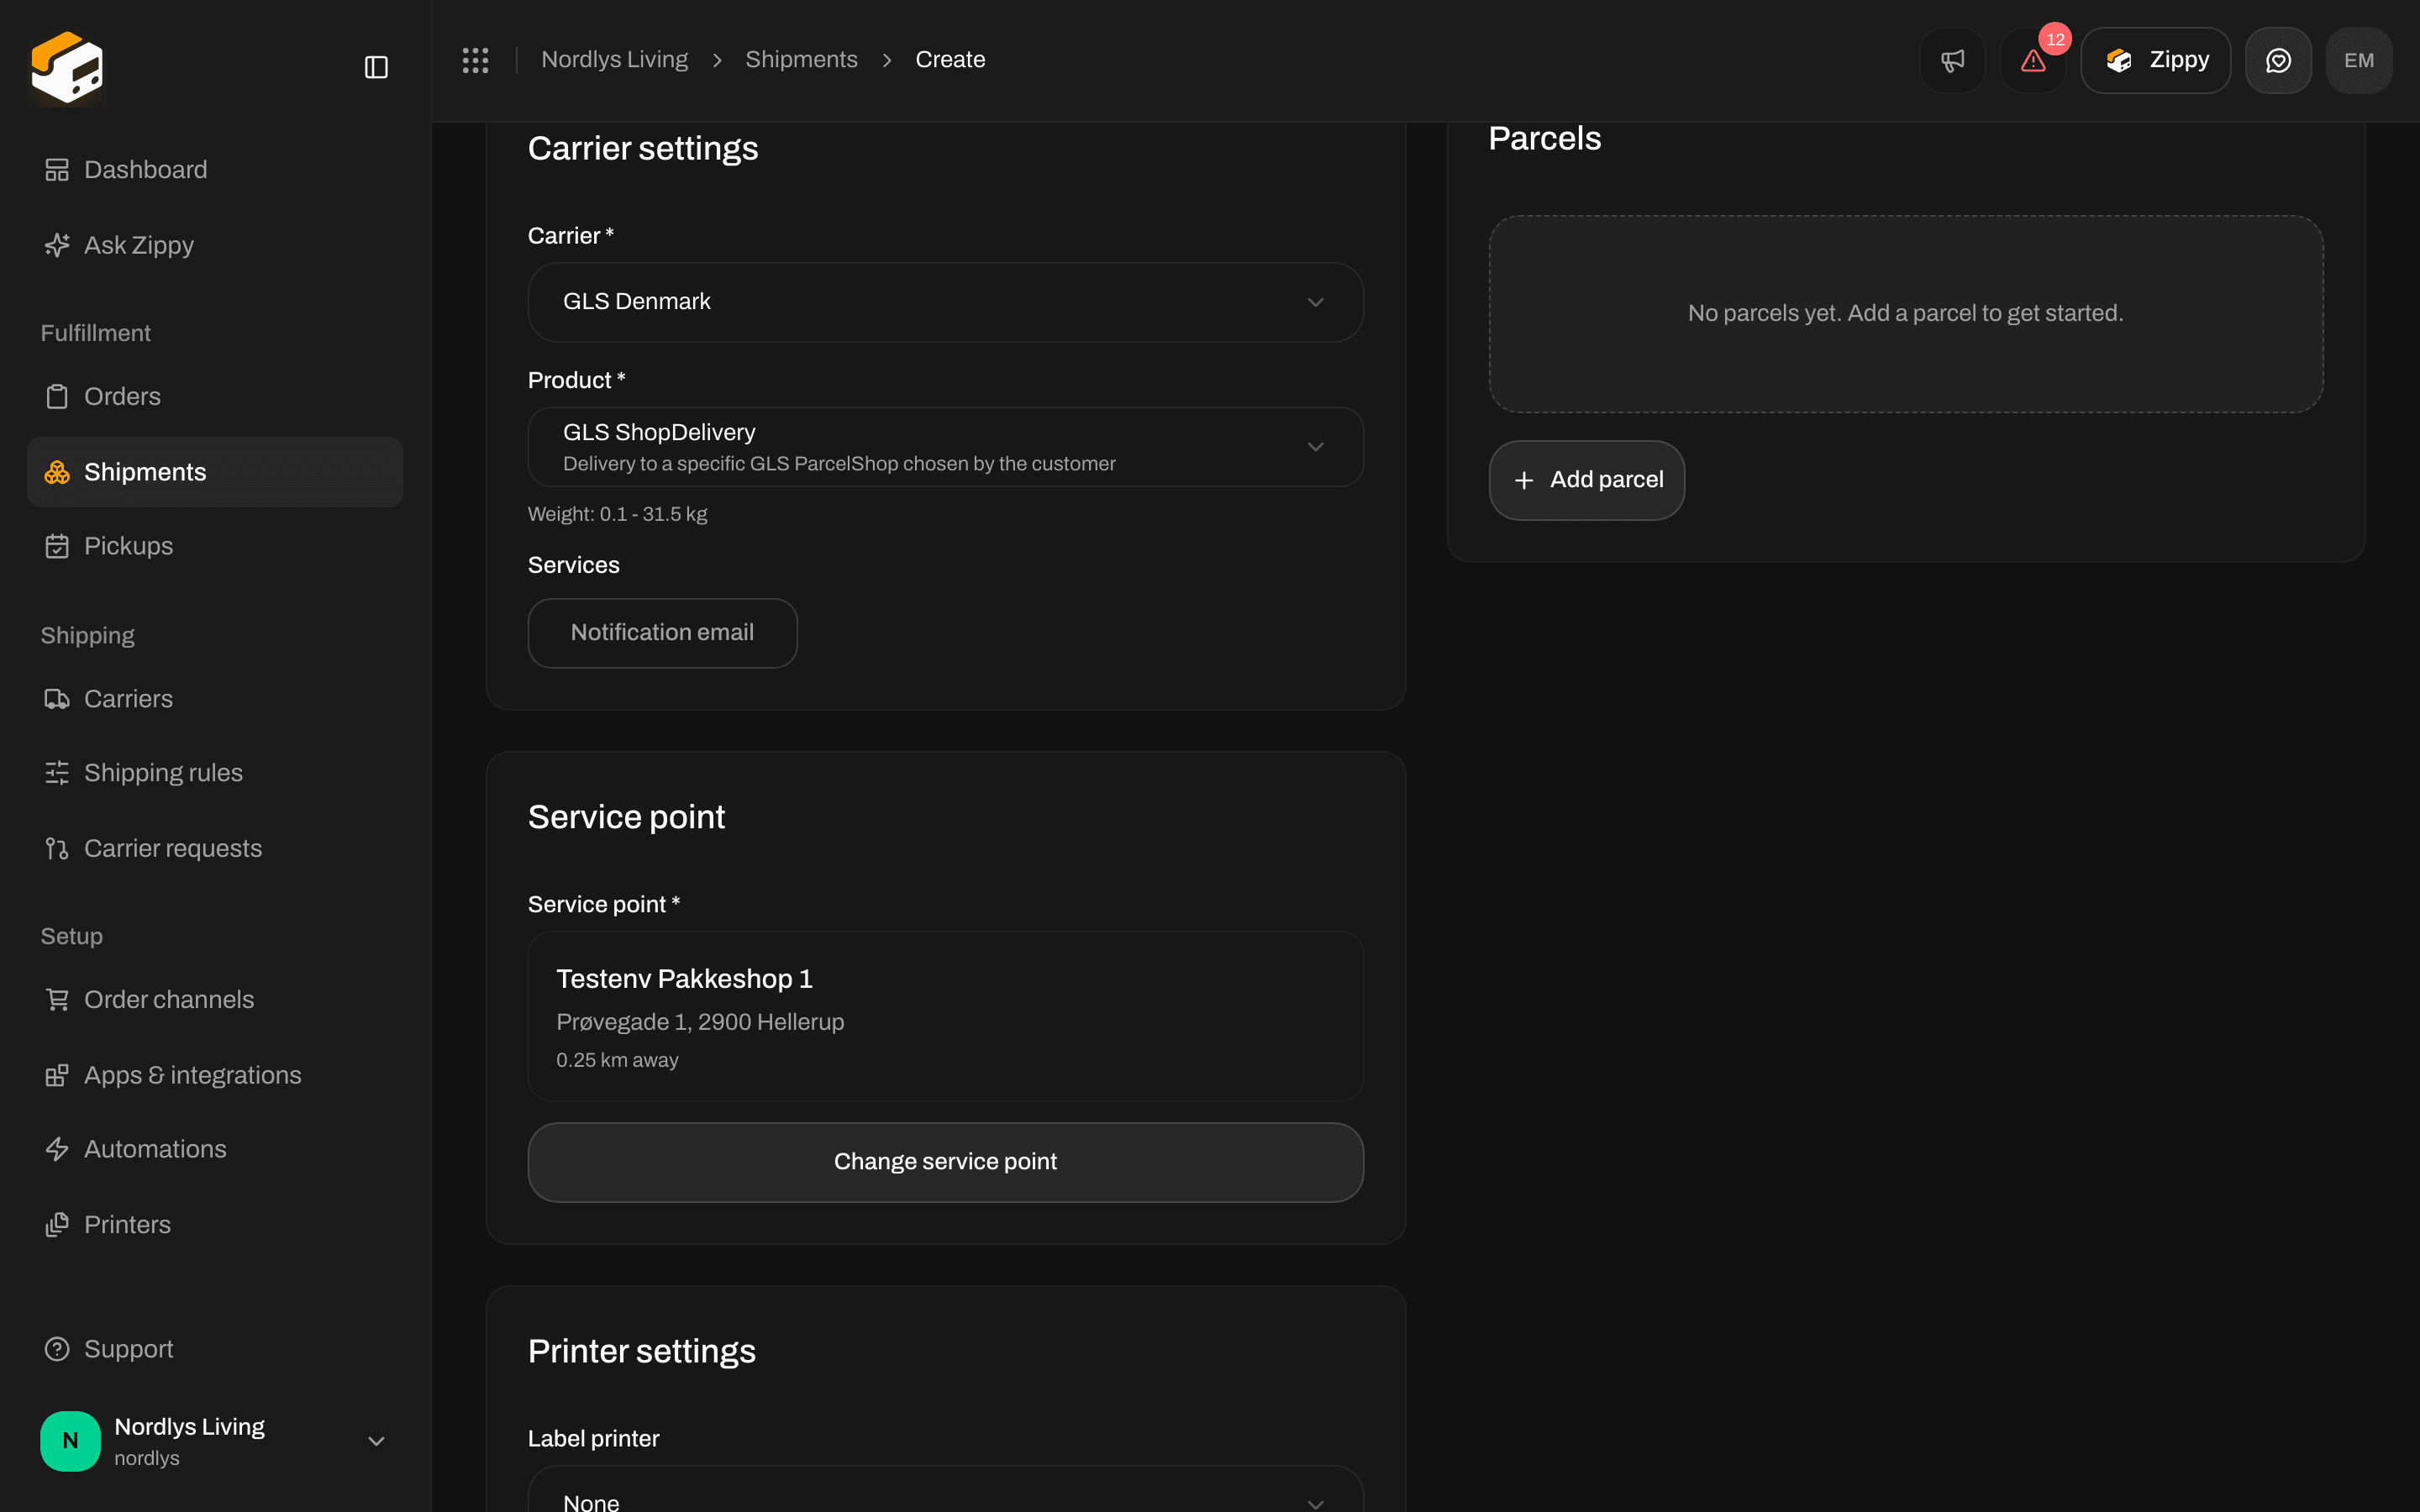
Carrier Settings with GLS Denmark selected and the product list openCarrier Settings with GLS Denmark selected and the product list open

Pick a product after you select the carrier — the list is filtered by Outbound or Inbound

The dropdown shows the product name and a short description. It does not show a live price. If no products match the current type, Zippendo shows No products available (or that none of the carrier’s products match Inbound / Outbound). Shipping rules can pre-select carrier and product so you do not pick them by hand every time — especially when you create from an order.

Parcels, items, and customs

Click Add Parcel to open Add Parcel. Weight, dimensions, and Order Lines live here.
Edit Parcel dialog with weight, dimensions, SKU, quantity, country of origin, and tariff numberEdit Parcel dialog with weight, dimensions, SKU, quantity, country of origin, and tariff number

Edit Parcel after you click Add Parcel — weight, dimensions, order lines, and customs fields

For each order line you can set SKU, Quantity *, Description, Unit Price, Currency, VAT %, Location, Country of Origin, and Tariff Number. Country of origin and tariff number matter for international / customs shipments. Term of Trade on Basic Information is the Incoterm printed with those documents. Click Add Order Line if one parcel holds more than one SKU. Click Add Parcel again for a second box.
Split and redistribute happen after the shipment exists, not on this form. On a Draft or Pending shipment you can Split Shipment (move lines to a new shipment) or Redistribute Parcels (move lines between boxes). See Split shipment.

Create from an existing order

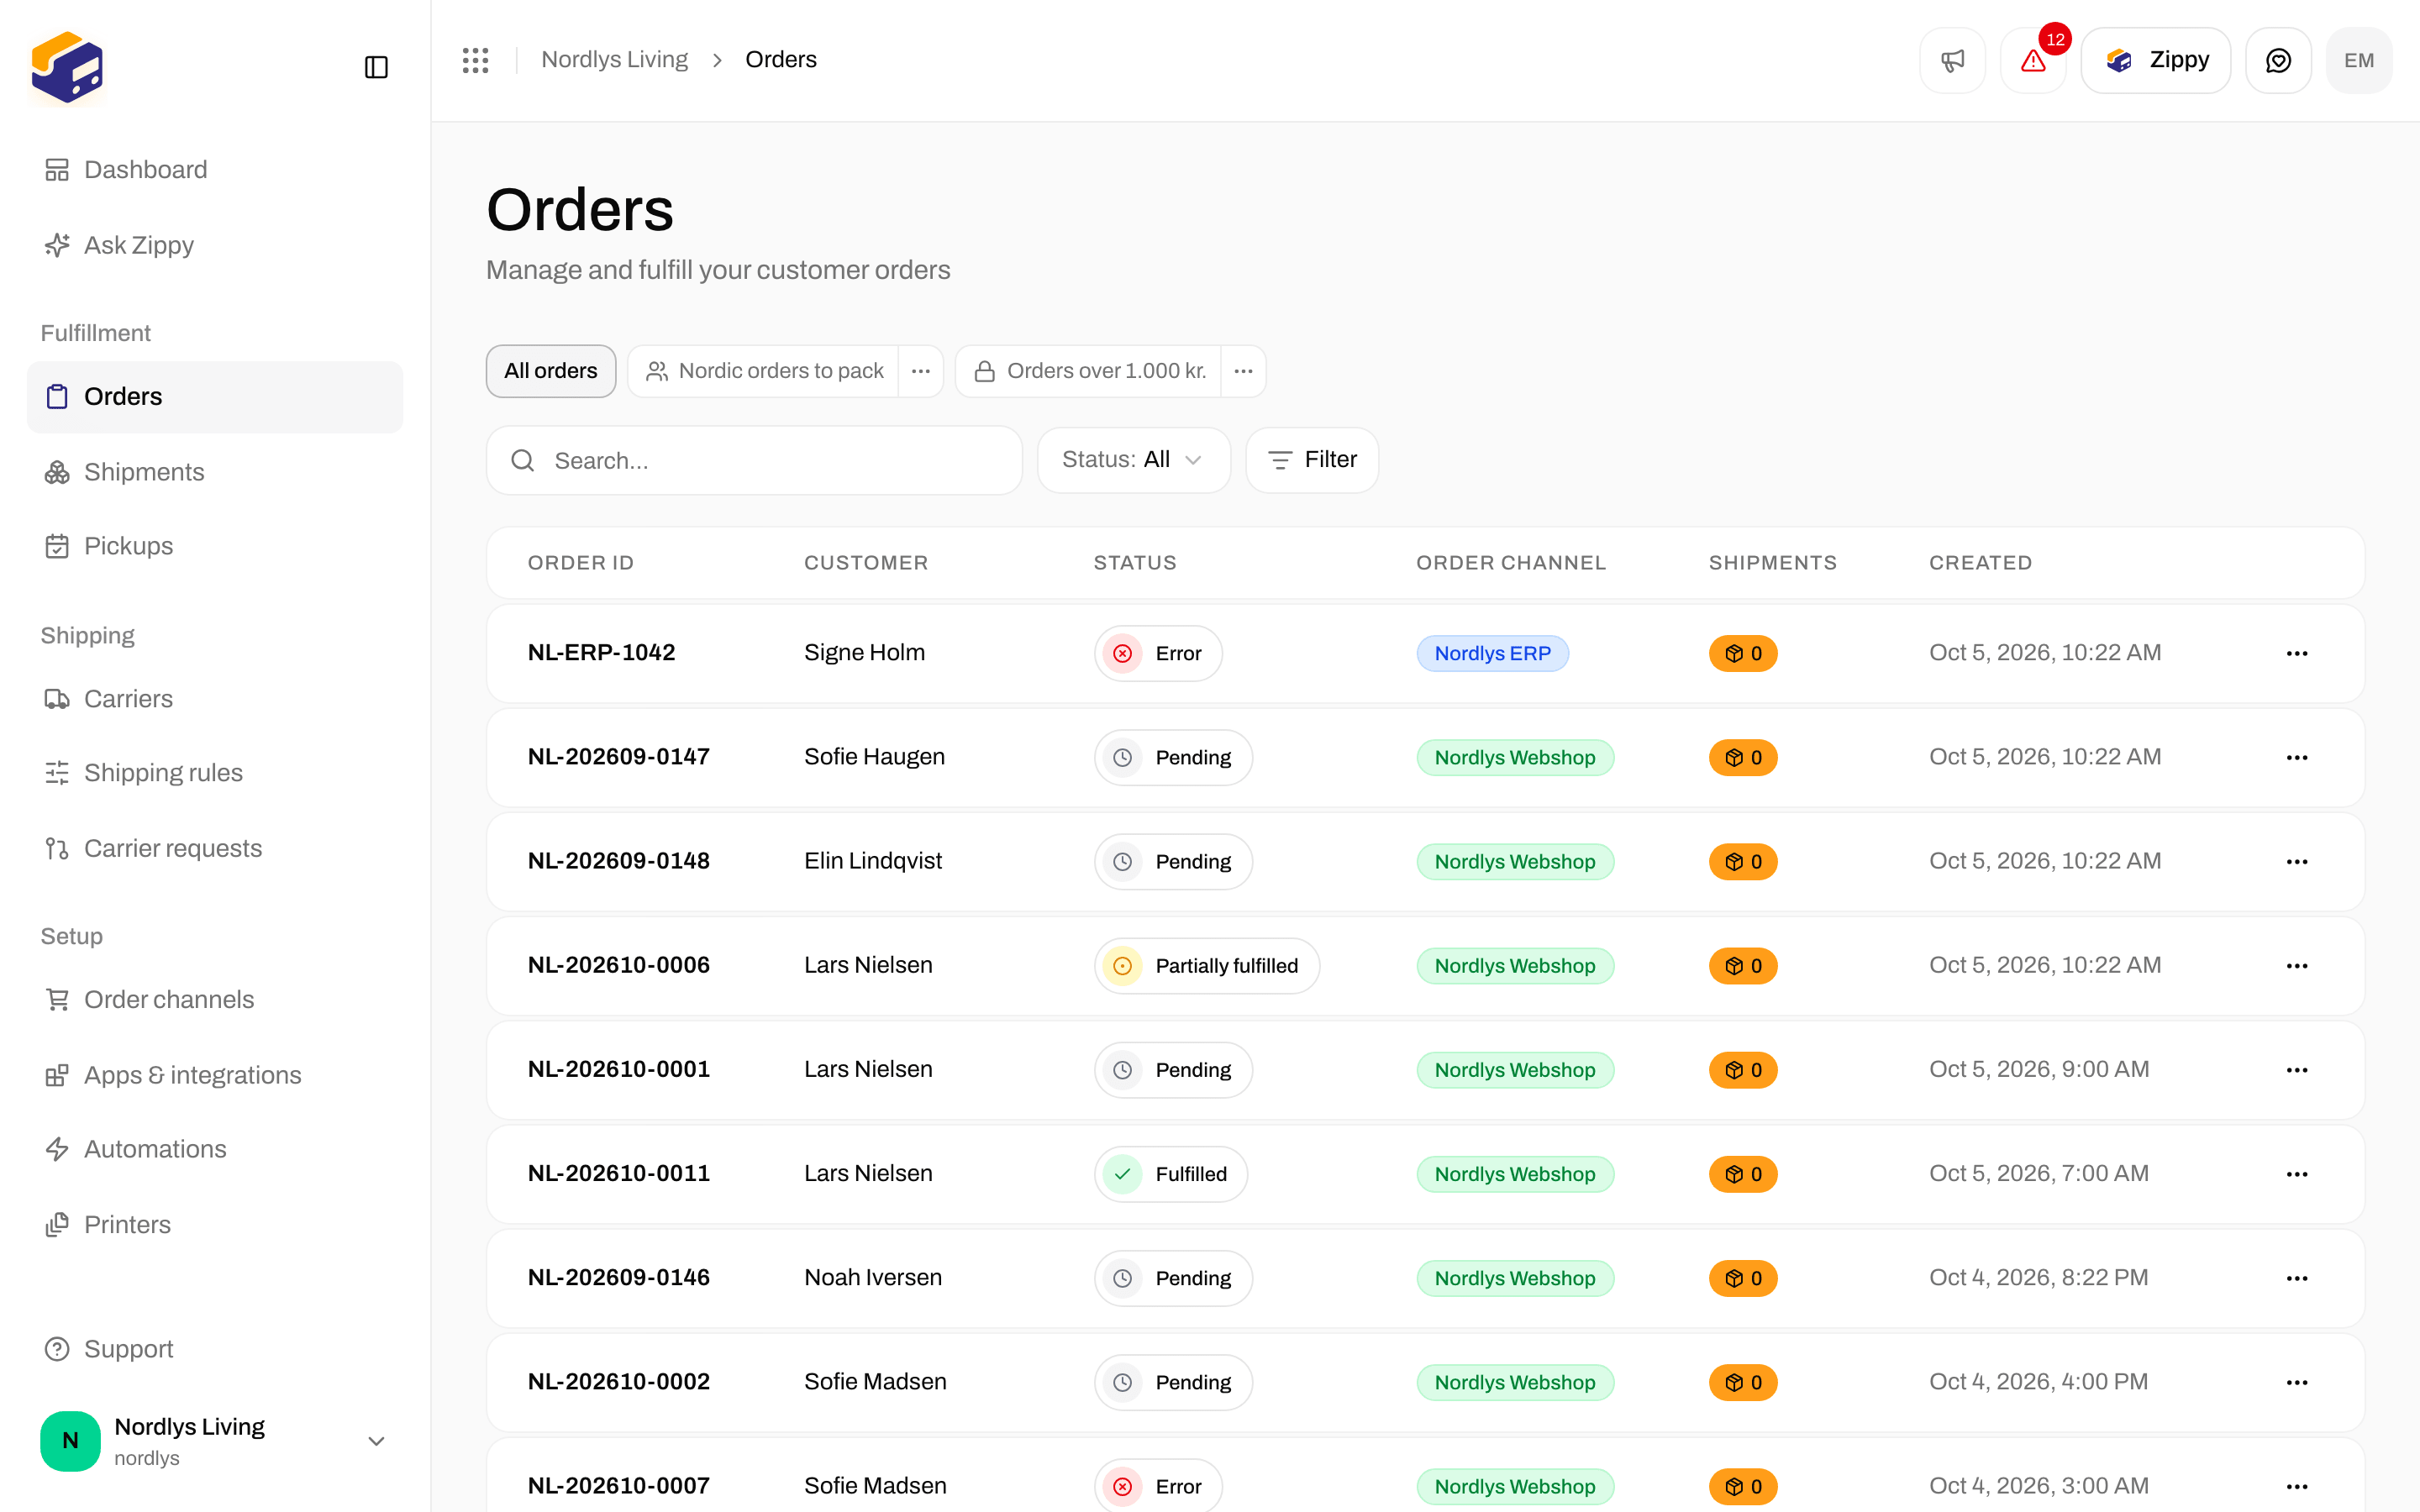
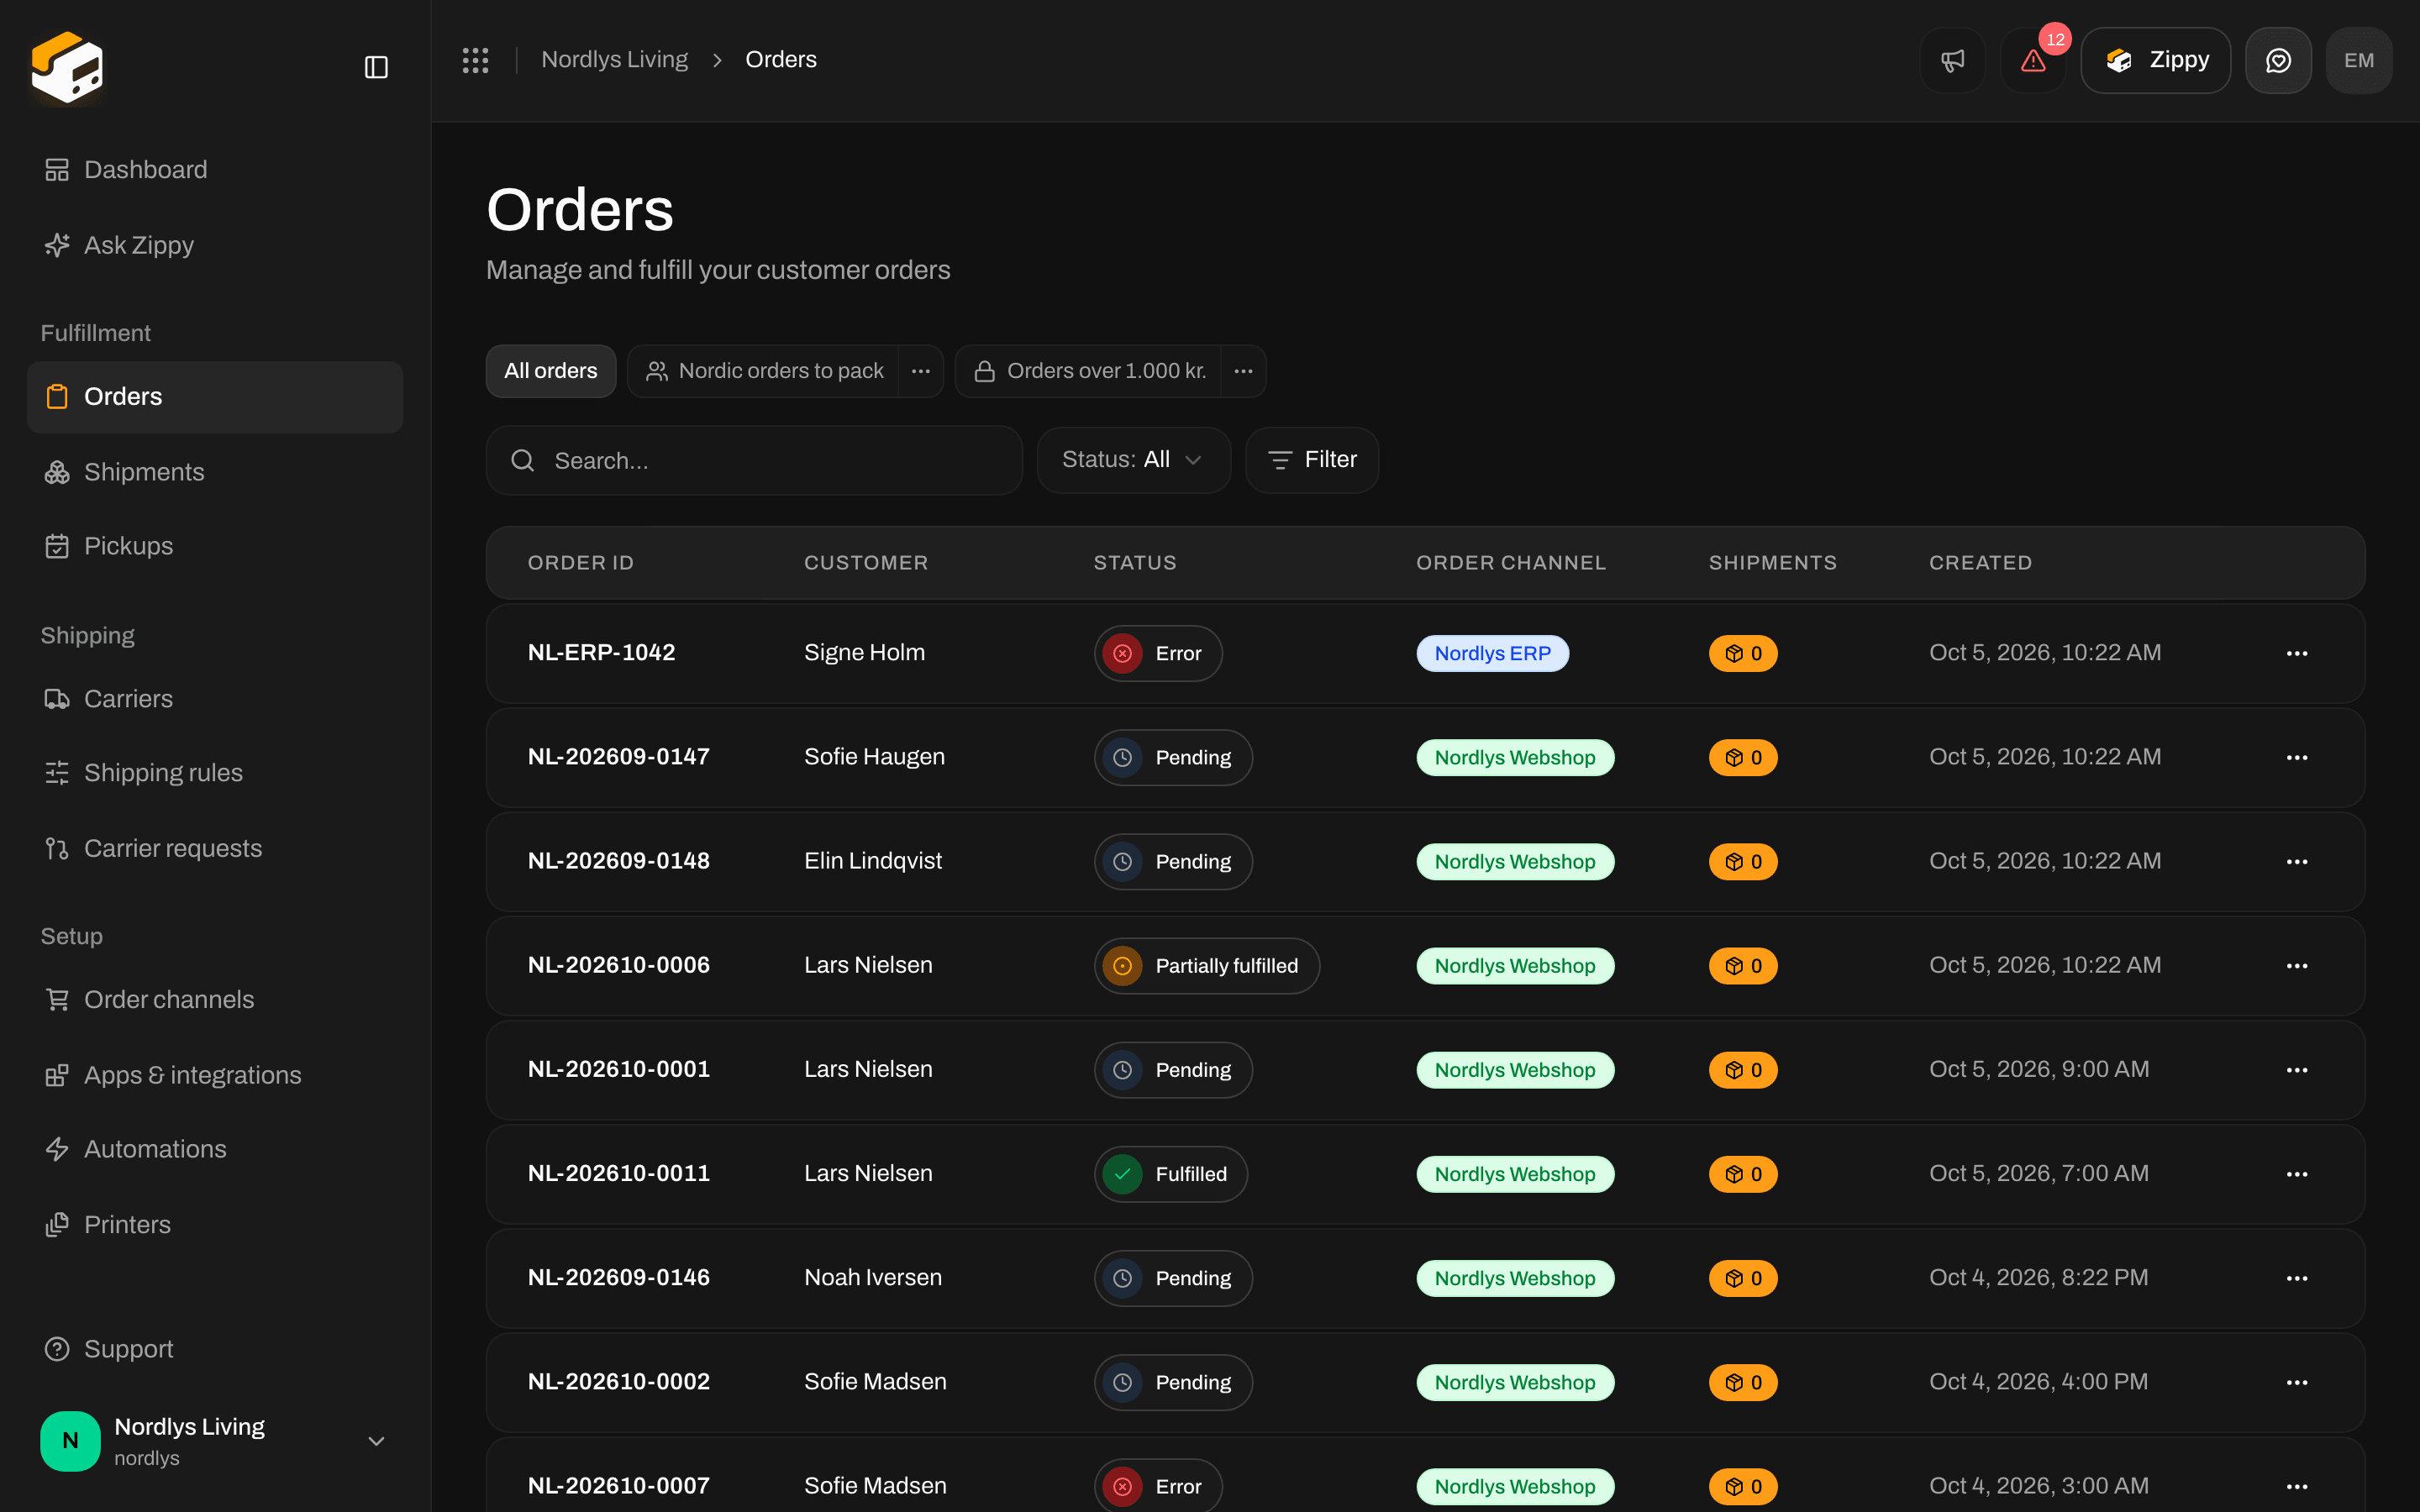
Use this when the order already has the customer, address, and lines. Open Orders, then the order.
Orders list with order numbers, customers, and statusesOrders list with order numbers, customers, and statuses

Orders list — open a pending order to create its shipment

You can only create a shipment when the order is not Fulfilled or Cancelled. If those statuses apply, Create Shipment is hidden.
1

Open the order

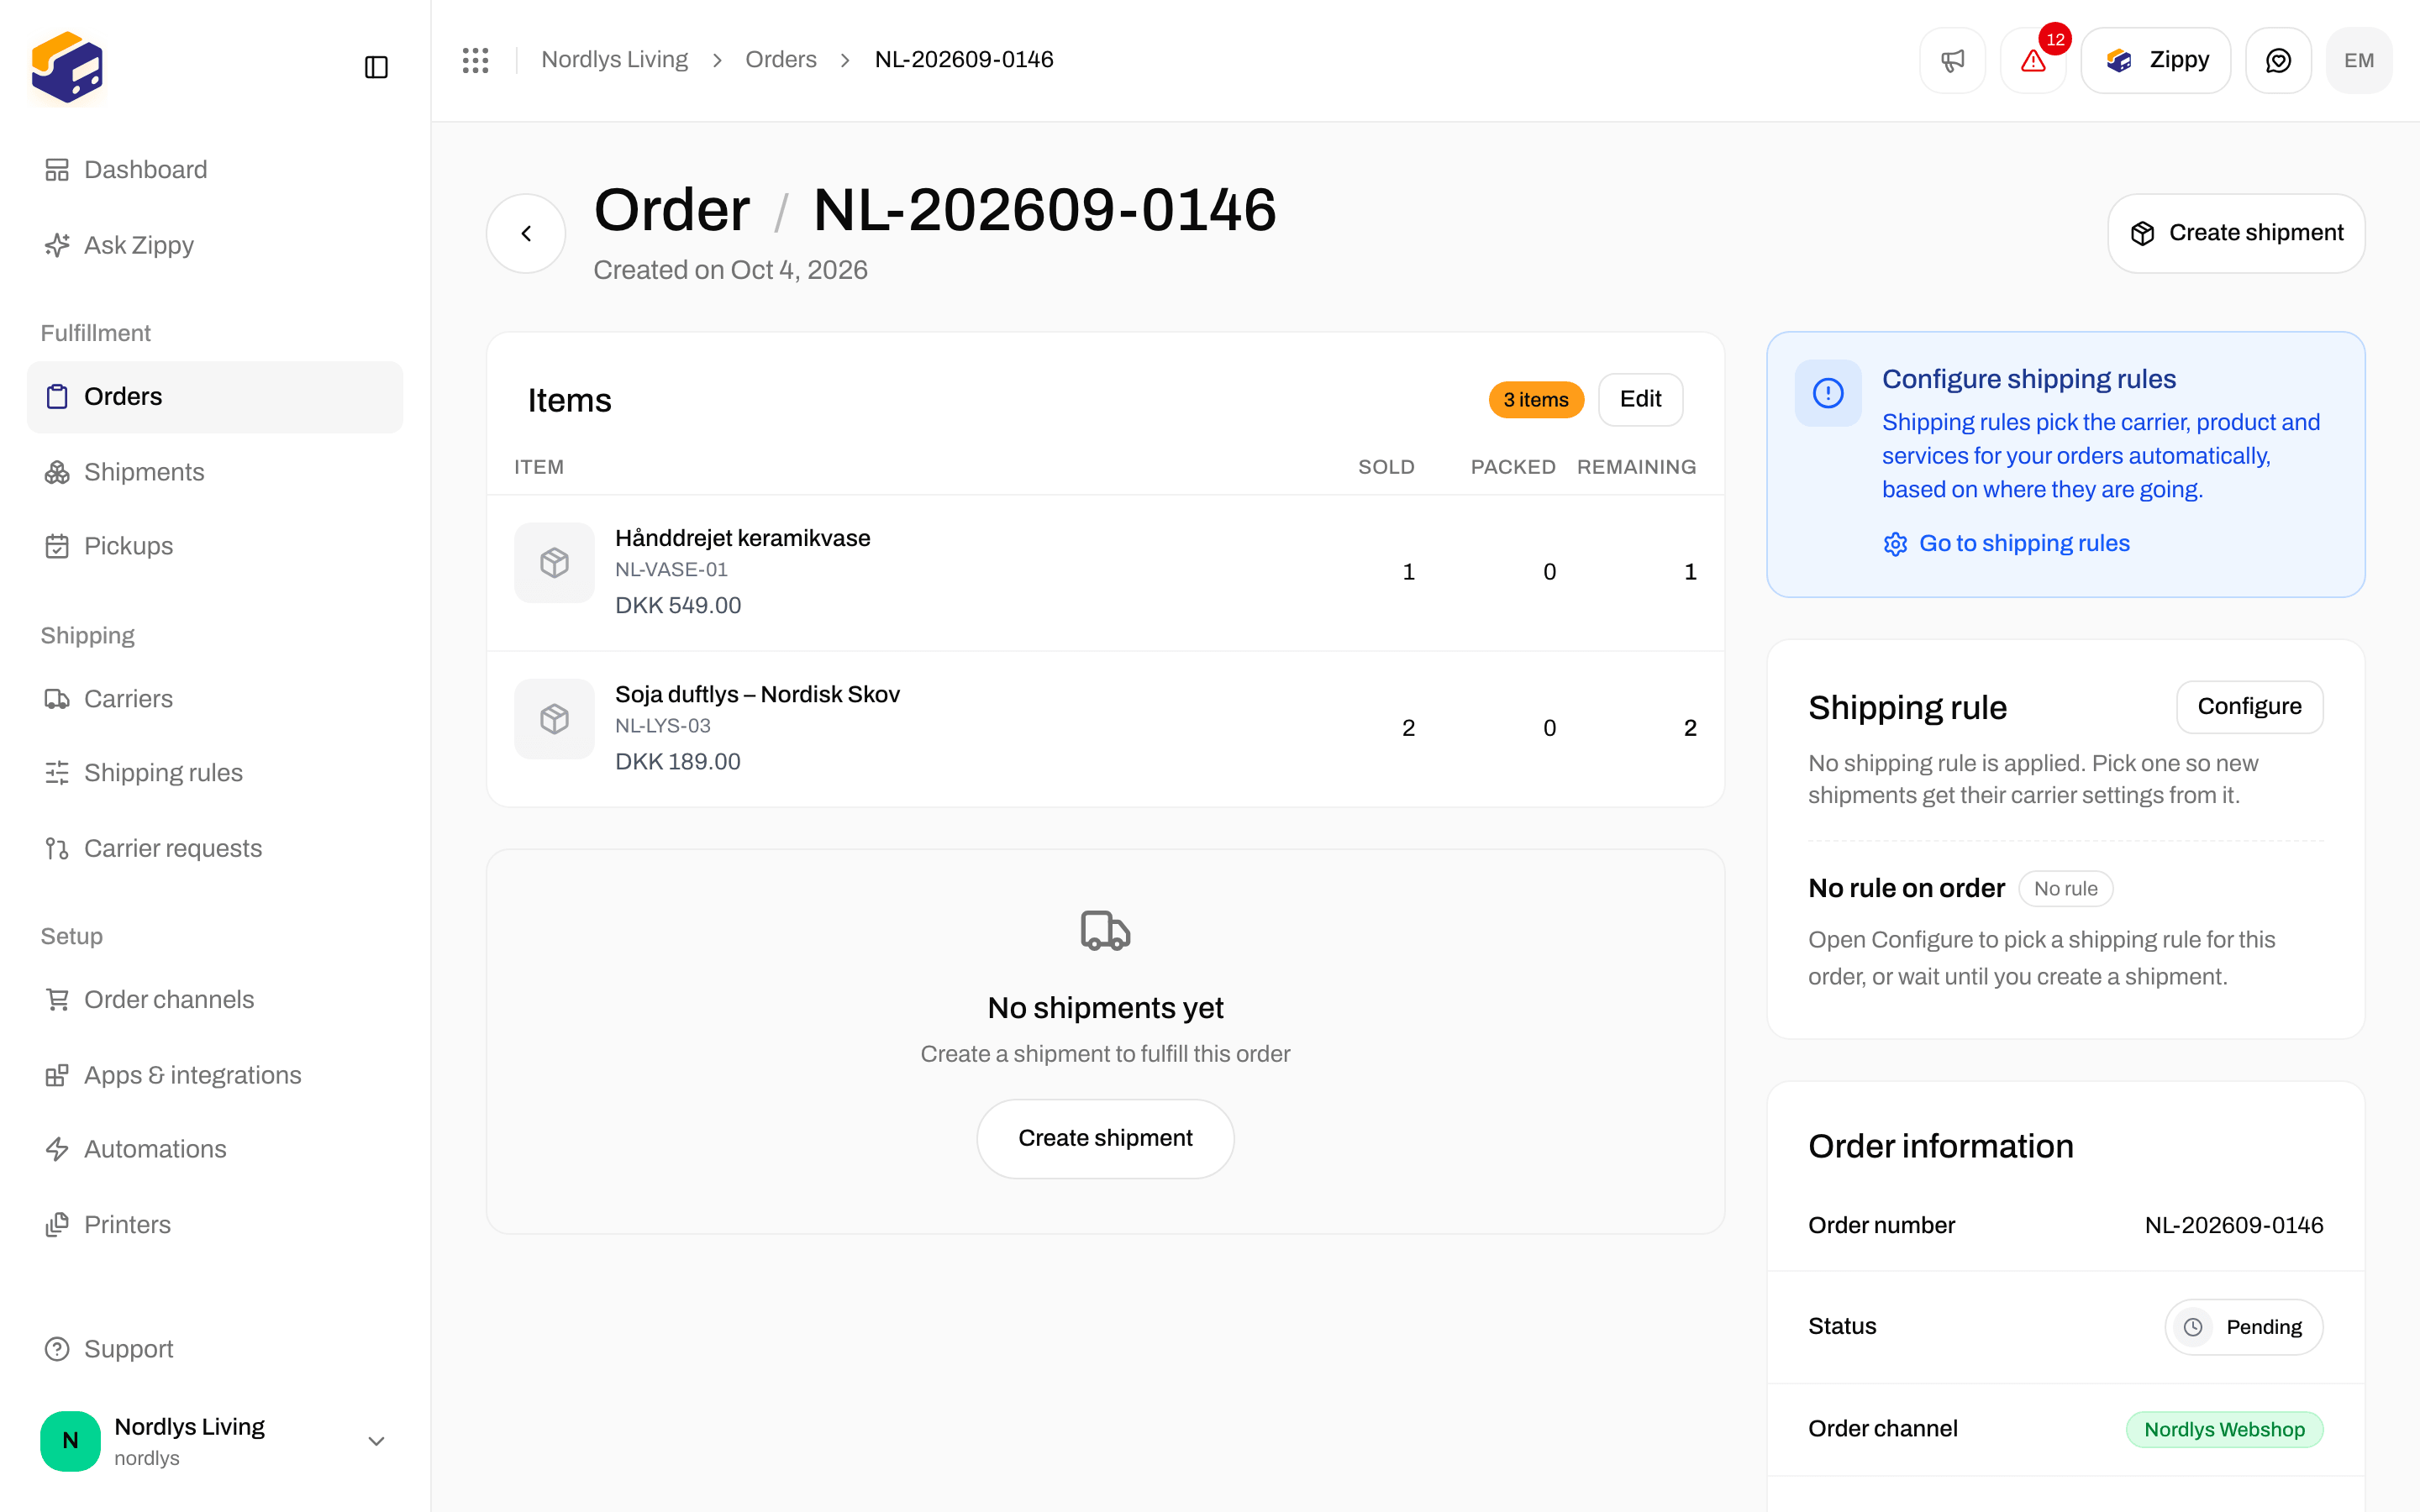
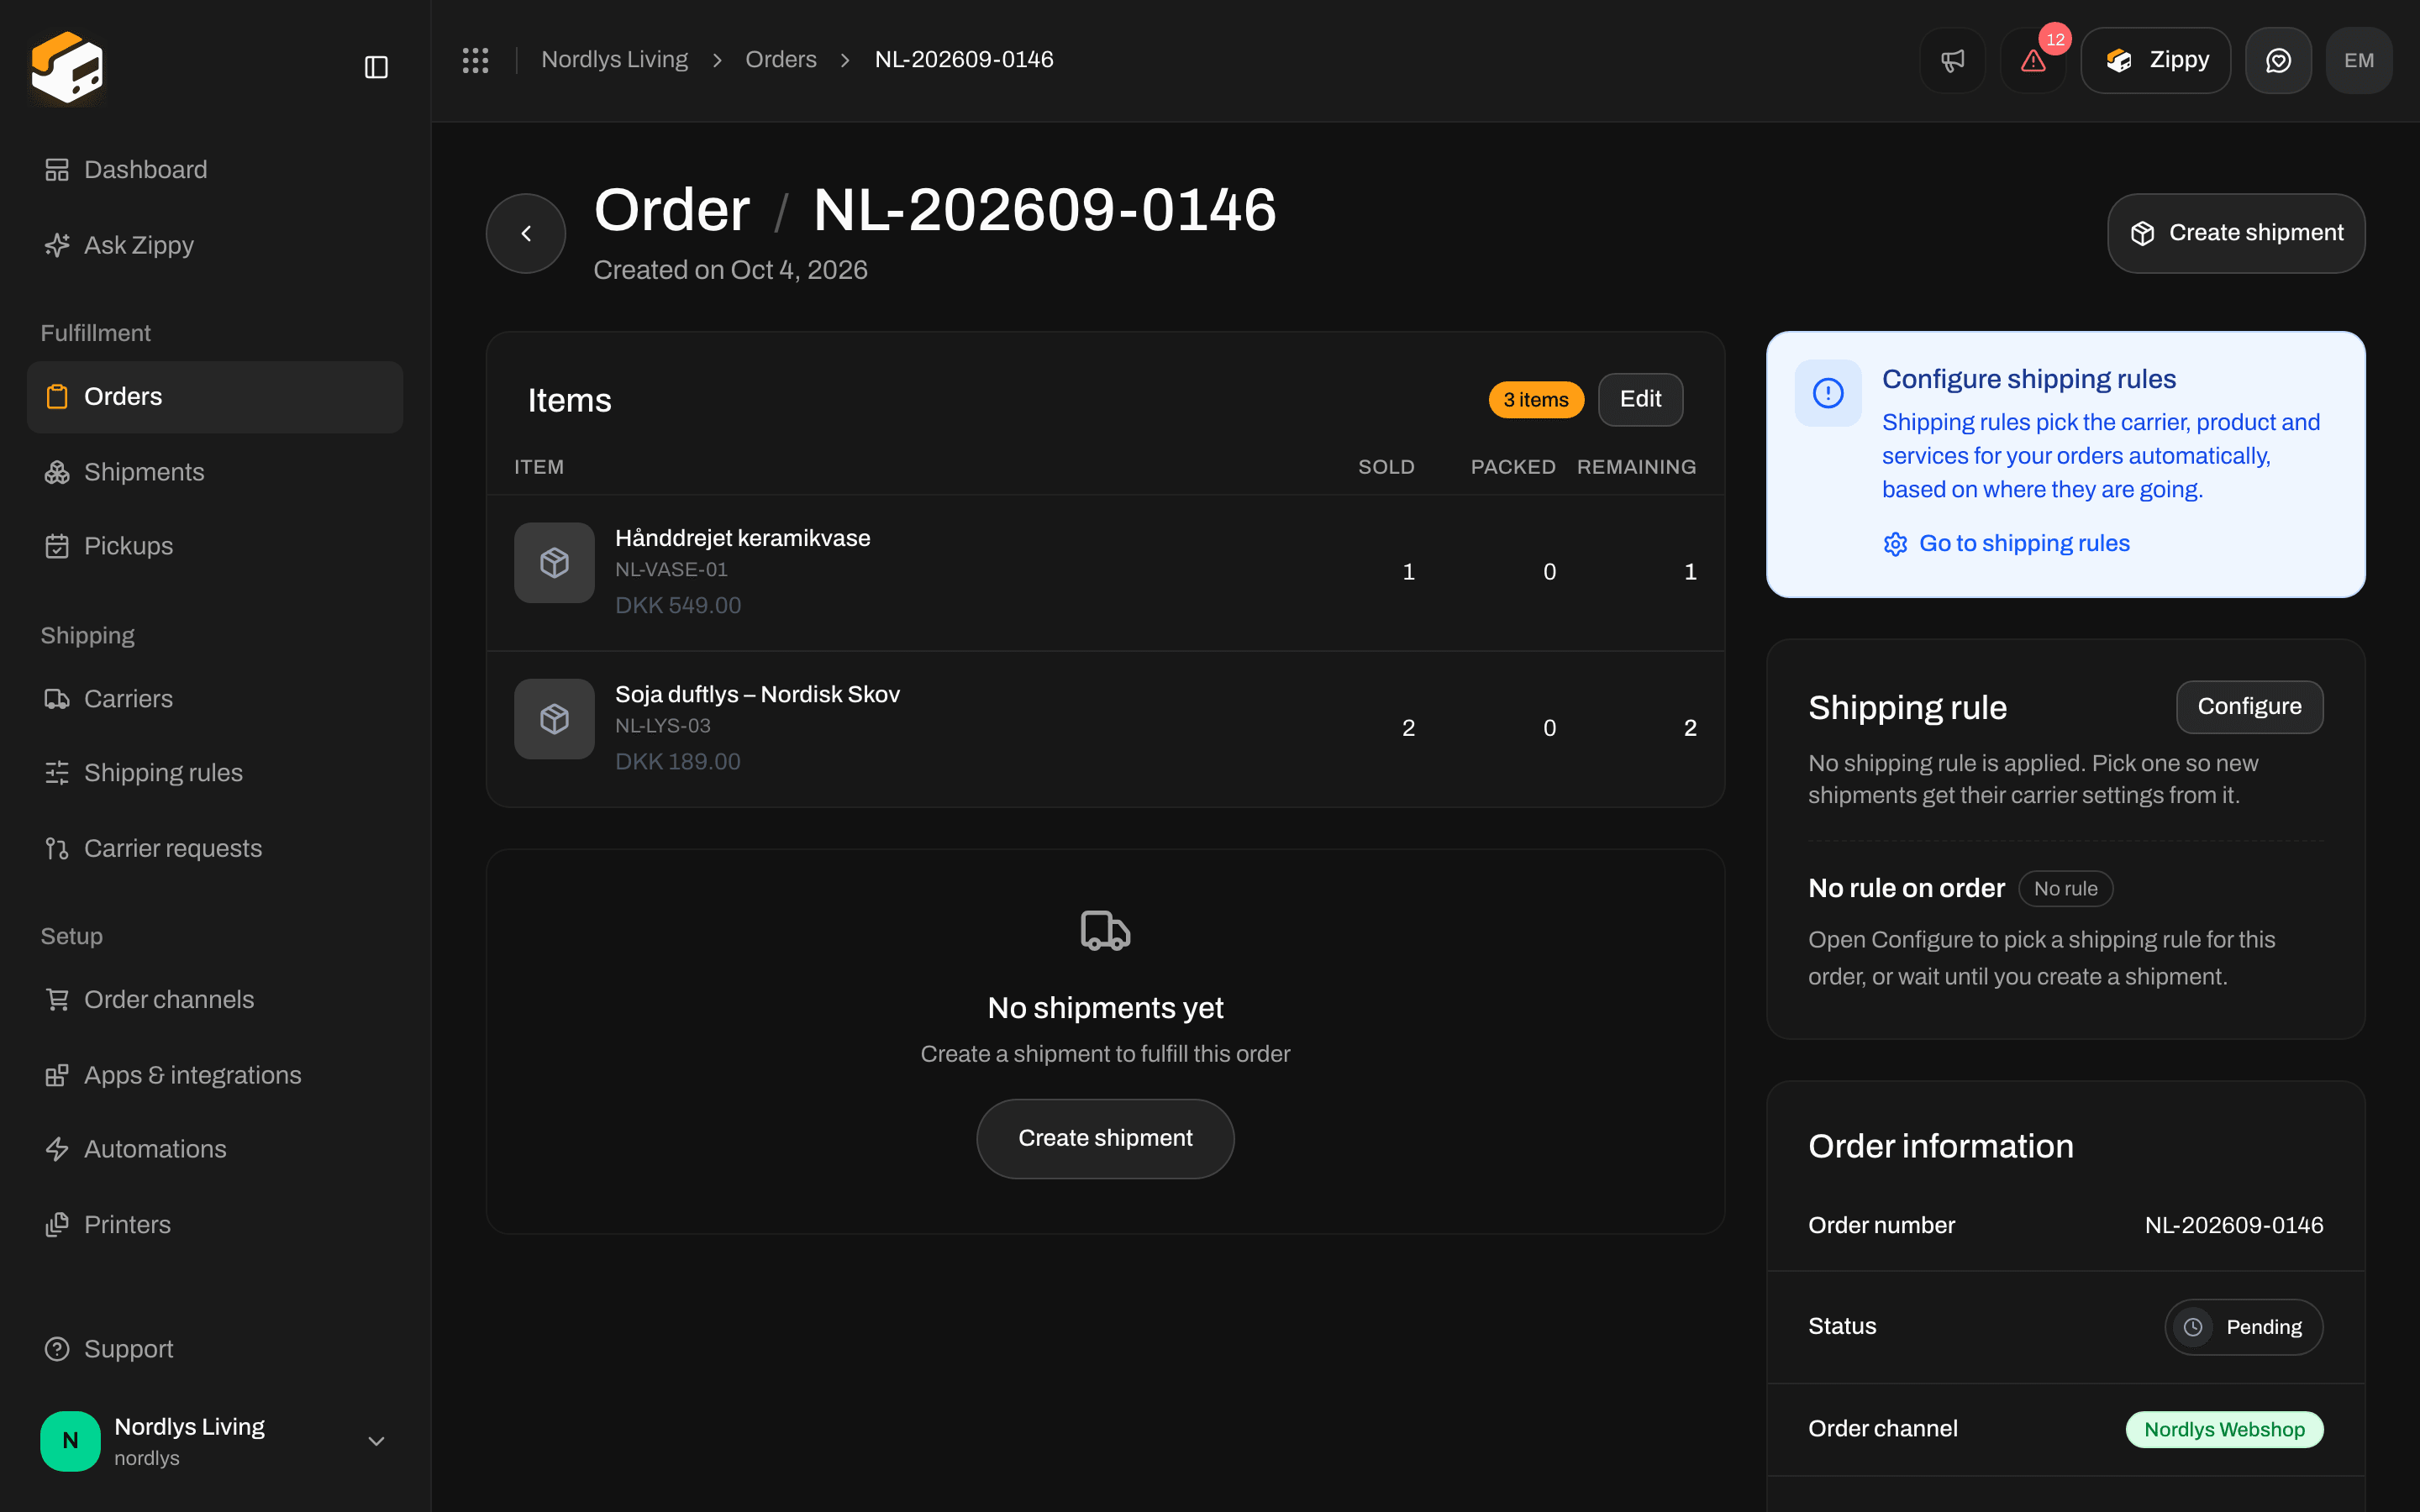
Click the order (or Create Shipment on the row). On a brand-new order the header action is Create Shipment.
2

Create Shipment

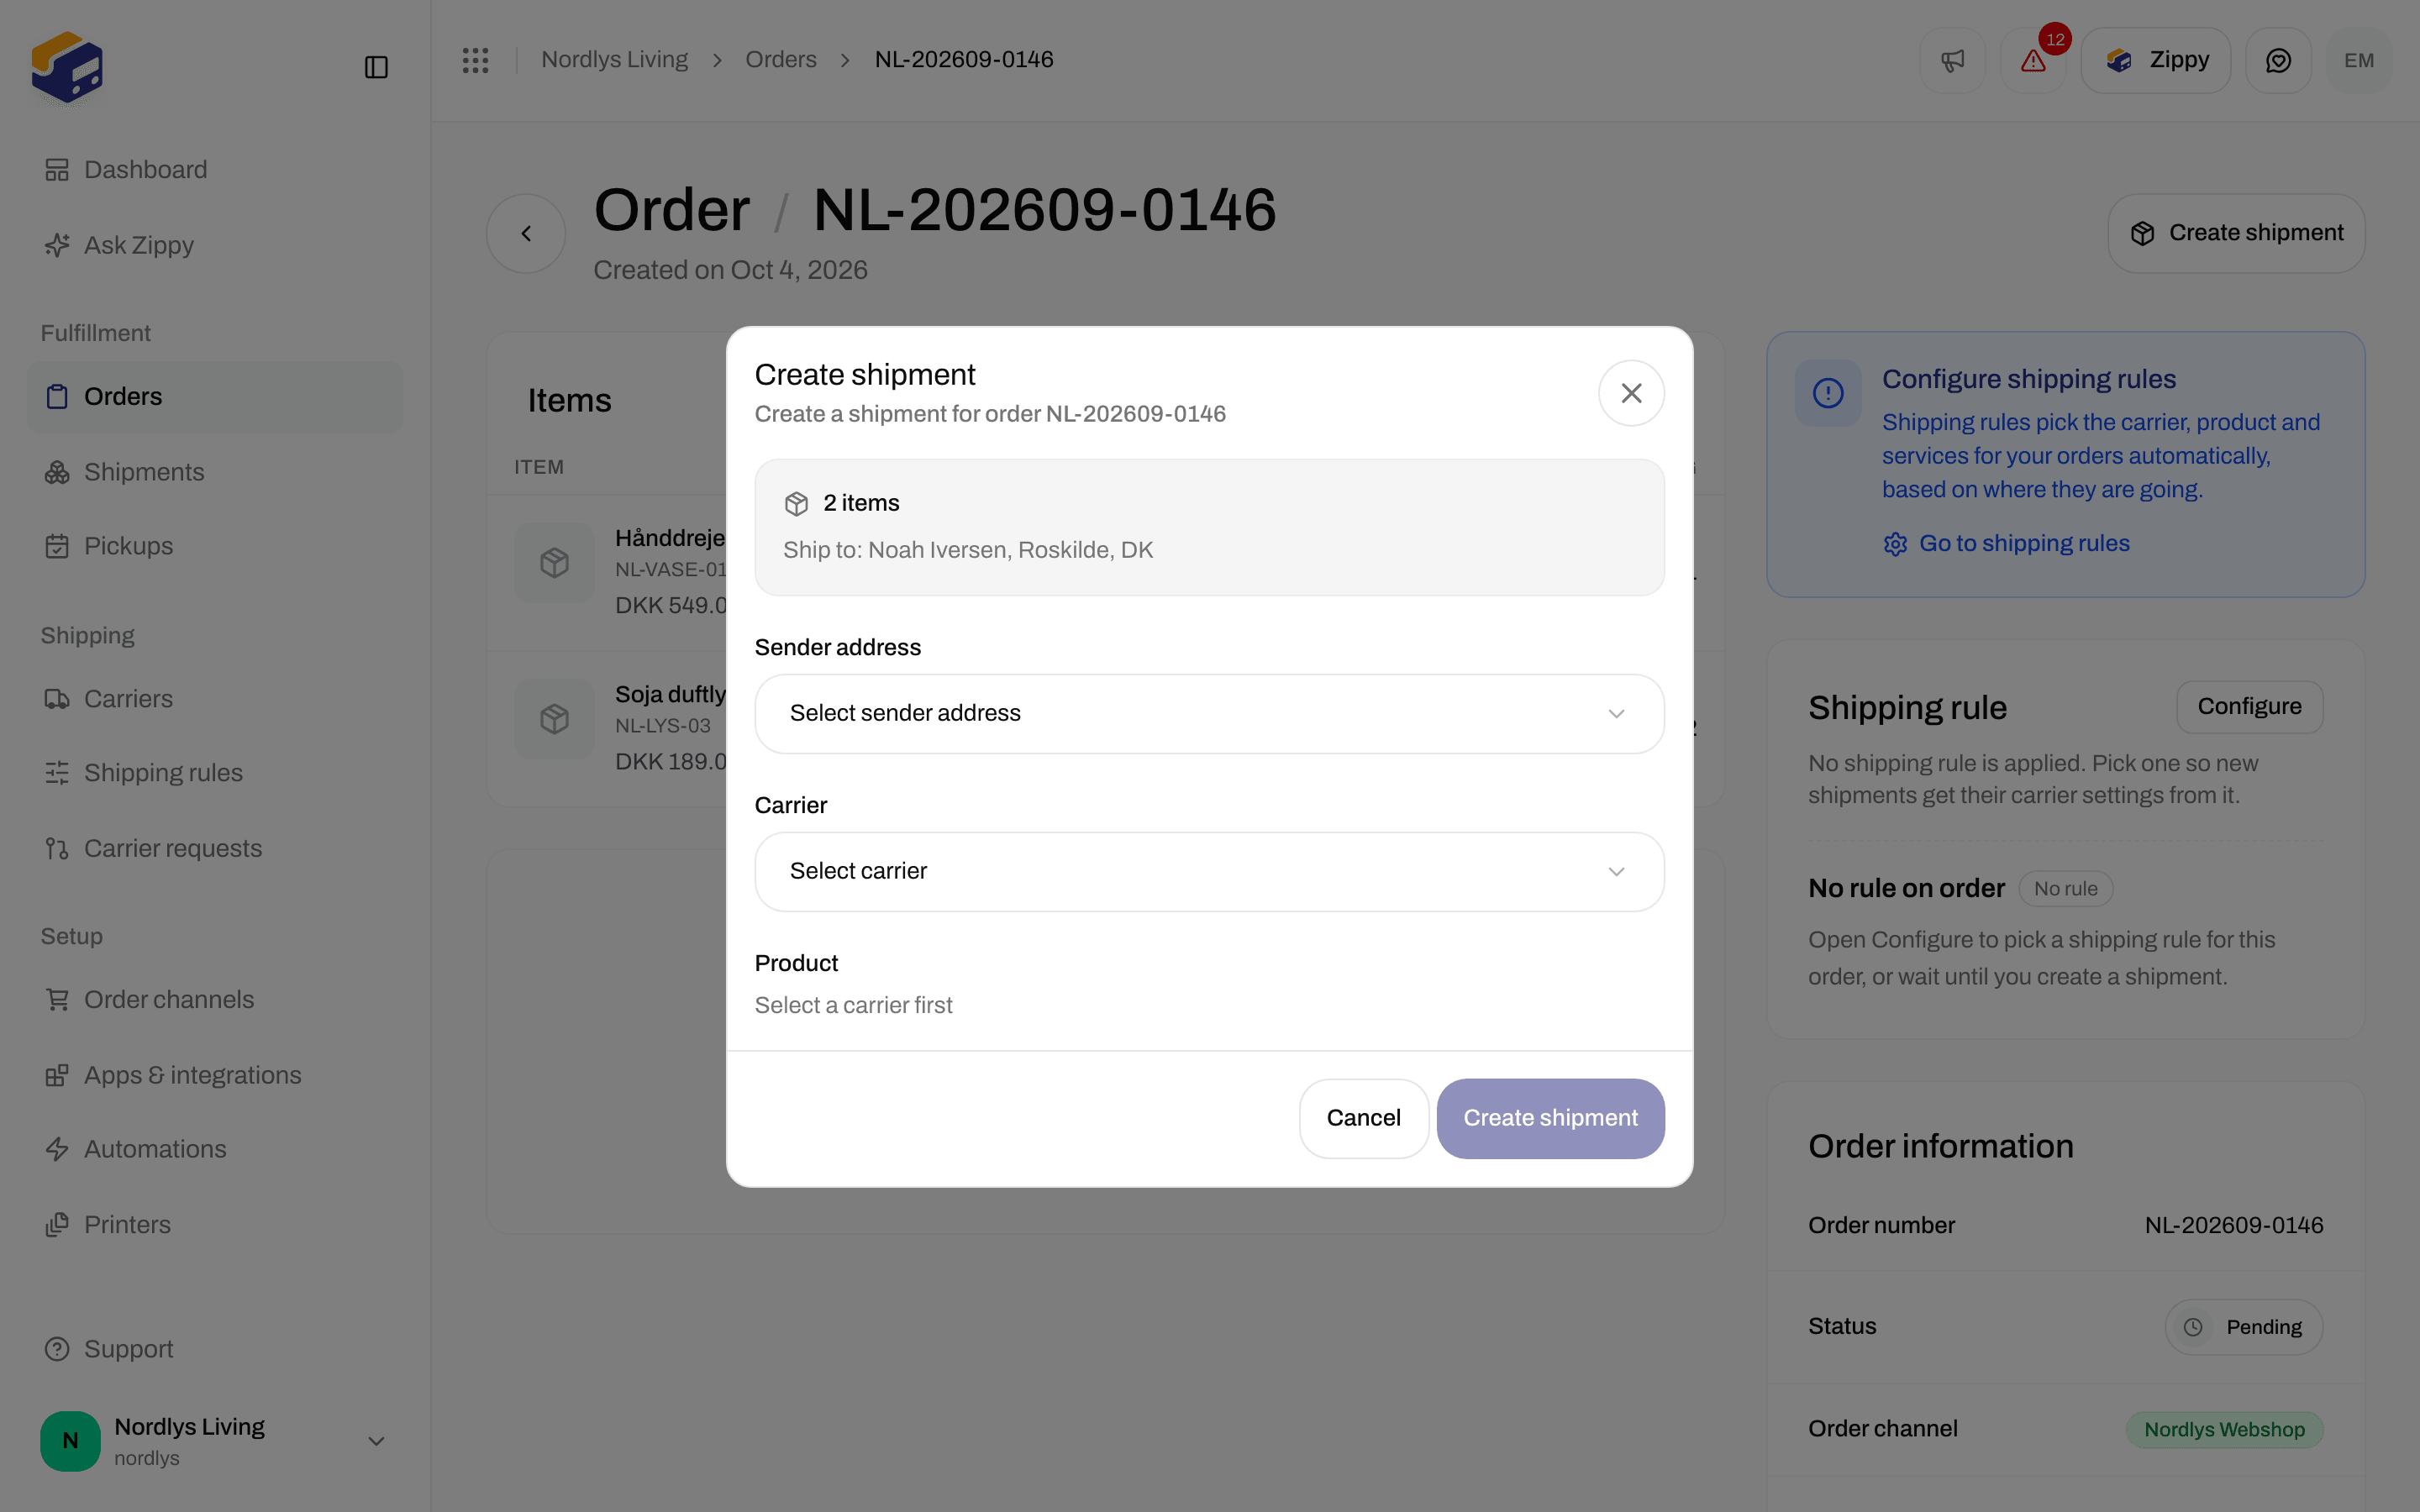
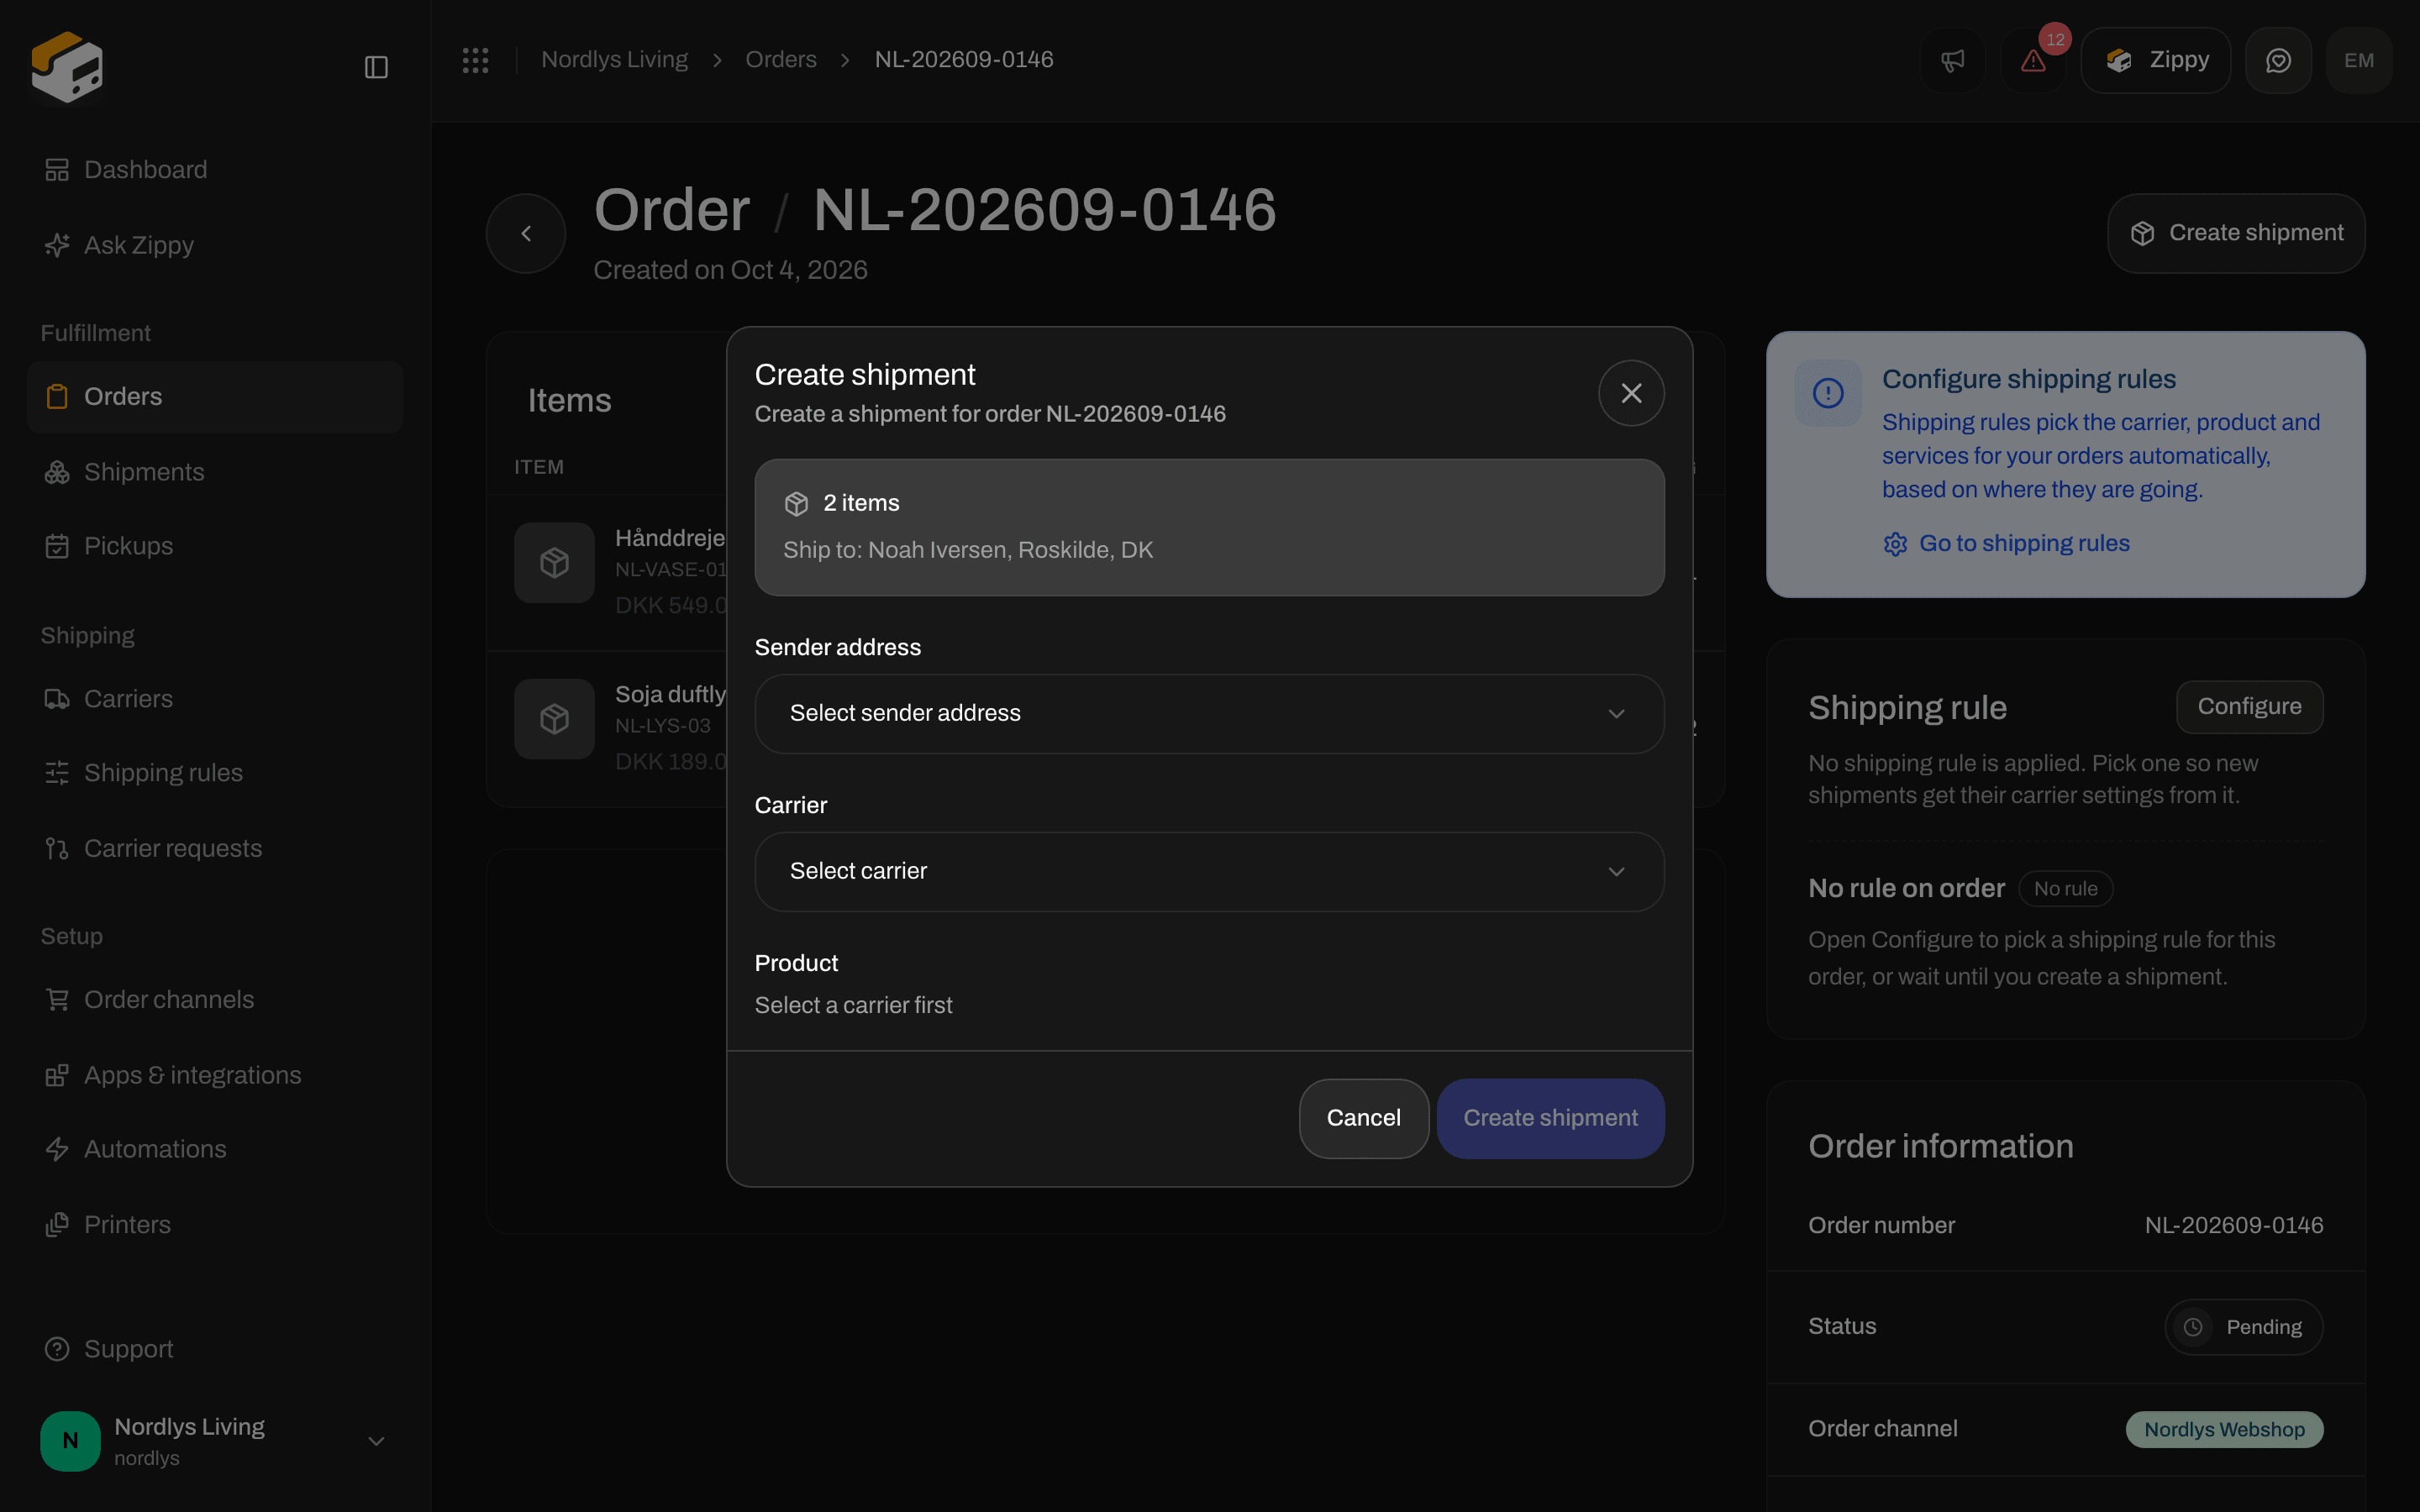
The Create Shipment modal opens with the item count and Ship to: name, city, and country from the order.
3

Choose how to ship

If the order has a shipping rule: Zippendo uses that rule’s carrier, product, services, and sender address. Click Configure carrier manually instead to override.If there is no rule: select Address, Carrier, and Shipping Product.
4

Service point (if required)

Shop / pickup-point products show Service Point *. Click Select Service Point, pick a point near the receiver, then Confirm Selection.
5

Create Shipment

Confirm. Parties and parcels come from the order — you do not retype them. The shipment is linked to the order and appears on the Shipments tab.
Order detail for a pending order with Create Shipment in the headerOrder detail for a pending order with Create Shipment in the header

Order detail with Create Shipment in the header

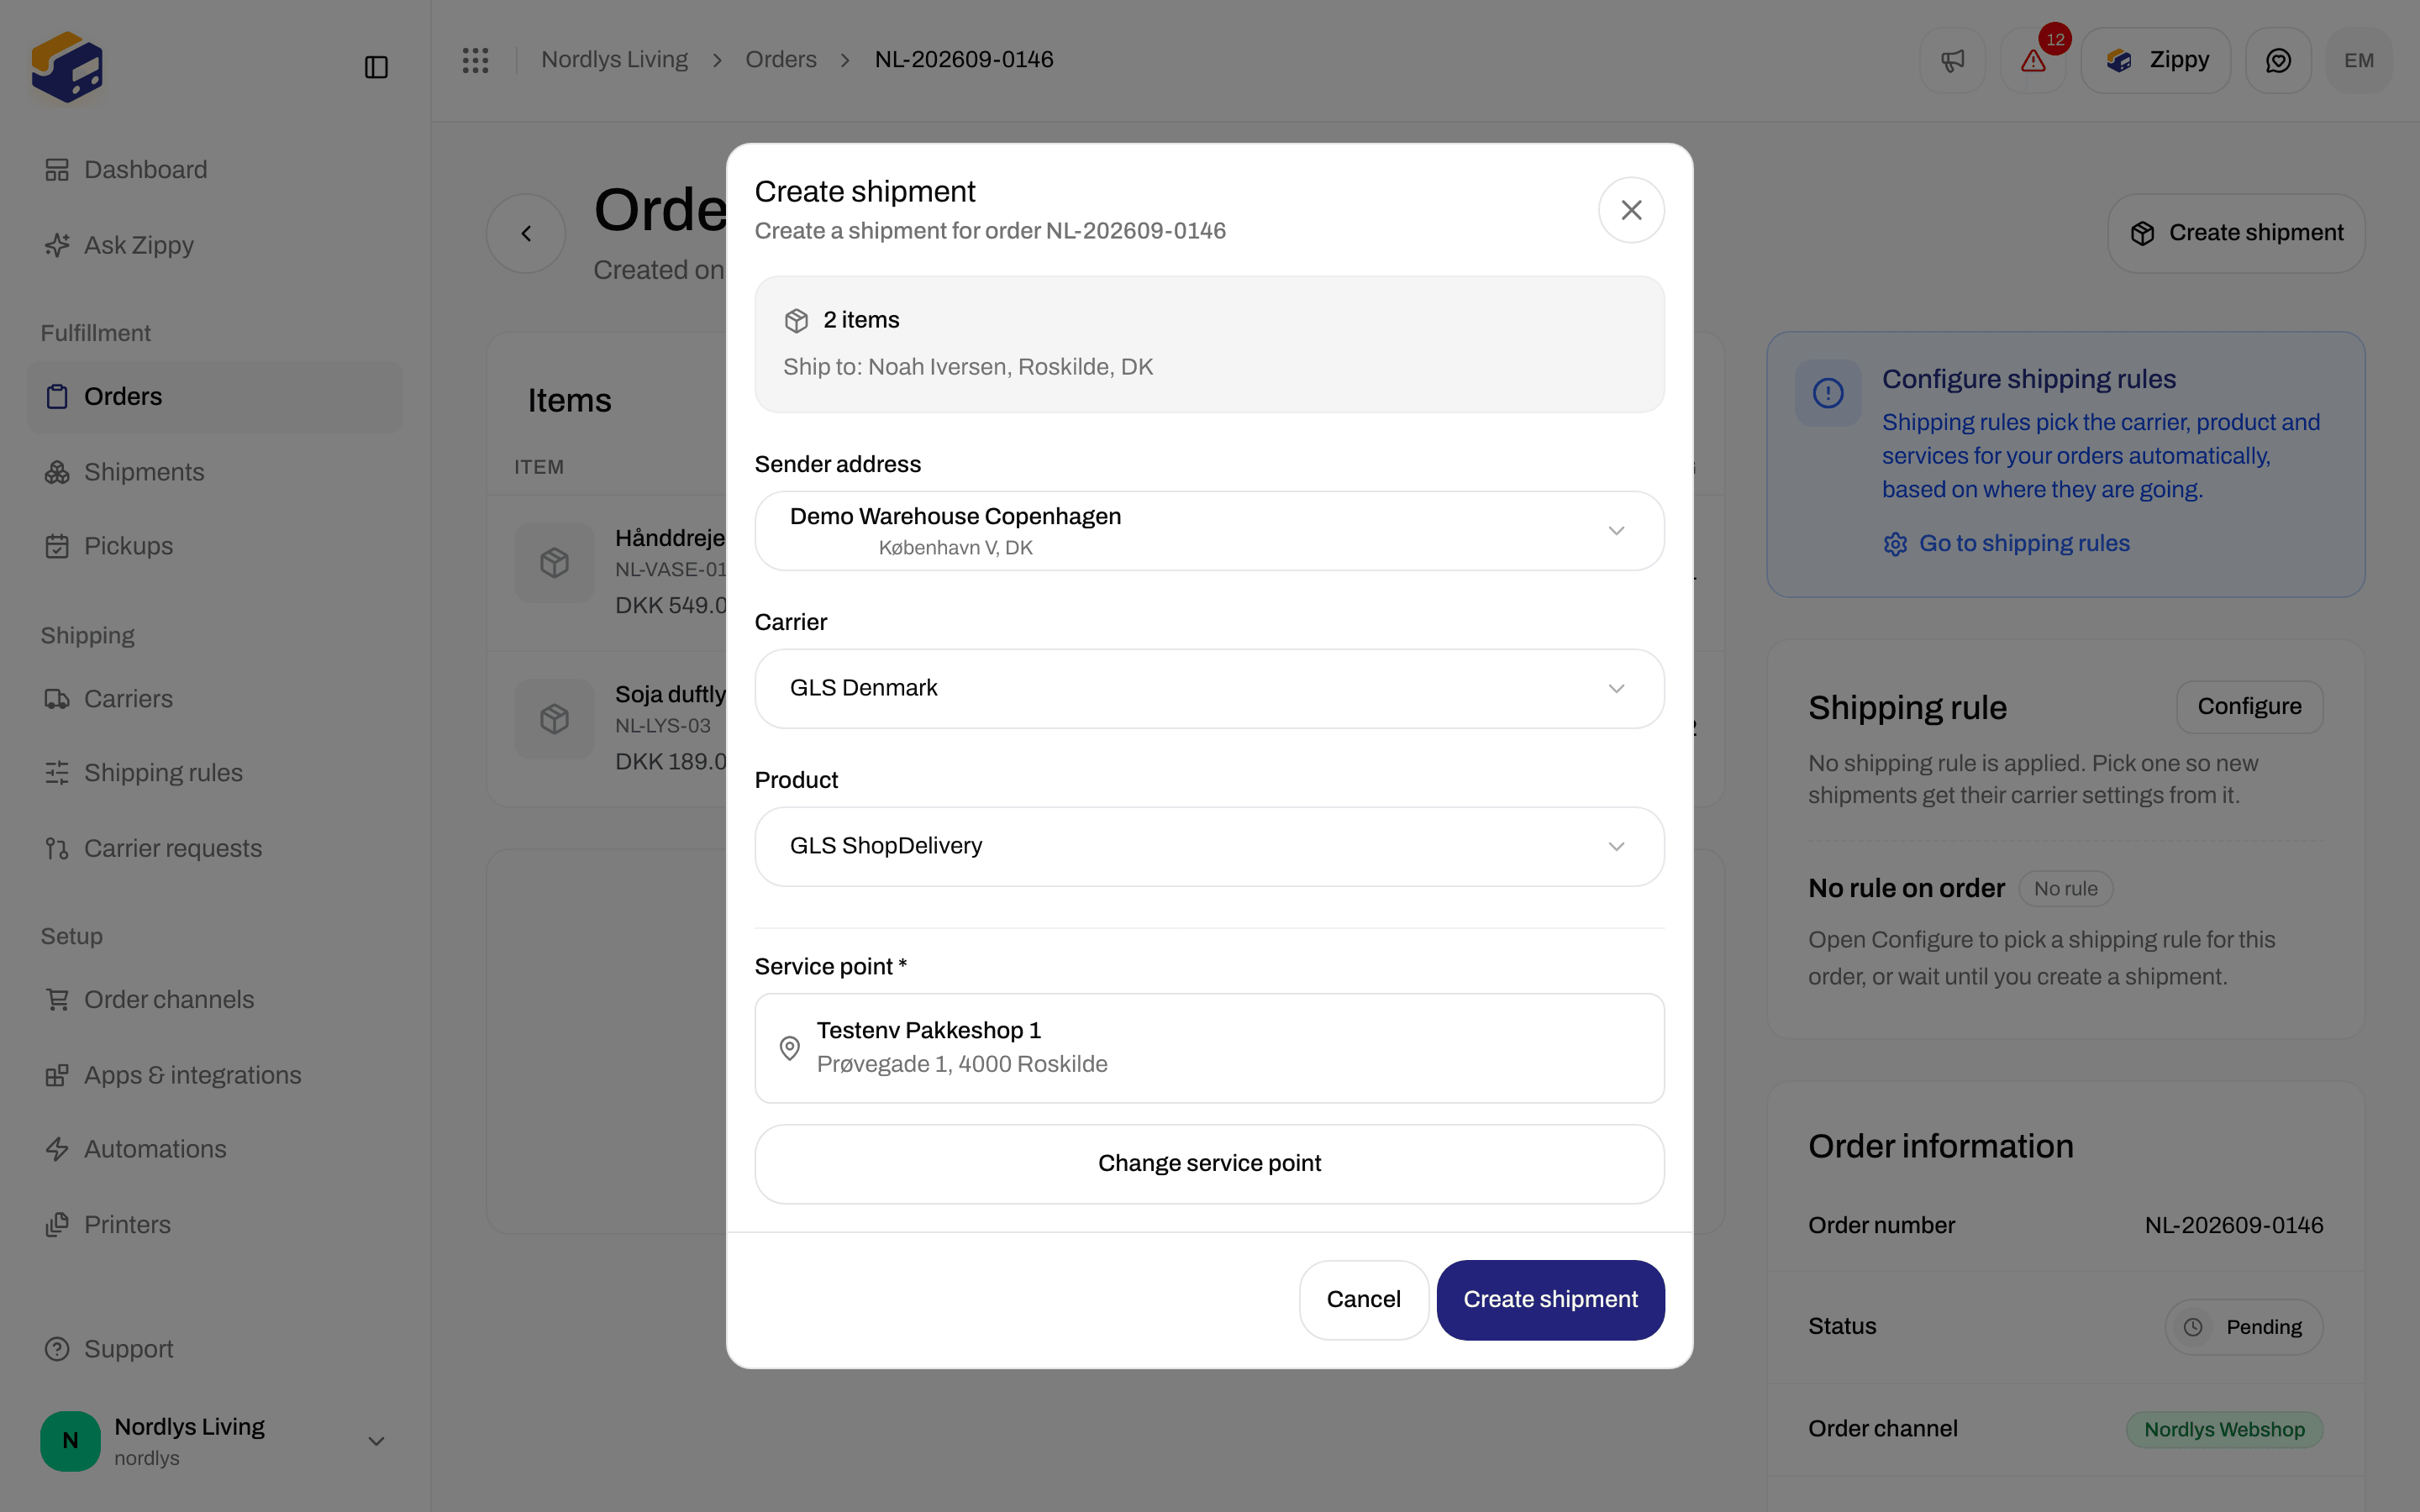
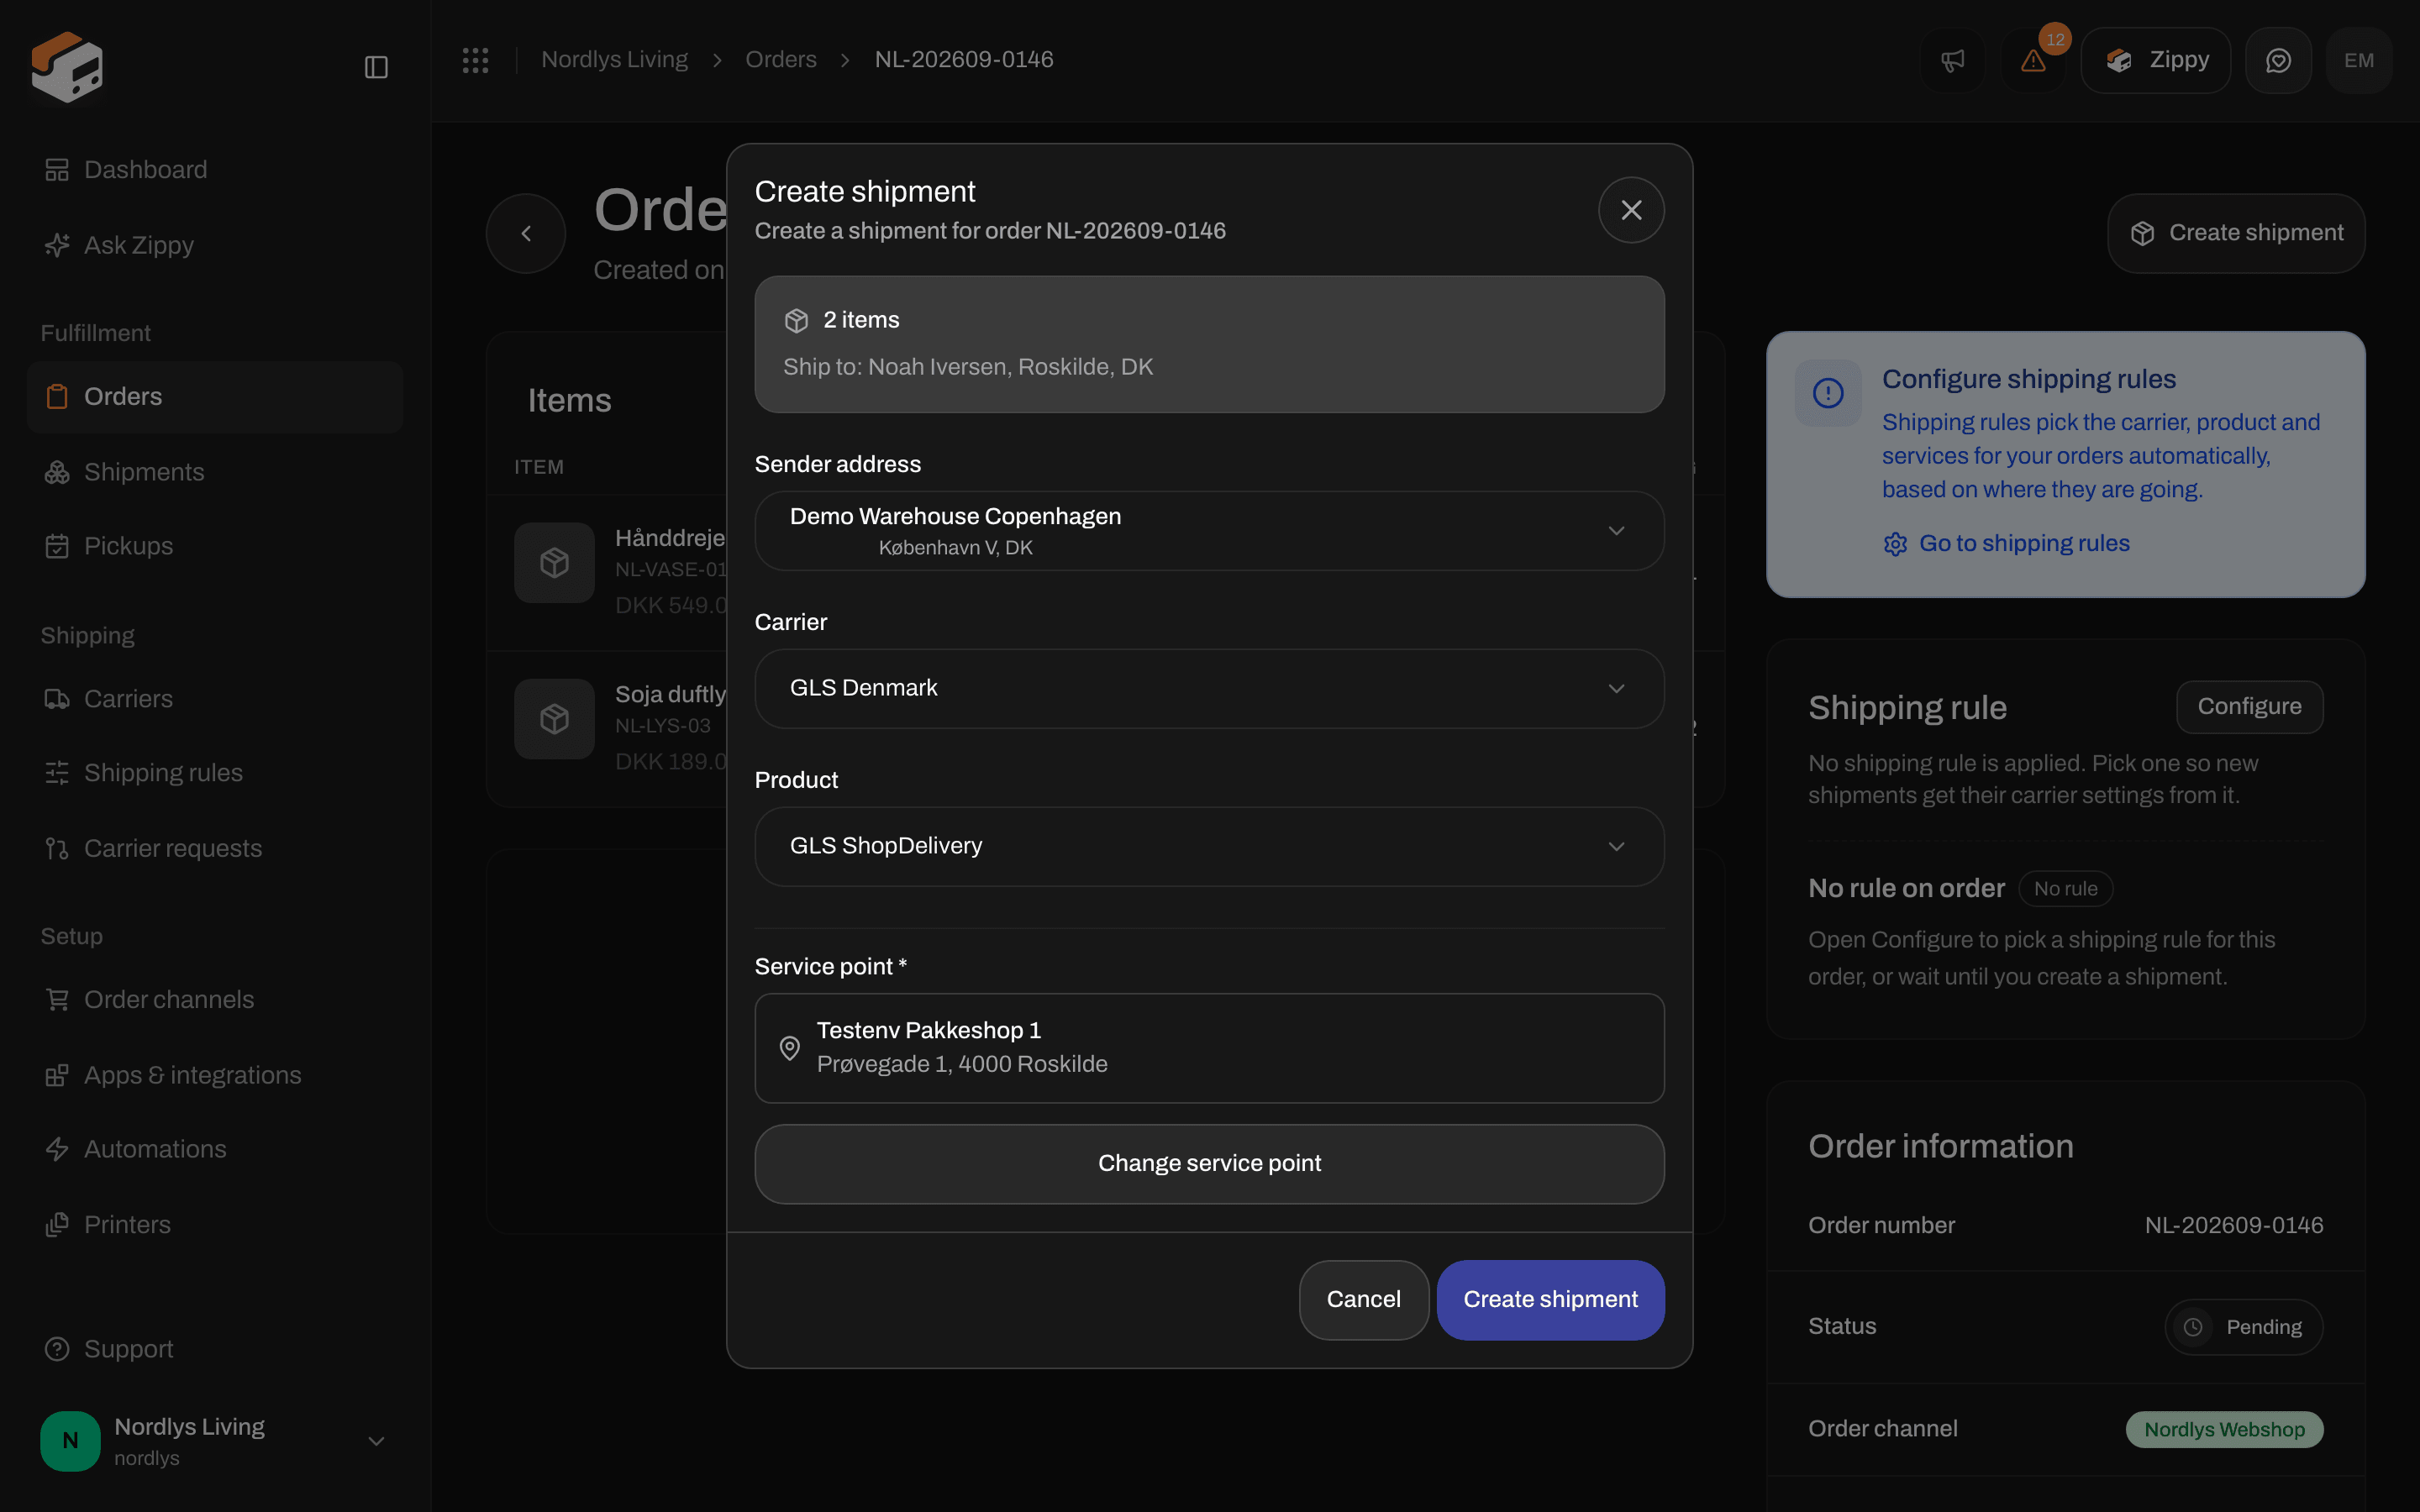
Create Shipment modal showing item count, ship-to address, and carrier fieldsCreate Shipment modal showing item count, ship-to address, and carrier fields

Create Shipment modal for an order — address, carrier, and shipping product

After the first shipment exists, the header action becomes Send order (books every Pending or Error shipment on that order). To add another shipment — a split, a second box, a later dispatch — open the Shipments tab and click Add Shipment.
Assign a shipping rule on the order first if you ship the same way every time. The create modal then uses the rule in one click. See Shipping rules.

Standalone vs from an order

Service points and pickup

Some products deliver to a parcel shop or locker instead of the door. In the app that is a Drop Point / Service Point. On the standalone form, pick a service-point product (for example GLS ShopDelivery). The Drop Point card appears. It stays empty until the receiver has address, postal code, city, and country.
GLS ShopDelivery selected, Drop Point card saying add a receiver address firstGLS ShopDelivery selected, Drop Point card saying add a receiver address first

Drop Point asks you to add a receiver address before it can search nearby shops

From an order, the same requirement appears in the modal as Service Point *. Zippendo often fills the nearest point automatically. Use Change Service Point to pick another. Create Shipment stays disabled until a point is selected.
Create Shipment modal with GLS ShopDelivery and a selected service pointCreate Shipment modal with GLS ShopDelivery and a selected service point

Service Point is required on a shop product — the nearest point is filled in

If search fails or returns nothing, check the receiver address and try Retry. More on this flow: Droppoint search. Pickup (the carrier collects from you) is a service on some products, not the same as a drop point. Enabling pickup opens Pickup Details: date, time window (morning, afternoon, evening, all day, or custom), and optional instructions. You can also schedule a pickup later for dispatched shipments.

Outbound vs inbound (returns)

Type on the create form is Outbound or Inbound.
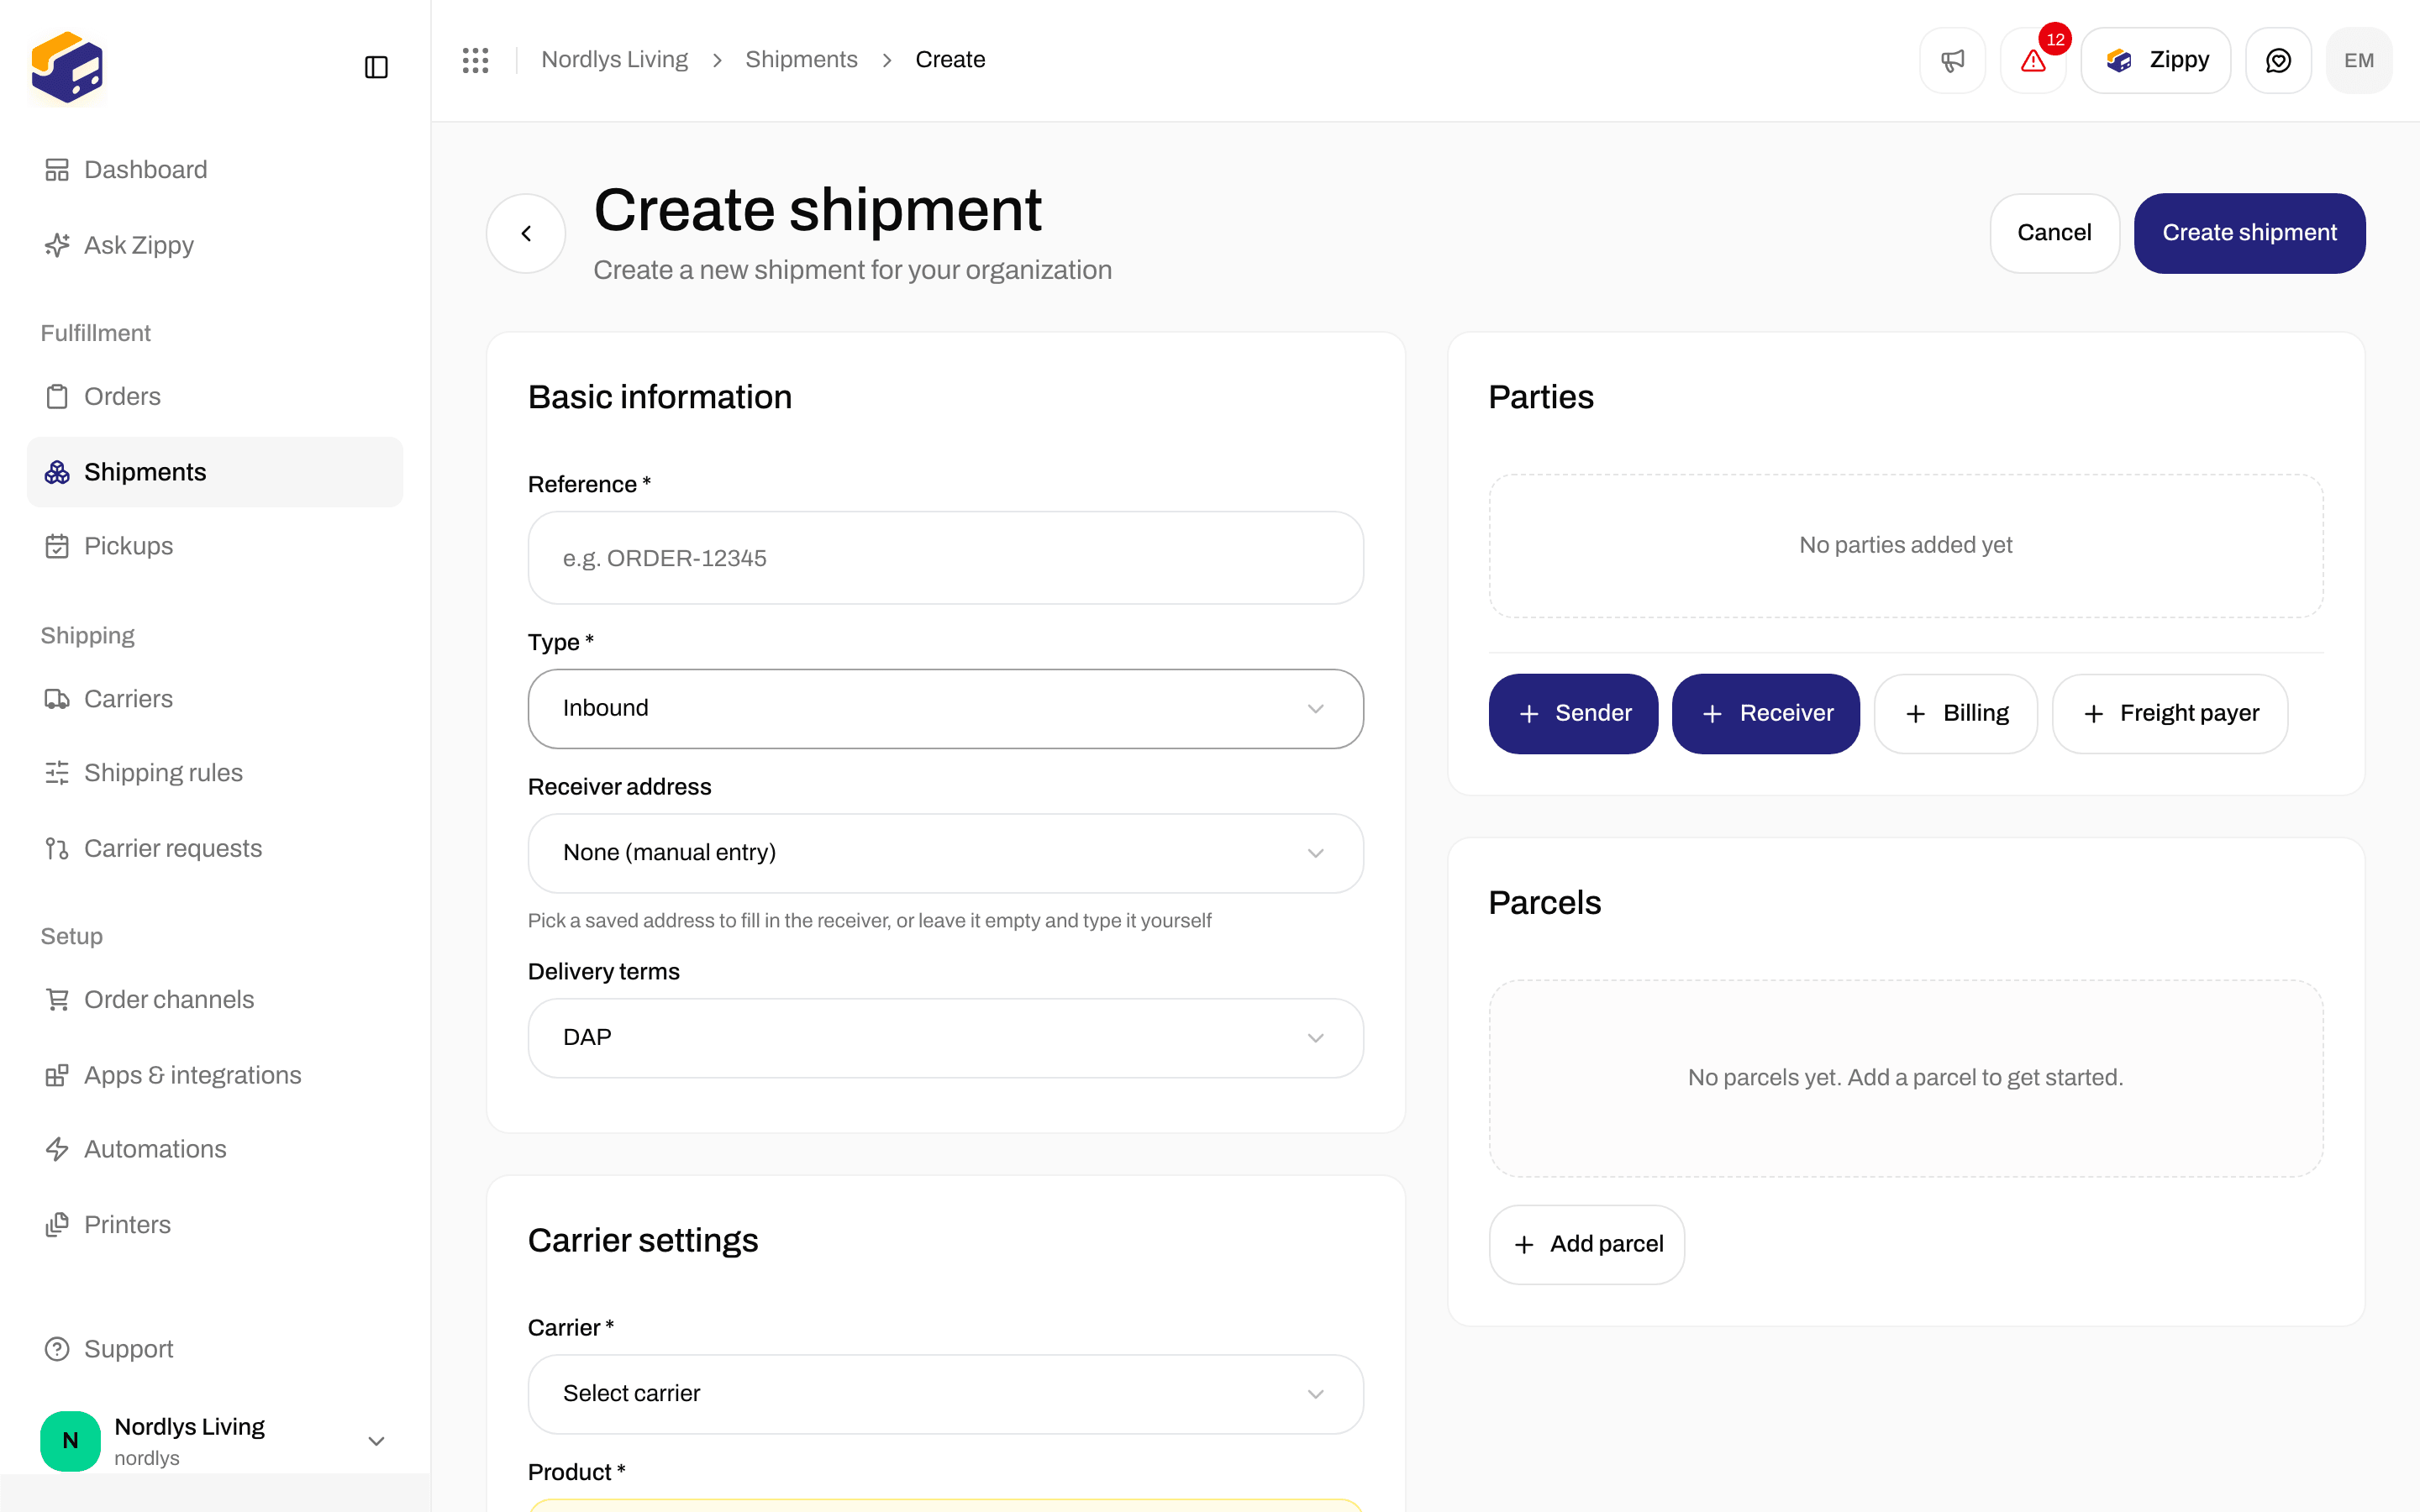
Basic Information with Type set to Inbound and Receiver AddressBasic Information with Type set to Inbound and Receiver Address

Switch Type to Inbound to create a return shipment — the address field becomes Receiver Address

  • Outbound — you send to the customer. The selected address fills the Sender. Products such as GLS PrivateDelivery appear.
  • Inbound — the parcel comes back to you. The selected address fills the Receiver (your warehouse). Only inbound products appear (for example GLS ShopReturn). Addresses must include the return address type.
The order Create Shipment modal always creates an outbound shipment. For a return after delivery, open the dispatched shipment and use Create Return Shipment (needs a return shipping rule). That flow is in Returns.

Validation errors

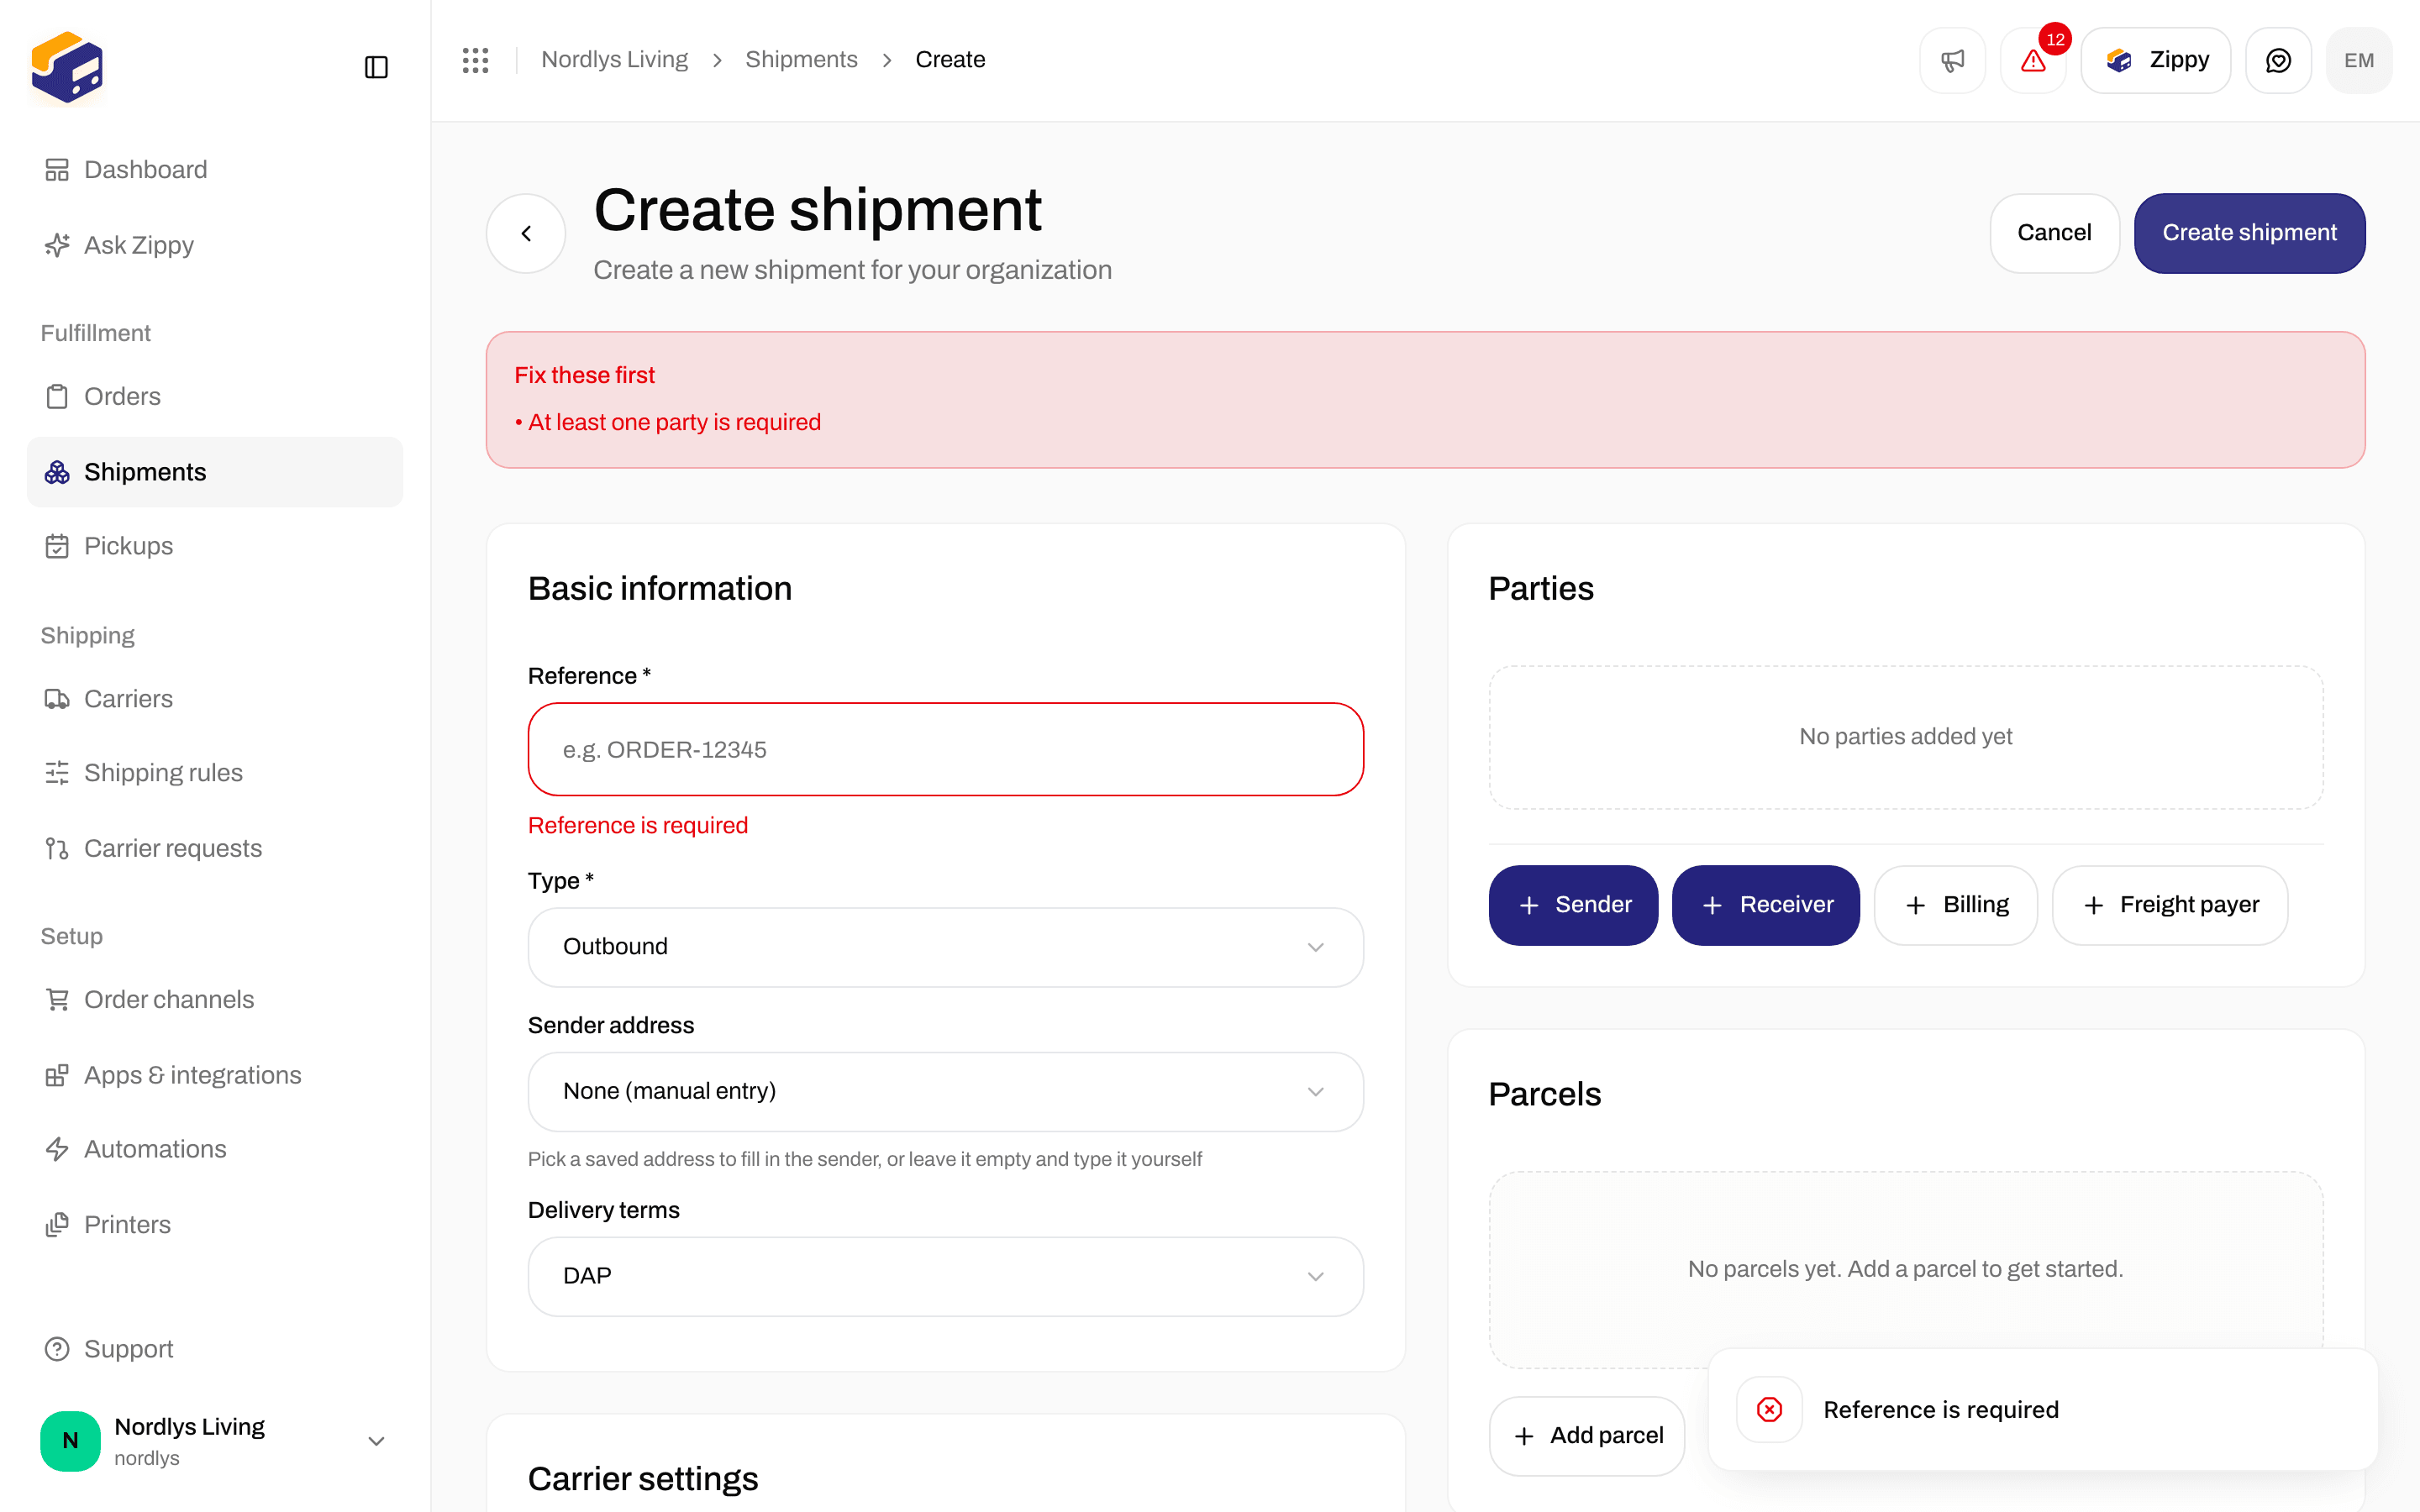
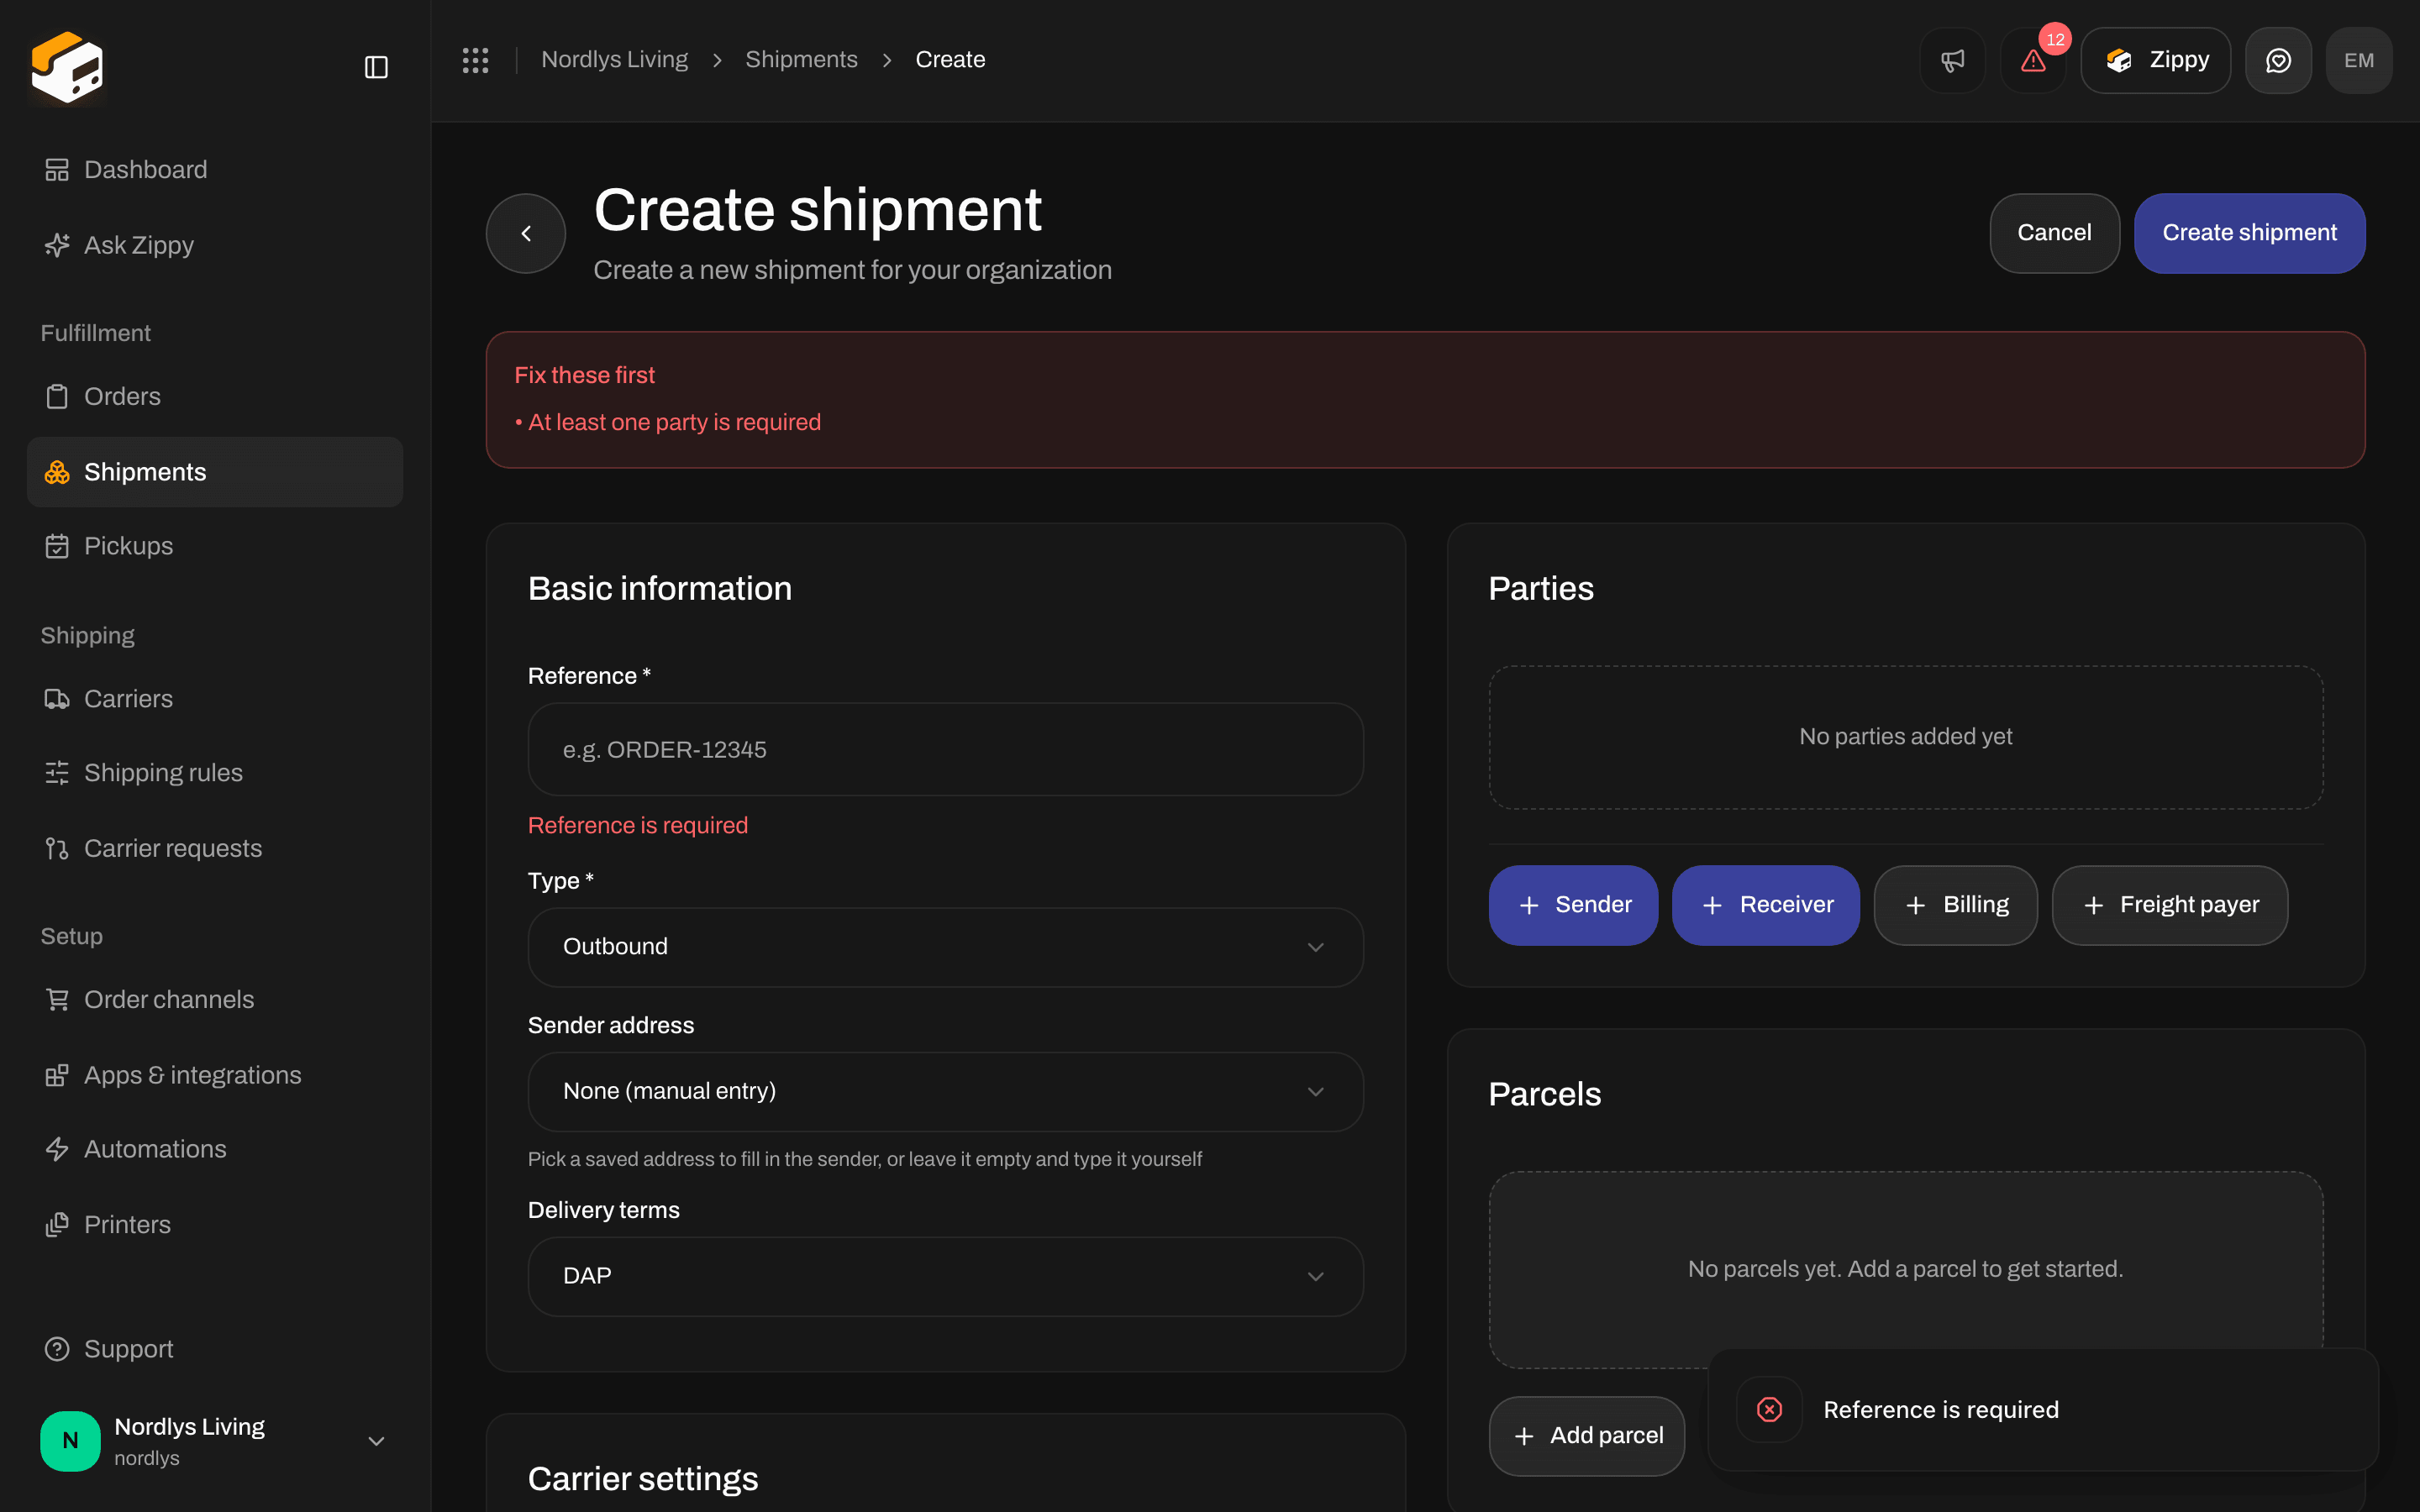
If something is missing, Create Shipment does not save. The first problem appears as a toast; party errors can also show in a Validation errors banner.
Create Shipment form showing Reference is required and At least one party is requiredCreate Shipment form showing Reference is required and At least one party is required

Empty form after Create Shipment — toast, field error, and a Validation errors banner

Common messages and how to fix them: On the order modal, Create Shipment stays disabled until address, carrier, and product are set (or a shipping rule is used) and a service point is selected when required.

Save vs send (buying a label)

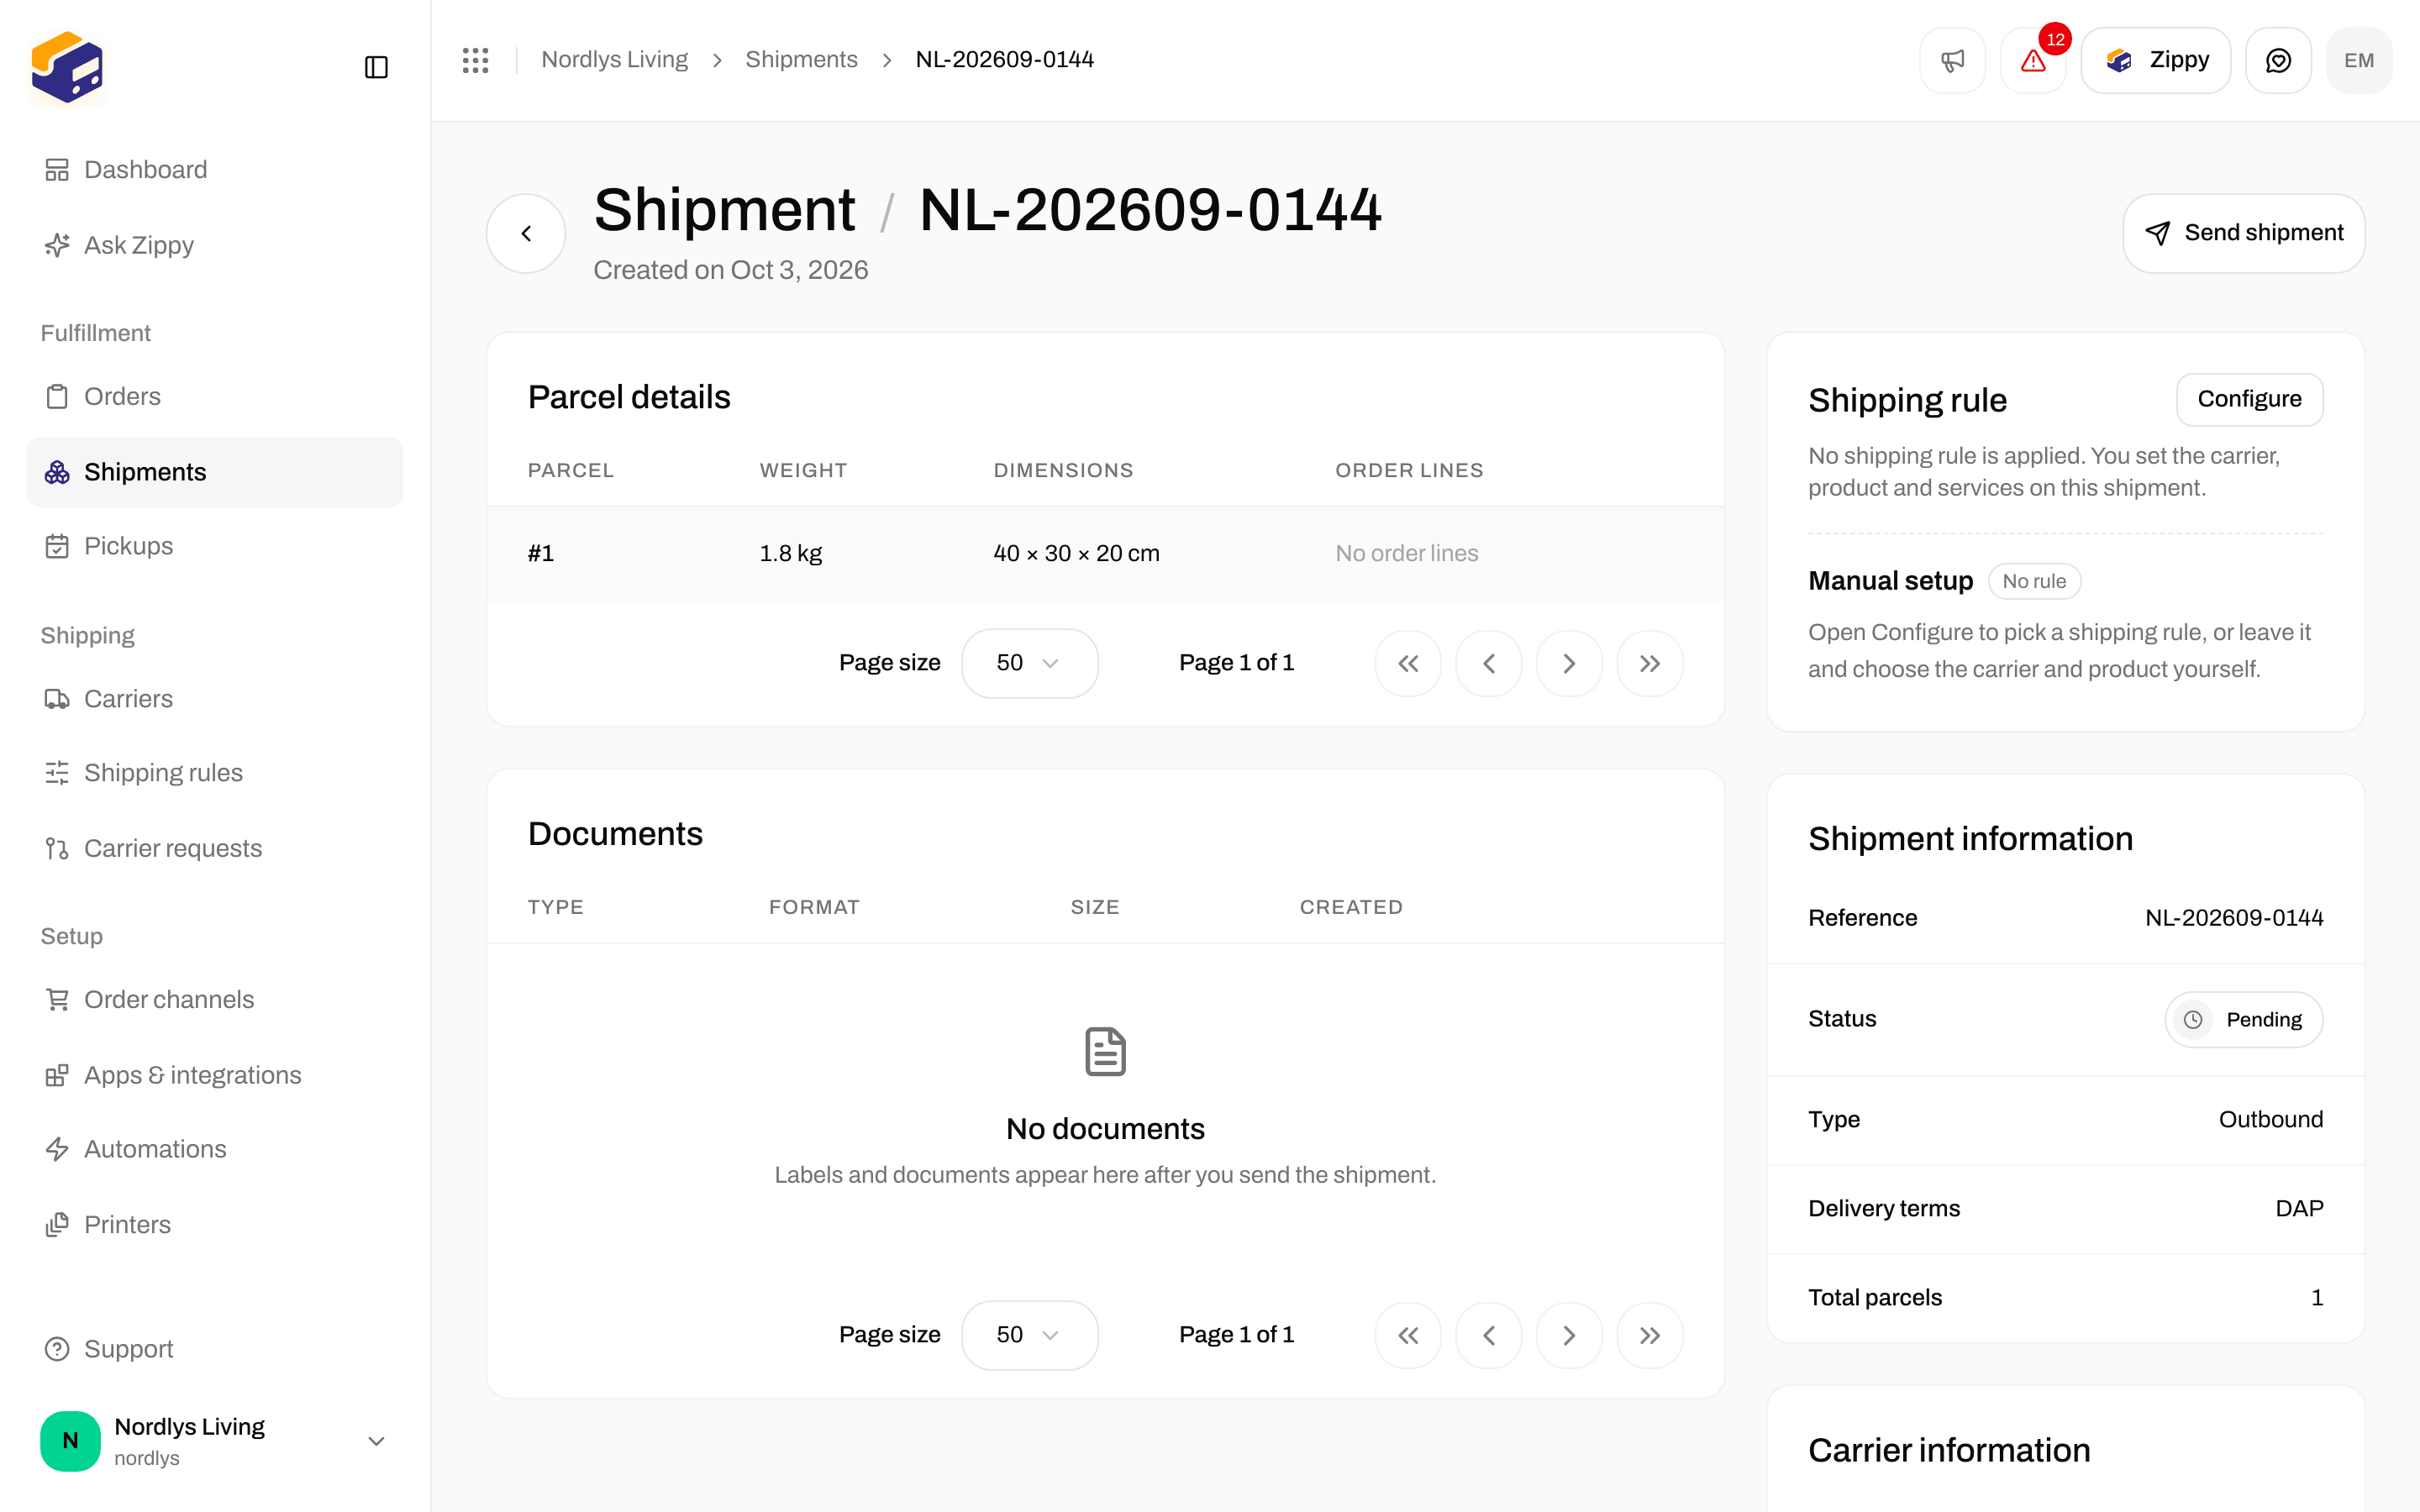
There is no Save draft button on the create form. Create Shipment writes the shipment as Pending. That is your saved draft in practice: you can still edit addresses, carrier, parcels, and printers. Send Shipment is a separate, paid / contracted action. It books the shipment with the carrier, generates the label, and (if printers are set) can print automatically.
Send Shipment and Send order book labels with your carrier account. That can incur carrier charges and use Zippendo label credits. Do not send until the address, weight, and product are correct. You cannot edit a shipment the same way after it is Dispatched.
Shipment detail for a pending shipment with Send Shipment in the headerShipment detail for a pending shipment with Send Shipment in the header

A Pending shipment — Send Shipment books the label with the carrier

1

Open the shipment

From View Shipments, the Shipments list, or the order’s Shipments tab.
2

Check the overview

Confirm parties, product, parcels, and (if needed) service point. Fix anything while status is Pending, Draft, or Error.
3

Send Shipment

Click Send Shipment. On Error, the same button reads Retry Send. A successful send moves the status to Dispatched and adds documents.
On the order, Send order sends every sendable shipment at once. Next steps: Labels and printing and Tracking.

After you create

The shipment appears on Shipments (filter by reference or tracking number). If it is tied to an order, it also appears on that order’s Shipments tab. Statuses you will see (full list: Shipment statuses):
You are done creating when the shipment is on the list as Pending (or Error if the carrier rejected a later send). Printing and tracking start after Send Shipment.

If something is missing

  • Missing address — standalone: pick a sender address or add parties by hand. From an order: the order must have a shipping address; add your warehouse under Settings → Sender.
  • Customs — set Term of Trade, and on each line Country of Origin plus Tariff Number. Documents such as a customs invoice appear after send when the carrier requires them.
  • Pickup points — complete the receiver, pick a shop product, then Select Service Point.
  • Returns vs outbound — use Type → Inbound for a manual return label, or Create Return Shipment on a dispatched outbound shipment. See Returns.

Next

Labels and printing

Download, print, or auto-print the label after you send.

Tracking

Follow the shipment after it is dispatched.

Shipping rules

Pre-select carrier and product so create-from-order is one click.

Shipment statuses

What each status means and what to do next.
Field-level: Send a shipment · Shipment parties · Pick a service point · Customs and documents