

Open Settings
Settings is not in the main sidebar. Click the organization switcher at the bottom of the sidebar (your organization’s name), then click Manage. Settings opens on the Organization tab. Invite team members in the same menu goes straight to the Team tab.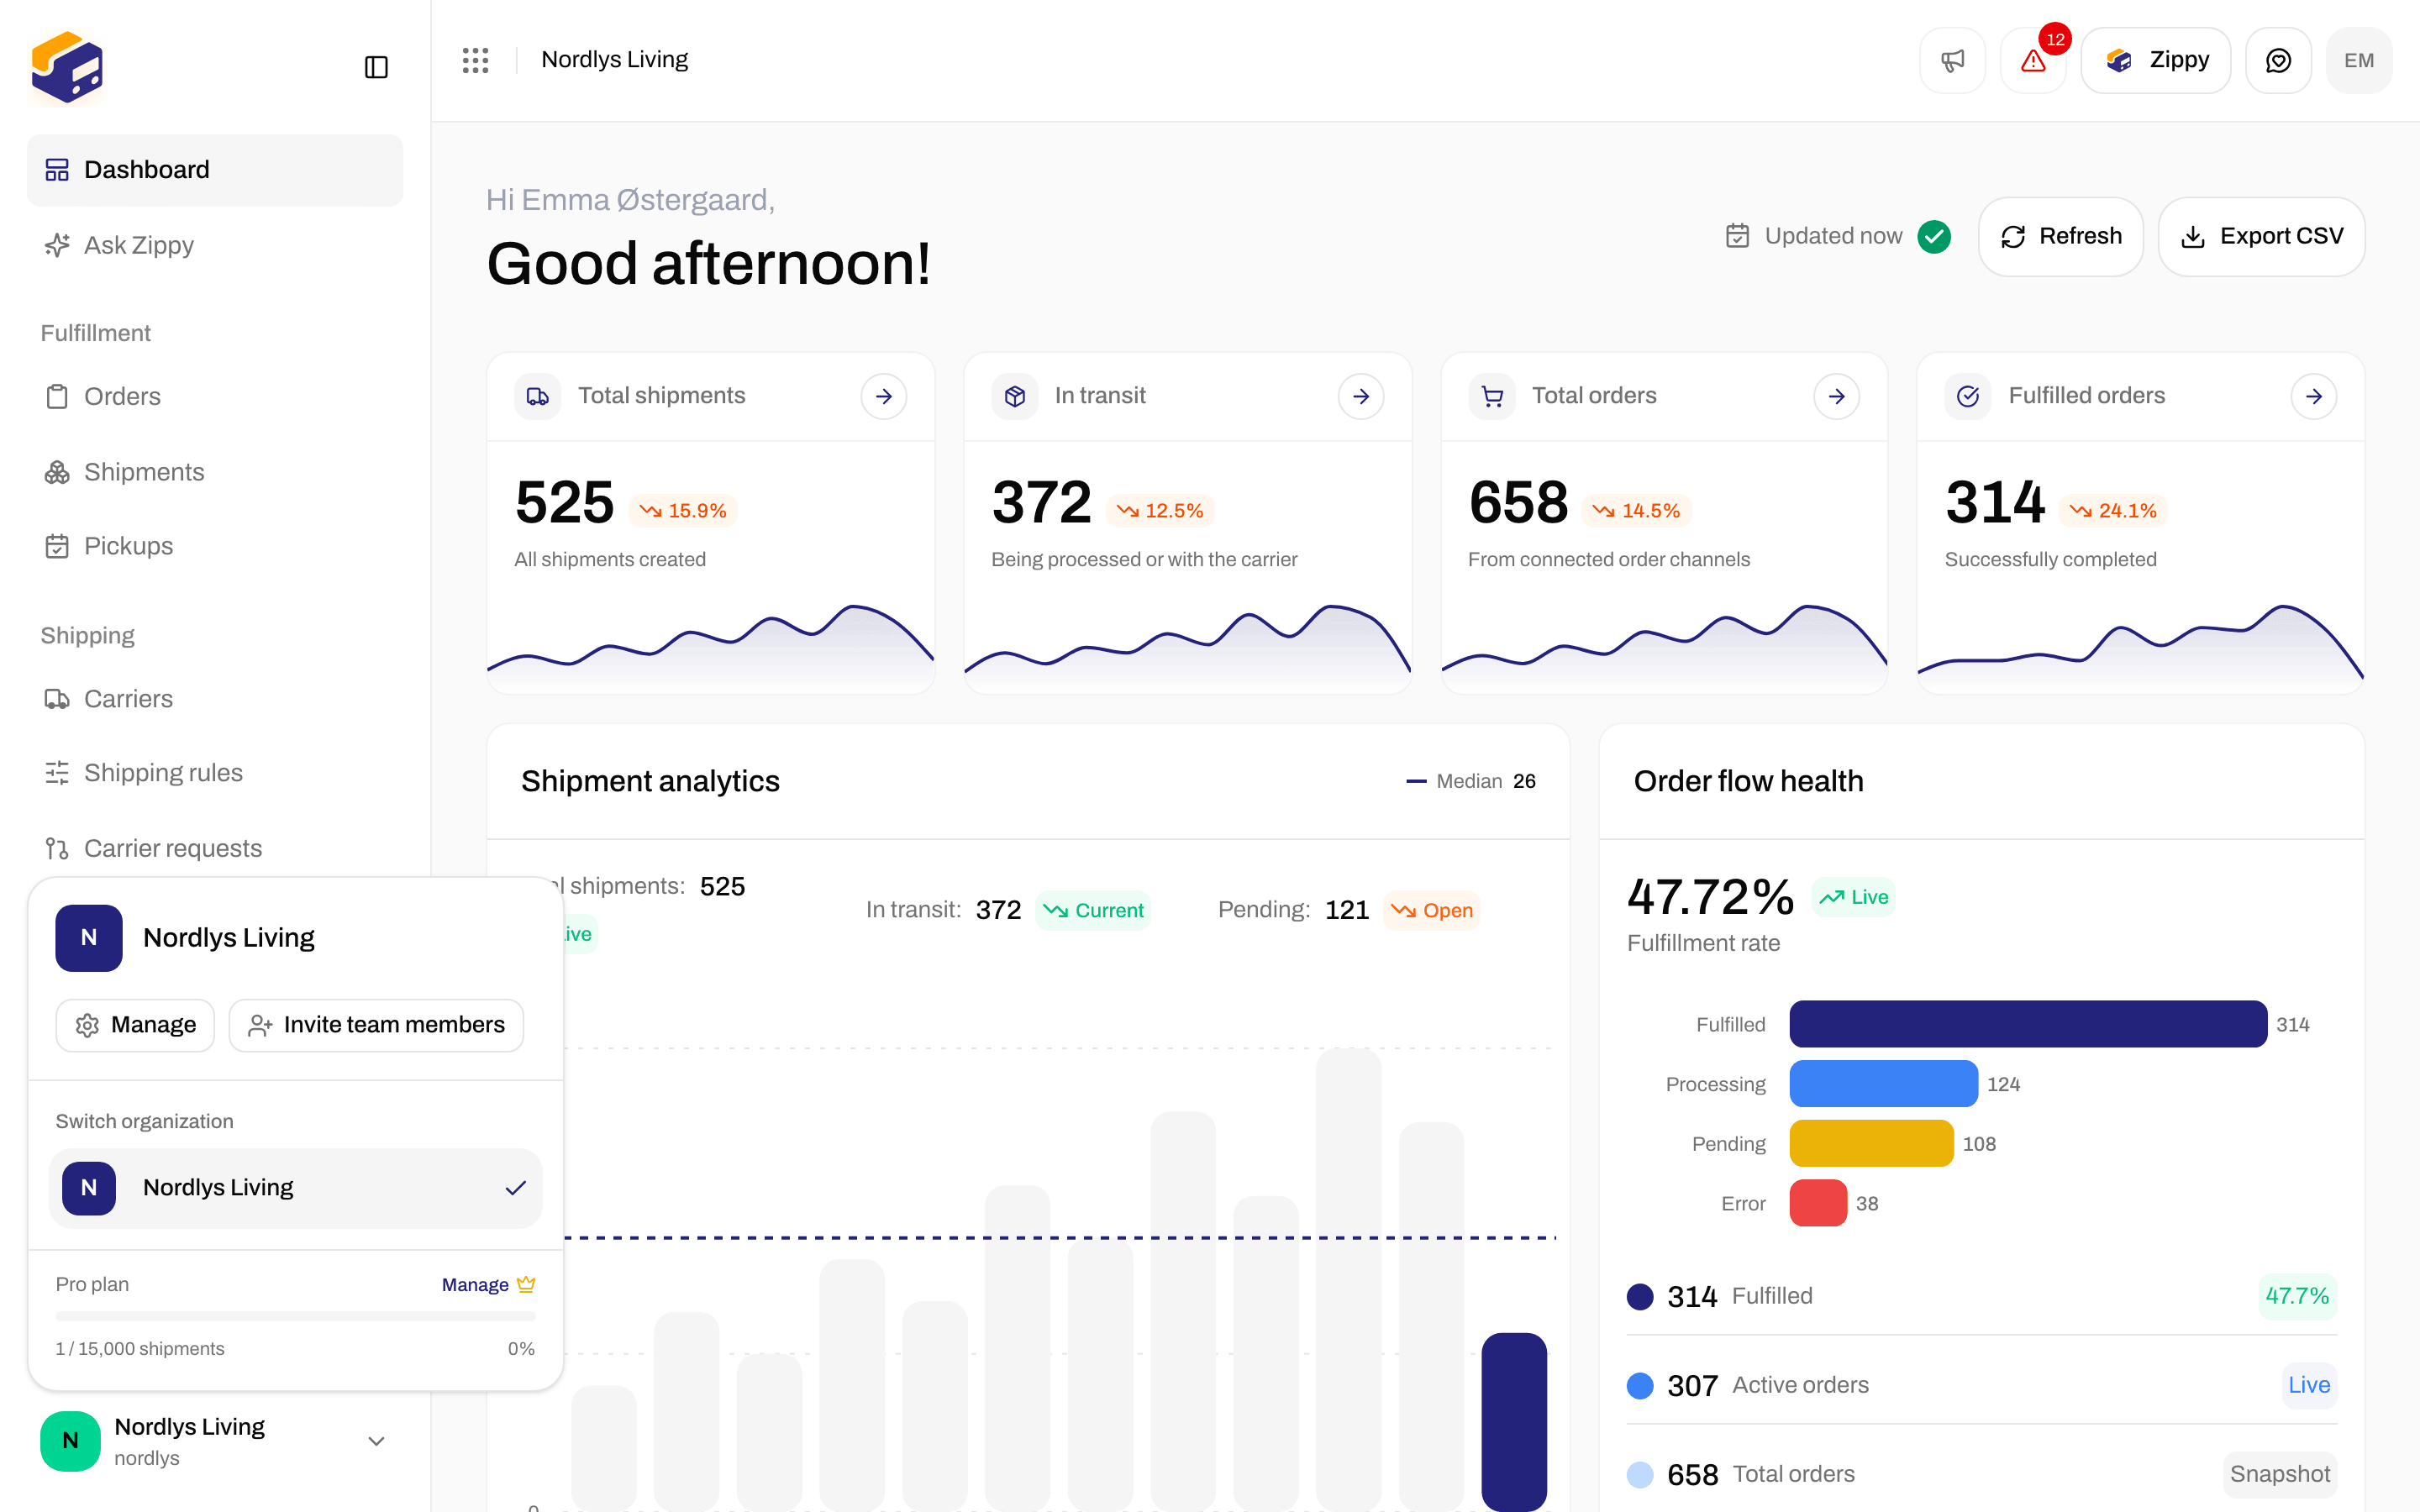
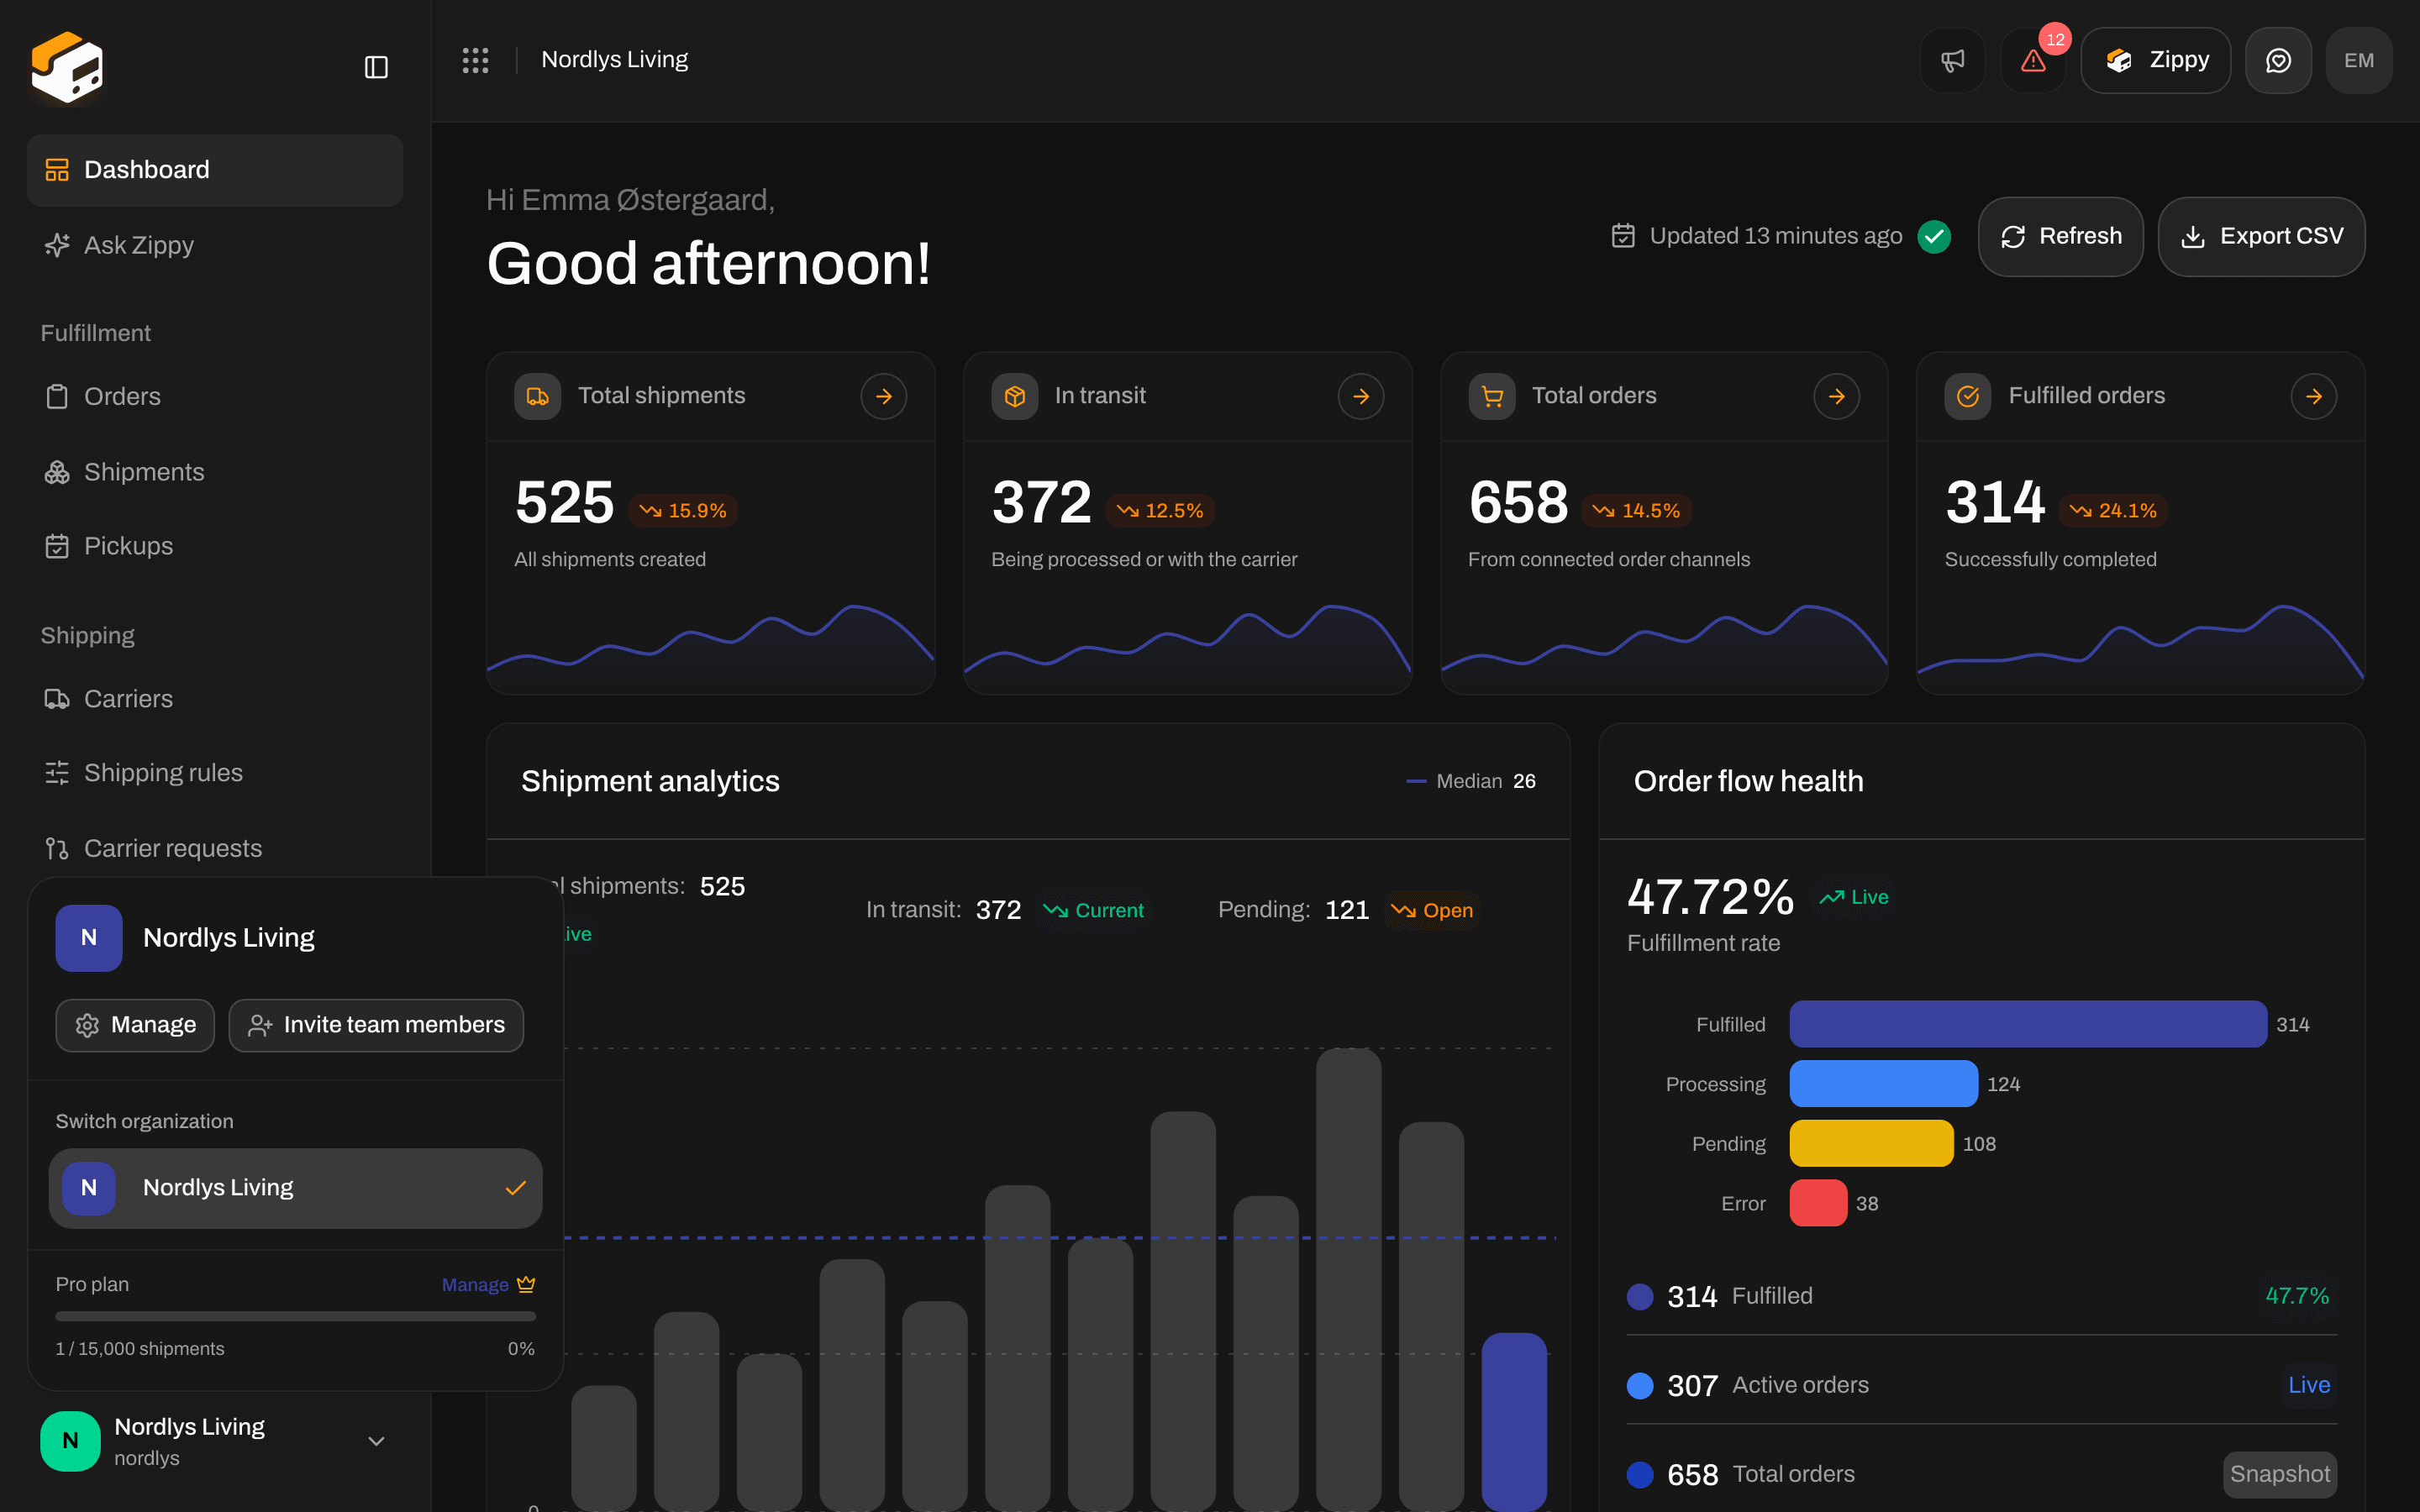
Open the organization switcher, then Manage - or Invite team members to go straight to Team
Settings tabs
The page is called Settings. The tabs, in order:Organization
Organization settings is the first section. Change Organization name (shown in the organization switcher) and, if you like, a Description.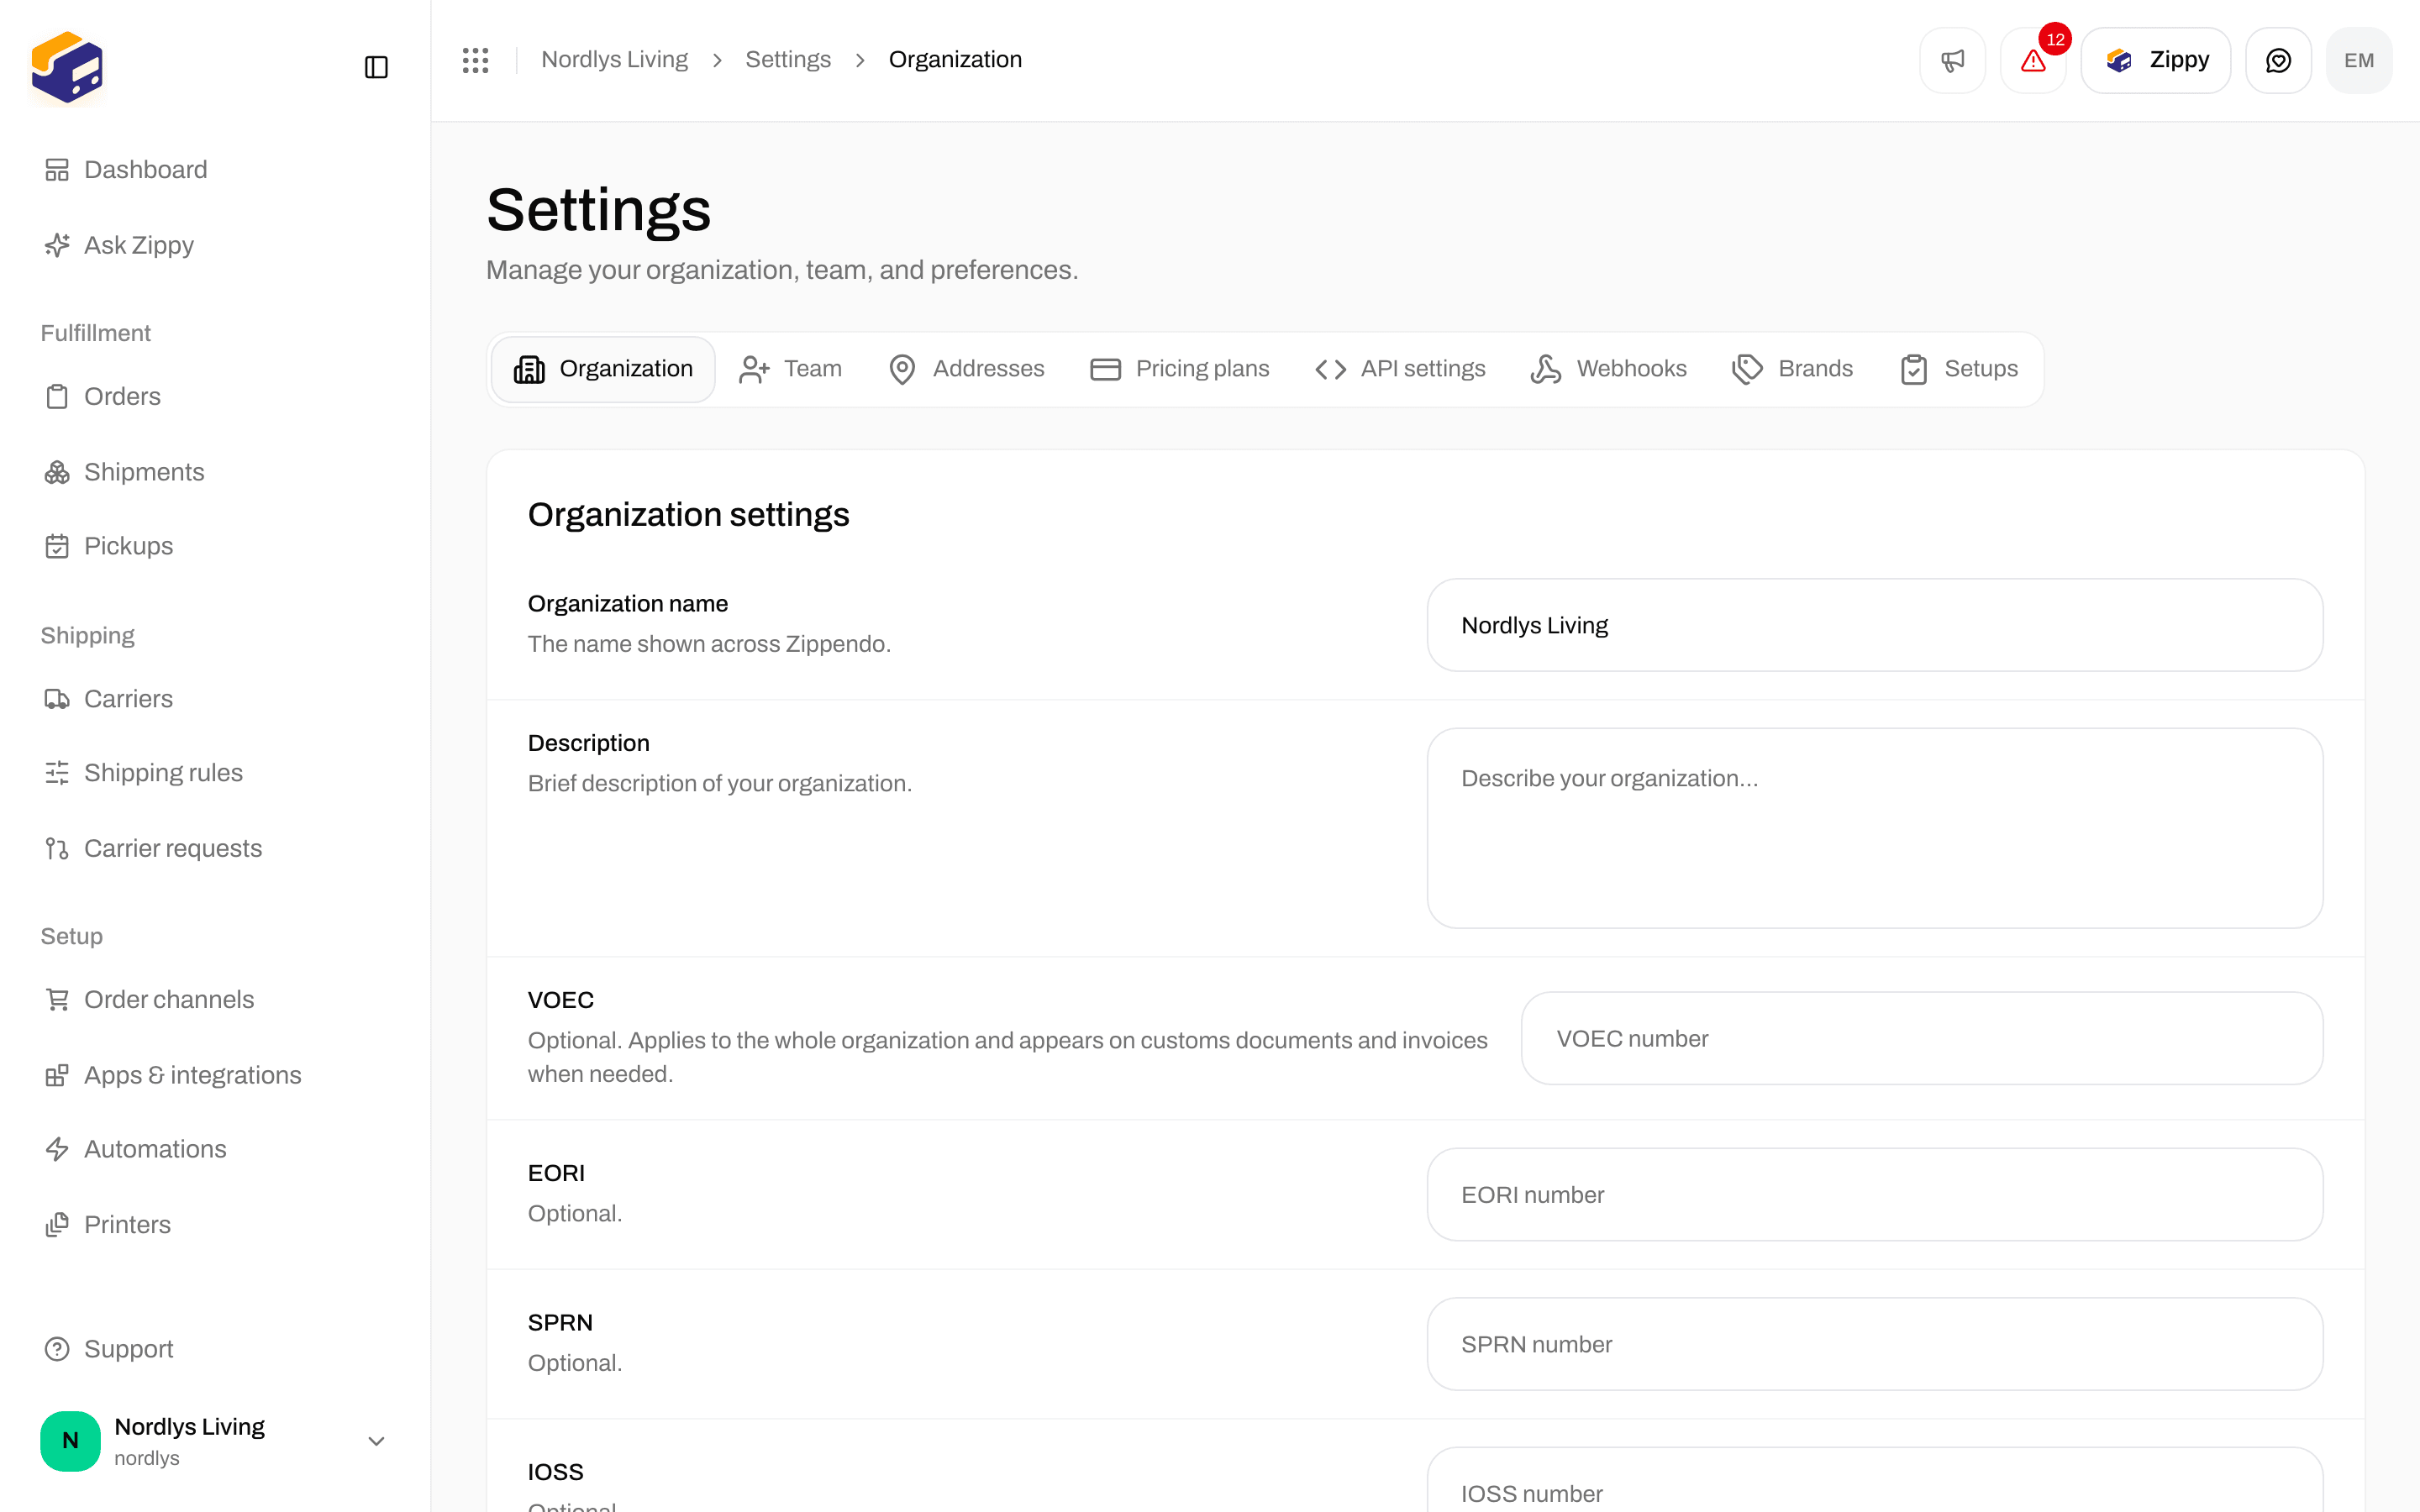
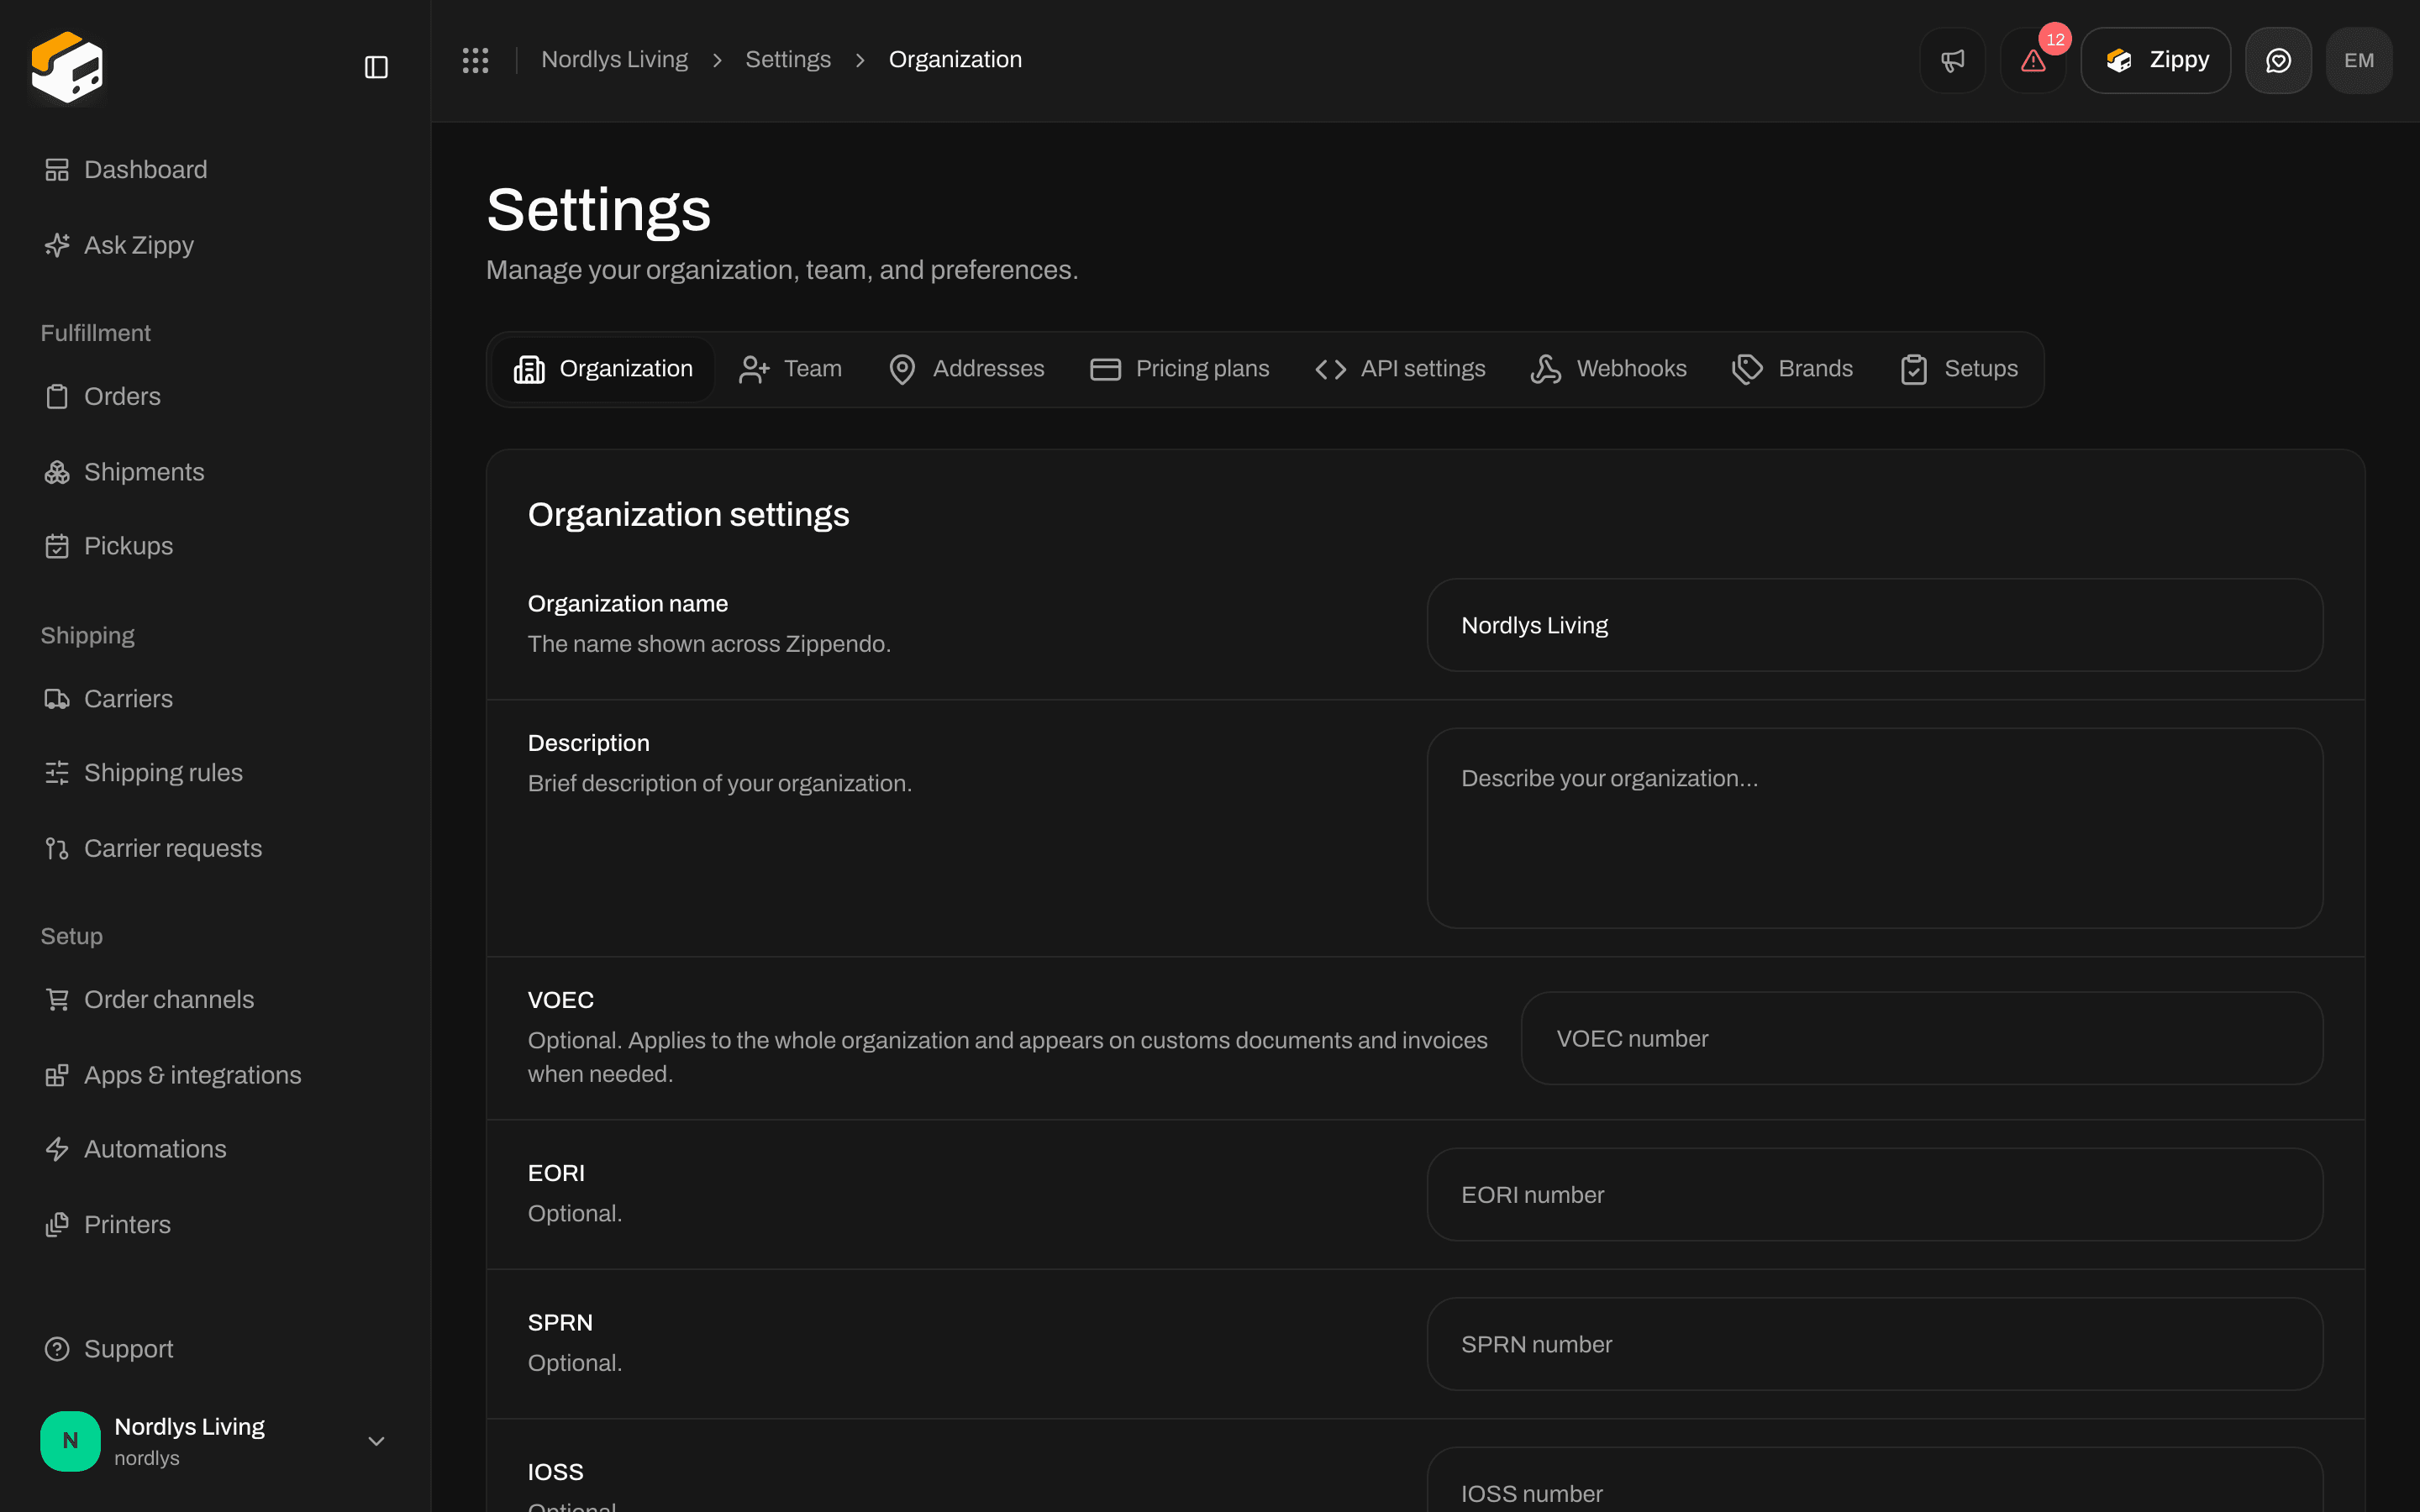
Organization settings - name, description and customs identifiers
- VOEC
- EORI
- SPRN
- IOSS
- FDA
- DUNS
Team
Open Team (or click Invite team members in the organization switcher). The page has three parts: Custom roles, Invitations, and the team list below them.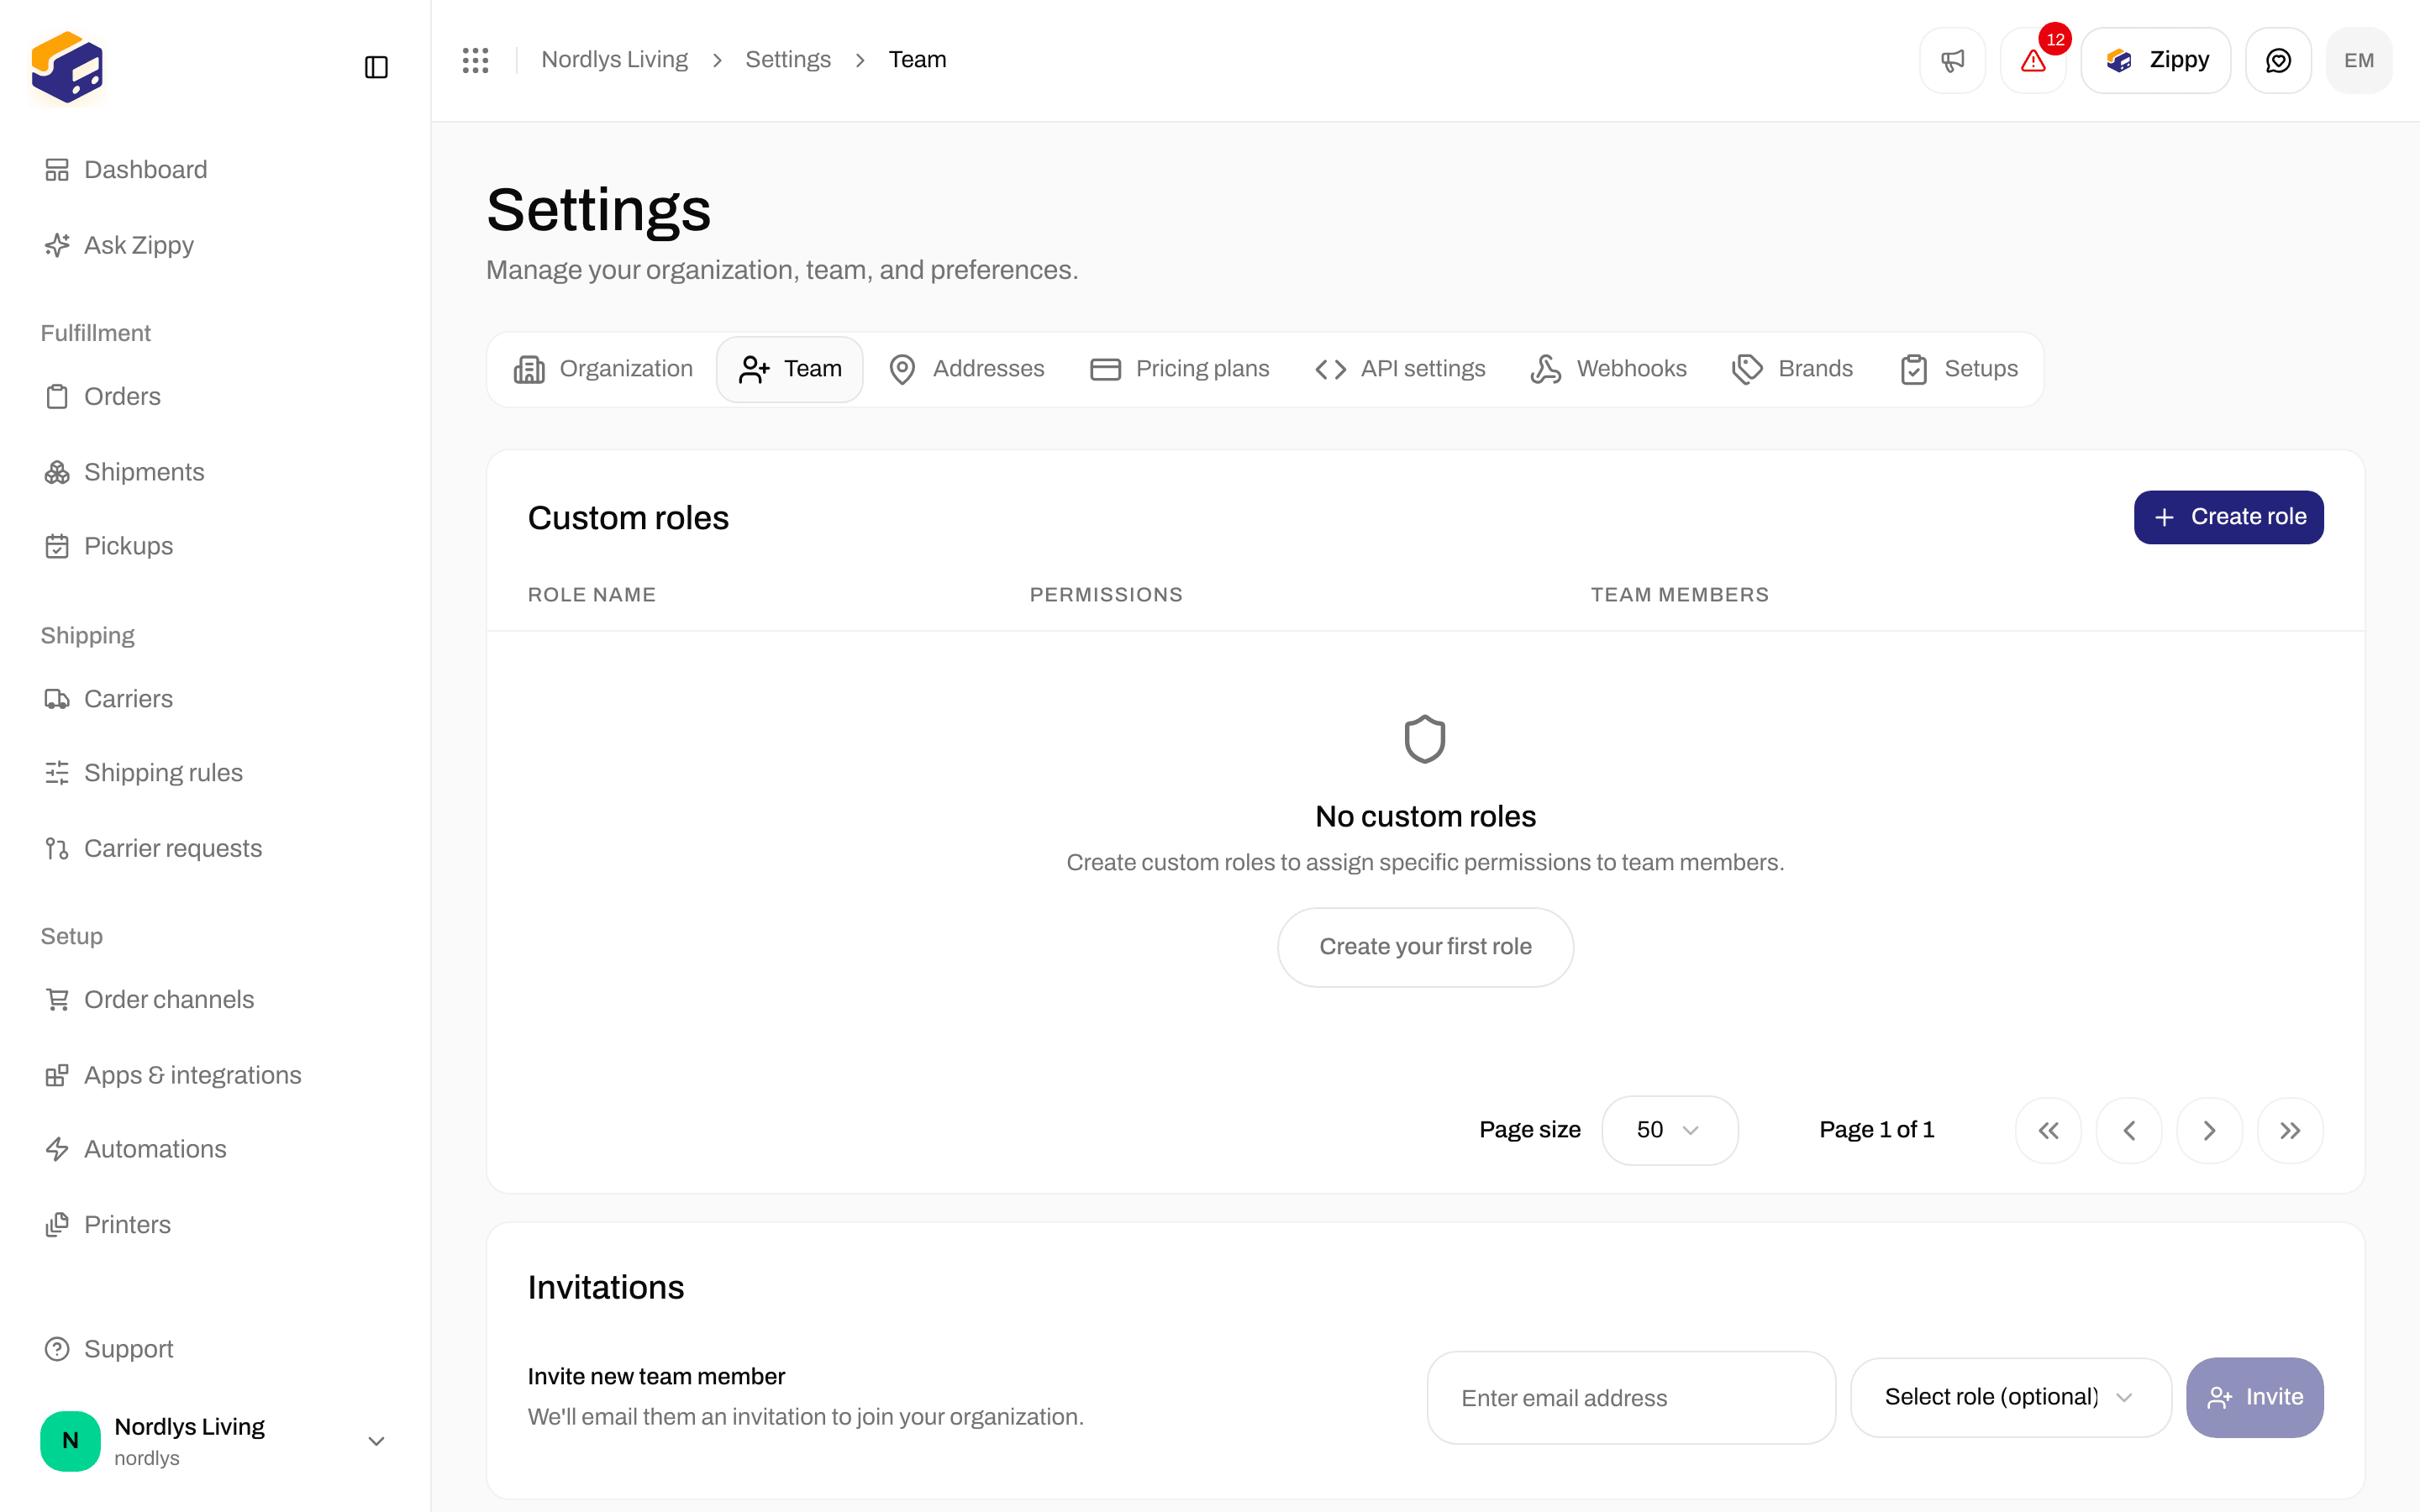
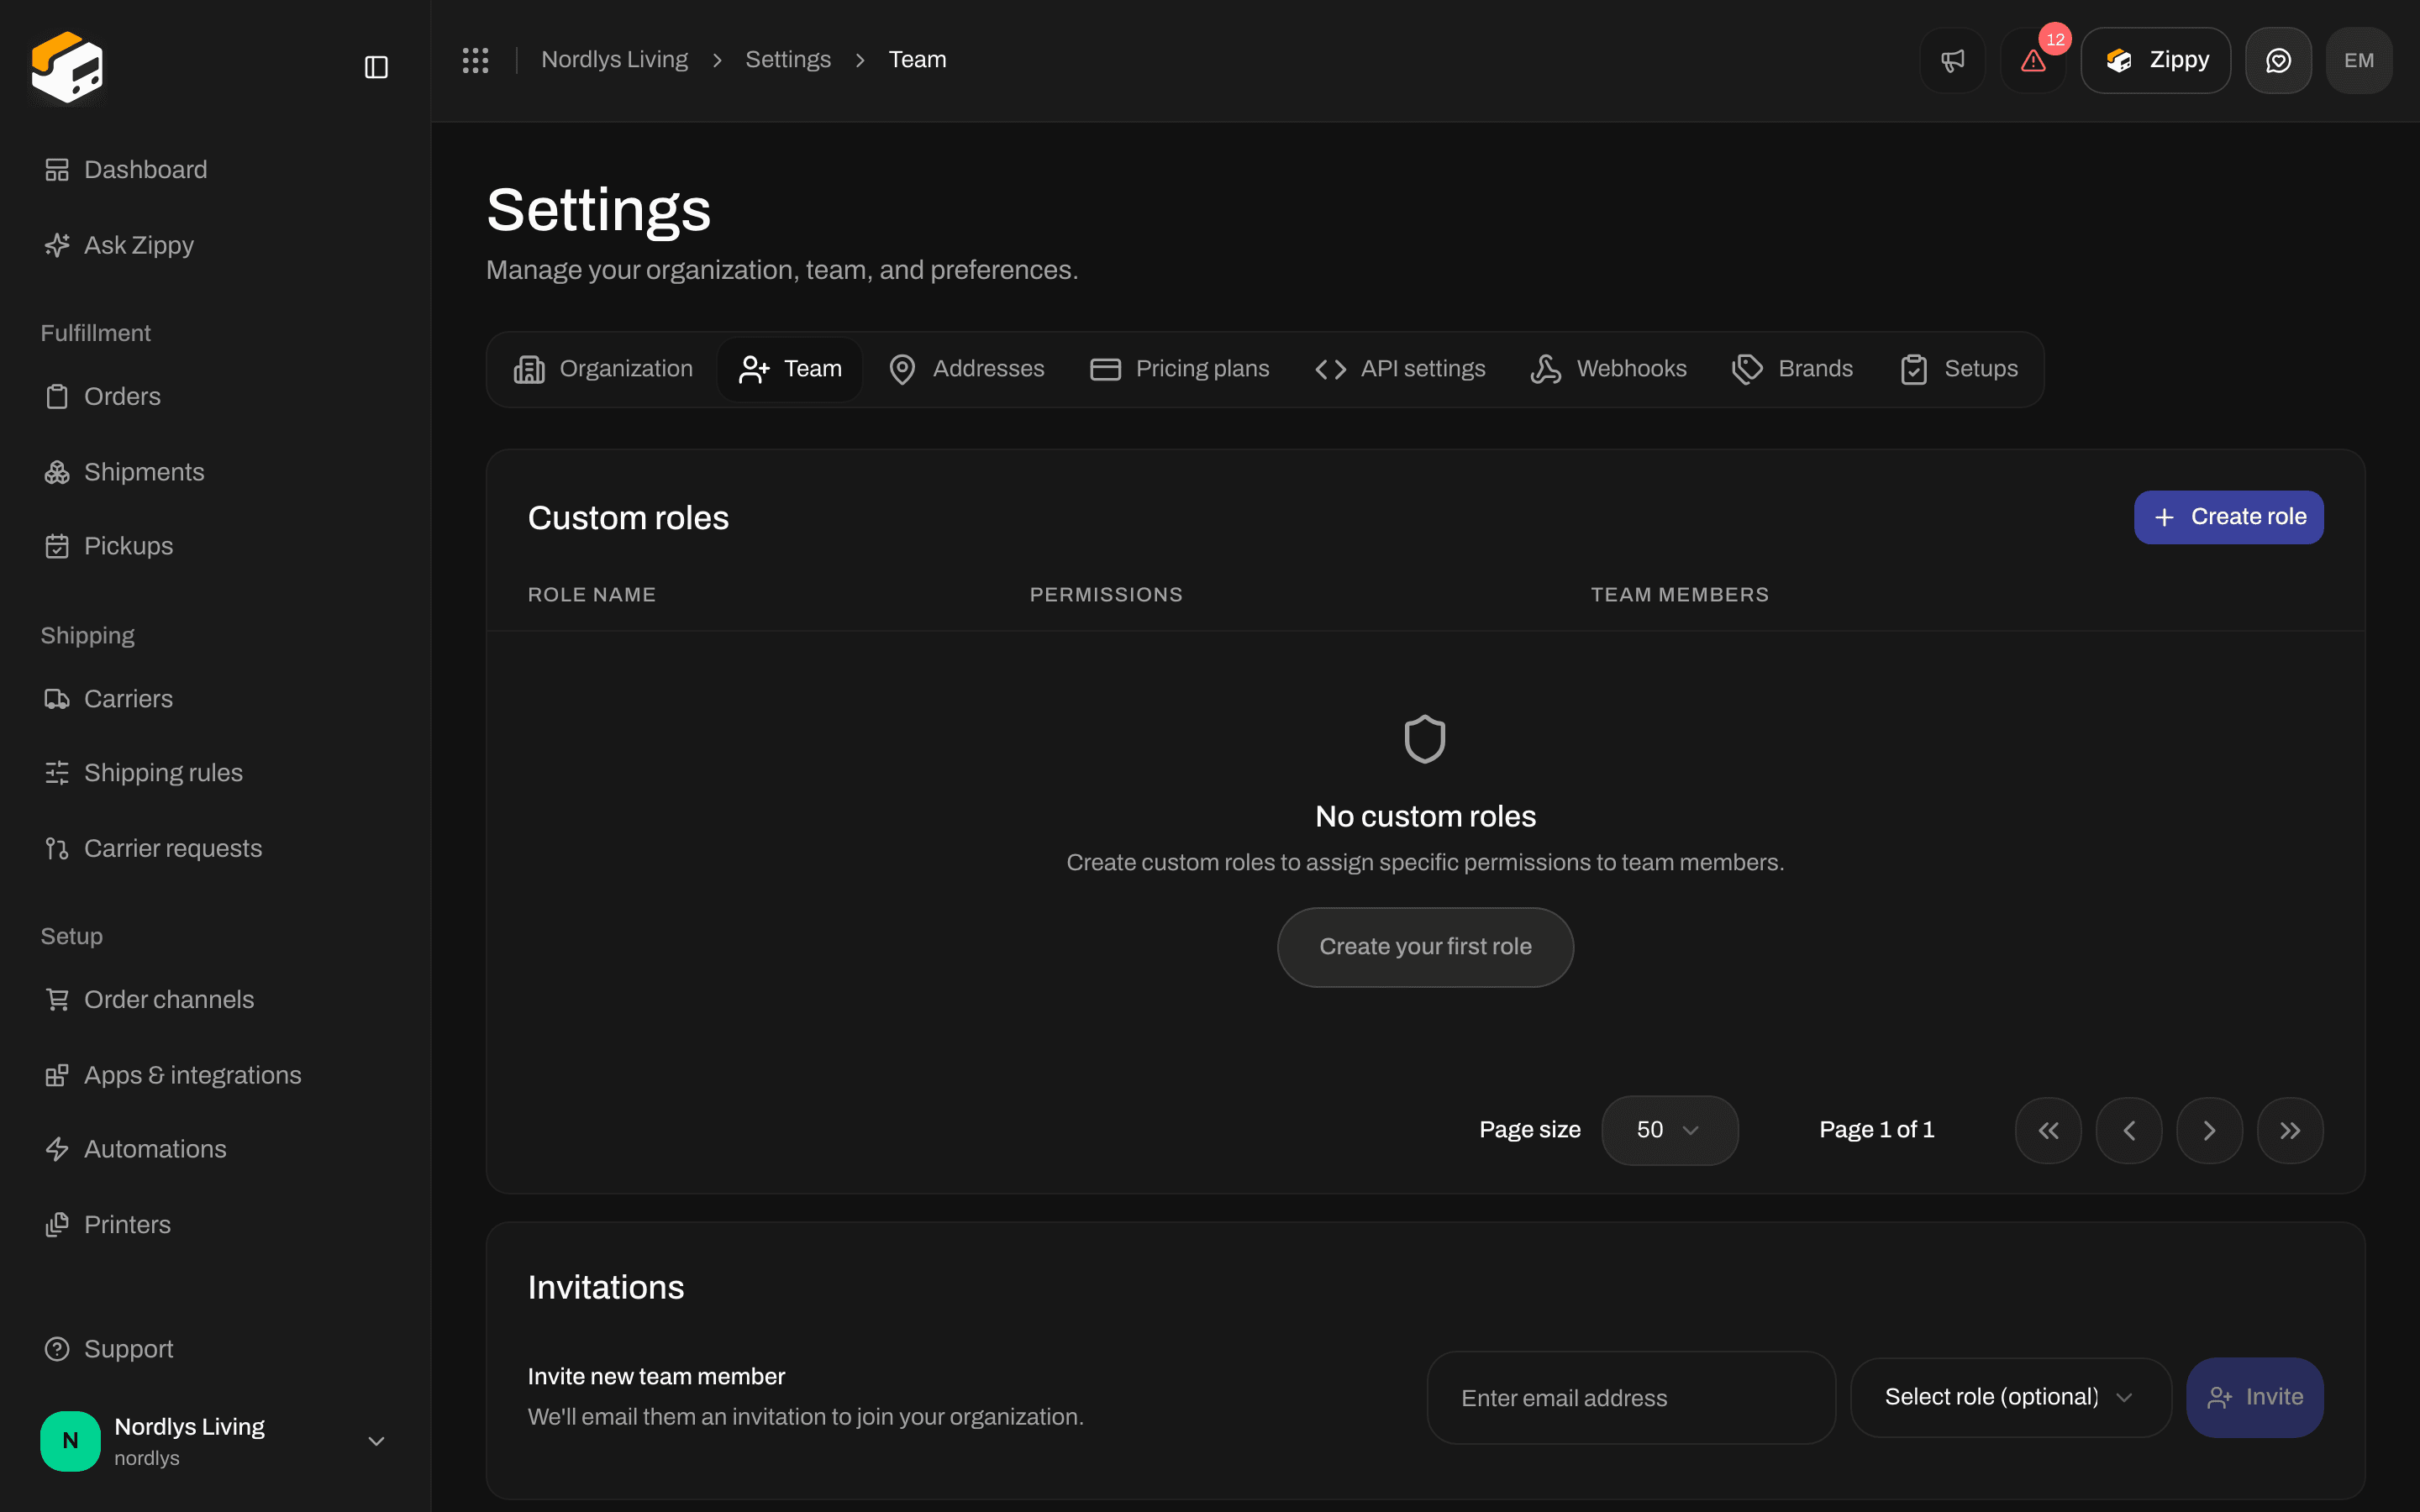
Team - Custom roles at the top, then the invite row
Custom roles
A custom role is a name plus a set of Read and Write permissions. Every team member can do the daily work whatever their role. Roles decide who can manage the organization: Edit organization lets someone change organization settings, branding and brands, and Edit everything also lets them manage roles and team members. See Roles and permissions.Click Create role
Name the role and pick permissions
Click Create role
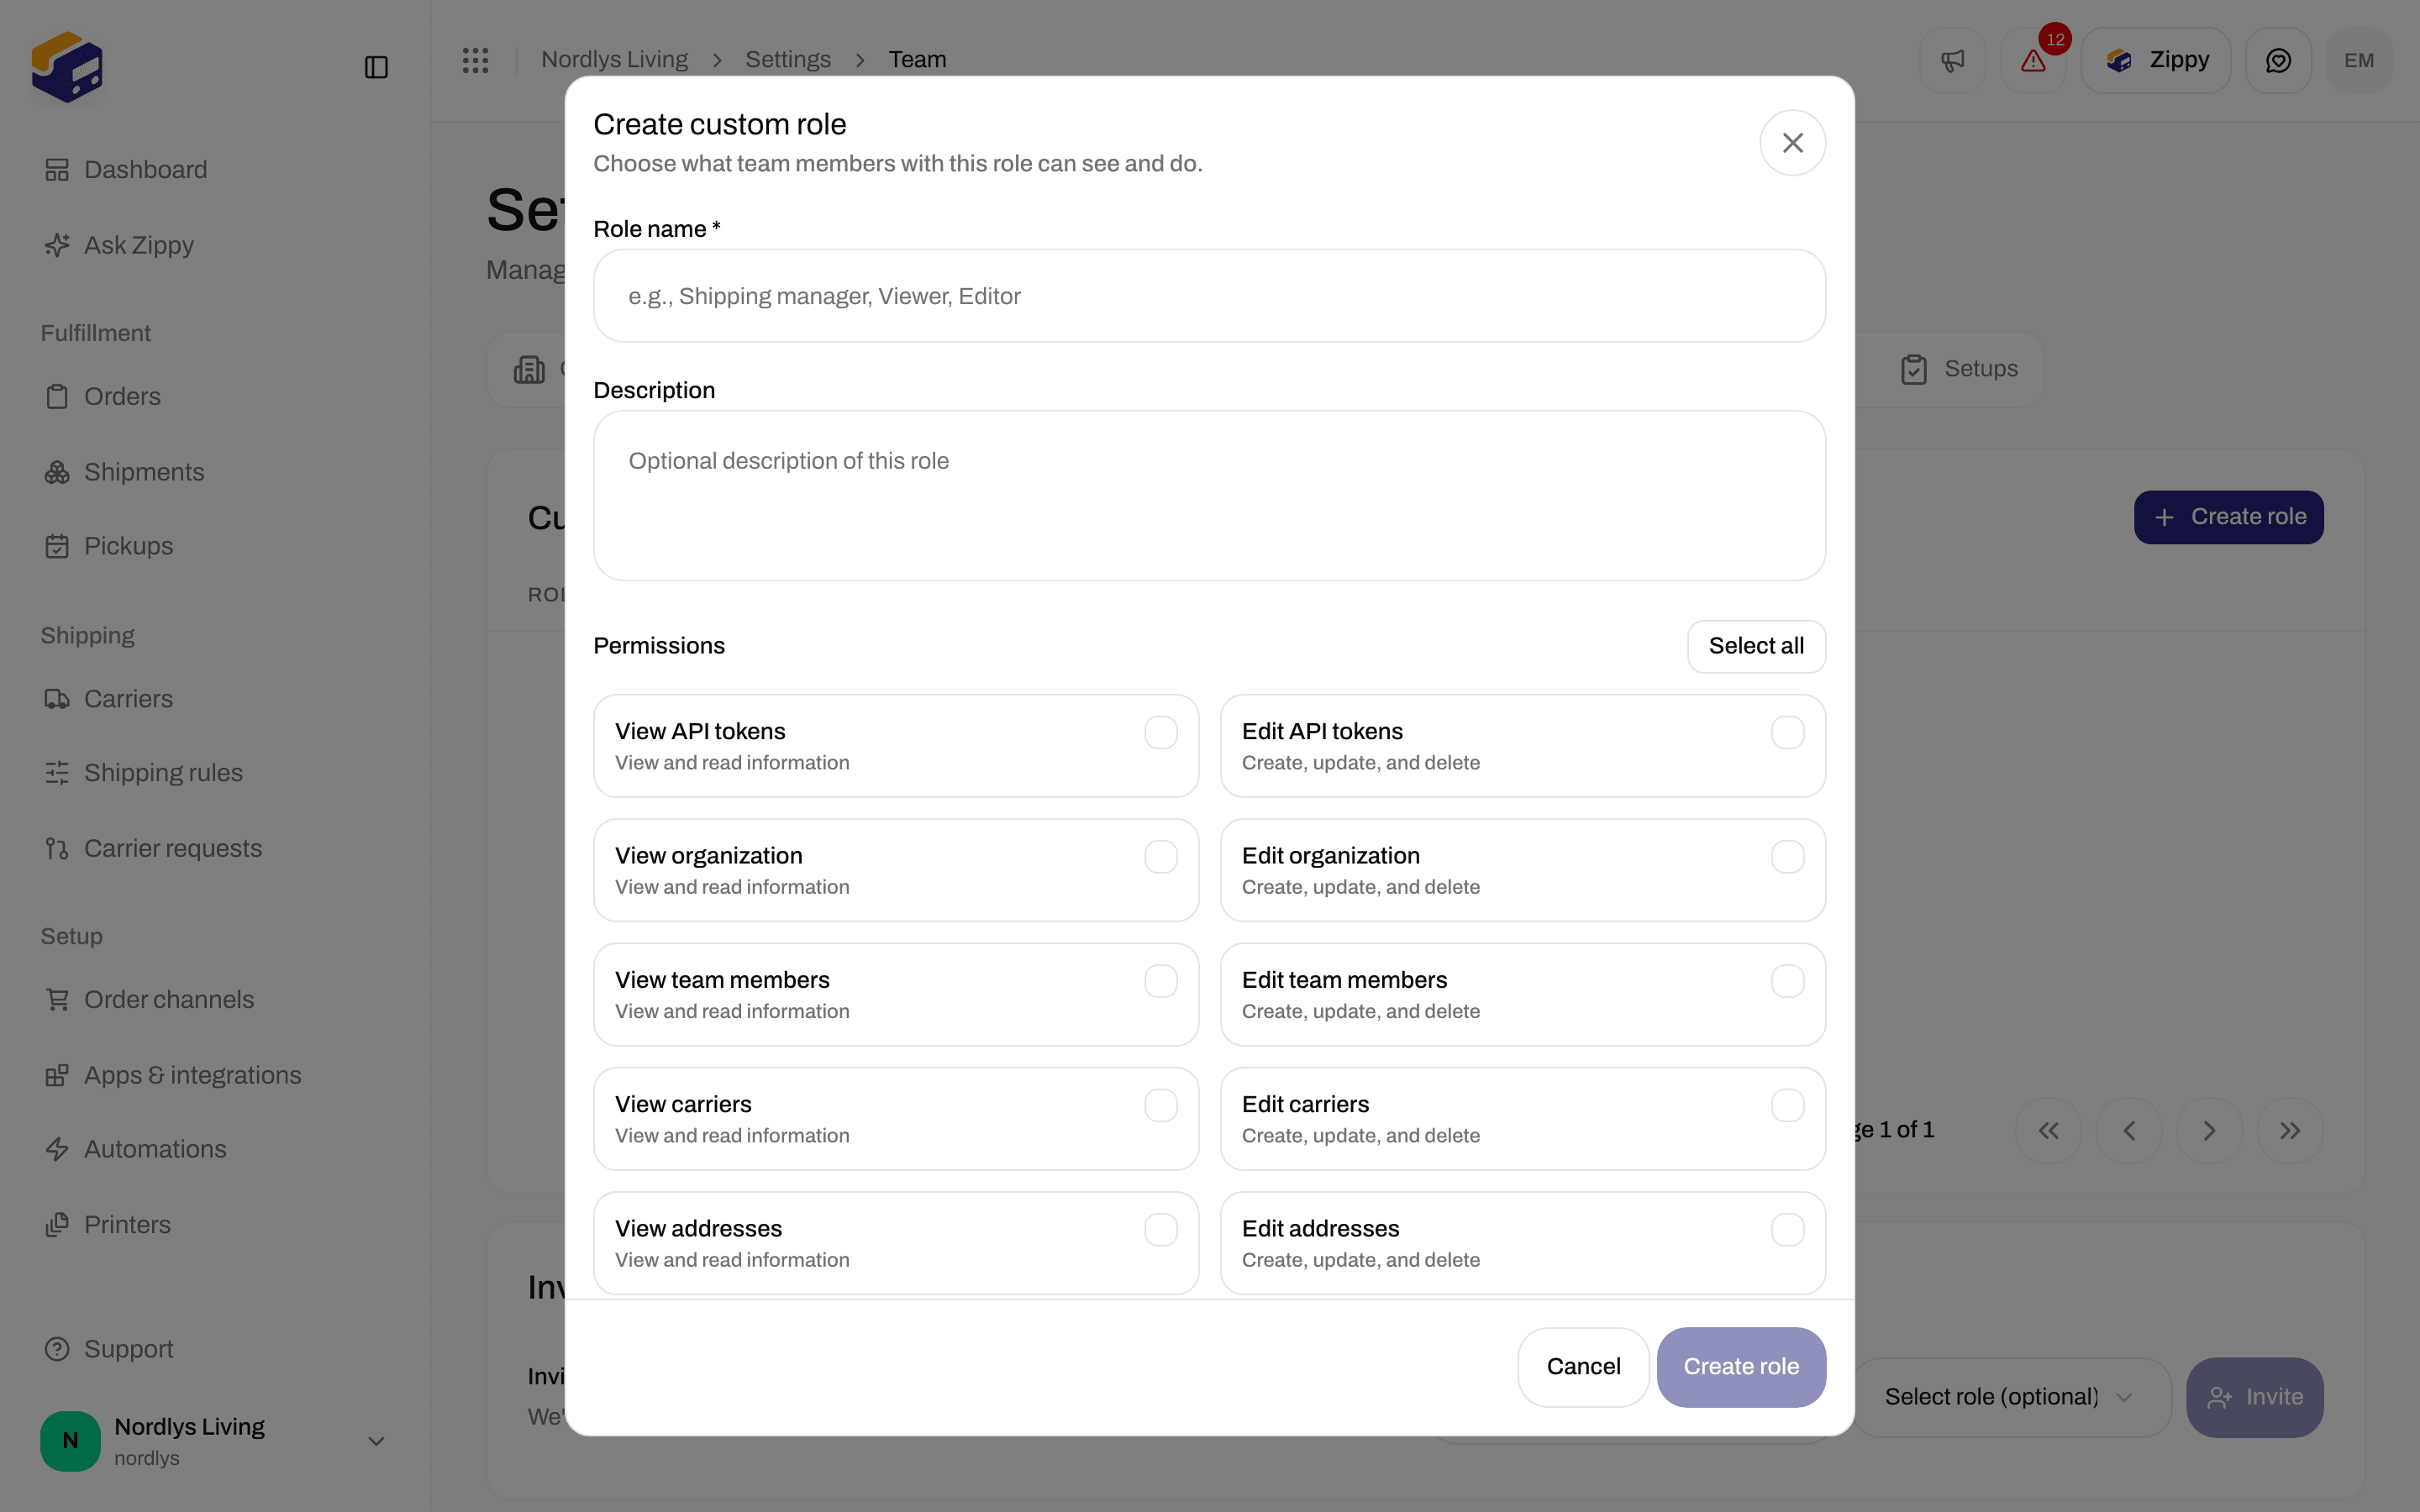
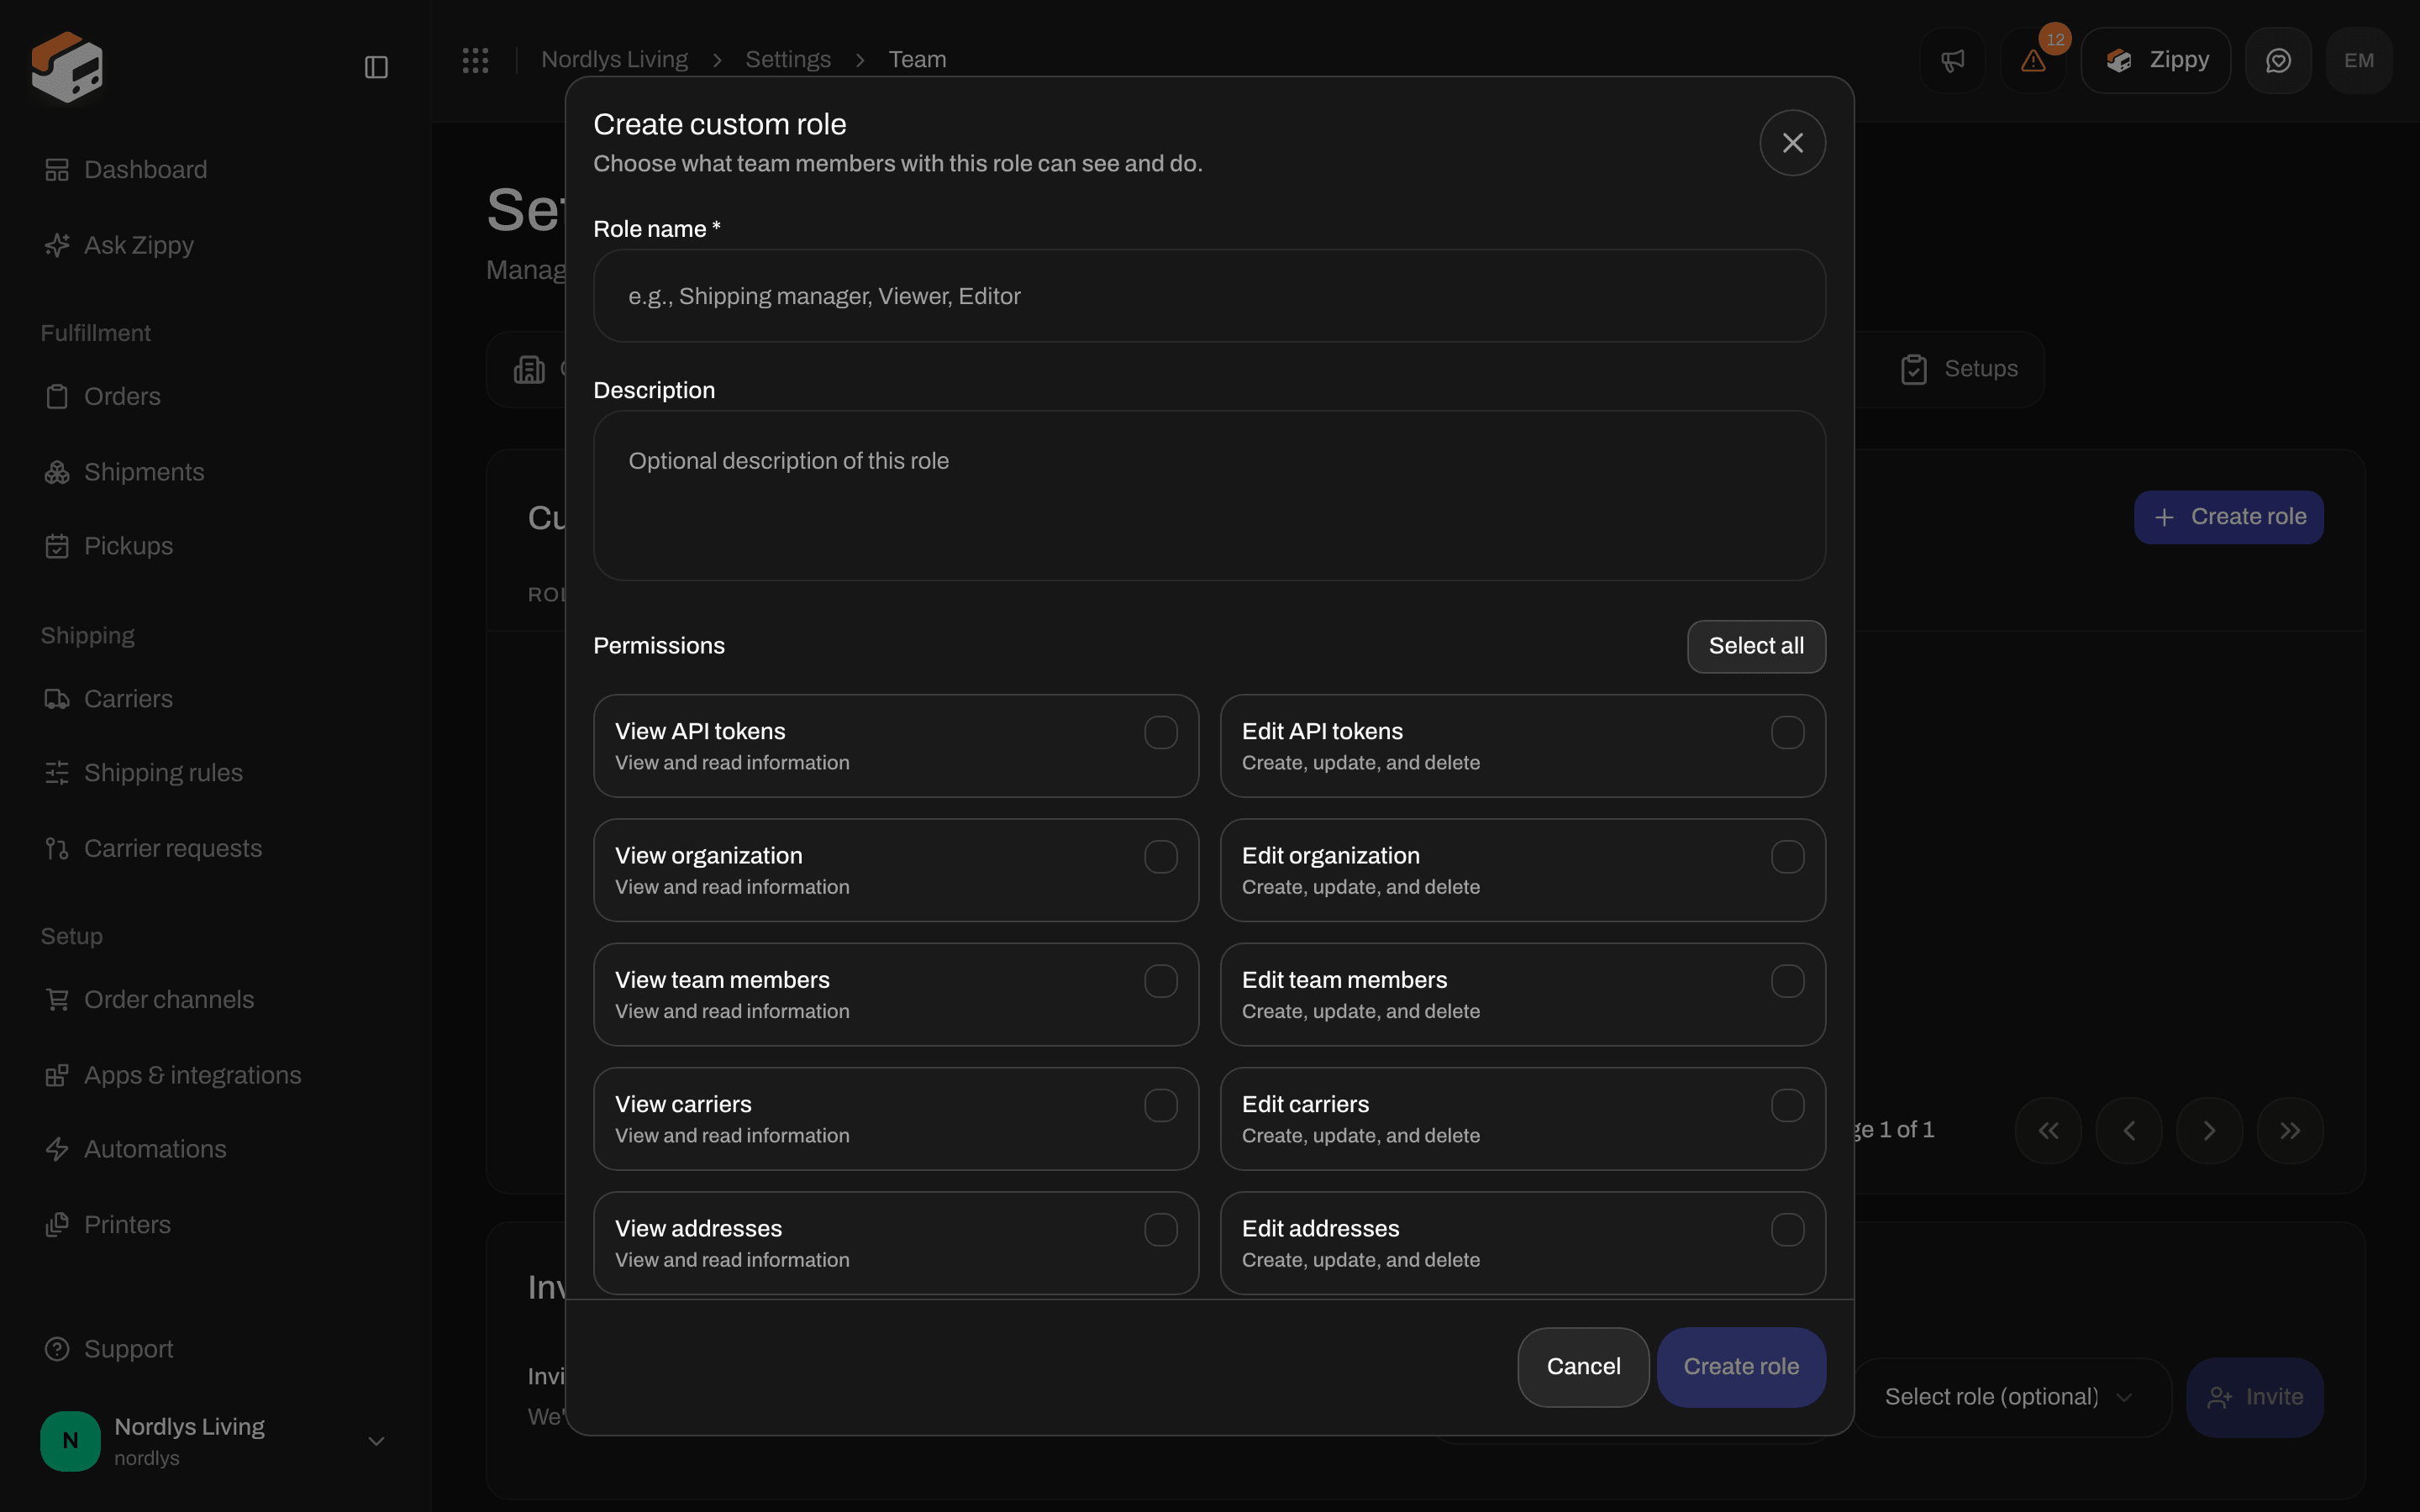
Create custom role - name the role and pick its permissions
Invite someone
Under Invitations, in the Invite new team member row:Enter the email
Pick a role (optional)
Click Invite
Team members
The team list shows everyone with Name and email, Role and Status (Active or Pending). Your own row says You. You cannot change your own role or brand restriction, or remove yourself. To change someone’s role, pick a new one in the Role column. If you have brands, you can also change Restrict to brand there. To remove someone, click Remove team member on their row, typeDELETE and click Remove. They can no longer open this organization.
More: Invite team members, Team and invitations.
Brands
A brand is a separate shop or label inside your organization. Each brand keeps its own orders, shipments and document branding, with one team and one bill. Brands are included on Pro (up to 5) and Enterprise (unlimited). On other plans the tab is visible but locked.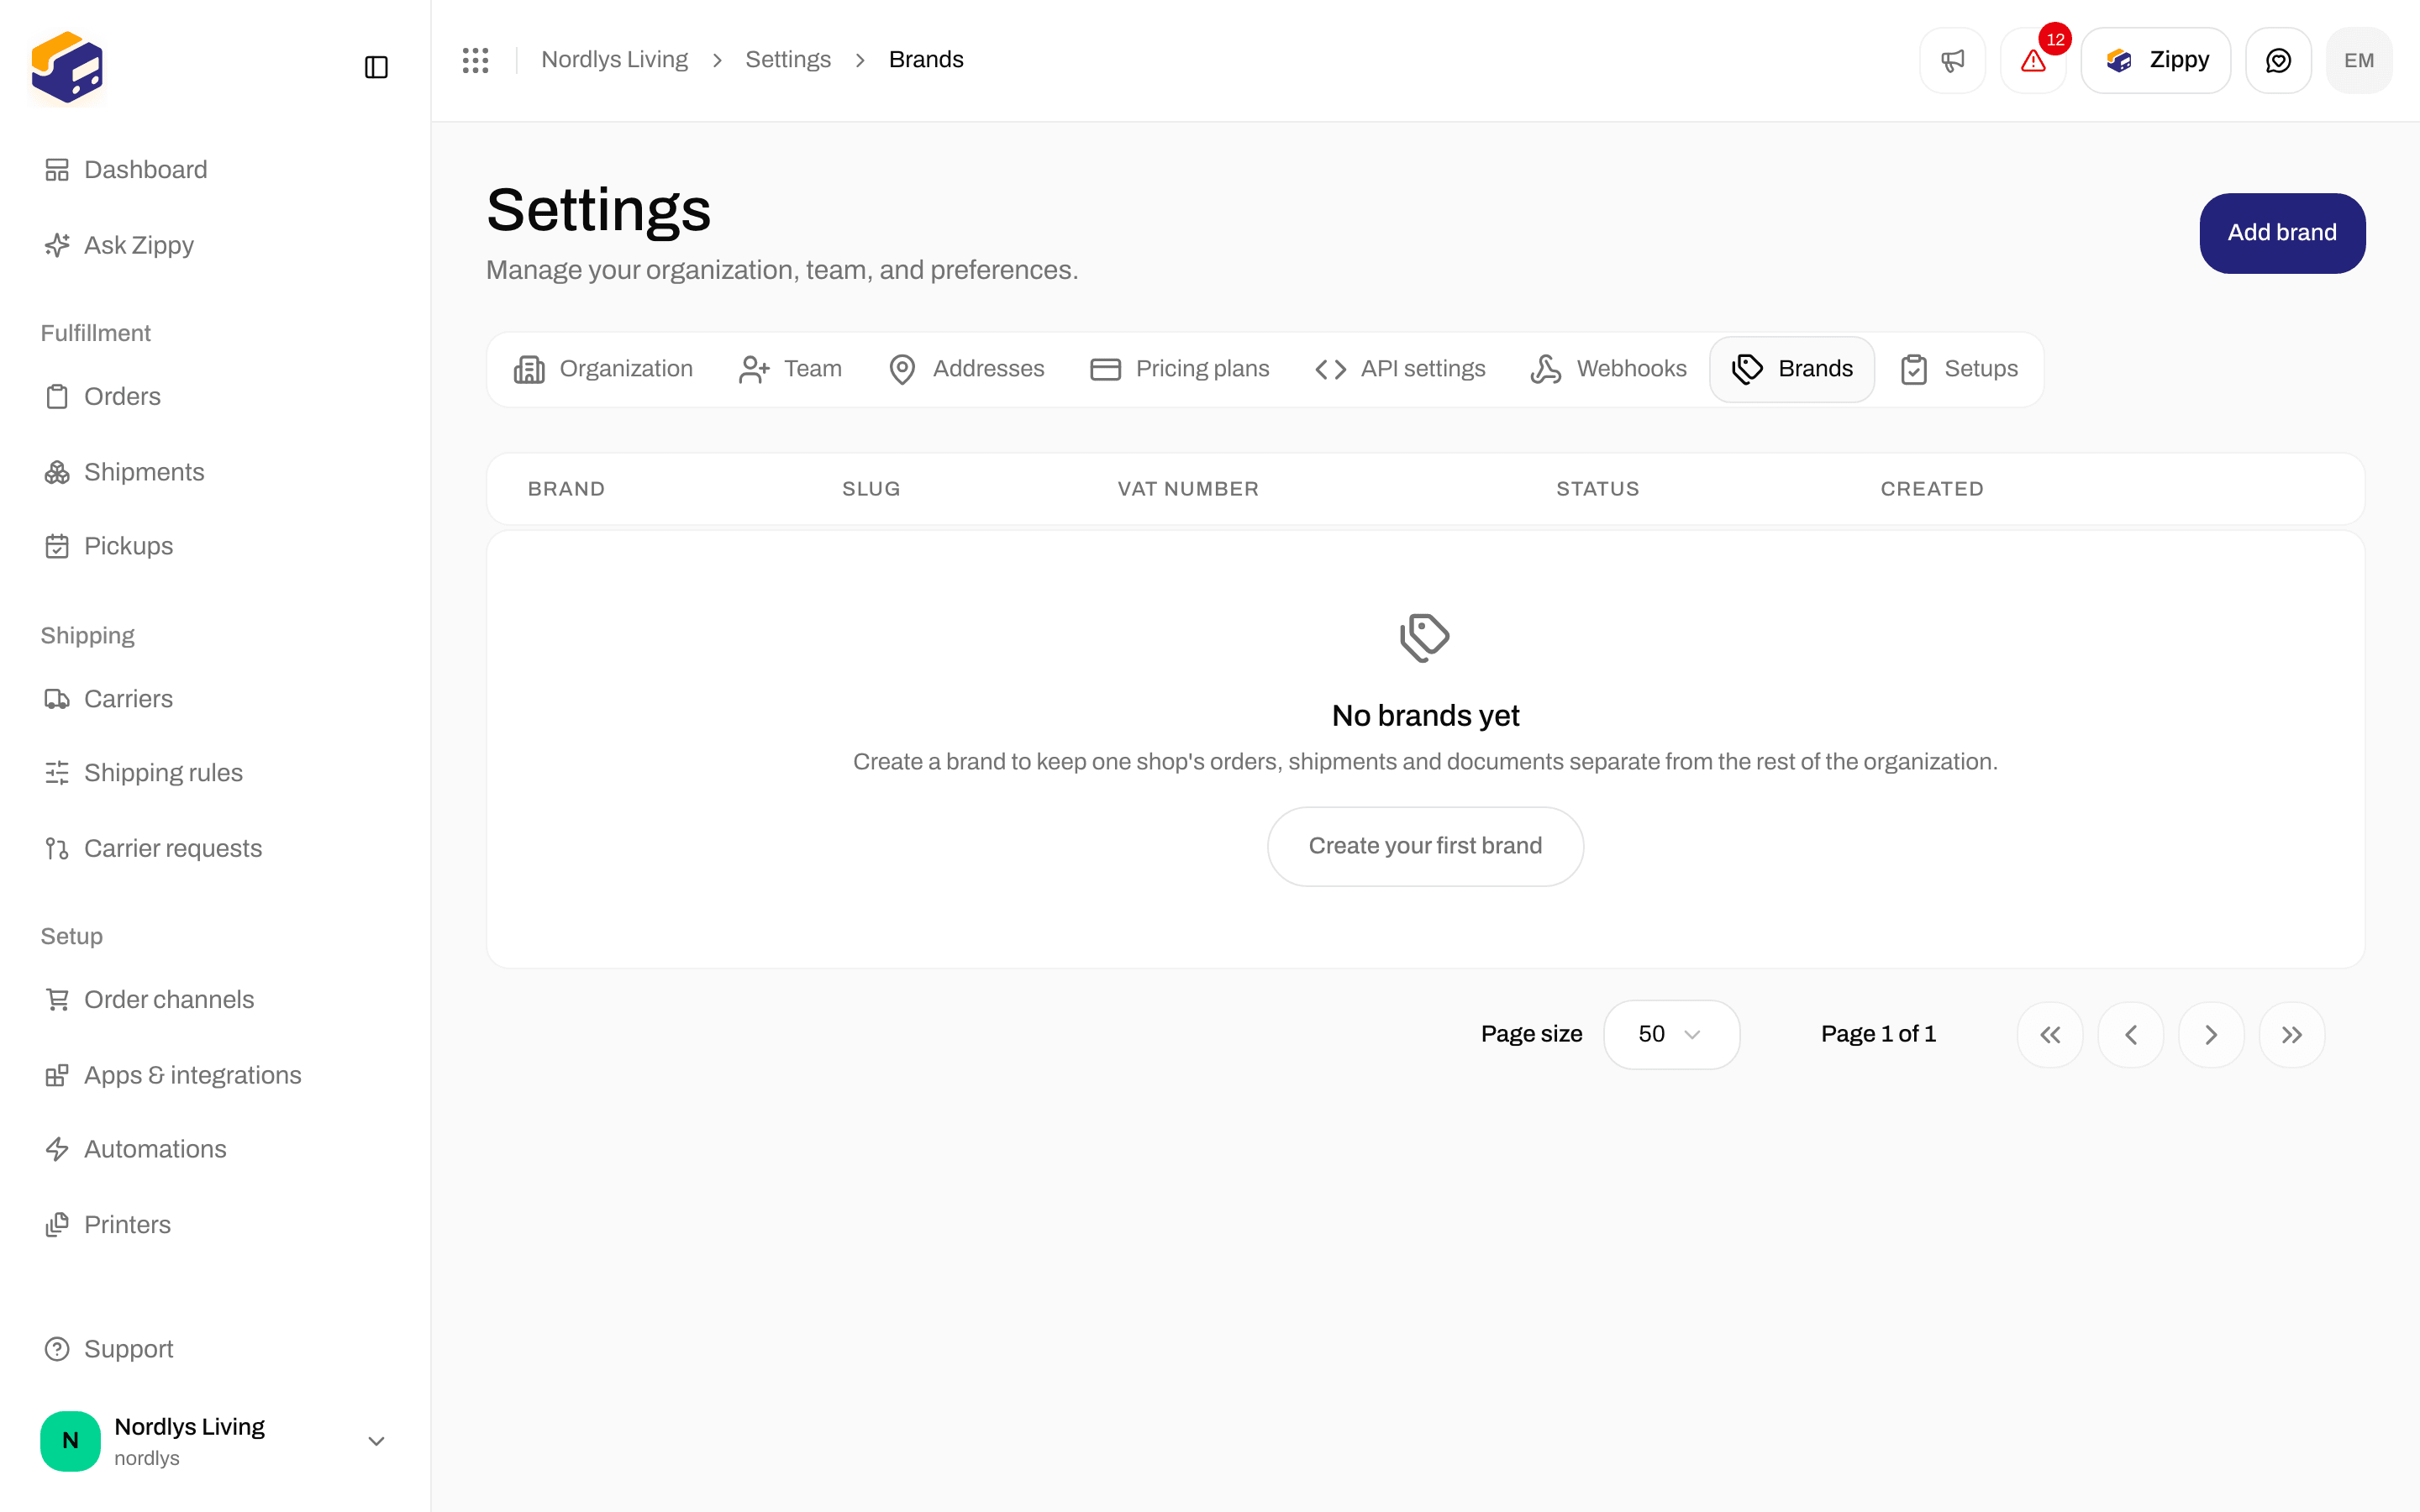
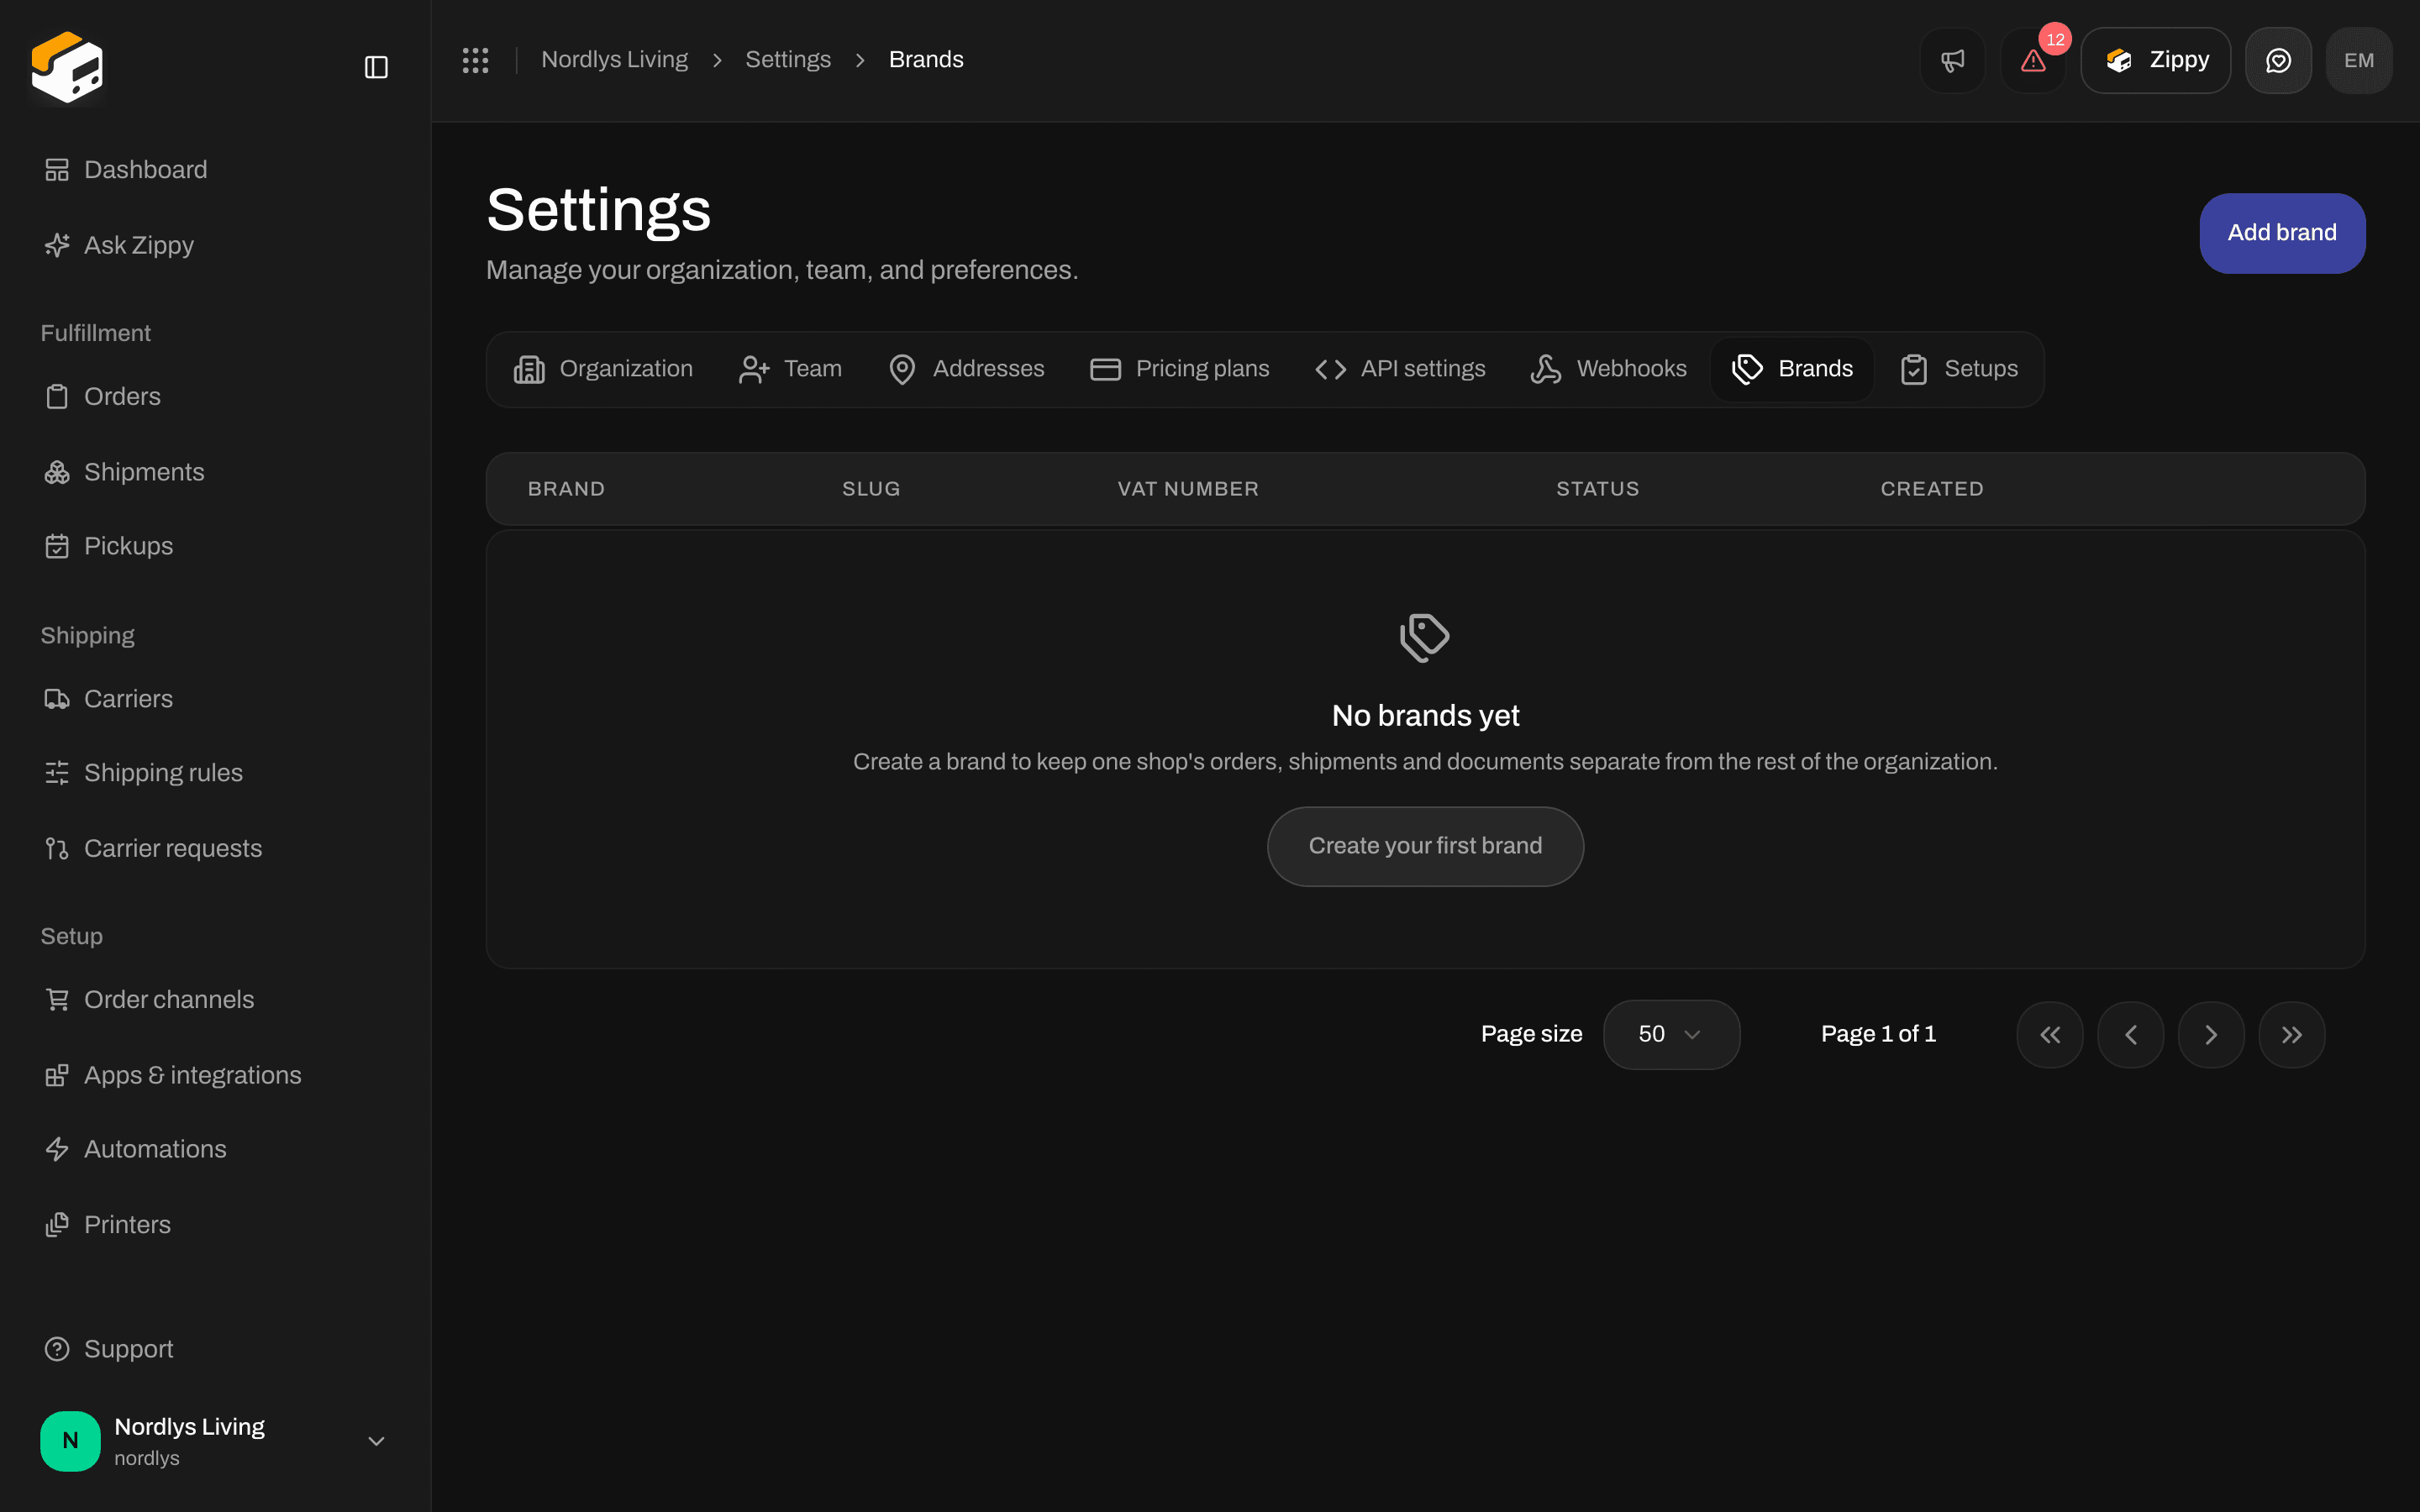
Brands starts empty - Create your first brand or Add brand
Open Settings → Brands
Name it
Click Create brand
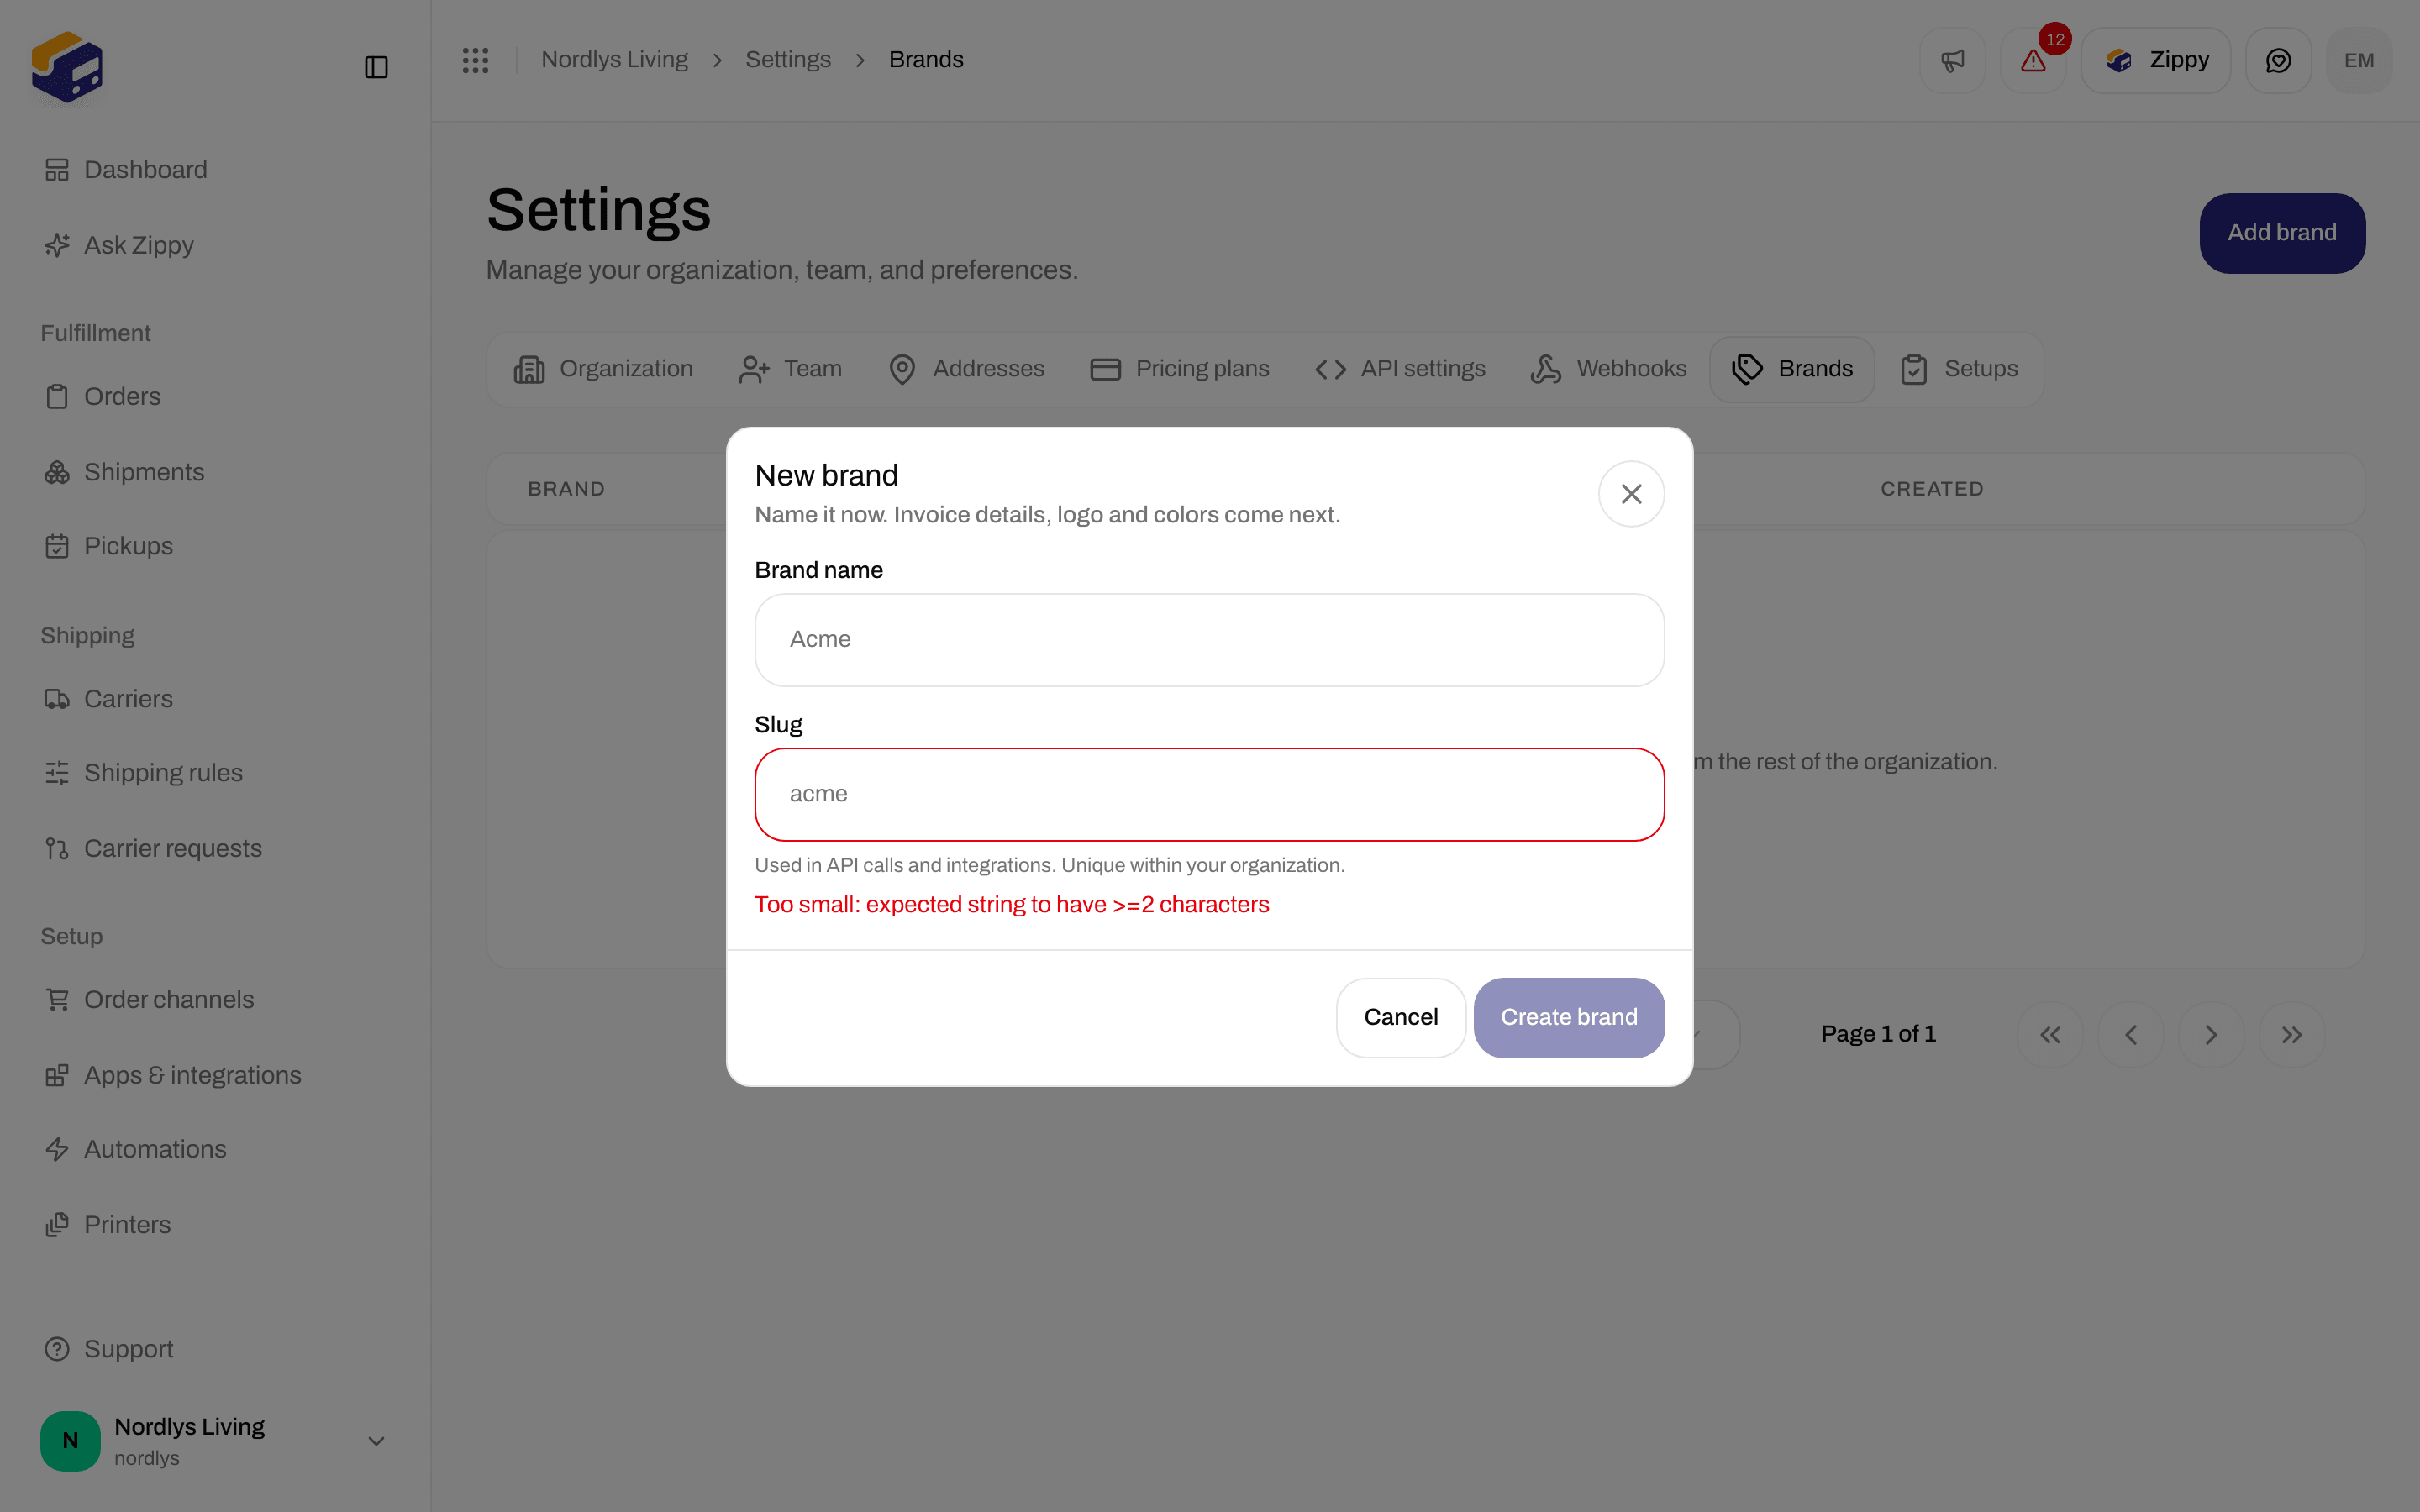
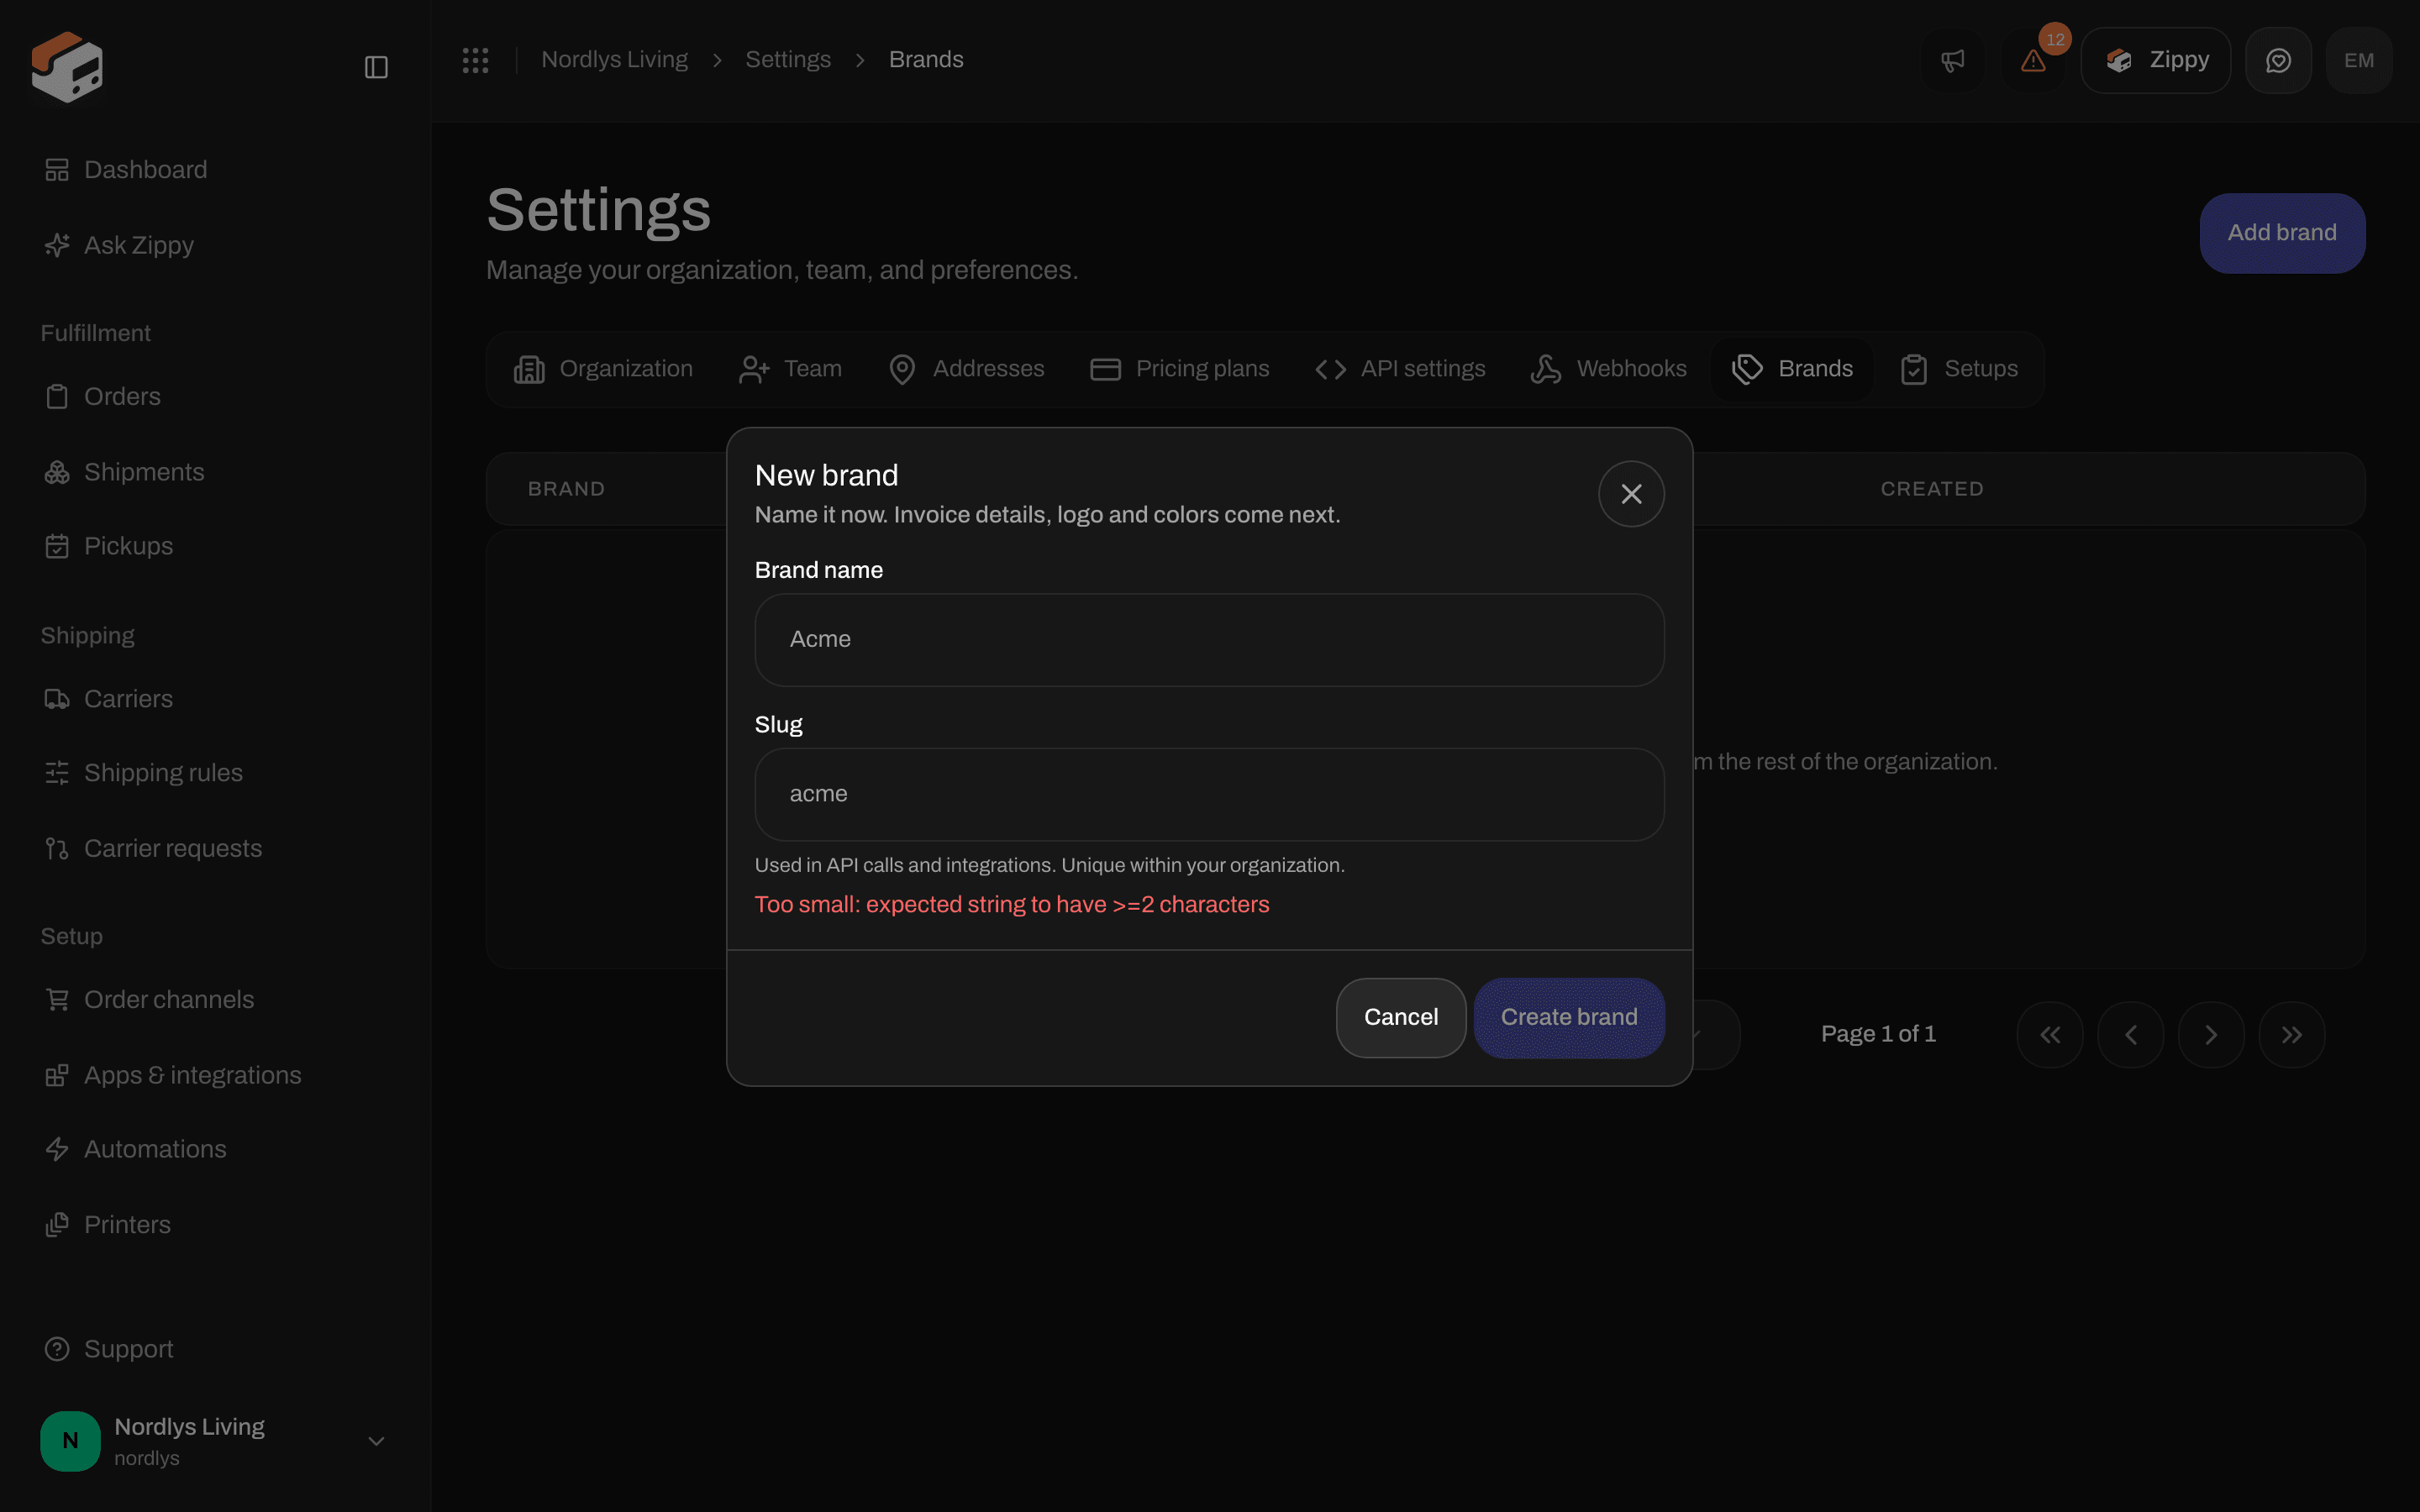
New brand asks only for Brand name and Slug
Pricing plans
Pricing plans is the billing tab. Switch between Monthly and Yearly prices (Save 20% with yearly). The plan cards are Free, Standard, Growth (marked Popular) and Pro. Enterprise is a custom plan arranged with the Zippendo team.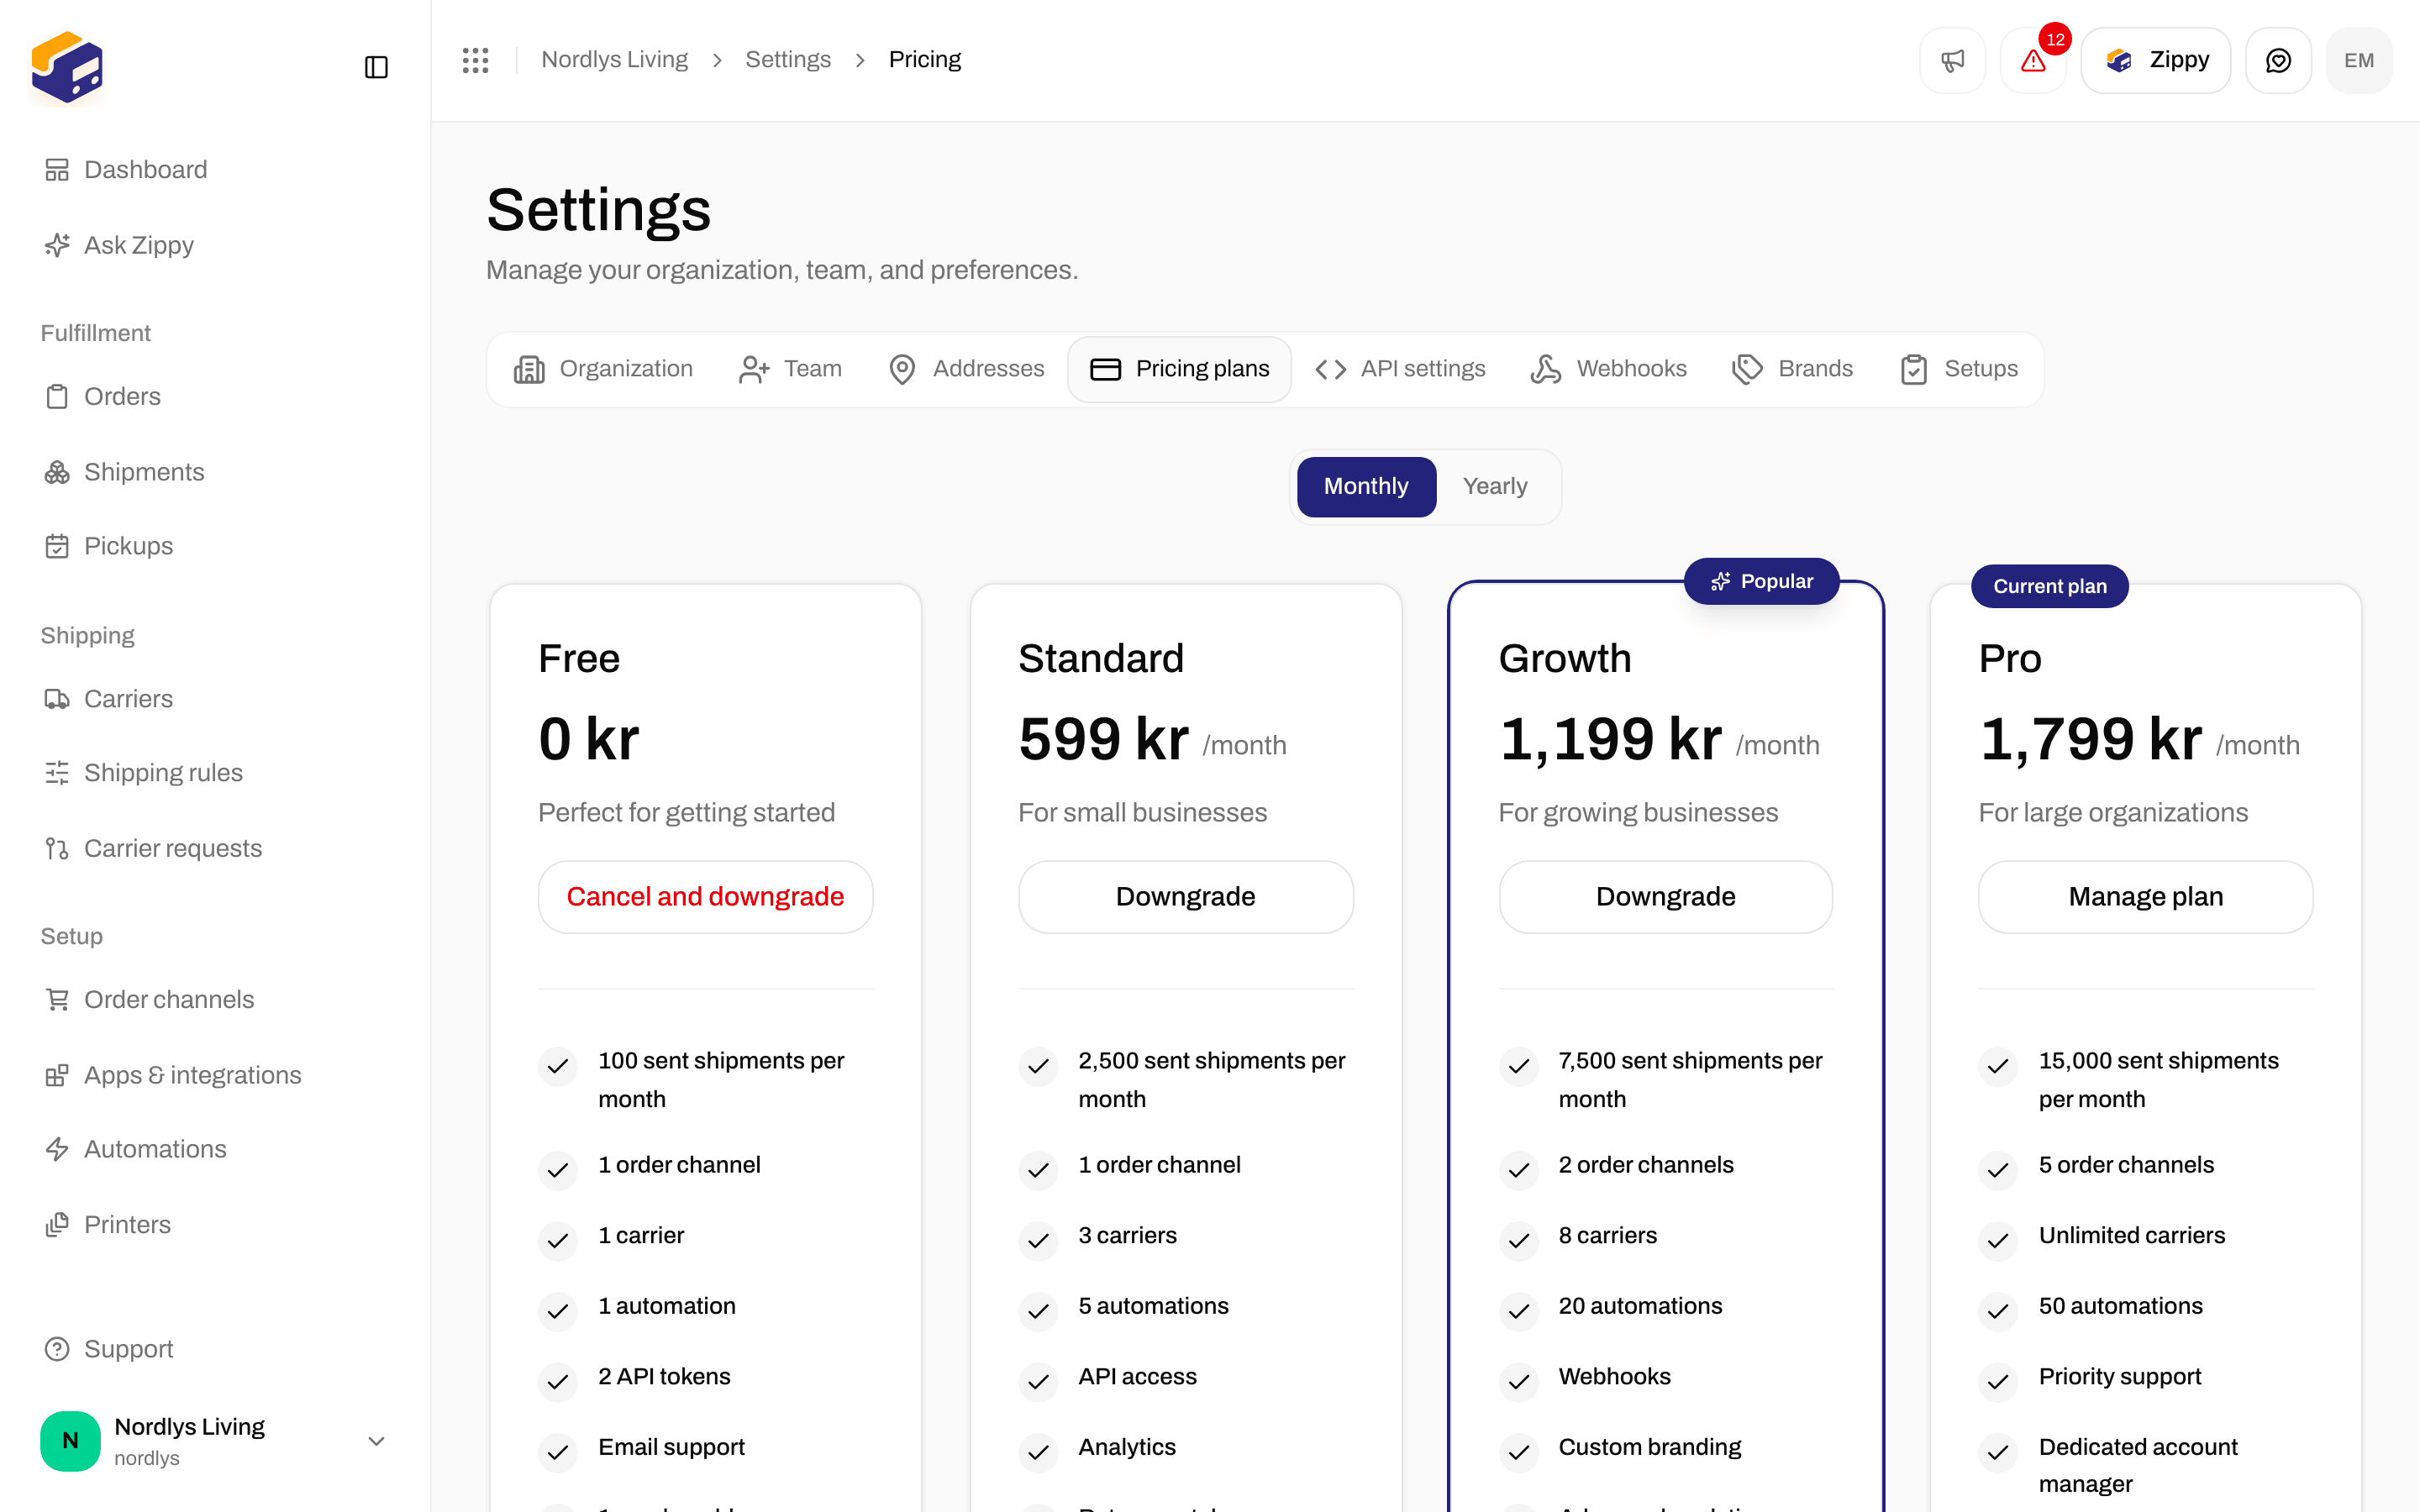
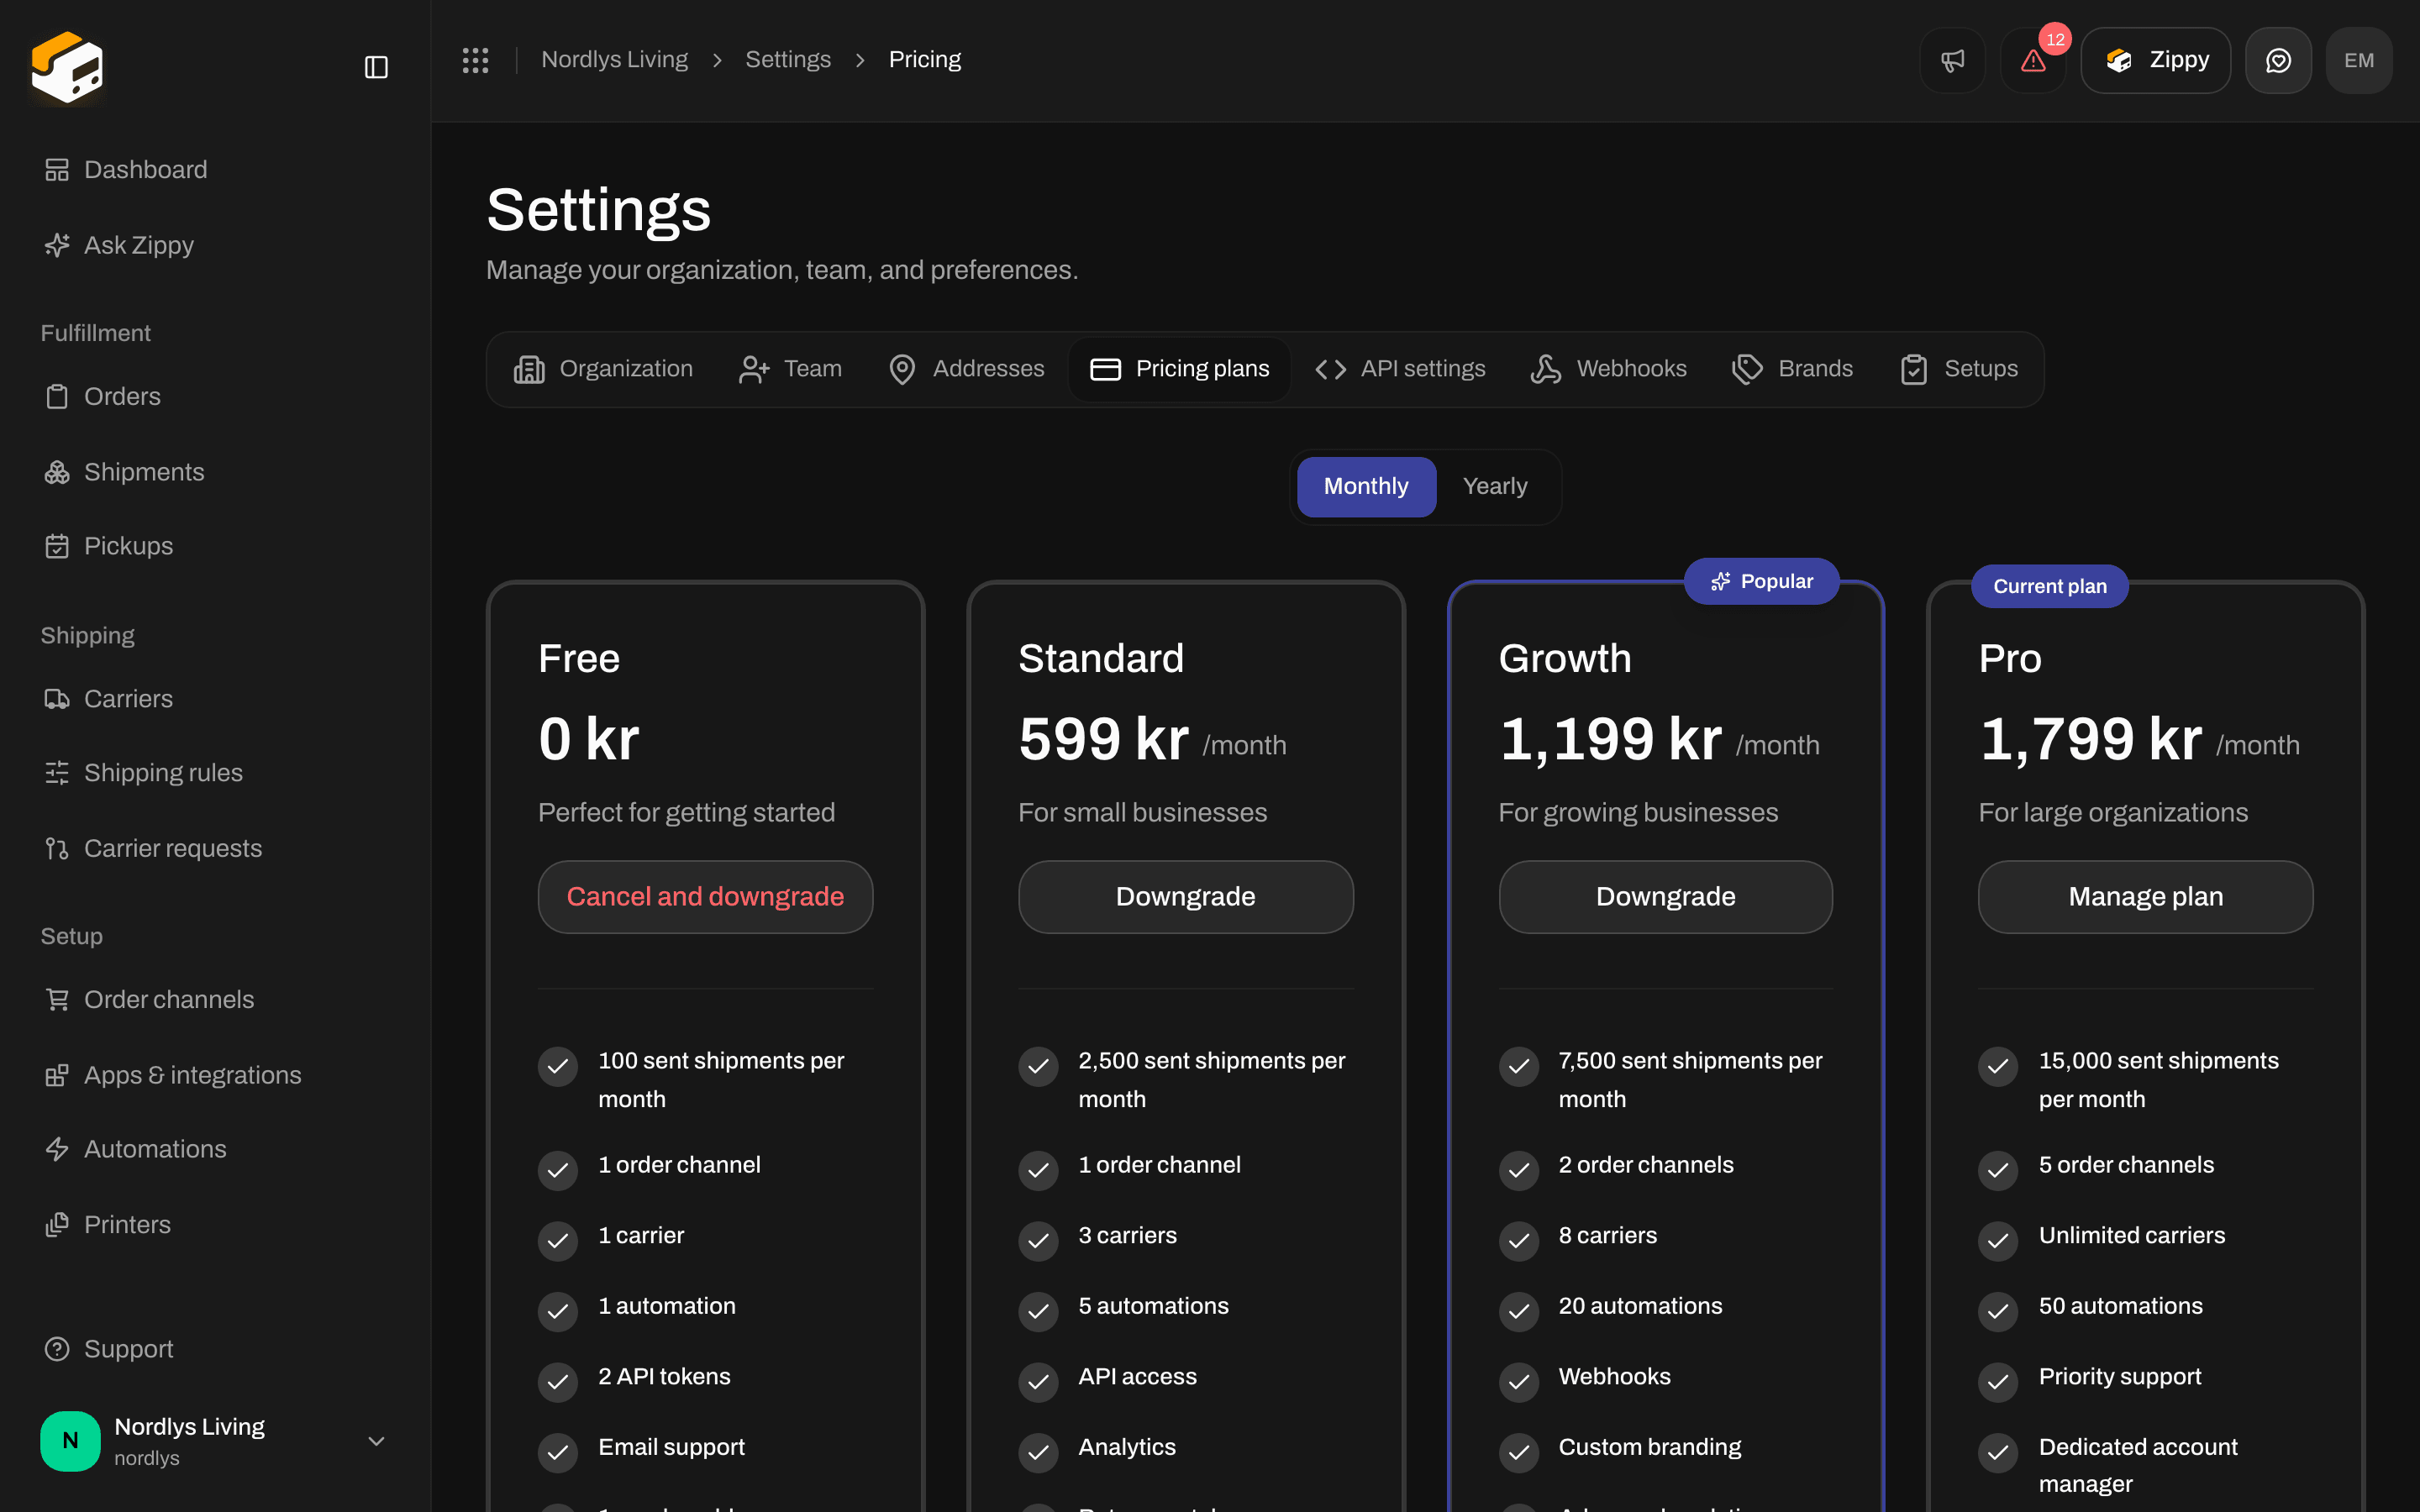
Pricing plans - Free through Pro, with the current plan marked
- Current usage - Shipments this period, and your plan’s limits for team members, carriers, order channels, shipping rules, addresses, API tokens and automations.
- Overage settings - Allow overage shipments. When it is on, shipments beyond your plan’s included number are billed per shipment. When it is off, shipping pauses at your plan’s limit. You need a payment card to turn it on.
- Add-ons - Extra carrier, Extra order channel and Zippy.
- Manage billing - opens the secure Stripe customer portal, where you manage cards, invoices, tax details and billing address.
API tokens
API settings lists the tokens developers use to connect other systems to Zippendo. Click Add API token at the top to create one.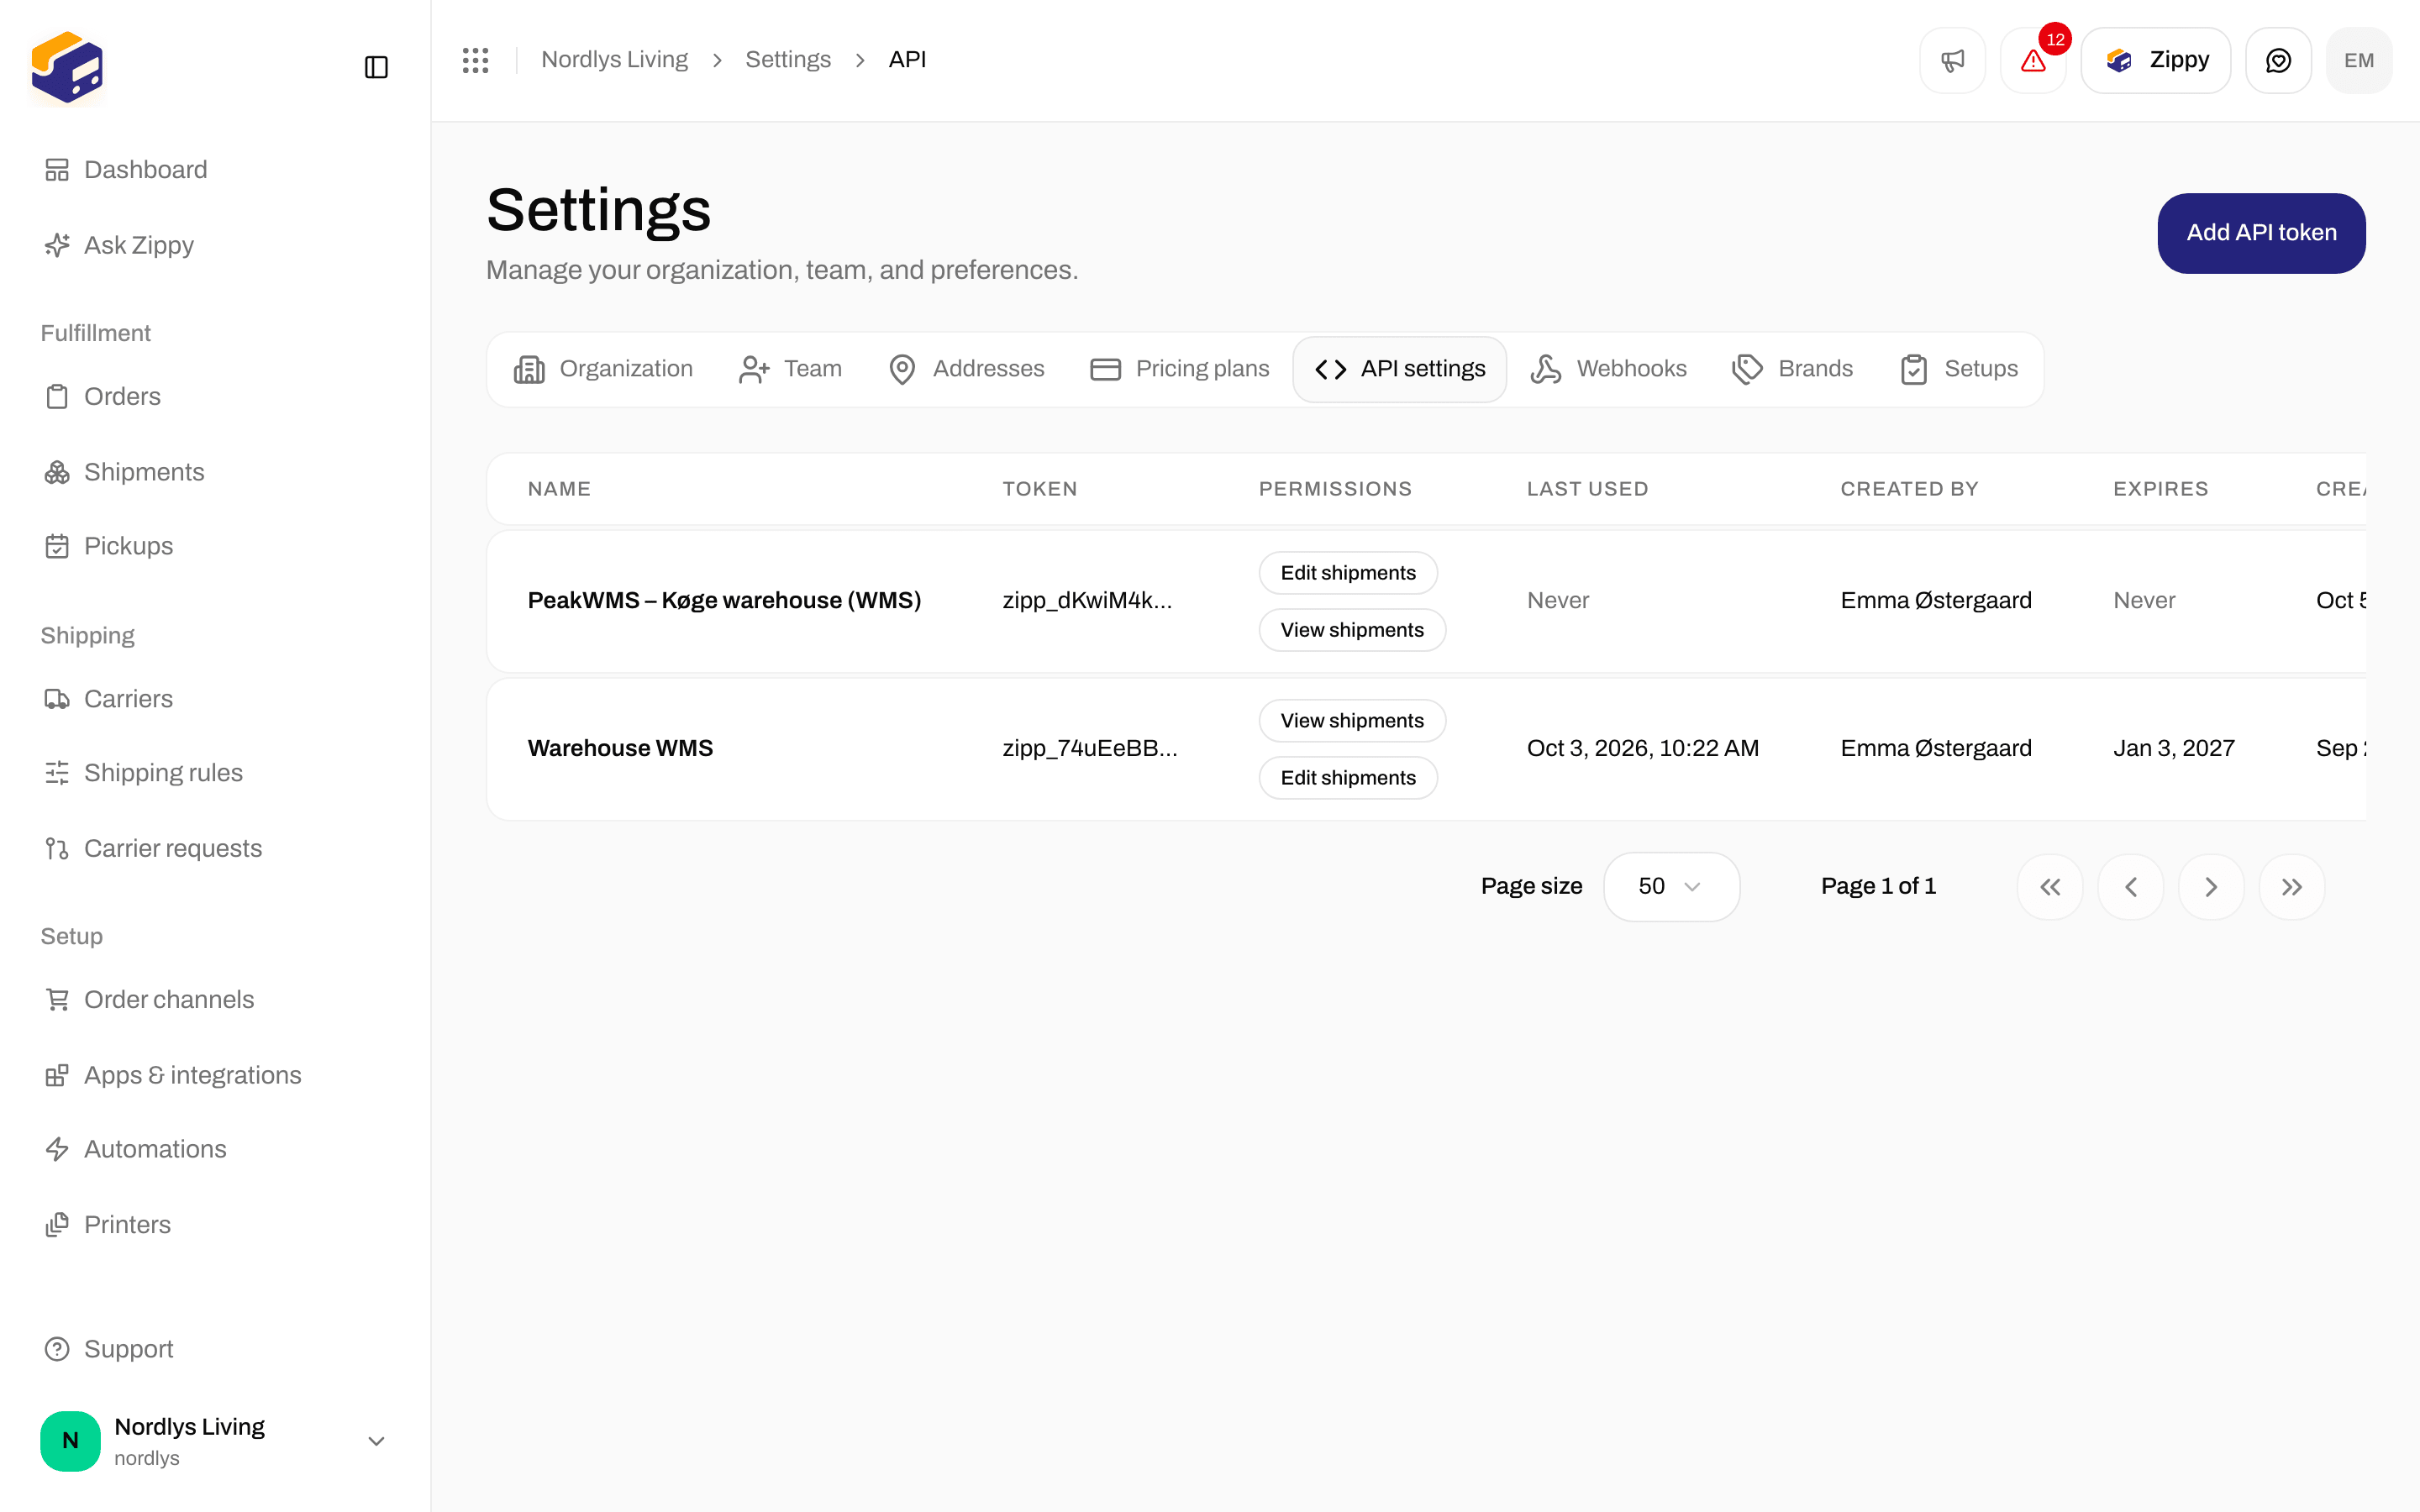
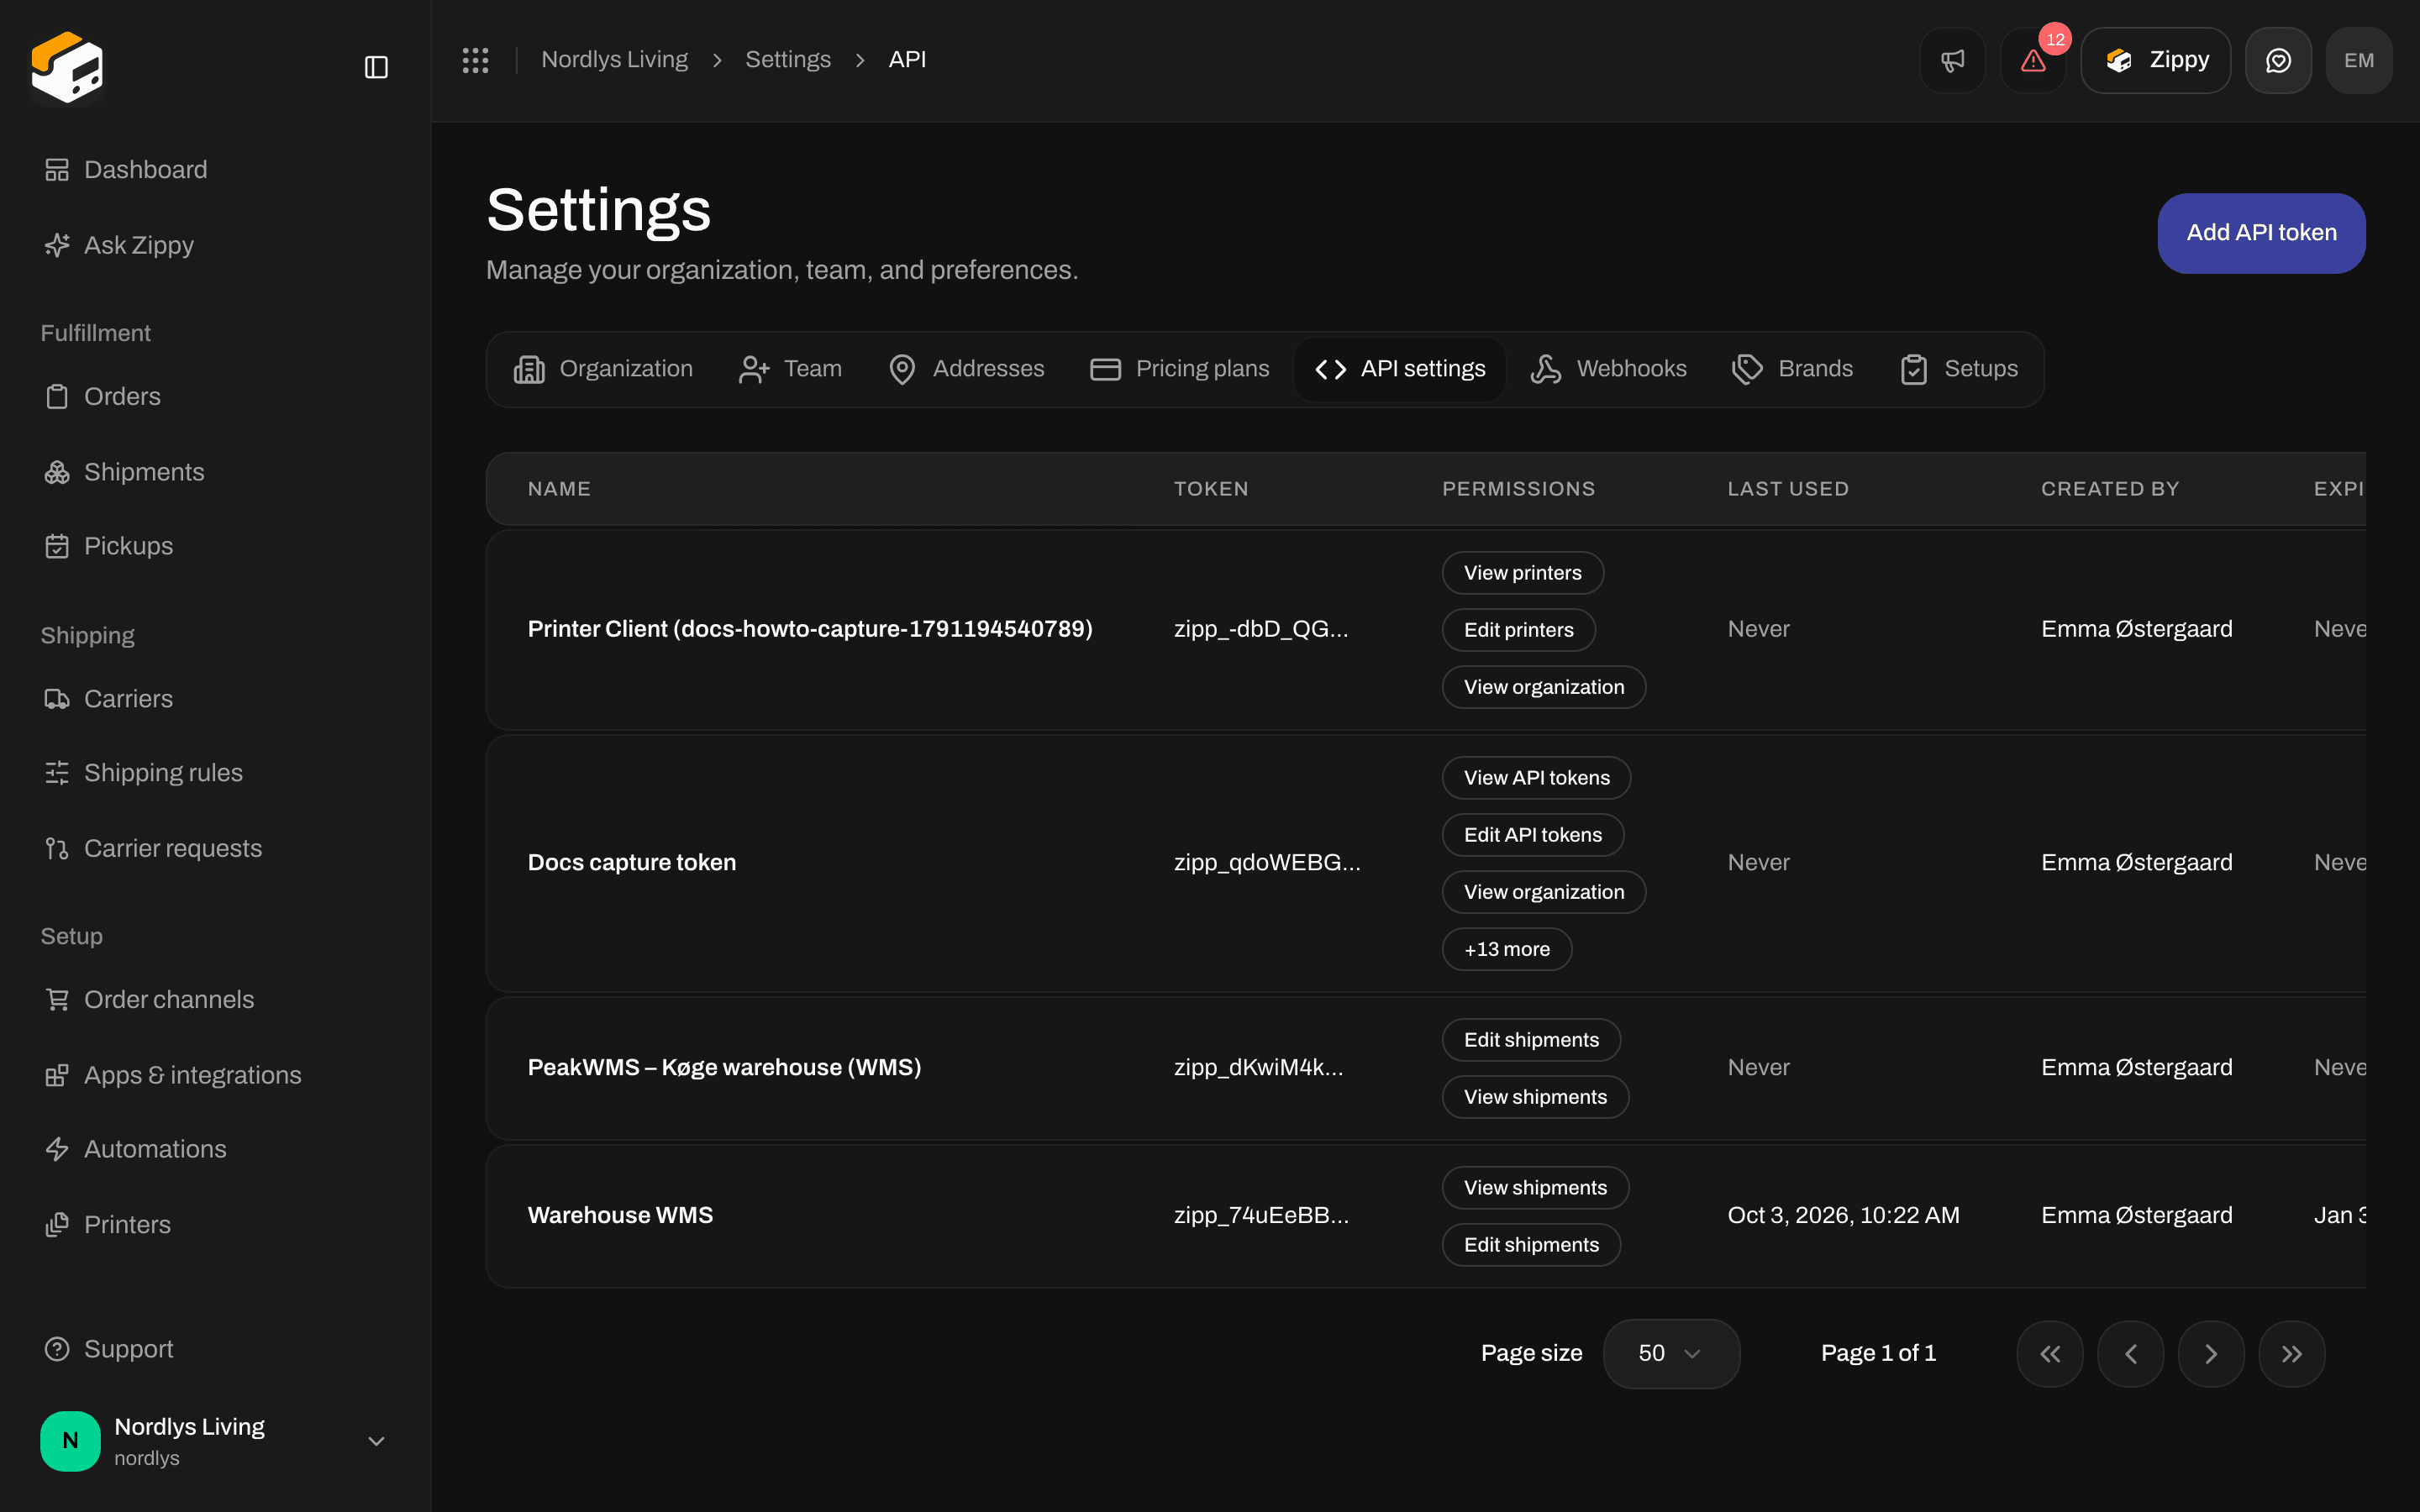
API tokens is empty until you create one
Click Add API token
Name, expiry and permissions
Click Create token
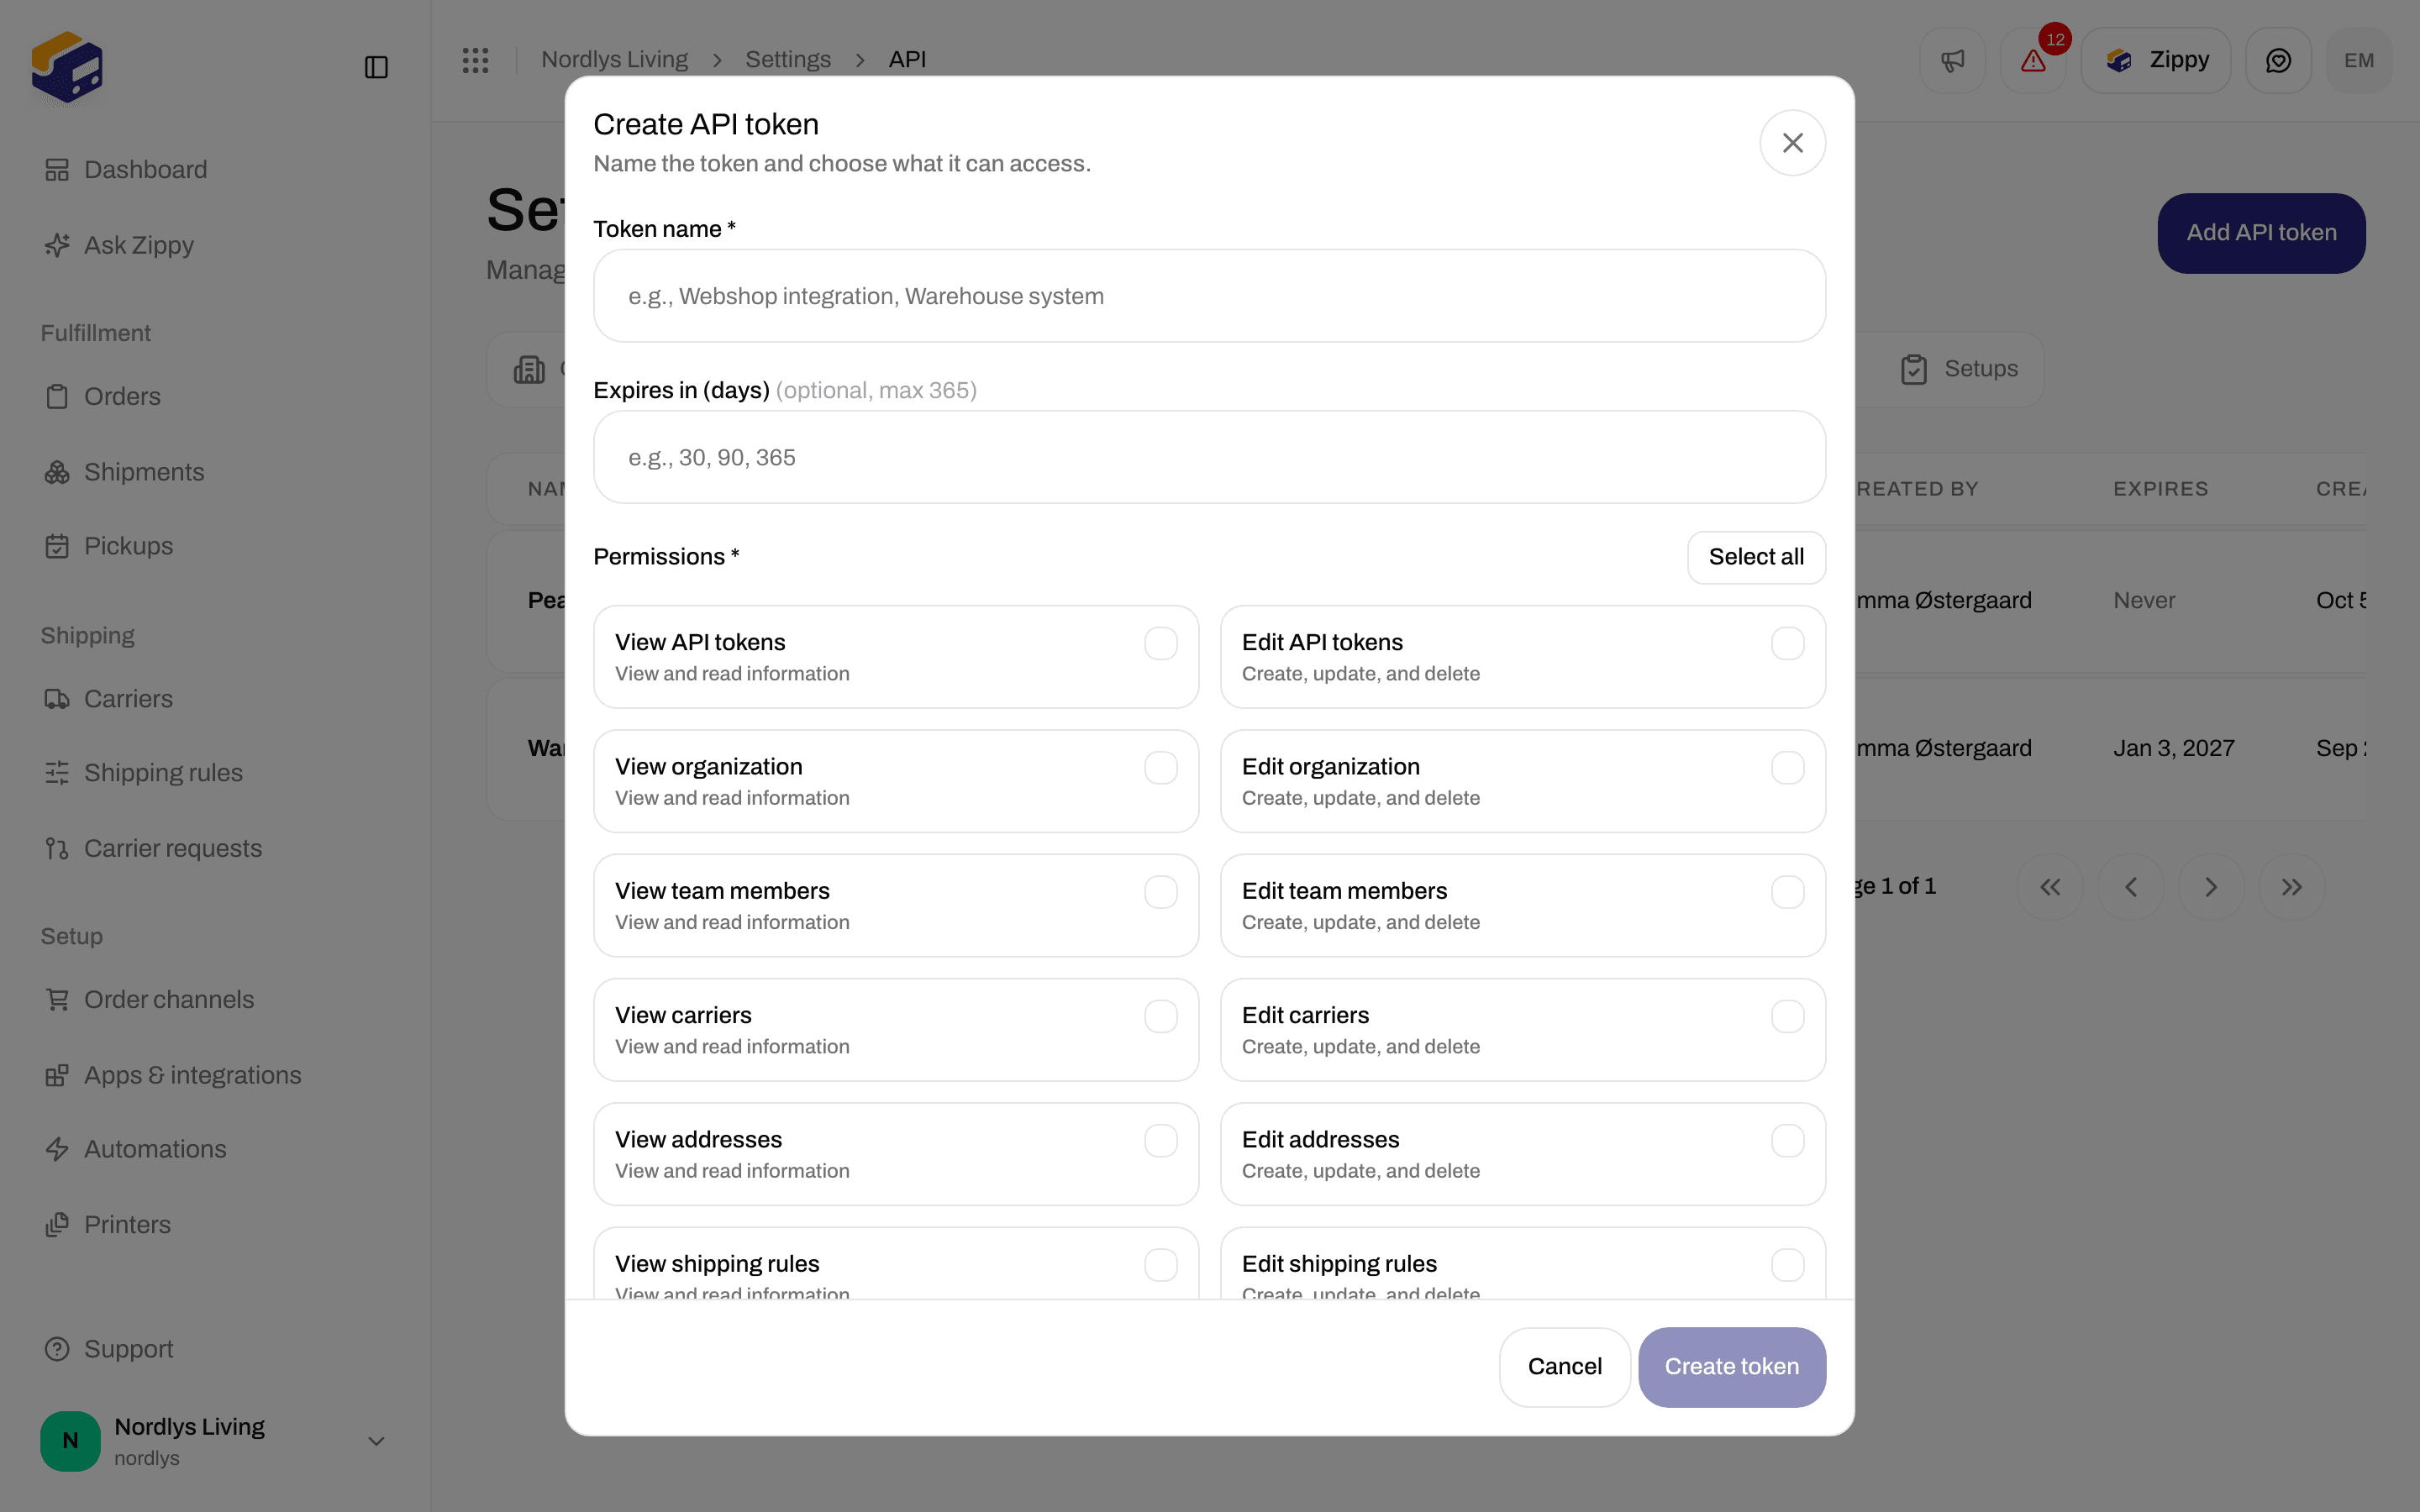
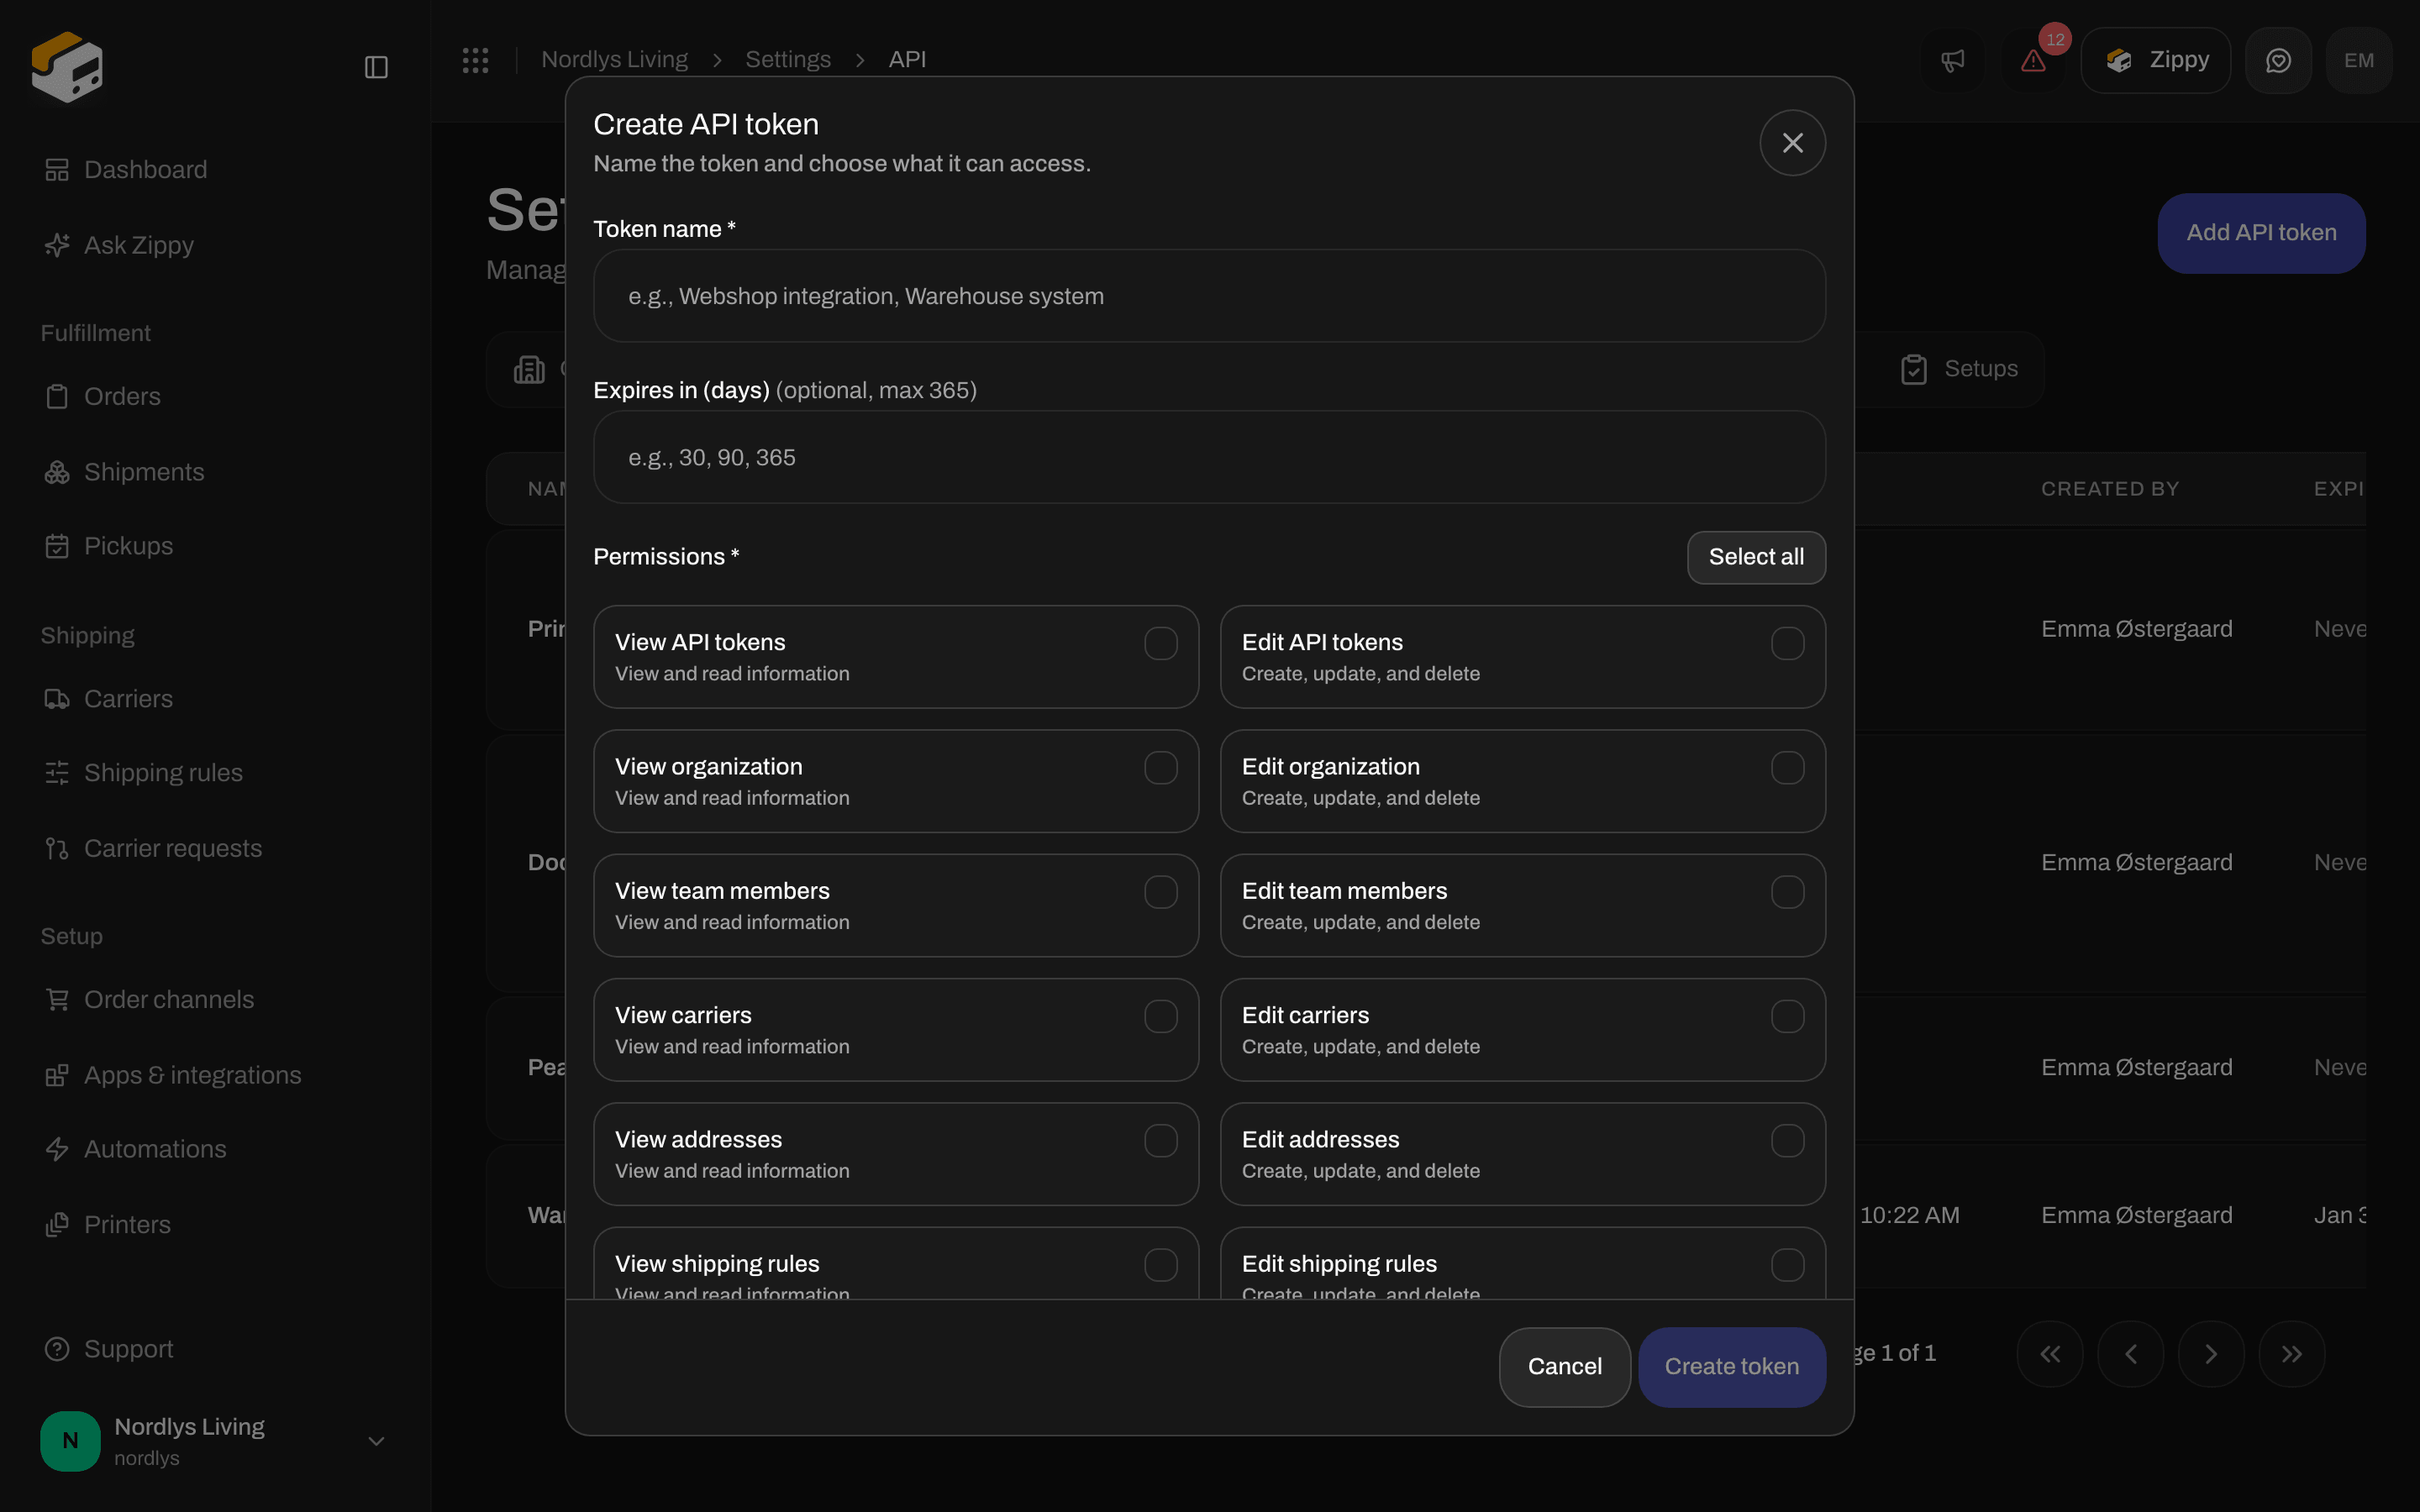
Create API token - name, optional expiry and permissions
Webhooks, Setups and Addresses
Webhooks sends shipment and order events to another system as they happen. Click Add webhook to add one. See Webhooks and the webhooks quickstart. Setups holds your first setup and one for every market you expand to. Below your setups, the import cards bring your setup across from another shipping platform. Use it when you move to Zippendo. A new organization does not need it. Addresses holds your sender, pickup and return addresses. You need at least one sender address before you can send a shipment. See Sender addresses.Printers are not in Settings
Label printers are under Printers in the main sidebar.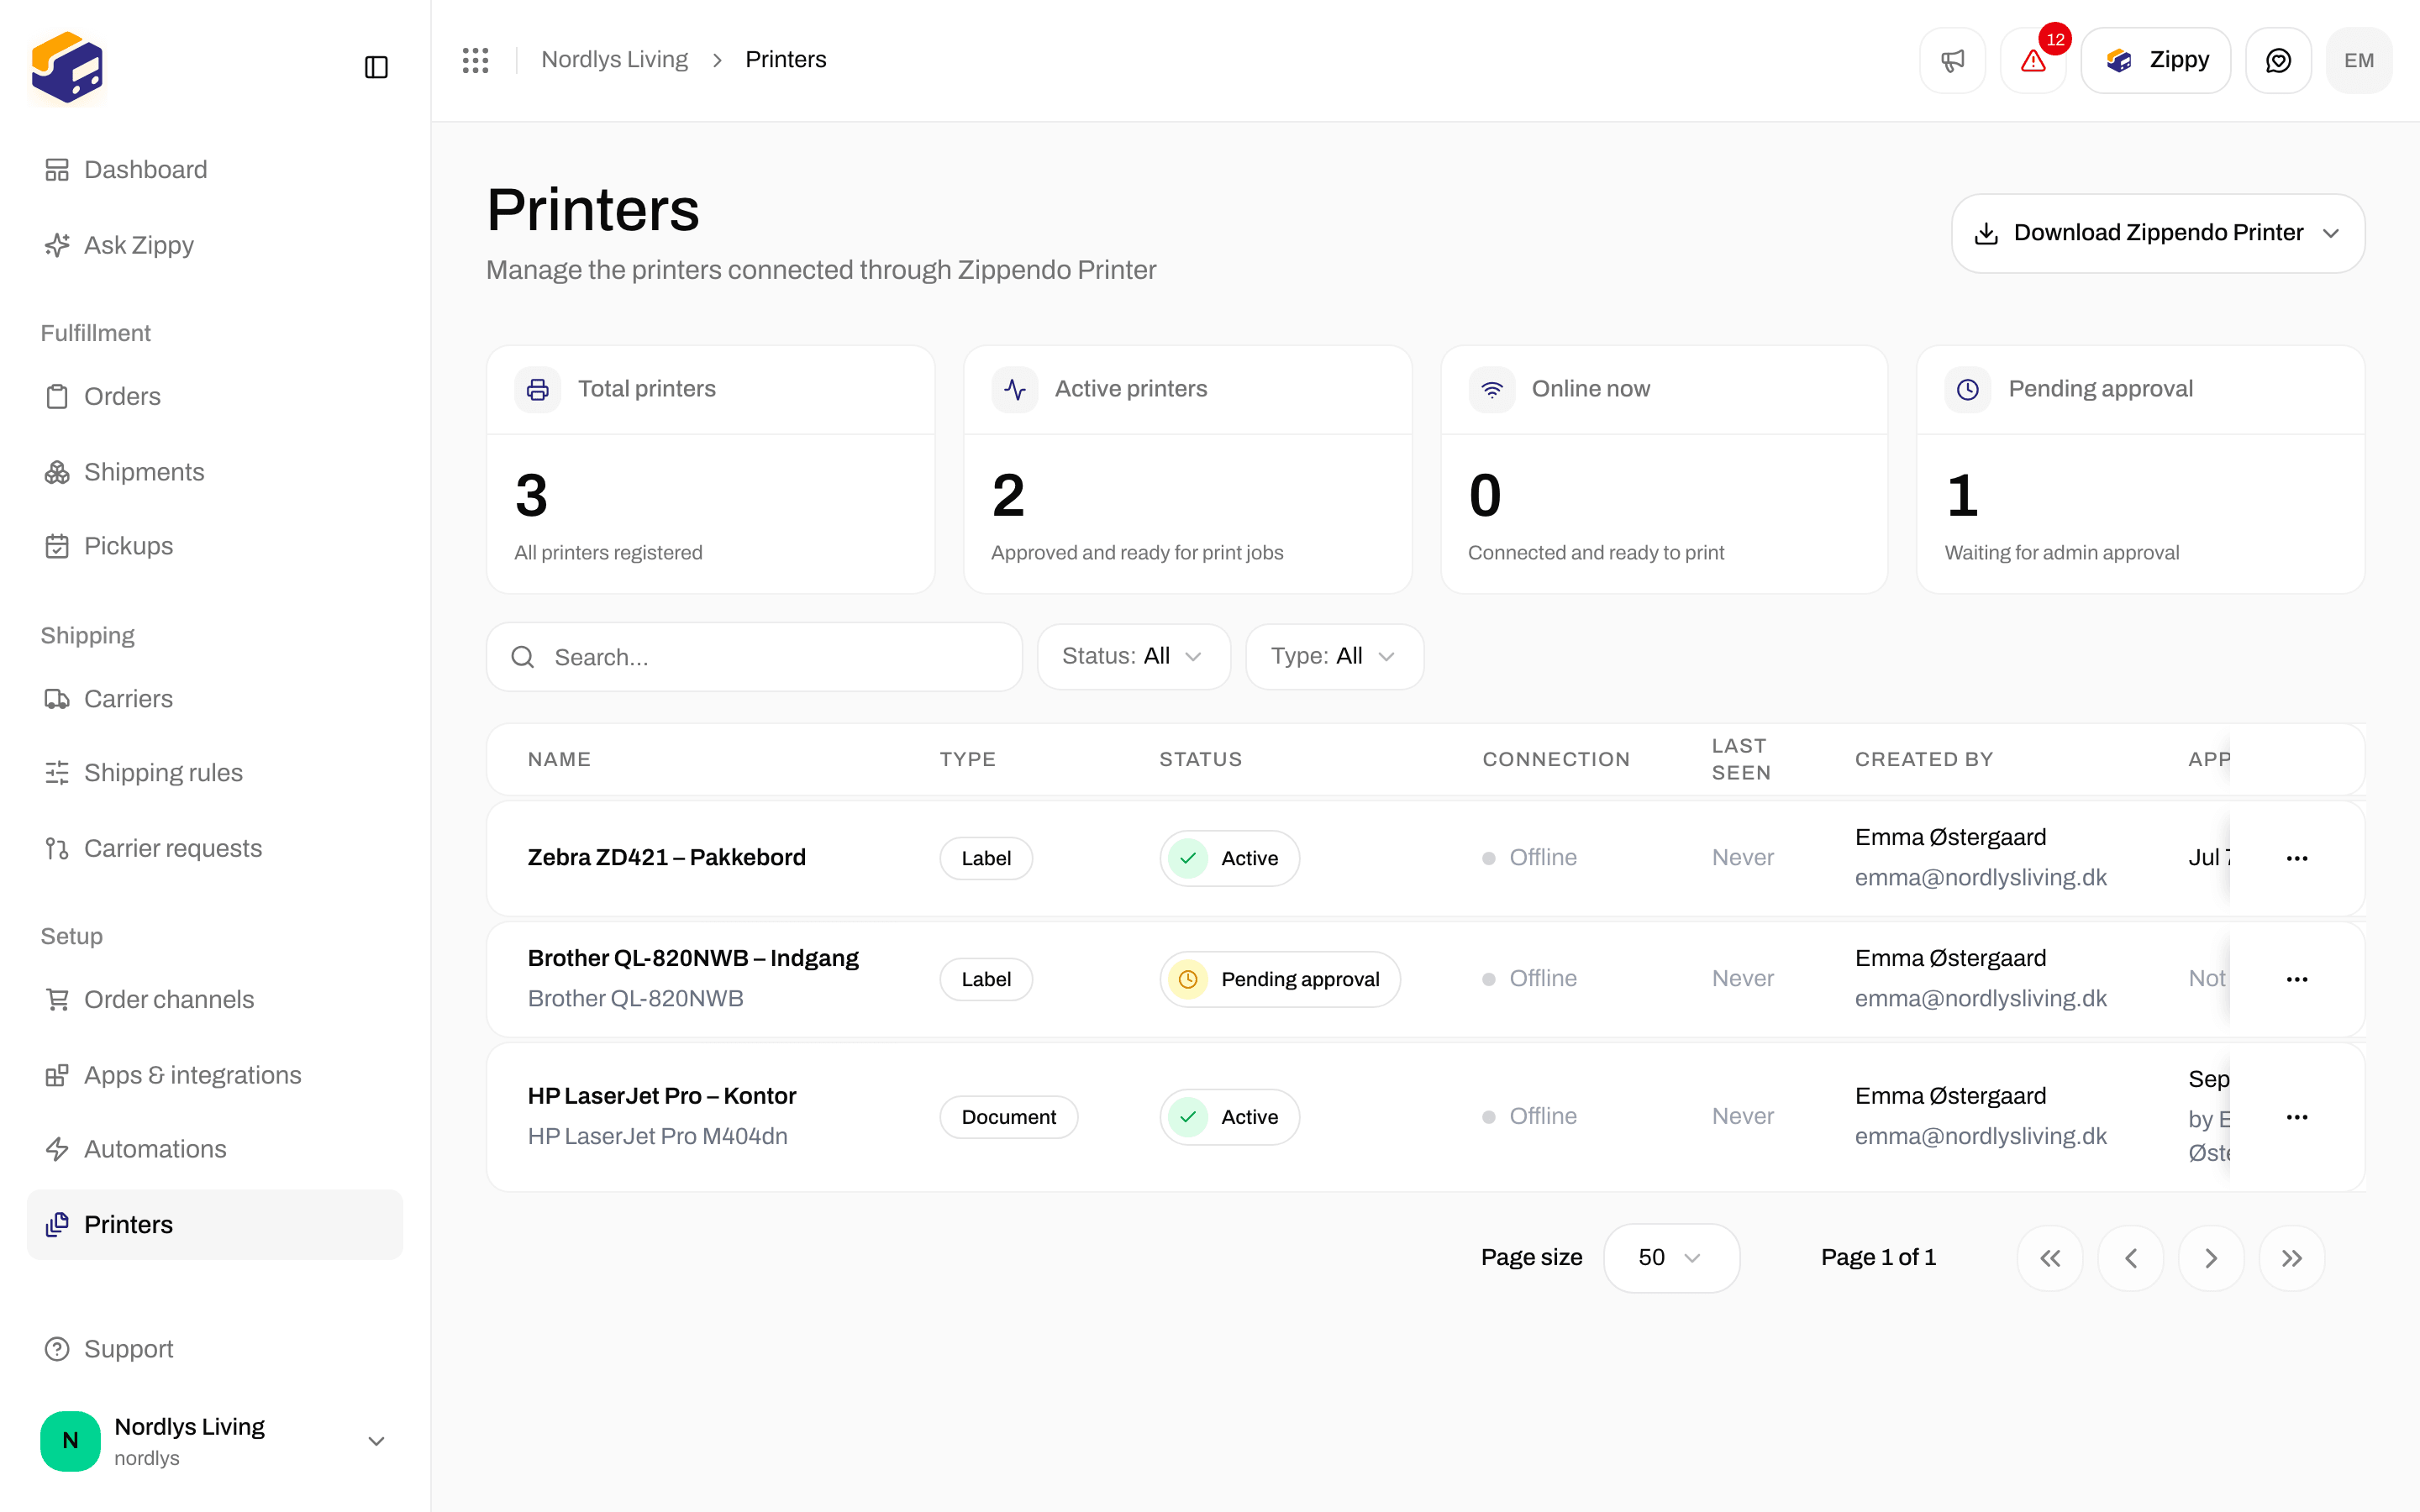
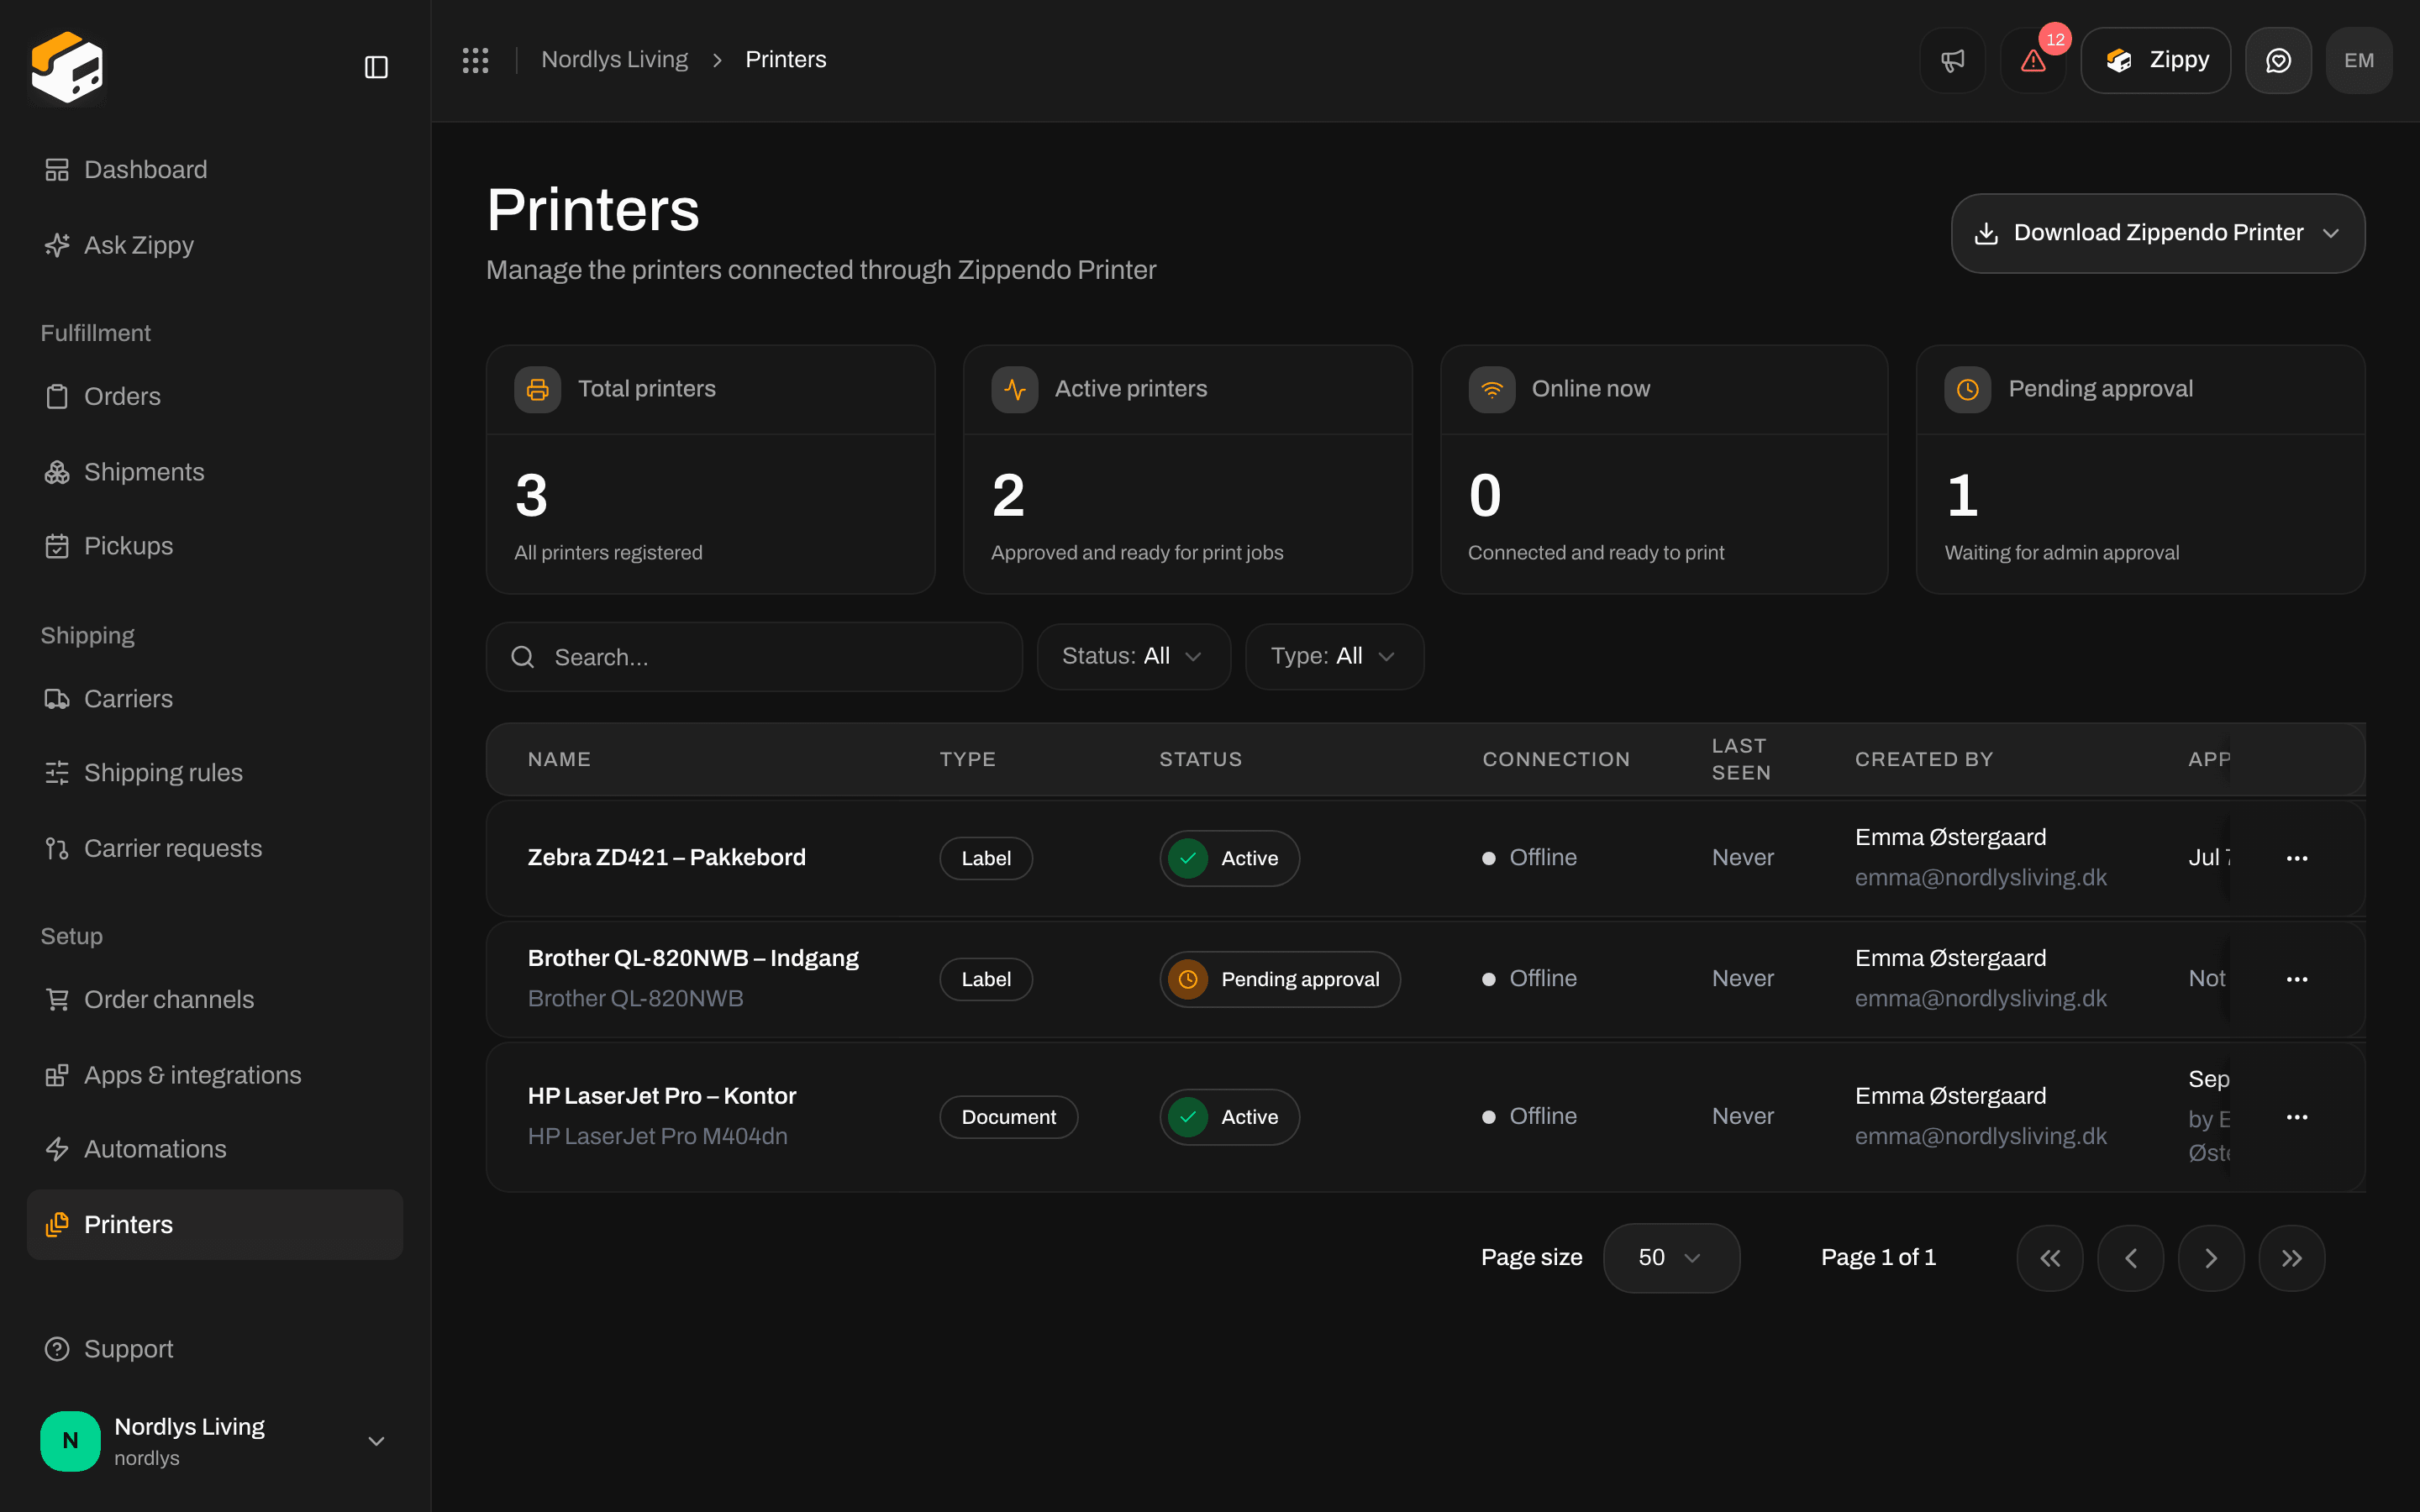
Printers is its own sidebar item - download Zippendo Printer from here
Danger zone
Scroll to the bottom of the Organization tab. The Danger zone has Delete organization.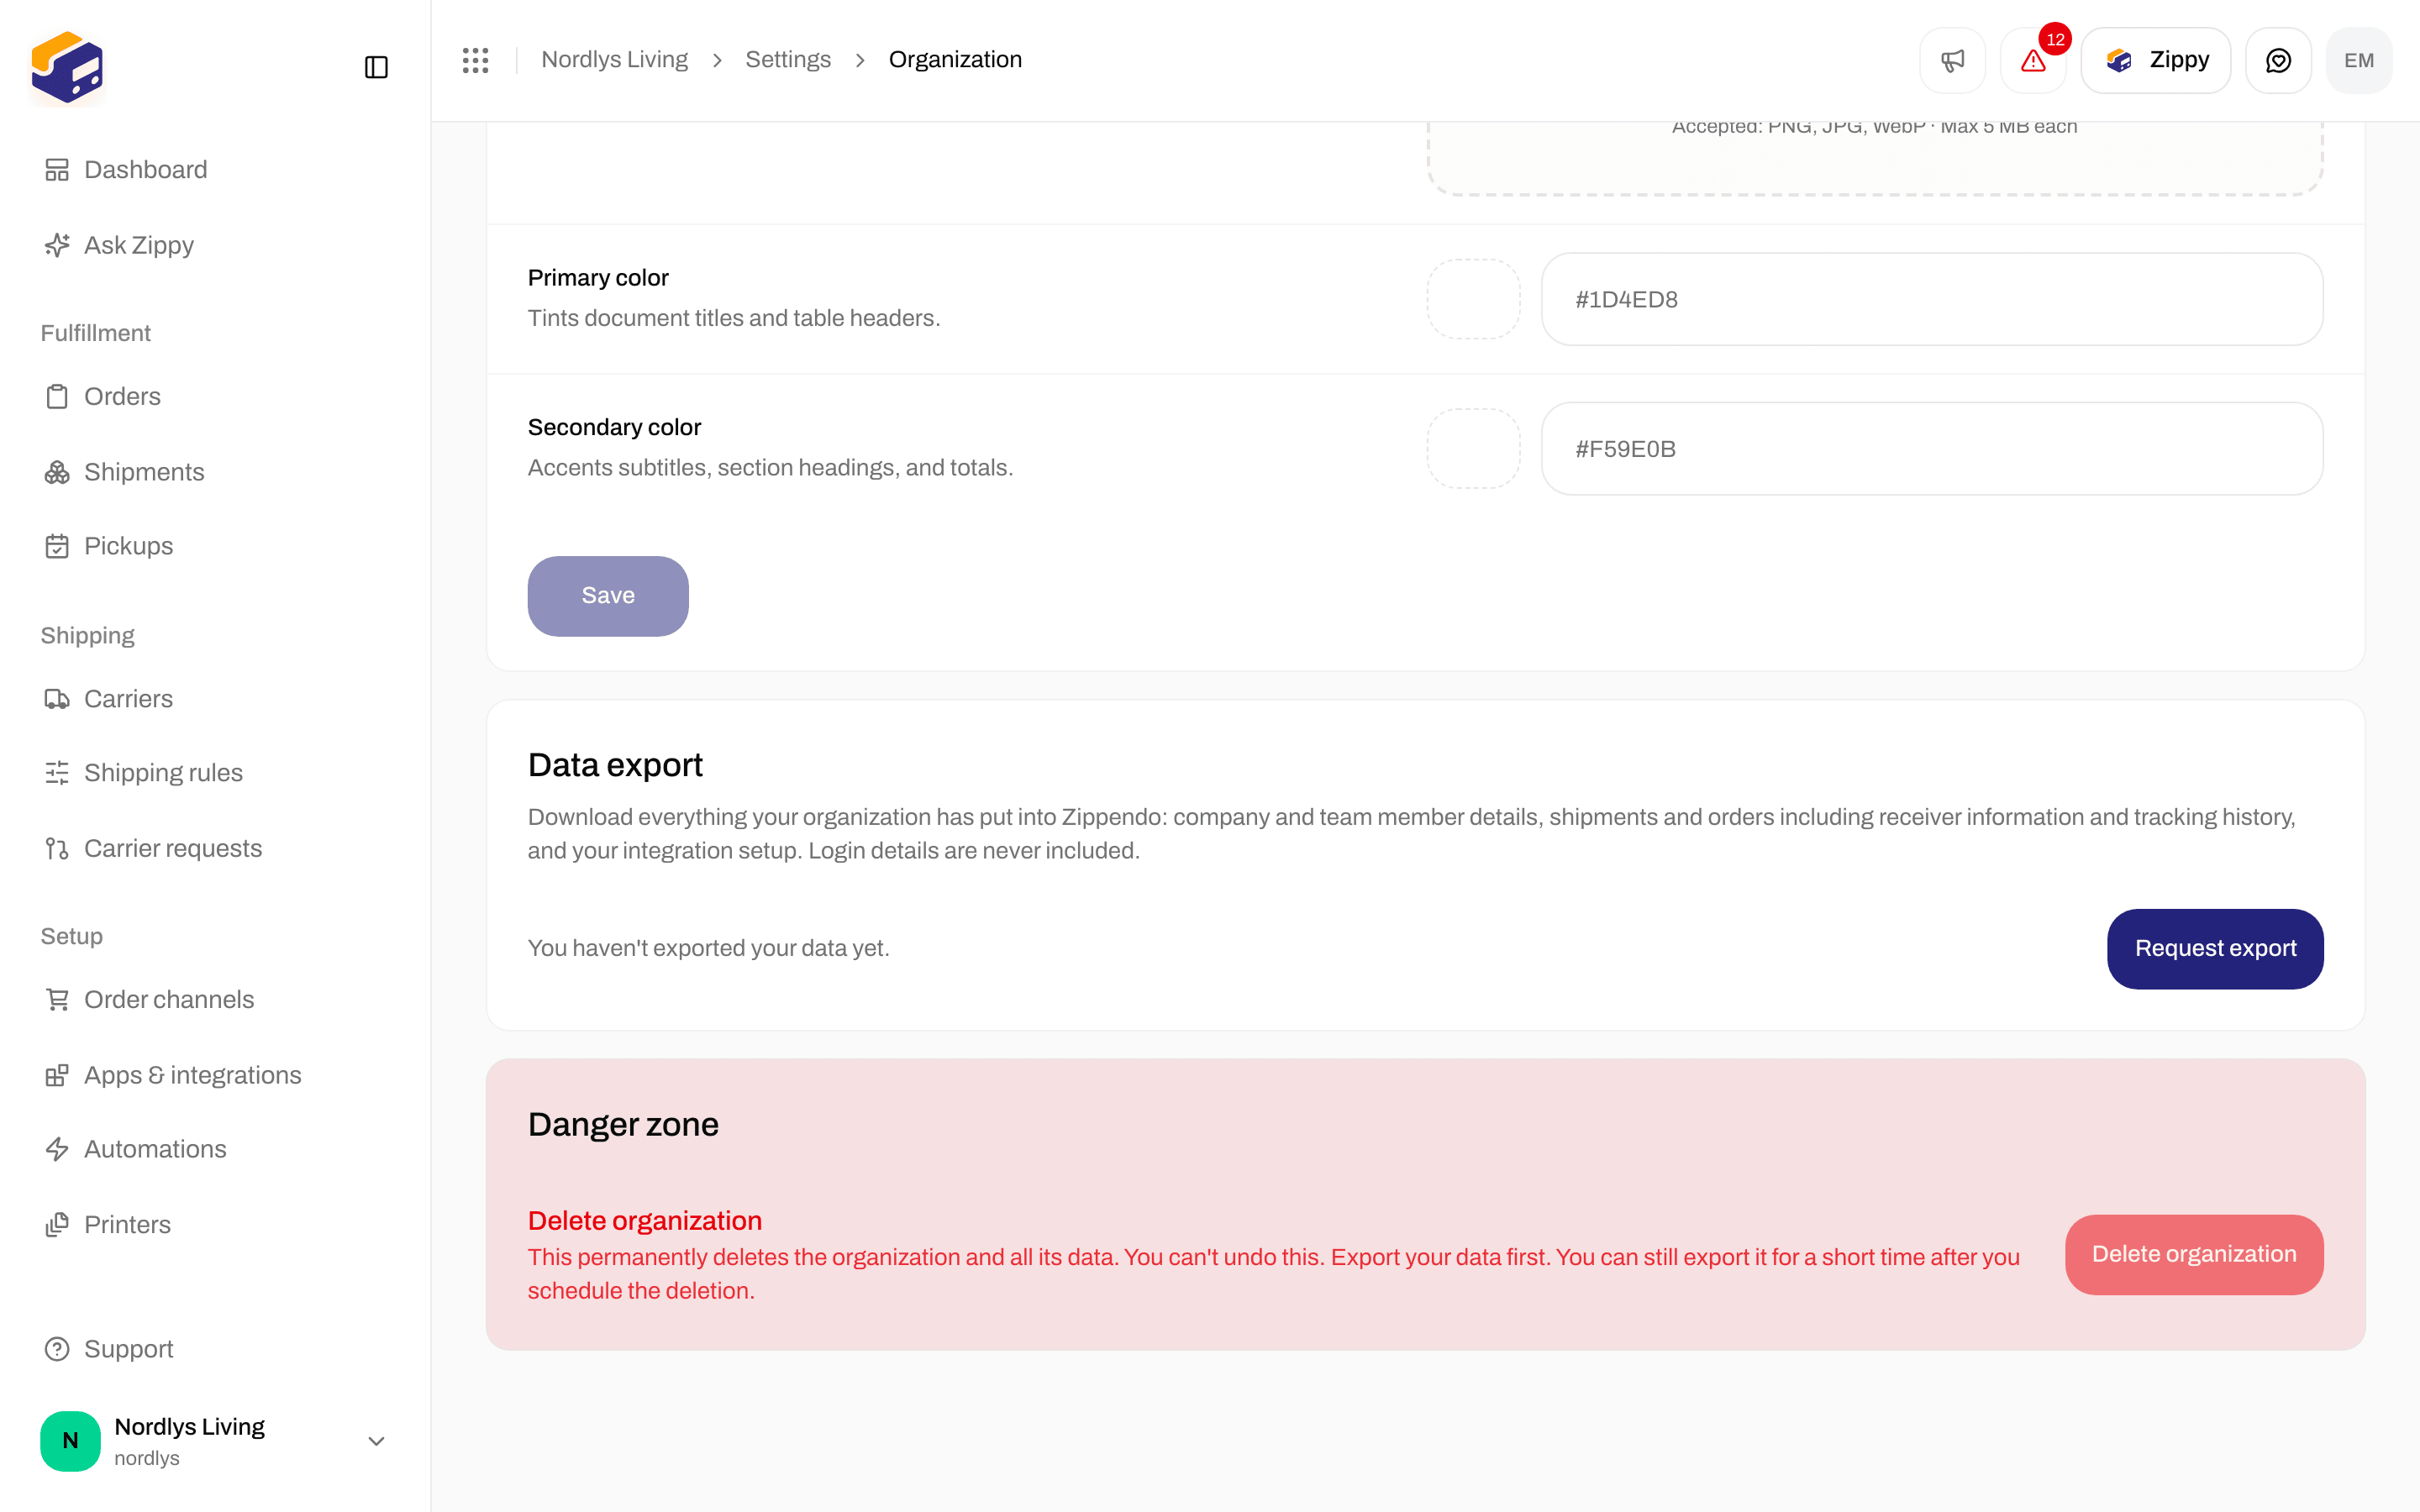
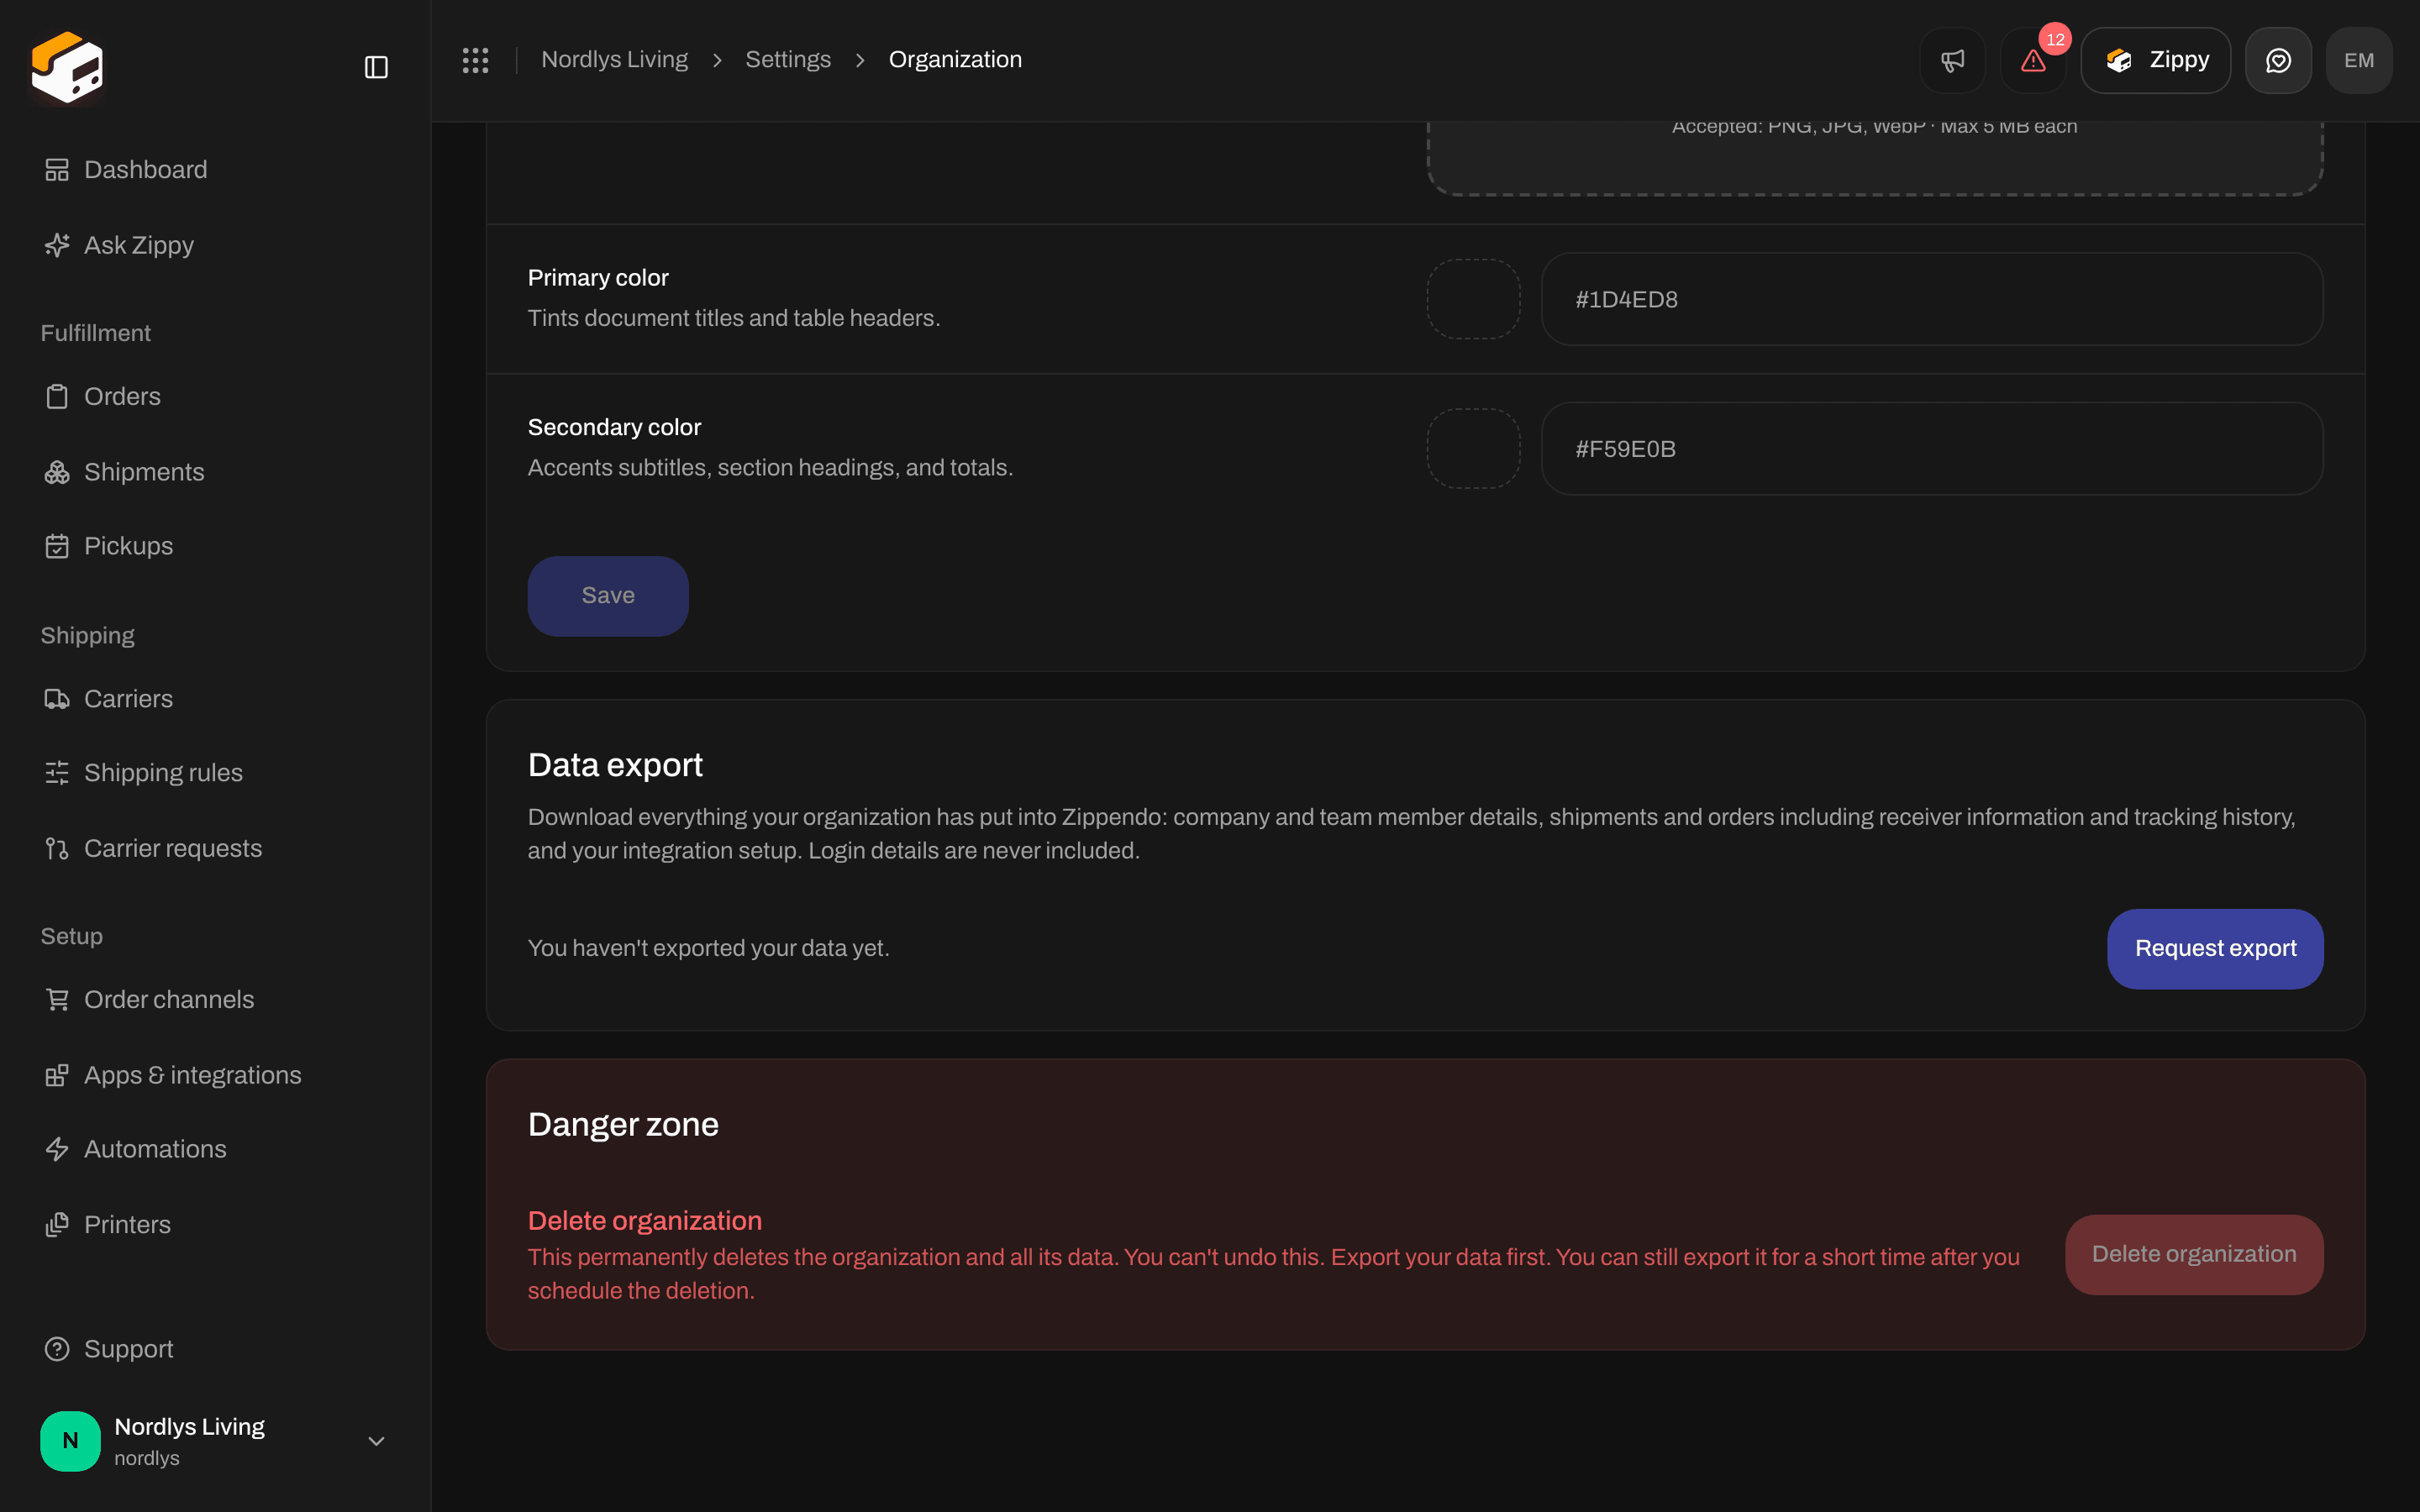
Below Branding and Data export, the Danger zone is last, and Delete organization cannot be clicked
Next steps
- Carriers - connect GLS, PostNord or Bring, and give a carrier to one brand if you like.
- Create a shipment - you need a sender address and a carrier.
- REST API - use the token you created above.
- Field by field: Invite team members · Create a brand · Organization settings · Create an API token