

What a rule does
A rule is used in three places:- Checkout prices: Shopify and WooCommerce show matching rules as shipping methods. The customer’s country, the cart’s weight, its value and the number of items decide which rules appear and what they cost. See Checkout.
- Orders: when the customer picks a rule at checkout (or a shipping method is mapped to a rule), the order keeps that rule. A shipment created from the order gets its carrier, product, services and sender address from the rule.
- Shipments: you can apply a rule to a draft or pending shipment, or keep choosing the carrier on the shipment by hand.
Where to find them
Shipping rules is in the sidebar under Shipping, between Carriers and Carrier requests. The list shows each rule’s name, carrier, countries and a short summary of its conditions. Click Add shipping rule to create one, or click a row to change it.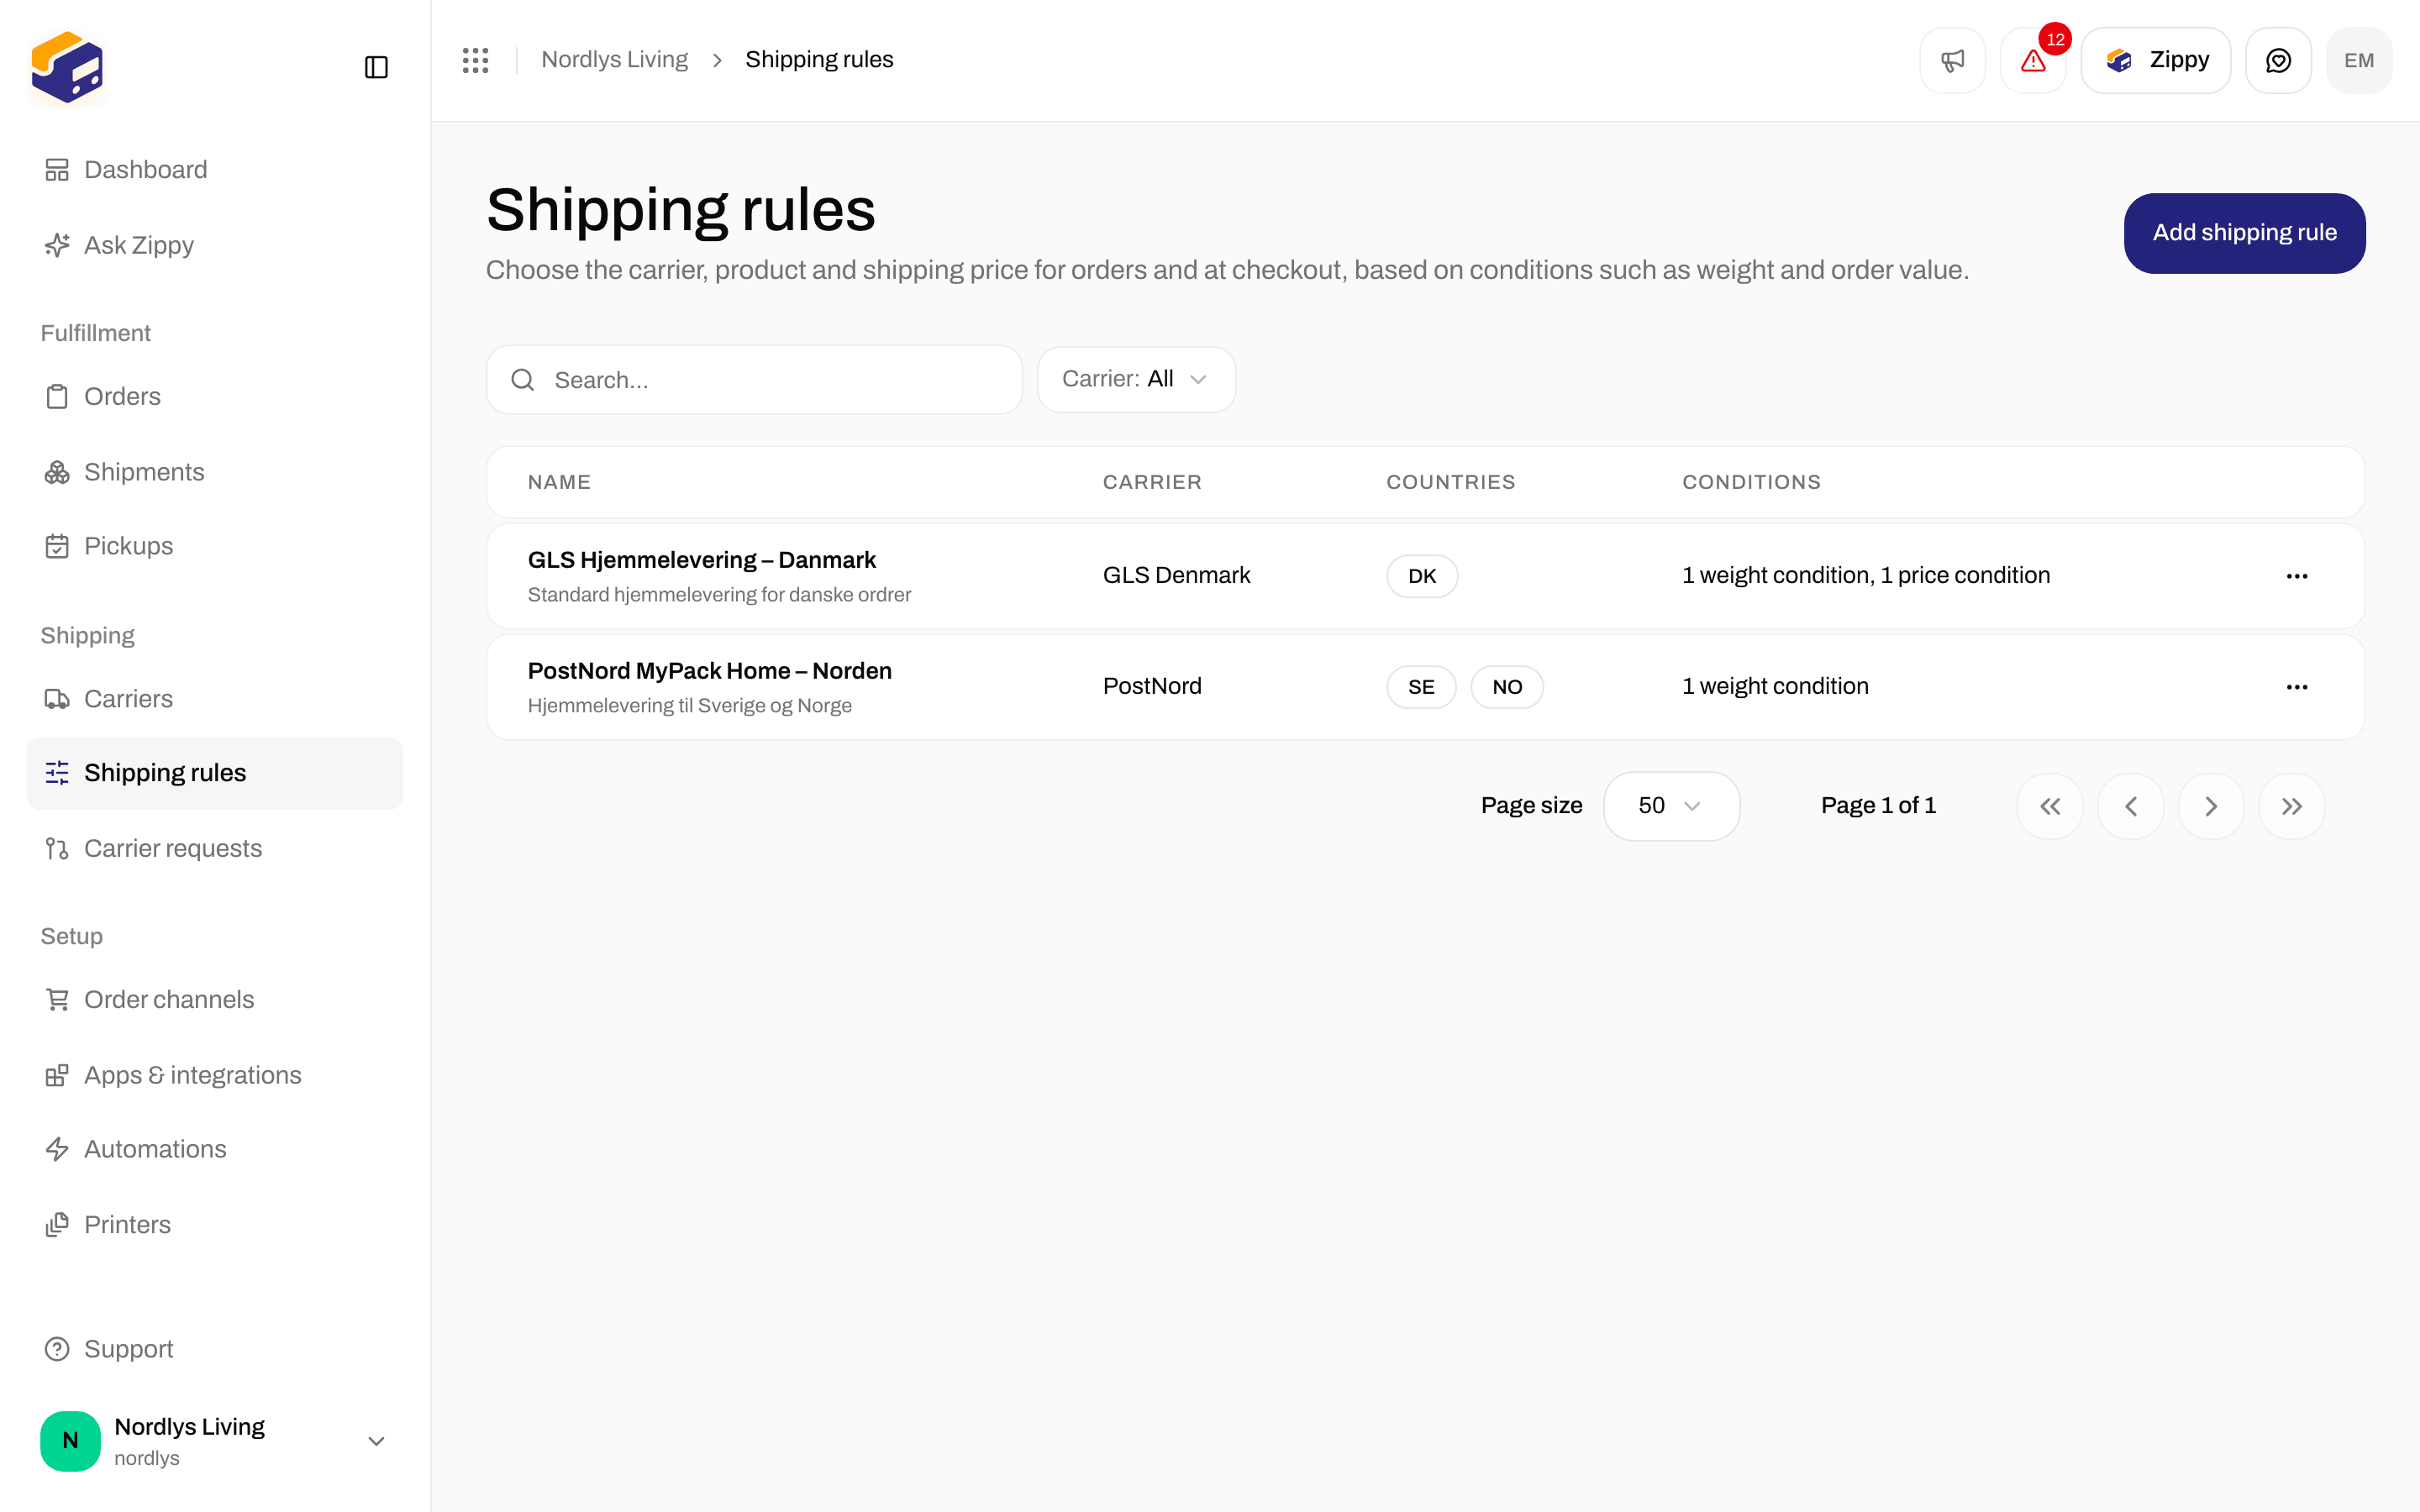
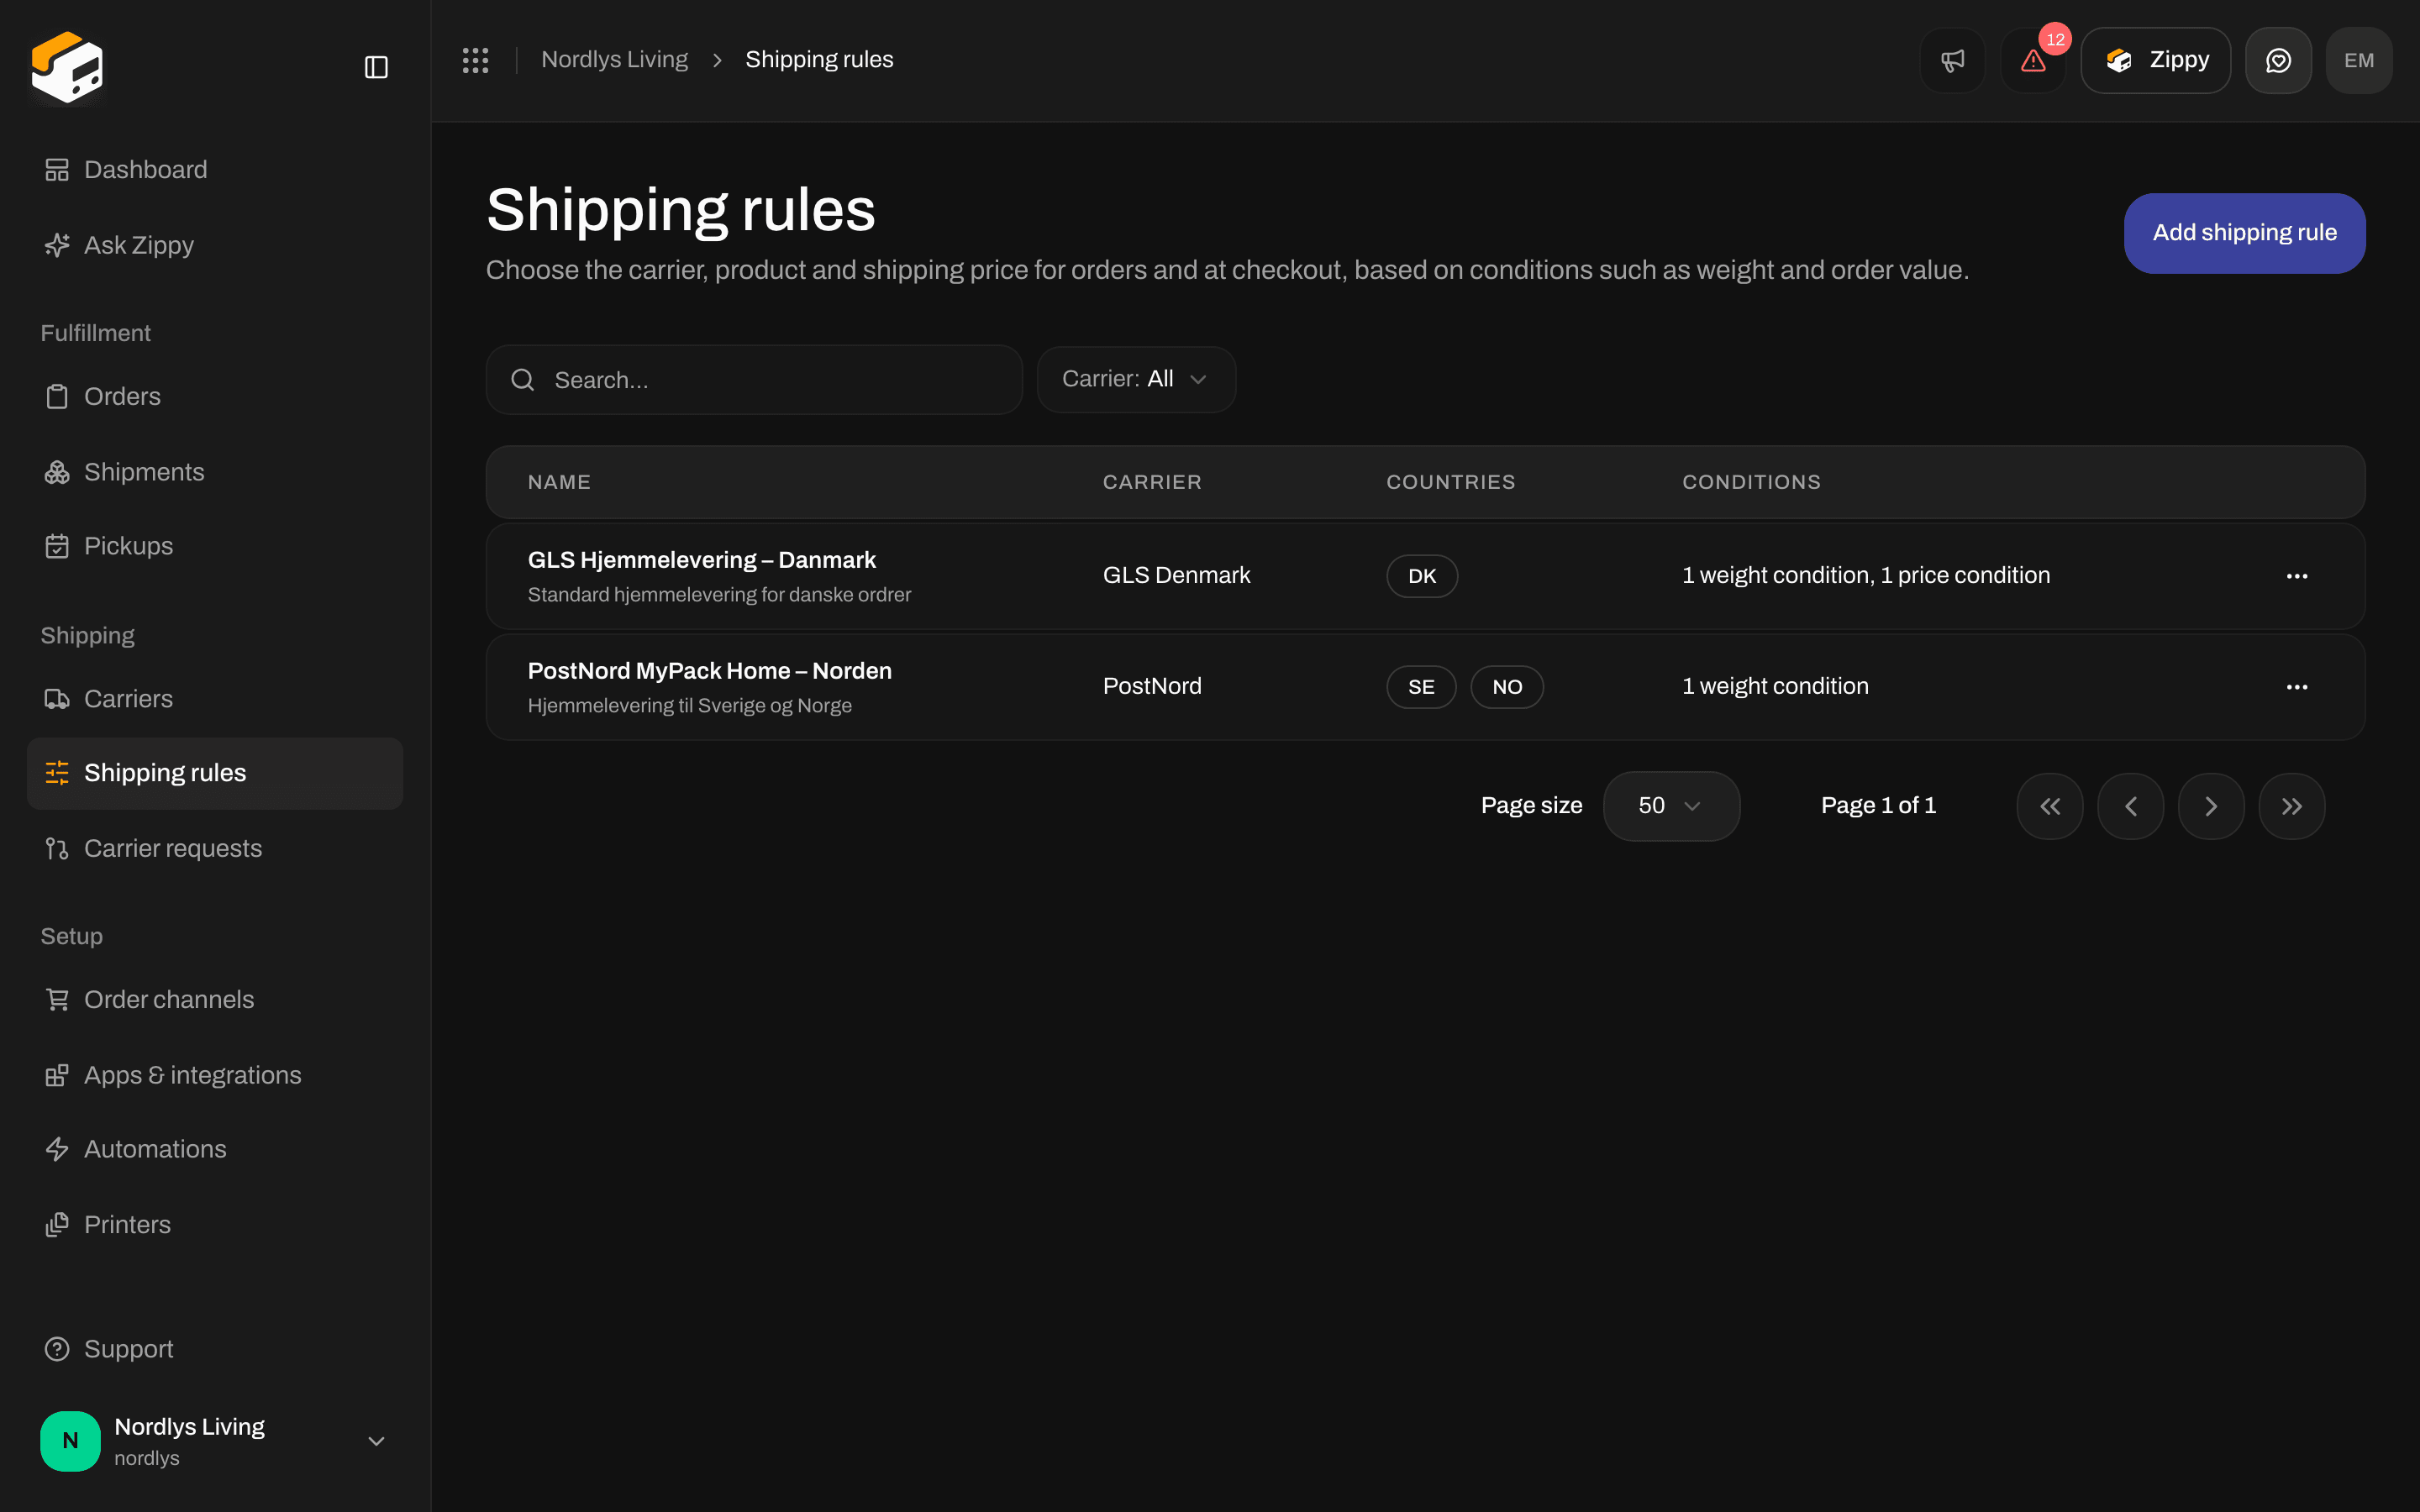
Shipping rules, with destination countries and a summary of the conditions
Create a rule
Open the form
Name the rule
GLS Hjemmelevering - Danmark, not an internal code. You can add a Description.Pick the direction
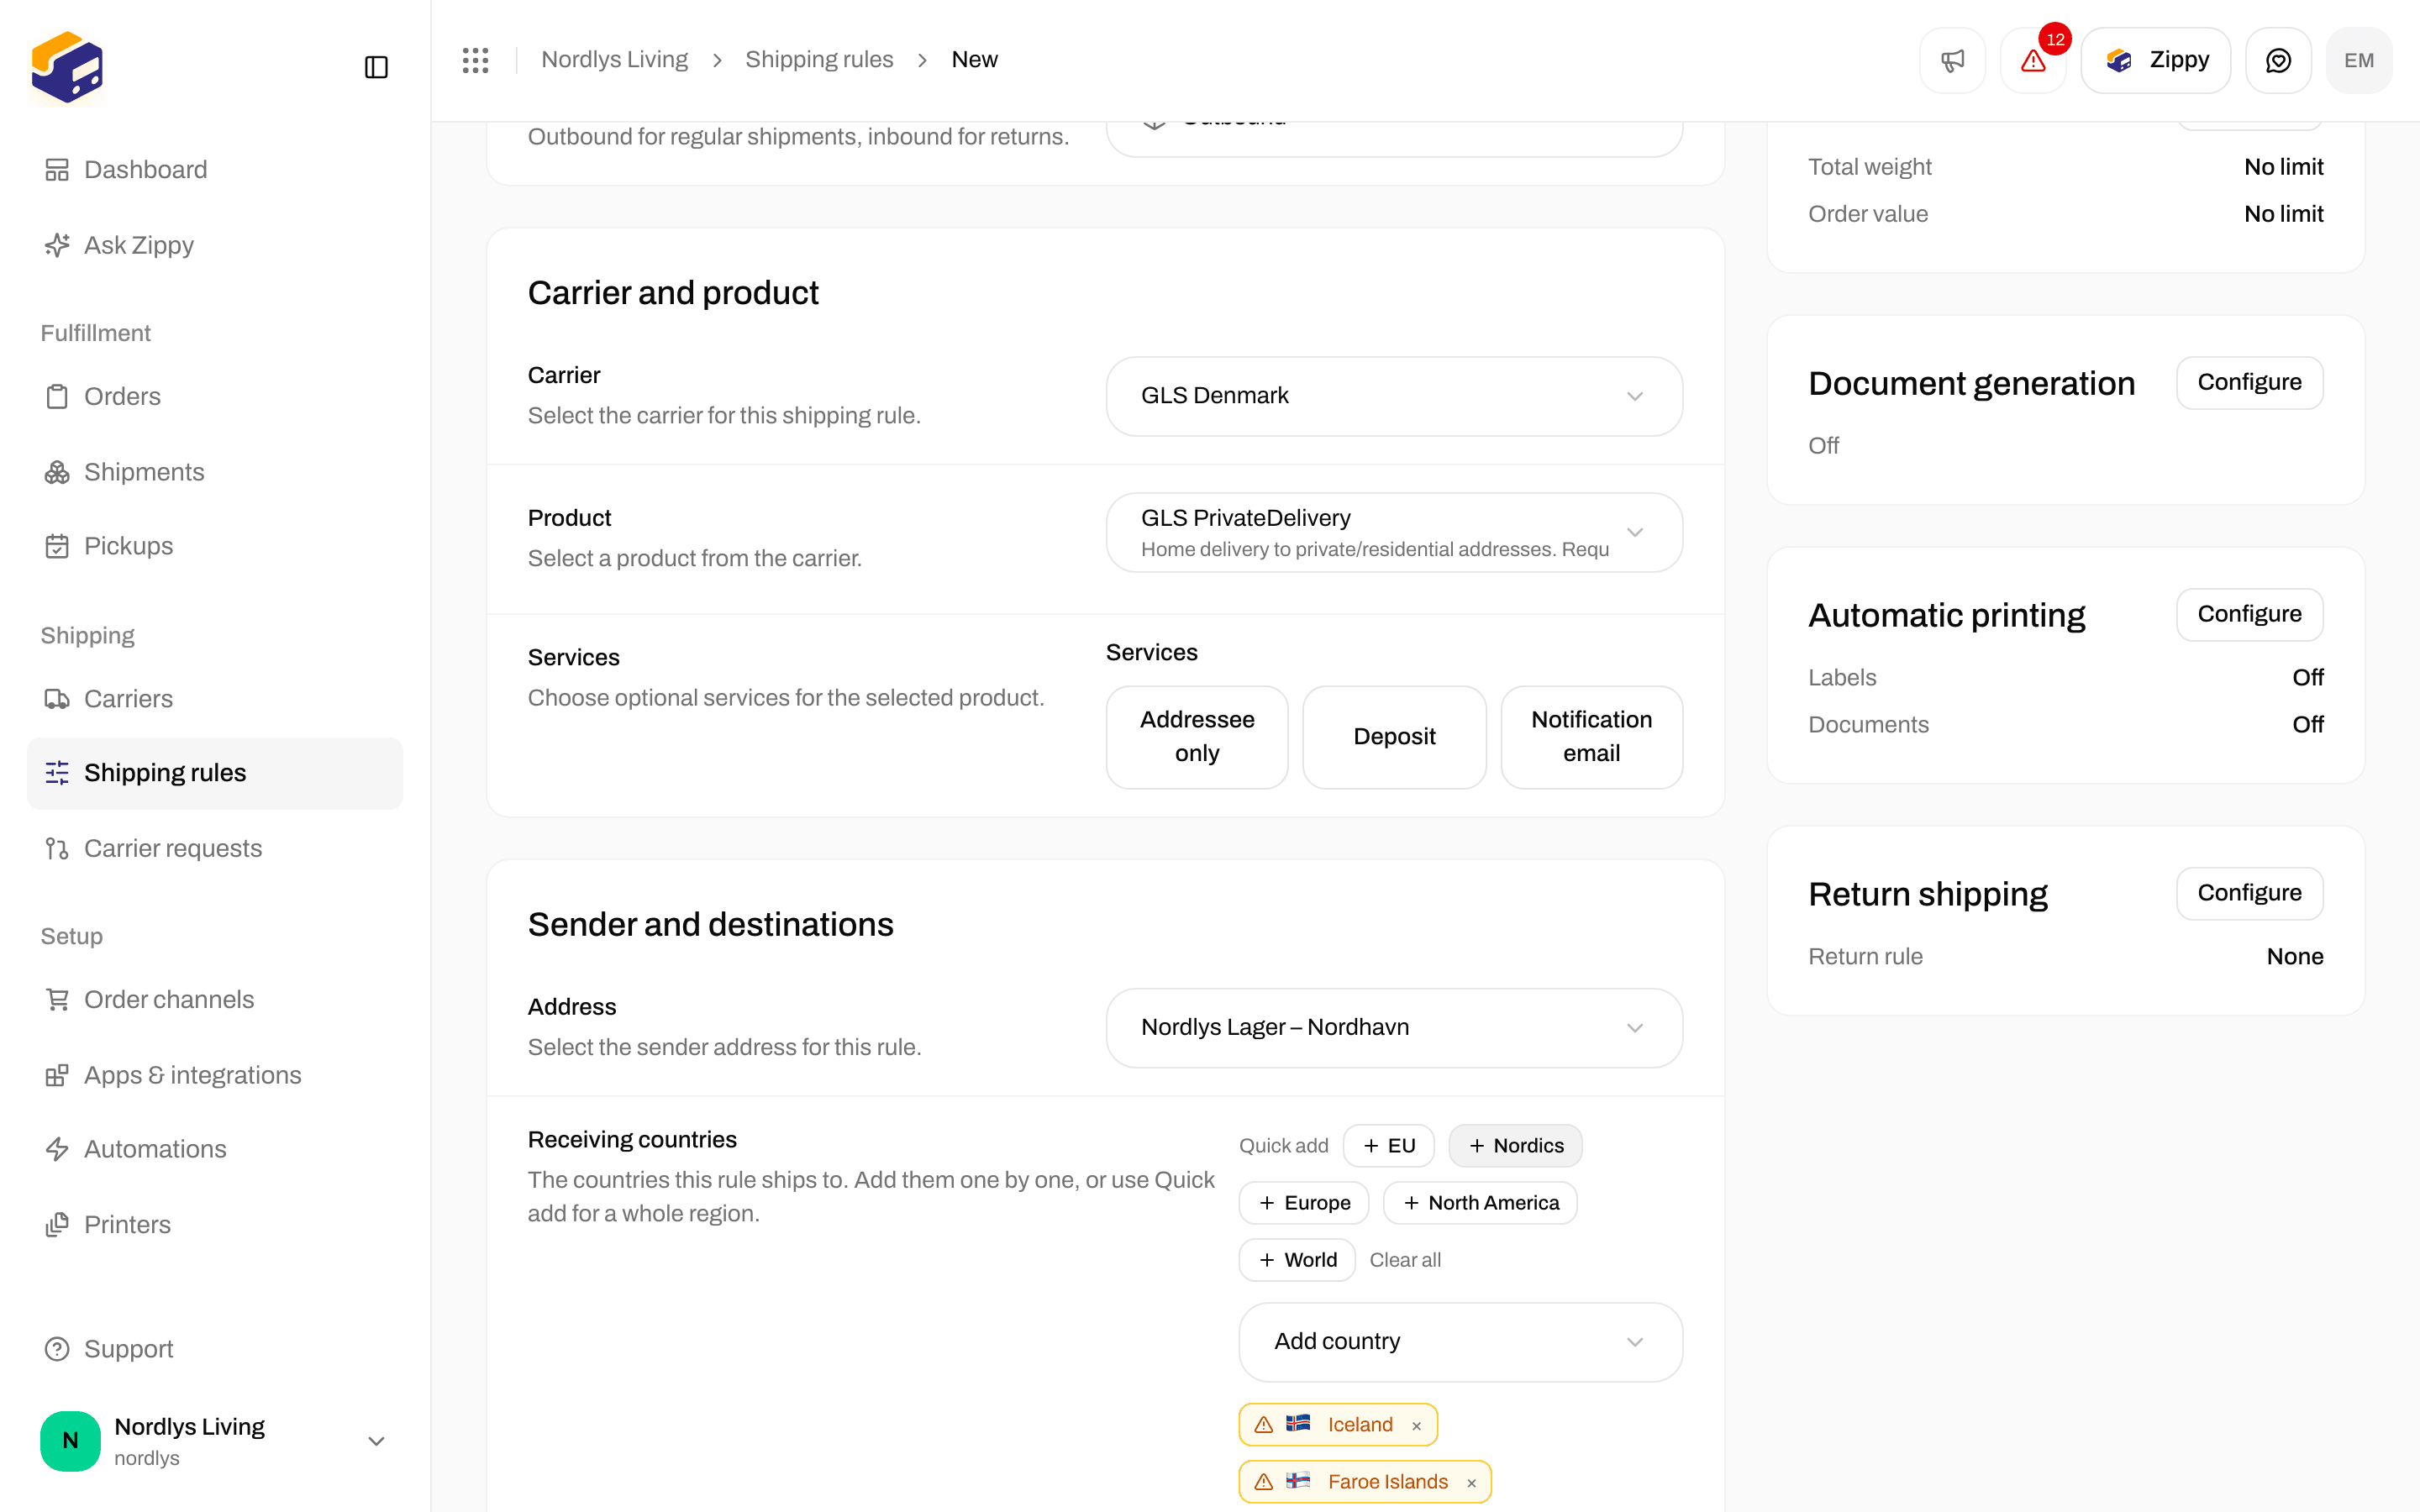
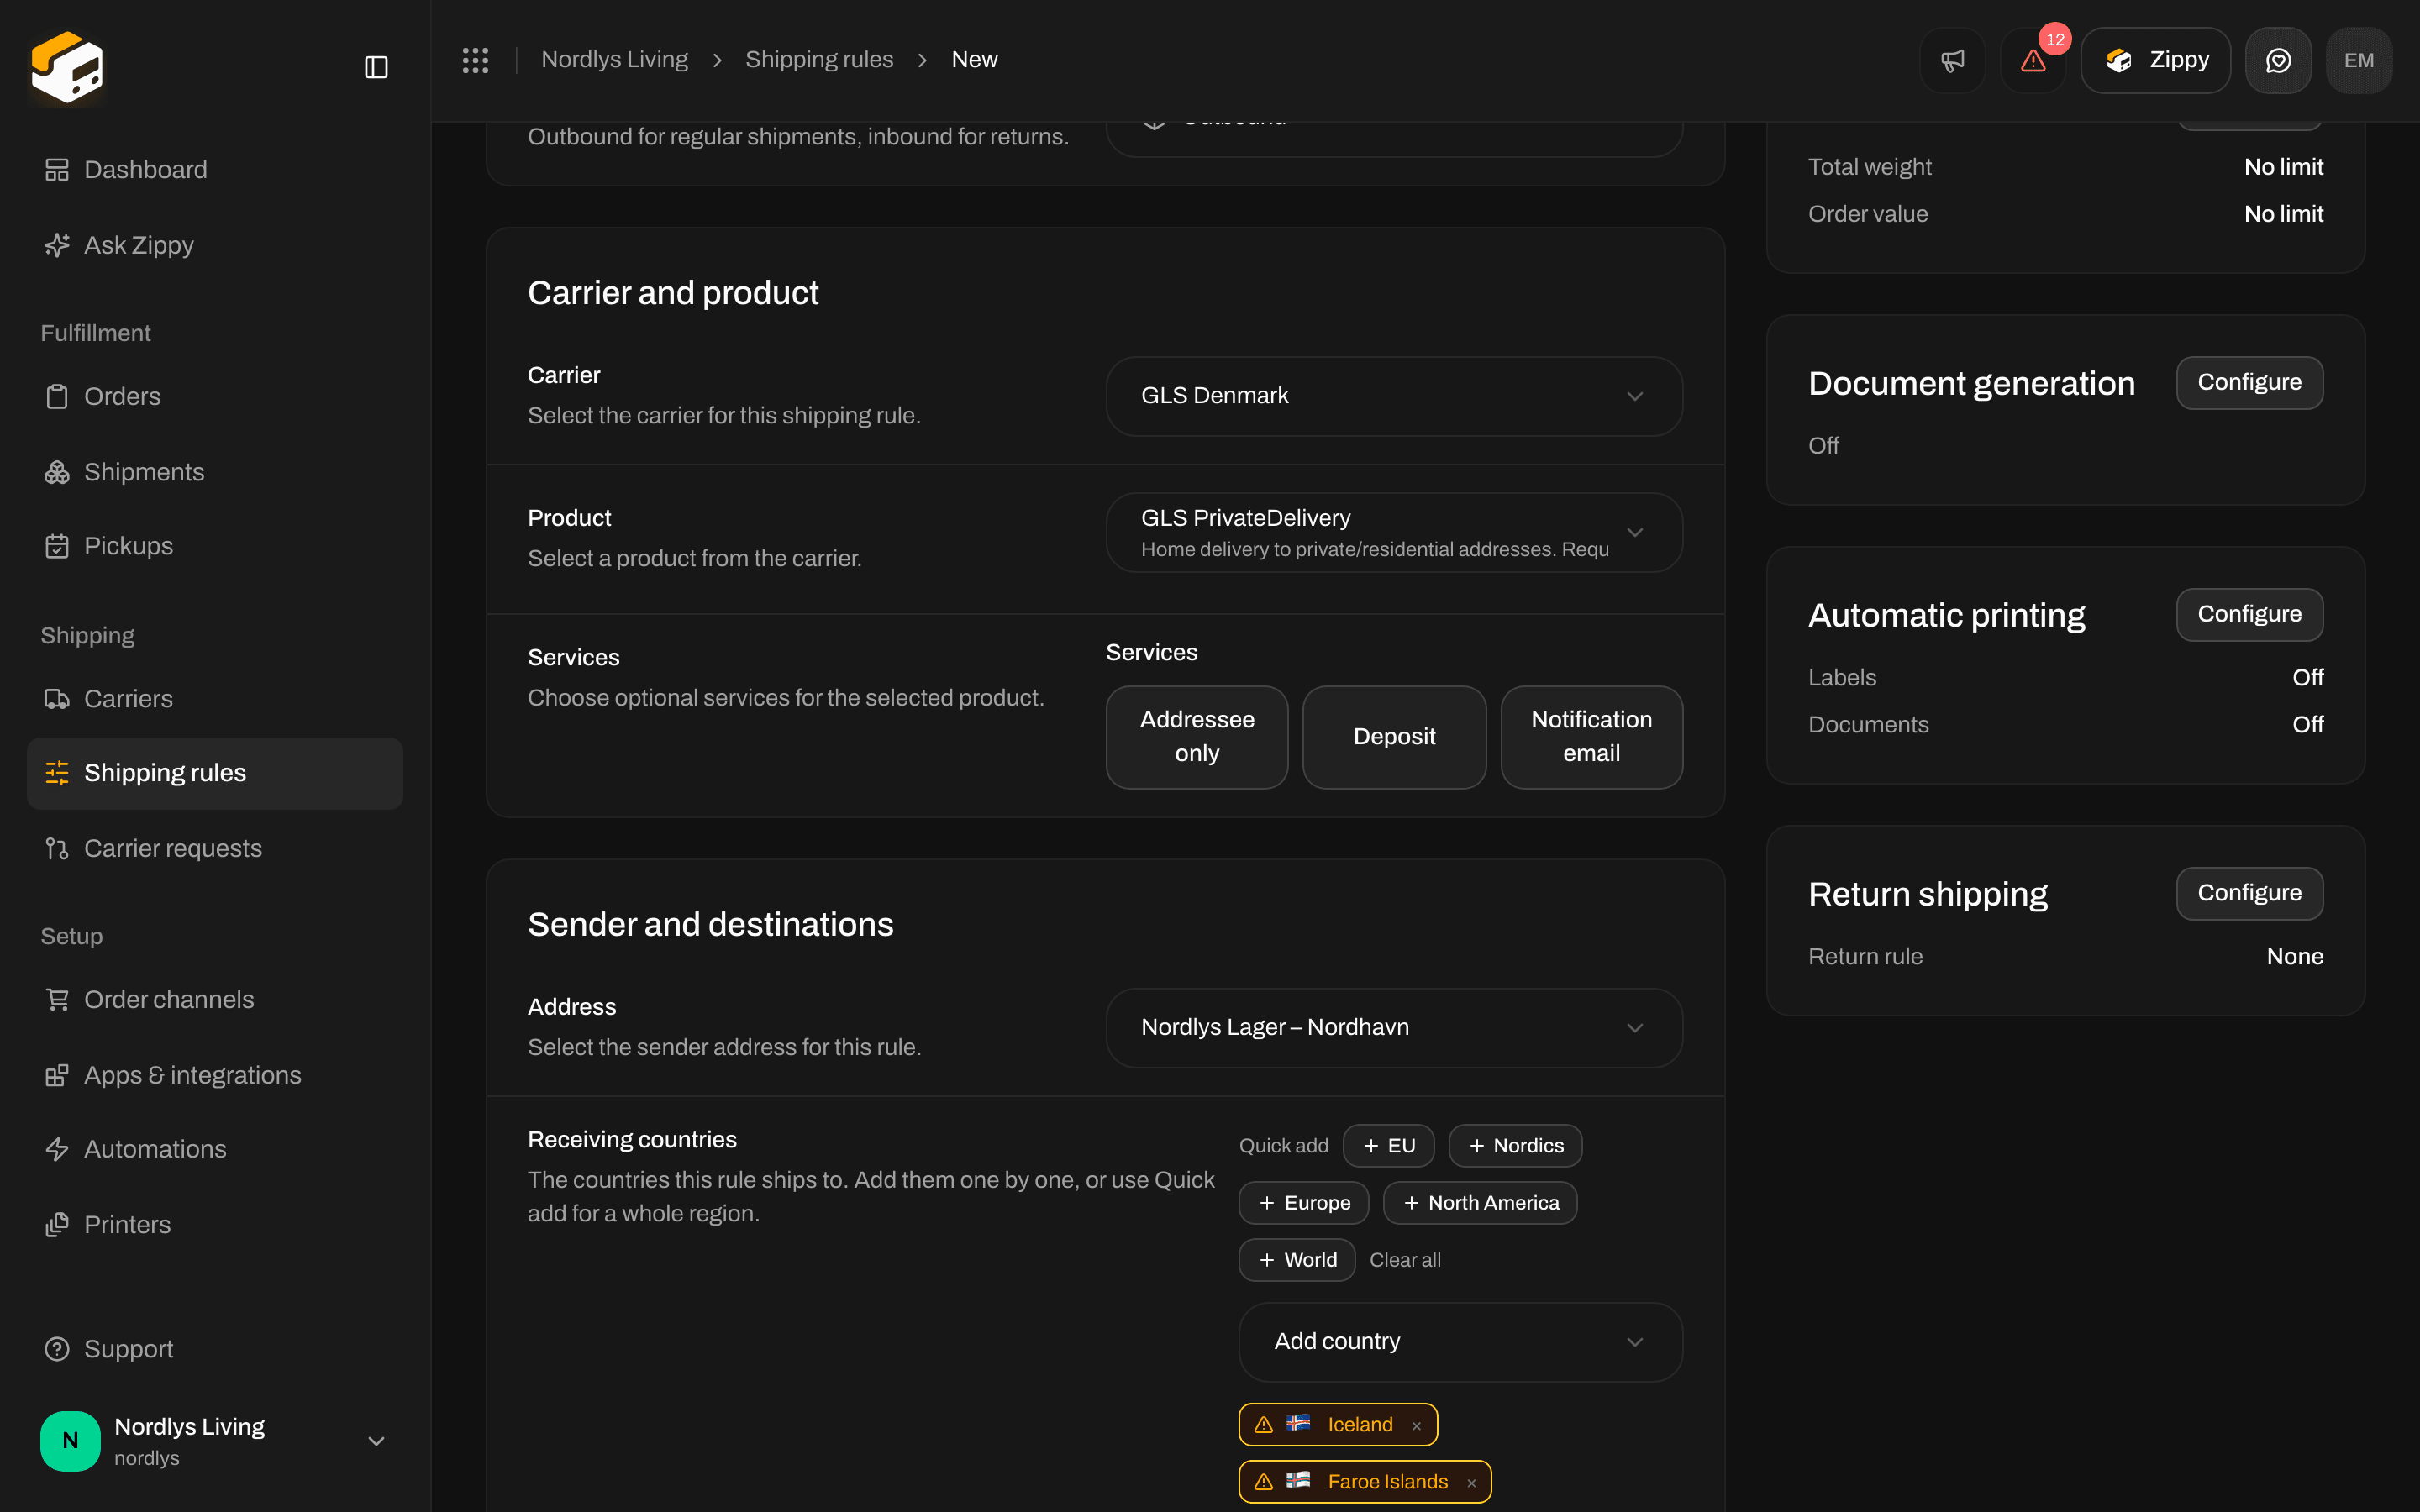
Pick the carrier, product and services
Pick the sender address
Pick the destination countries
Add at least one condition
Save
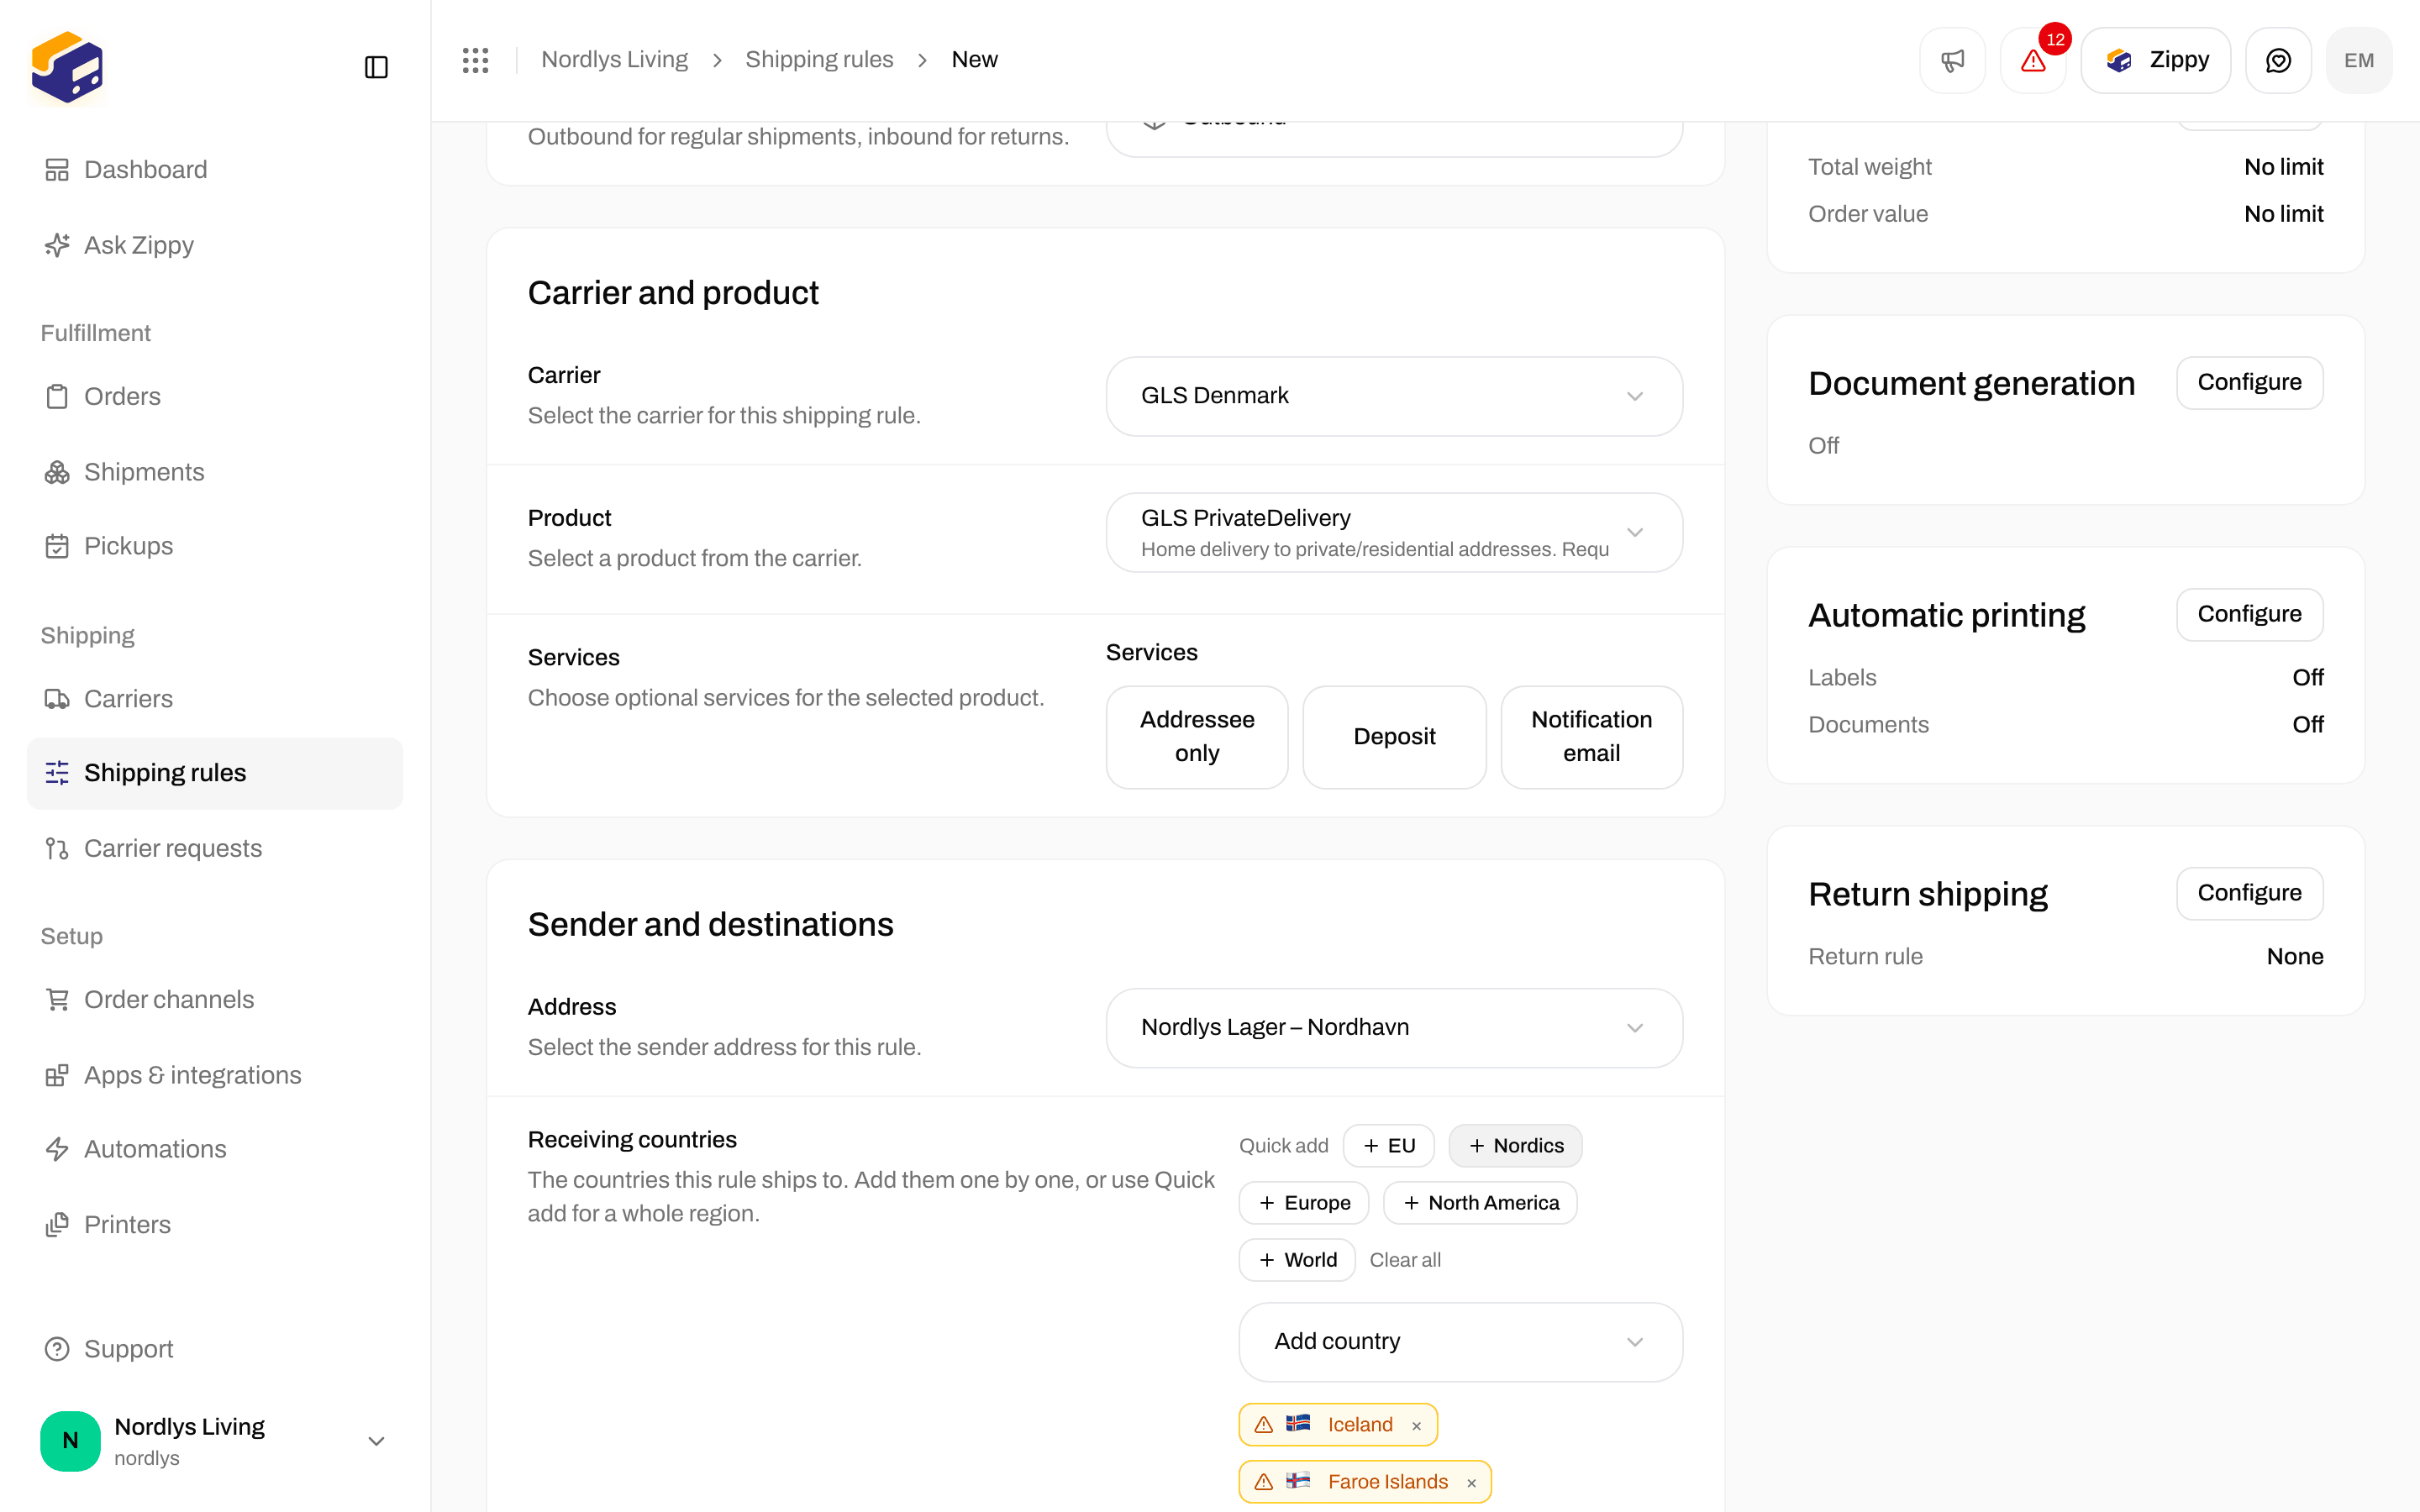
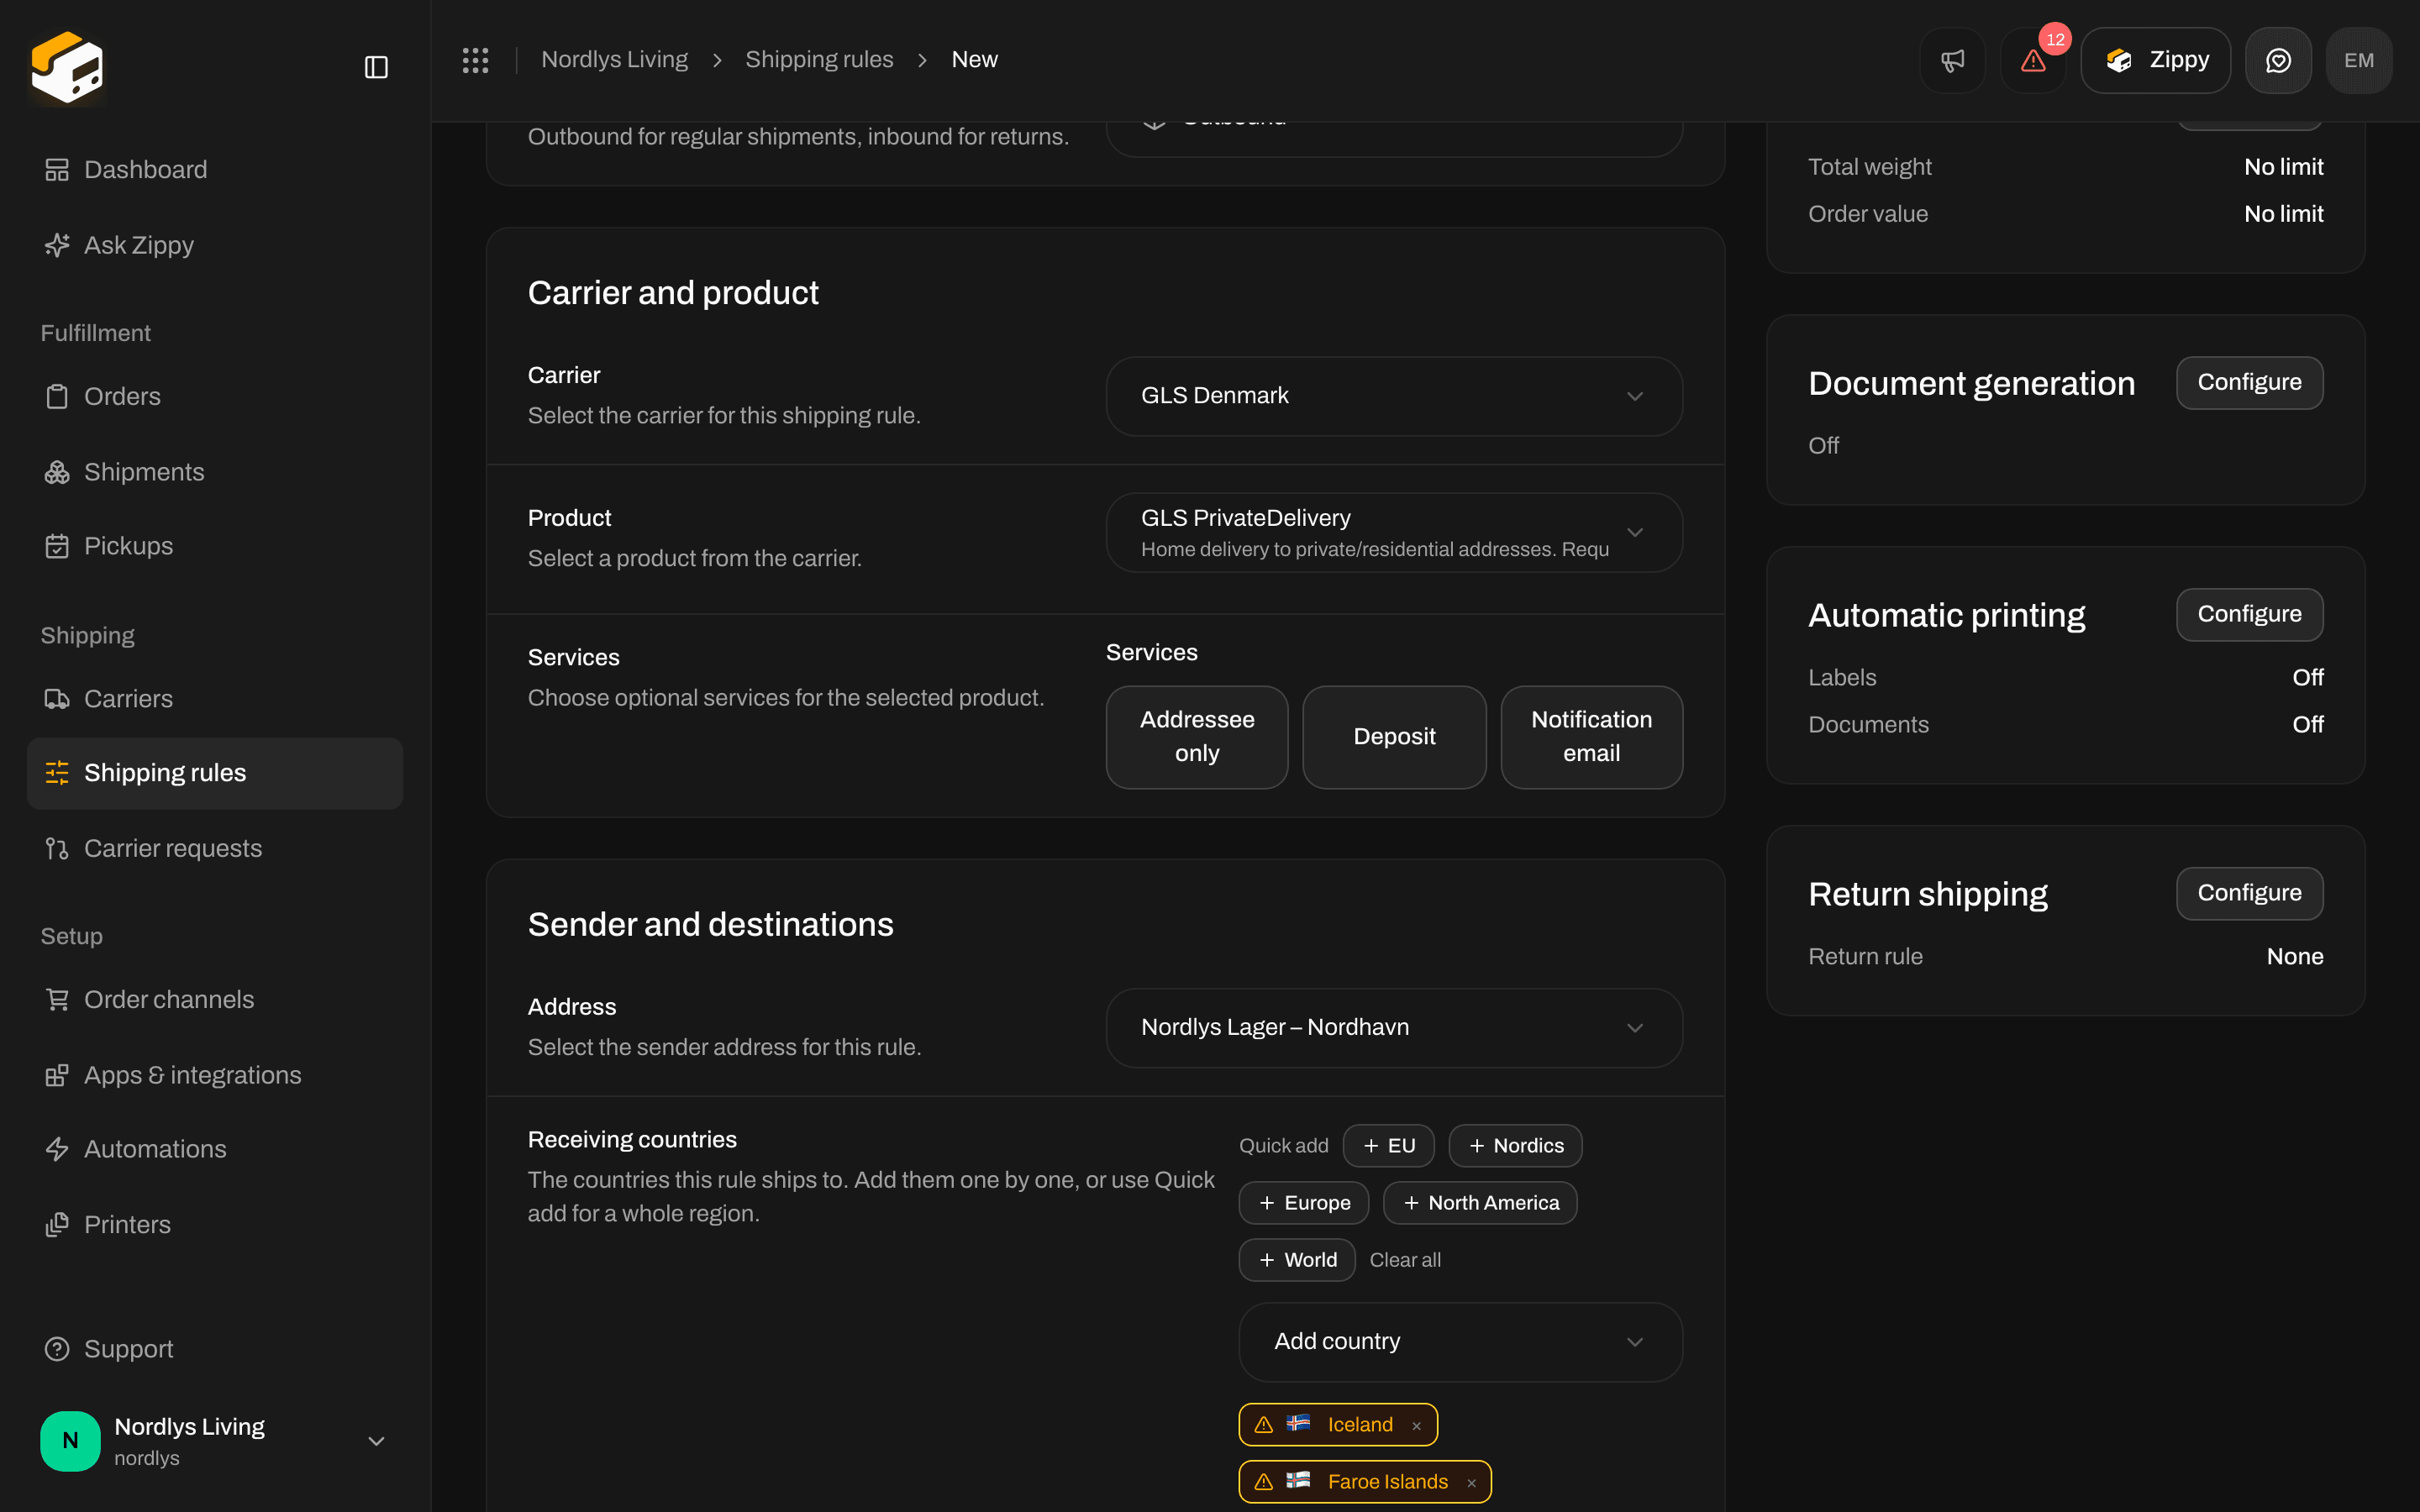
The form after choosing GLS Denmark, GLS PrivateDelivery, a sender address and the Nordic countries
Conditions
Conditions answer one question: does this cart get a shipping price from this rule, and how much? They can’t pick a carrier by SKU or by order channel. There are no conditions for those. The form has five kinds: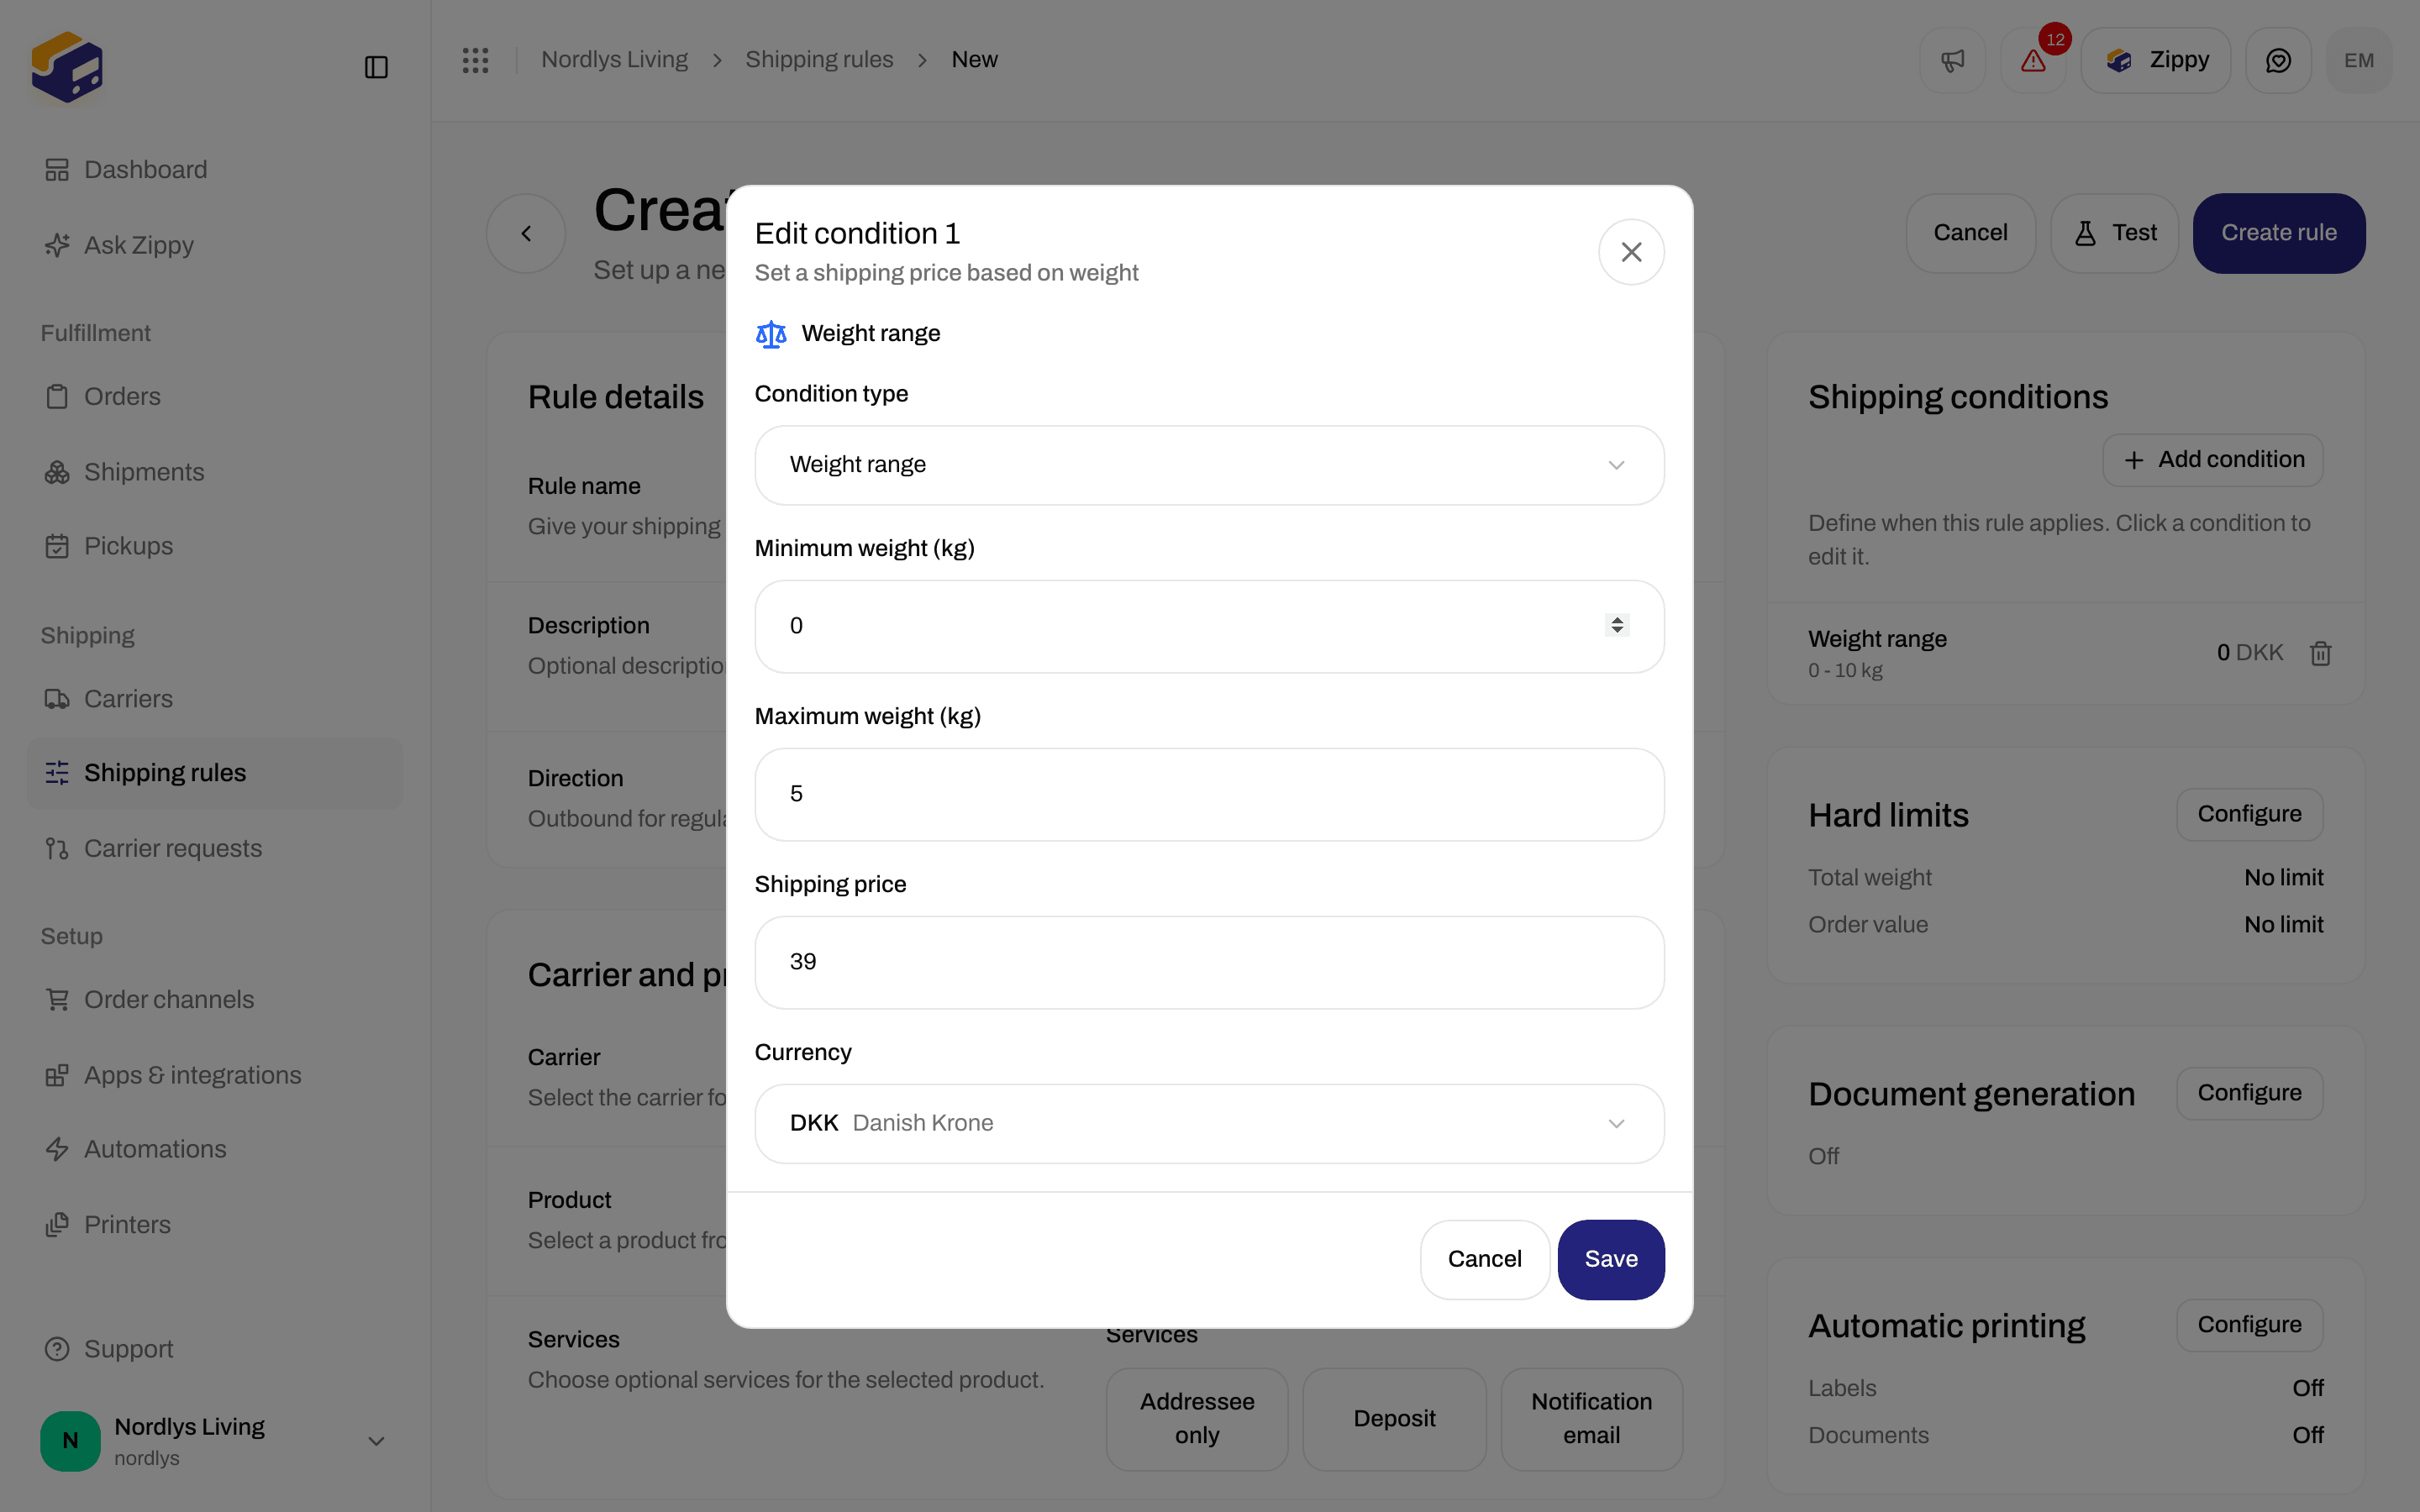
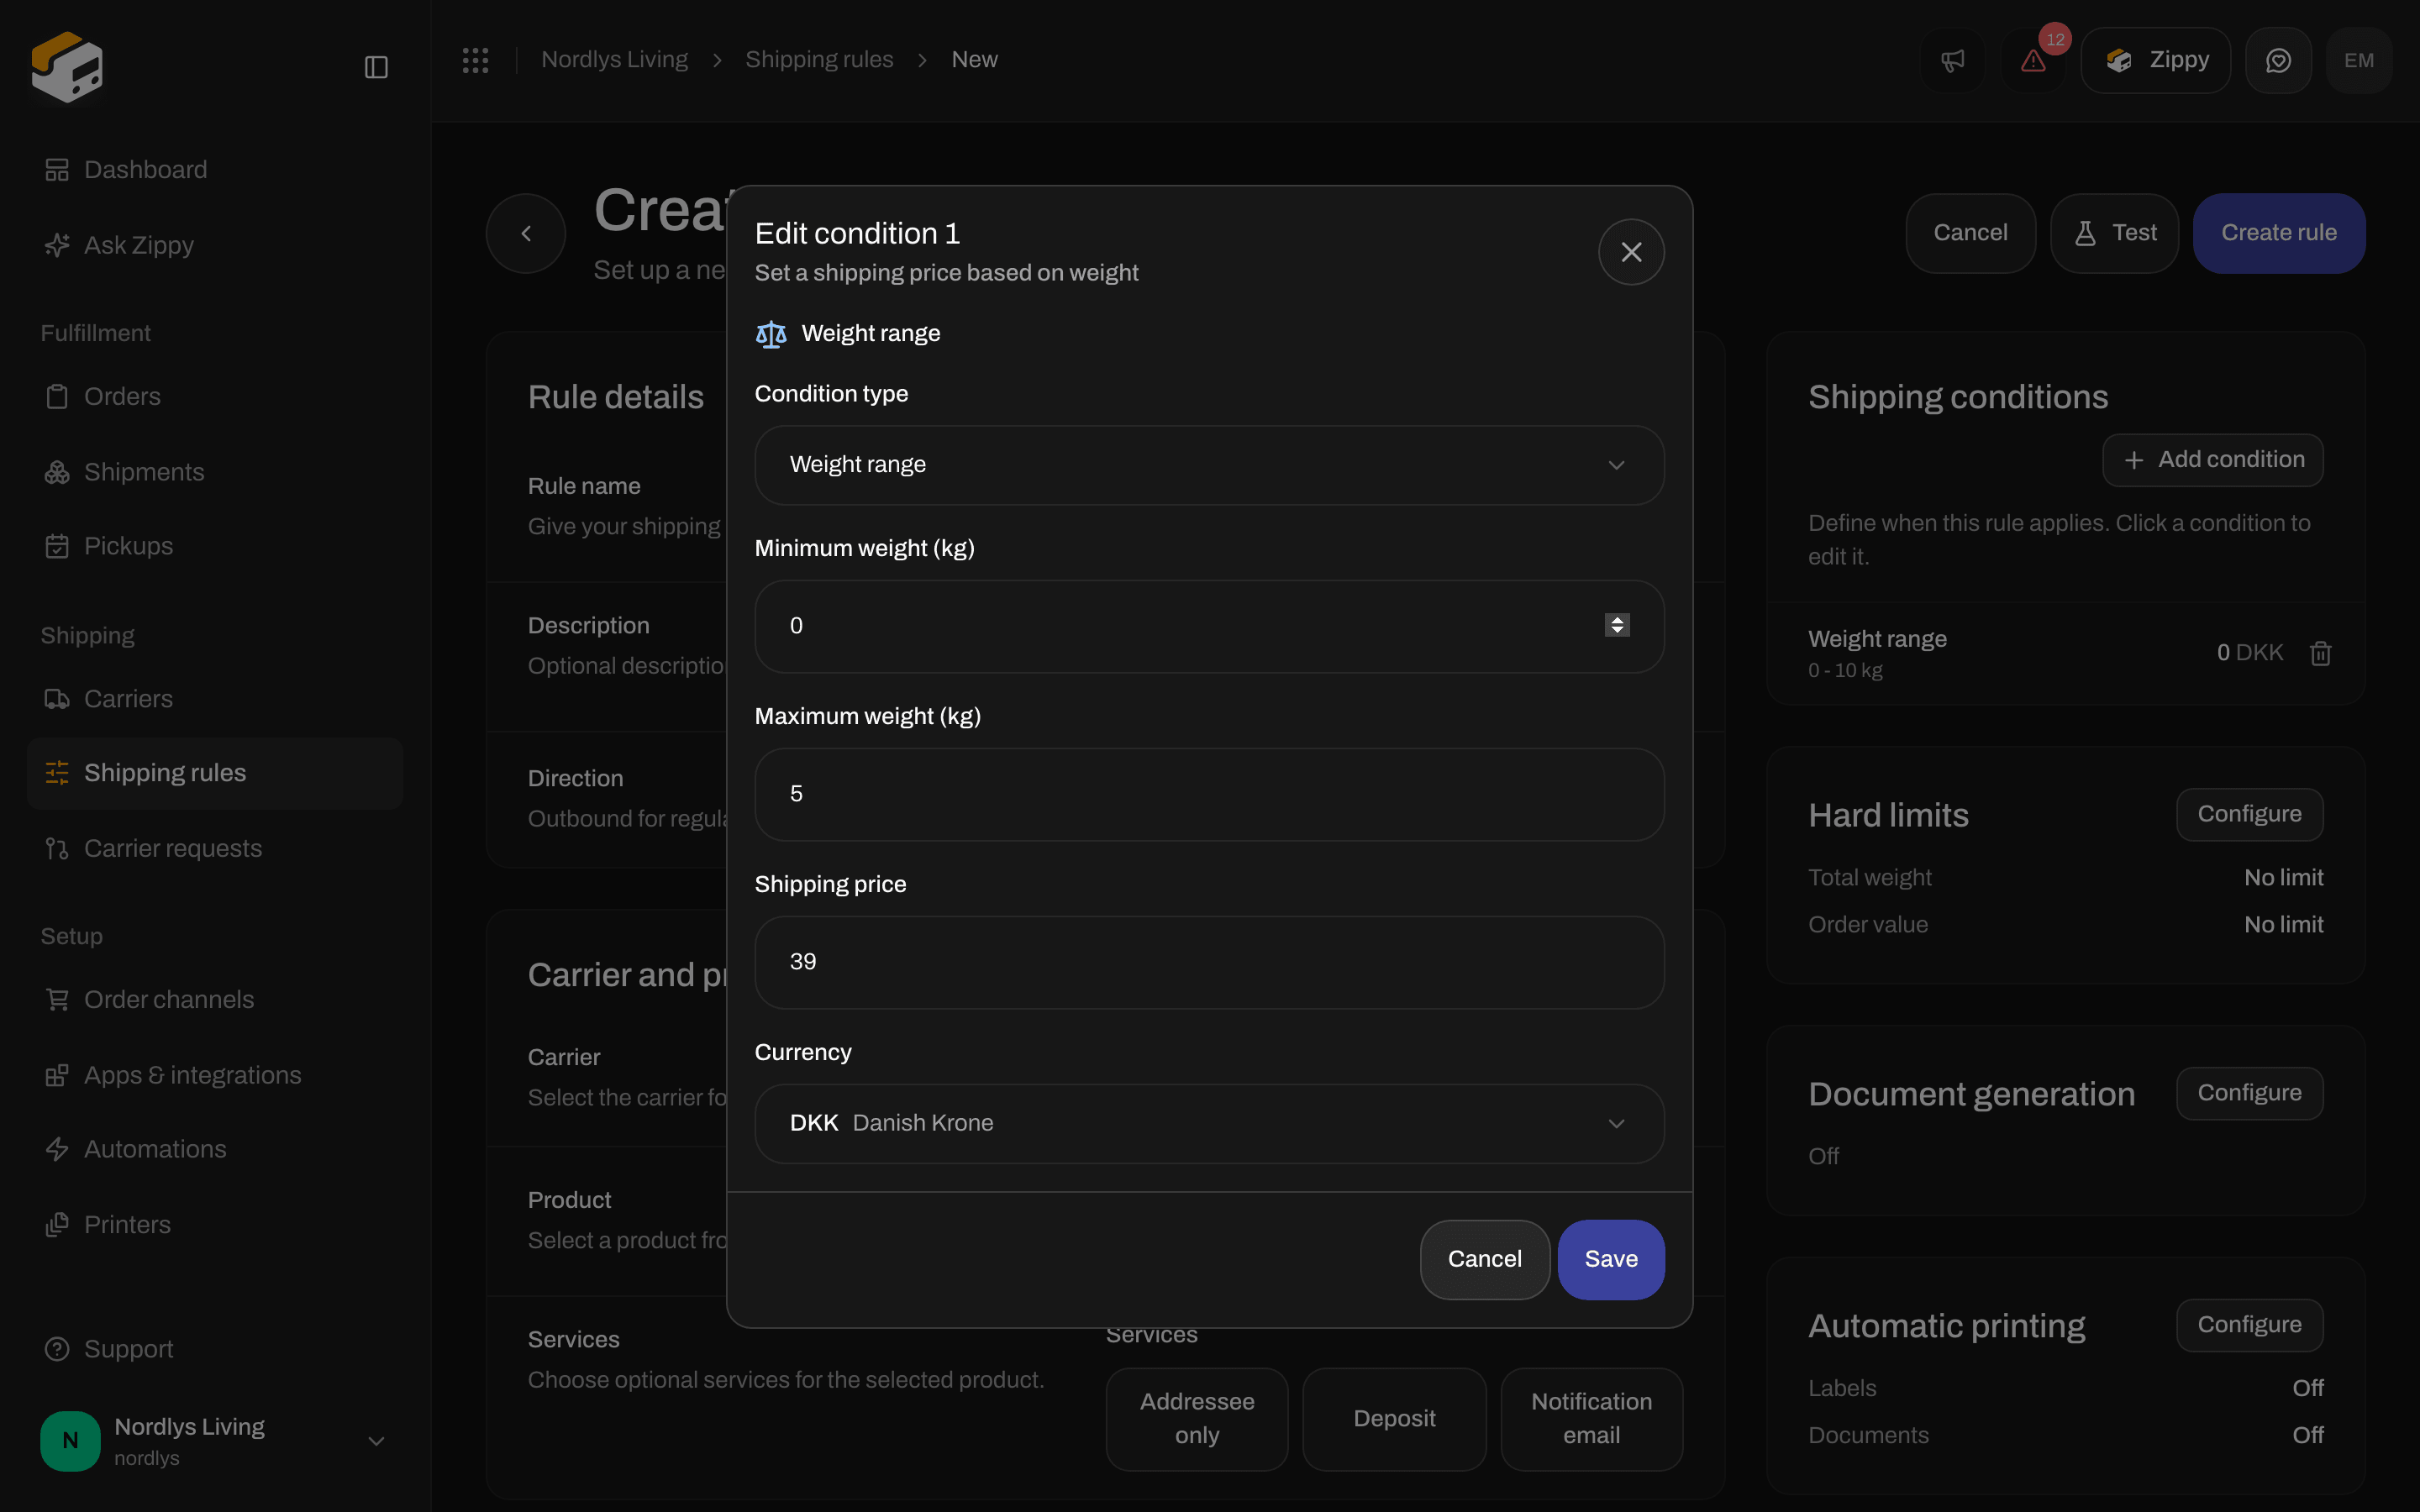
A Weight range condition: 0 to 5 kg for 39 DKK
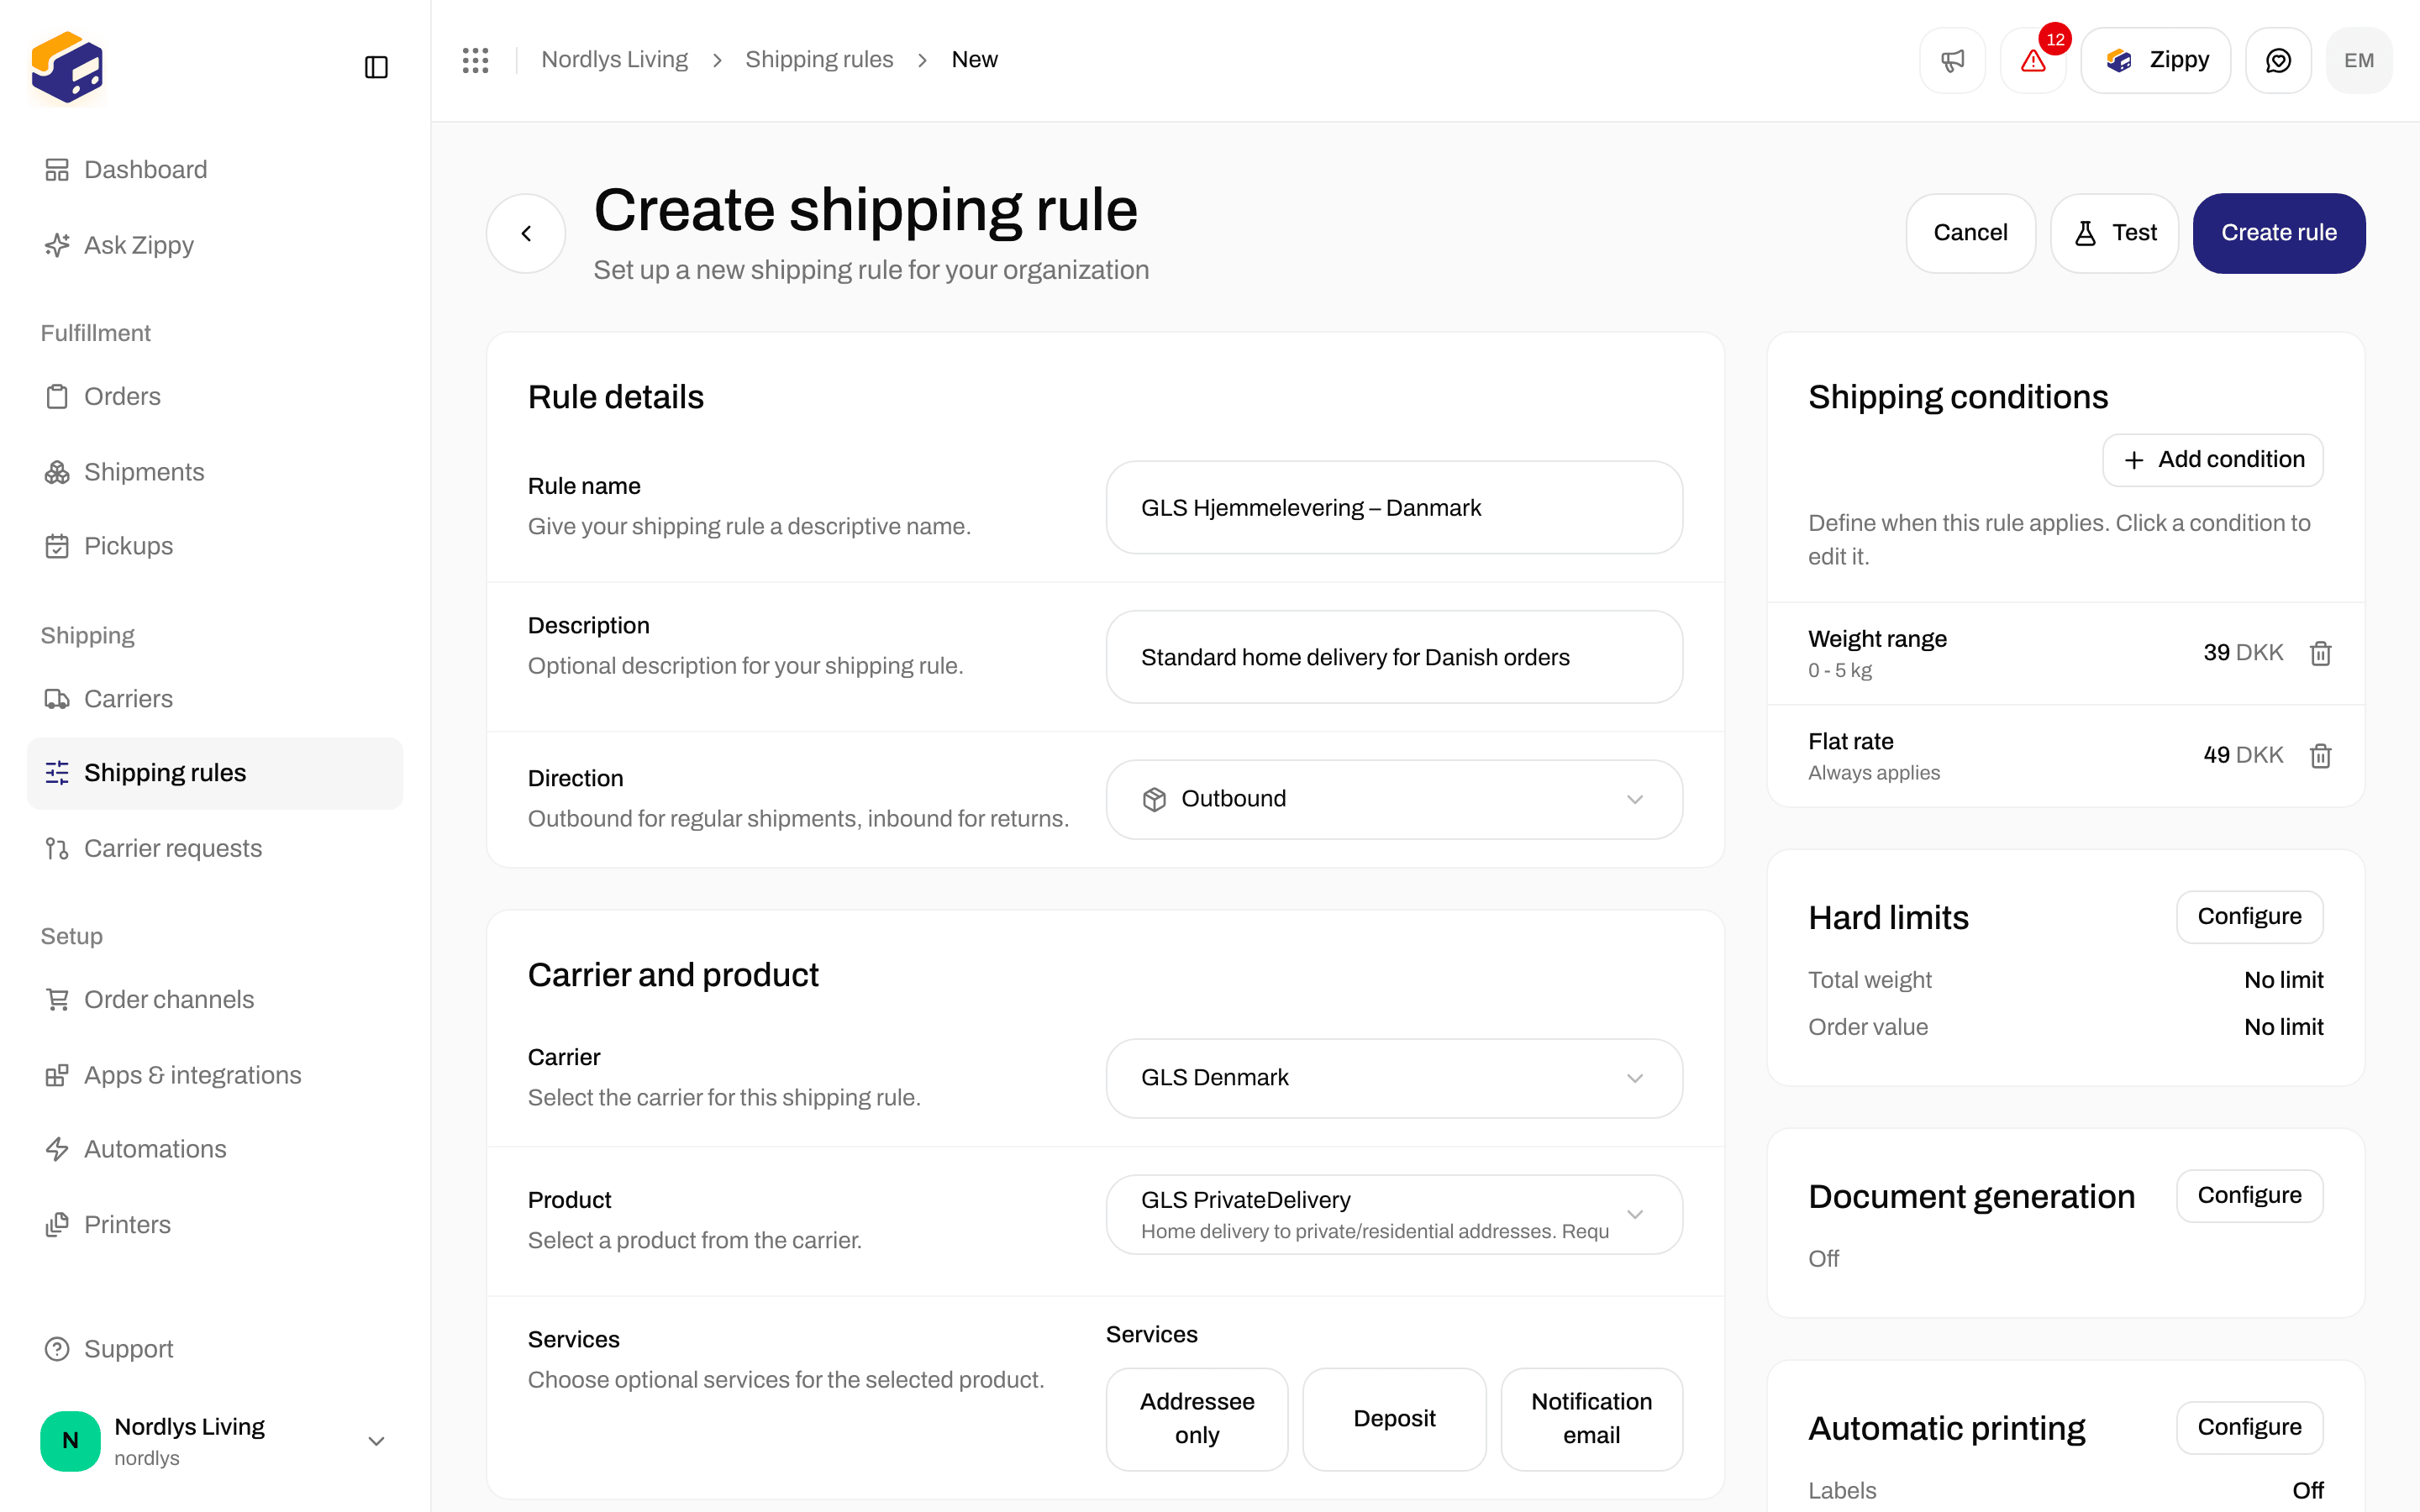
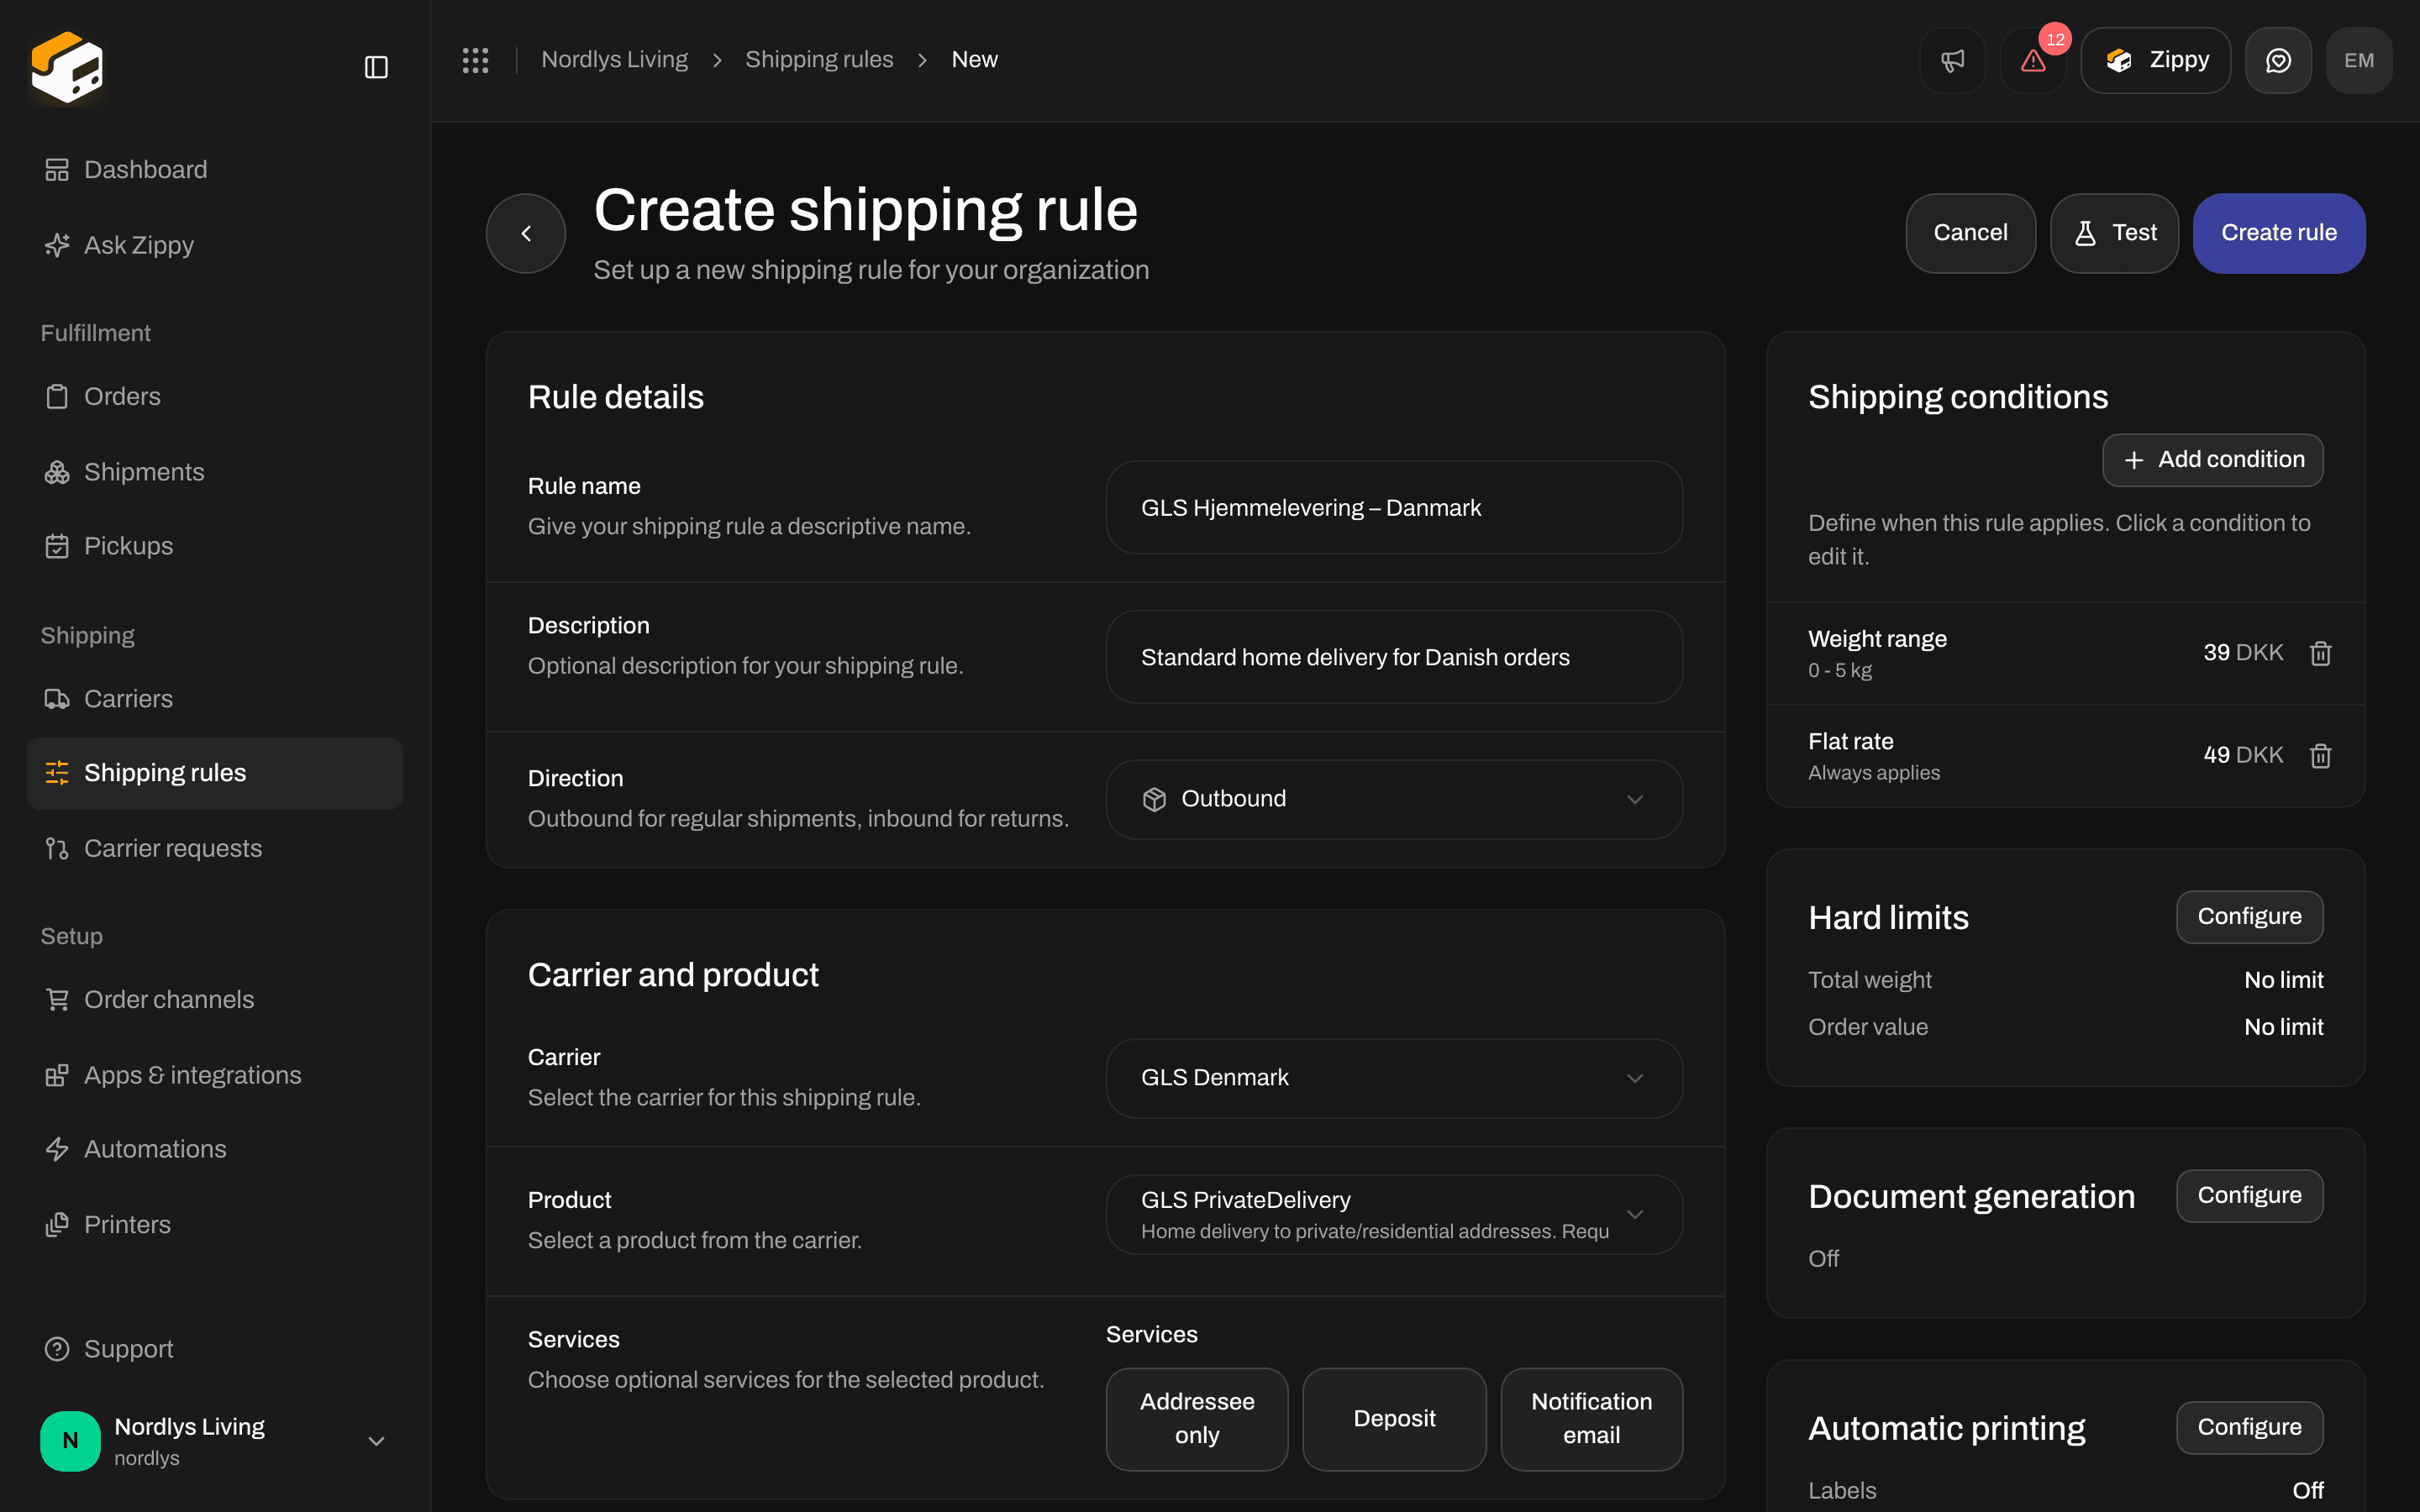
Two conditions on one rule: 0 to 5 kg for 39 DKK, and a flat rate of 49 DKK as a fallback
How Zippendo picks the price
Zippendo checks every condition on the rule. Of the conditions that match, the one with the lowest shipping price wins. A 2 kg cart that matches both “0 to 5 kg for 39 DKK” and “flat rate 49 DKK” pays 39 DKK.Hard limits
Click Configure on the Hard limits card. The limits (optional) can skip the whole rule before any condition is checked:- Total weight: a minimum and maximum in kg
- Order value: a minimum and maximum, in the order’s currency
Examples
Build these with the fields above. There are no SKU or order channel conditions. By destination country. Make one rule per region. Set Receiving countries toDK for domestic GLS, and make a second rule with SE and NO for PostNord. The country is the first thing checked at checkout.
Receiving countries after Quick add → Nordics
Products and extra options
The Product list shows the products of the carrier you picked. Home delivery and service point delivery are different products. When you apply a service point rule to a shipment that has no service point yet, you must pick one. Extra fields appear below Services when the product (or a service you ticked) needs extra details. GLS PrivateDelivery usually has none. Other products may ask for return options or other carrier details. Fill in the required ones before you save. If you later give the carrier or the sender address to a different brand, saving this rule fails until you change its Brand or pick another carrier or address.Documents, printing and returns
These settings apply when a shipment with this rule is sent. Each has its own card: click Configure to change it, then Done.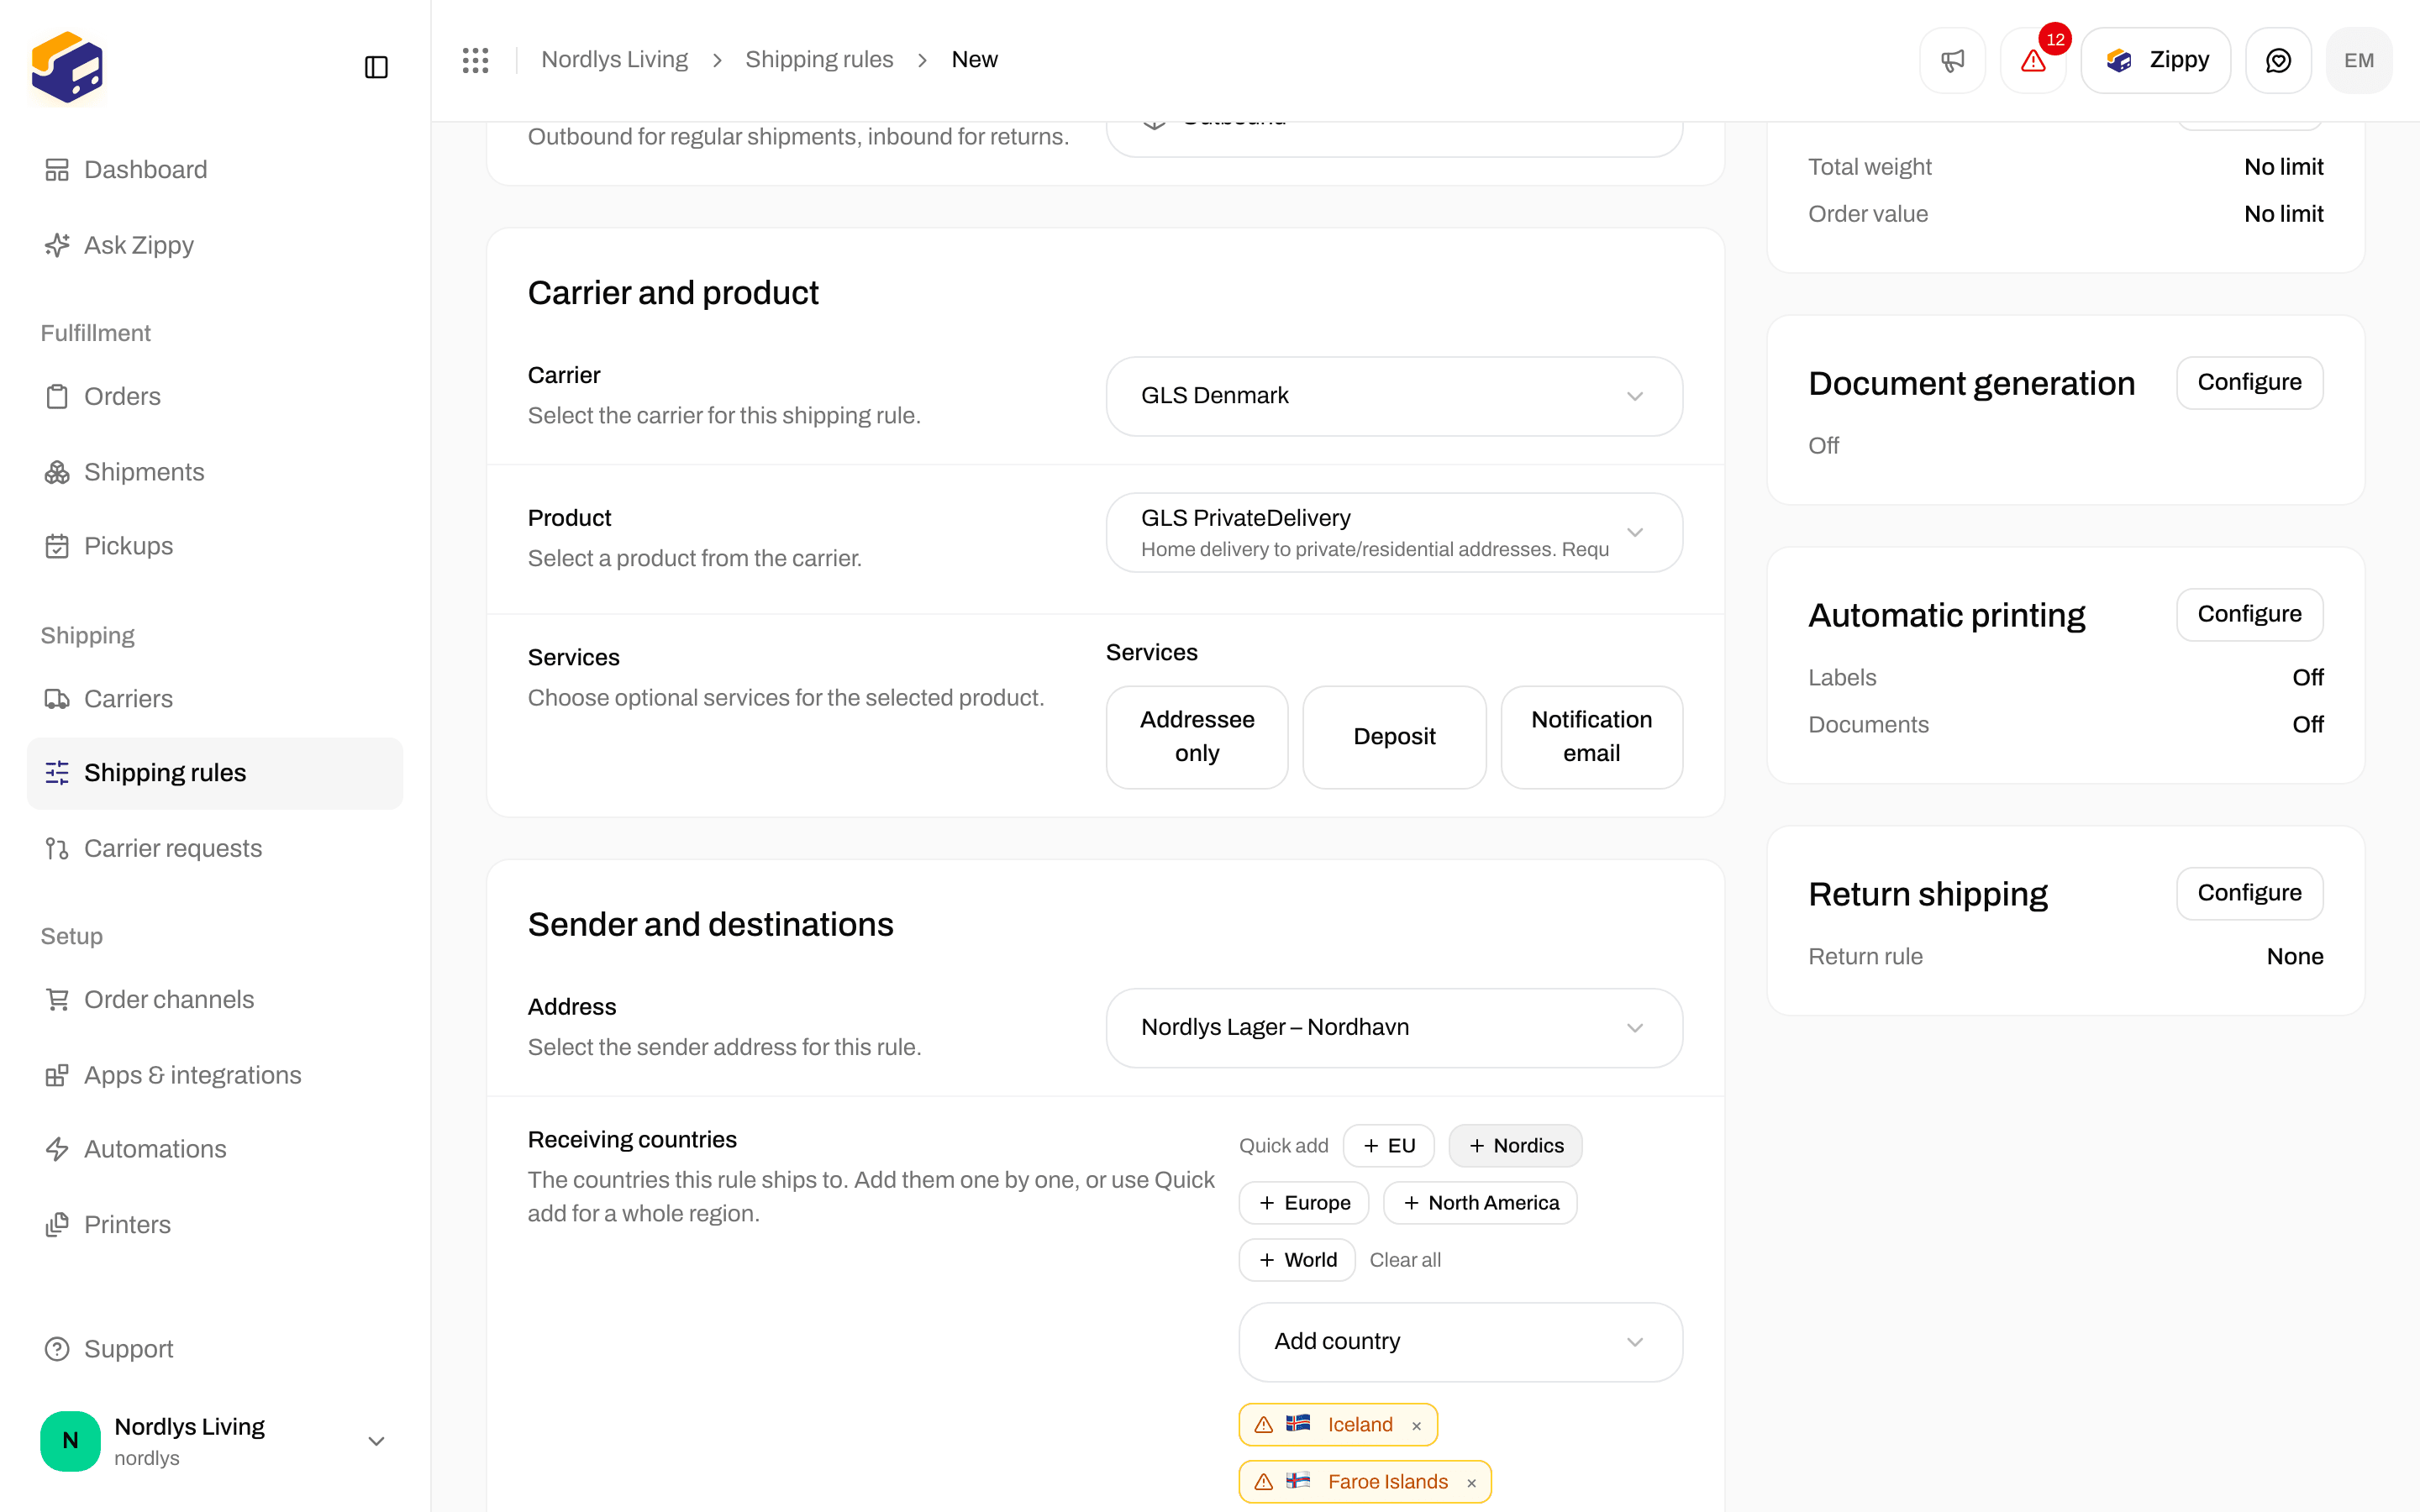
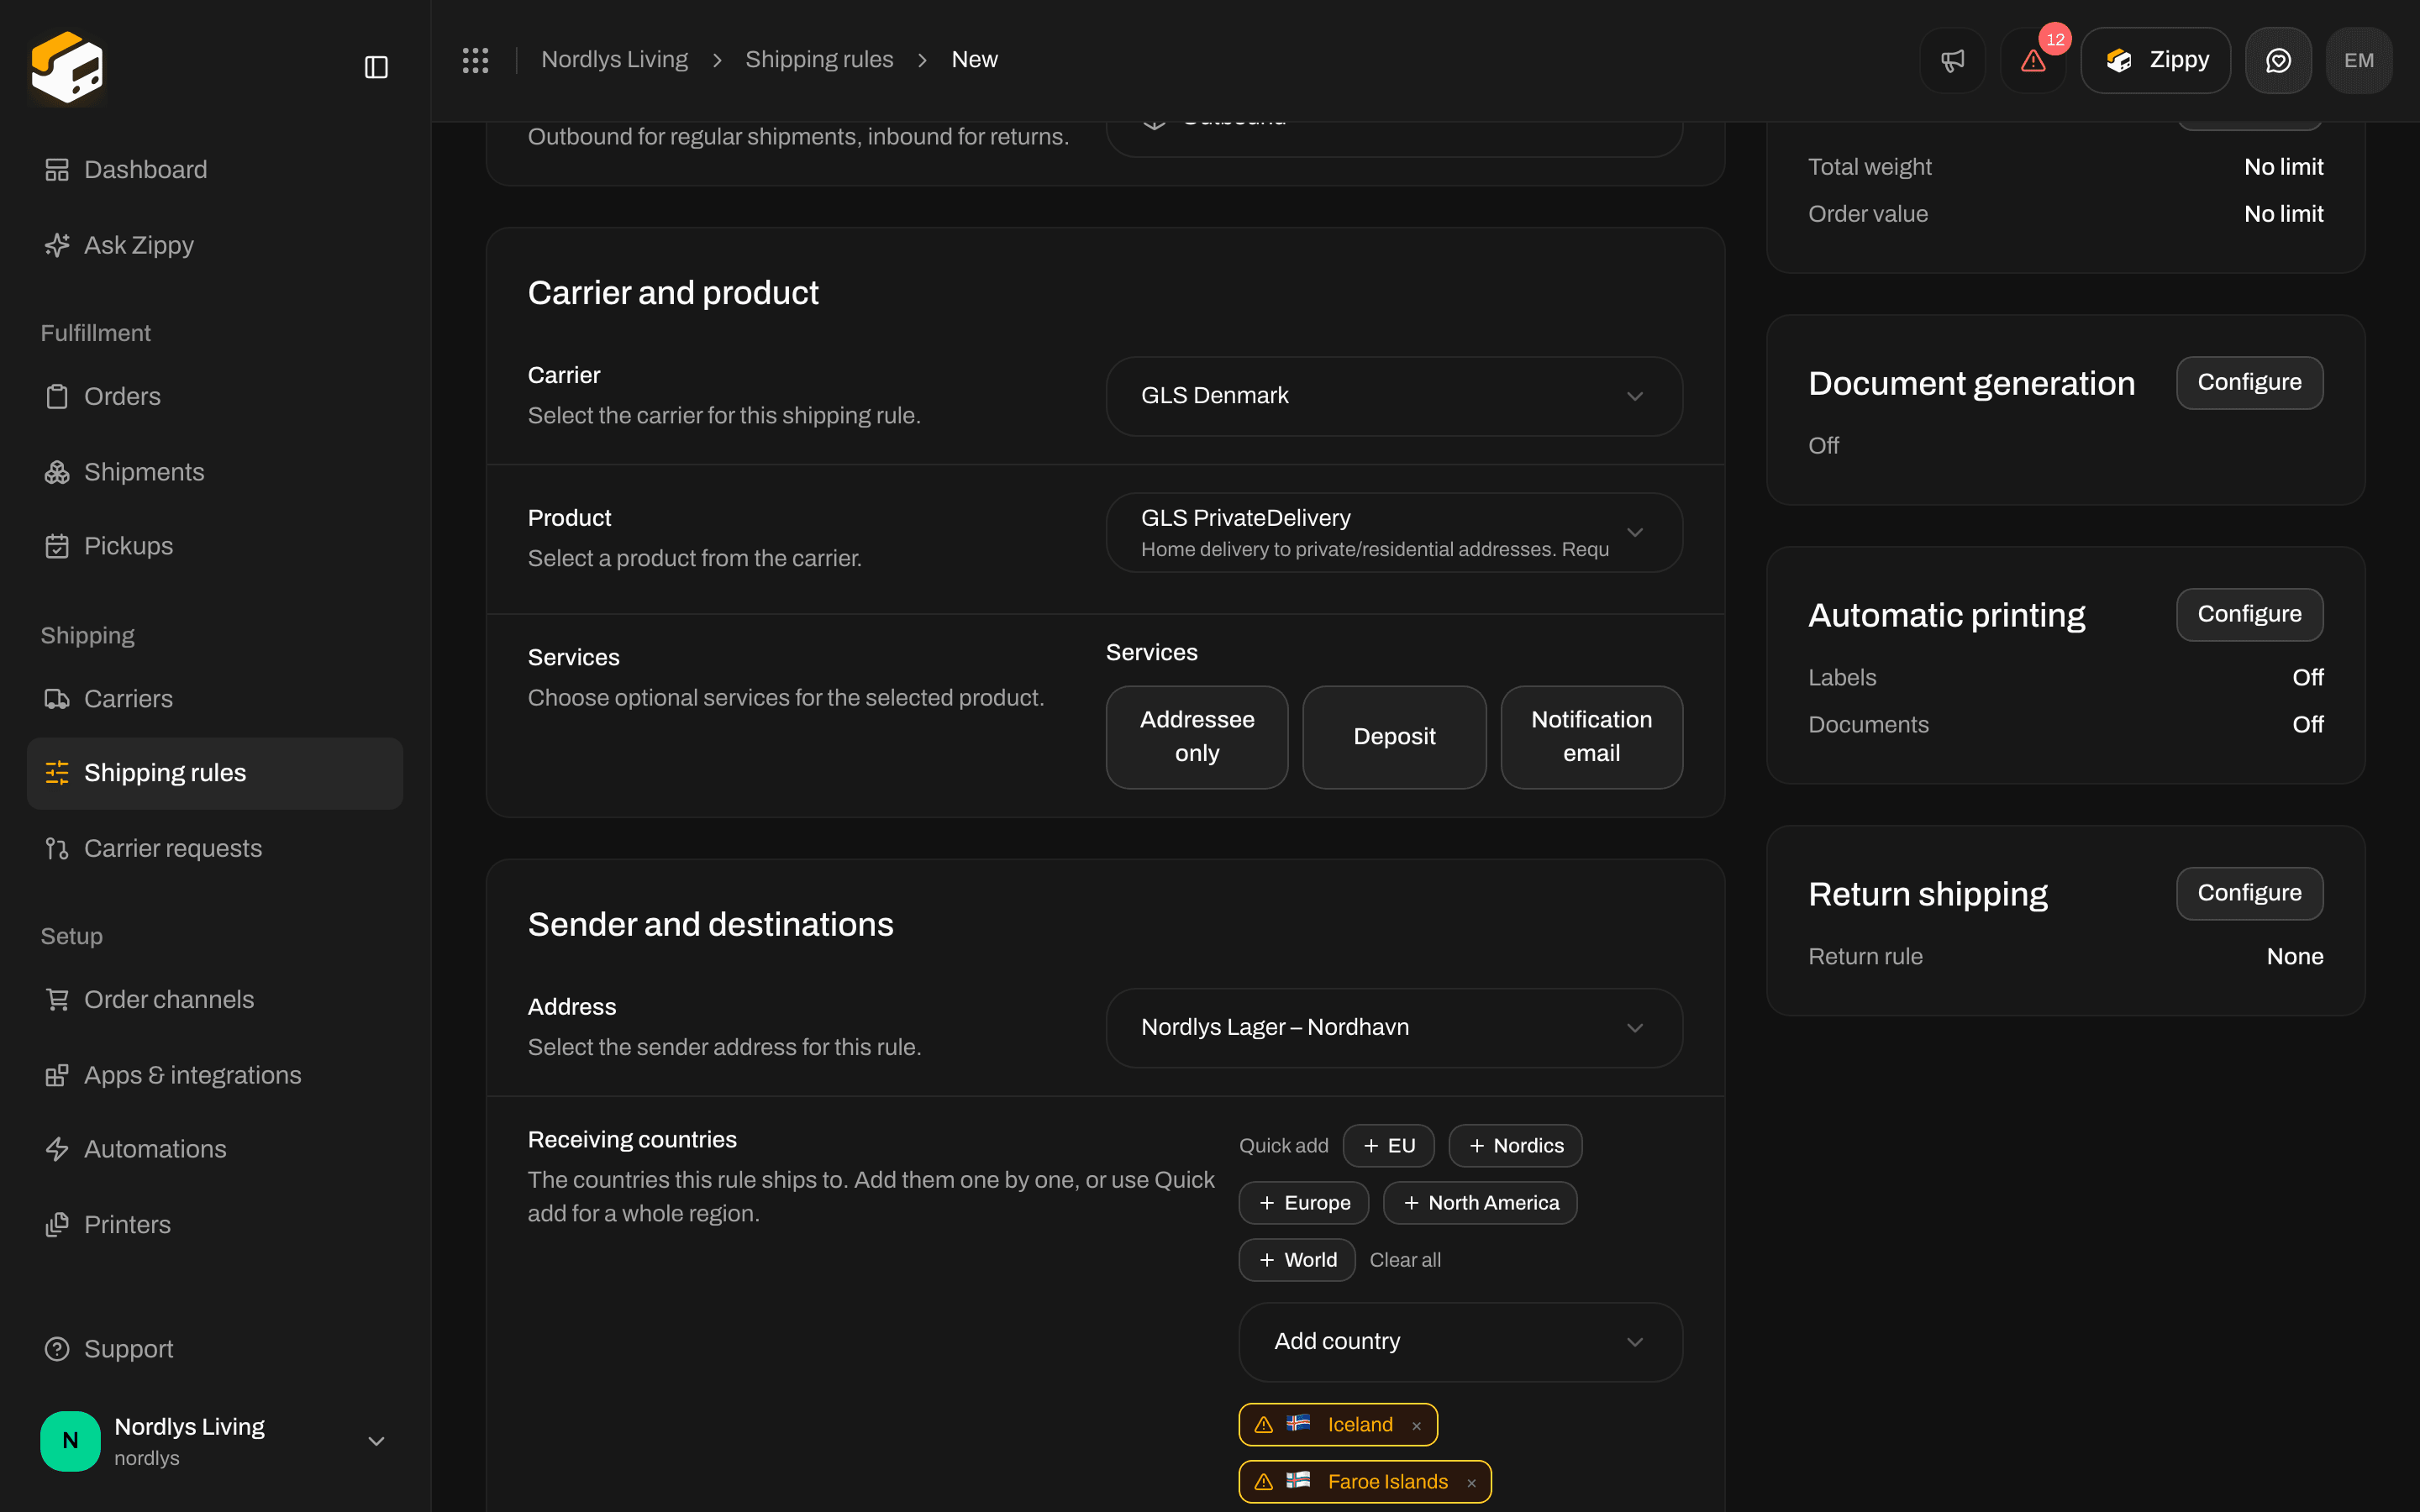
Document generation, Automatic printing and Return shipping on the form
- Generate proforma invoice / Generate commercial invoice: Zippendo creates customs paperwork for shipments leaving the EU. Some carriers create these documents themselves and send them with the label. The form then tells you that Zippendo will not make its own copies.
- Generate packing slip: a packing slip listing the parcels and items, to put in the box.
- Print labels automatically / Print documents automatically: print on an approved label printer or document printer as soon as the shipment is sent. The printers must be Active.
- Return shipping rule: pick an inbound rule to use for return shipments. Create return automatically when the shipment is sent creates and sends that return shipment as soon as the outbound shipment is sent. See Returns.
Brands
If your organization uses brands, the form has a Brand field. A rule with a brand only applies to that brand’s orders, and can only use carriers and sender addresses that brand may use (its own, or ones shared by the whole organization). A rule without a brand is shared by the whole organization.How rules are chosen (there is no priority)
Rules have no priority number, and the first match does not win. At checkout- Zippendo starts with the rules ticked for that order channel, or every rule in your organization if none are ticked.
- It keeps the rules whose Receiving countries include the customer’s country.
- It drops rules the cart falls outside of under Hard limits.
- It drops rules where no condition matches.
- Every rule that is left is offered. A home delivery rule appears once. A service point rule appears once for each nearby service point.
Change, stop using or delete a rule
Click a row (or Edit in the row’s ⋯ menu) to open Edit shipping rule. Make your changes and click Update rule. There is no on/off switch. A saved rule can always be offered at checkout, as long as its countries, hard limits, conditions, brand and order channel settings allow it. To stop using a rule:- delete it, or
- remove countries or tighten the hard limits so it no longer matches, or
- untick it in the order channel’s checkout settings.
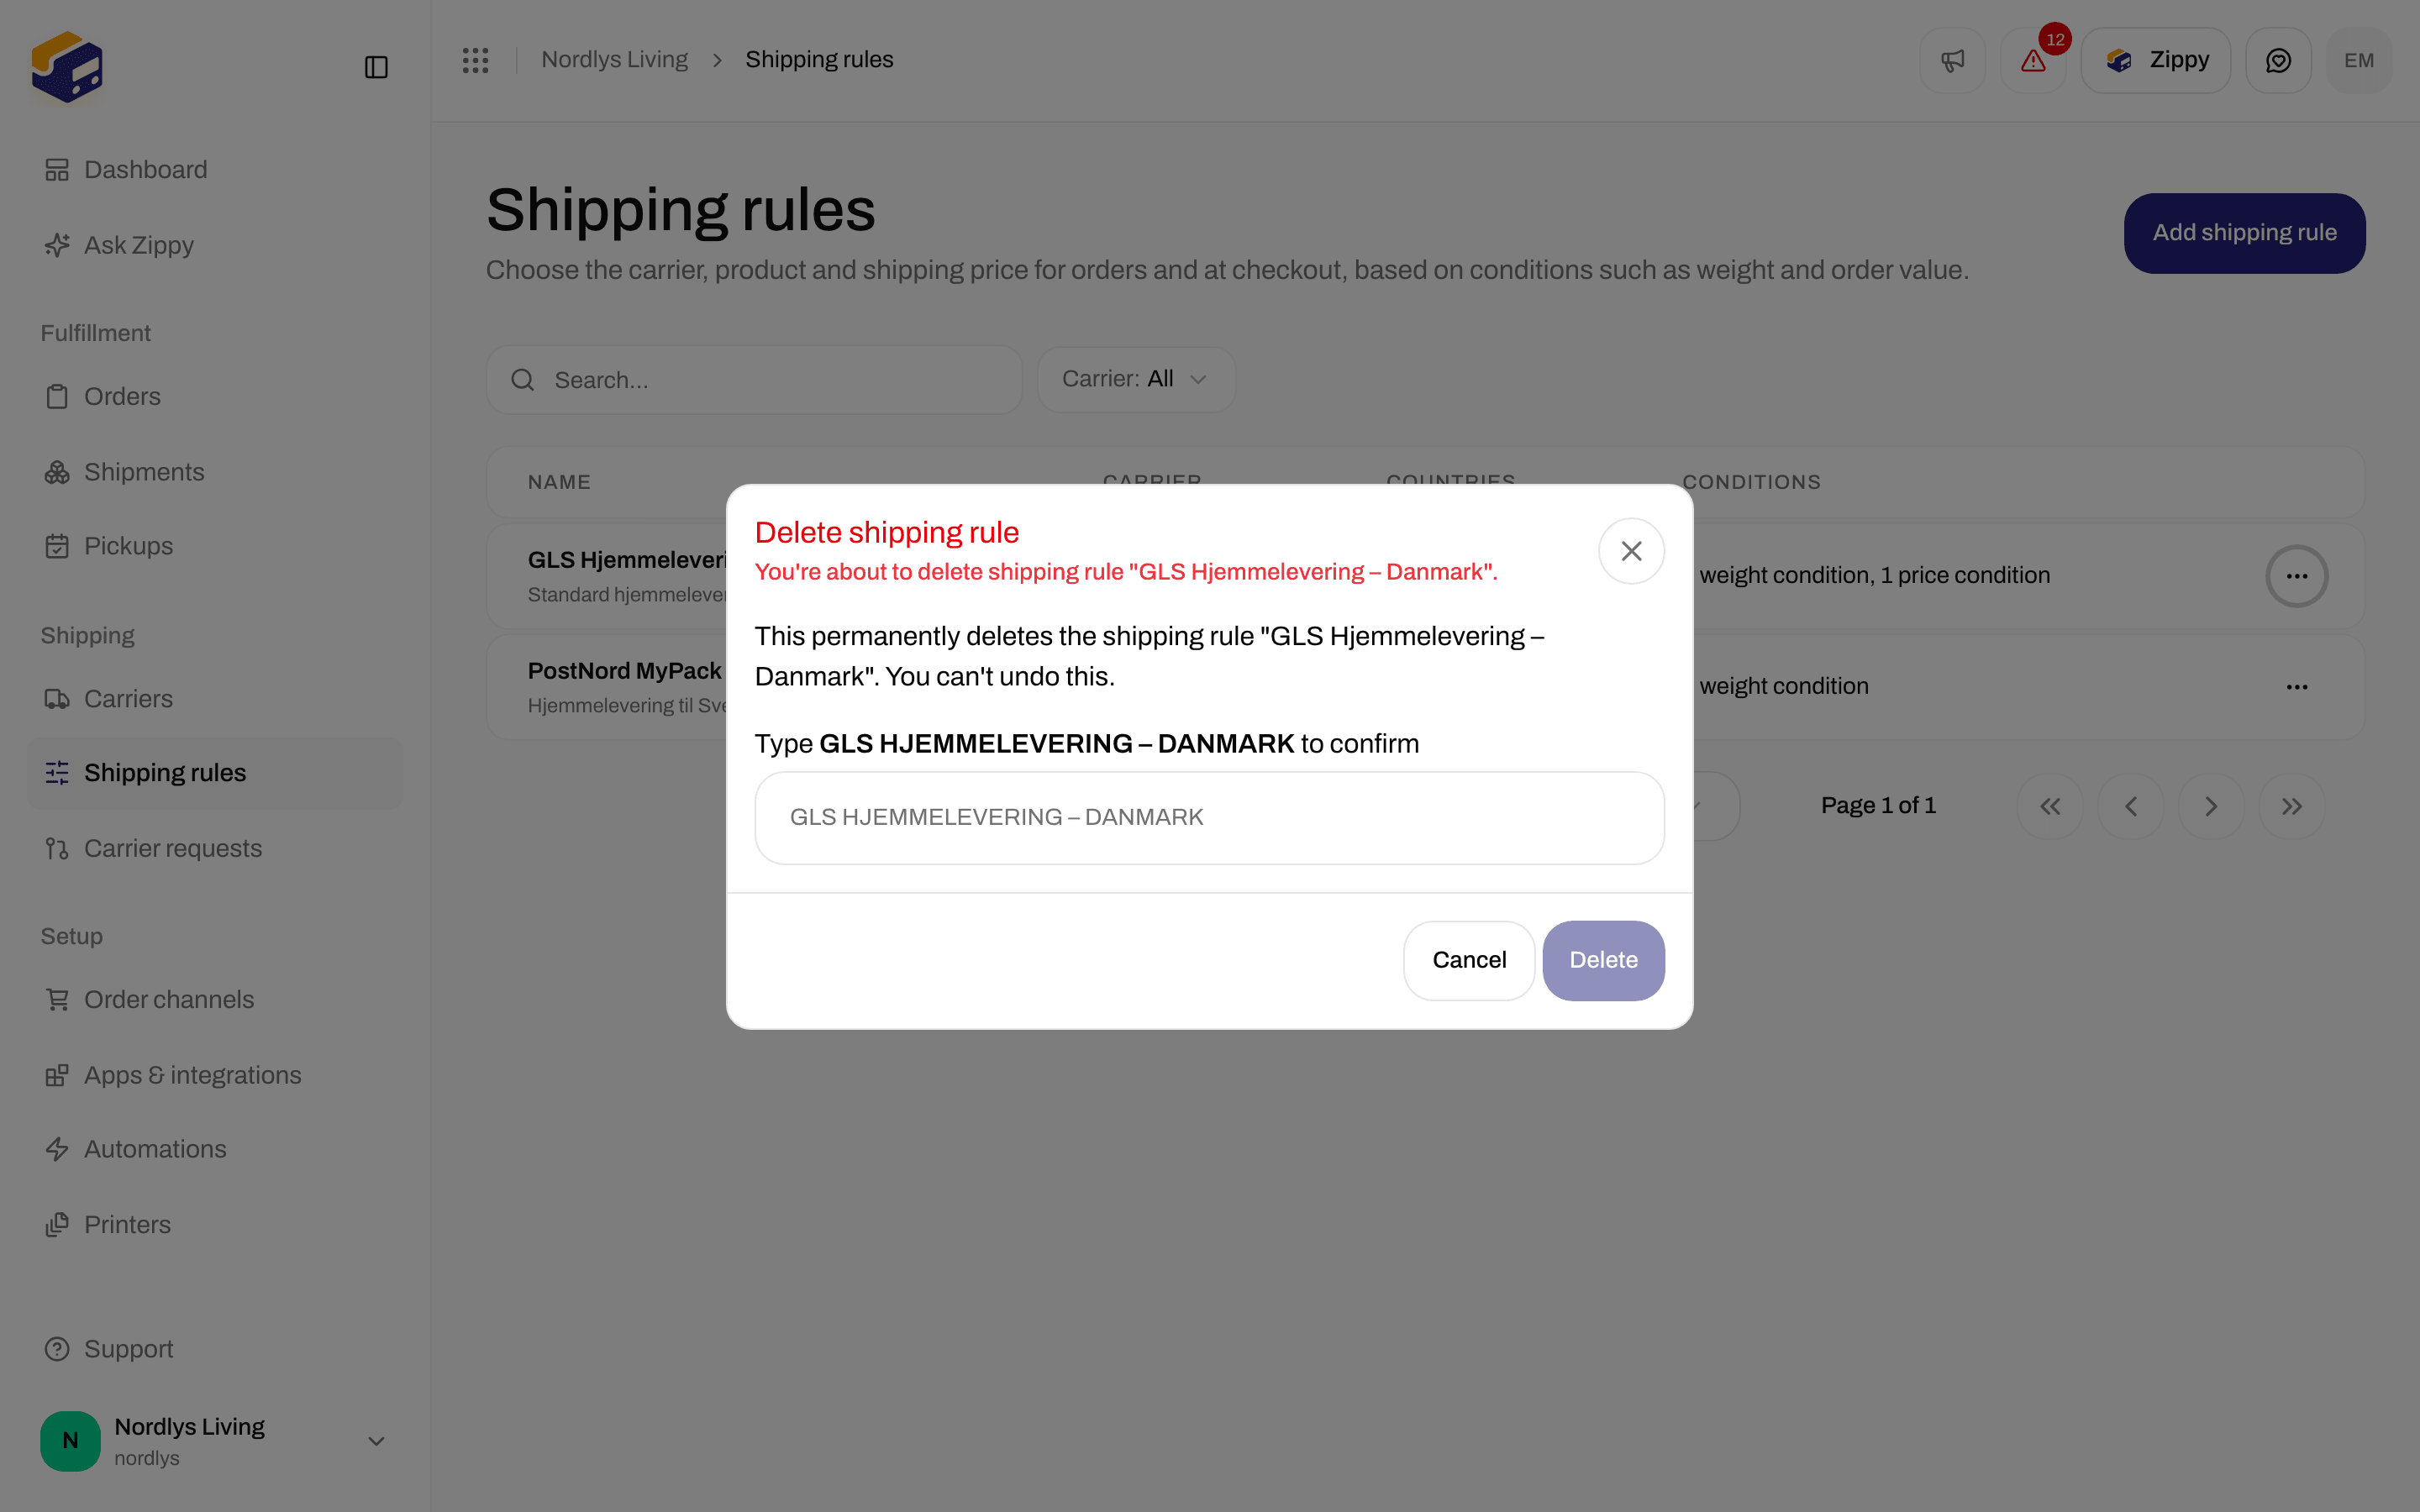
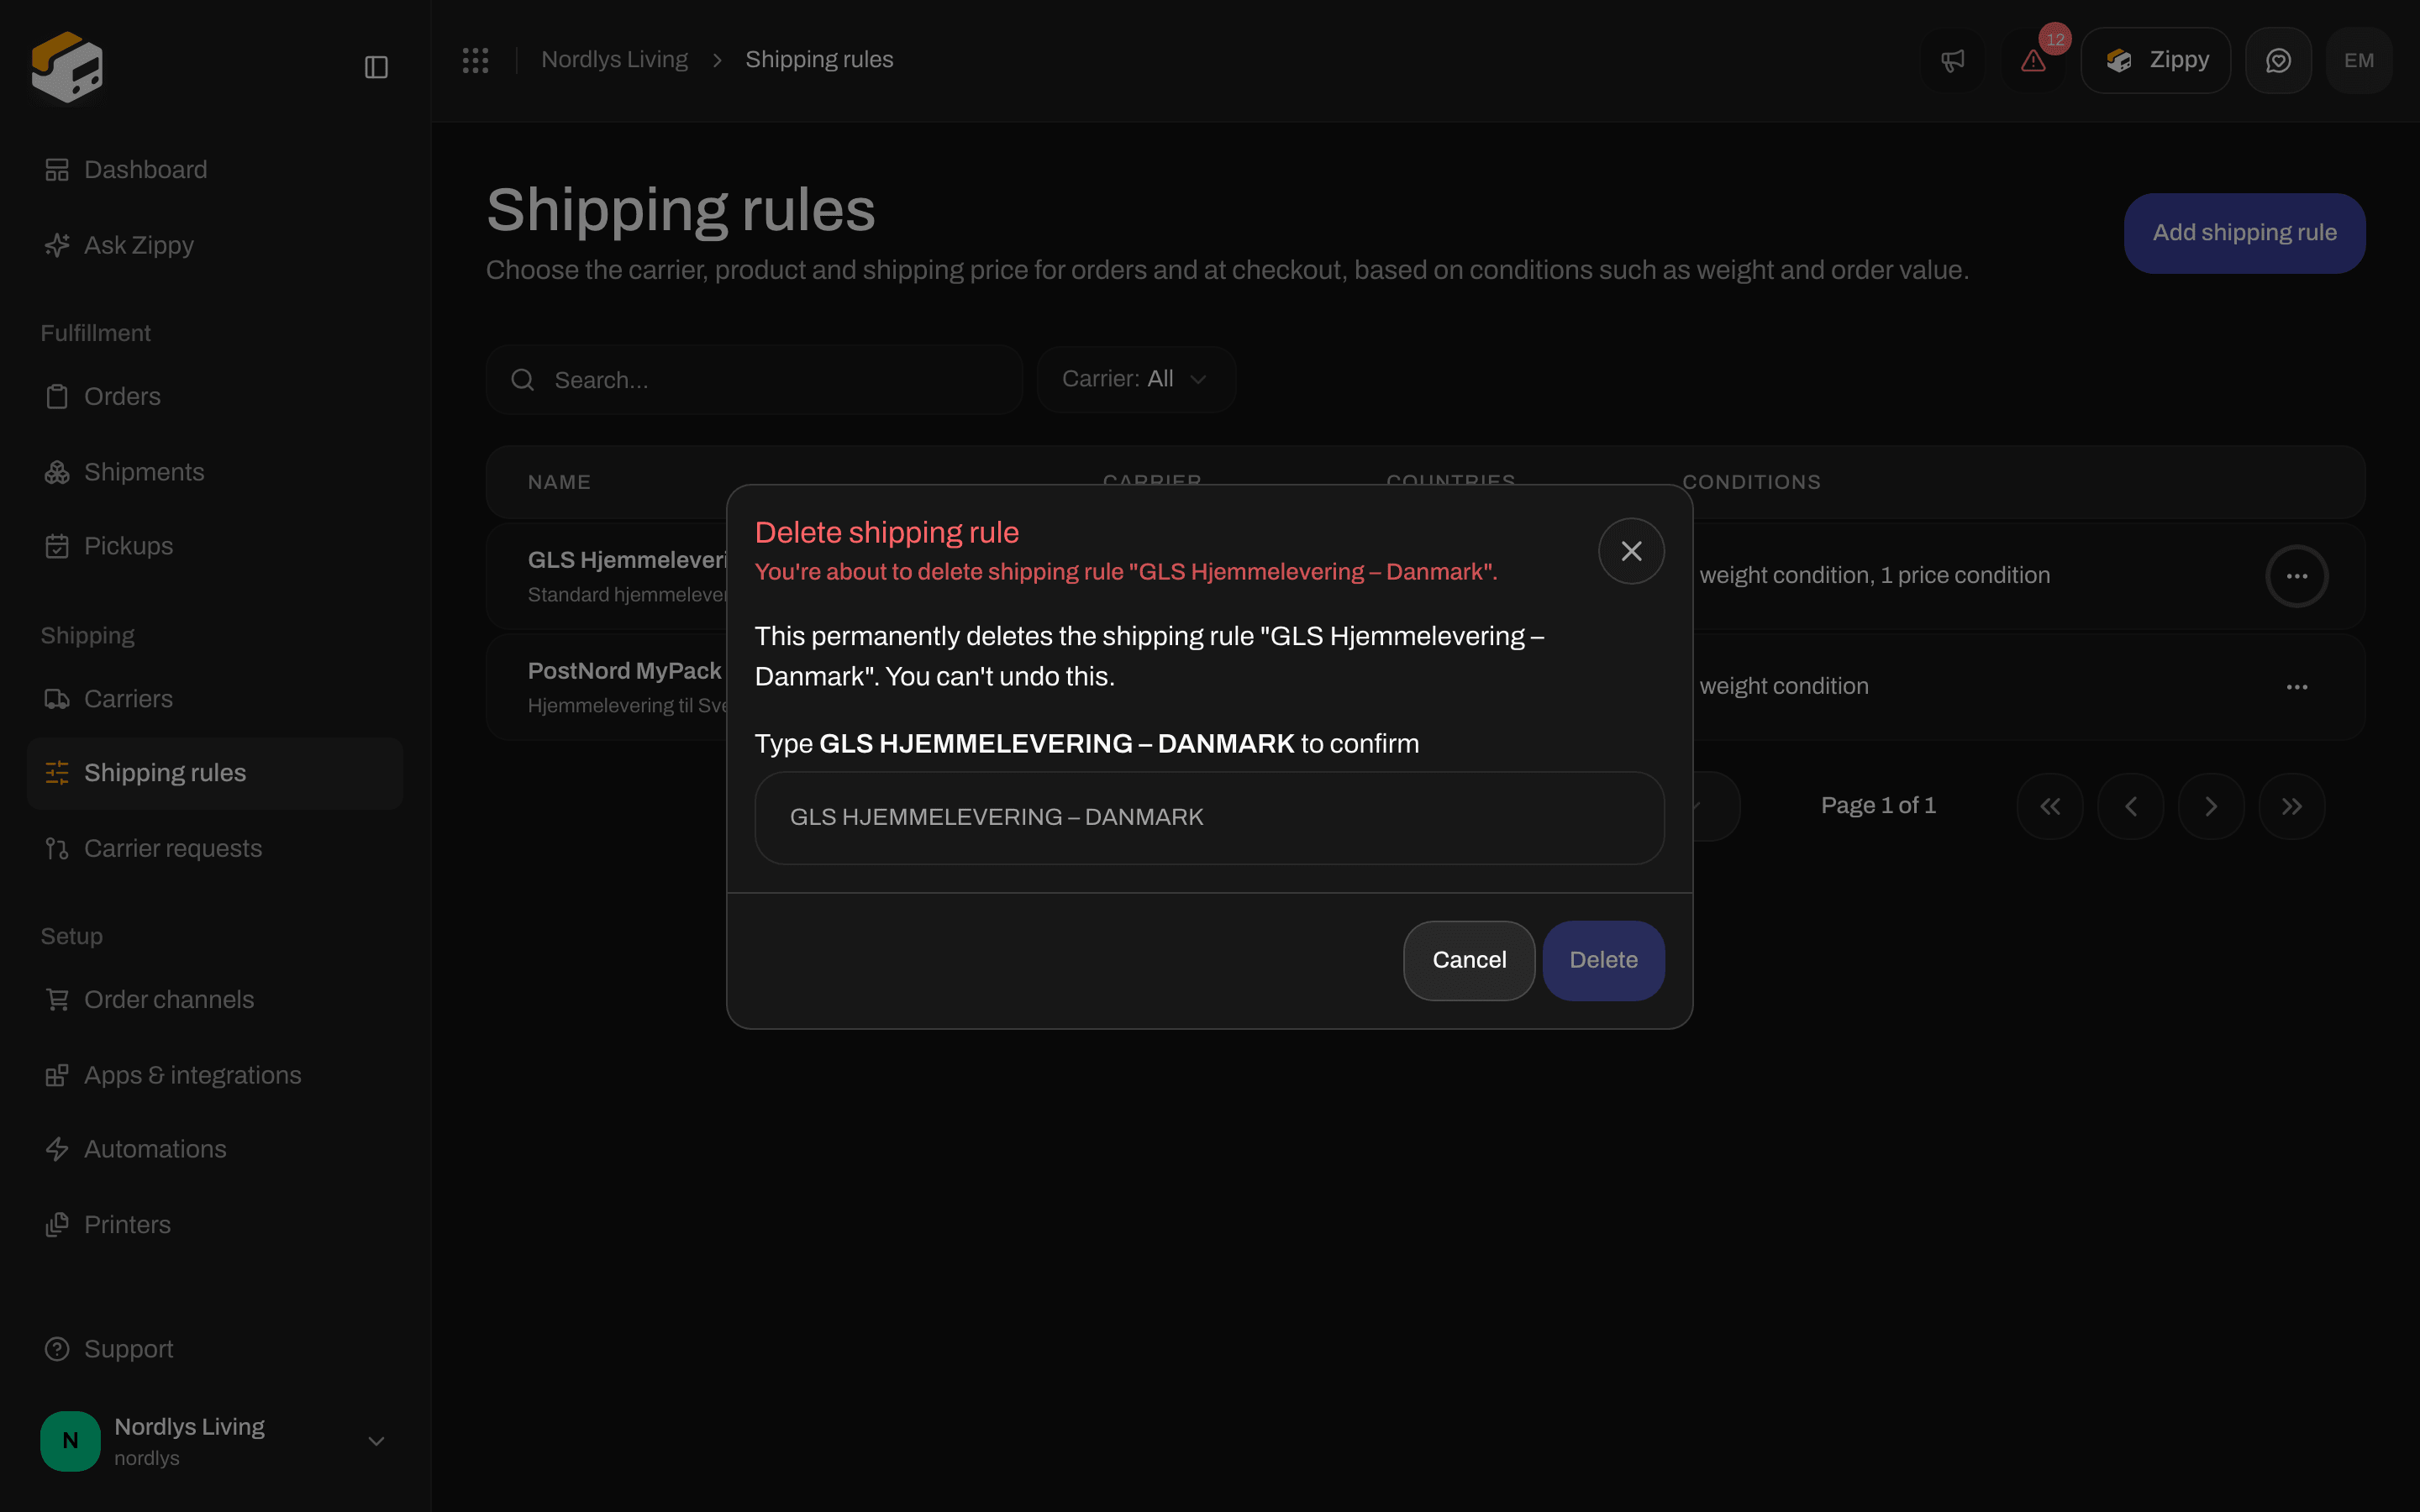
To delete, type the rule name to confirm
Apply a rule when you ship
On an order
Open the order. The Shipping rule section shows the rule on the order, or No rule on order. An order with no rule and no shipments also shows a Configure shipping rules box.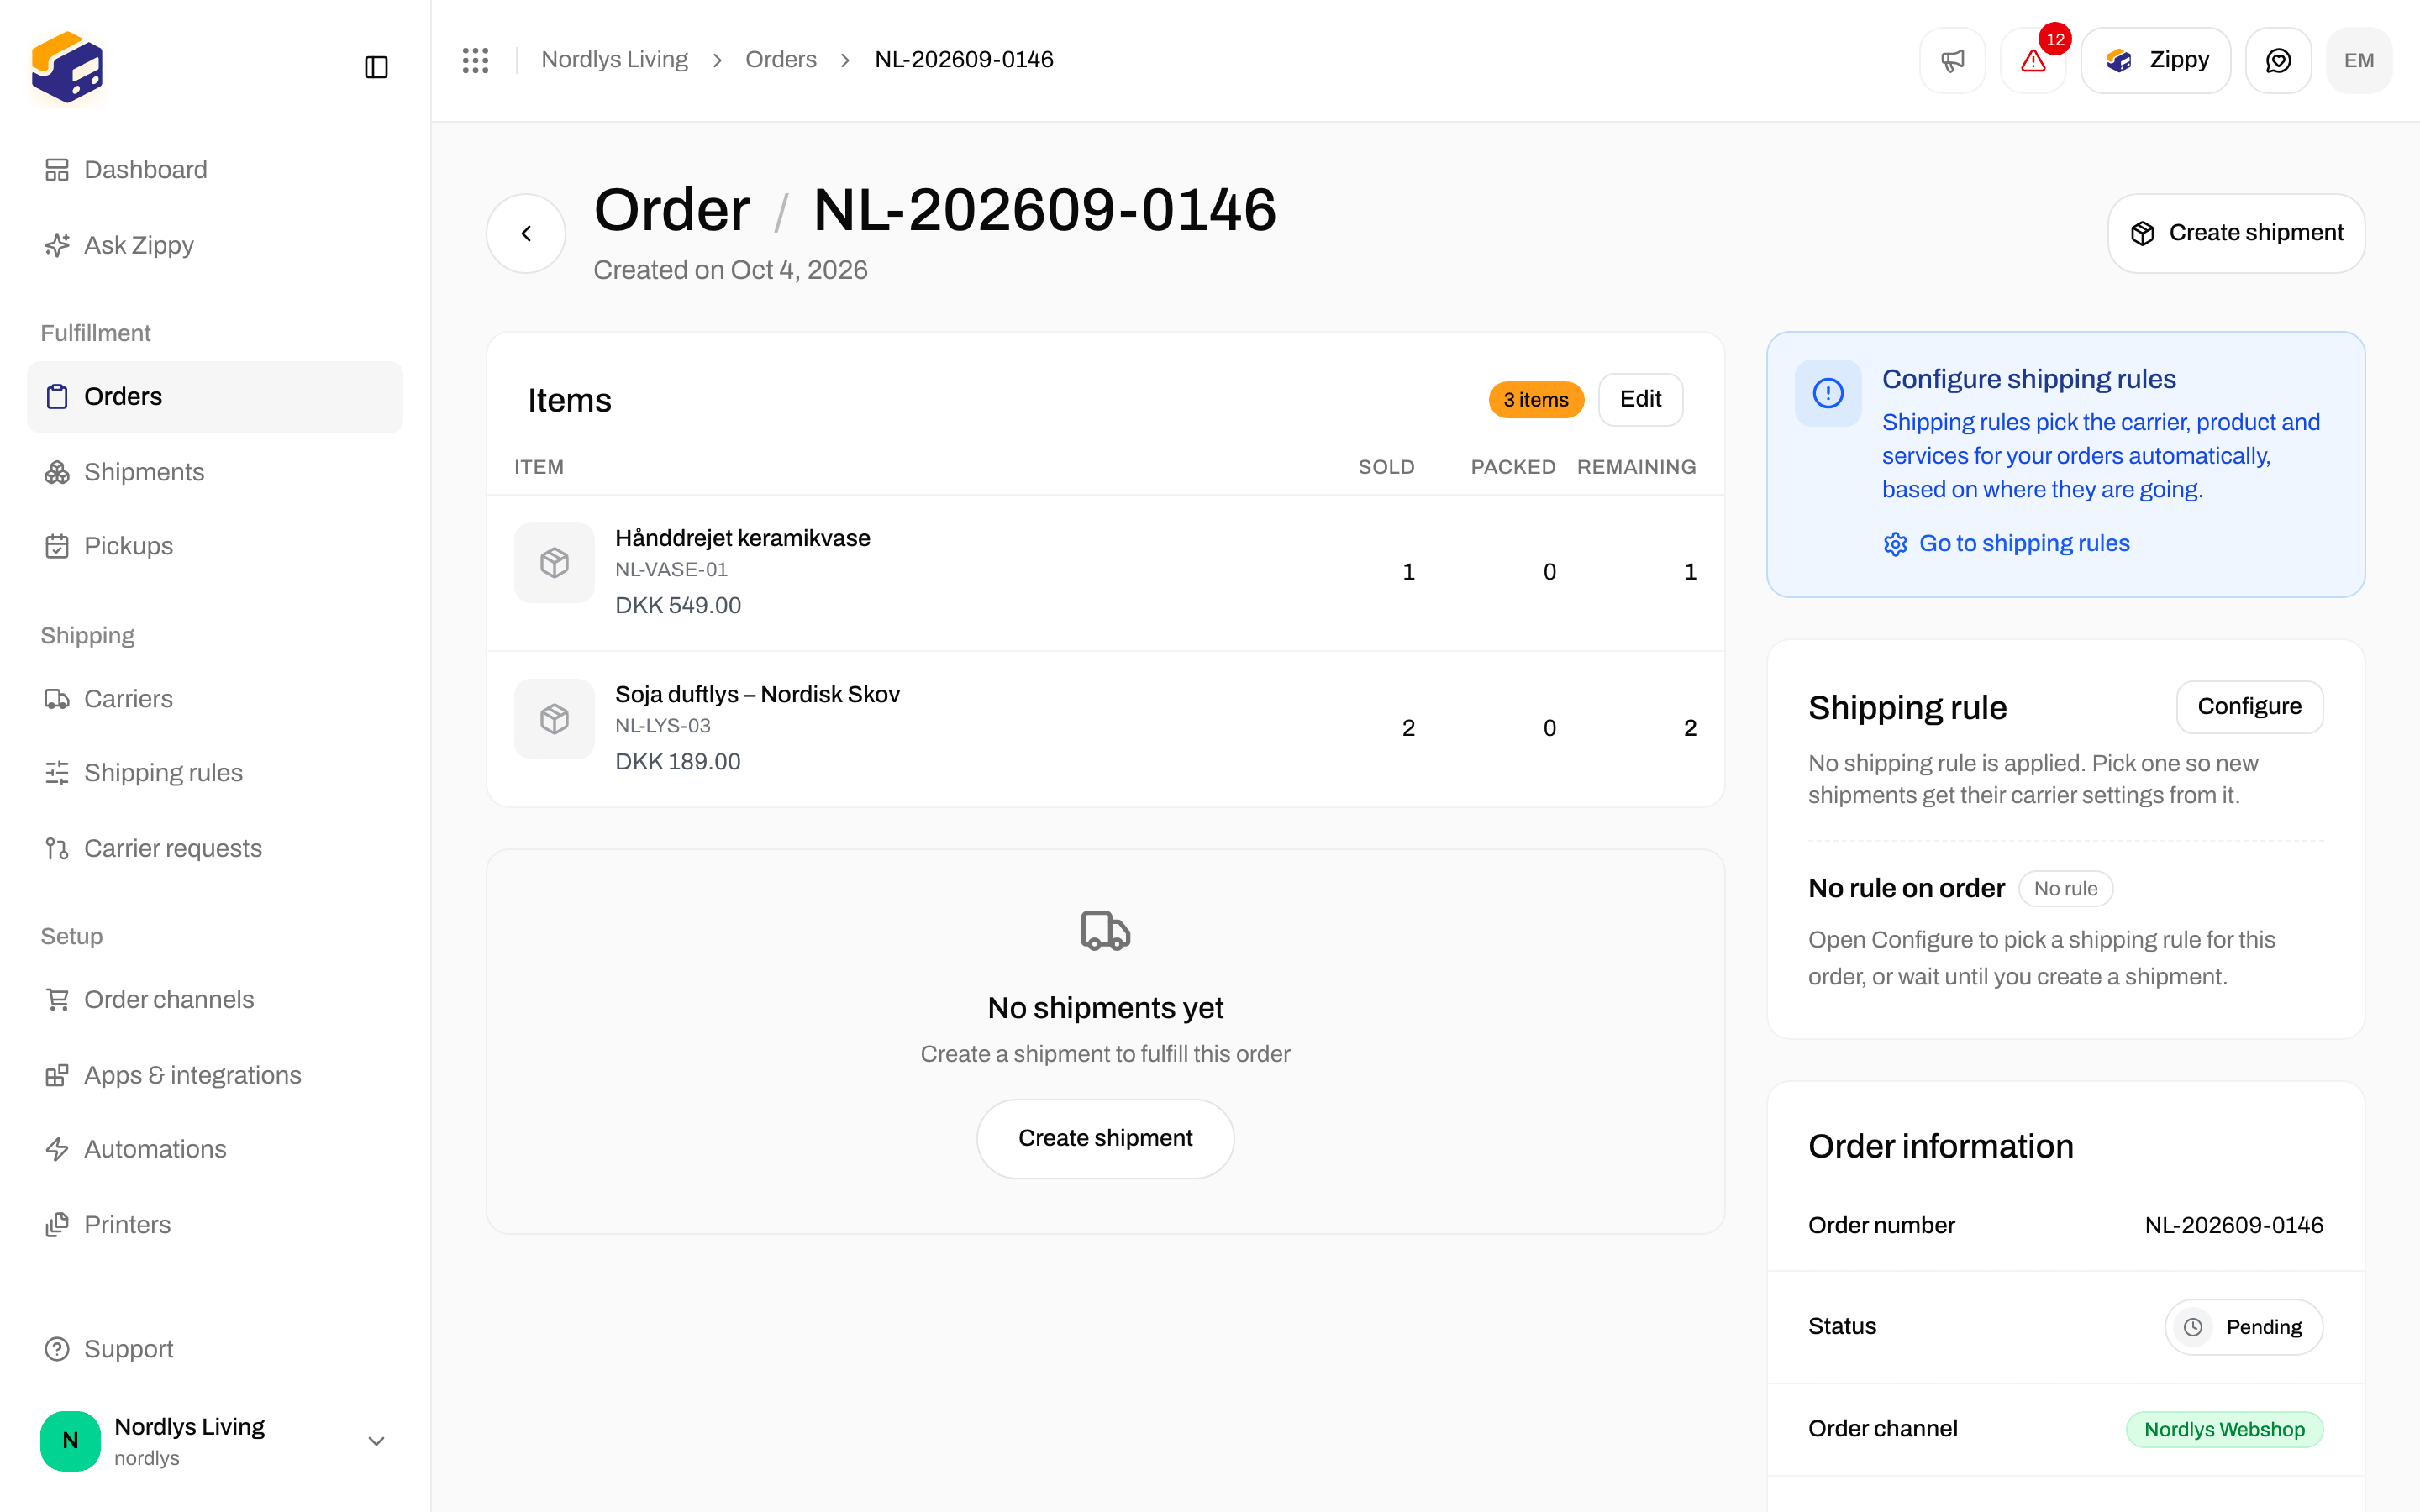
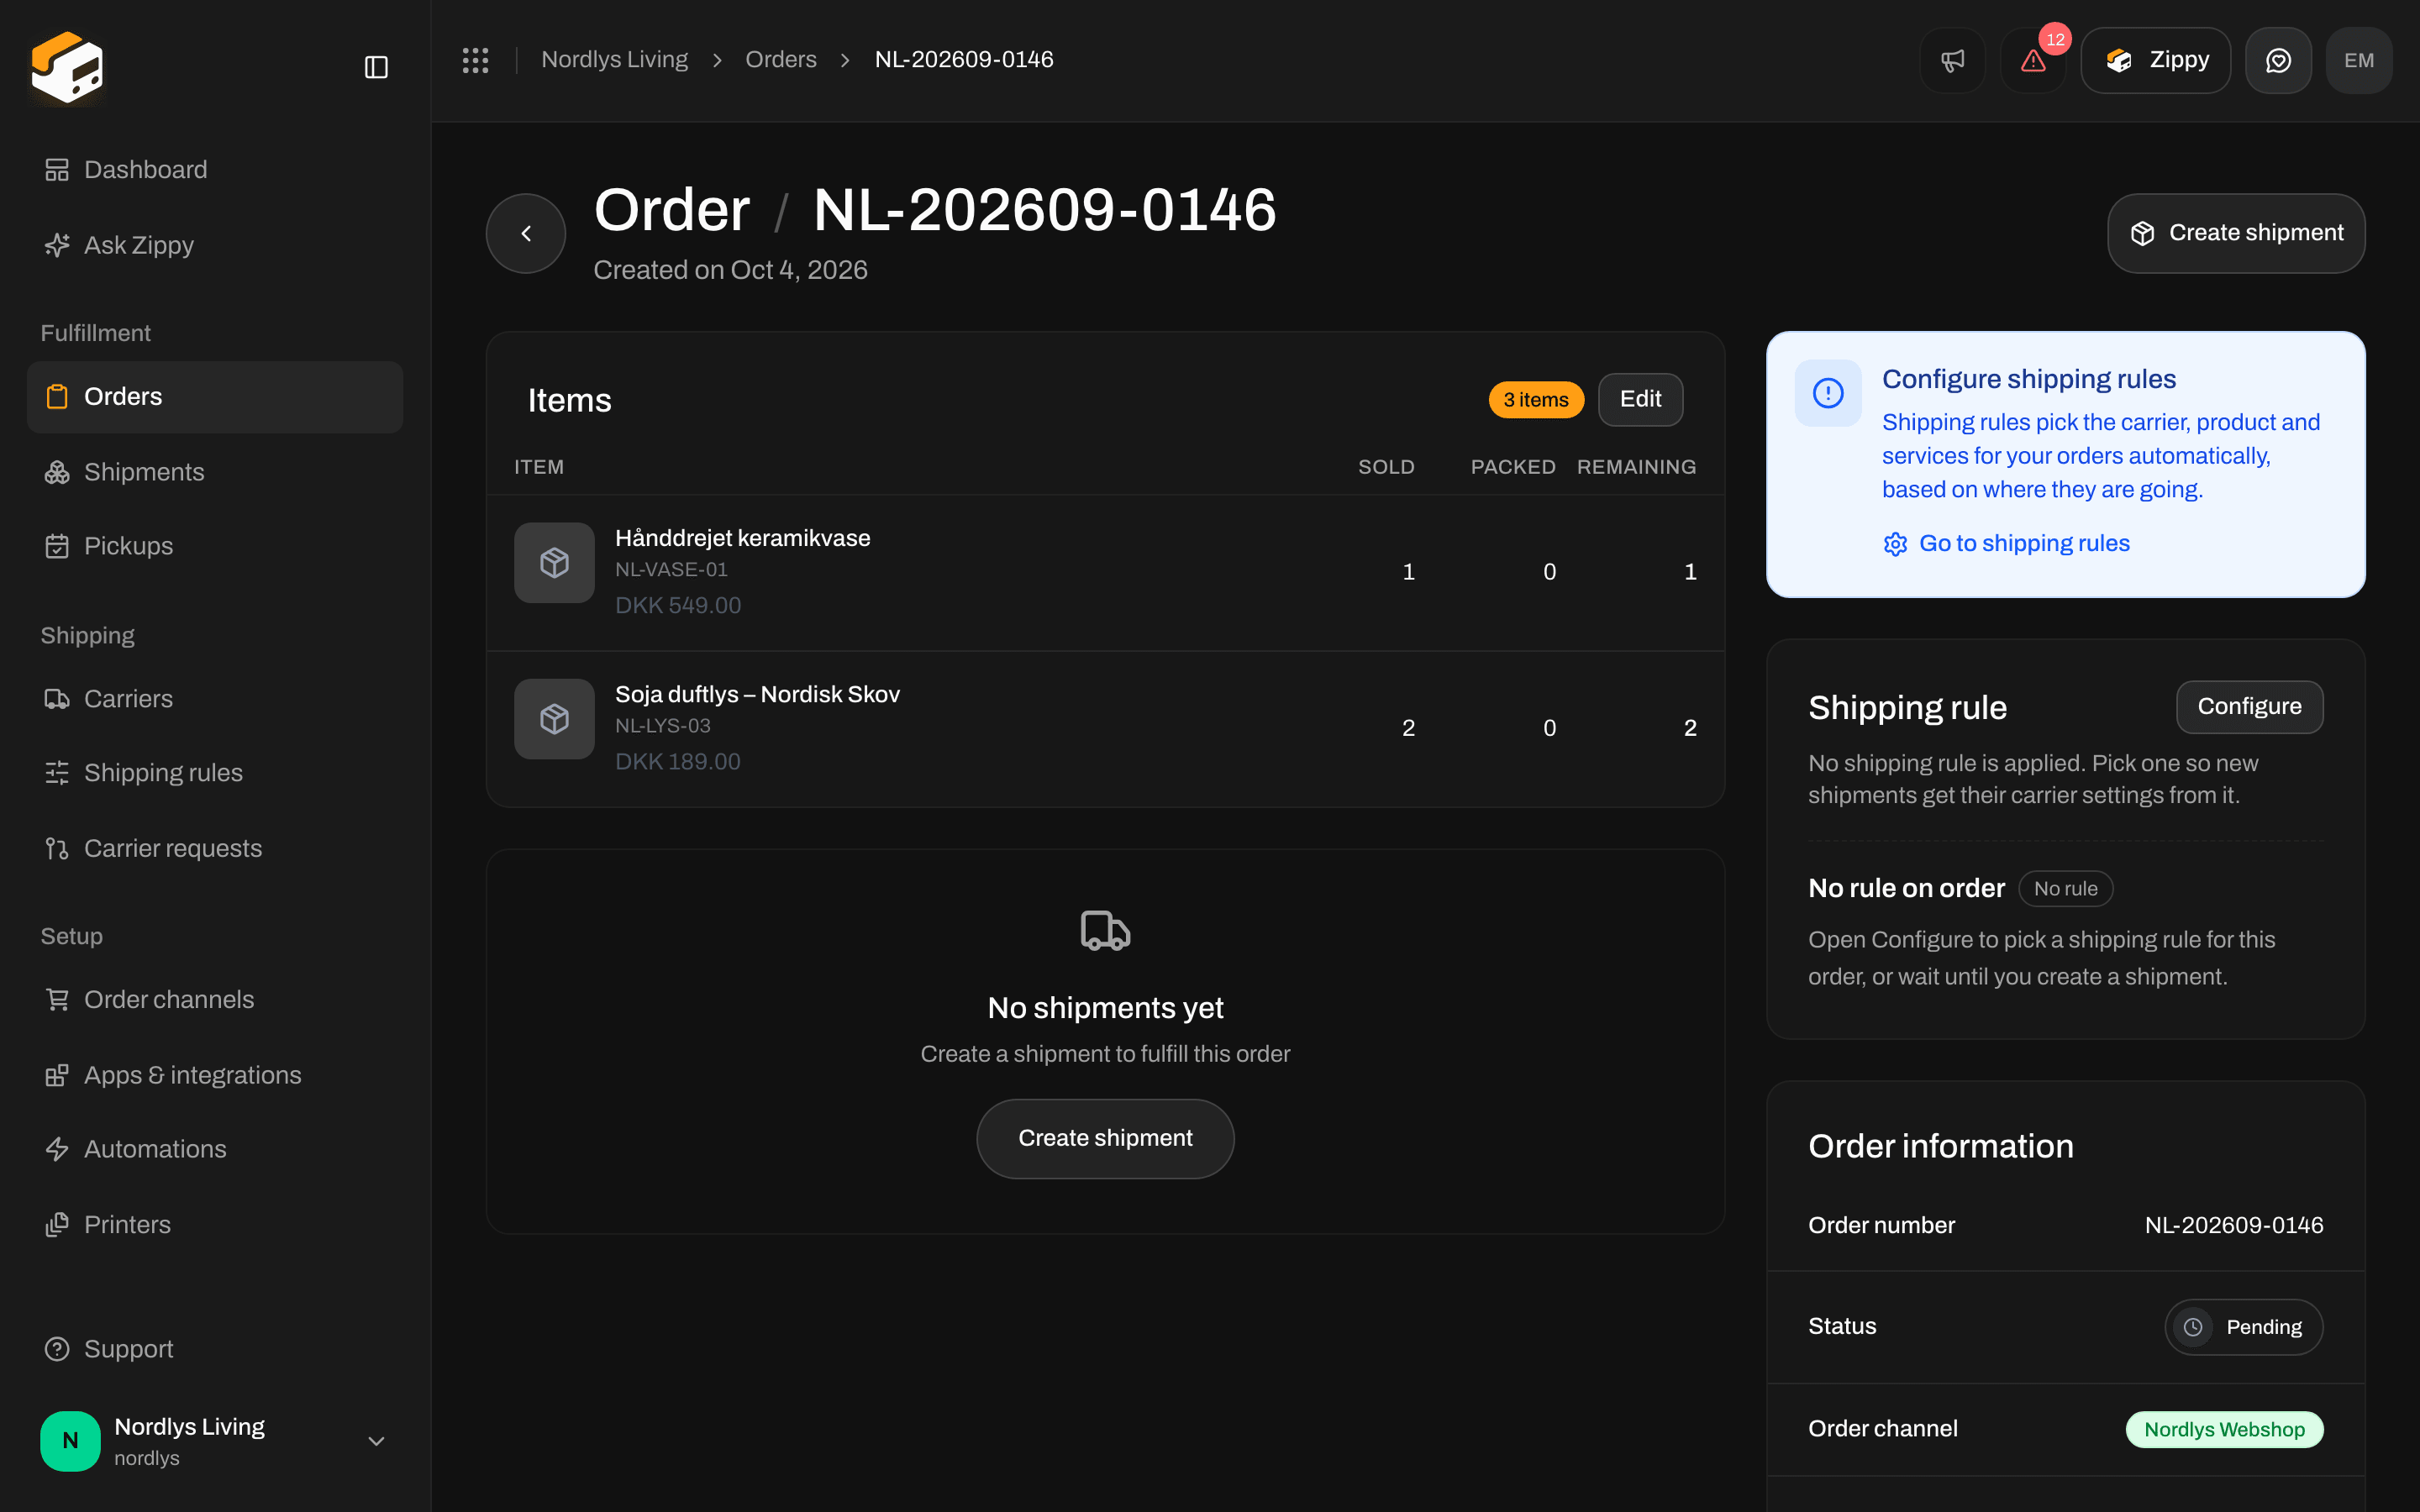
A pending order with no rule yet
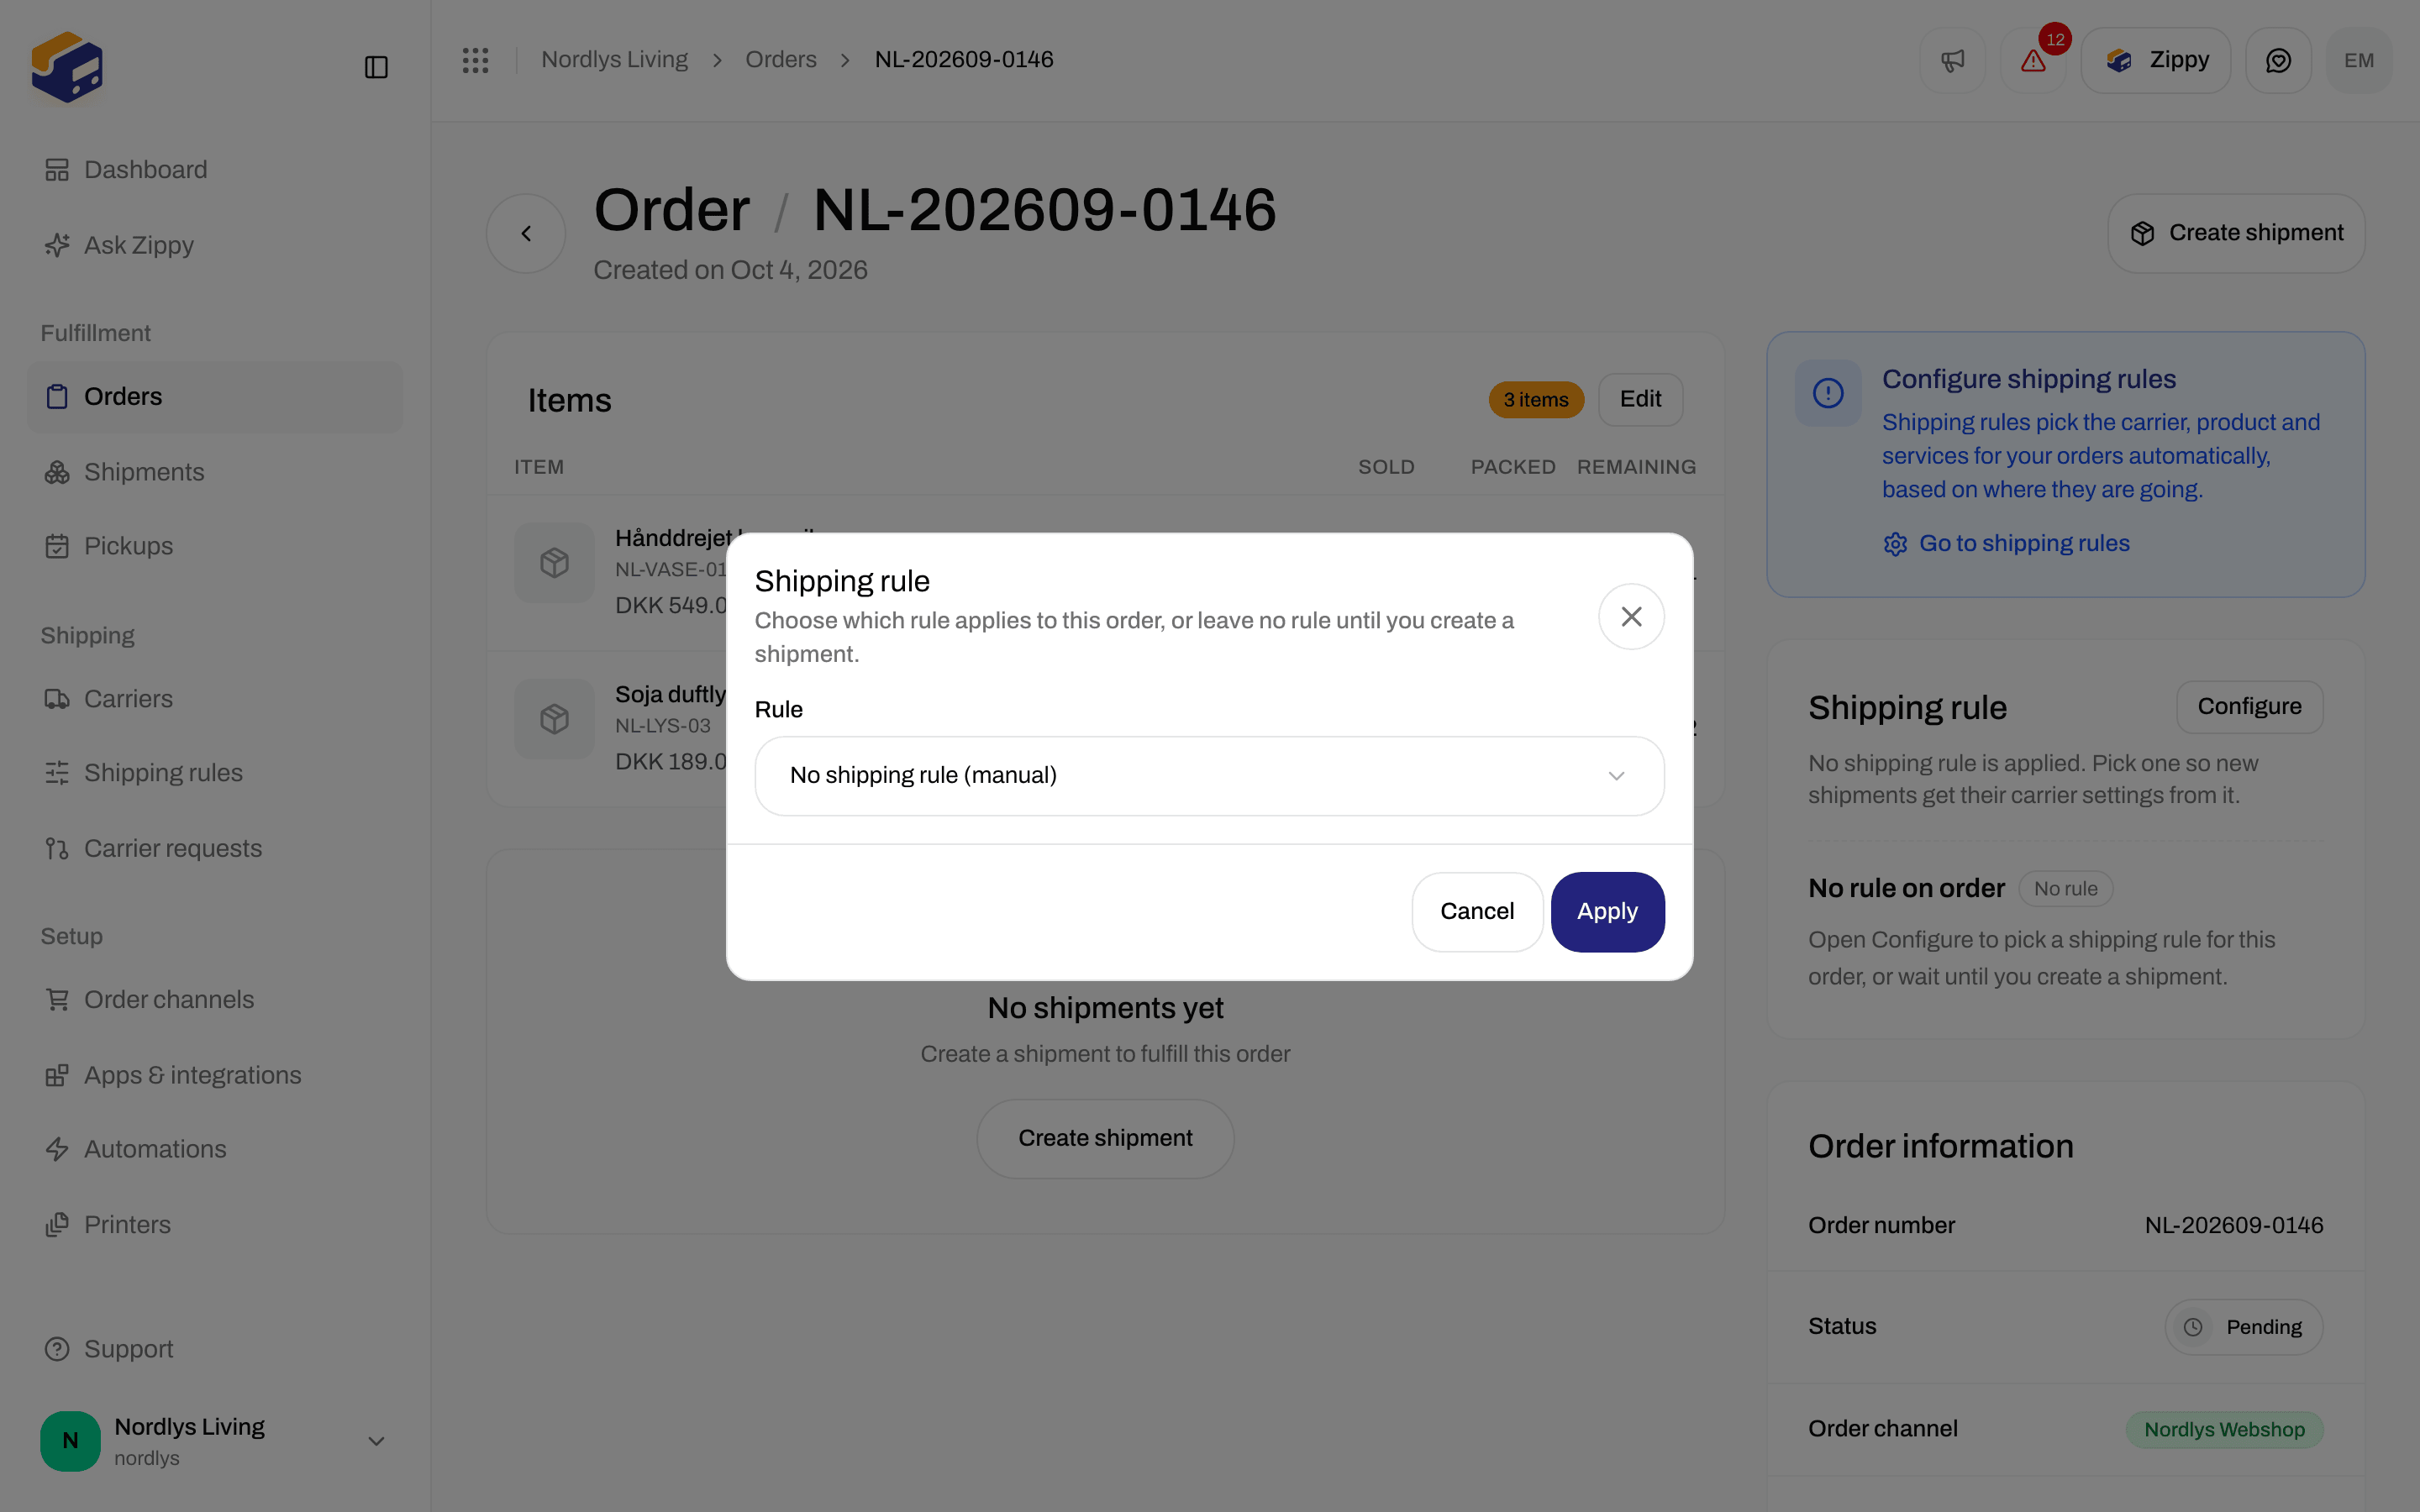
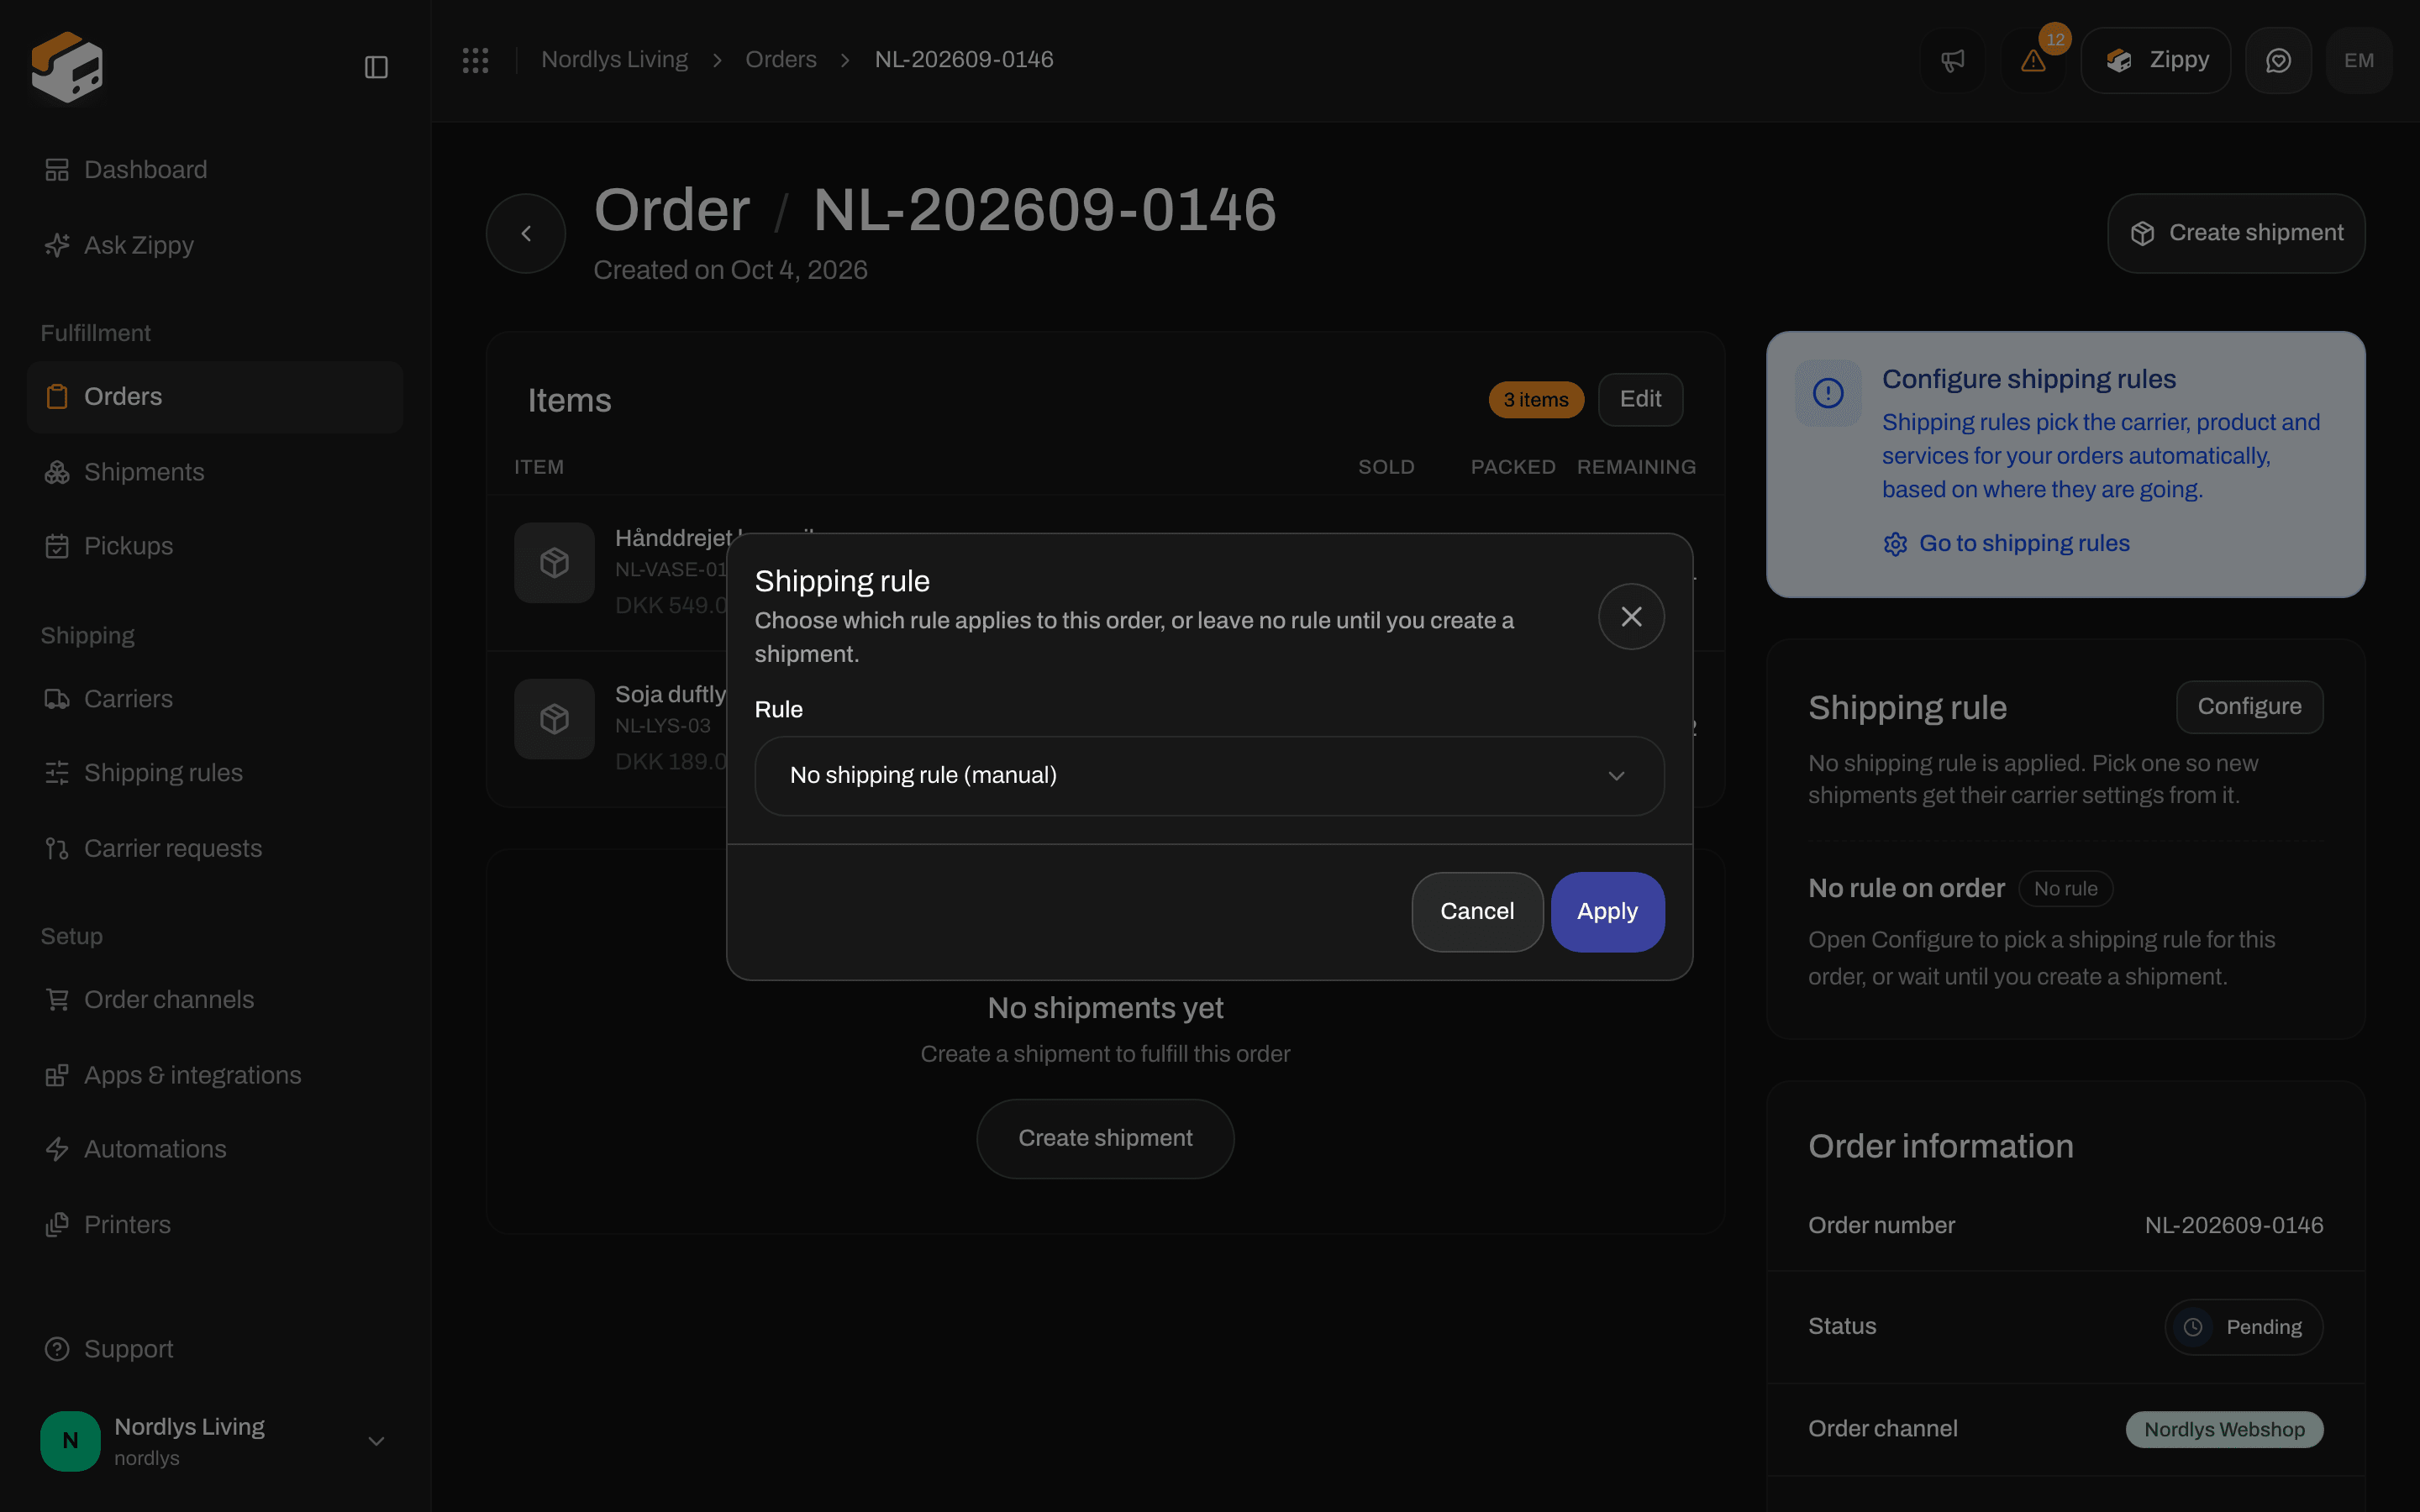
Give the order a shipping rule
On a shipment
Draft and pending shipments show a Shipping rule section on the shipment page. Manual setup means the carrier is chosen on the shipment itself.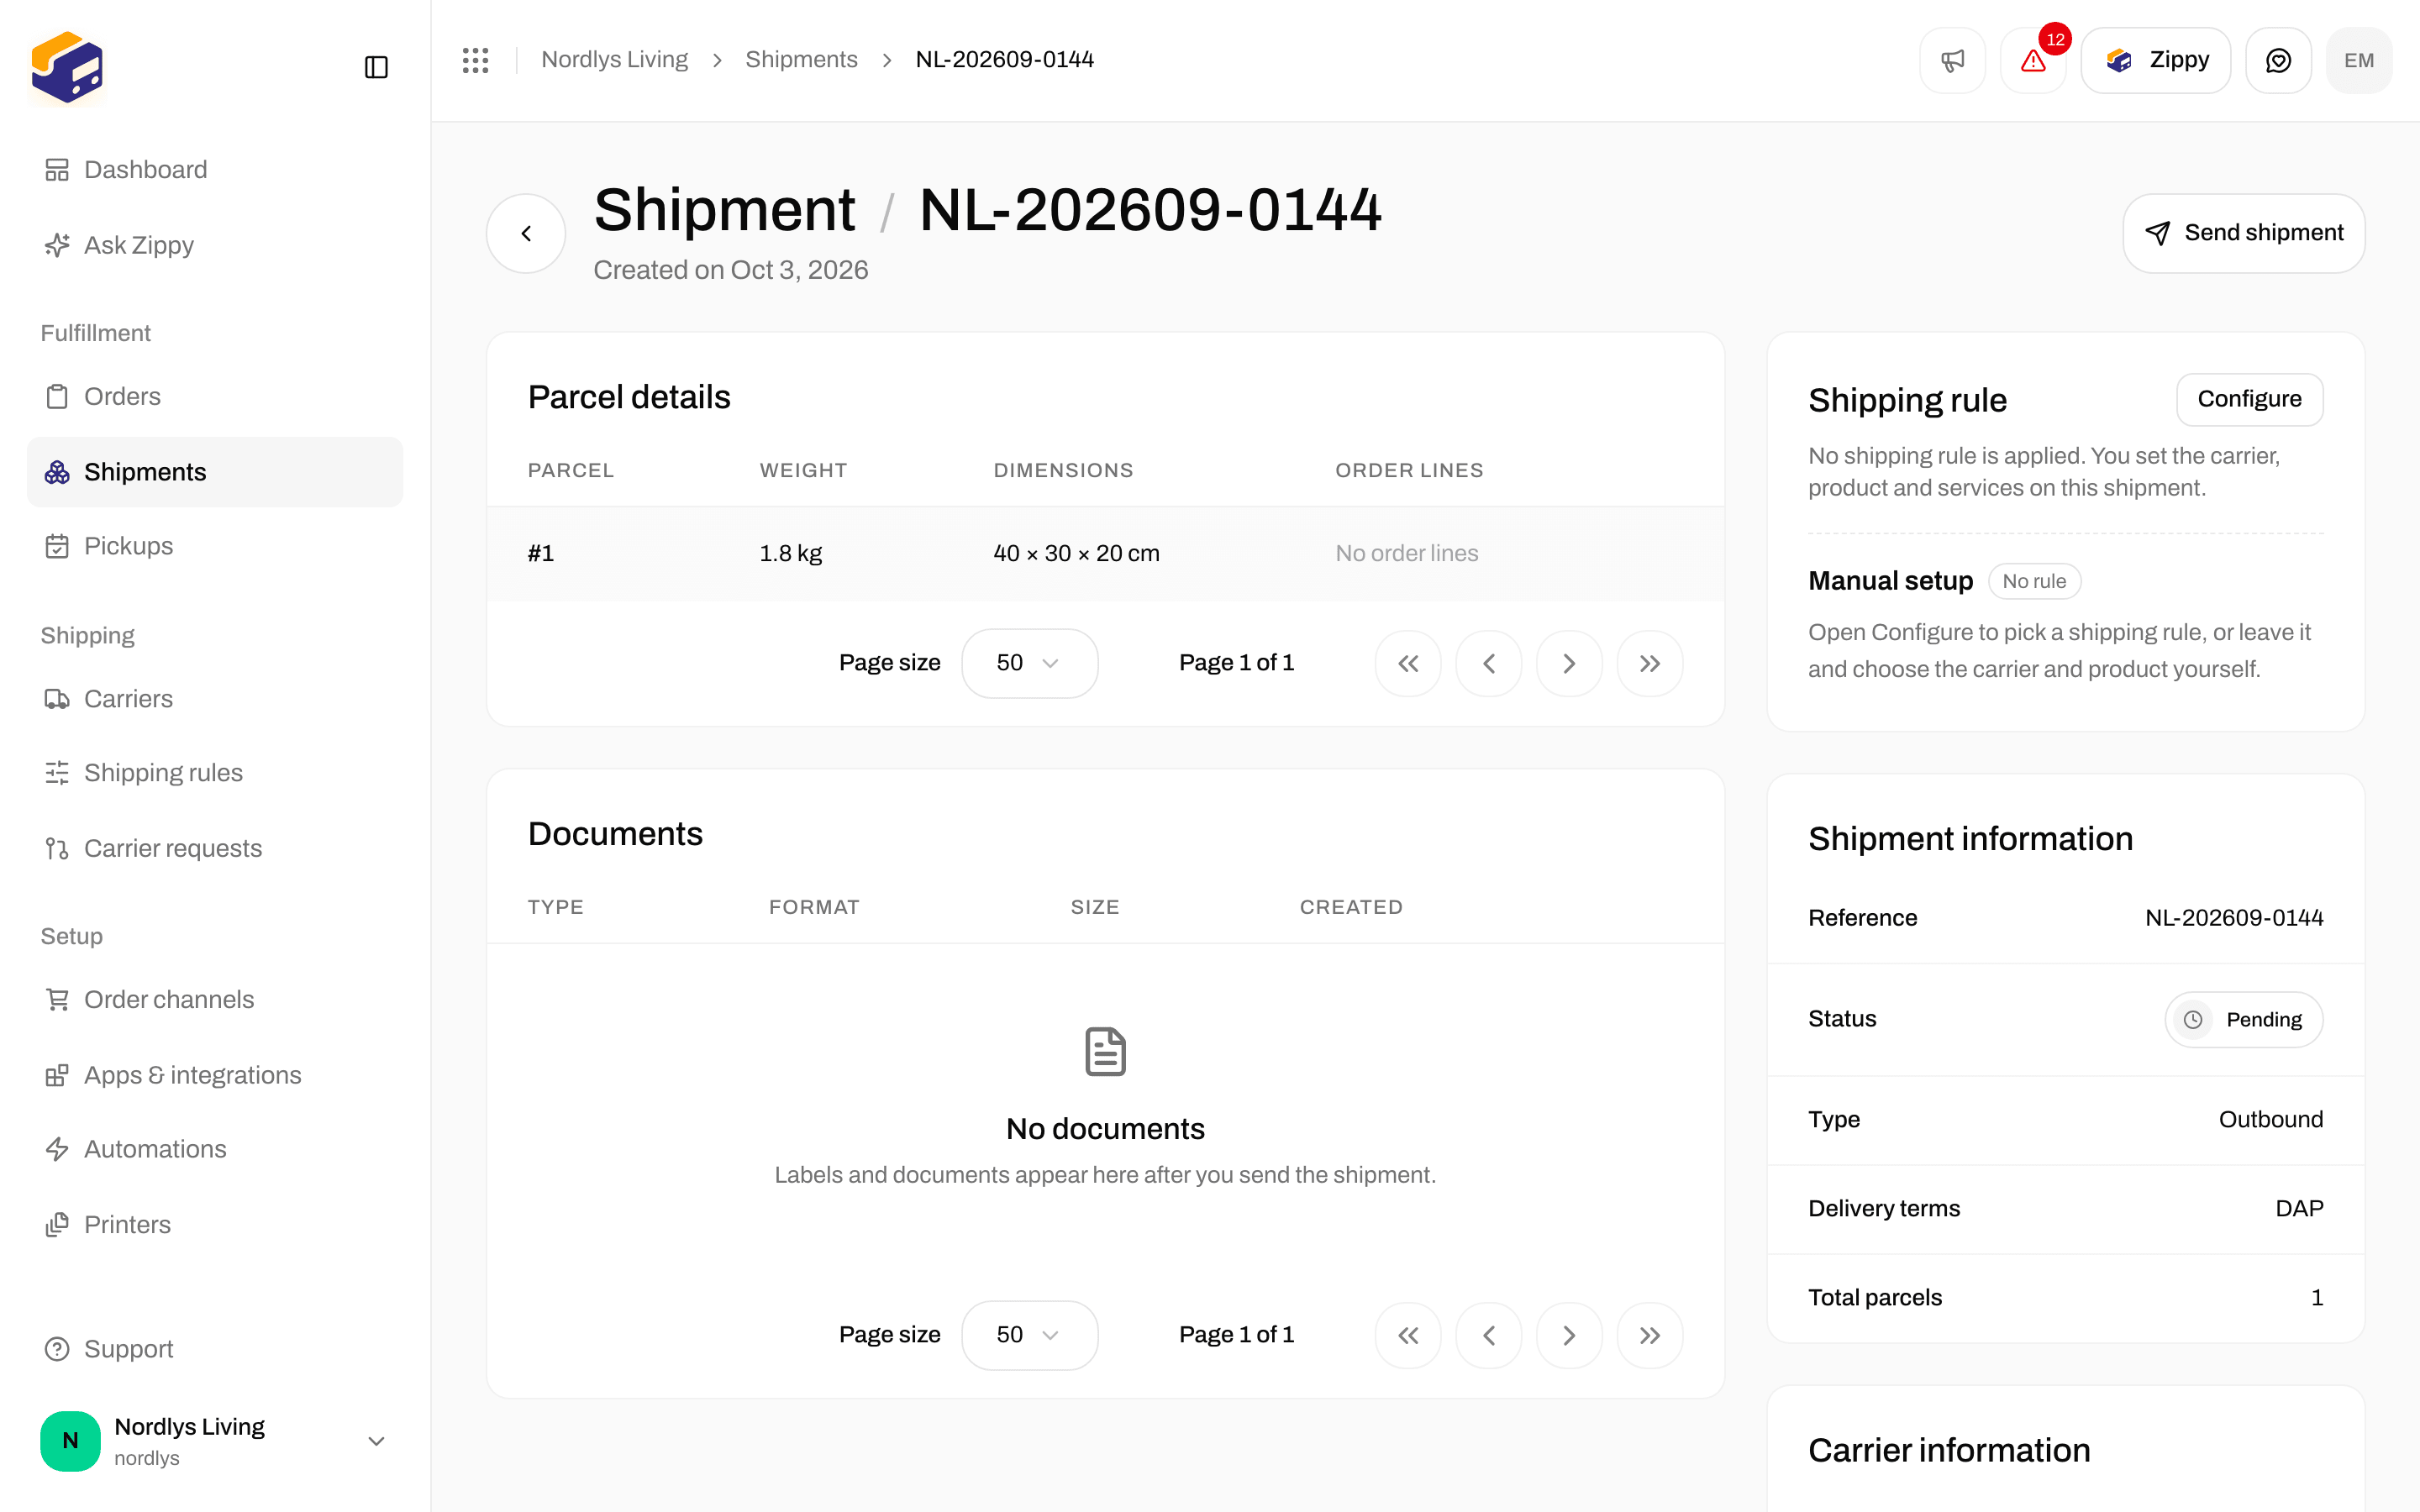
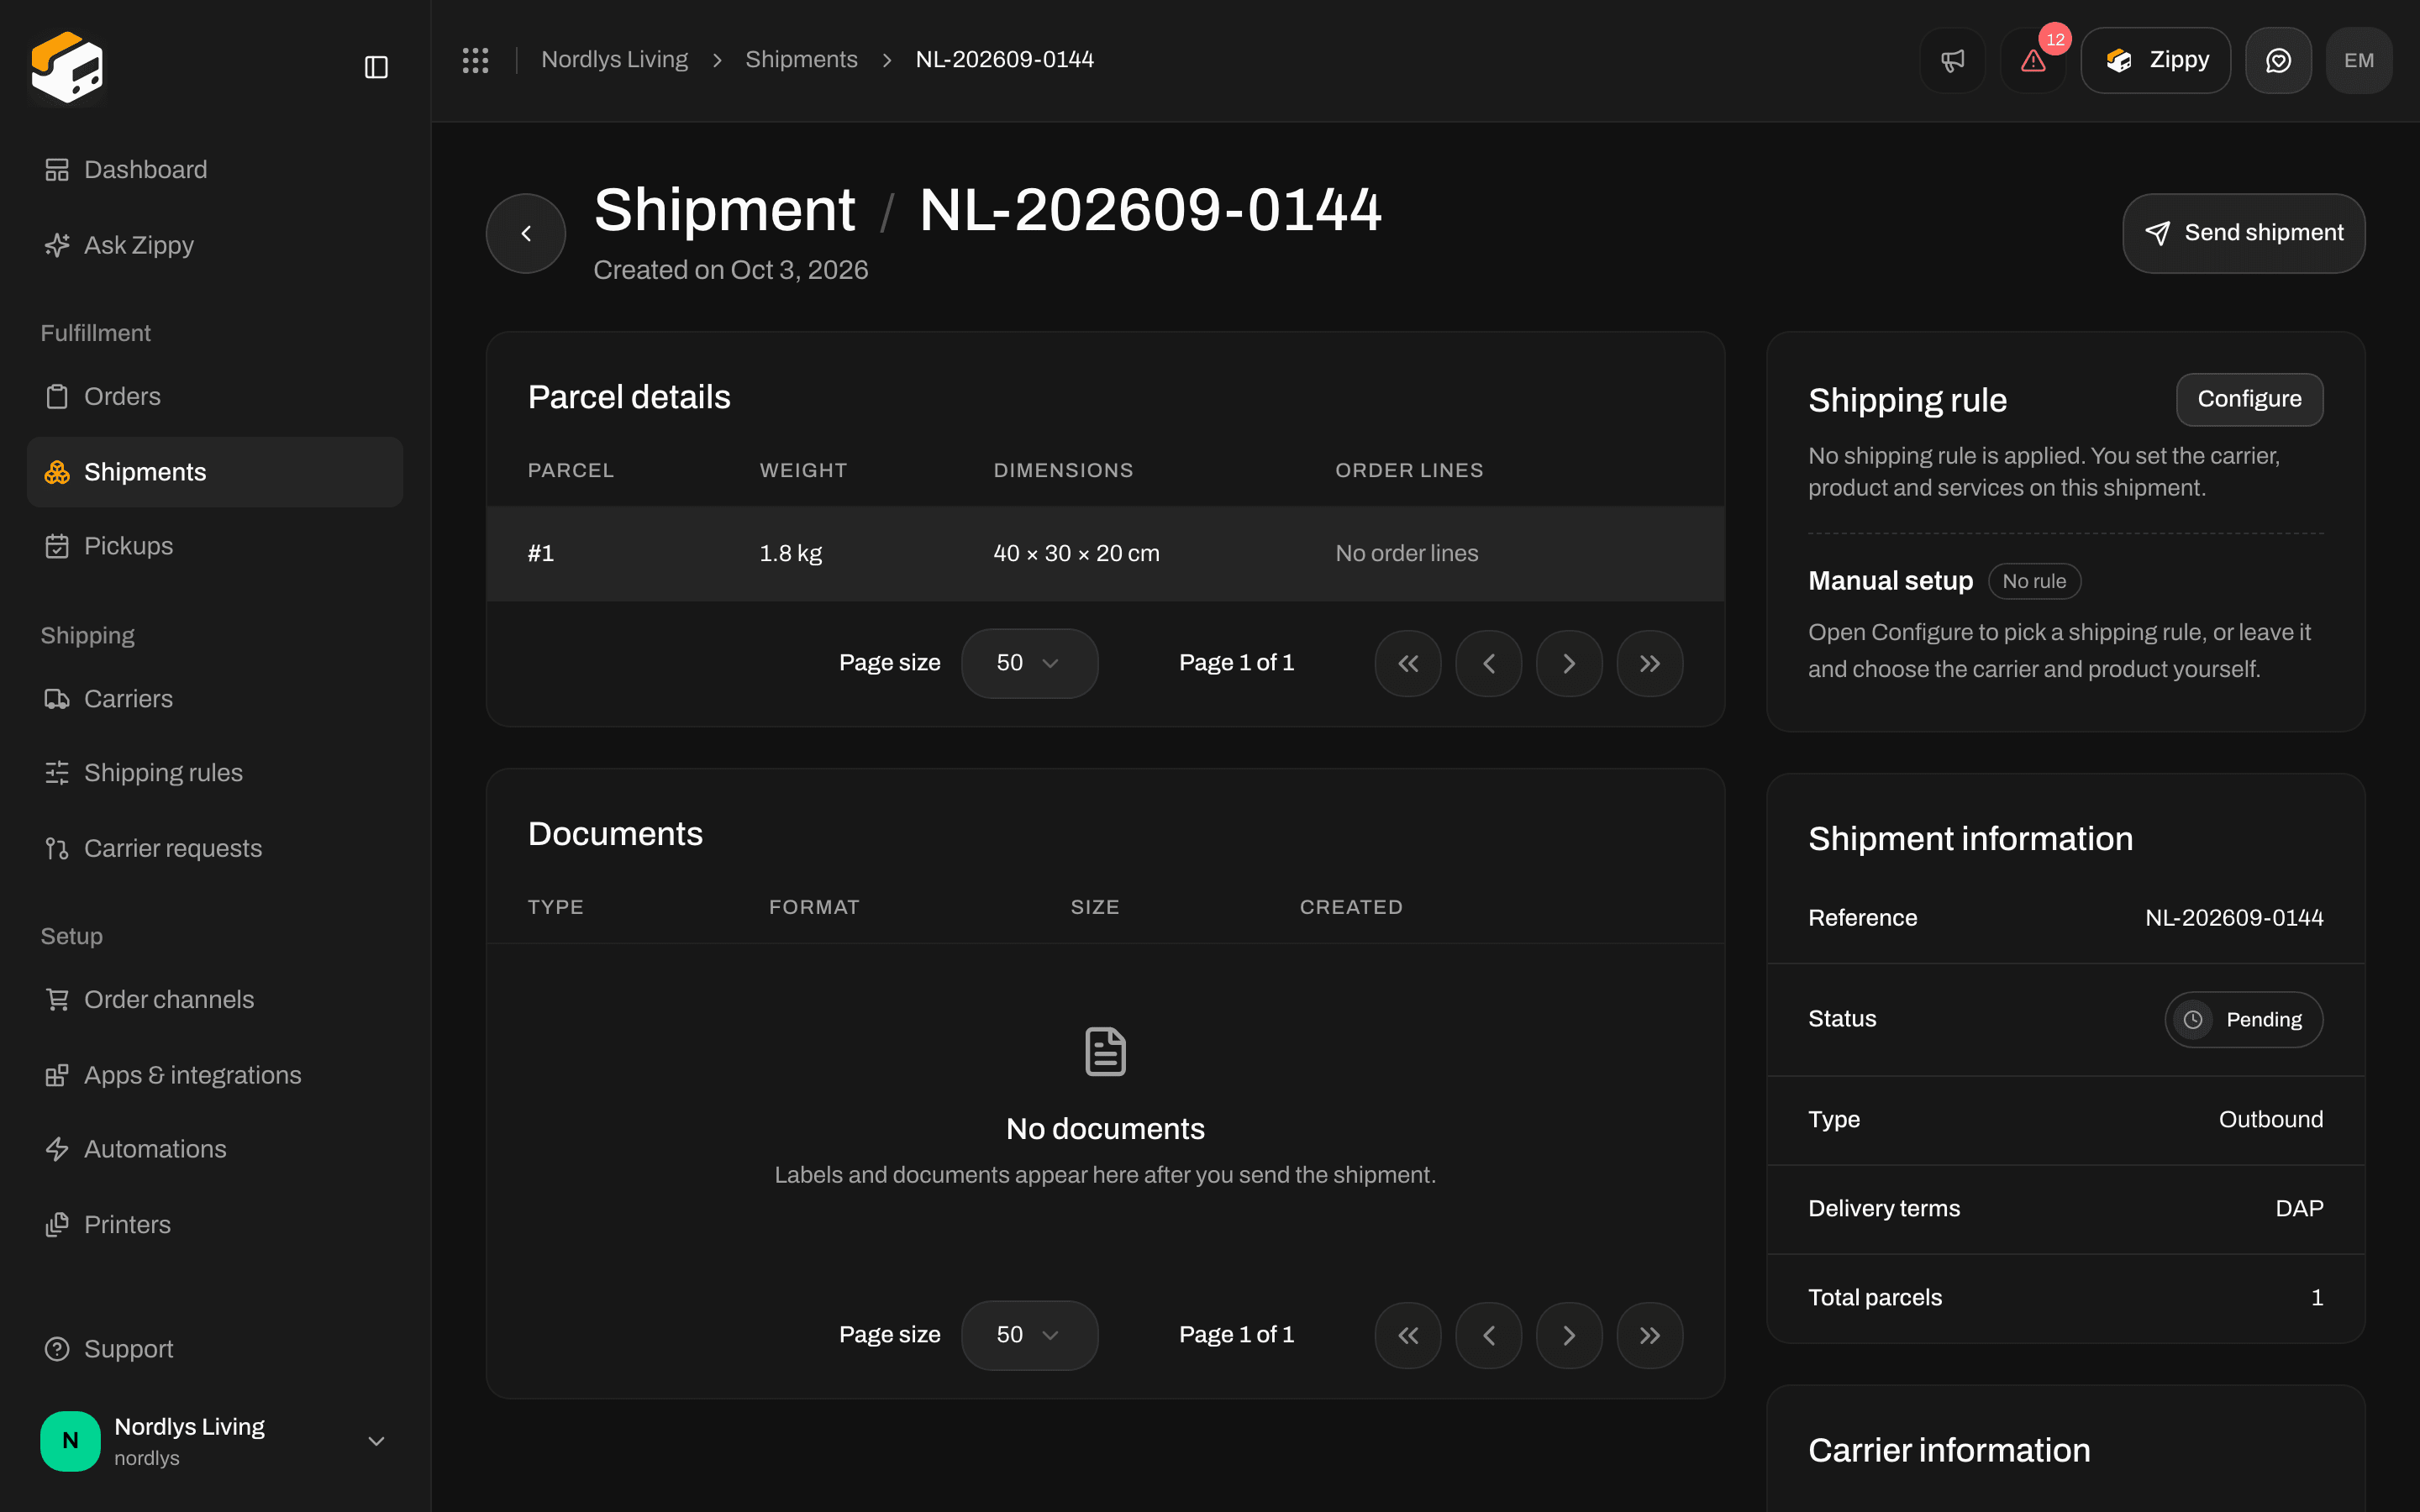
A pending shipment with no rule. The carrier is chosen on the shipment
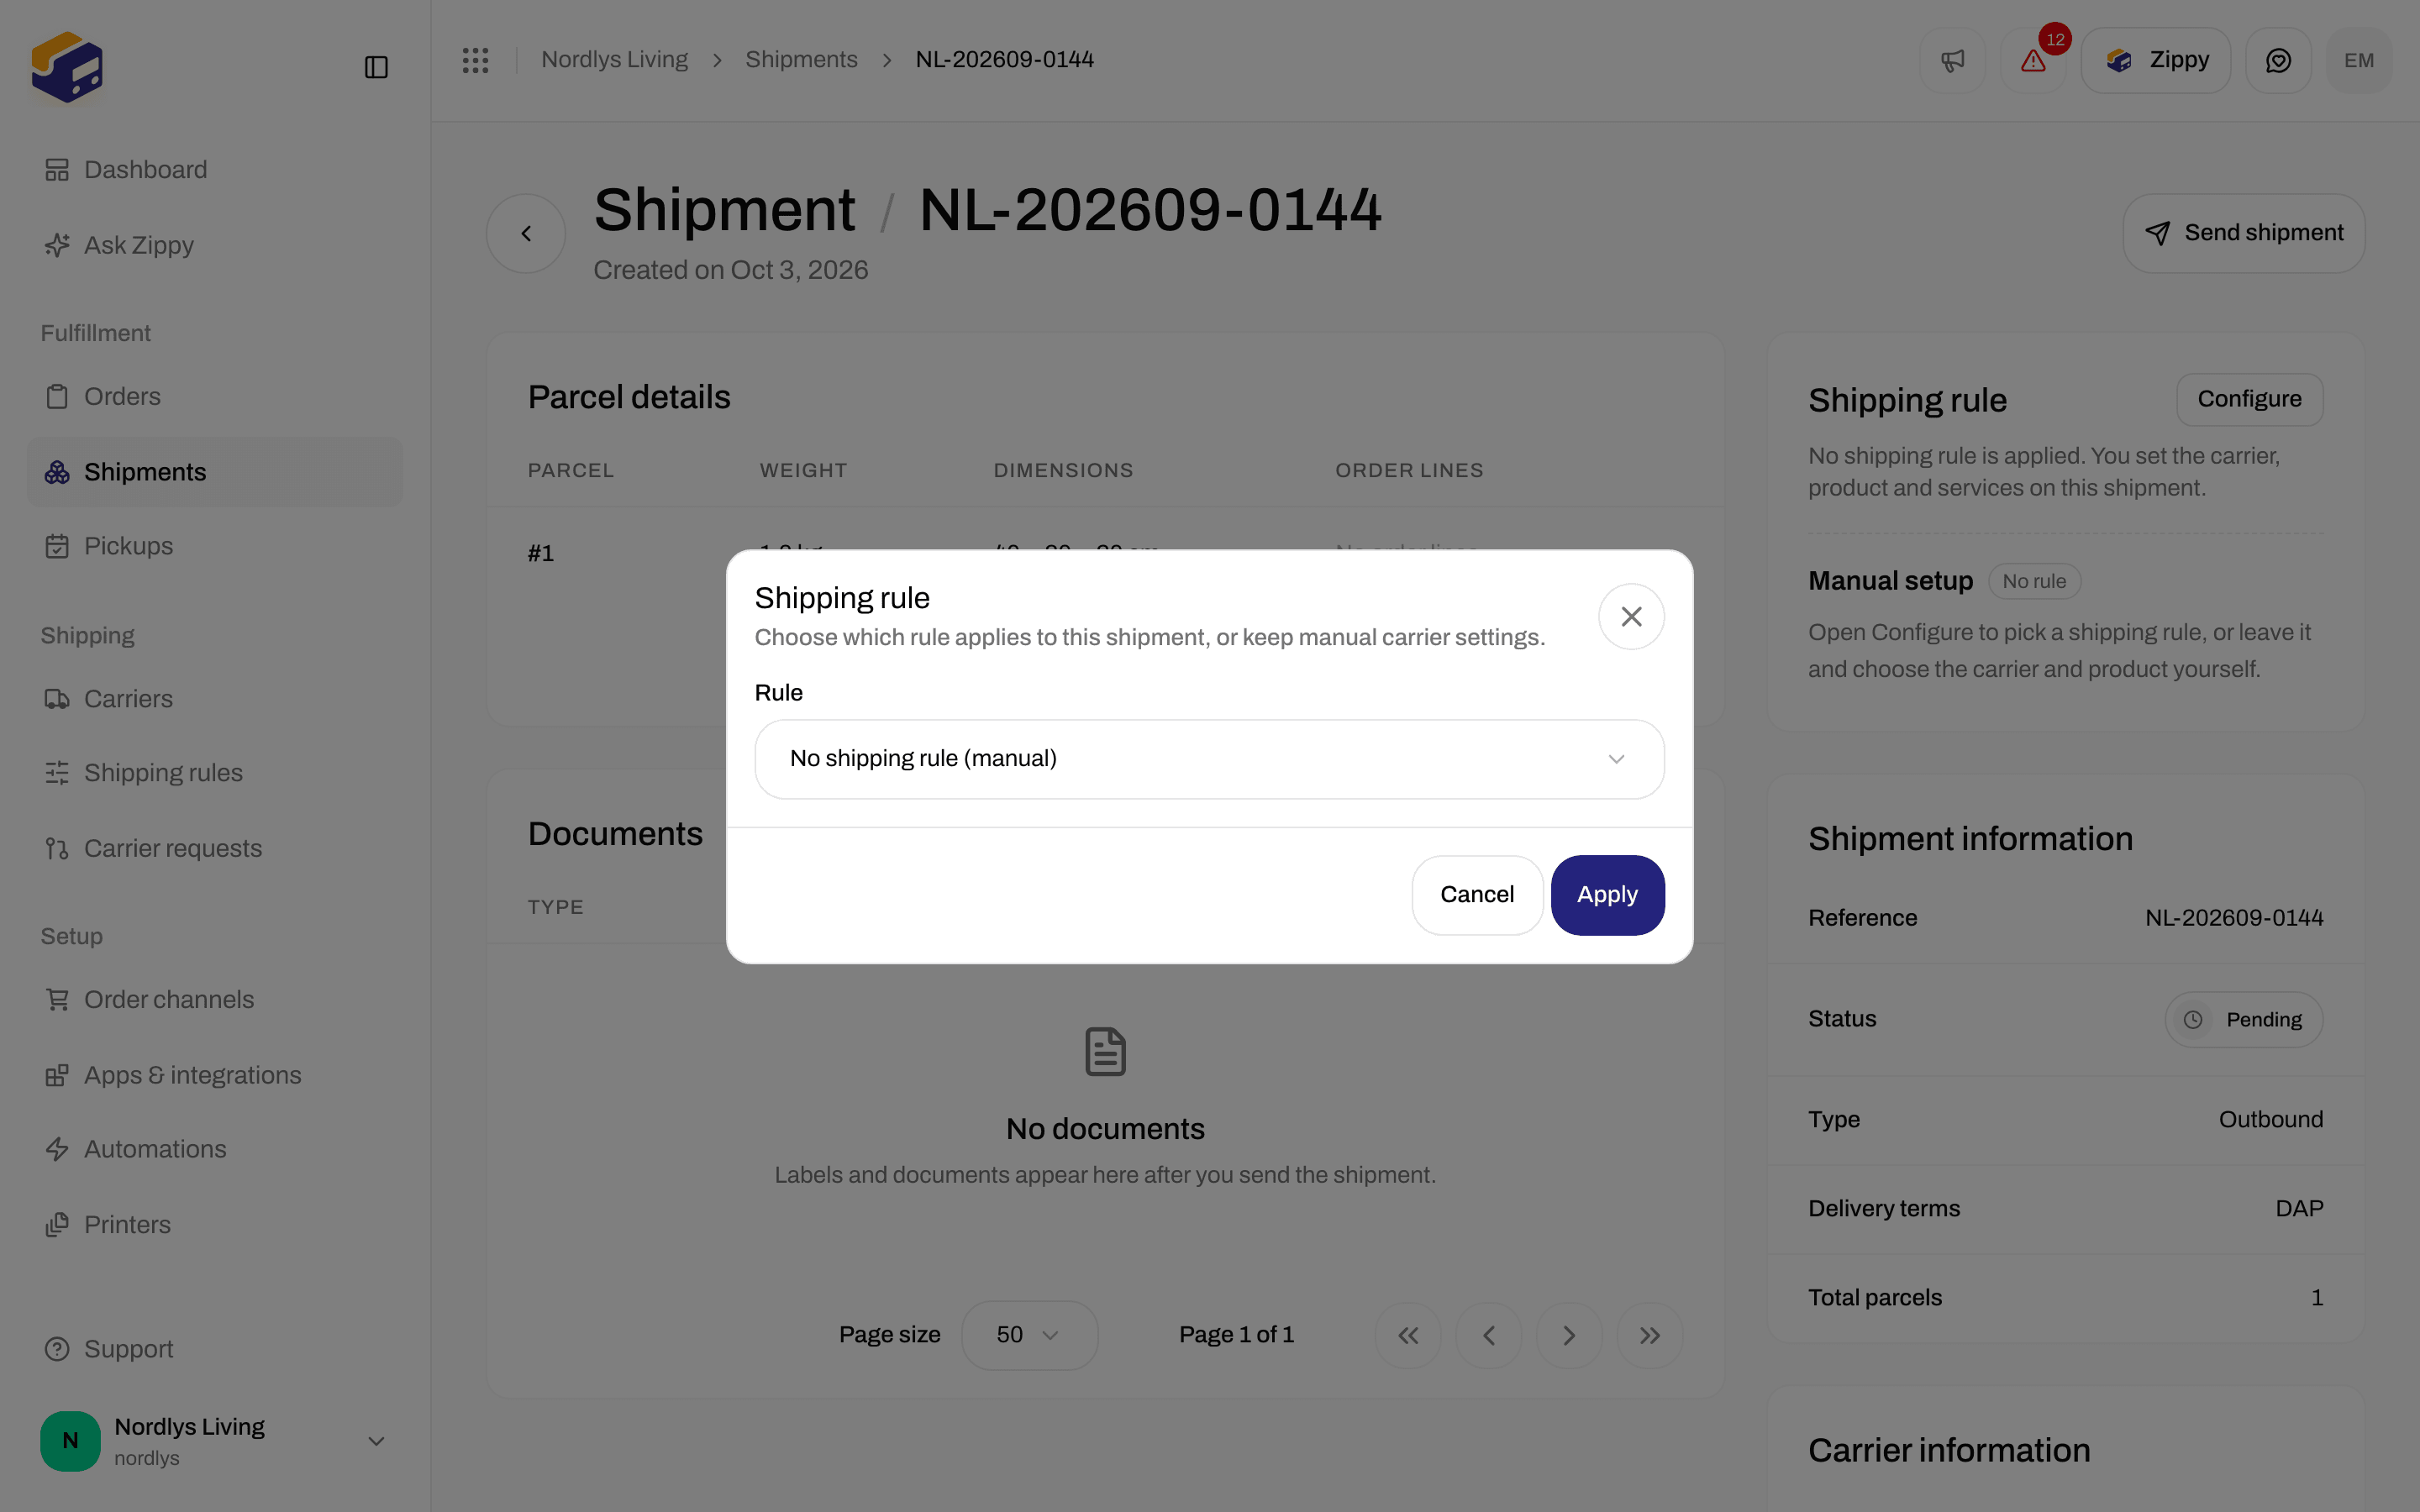
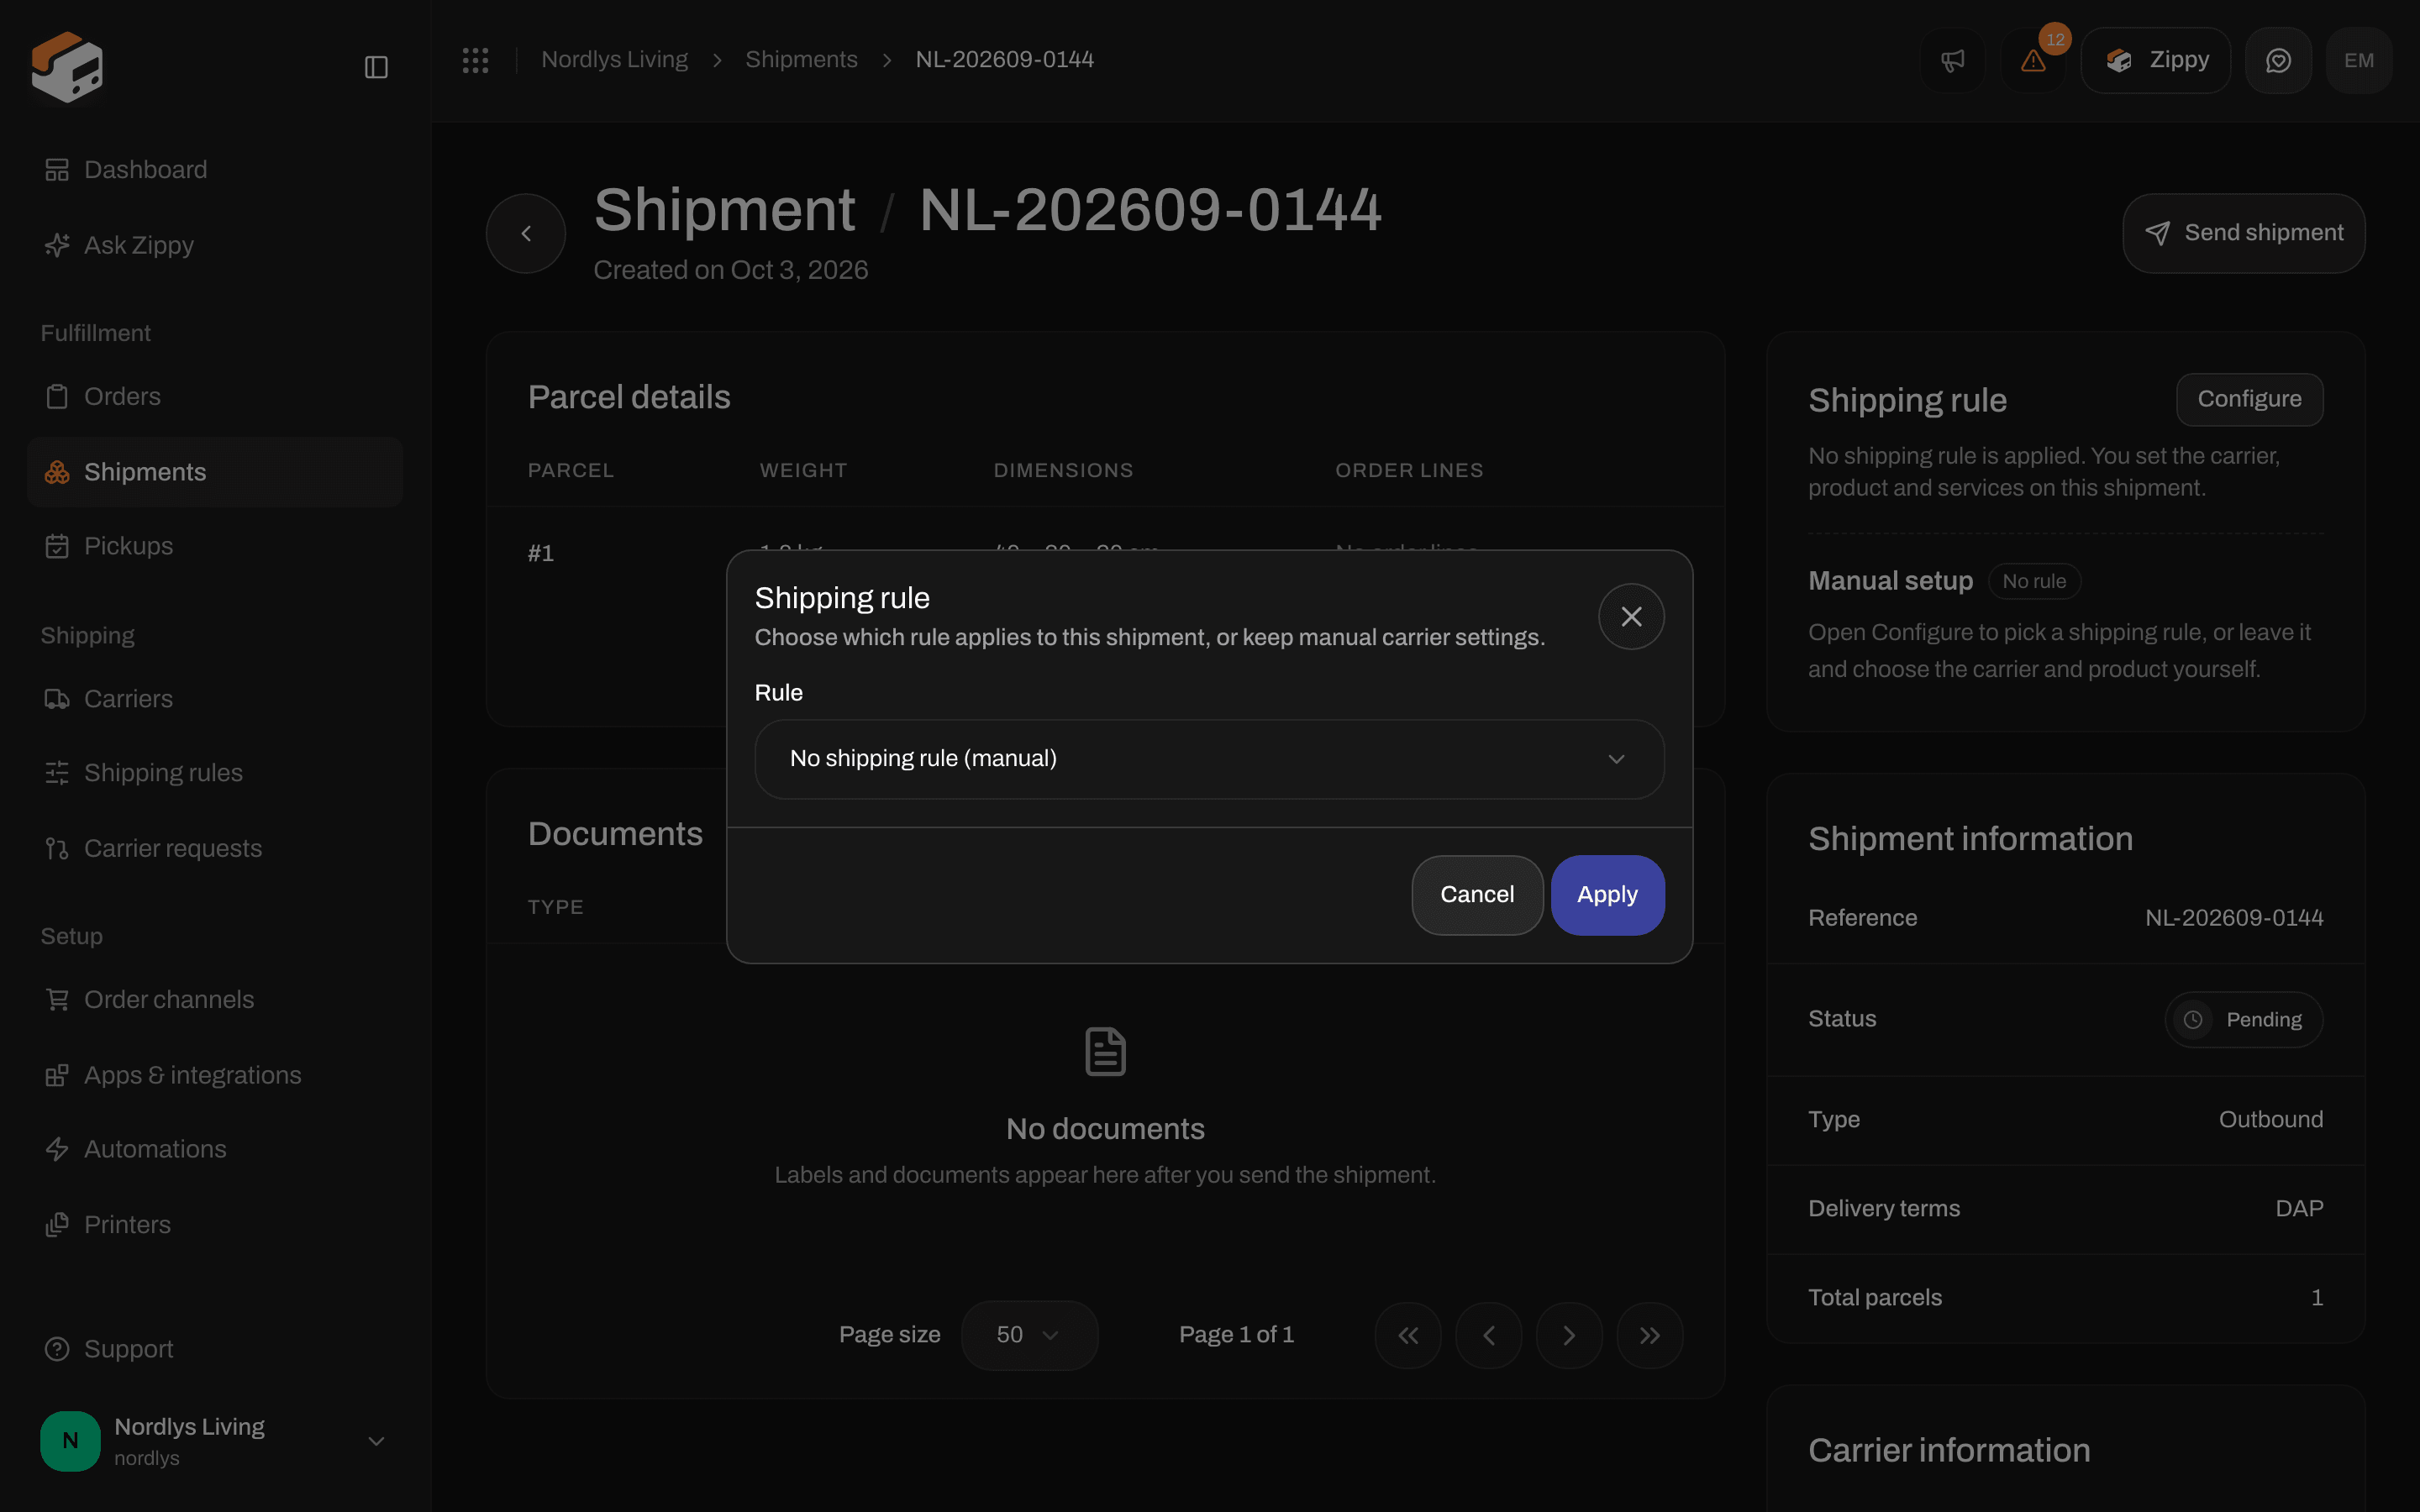
Apply a shipping rule to a pending shipment
Automations
In an automation, the Apply shipping rule action puts a rule of your choice on a shipment (for example when Shipment created happens). It does the same as Apply in the window: it does not check the conditions again. See Building an automation.Test and check
Condition tester
On the create or edit page, click Test. Enter a sample Weight (kg), Order value and Quantity. The tester follows the same steps as checkout:- If the cart is outside the hard limits, the whole rule is skipped.
- Every matching condition is listed, and the cheapest is marked (best).
- You get a warning when the price is 0 (free shipping), or when the matching prices are far apart.
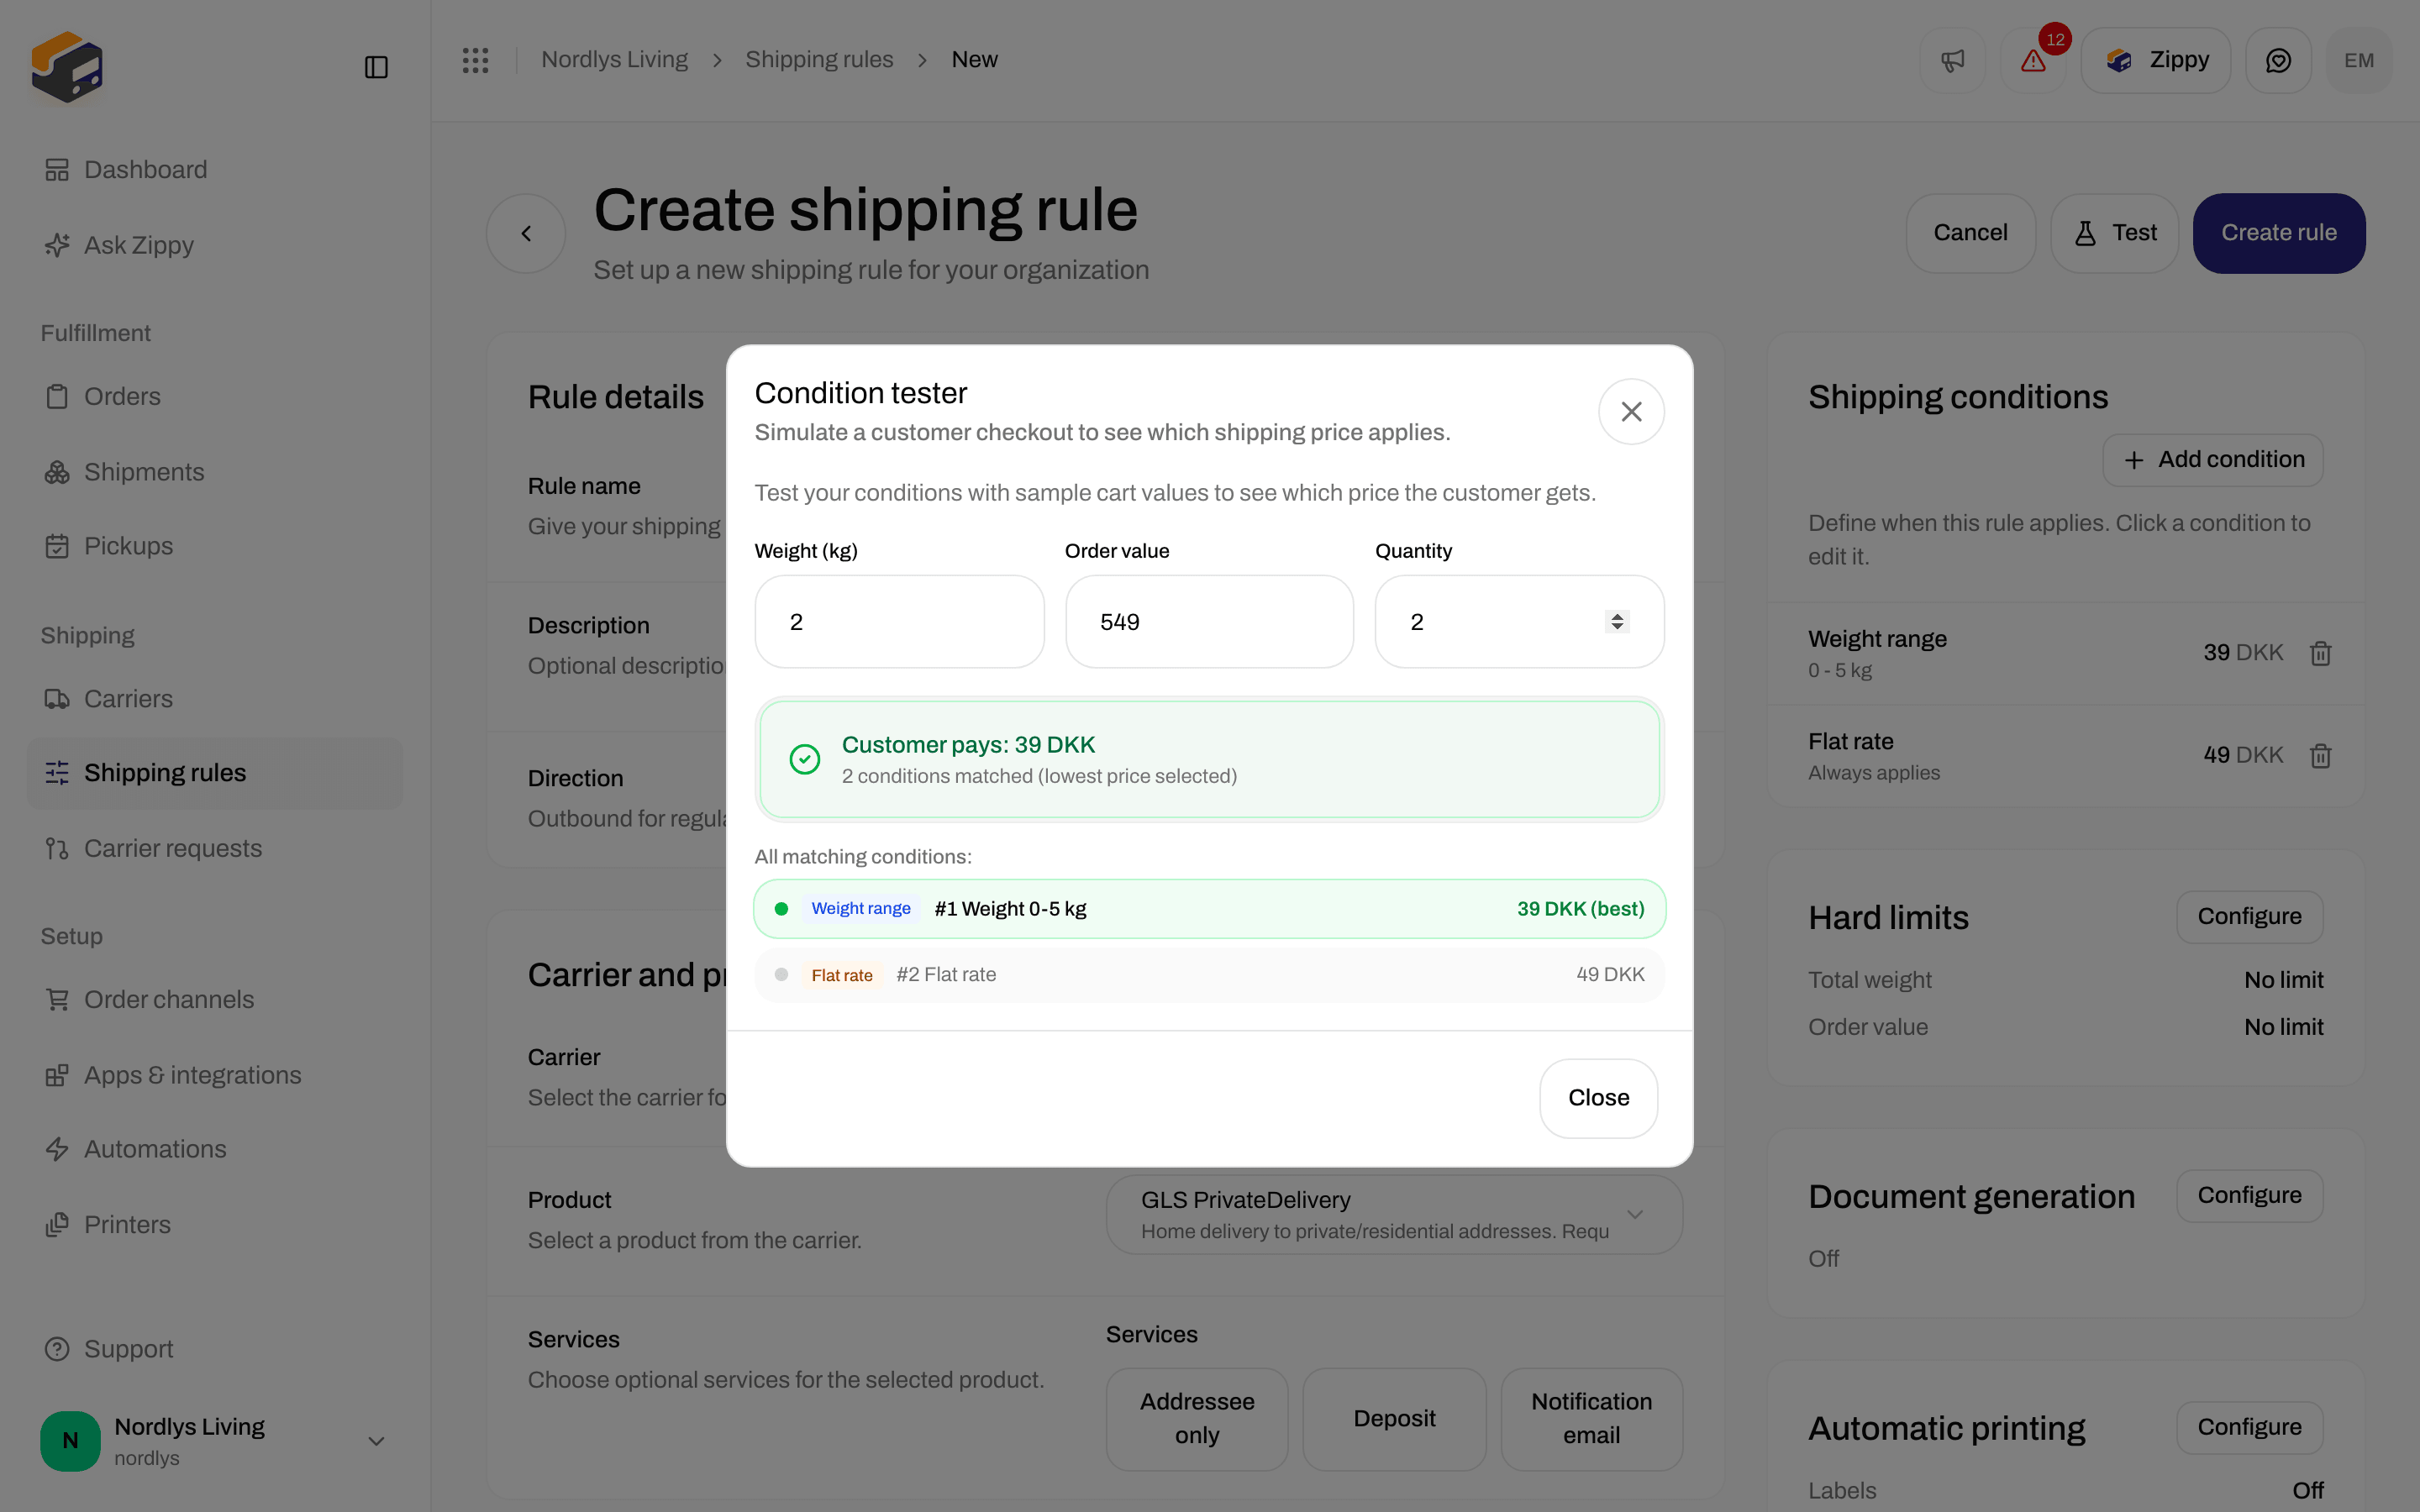
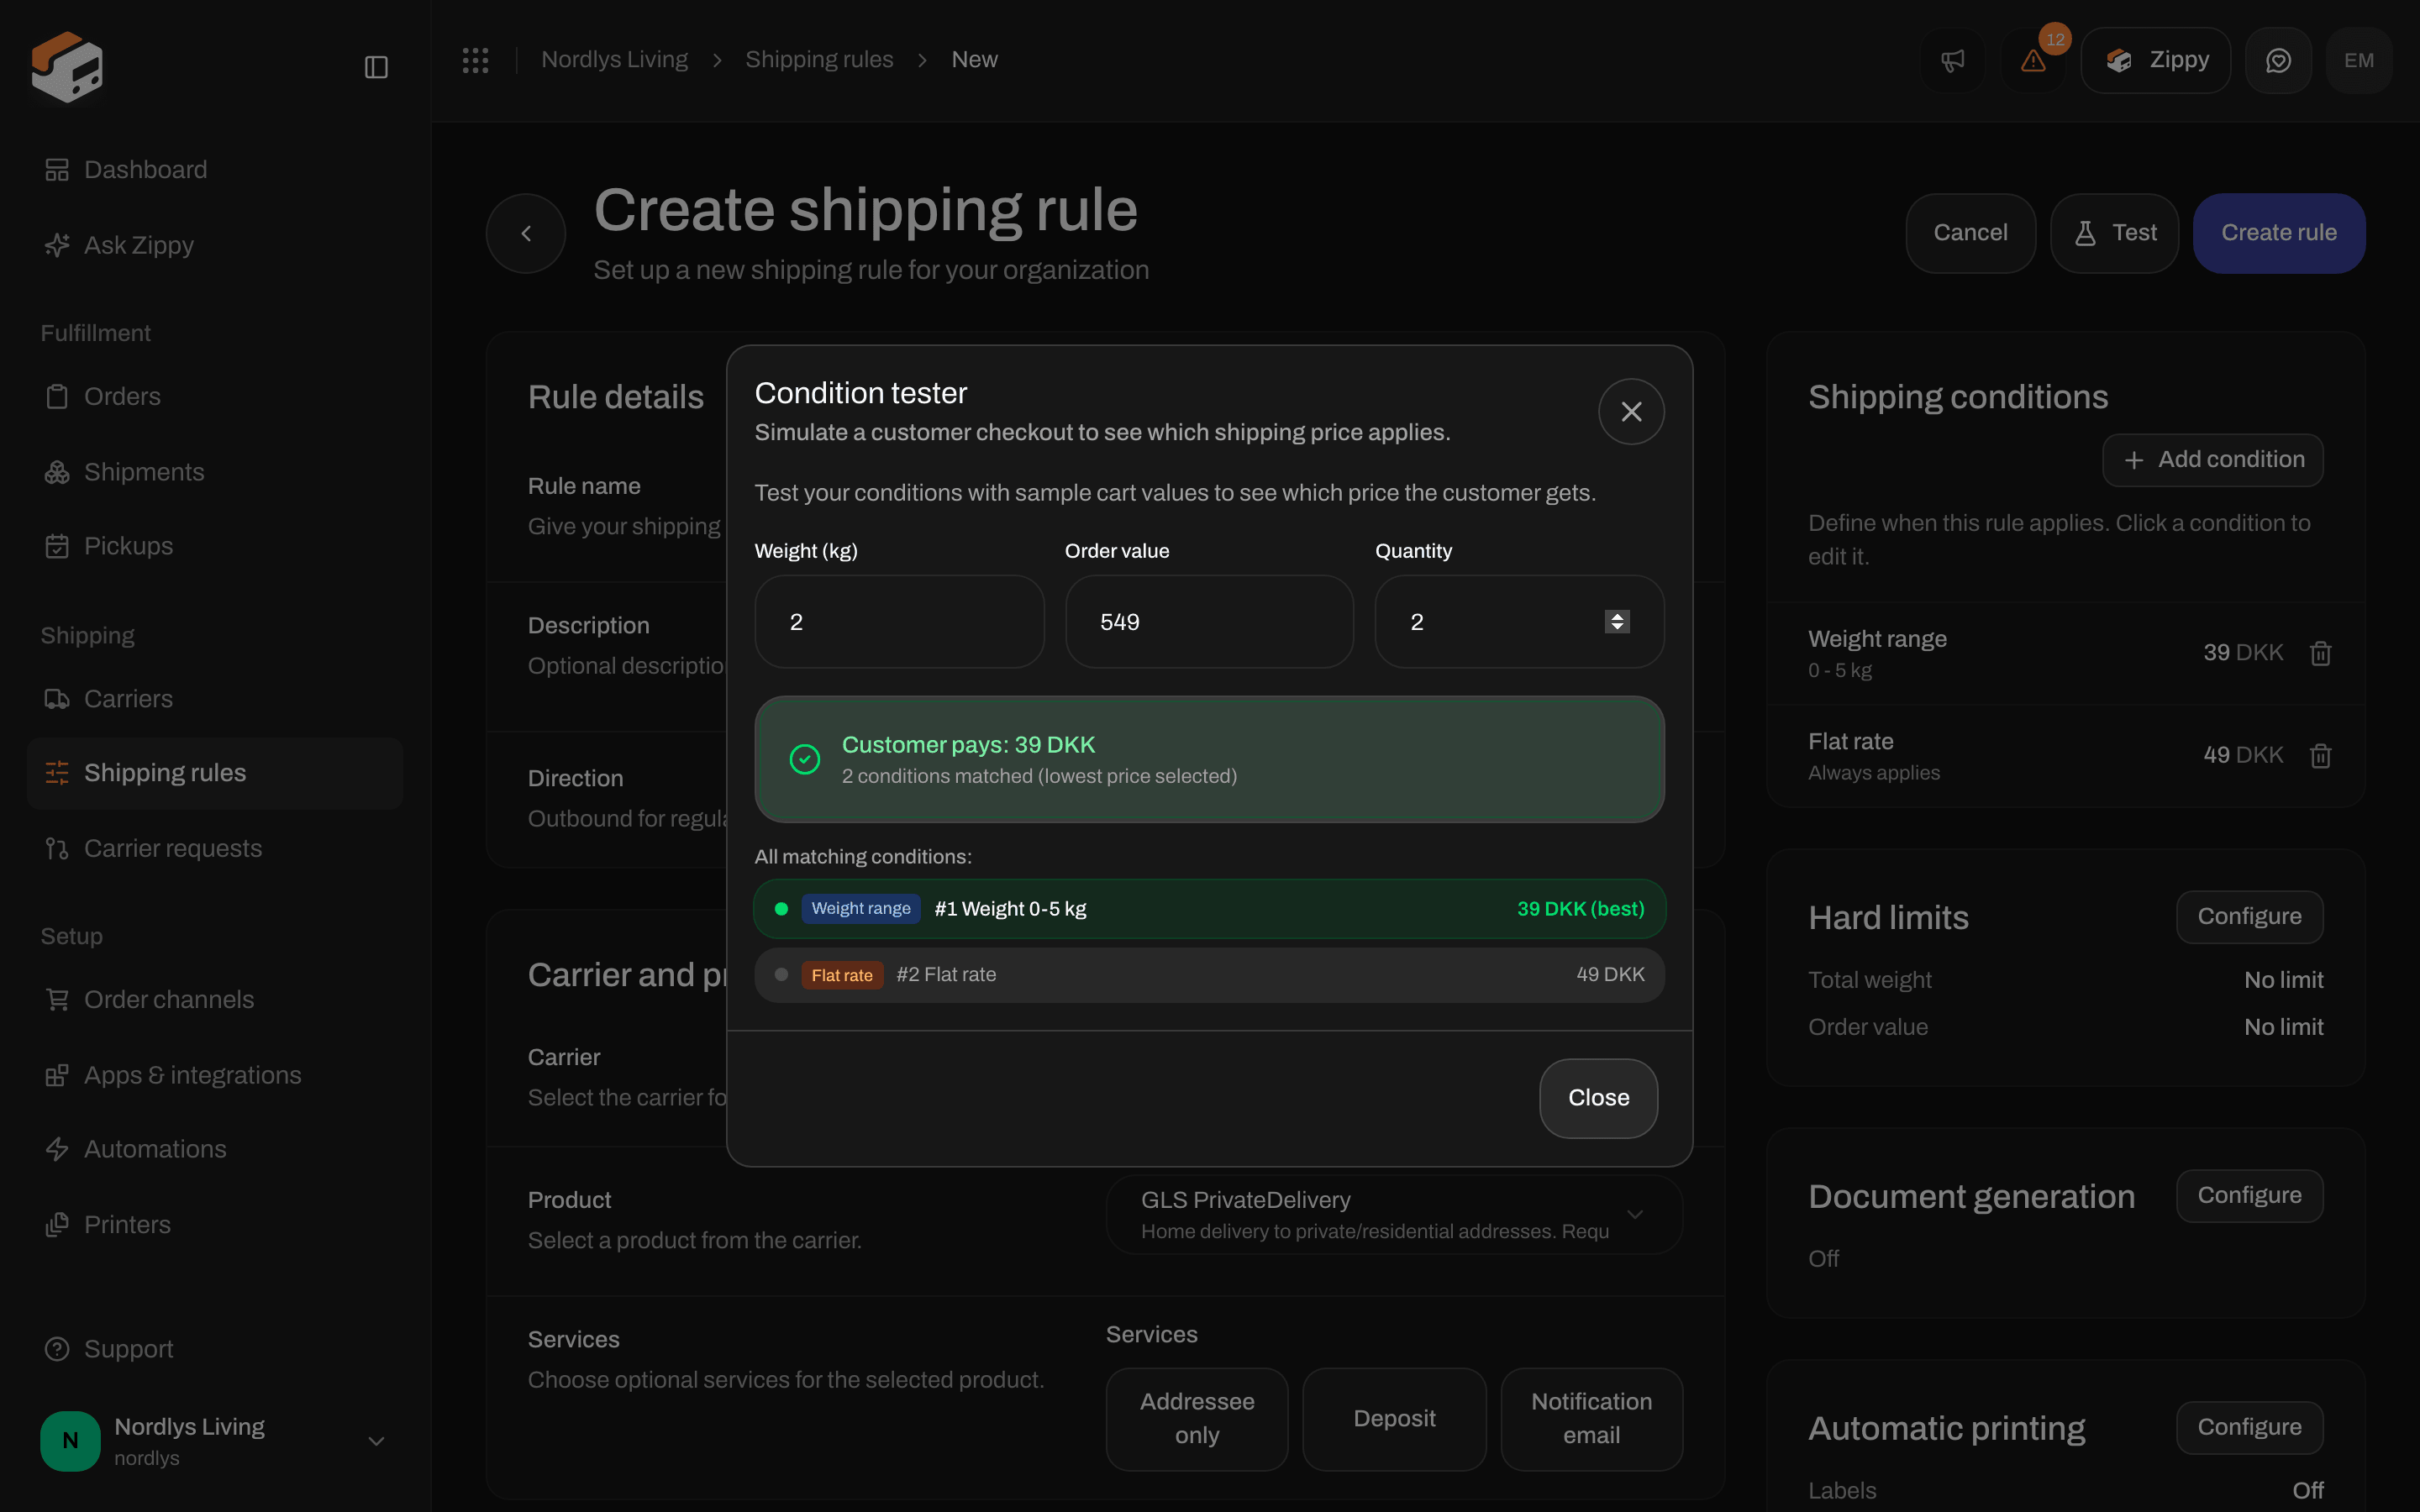
Condition tester: a 2 kg cart worth 549 matches both conditions, and 39 DKK wins
Check a rule in real life
- Go through checkout in your webshop (a test webshop works) with an address in one of the rule’s countries. See checkout rates. The shipping method should carry your rule name.
- Open the order in Zippendo. The Shipping rule section should show that rule as Active.
- Create and send the shipment. The carrier and product should match the rule. If you turned on automatic printing or documents, check the shipment’s Documents section and the printer’s job list.
Common problems
- No shipping methods at checkout. The customer’s country is not in Receiving countries, the cart is outside the hard limits, or no condition matched. A rule with conditions where none match is hidden. It is not offered for free. (A rule saved without any conditions, which is only possible through the API, is offered for free.)
- You expected the first matching rule to win. There is no priority. Checkout shows every matching rule. Narrow the countries, the hard limits or the rules ticked for the order channel if you see too many shipping methods.
- SKU or order channel is not a condition. Tick rules on the order channel, or pick a rule on the order. There is no SKU field in the condition window.
- Total or subtotal at Shopify checkout. Total conditions never match at Shopify checkout. Use Subtotal for checkout prices.
- Service point product, no service point. Applying the rule to a shipment without a service point asks you to pick one. At checkout, the customer’s choice is saved when they pick a service point option.
- Brand mismatch. A rule with a brand is not offered in another brand’s webshop, even if you ticked it there.
- Plan limit. If you try to create more rules than your plan allows, Zippendo asks you to upgrade. See Shipping rules.
- The form will not save. Name, carrier, product, address, at least one country and at least one condition are required.
- No confirmation message after creating. After Create rule you go back to the list, and the new rule is in it. That is the confirmation.
Related
- Reference: Shipping rules
- Create a shipment
- Checkout · Live rates in Shopify · Shipping method mapping
- Carriers · Orders · Returns · Labels and printing
- Auto-print labels · Brands · Building an automation
- Field by field: Shipping rule fields · Apply a shipping rule · Auto-print