

How returns work
You need two things:- A return shipping rule: Direction set to Inbound (return), with a return product (such as GLS ShopReturn, GLS Pick&Return or PostNord Return).
- On the outbound rule you ship with, Return shipping rule set to that return rule.
- turn on Create return automatically when the shipment is sent on the outbound rule. Zippendo then creates and sends the return shipment as soon as the outbound shipment is sent. Or
- leave it off and click Create return shipment on a Sent outbound shipment (or Create return shipment in the order’s Shipments section) when a customer needs to send something back.
- has the Type Inbound,
- gets the reference
RET-followed by the original reference, - swaps the addresses: your customer becomes the sender, and the sender address of the original shipment (your warehouse) becomes the receiver,
- is sent to the carrier straight away.
Create return shipment appears at the top of an outbound shipment when it is Sent, its shipping rule has a Return shipping rule, and Create return automatically when the shipment is sent is off. In the order’s Shipments section, Create return shipment is in the ⋯ menu on the shipment card, and follows the same checks against the order’s shipping rule. If you don’t see the button, set up the return rule first.
1. Create a return shipping rule
Go to Shipping rules → Add shipping rule. The page is called Create shipping rule.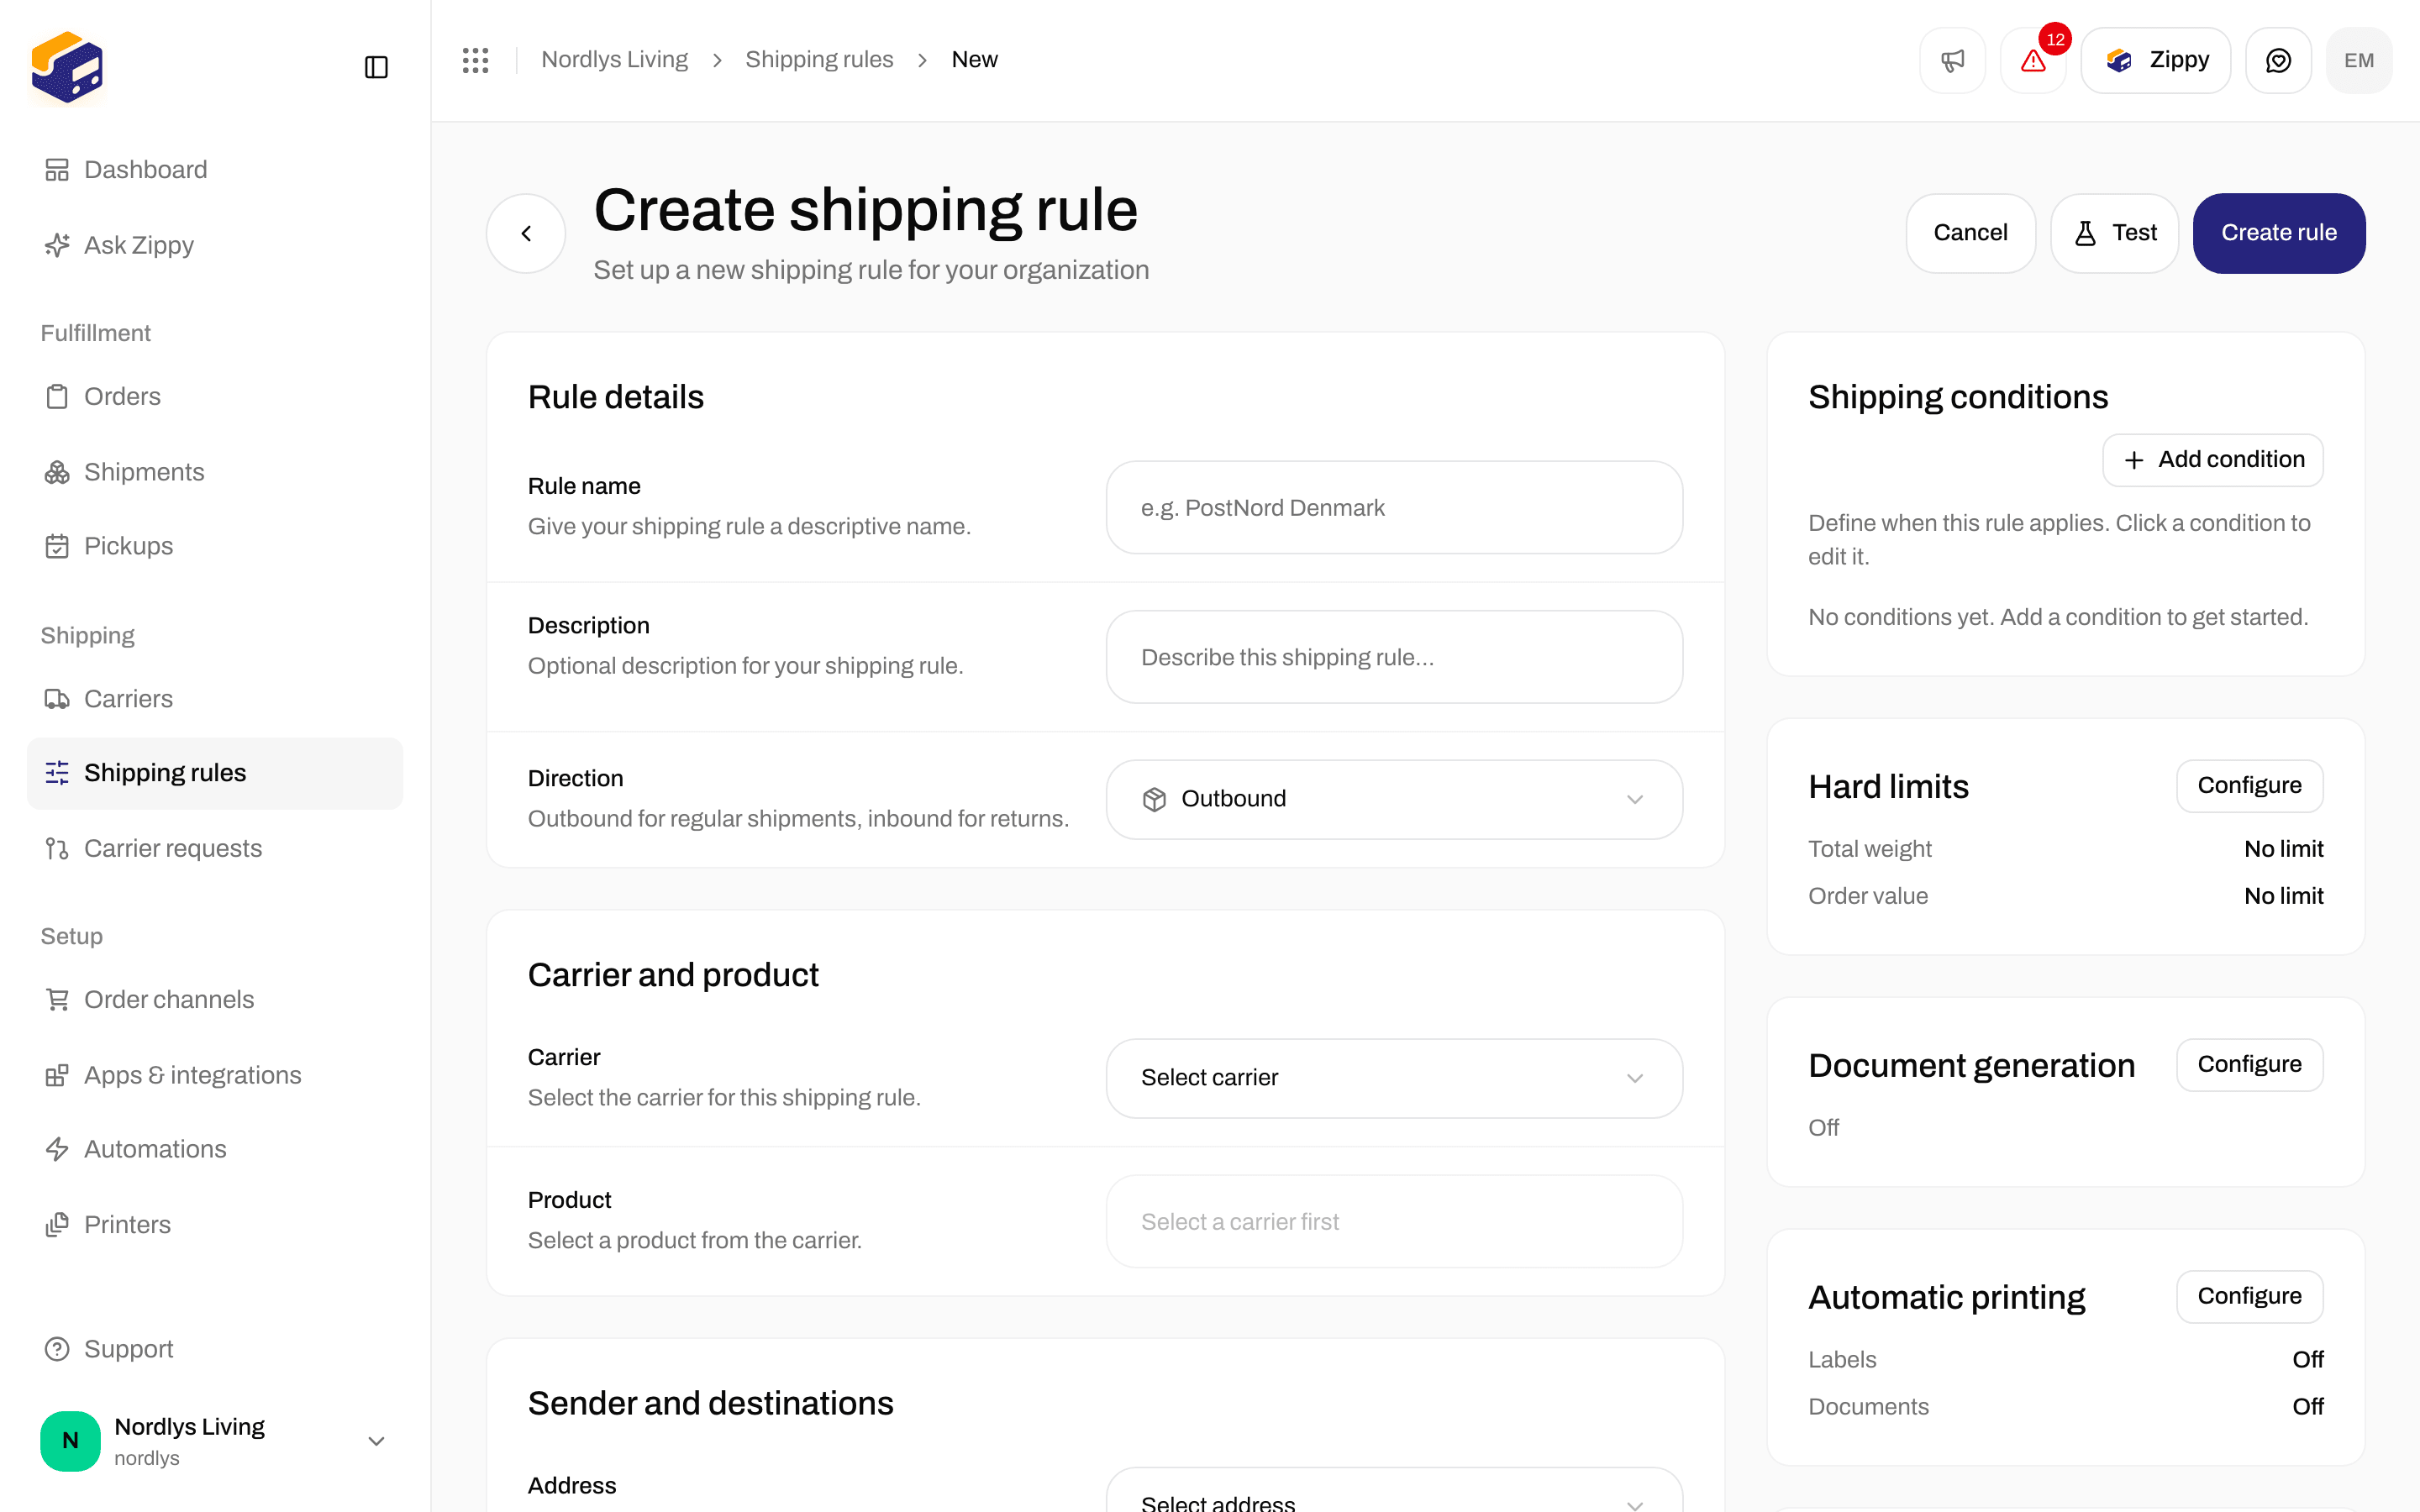
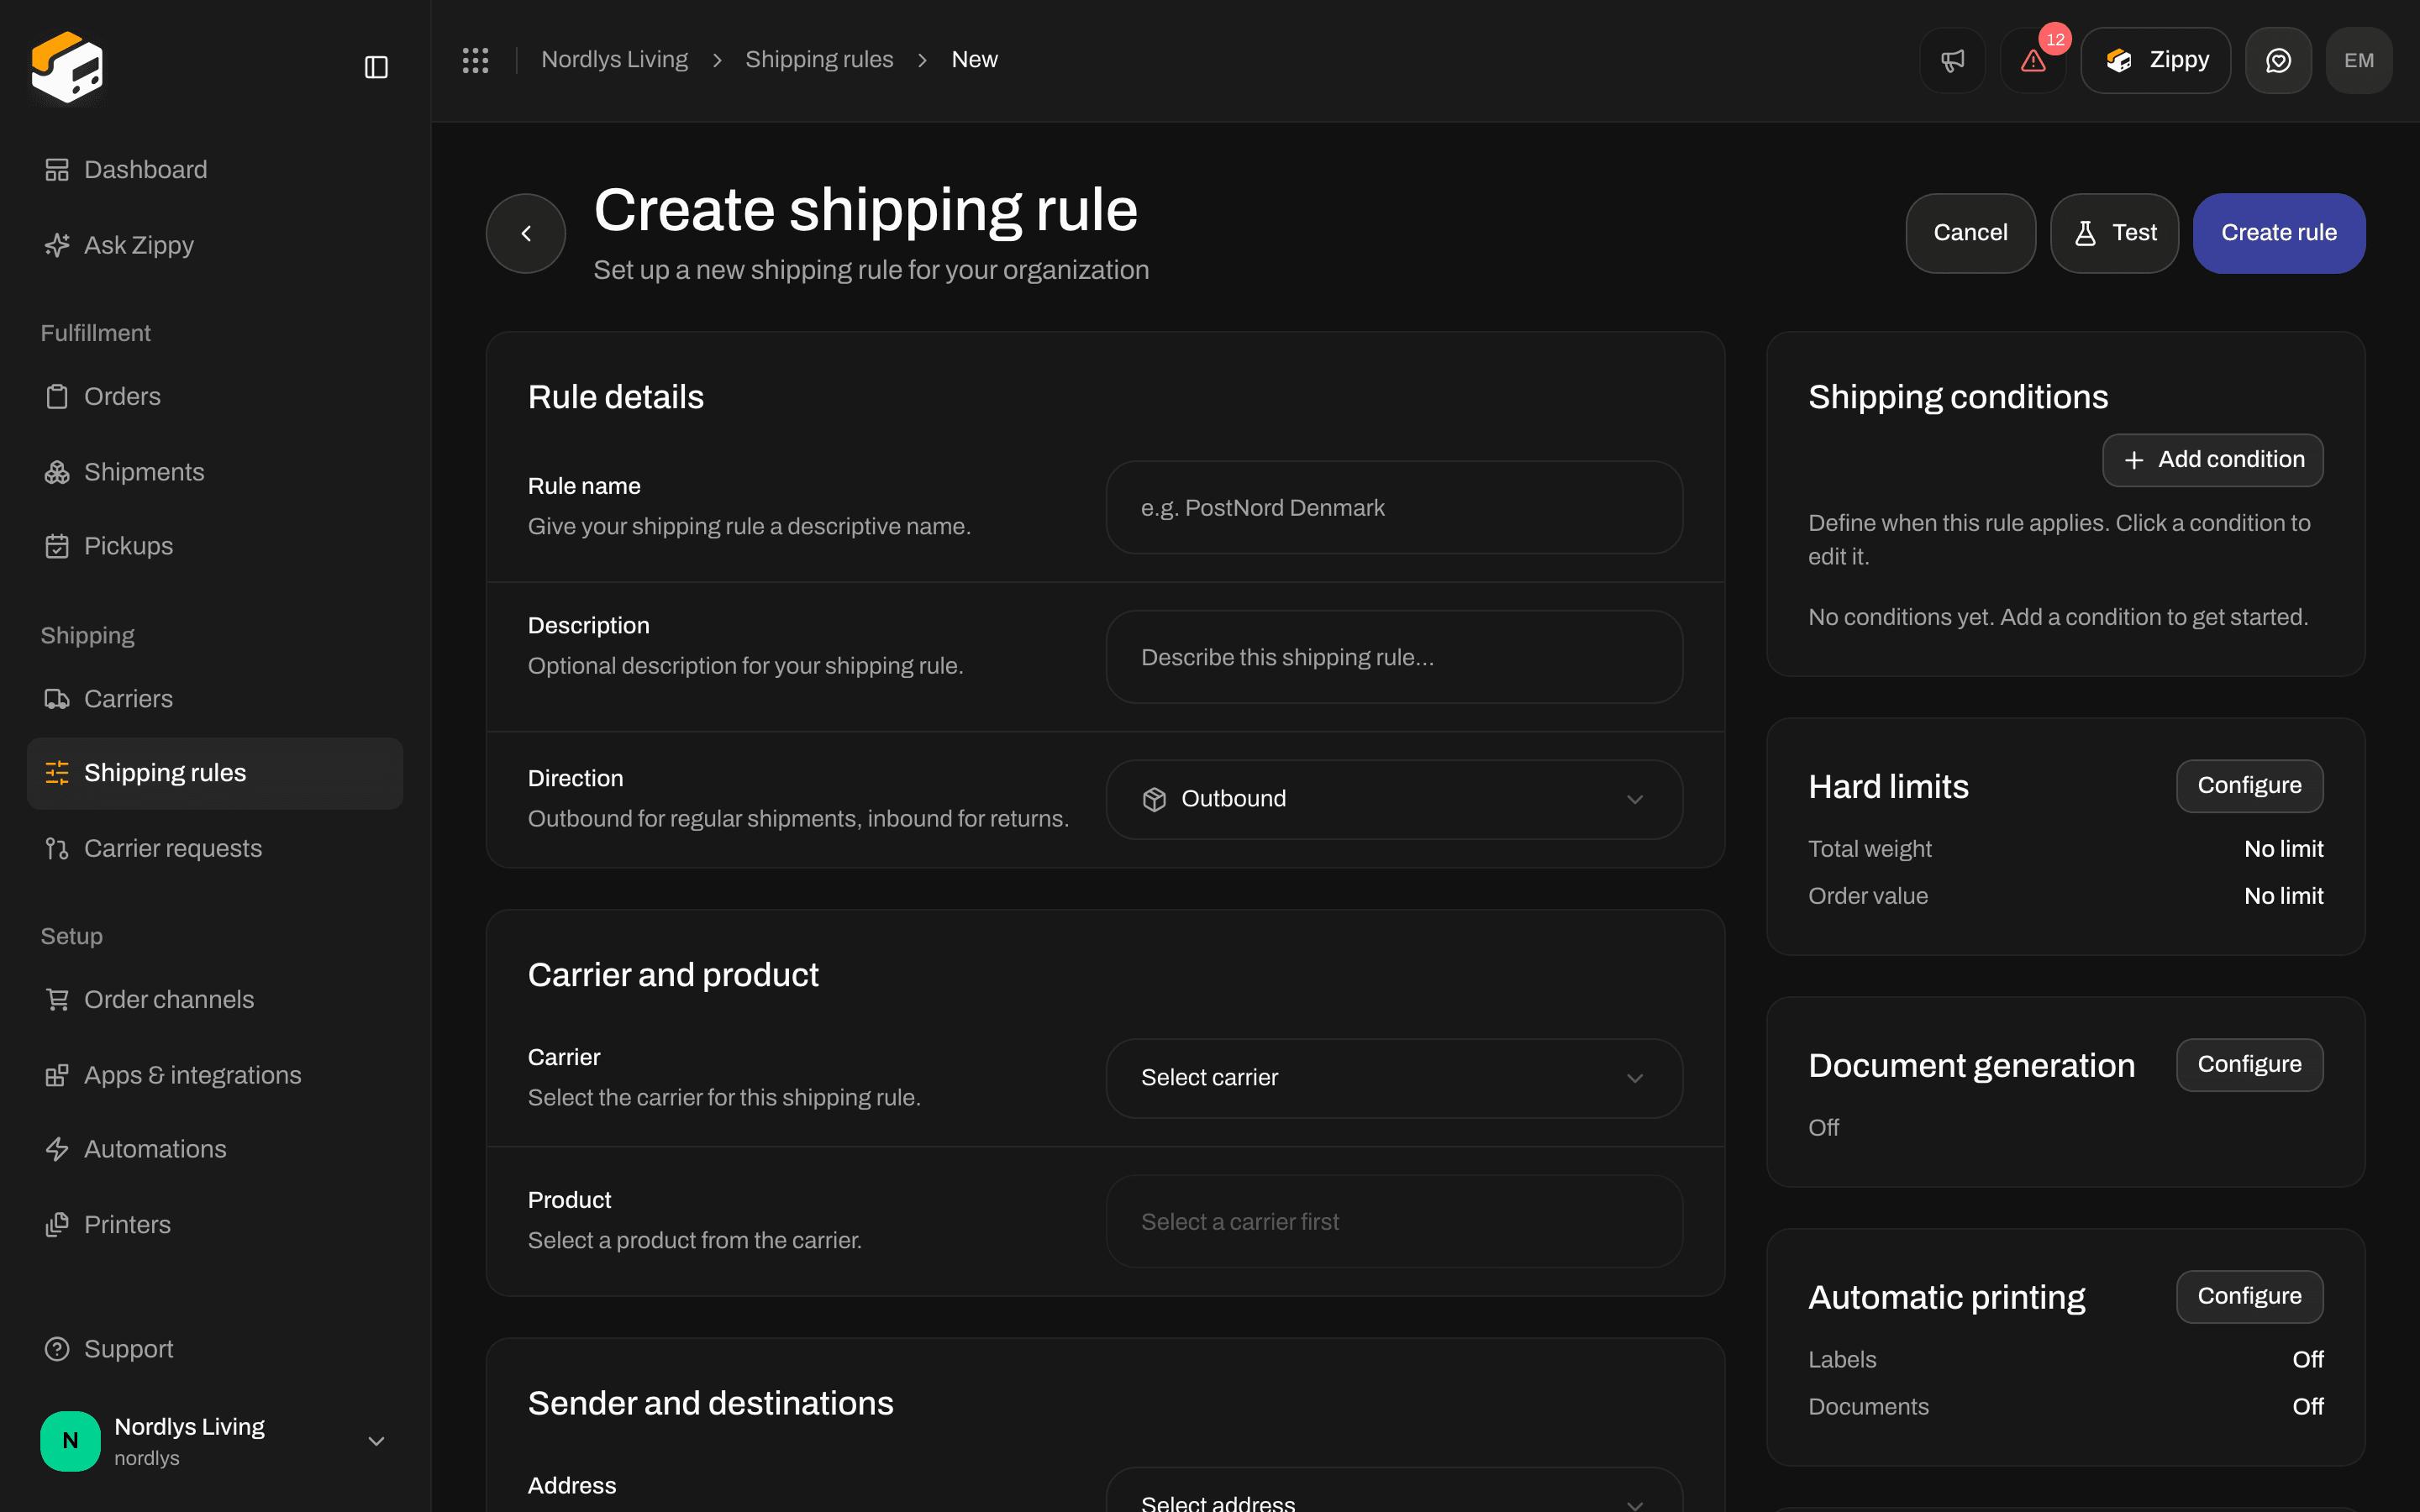
Direction: Outbound for normal shipments, Inbound (return) for returns
1
Set Direction to Inbound (return)
Under Direction, the form explains: Outbound for regular shipments, inbound for returns. Pick Inbound (return). The Product list now only shows return products.
2
Pick the carrier and return product
For example GLS Denmark → GLS ShopReturn (your customer drops the parcel off at a GLS service point) or GLS Pick&Return (GLS collects it from your customer). Other carriers have their own return products.
3
Pick the address
Address lists your sender addresses. Pick your warehouse.
4
Pick the countries and save
Receiving countries is required here too. Give the rule a name you will recognize on the outbound rule, such as
GLS ShopReturn - DK. Add a condition (for example Flat rate) and click Create rule.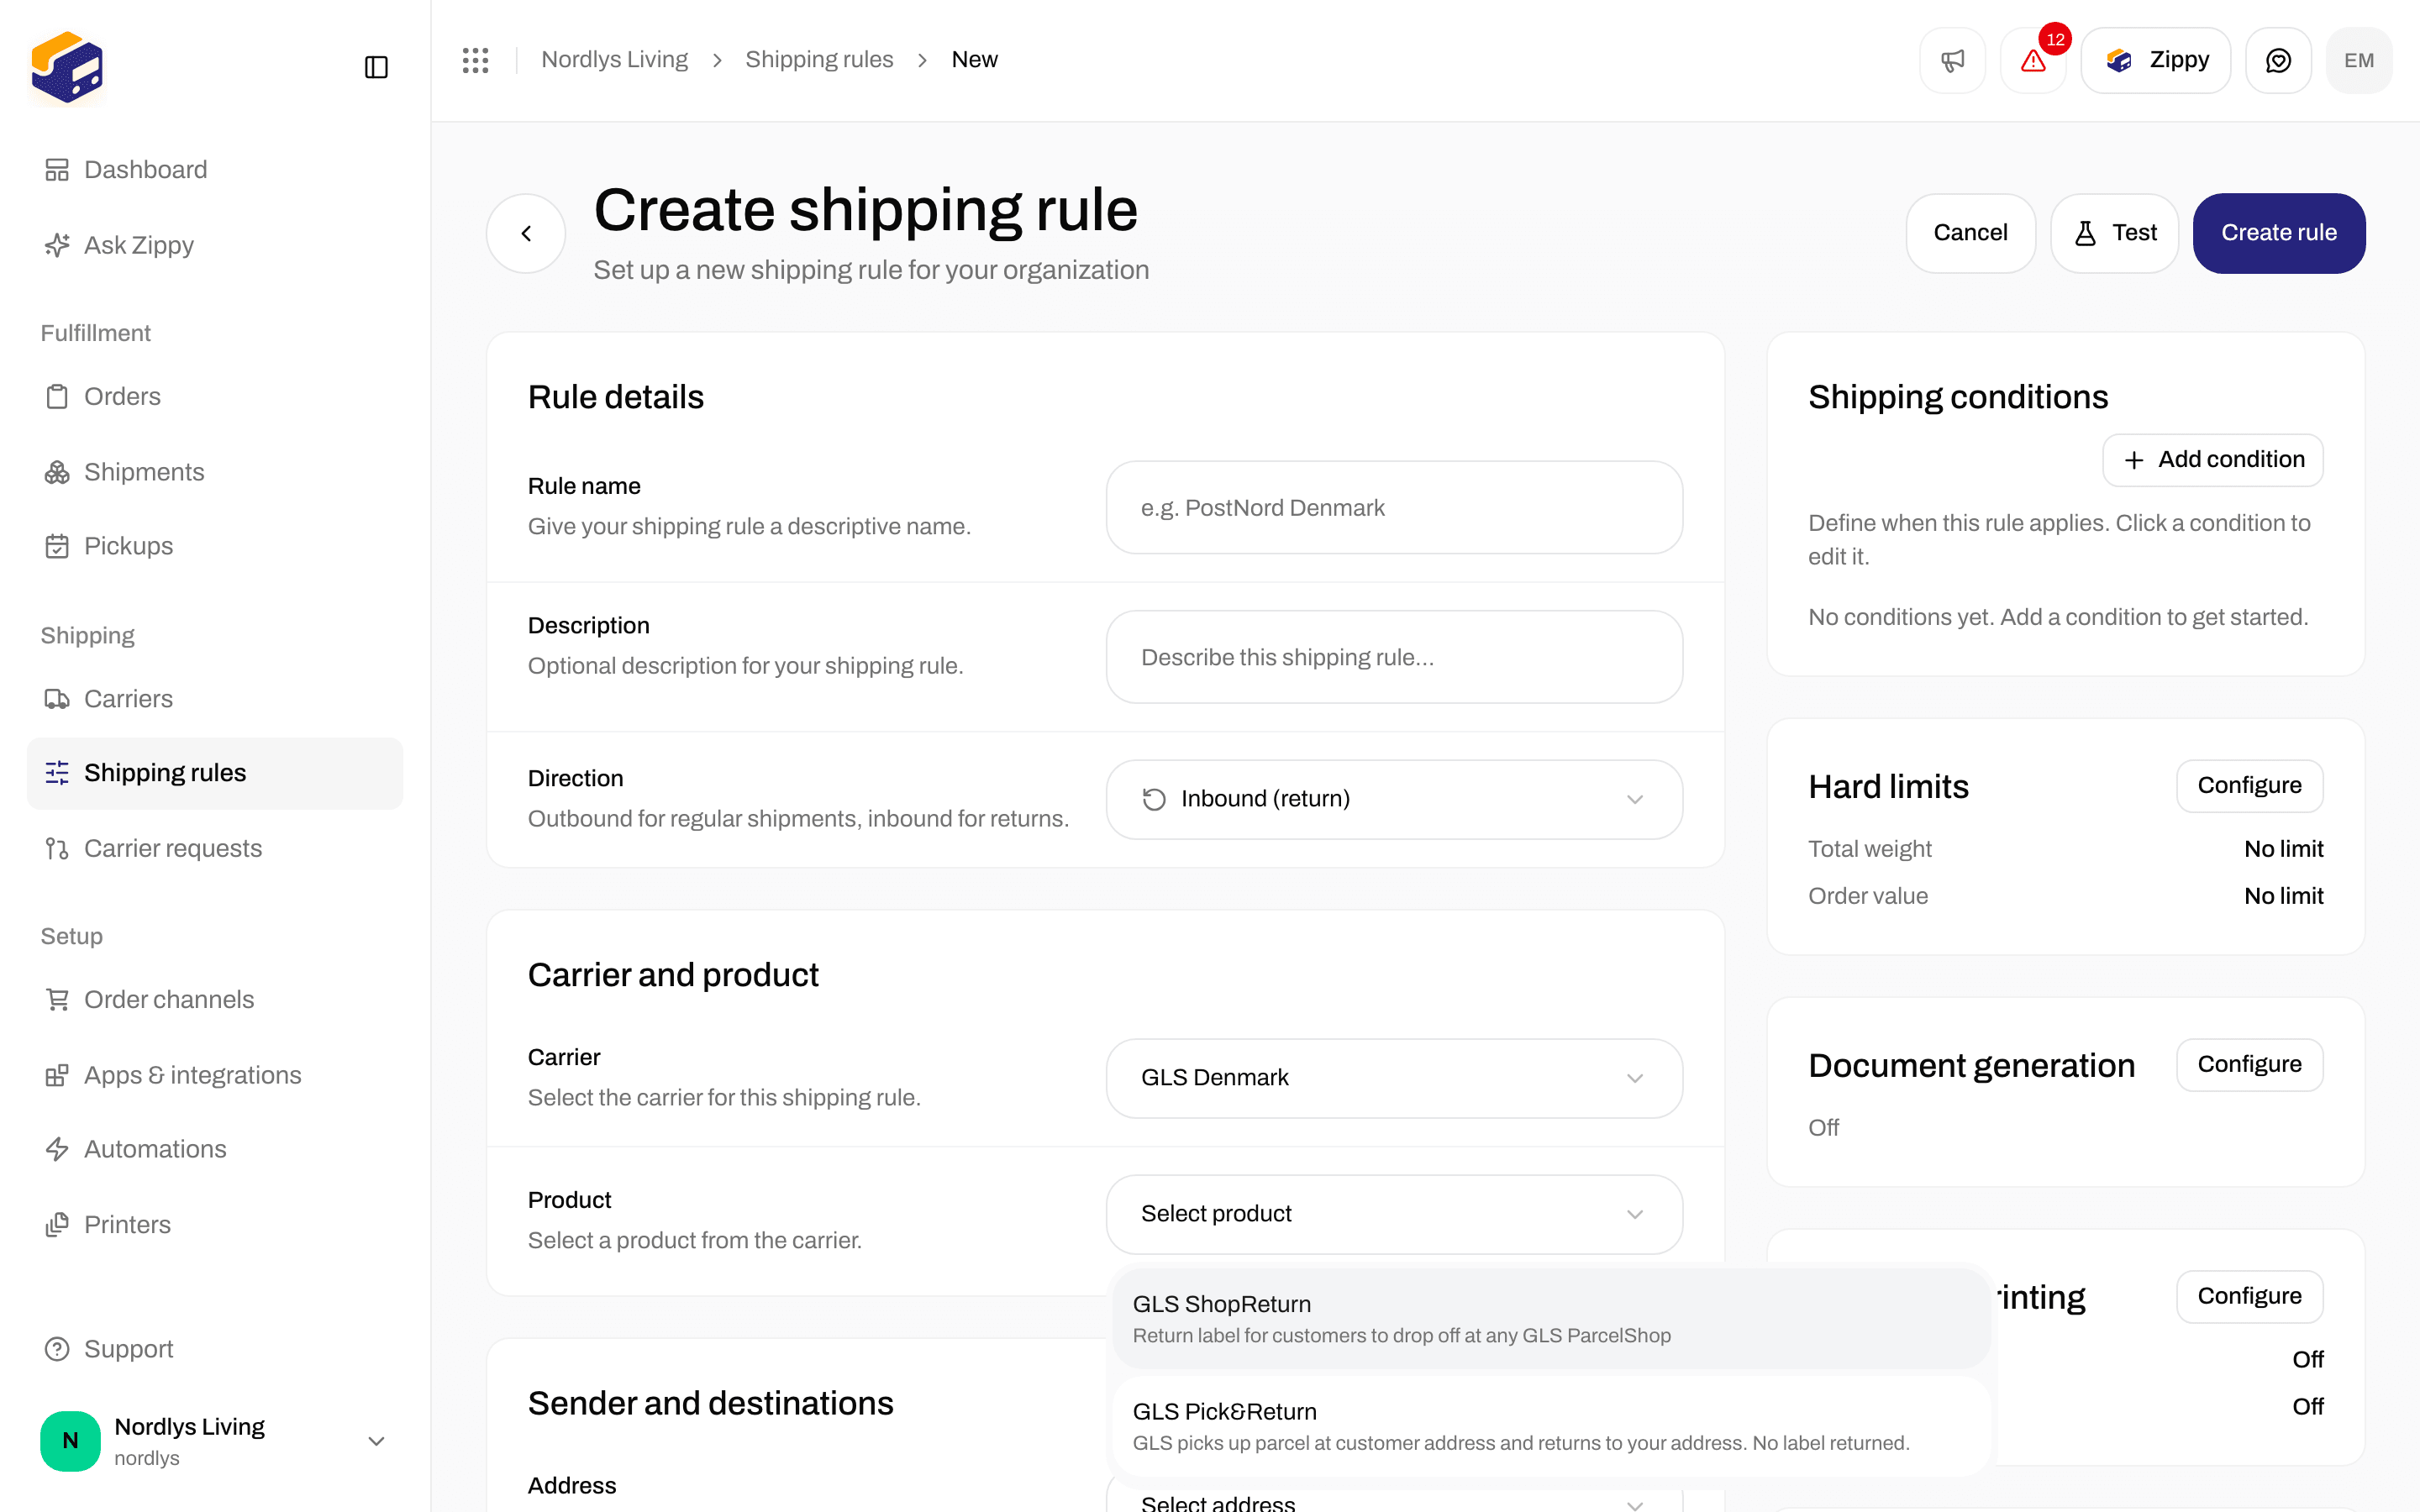
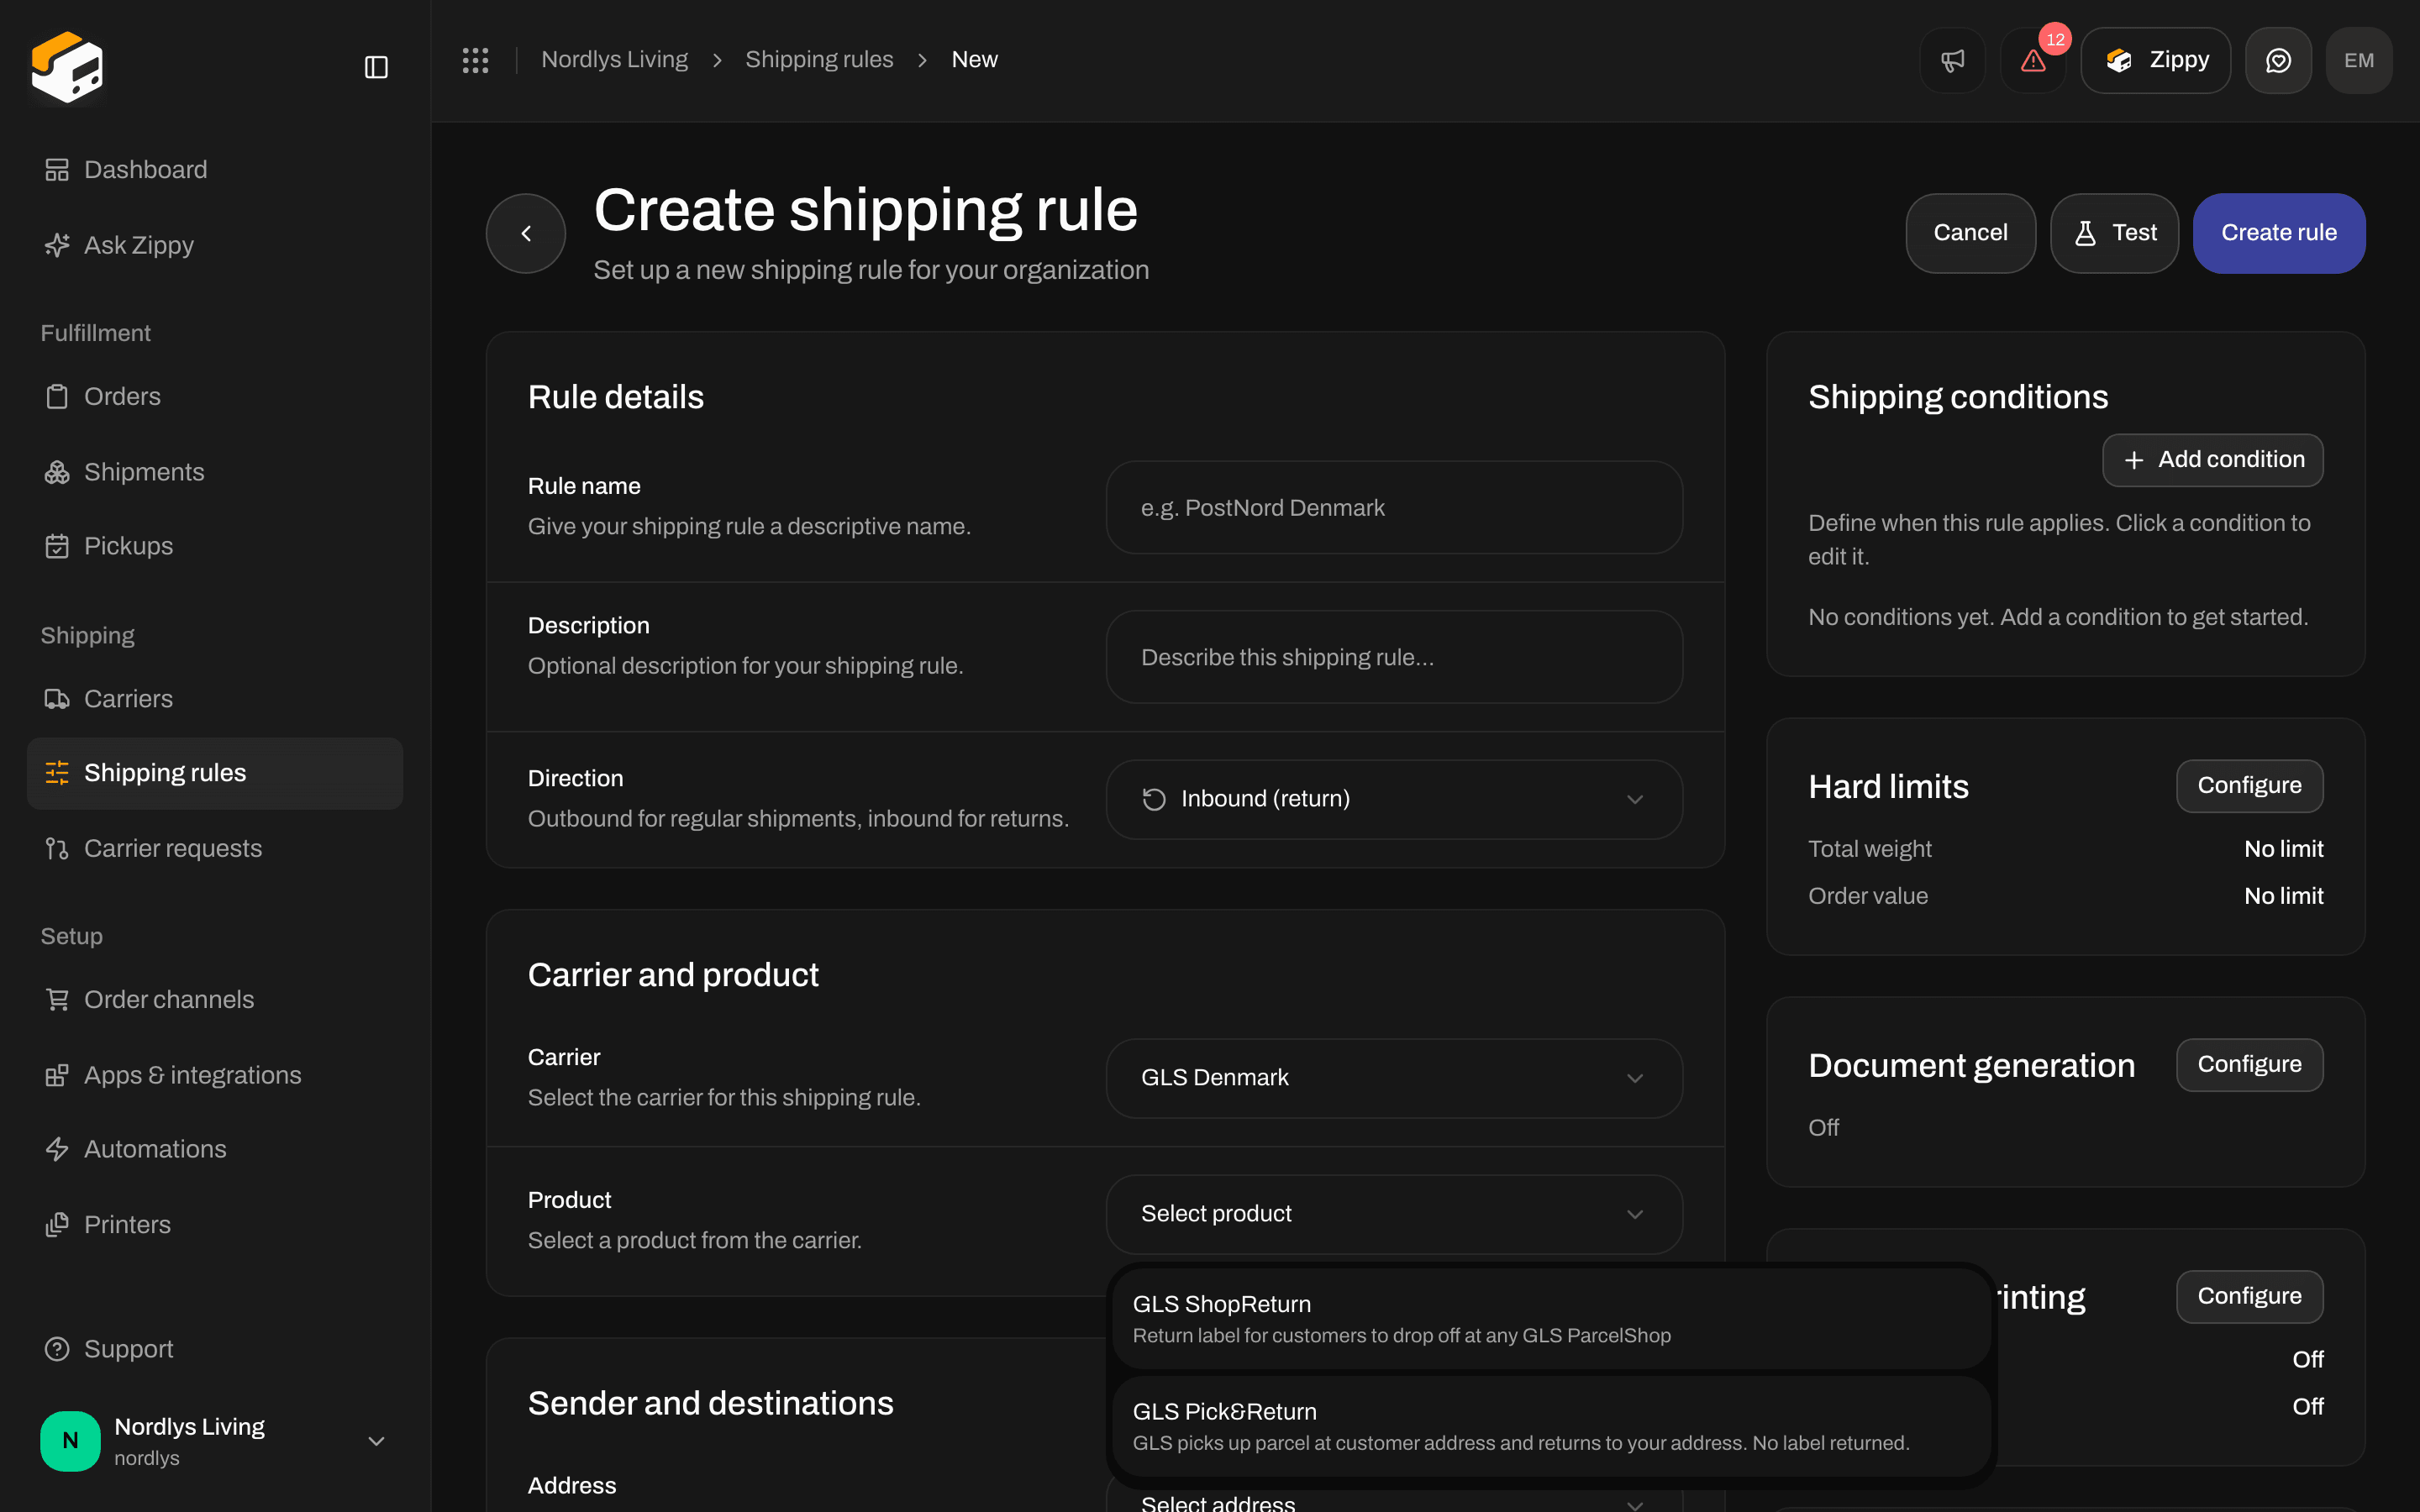
Inbound (return) only shows return products, such as GLS ShopReturn
2. Link it to the outbound rule
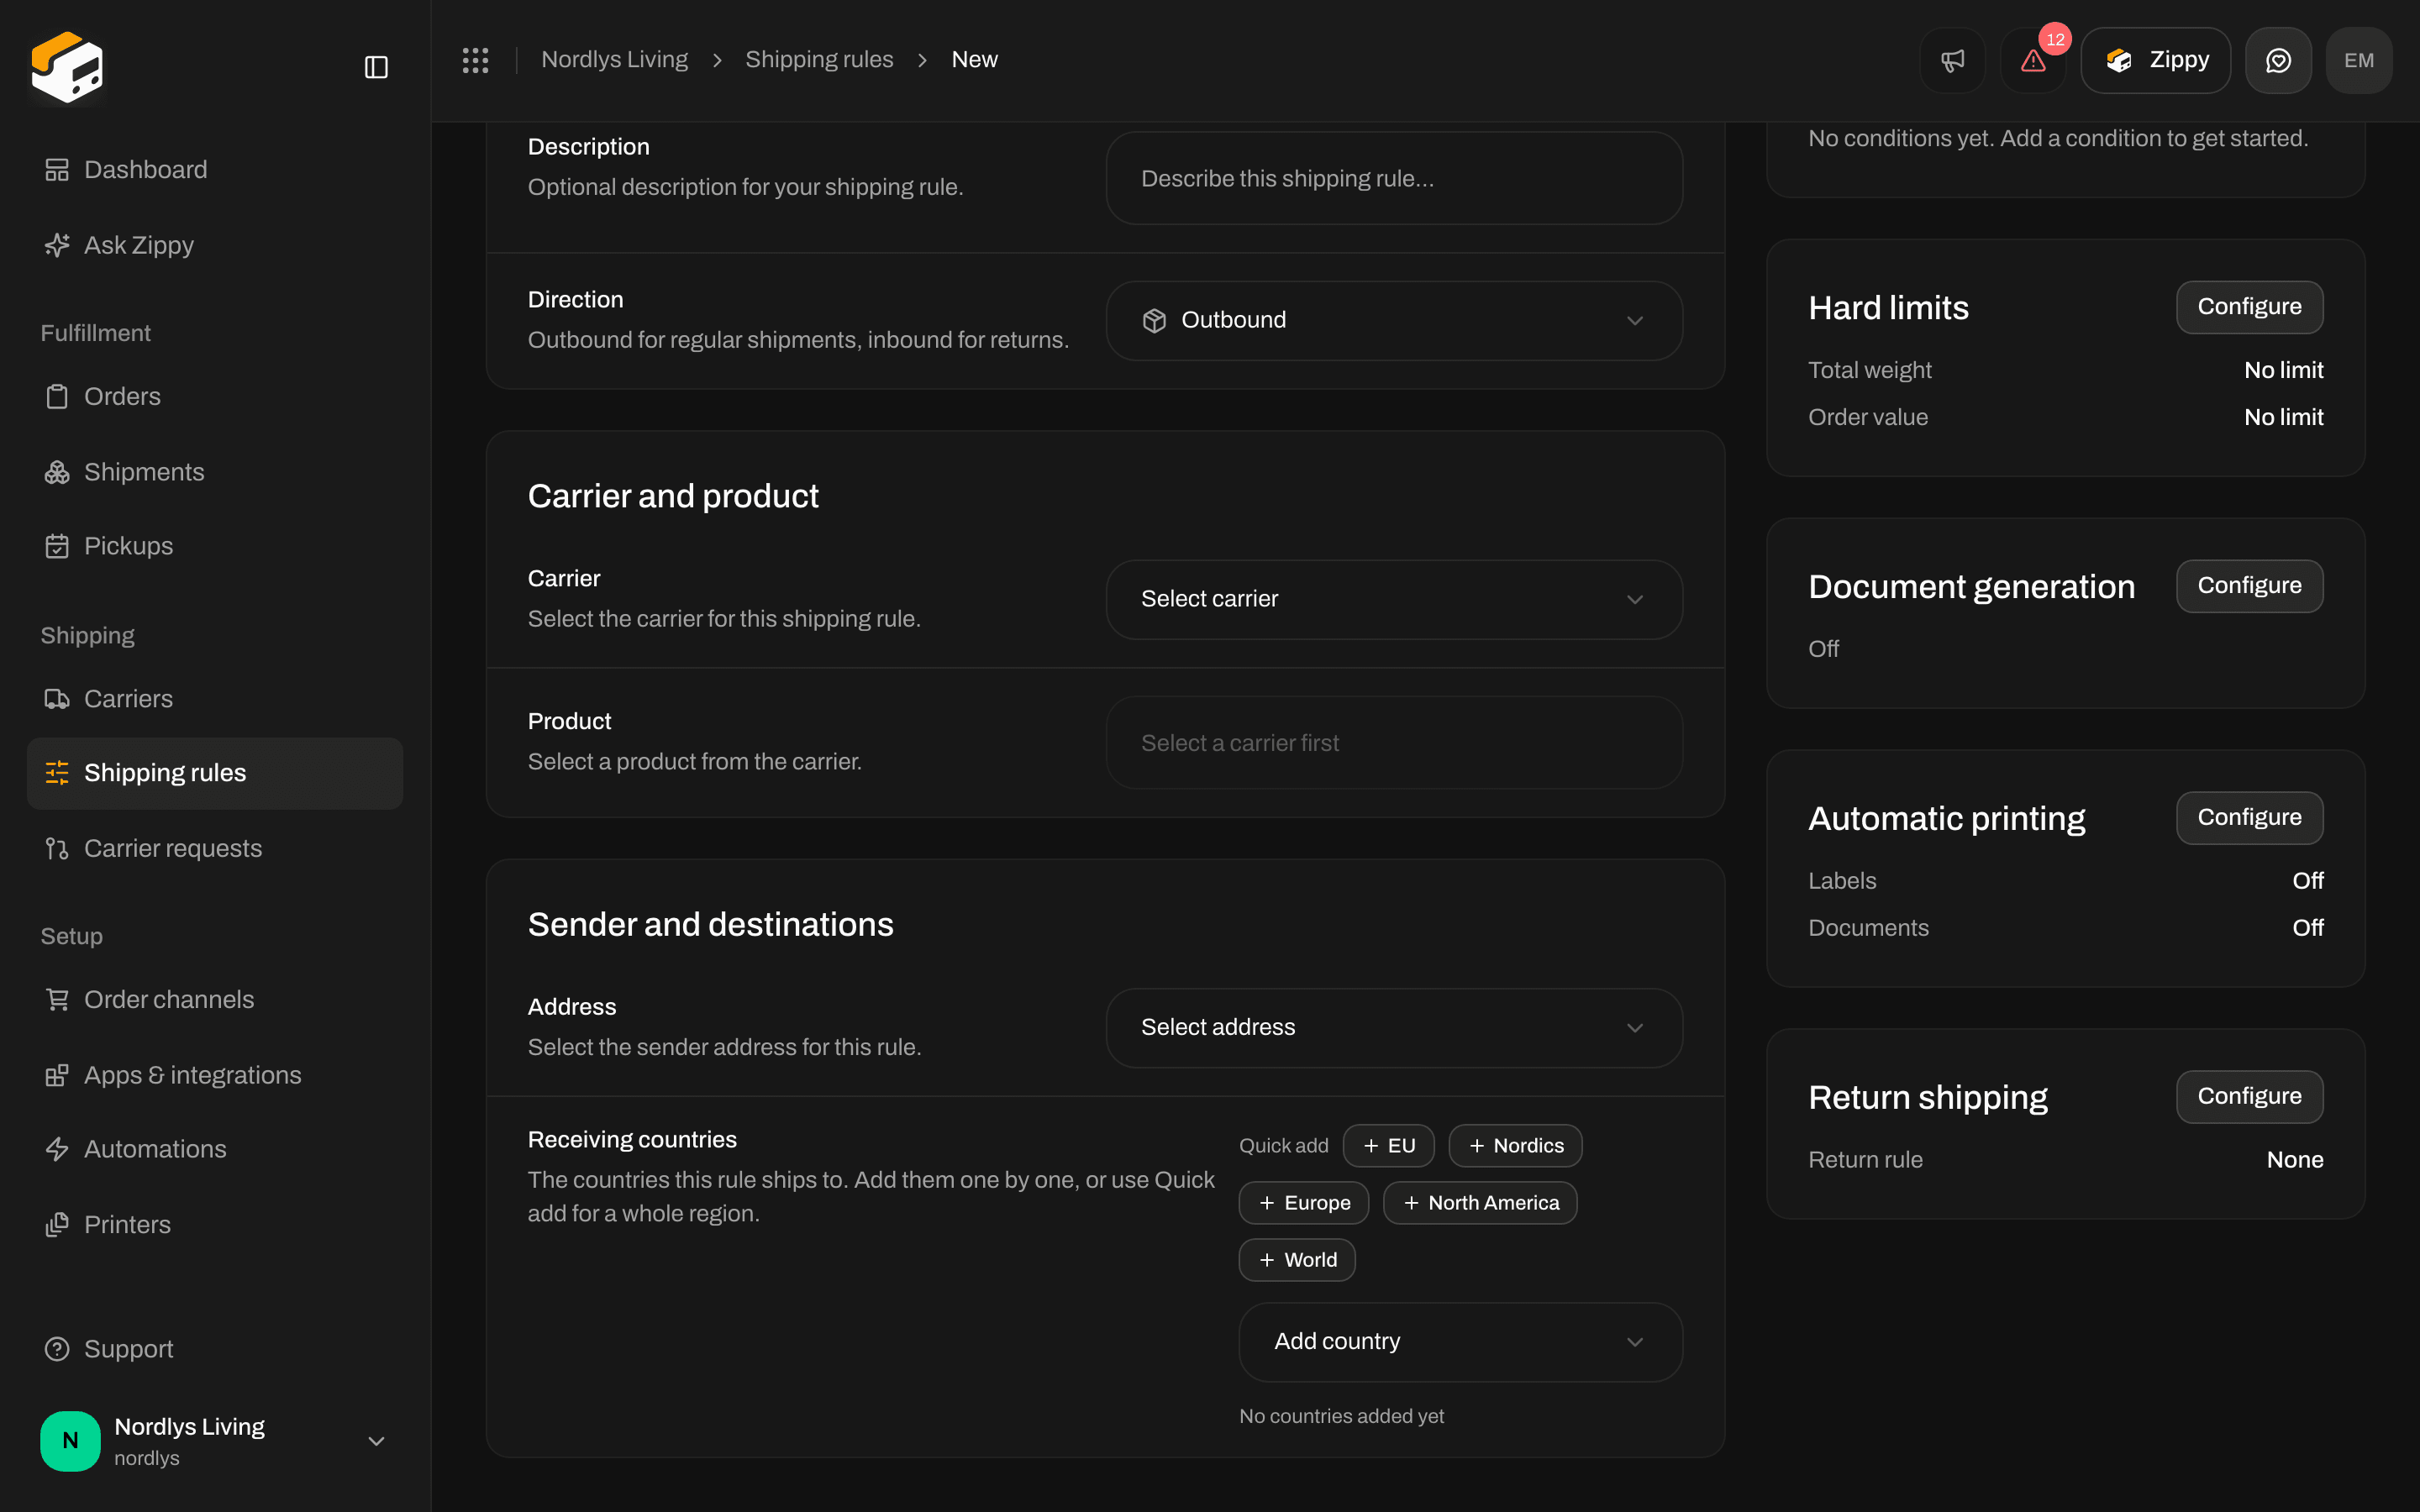
Open the outbound rule that your customers (or you) already use. Click Configure on the Return shipping card.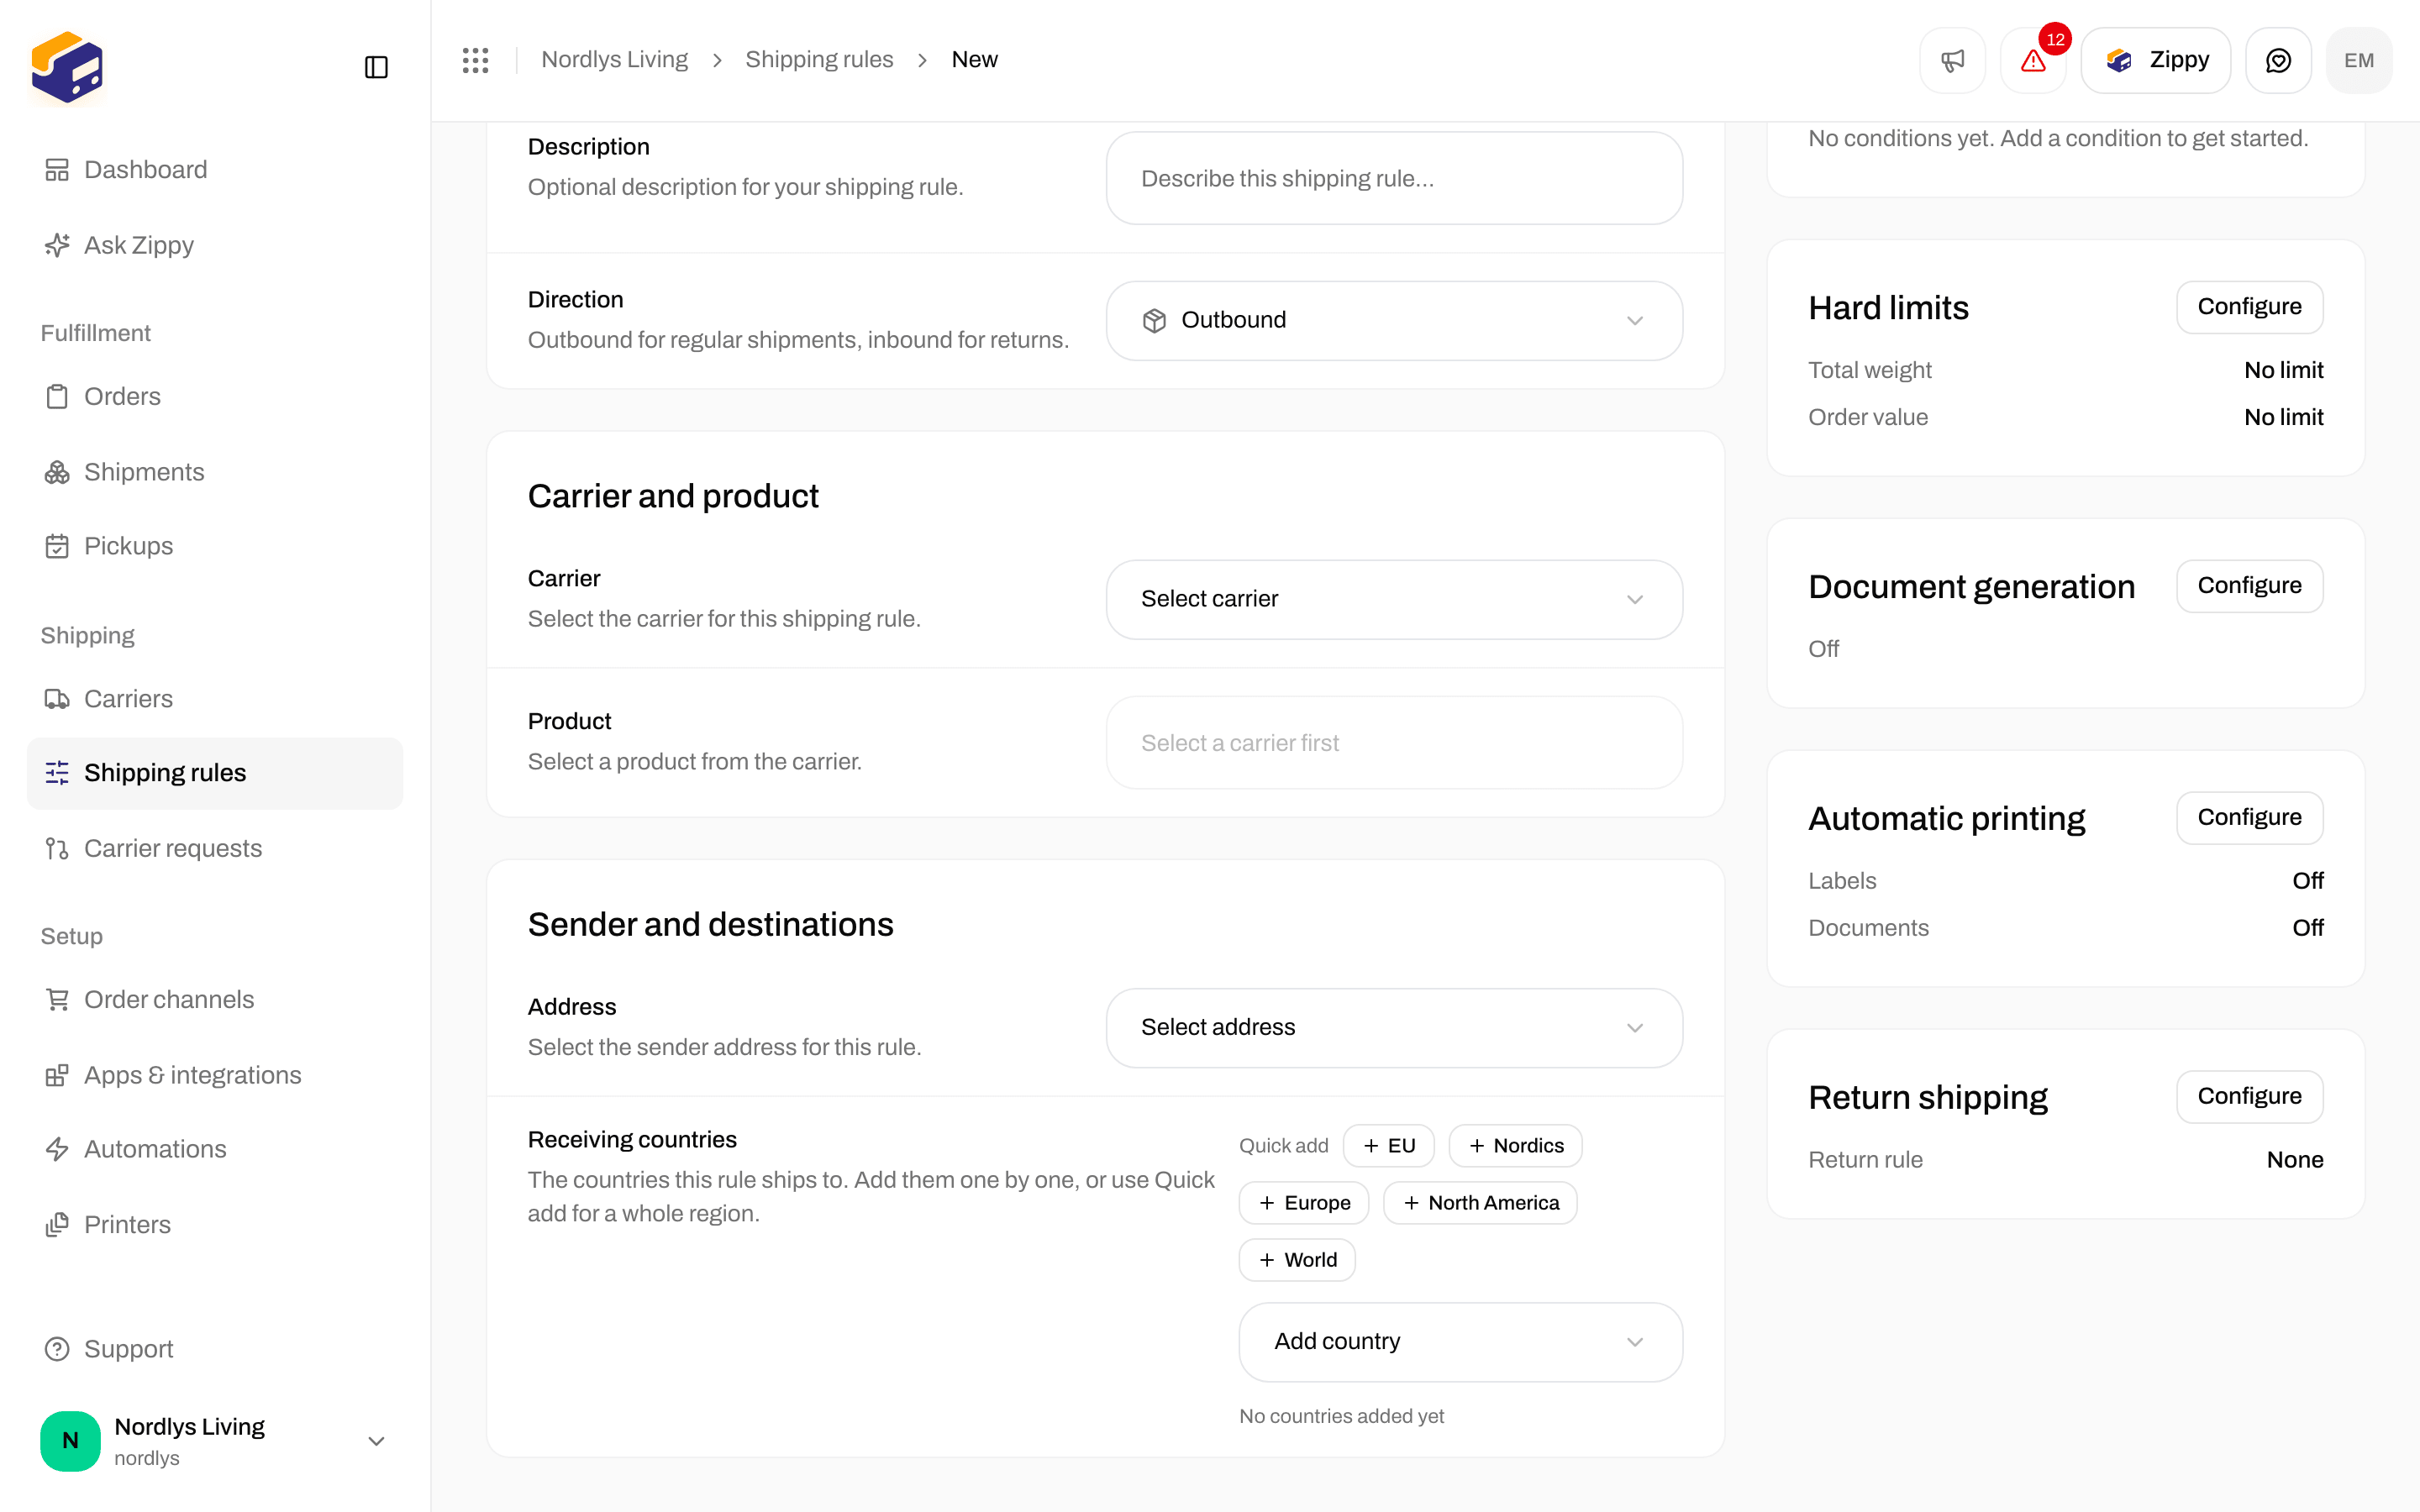
Return shipping: pick the return rule. Create return automatically appears once you pick one
- Return shipping rule: Select a shipping rule to use for return shipments. Pick your return rule from the list. With None, Zippendo does not offer Create return shipment.
- Create return automatically when the shipment is sent: Automatically create and send a return shipment when the outbound shipment is sent. This option only appears after you pick a return rule.
3. Create the return shipment
From a sent outbound shipment
Open the outbound shipment. When the conditions above are met, the button at the top is Create return shipment. Click it. Zippendo creates the return shipment, swaps the addresses and sends it to the carrier.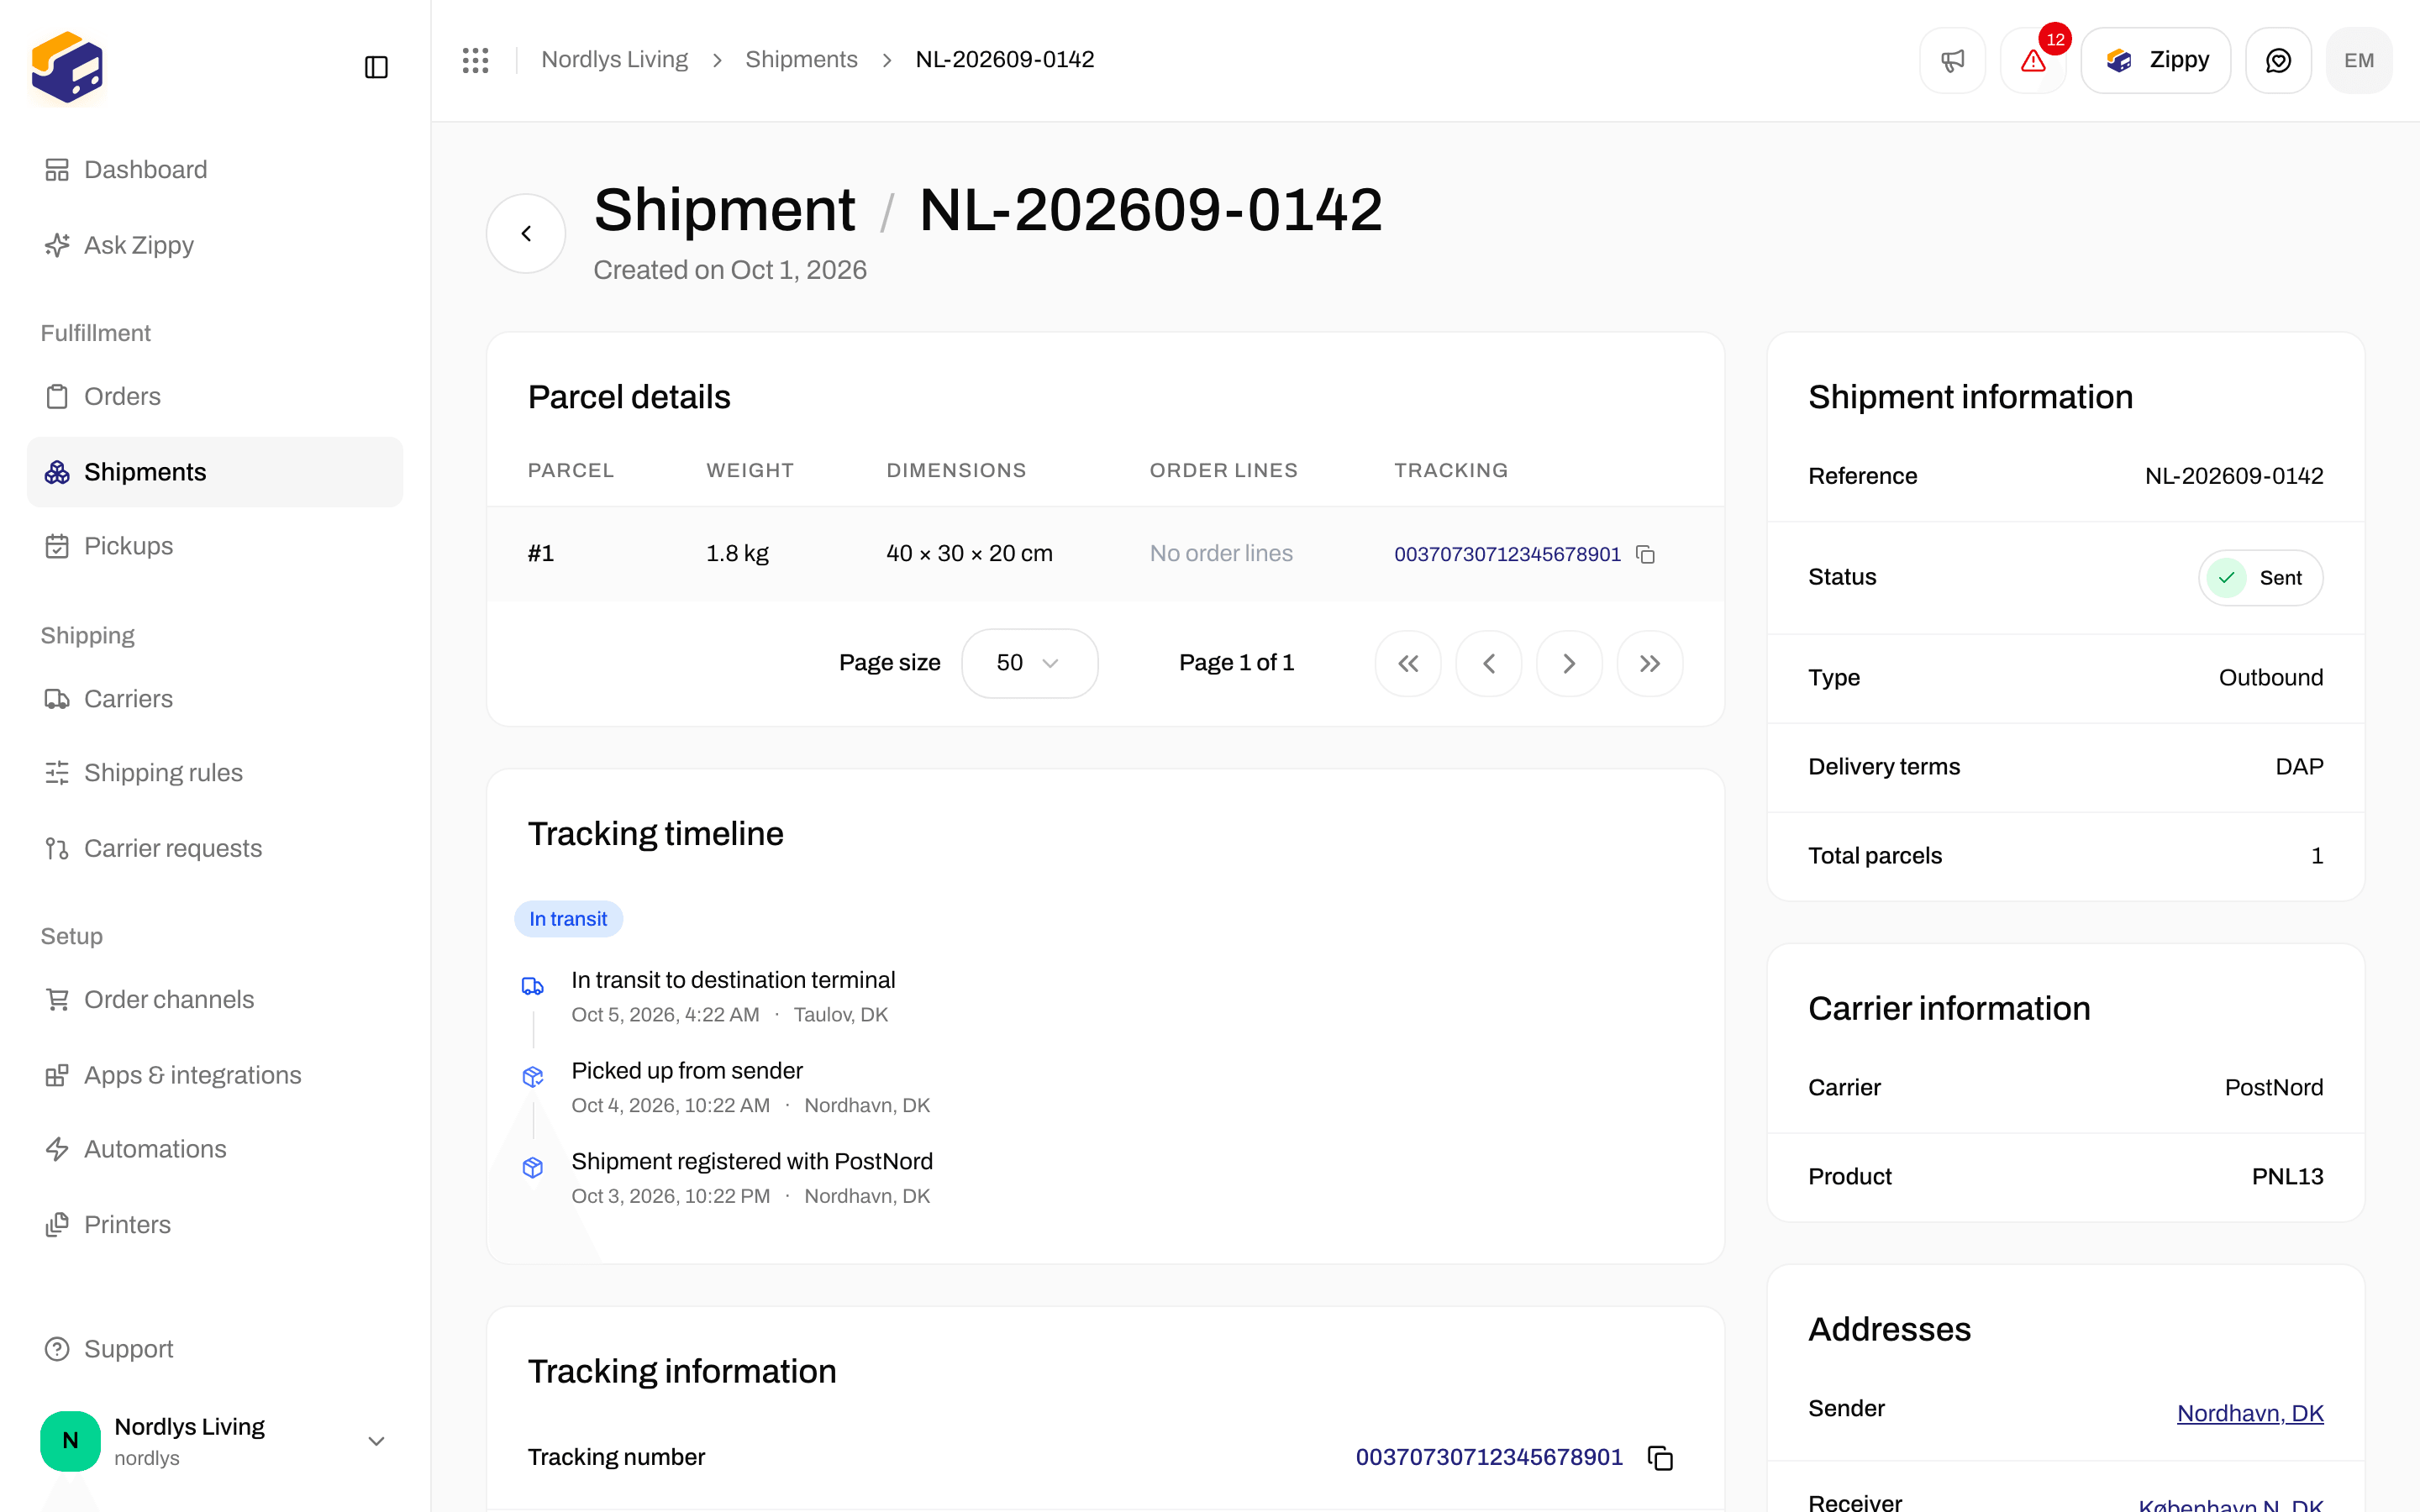
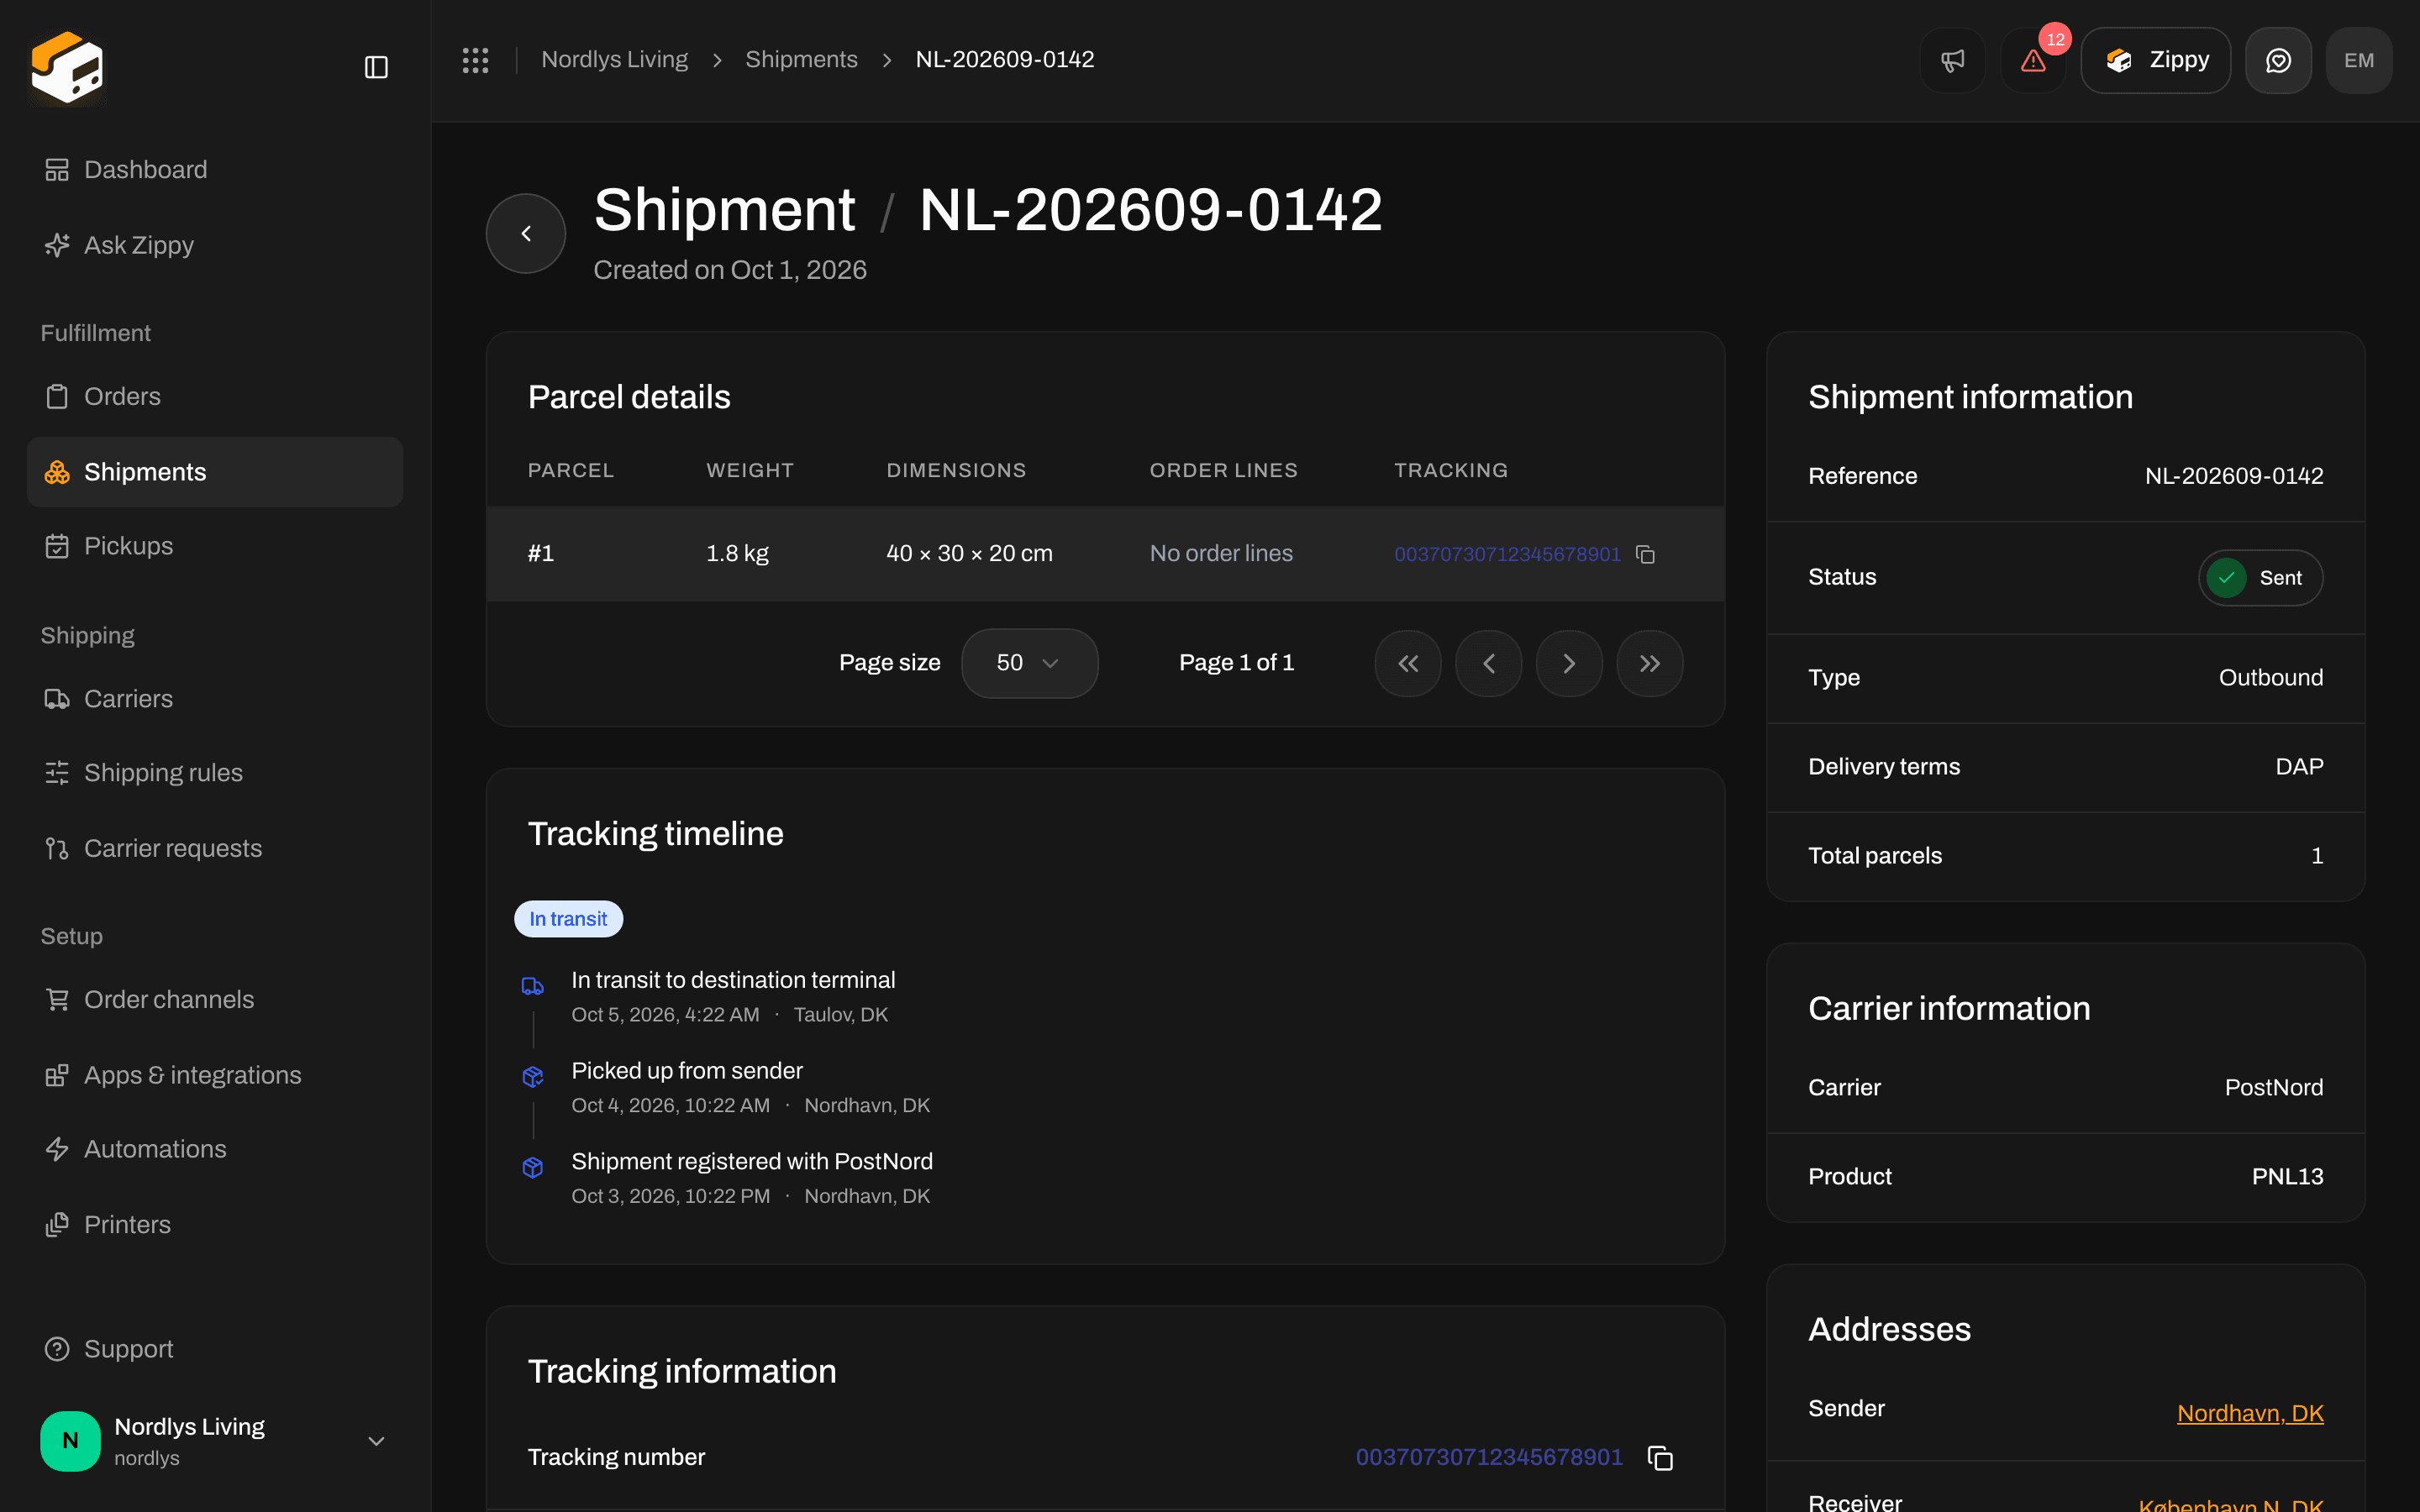
A sent outbound shipment. Create return shipment only appears once a return rule is linked
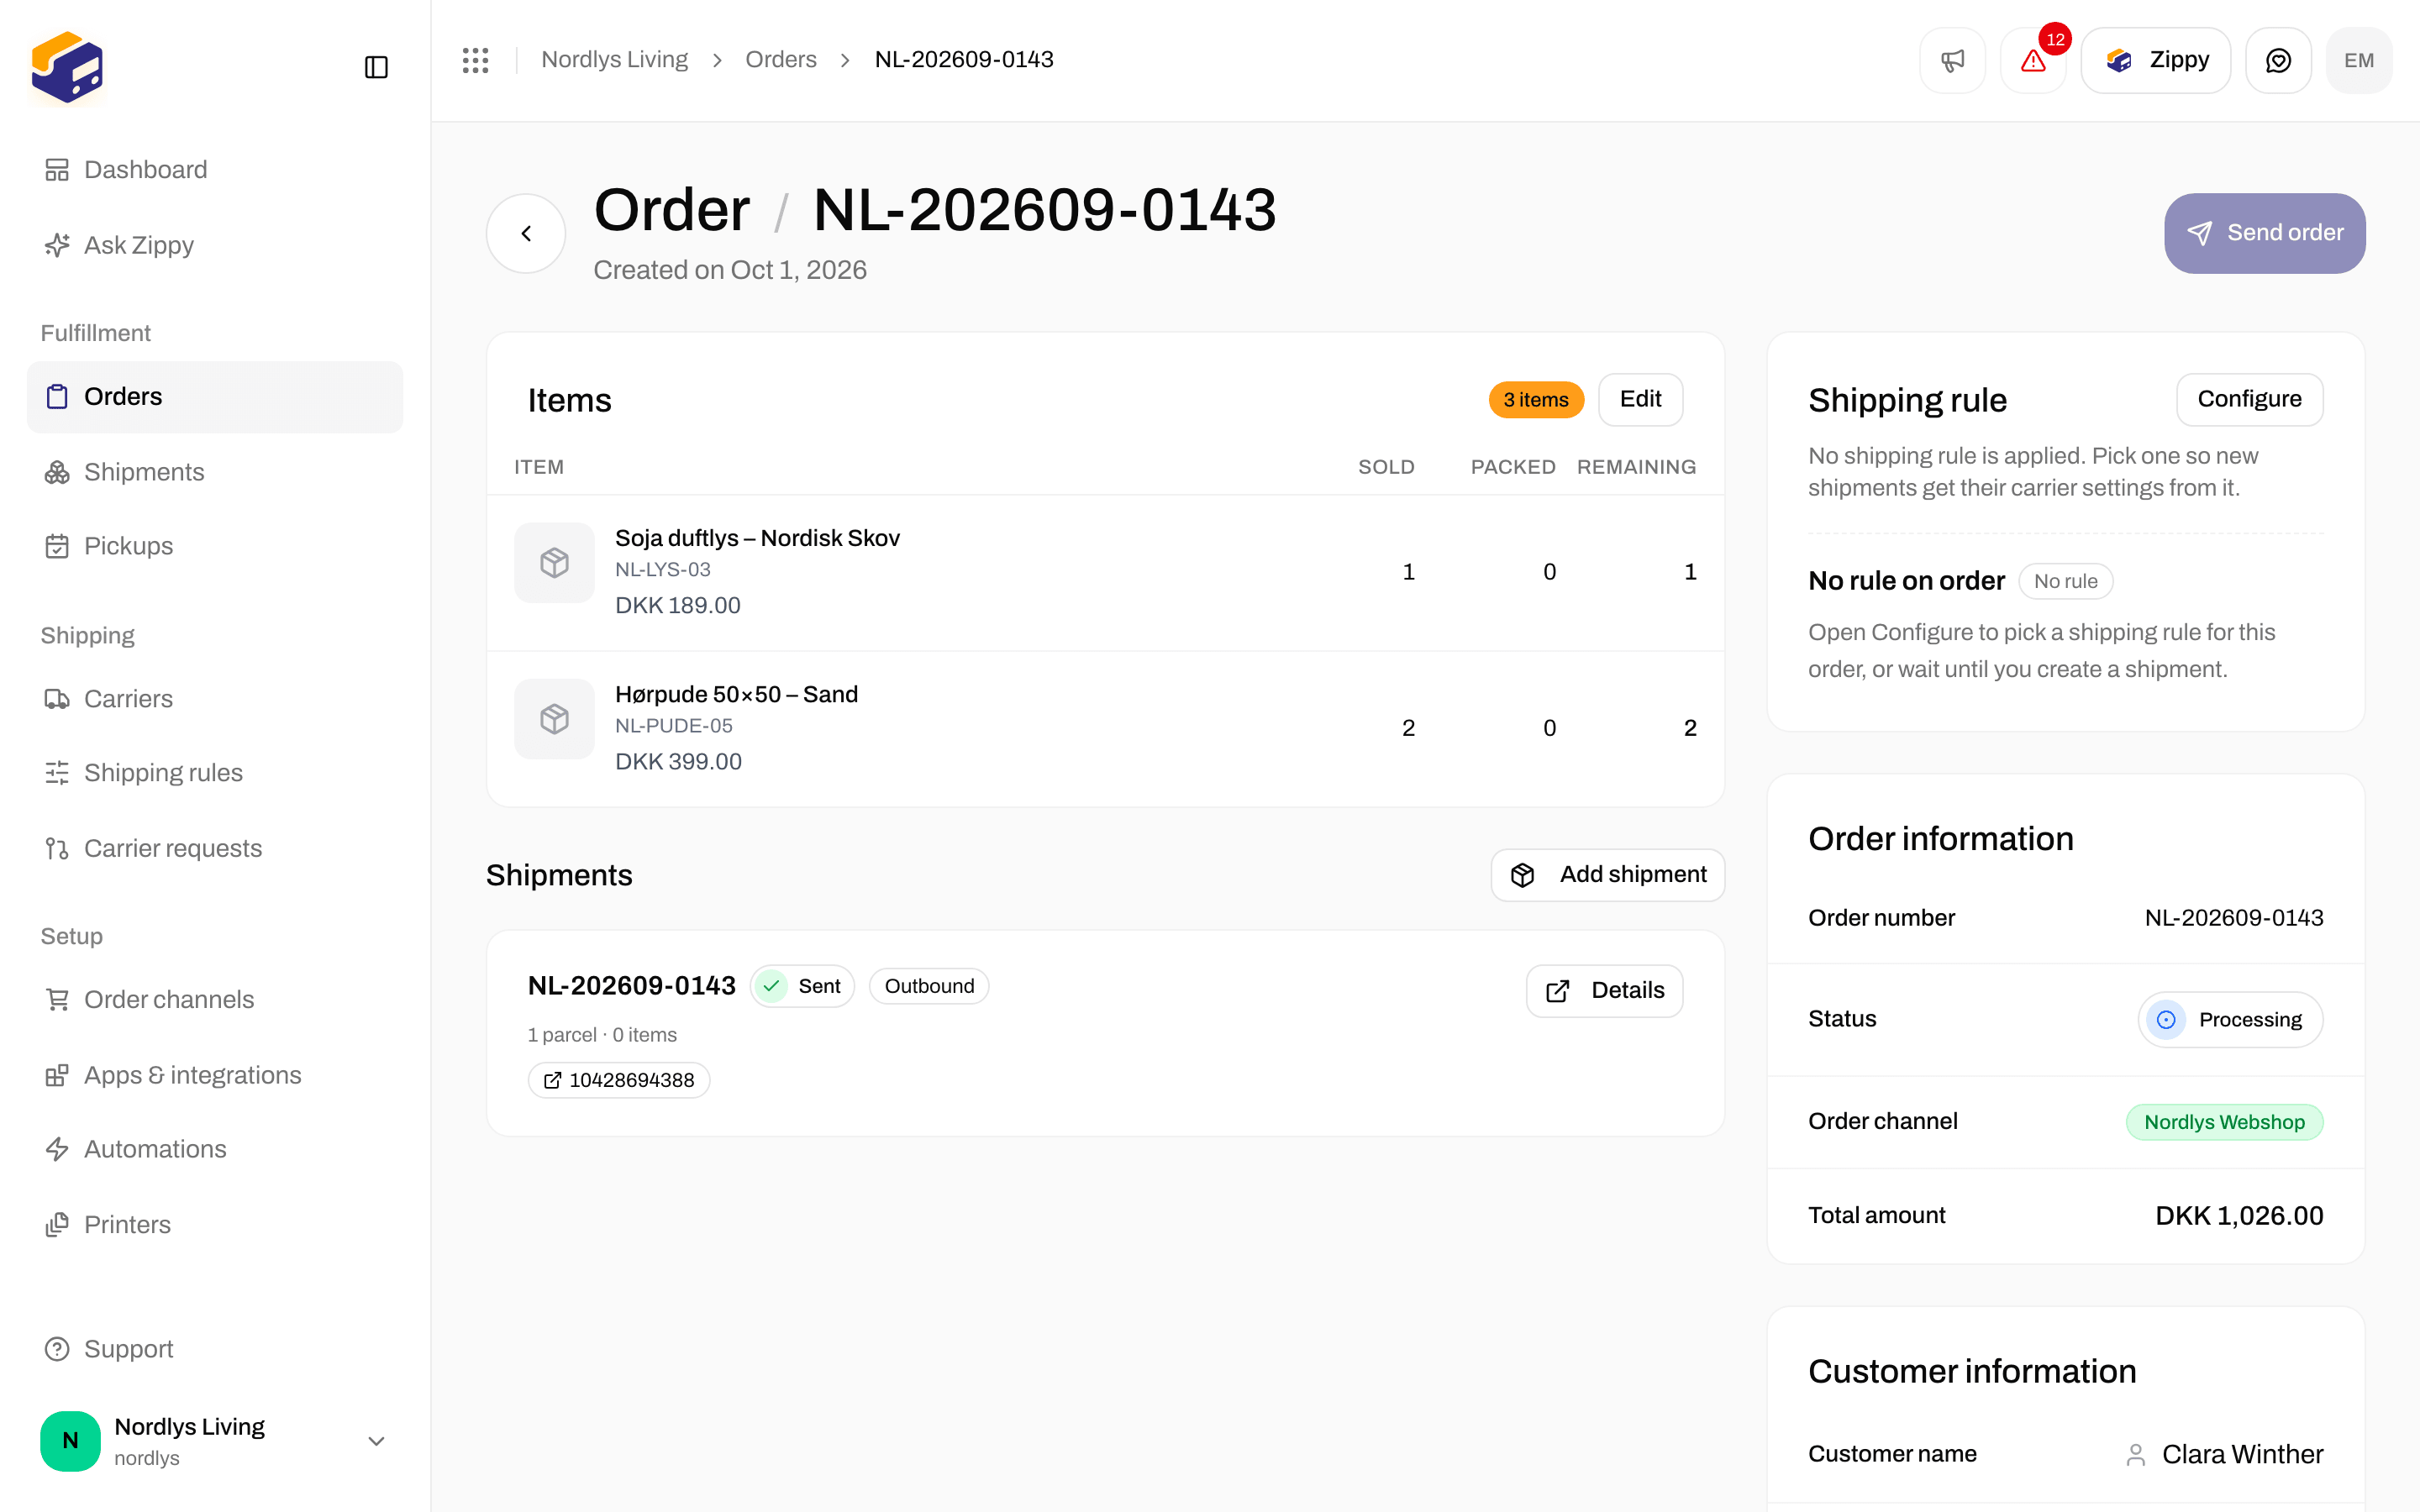
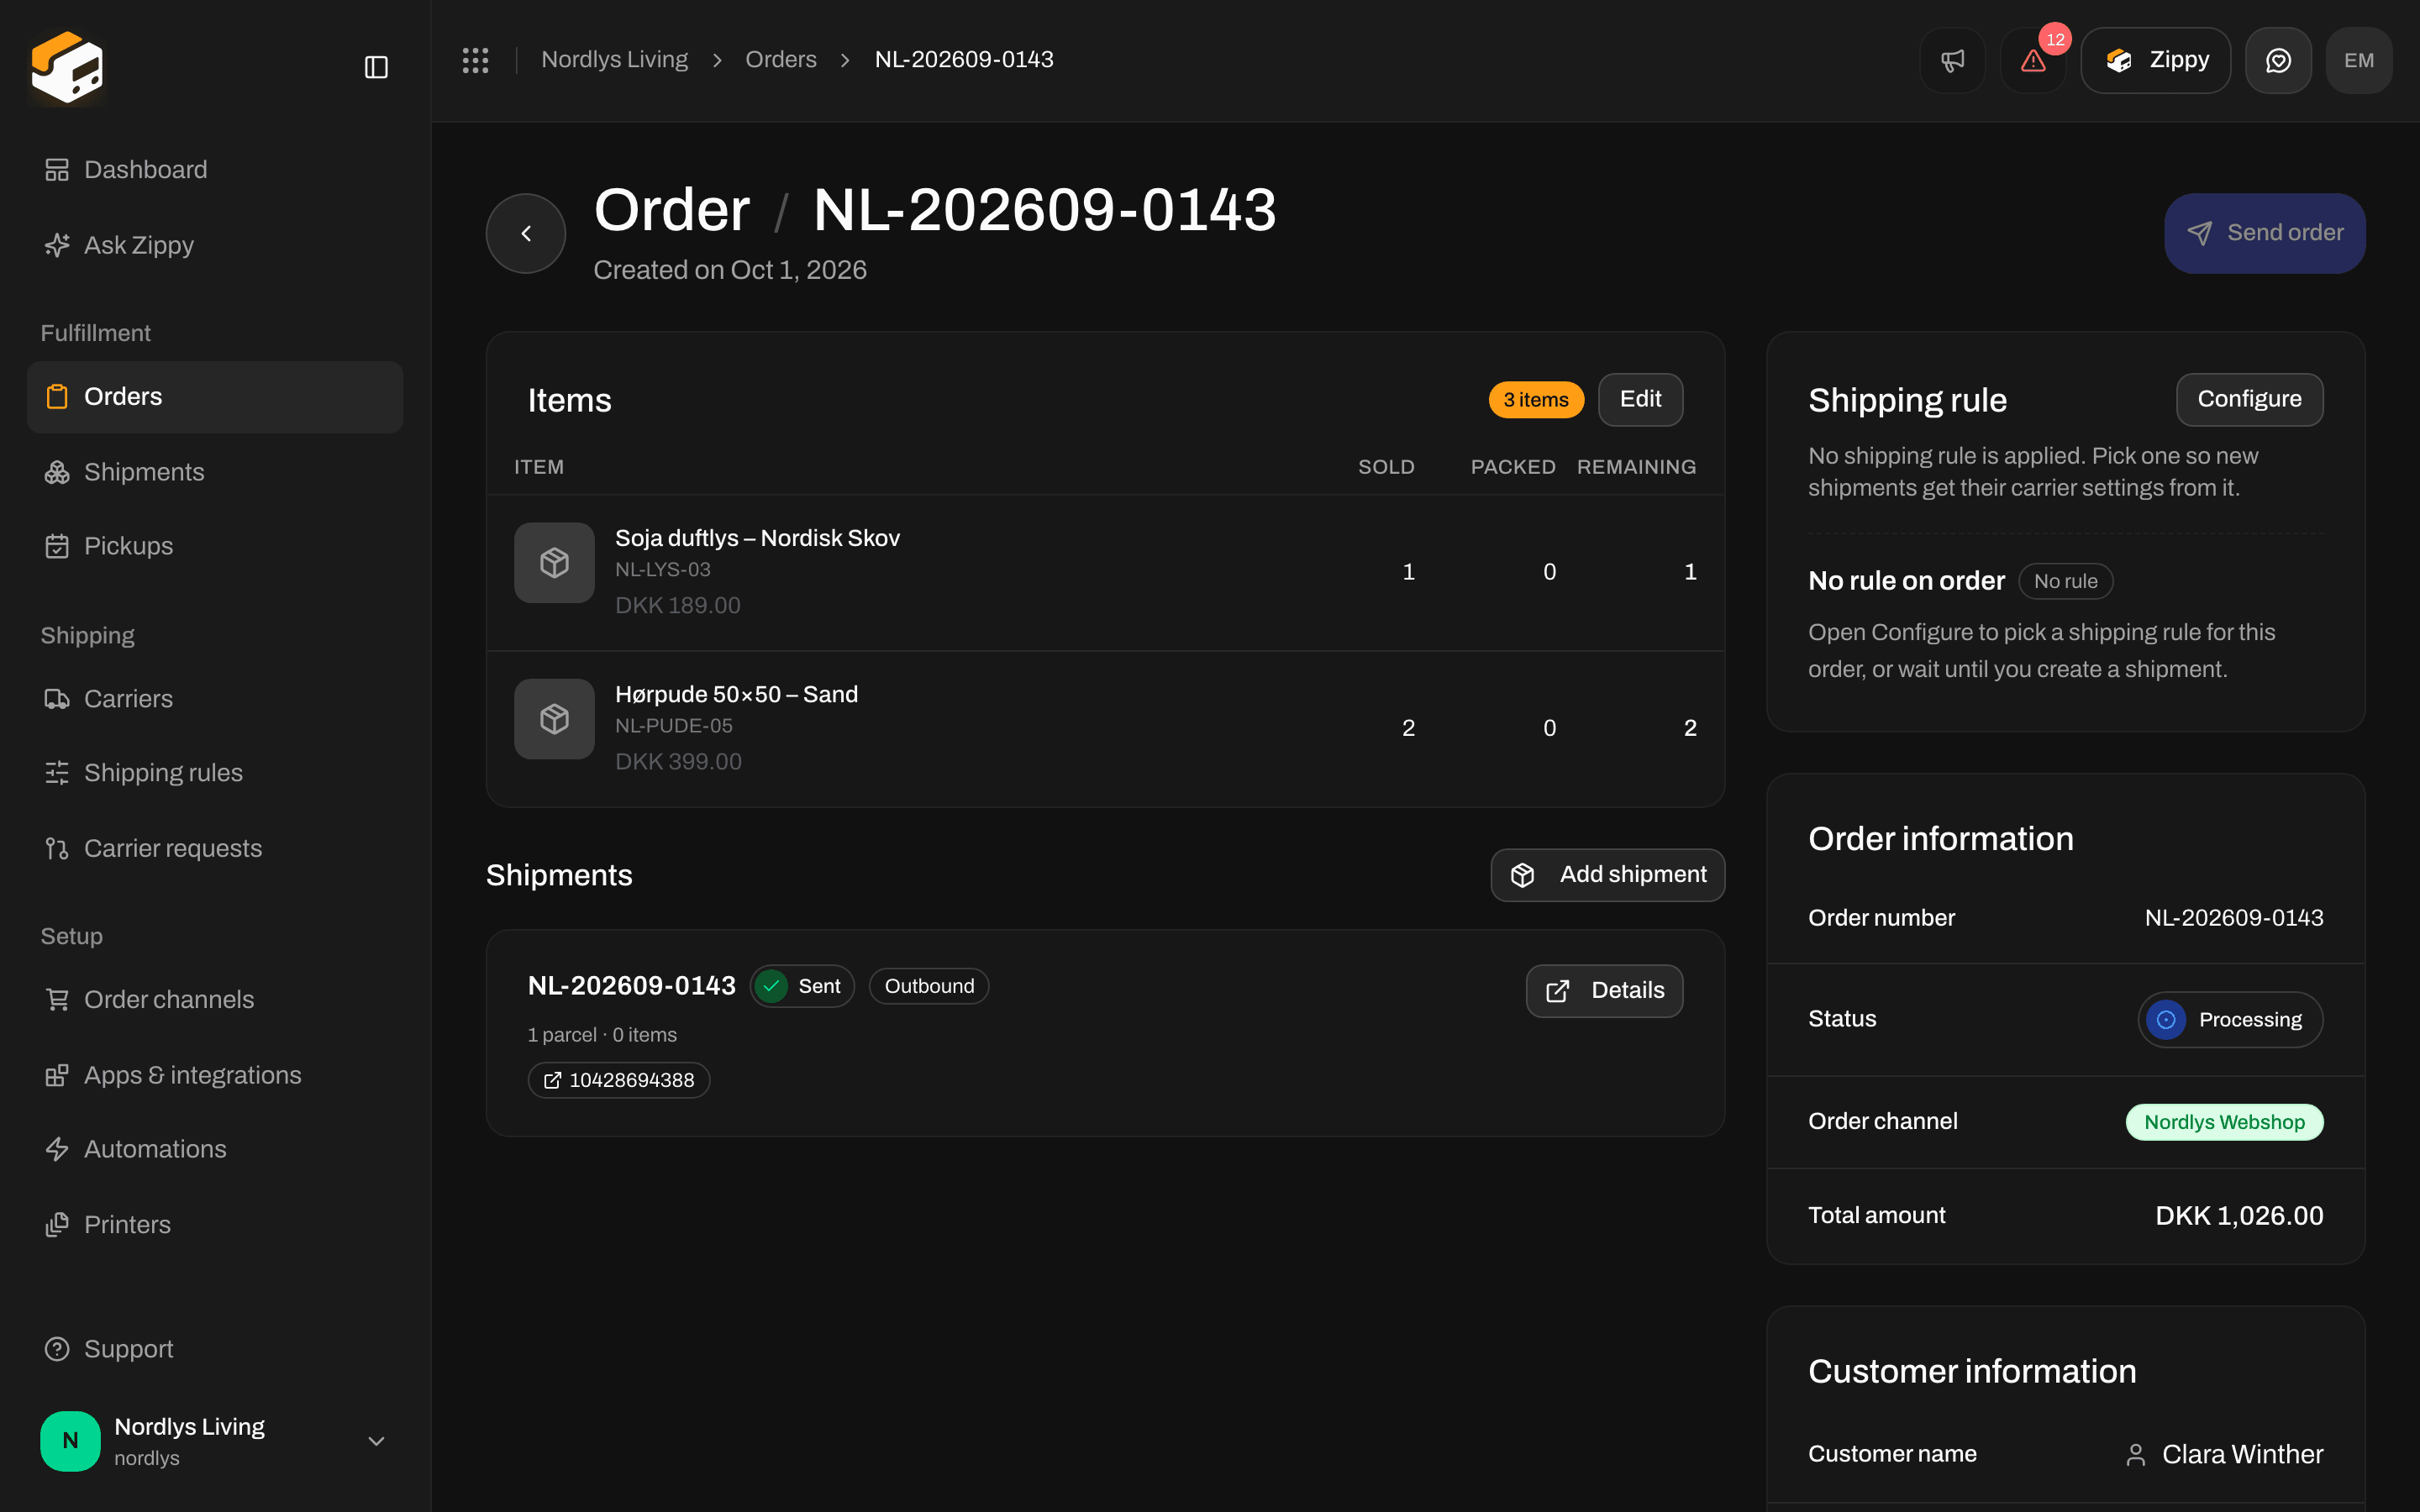
An order's Shipments section. Create return shipment is on the shipment card once a return rule is set up
Print the return label the same way as any other label. See Labels and printing.
Create a return shipment by hand
If there is no outbound shipment to start from (a warranty case, a return nobody announced, a sample coming back), create the return shipment yourself. Go to Shipments → Create shipment. Set Type to Inbound. The address field changes to Receiver address (your warehouse). Pick a return product.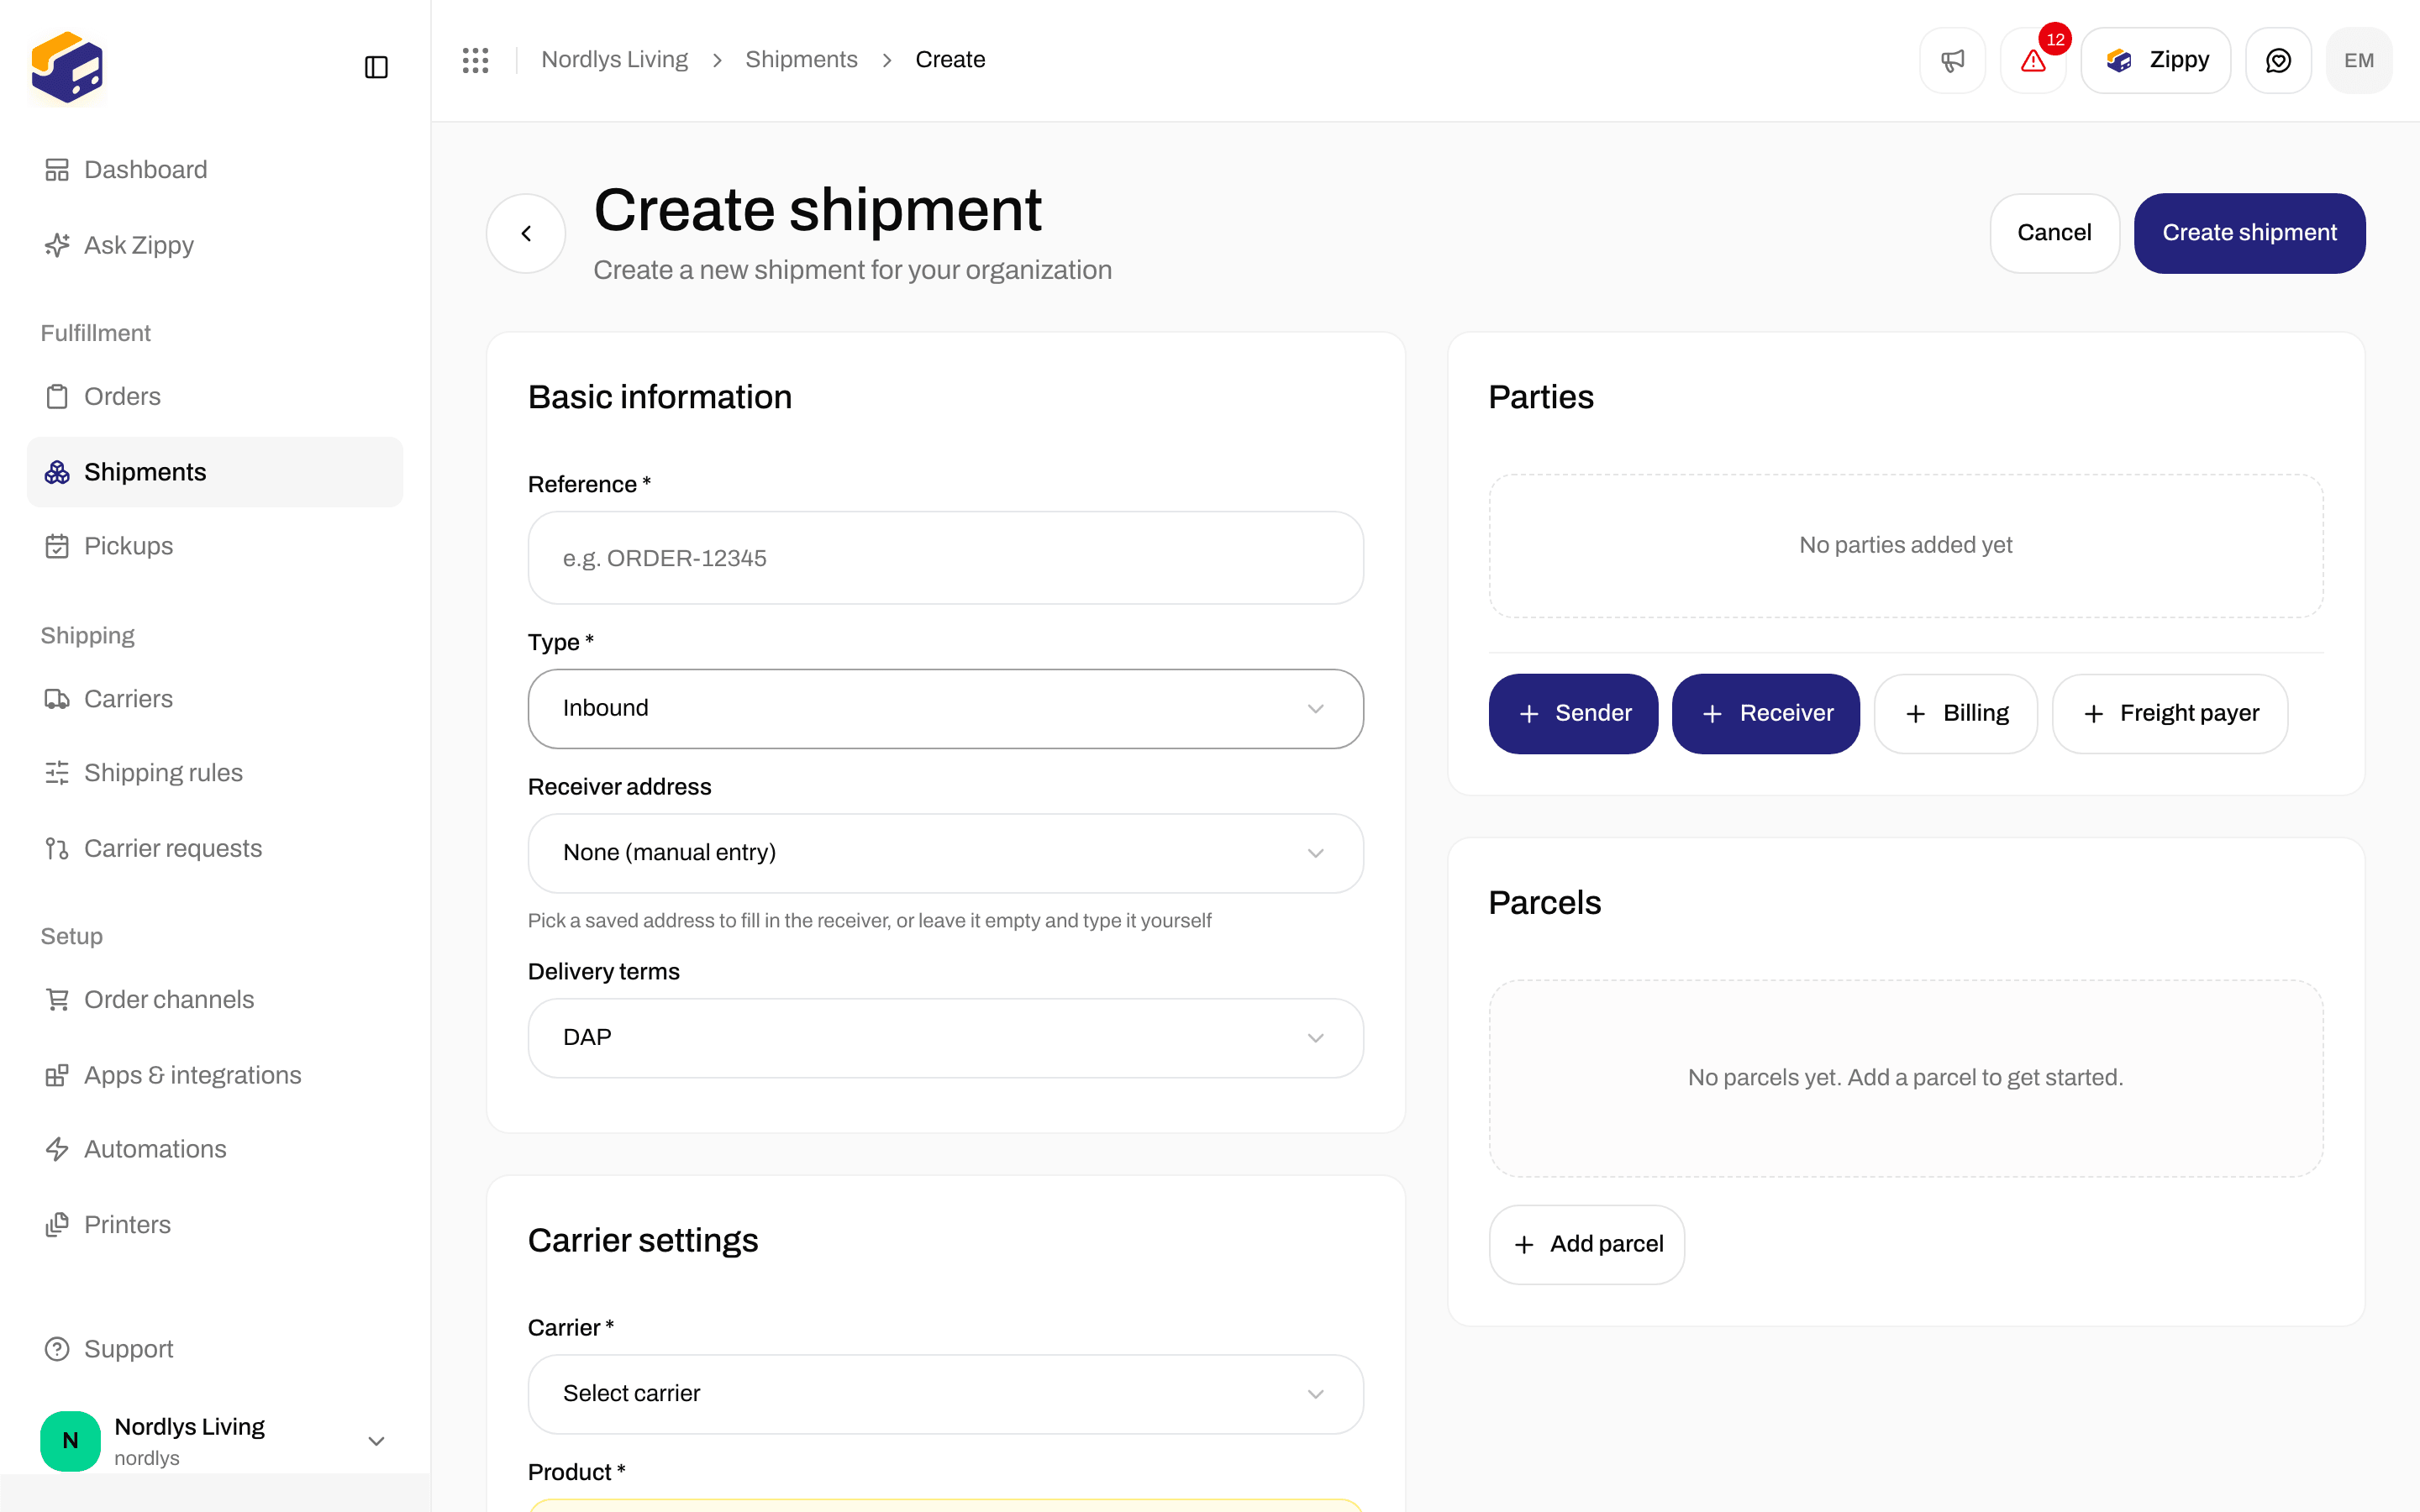
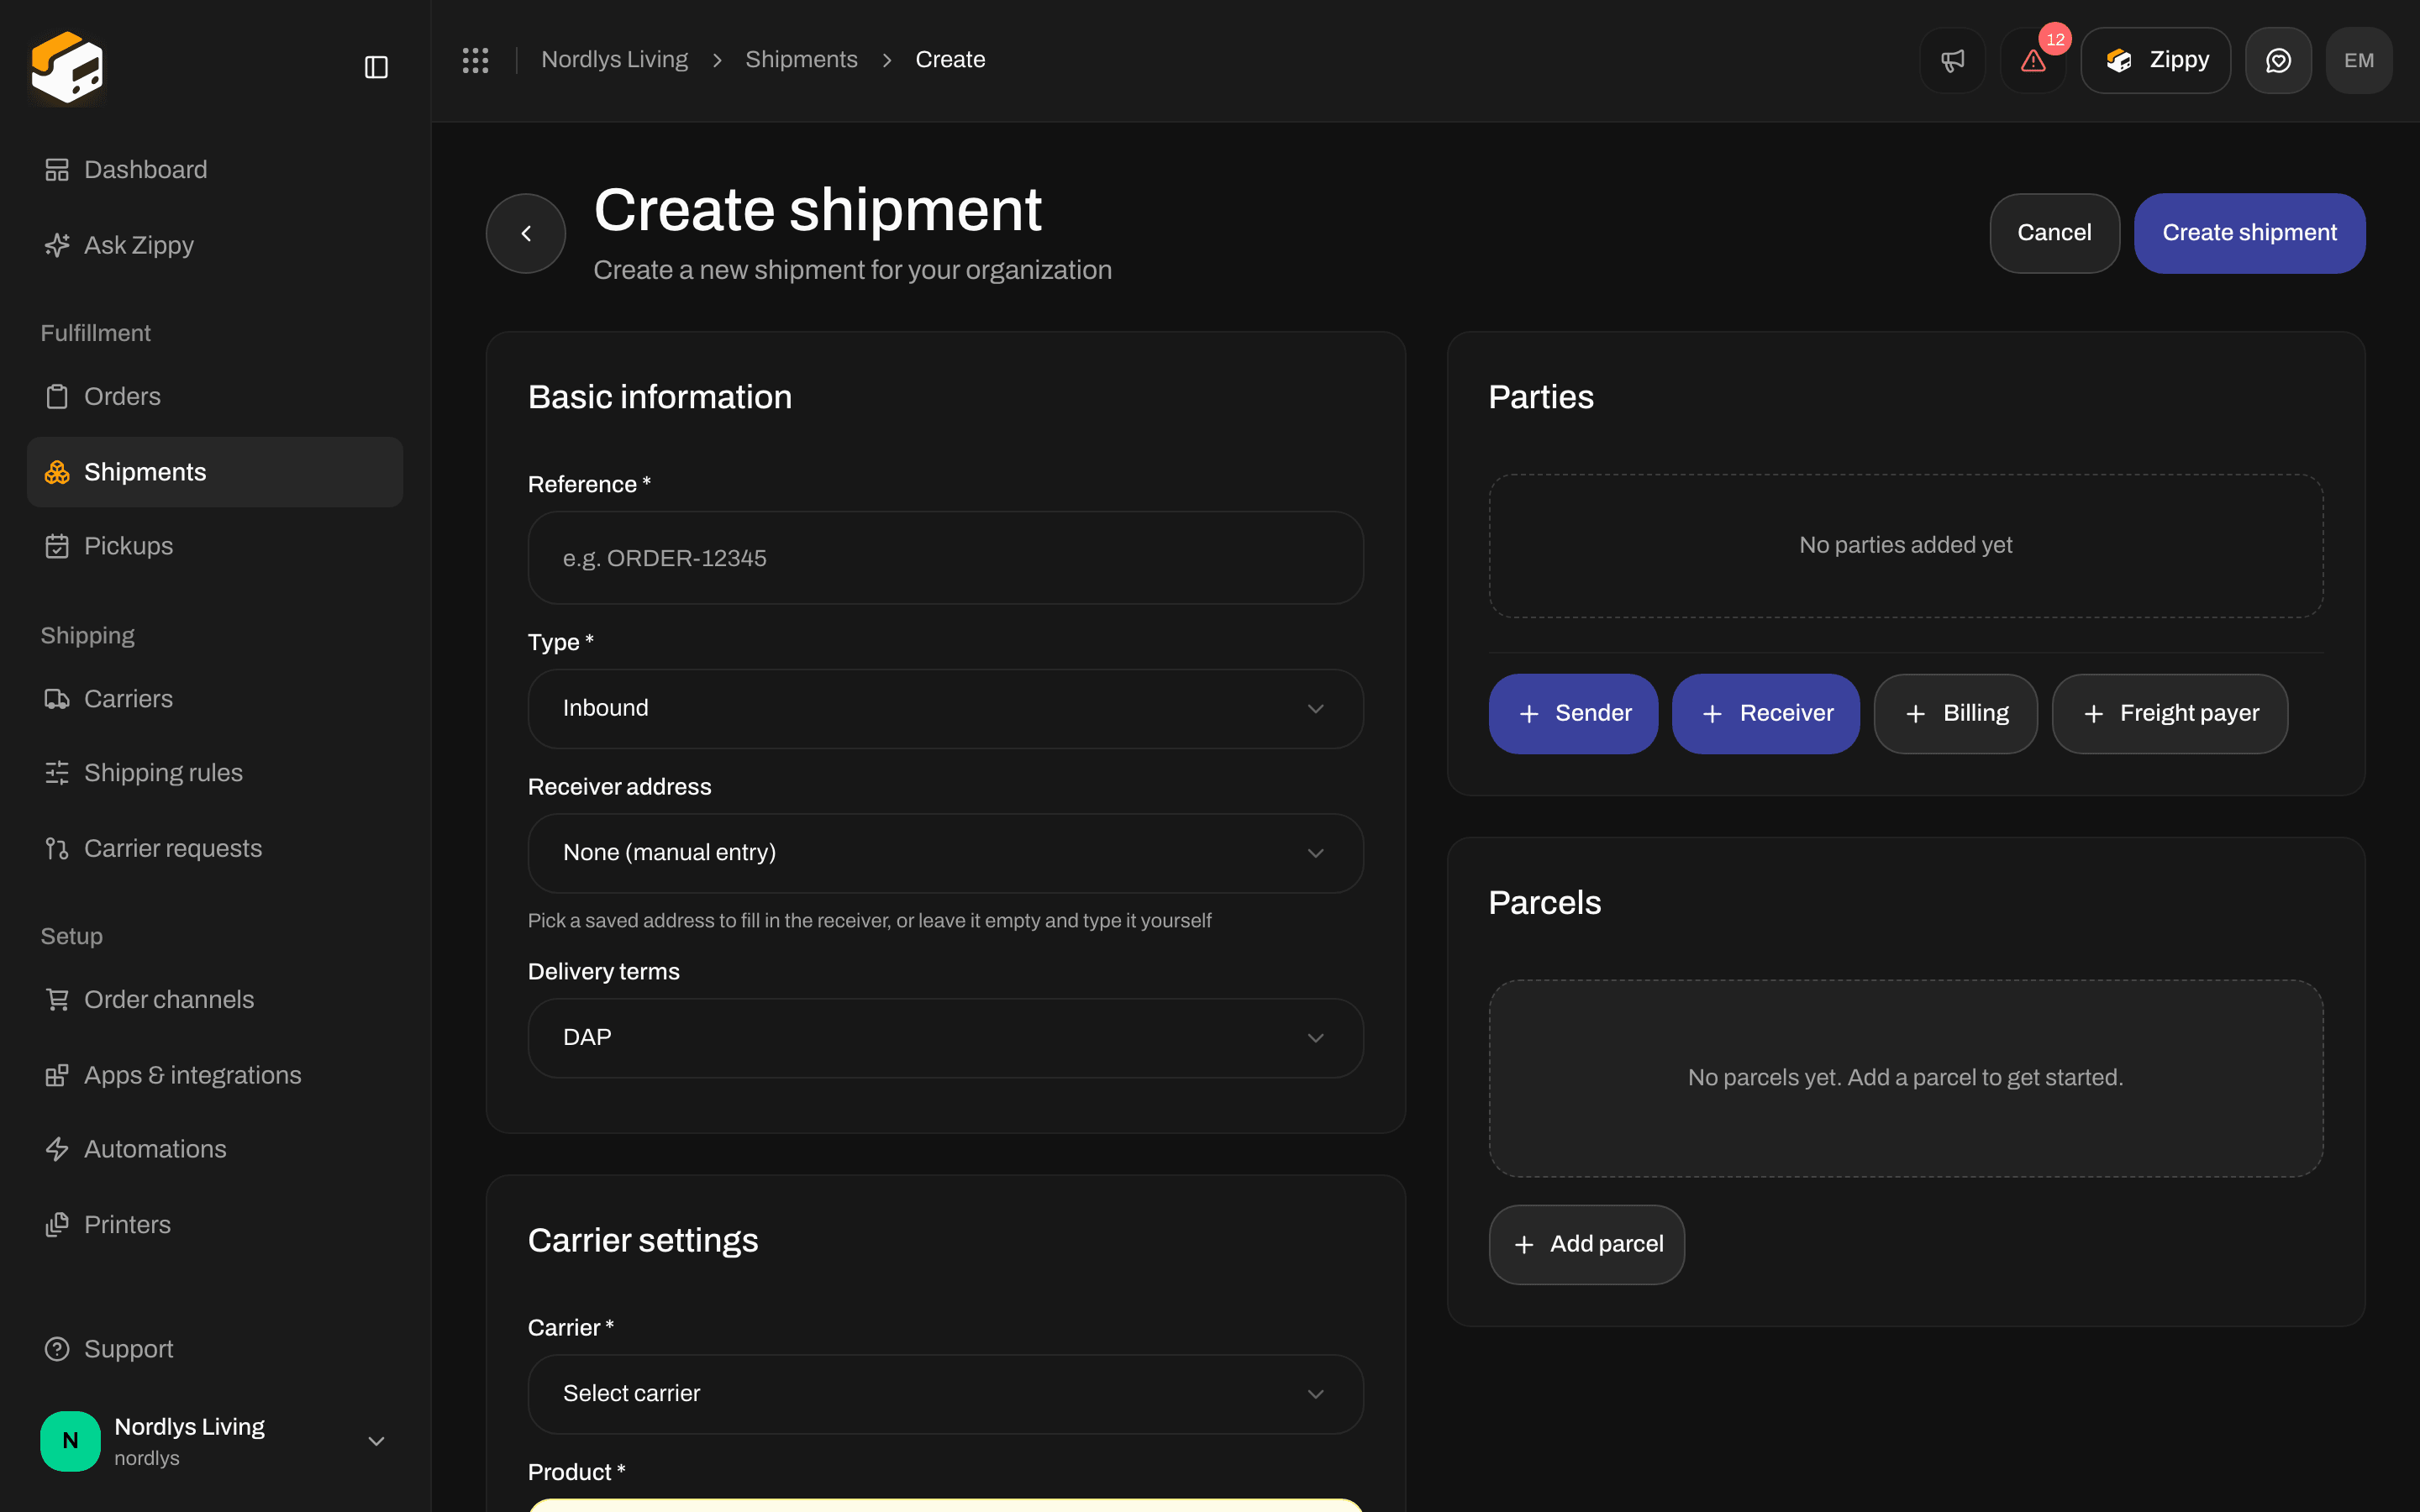
Create shipment with Type Inbound. Receiver address is your warehouse
Return addresses
When you create a return shipment by hand, Receiver address only lists addresses marked Return. To mark one, open the organization menu at the bottom of the sidebar → Manage → Addresses. An address can be both Sender and Return.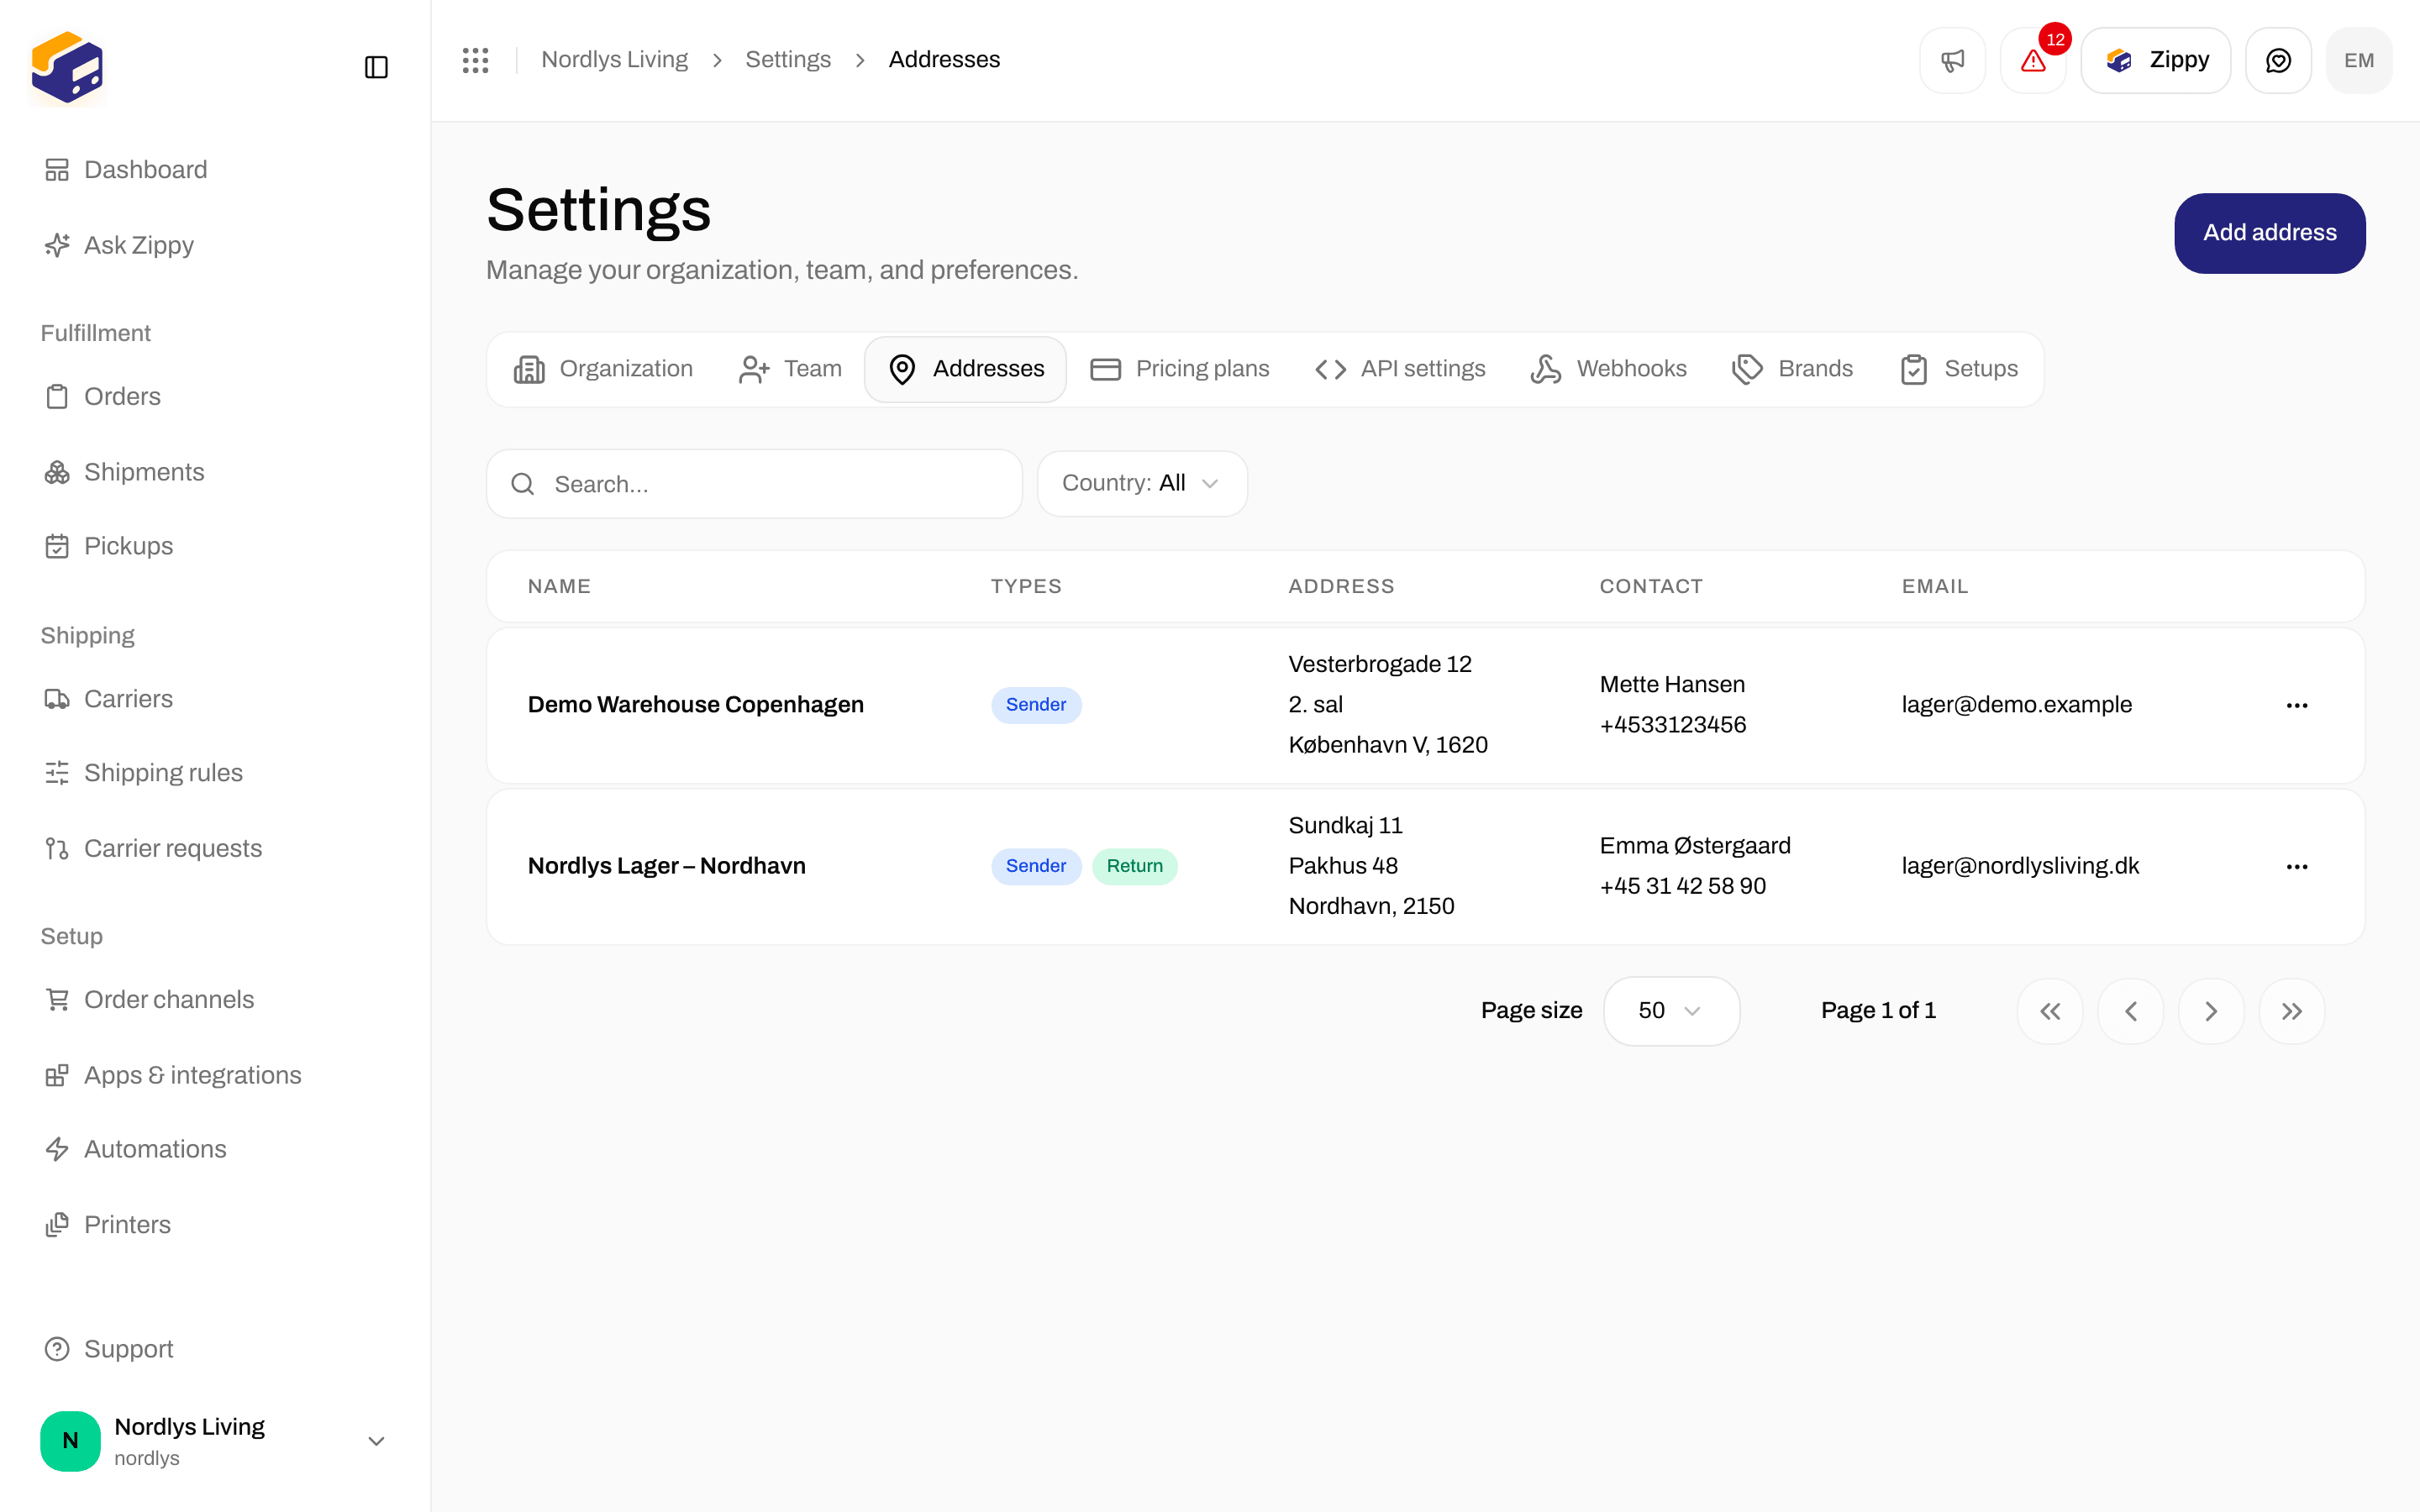
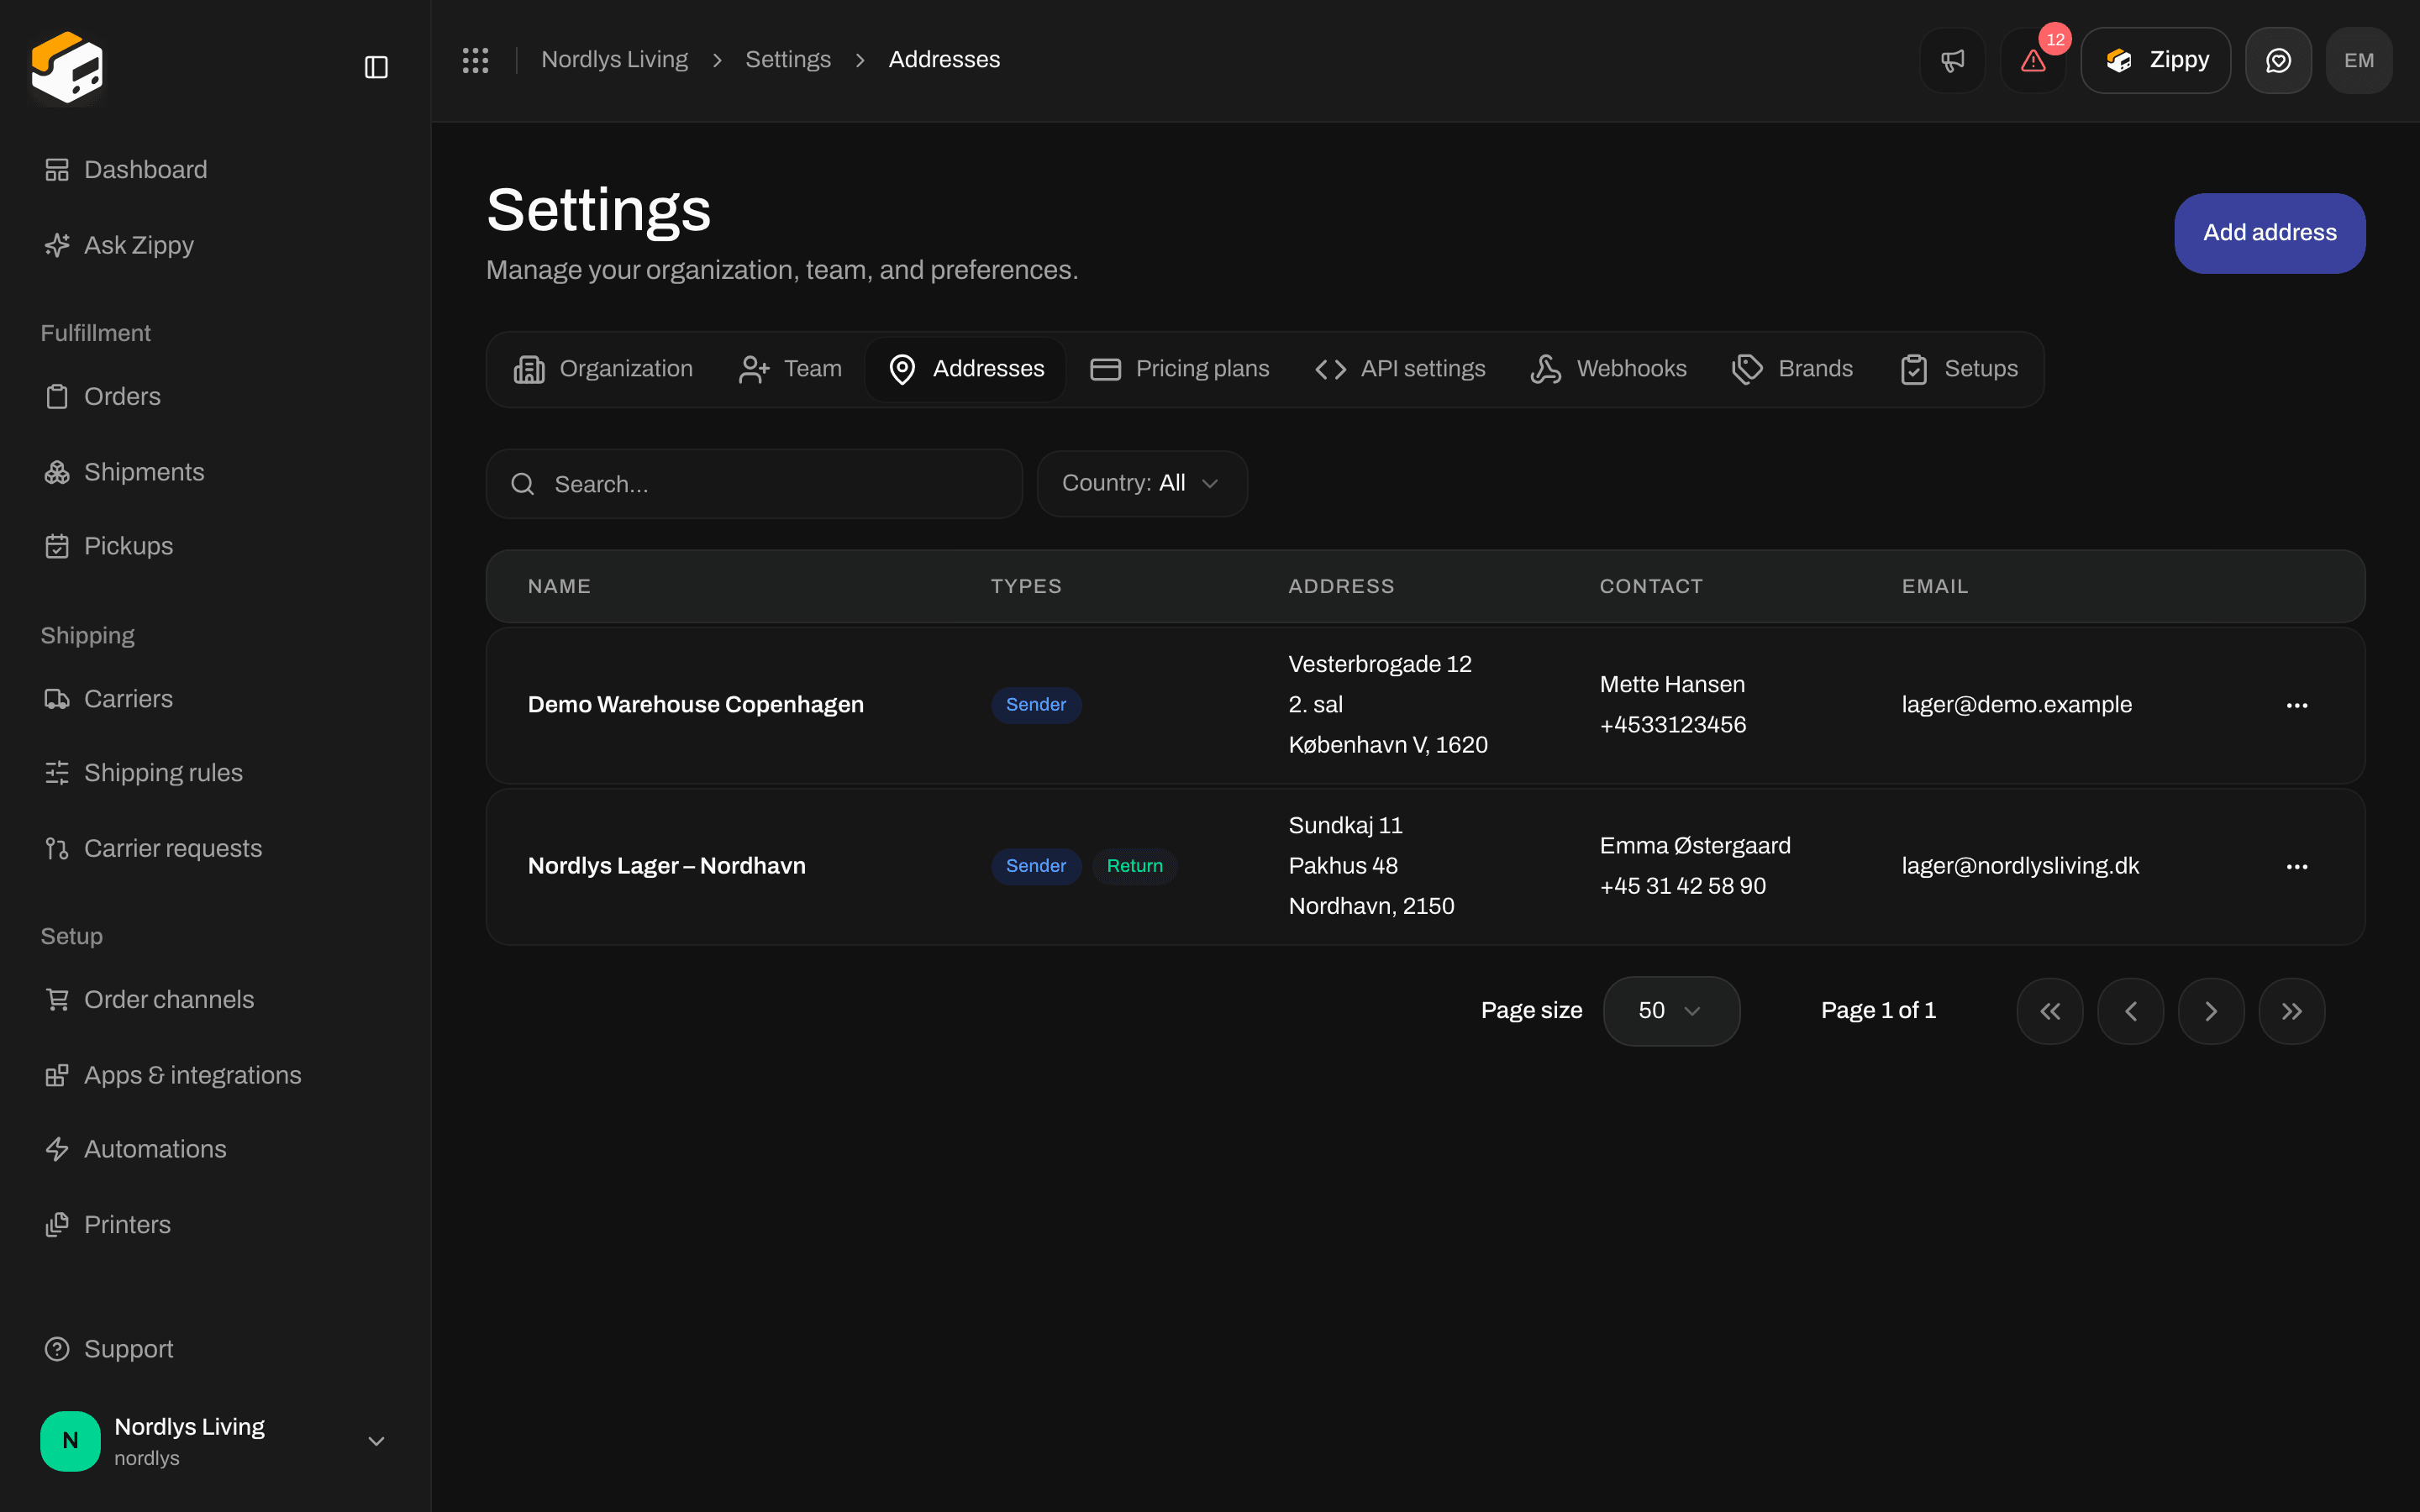
Addresses: the warehouse is marked both Sender and Return
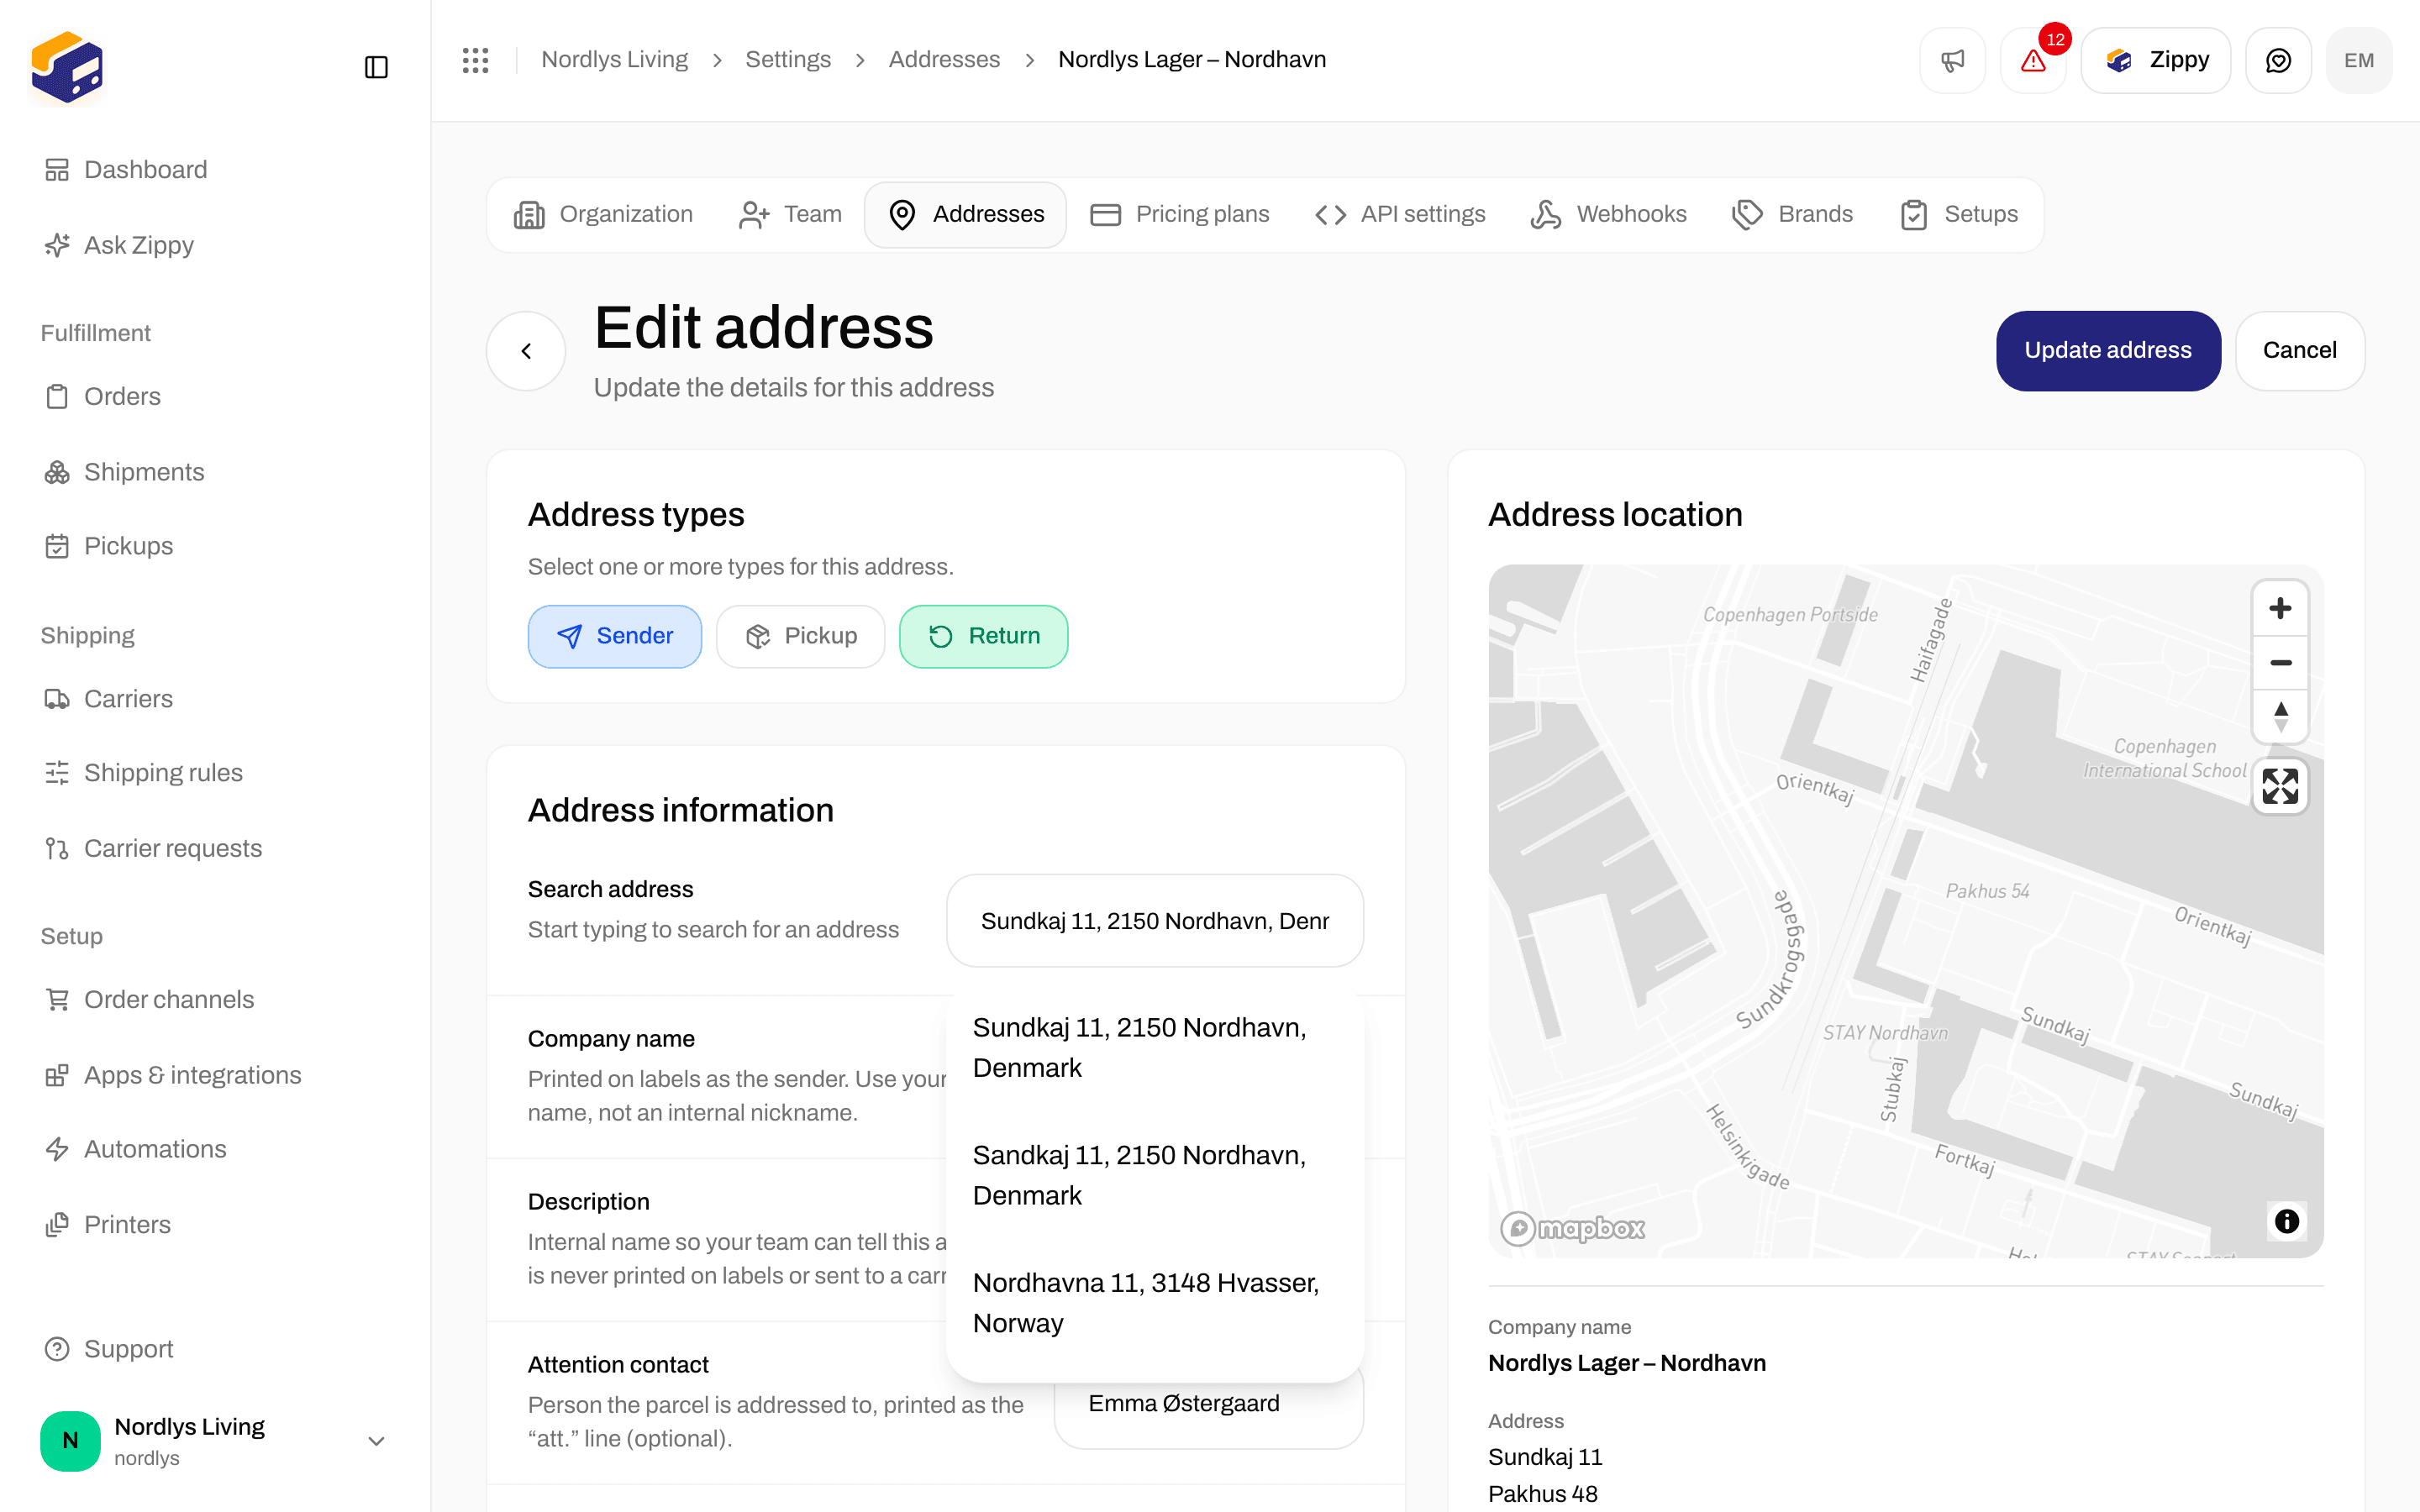
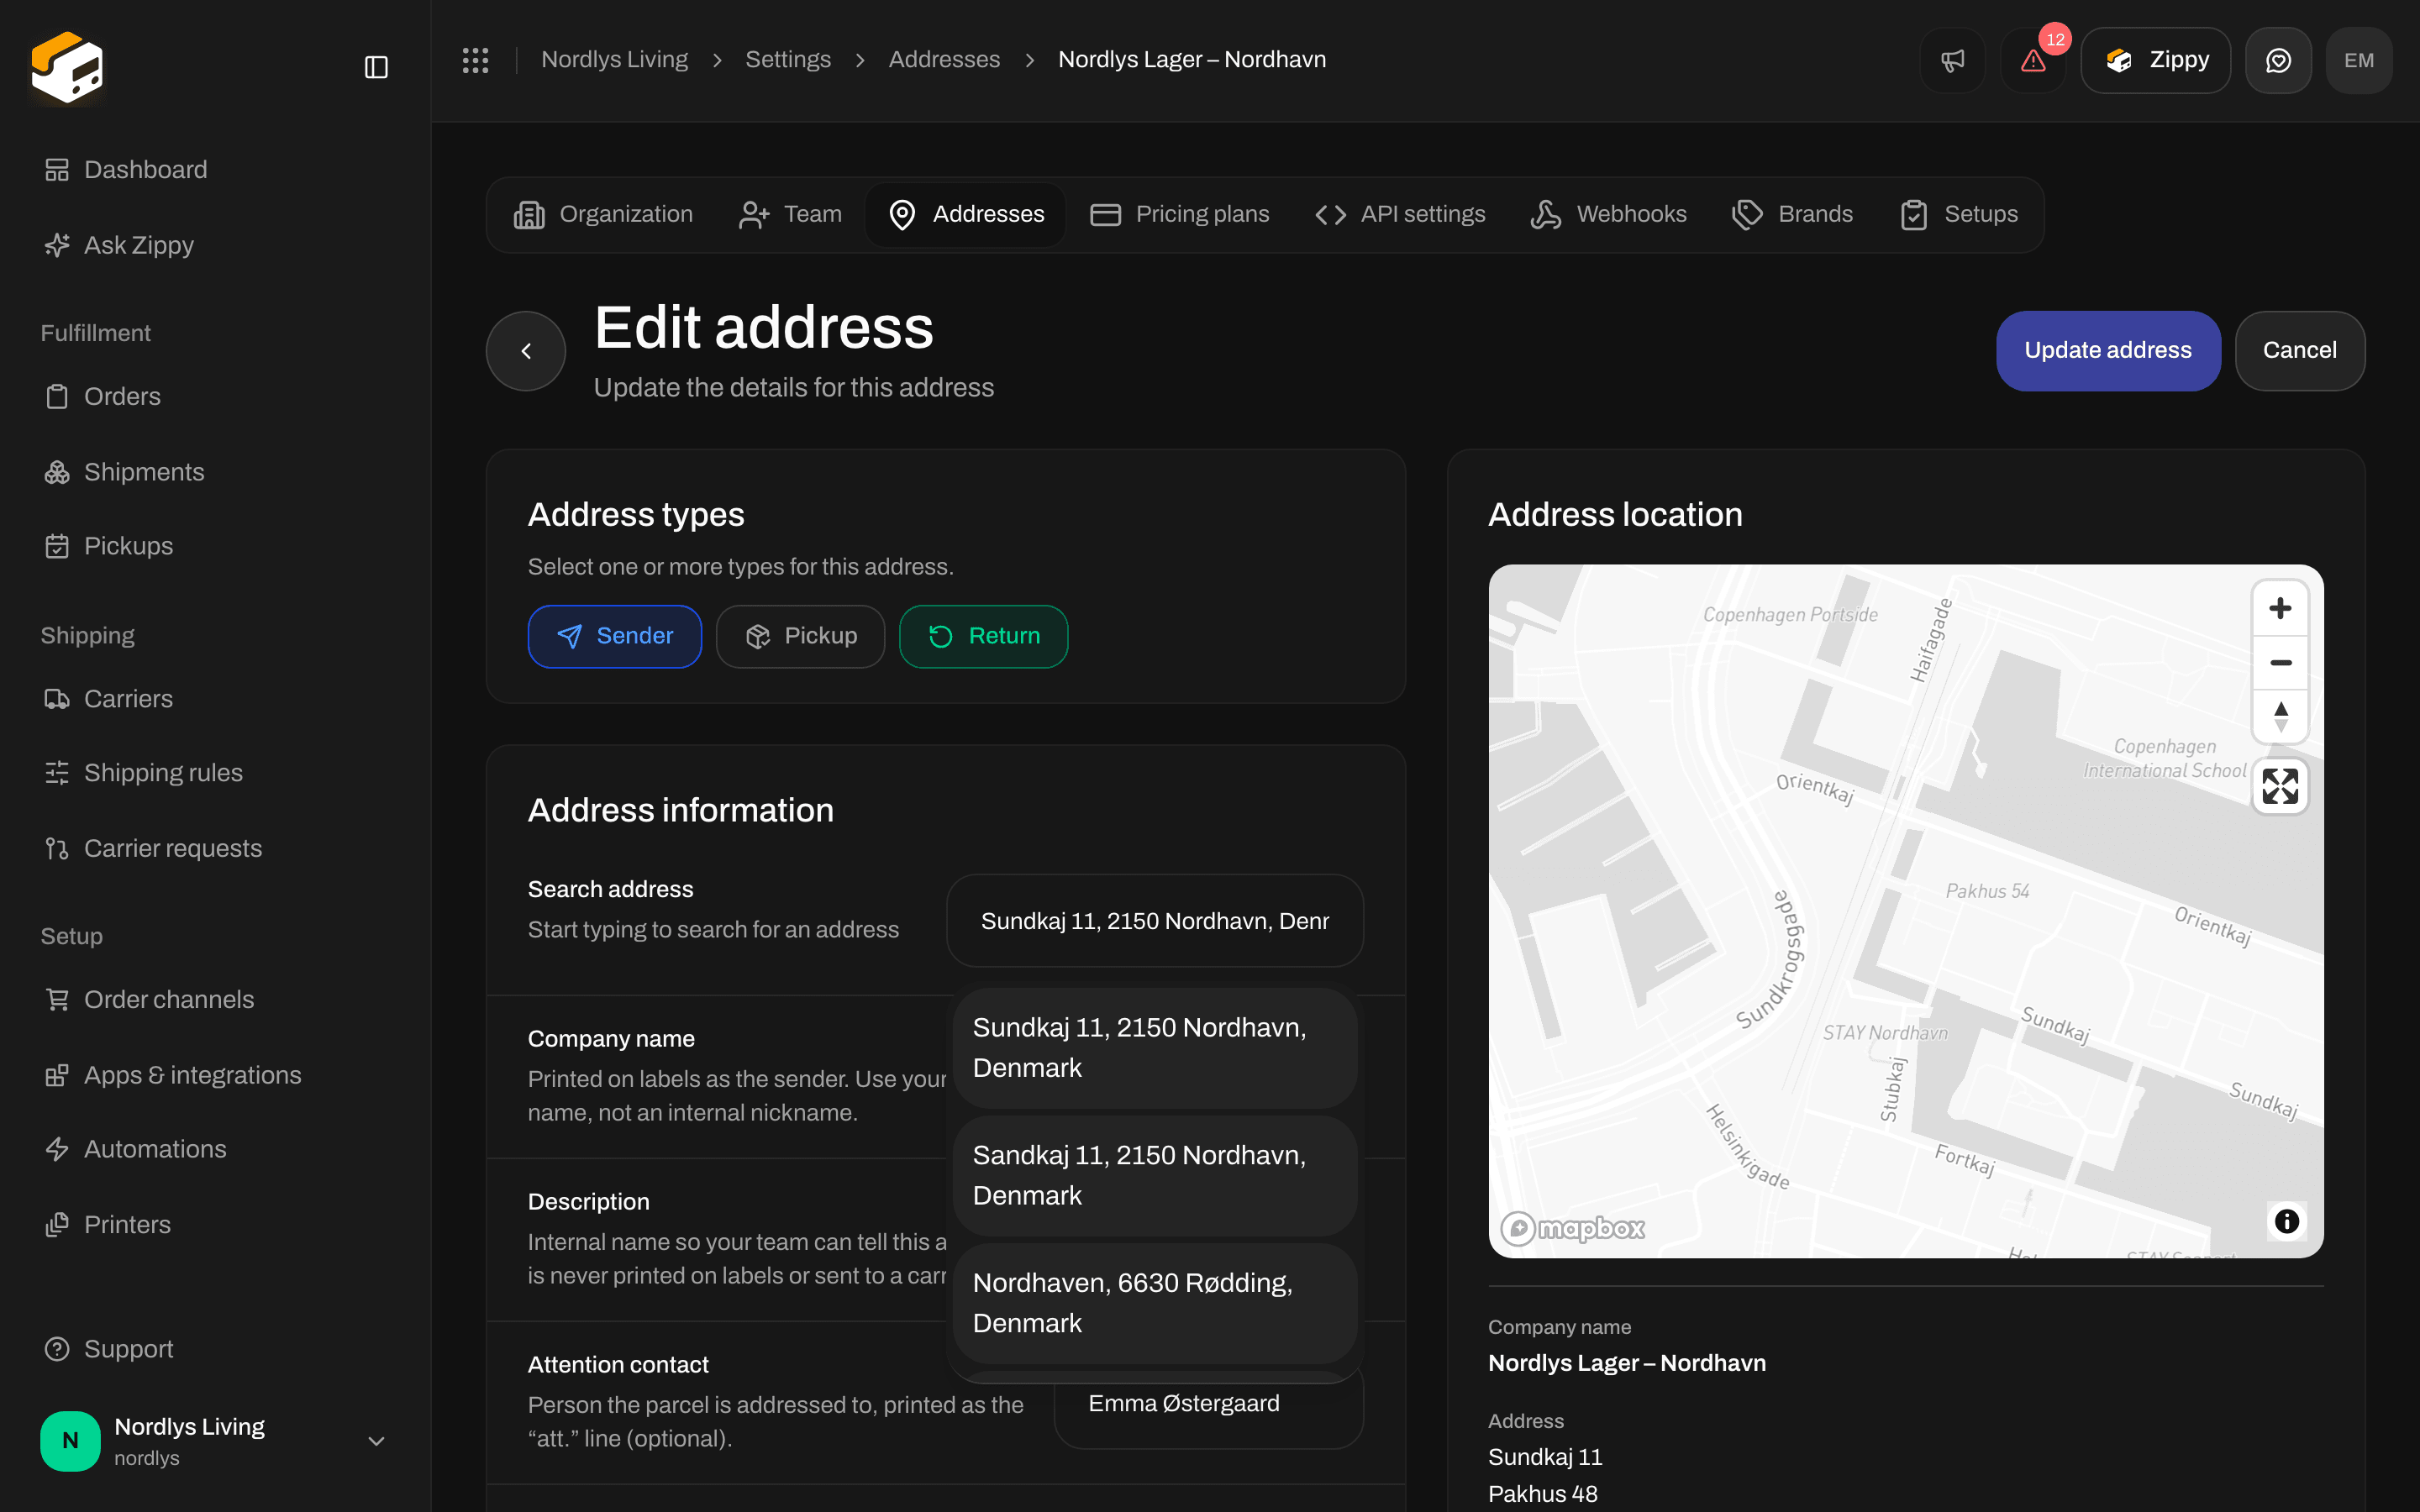
Edit address: tick Return on the warehouse
What Zippendo does not do
- No return page for customers: your customers can’t open a Zippendo page to create a return.
- No return emails or QR codes from Zippendo: if your customer should get the label by email or as a QR code, choose a service that does it, such as Email return label or QR code return on GLS ShopReturn.
Checklist
You are ready for returns when (1) a return shipping rule exists with a return product, and (2) the outbound rule you ship with has that rule under Return shipping rule.
Shipping rules
Direction, products, and the rest of the rule form.
Create a shipment
Return labels you create by hand, and sending the shipment.
Labels and printing
Print the return label after it is sent.
Getting started
Addresses, carriers and the rest of your first setup.