

There is no resend button on Team. If an invitation has expired, send a new one with Invite. If it is still active, revoke it first, then invite again.
Where to find it
Settings is not in the main sidebar. Click the organization switcher at the bottom of the sidebar (your organization’s name), then:- Invite team members - opens the Team tab directly.
- Manage - opens Settings. Then click the Team tab.
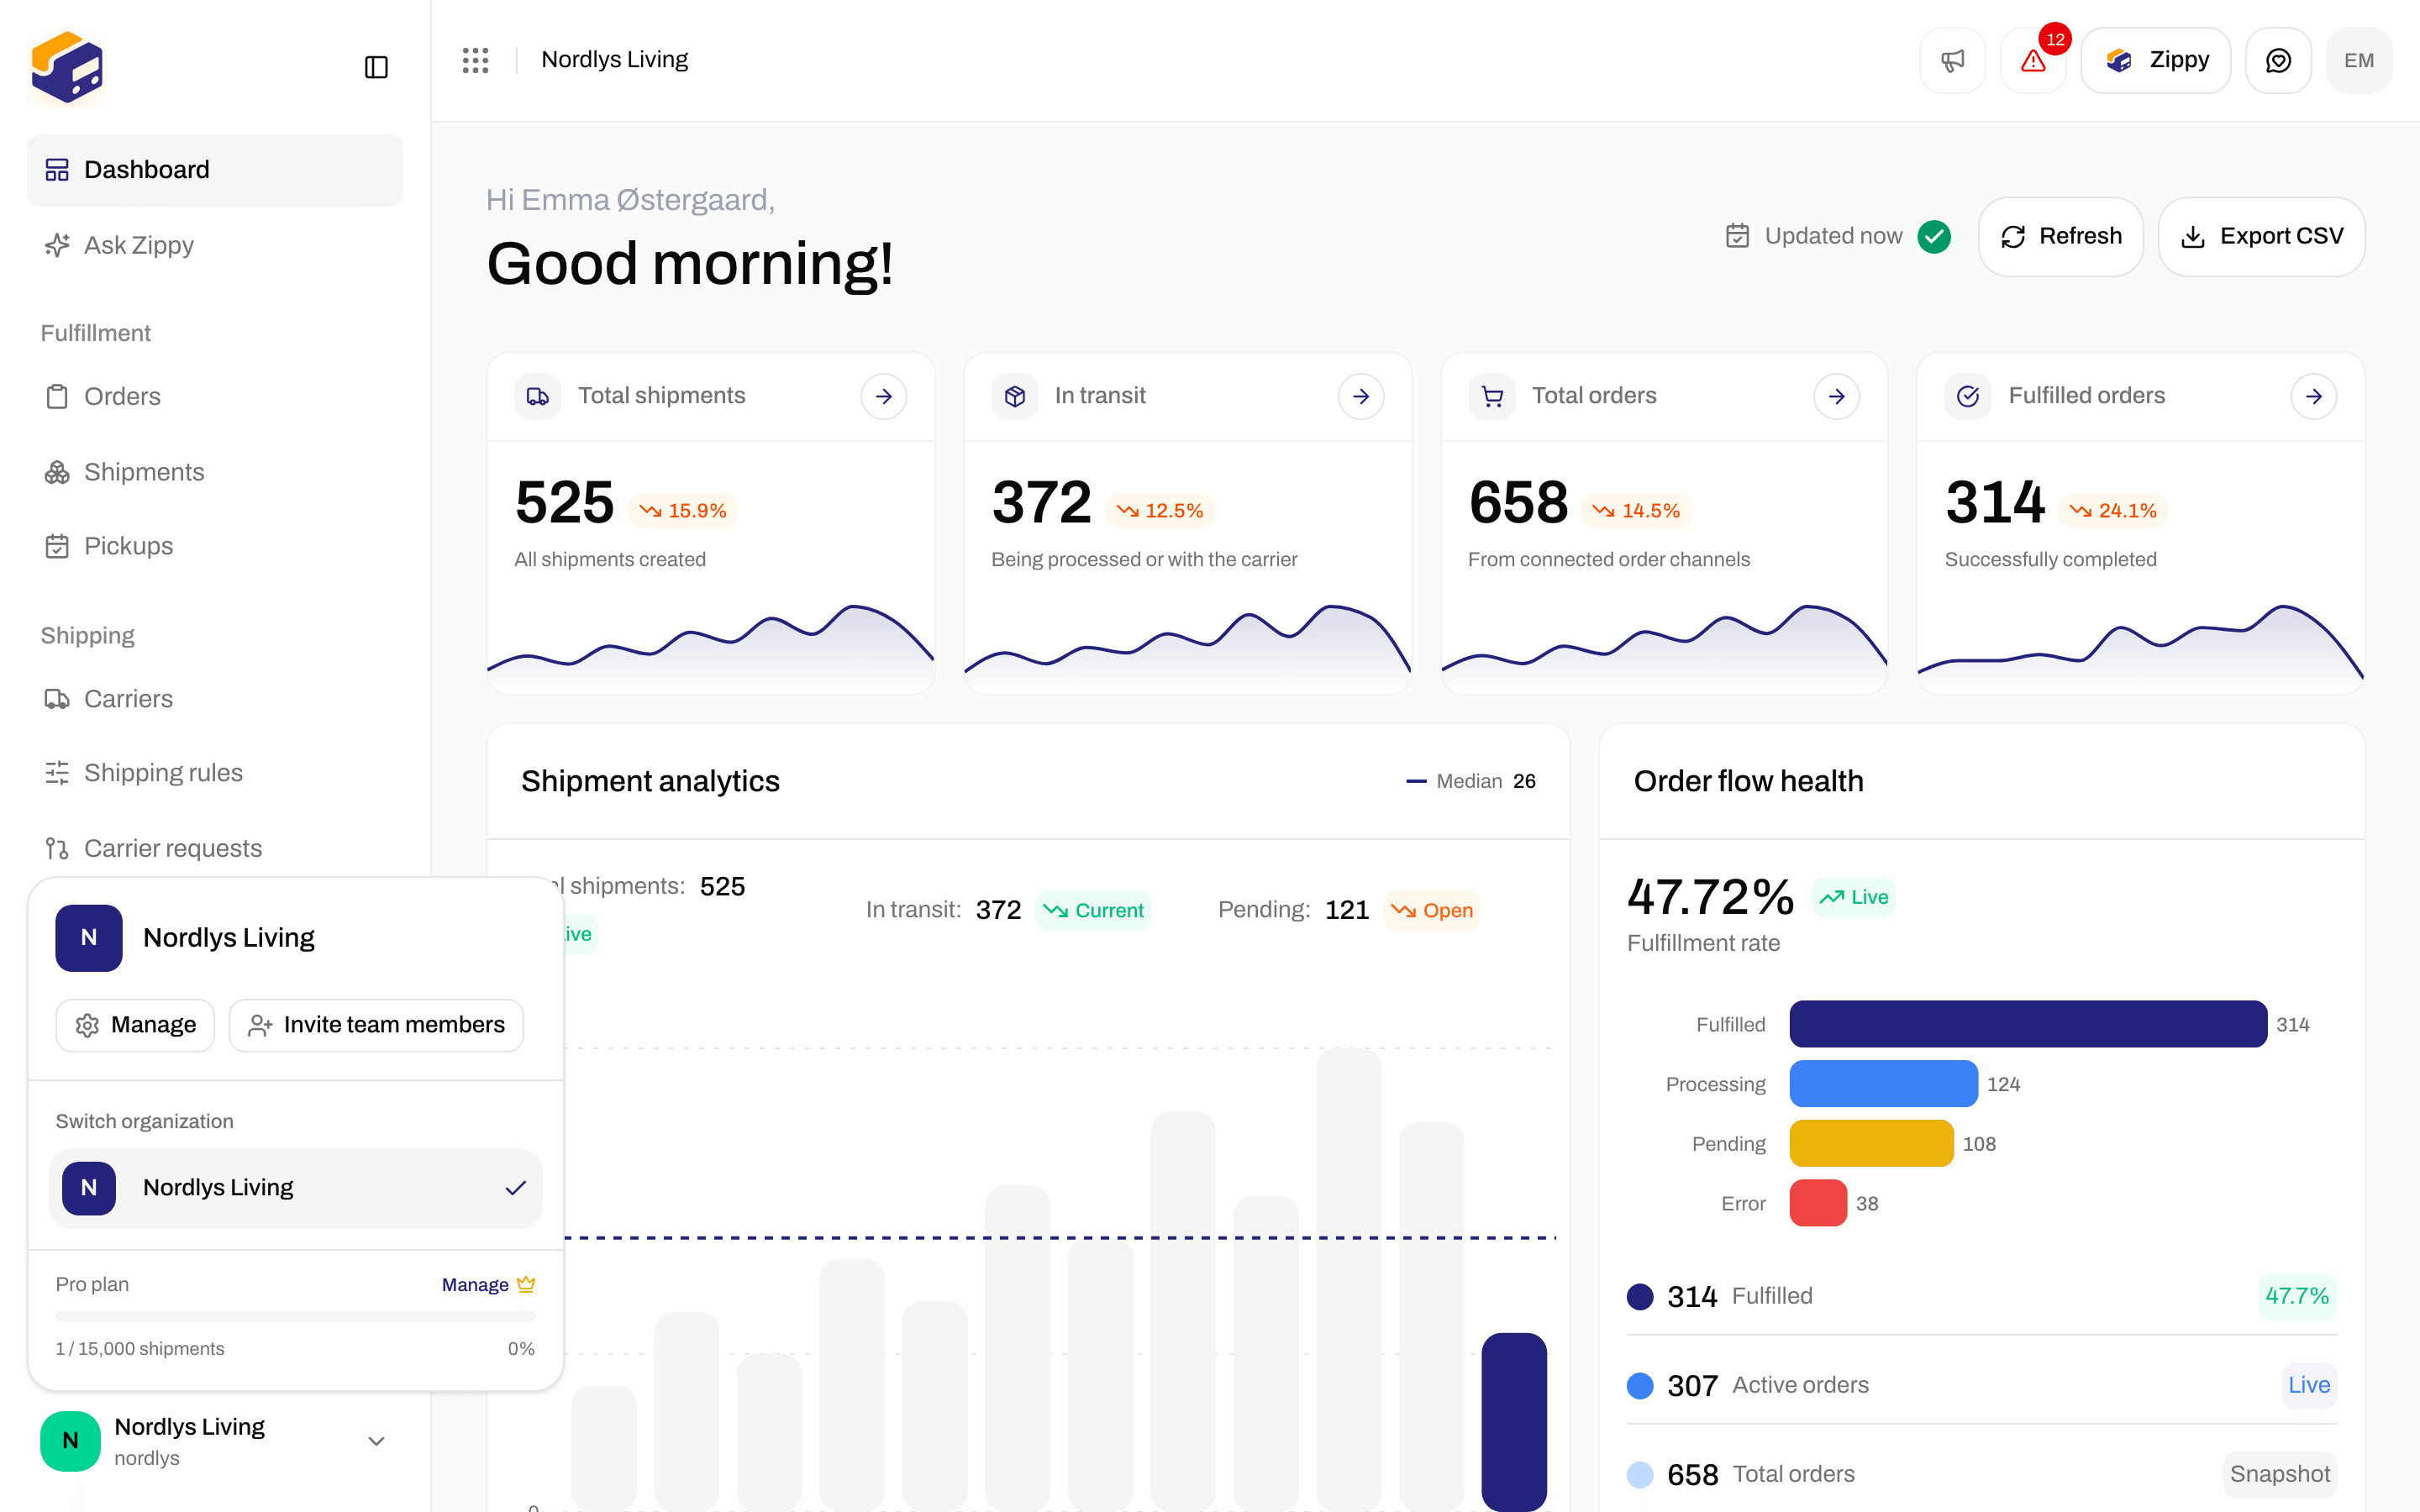
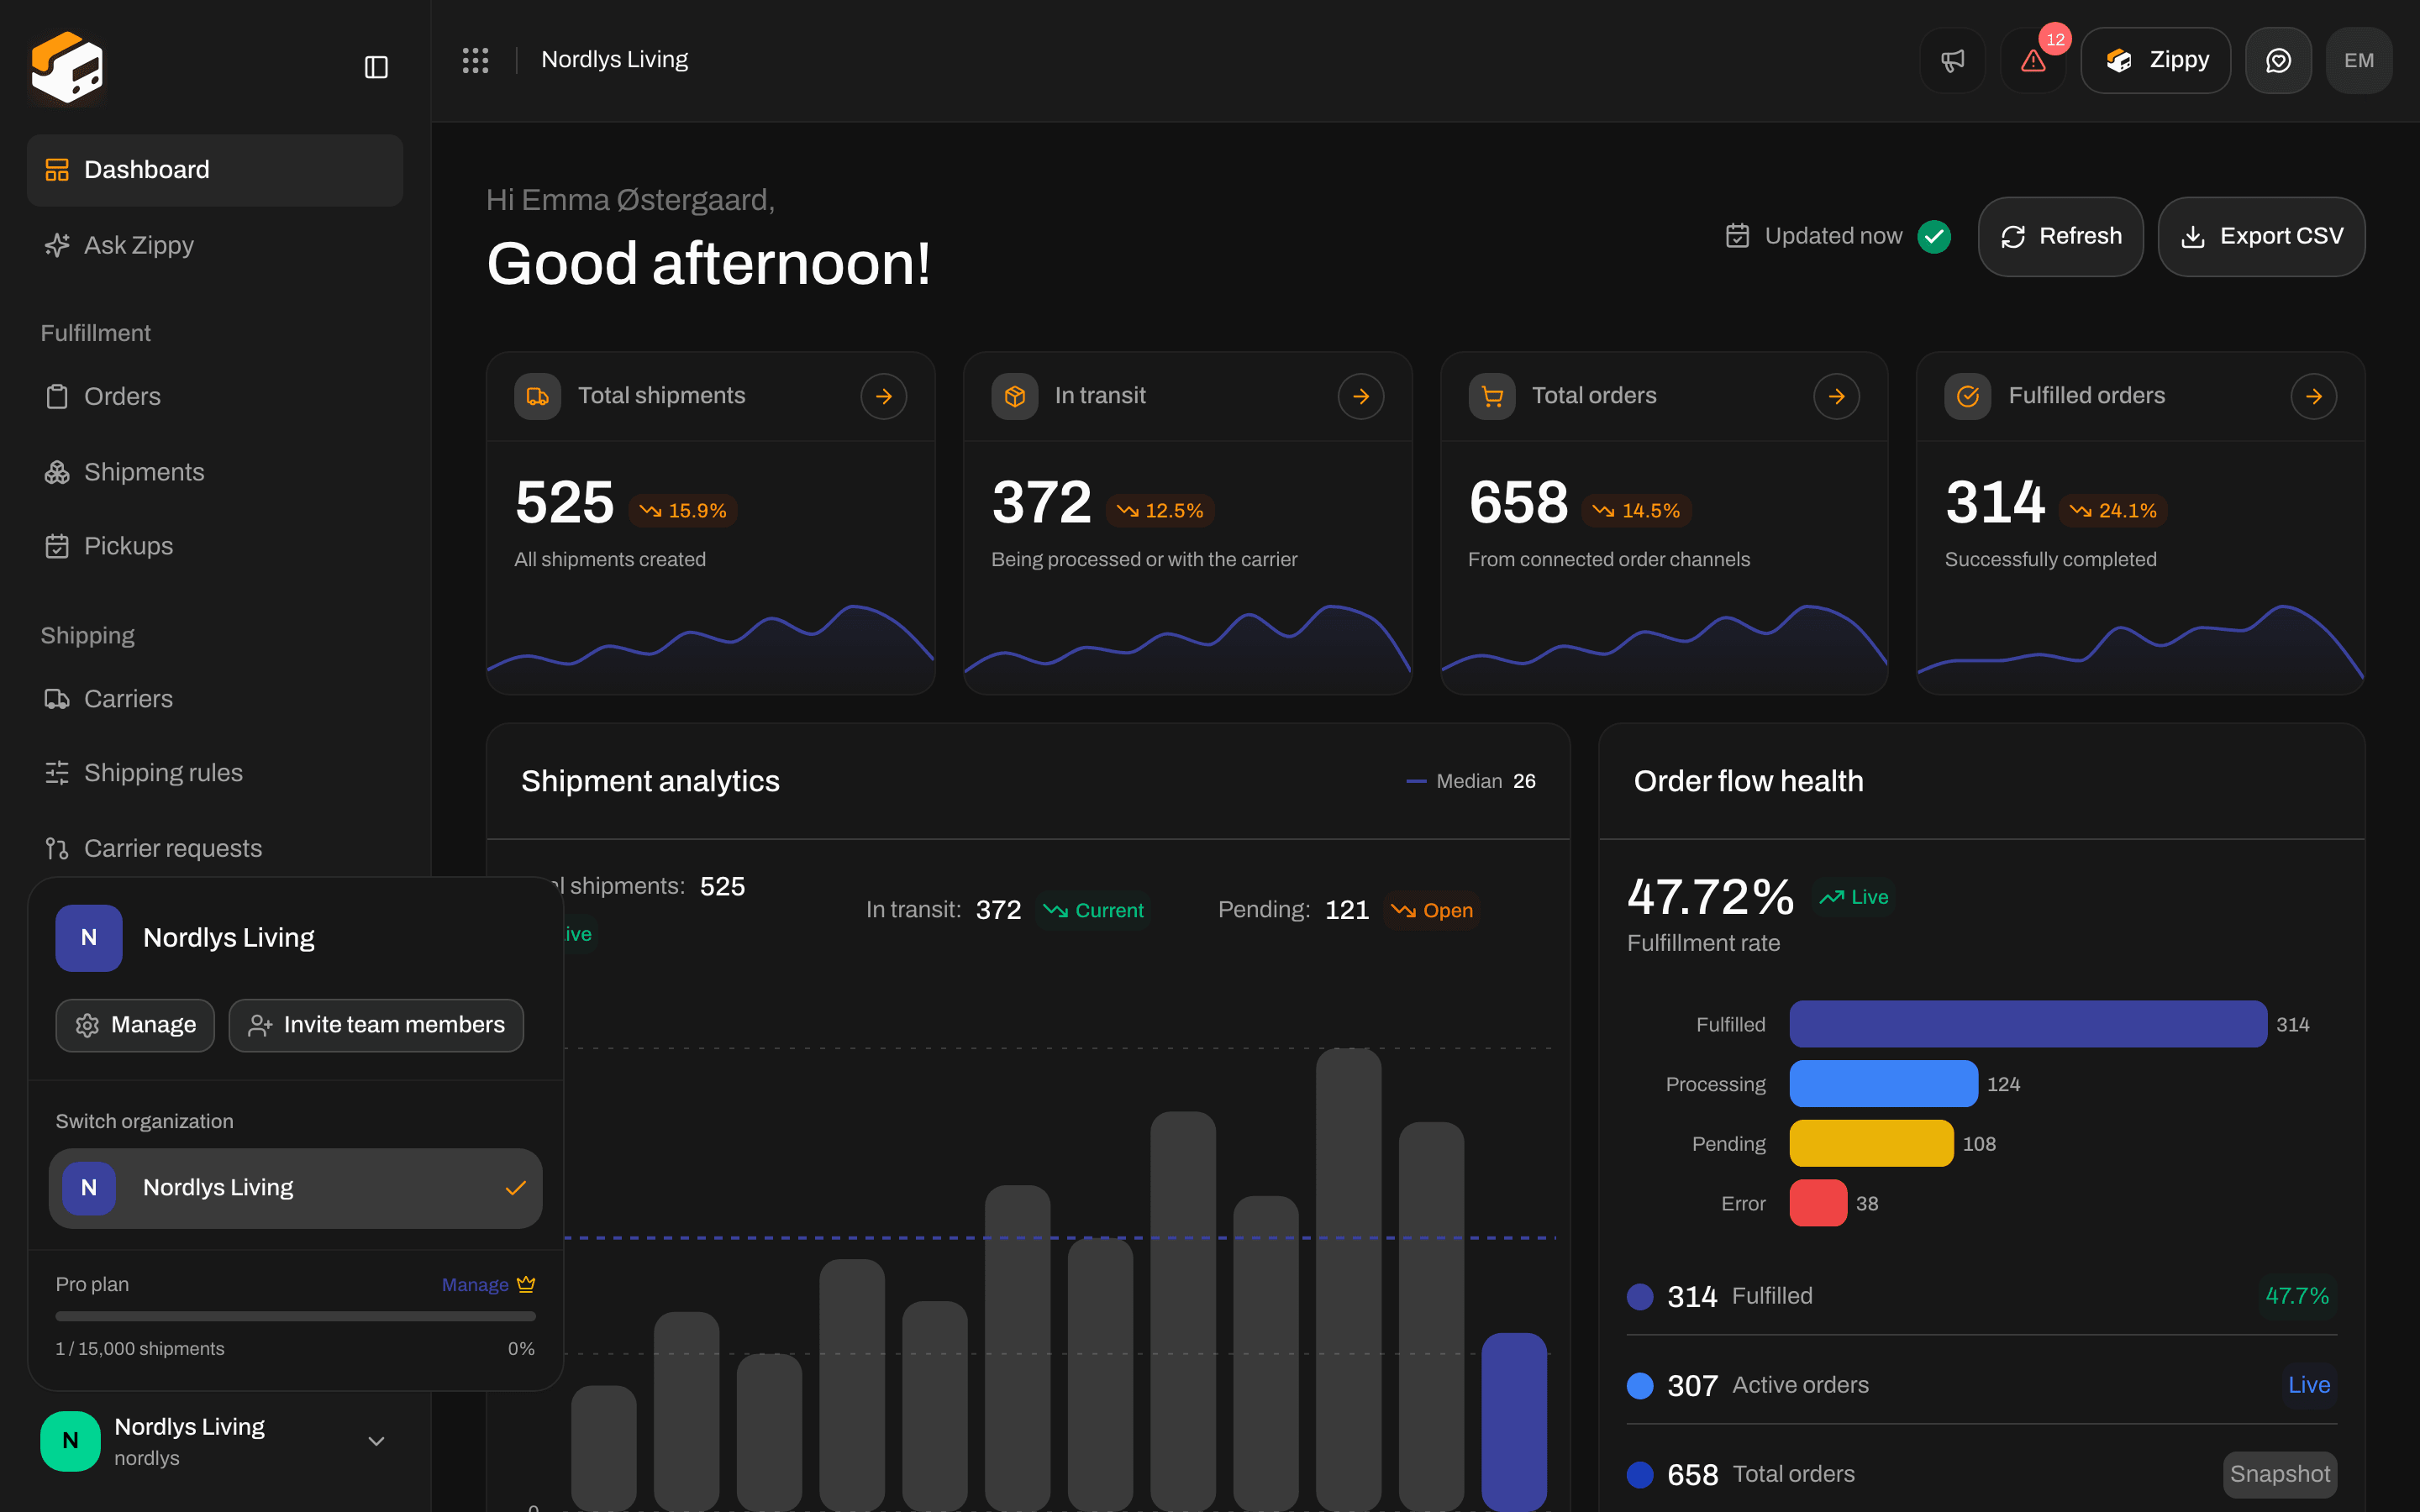
Invite team members in the organization switcher opens Team
Send an invitation
Under Invitations, use the Invite new team member row (We’ll email them an invitation to join your organization.).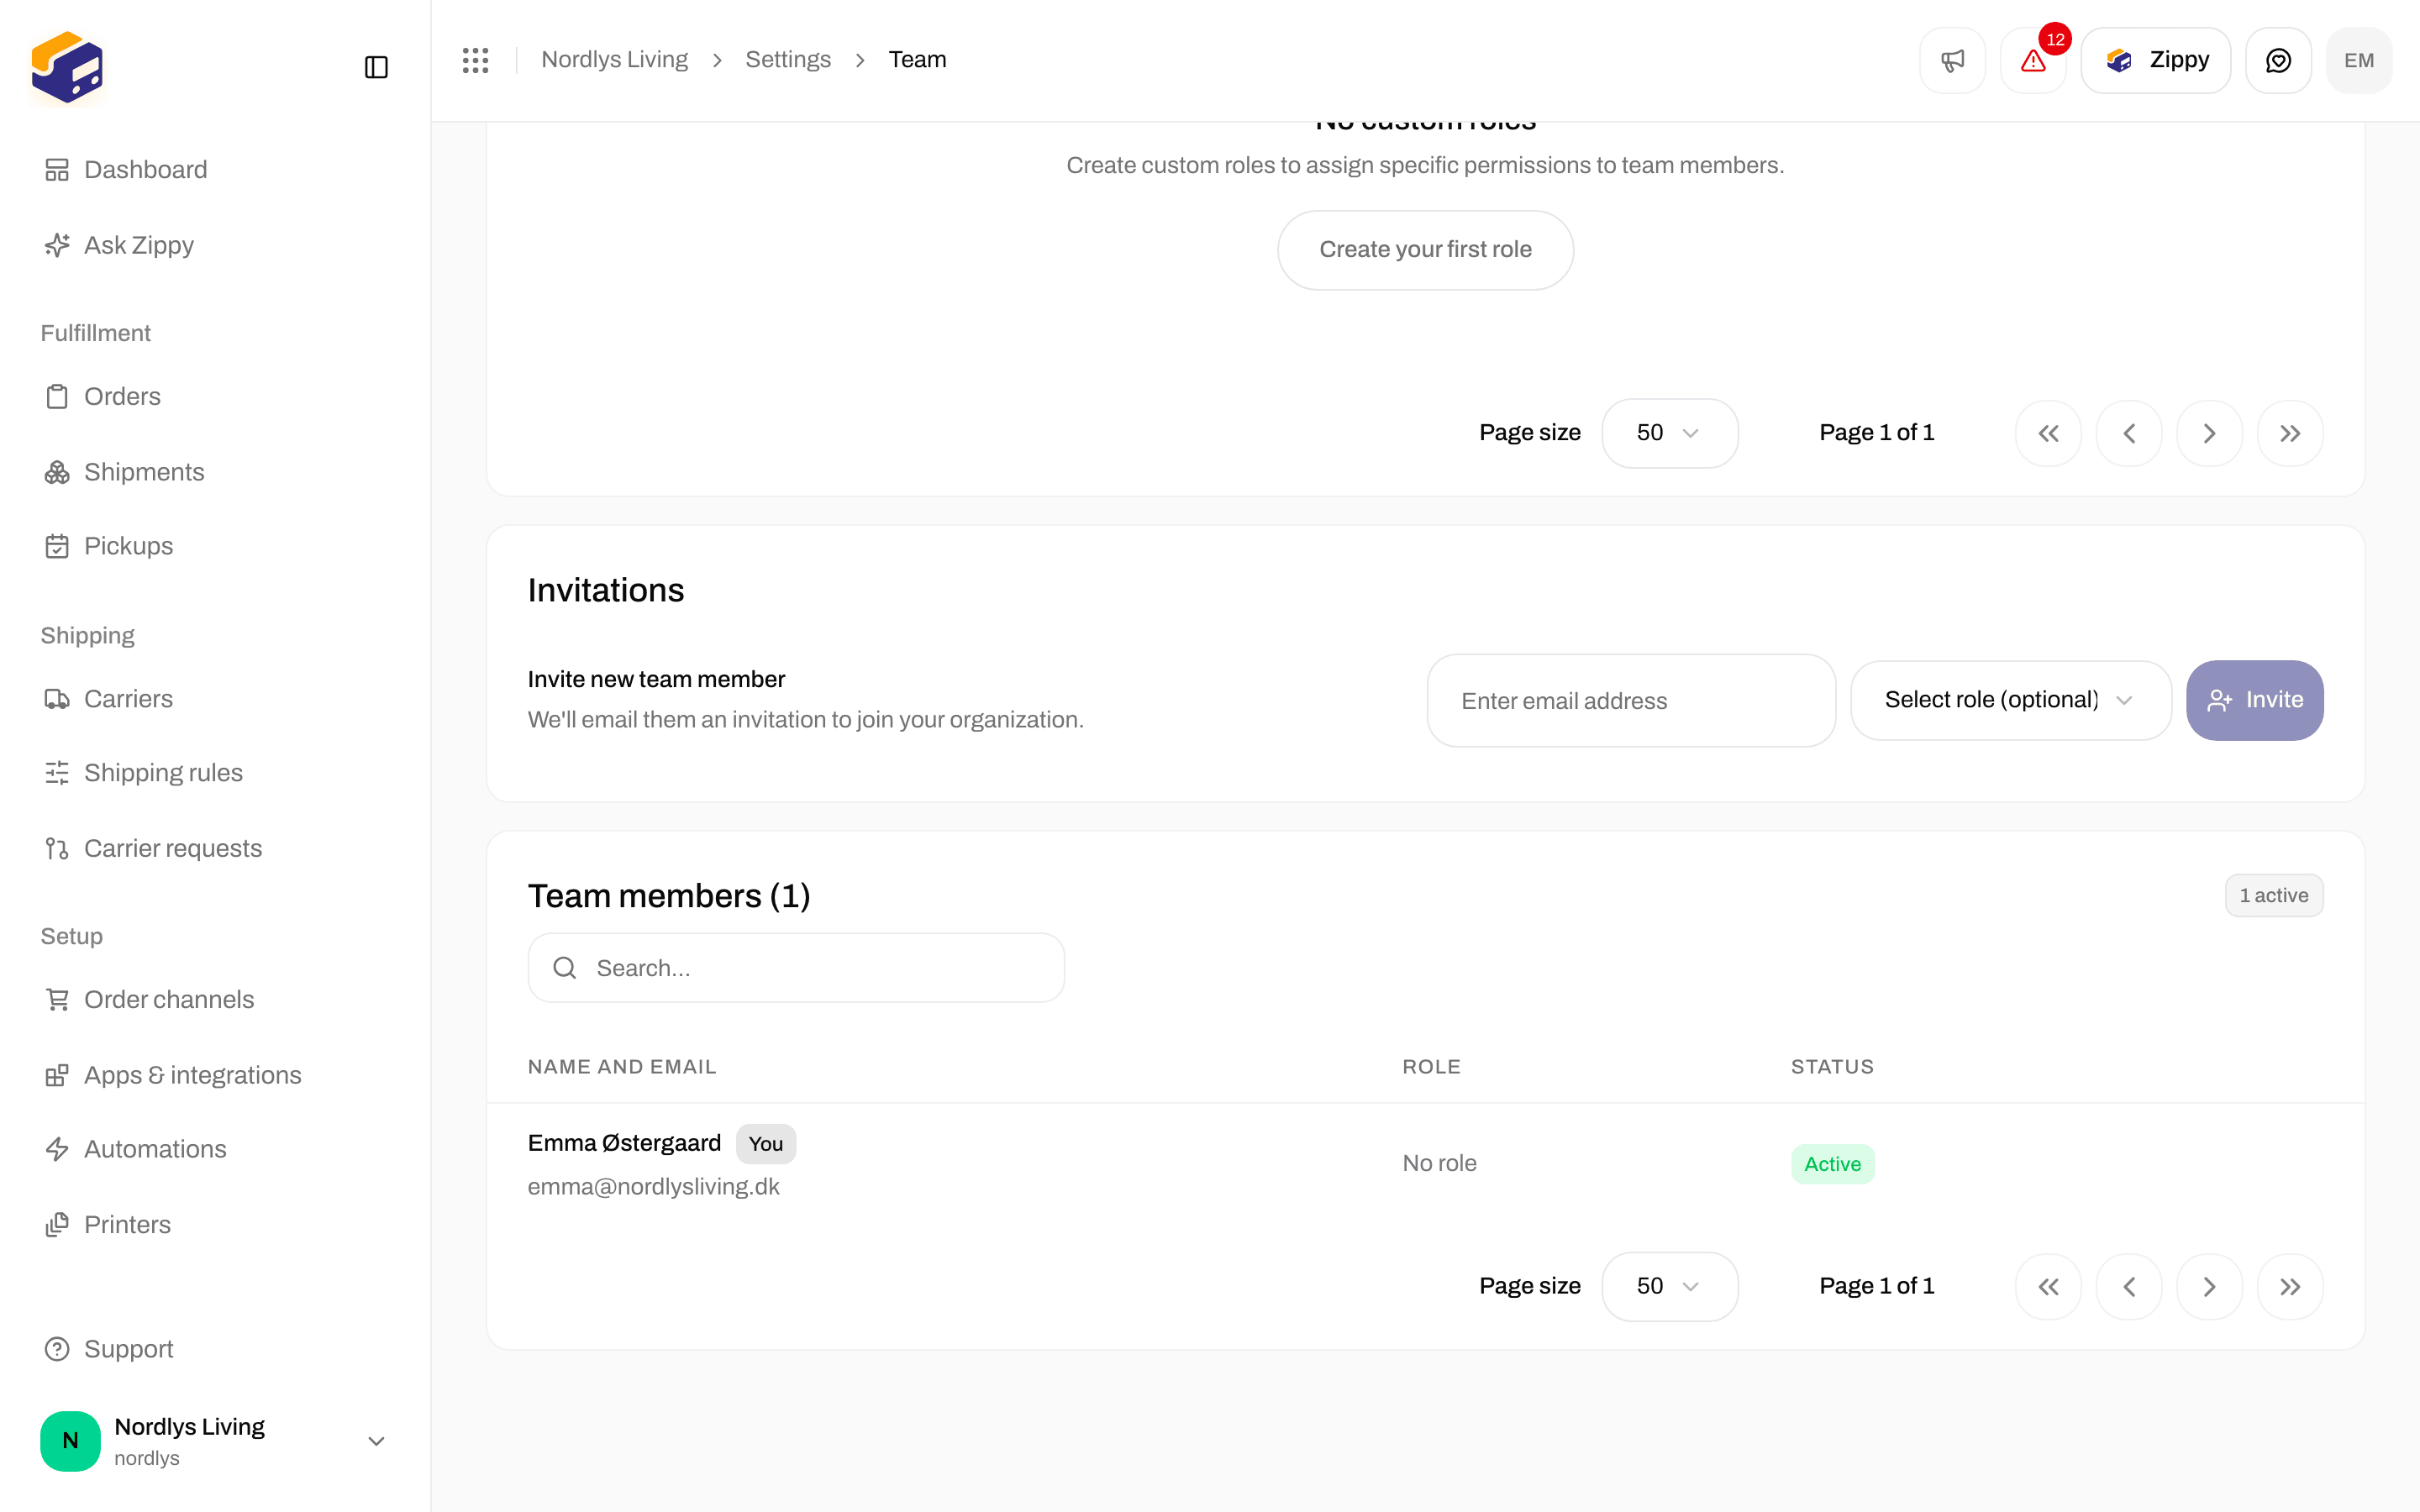
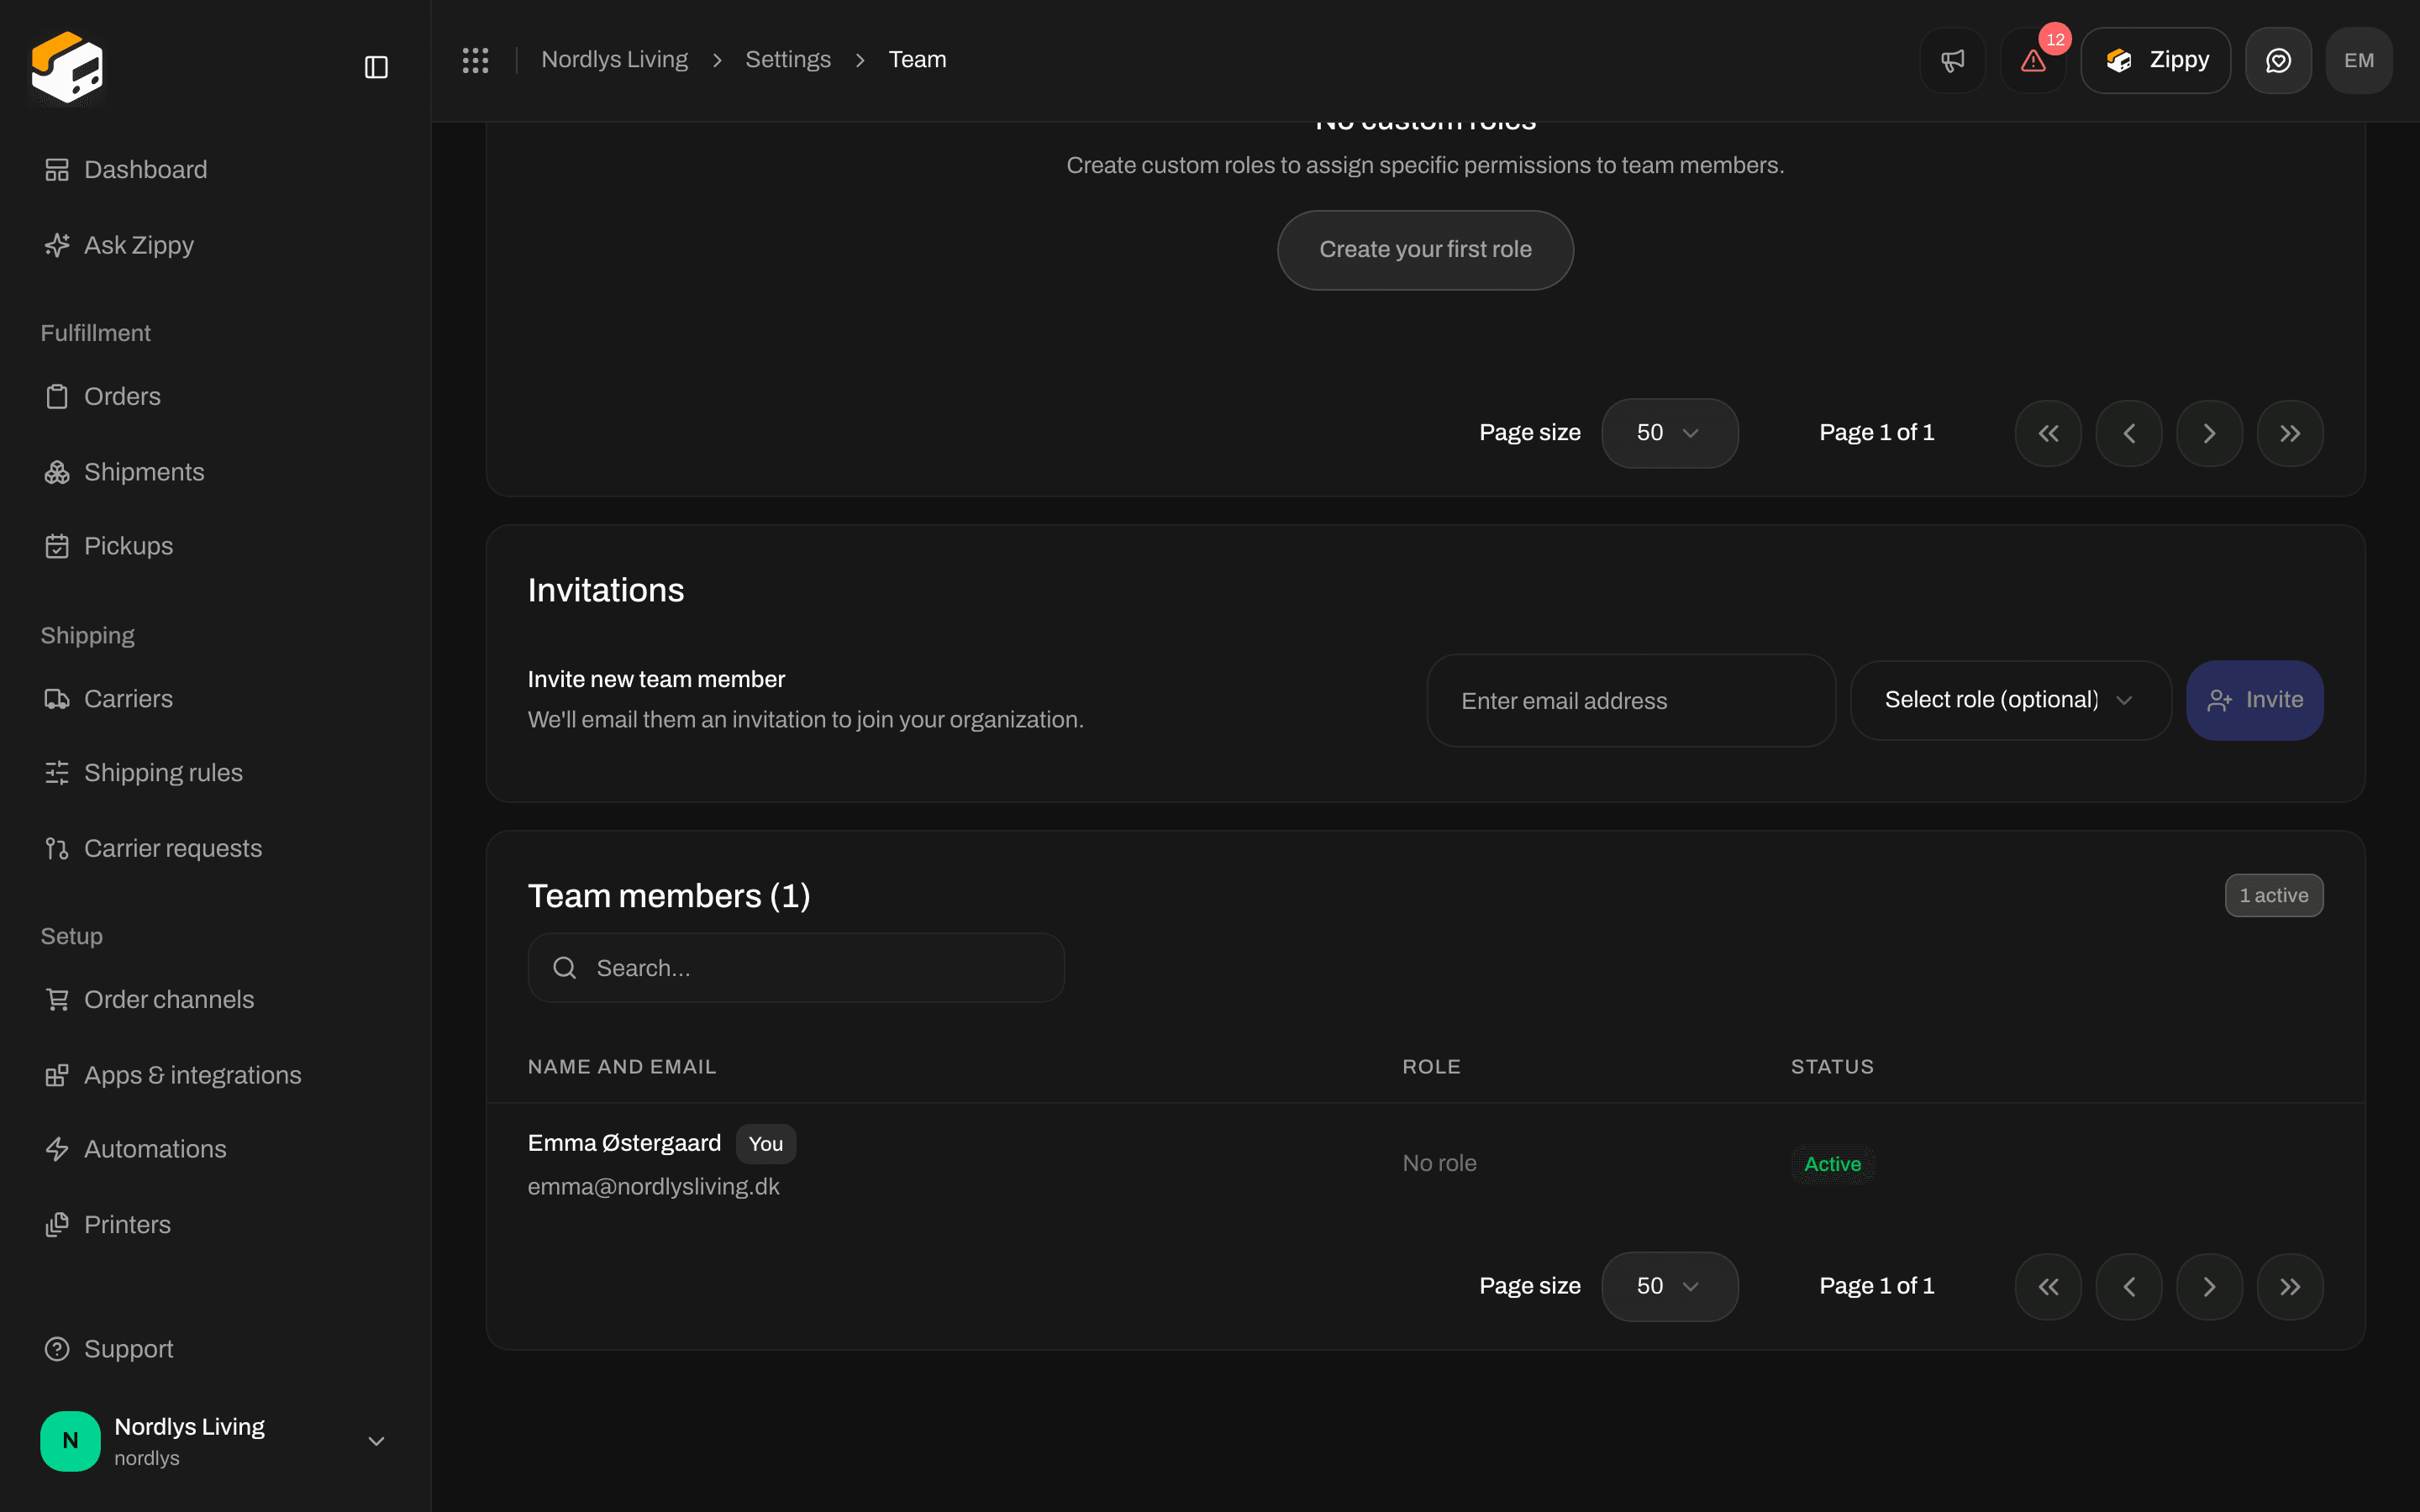
Invitations - email, optional role, then Invite
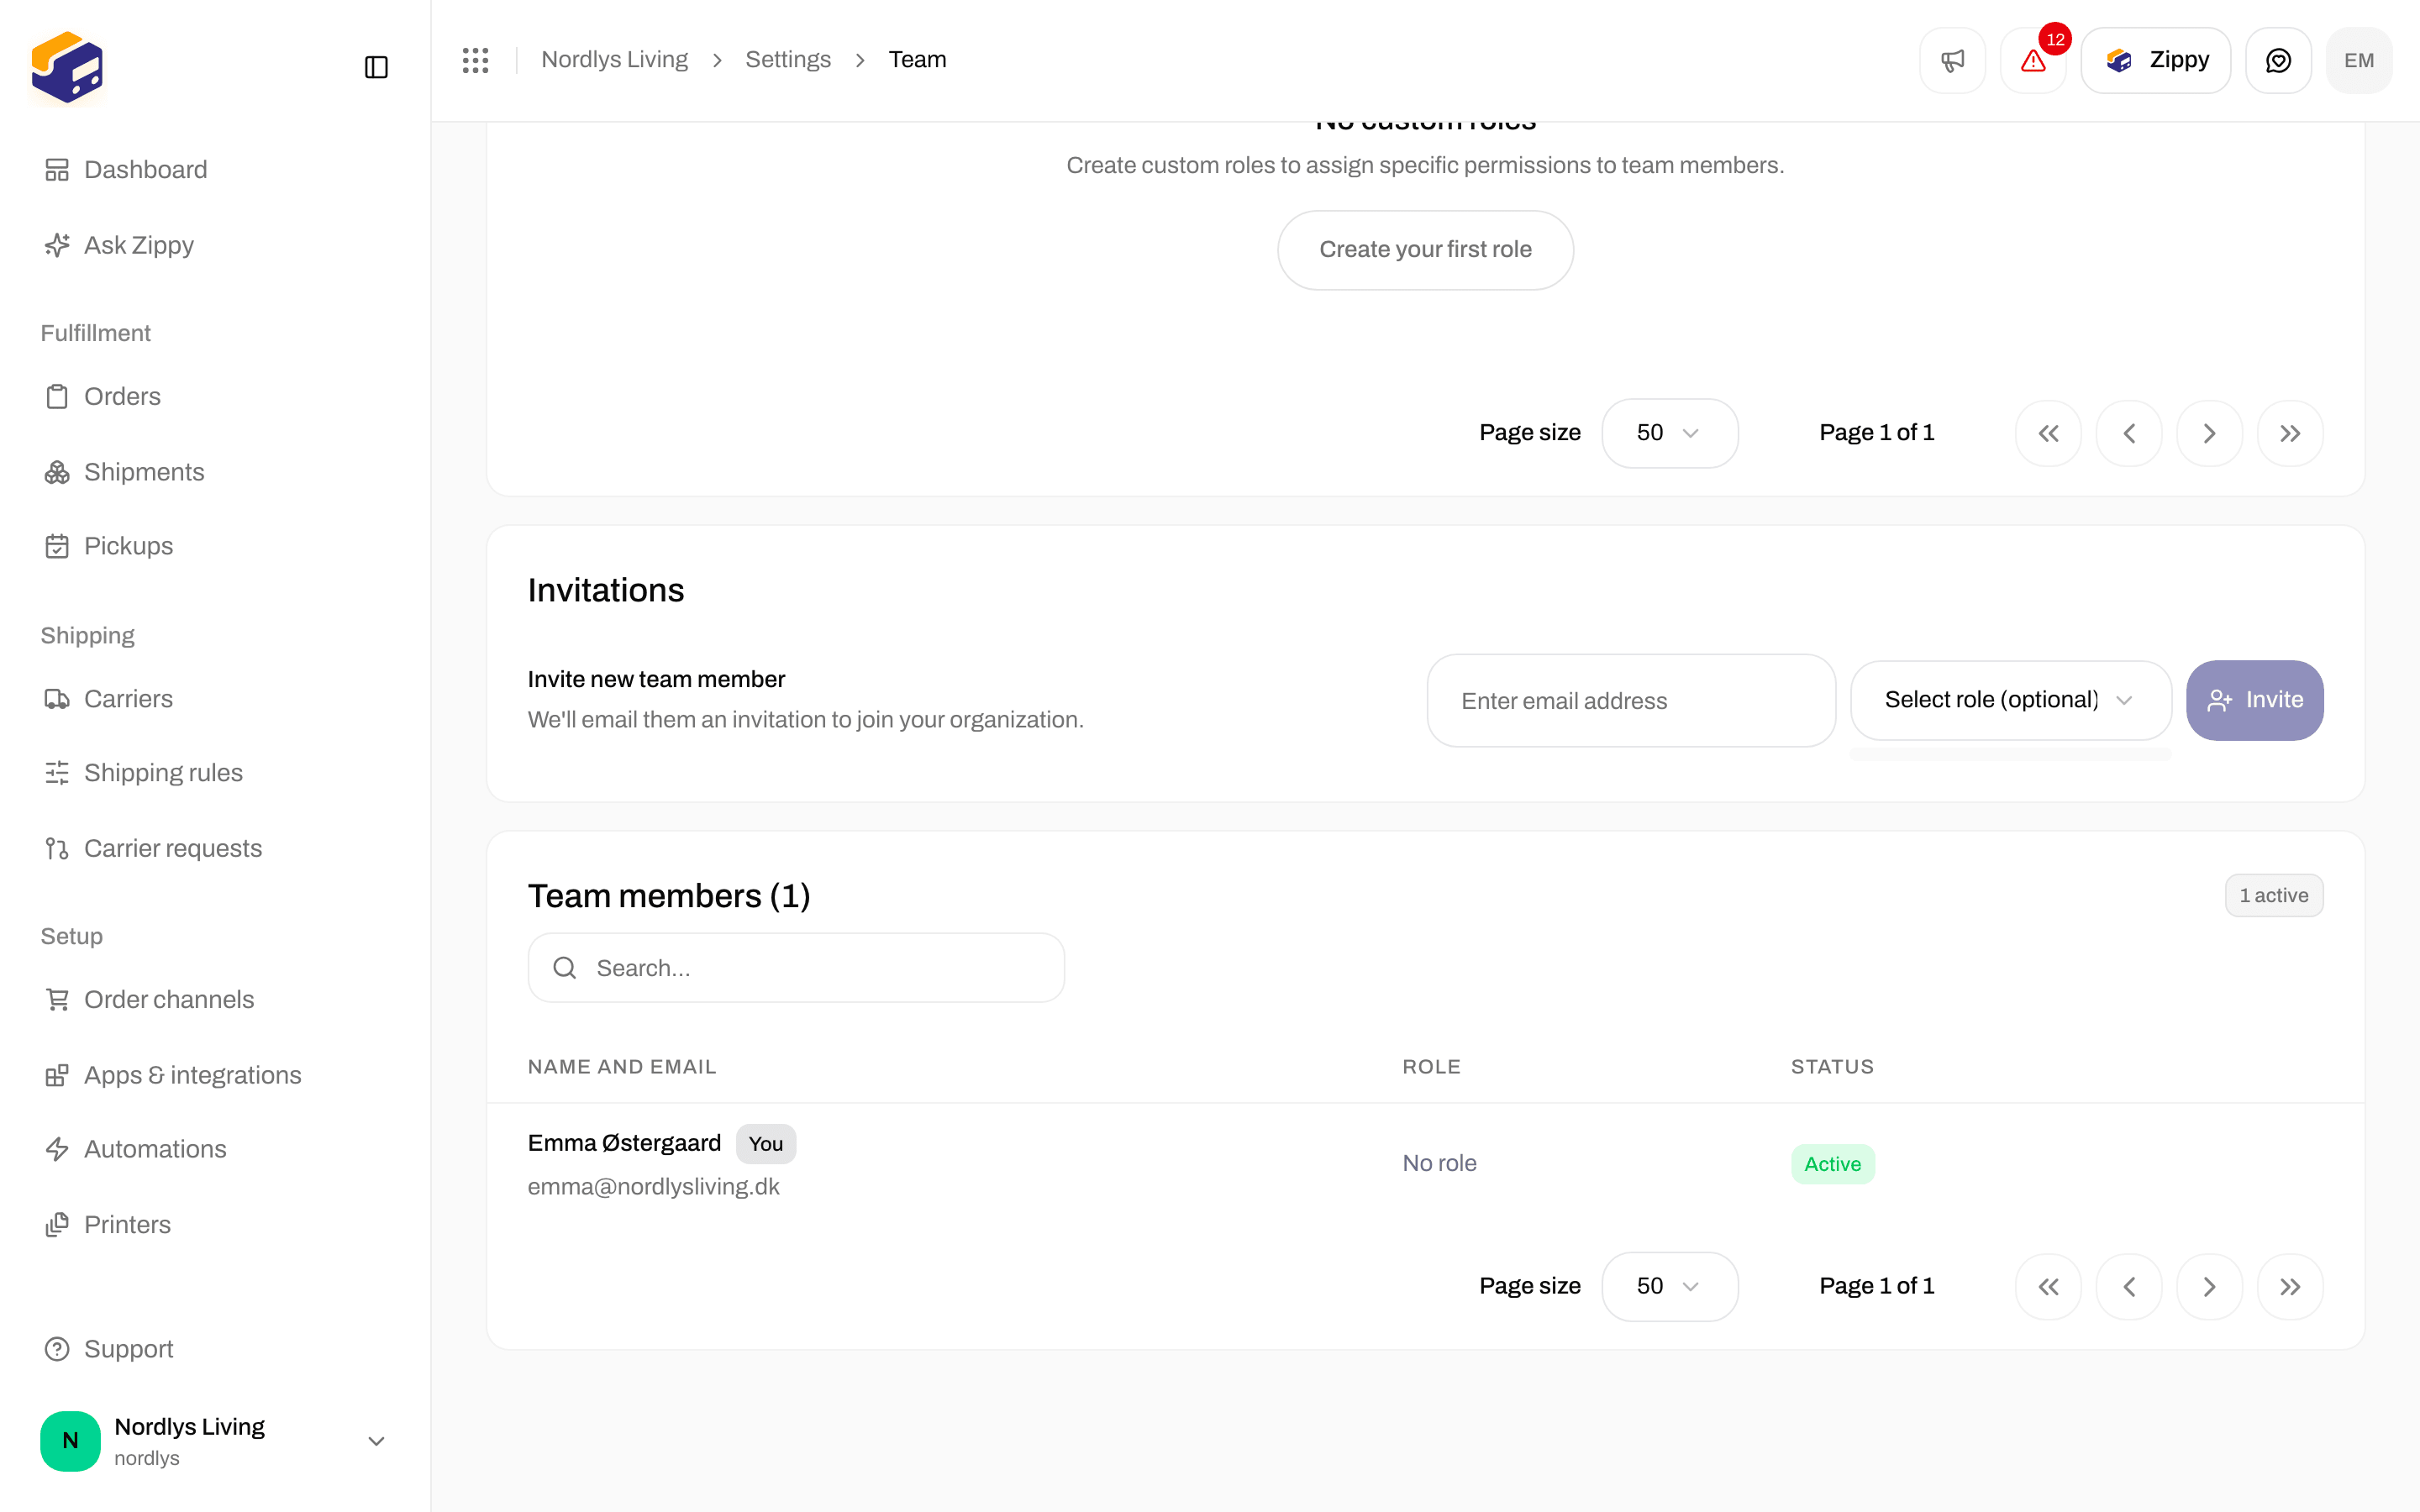
Select role (optional) is empty until you create a custom role
1
Enter the email
Type your colleague’s address in Enter email address.
2
Pick a role (optional)
Open Select role (optional) and choose a custom role, or leave it empty.
3
Restrict to a brand (optional)
If you see the brand list, keep No brand (organization-wide) unless this person should only work in one brand.
4
Click Invite
The button shows Sending… while Zippendo sends the email. You see Invitation sent, and the person appears in the team list as Pending until they accept.
If you are restricted to one brand yourself, you can only invite people into that same brand. See Create a brand.
Your plan sets how many team members your organization can have: 10 on Free, 20 on Standard and Growth, and unlimited on Pro and Enterprise. See Billing and usage.
What the invited person sees
They get an email with a link to join your organization. The link opens a page that says You’ve been invited!, with Accept invitation and Decline.- If they have no Zippendo account yet, they click Create account and sign up with the email address the invitation was sent to.
- If they already have an account, they click Sign in.
- If they are signed in with a different email address, they see Different email address and must sign in with the invited address.
The team list
The list below Invitations shows everyone who has joined and every pending invitation, for example Team members (3). A badge next to the title counts them, for example 2 active, 1 pending. Type in Search to find people by name or email address. See Search and filters.You cannot change your own role or brand restriction, and you cannot remove yourself. Another team member has to do it.
Revoke a pending invitation
1
Open the row menu
On a row with the Invited badge, open the menu at the end of the row and click Revoke invitation.
2
Confirm
The window asks Are you sure you want to revoke the invitation sent to [email protected]? You can’t undo this. Type
DELETE in the box. Revoke stays grayed out until the text matches.3
Click Revoke
You see Invitation revoked. The link in the email stops working.
Remove a team member
1
Open the row menu
Open the menu at the end of the person’s row and click Remove team member.
2
Confirm
Type
DELETE in the box and click Remove.Related
- Roles and permissions - create the role before you invite.
- Create a brand - restrict a team member to one brand.
- Switch organization and brand - Invite team members and Manage in the organization switcher.
- Billing and usage - team member limits per plan.
- Team and invitations - overview of the Team tab.