

You do not pick a sender address on this form. Add your addresses under the organization menu → Manage → Addresses. You choose the sender address on each shipment or in a shipping rule.
Before you start
- Your 6-character UPS shipper account number. UPS bills your shipments to this account.
- An app on the UPS Developer Portal with a Client ID and a Client secret. Sign in to the portal with your own UPS account to create the app. Zippendo cannot do this for you.
- UPS may need to approve your app before you can send real shipments.
Connect UPS
1
Open All carriers
In the sidebar, click Carriers, then open the All carriers tab.
2
Find UPS
On the UPS card, click Connect.
3
Fill in the form
The Connect carrier window opens. Enter a Carrier name, your Client ID, Client secret and Account number. Test mode is under Optional fields.
4
Connect the carrier
Click Connect. You see “Carrier connected”, and the carrier appears on the My carriers tab.
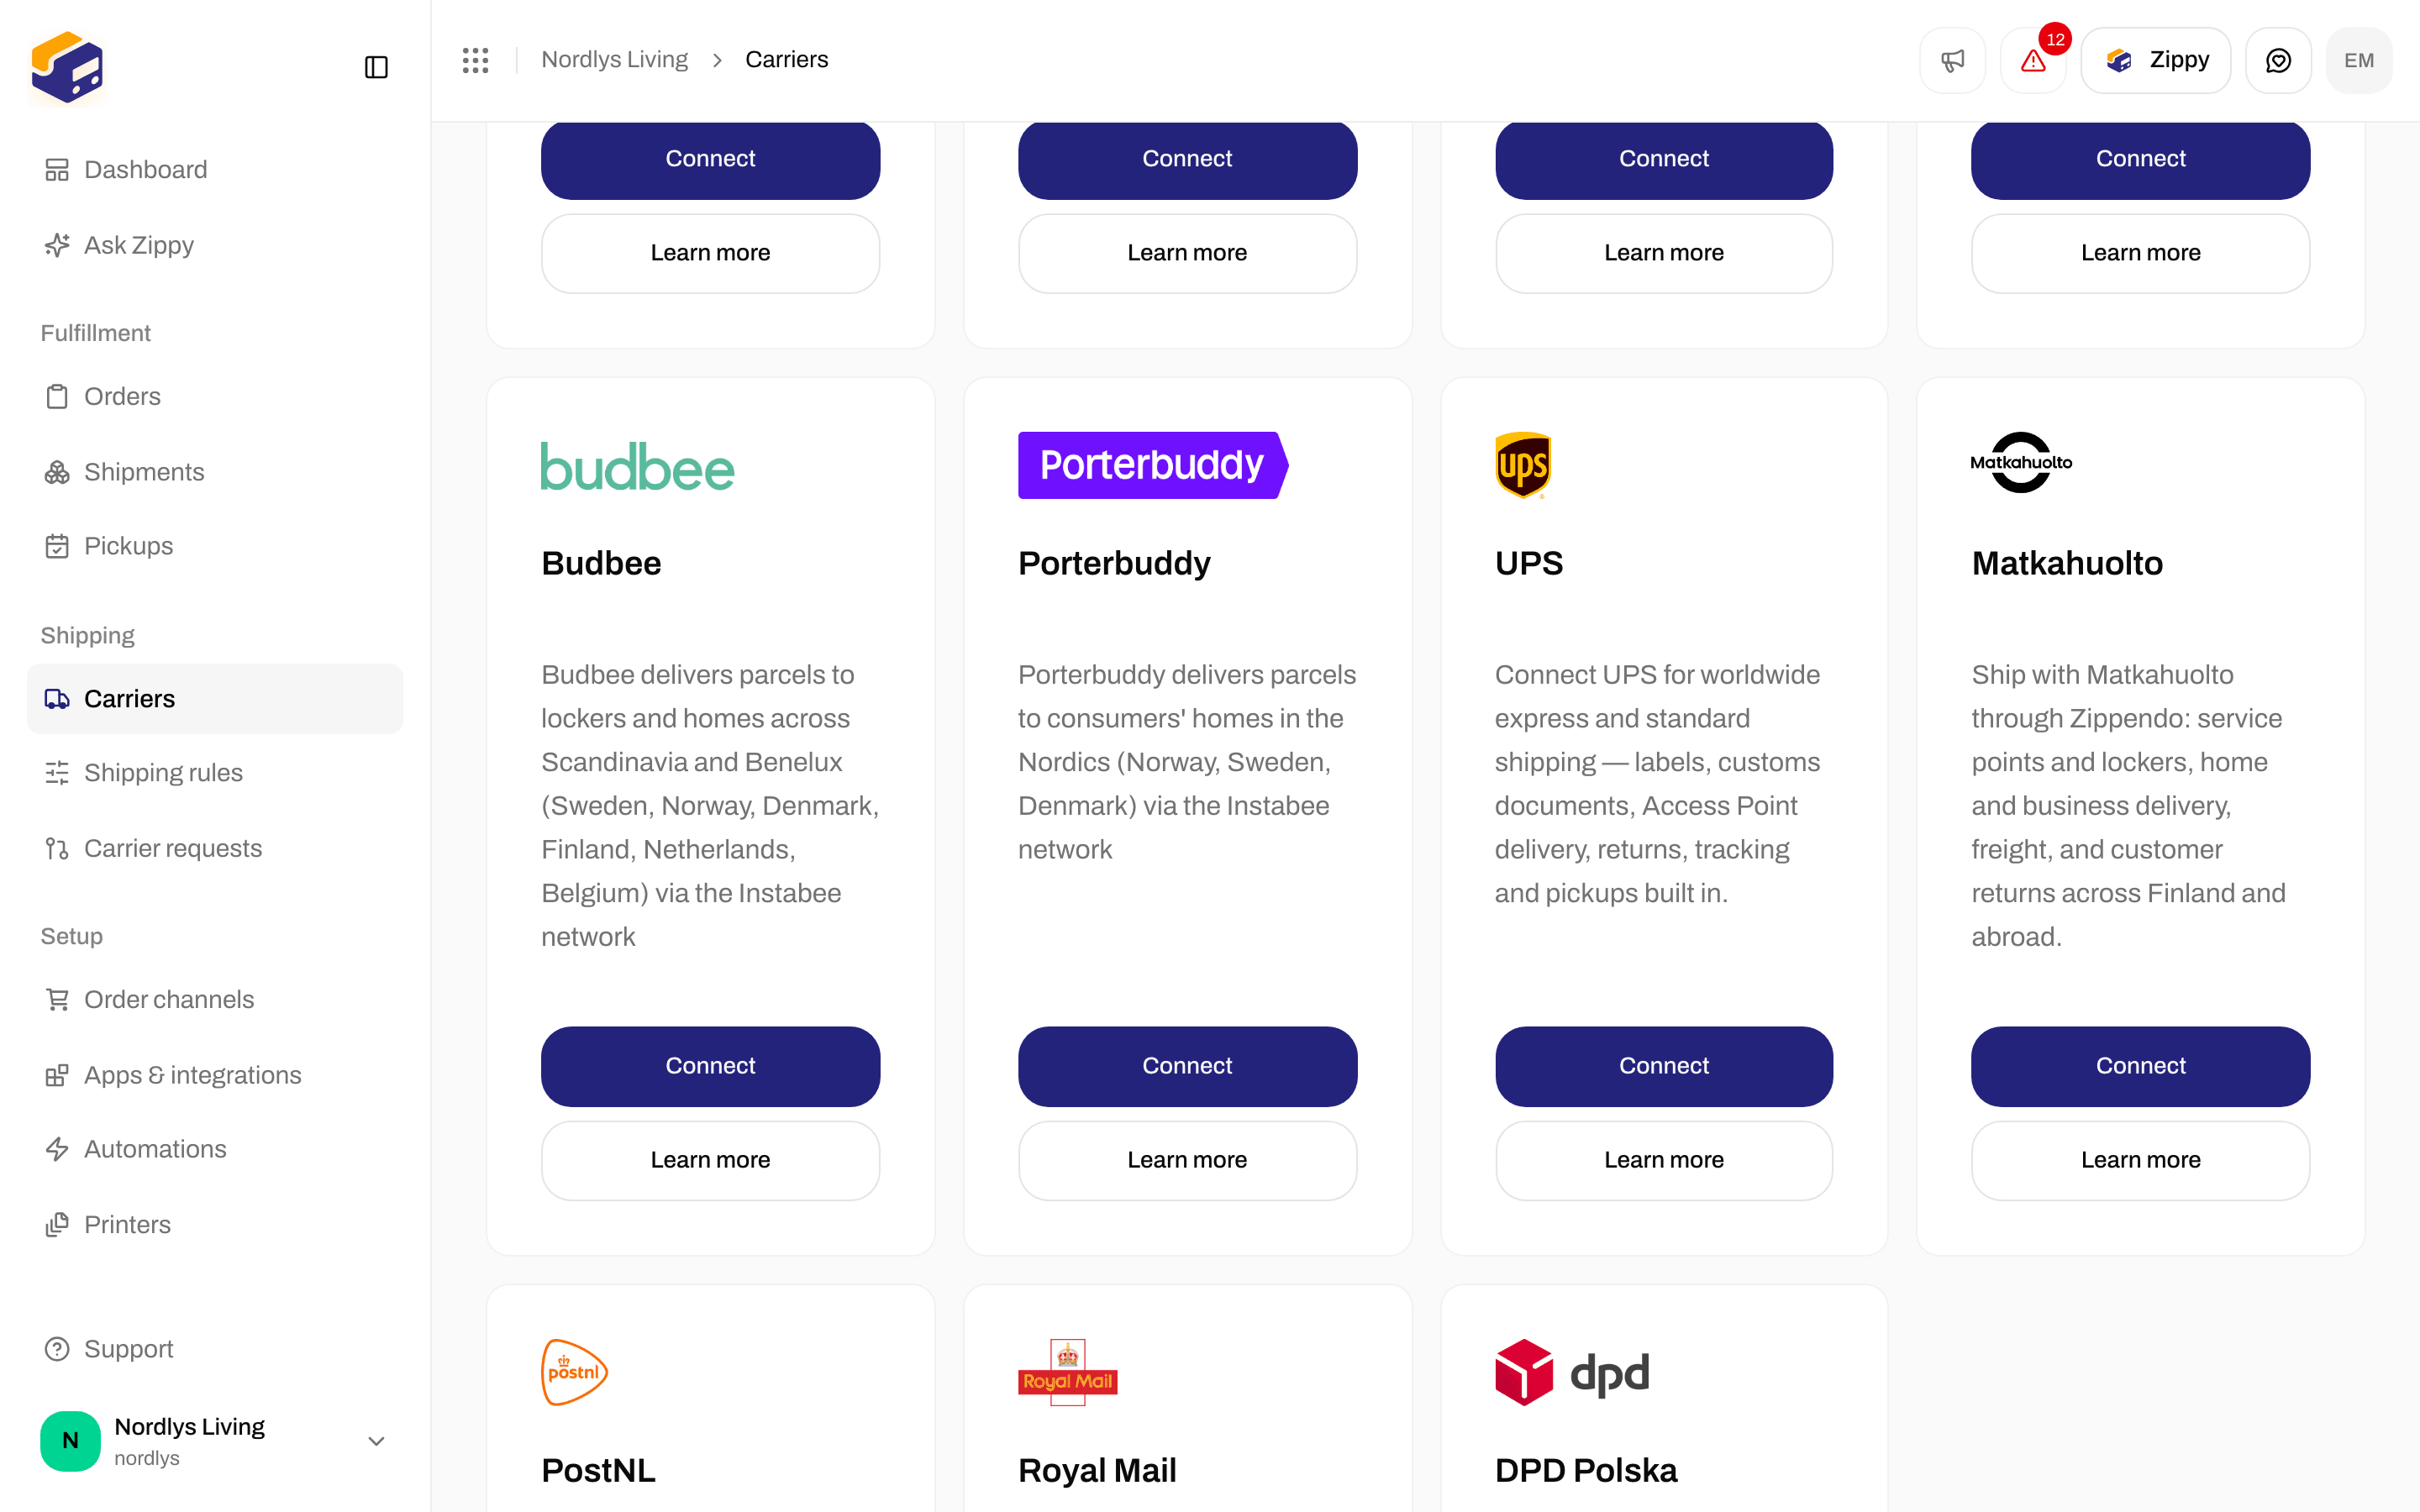
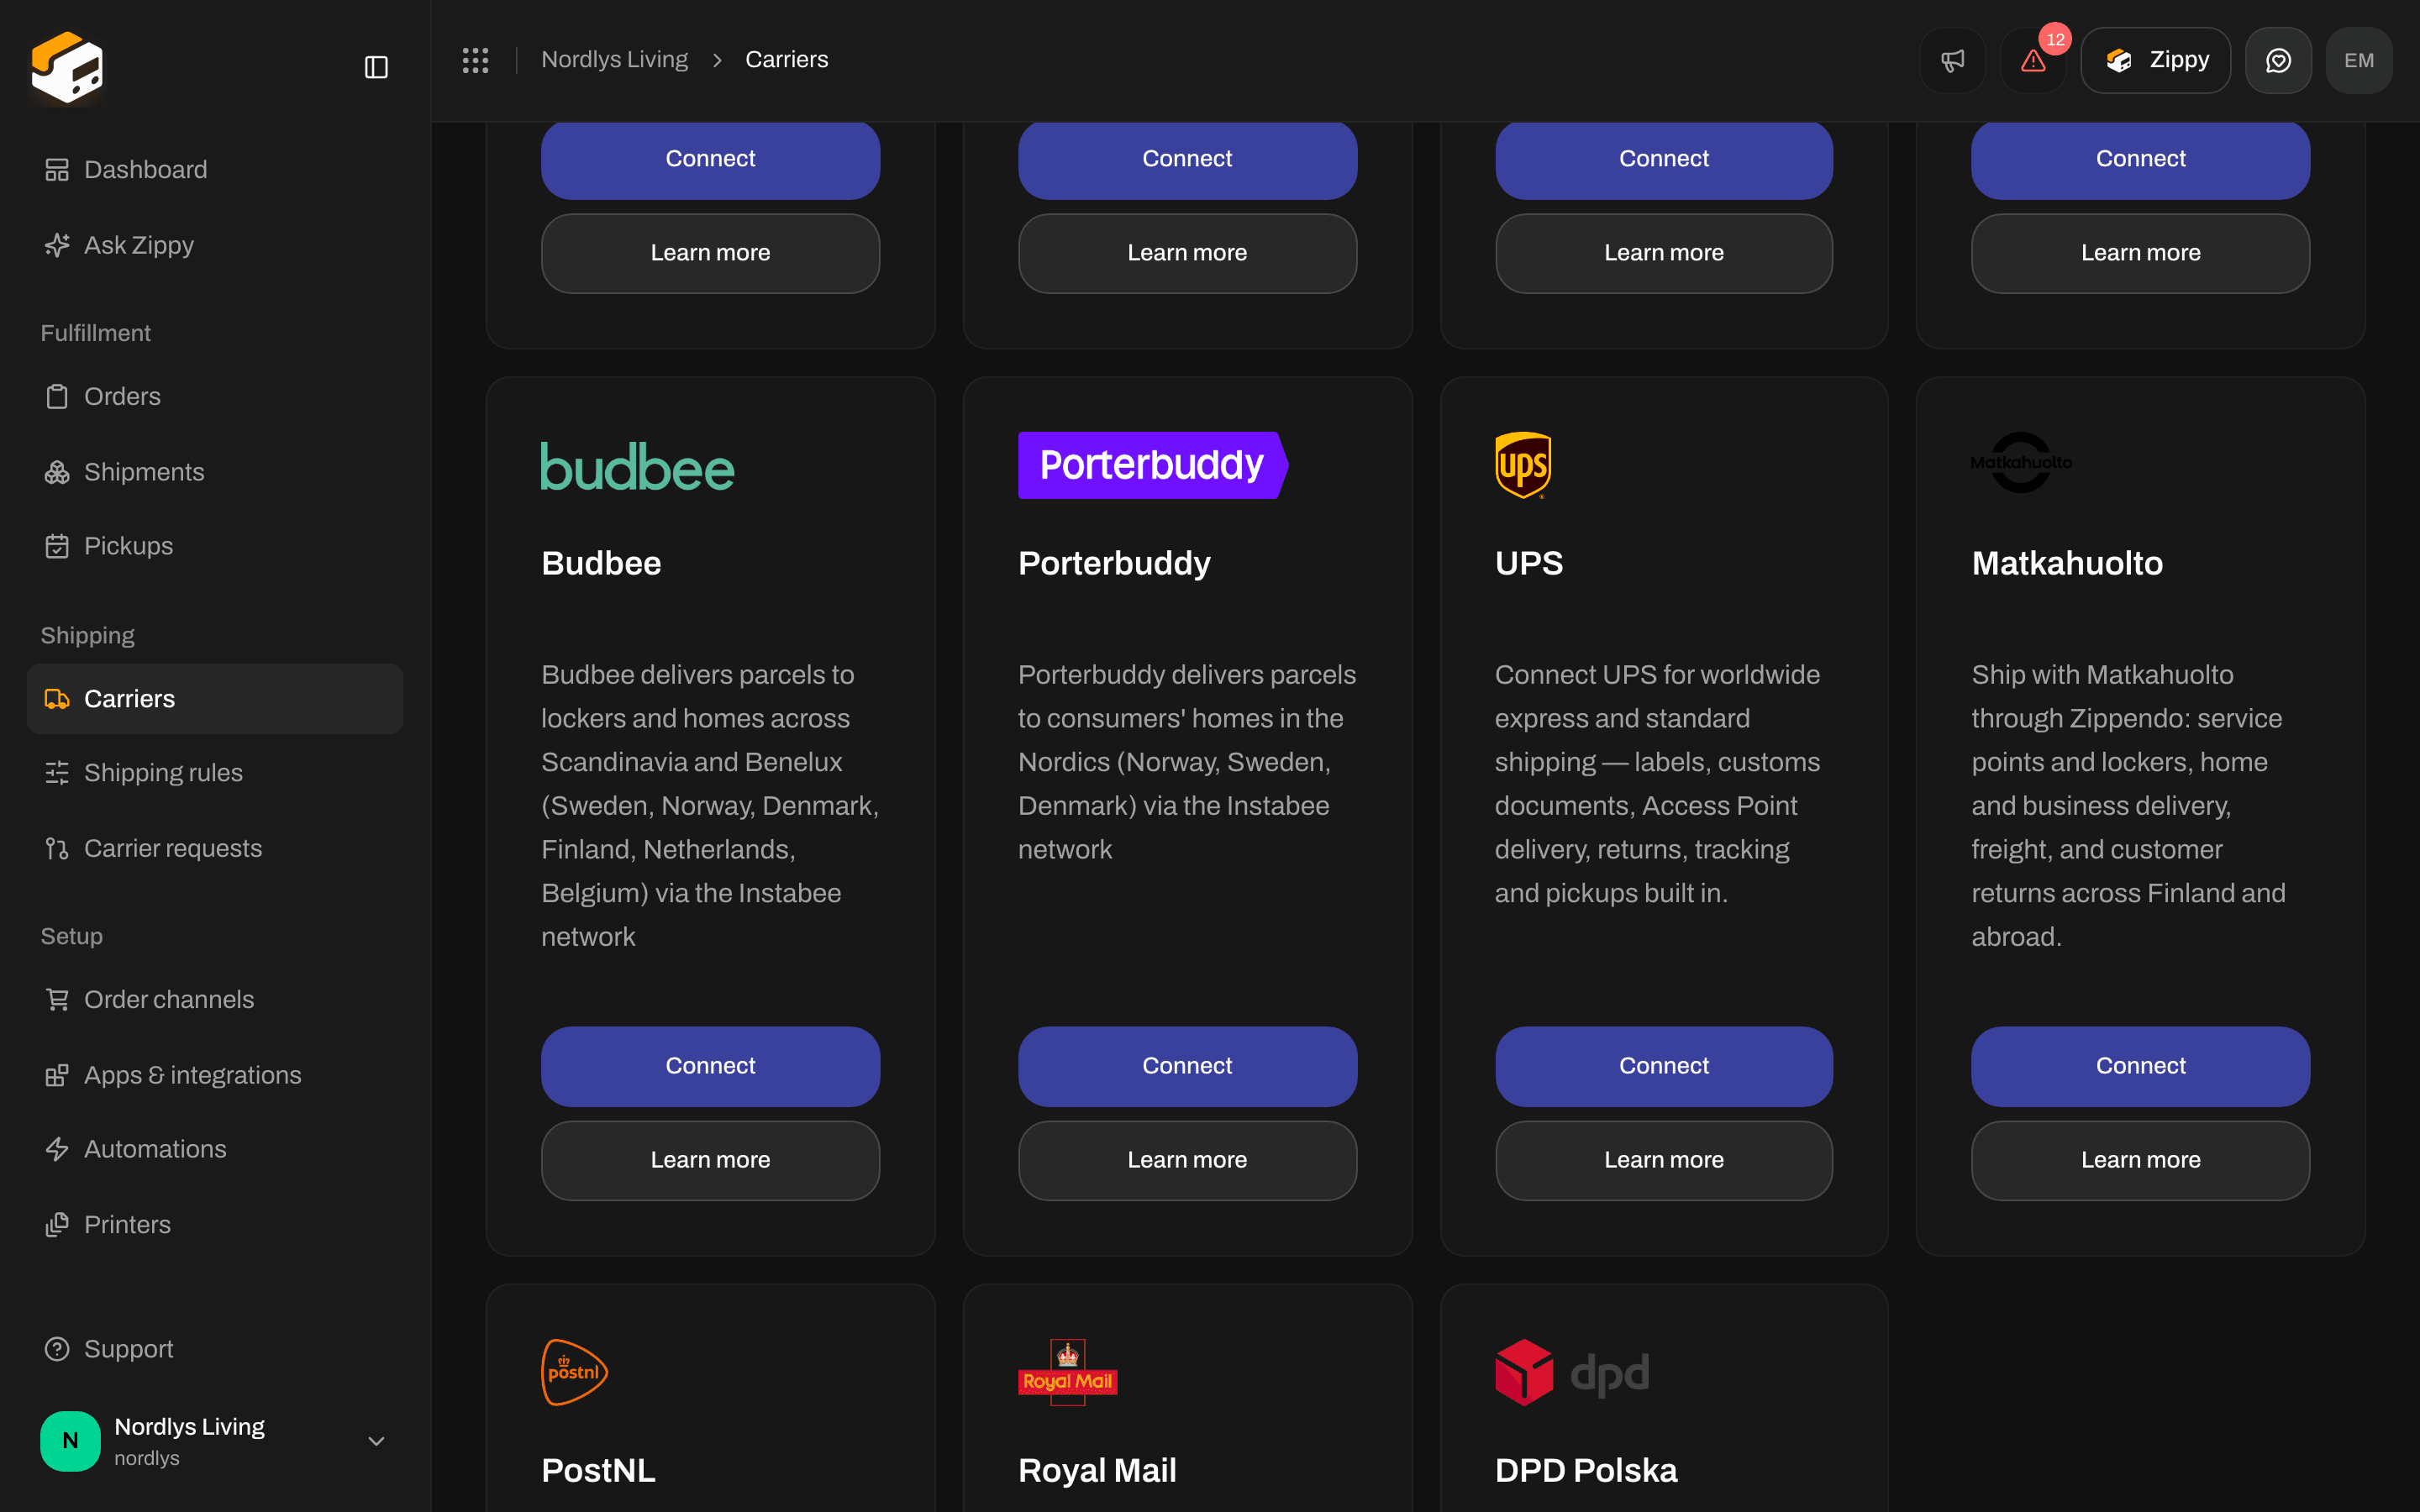
The UPS card on the All carriers tab
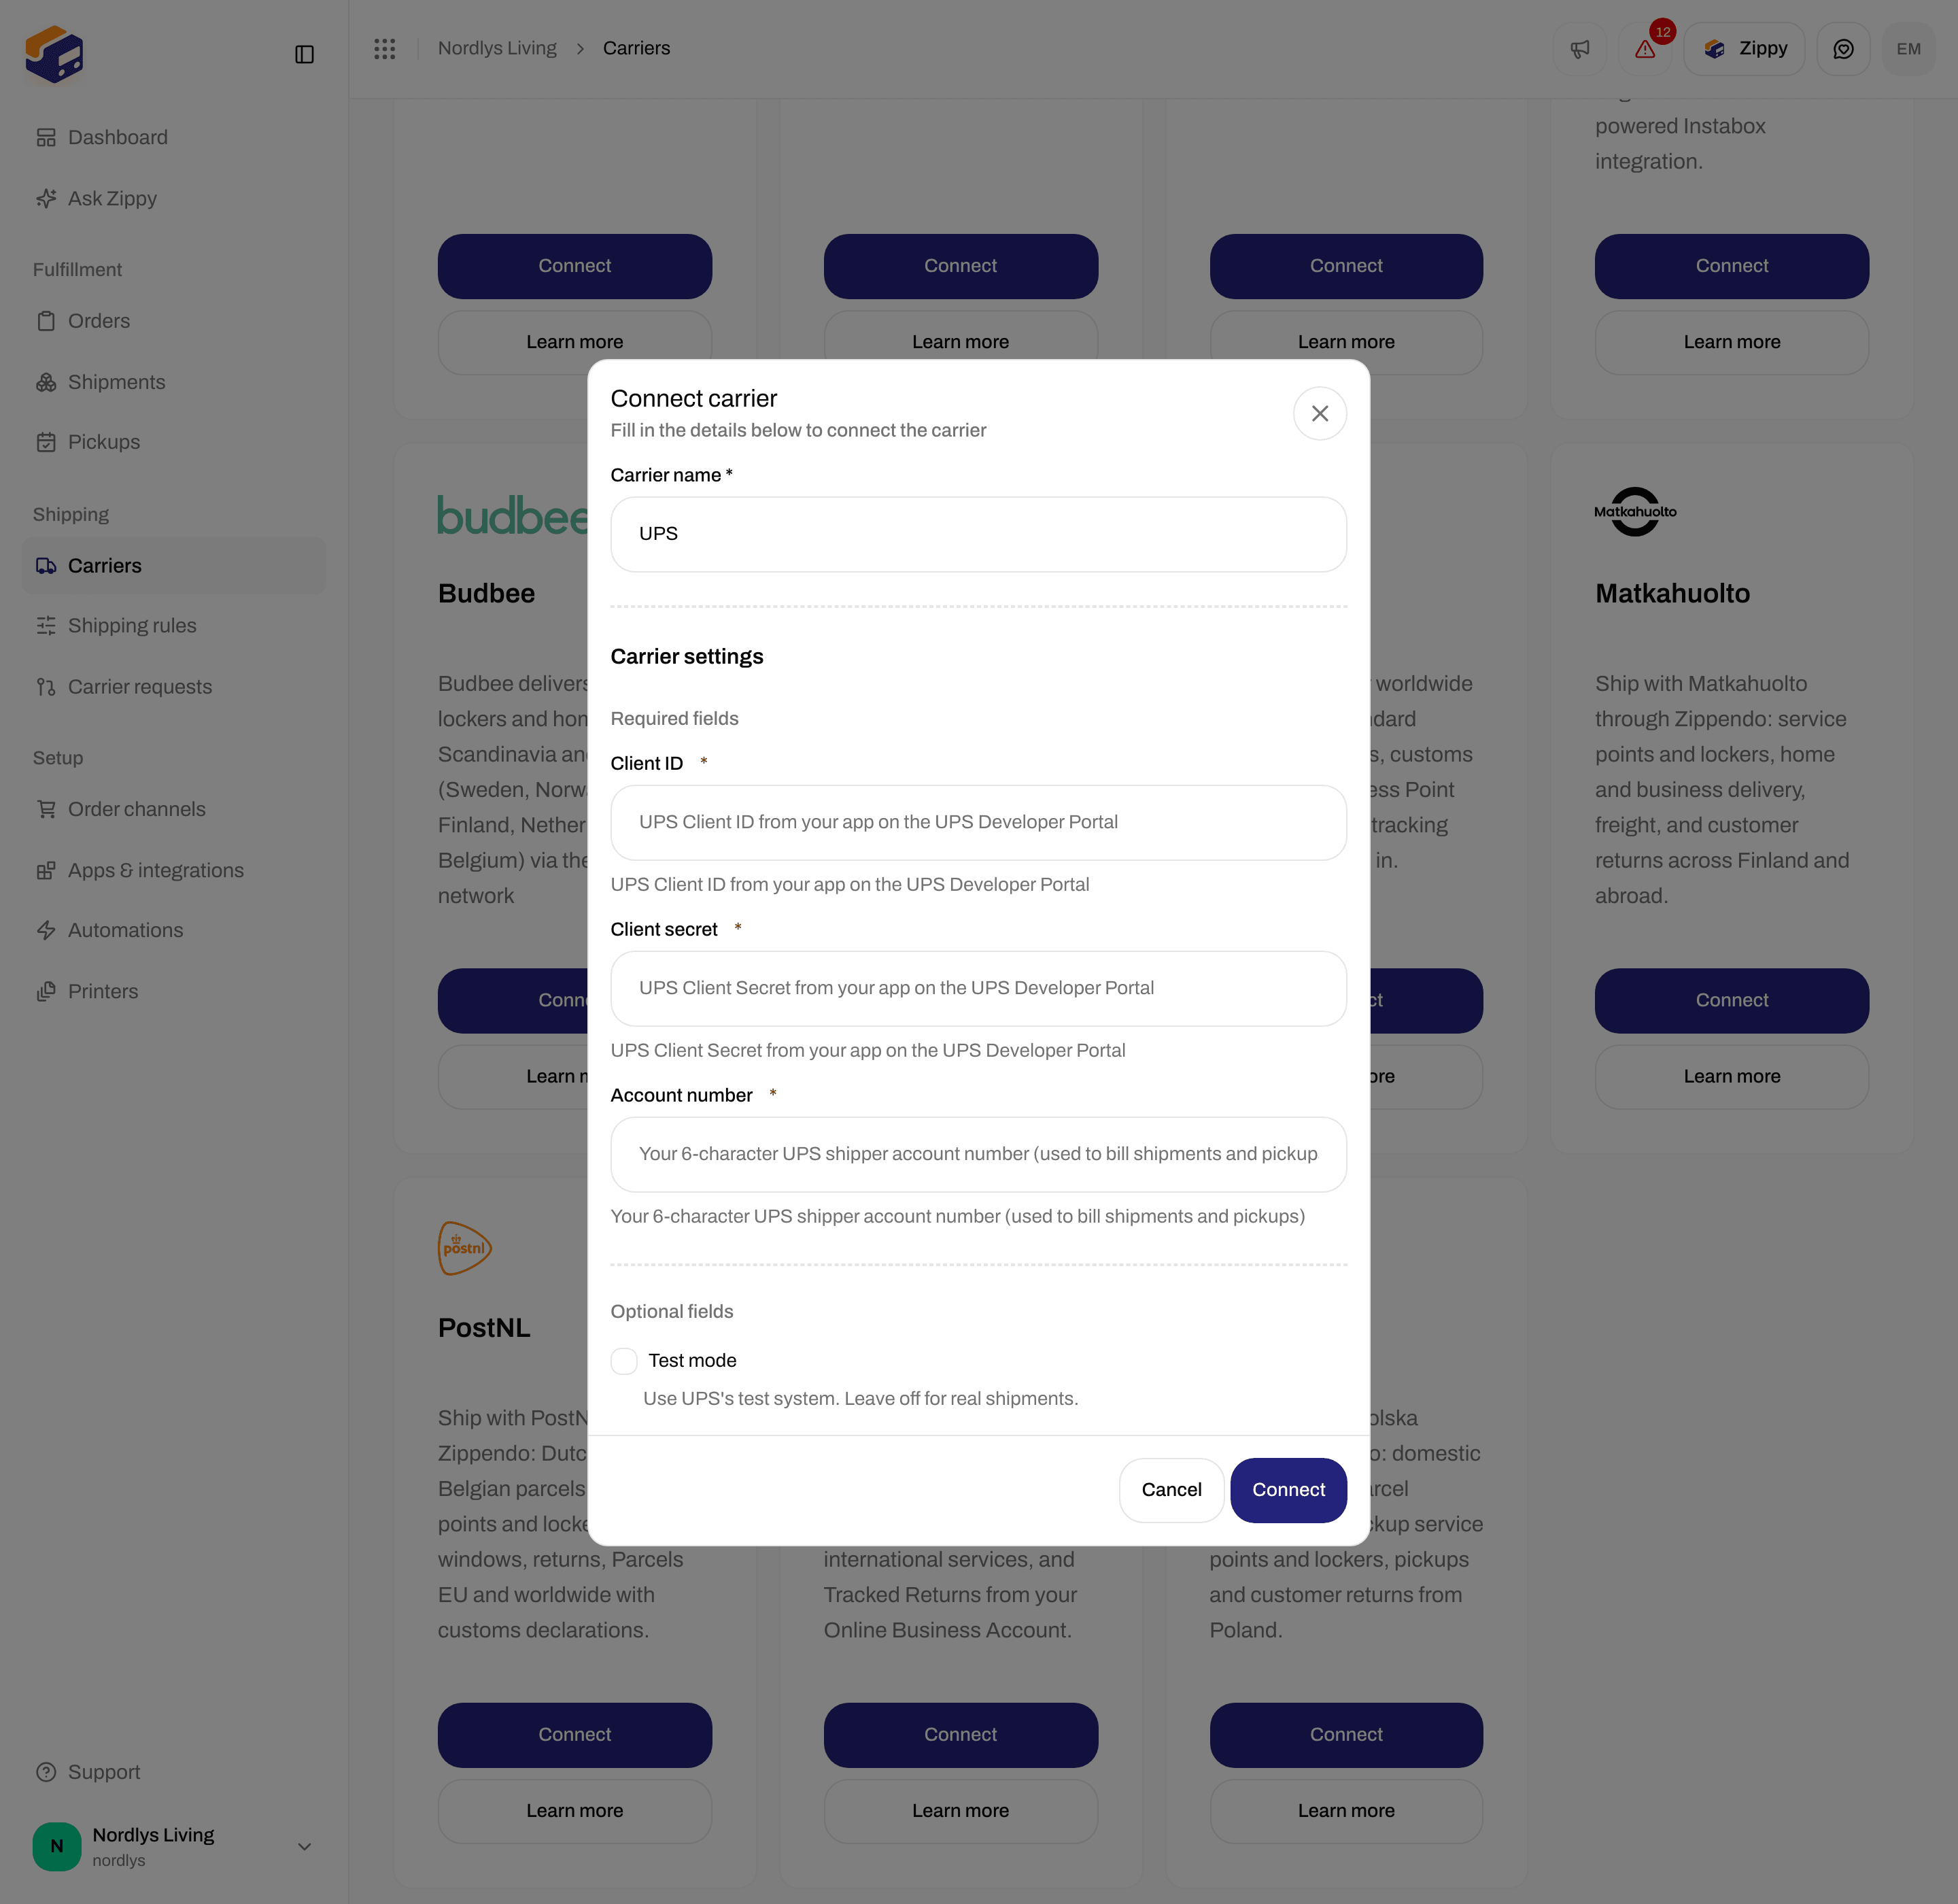
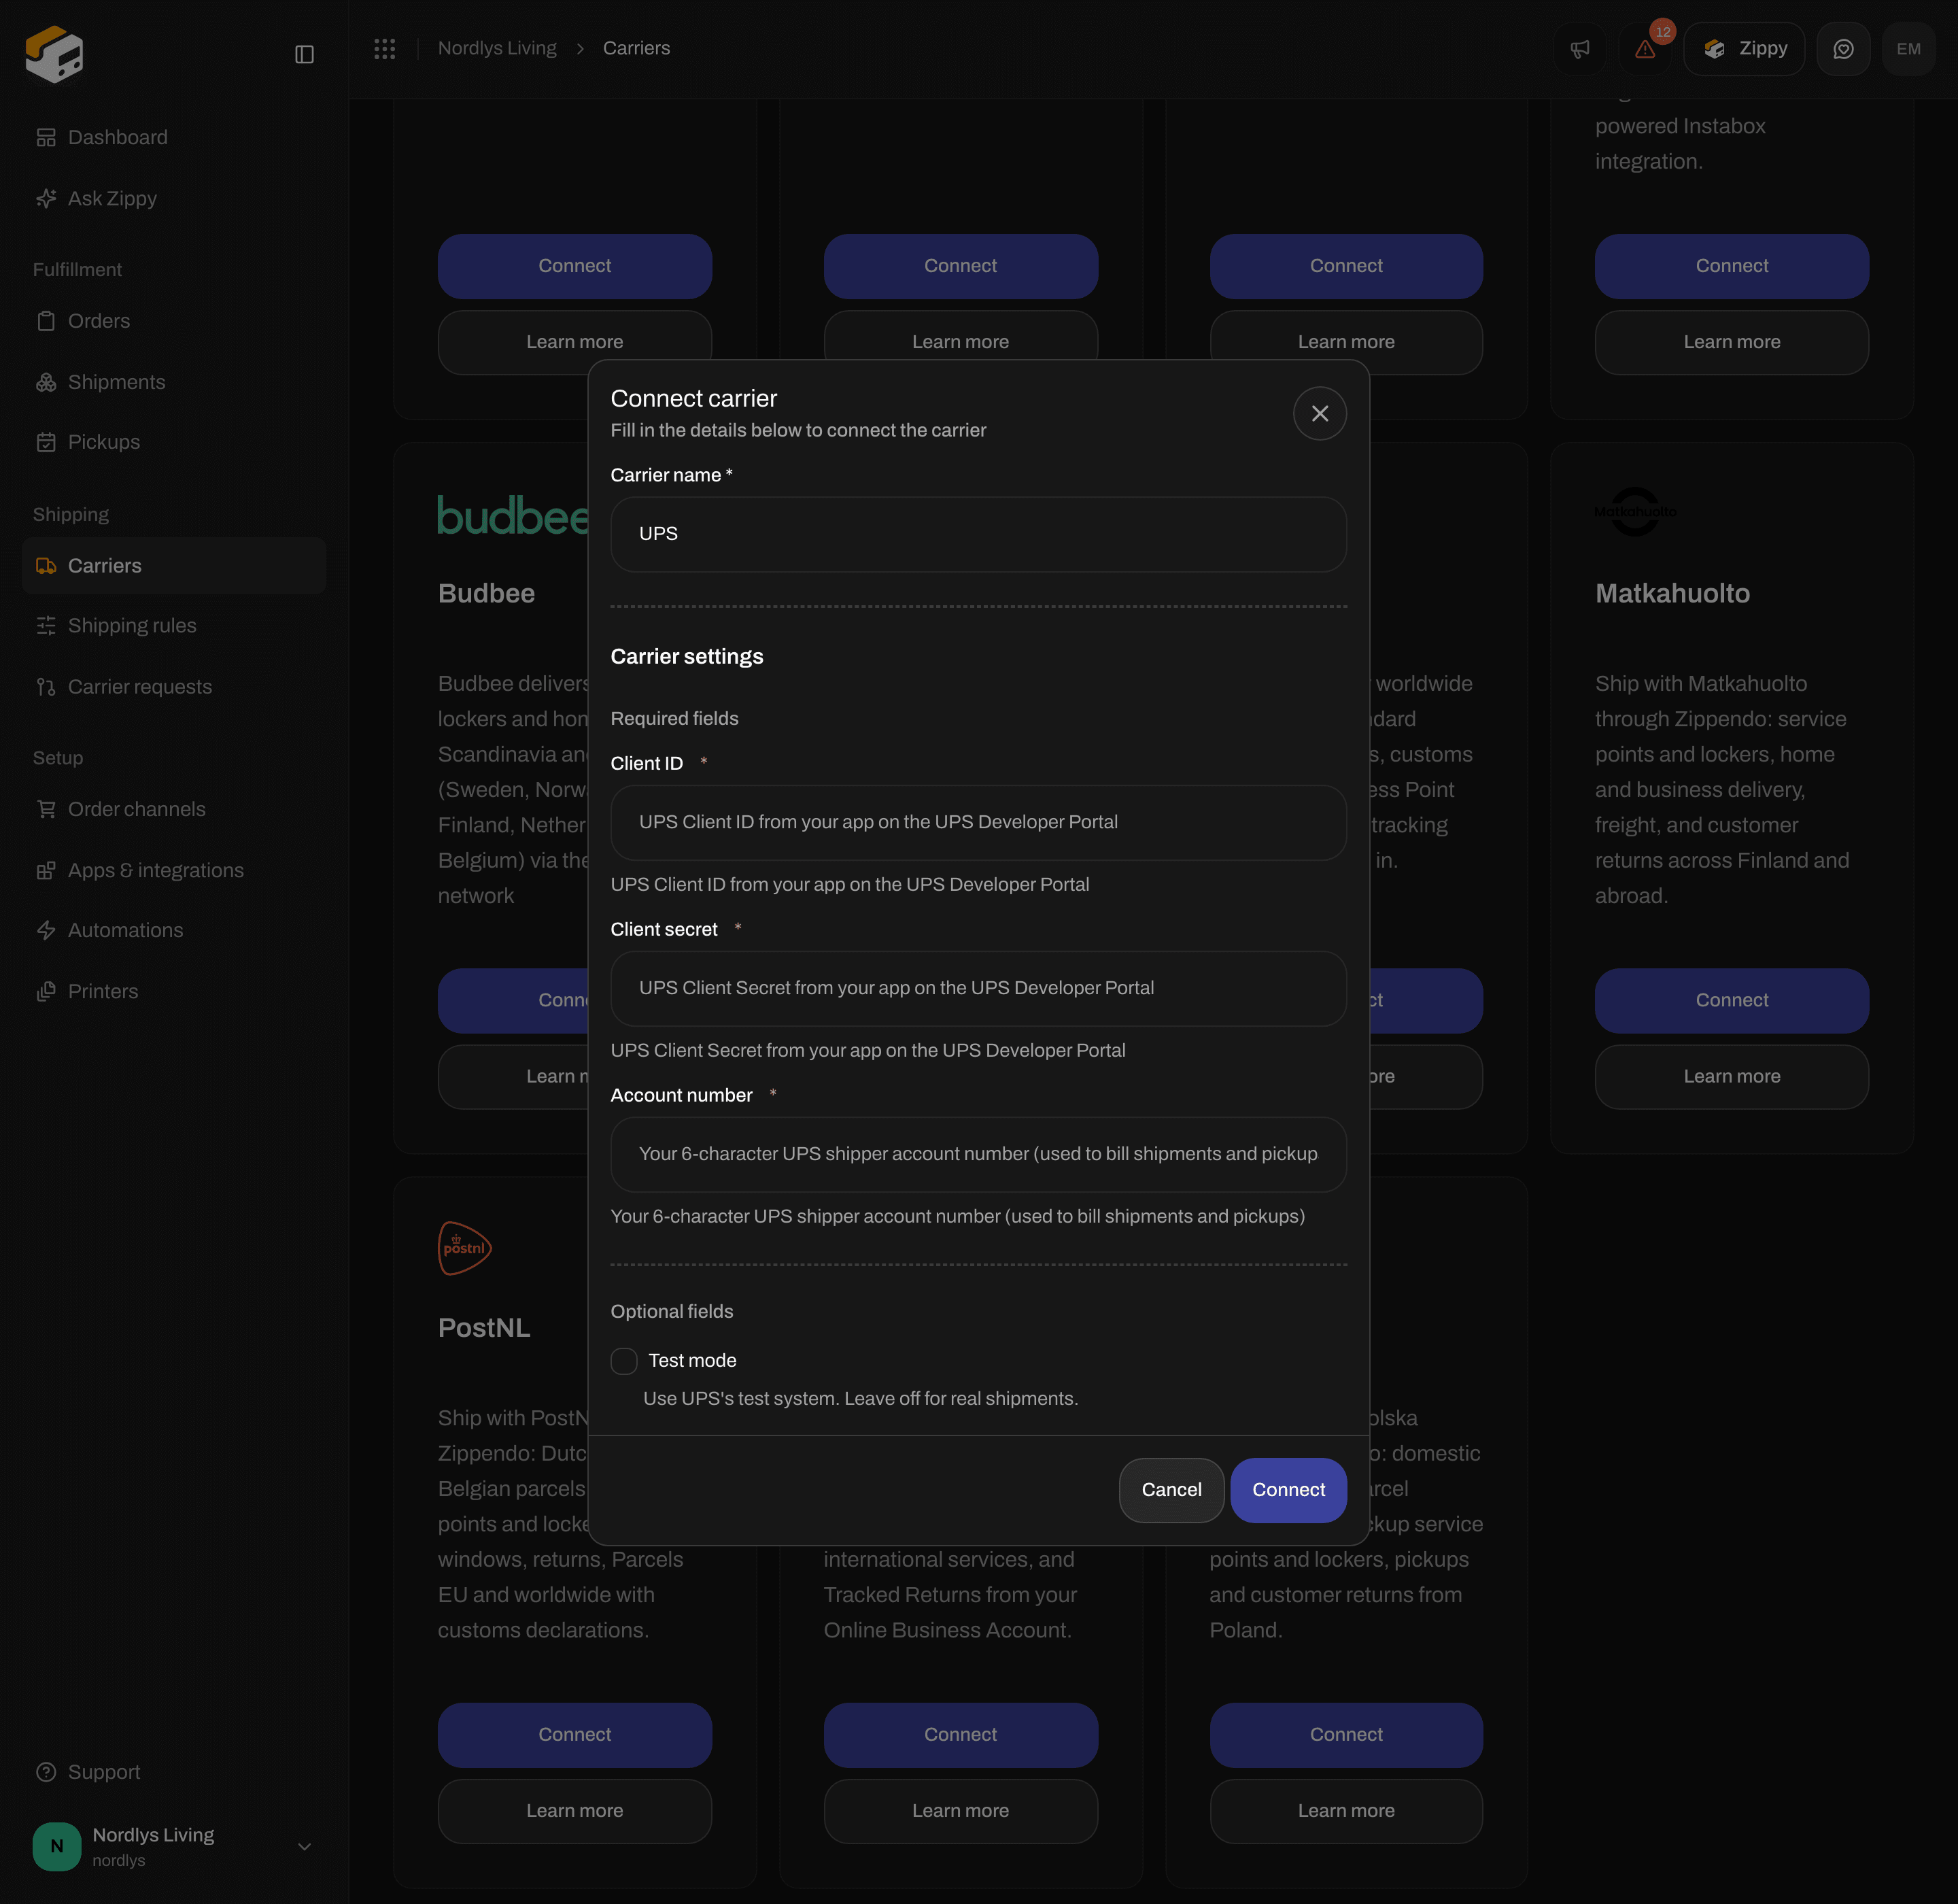
Enter your Client ID, Client secret and Account number
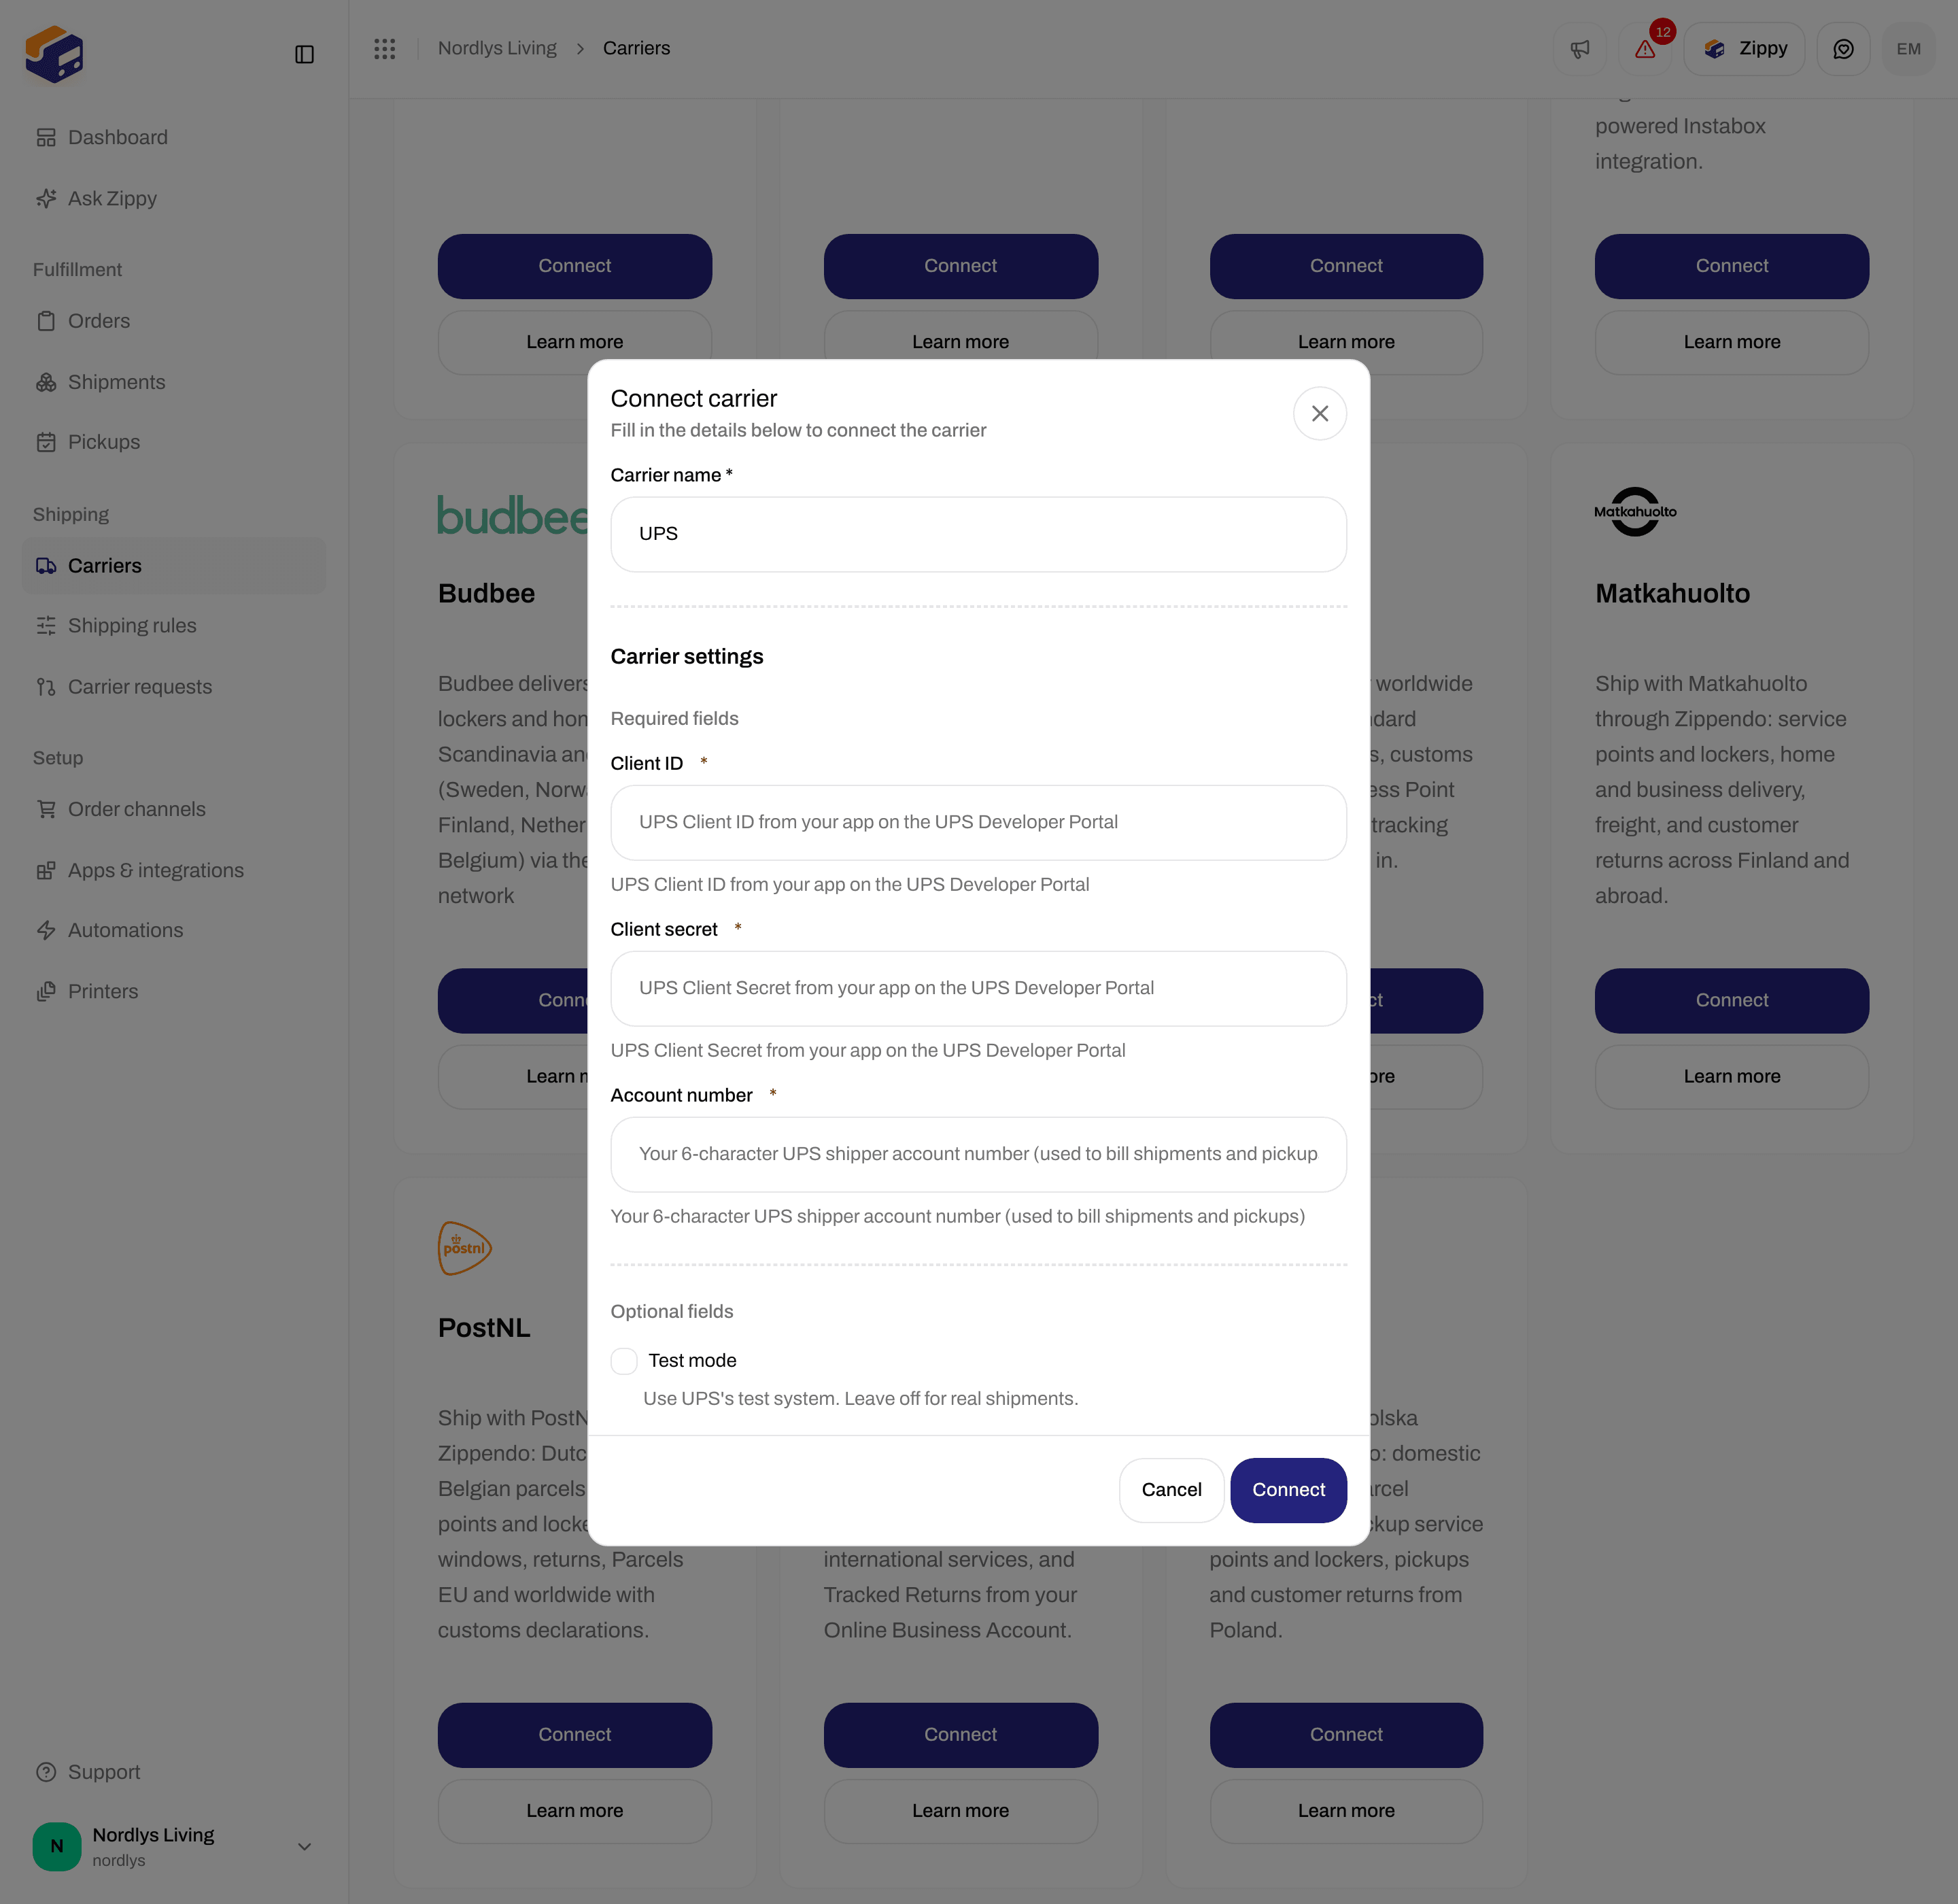
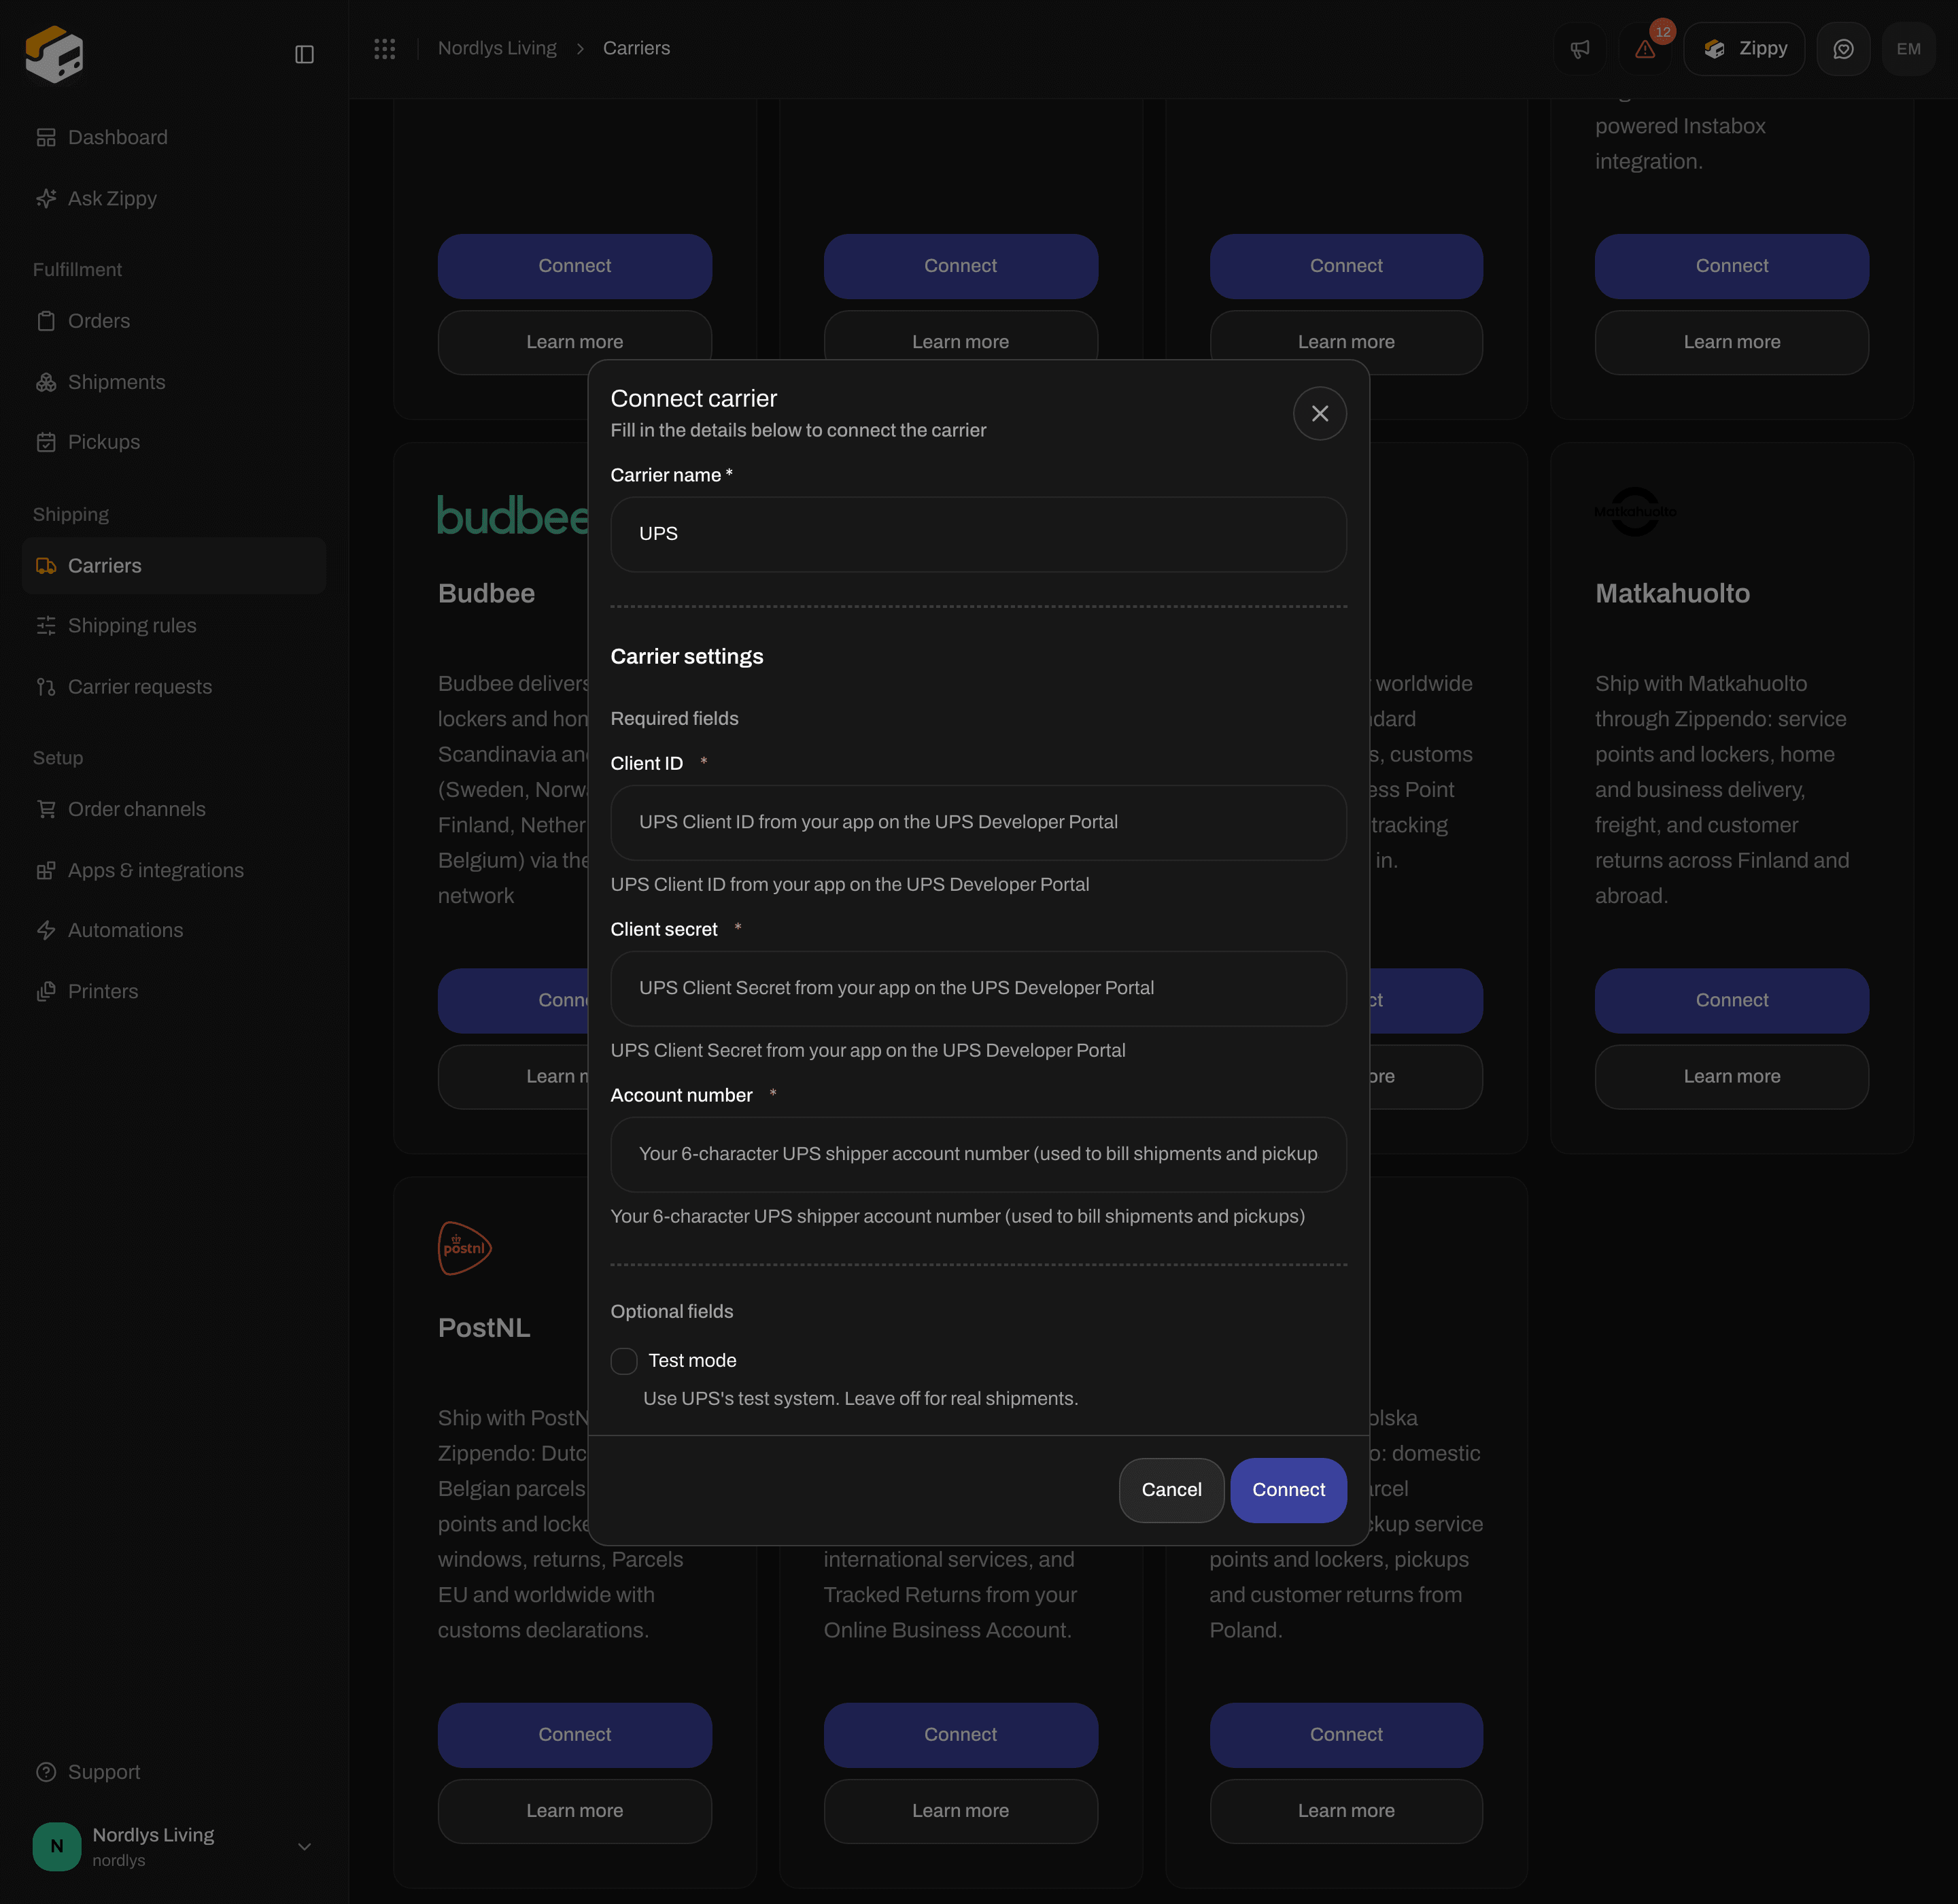
Test mode is under Optional fields
Fields on the form
Connect does nothing until Carrier name, Client ID, Client secret and Account number have a value.
Test mode sends your shipments to UPS’s test system, so no real shipments are created. You use the same Client ID and Client secret in both. Leave it off for real shipments. See Test mode.
After you connect
The carrier appears on My carriers with a Connected badge. You choose the product on each shipment or in a shipping rule, not on this form. See Carrier products and services. Products you send with include UPS Standard, UPS Express 12:00, UPS Worldwide Express, UPS Worldwide Express Plus, UPS Worldwide Saver, UPS Worldwide Expedited, UPS Worldwide Economy DDU, UPS Worldwide Economy DDP, UPS Worldwide Express Freight, UPS Worldwide Express Freight Midday and UPS Access Point Economy. For shipments within the United States there are also UPS Ground, UPS 3 Day Select, UPS 2nd Day Air, UPS 2nd Day Air A.M., UPS Next Day Air, UPS Next Day Air Saver and UPS Next Day Air Early. Return products: most products have a Return version, such as UPS Standard Return. Services include Signature required, Adult signature required and, on some products, Saturday delivery. Return products offer Email return label to customer (no printed label). Extra choices under Extra details for the carrier include:- Label format: PNG (4x6) or ZPL (thermal) for a Zebra label printer.
- Billing: Bill shipper (my account), Bill receiver’s UPS account or Bill third party’s UPS account. When someone else pays, also fill in their Billing account number and the other billing fields.
Access Points (service points)
UPS calls its service points Access Points. UPS Access Point Economy always delivers to one. These products also come in an (Access Point) version: UPS Standard, UPS Ground, UPS 3 Day Select, UPS 2nd Day Air, UPS Next Day Air Saver, UPS Worldwide Express and UPS Worldwide Saver. Choose the Access Point on the shipment before you send. See Pick a service point and Service points.Pickups, tracking and customs
- UPS is not available under Pickups. See Schedule a pickup for the carriers that are.
- Zippendo fetches tracking updates from UPS every hour. There is nothing to set up. See Carrier tracking webhooks.
- For international shipments, UPS creates the customs documents and commercial invoice itself and returns them with the label, so Zippendo does not add its own. See Customs and documents.
Change or remove the connection
To change it, open Carriers → My carriers and click Edit carrier on the card. The Edit carrier page has two sections:- General: Carrier name, and Brand if your organization has brands.
- Carrier settings: Client ID, Client secret, Account number and Test mode.