> ## Documentation Index
> Fetch the complete documentation index at: https://www.zippendo.com/docs/llms.txt
> Use this file to discover all available pages before exploring further.
# Settings, team, and brands
> Manage organization settings, invite your team, and set up brands.
**Settings** is where you manage the organization itself — name and customs IDs, who is on the team, brands, the subscription, API tokens, and webhooks. Printers are **not** here; they have their own item in the sidebar.
This walkthrough uses the client. Field-level reference lives under [Settings](/docs/settings/overview).
## Open Settings
Settings is not a top-level sidebar item. Open the **organization switcher** at the bottom of the sidebar (the current org name), then click **Manage**. That goes to `/settings` → **Organization**. **Invite members** jumps straight to **Team**.
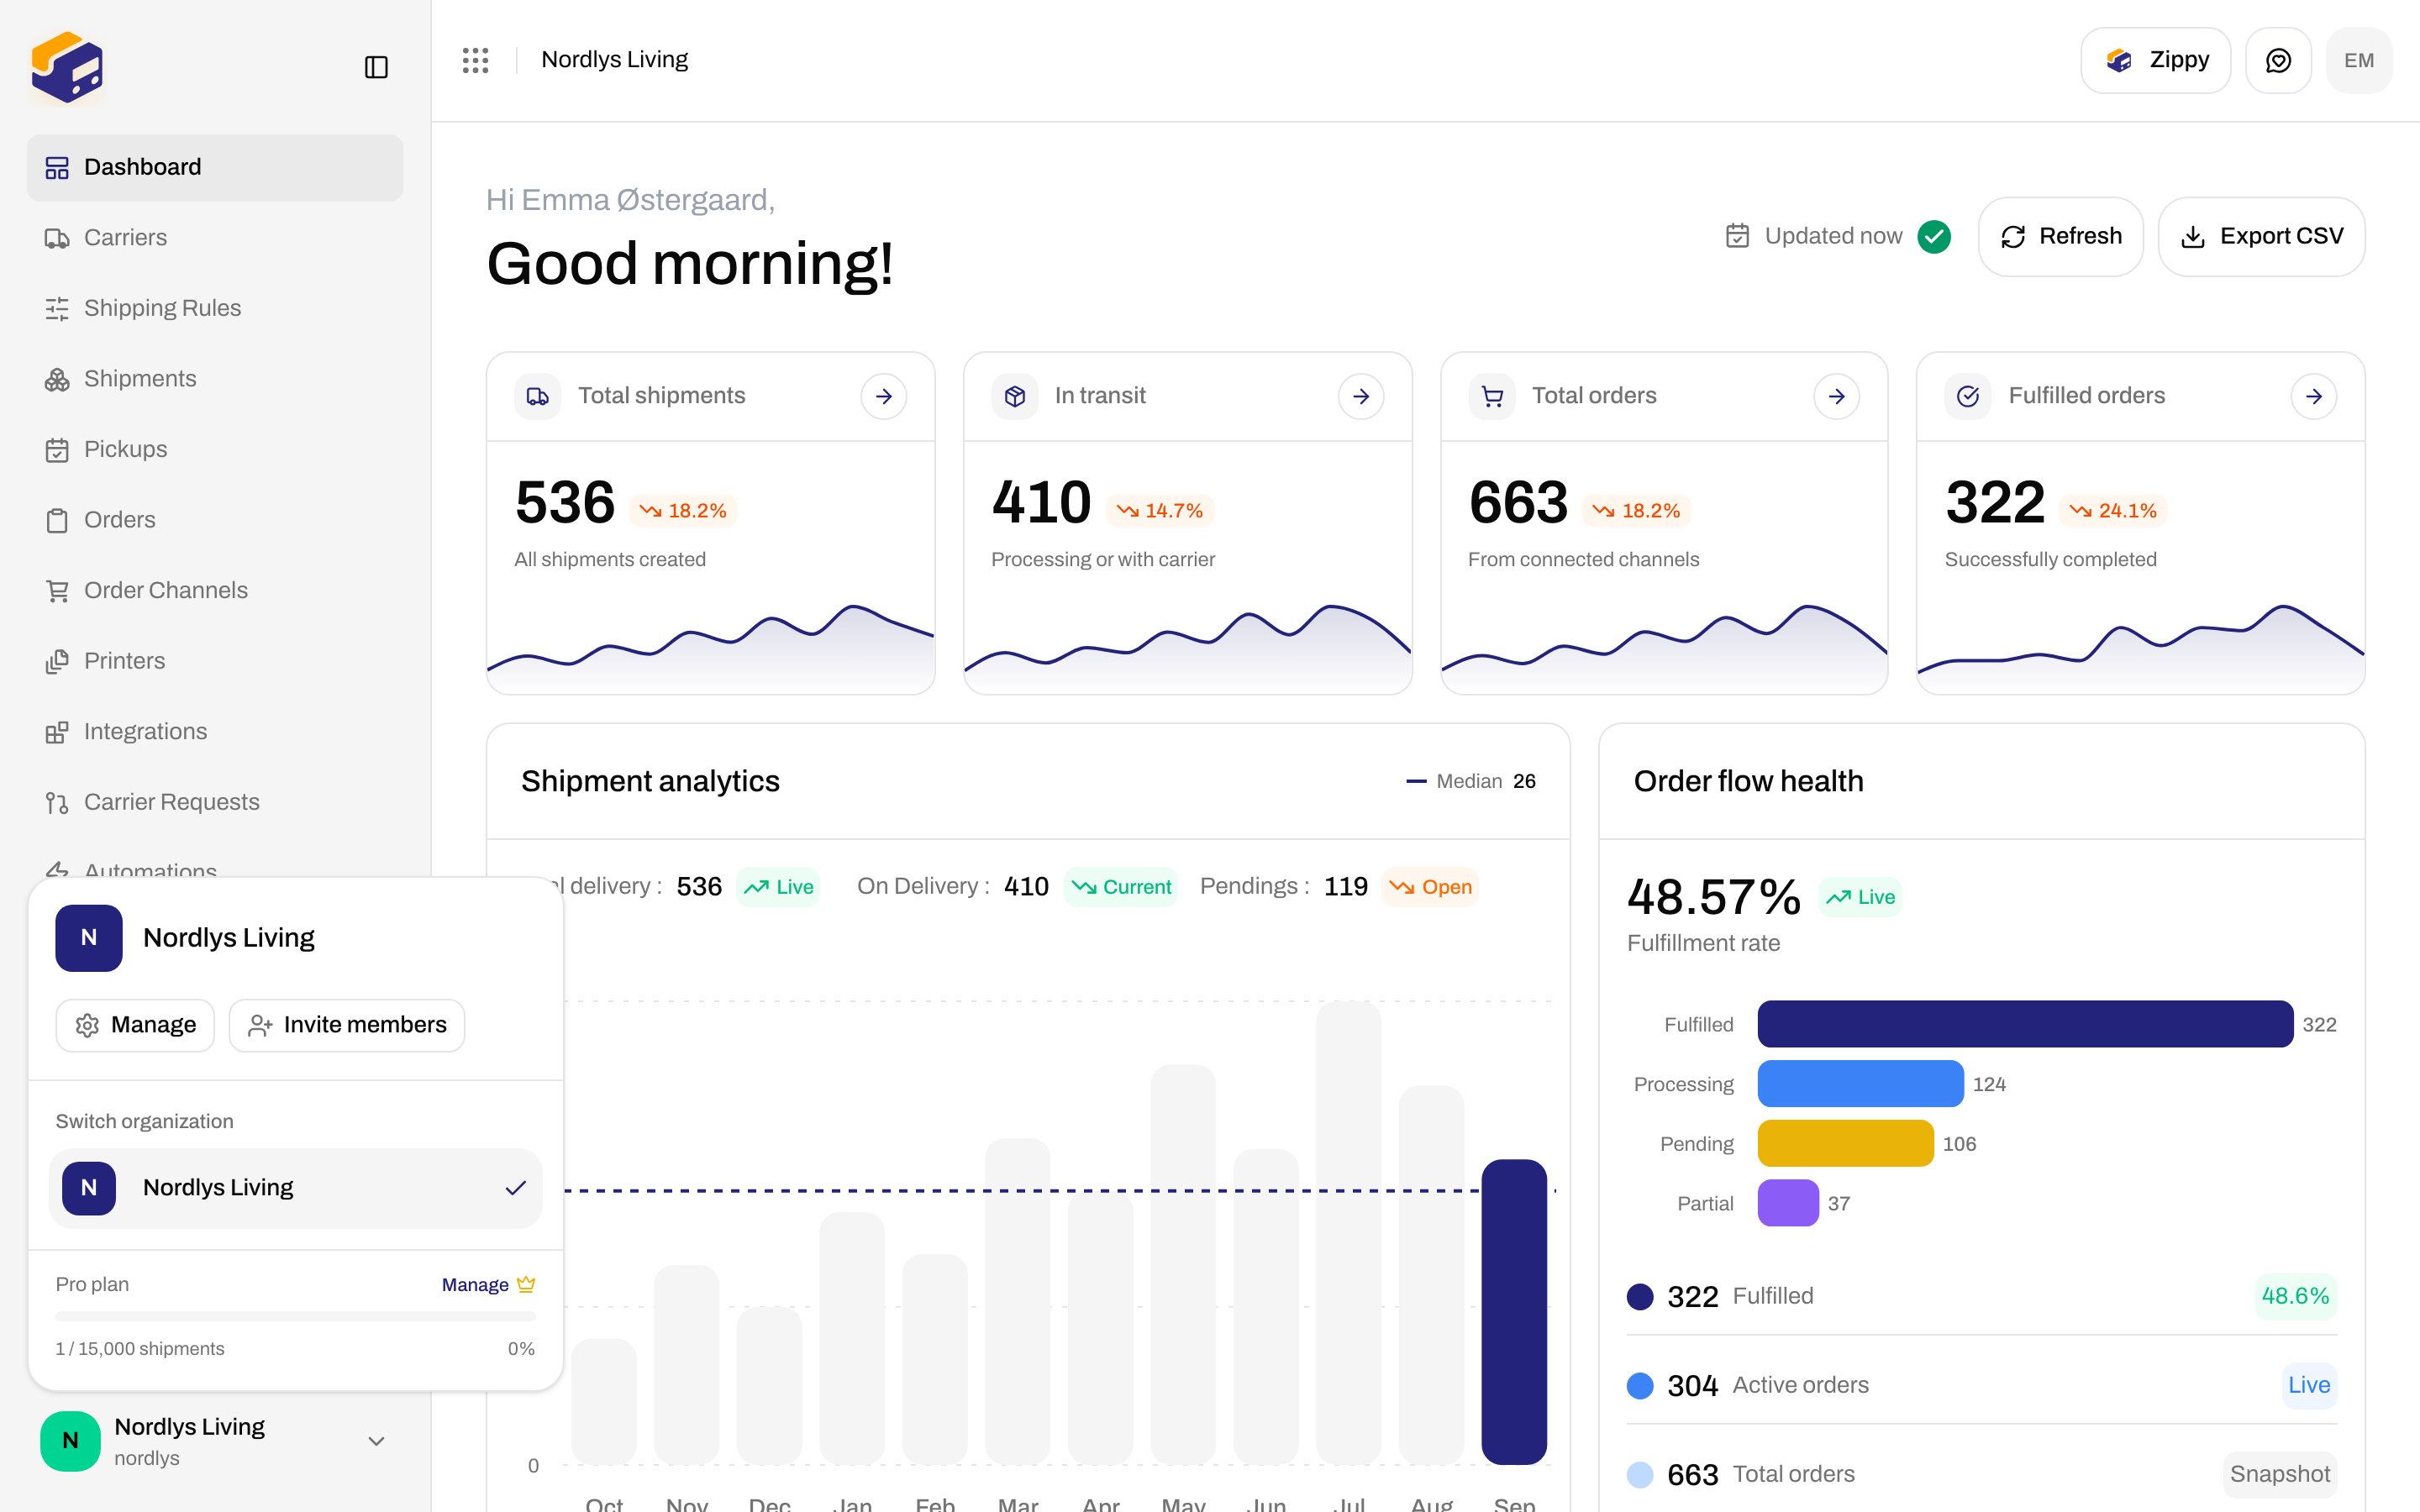
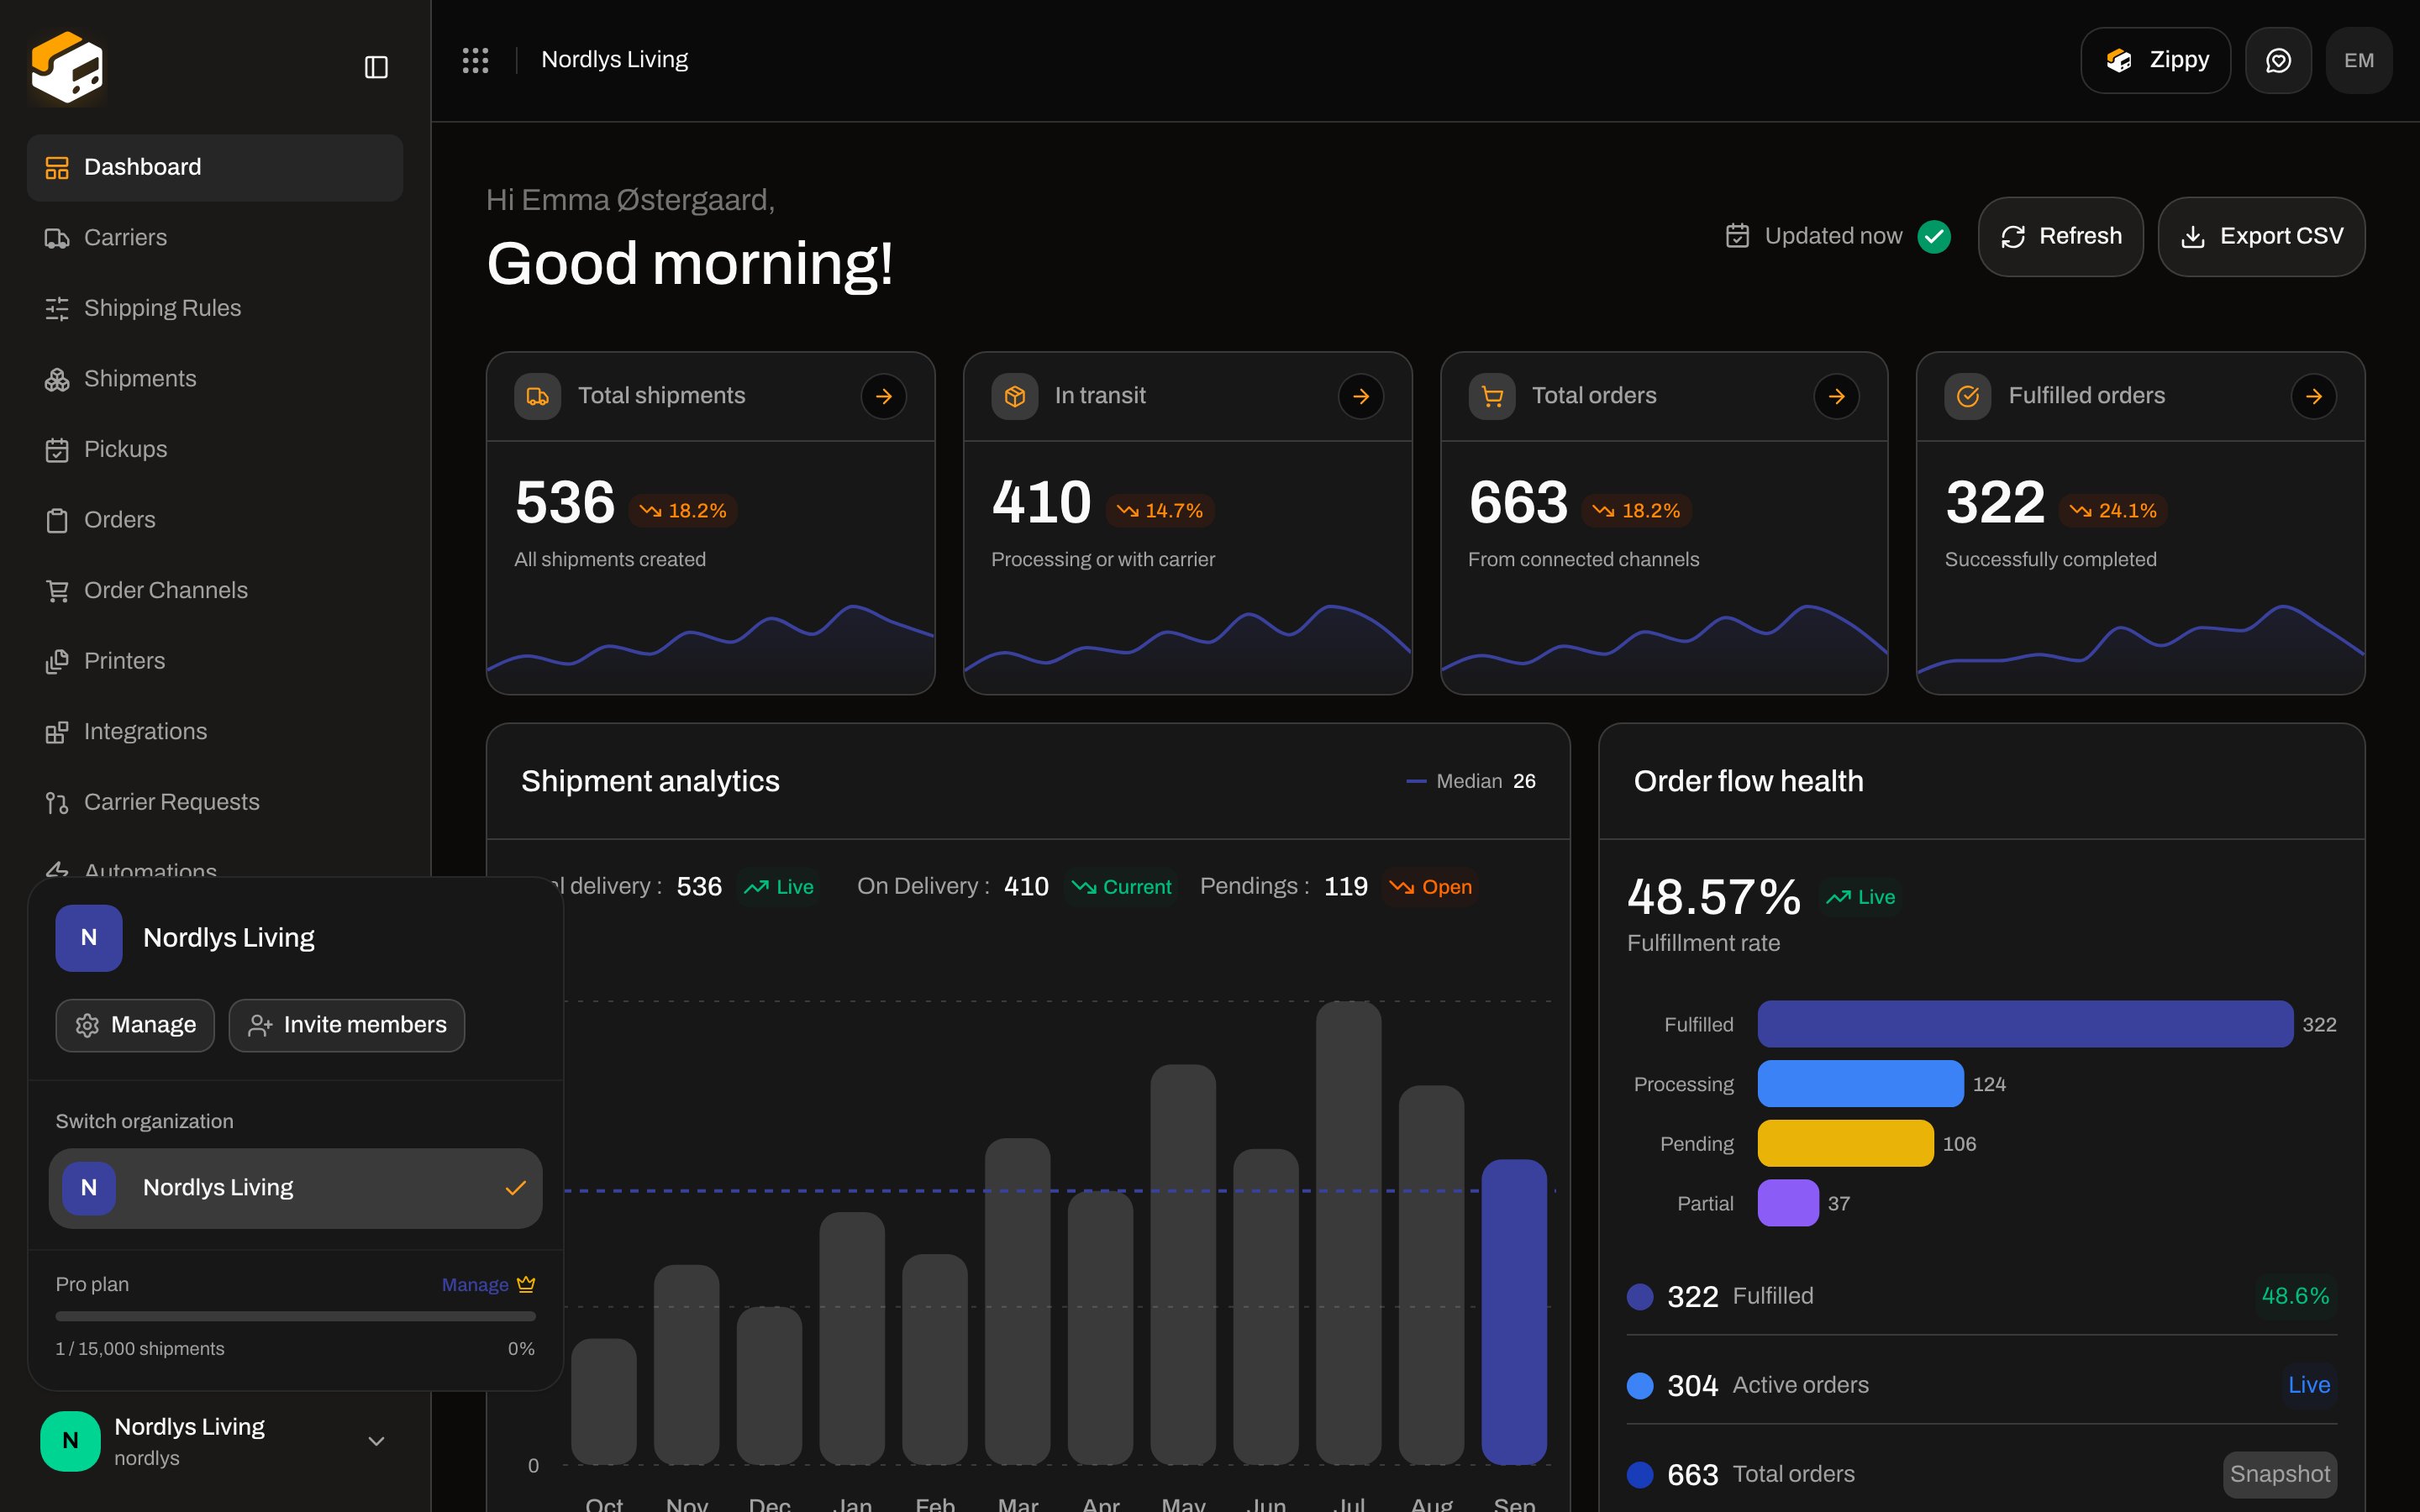 The same menu lists every organization you belong to under **Switch organization**. The footer shows the current plan (here **Pro**) and shipment usage for the period. The small **Manage** next to the plan also opens Settings. See [Switching organizations](/docs/getting-started/switching-organizations).
If the organization has brands, the switcher also shows **Brands**, **All brands**, and **Manage brands**. Those entries appear only after you create at least one brand.
## Settings tabs
The page title is **Settings**. Tabs, in order:
| Tab | What it holds |
| ----------------- | ------------------------------------------------------------------ |
| **Organization** | Name, description, customs IDs, branding, data export, danger zone |
| **Team** | Custom roles, invitations, members |
| **Addresses** | Sender, pickup, and return addresses |
| **Pricing Plans** | Plan, usage, overage, add-ons, billing portal |
| **API Settings** | API tokens |
| **Webhooks** | Outbound webhook endpoints |
| **Brands** | Sub-accounts (Pro and Enterprise) |
| **Import** | Import a setup from another platform |
Shipping rules and printers are **not** Settings tabs. Rules are **Shipping Rules** in the sidebar; printers are **Printers**.
## Organization
**Organization Settings** is the first tab. Change **Organization Name** (shown in the switcher and on dashboards) and an optional **Description**.
The same menu lists every organization you belong to under **Switch organization**. The footer shows the current plan (here **Pro**) and shipment usage for the period. The small **Manage** next to the plan also opens Settings. See [Switching organizations](/docs/getting-started/switching-organizations).
If the organization has brands, the switcher also shows **Brands**, **All brands**, and **Manage brands**. Those entries appear only after you create at least one brand.
## Settings tabs
The page title is **Settings**. Tabs, in order:
| Tab | What it holds |
| ----------------- | ------------------------------------------------------------------ |
| **Organization** | Name, description, customs IDs, branding, data export, danger zone |
| **Team** | Custom roles, invitations, members |
| **Addresses** | Sender, pickup, and return addresses |
| **Pricing Plans** | Plan, usage, overage, add-ons, billing portal |
| **API Settings** | API tokens |
| **Webhooks** | Outbound webhook endpoints |
| **Brands** | Sub-accounts (Pro and Enterprise) |
| **Import** | Import a setup from another platform |
Shipping rules and printers are **not** Settings tabs. Rules are **Shipping Rules** in the sidebar; printers are **Printers**.
## Organization
**Organization Settings** is the first tab. Change **Organization Name** (shown in the switcher and on dashboards) and an optional **Description**.
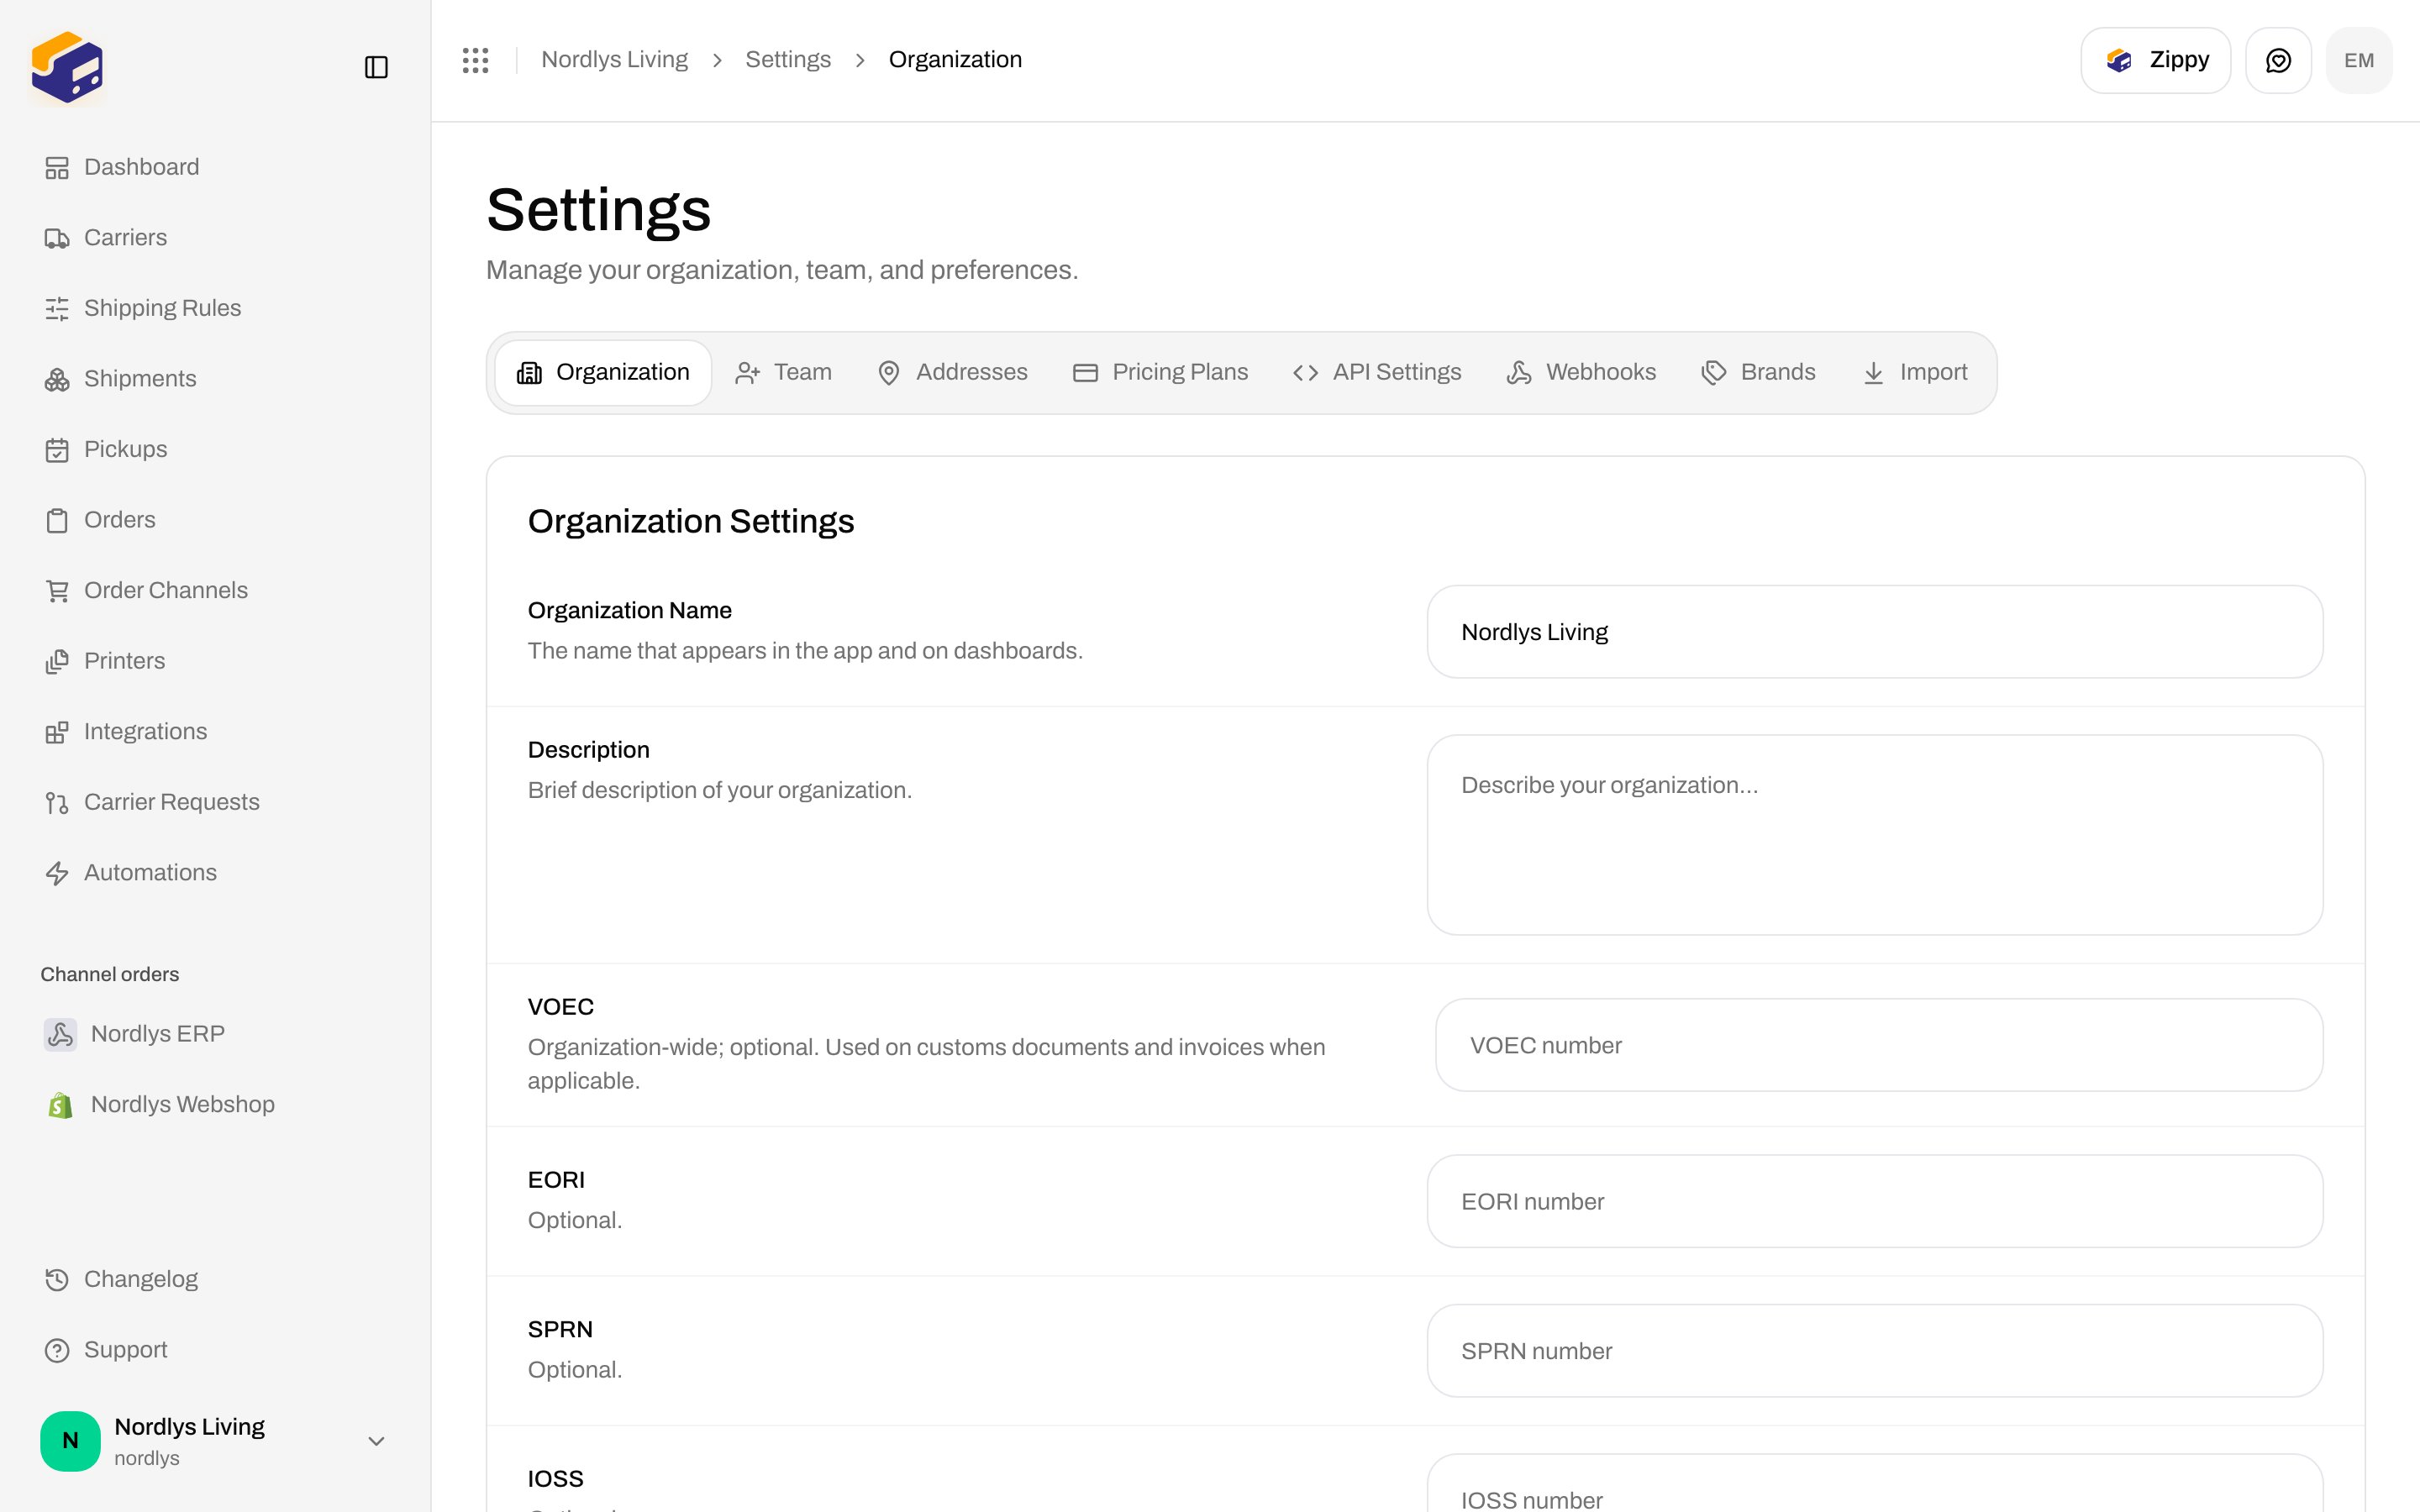
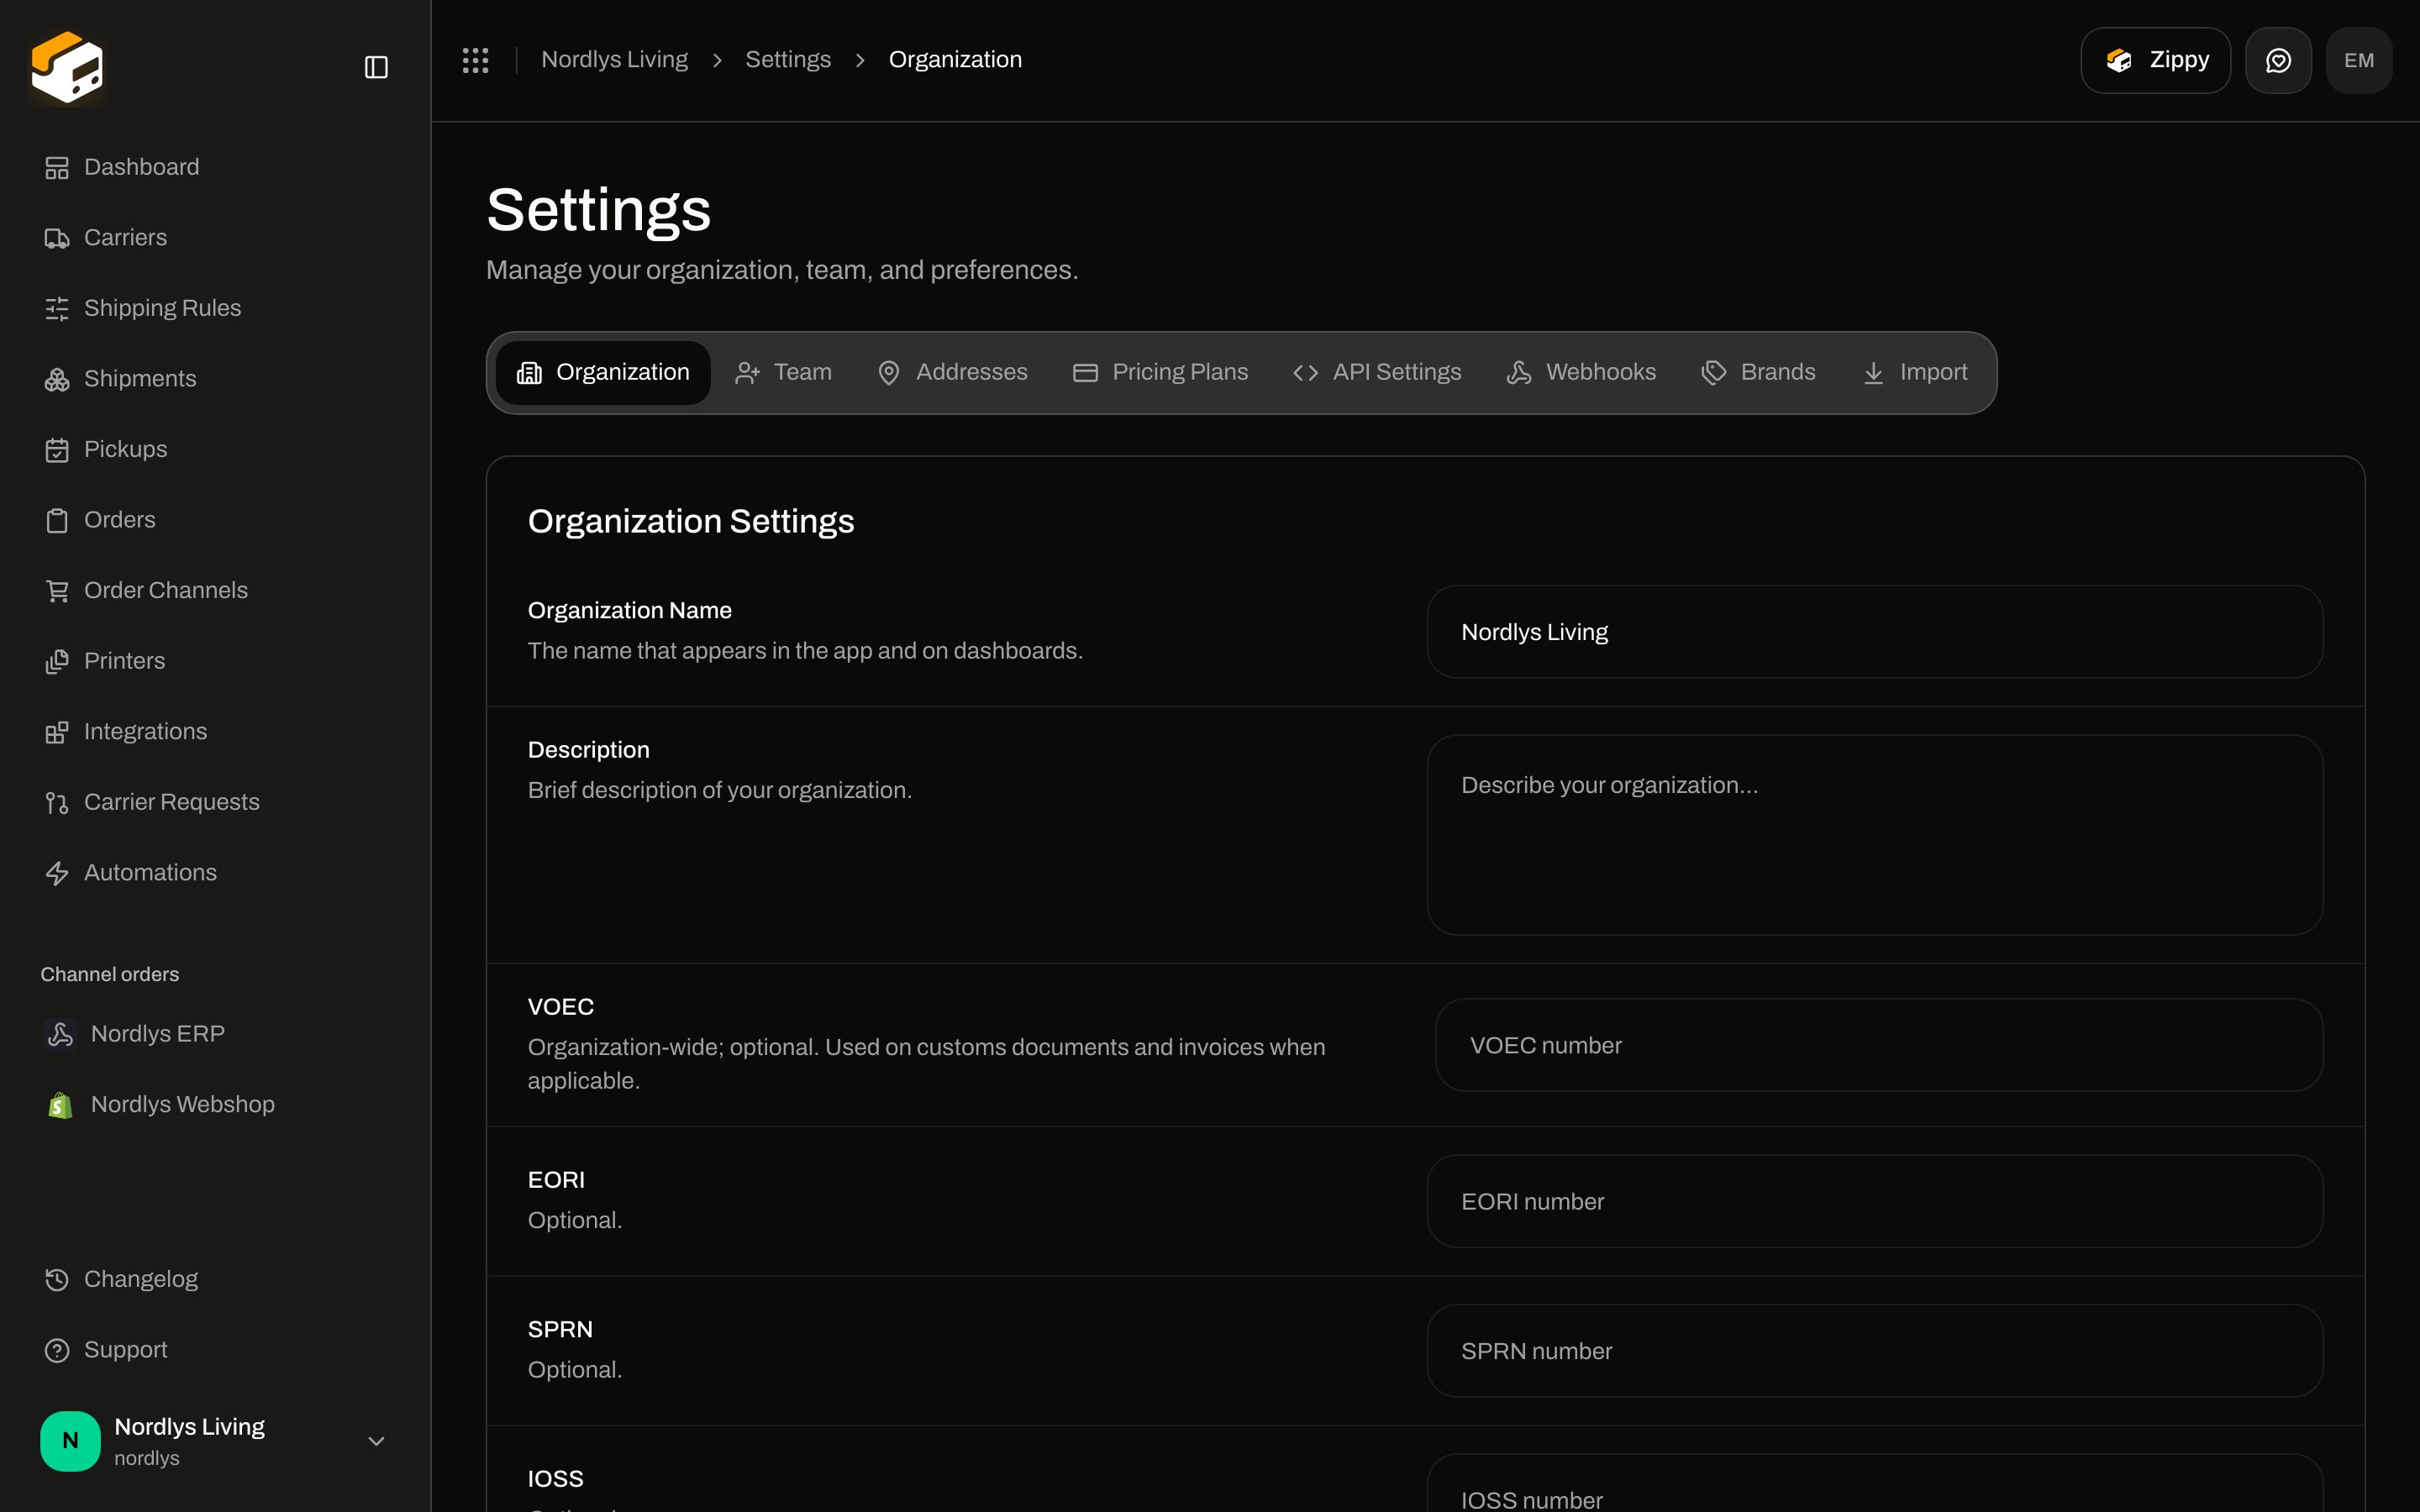 Optional customs identifiers, used on documents and bookings when they apply:
* **VOEC**
* **EORI**
* **SPRN**
* **IOSS**
* **FDA**
* **DUNS**
Scroll further for **Branding** (logo, **Primary color**, **Secondary color** — plan-gated) and **Data export**. Branding tints packing slips and invoices. Export downloads company and user details, shipments, orders, and integration setup. Credentials are never included. Click **Request export**; Zippendo emails you when the archive is ready.
More on this tab: [Organization settings](/docs/settings/organization).
## Team
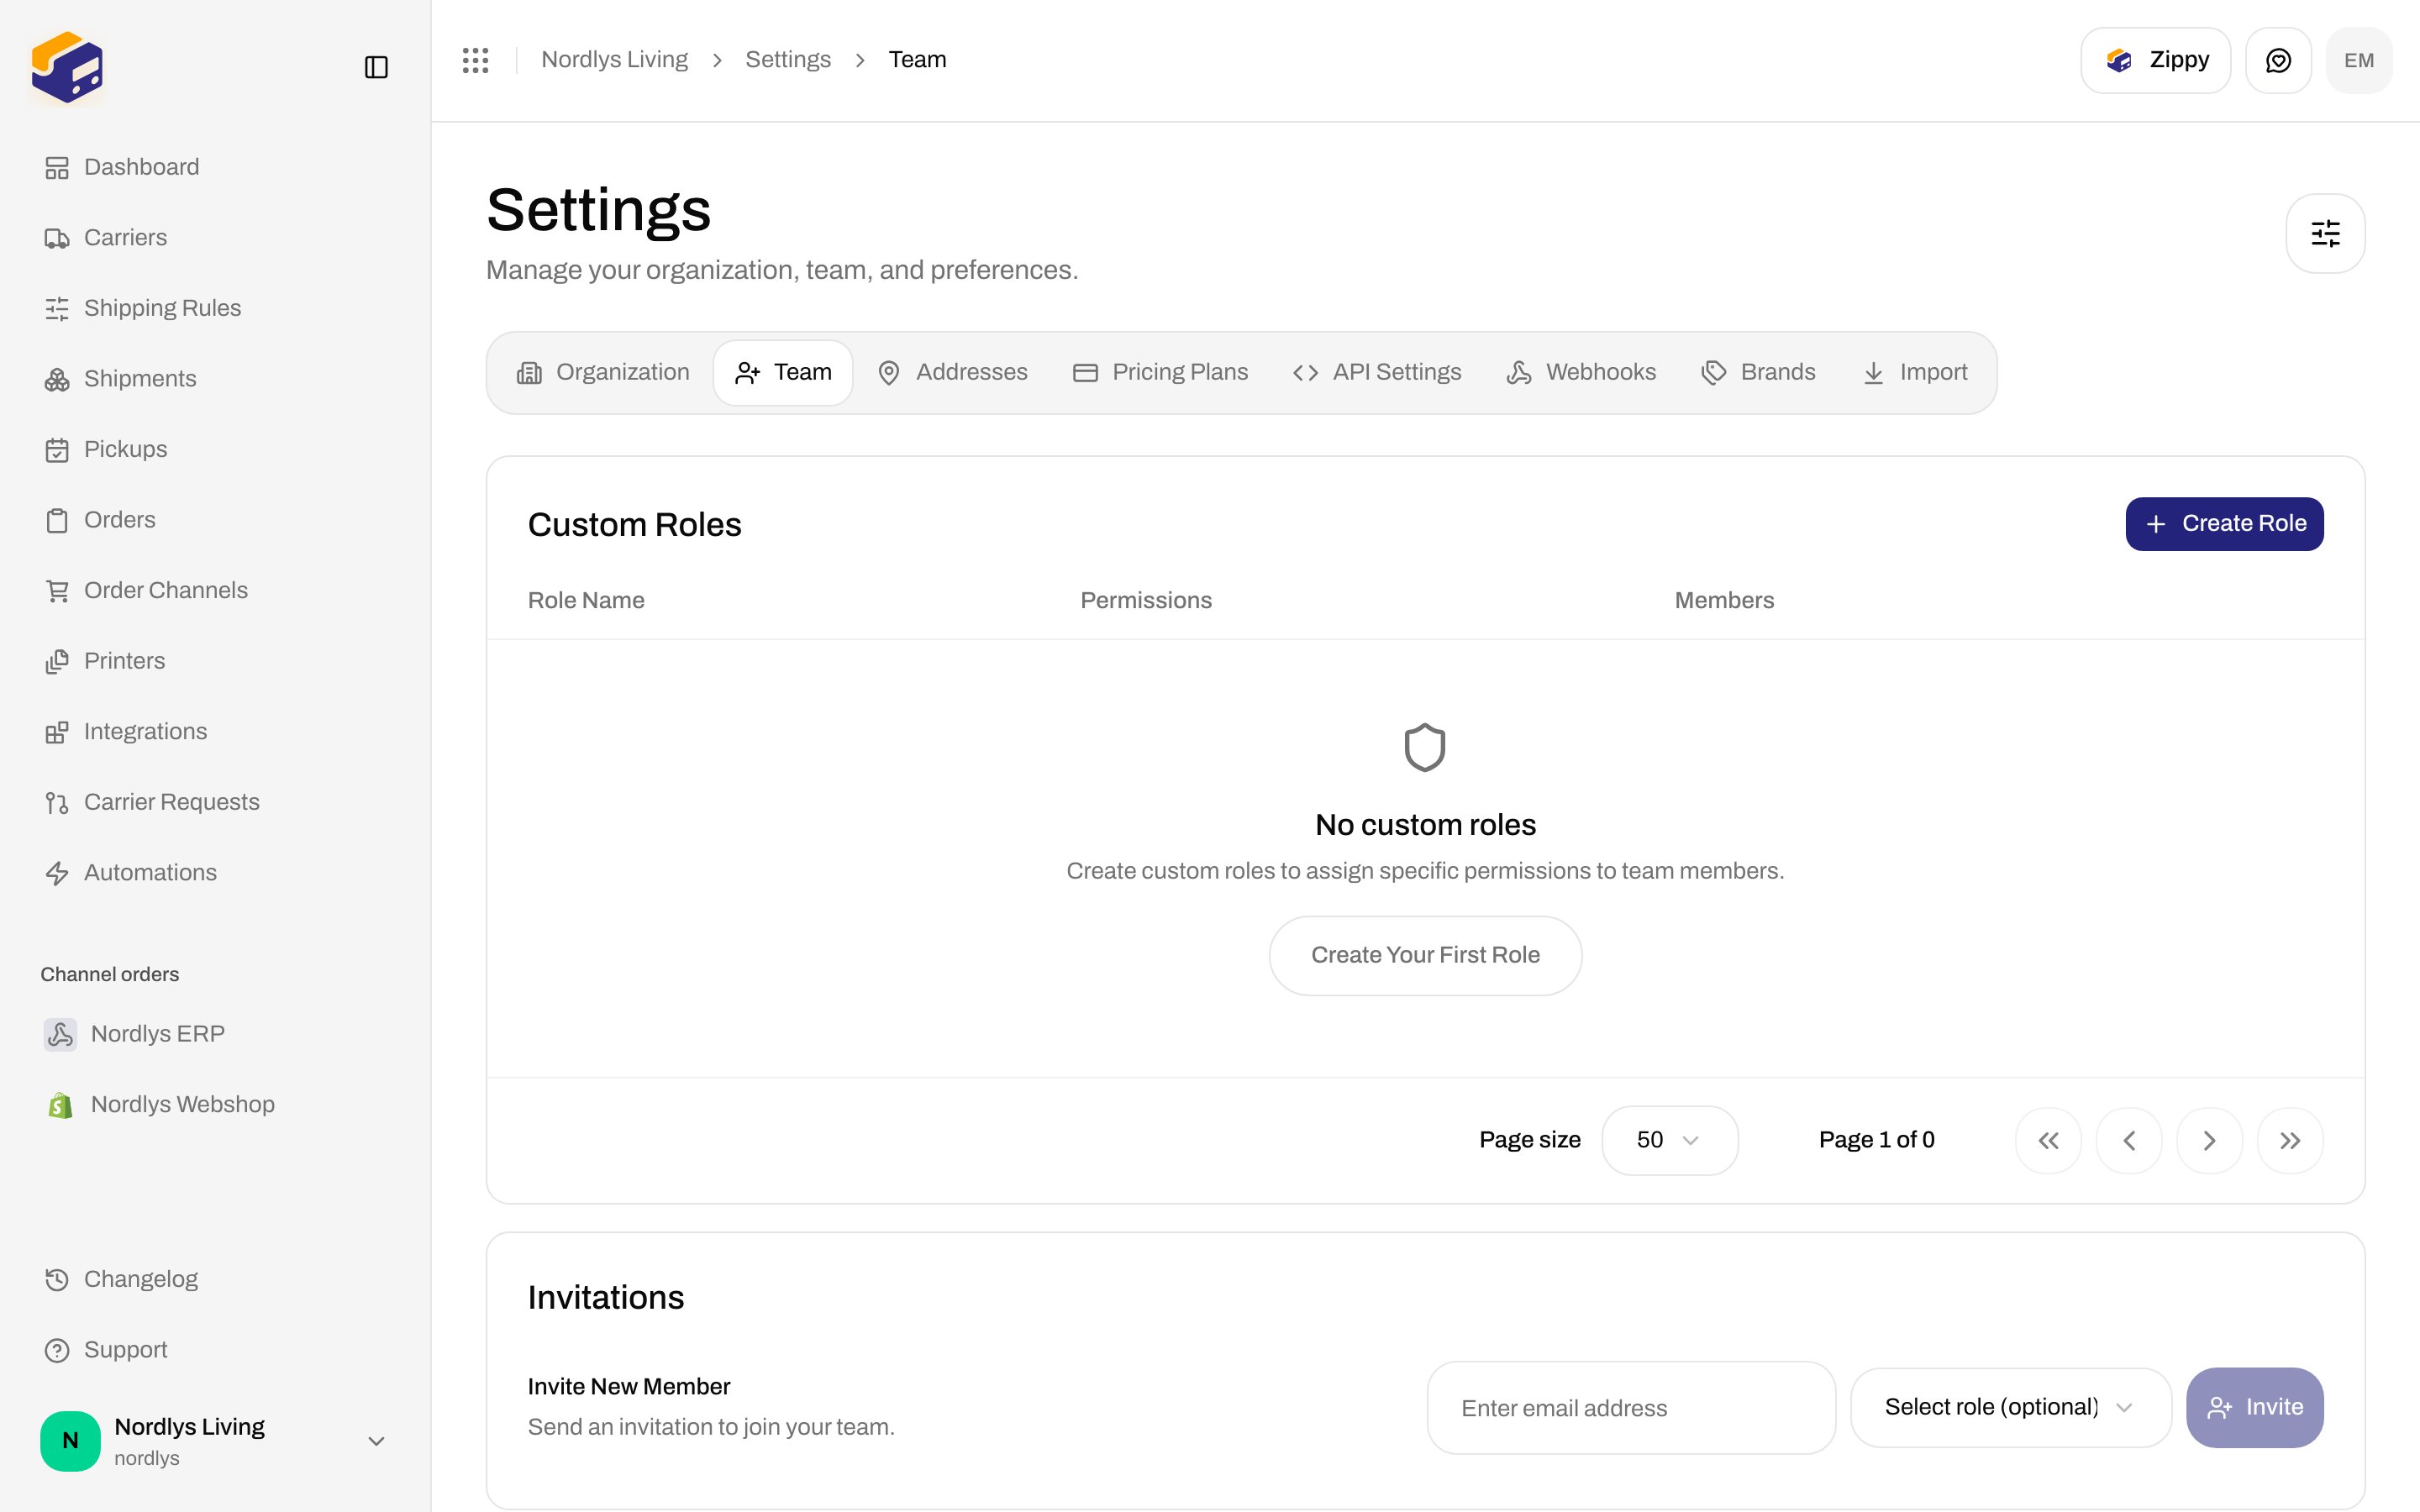
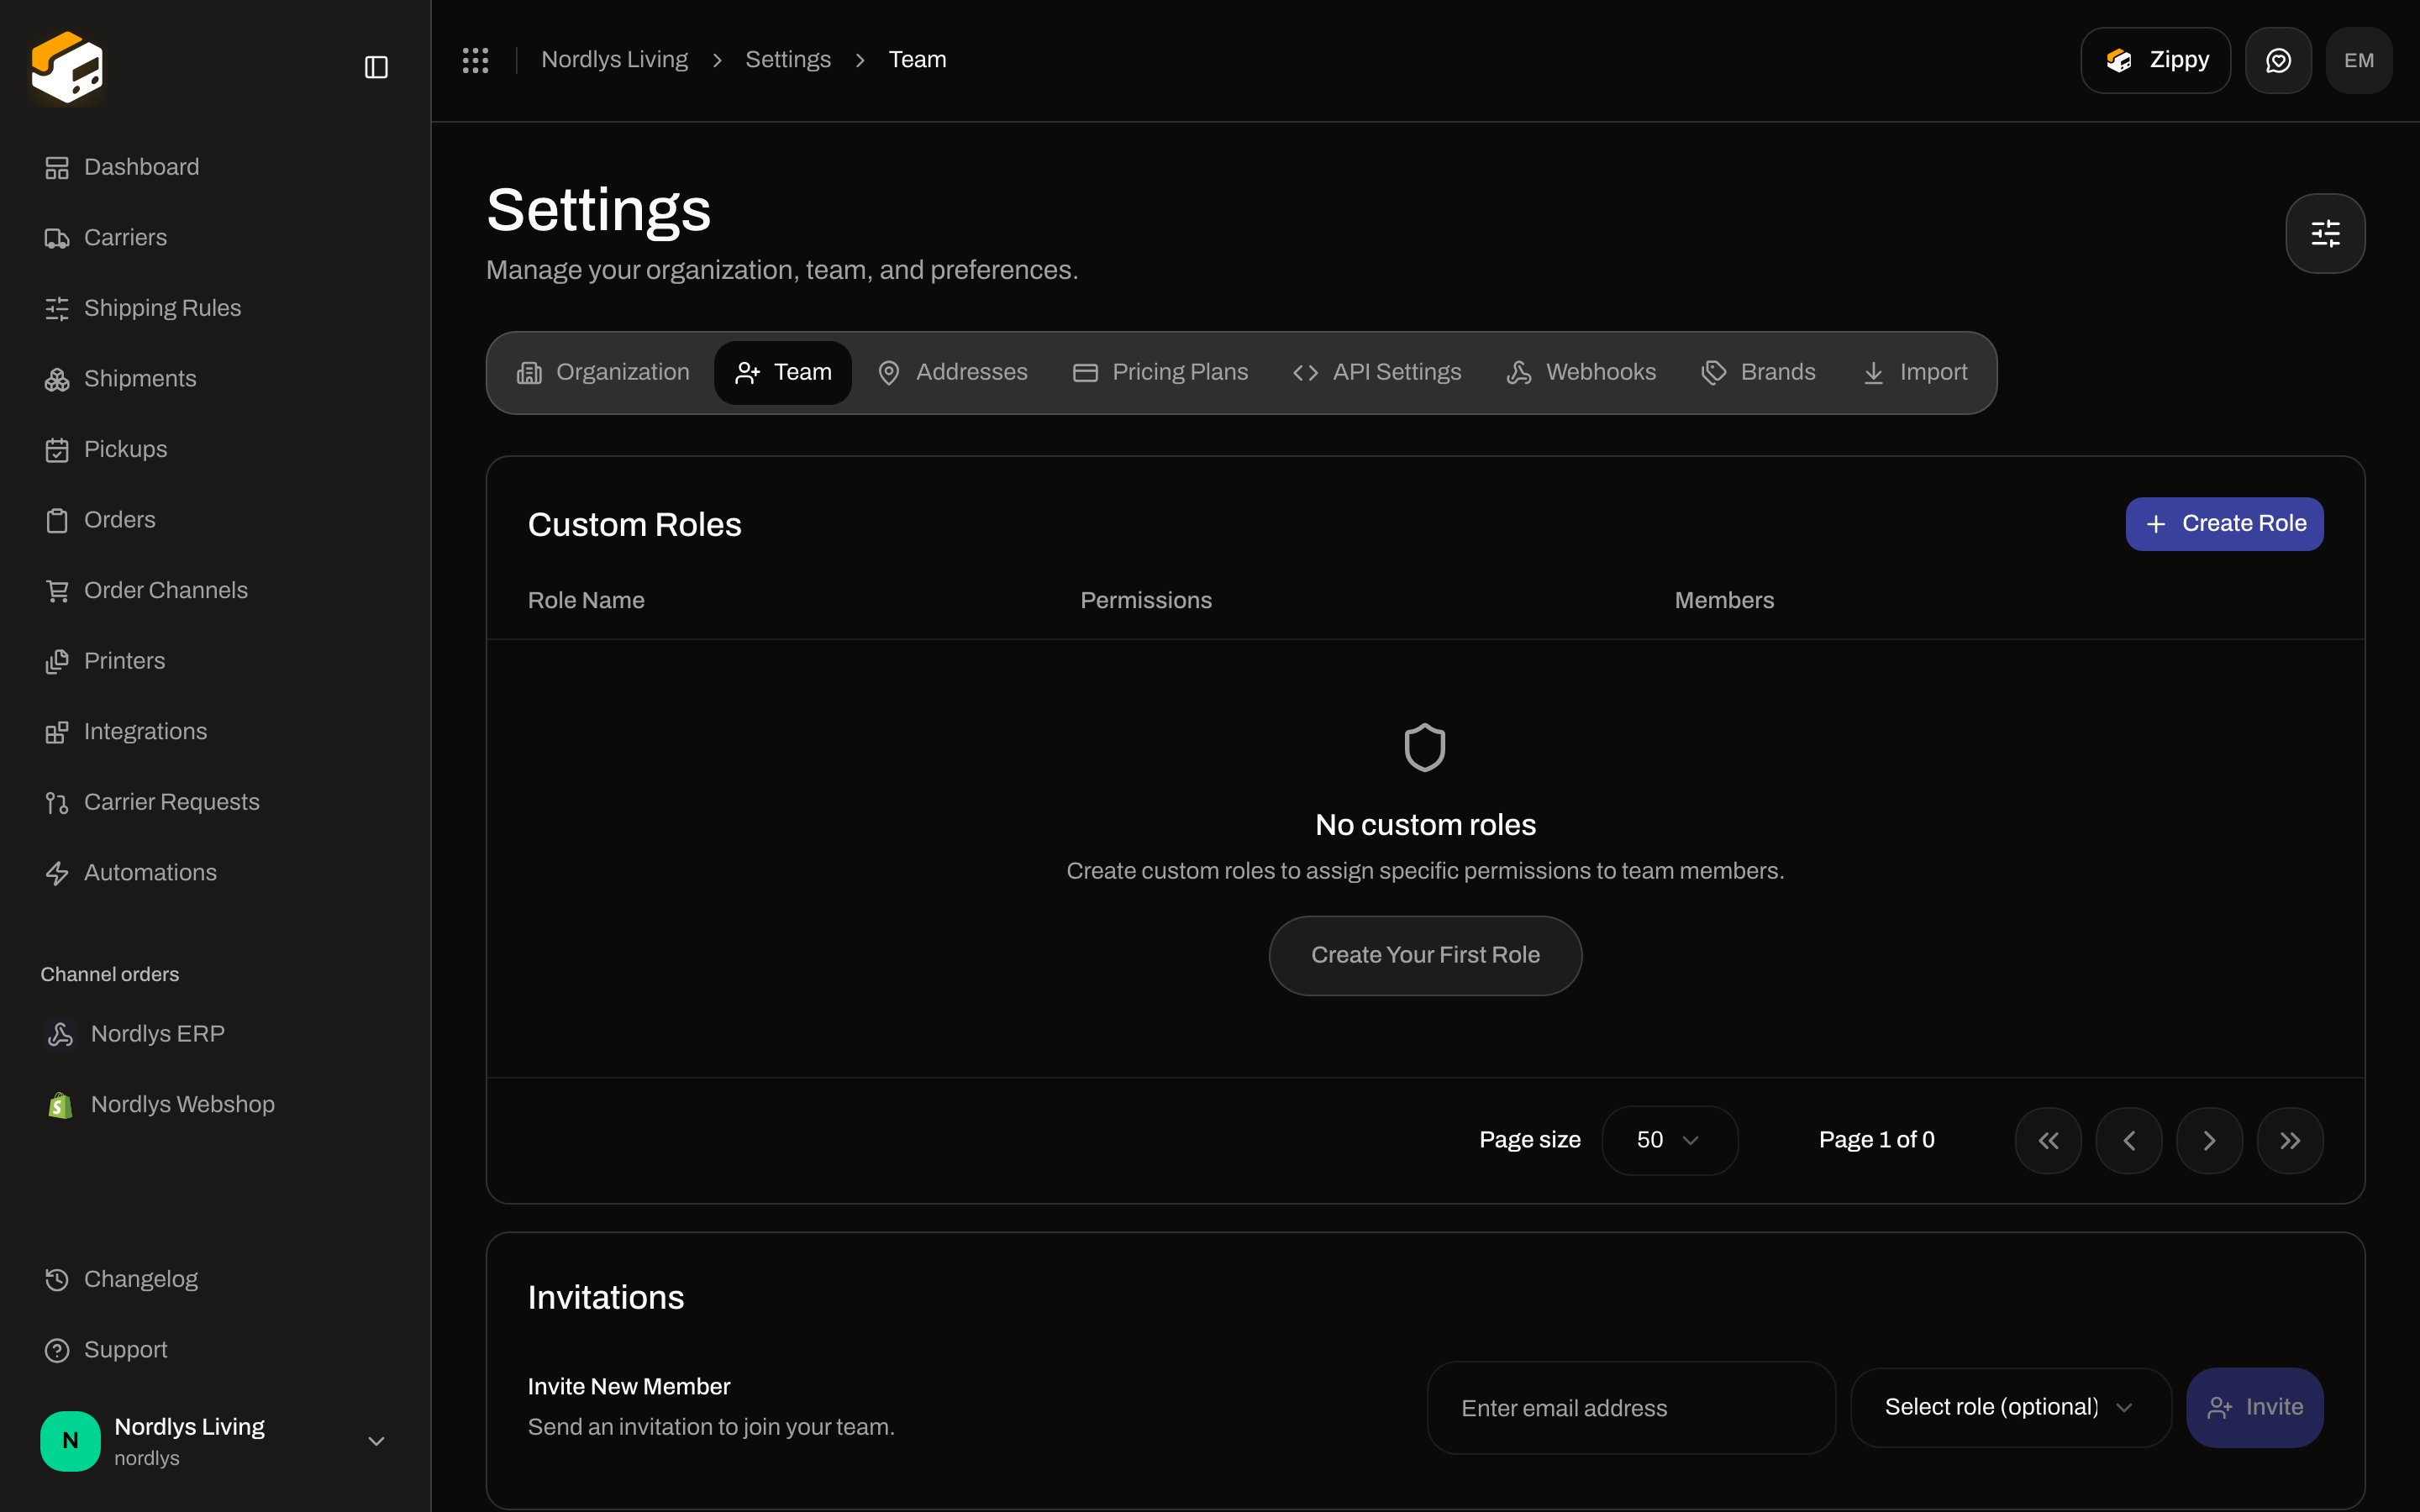
Open **Team** (or **Invite members** from the switcher). Three blocks sit on one page: **Custom Roles**, **Invitations**, then **Team Members** as you scroll.
Optional customs identifiers, used on documents and bookings when they apply:
* **VOEC**
* **EORI**
* **SPRN**
* **IOSS**
* **FDA**
* **DUNS**
Scroll further for **Branding** (logo, **Primary color**, **Secondary color** — plan-gated) and **Data export**. Branding tints packing slips and invoices. Export downloads company and user details, shipments, orders, and integration setup. Credentials are never included. Click **Request export**; Zippendo emails you when the archive is ready.
More on this tab: [Organization settings](/docs/settings/organization).
## Team
Open **Team** (or **Invite members** from the switcher). Three blocks sit on one page: **Custom Roles**, **Invitations**, then **Team Members** as you scroll.
 ### Custom roles
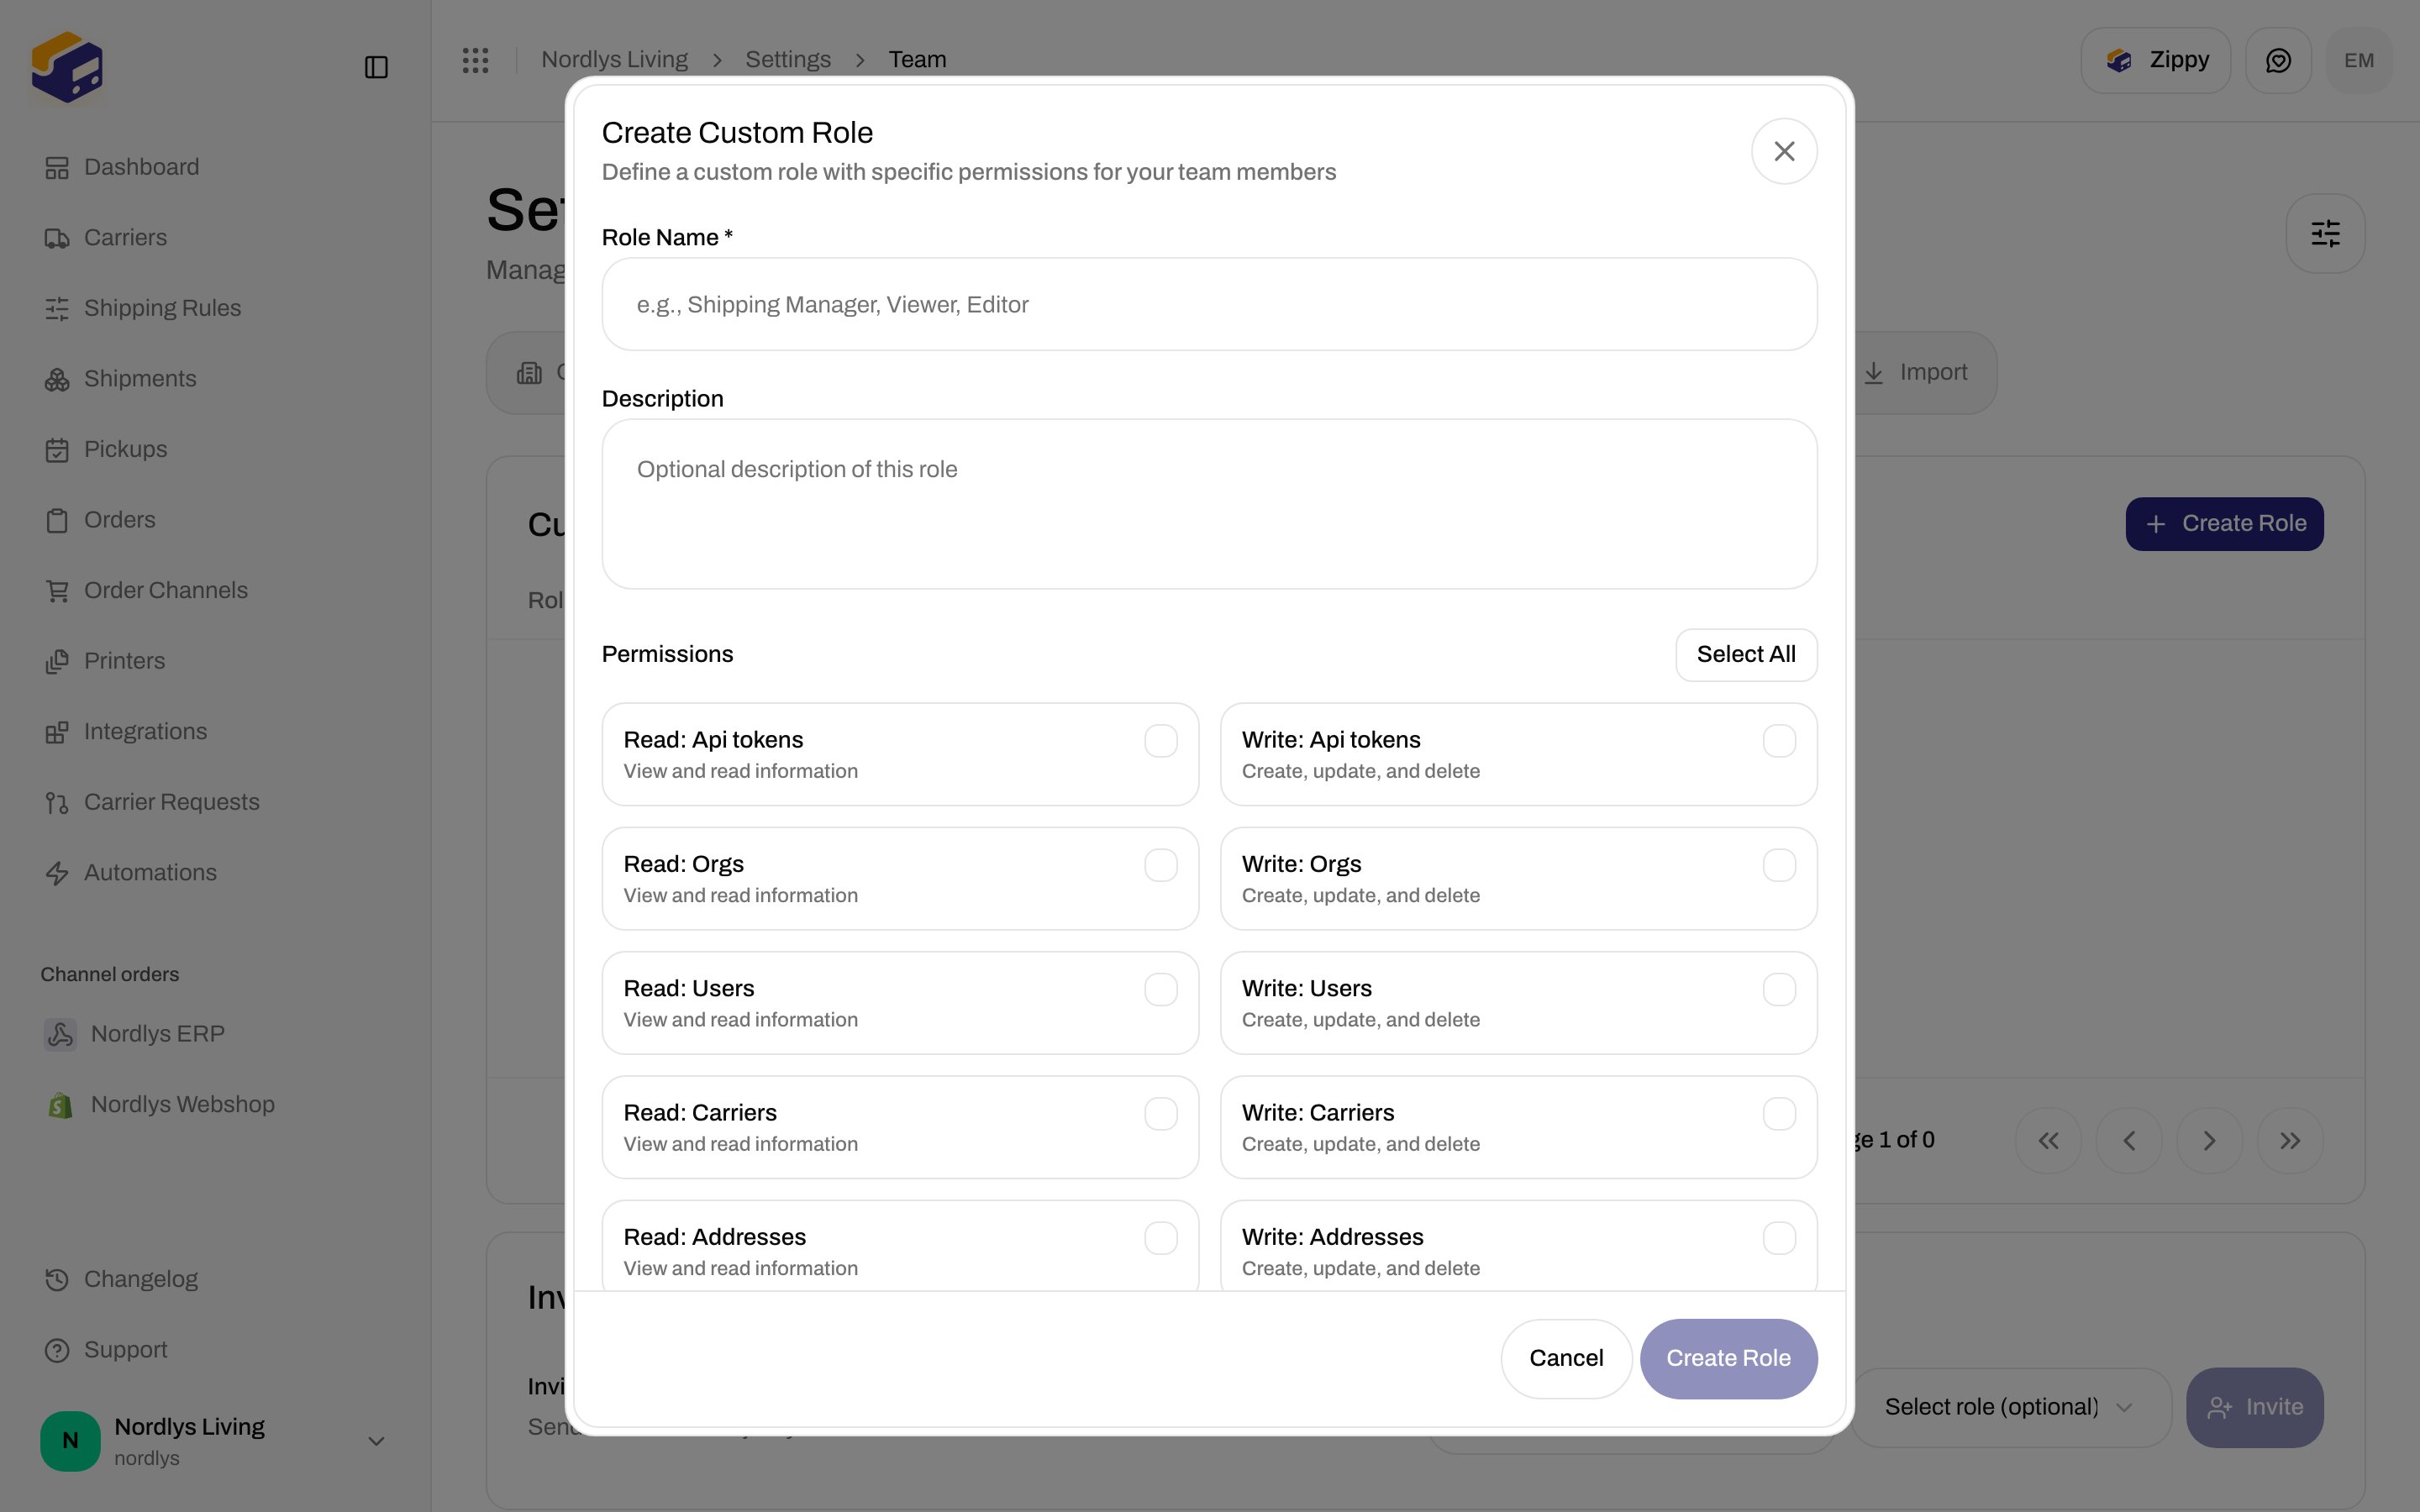
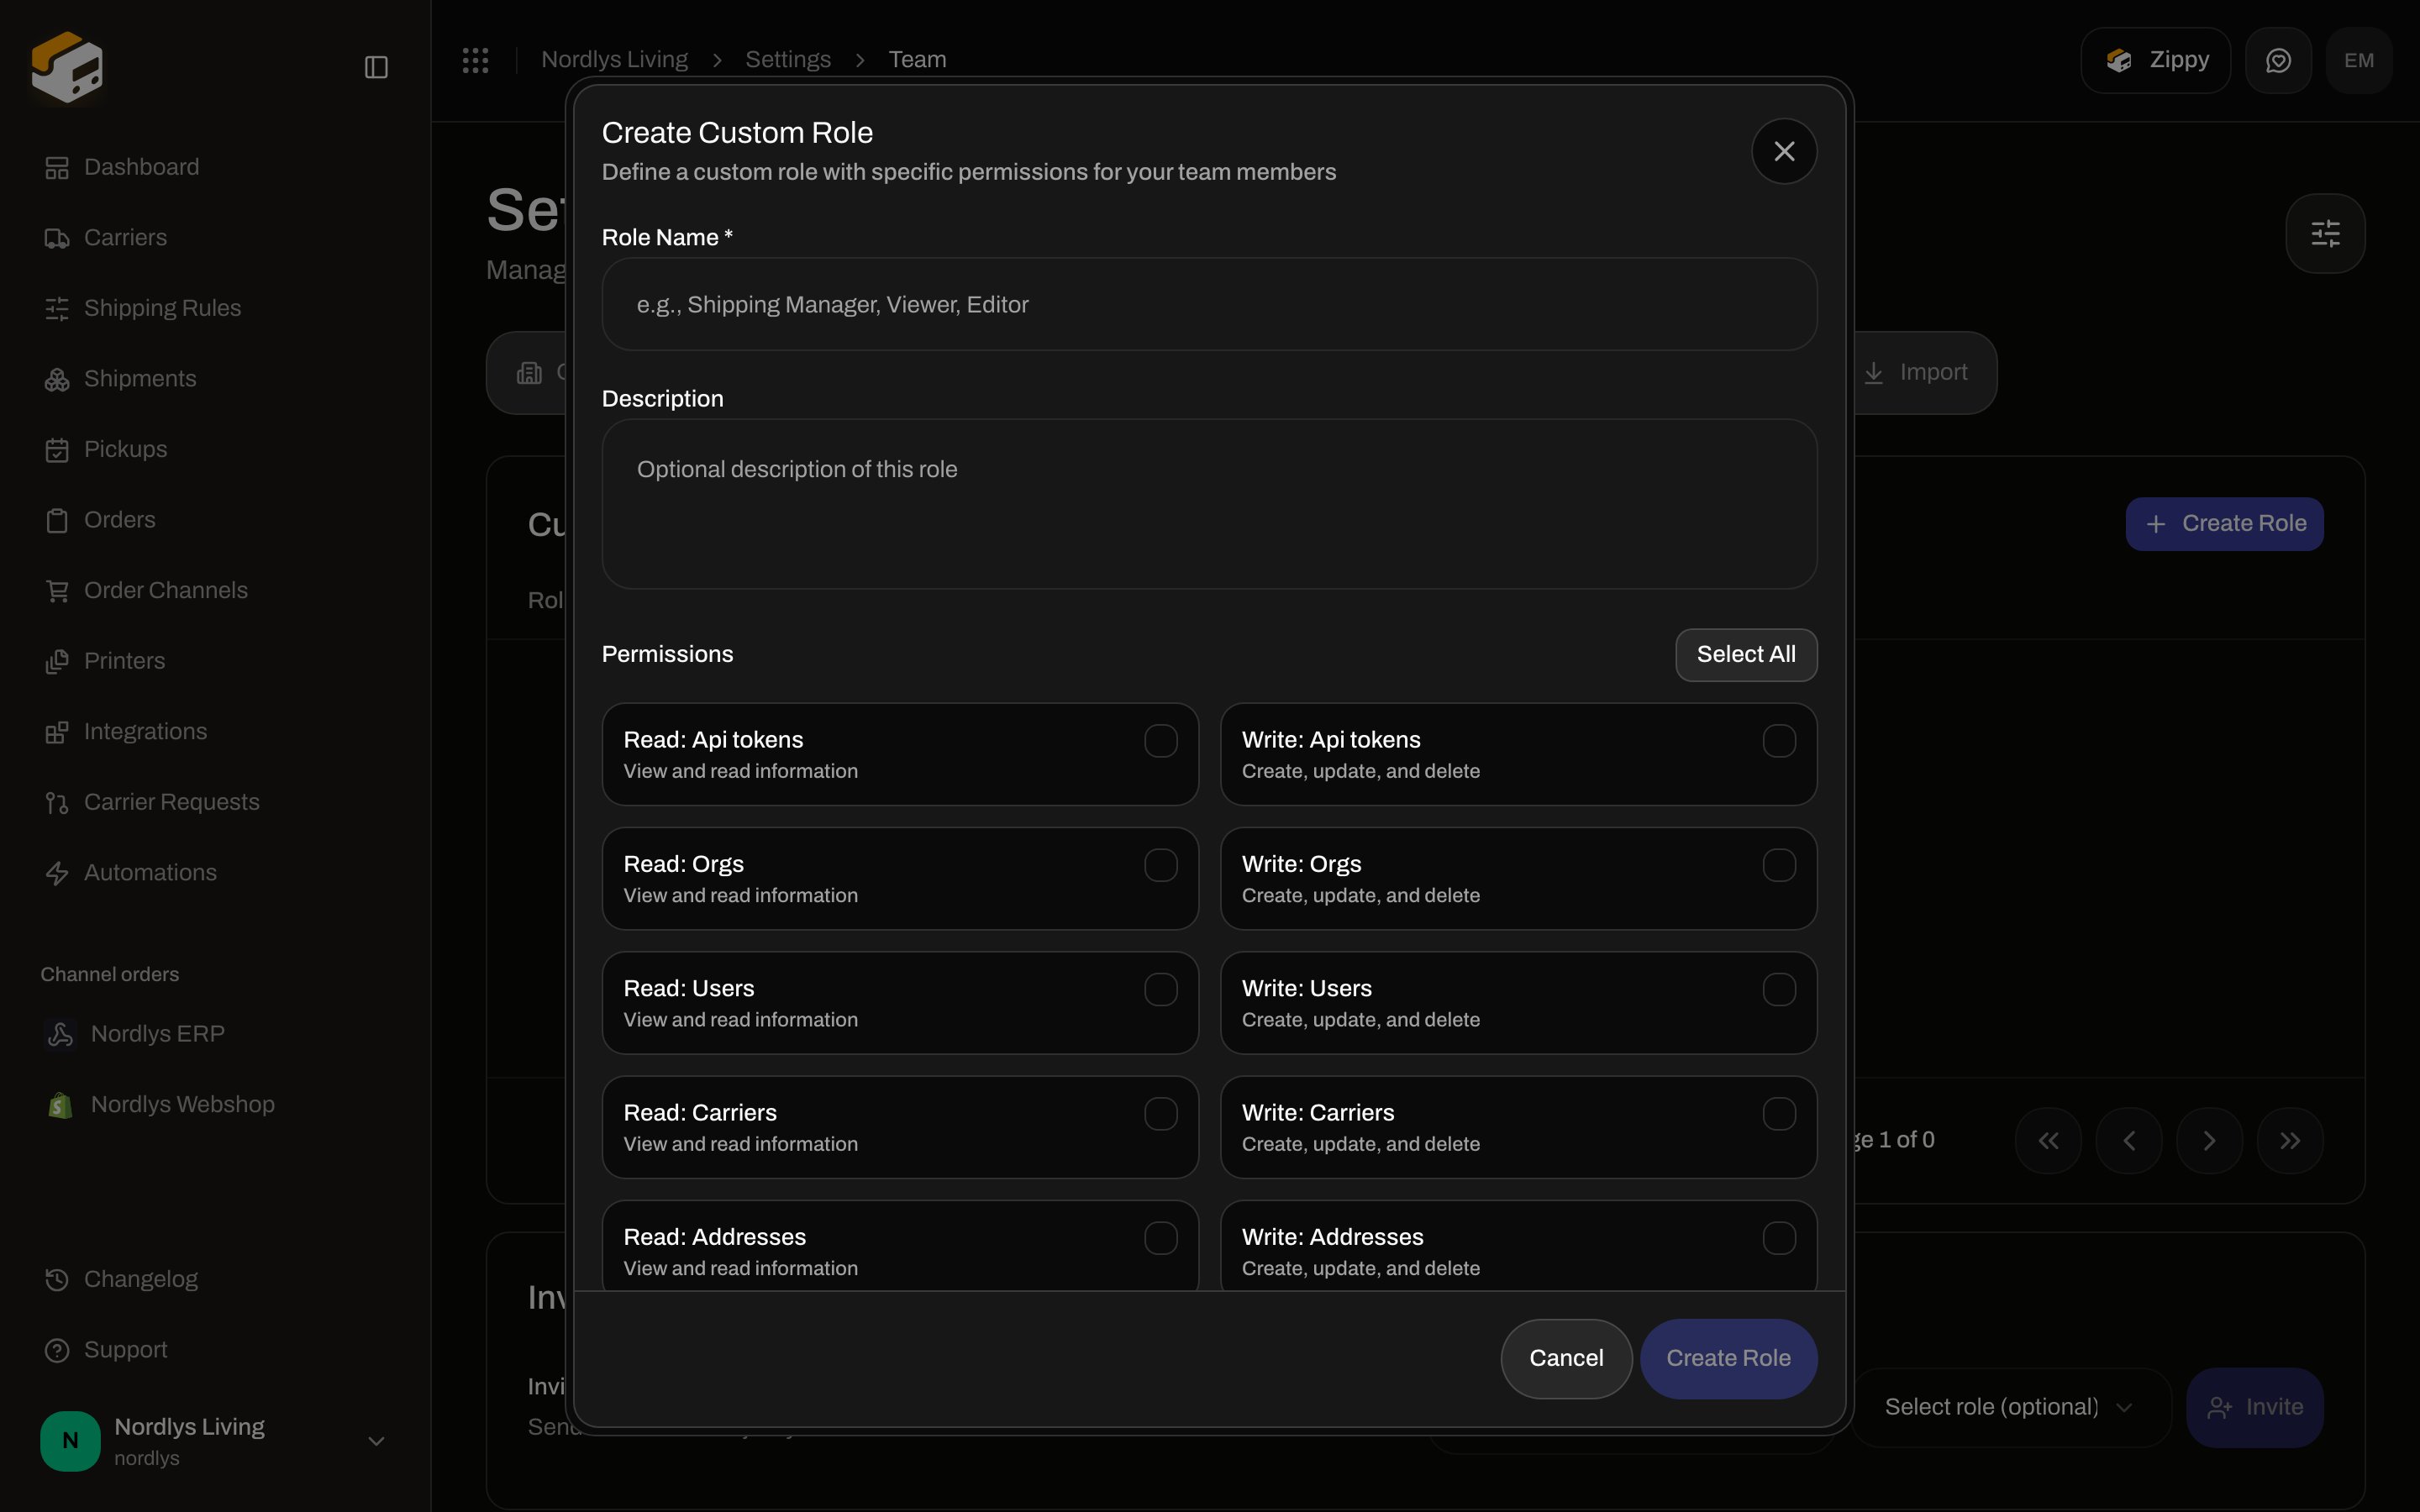
**Custom Roles** lets you name a role and pick read/write permissions (API tokens, orgs, users, carriers, addresses, shipping rules, and the rest of the grid).
Click **Create Role** (or **Create Your First Role** when the table is empty).
The dialog is **Create Custom Role**. Fill **Role Name \*** (for example Shipping Manager). **Description** is optional. Toggle permissions, or use **Select All**.
Click **Create Role**. The role appears in the table with **Role Name**, **Permissions**, and **Members**.
### Custom roles
**Custom Roles** lets you name a role and pick read/write permissions (API tokens, orgs, users, carriers, addresses, shipping rules, and the rest of the grid).
Click **Create Role** (or **Create Your First Role** when the table is empty).
The dialog is **Create Custom Role**. Fill **Role Name \*** (for example Shipping Manager). **Description** is optional. Toggle permissions, or use **Select All**.
Click **Create Role**. The role appears in the table with **Role Name**, **Permissions**, and **Members**.
 You can **Edit** or **Delete** a role later. Deleting unassigns it from its members.
### Invite someone
Under **Invitations** → **Invite New Member**:
Use **Enter email address**.
**Select role (optional)** assigns a custom role when they accept. Leave it empty if they should join without one.
Click **Invite**. They get an email and show as pending until they accept.
If the organization has brands, **Restrict the invitee to a brand** appears on the invite. That lock is hard: they only see that brand’s data, cannot switch brand, and cannot manage brands. Leave **No brand (organization-wide)** for people who should see everything.
You can **Revoke Invitation** on a pending invite.
### Team members
**Team Members** lists everyone with **Name & Email**, **Role**, and **Status** (**Active**, **Pending**, **Pending Approval**, **Inactive**). Your own row is marked **You** — you cannot restrict or remove yourself.
To remove someone, use **Remove Member**. The **Remove Team Member** dialog asks you to confirm. That person loses access to this organization.
Change a member’s role from the row. If brands exist, **Restrict to brand** is available on the member as well.
Details: [Team and invitations](/docs/settings/team).
## Brands
A **brand** is a sub-account inside the same organization — separate orders, shipments, and document branding, one bill and one team. Brands are included on **Pro** (up to five) and **Enterprise** (unlimited). On lower plans the tab is visible but locked.
You can **Edit** or **Delete** a role later. Deleting unassigns it from its members.
### Invite someone
Under **Invitations** → **Invite New Member**:
Use **Enter email address**.
**Select role (optional)** assigns a custom role when they accept. Leave it empty if they should join without one.
Click **Invite**. They get an email and show as pending until they accept.
If the organization has brands, **Restrict the invitee to a brand** appears on the invite. That lock is hard: they only see that brand’s data, cannot switch brand, and cannot manage brands. Leave **No brand (organization-wide)** for people who should see everything.
You can **Revoke Invitation** on a pending invite.
### Team members
**Team Members** lists everyone with **Name & Email**, **Role**, and **Status** (**Active**, **Pending**, **Pending Approval**, **Inactive**). Your own row is marked **You** — you cannot restrict or remove yourself.
To remove someone, use **Remove Member**. The **Remove Team Member** dialog asks you to confirm. That person loses access to this organization.
Change a member’s role from the row. If brands exist, **Restrict to brand** is available on the member as well.
Details: [Team and invitations](/docs/settings/team).
## Brands
A **brand** is a sub-account inside the same organization — separate orders, shipments, and document branding, one bill and one team. Brands are included on **Pro** (up to five) and **Enterprise** (unlimited). On lower plans the tab is visible but locked.
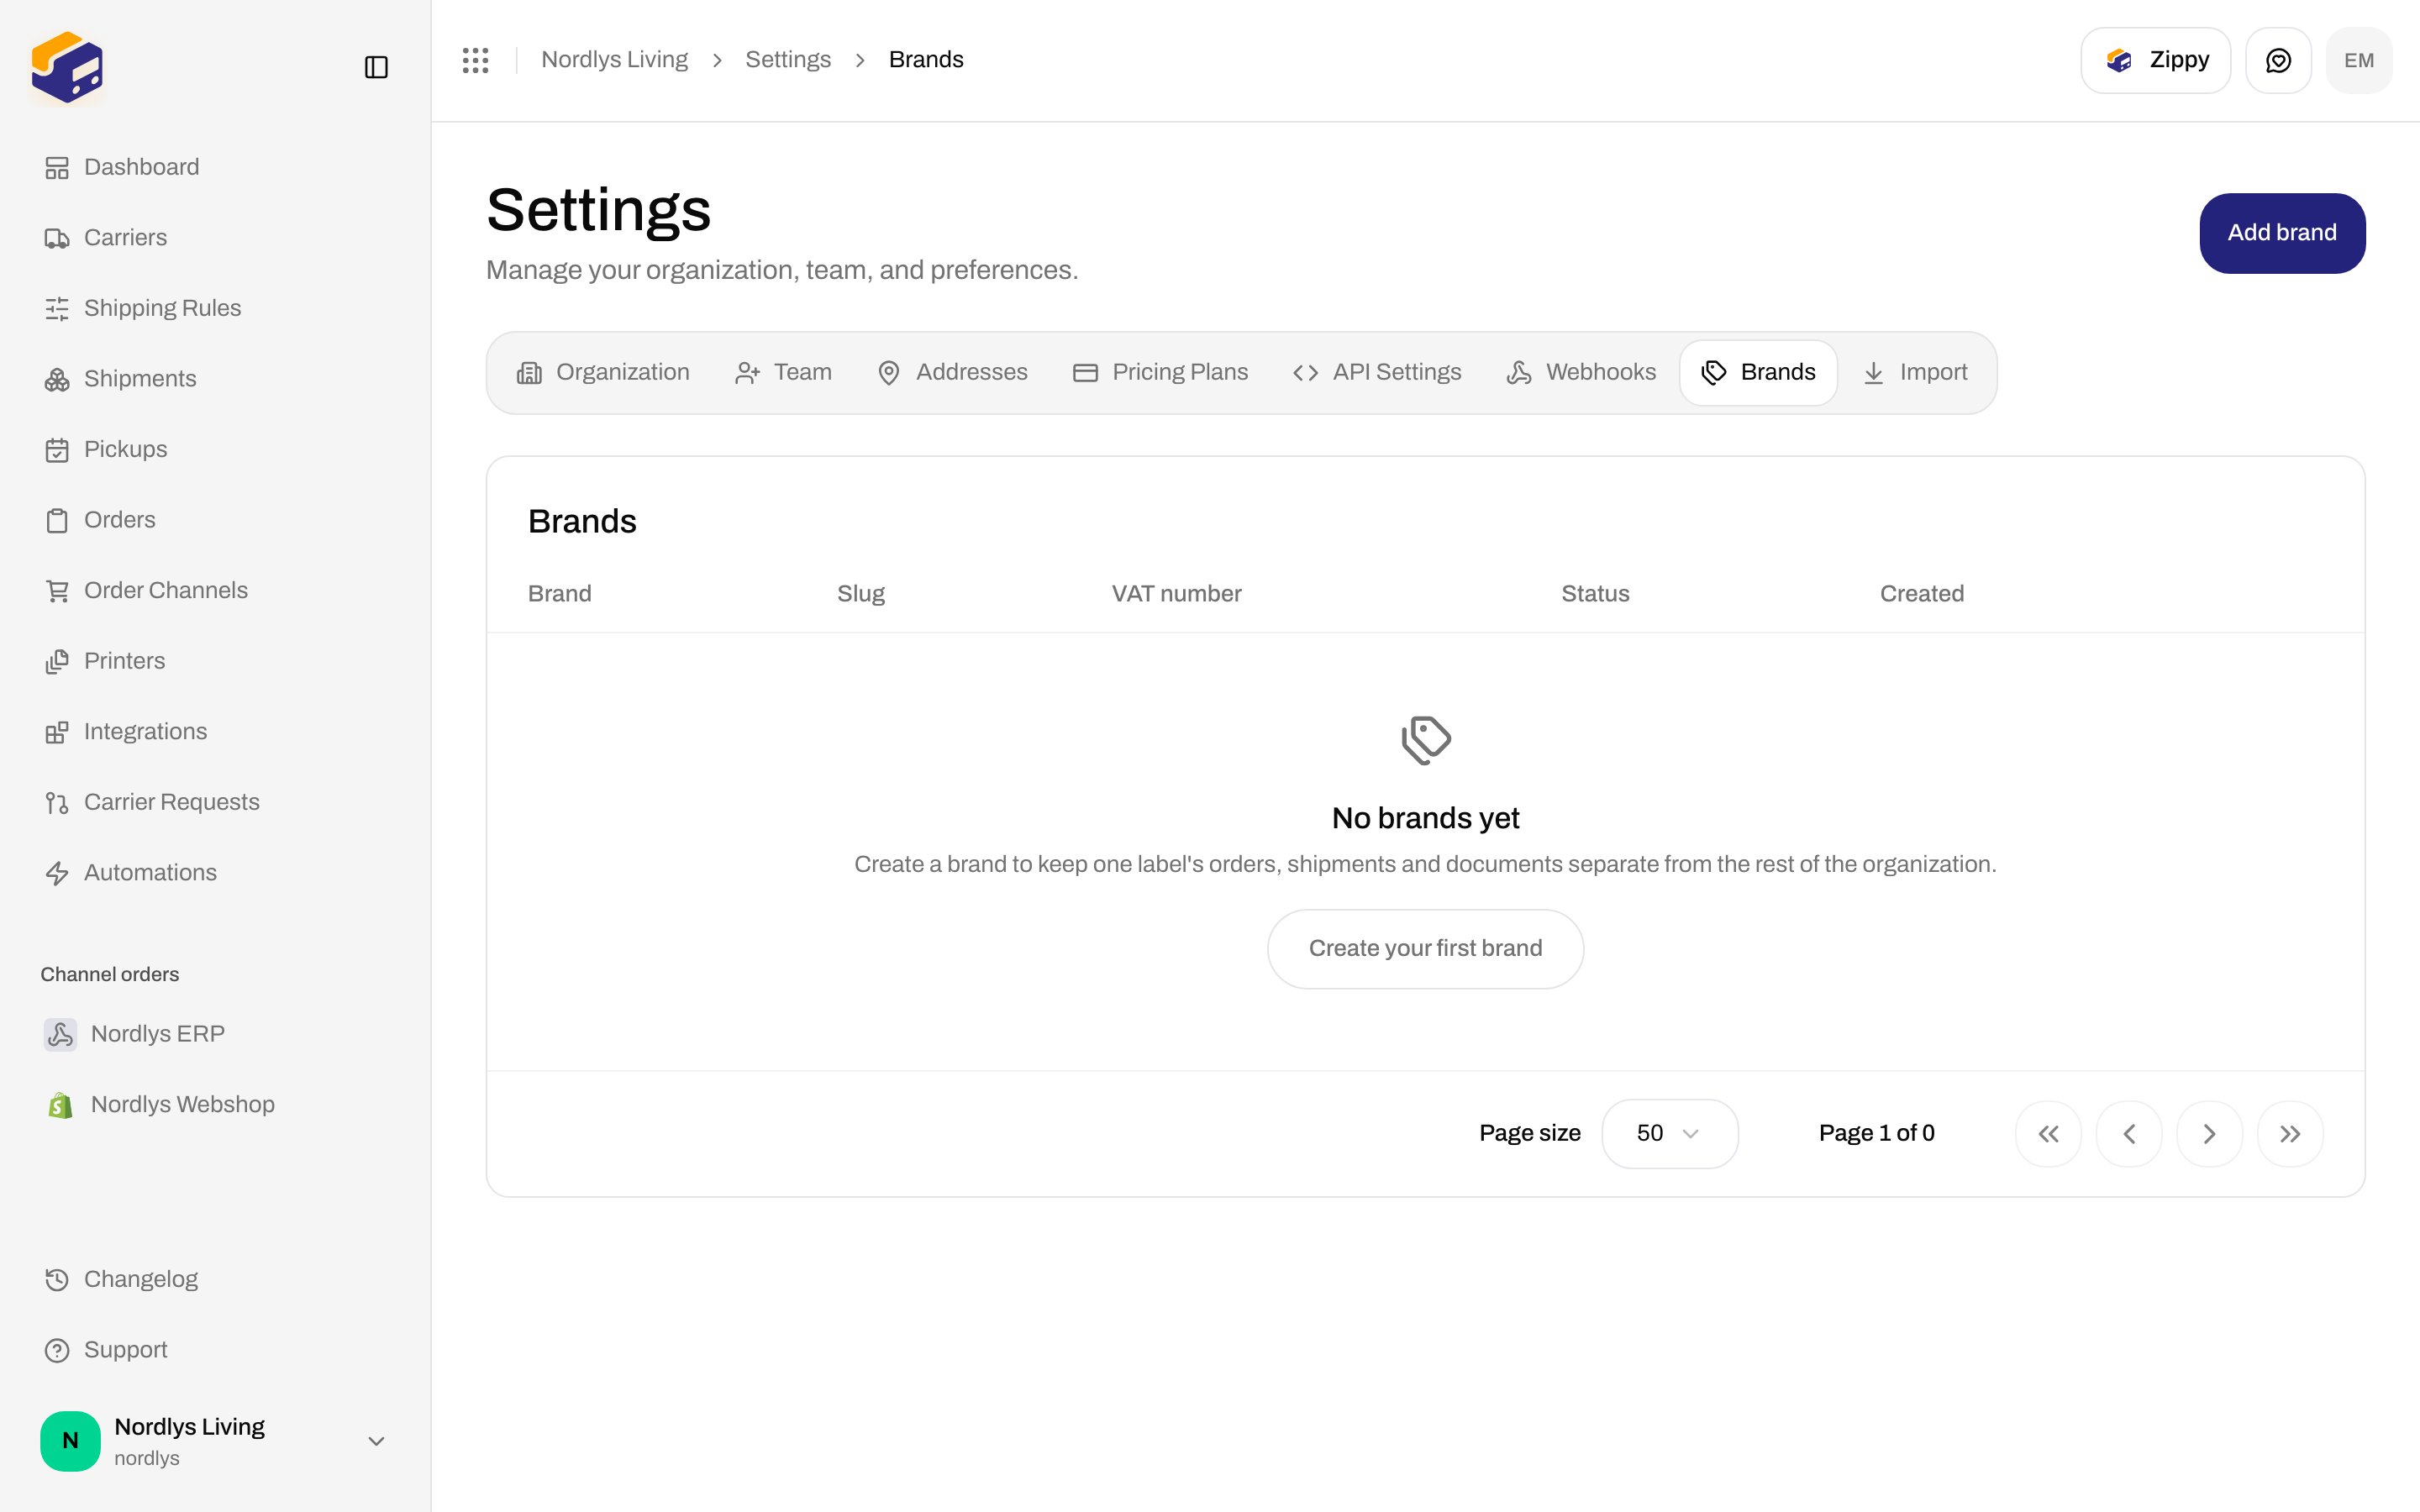
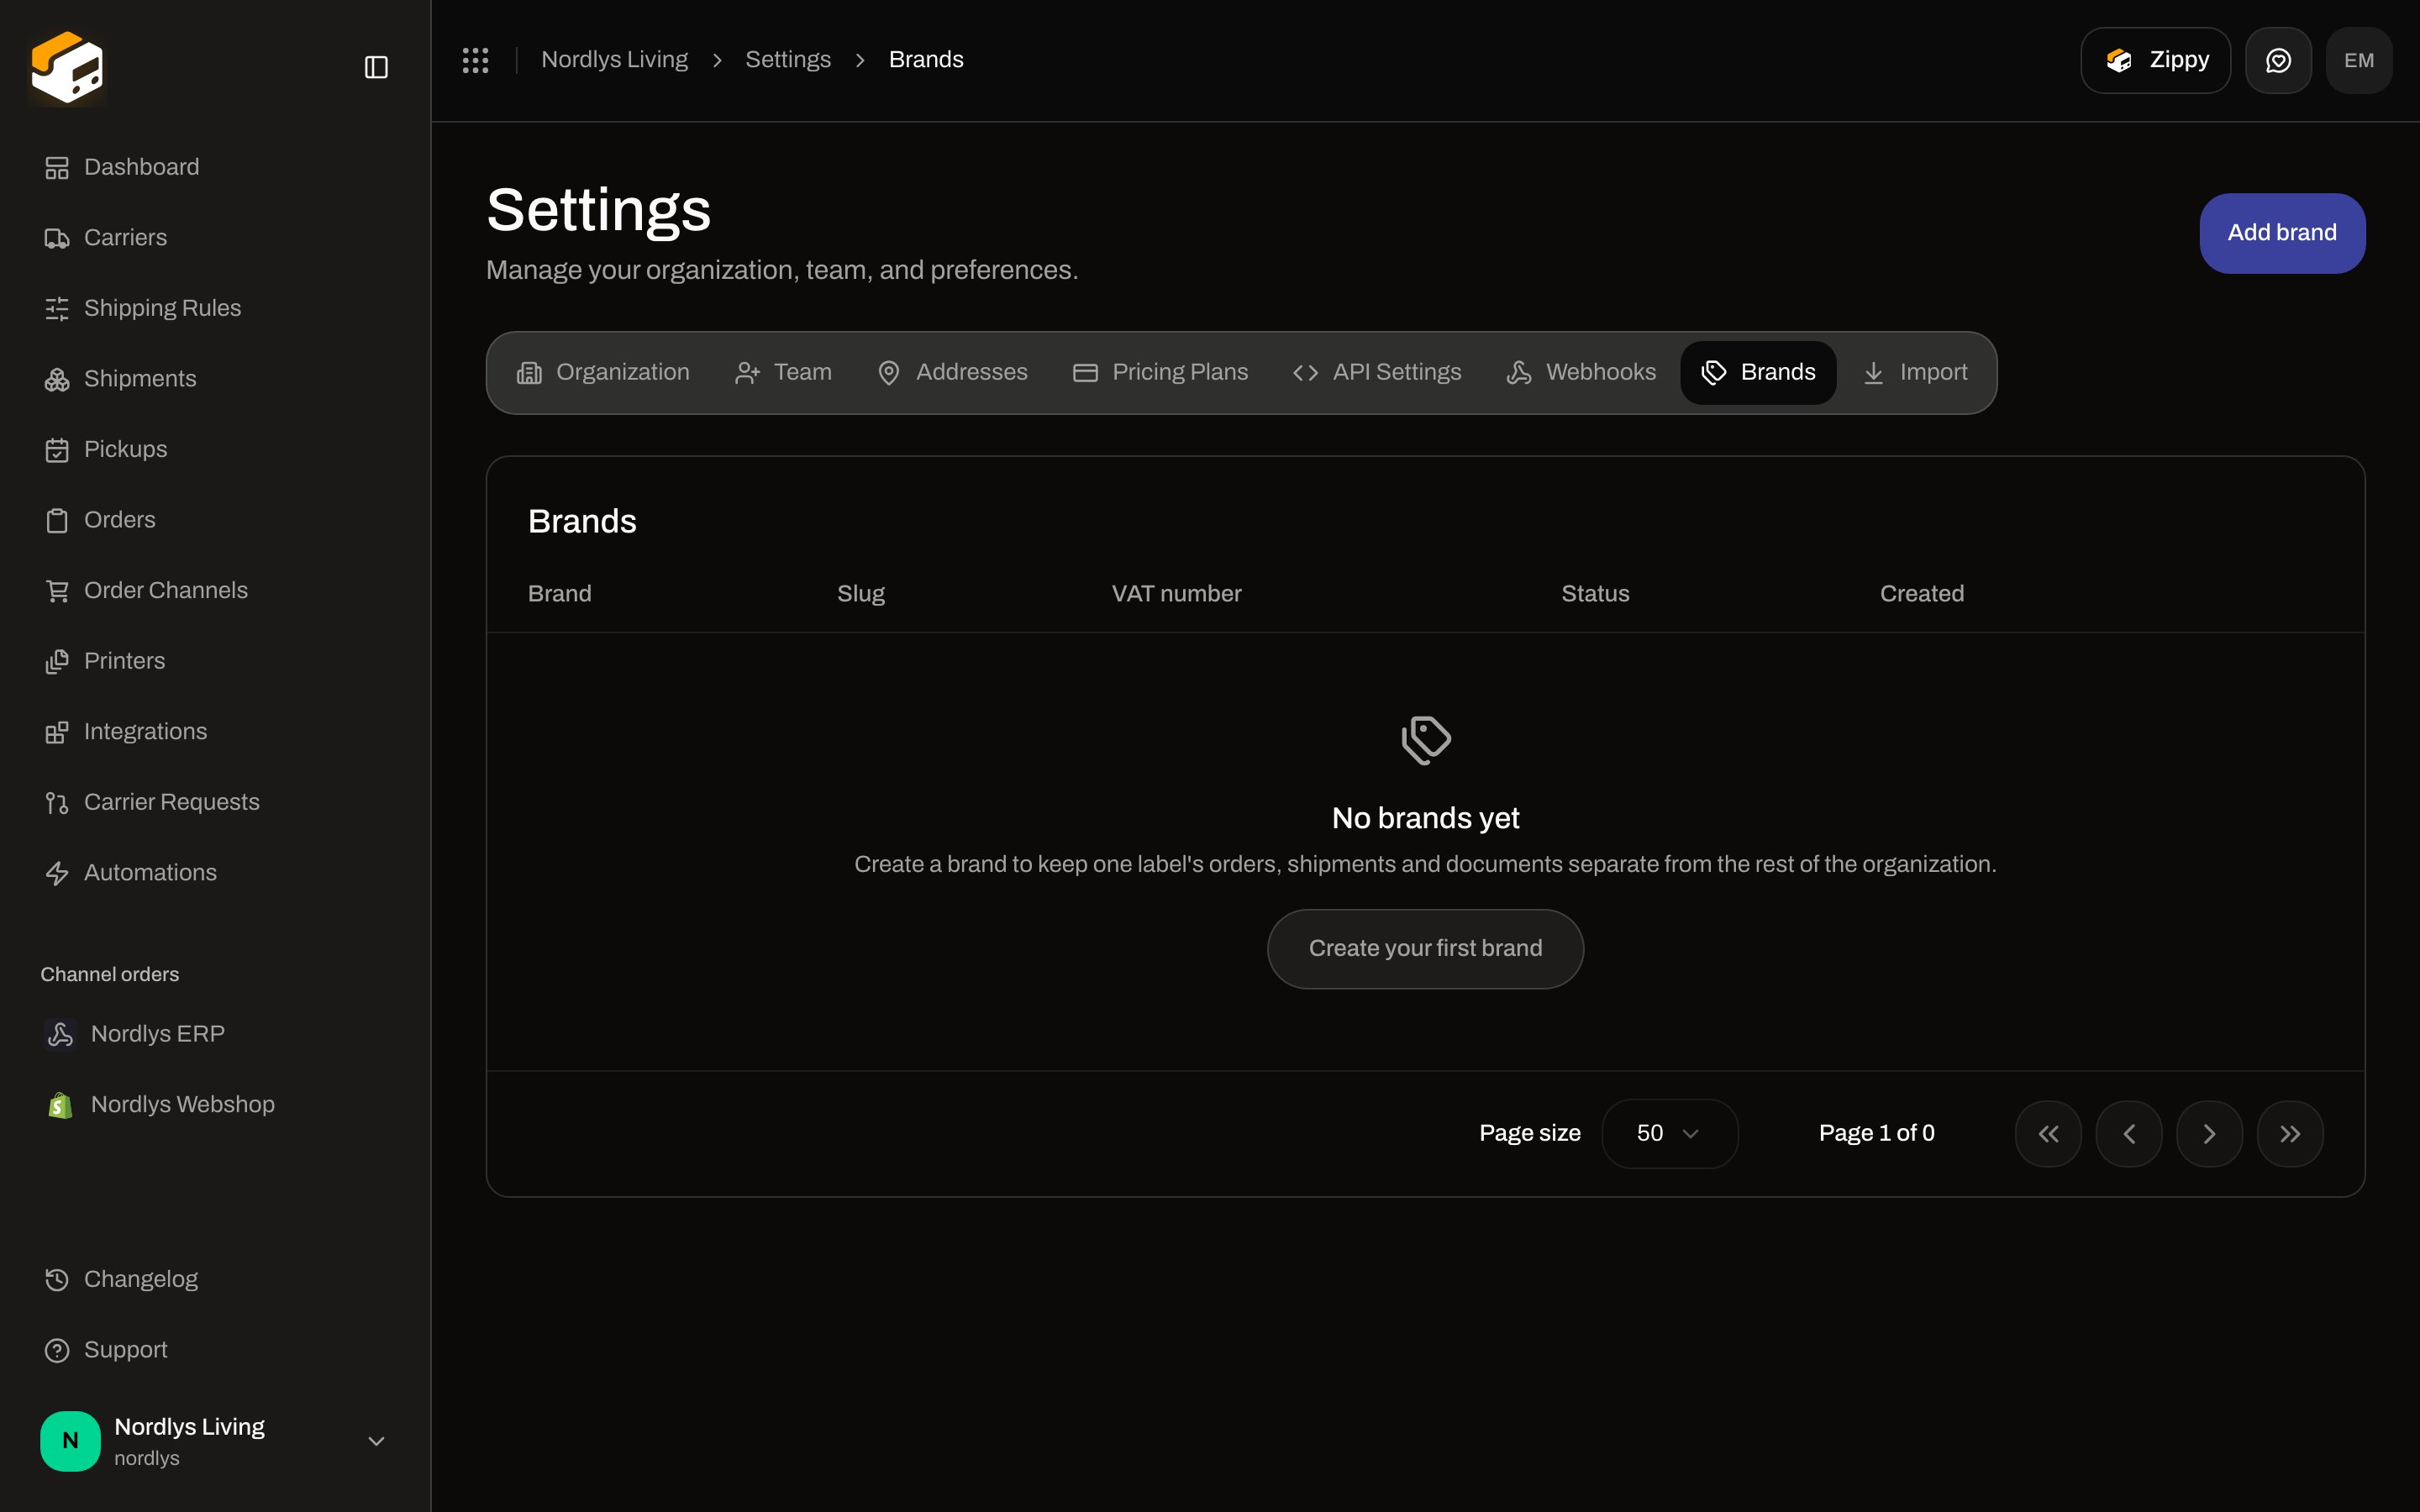 Click **Create your first brand**, or **Add brand** in the header if you already have some.
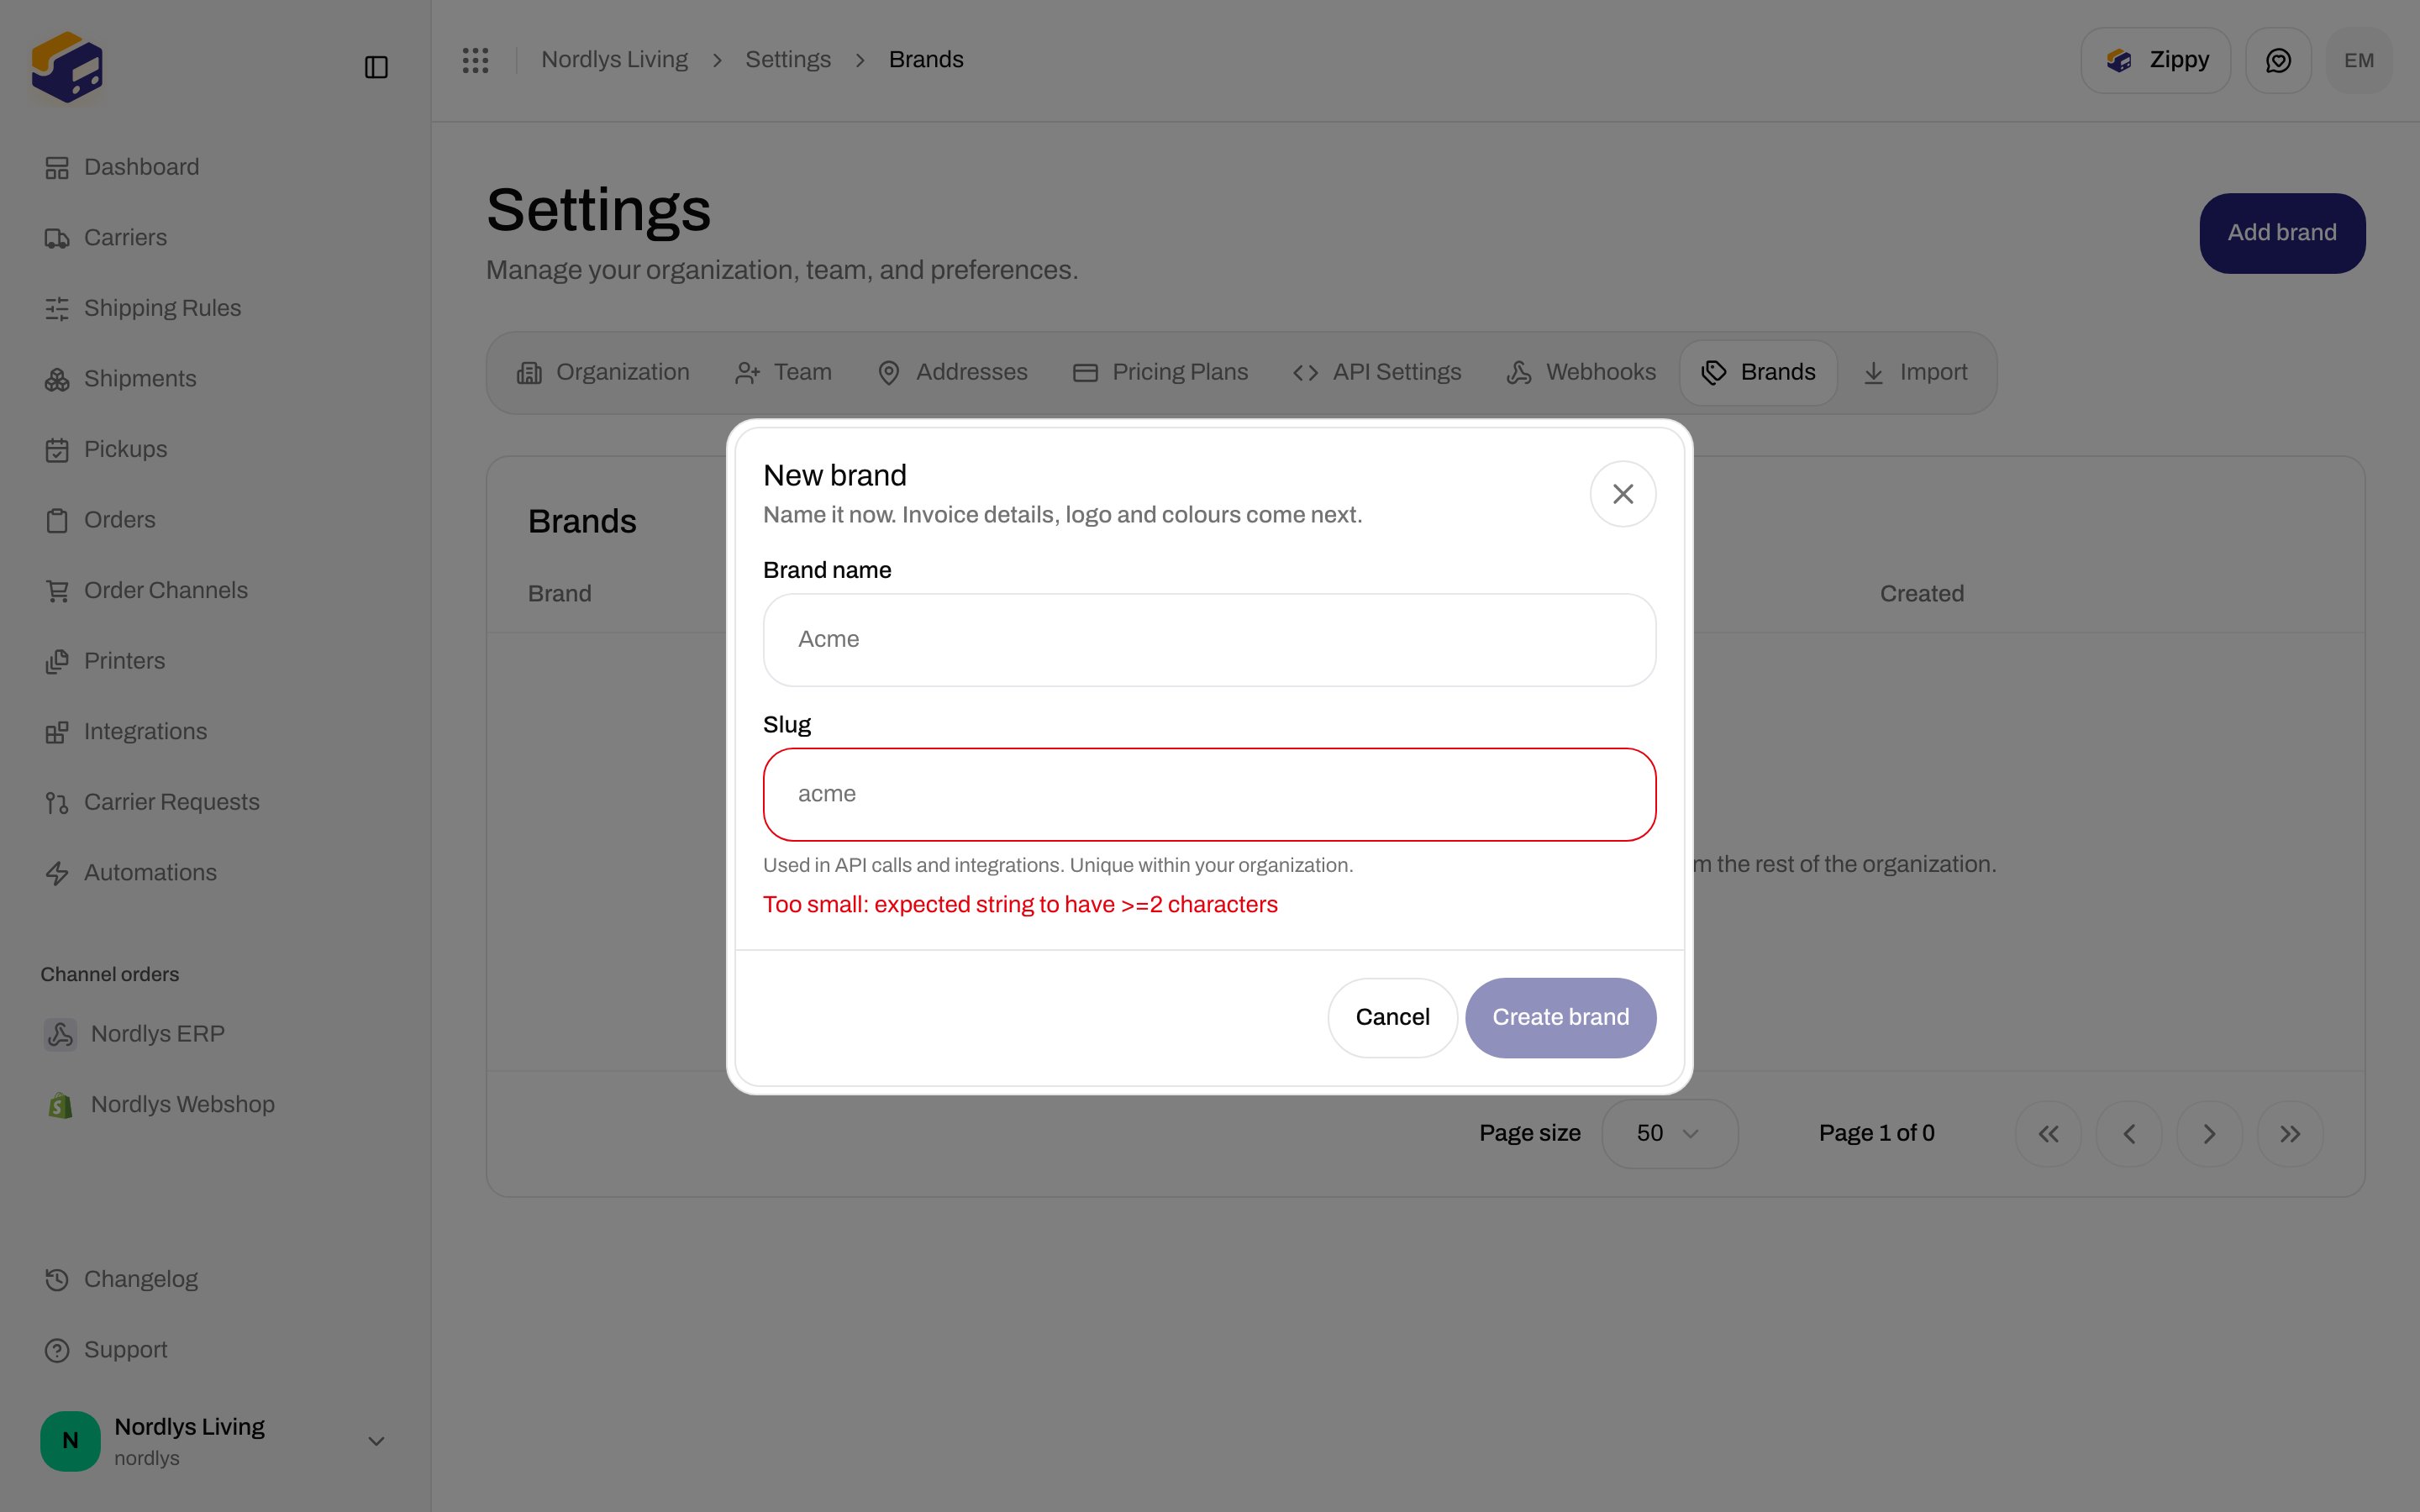
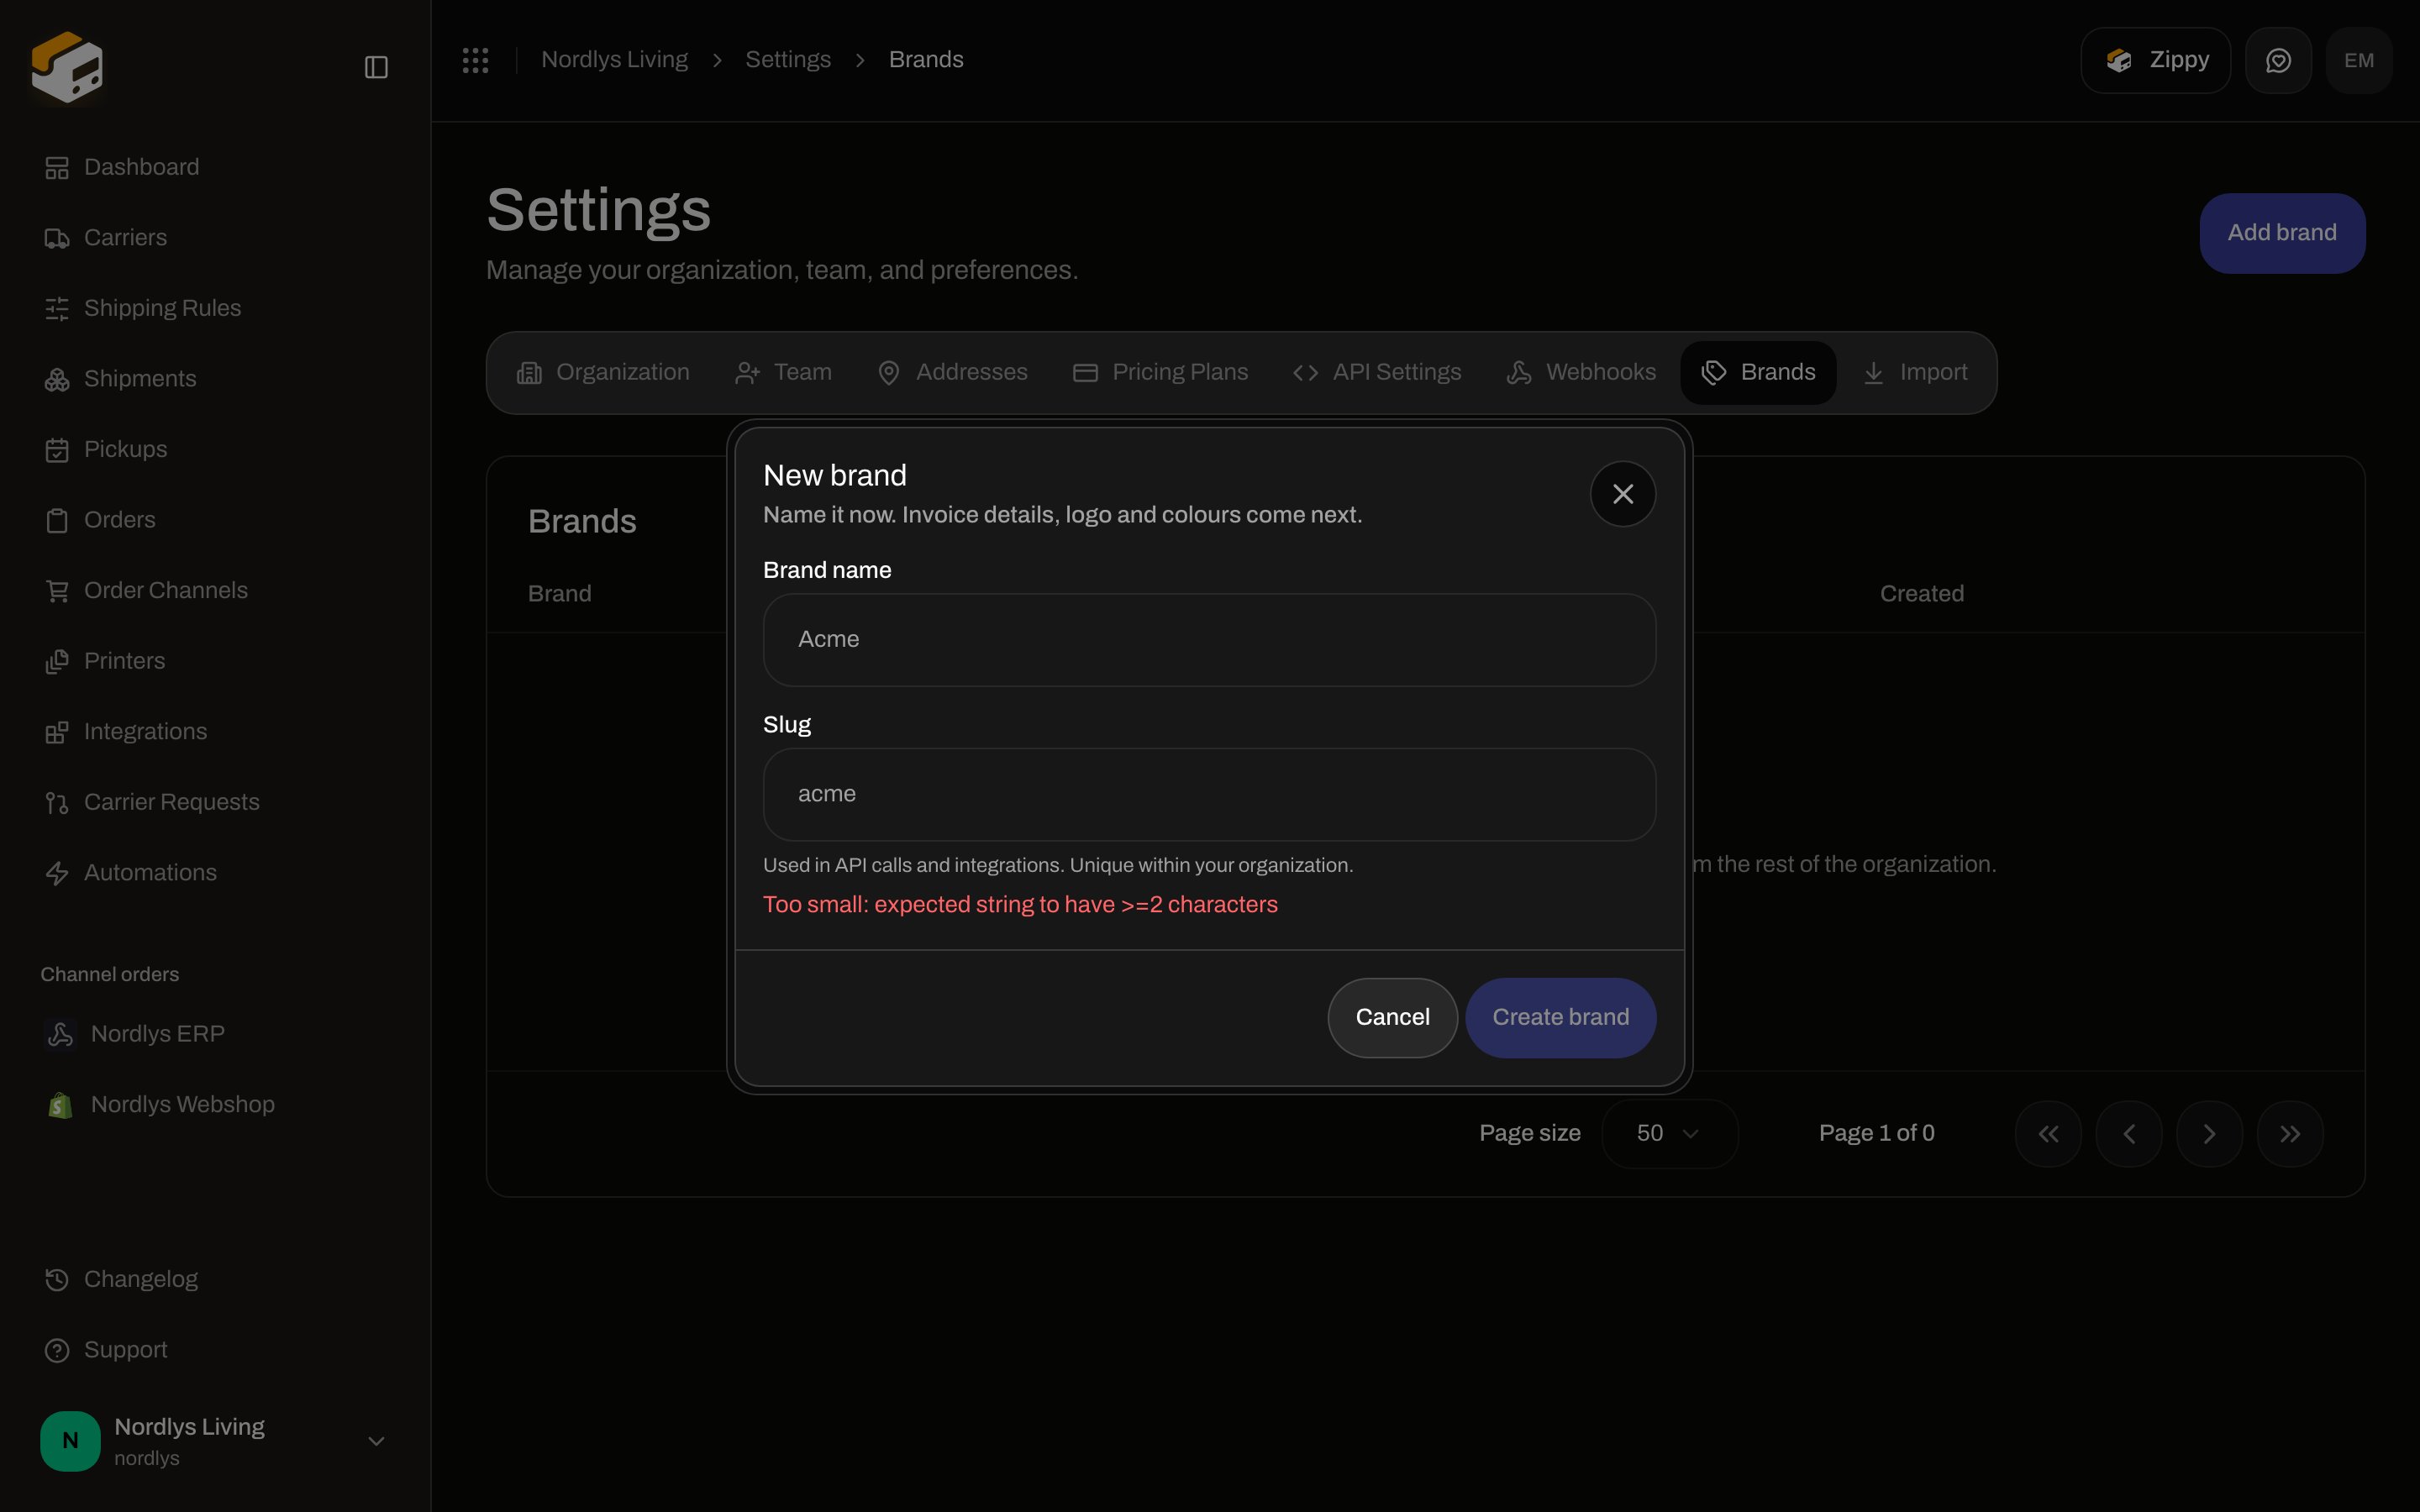
The dialog is **New brand**. Enter **Brand name**. **Slug** is derived from the name; it must be unique in the organization and is what you use in API calls. Invoice details, logo, and colours come on the next screen.
Click **Create brand**. Open the new row to fill **Invoice details**, **Address**, **Customs identifiers**, and **Document branding**.
Click **Create your first brand**, or **Add brand** in the header if you already have some.
The dialog is **New brand**. Enter **Brand name**. **Slug** is derived from the name; it must be unique in the organization and is what you use in API calls. Invoice details, logo, and colours come on the next screen.
Click **Create brand**. Open the new row to fill **Invoice details**, **Address**, **Customs identifiers**, and **Document branding**.
 On the brand detail page you can turn on **Use the organization's customs information** so the brand inherits org-level VAT and customs IDs. Anything left blank on the brand uses the organization value.
**Archive** keeps the slug and records (archived brands still count toward the plan limit). **Delete** is refused while anything is attached — archive instead. Brand-locked members cannot open this tab; they see that brands cannot be managed from their account.
After you have brands, the organization switcher grows a **Brands** section. Carriers, addresses, shipping rules, tokens, and webhooks can each be assigned to one brand. See [Brands](/docs/settings/brands) and [Carriers](/docs/tutorials/carriers).
## Pricing Plans
**Pricing Plans** is the billing tab. Toggle **Monthly** / **Yearly** (yearly saves 20%). Cards are **Free**, **Standard**, **Growth** (marked **Popular**), **Pro**, and **Enterprise**.
On the brand detail page you can turn on **Use the organization's customs information** so the brand inherits org-level VAT and customs IDs. Anything left blank on the brand uses the organization value.
**Archive** keeps the slug and records (archived brands still count toward the plan limit). **Delete** is refused while anything is attached — archive instead. Brand-locked members cannot open this tab; they see that brands cannot be managed from their account.
After you have brands, the organization switcher grows a **Brands** section. Carriers, addresses, shipping rules, tokens, and webhooks can each be assigned to one brand. See [Brands](/docs/settings/brands) and [Carriers](/docs/tutorials/carriers).
## Pricing Plans
**Pricing Plans** is the billing tab. Toggle **Monthly** / **Yearly** (yearly saves 20%). Cards are **Free**, **Standard**, **Growth** (marked **Popular**), **Pro**, and **Enterprise**.
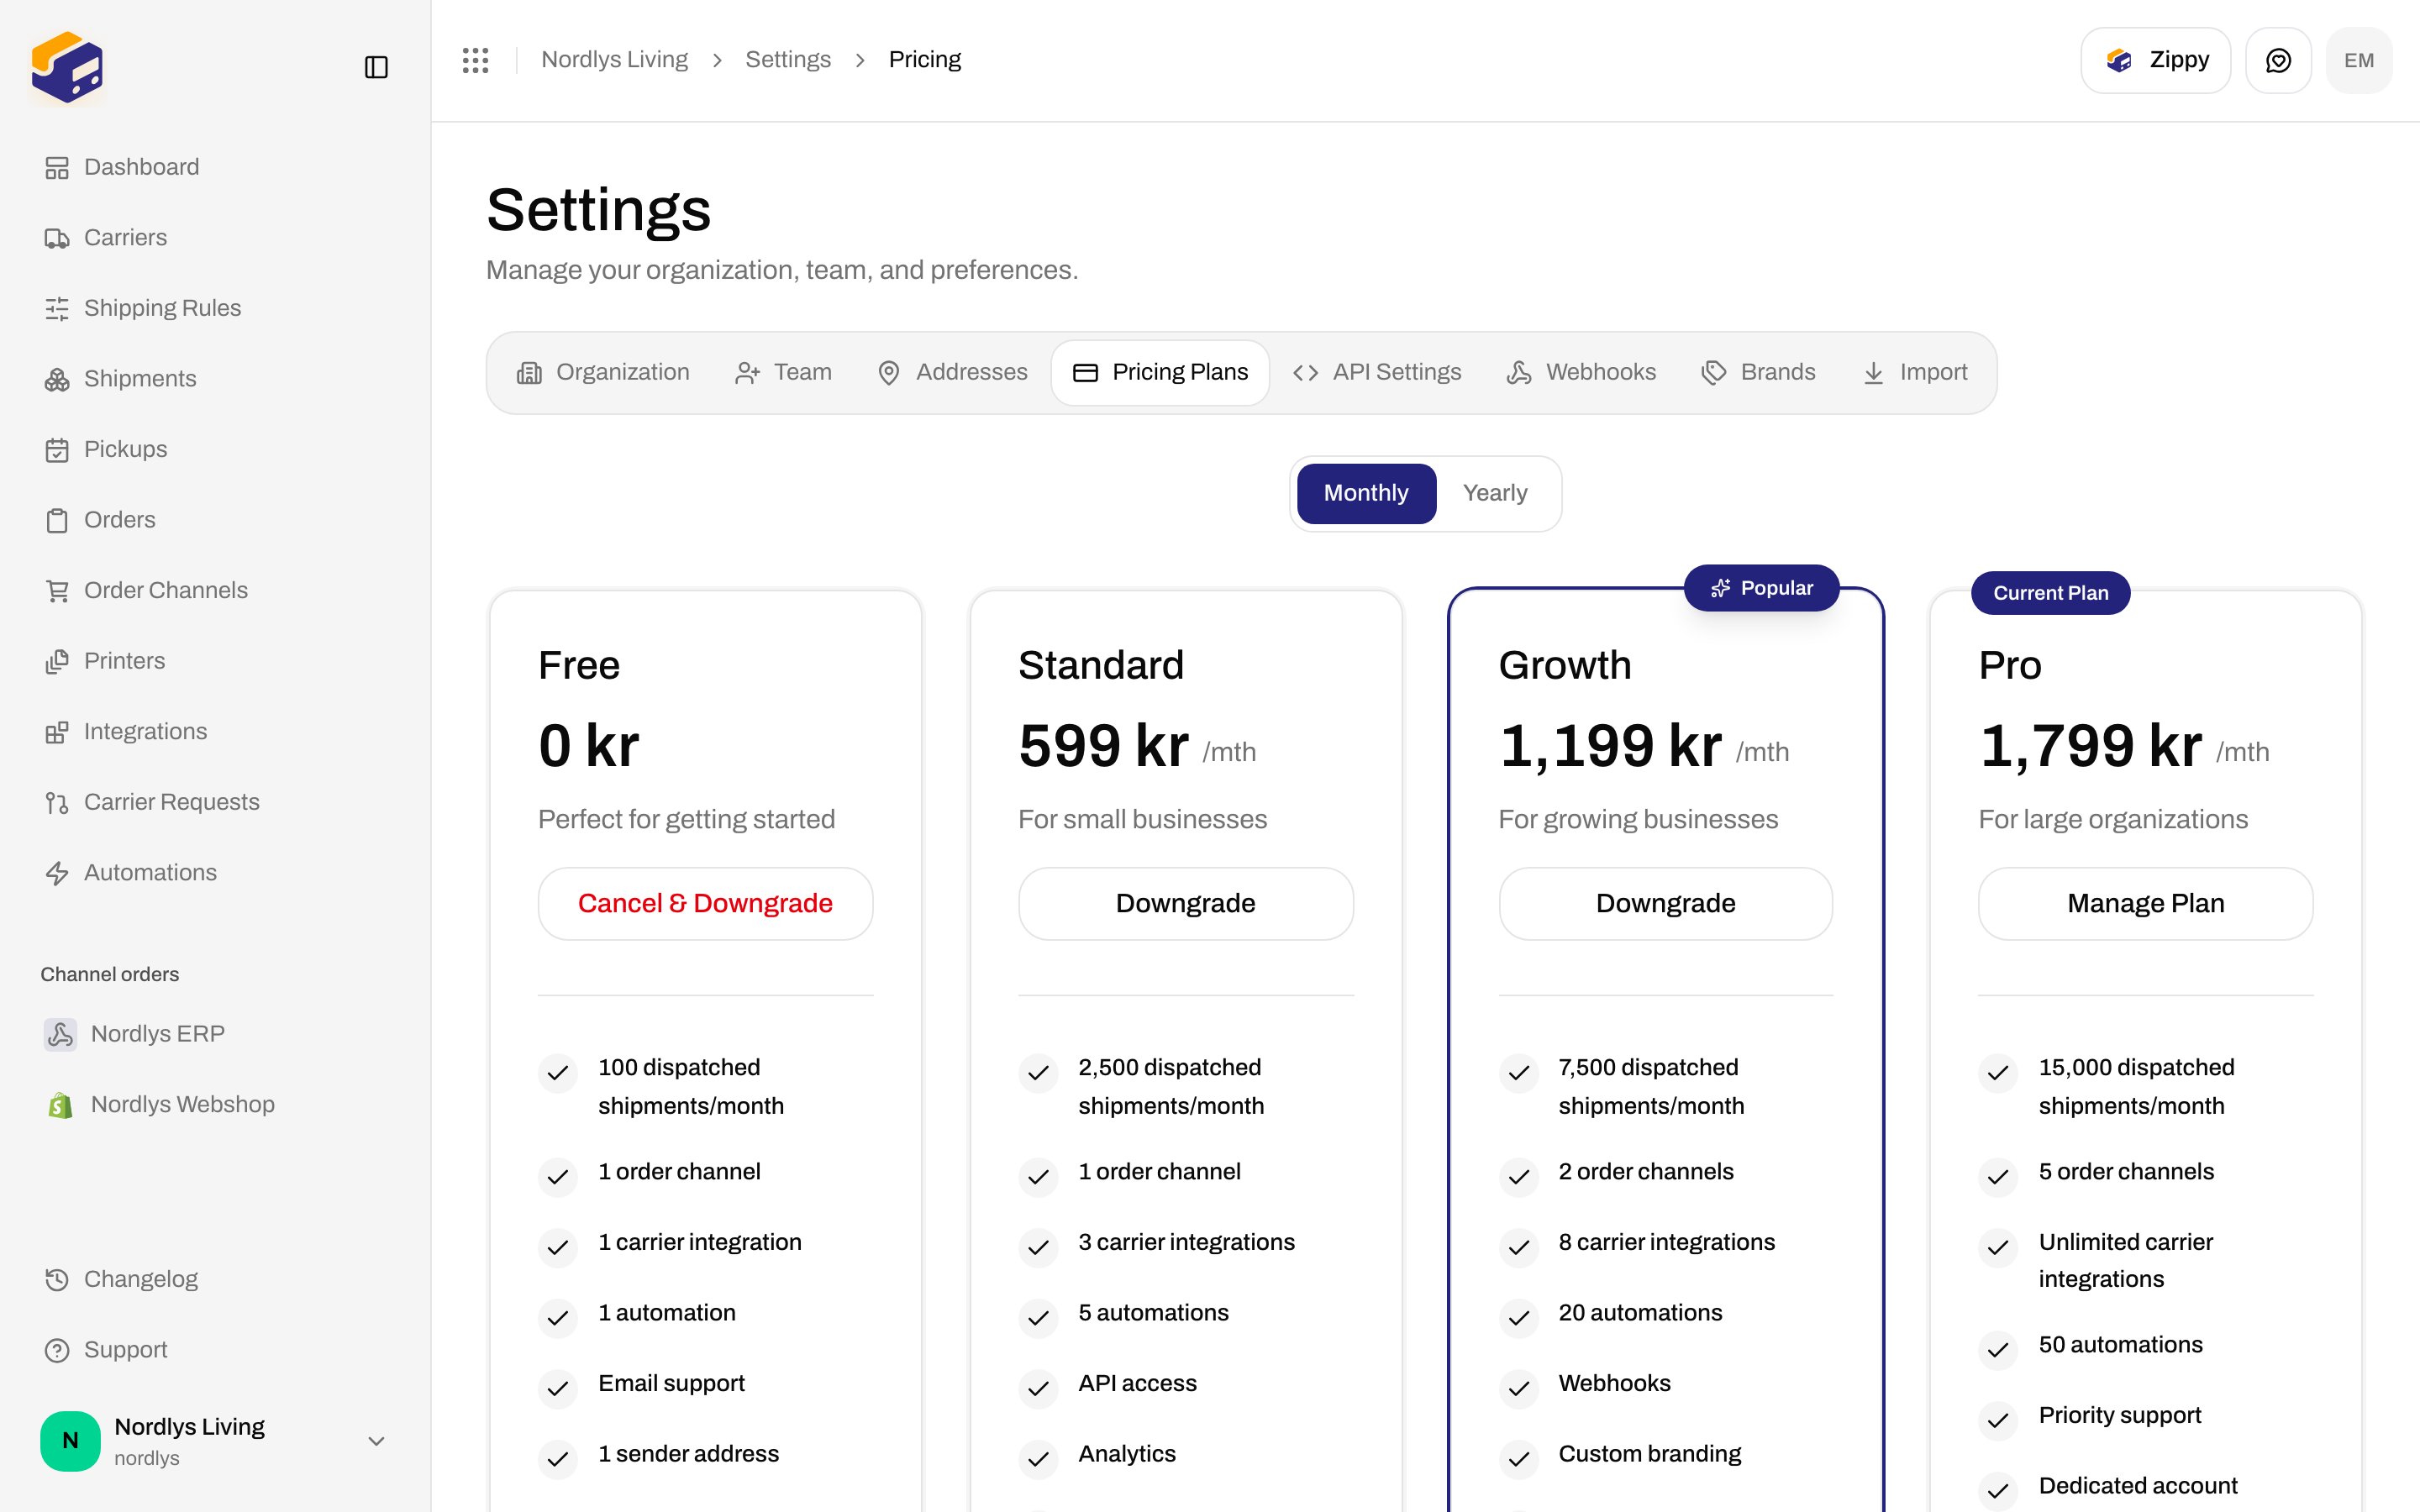
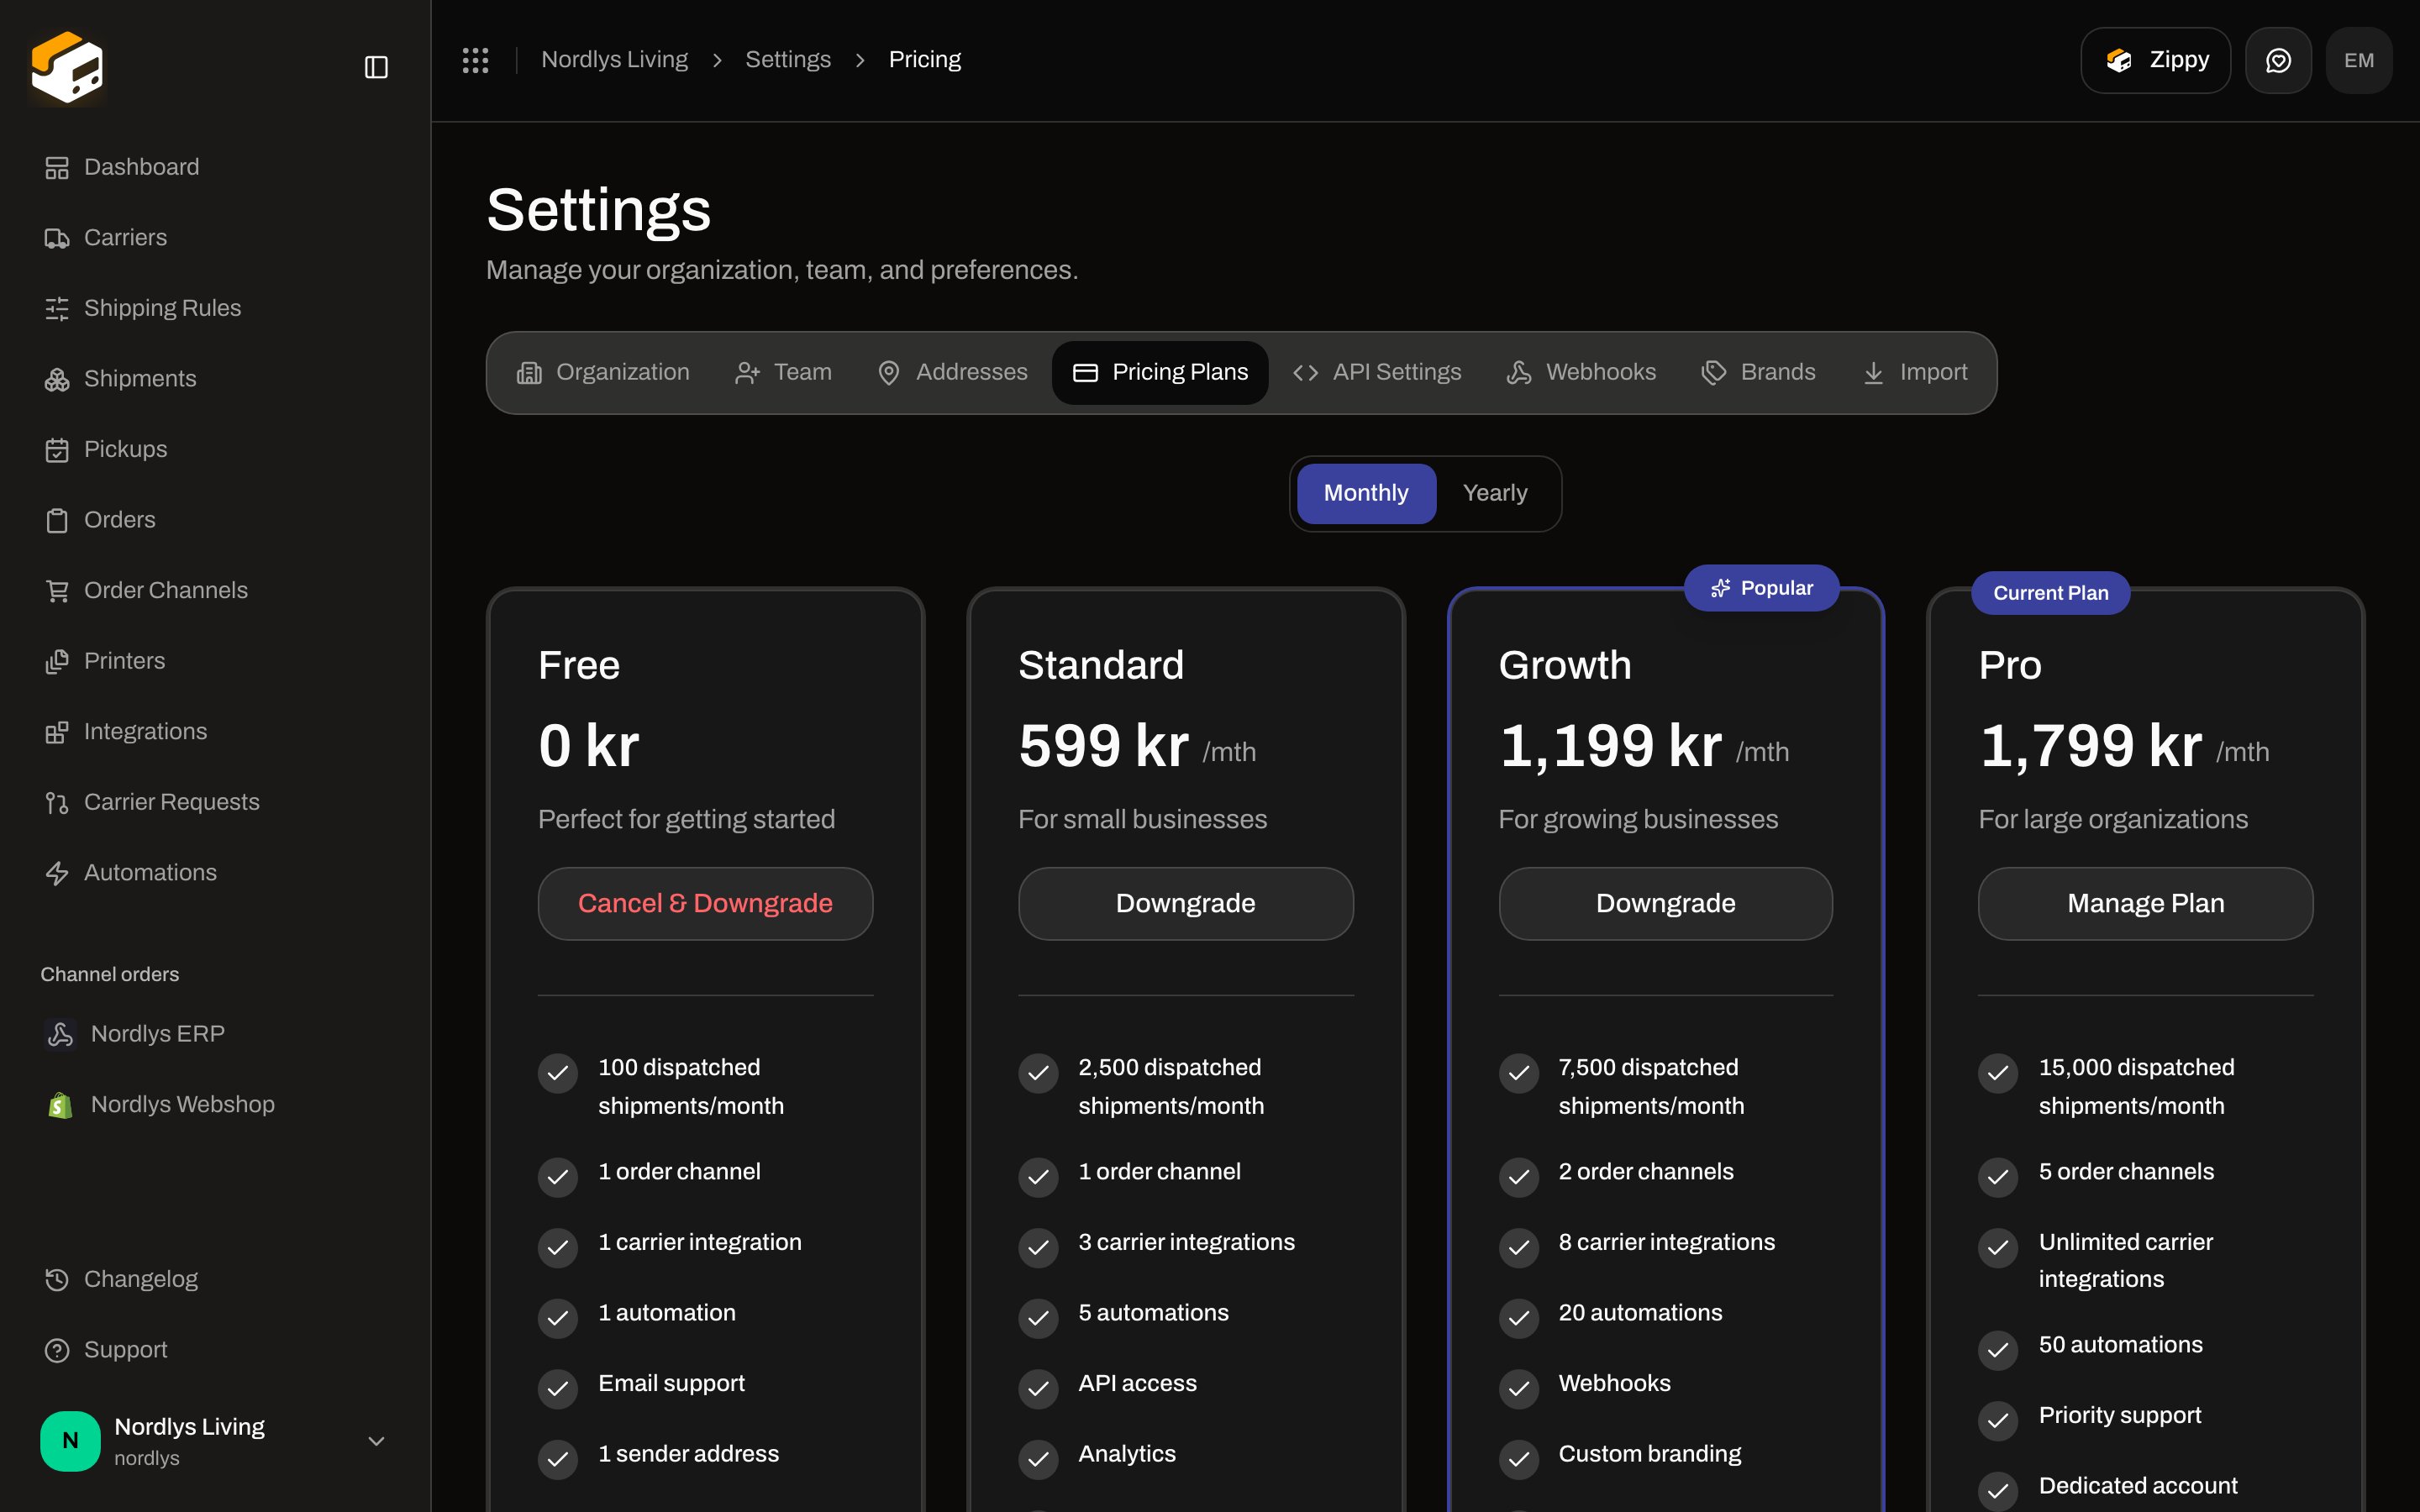 On your current plan the button is **Manage Plan**. Other paid cards offer **Upgrade** or **Downgrade**; Free shows **Cancel & Downgrade** when you are on a paid plan.
Scroll the same tab for:
* **Current Usage** — **Shipments this period** plus plan limits (team members, carriers, sales channels, shipping rules, addresses, API tokens, automations).
* **Overage Settings** — **Allow overage shipments**. When on, extra dispatched shipments are billed per shipment. When off, shipping pauses at the plan limit. A payment card is required to enable overage.
* **Add-ons** — extra carrier integrations, extra order channels, and **Zippy AI assistant**.
* **Manage billing** — opens the Stripe customer portal for cards, invoices, tax details, and billing address. Stay in Zippendo for this walkthrough; do not follow that portal as a docs step.
There is no separate “label credits” balance in the client. Dispatch usage is the shipment count on this tab and in the org switcher.
If the org was installed from Shopify, billing is managed in the Shopify admin instead. Enterprise orgs are billed offline.
Reference: [Pricing and billing](/docs/settings/pricing-and-billing).
## API tokens
**API Settings** lists tokens used to call the Zippendo API. The header action is **Add API Token**.
On your current plan the button is **Manage Plan**. Other paid cards offer **Upgrade** or **Downgrade**; Free shows **Cancel & Downgrade** when you are on a paid plan.
Scroll the same tab for:
* **Current Usage** — **Shipments this period** plus plan limits (team members, carriers, sales channels, shipping rules, addresses, API tokens, automations).
* **Overage Settings** — **Allow overage shipments**. When on, extra dispatched shipments are billed per shipment. When off, shipping pauses at the plan limit. A payment card is required to enable overage.
* **Add-ons** — extra carrier integrations, extra order channels, and **Zippy AI assistant**.
* **Manage billing** — opens the Stripe customer portal for cards, invoices, tax details, and billing address. Stay in Zippendo for this walkthrough; do not follow that portal as a docs step.
There is no separate “label credits” balance in the client. Dispatch usage is the shipment count on this tab and in the org switcher.
If the org was installed from Shopify, billing is managed in the Shopify admin instead. Enterprise orgs are billed offline.
Reference: [Pricing and billing](/docs/settings/pricing-and-billing).
## API tokens
**API Settings** lists tokens used to call the Zippendo API. The header action is **Add API Token**.
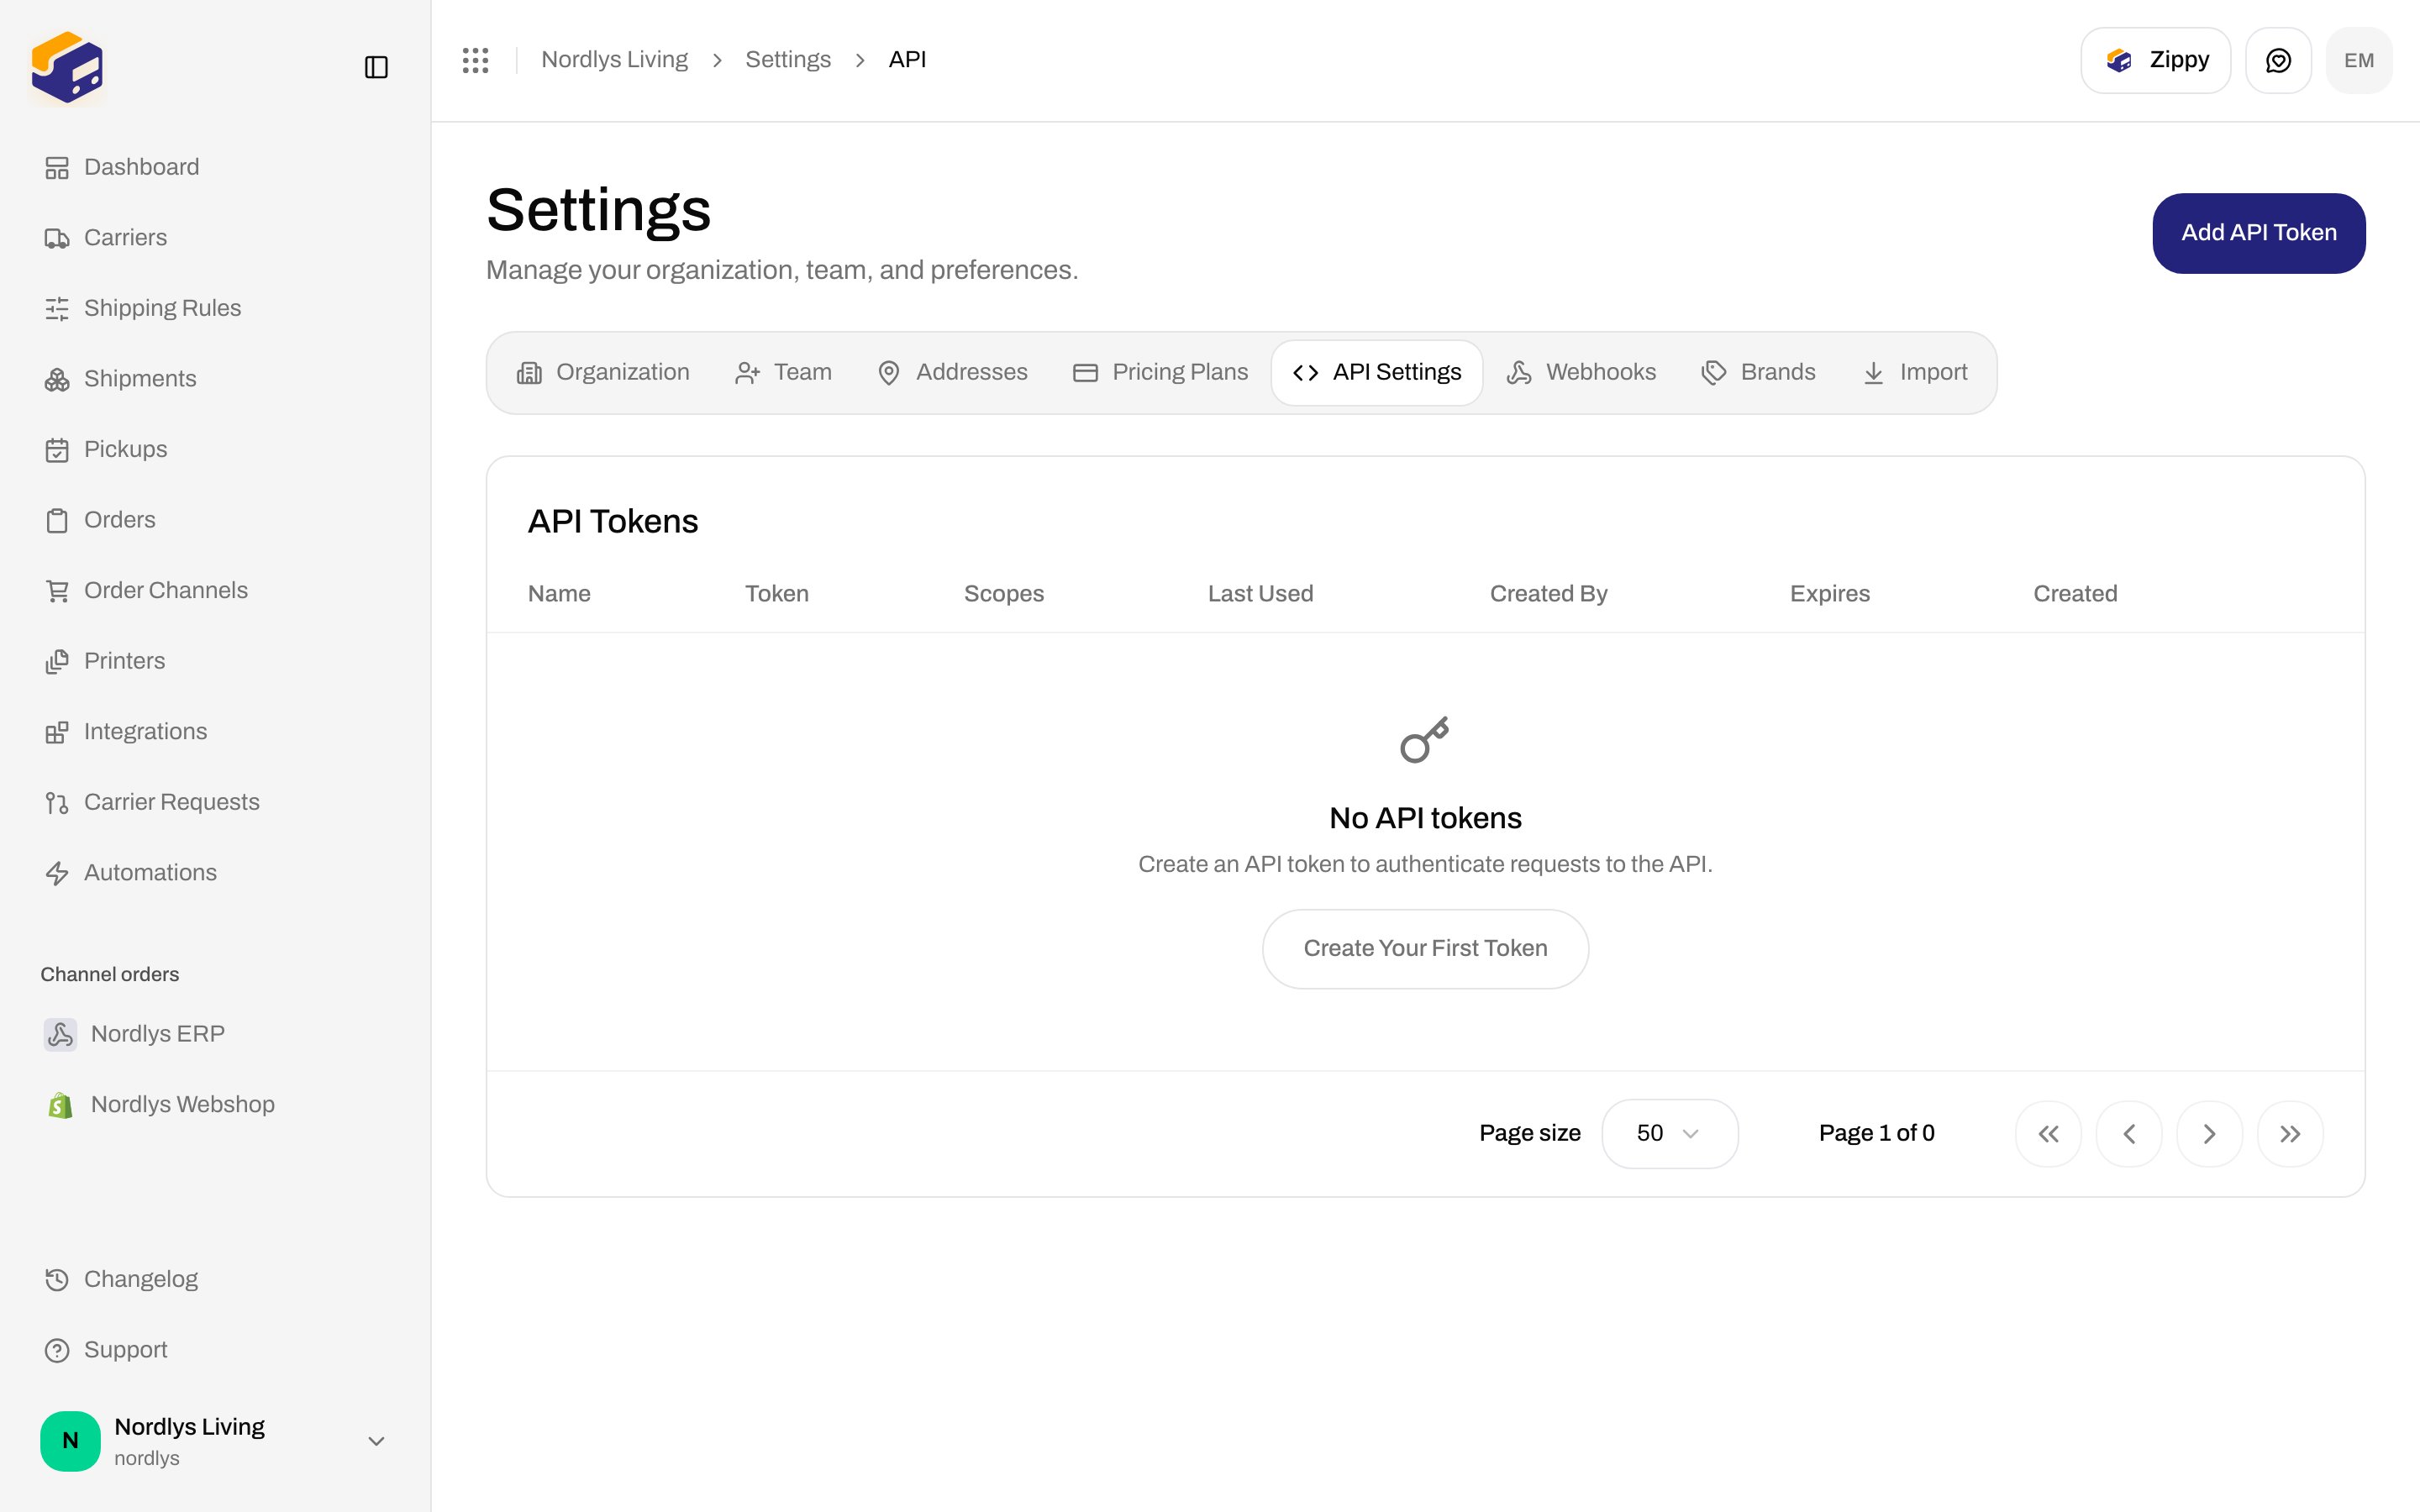
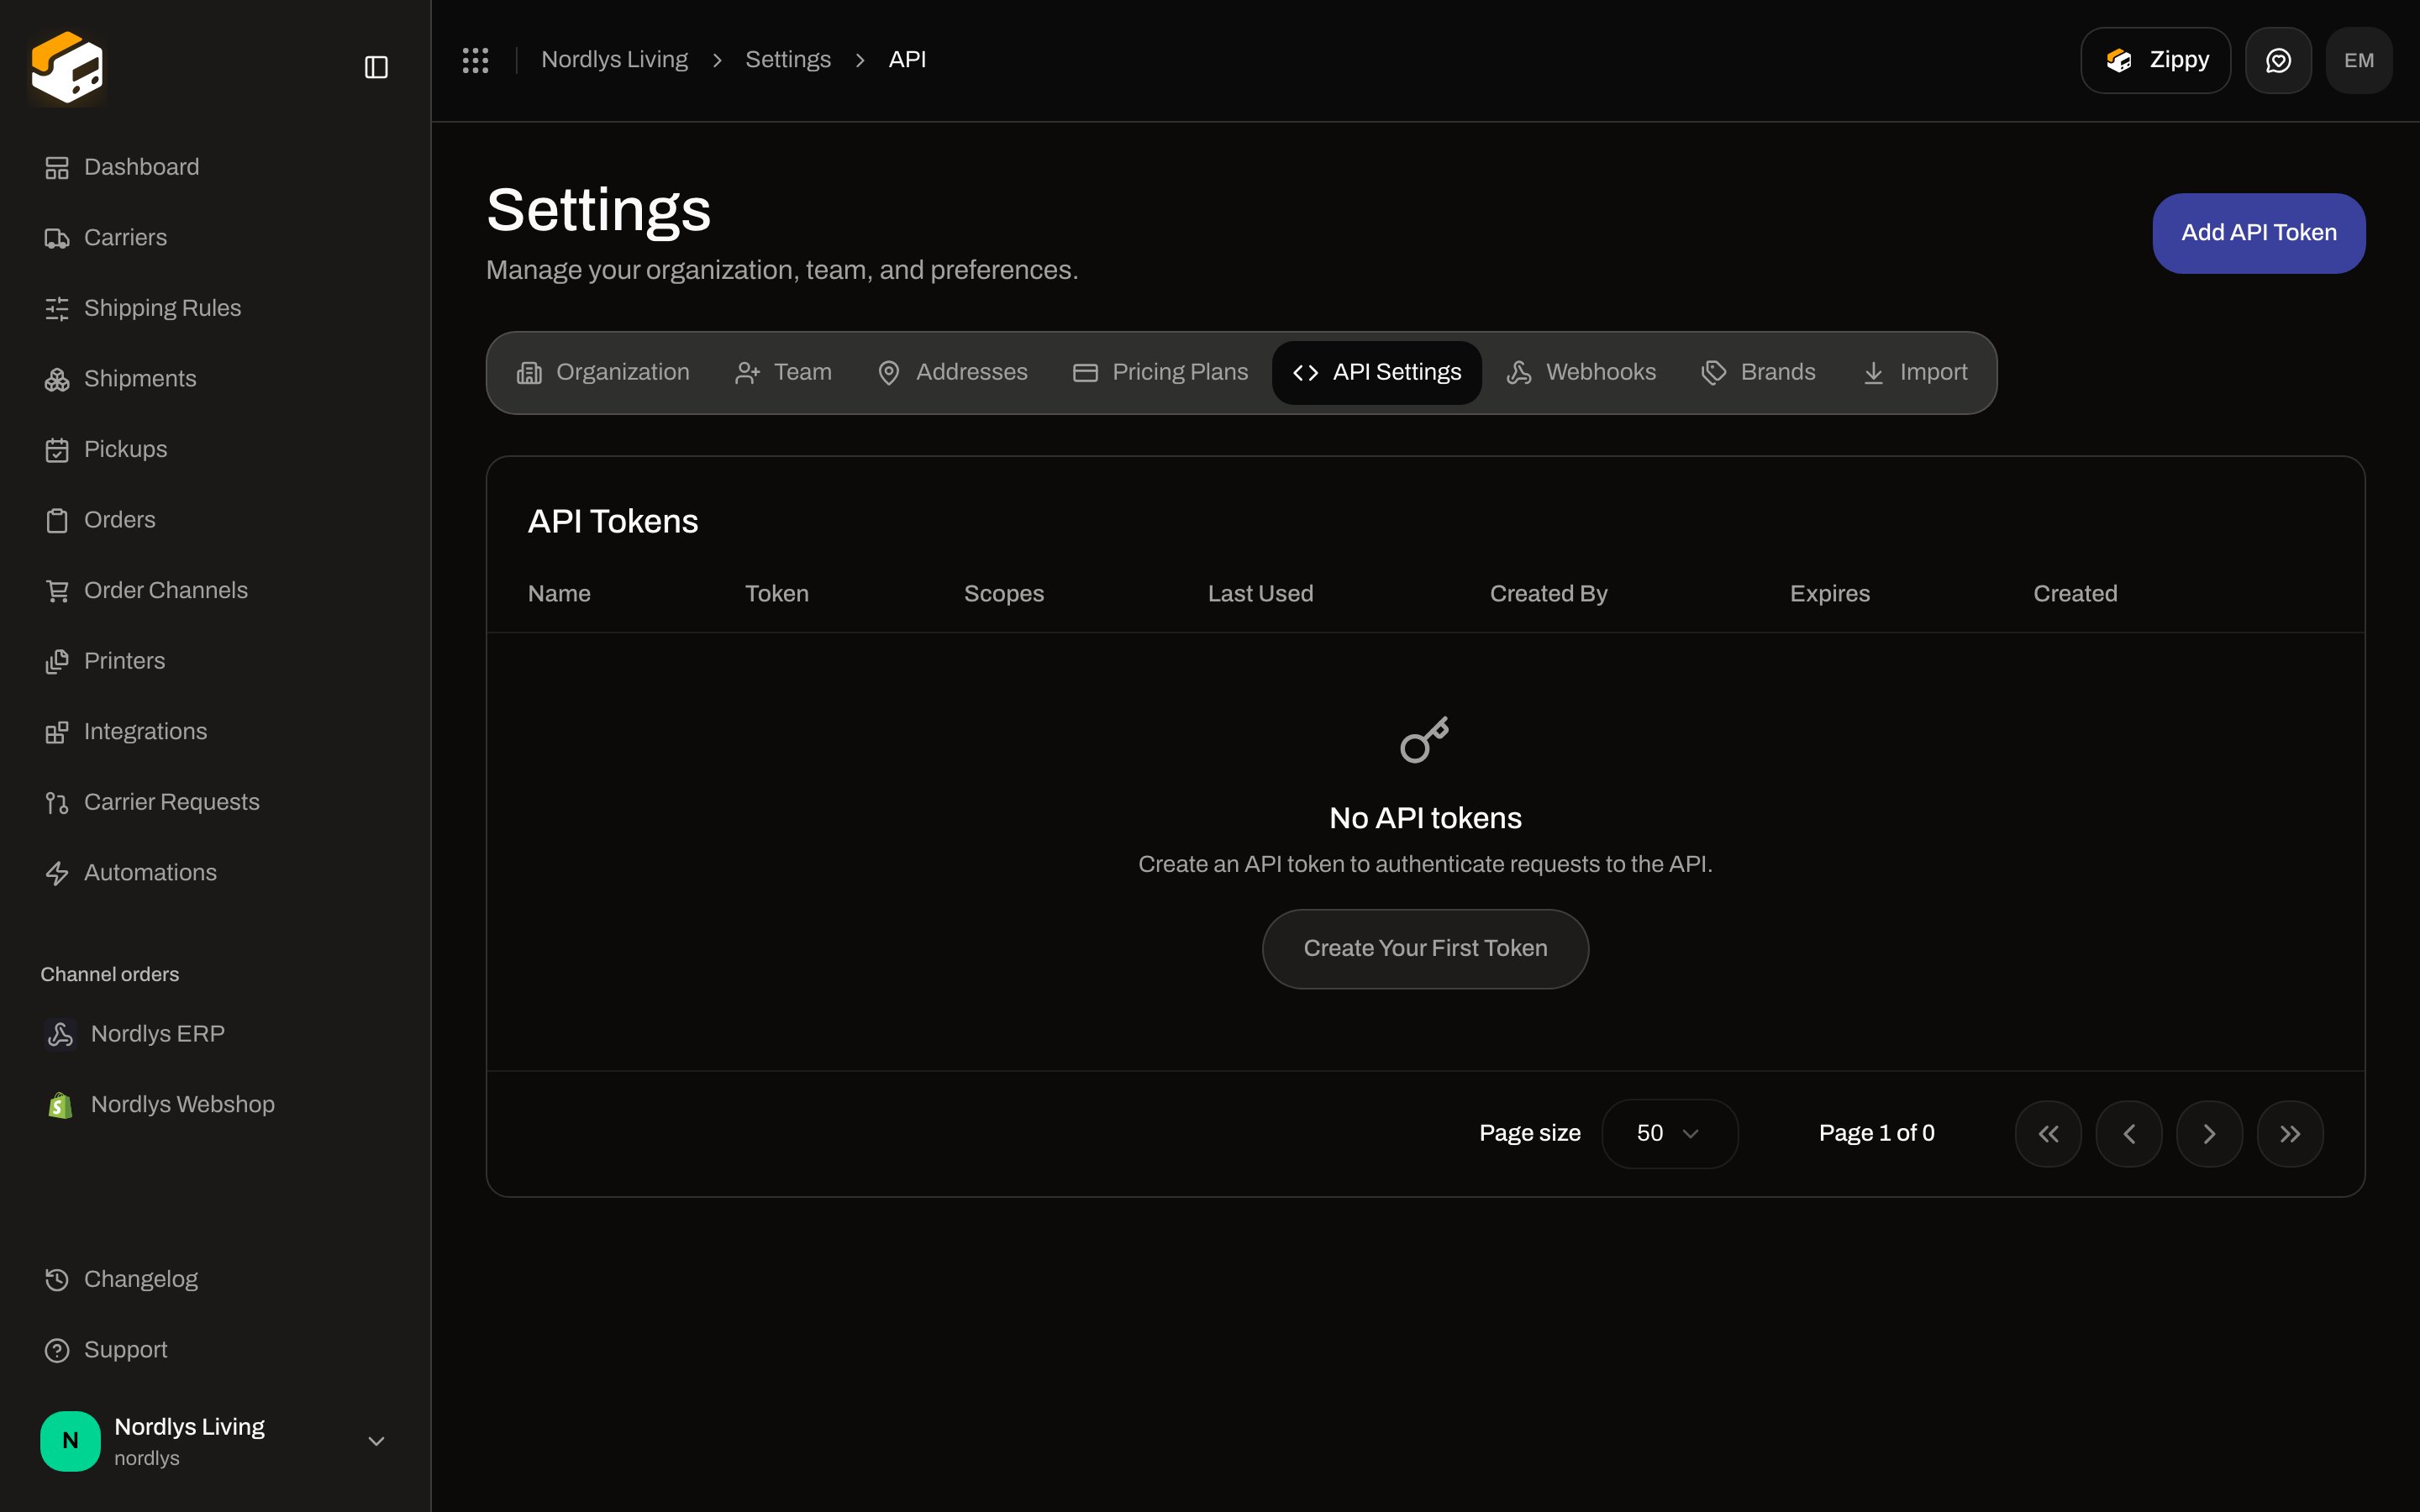 Click **Add API Token** or **Create Your First Token**.
**Create API Token** asks for **Token Name \***, optional **Expires In (Days)** (max 365), and **Permissions \***. Use **Select All** or pick read/write scopes.
Click **Create Token**. The secret is shown **once** in **API Token Created**. Copy it. You will not see it again.
Click **Add API Token** or **Create Your First Token**.
**Create API Token** asks for **Token Name \***, optional **Expires In (Days)** (max 365), and **Permissions \***. Use **Select All** or pick read/write scopes.
Click **Create Token**. The secret is shown **once** in **API Token Created**. Copy it. You will not see it again.
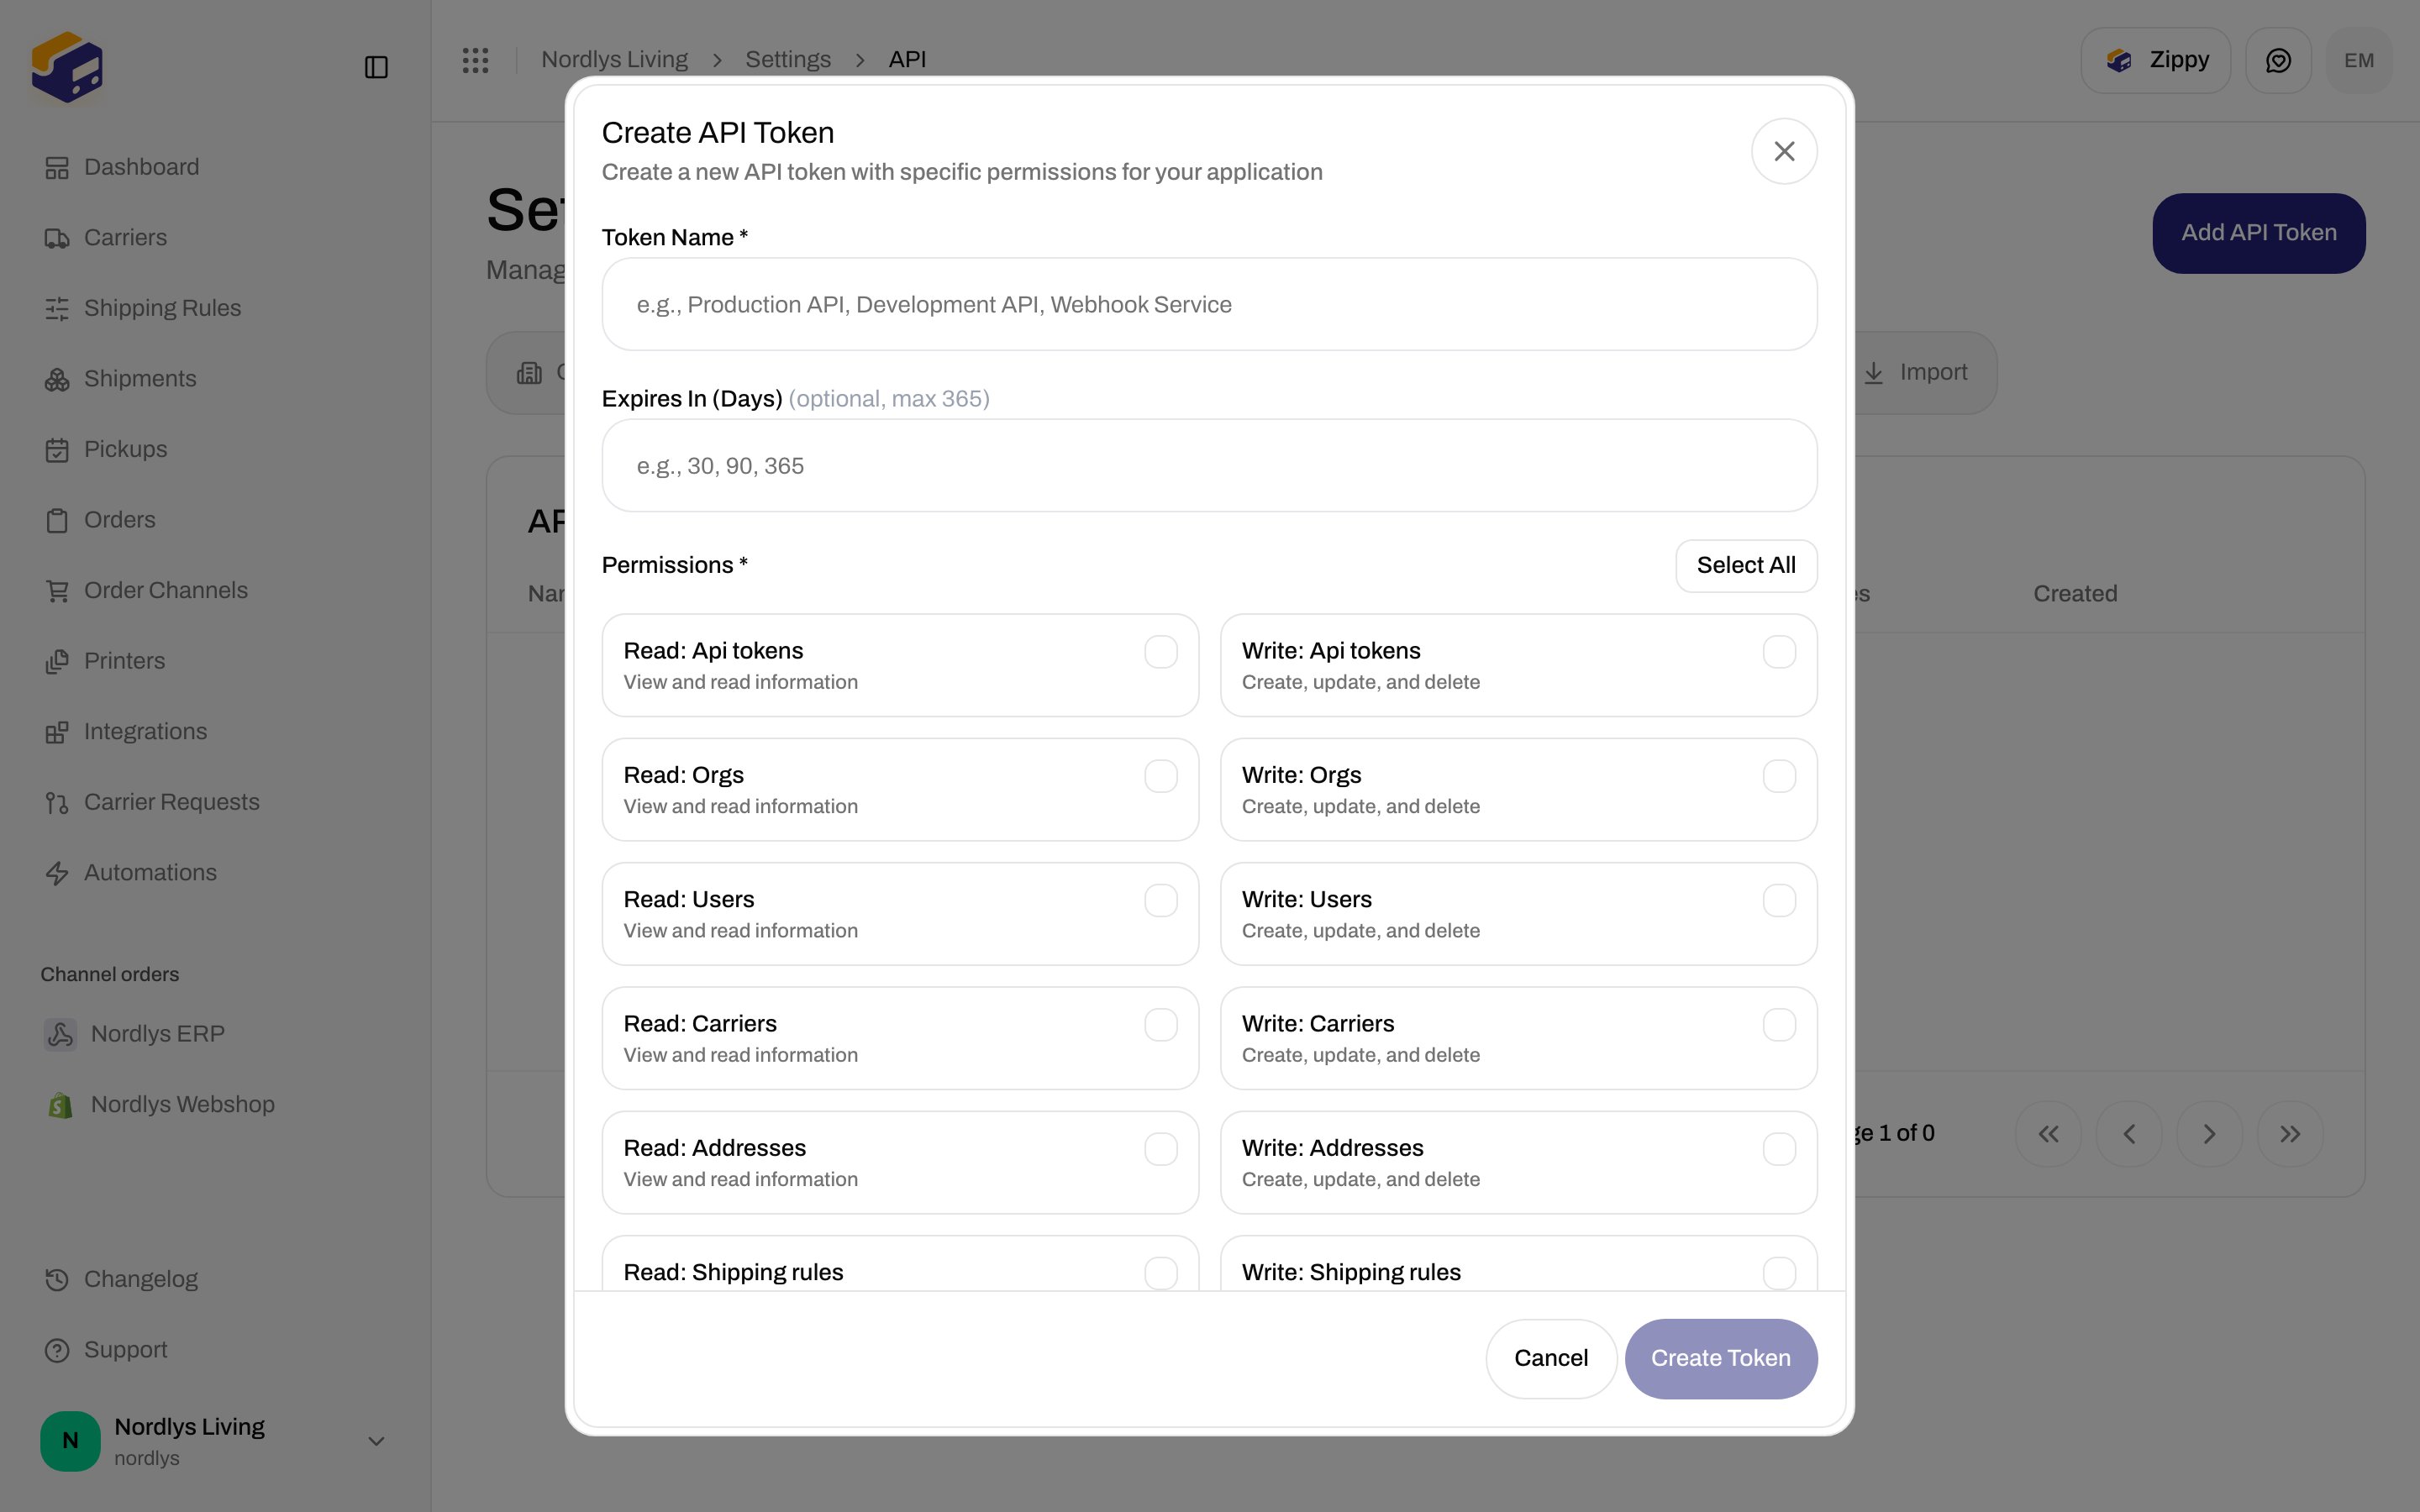
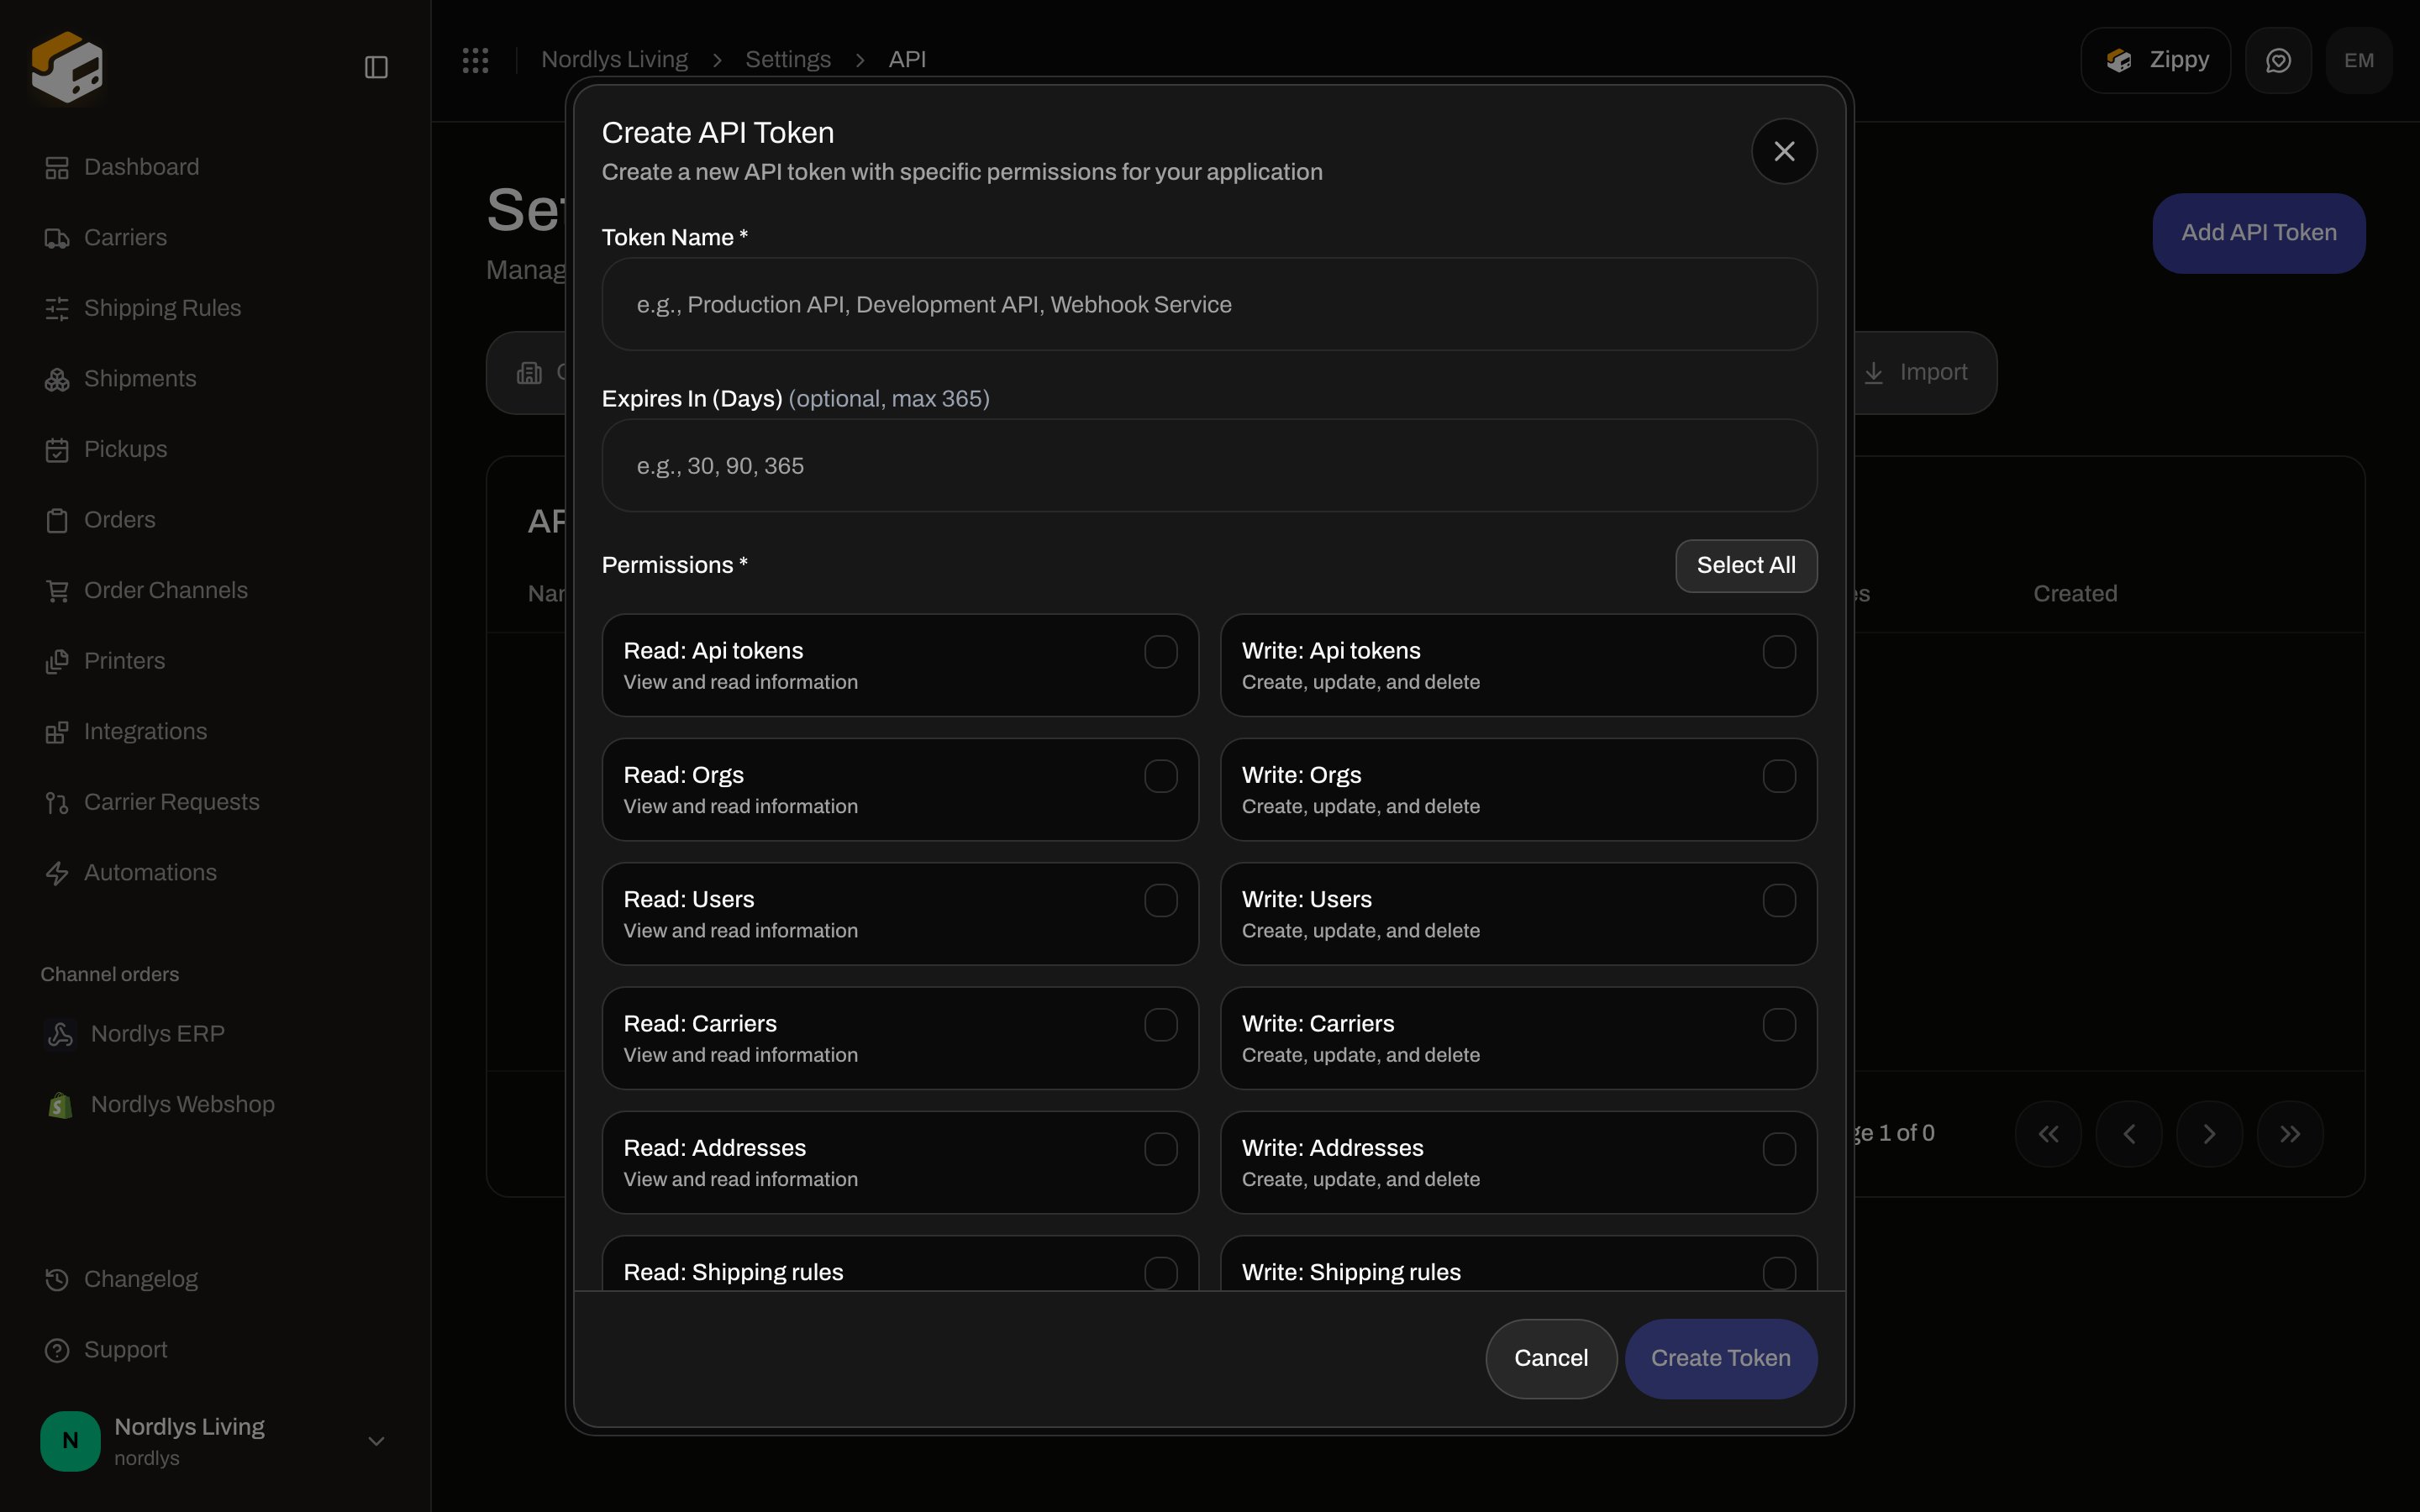 Treat the token like a password. If it leaks, delete it here and create a new one. Send it as `Authorization: Bearer YOUR_TOKEN`. See [REST API](/docs/quickstarts/rest-api) and [API token authentication errors](/docs/knowledge-base/api-token-authentication-errors).
If brands exist, **Restrict to brand** appears on the token. Requests then only read and write that brand’s data. Leave **No brand (organization-wide)** for org-wide access.
The table columns are **Name**, **Token** (masked), **Scopes**, **Last Used**, **Created By**, **Expires**, and **Created**.
## Webhooks and Import
**Webhooks** is **Add Webhook** plus a list of endpoints. Configure URL, events, and a signing secret there. Walkthrough: [Webhooks](/docs/settings/webhooks) and the [webhooks quickstart](/docs/quickstarts/webhooks).
**Import** is for bringing a setup across from another platform. Use it when you are migrating; it is not required for a new organization.
**Addresses** is the sender / pickup / return list. You need at least one sender address before you create a shipment. See [Sender addresses](/docs/settings/sender-addresses).
## Printers are not in Settings
Label printers live under **Printers** in the main sidebar. The docs organization has **Zebra ZD421 – Pakkebord**.
Treat the token like a password. If it leaks, delete it here and create a new one. Send it as `Authorization: Bearer YOUR_TOKEN`. See [REST API](/docs/quickstarts/rest-api) and [API token authentication errors](/docs/knowledge-base/api-token-authentication-errors).
If brands exist, **Restrict to brand** appears on the token. Requests then only read and write that brand’s data. Leave **No brand (organization-wide)** for org-wide access.
The table columns are **Name**, **Token** (masked), **Scopes**, **Last Used**, **Created By**, **Expires**, and **Created**.
## Webhooks and Import
**Webhooks** is **Add Webhook** plus a list of endpoints. Configure URL, events, and a signing secret there. Walkthrough: [Webhooks](/docs/settings/webhooks) and the [webhooks quickstart](/docs/quickstarts/webhooks).
**Import** is for bringing a setup across from another platform. Use it when you are migrating; it is not required for a new organization.
**Addresses** is the sender / pickup / return list. You need at least one sender address before you create a shipment. See [Sender addresses](/docs/settings/sender-addresses).
## Printers are not in Settings
Label printers live under **Printers** in the main sidebar. The docs organization has **Zebra ZD421 – Pakkebord**.
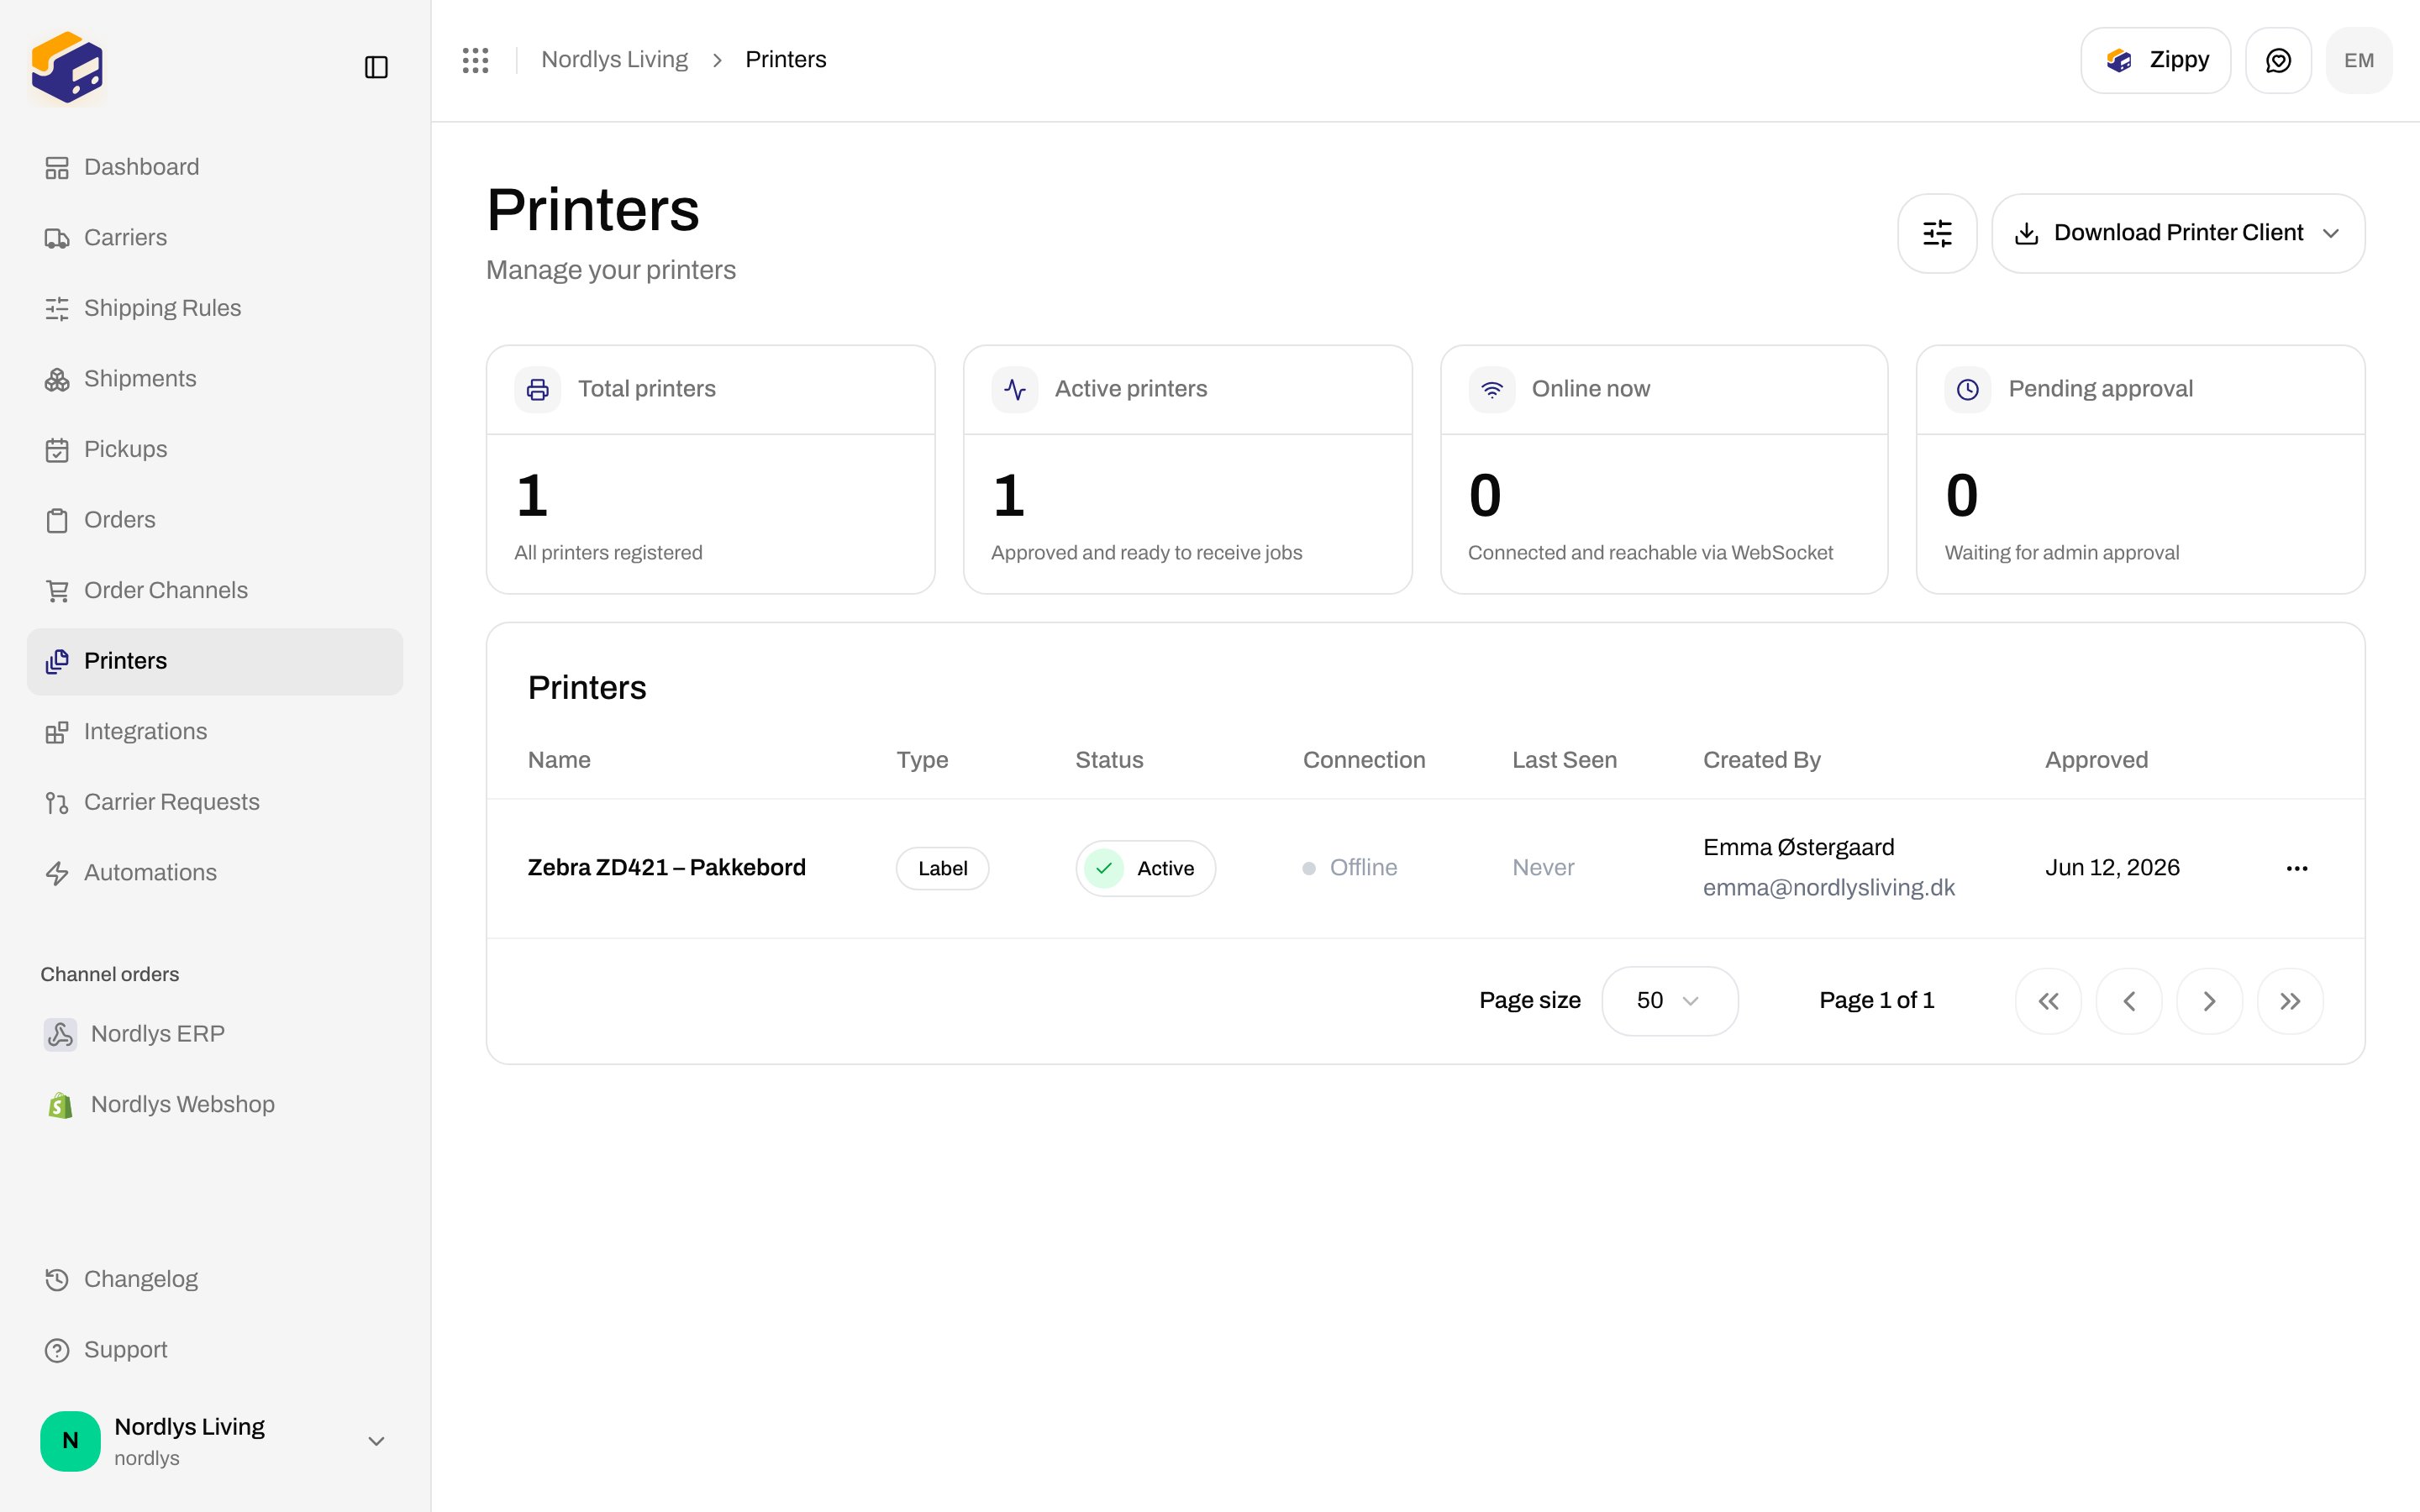
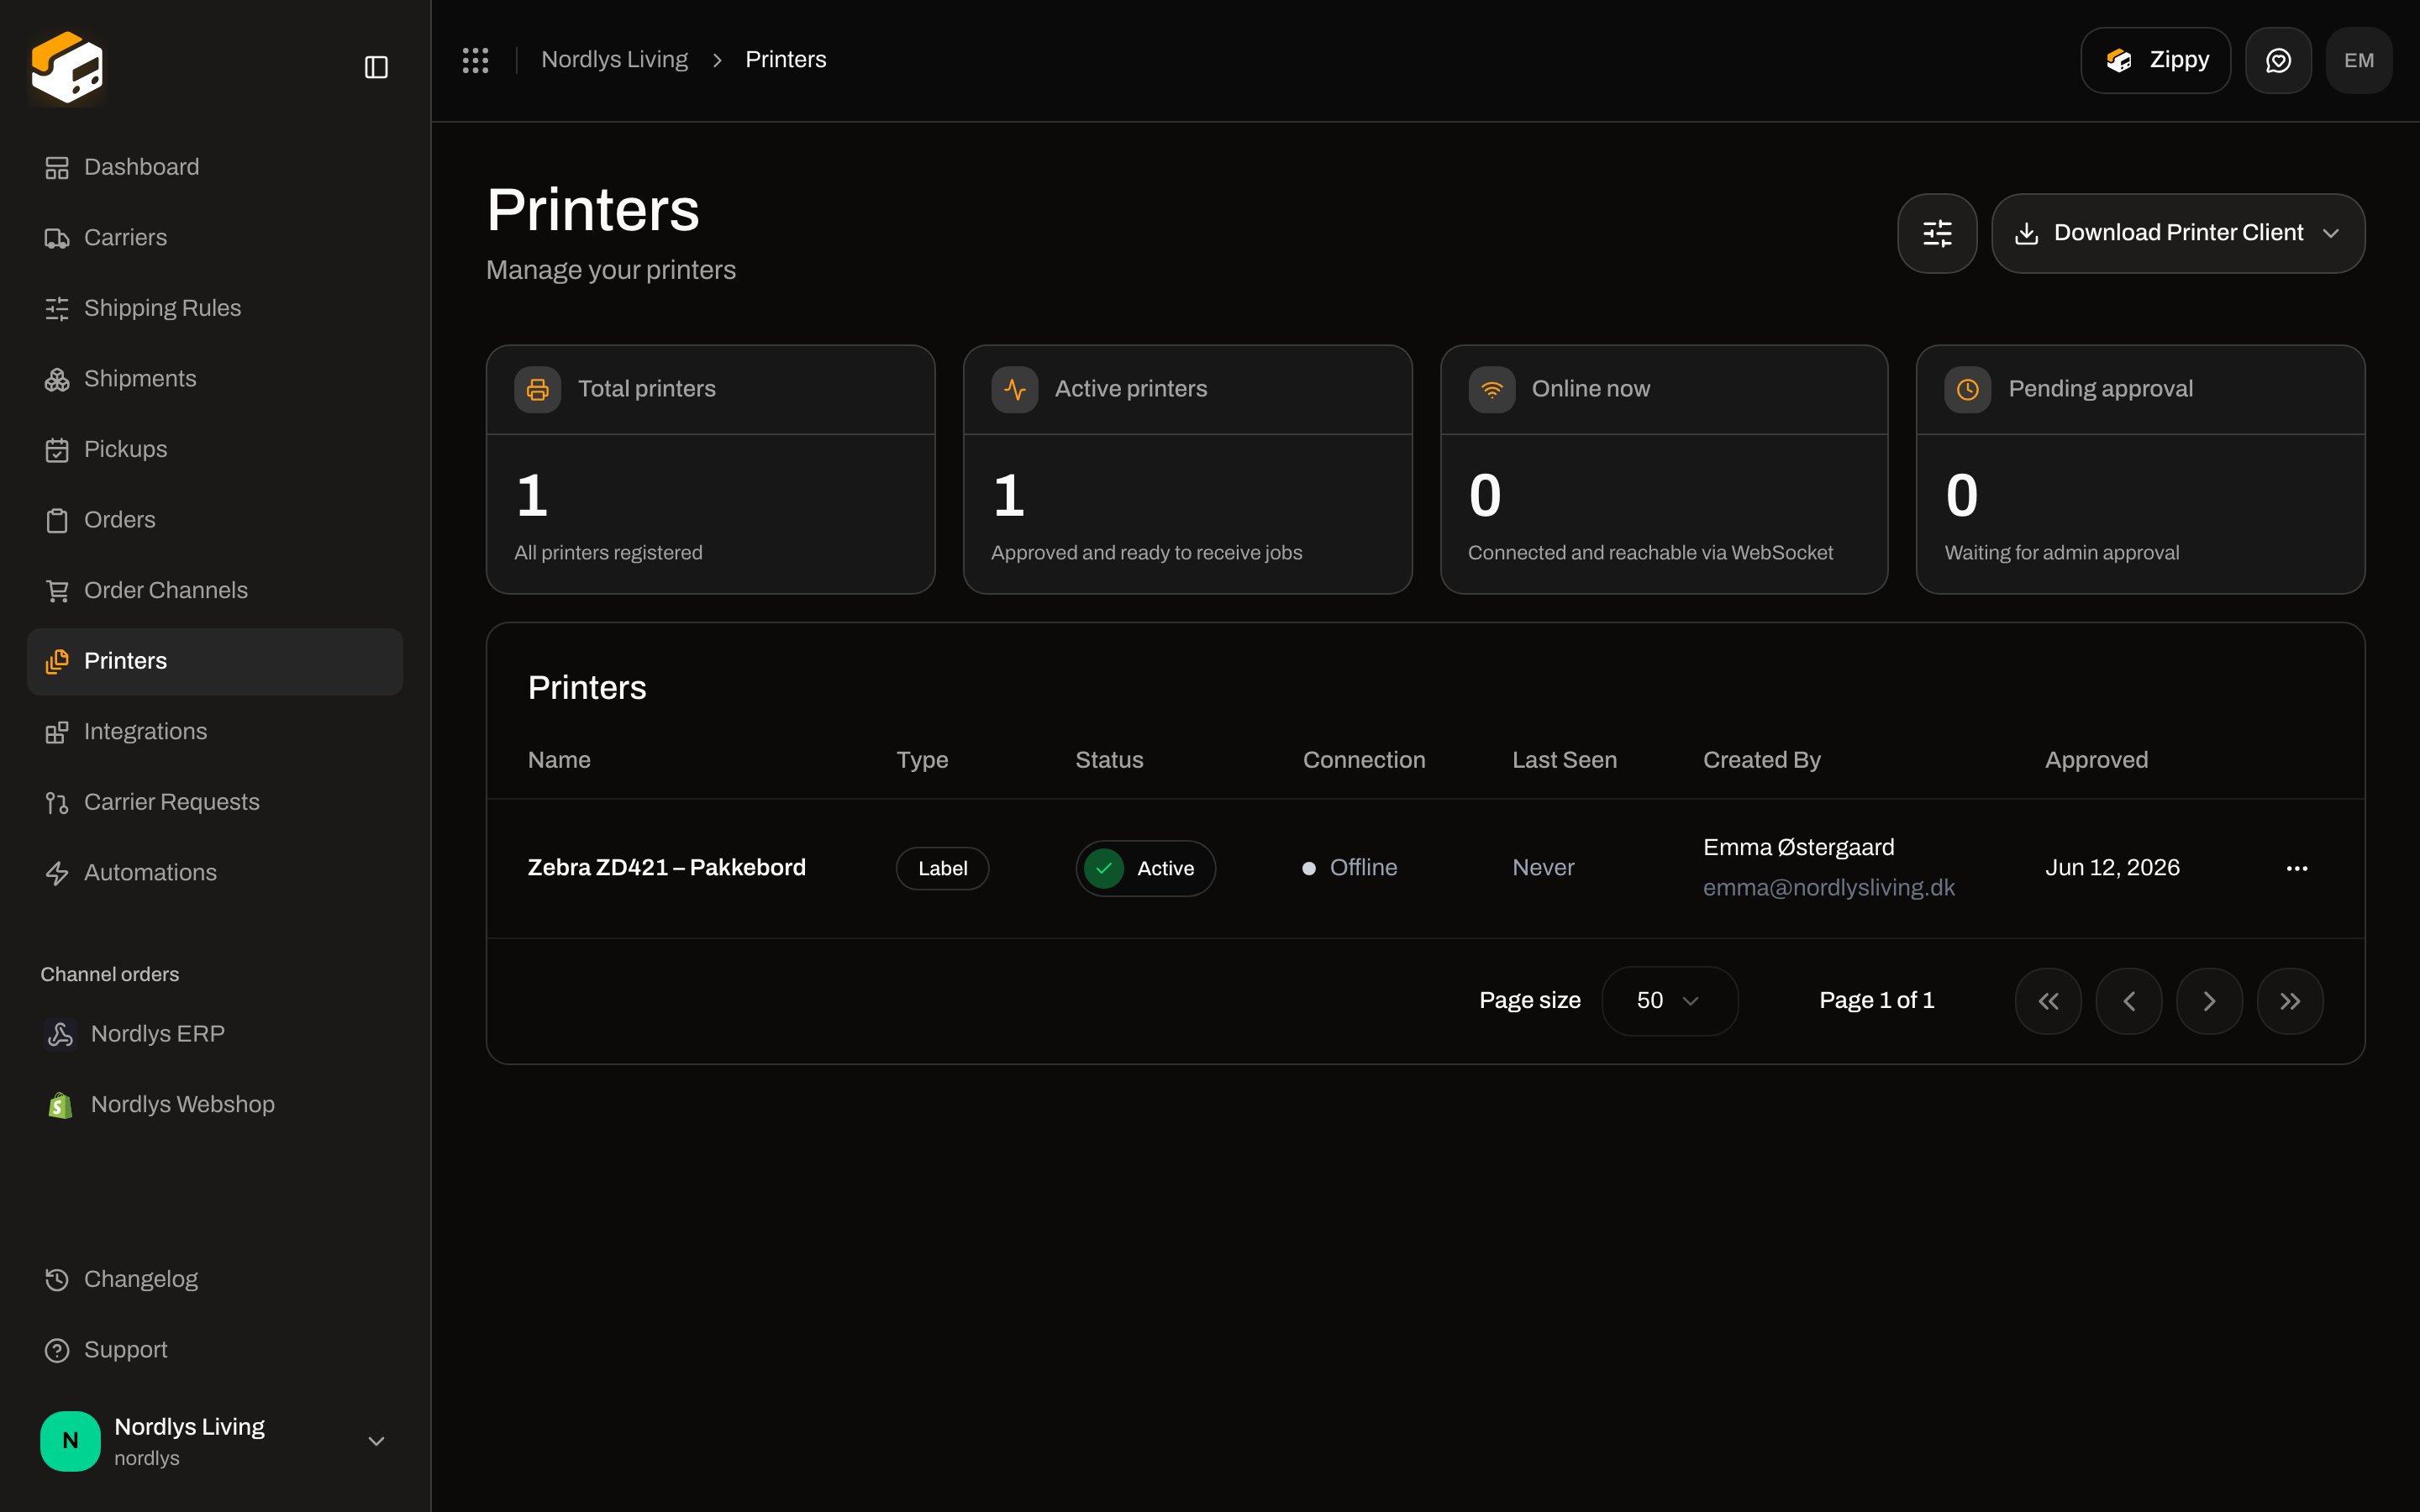 Cards show **Total printers**, **Active printers**, **Online now**, and **Pending approval**. **Download Printer Client** offers macOS (Apple Silicon / Intel) and Windows builds. How to print after you send: [Labels and printing](/docs/tutorials/labels-printing) and [Printers](/docs/printers/overview).
## Danger Zone
Scroll to the bottom of **Organization**. **Danger Zone** is **Delete Organization**.
Cards show **Total printers**, **Active printers**, **Online now**, and **Pending approval**. **Download Printer Client** offers macOS (Apple Silicon / Intel) and Windows builds. How to print after you send: [Labels and printing](/docs/tutorials/labels-printing) and [Printers](/docs/printers/overview).
## Danger Zone
Scroll to the bottom of **Organization**. **Danger Zone** is **Delete Organization**.
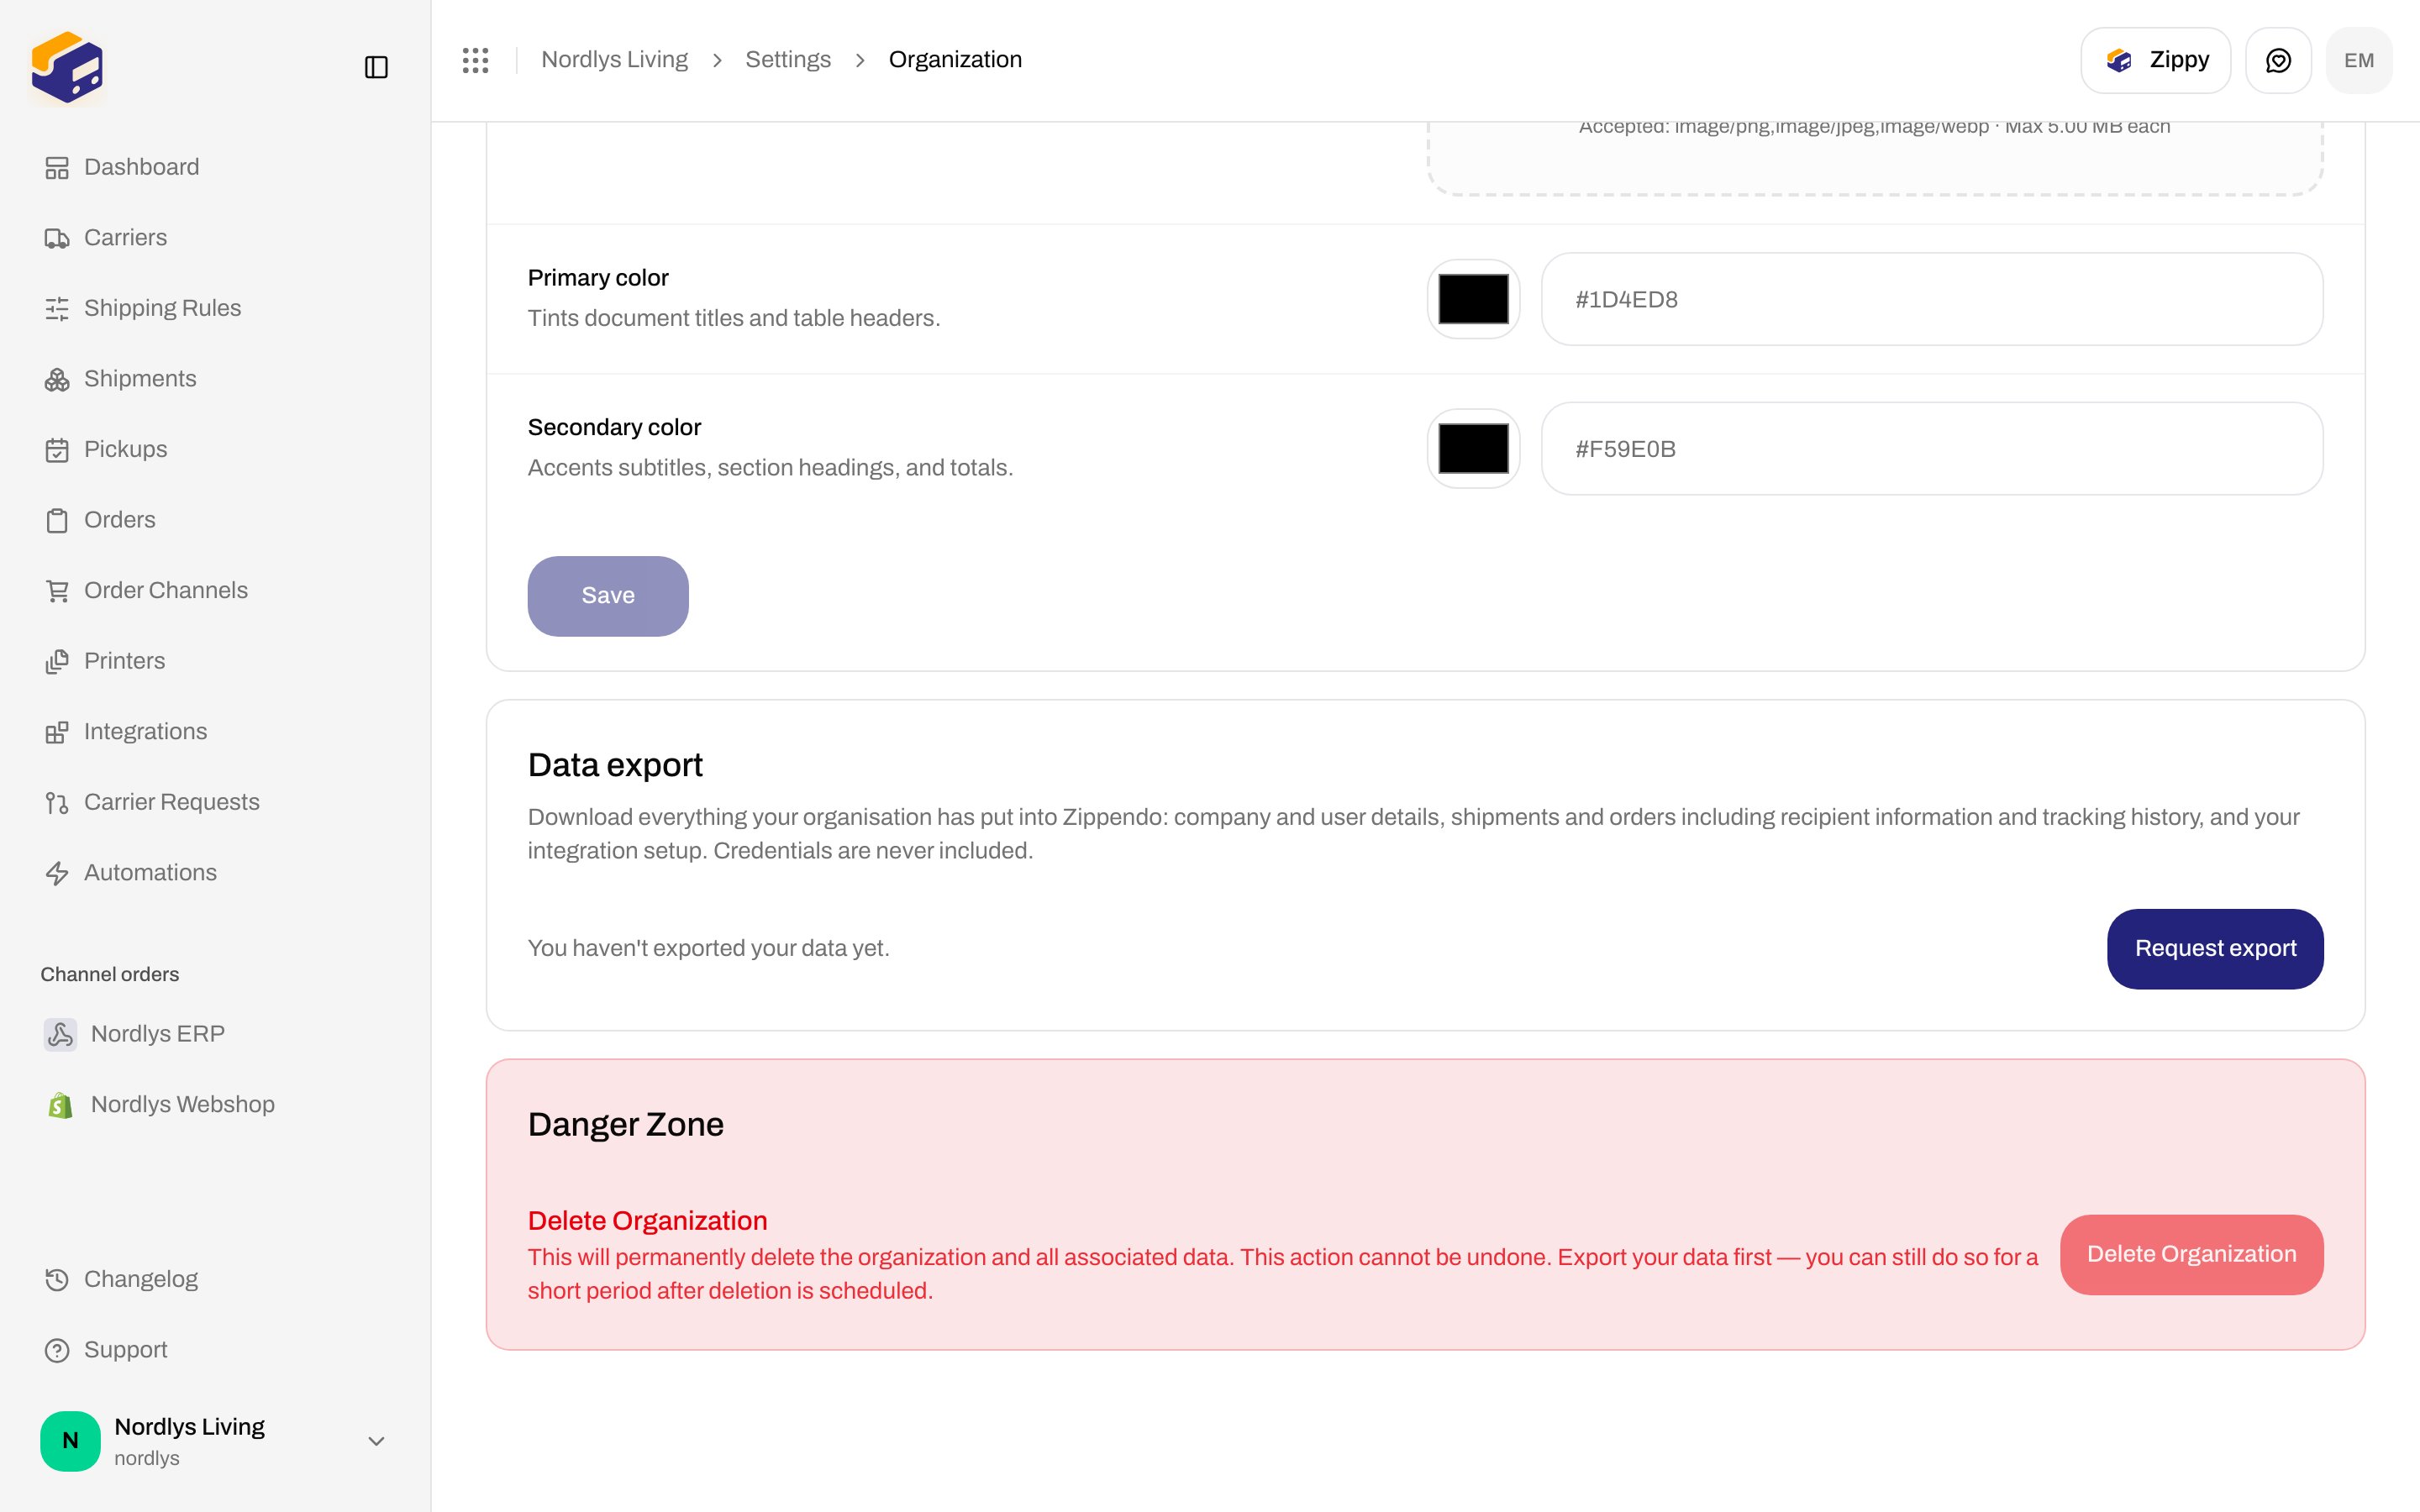
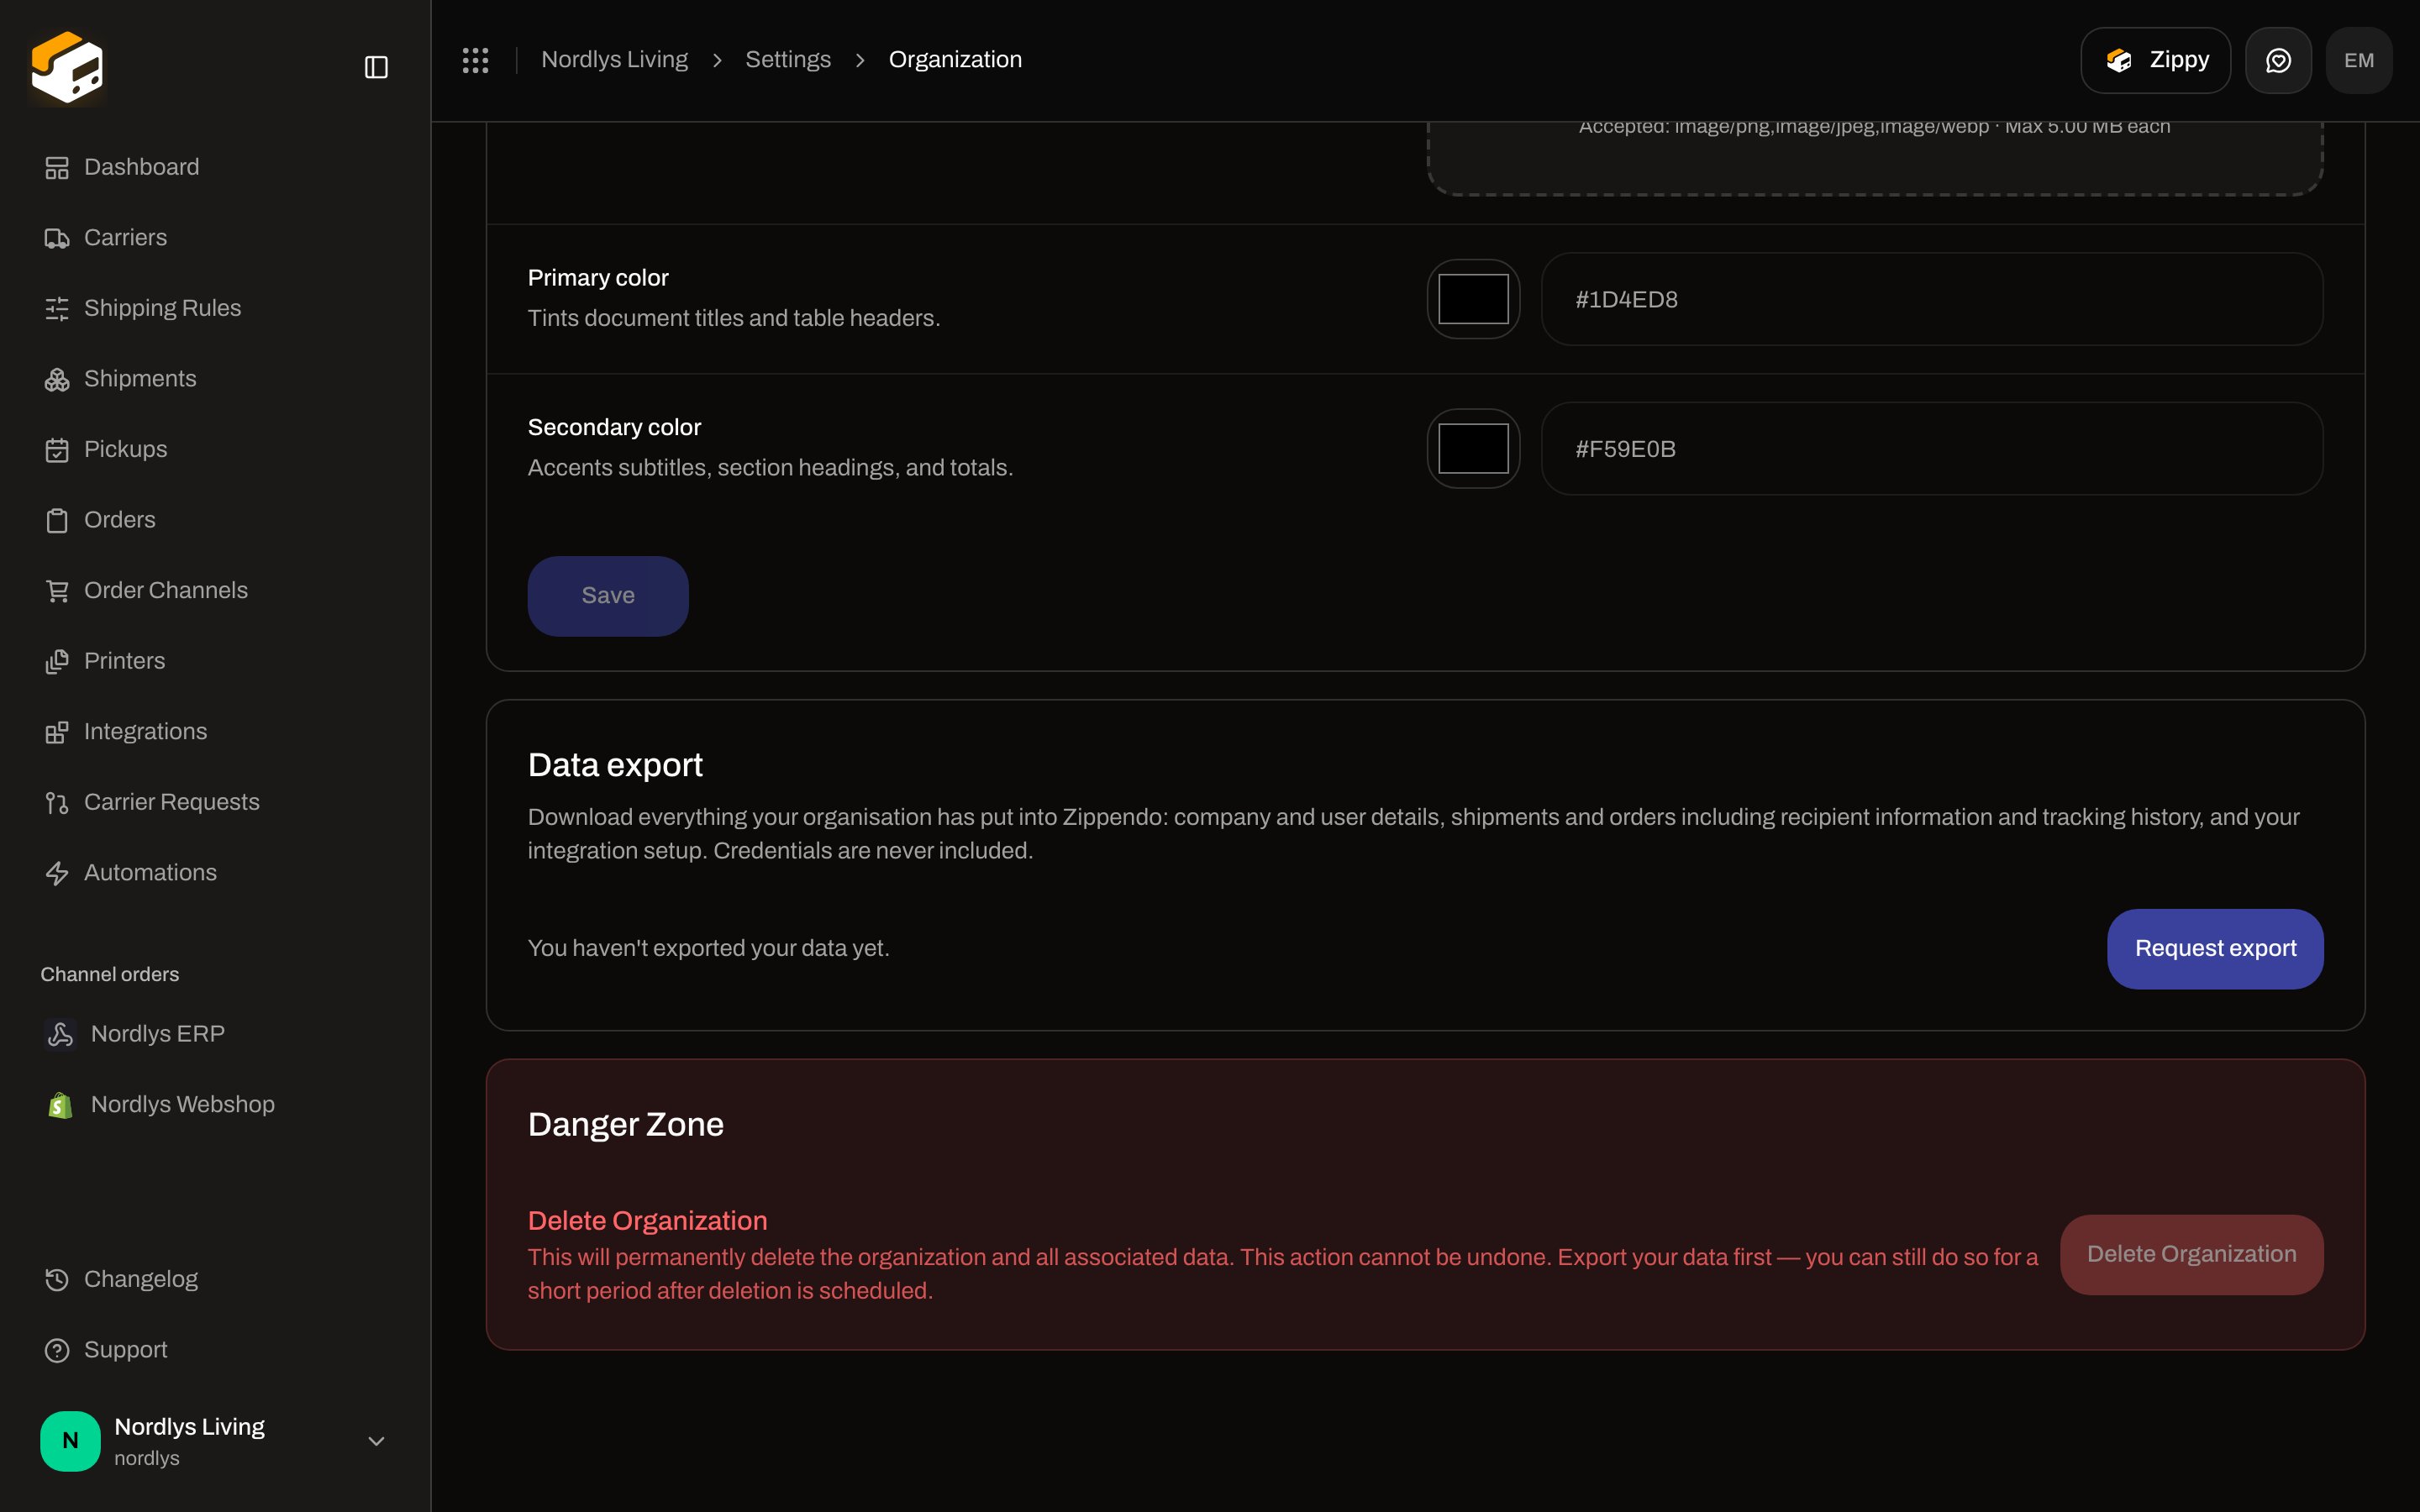 The button is **always disabled** in the client. The copy warns that deletion is permanent and tells you to **Request export** first. Contact support if you need an organization removed.
There is no notification-preferences screen in Settings. Profile language and email live under your user account, not this page.
## Next steps
* [Carriers](/docs/tutorials/carriers) — connect GLS, PostNord, or Bring, optionally scoped to a brand.
* [Create a shipment](/docs/tutorials/create-a-shipment) — needs a sender address and a carrier.
* [REST API](/docs/quickstarts/rest-api) — use the token you created above.
* Field-level: [Invite team members](/docs/how-to/invite-team-members) · [Create a brand](/docs/how-to/create-a-brand) · [Organization settings](/docs/how-to/organization-settings) · [Create an API token](/docs/how-to/create-an-api-token)
The button is **always disabled** in the client. The copy warns that deletion is permanent and tells you to **Request export** first. Contact support if you need an organization removed.
There is no notification-preferences screen in Settings. Profile language and email live under your user account, not this page.
## Next steps
* [Carriers](/docs/tutorials/carriers) — connect GLS, PostNord, or Bring, optionally scoped to a brand.
* [Create a shipment](/docs/tutorials/create-a-shipment) — needs a sender address and a carrier.
* [REST API](/docs/quickstarts/rest-api) — use the token you created above.
* Field-level: [Invite team members](/docs/how-to/invite-team-members) · [Create a brand](/docs/how-to/create-a-brand) · [Organization settings](/docs/how-to/organization-settings) · [Create an API token](/docs/how-to/create-an-api-token)