> ## Documentation Index
> Fetch the complete documentation index at: https://www.zippendo.com/docs/llms.txt
> Use this file to discover all available pages before exploring further.
# Returns
> Create a return shipment from a dispatched outbound shipment.
Returns in Zippendo are **merchant-side labels**. There is no customer return portal, no shopper self-serve page, and no hosted QR/email flow in the dashboard. You create an **inbound** shipment (or let dispatch create one), print the label, and hand it to the shopper — or use a carrier product that emails / shows a QR itself (for example GLS ShopReturn).
Zippendo does not host a return portal. Carrier products such as **GLS ShopReturn** or **GLS ShopReturnMail** may email the shopper or show a QR — that is the carrier, not a Zippendo page.
## How returns work
You need two pieces:
1. An **inbound** [shipping rule](/docs/tutorials/shipping-rules) — **Direction** is **Inbound (Return)**, with a return product (ShopReturn, Pick\&Return, PostNord Return, and similar).
2. On the **outbound** rule you actually ship with, **Return Shipping Rule** points at that inbound rule.
Then you either:
* Turn on **Auto-create return on dispatch** on the outbound rule — Zippendo creates and sends the inbound shipment when the outbound one is dispatched, or
* Leave auto-create off and click **Create Return Shipment** on a **dispatched** outbound shipment (or **Create Return** on the order **Shipments** tab).
The created return is type **inbound**, reference `RET-` plus the original reference, sender/receiver swapped (the customer becomes sender; your warehouse becomes receiver), and it is booked with the carrier immediately.
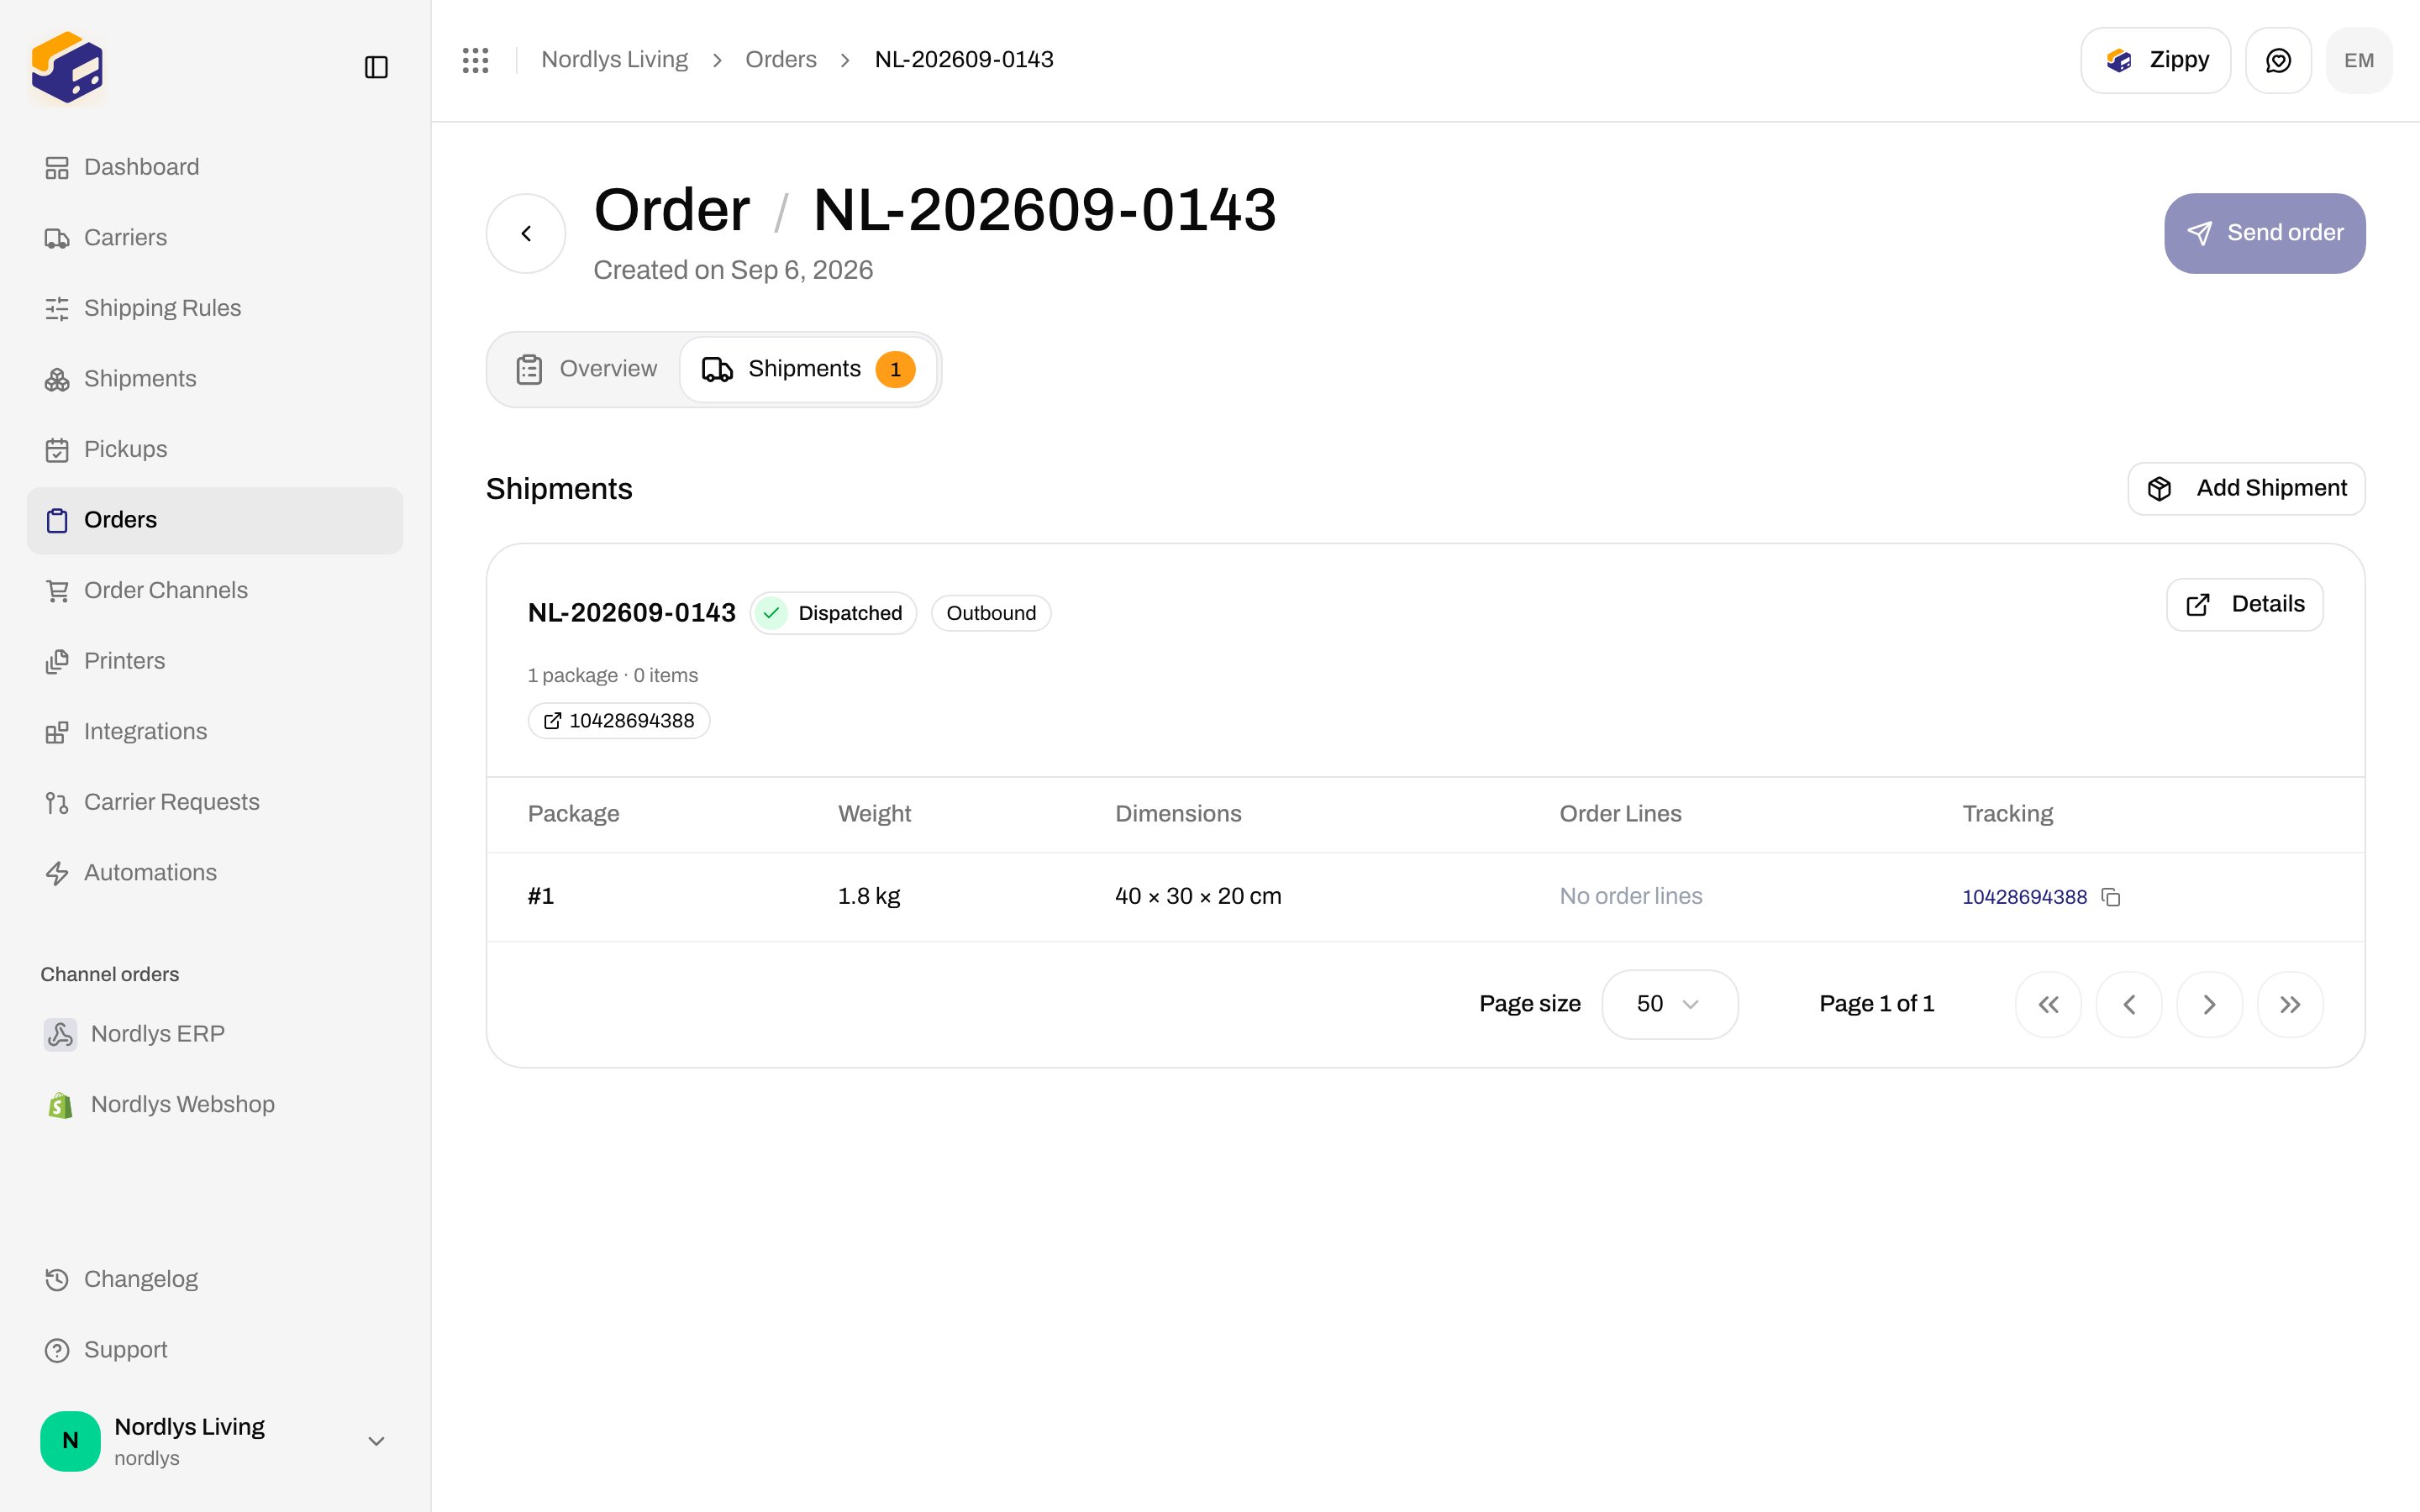
**Create Return Shipment** (shipment header) and **Create Return** (order **Shipments** card) appear only when the outbound shipment is **dispatched**, a **Return Shipping Rule** is set on the shipment's rule or the order's rule, and **Auto-create return on dispatch** is off. The docs org's example shipments have no return rule, so the button is not on those screenshots — configure the rule first. The API resolves the shipment's rule first, then the order's.
## 1. Create an inbound shipping rule
**Shipping Rules → Add Shipping Rule**. The page is **Create Shipping Rule**.
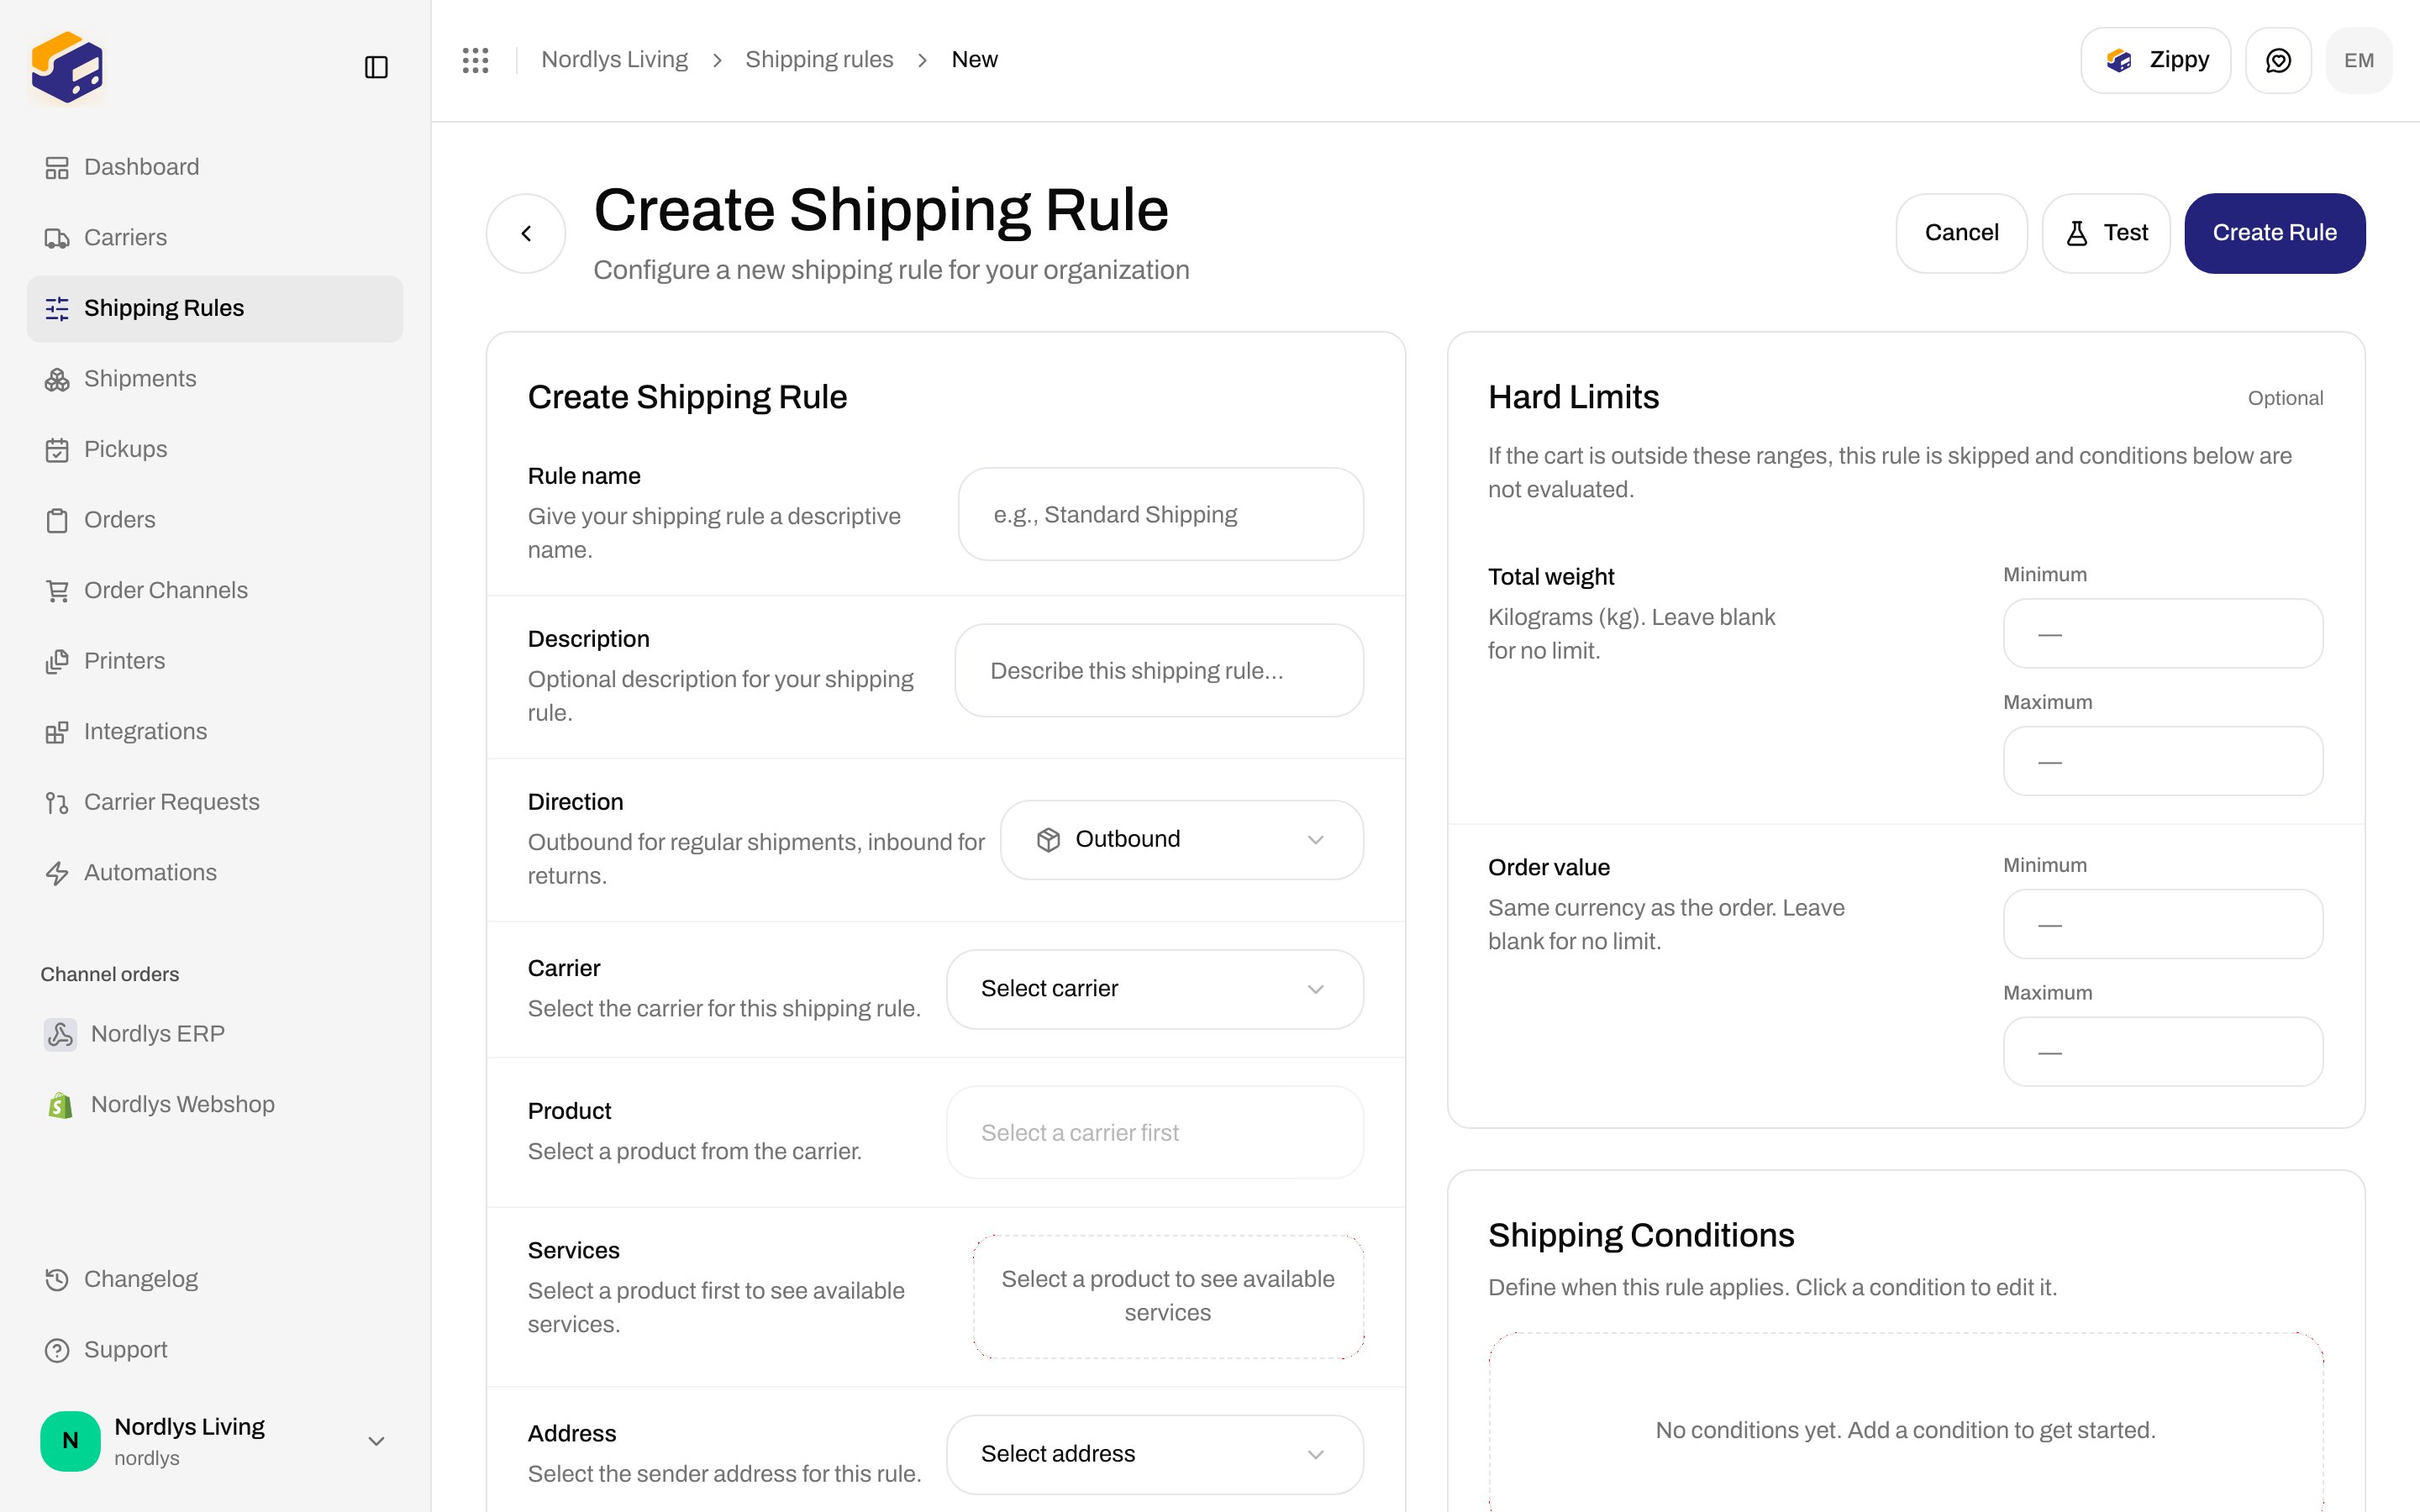
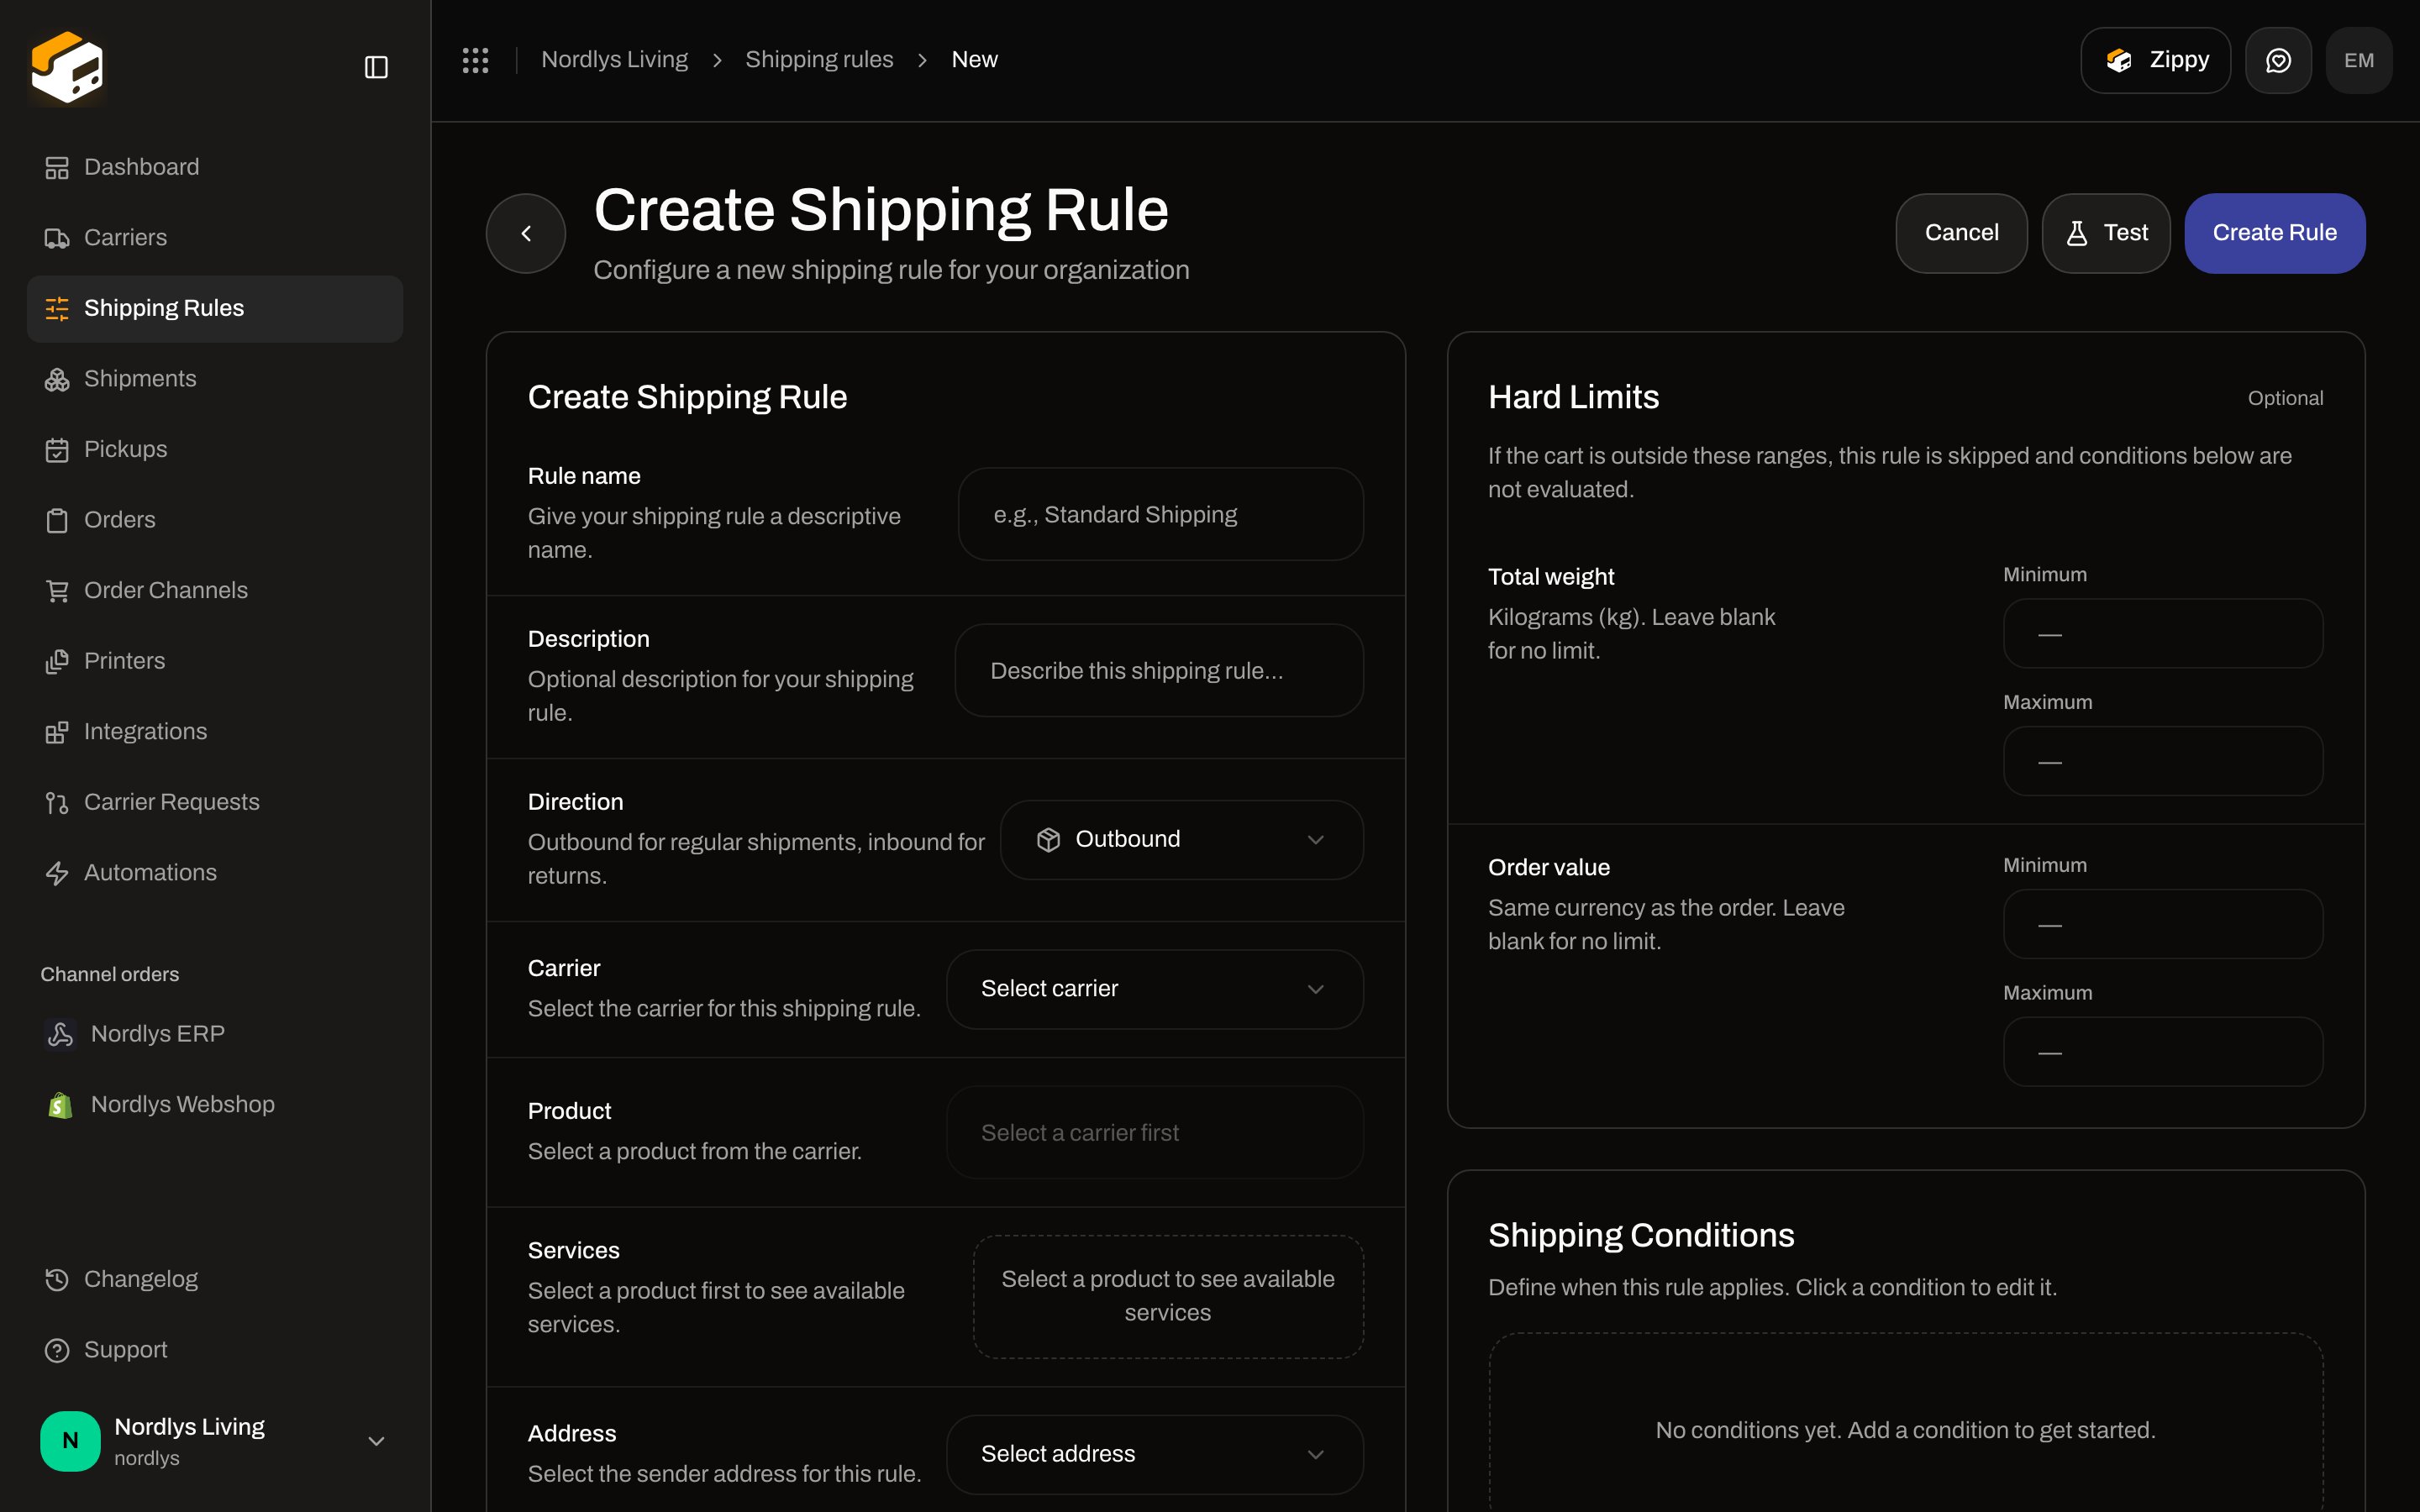 The description under **Direction** is **Outbound for regular shipments, inbound for returns.** Switching to **Inbound (Return)** filters **Product** to return products.
Example: **GLS Denmark** → **GLS ShopReturn** (drop-off at a ParcelShop) or **GLS Pick\&Return** (carrier collects at the customer). Other carriers expose their own return products.
**Address** is your warehouse — the parcel is coming **to** you. Use an address that includes the **Return** type (see below).
**Receiving Countries** is still required. Name the rule so you can find it on the outbound rule (`GLS ShopReturn – DK`).
The description under **Direction** is **Outbound for regular shipments, inbound for returns.** Switching to **Inbound (Return)** filters **Product** to return products.
Example: **GLS Denmark** → **GLS ShopReturn** (drop-off at a ParcelShop) or **GLS Pick\&Return** (carrier collects at the customer). Other carriers expose their own return products.
**Address** is your warehouse — the parcel is coming **to** you. Use an address that includes the **Return** type (see below).
**Receiving Countries** is still required. Name the rule so you can find it on the outbound rule (`GLS ShopReturn – DK`).
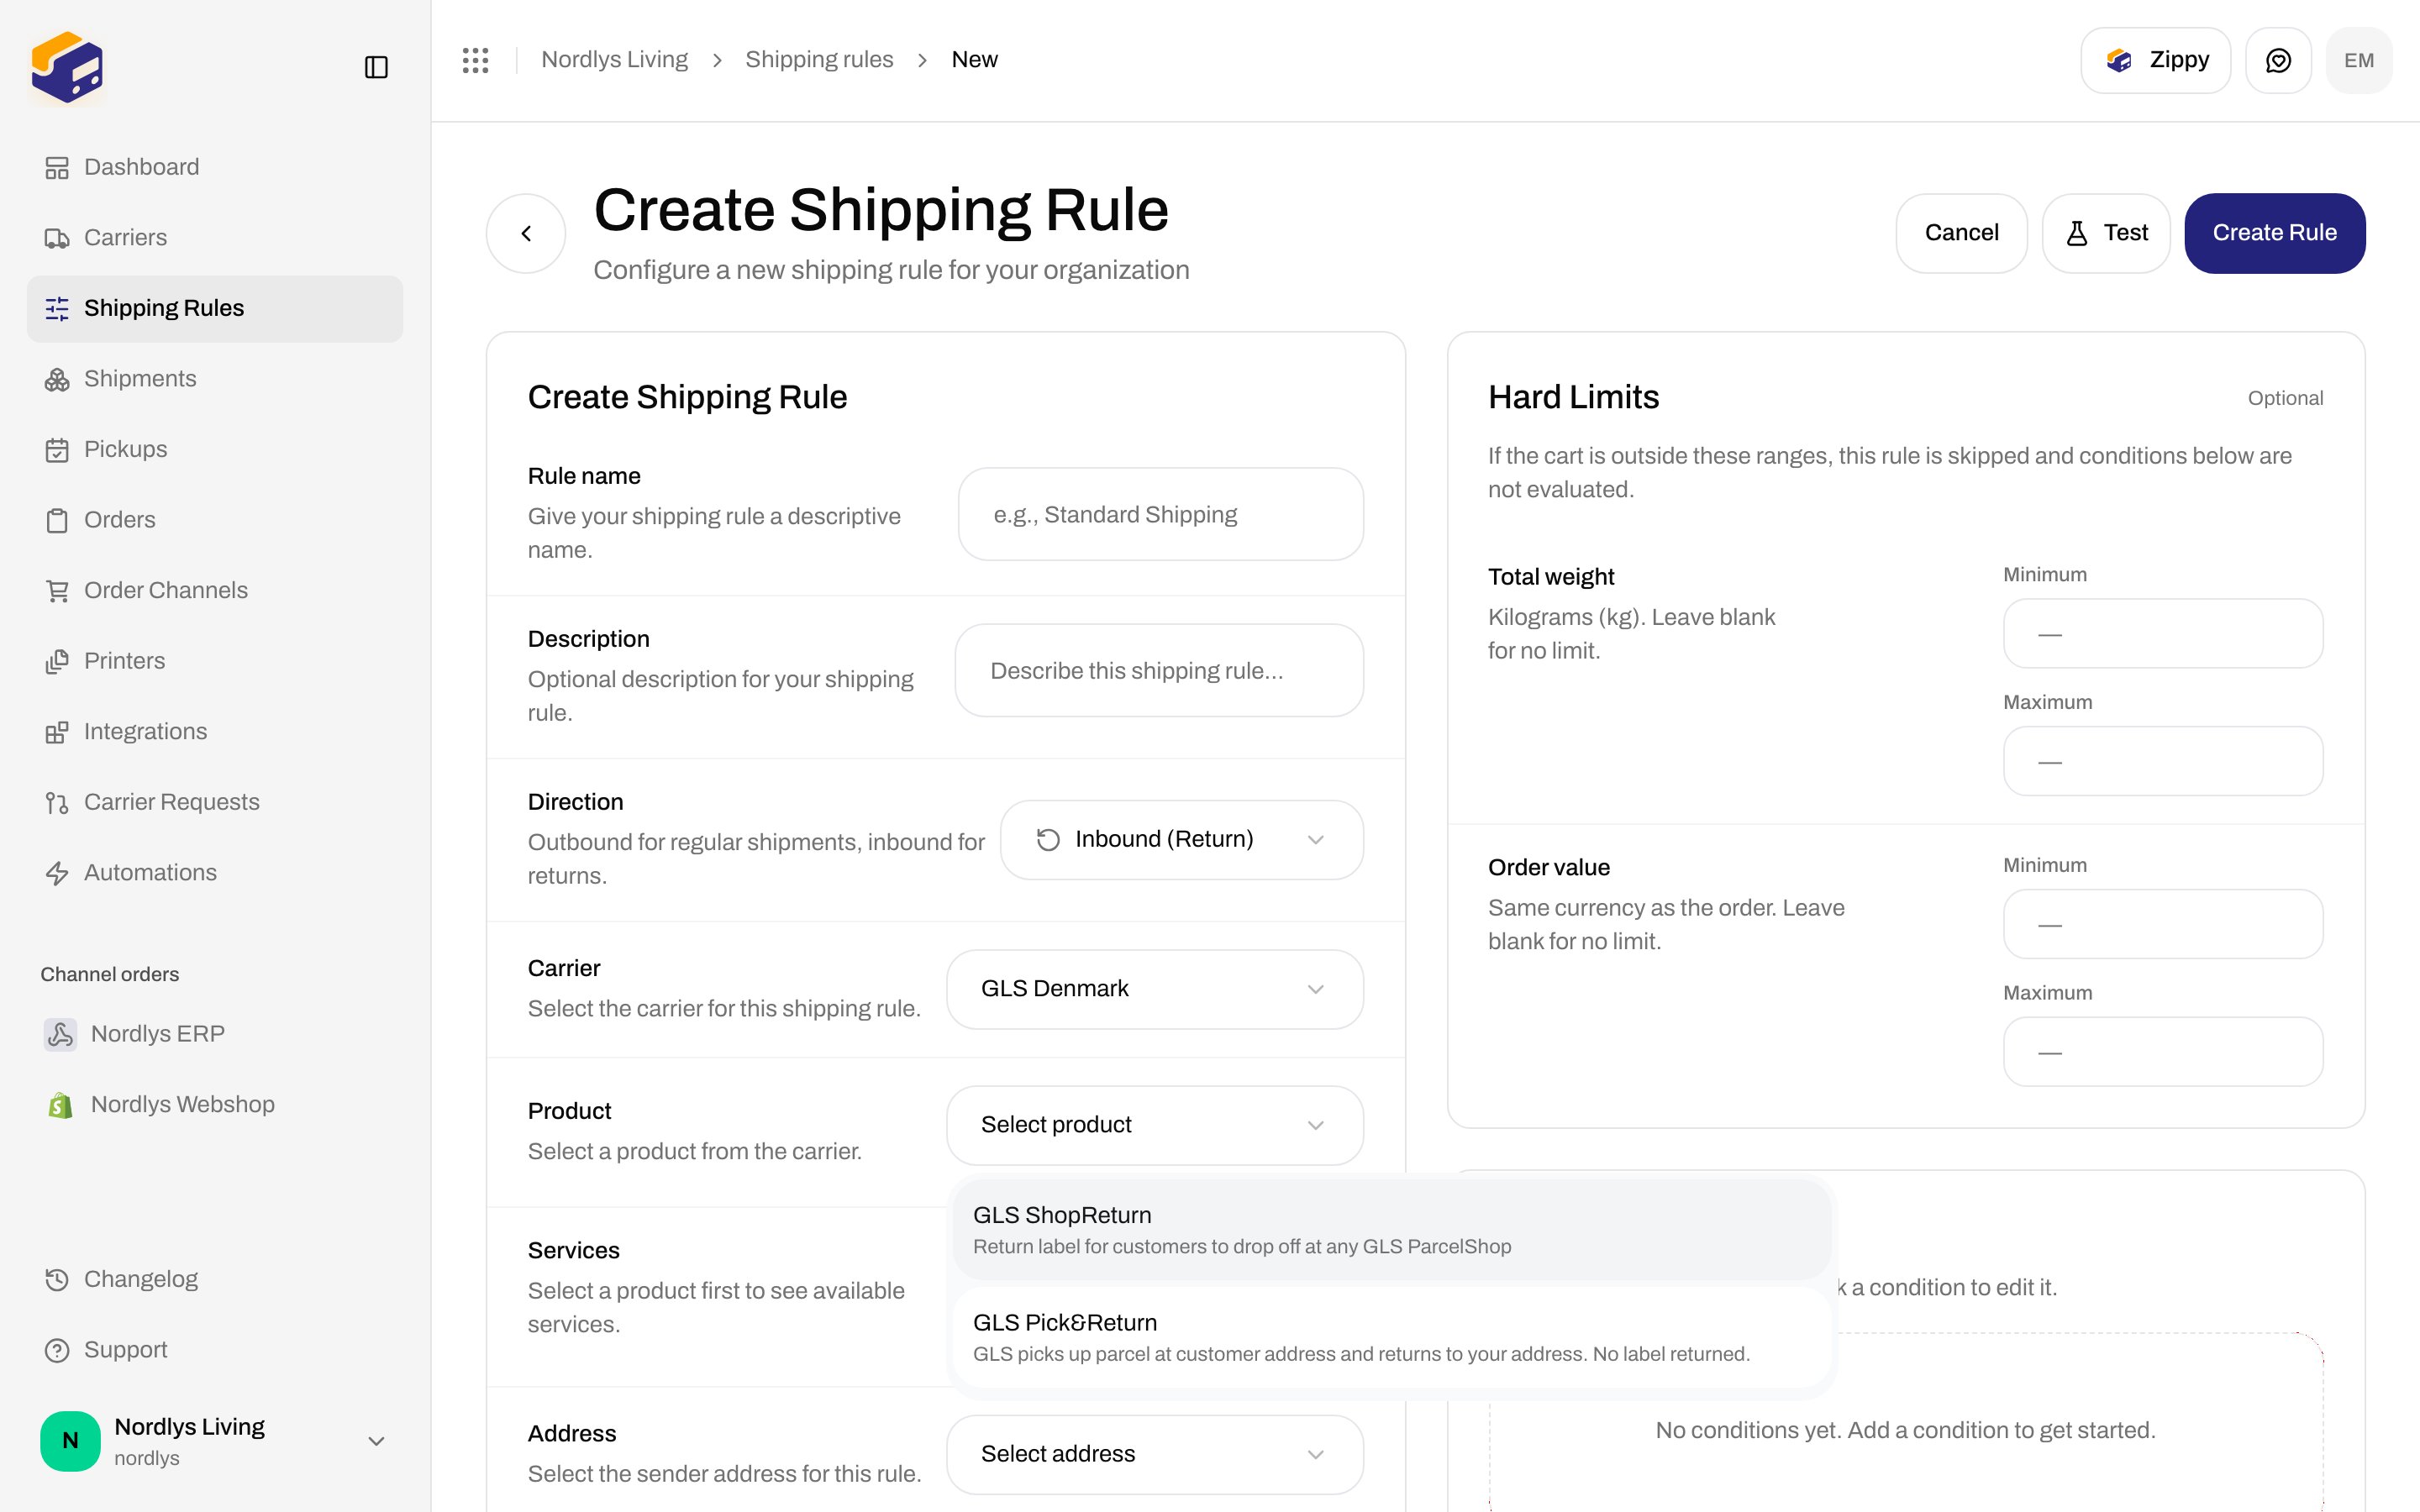
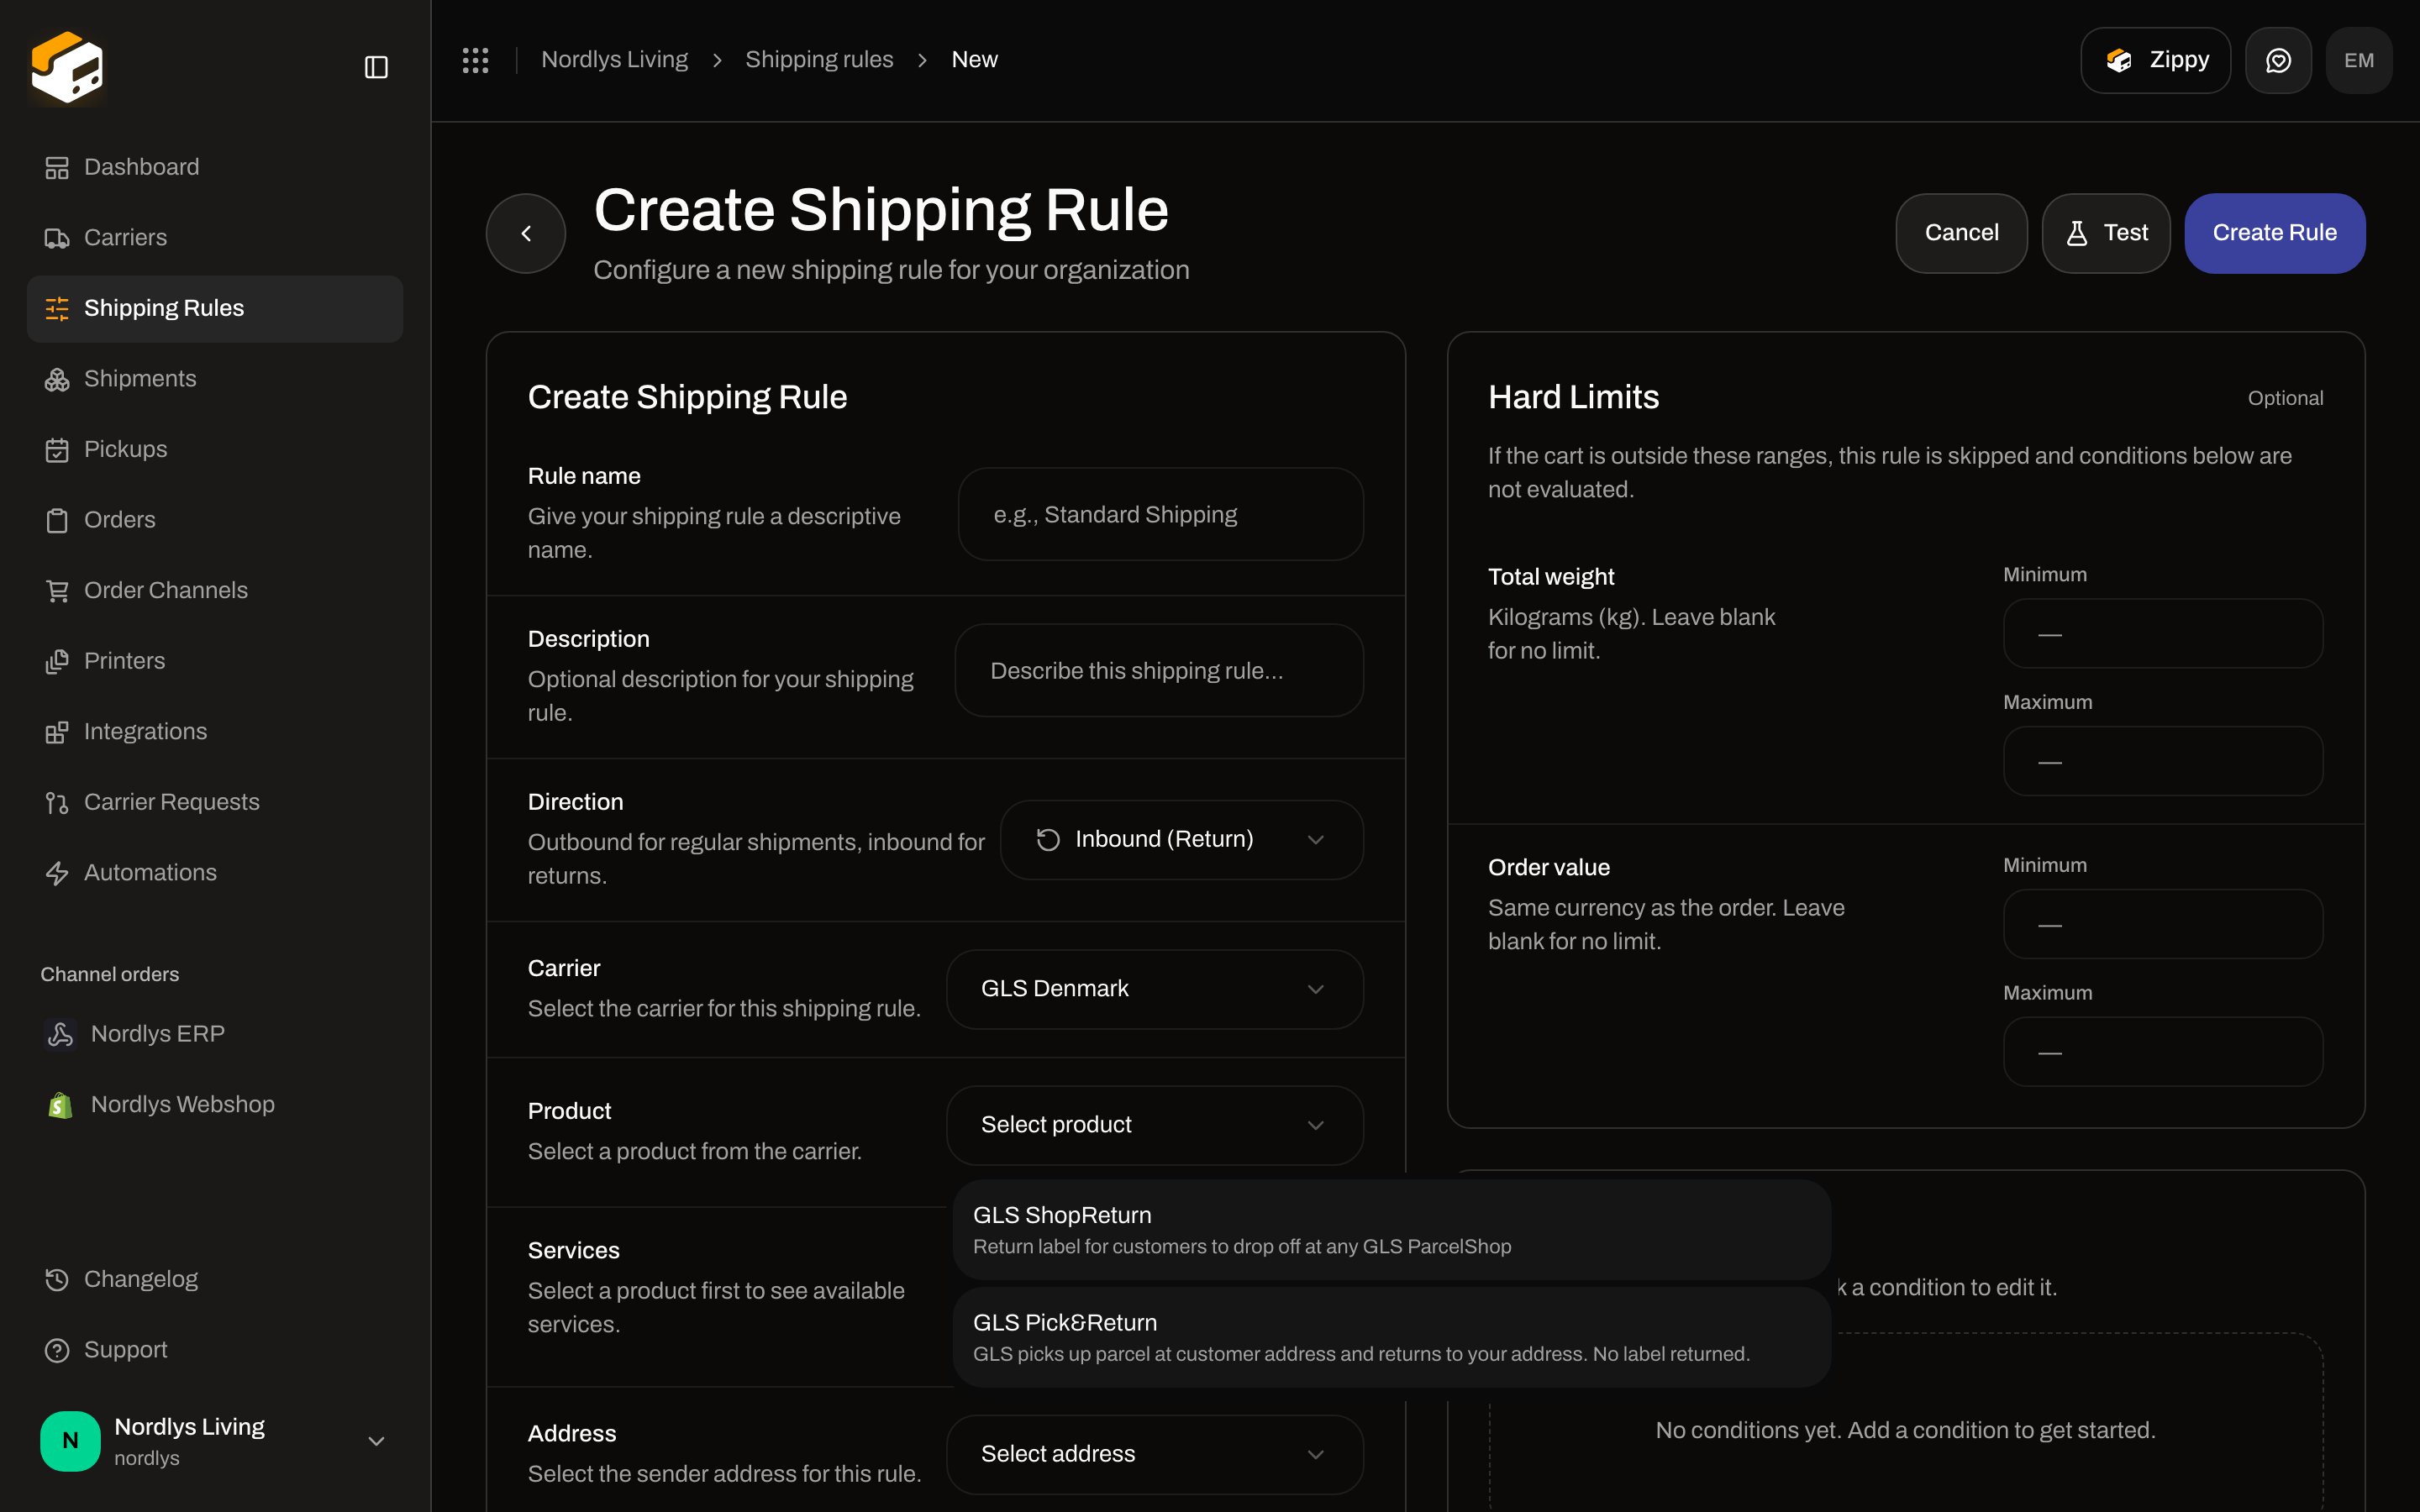 Condition fields, hard limits, and **Test** are the same as outbound rules — do not duplicate that here; see [Shipping rules](/docs/tutorials/shipping-rules).
## 2. Attach it to the outbound rule
Open the **outbound** rule shoppers (or you) already use. Scroll to **Return Shipping**.
Condition fields, hard limits, and **Test** are the same as outbound rules — do not duplicate that here; see [Shipping rules](/docs/tutorials/shipping-rules).
## 2. Attach it to the outbound rule
Open the **outbound** rule shoppers (or you) already use. Scroll to **Return Shipping**.
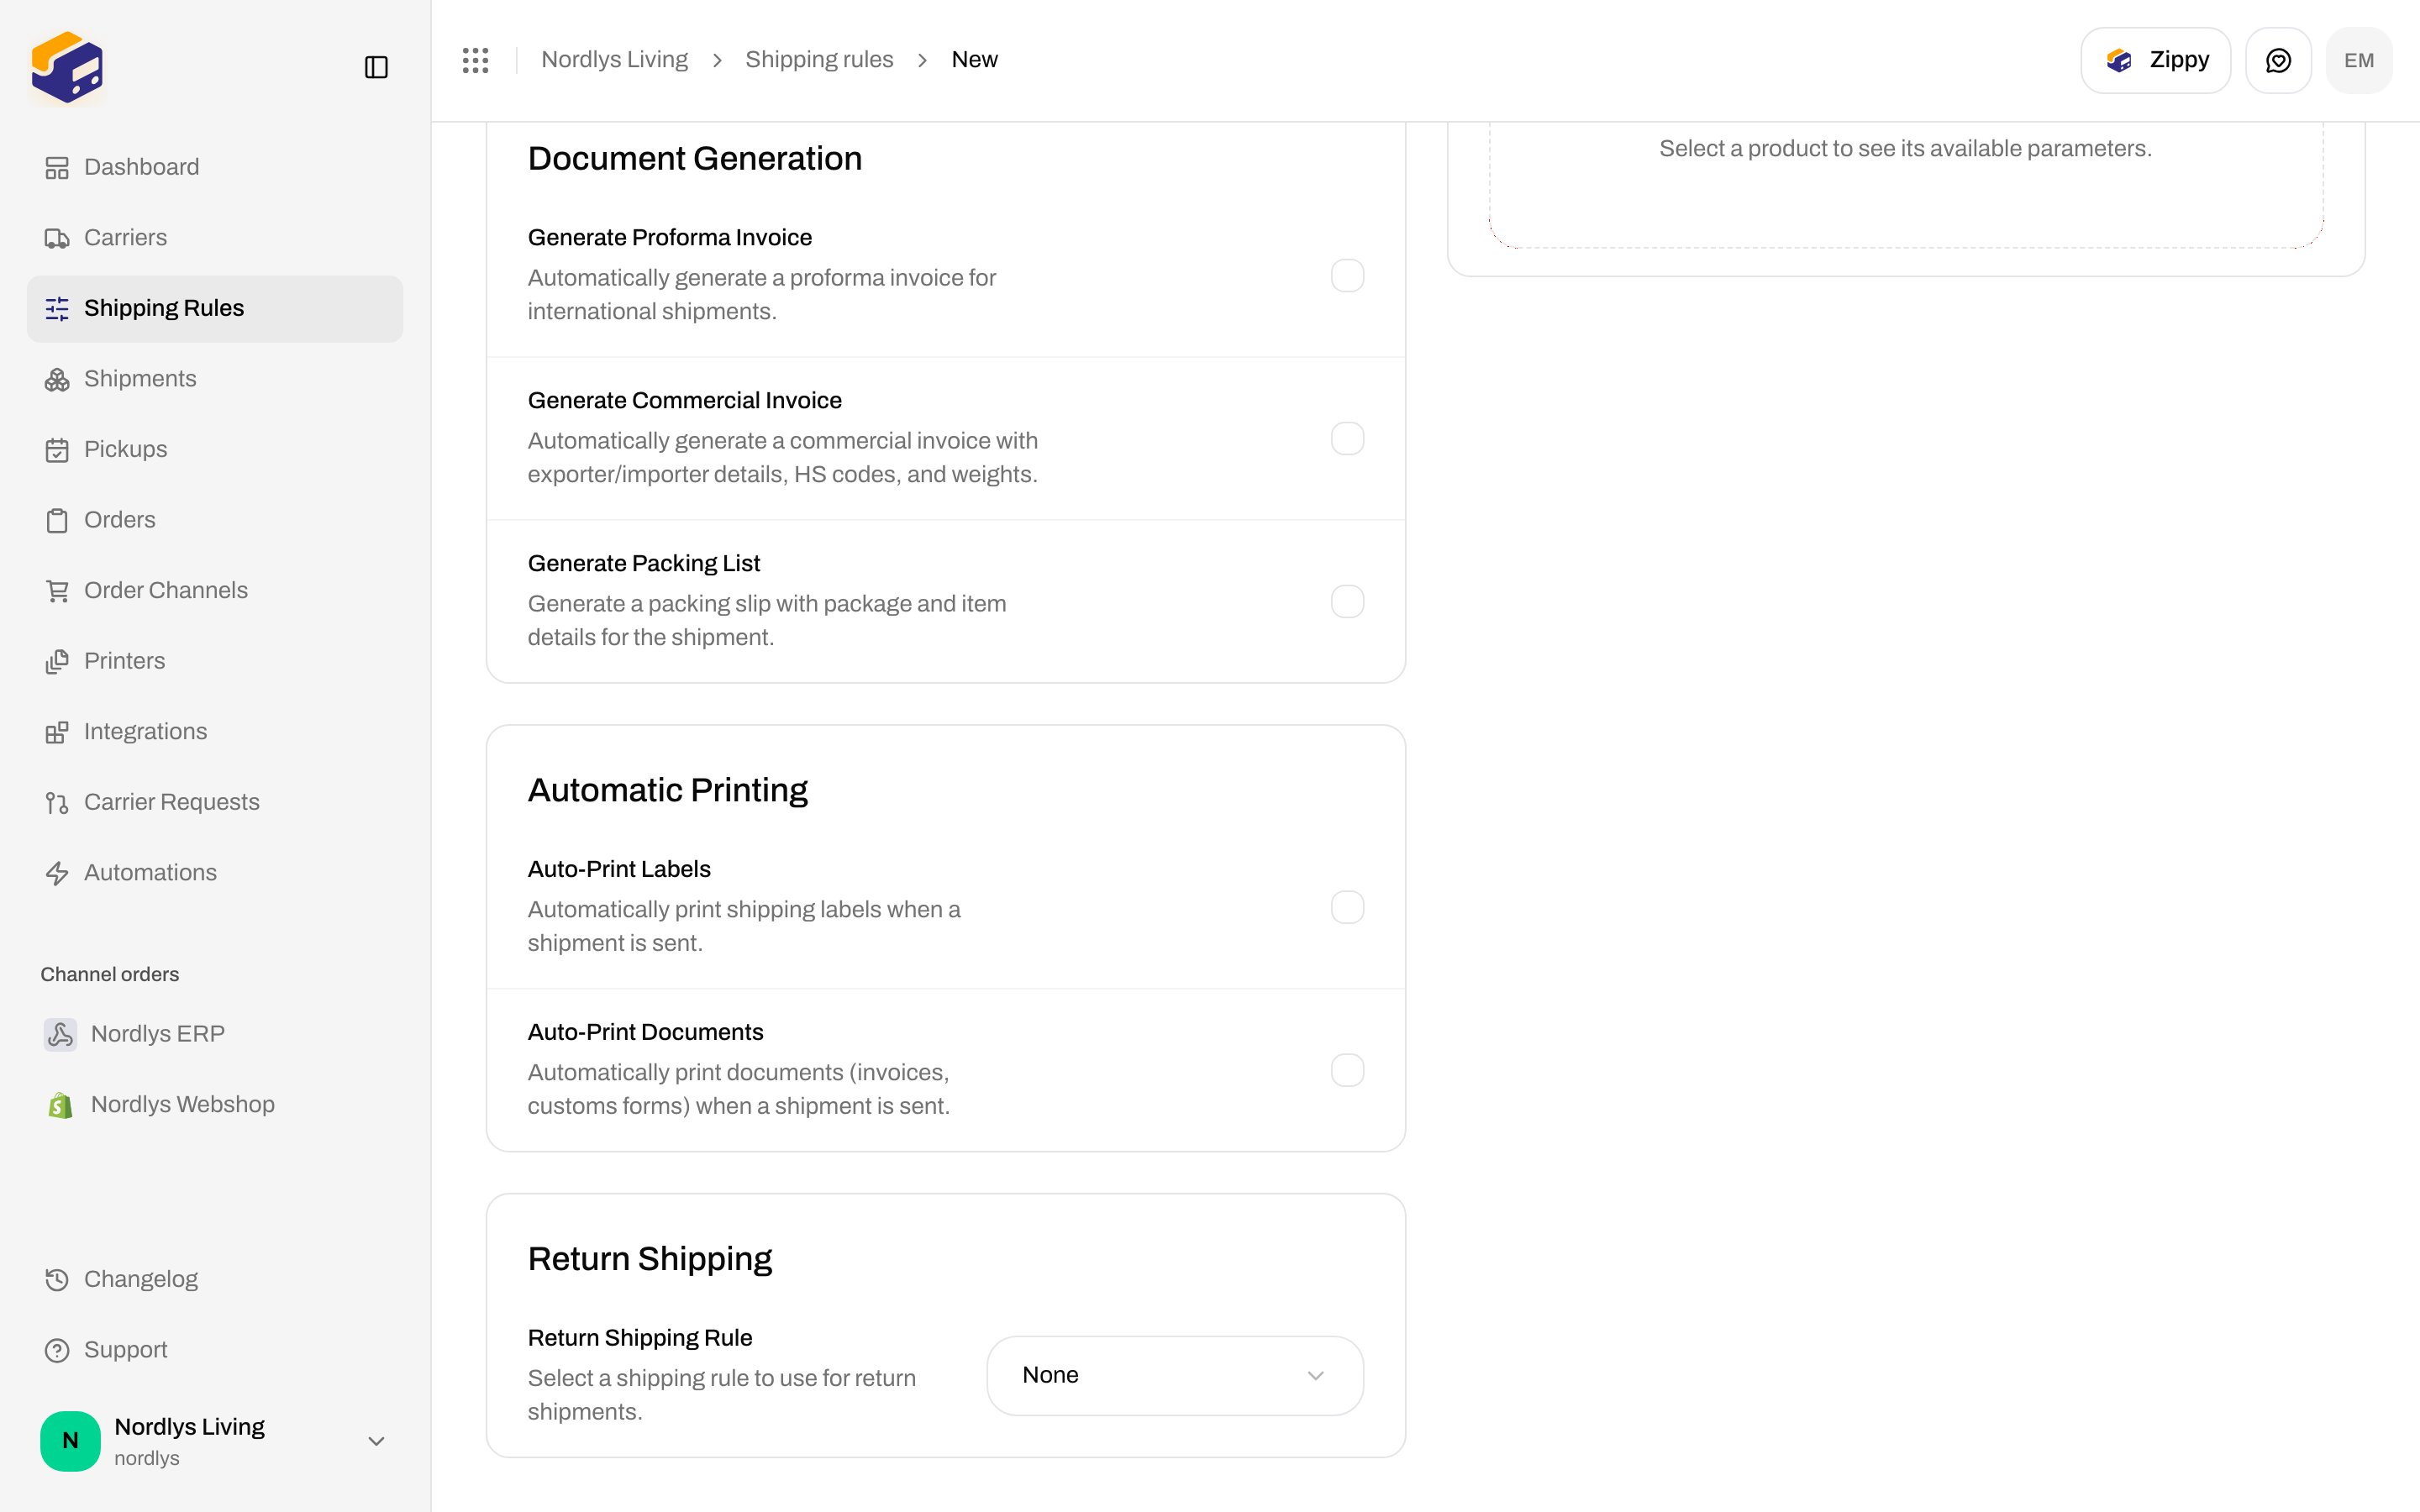
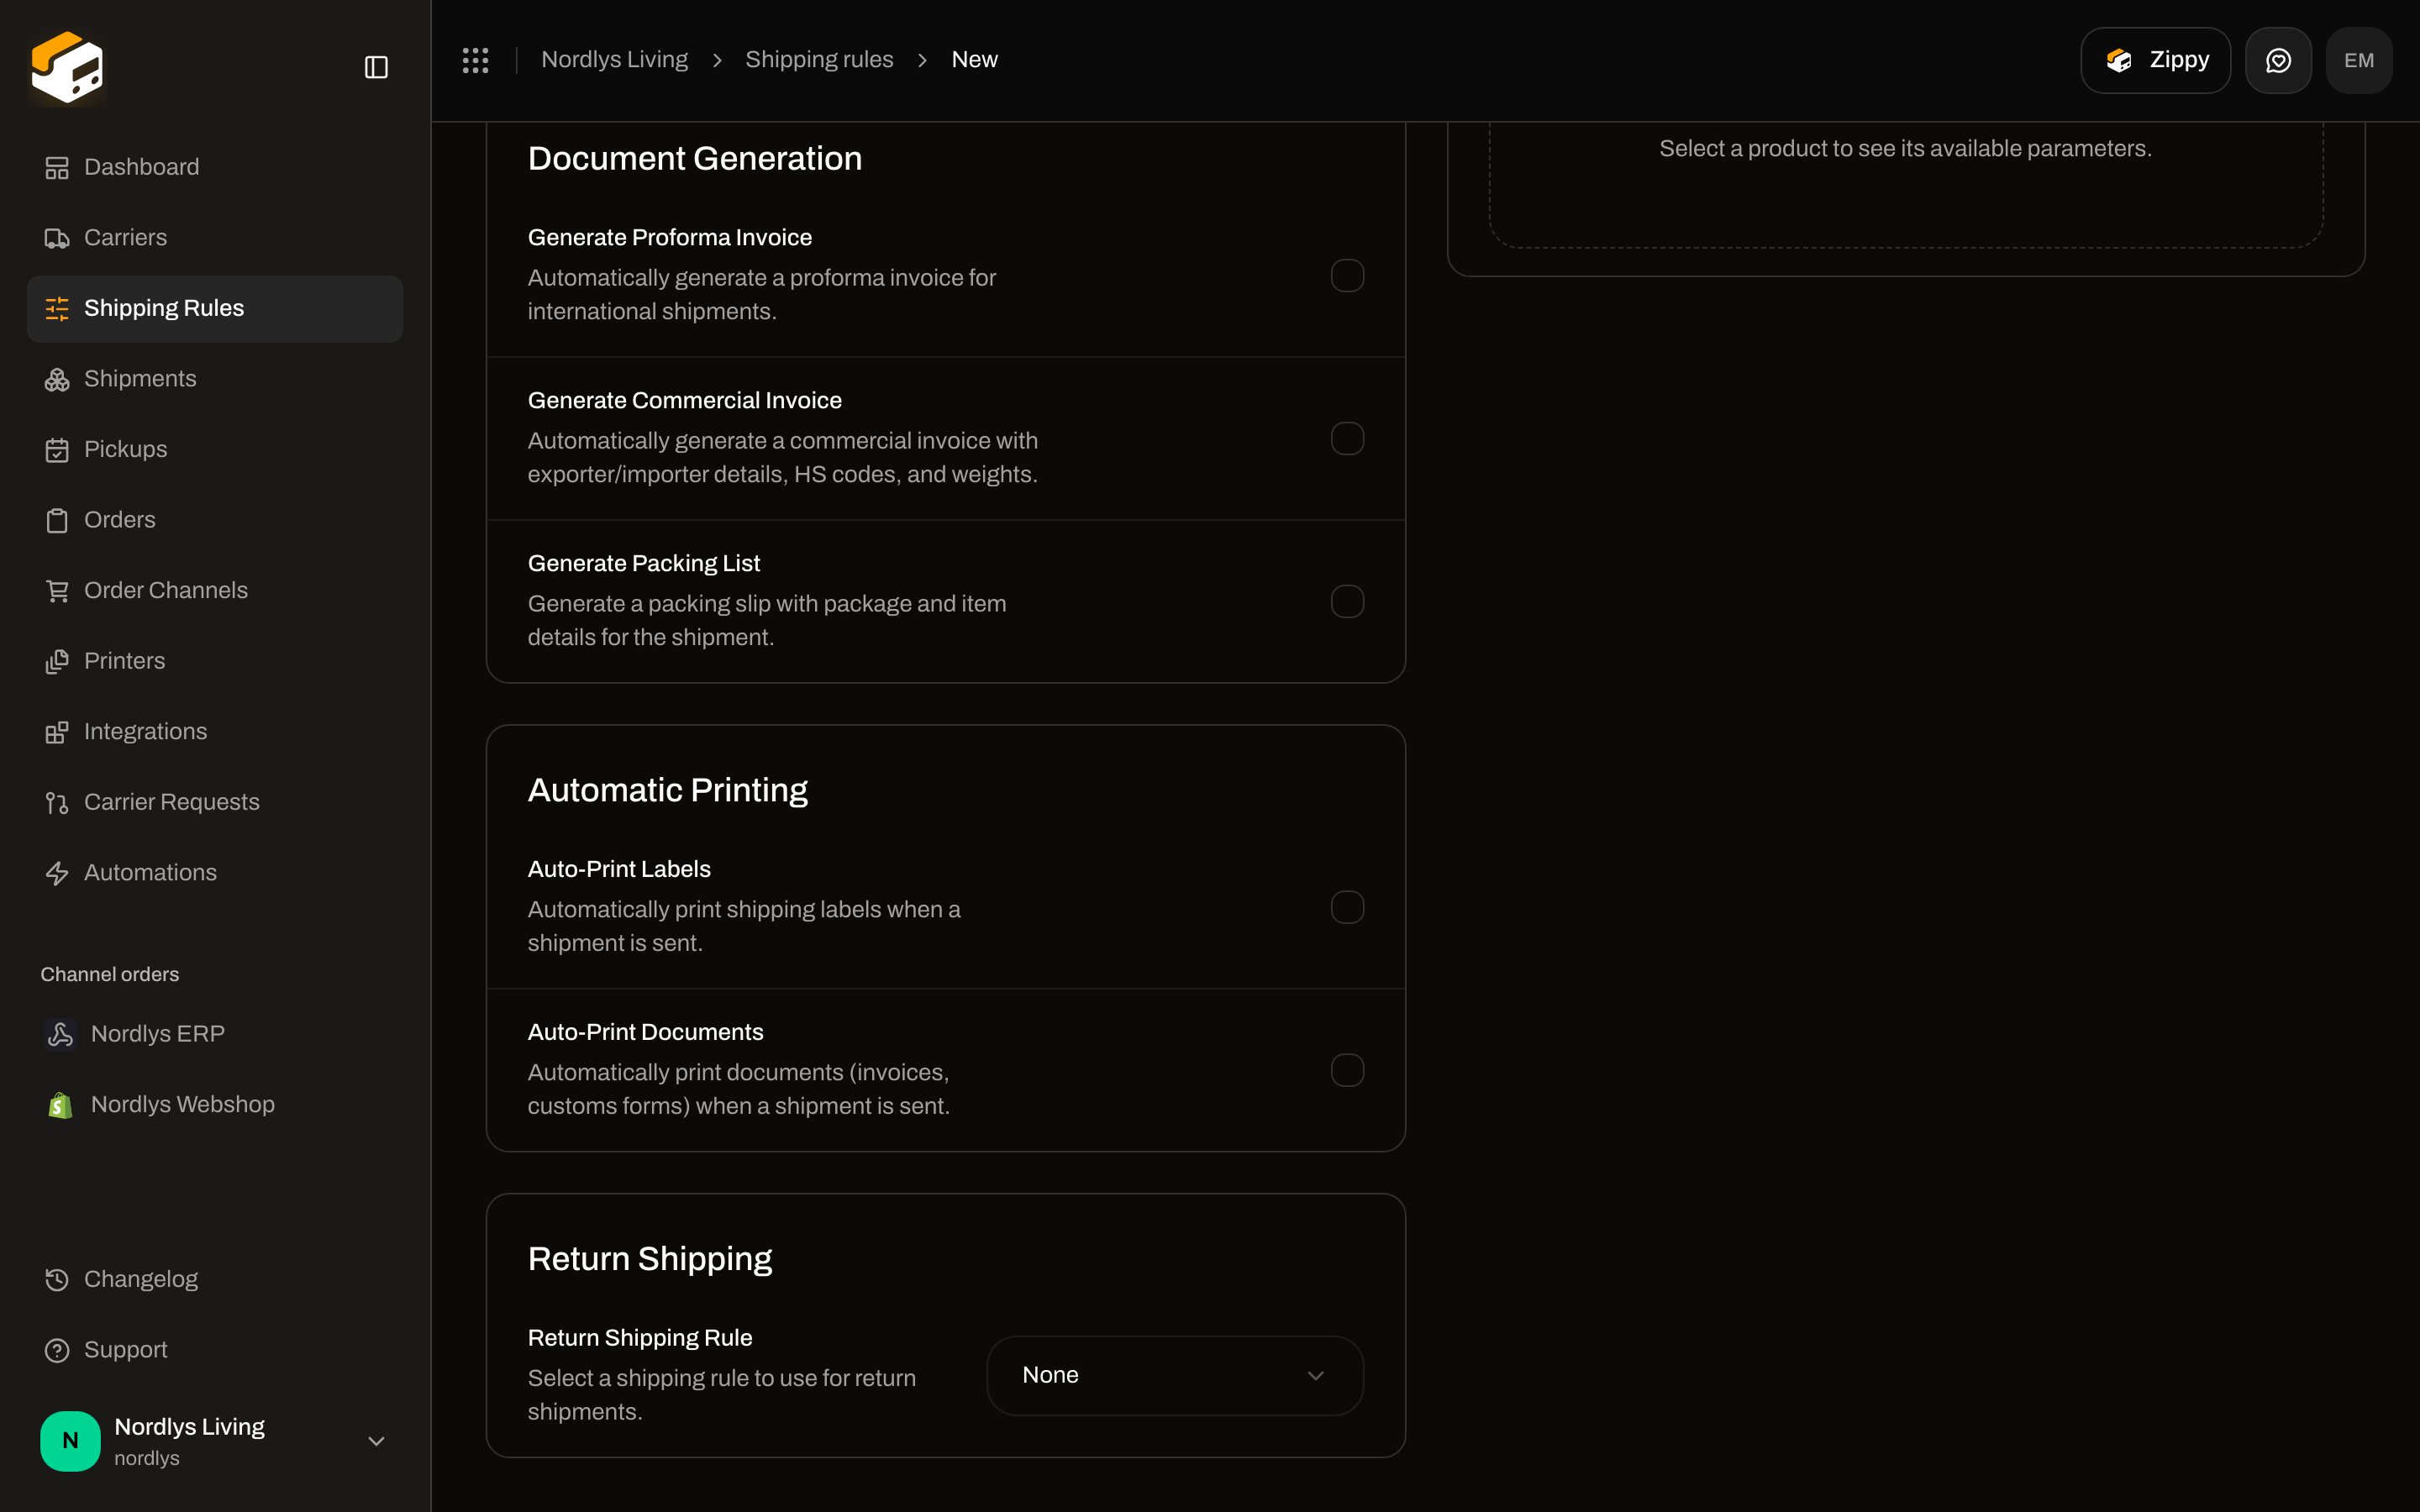 * **Return Shipping Rule** — **Select a shipping rule to use for return shipments.** The dropdown lists inbound rules. **None** means Zippendo will not offer **Create Return Shipment**.
* **Auto-create return on dispatch** — **Automatically create and send a return shipment when the outbound shipment is dispatched.** This checkbox only appears after you pick a return rule.
Use auto-create when every outbound label should include a return label at send time. Leave it off when returns are the exception and you will click the button per shipment.
## 3. Create the return shipment
### From a dispatched outbound shipment
Open the outbound shipment (**Overview**). When the conditions above are met, the header action is **Create Return Shipment**. That calls `POST /orgs/:orgId/shipments/:shipmentId/create-return`: create the inbound shipment, swap parties, and send it.
* **Return Shipping Rule** — **Select a shipping rule to use for return shipments.** The dropdown lists inbound rules. **None** means Zippendo will not offer **Create Return Shipment**.
* **Auto-create return on dispatch** — **Automatically create and send a return shipment when the outbound shipment is dispatched.** This checkbox only appears after you pick a return rule.
Use auto-create when every outbound label should include a return label at send time. Leave it off when returns are the exception and you will click the button per shipment.
## 3. Create the return shipment
### From a dispatched outbound shipment
Open the outbound shipment (**Overview**). When the conditions above are met, the header action is **Create Return Shipment**. That calls `POST /orgs/:orgId/shipments/:shipmentId/create-return`: create the inbound shipment, swap parties, and send it.
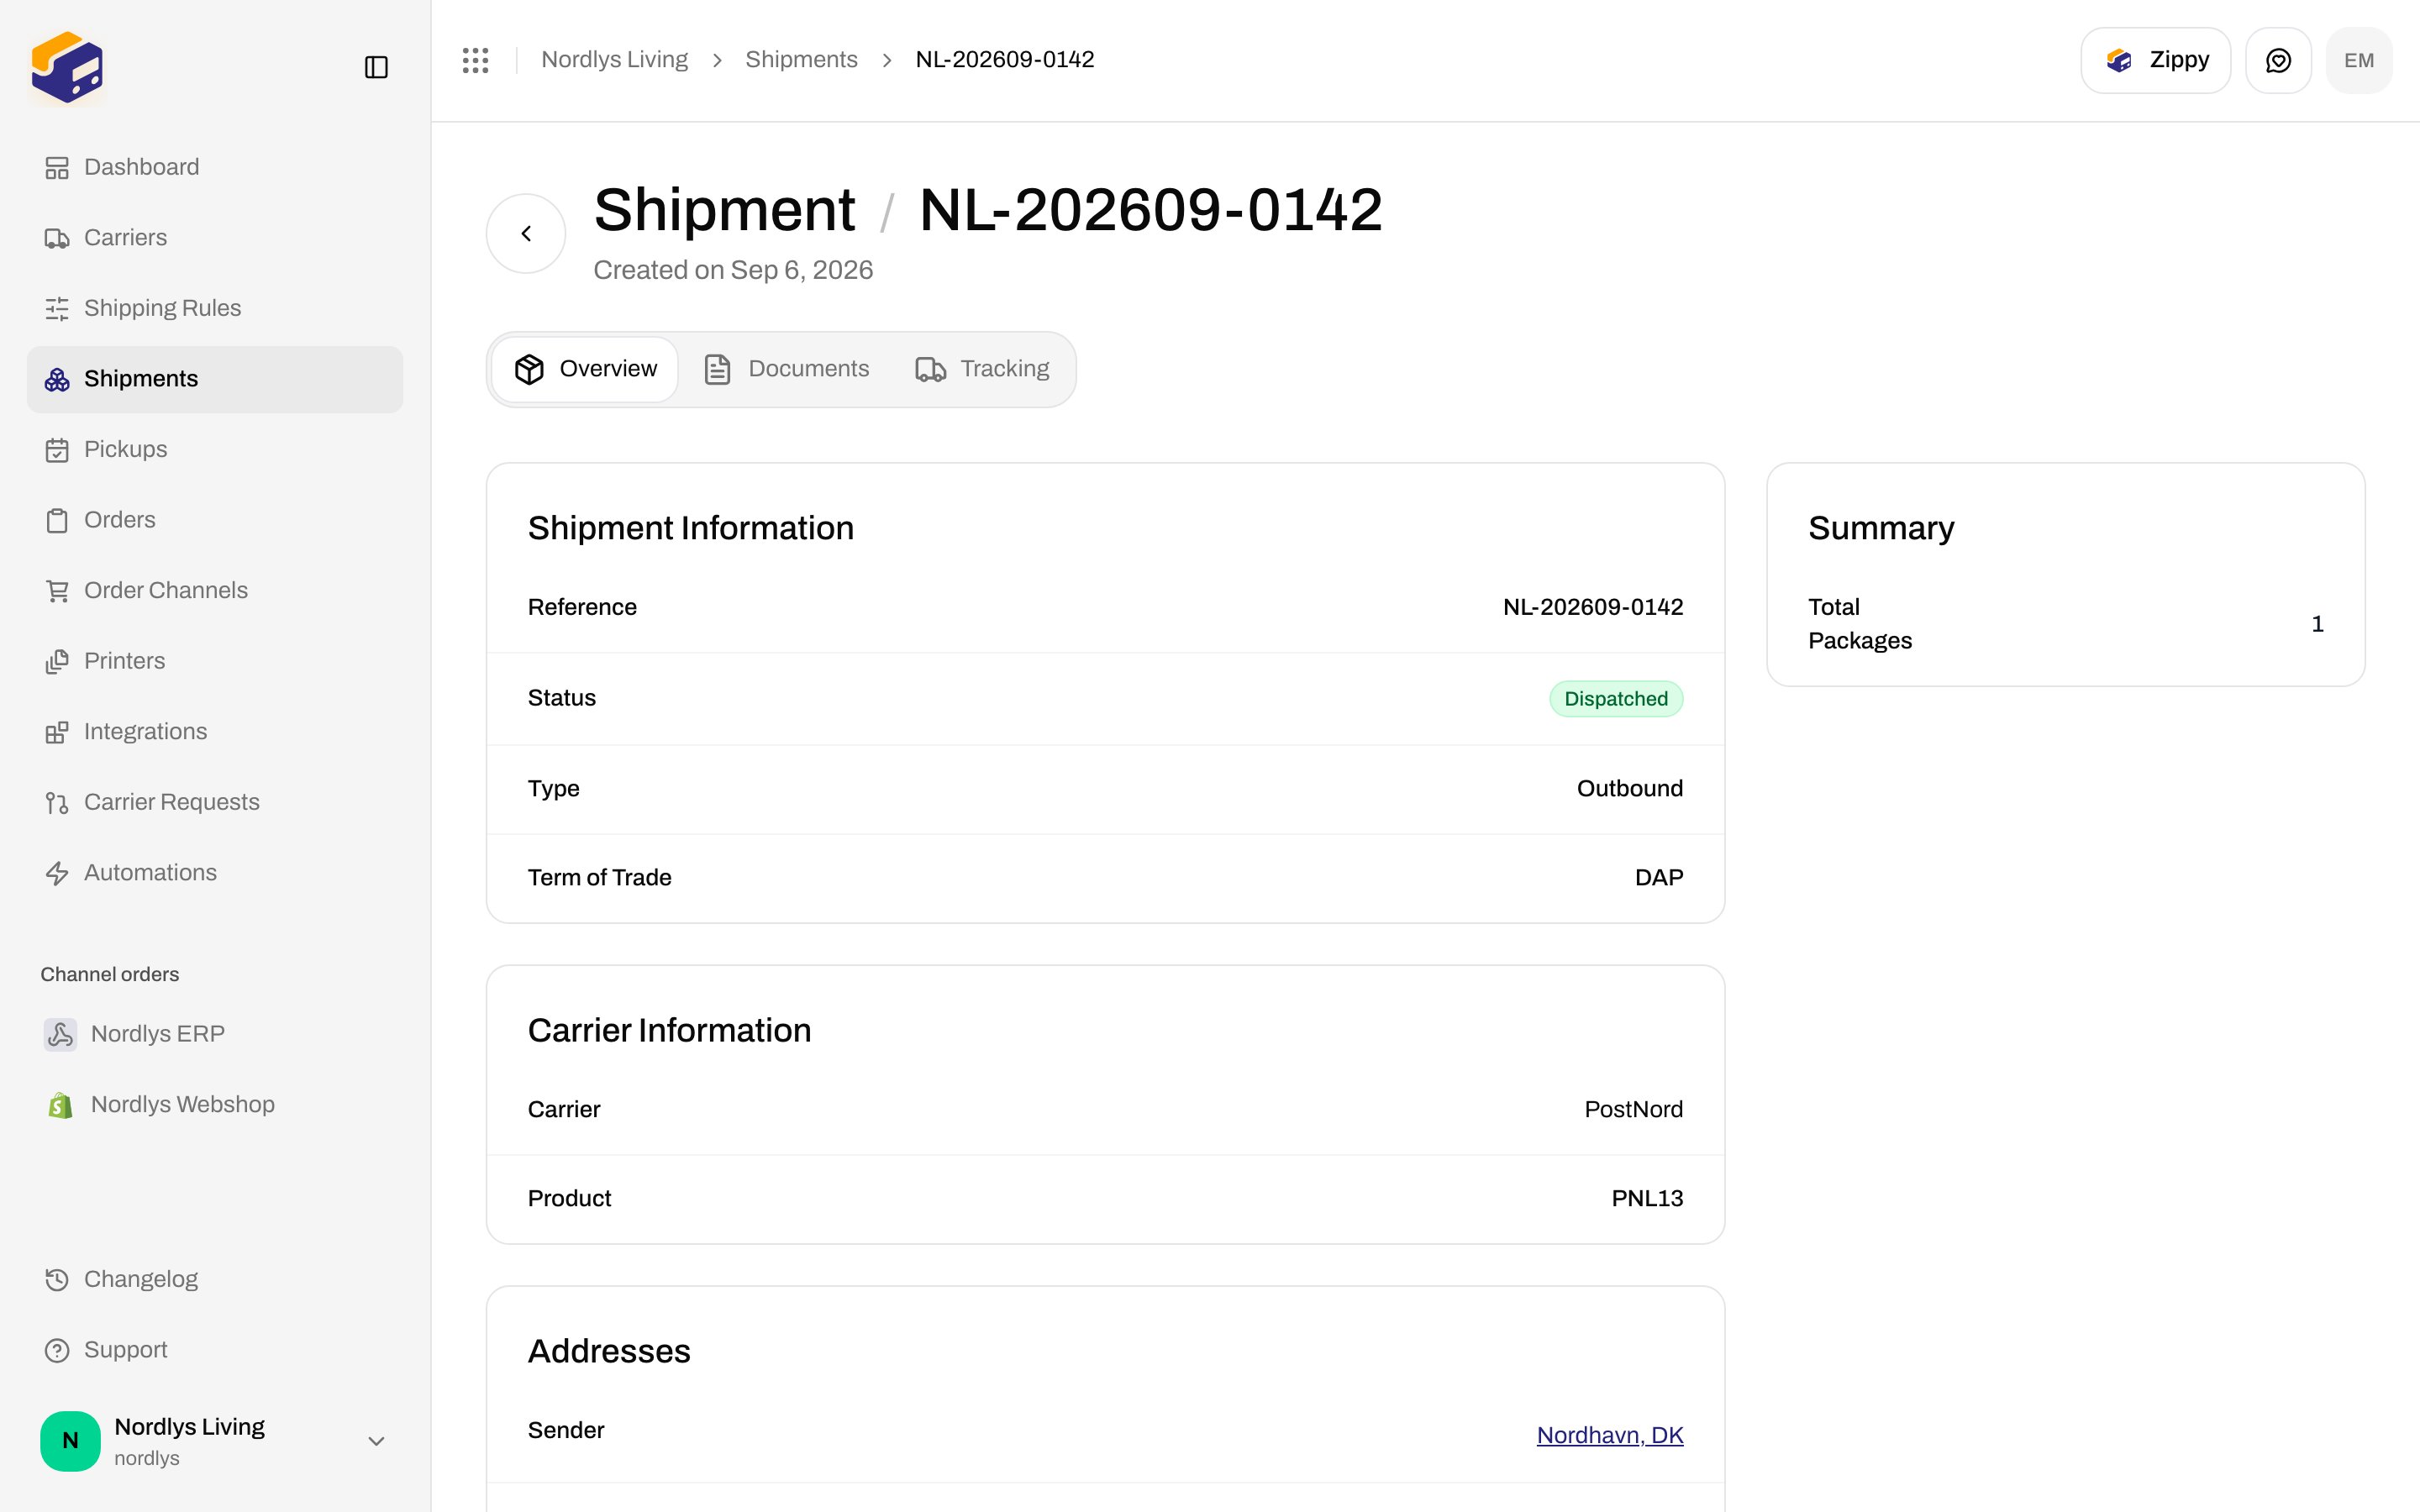
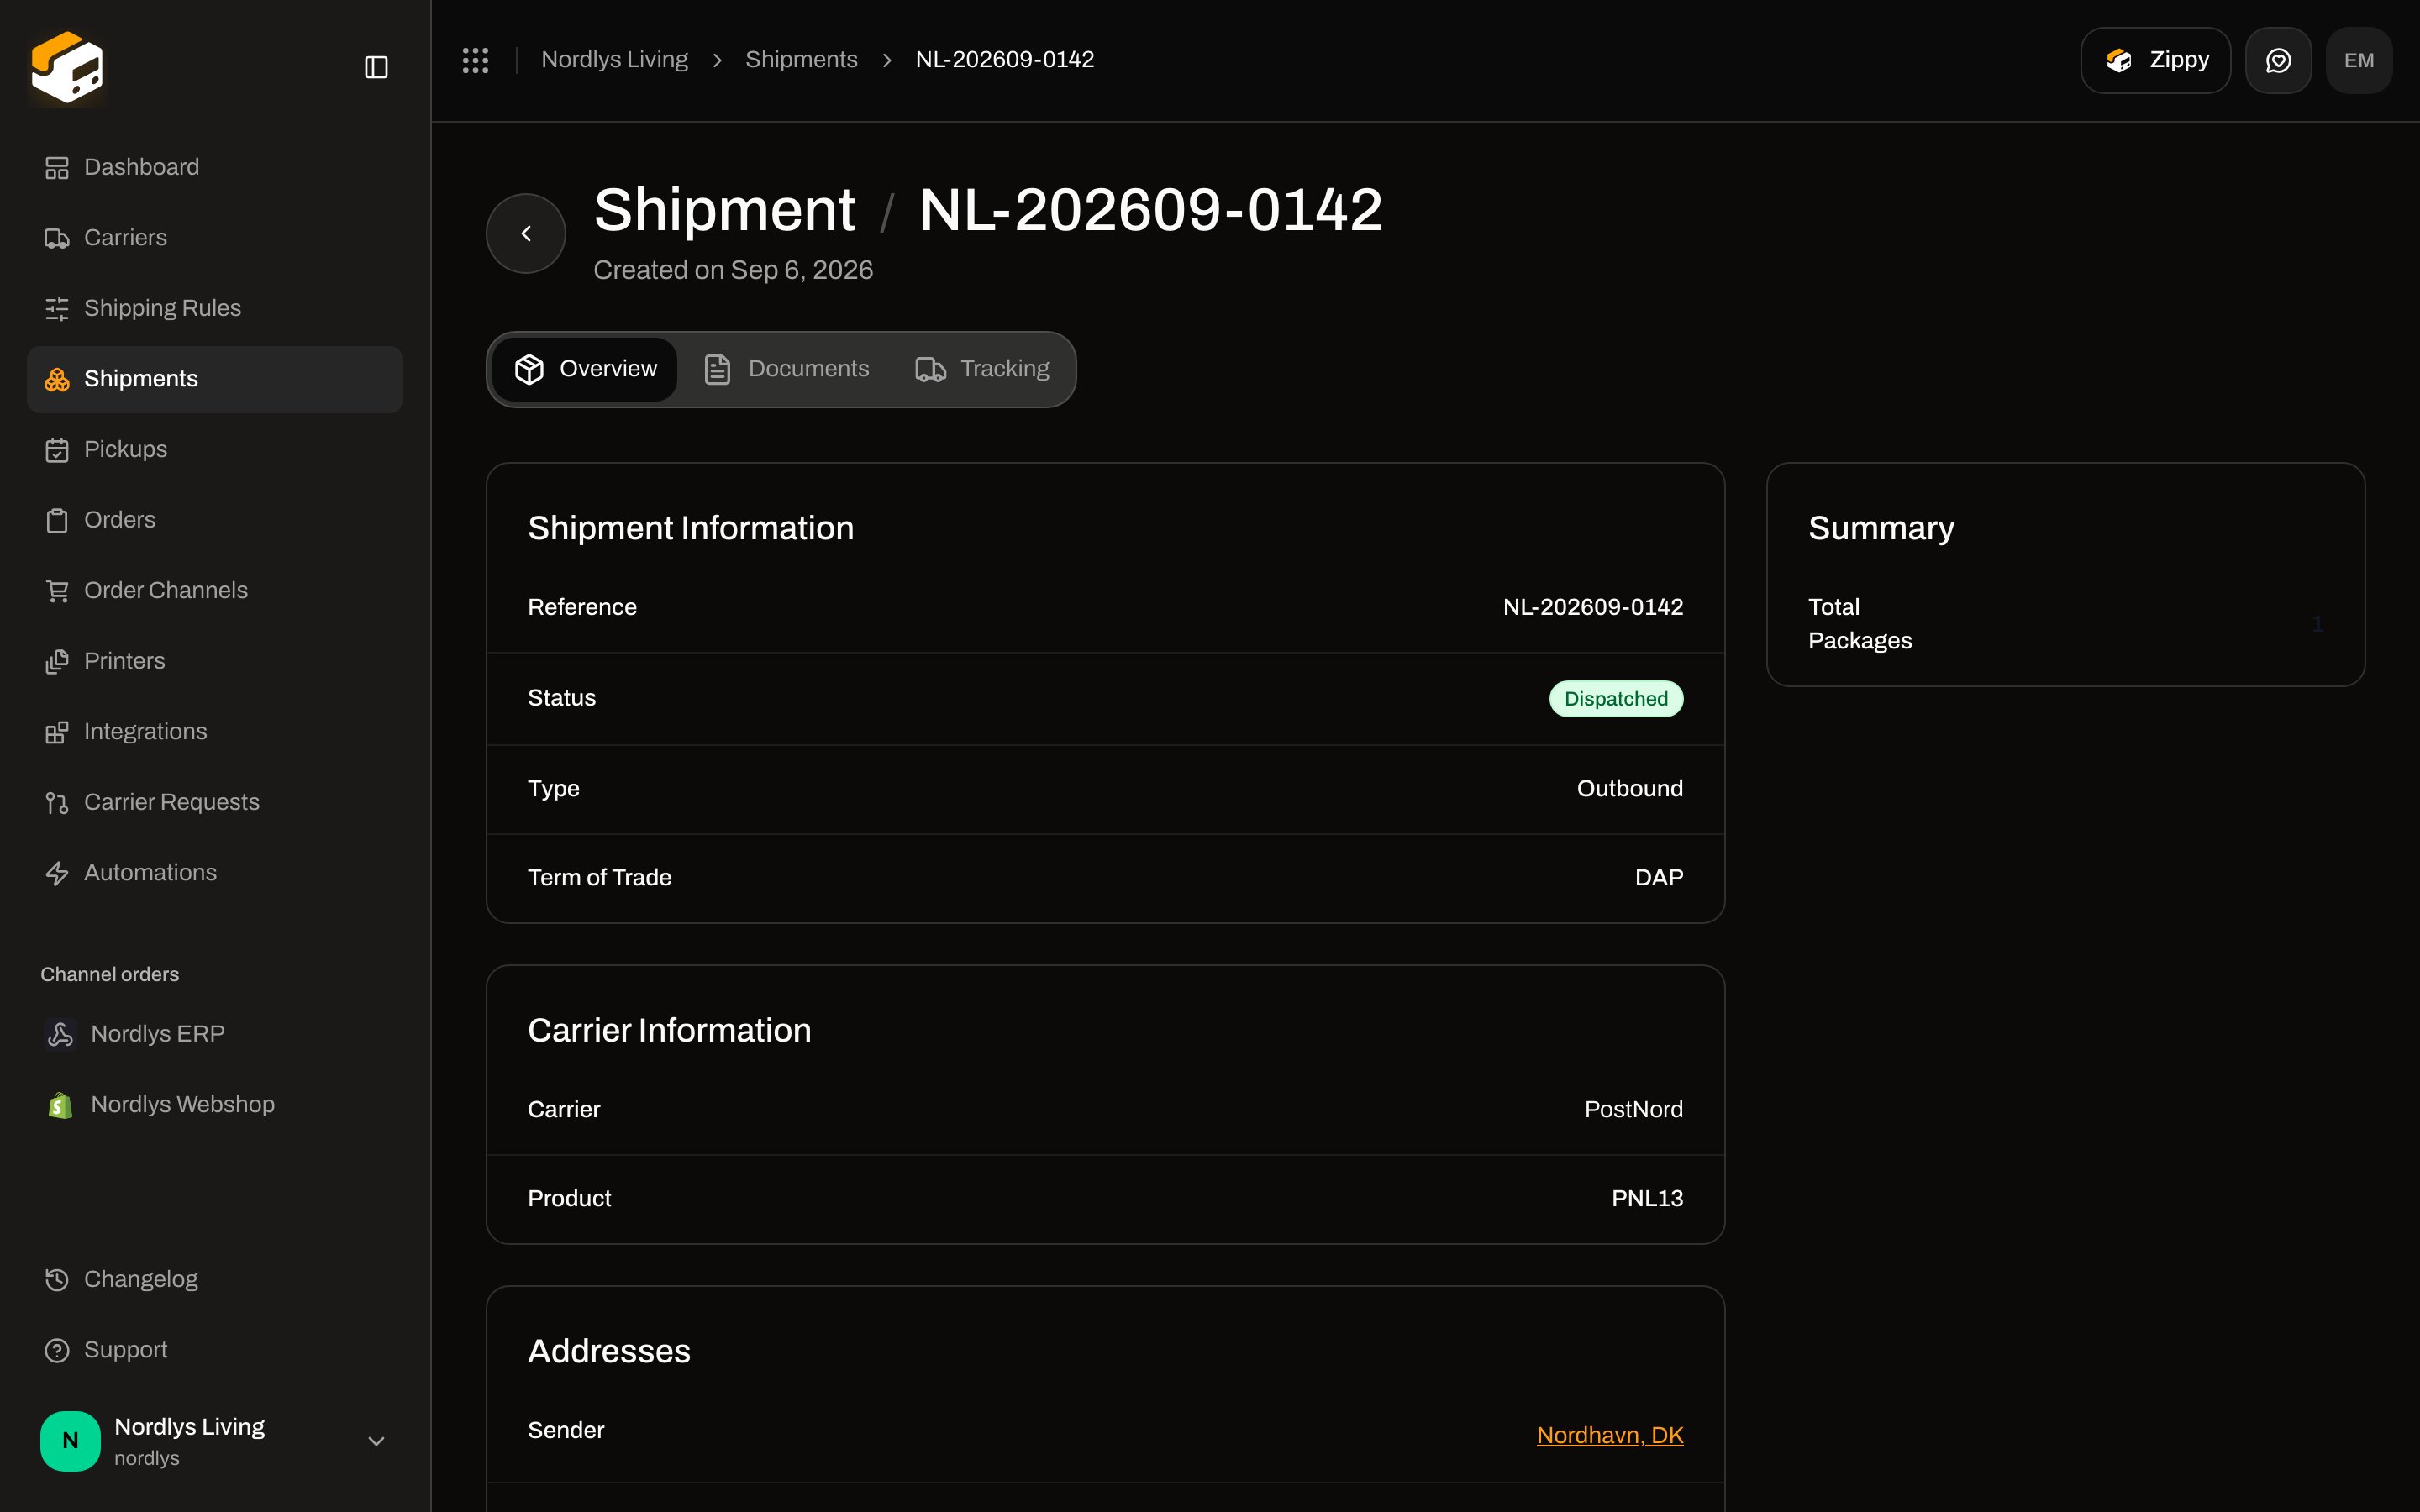 On the order, open the **Shipments** tab. The same conditions unlock **Create Return** on that shipment card.
 The new shipment:
| Field | Value |
| ----------------------- | ---------------------------------------------------- |
| **Type** | Inbound |
| **Reference** | `RET-` + original reference |
| **Sender** | Original receiver (the customer) |
| **Receiver** | Original sender (your warehouse) |
| **Rule** | The inbound **Return Shipping Rule** |
| **Status after create** | Booked / sent with the carrier (not left as a draft) |
Print the inbound label the same way as any other shipment — [Labels and printing](/docs/tutorials/labels-printing).
### Manual inbound shipment
If there is no outbound shipment to clone from (warranty, unsolicited return, sample coming back), create one yourself.
**Shipments → Create shipment**. Set **Type** to **Inbound**. The address field becomes **Receiver Address** (your warehouse). Pick an inbound product.
The new shipment:
| Field | Value |
| ----------------------- | ---------------------------------------------------- |
| **Type** | Inbound |
| **Reference** | `RET-` + original reference |
| **Sender** | Original receiver (the customer) |
| **Receiver** | Original sender (your warehouse) |
| **Rule** | The inbound **Return Shipping Rule** |
| **Status after create** | Booked / sent with the carrier (not left as a draft) |
Print the inbound label the same way as any other shipment — [Labels and printing](/docs/tutorials/labels-printing).
### Manual inbound shipment
If there is no outbound shipment to clone from (warranty, unsolicited return, sample coming back), create one yourself.
**Shipments → Create shipment**. Set **Type** to **Inbound**. The address field becomes **Receiver Address** (your warehouse). Pick an inbound product.
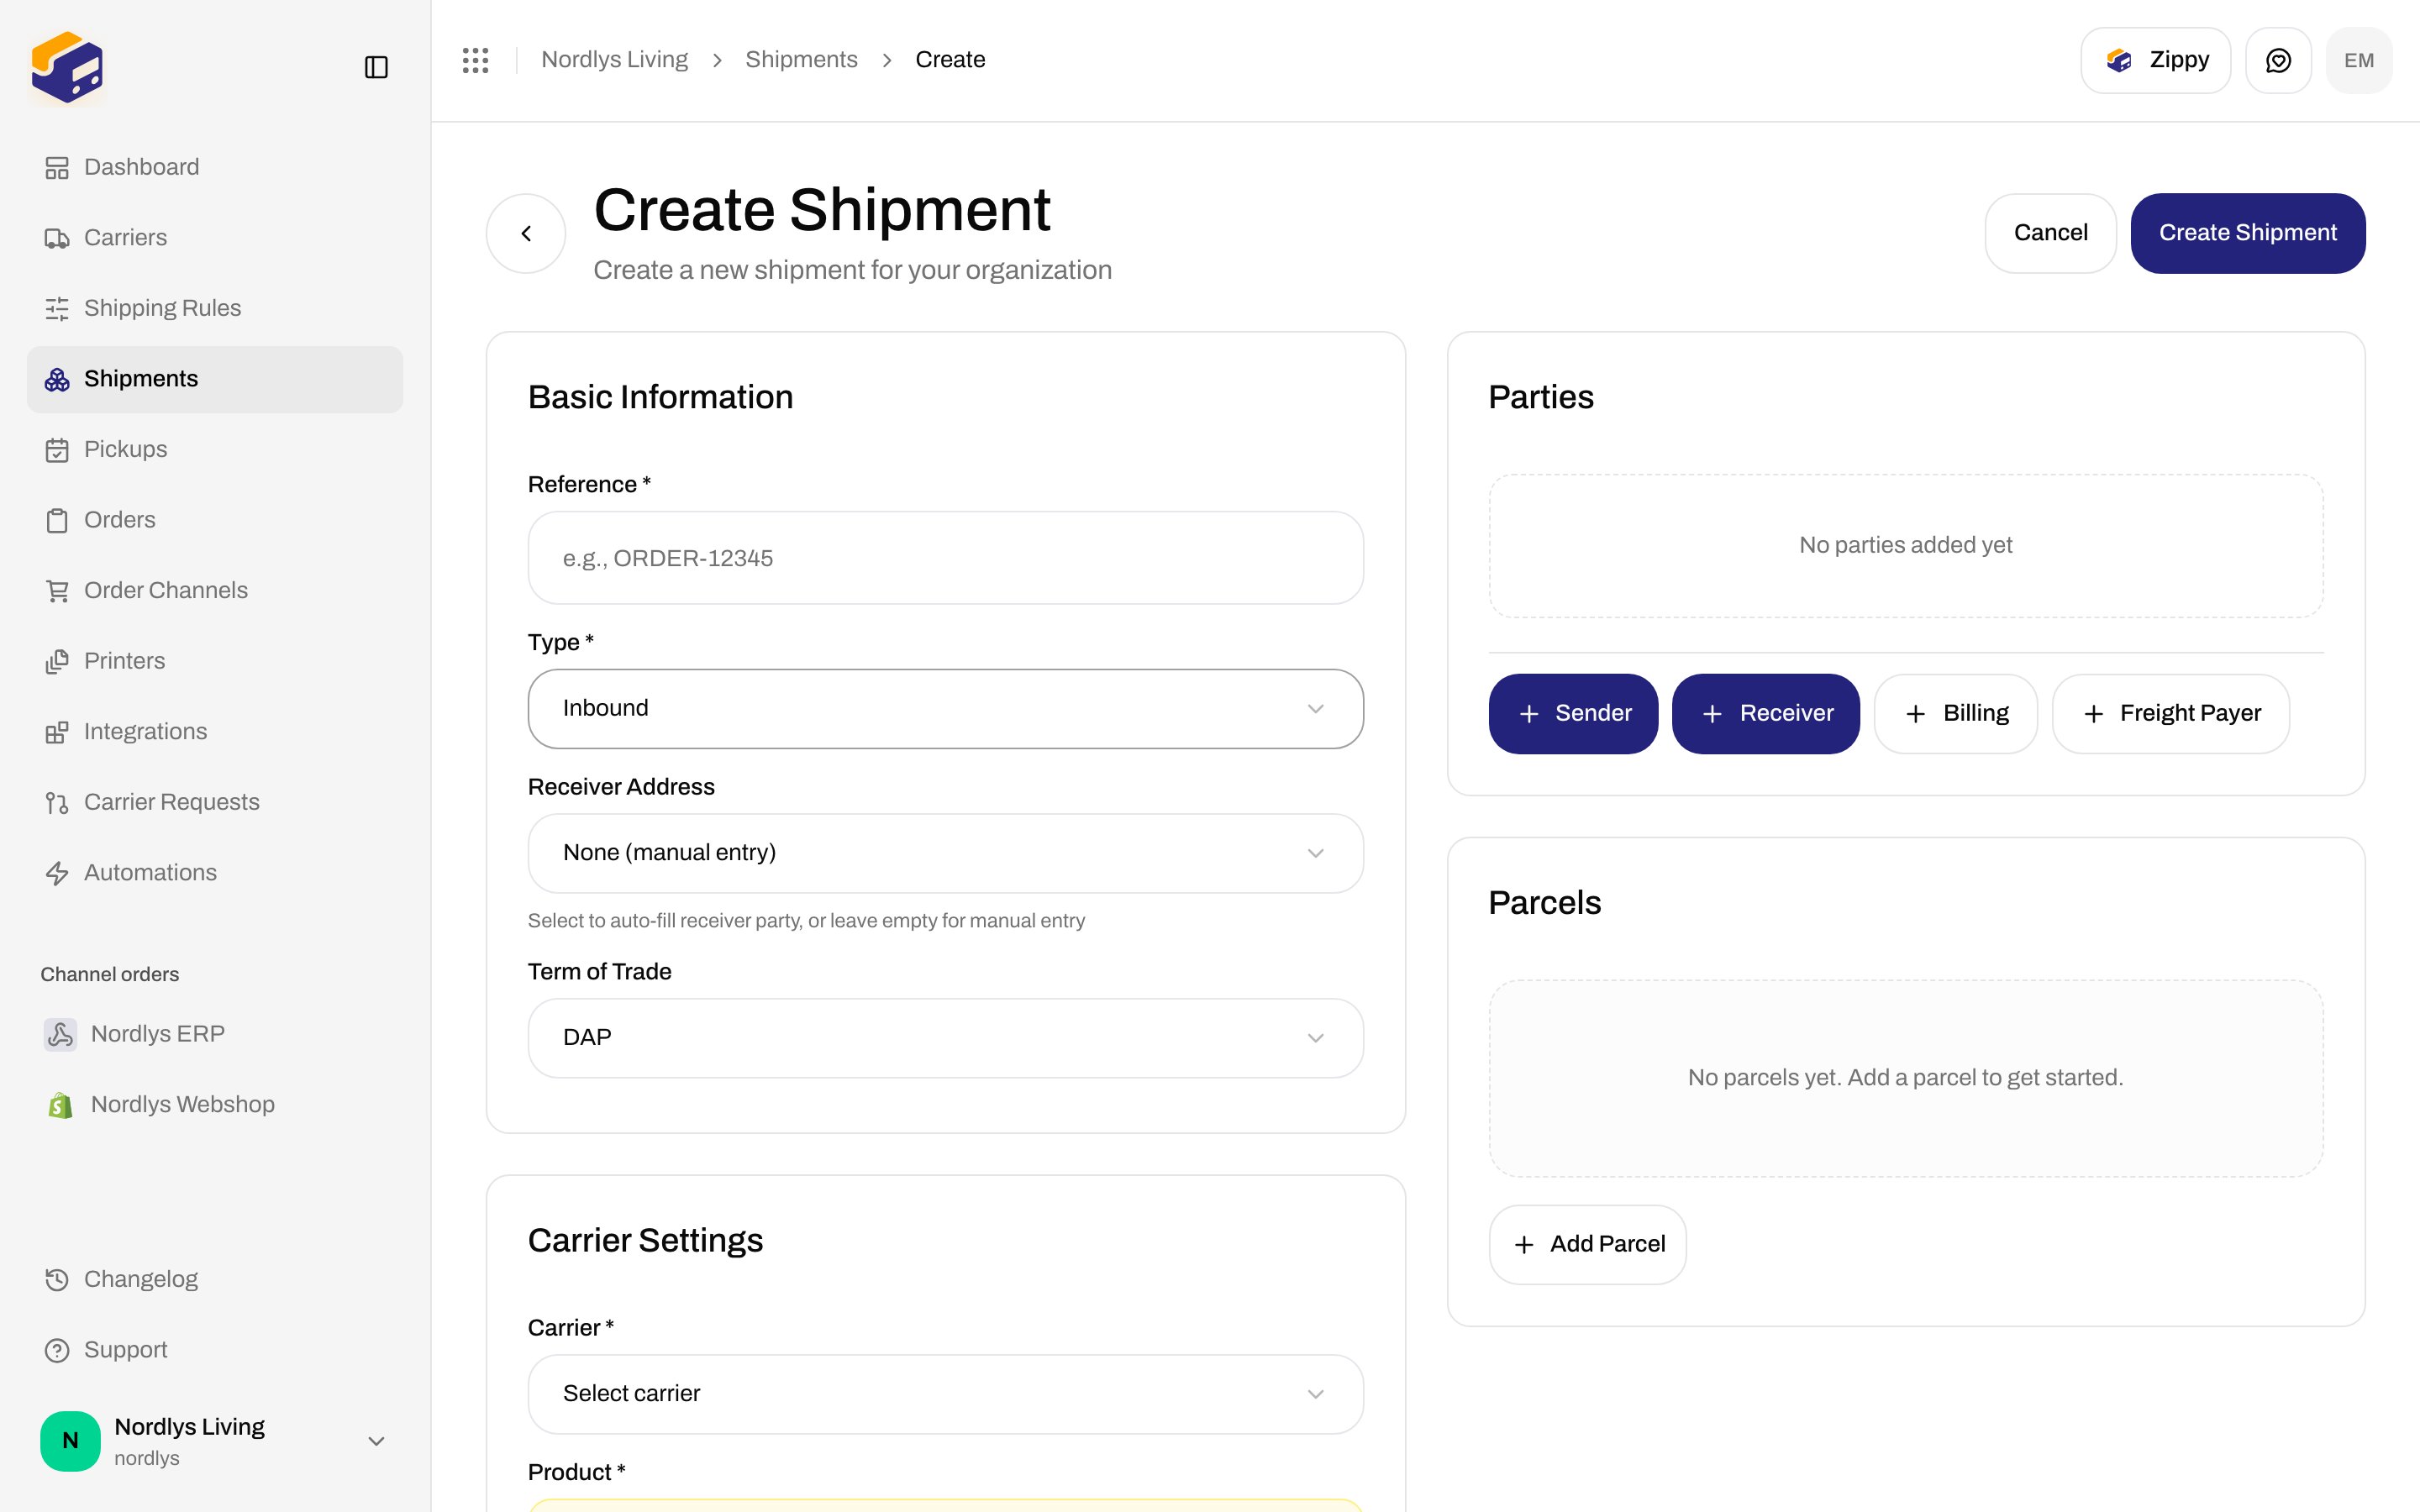
 The full form (parcels, parties, send): [Create a shipment](/docs/tutorials/create-a-shipment) — section **Outbound vs inbound (returns)**. Do not re-document every field here.
## Return addresses
**Manage → Addresses**. Mark the warehouse as **Return** (you can keep **Sender** on the same row). Inbound rules and inbound create-shipment only offer addresses with that type.
The full form (parcels, parties, send): [Create a shipment](/docs/tutorials/create-a-shipment) — section **Outbound vs inbound (returns)**. Do not re-document every field here.
## Return addresses
**Manage → Addresses**. Mark the warehouse as **Return** (you can keep **Sender** on the same row). Inbound rules and inbound create-shipment only offer addresses with that type.
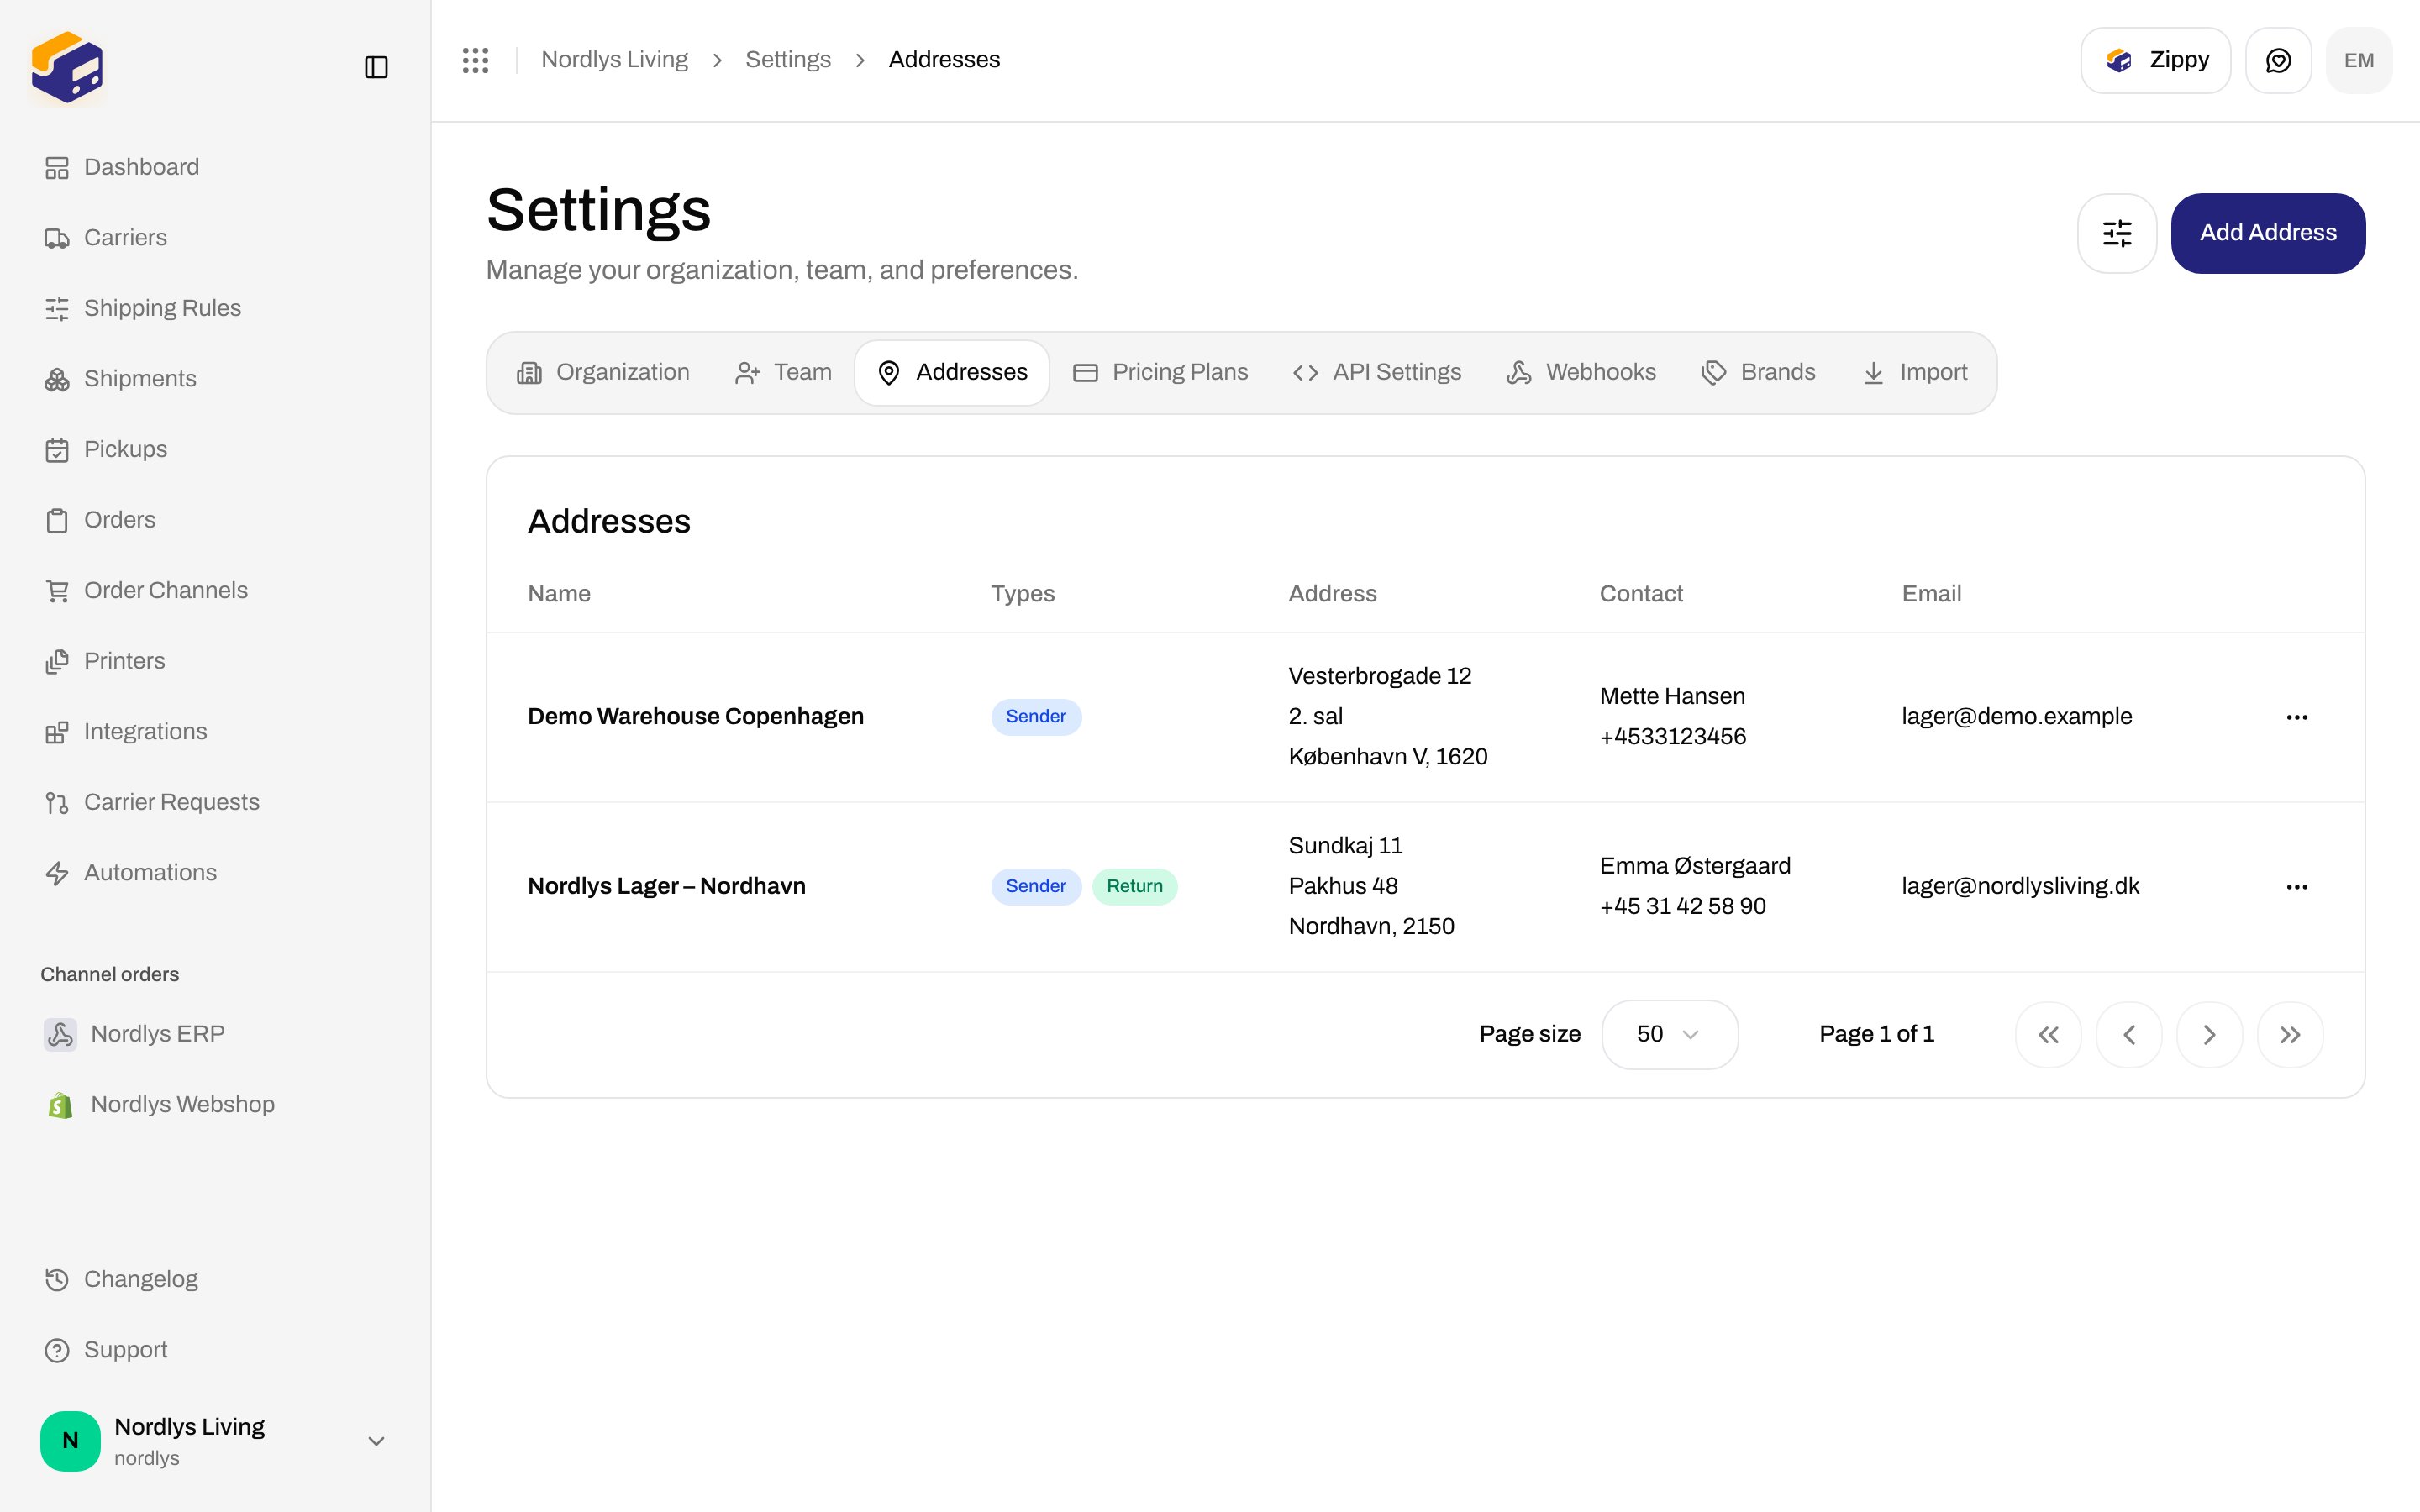
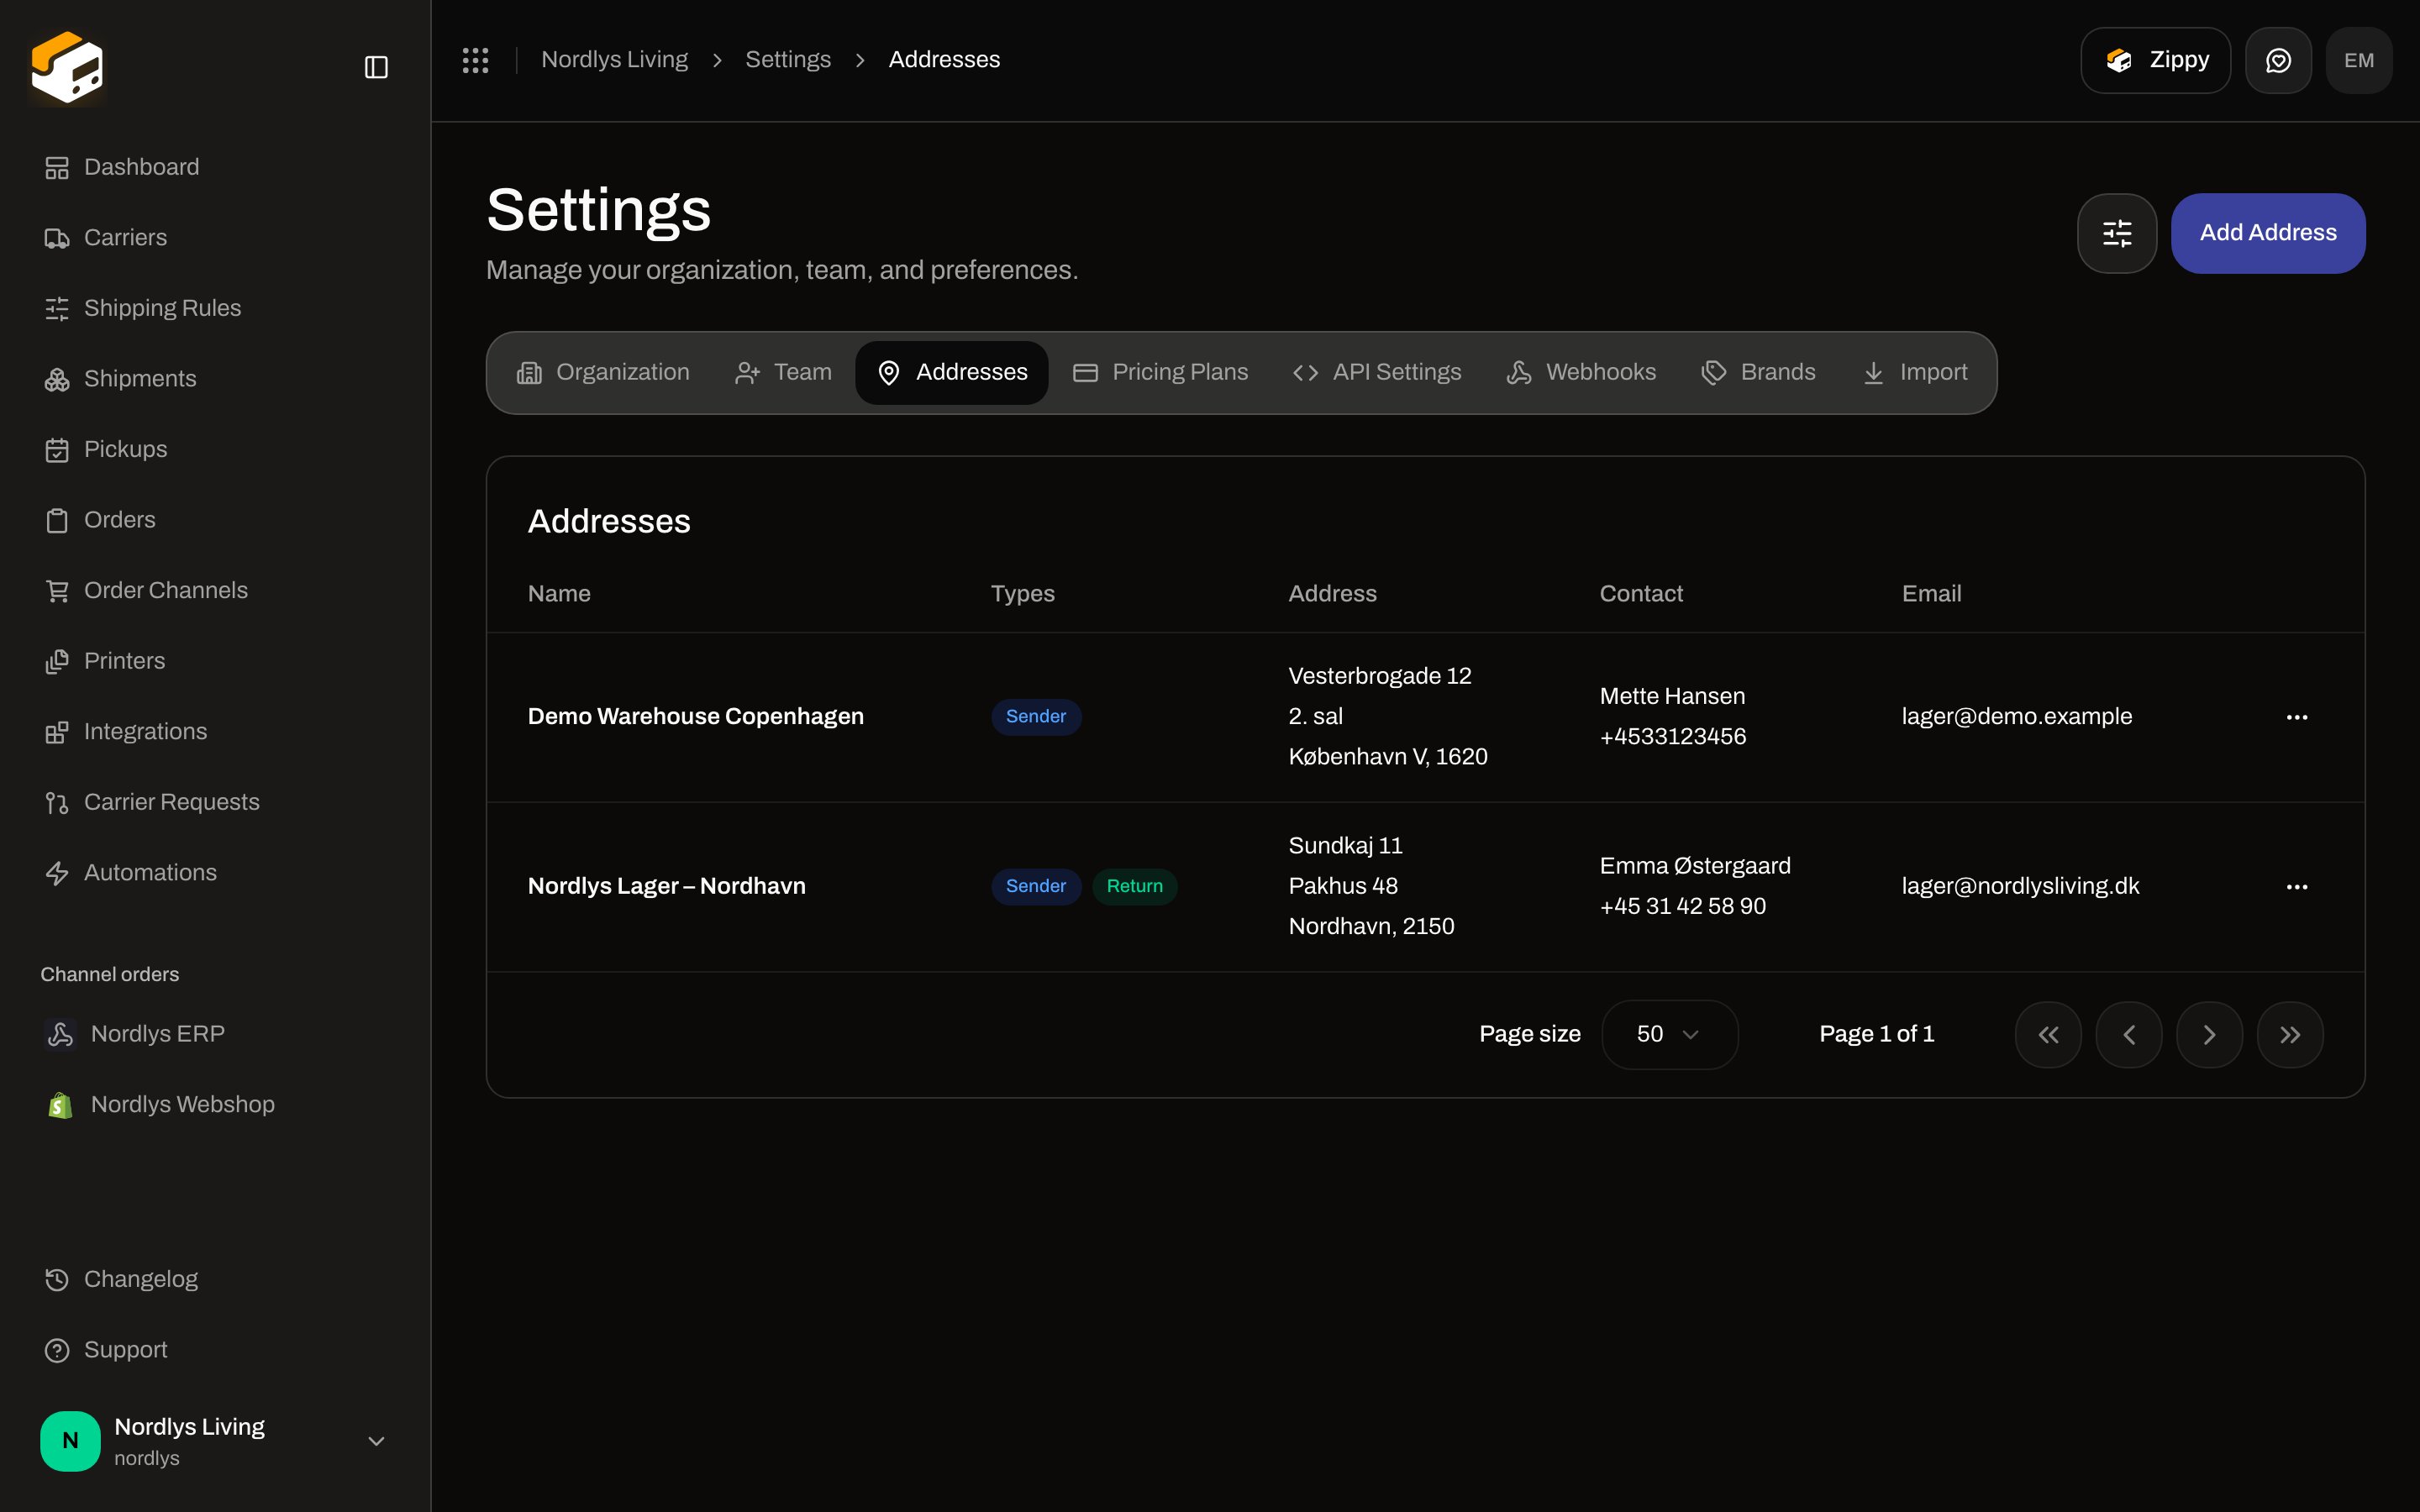 Open the address. **Address Types** is **Select one or more types for this address**: **Sender**, **Pickup**, **Return**.
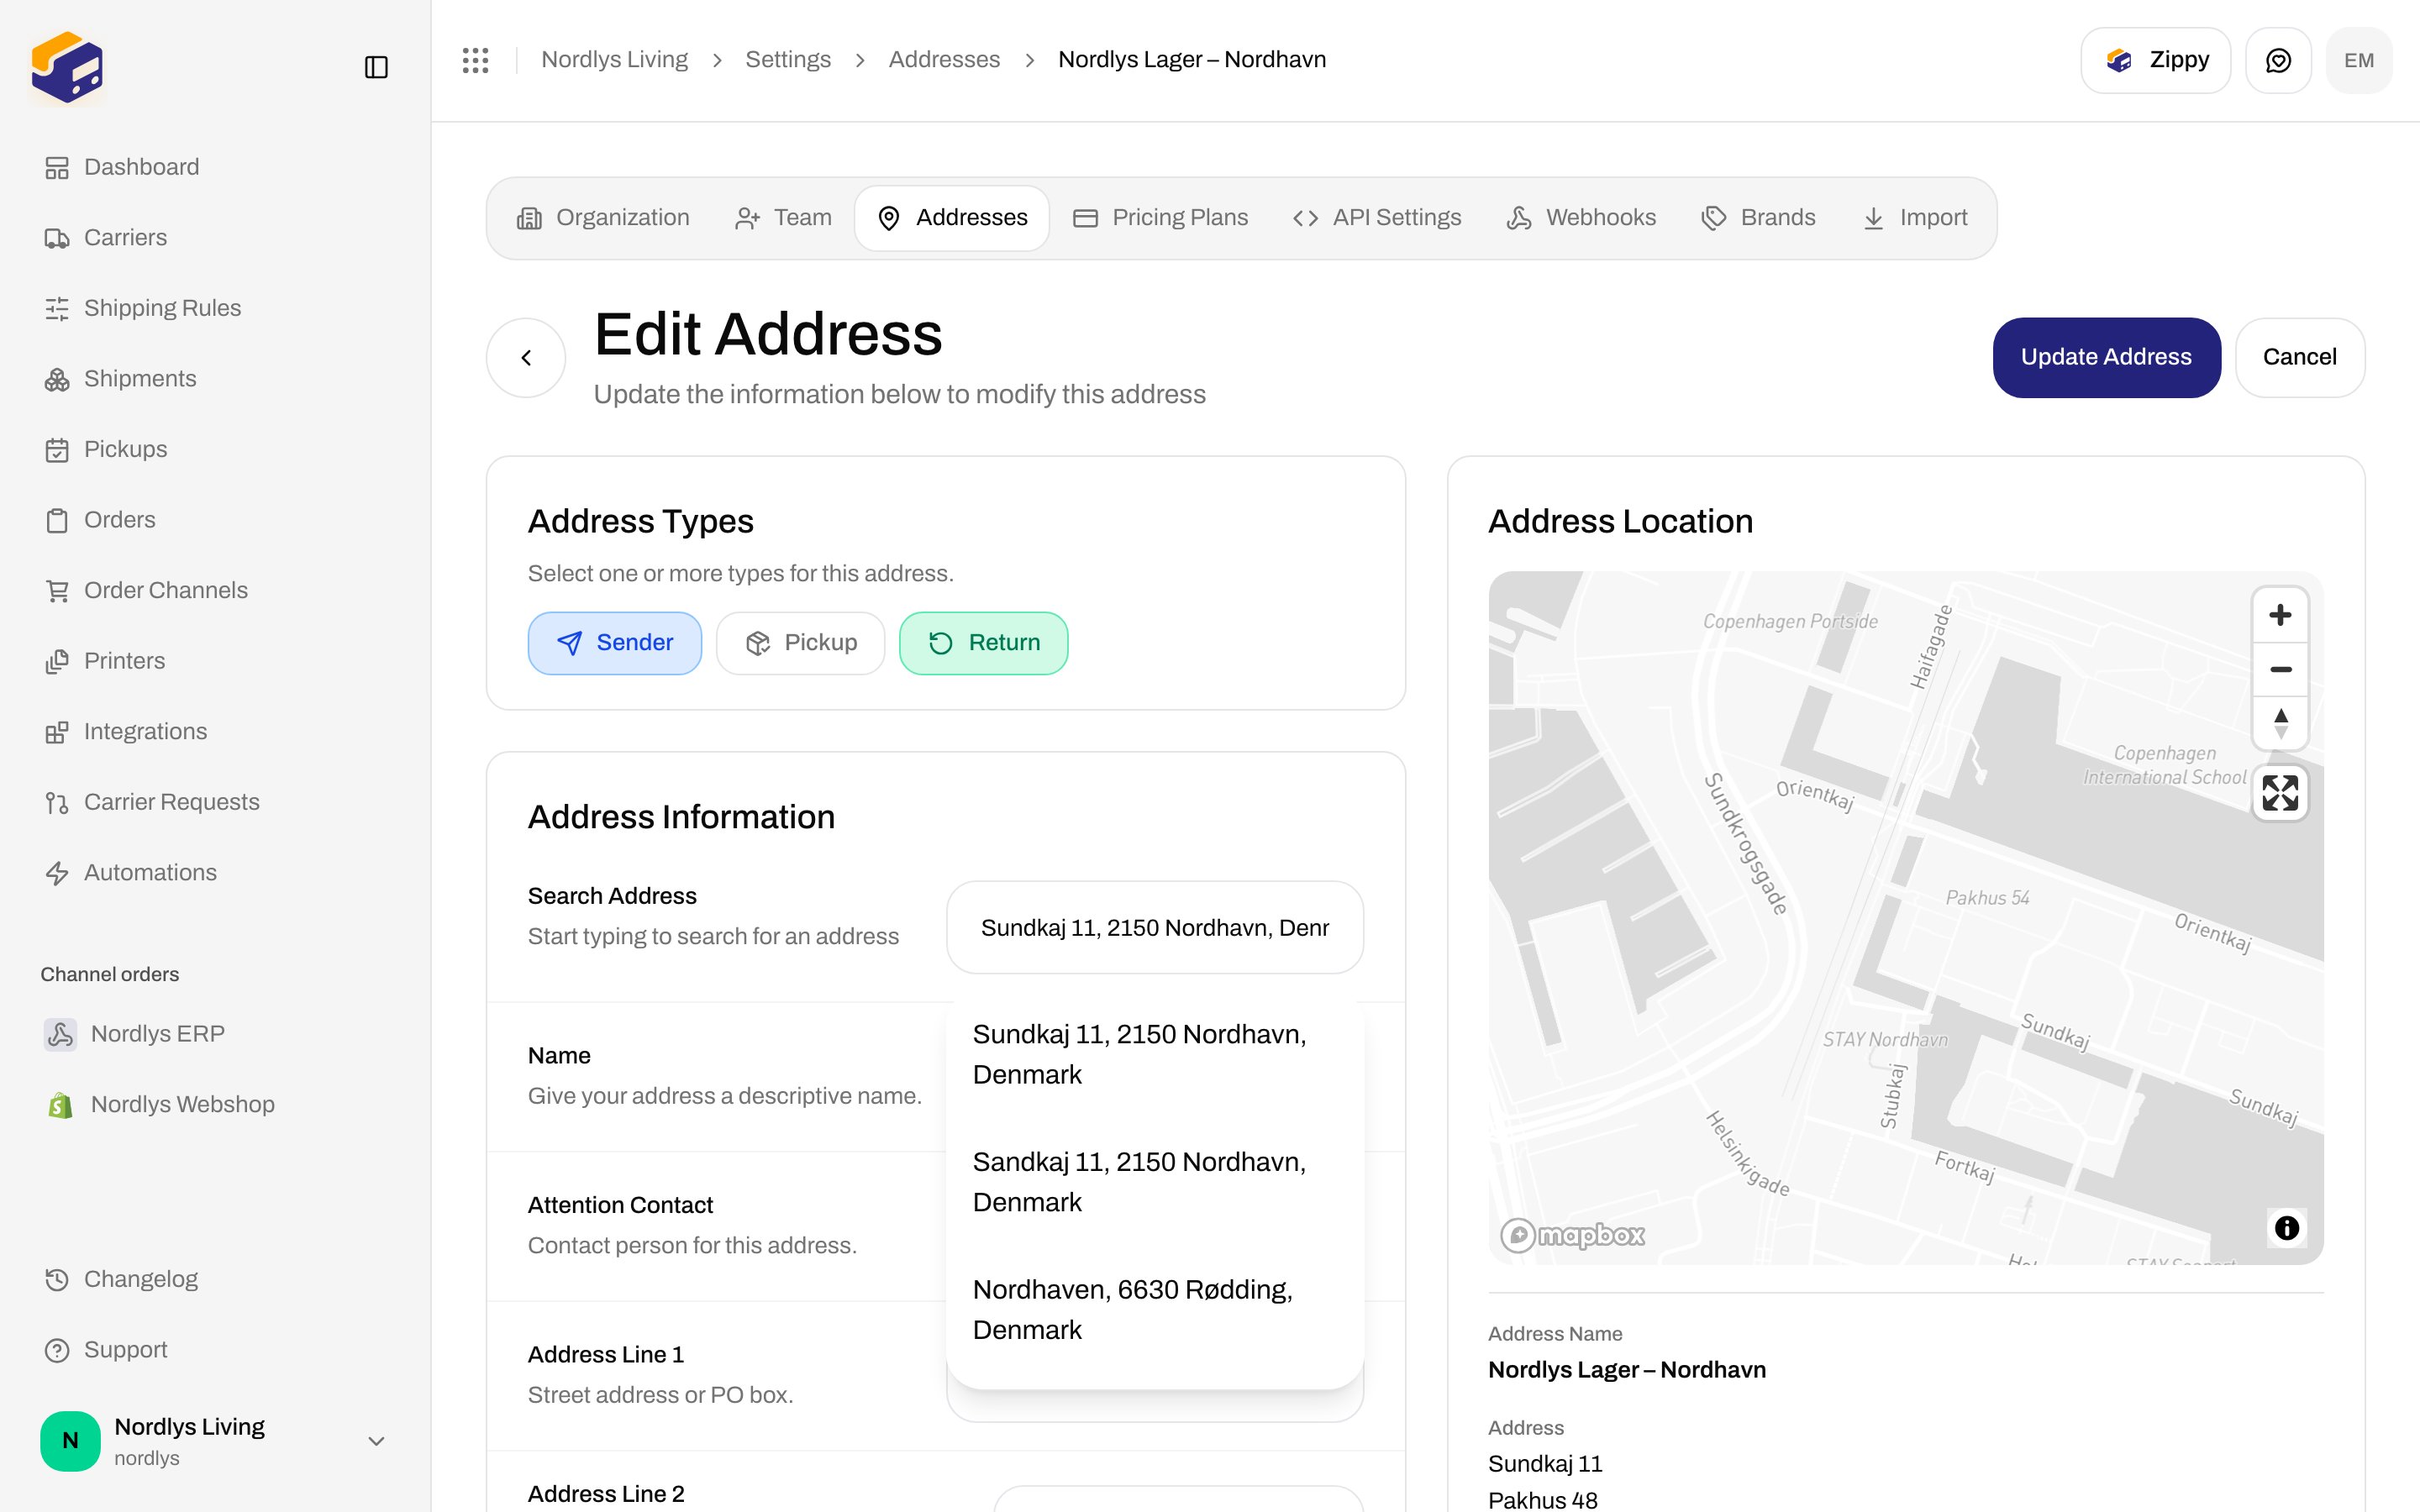
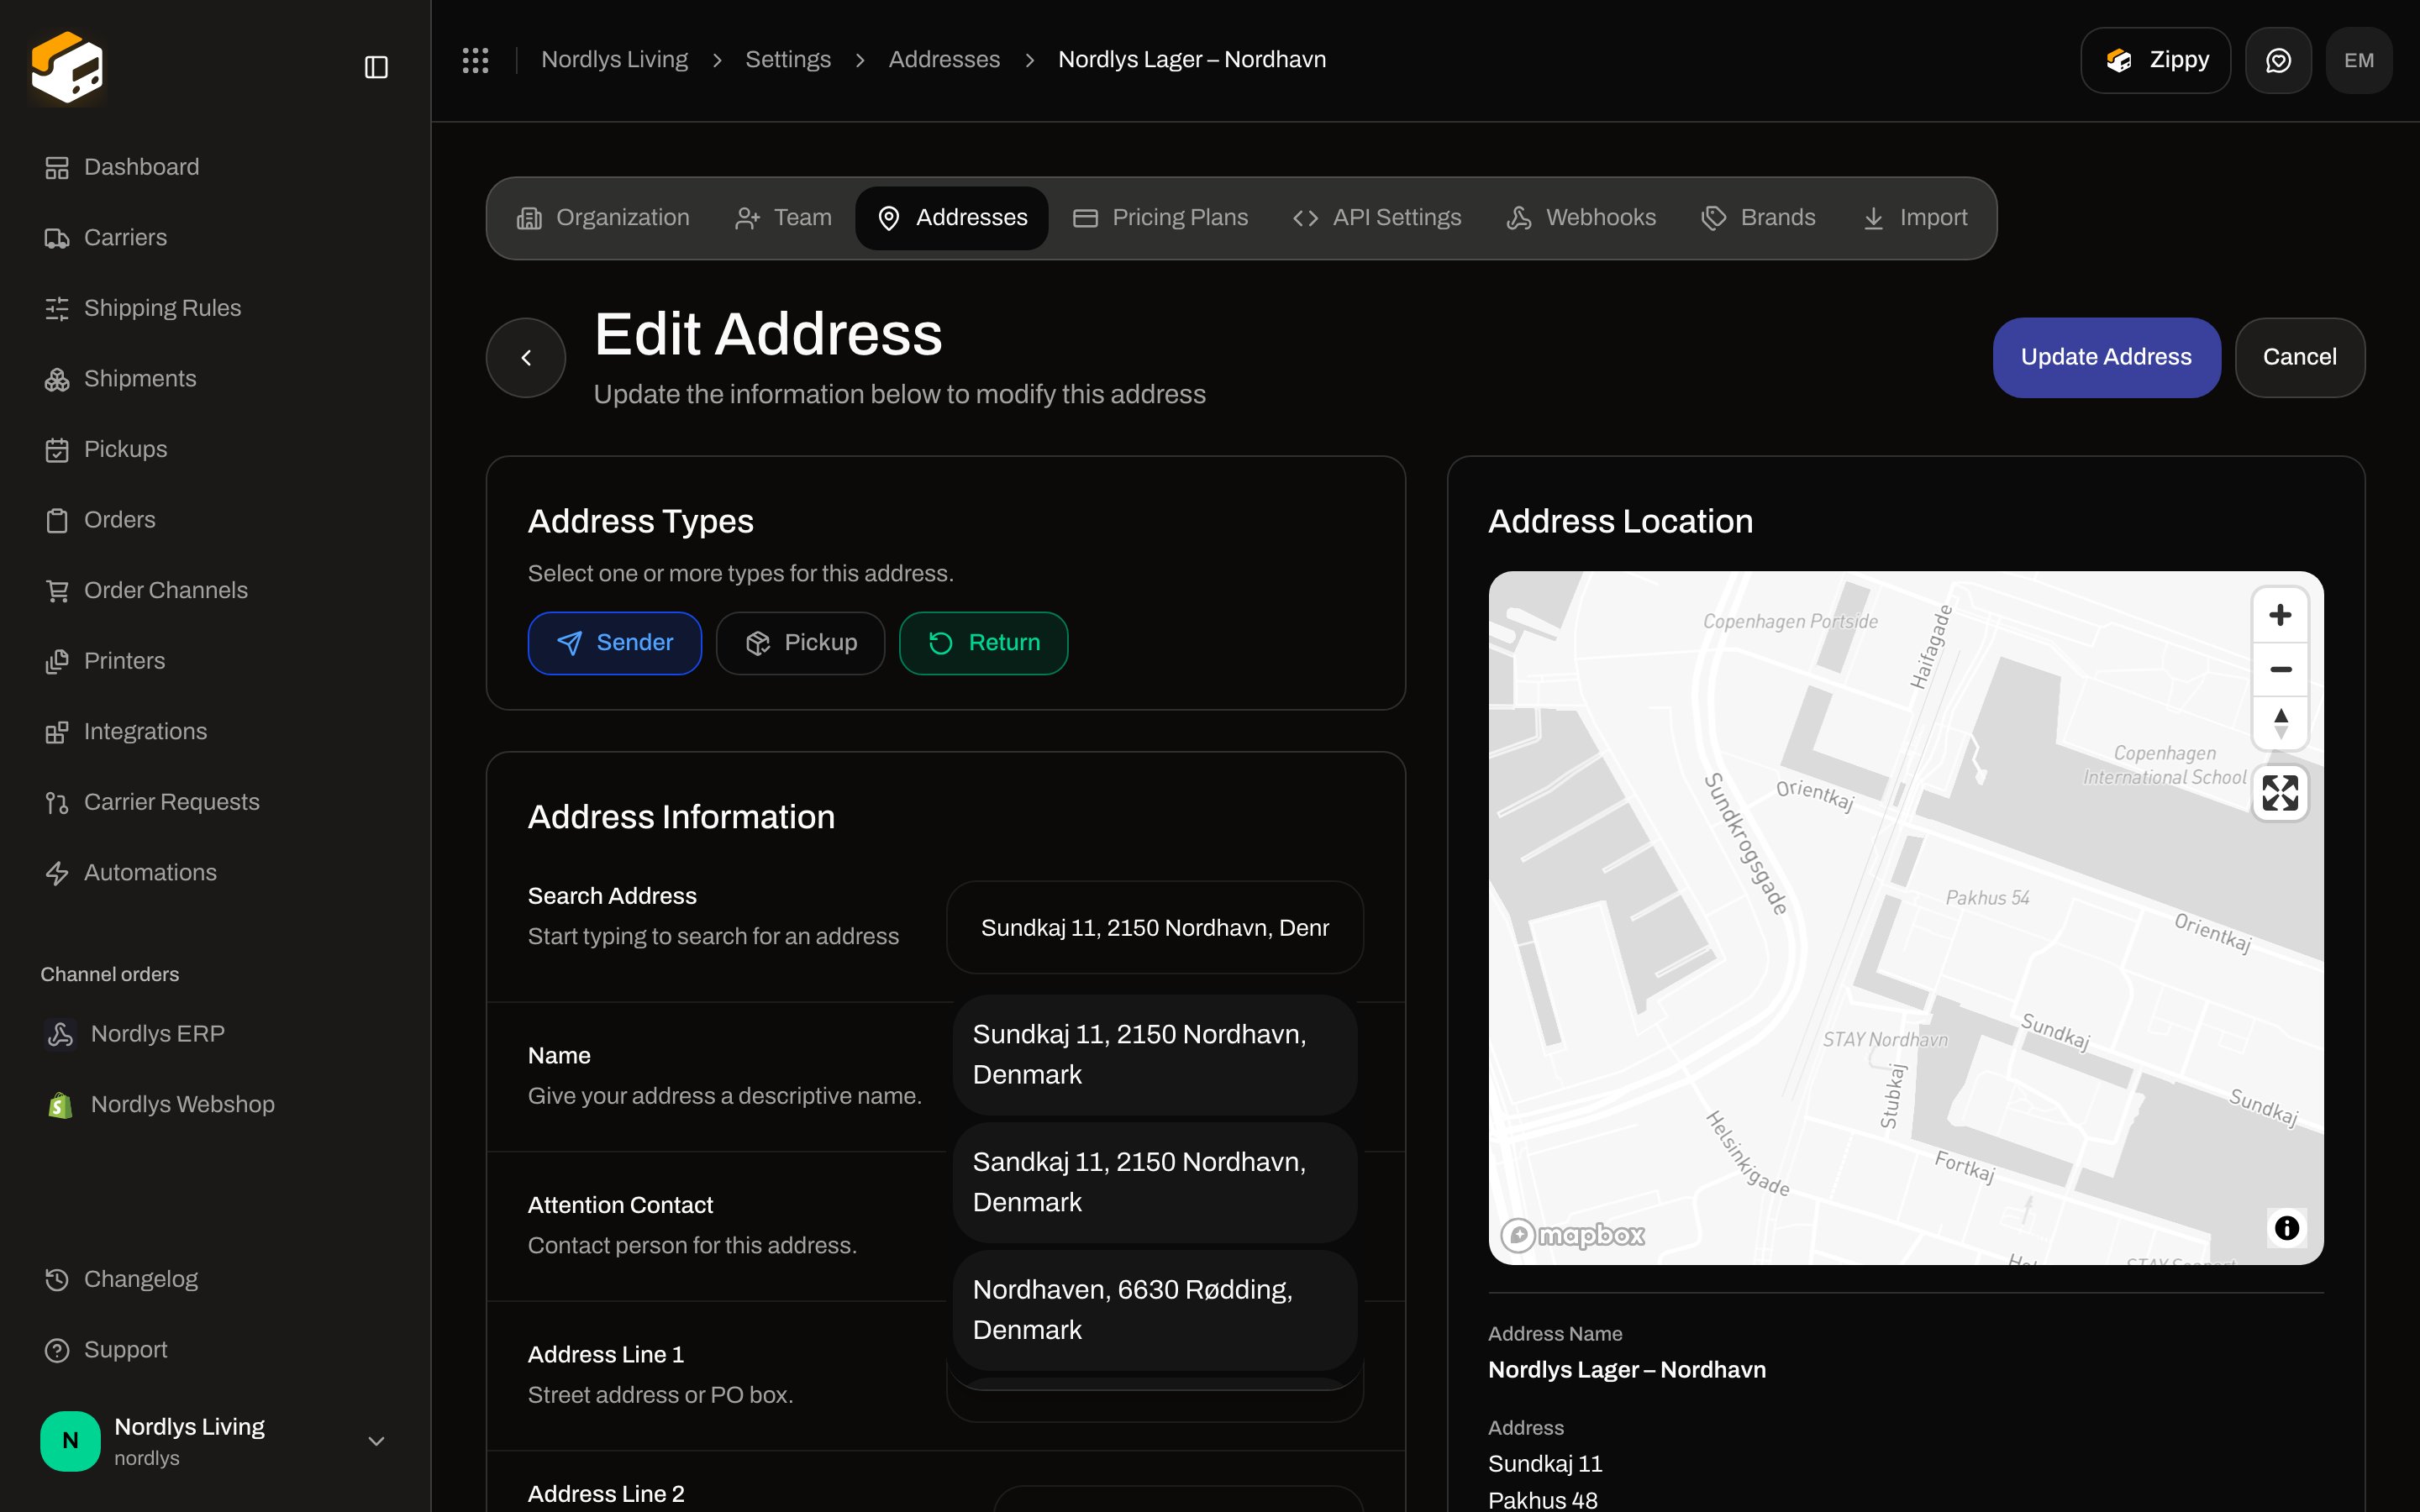 **Pickup** here is carrier collection from your site, not a shopper parcel shop.
## What Zippendo does not do
* **No return portal** — shoppers cannot open a Zippendo URL to book a return.
* **No in-app QR / return email composer** — use a carrier service that already does that (ShopReturnMail, ShopReturnQR, and similar) if you need the shopper to print at home.
* **Automations → action.shipment.create-return** is a stub in the product today. Do not rely on it to create returns; use **Auto-create return on dispatch** or **Create Return Shipment**.
## Checklist
You are set up for returns when (1) an inbound rule exists with a return product and a **Return** address, and (2) the outbound rule you ship with points **Return Shipping Rule** at it.
Direction, products, and the rest of the rule form.
Manual inbound labels and sending the shipment.
Print the inbound label after it is booked.
Addresses, carriers, and the rest of first-run setup.
Field-level: [Inbound and returns](/docs/how-to/inbound-and-returns) · [Shipping rule fields](/docs/how-to/shipping-rule-fields)
**Pickup** here is carrier collection from your site, not a shopper parcel shop.
## What Zippendo does not do
* **No return portal** — shoppers cannot open a Zippendo URL to book a return.
* **No in-app QR / return email composer** — use a carrier service that already does that (ShopReturnMail, ShopReturnQR, and similar) if you need the shopper to print at home.
* **Automations → action.shipment.create-return** is a stub in the product today. Do not rely on it to create returns; use **Auto-create return on dispatch** or **Create Return Shipment**.
## Checklist
You are set up for returns when (1) an inbound rule exists with a return product and a **Return** address, and (2) the outbound rule you ship with points **Return Shipping Rule** at it.
Direction, products, and the rest of the rule form.
Manual inbound labels and sending the shipment.
Print the inbound label after it is booked.
Addresses, carriers, and the rest of first-run setup.
Field-level: [Inbound and returns](/docs/how-to/inbound-and-returns) · [Shipping rule fields](/docs/how-to/shipping-rule-fields)