> ## Documentation Index
> Fetch the complete documentation index at: https://www.zippendo.com/docs/llms.txt
> Use this file to discover all available pages before exploring further.
# Getting started
> Create your Zippendo account, complete onboarding, and take a tour of the dashboard.
This walkthrough is the first hour in the Zippendo client ([app.zippendo.com](https://app.zippendo.com)): create the workspace, finish the setup the product requires, then learn where each sidebar screen lives.
You do not need every feature on day one. You can create a label as soon as you have a **sender address** and a **connected carrier**. Channels, rules, checkout rates, and returns come after that.
Prefer a short checklist without screenshots? Use the [onboarding checklist](/docs/getting-started/onboarding-checklist). For what Zippendo is, see [What is Zippendo?](/docs/getting-started/what-is-zippendo). This page is the click-through tour.
## Create your account
Open [app.zippendo.com](https://app.zippendo.com) and sign up with your work email. Verify the address when Zippendo asks — the API blocks shipping actions until the account is verified.
The first organization is created during signup. You land on **Dashboard** for that org. If you already have an invitation, accept it instead of creating a second workspace — see [Settings, team, and brands](/docs/tutorials/settings-team-brands).
These tutorial screenshots use the Nordlys Living docs organization so you can see a workspace that already has carriers, orders, and shipments. A brand-new account shows the same screens with empty lists and an onboarding card.
## Organization and brand
The workspace you are in is the **organization** in the sidebar footer (and in the breadcrumb). Click that control to open the team switcher.
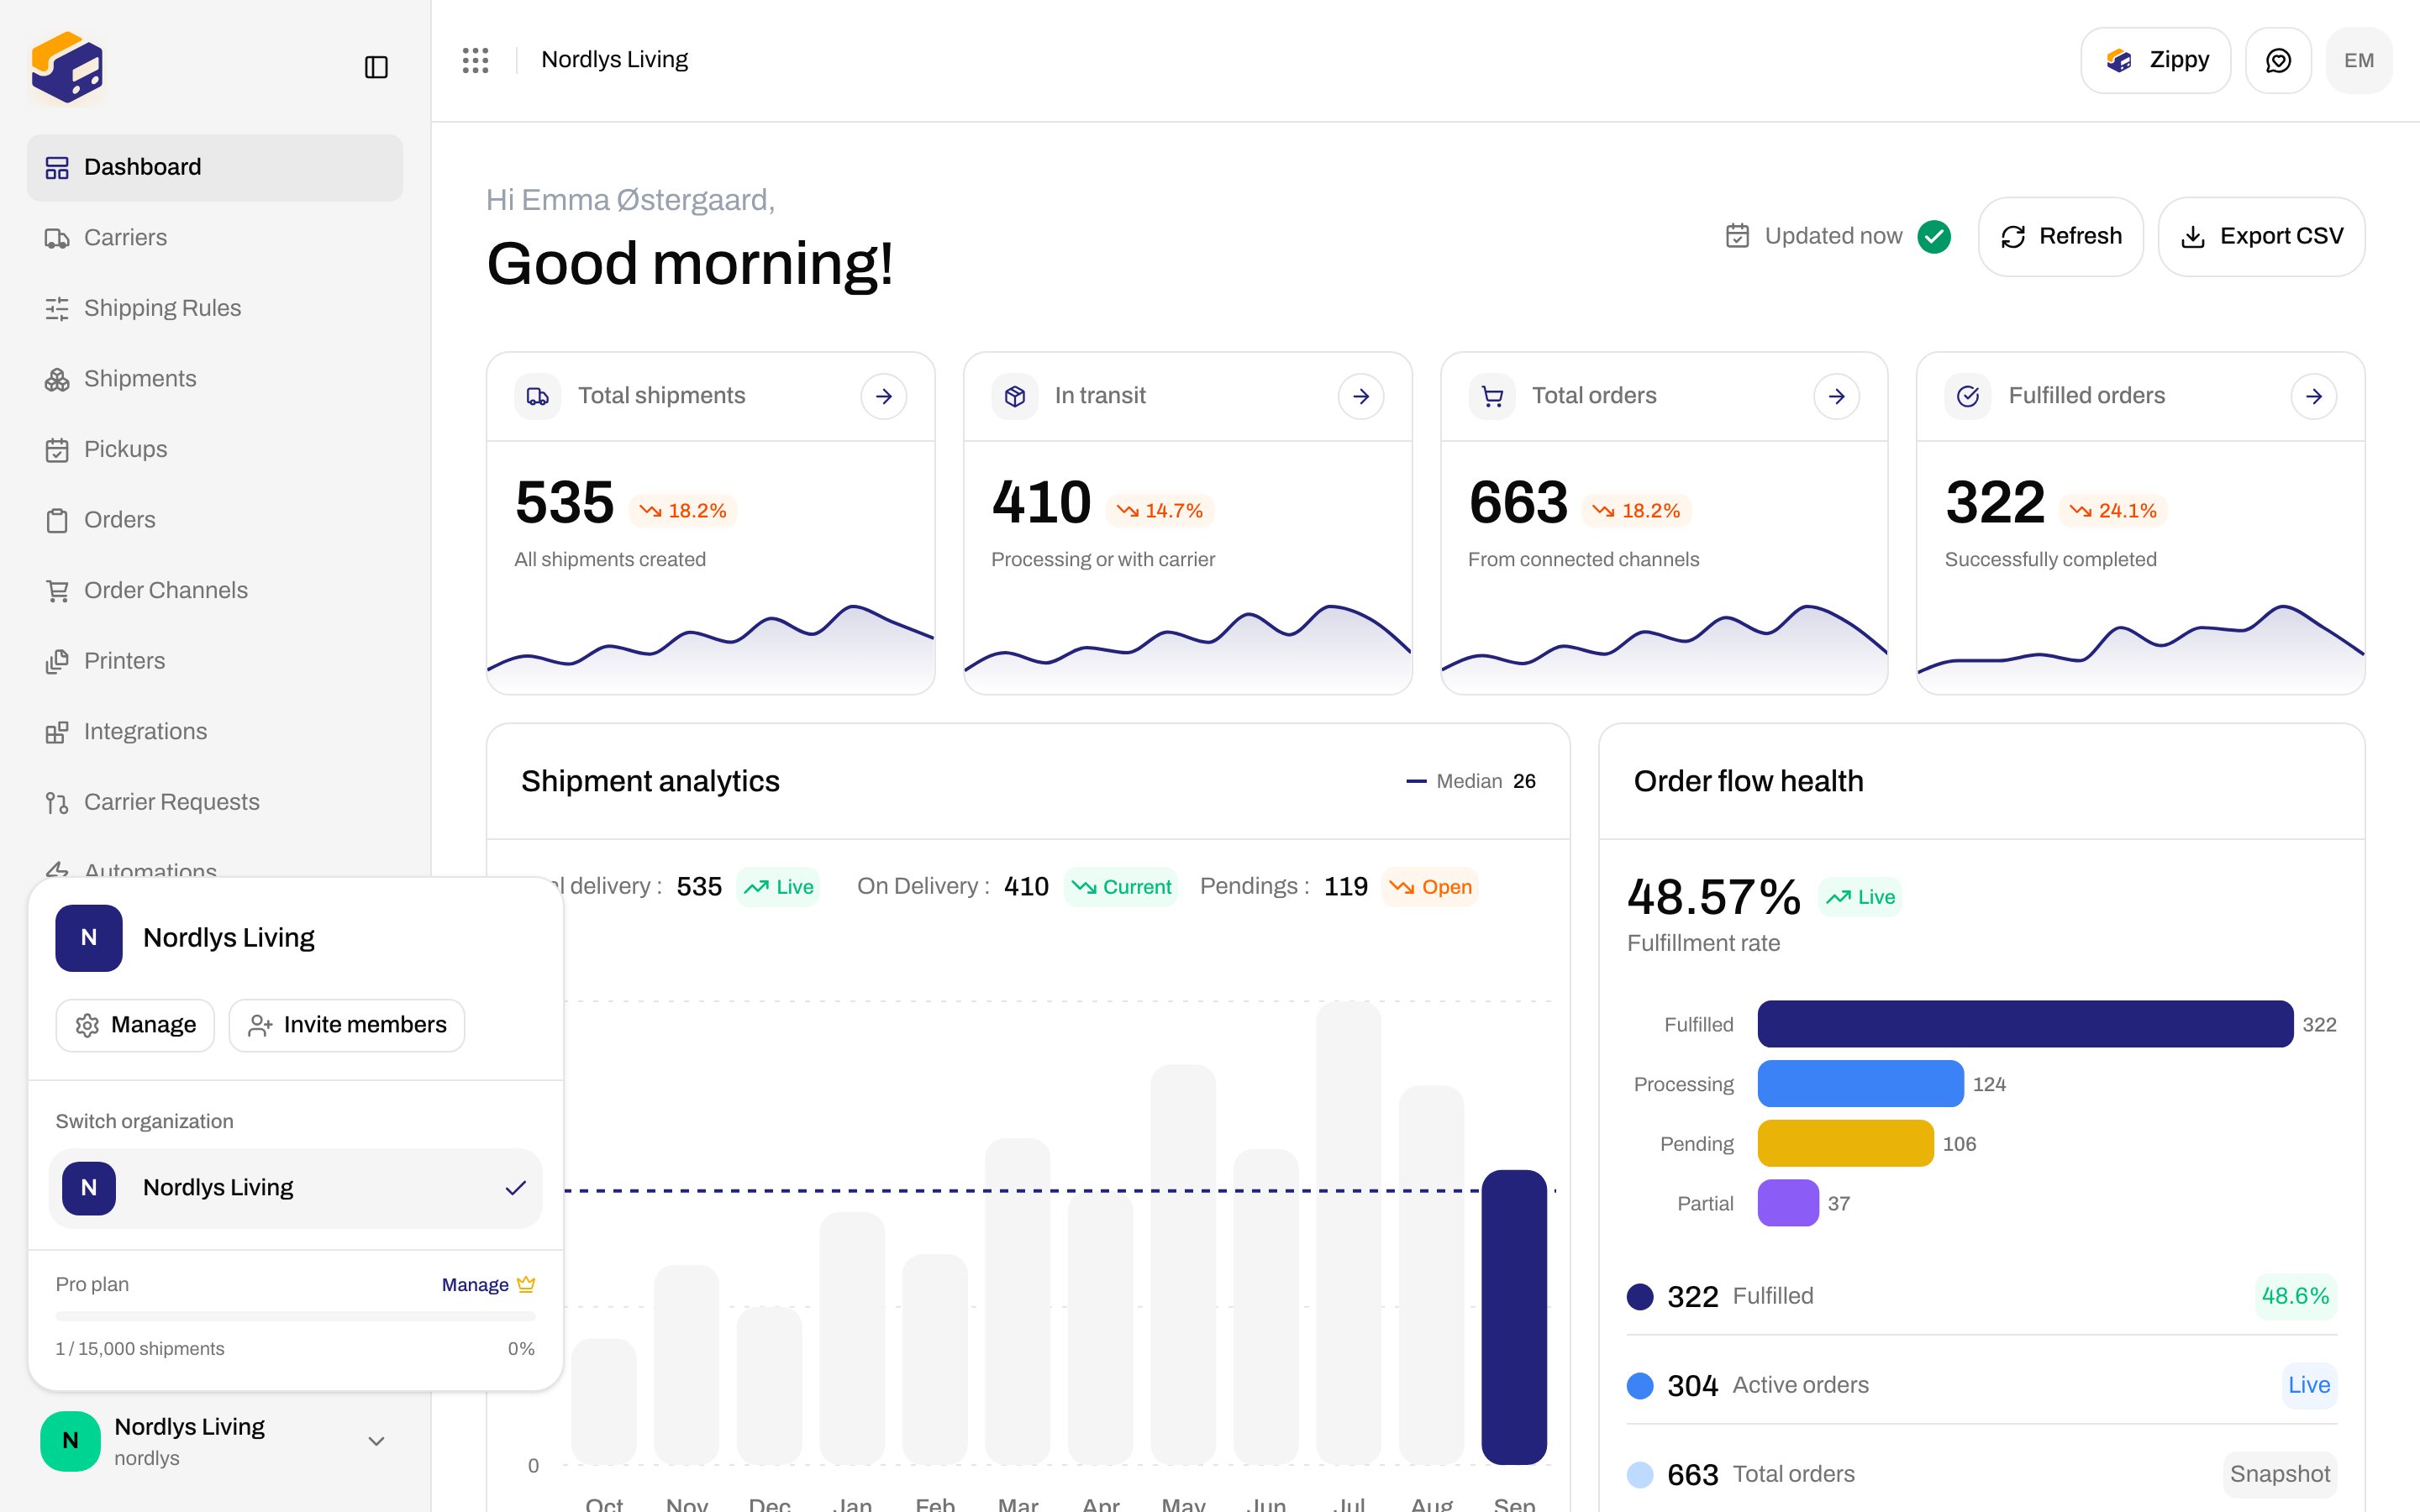
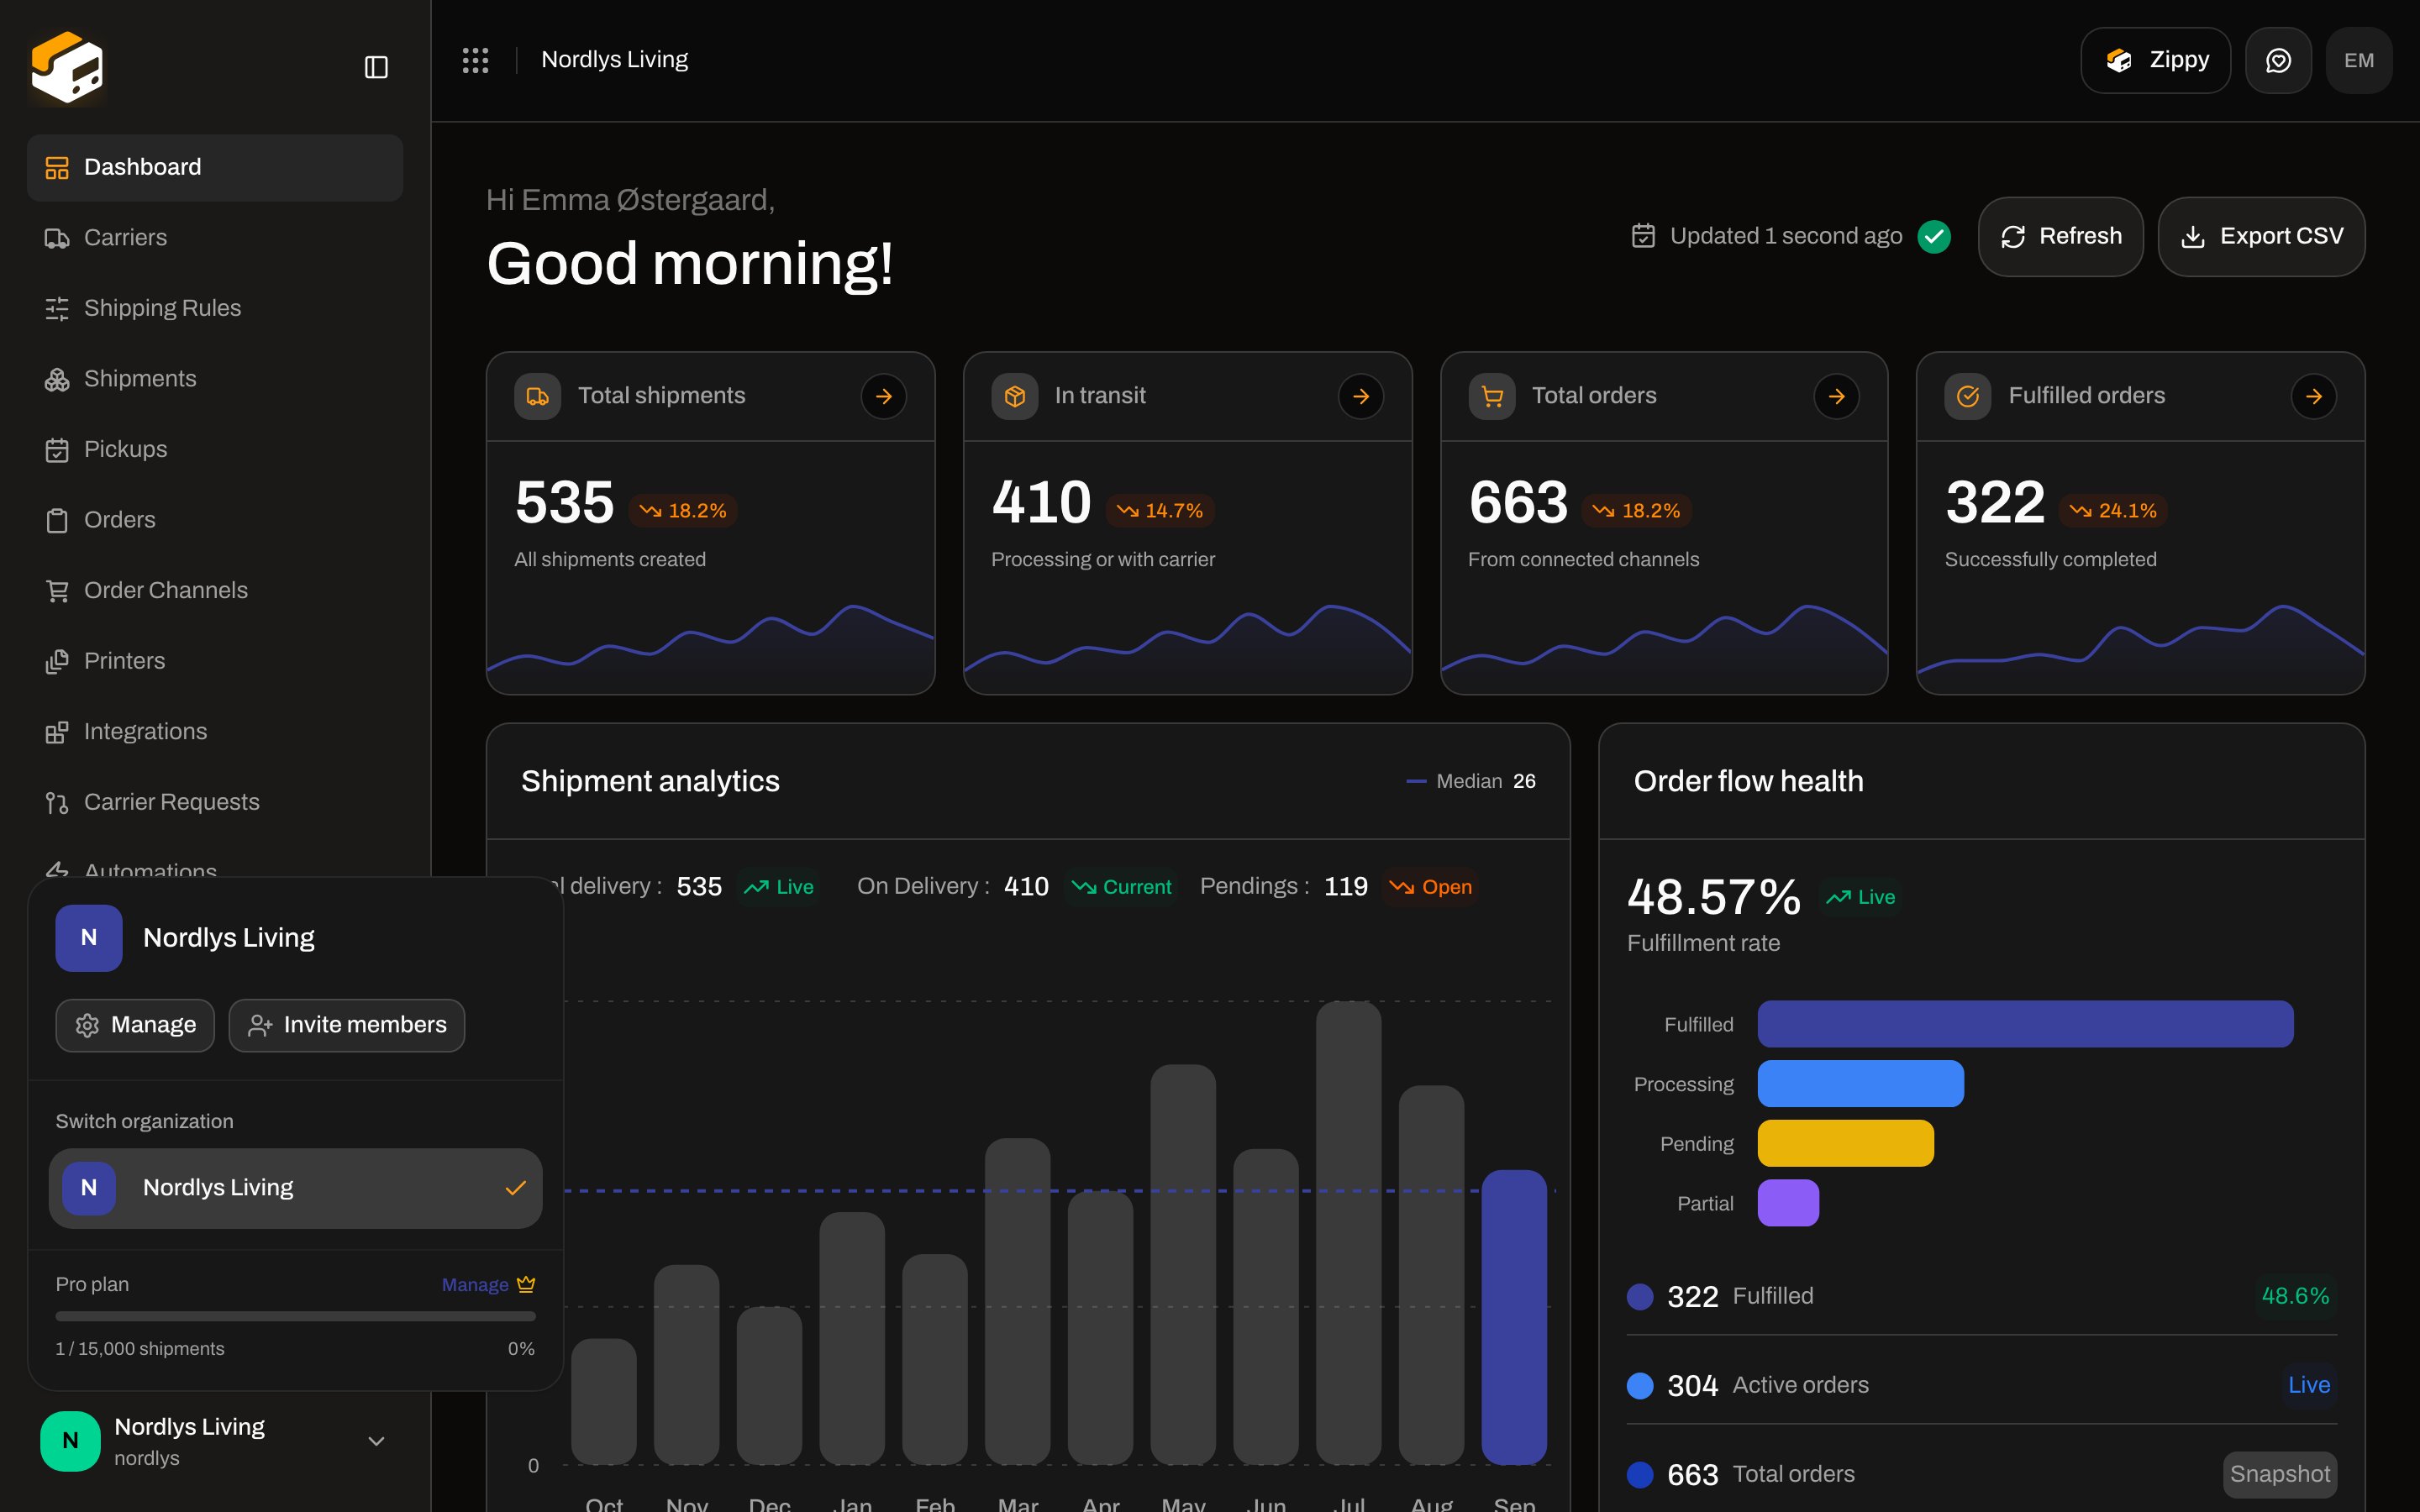 From here you can:
* **Manage** — opens Settings (**Organization**, **Team**, **Addresses**, **Pricing Plans**, **API Settings**, **Webhooks**, **Brands**, **Import**). Settings is not a main-nav item.
* **Invite members** — add colleagues. Roles and brands are covered in [Settings, team, and brands](/docs/tutorials/settings-team-brands).
* **Switch organization** — move to another workspace you belong to. See [Switching organizations](/docs/getting-started/switching-organizations).
If the org has brands, the same menu lists them so you can scope the dashboard to one consumer label. House-wide view shows every brand.
## Recommended setup order
The in-app **Setup guide** / dashboard card **Get shipping ready** uses this order: **Add address** → **Add Carrier** → **Connect Order Channel** → **Add Shipping Rules**. A sender address is required before you can connect a carrier or create a shipment.
A practical merchant path once the address exists:
**Manage → Addresses → Add Address**. Give it the **Sender** type. This is the “from” printed on labels.
**Order Channels → Available integrations**. Shopify, WooCommerce, or a custom channel so orders land under **Orders**. Optional if you will only create shipments by hand.
**Carriers → All Carriers**. PostNord, GLS, and others. You need your carrier account details.
**Shipping Rules → Add Shipping Rule**. Optional for the first manual label; required if you want live [checkout](/docs/tutorials/checkout) rates or automatic carrier selection.
Open **Orders** (or **Shipments → Create shipment**), book the label, [print](/docs/tutorials/labels-printing), then [track](/docs/tutorials/tracking).
Steps 1 and 3 are required to create a shipment. Connecting a channel and adding rules can wait. The **Get shipping ready** card on **Dashboard** hides once those four setup steps are done.
## Add a sender address
Open the team switcher → **Manage** → **Addresses**. The page title is **Settings**, with tabs for **Organization**, **Team**, **Addresses**, and the rest of account setup.
From here you can:
* **Manage** — opens Settings (**Organization**, **Team**, **Addresses**, **Pricing Plans**, **API Settings**, **Webhooks**, **Brands**, **Import**). Settings is not a main-nav item.
* **Invite members** — add colleagues. Roles and brands are covered in [Settings, team, and brands](/docs/tutorials/settings-team-brands).
* **Switch organization** — move to another workspace you belong to. See [Switching organizations](/docs/getting-started/switching-organizations).
If the org has brands, the same menu lists them so you can scope the dashboard to one consumer label. House-wide view shows every brand.
## Recommended setup order
The in-app **Setup guide** / dashboard card **Get shipping ready** uses this order: **Add address** → **Add Carrier** → **Connect Order Channel** → **Add Shipping Rules**. A sender address is required before you can connect a carrier or create a shipment.
A practical merchant path once the address exists:
**Manage → Addresses → Add Address**. Give it the **Sender** type. This is the “from” printed on labels.
**Order Channels → Available integrations**. Shopify, WooCommerce, or a custom channel so orders land under **Orders**. Optional if you will only create shipments by hand.
**Carriers → All Carriers**. PostNord, GLS, and others. You need your carrier account details.
**Shipping Rules → Add Shipping Rule**. Optional for the first manual label; required if you want live [checkout](/docs/tutorials/checkout) rates or automatic carrier selection.
Open **Orders** (or **Shipments → Create shipment**), book the label, [print](/docs/tutorials/labels-printing), then [track](/docs/tutorials/tracking).
Steps 1 and 3 are required to create a shipment. Connecting a channel and adding rules can wait. The **Get shipping ready** card on **Dashboard** hides once those four setup steps are done.
## Add a sender address
Open the team switcher → **Manage** → **Addresses**. The page title is **Settings**, with tabs for **Organization**, **Team**, **Addresses**, and the rest of account setup.
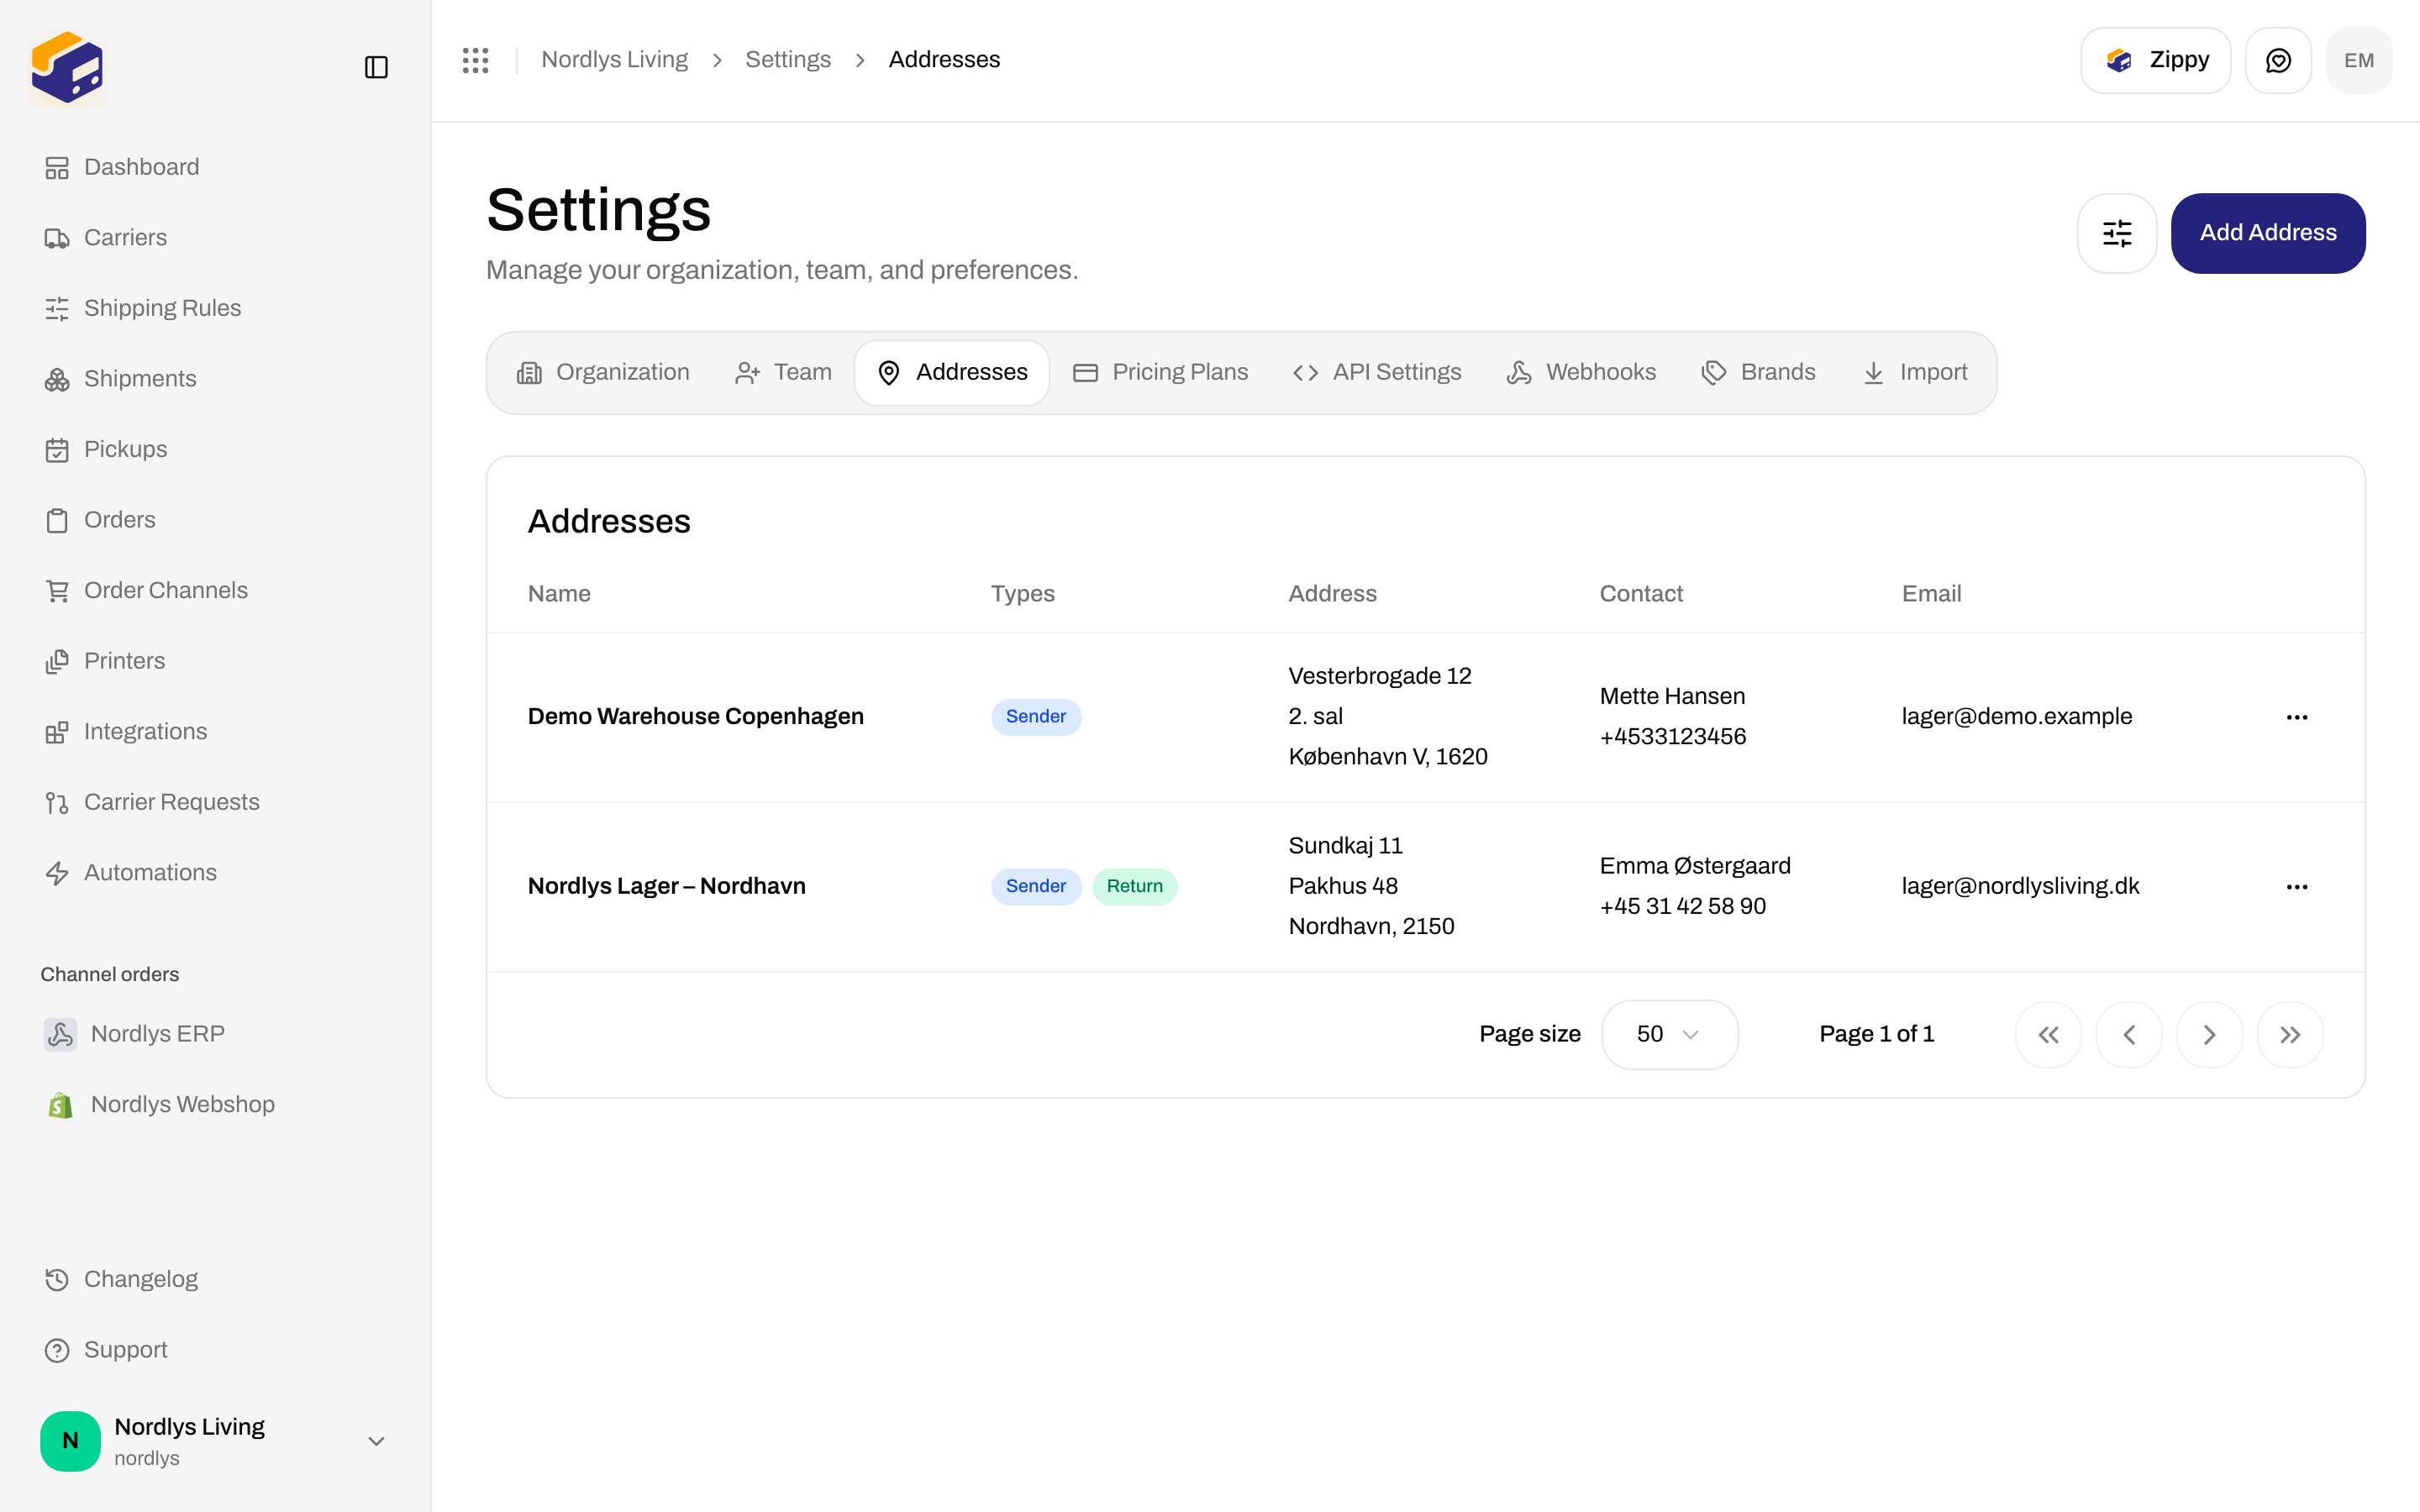
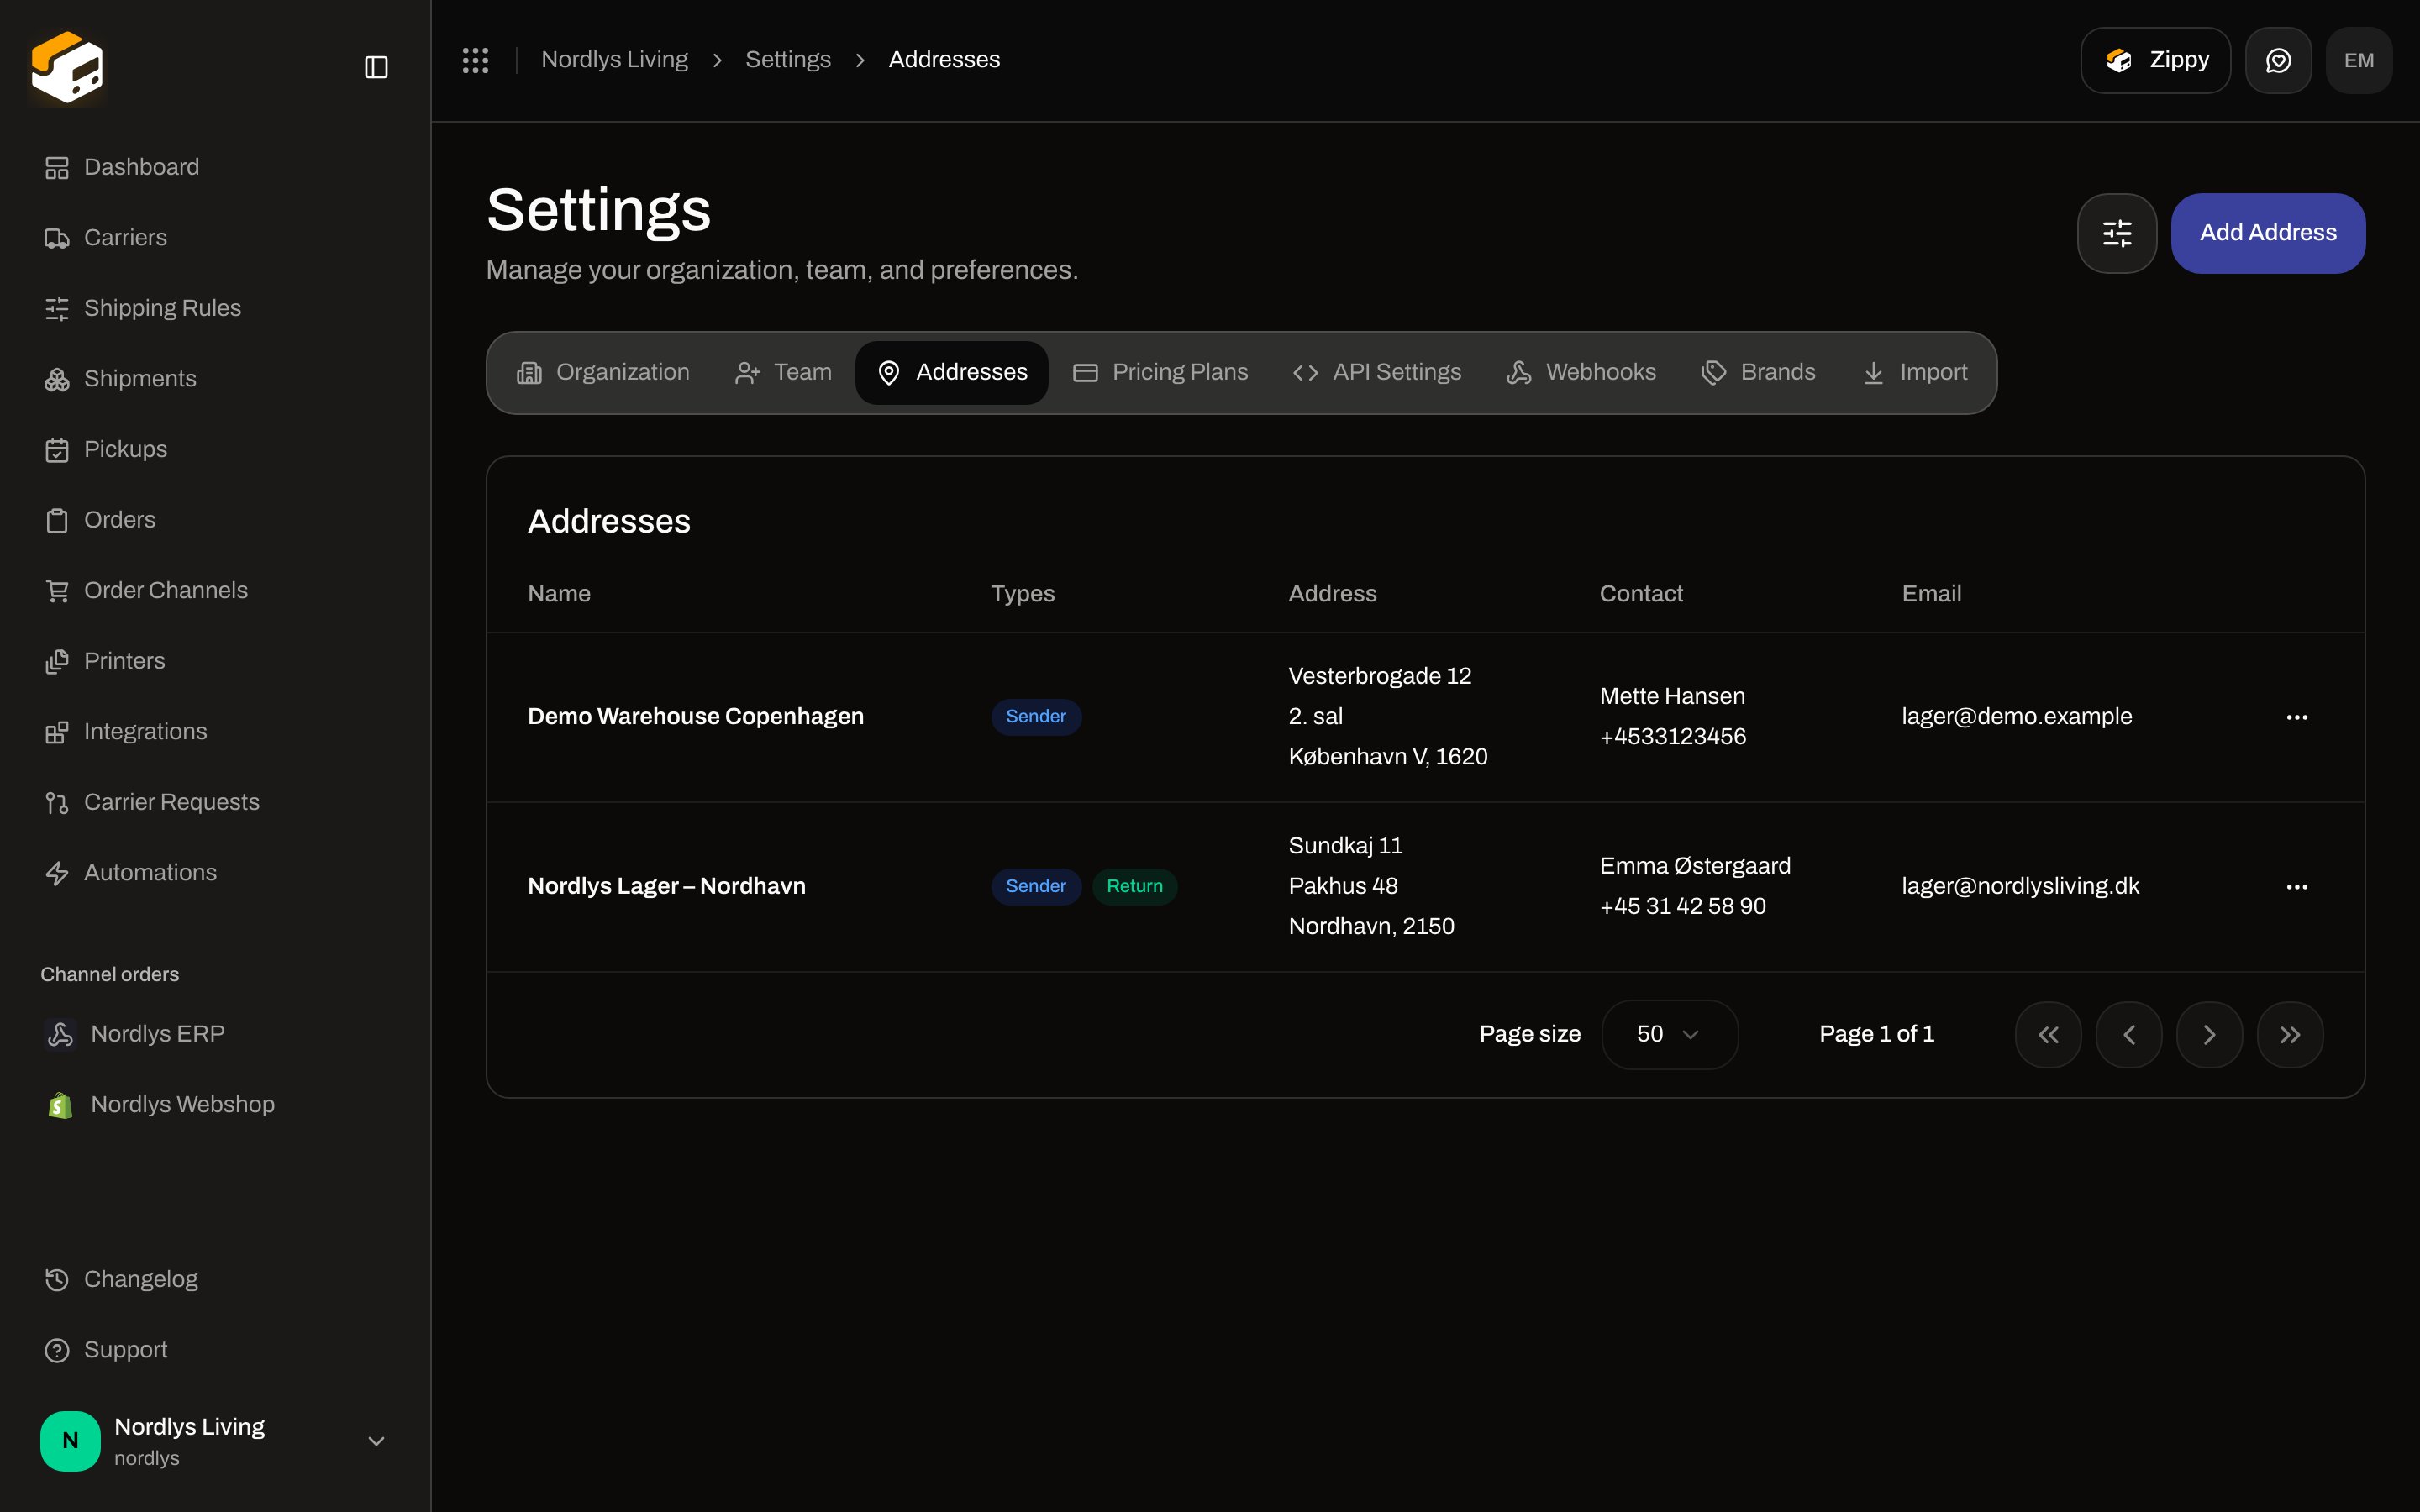 Click **Add Address**. Mark the warehouse as **Sender**. You can also tick **Return** on the same address if you will book inbound labels later — see [Returns](/docs/tutorials/returns). **Pickup** is for carrier collection, not the shopper's drop-off.
You are ready to connect a carrier when at least one address has the **Sender** type.
## Connect a store
**Order Channels** is in the main sidebar. Description: **Connect your e-commerce platforms to import orders automatically**. Two tabs: **Connected stores** and **Available integrations**.
Click **Add Address**. Mark the warehouse as **Sender**. You can also tick **Return** on the same address if you will book inbound labels later — see [Returns](/docs/tutorials/returns). **Pickup** is for carrier collection, not the shopper's drop-off.
You are ready to connect a carrier when at least one address has the **Sender** type.
## Connect a store
**Order Channels** is in the main sidebar. Description: **Connect your e-commerce platforms to import orders automatically**. Two tabs: **Connected stores** and **Available integrations**.
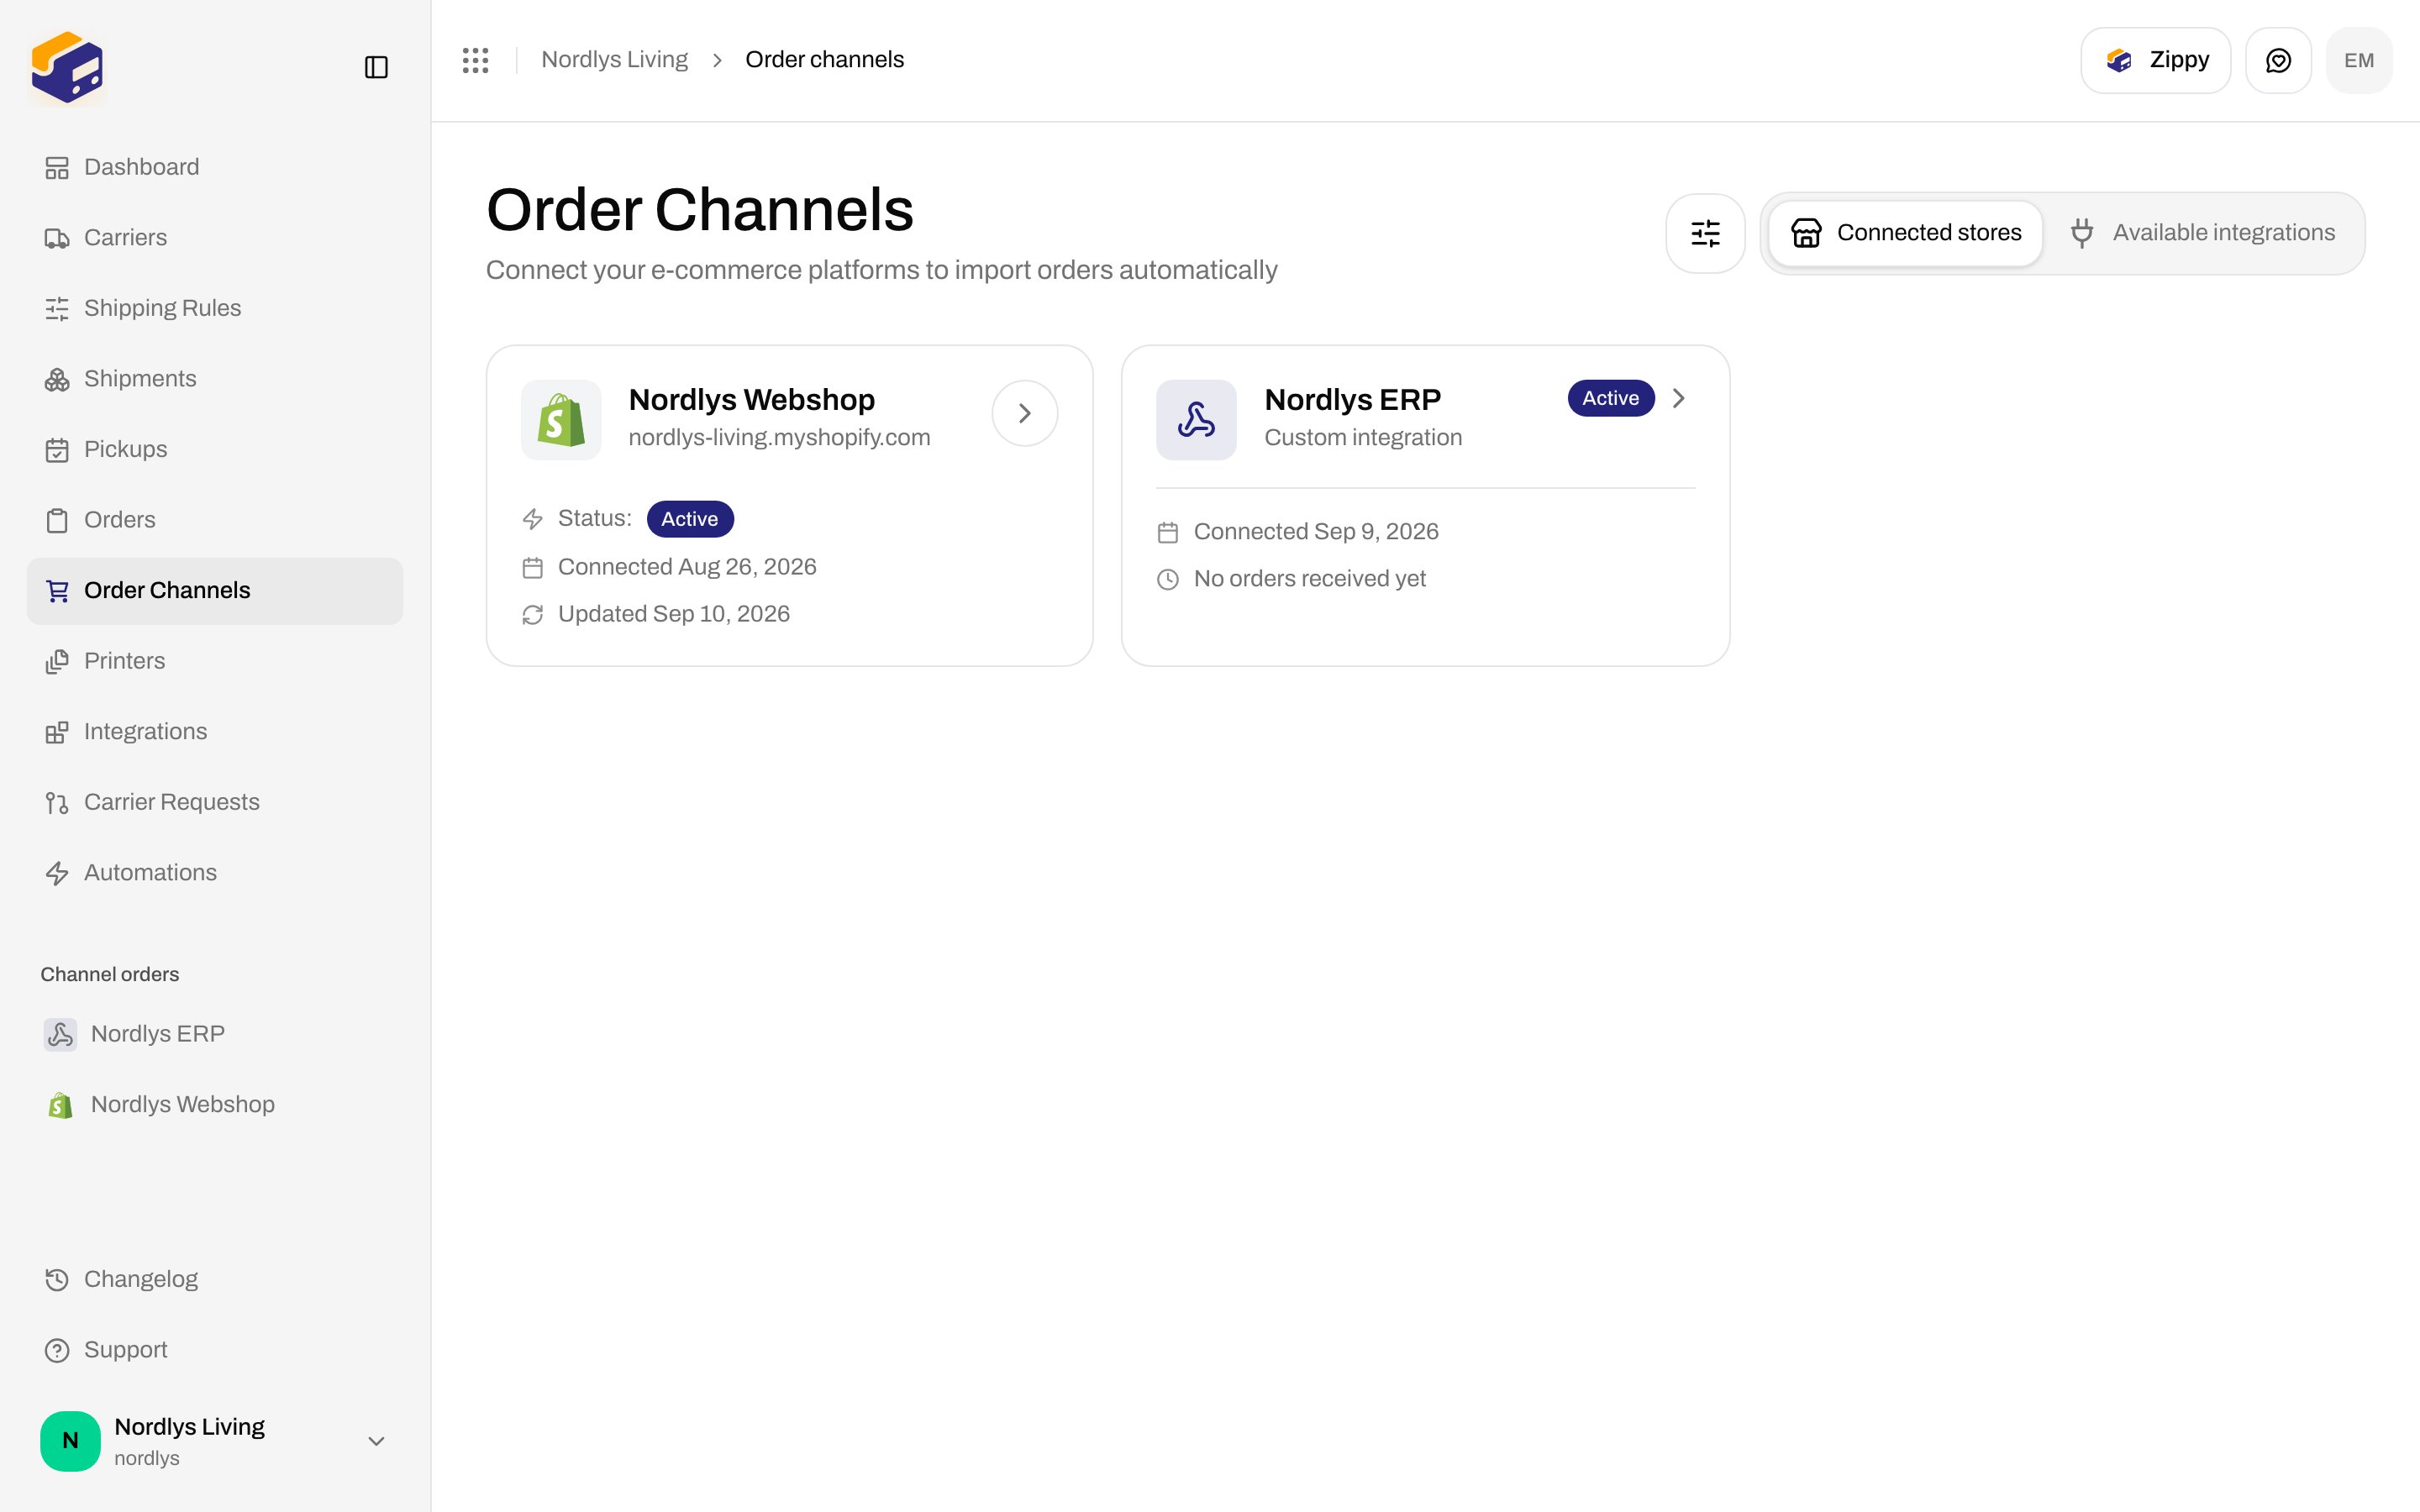
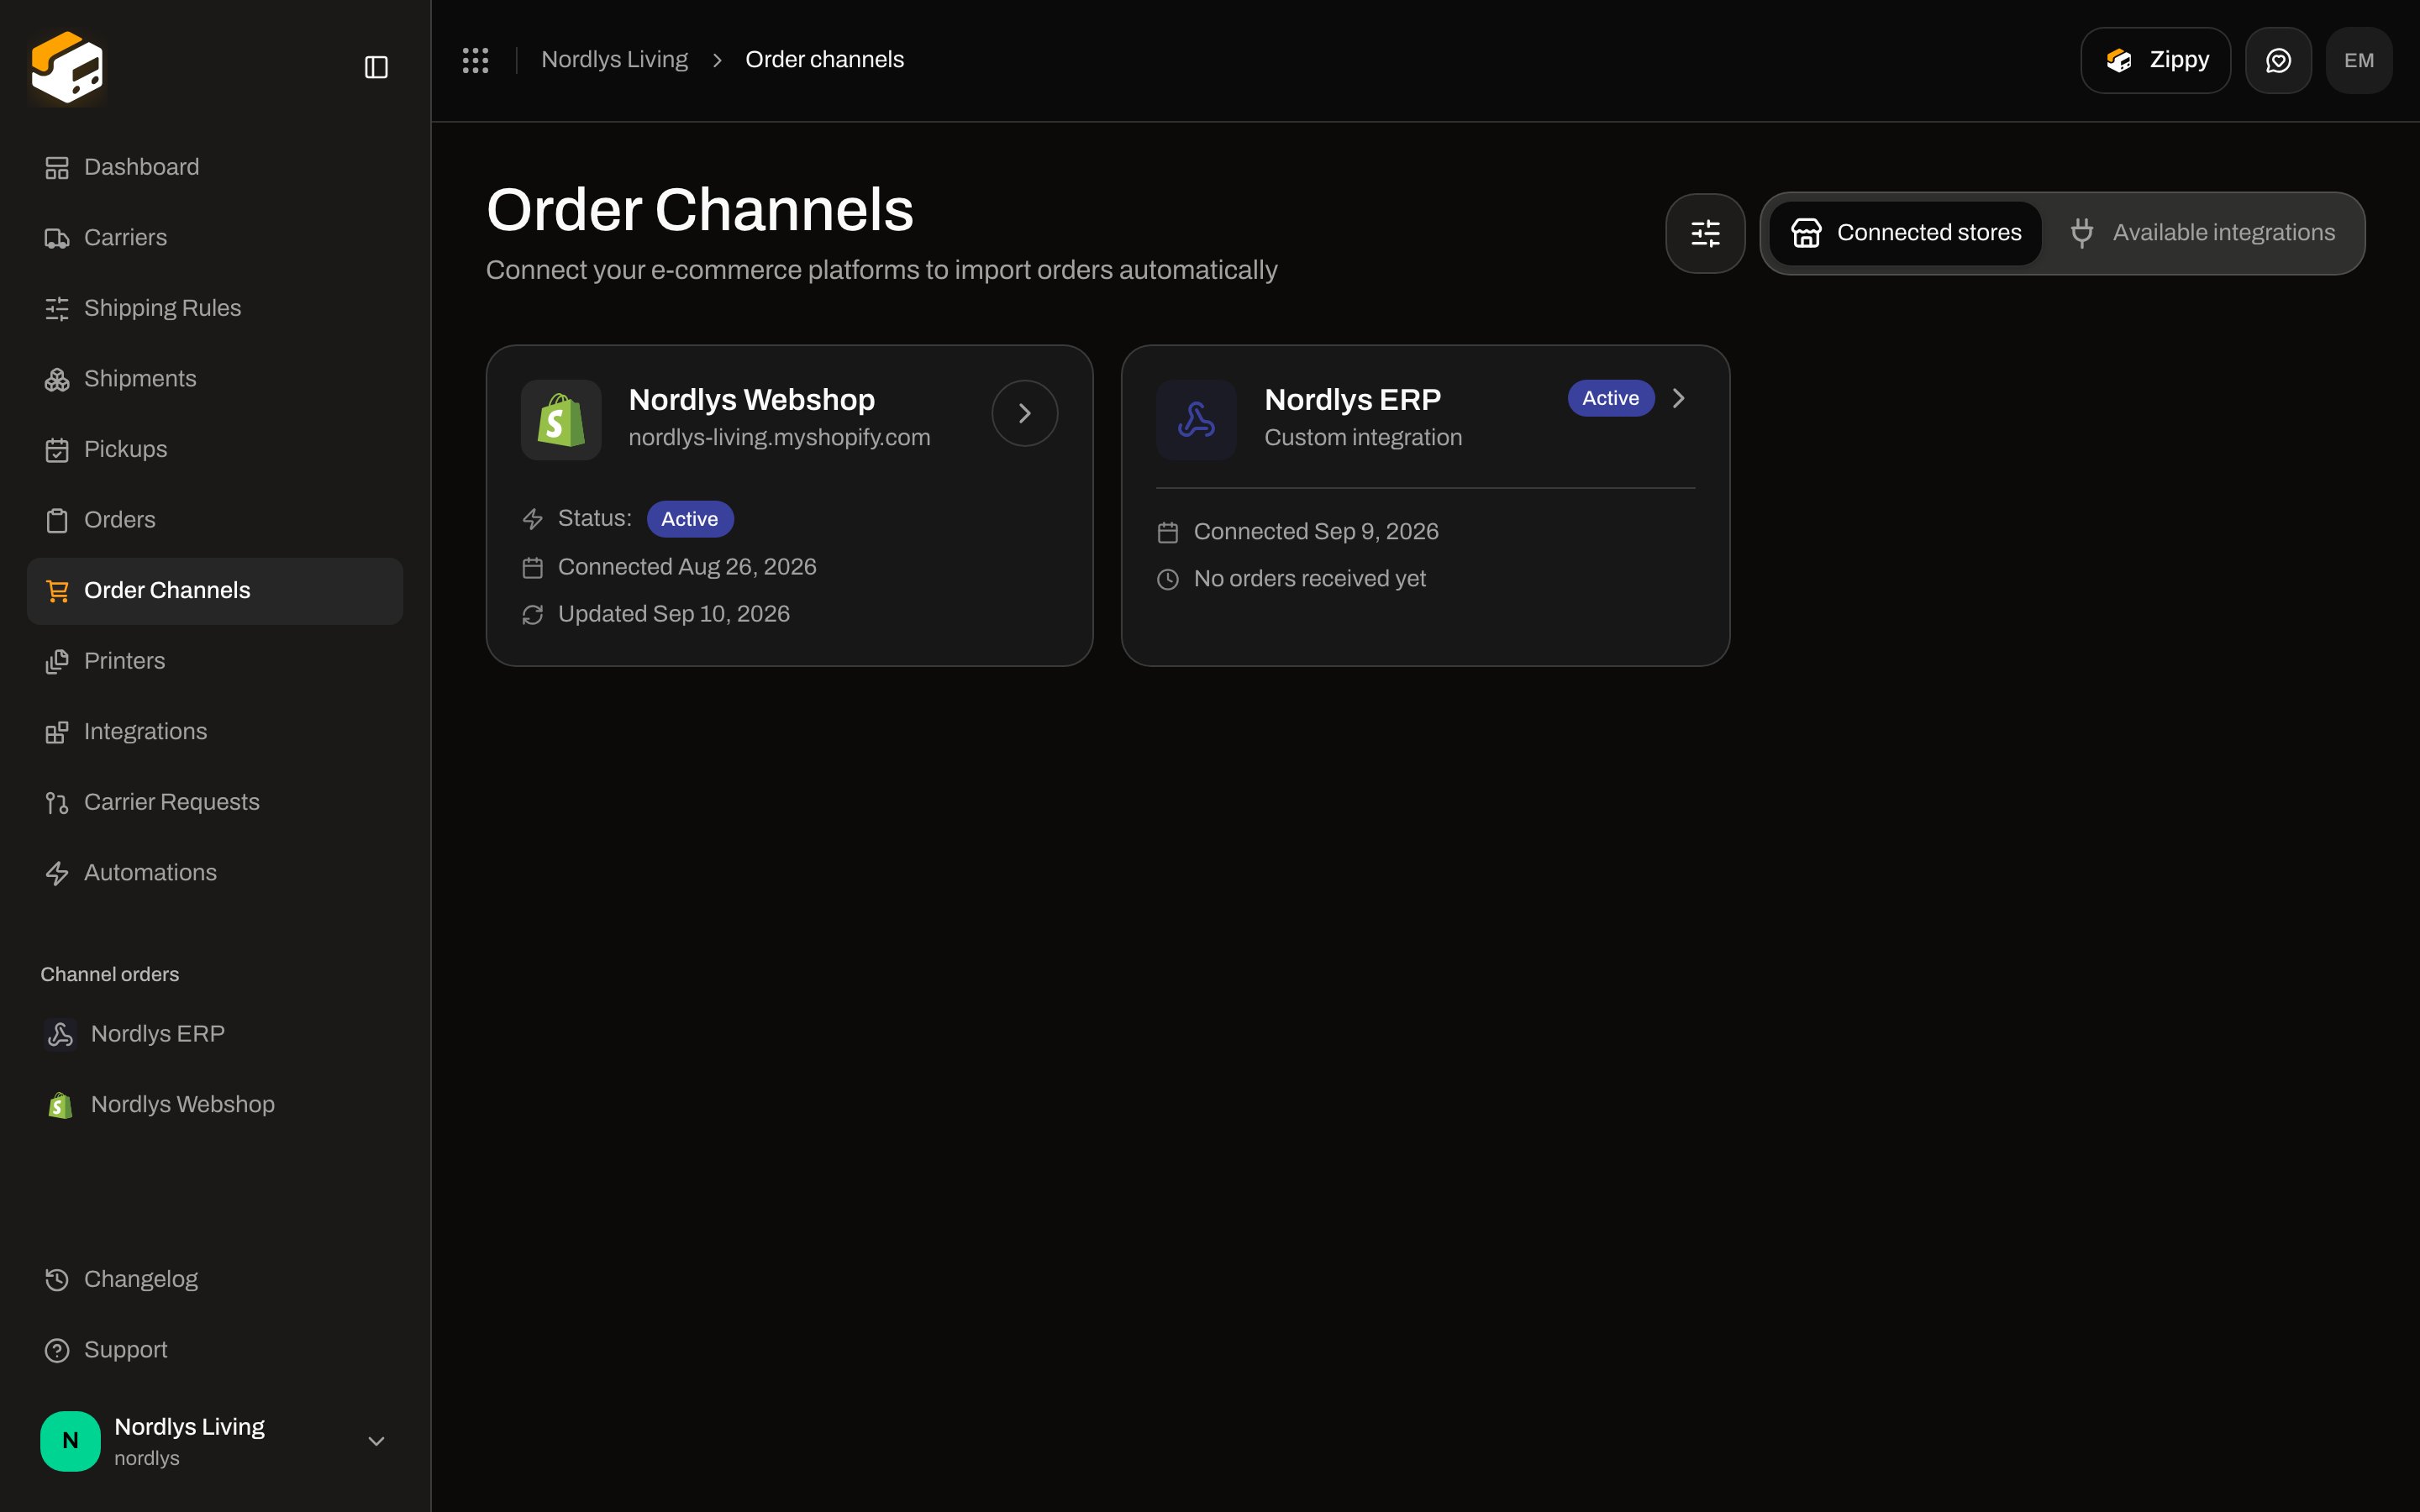 Connected channels also appear under **Channel orders** in the sidebar so you can open that store's orders in one click.
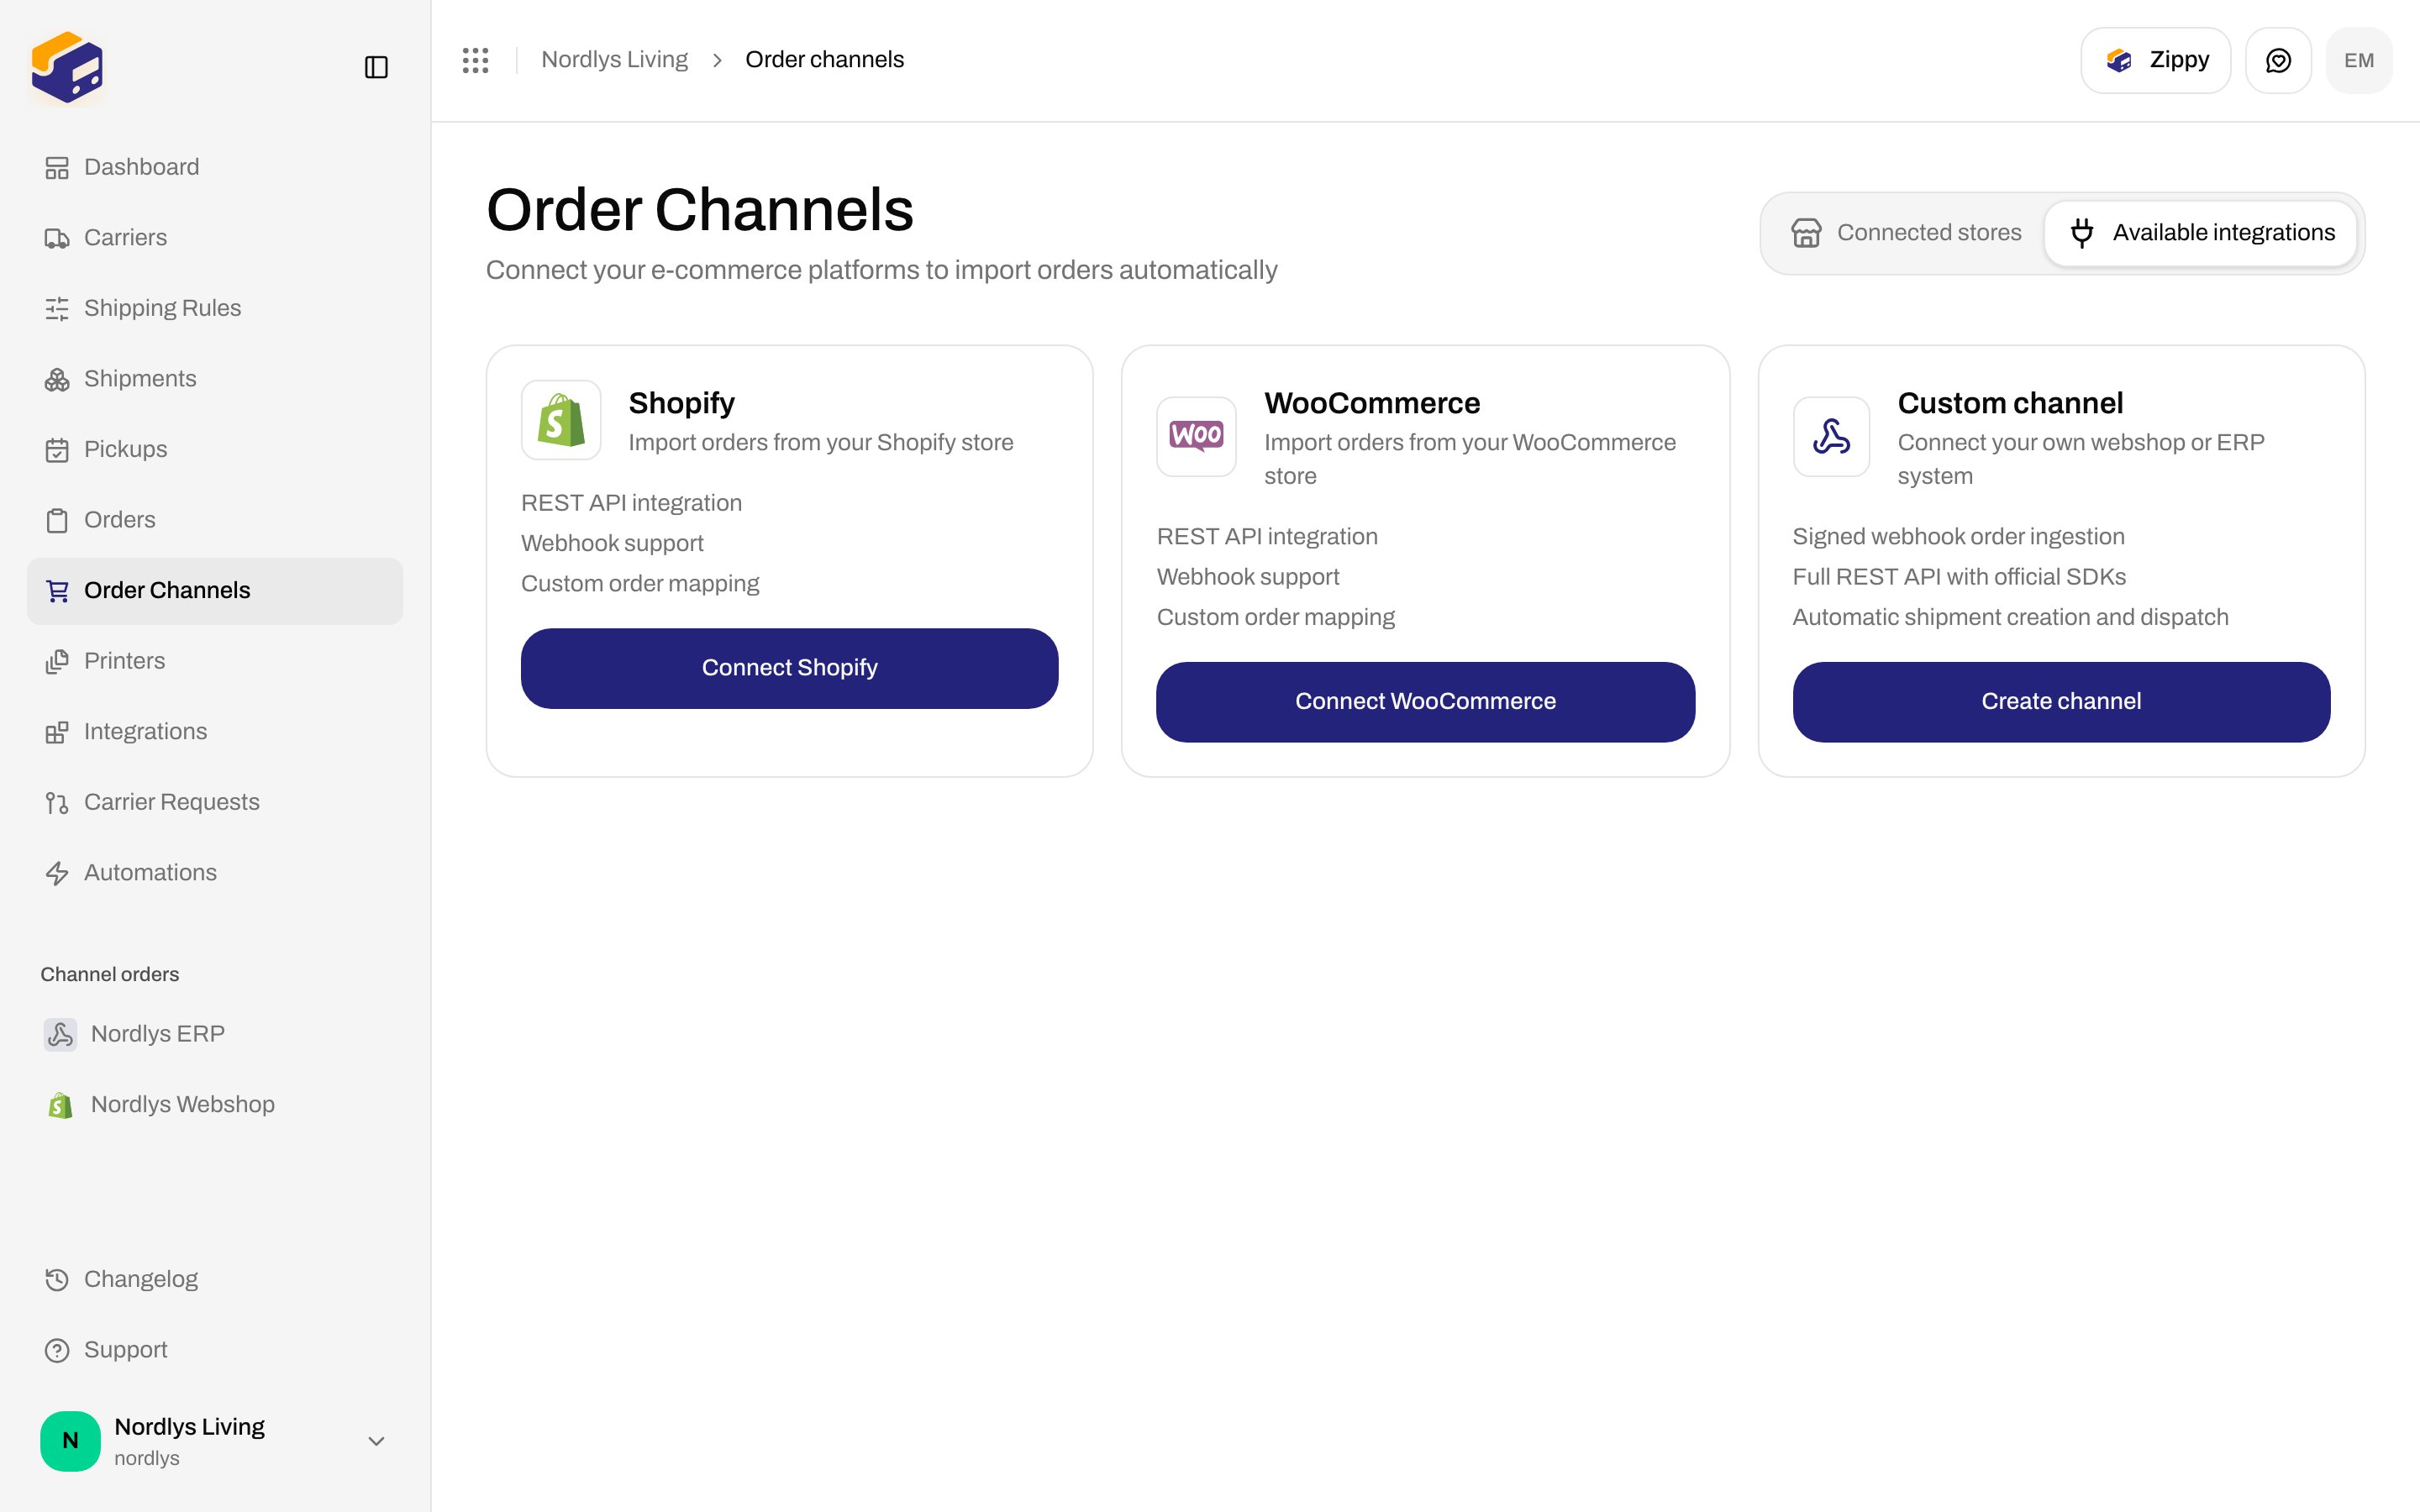
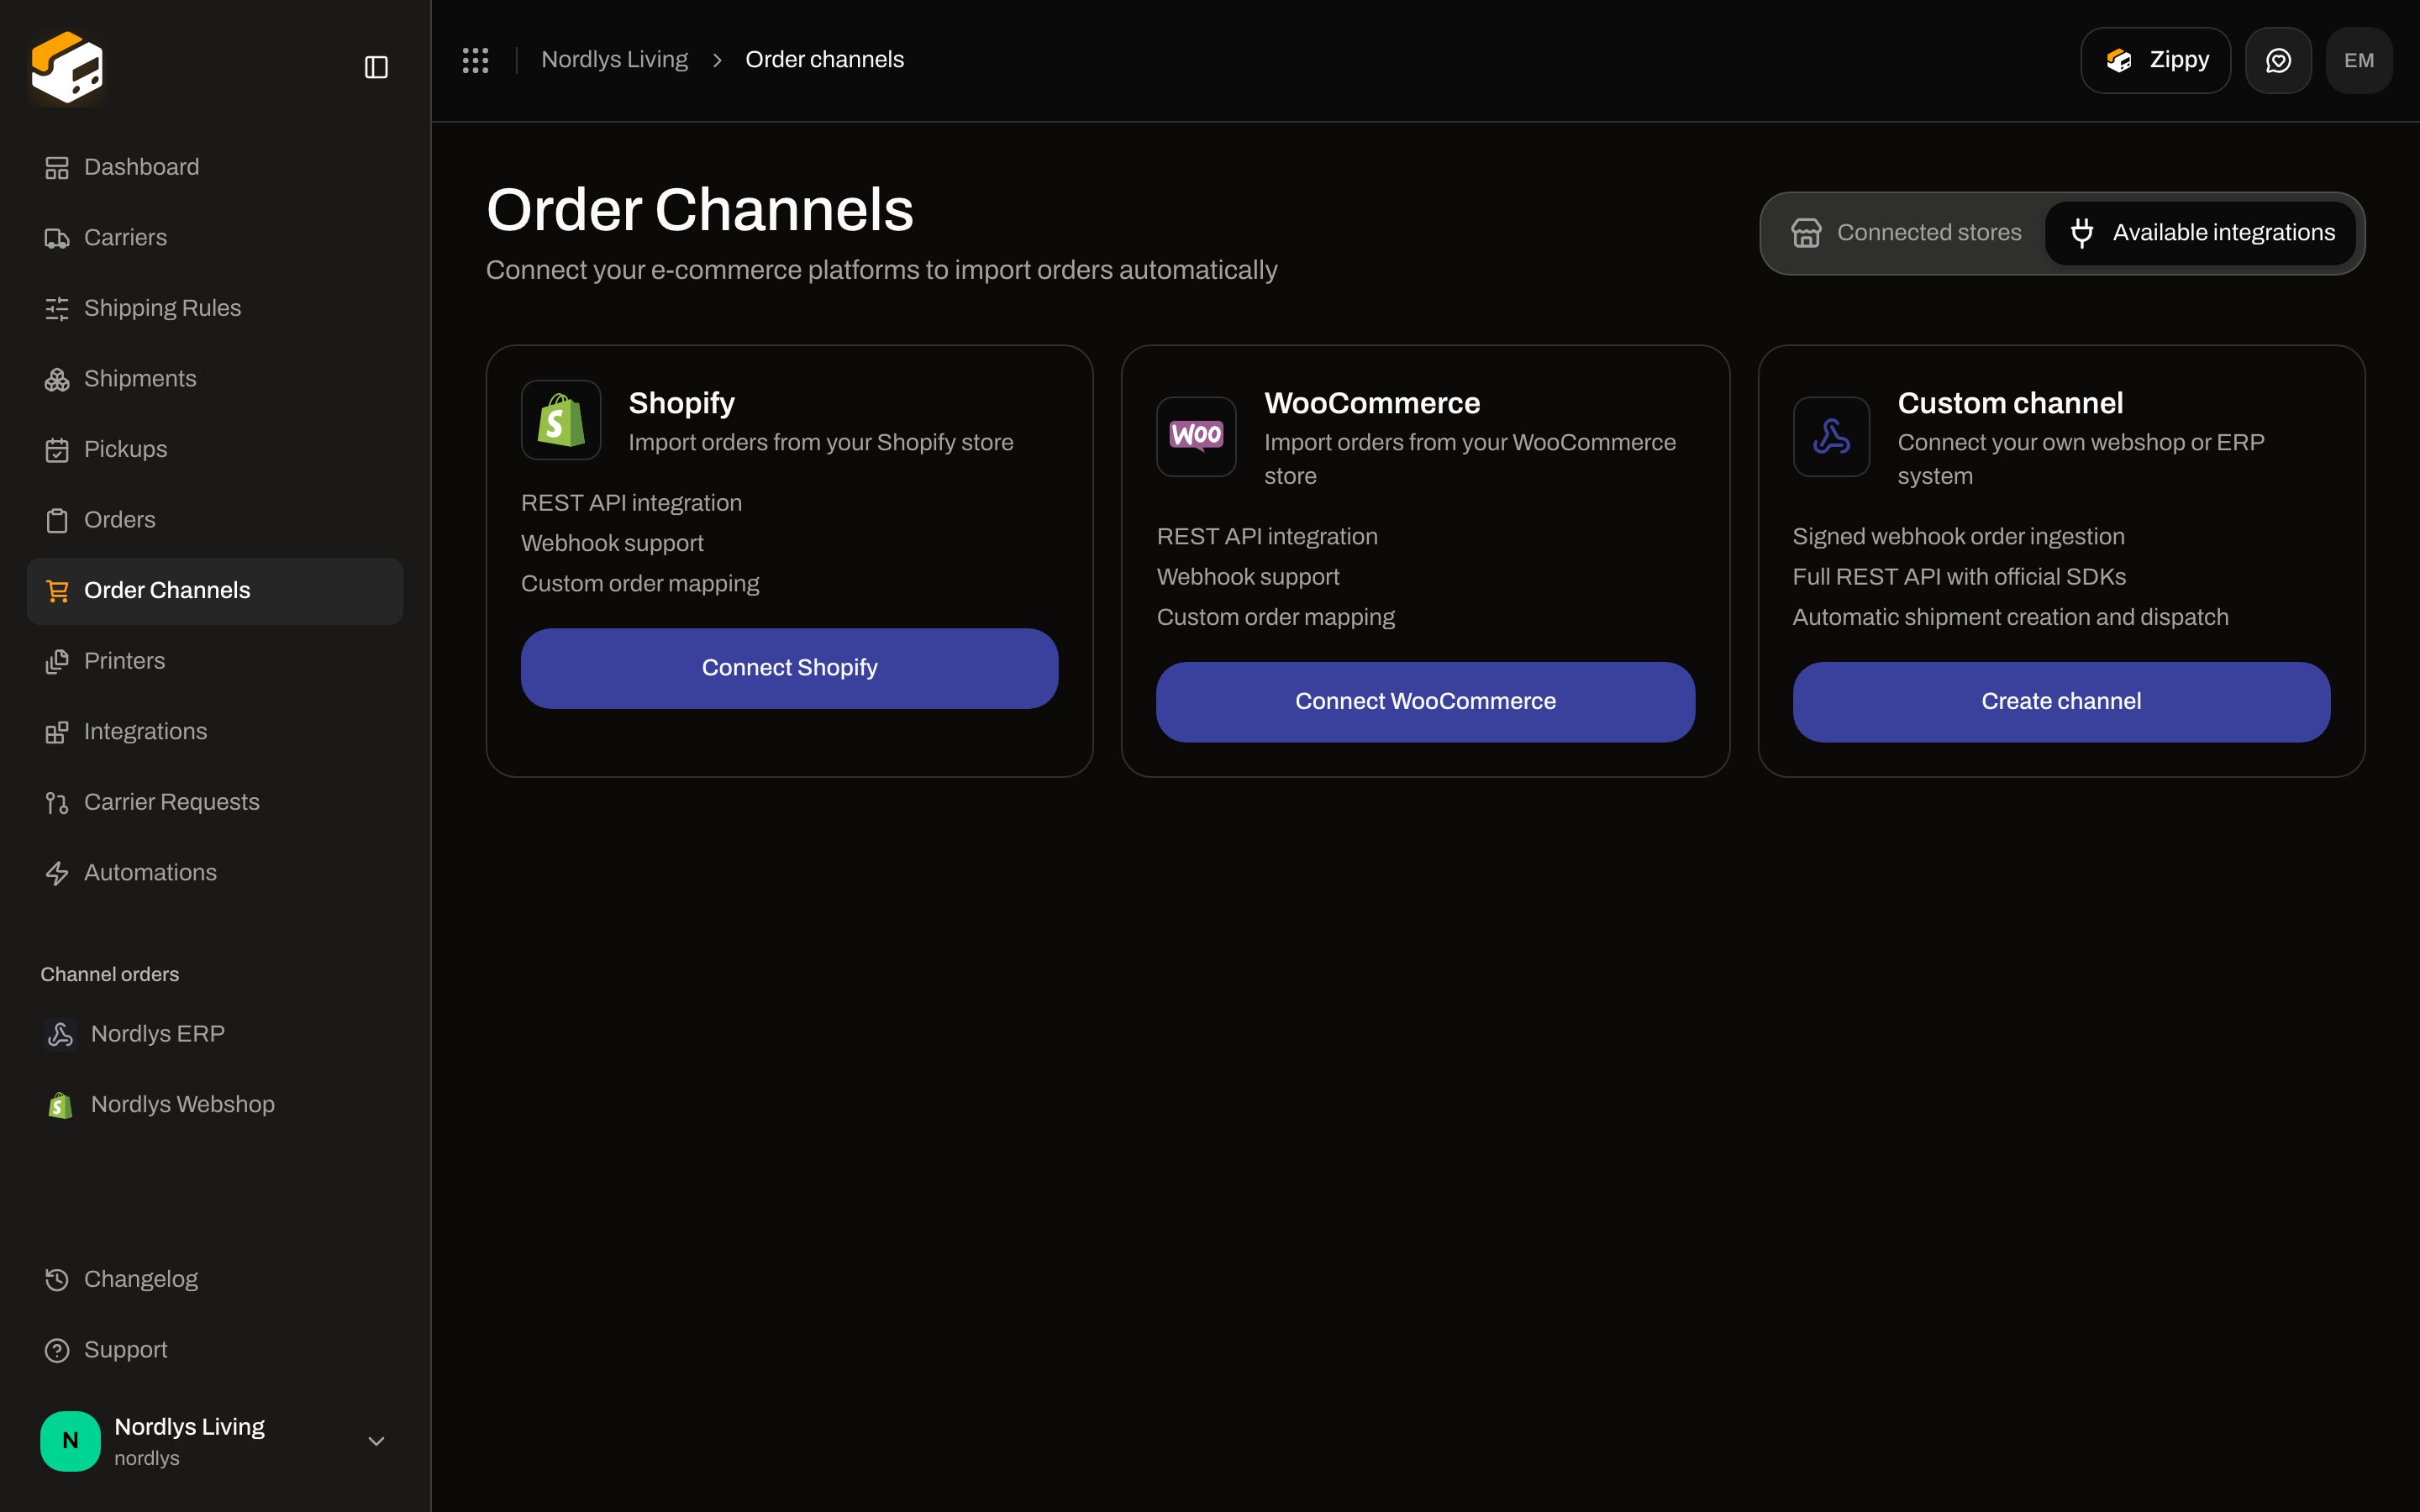 * Shopify installs from the App Store — [Connect Shopify](/docs/tutorials/connect-shopify).
* WooCommerce and custom / ERP channels — [Connect order channels](/docs/tutorials/connect-order-channels).
* Live rates at the shopper's checkout — [Checkout](/docs/tutorials/checkout) (after rules exist).
You can skip this and [create a shipment](/docs/tutorials/create-a-shipment) by typing the address.
## Connect a carrier
**Carriers** opens **Carriers / Integrations**. **My Carriers** is what you already connected. **All Carriers** is the catalog.
* Shopify installs from the App Store — [Connect Shopify](/docs/tutorials/connect-shopify).
* WooCommerce and custom / ERP channels — [Connect order channels](/docs/tutorials/connect-order-channels).
* Live rates at the shopper's checkout — [Checkout](/docs/tutorials/checkout) (after rules exist).
You can skip this and [create a shipment](/docs/tutorials/create-a-shipment) by typing the address.
## Connect a carrier
**Carriers** opens **Carriers / Integrations**. **My Carriers** is what you already connected. **All Carriers** is the catalog.
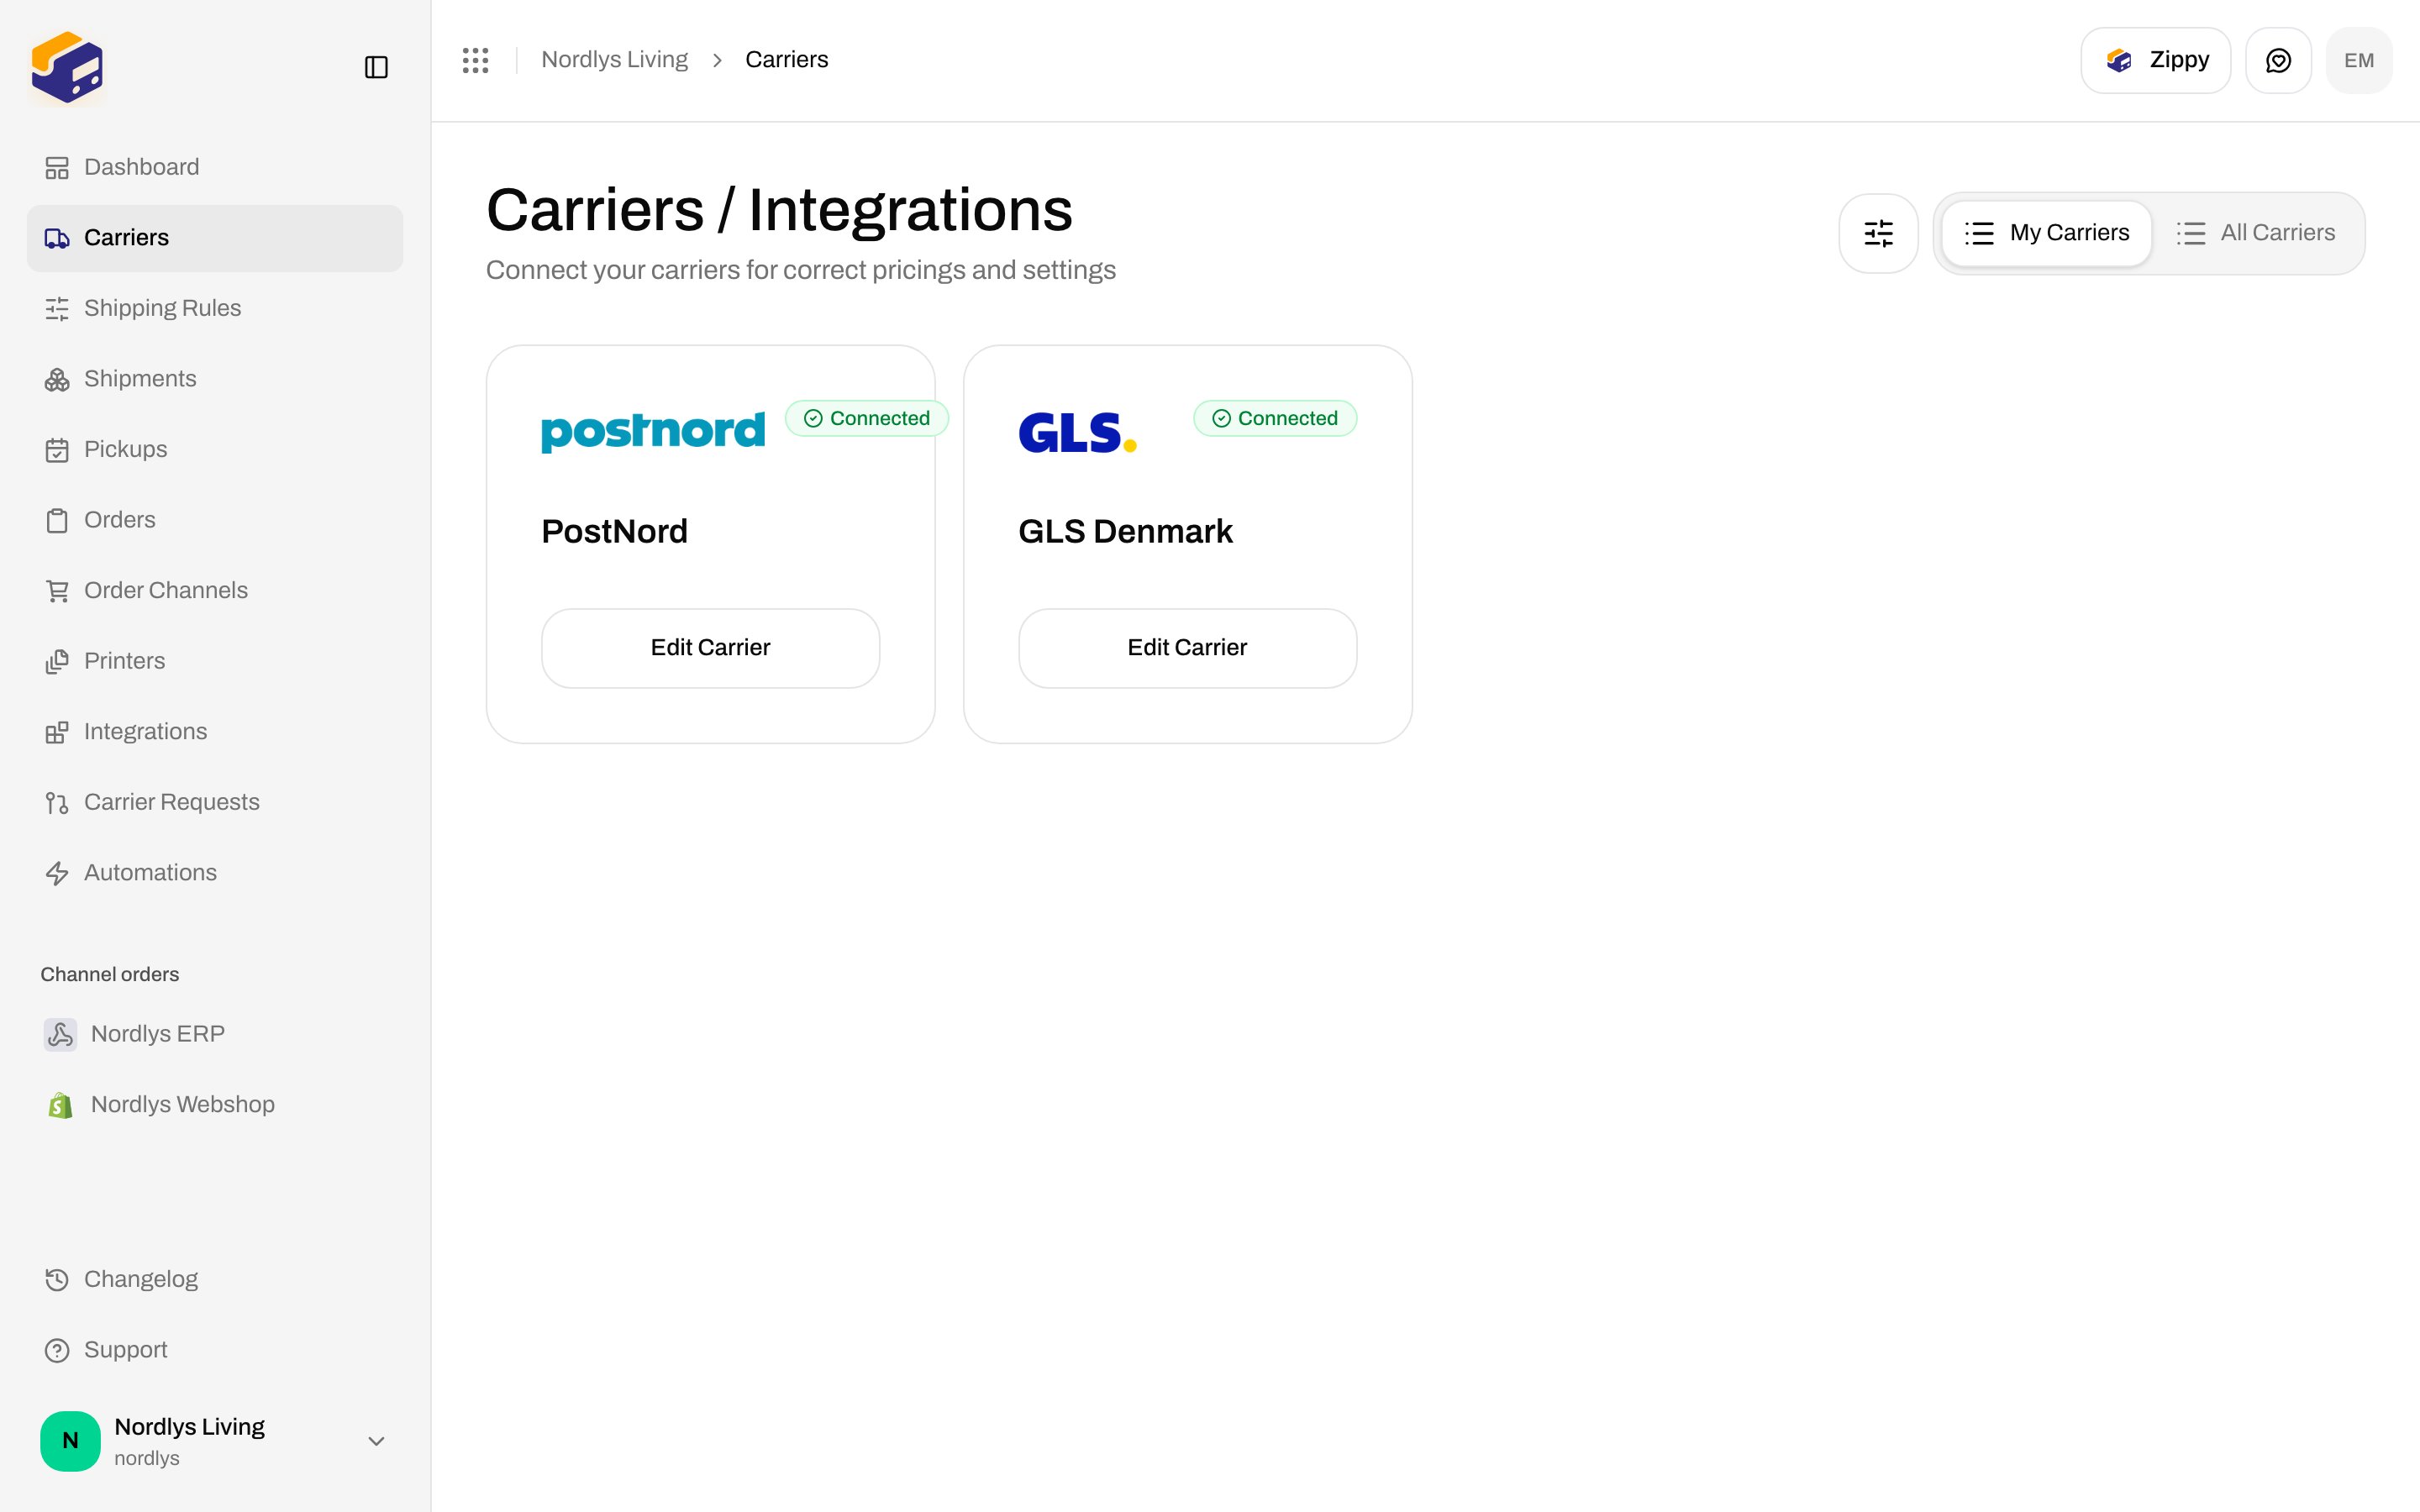
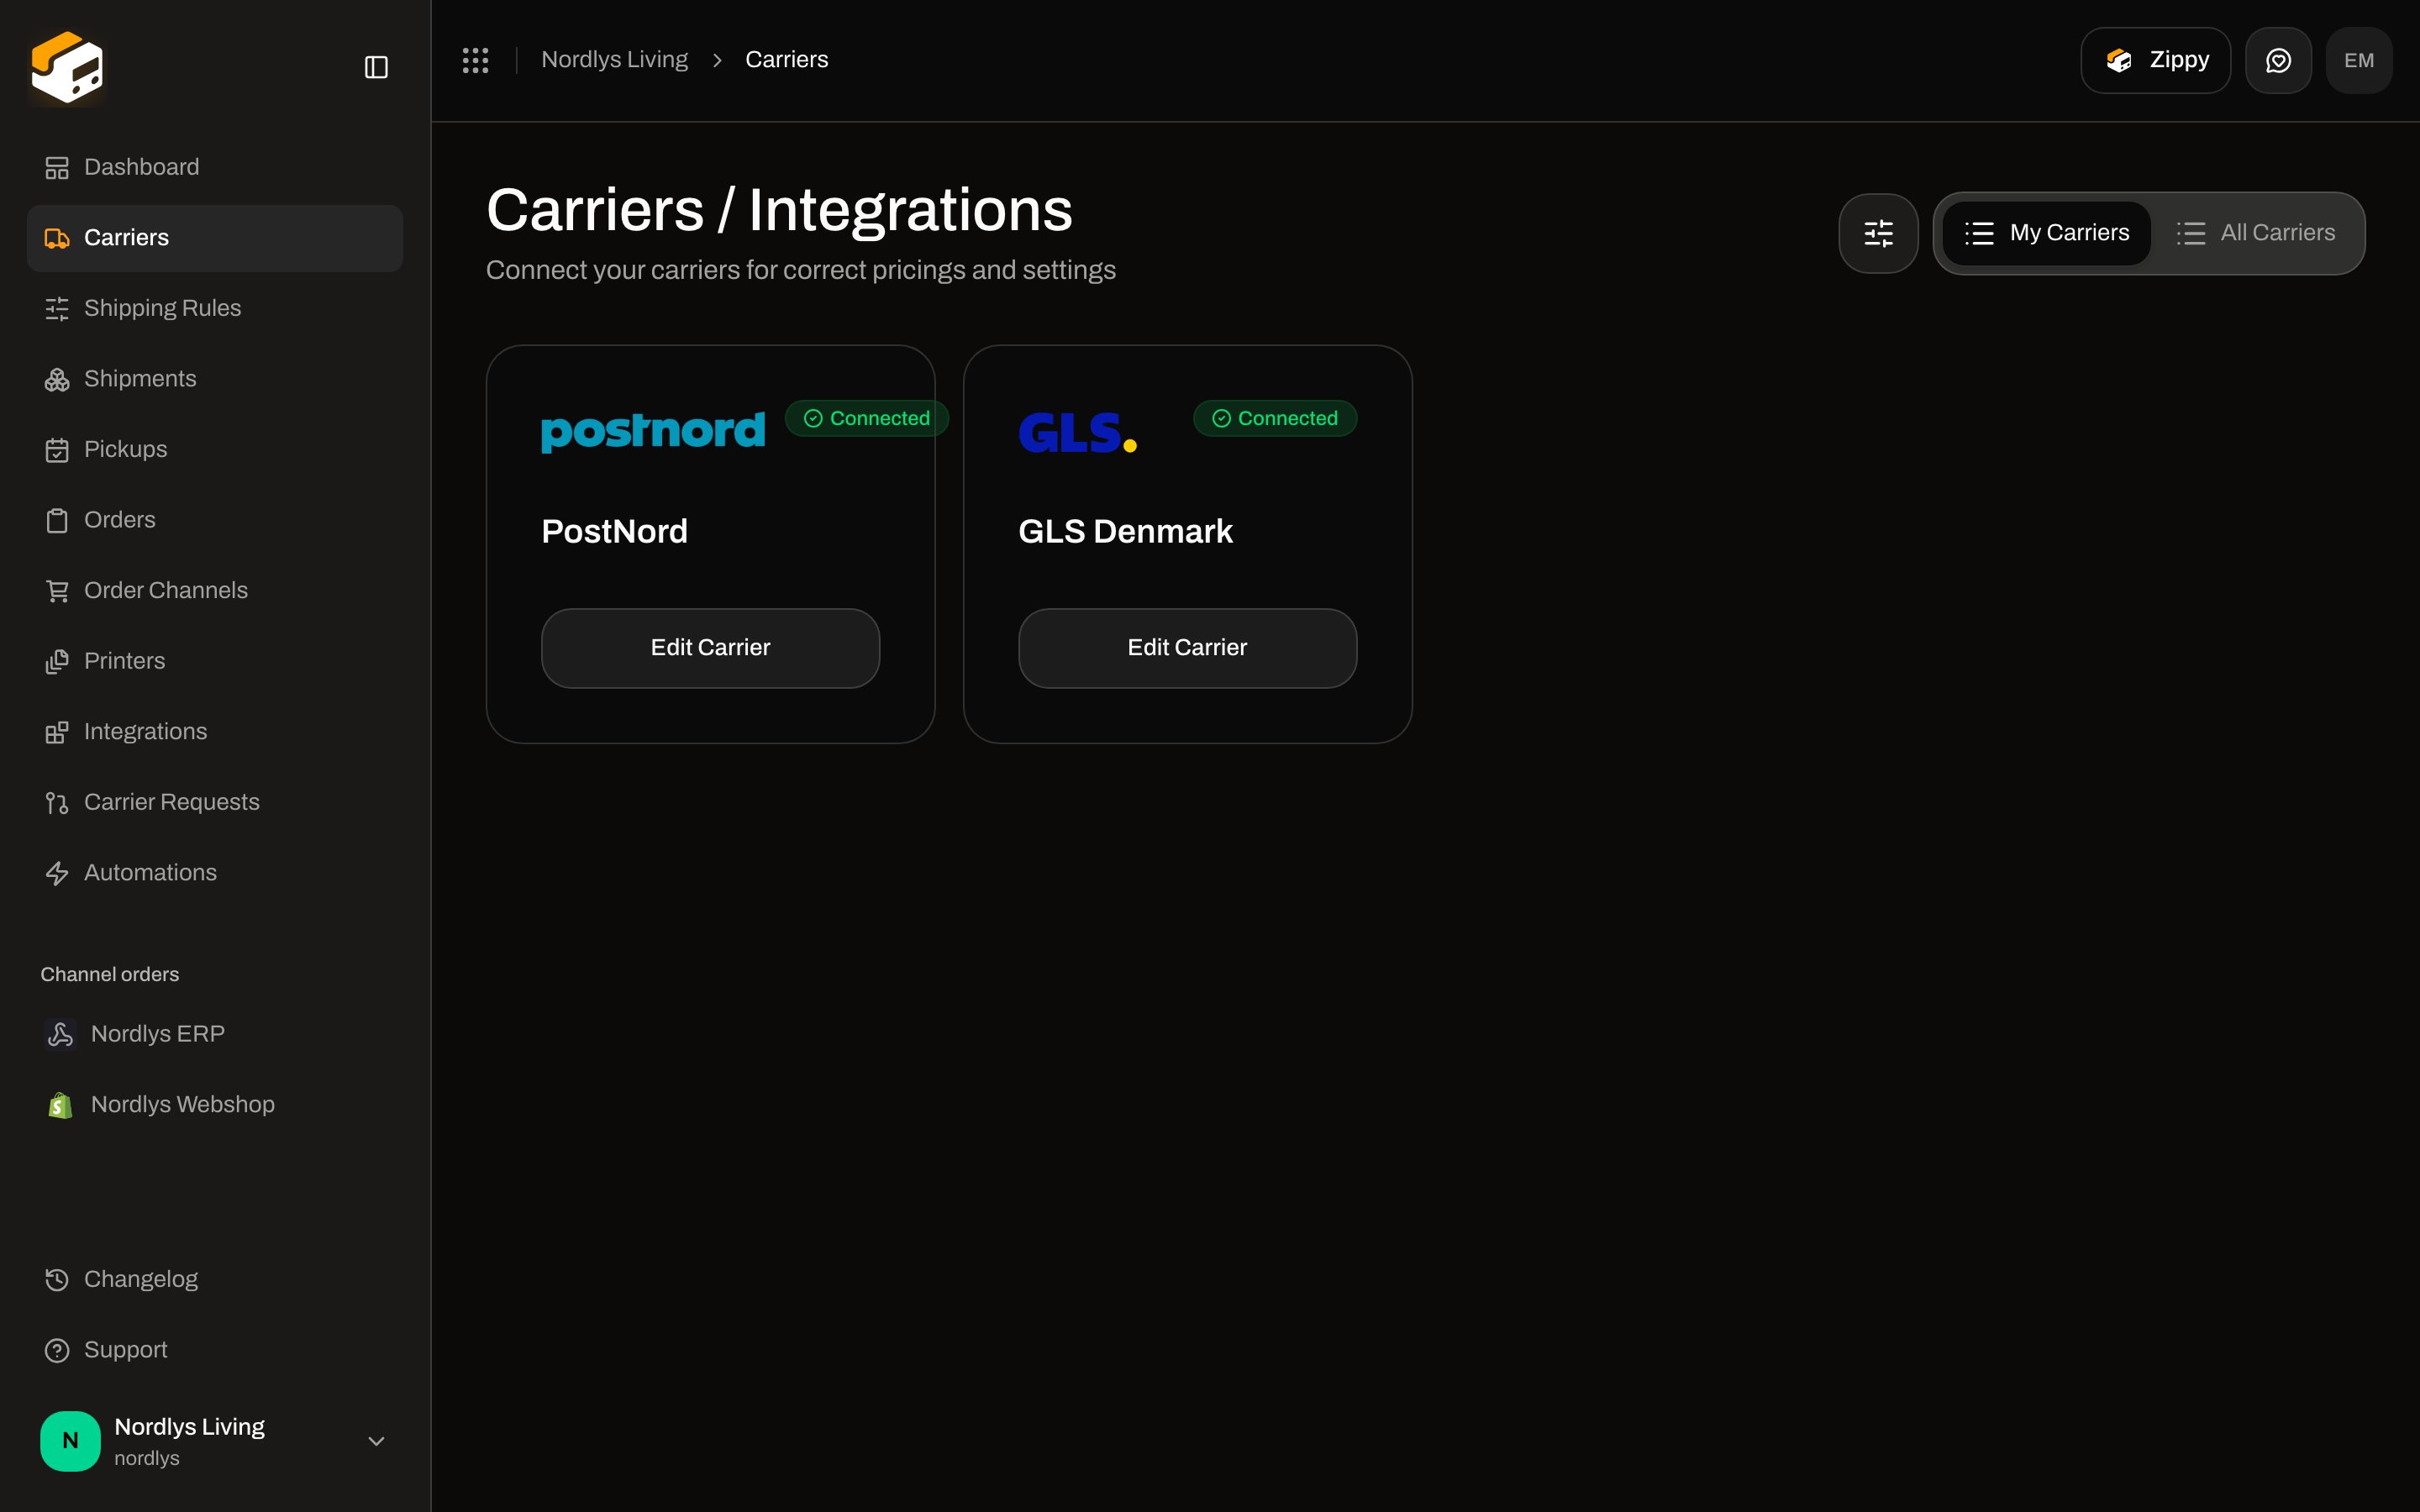
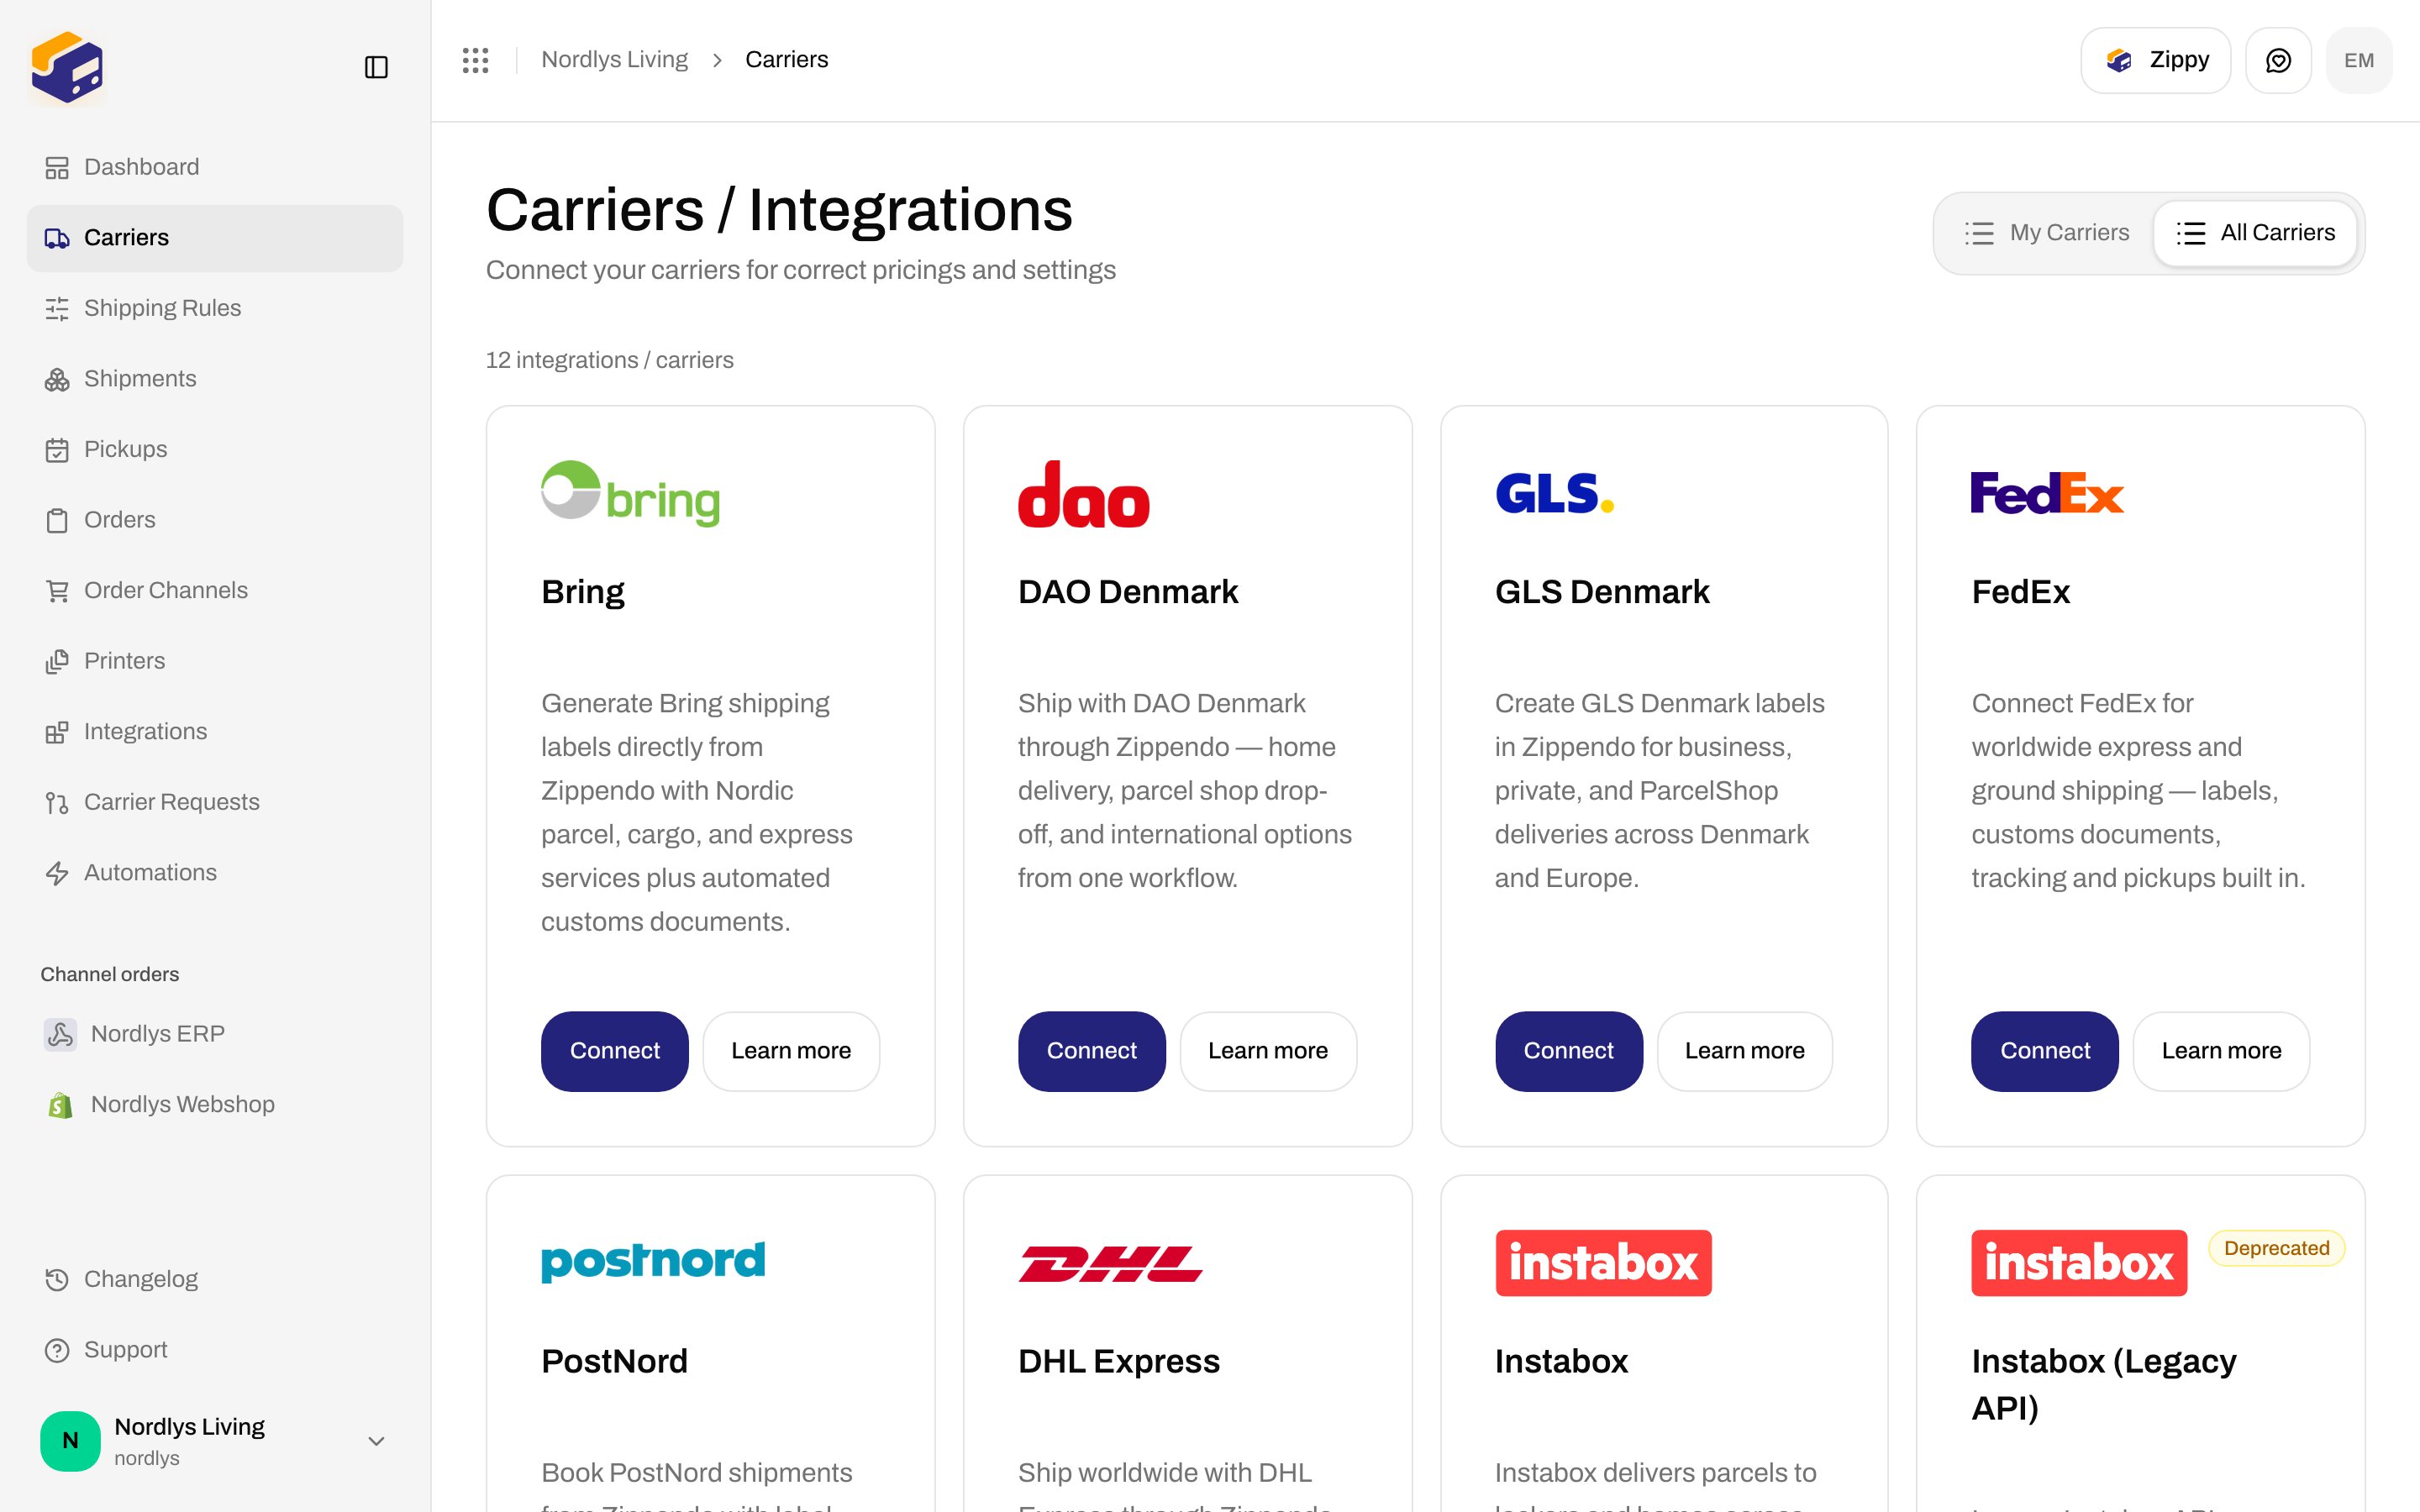
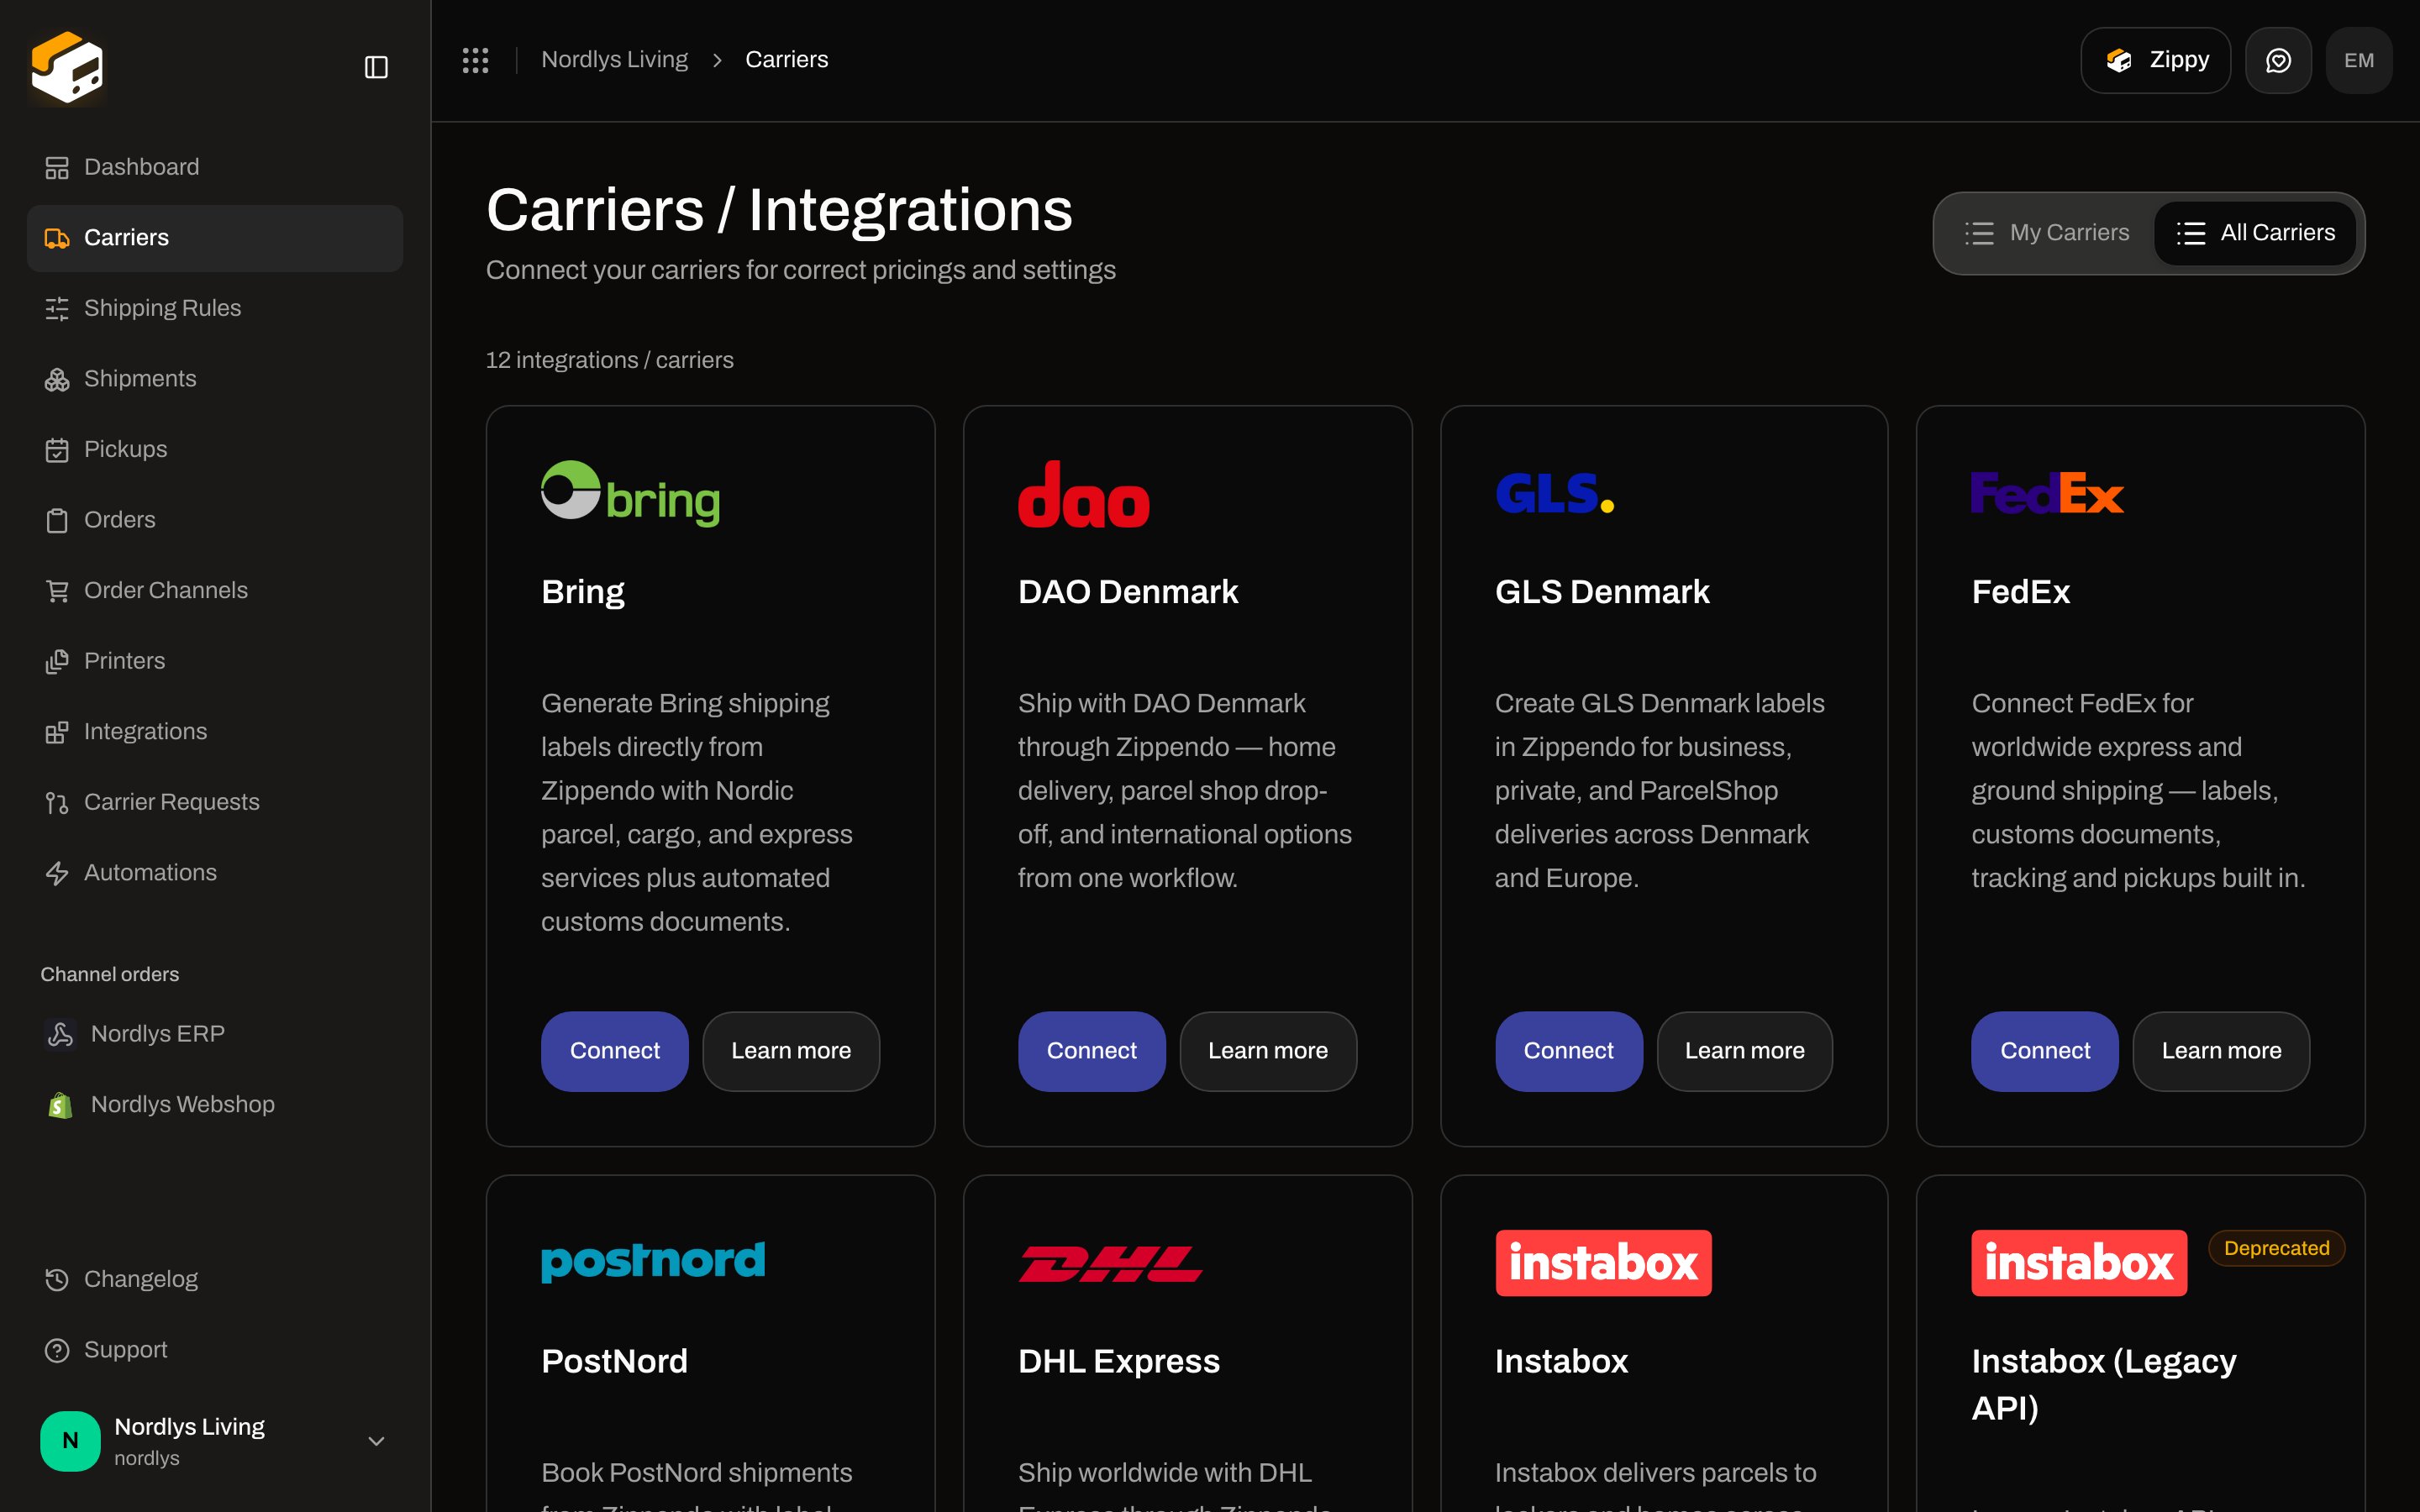 Click **Connect**, enter the carrier credentials, and choose the sender address from step one. Full walkthrough: [Carriers](/docs/tutorials/carriers). If a carrier is missing, **Carrier Requests** lets you ask Zippendo to add it.
## Add shipping rules
**Shipping Rules** sits between **Carriers** and **Shipments**. Description: **Define how carriers, rates, and conditions apply to orders and checkout.**
Click **Connect**, enter the carrier credentials, and choose the sender address from step one. Full walkthrough: [Carriers](/docs/tutorials/carriers). If a carrier is missing, **Carrier Requests** lets you ask Zippendo to add it.
## Add shipping rules
**Shipping Rules** sits between **Carriers** and **Shipments**. Description: **Define how carriers, rates, and conditions apply to orders and checkout.**
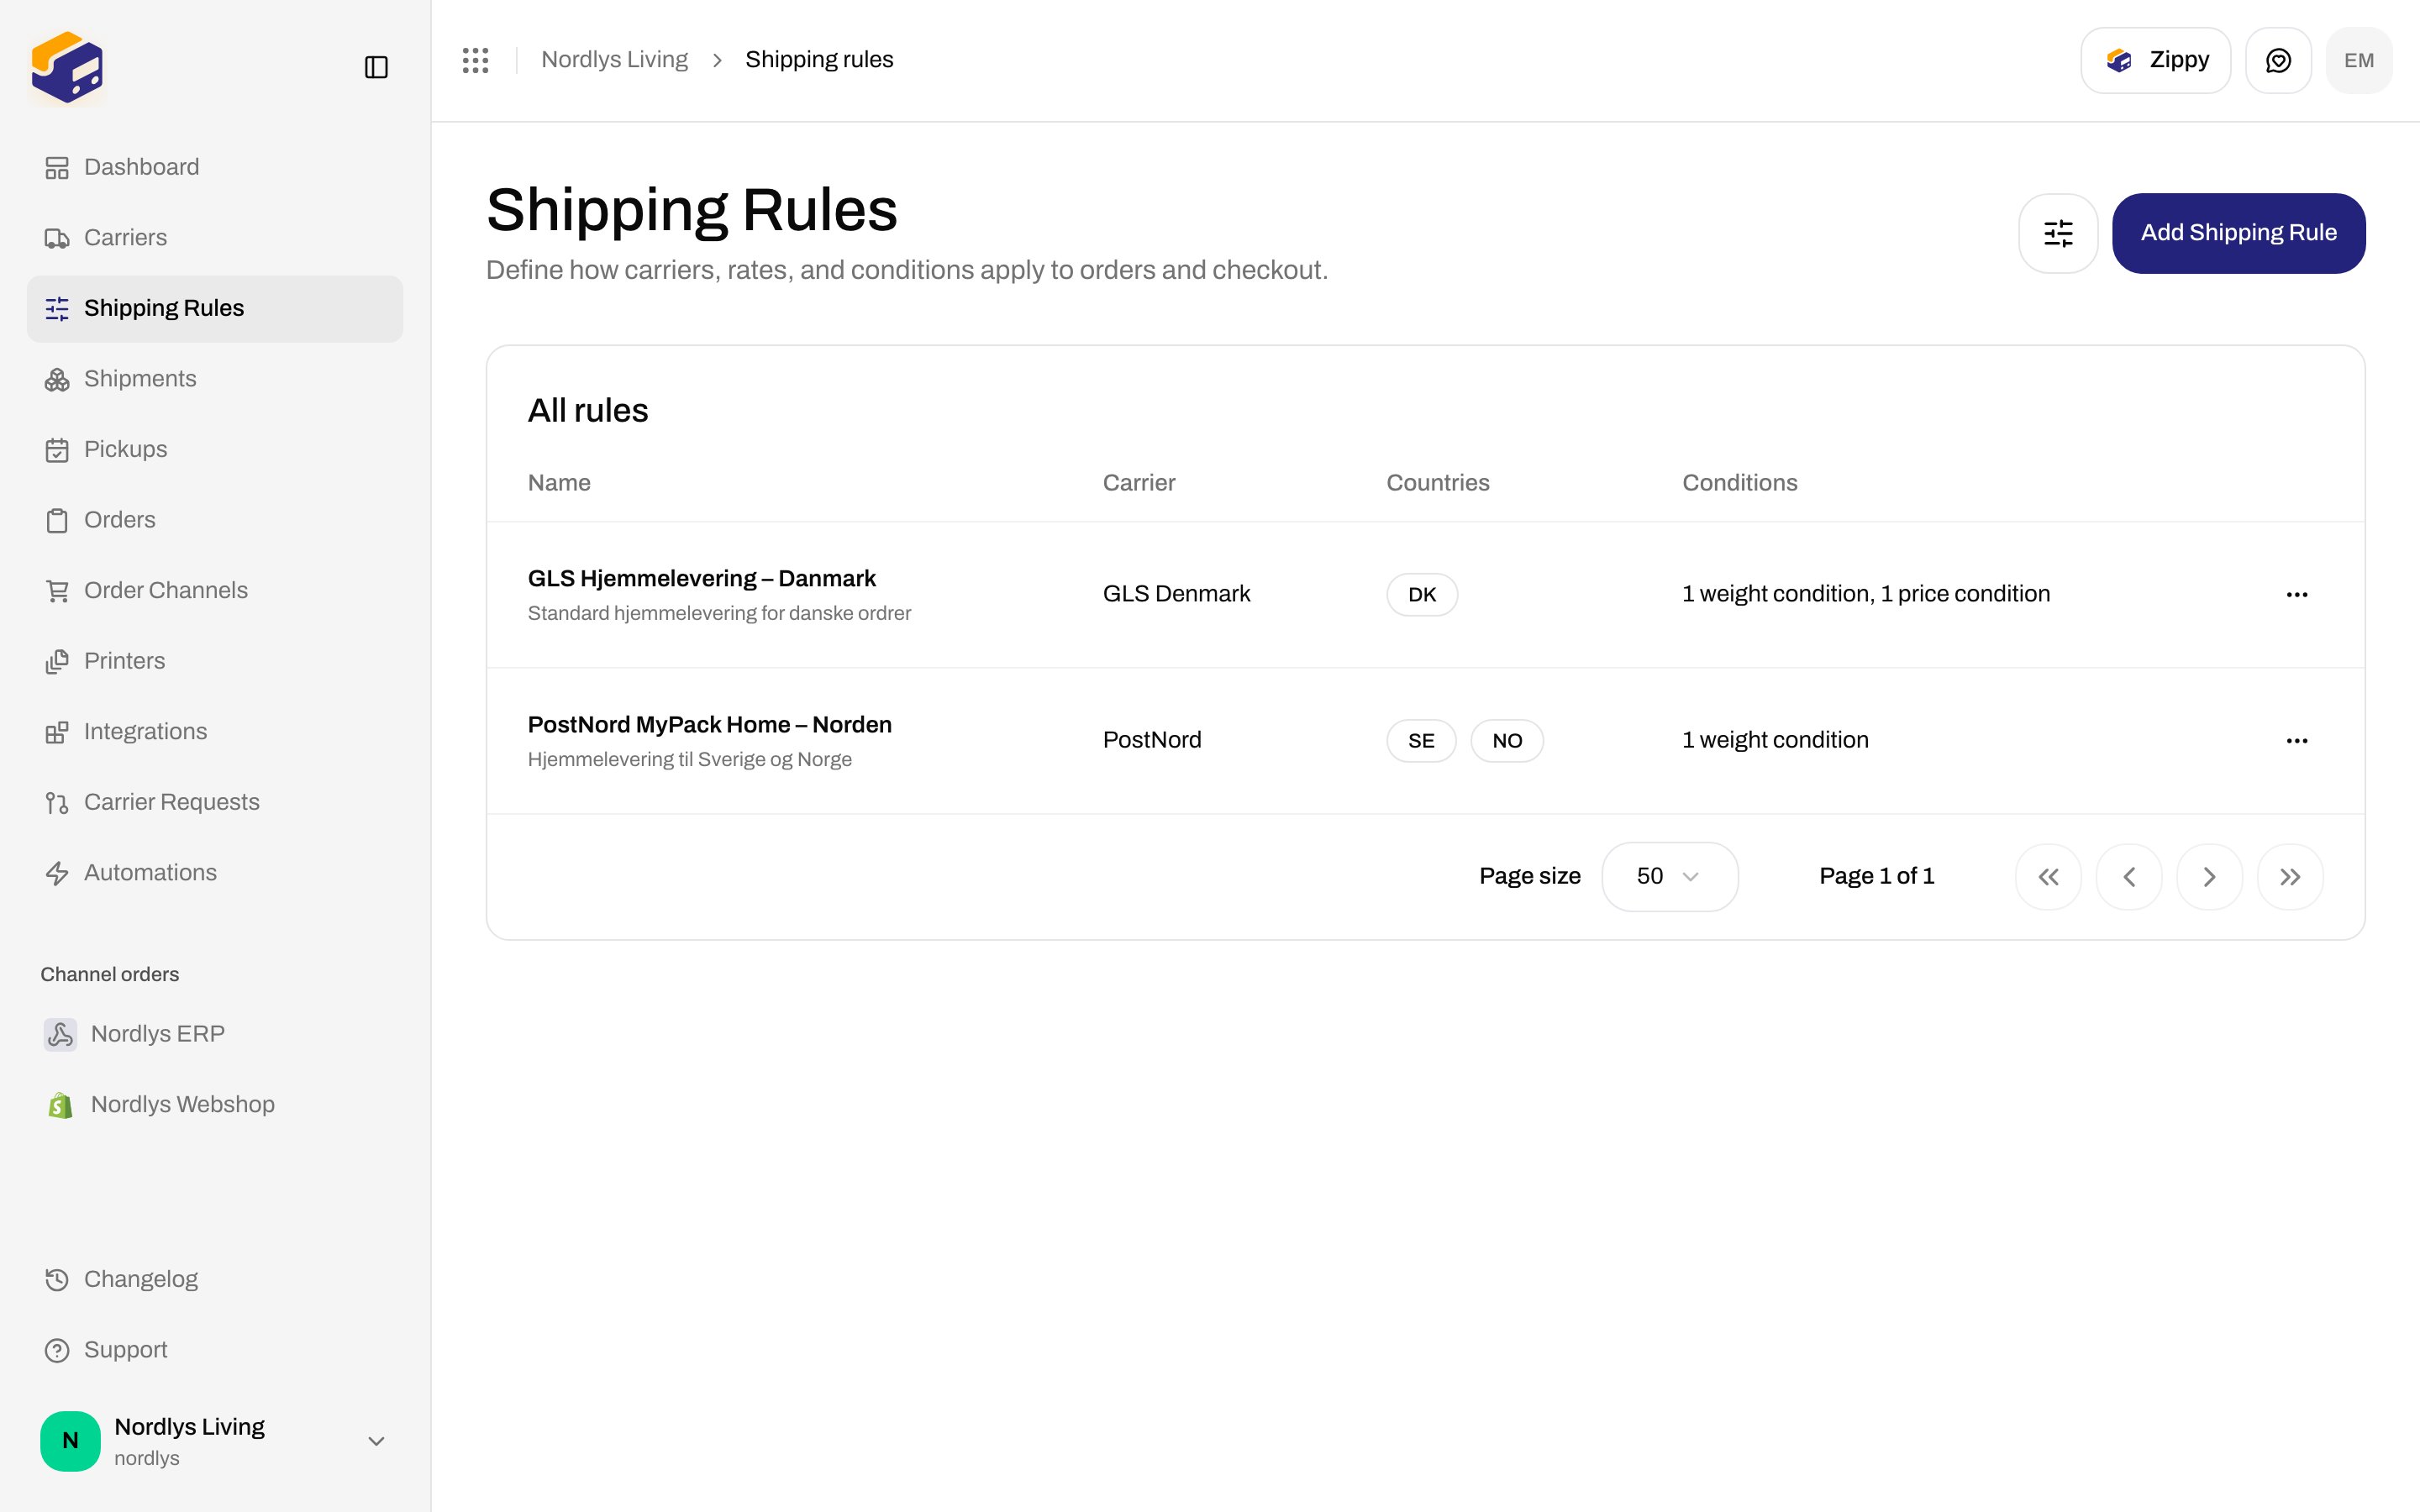
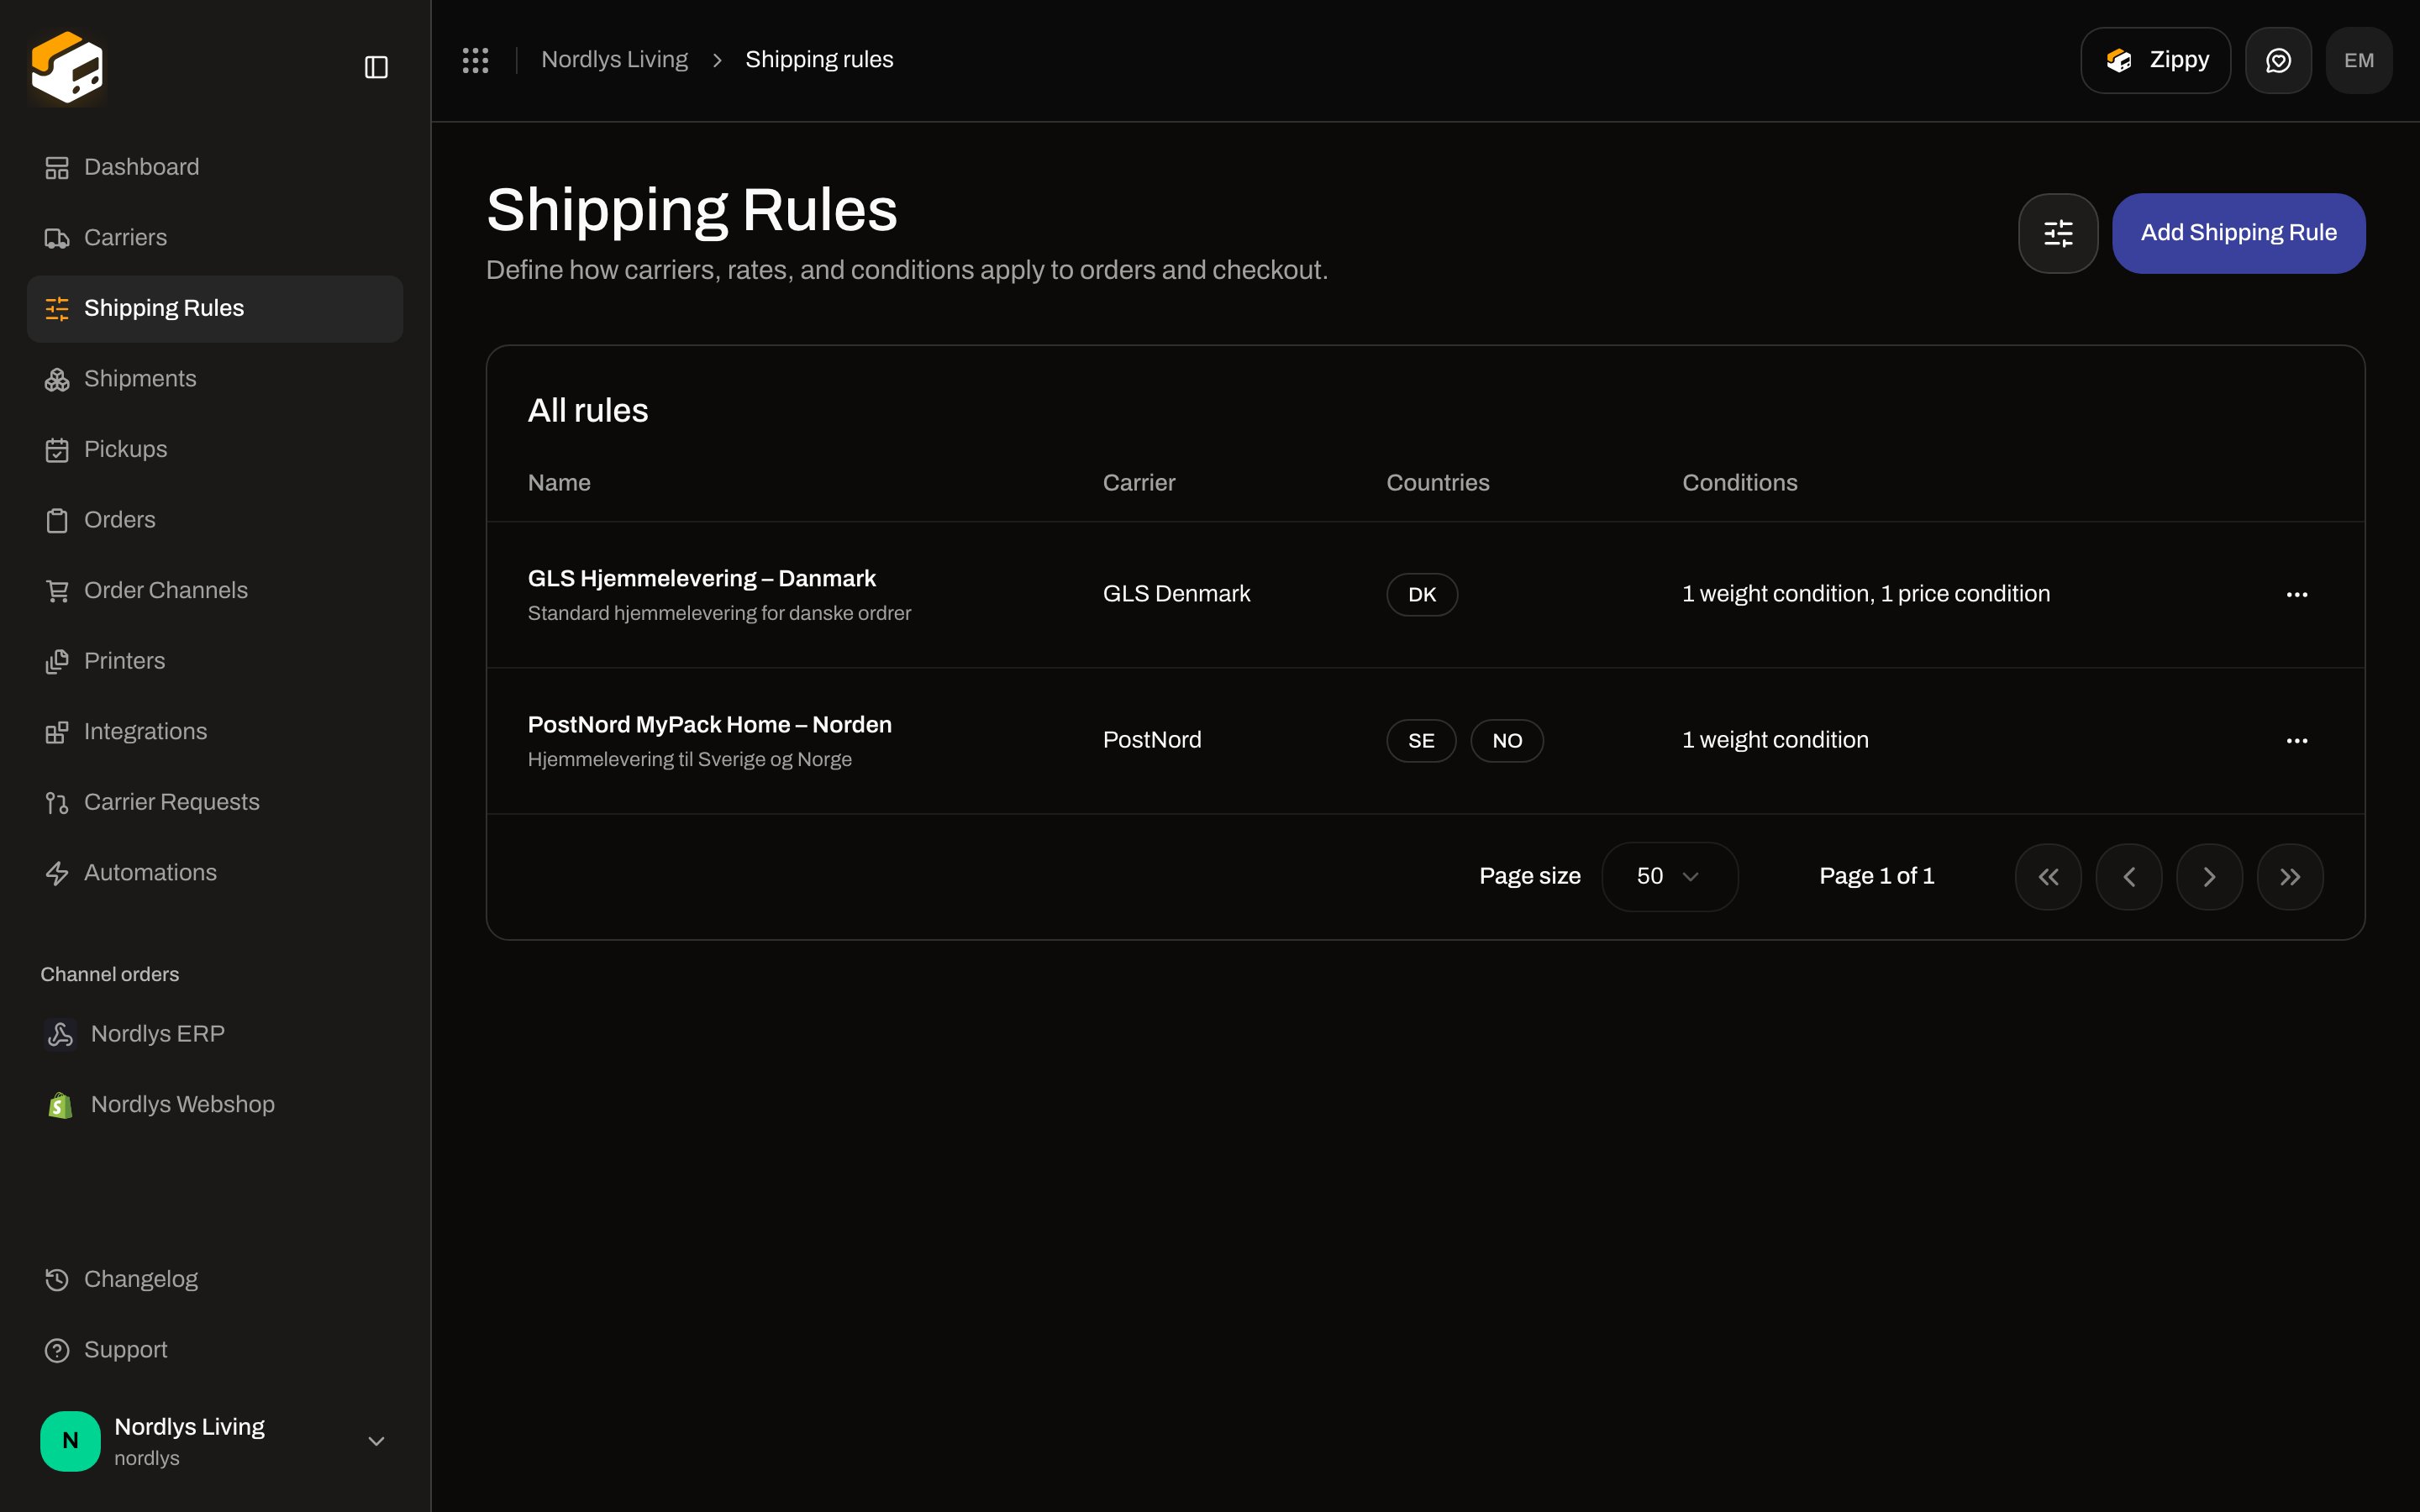 A rule is the reusable carrier + product + sender + destination setup. Checkout offers matching rules as shipping options. Creating a shipment from an order that already has a rule fills those fields for you.
How to build one, including the **Test** button: [Shipping rules](/docs/tutorials/shipping-rules). How those rules become shopper options: [Checkout](/docs/tutorials/checkout). Return-specific rules: [Returns](/docs/tutorials/returns).
## First order and first shipment
**Orders** is the fulfilment queue for sales that synced from a channel. Description: **Manage and fulfill your customer orders**.
A rule is the reusable carrier + product + sender + destination setup. Checkout offers matching rules as shipping options. Creating a shipment from an order that already has a rule fills those fields for you.
How to build one, including the **Test** button: [Shipping rules](/docs/tutorials/shipping-rules). How those rules become shopper options: [Checkout](/docs/tutorials/checkout). Return-specific rules: [Returns](/docs/tutorials/returns).
## First order and first shipment
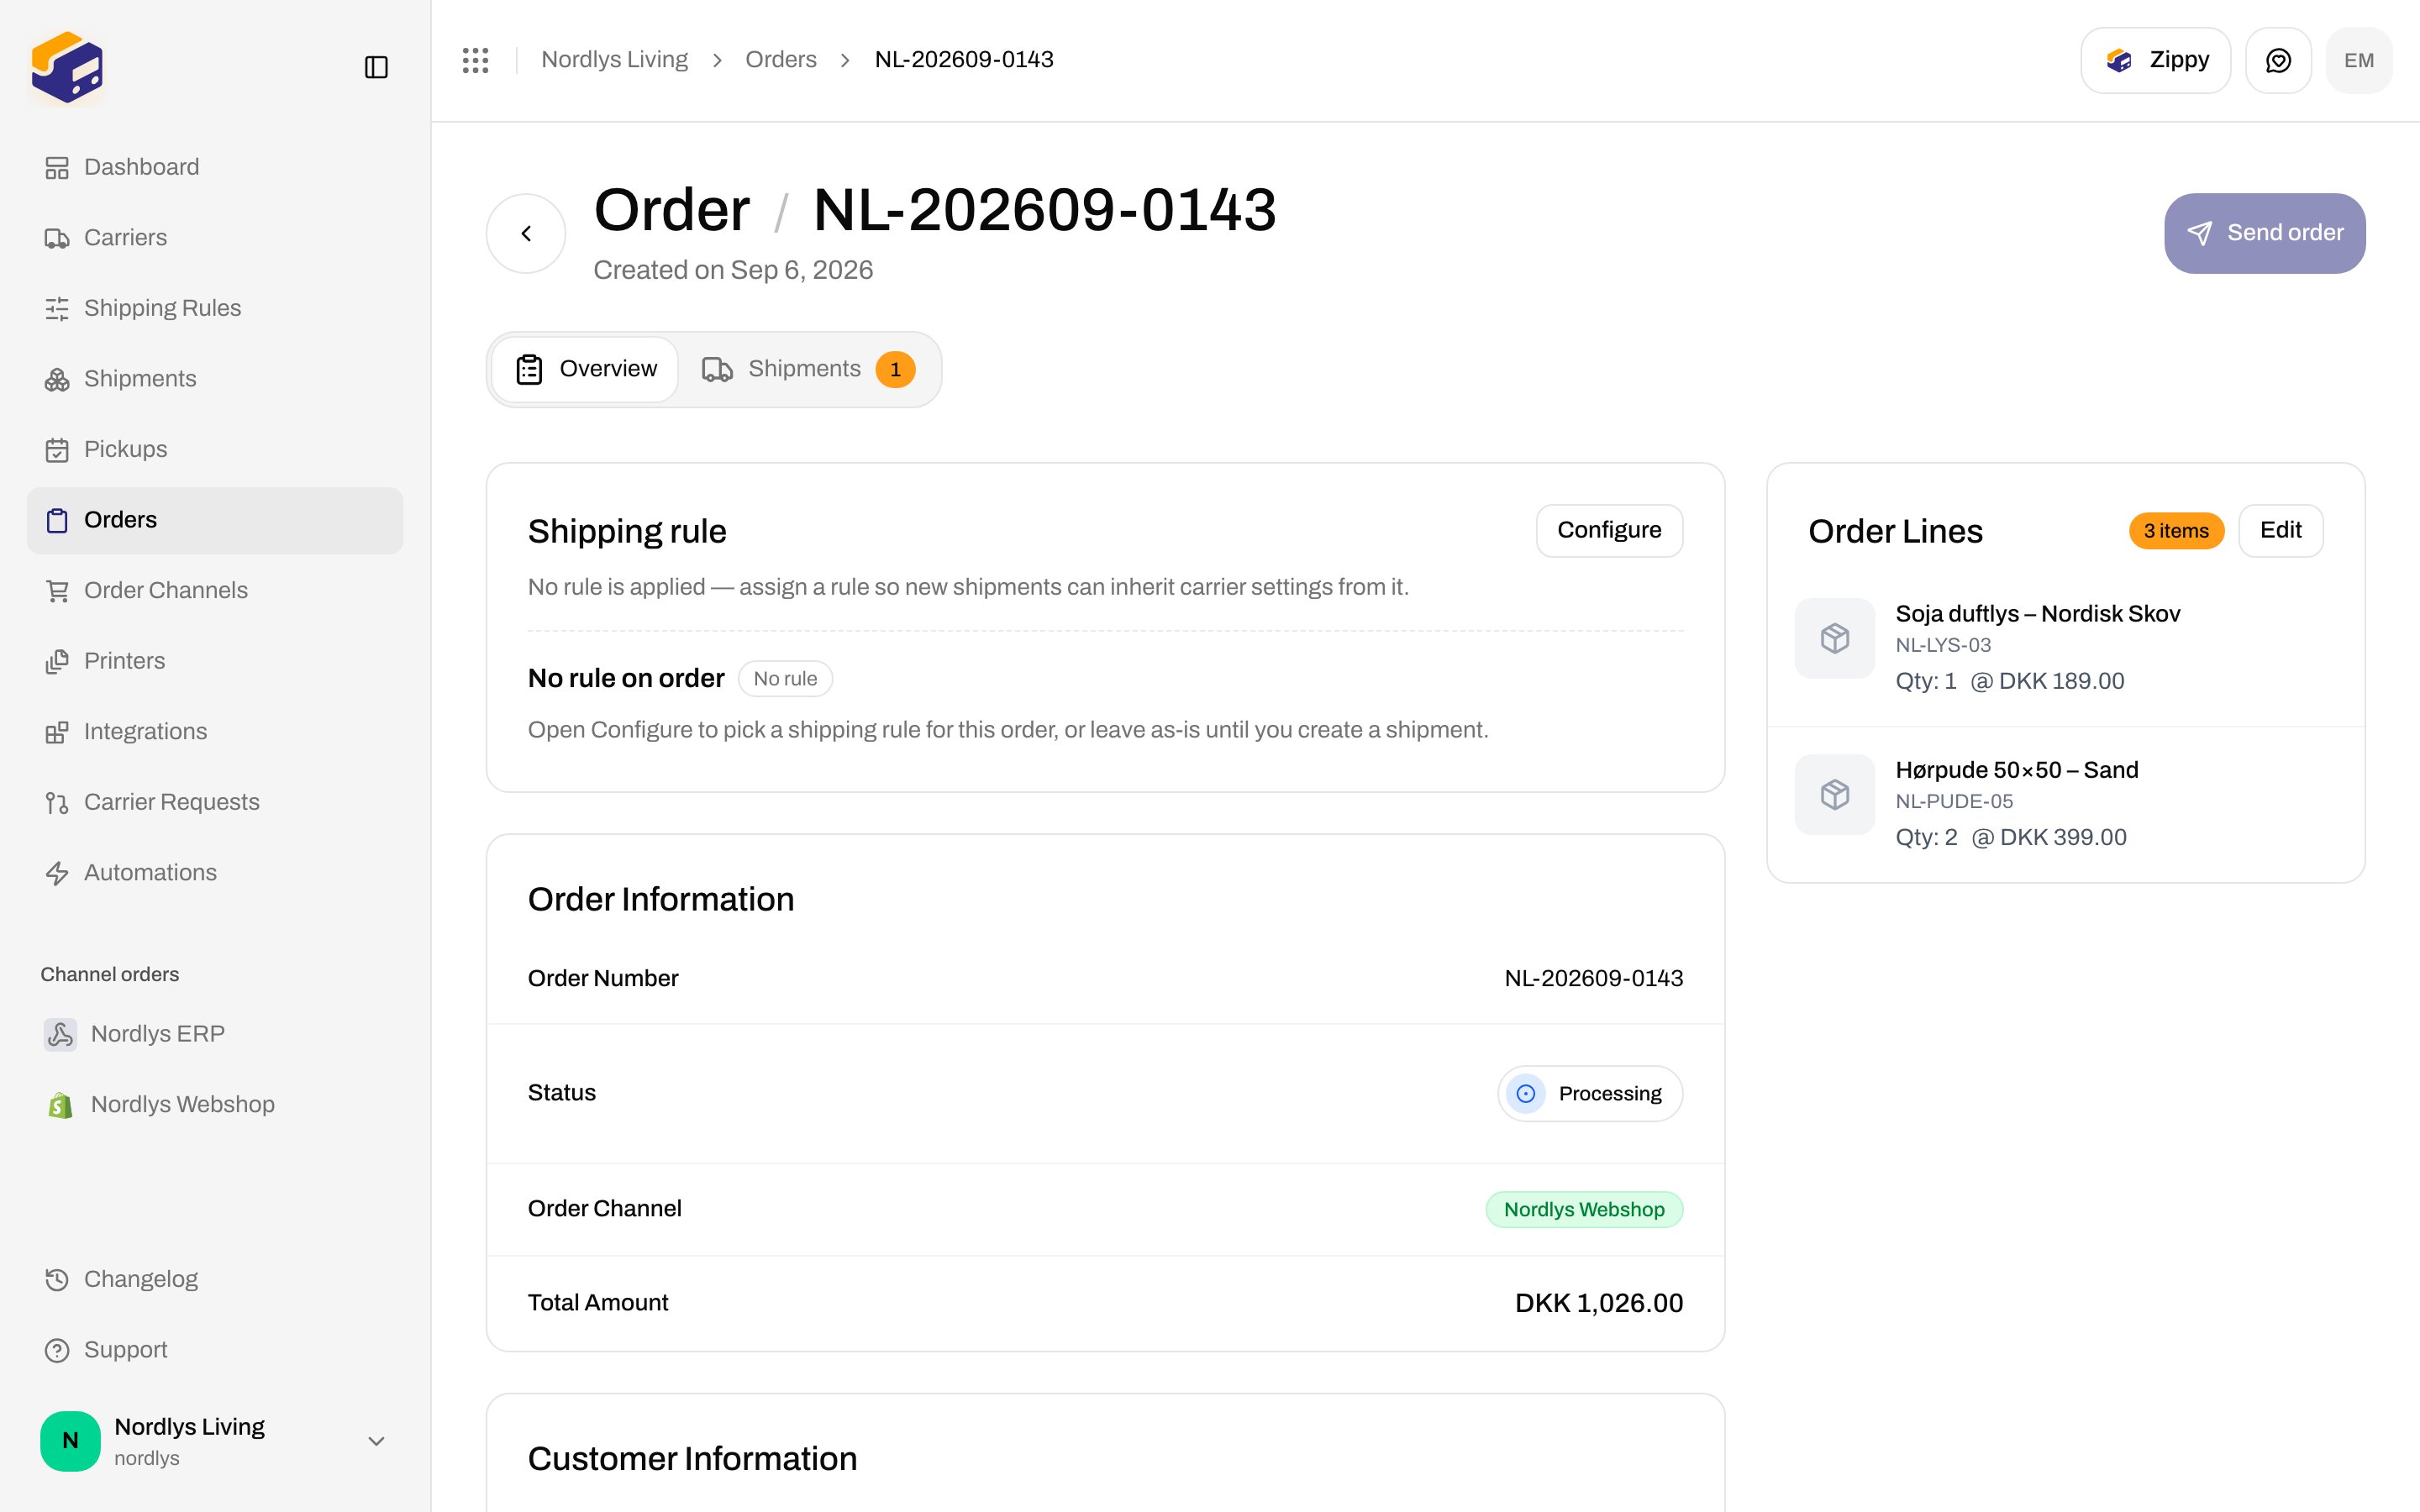
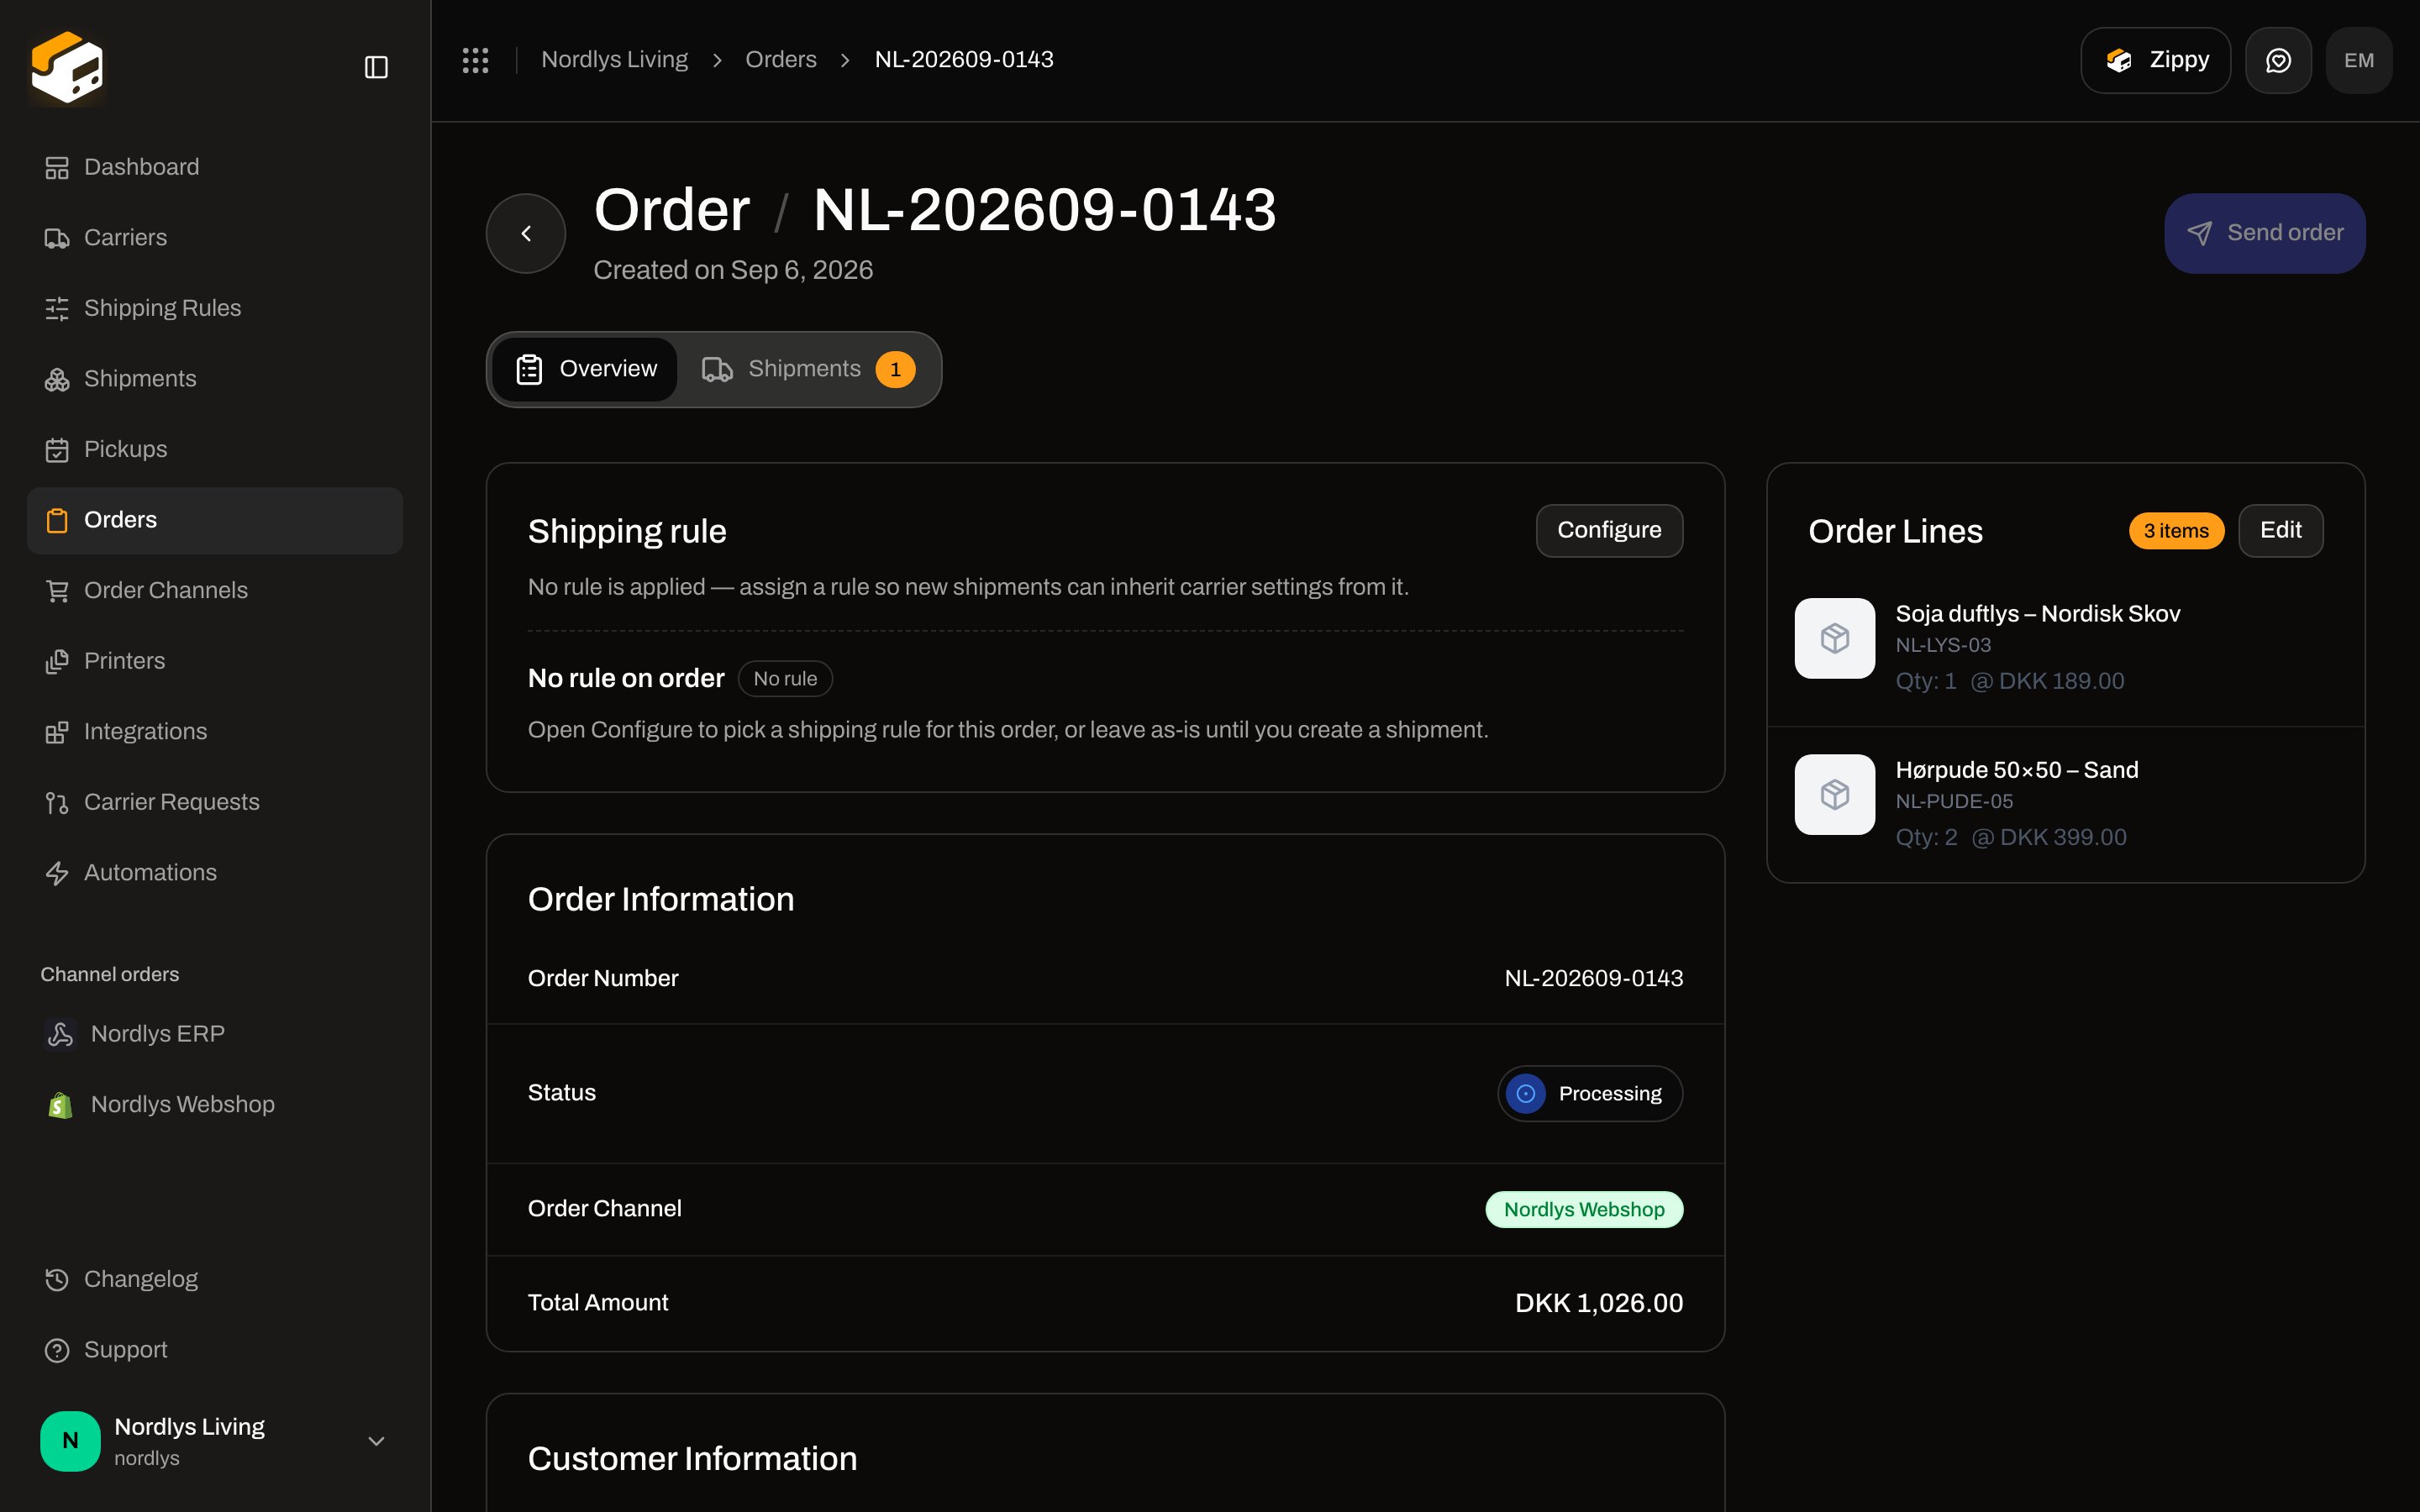
**Orders** is the fulfilment queue for sales that synced from a channel. Description: **Manage and fulfill your customer orders**.
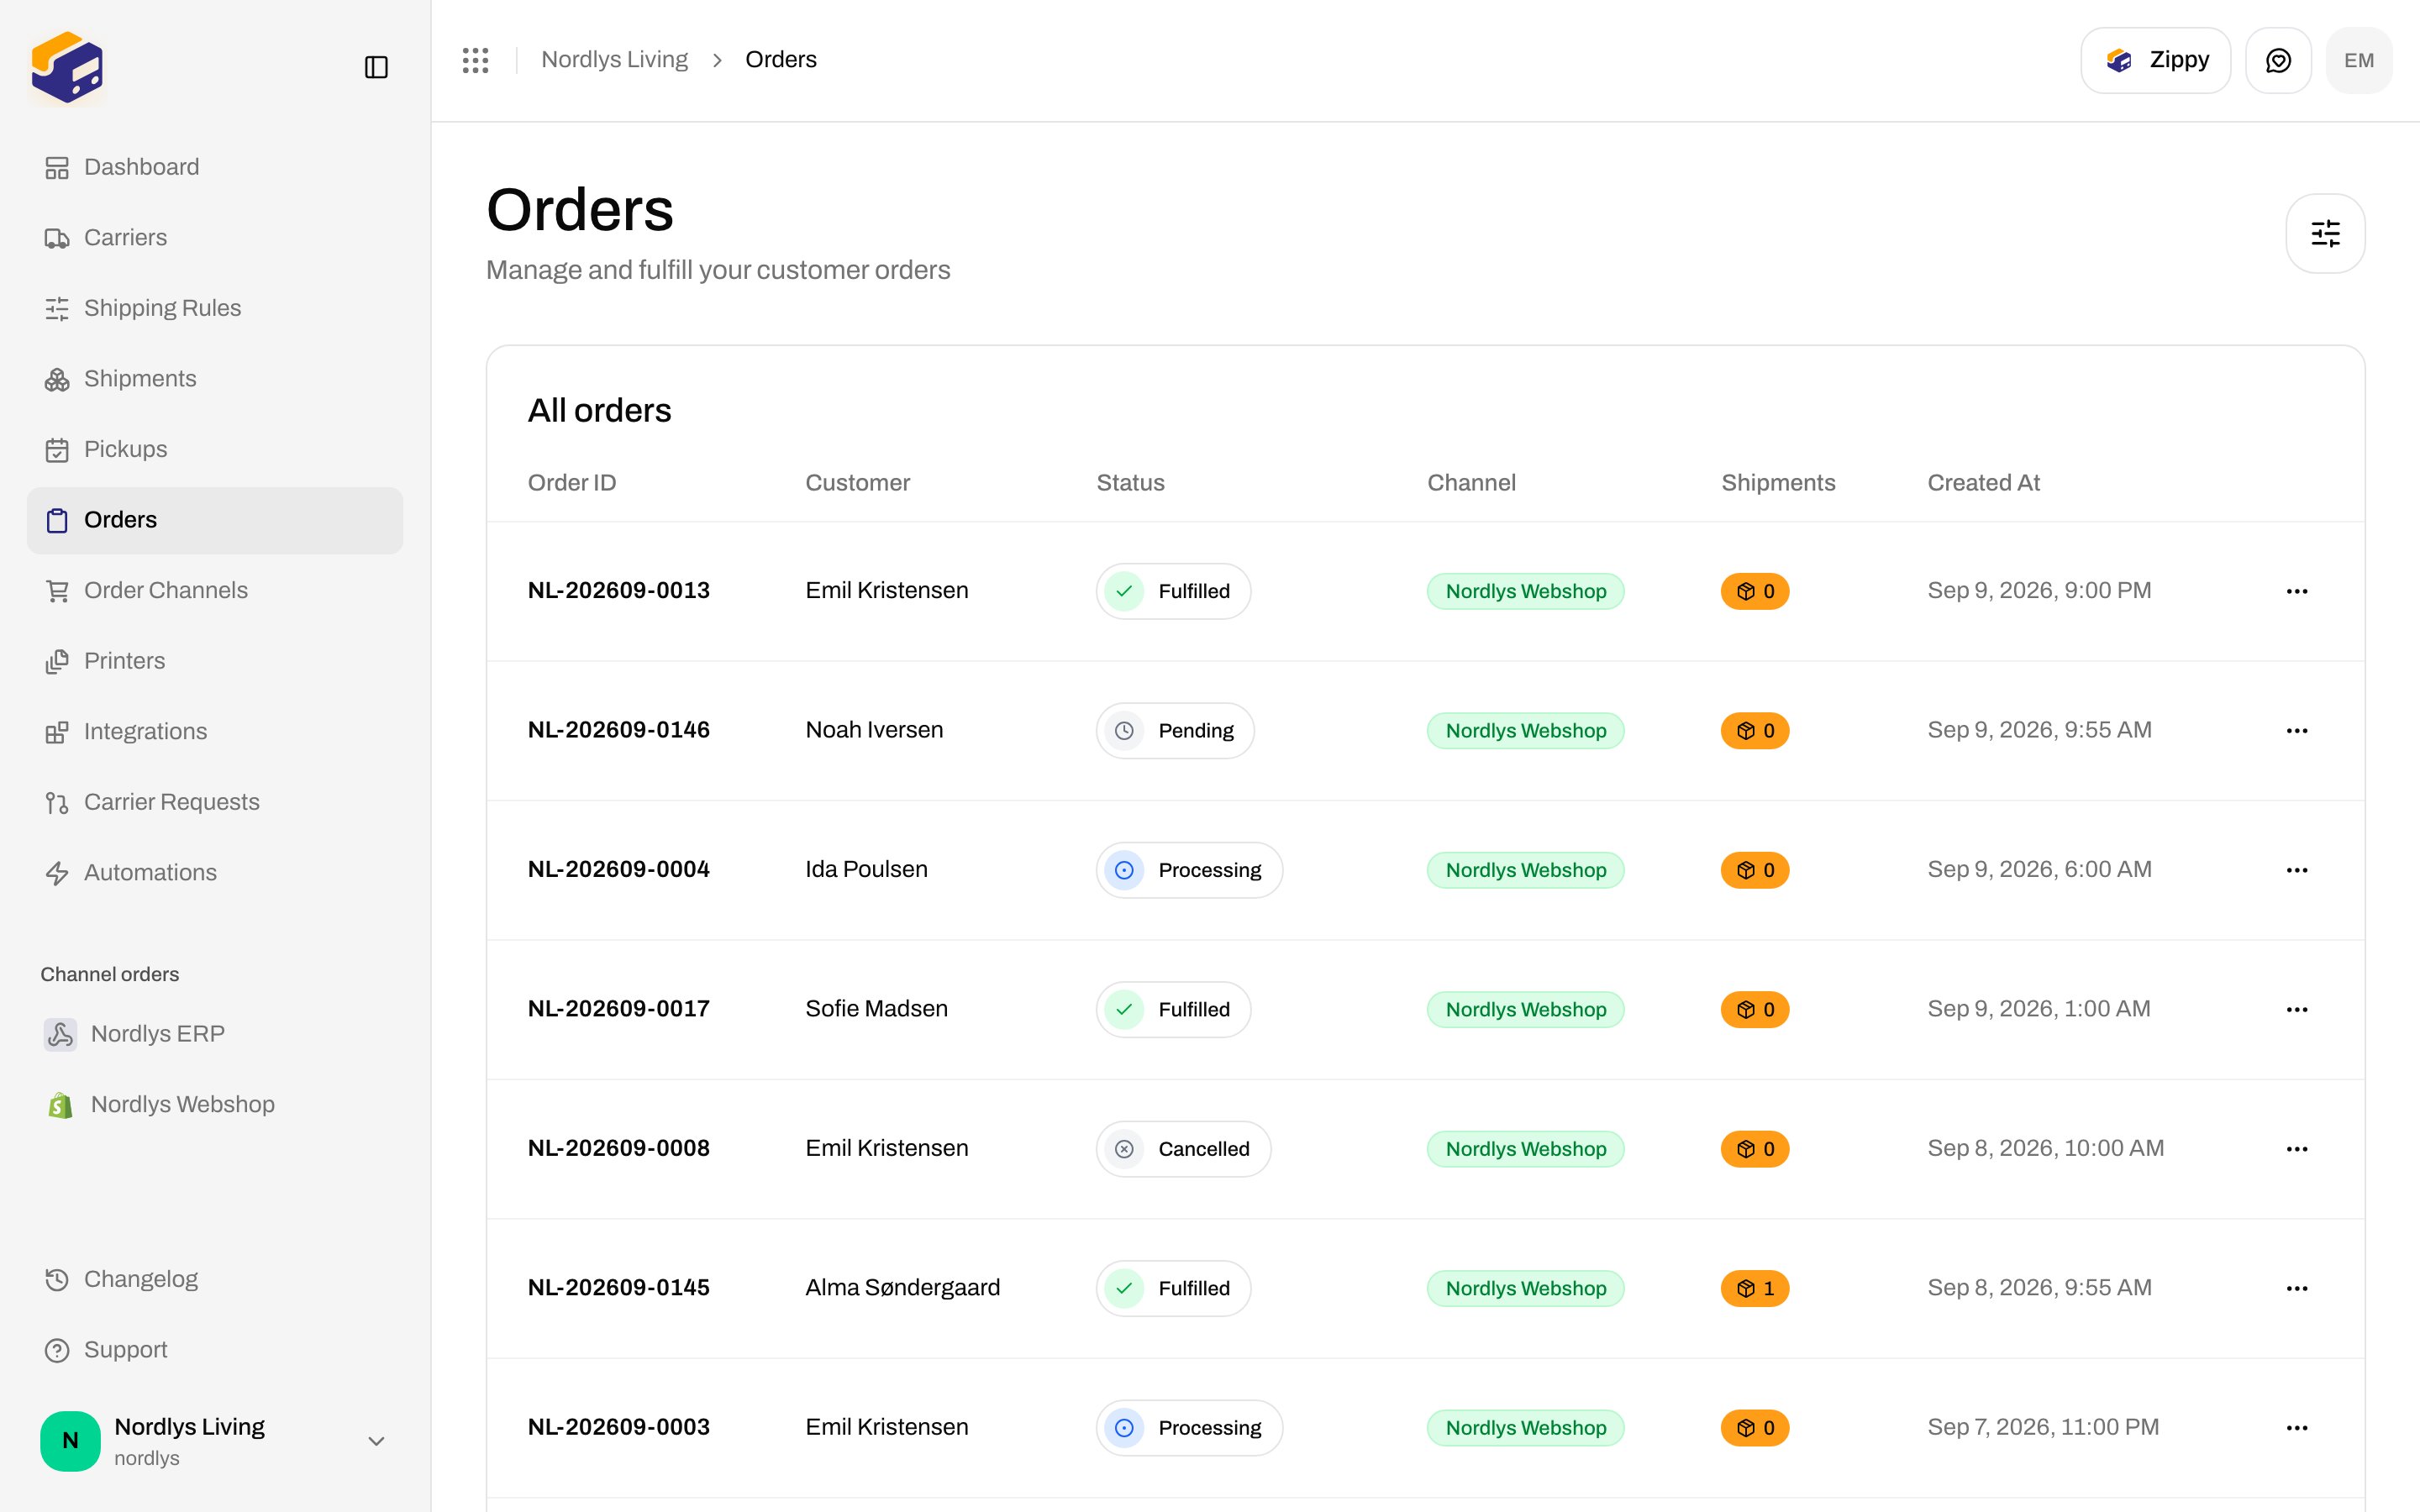
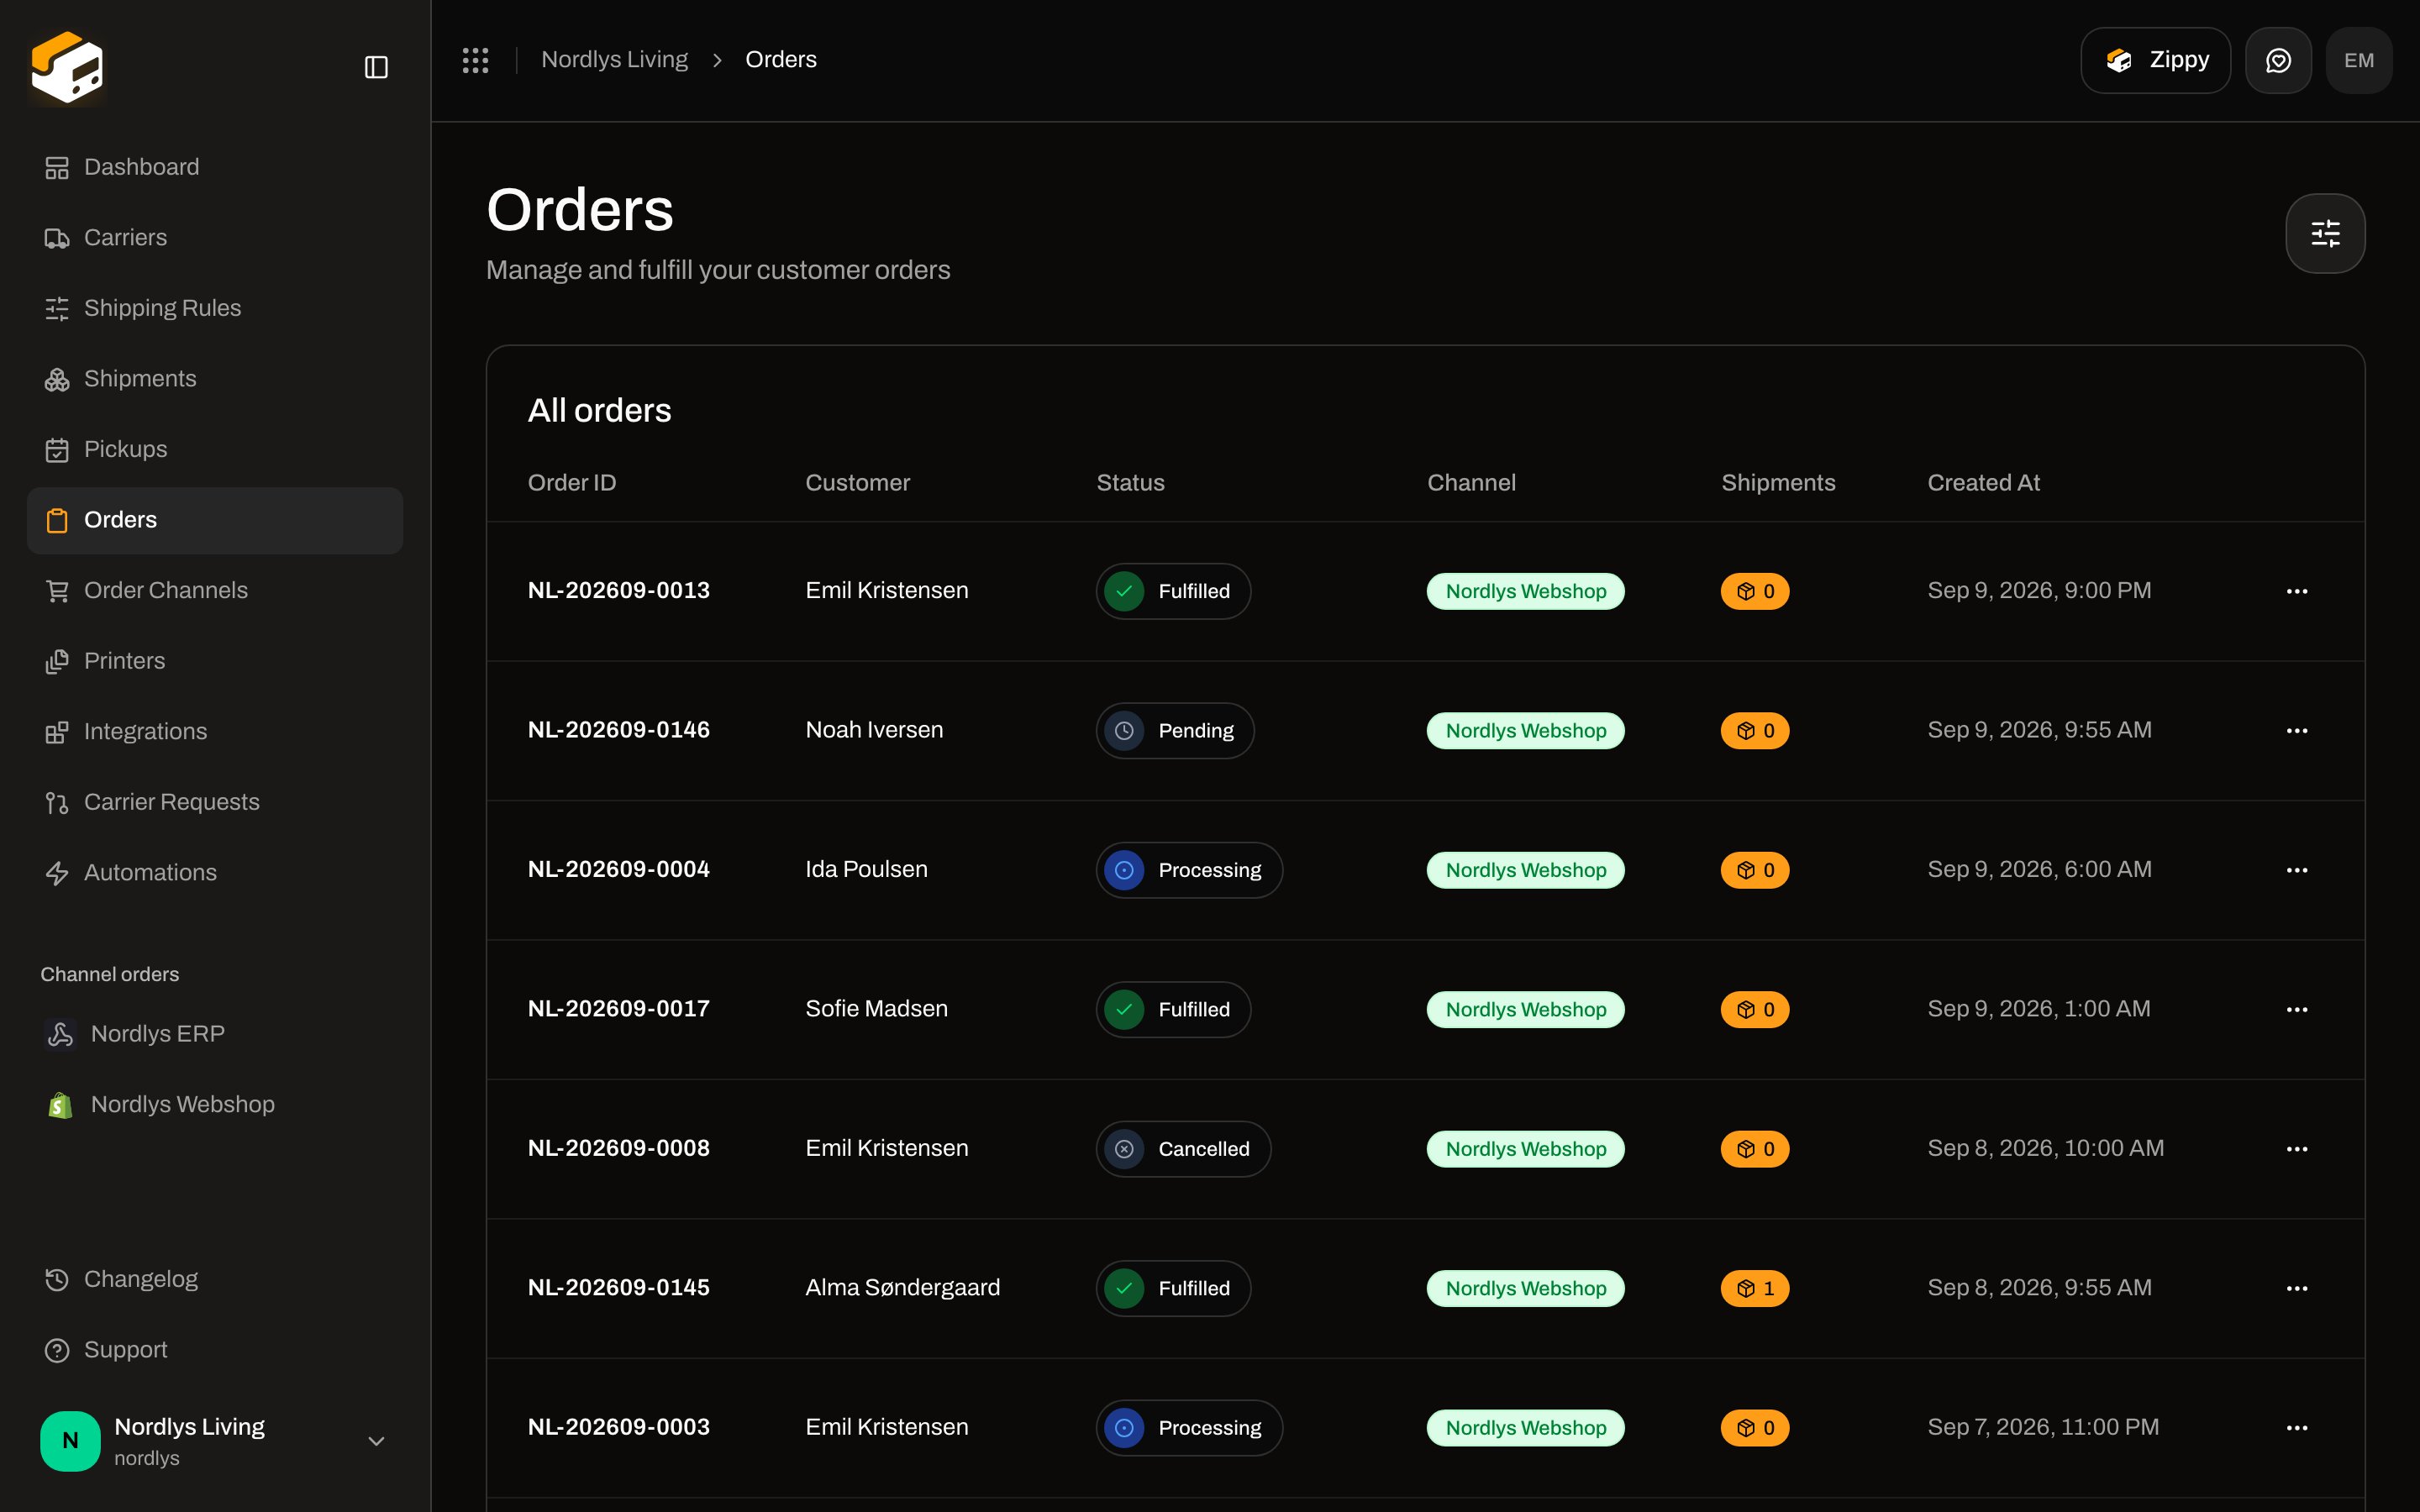 Click a row. The order has **Overview** and **Shipments** tabs, plus **Send order** when a shipment is ready.
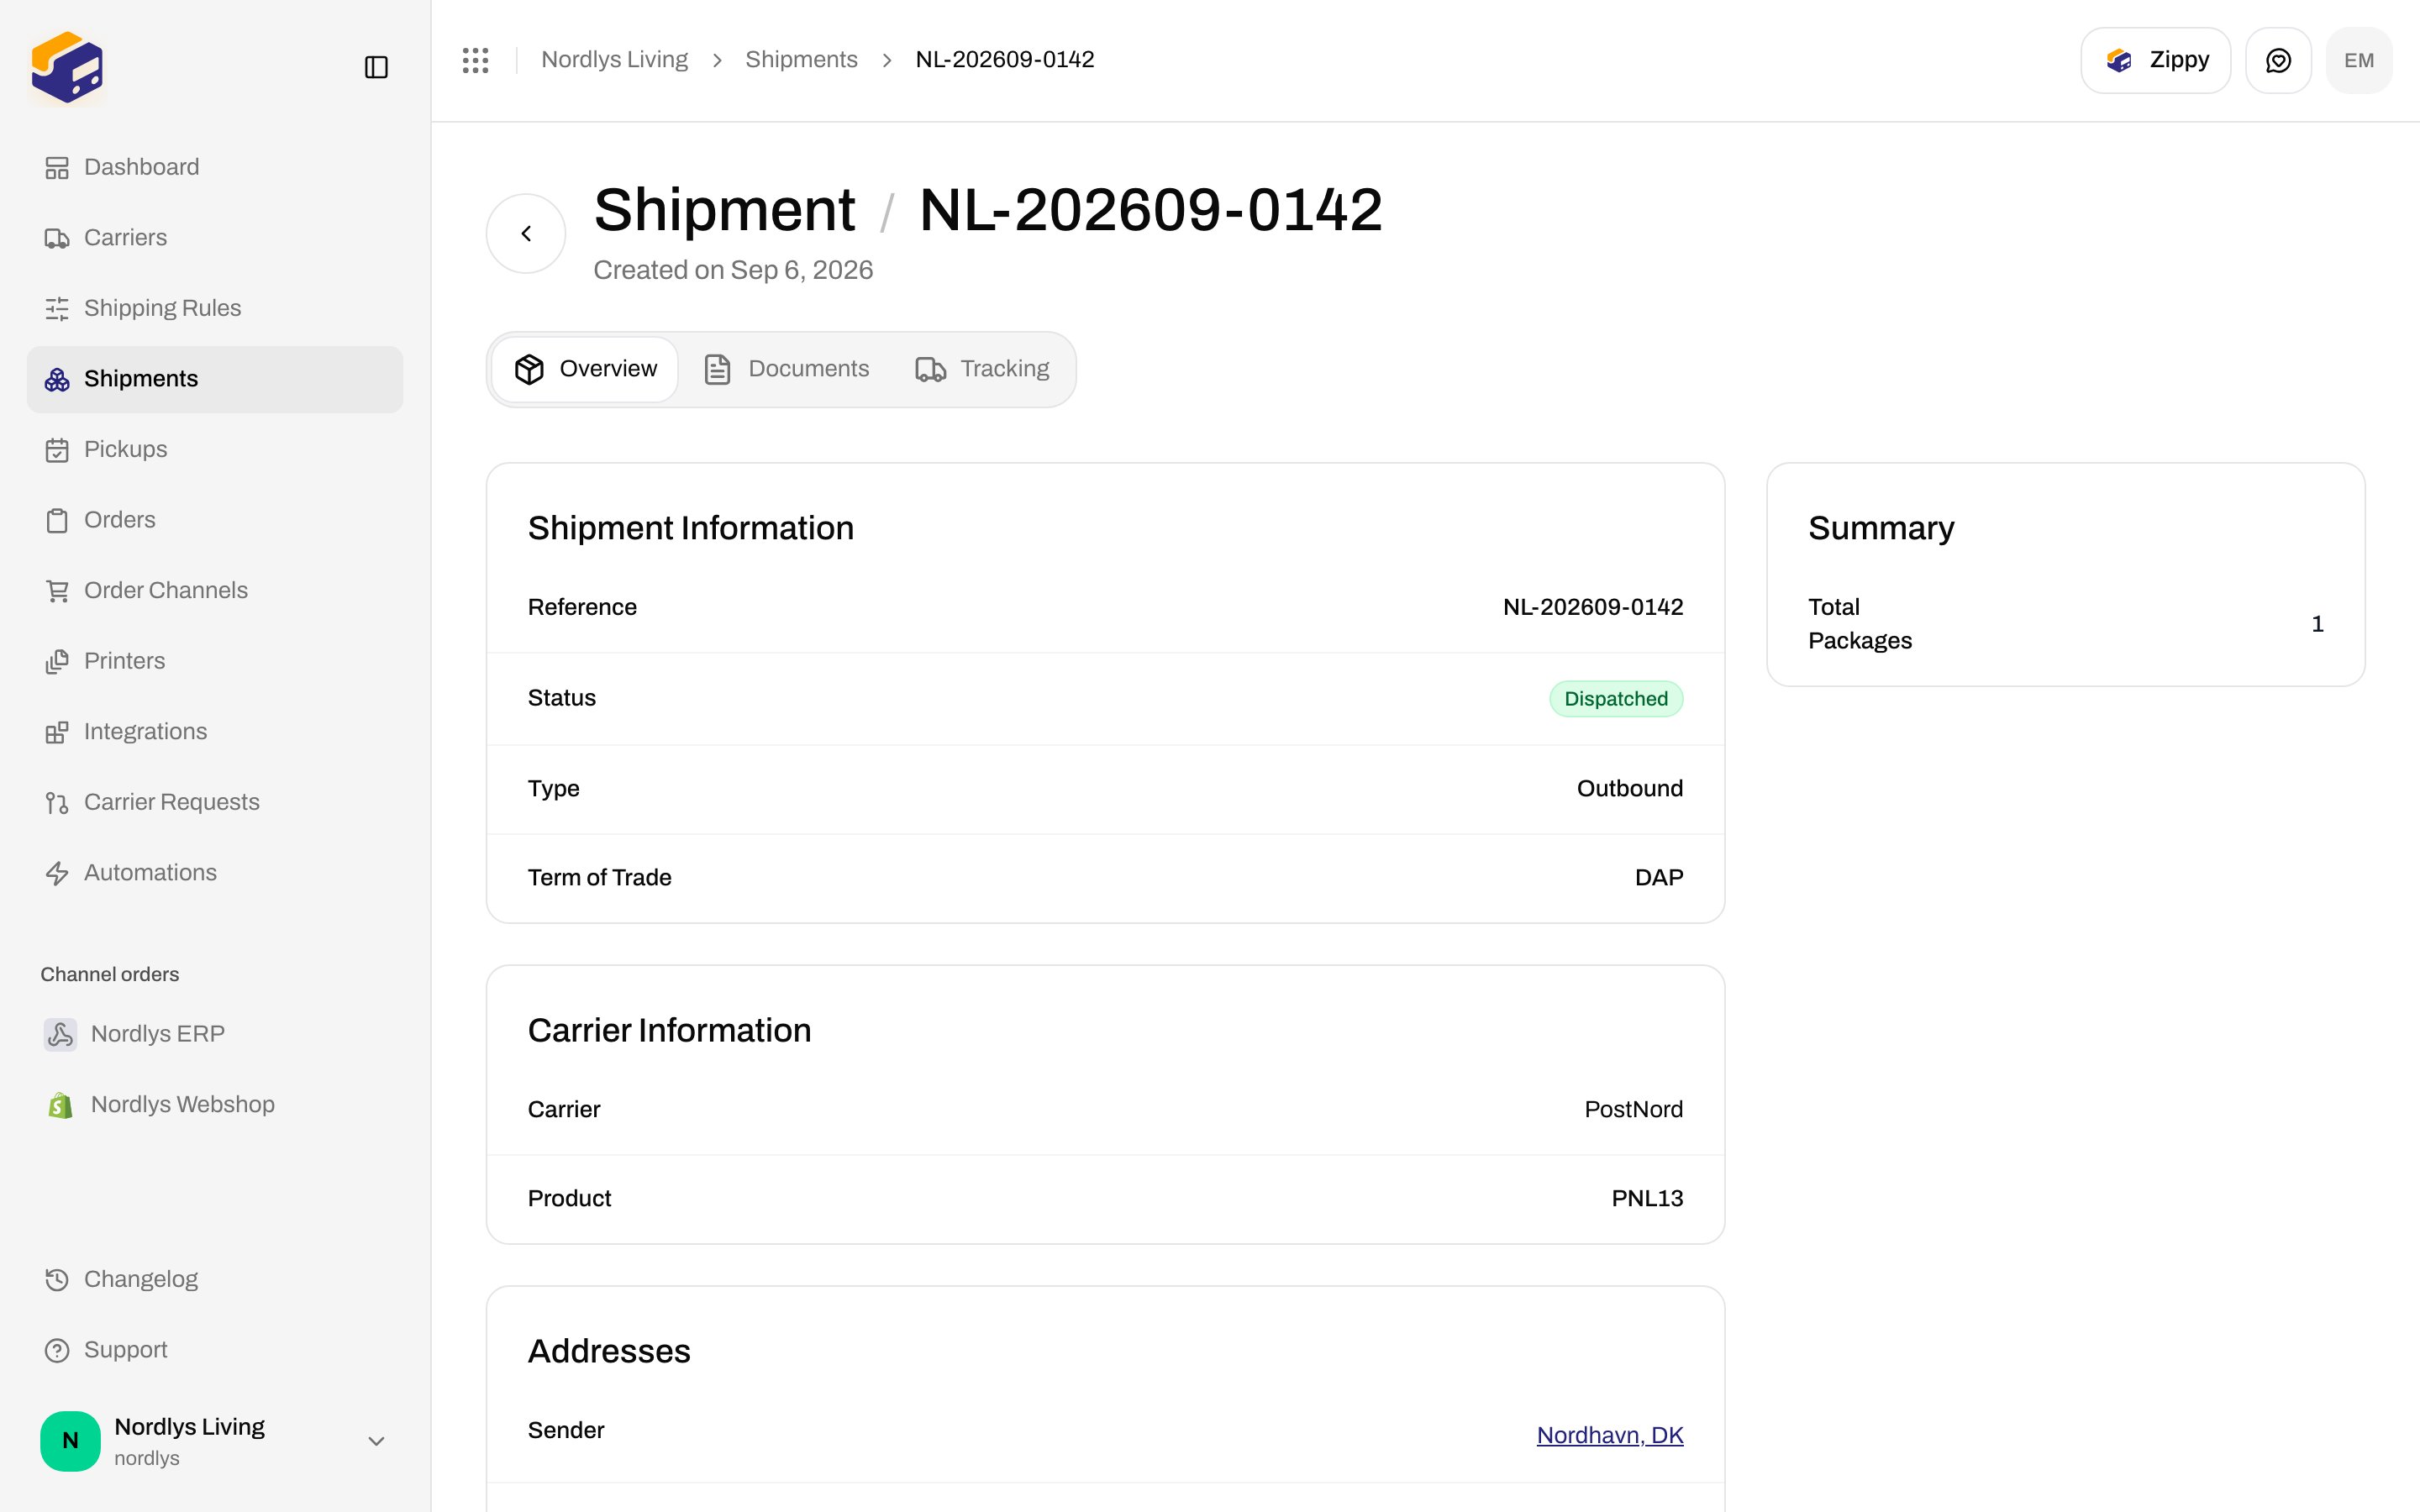
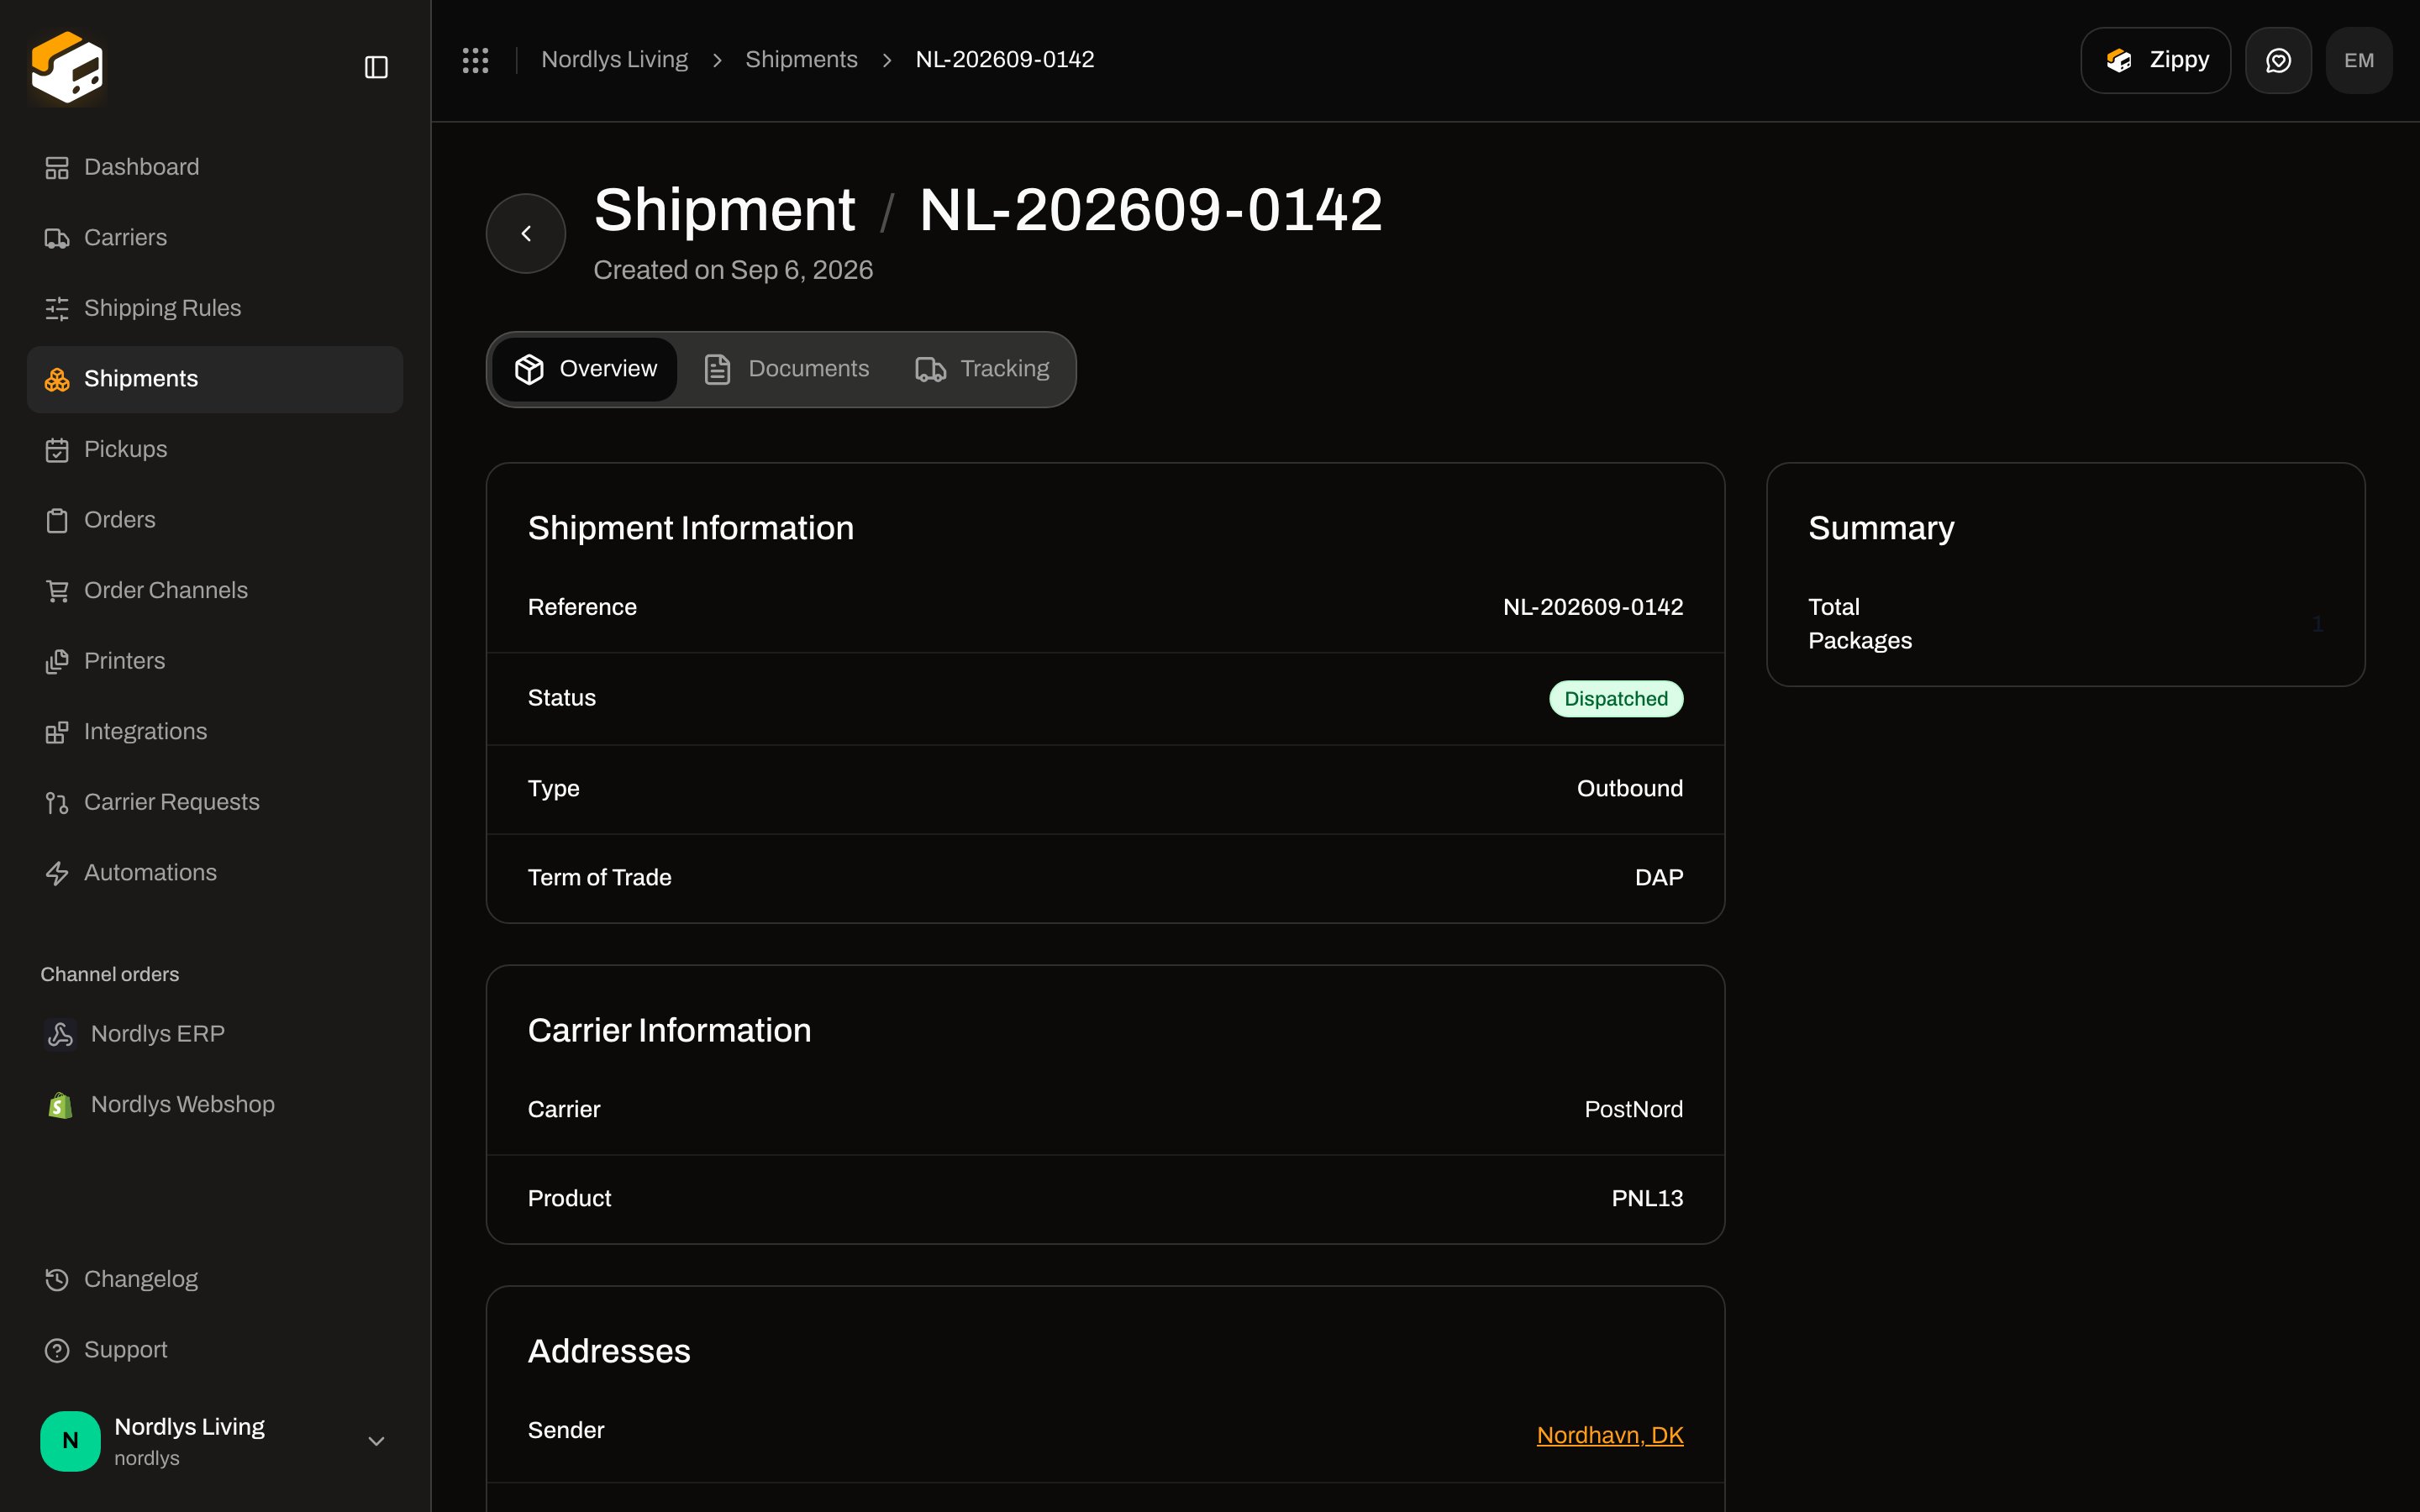
 **Shipments** is every label you have booked or drafted. Description: **Manage and track all your shipments**. Click **Create shipment** for a standalone send.
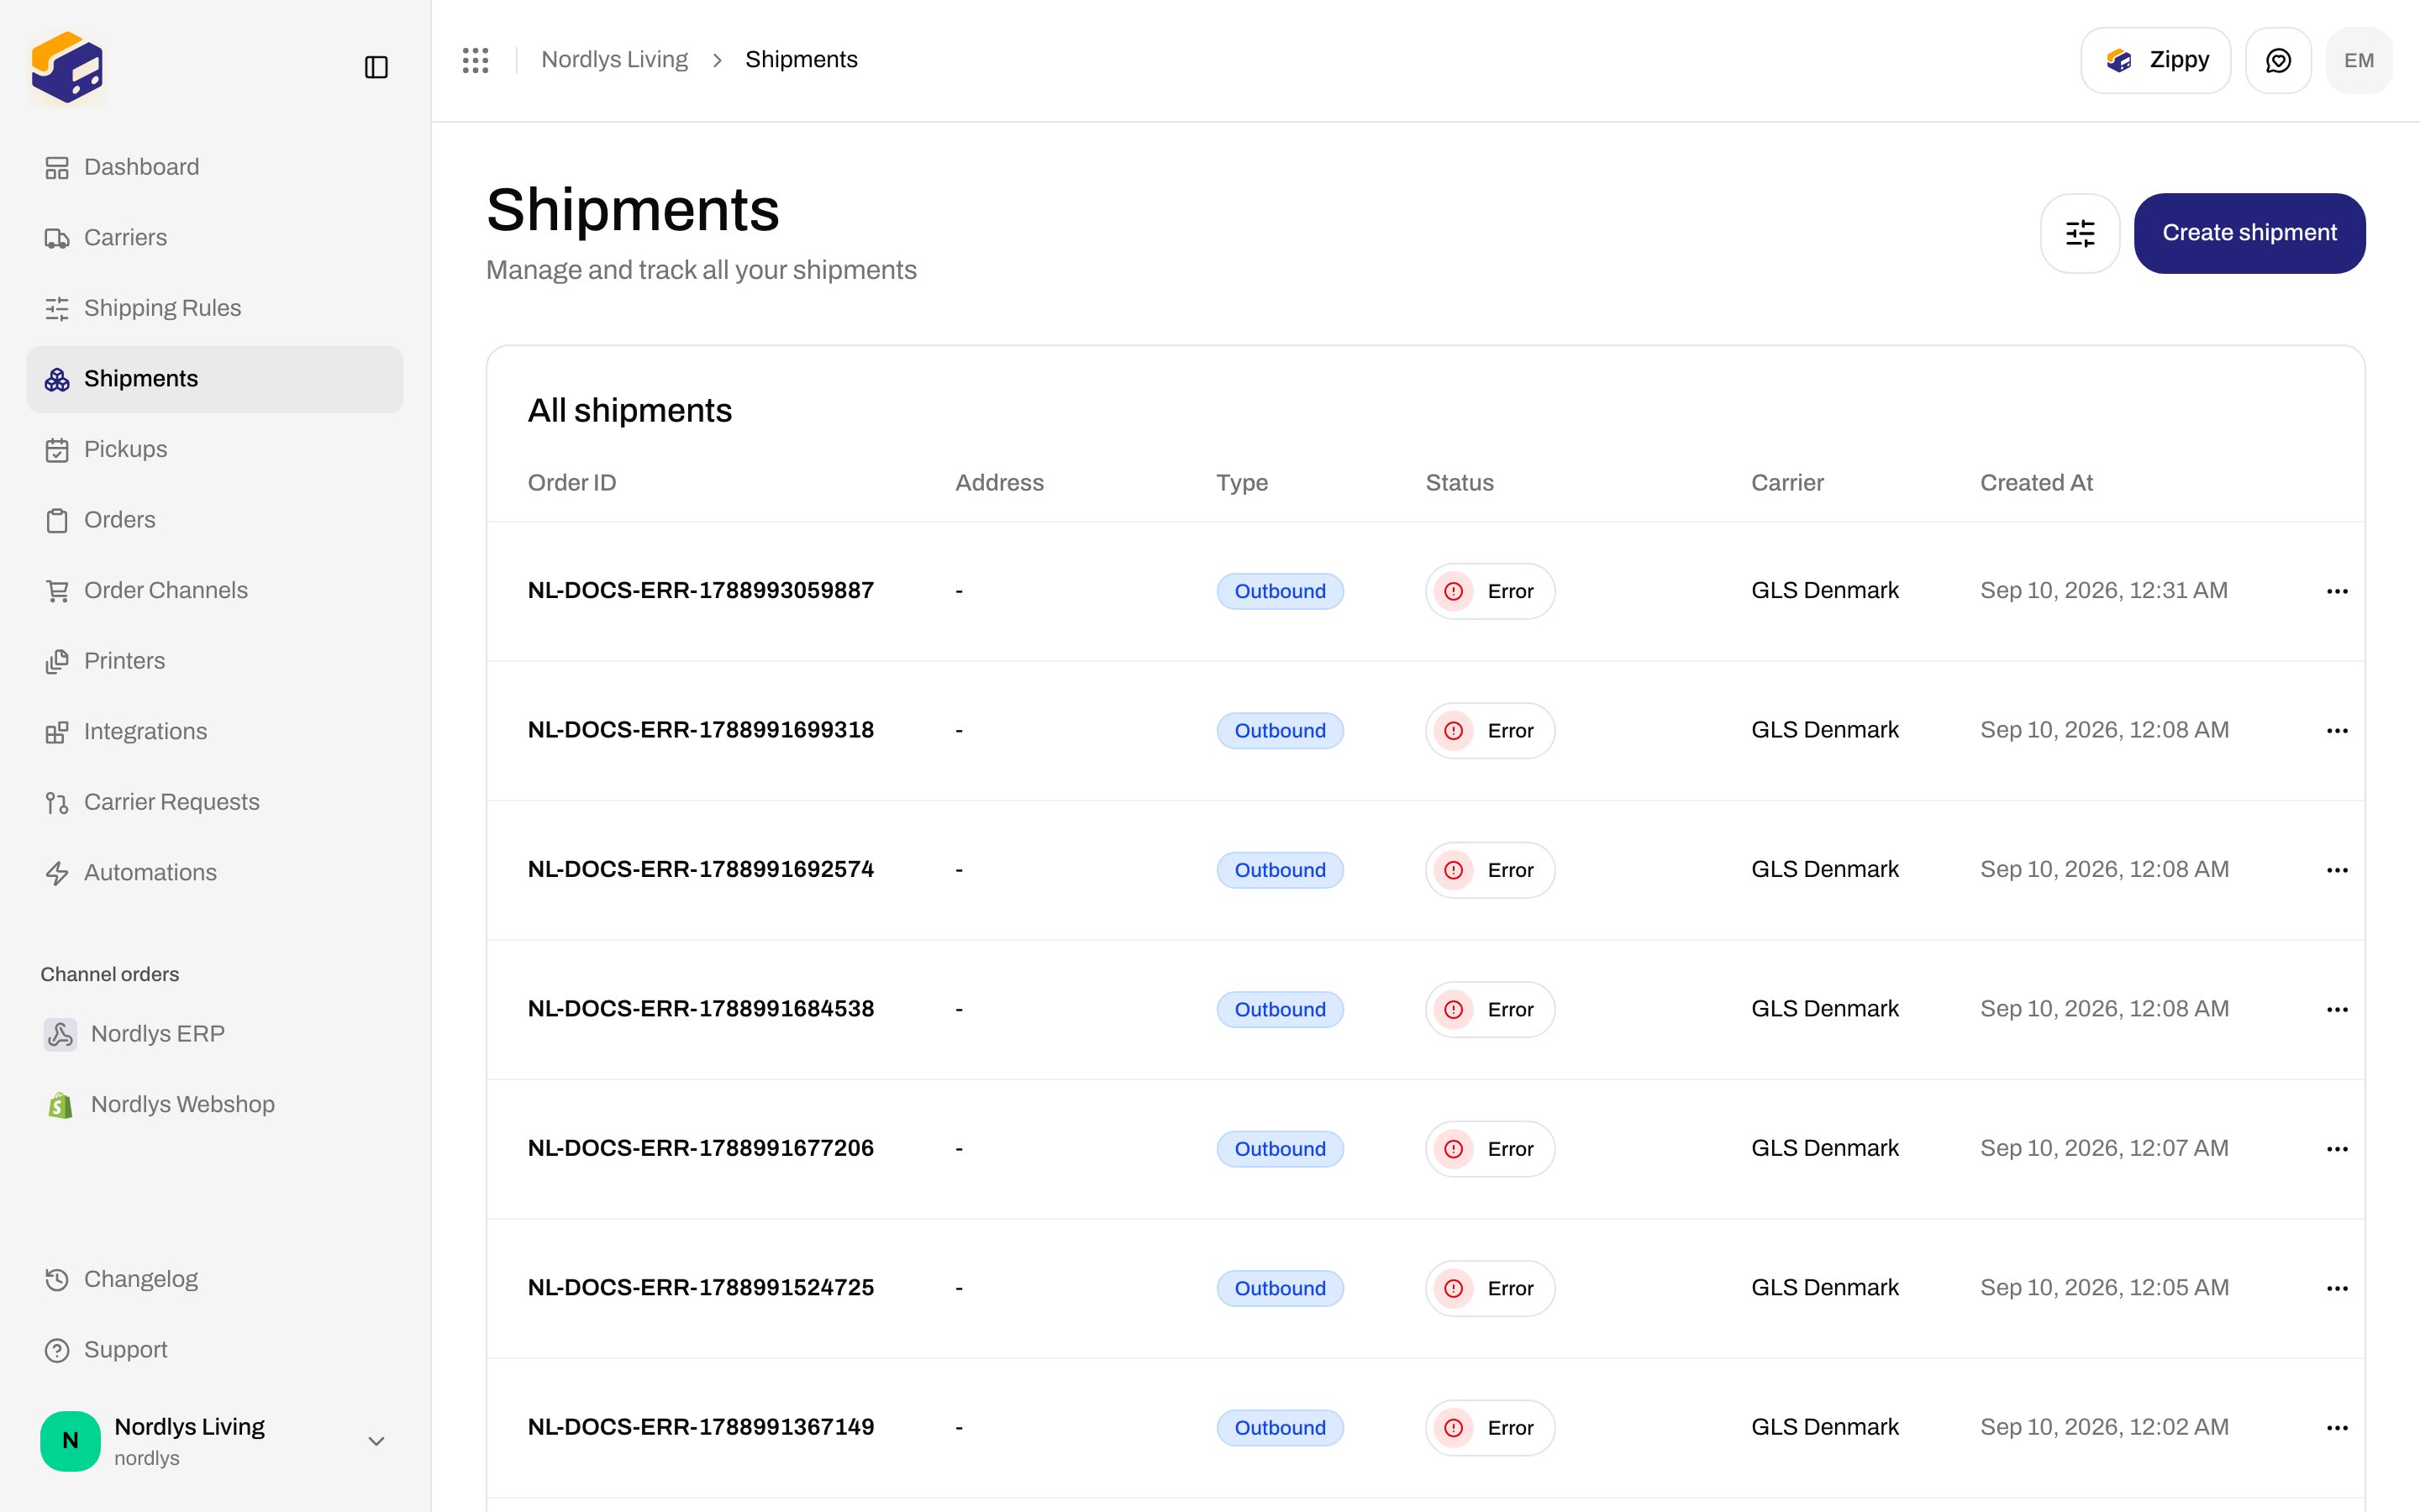
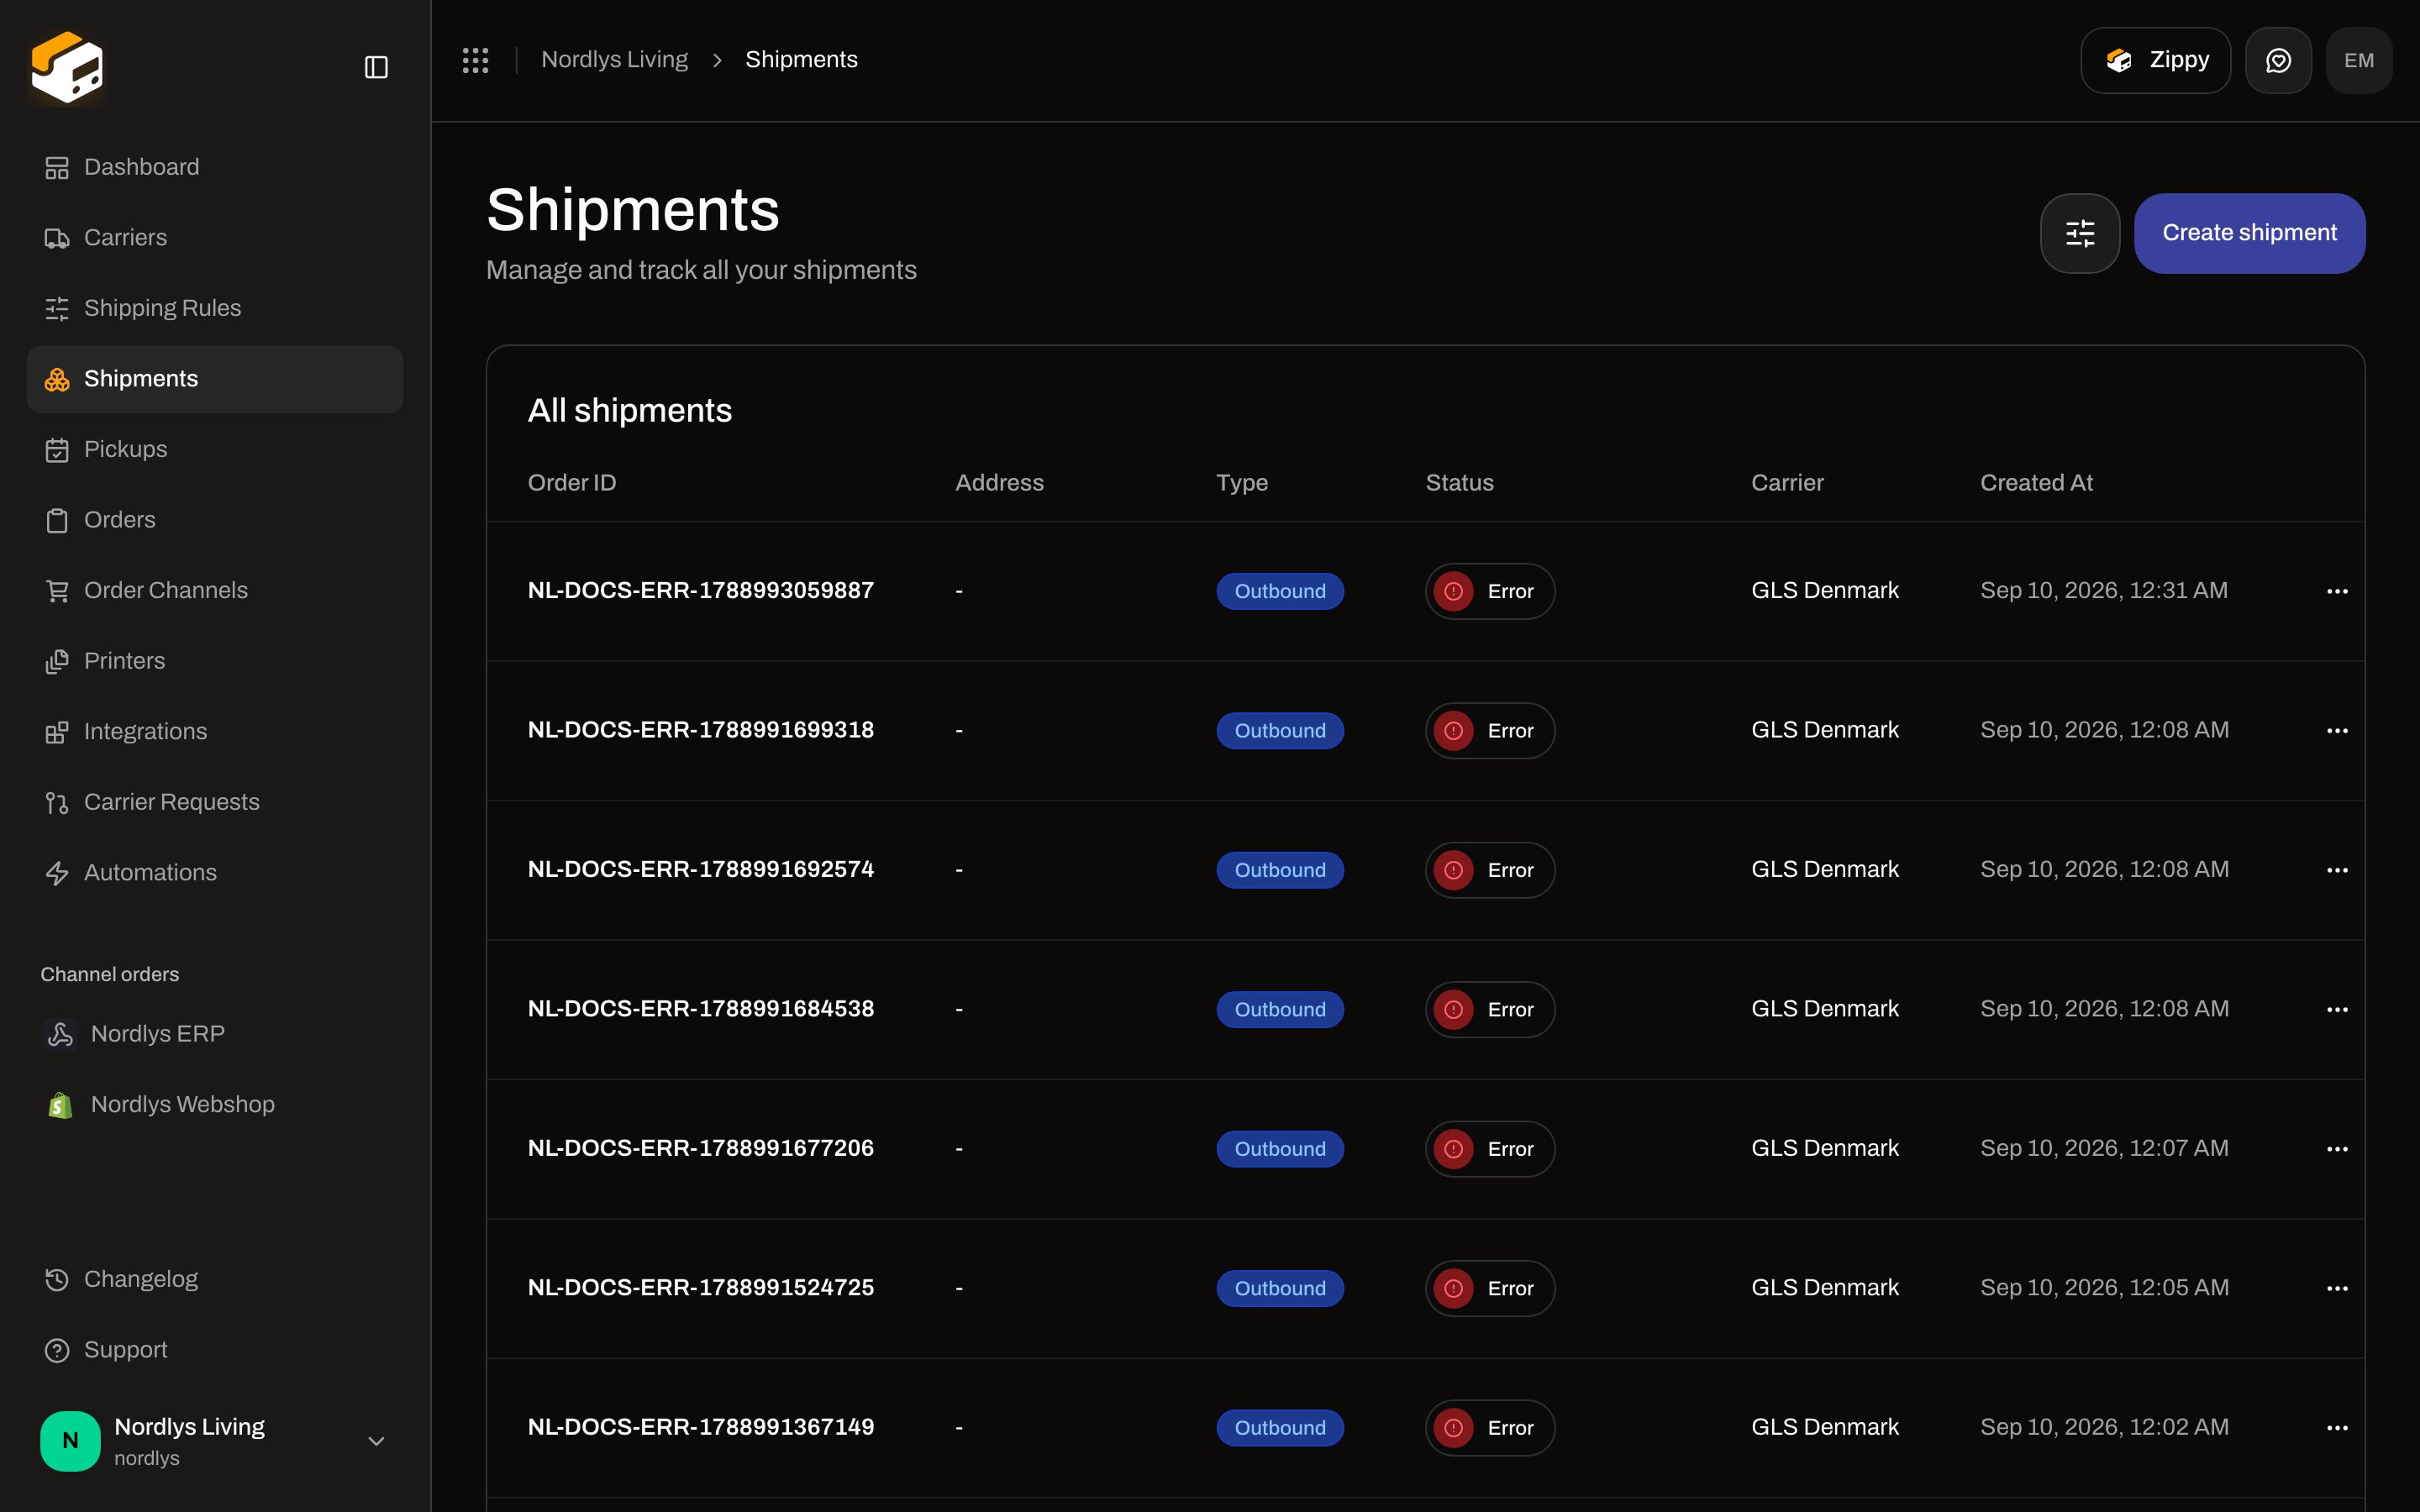 Open a shipment for **Overview**, **Documents**, and **Tracking**. Creating a shipment saves it as **Pending** — you still click **Send Shipment** to book the label.
 Full paths: [Orders](/docs/tutorials/orders) and [Create a shipment](/docs/tutorials/create-a-shipment).
## Print and track
**Printers** registers the Zippendo printer client so labels can hit a thermal printer when you send. Description: **Manage your printers**. Use **Download Printer Client** in the header.
Full paths: [Orders](/docs/tutorials/orders) and [Create a shipment](/docs/tutorials/create-a-shipment).
## Print and track
**Printers** registers the Zippendo printer client so labels can hit a thermal printer when you send. Description: **Manage your printers**. Use **Download Printer Client** in the header.
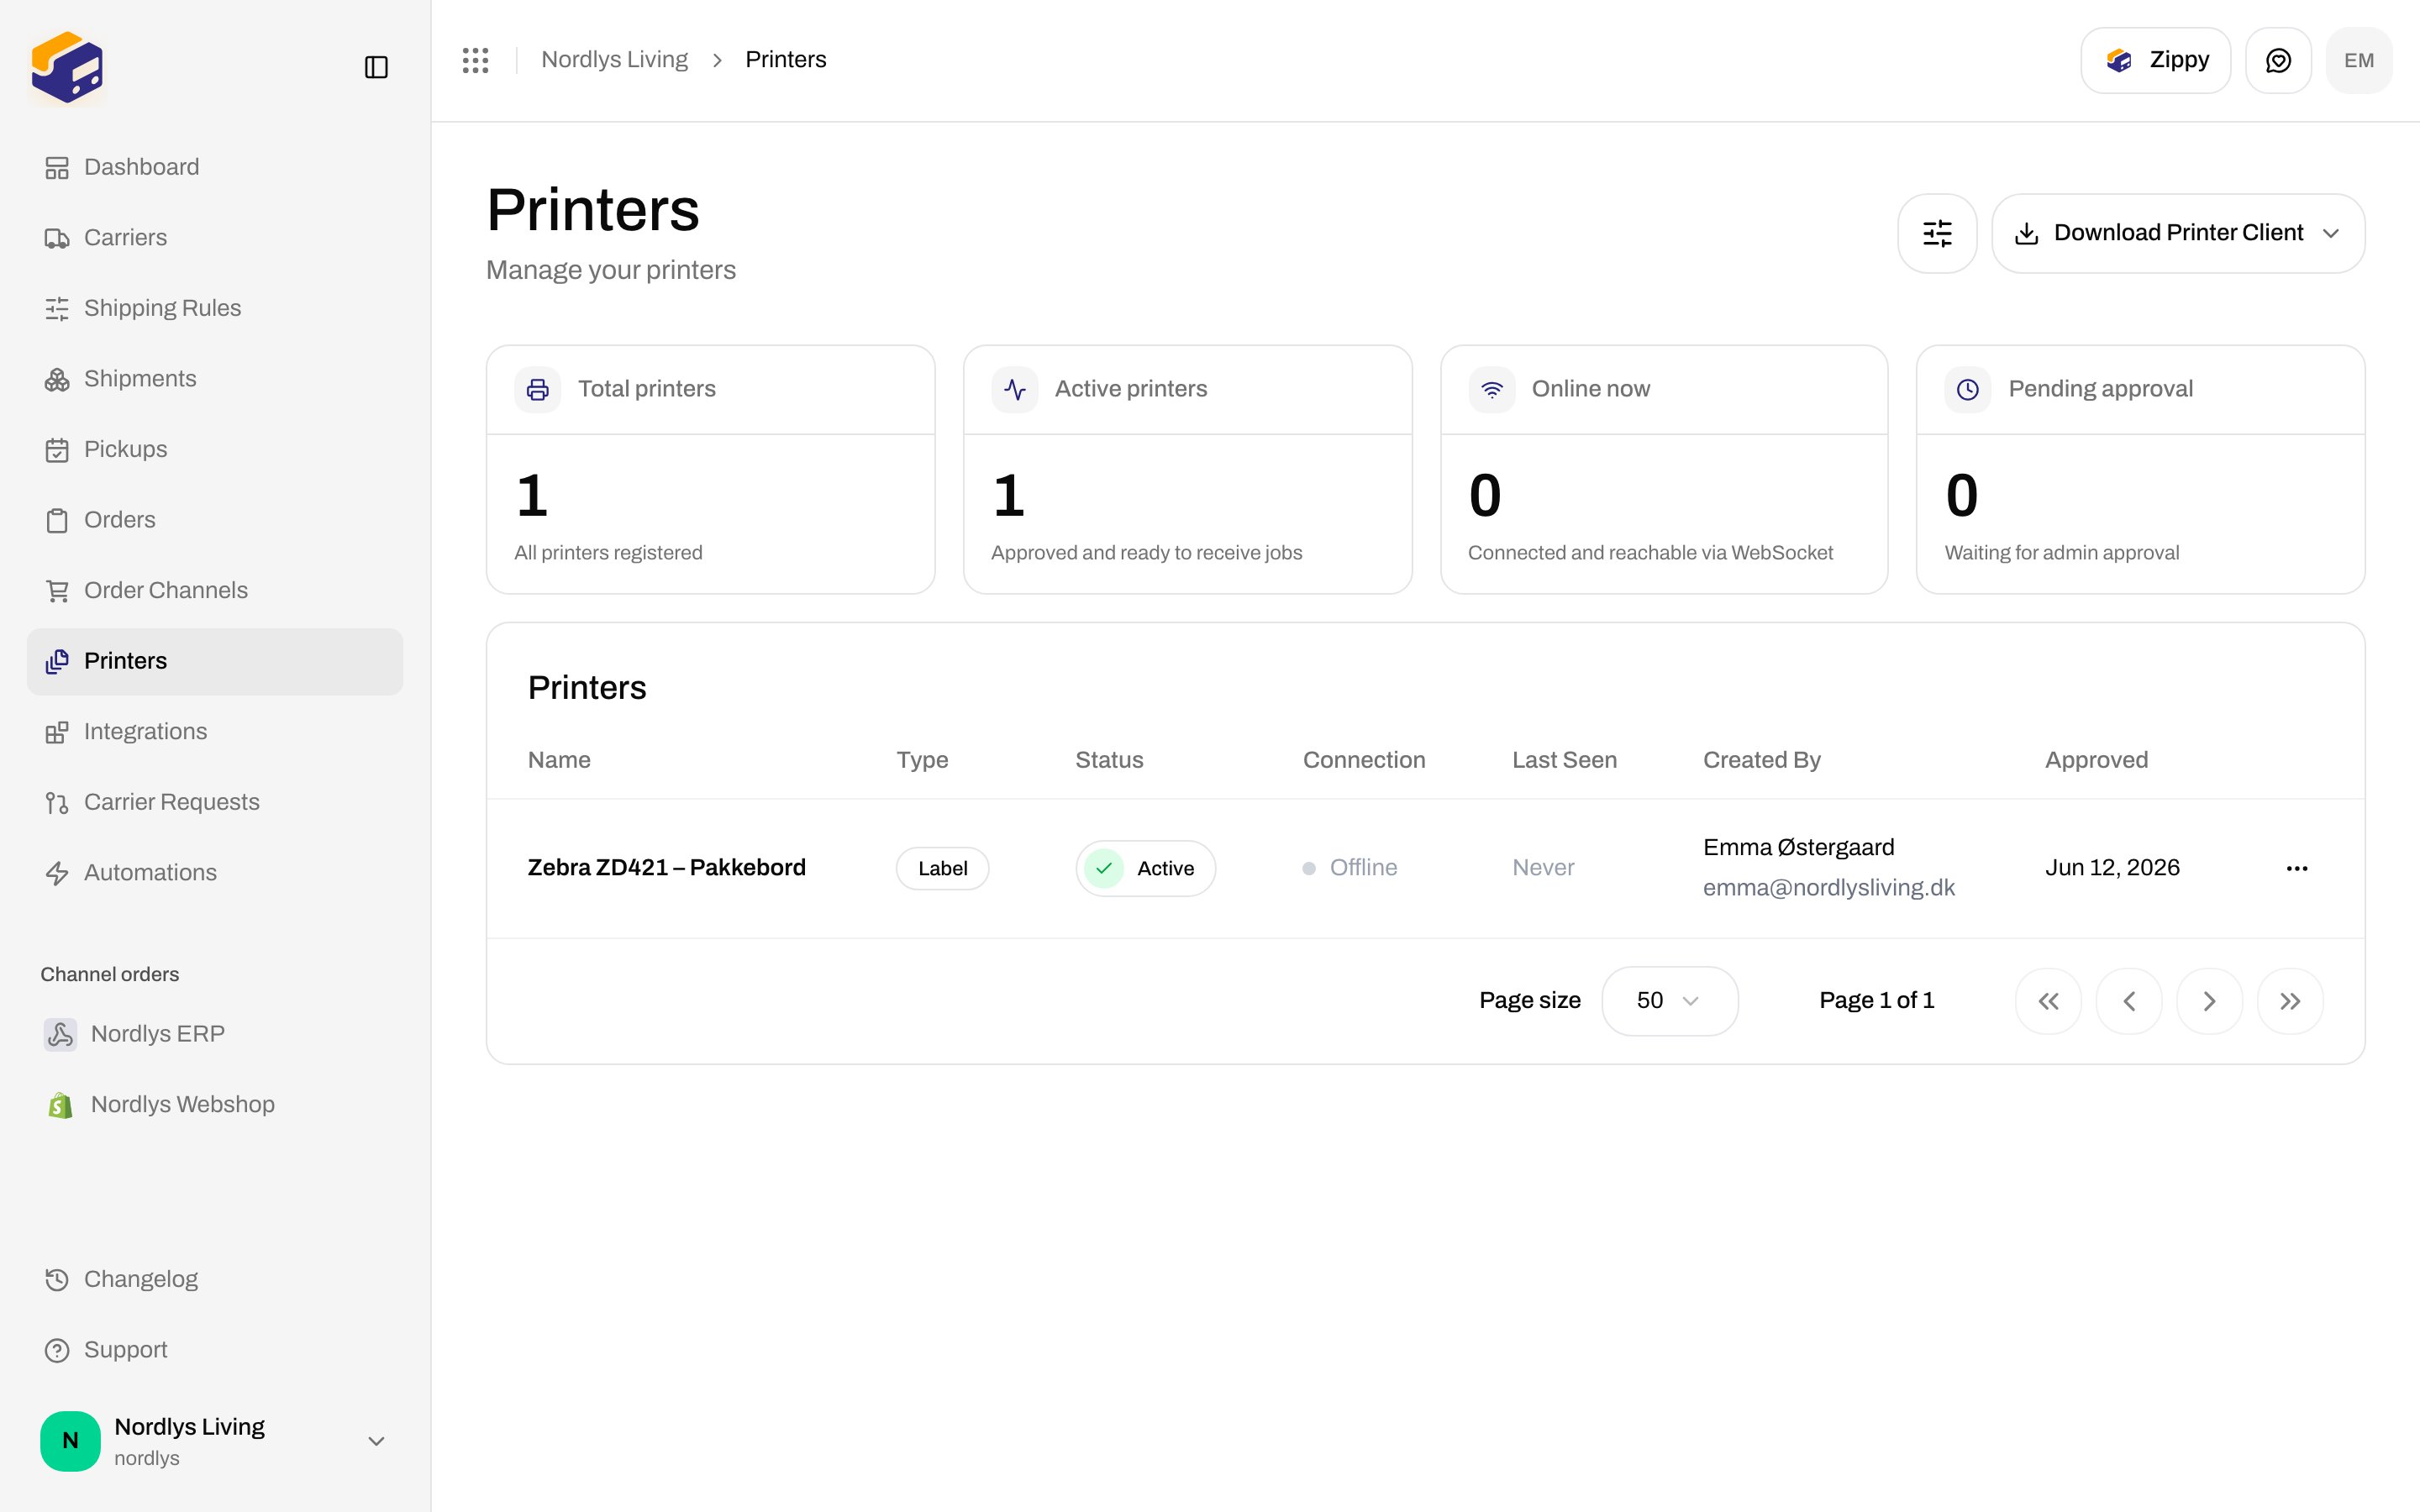
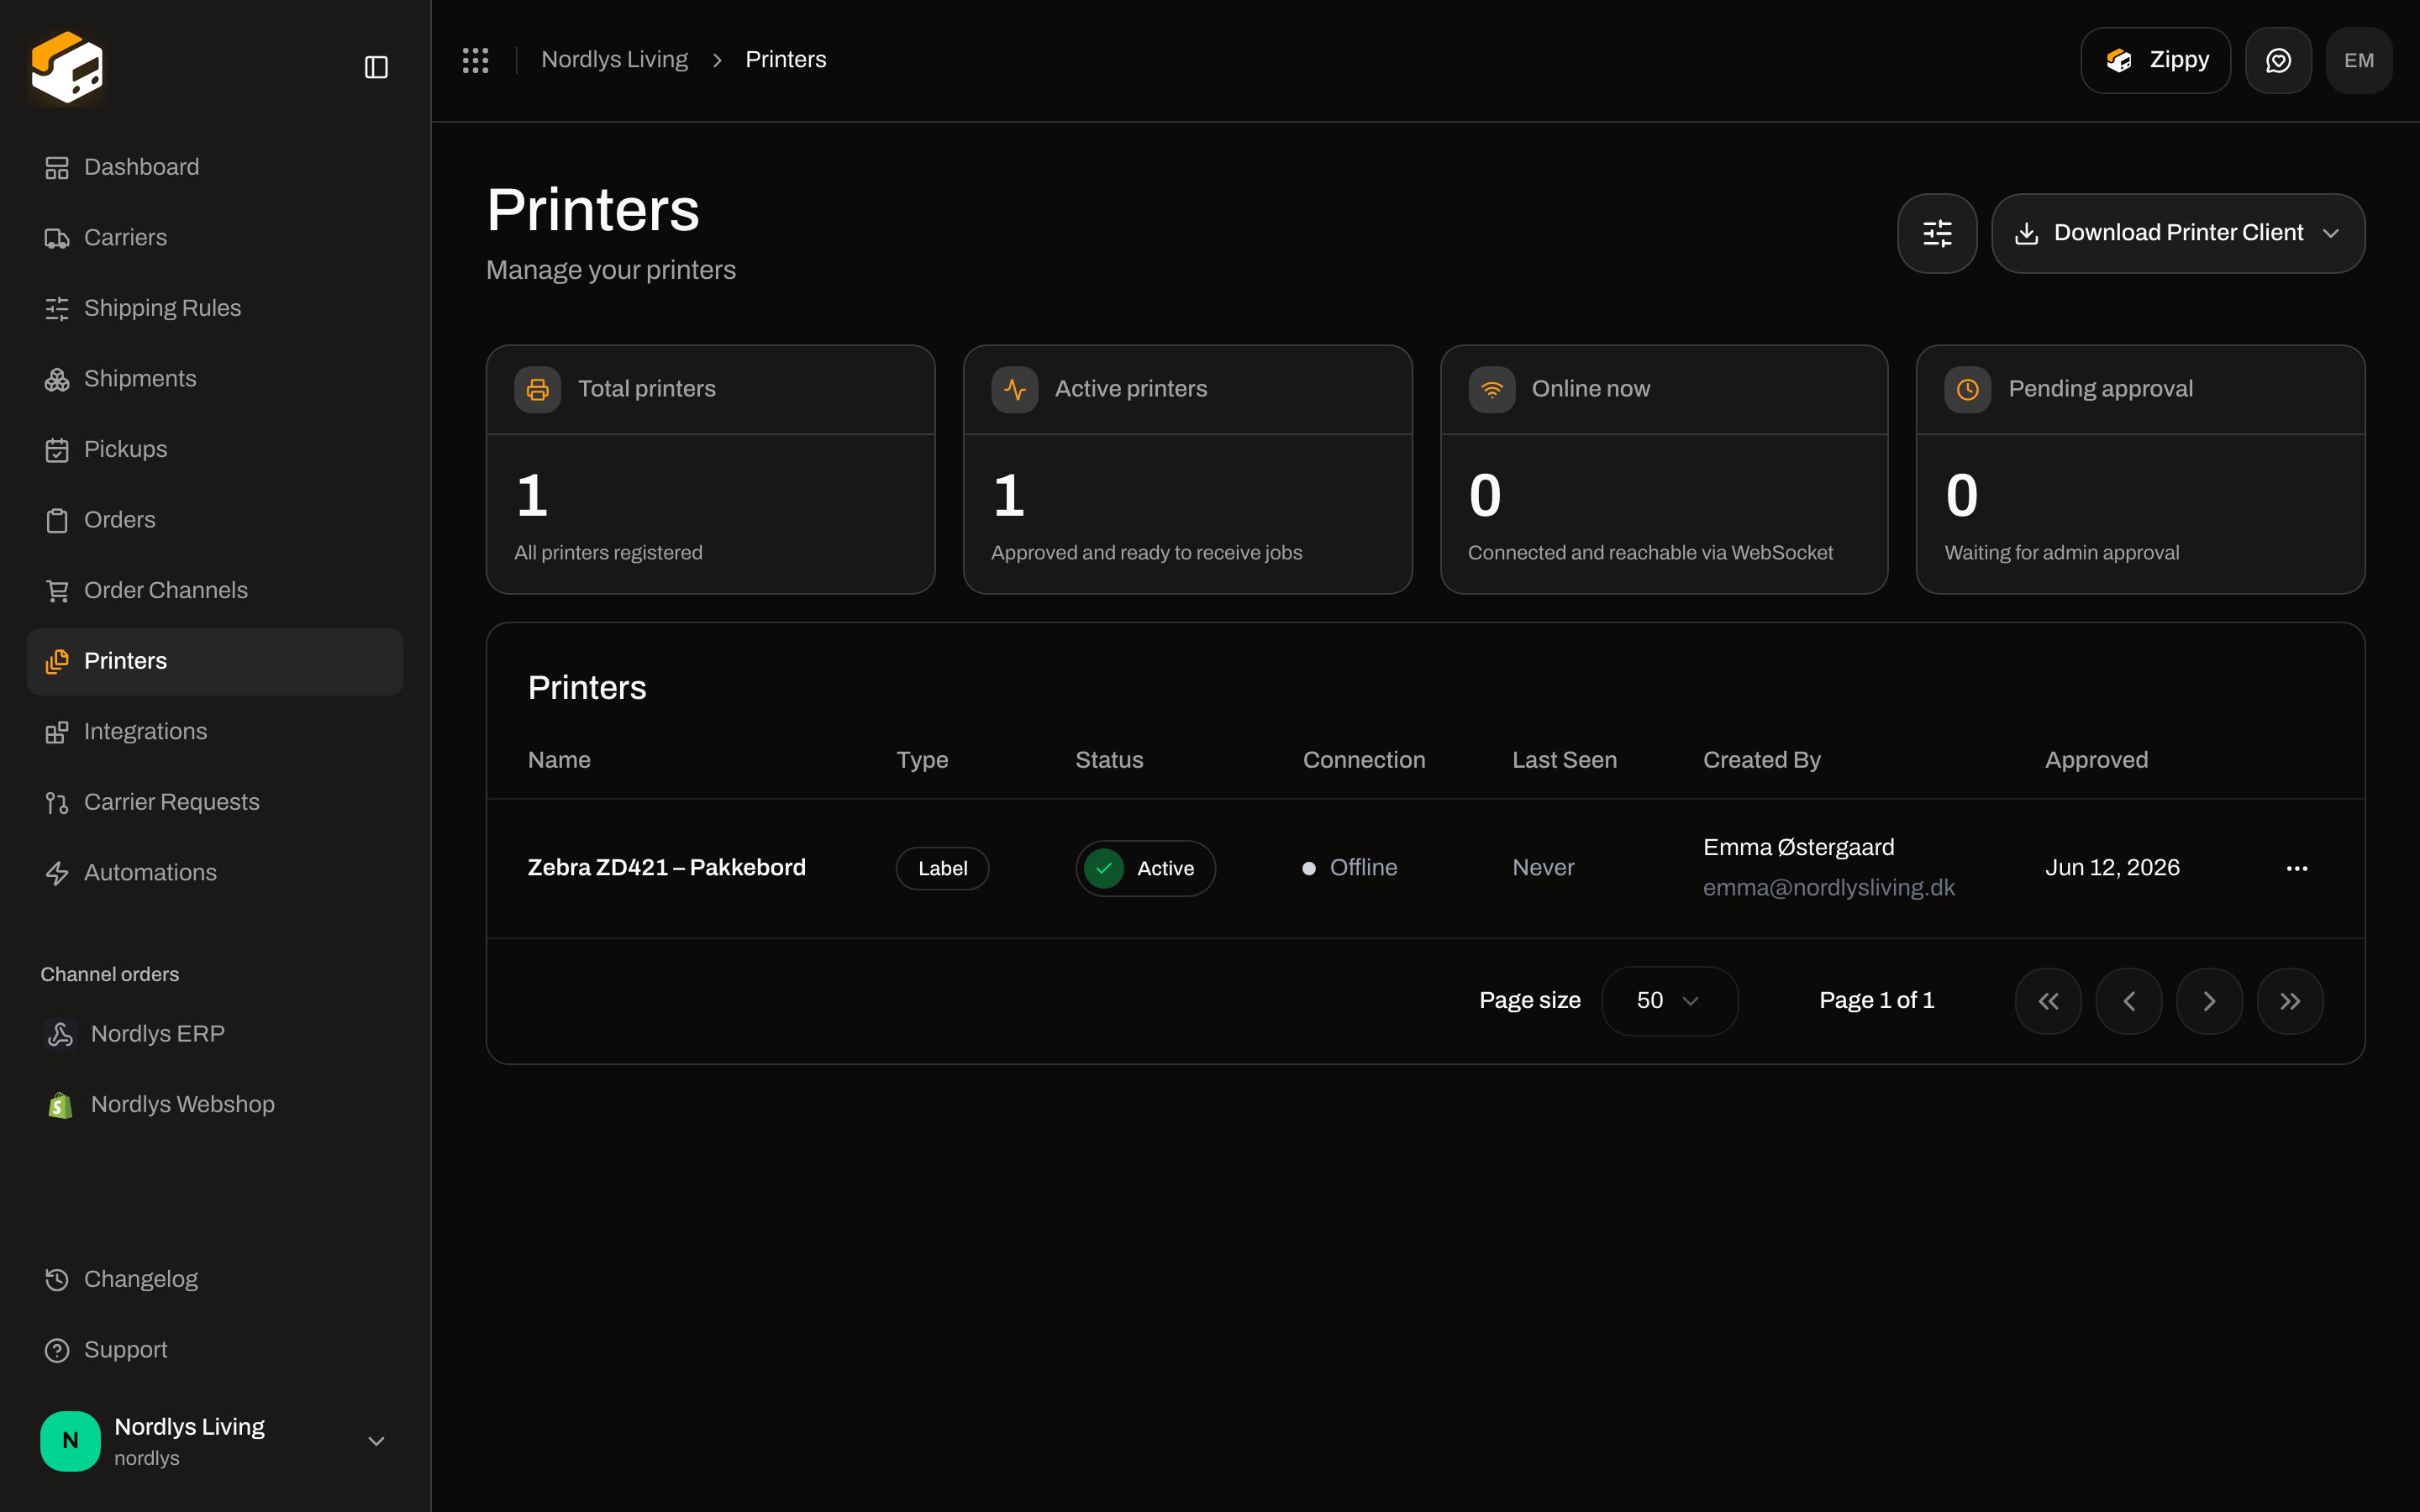 A printer can be **Active** (approved) and still **Offline** until the client on that machine is running. How to download, print, or auto-print: [Labels and printing](/docs/tutorials/labels-printing).
After **Send Shipment**, open the shipment **Tracking** tab. Events are polled from the carrier — [Tracking](/docs/tutorials/tracking).
## Dashboard
After you sign in, **Dashboard** is the first screen: greeting, **Refresh**, **Export CSV**, lifetime stats, **Shipment analytics**, and **Order flow health**.
A printer can be **Active** (approved) and still **Offline** until the client on that machine is running. How to download, print, or auto-print: [Labels and printing](/docs/tutorials/labels-printing).
After **Send Shipment**, open the shipment **Tracking** tab. Events are polled from the carrier — [Tracking](/docs/tutorials/tracking).
## Dashboard
After you sign in, **Dashboard** is the first screen: greeting, **Refresh**, **Export CSV**, lifetime stats, **Shipment analytics**, and **Order flow health**.
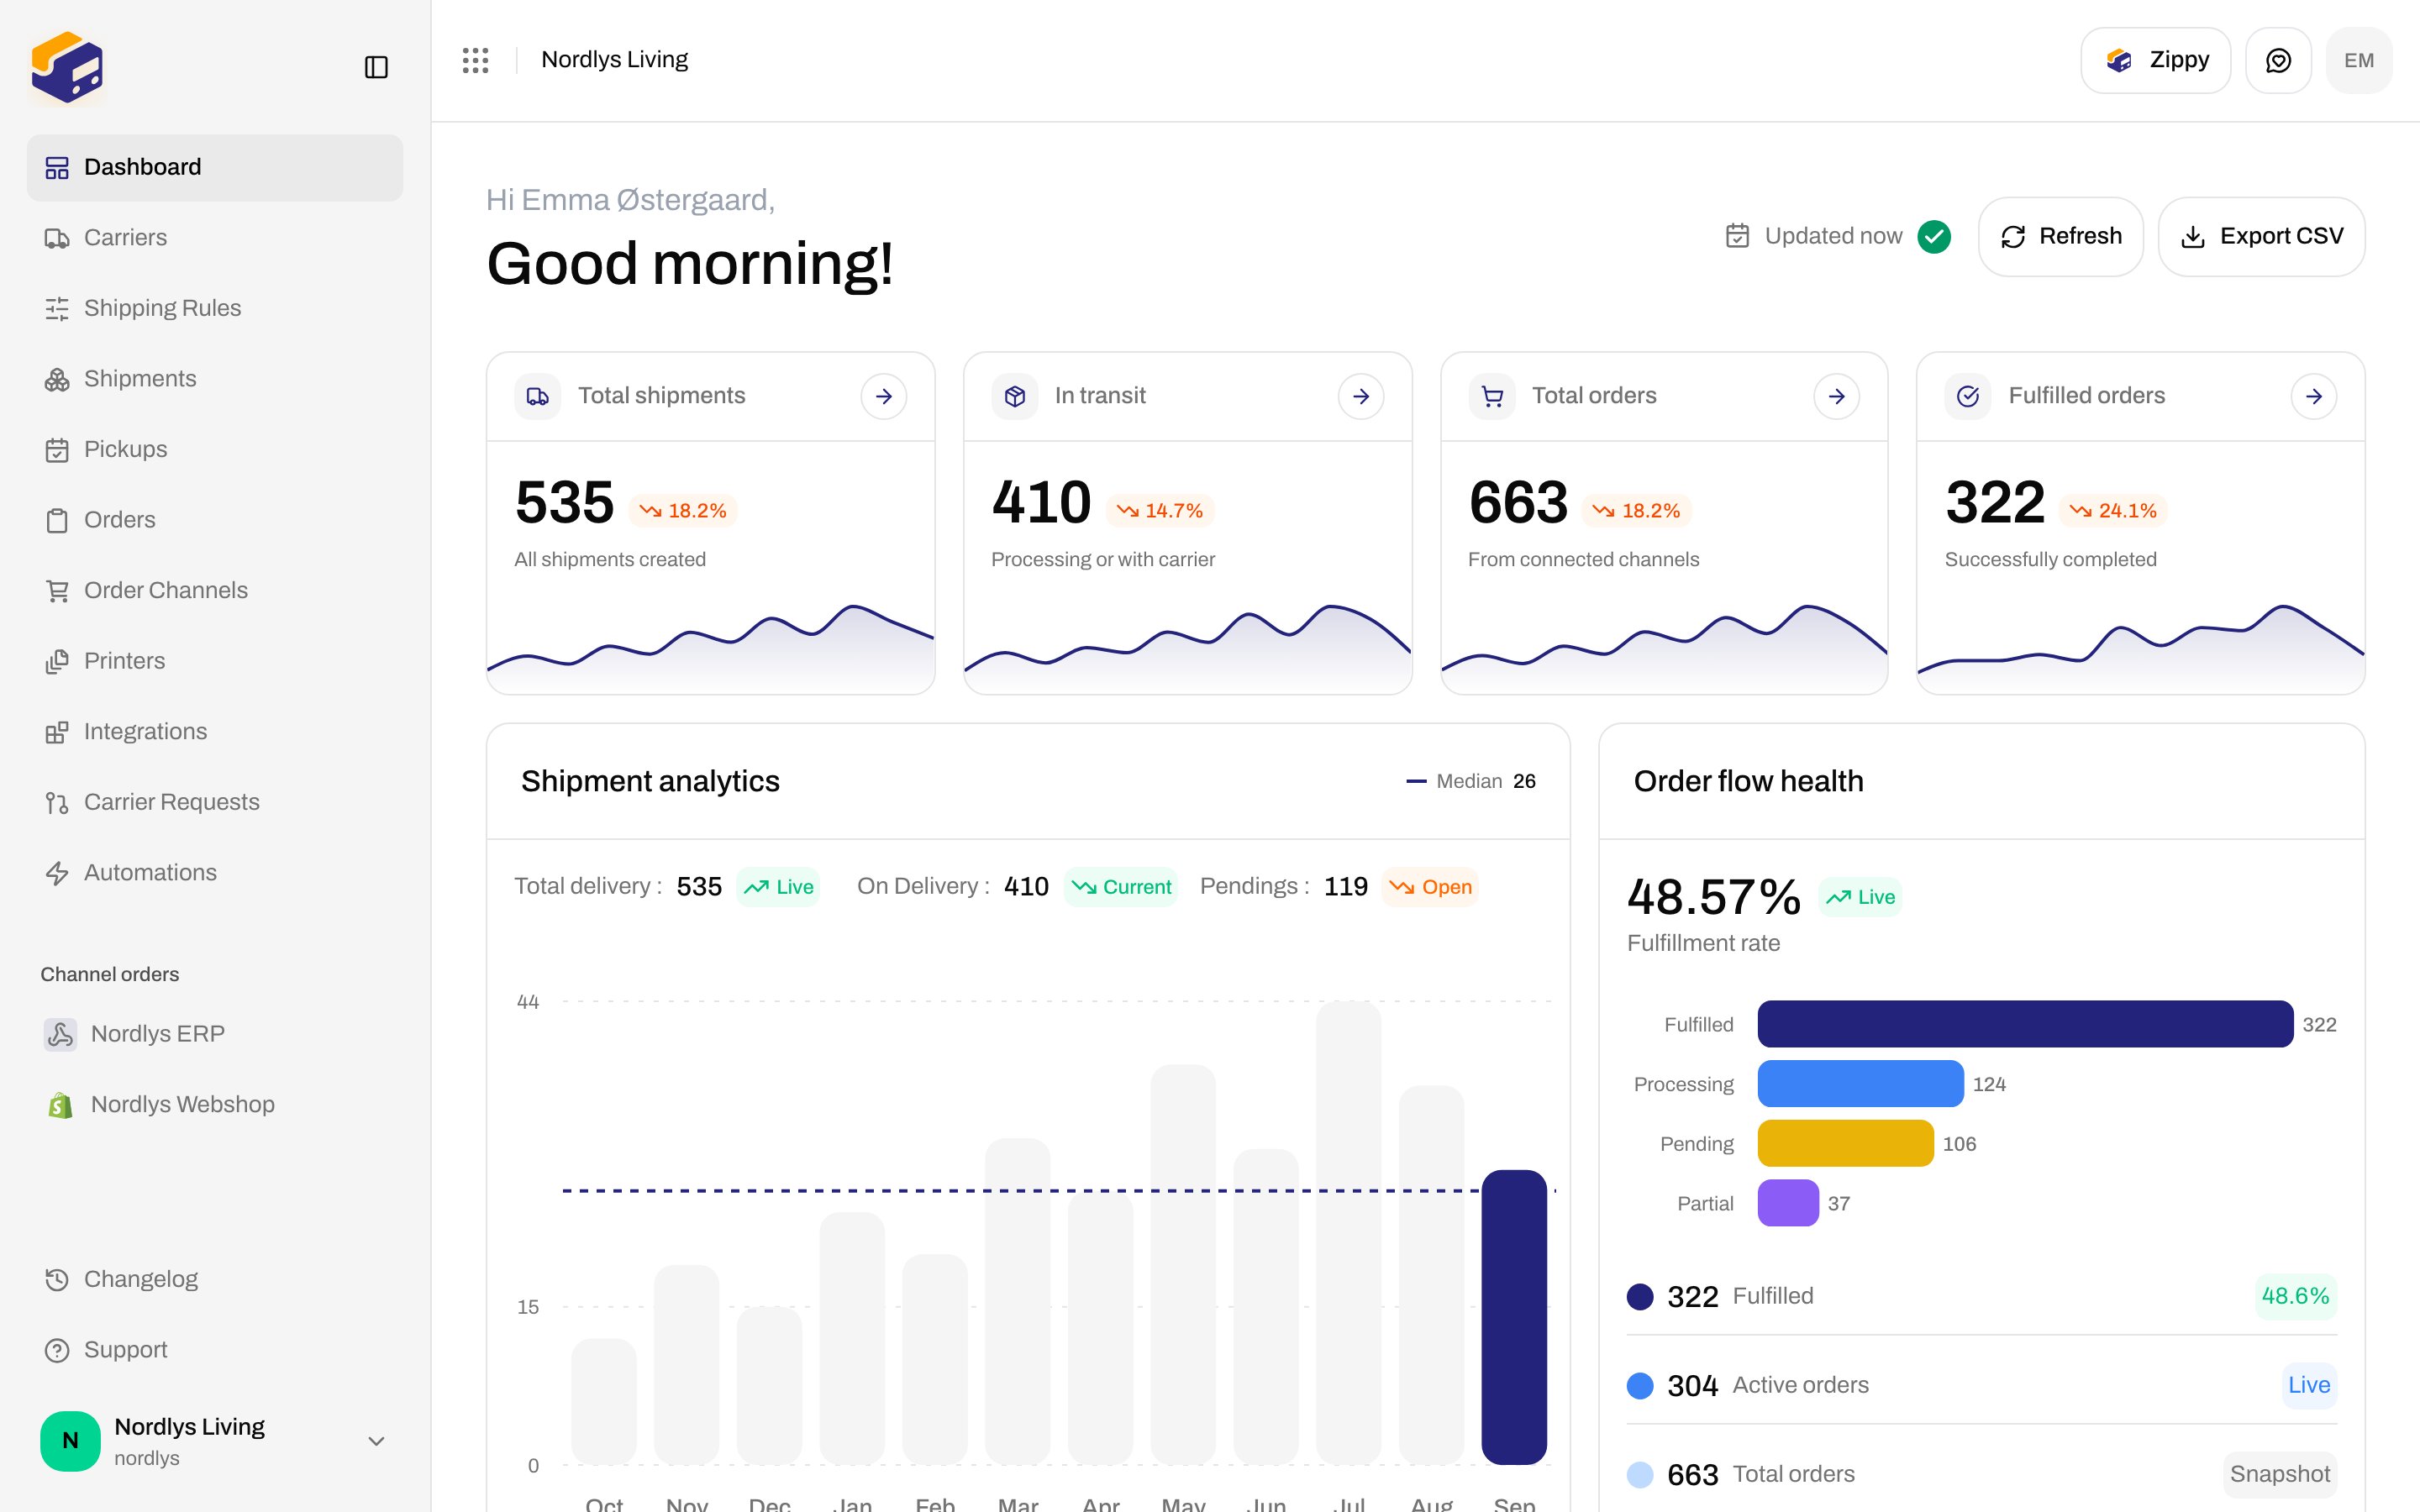
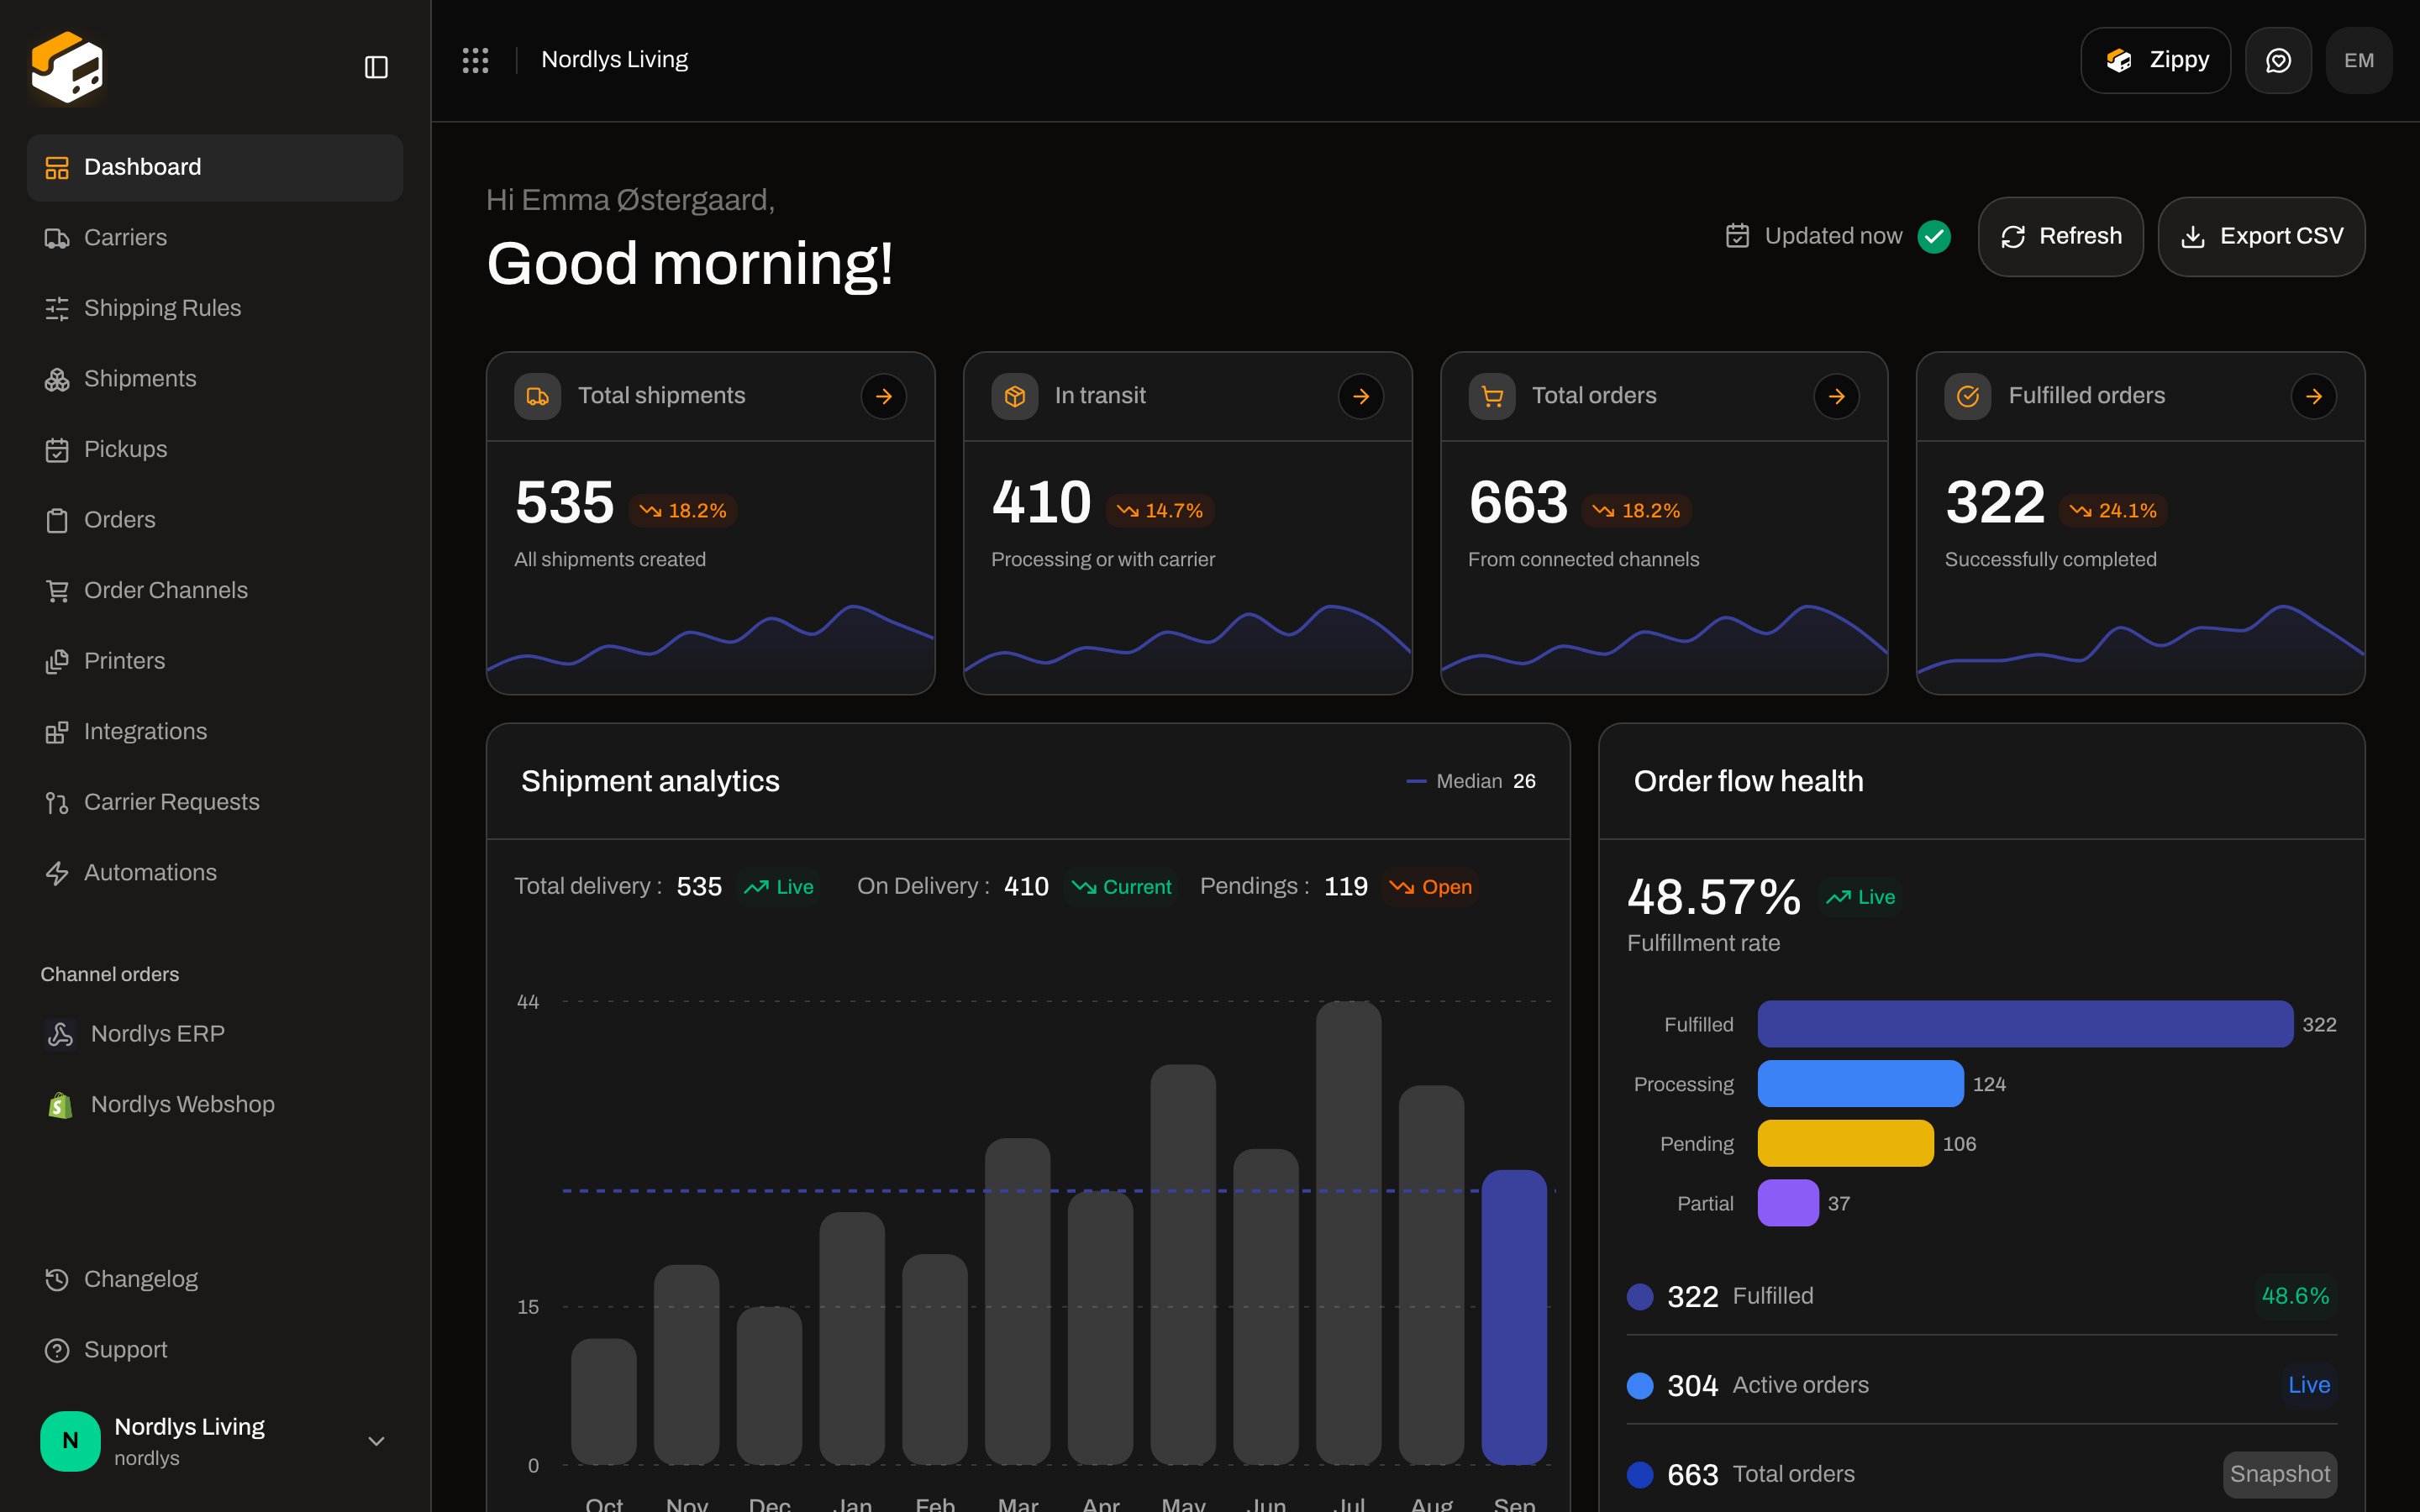 The dashboard does not replace **Orders** or **Shipments** — it tells you which list to open. Card-by-card: [Dashboard](/docs/tutorials/dashboard).
## Around the sidebar
Everything else in the main nav, in the order it appears:
### Pickups
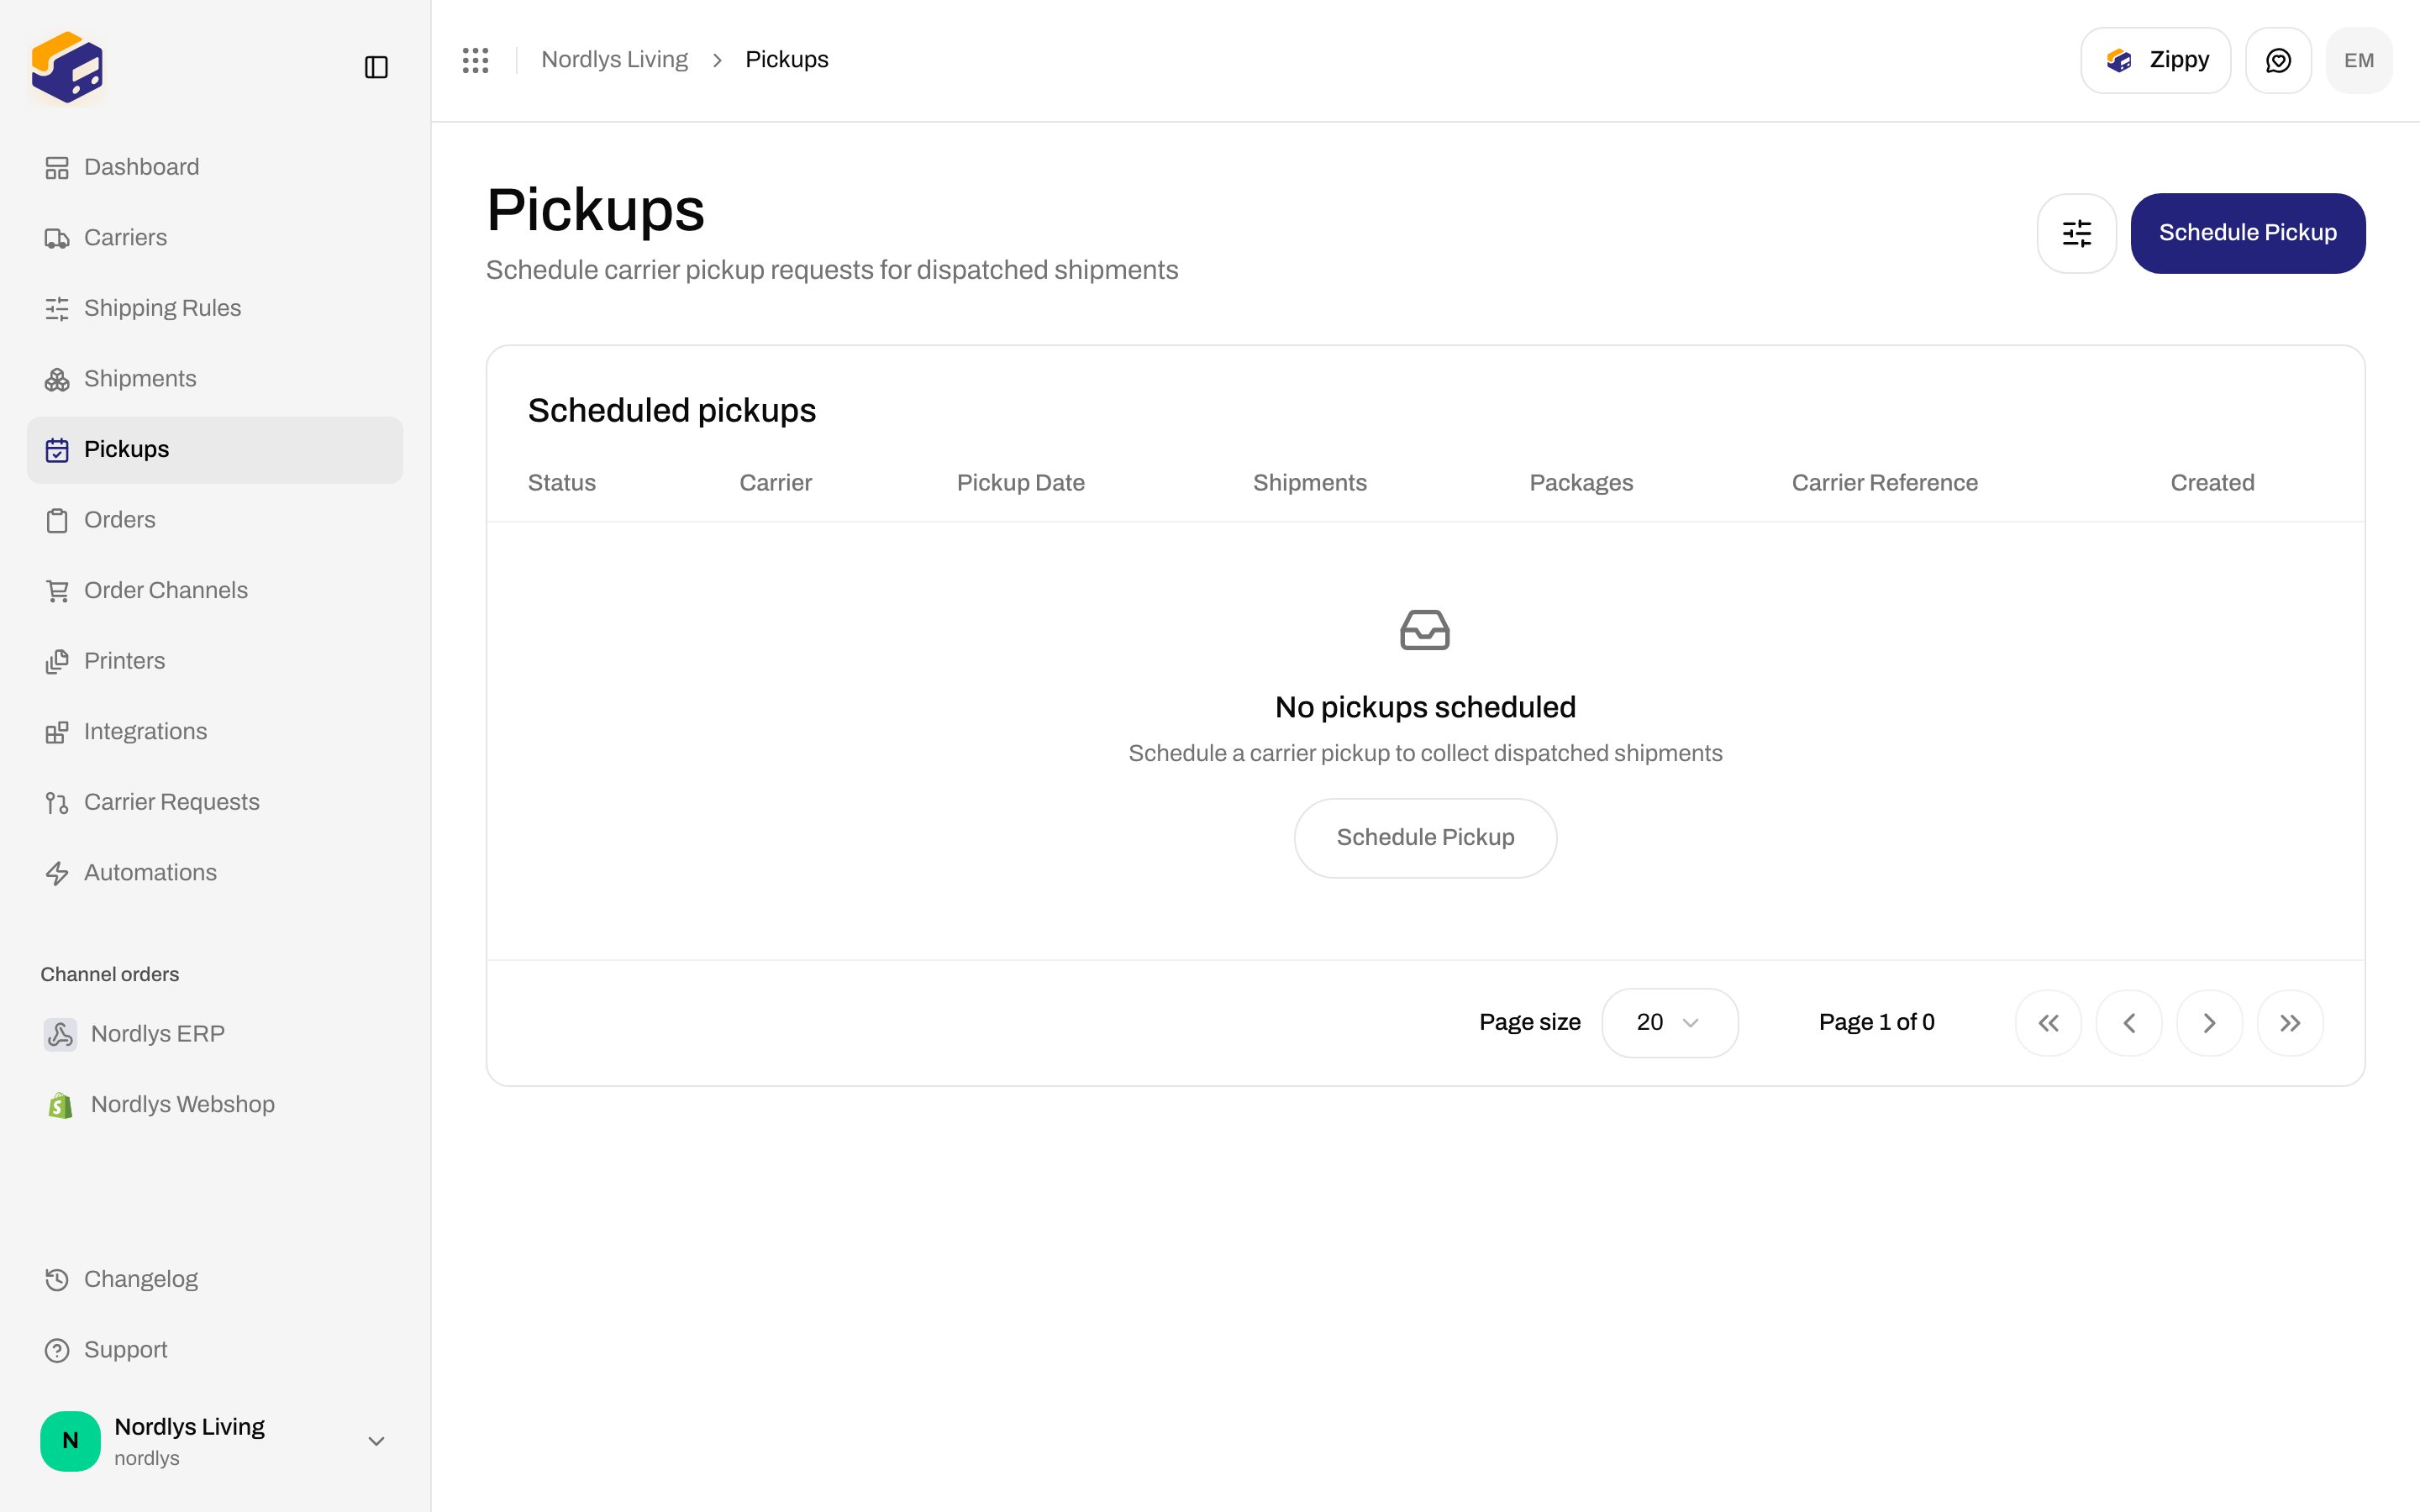
**Pickups** — **Schedule carrier pickup requests for dispatched shipments**. **Schedule Pickup** books a collection for parcels you have already sent.
The dashboard does not replace **Orders** or **Shipments** — it tells you which list to open. Card-by-card: [Dashboard](/docs/tutorials/dashboard).
## Around the sidebar
Everything else in the main nav, in the order it appears:
### Pickups
**Pickups** — **Schedule carrier pickup requests for dispatched shipments**. **Schedule Pickup** books a collection for parcels you have already sent.
 ### Integrations
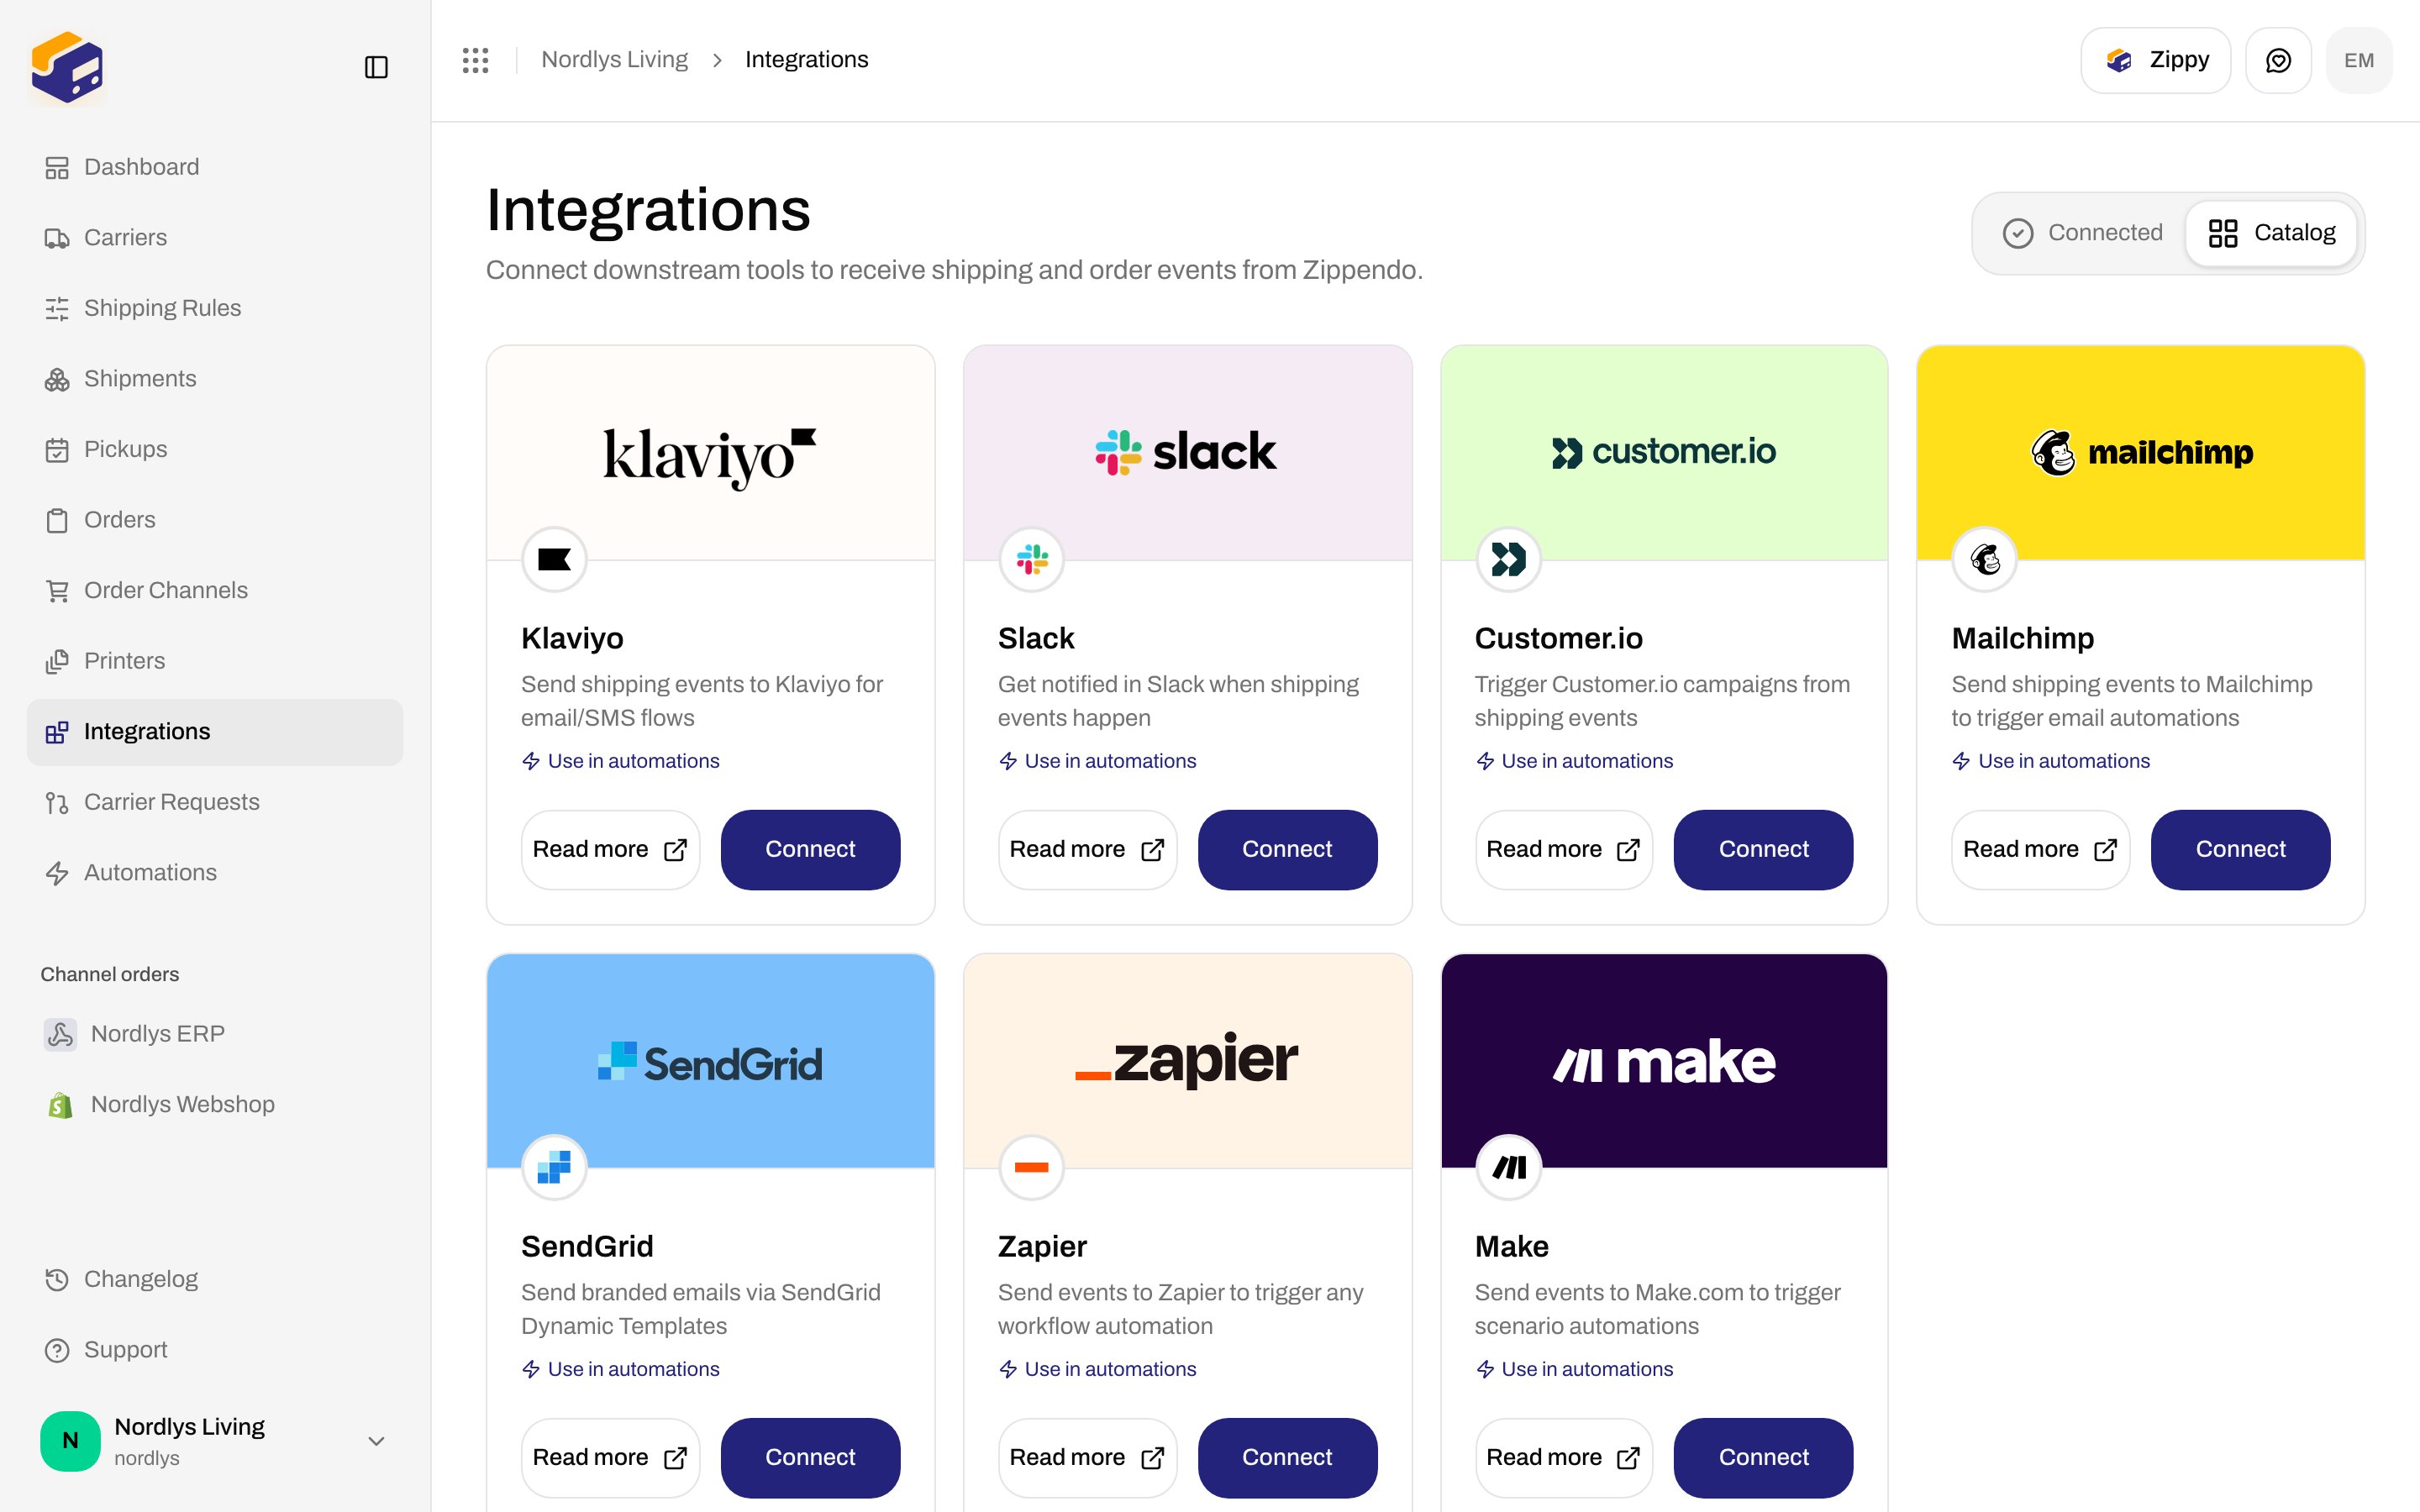
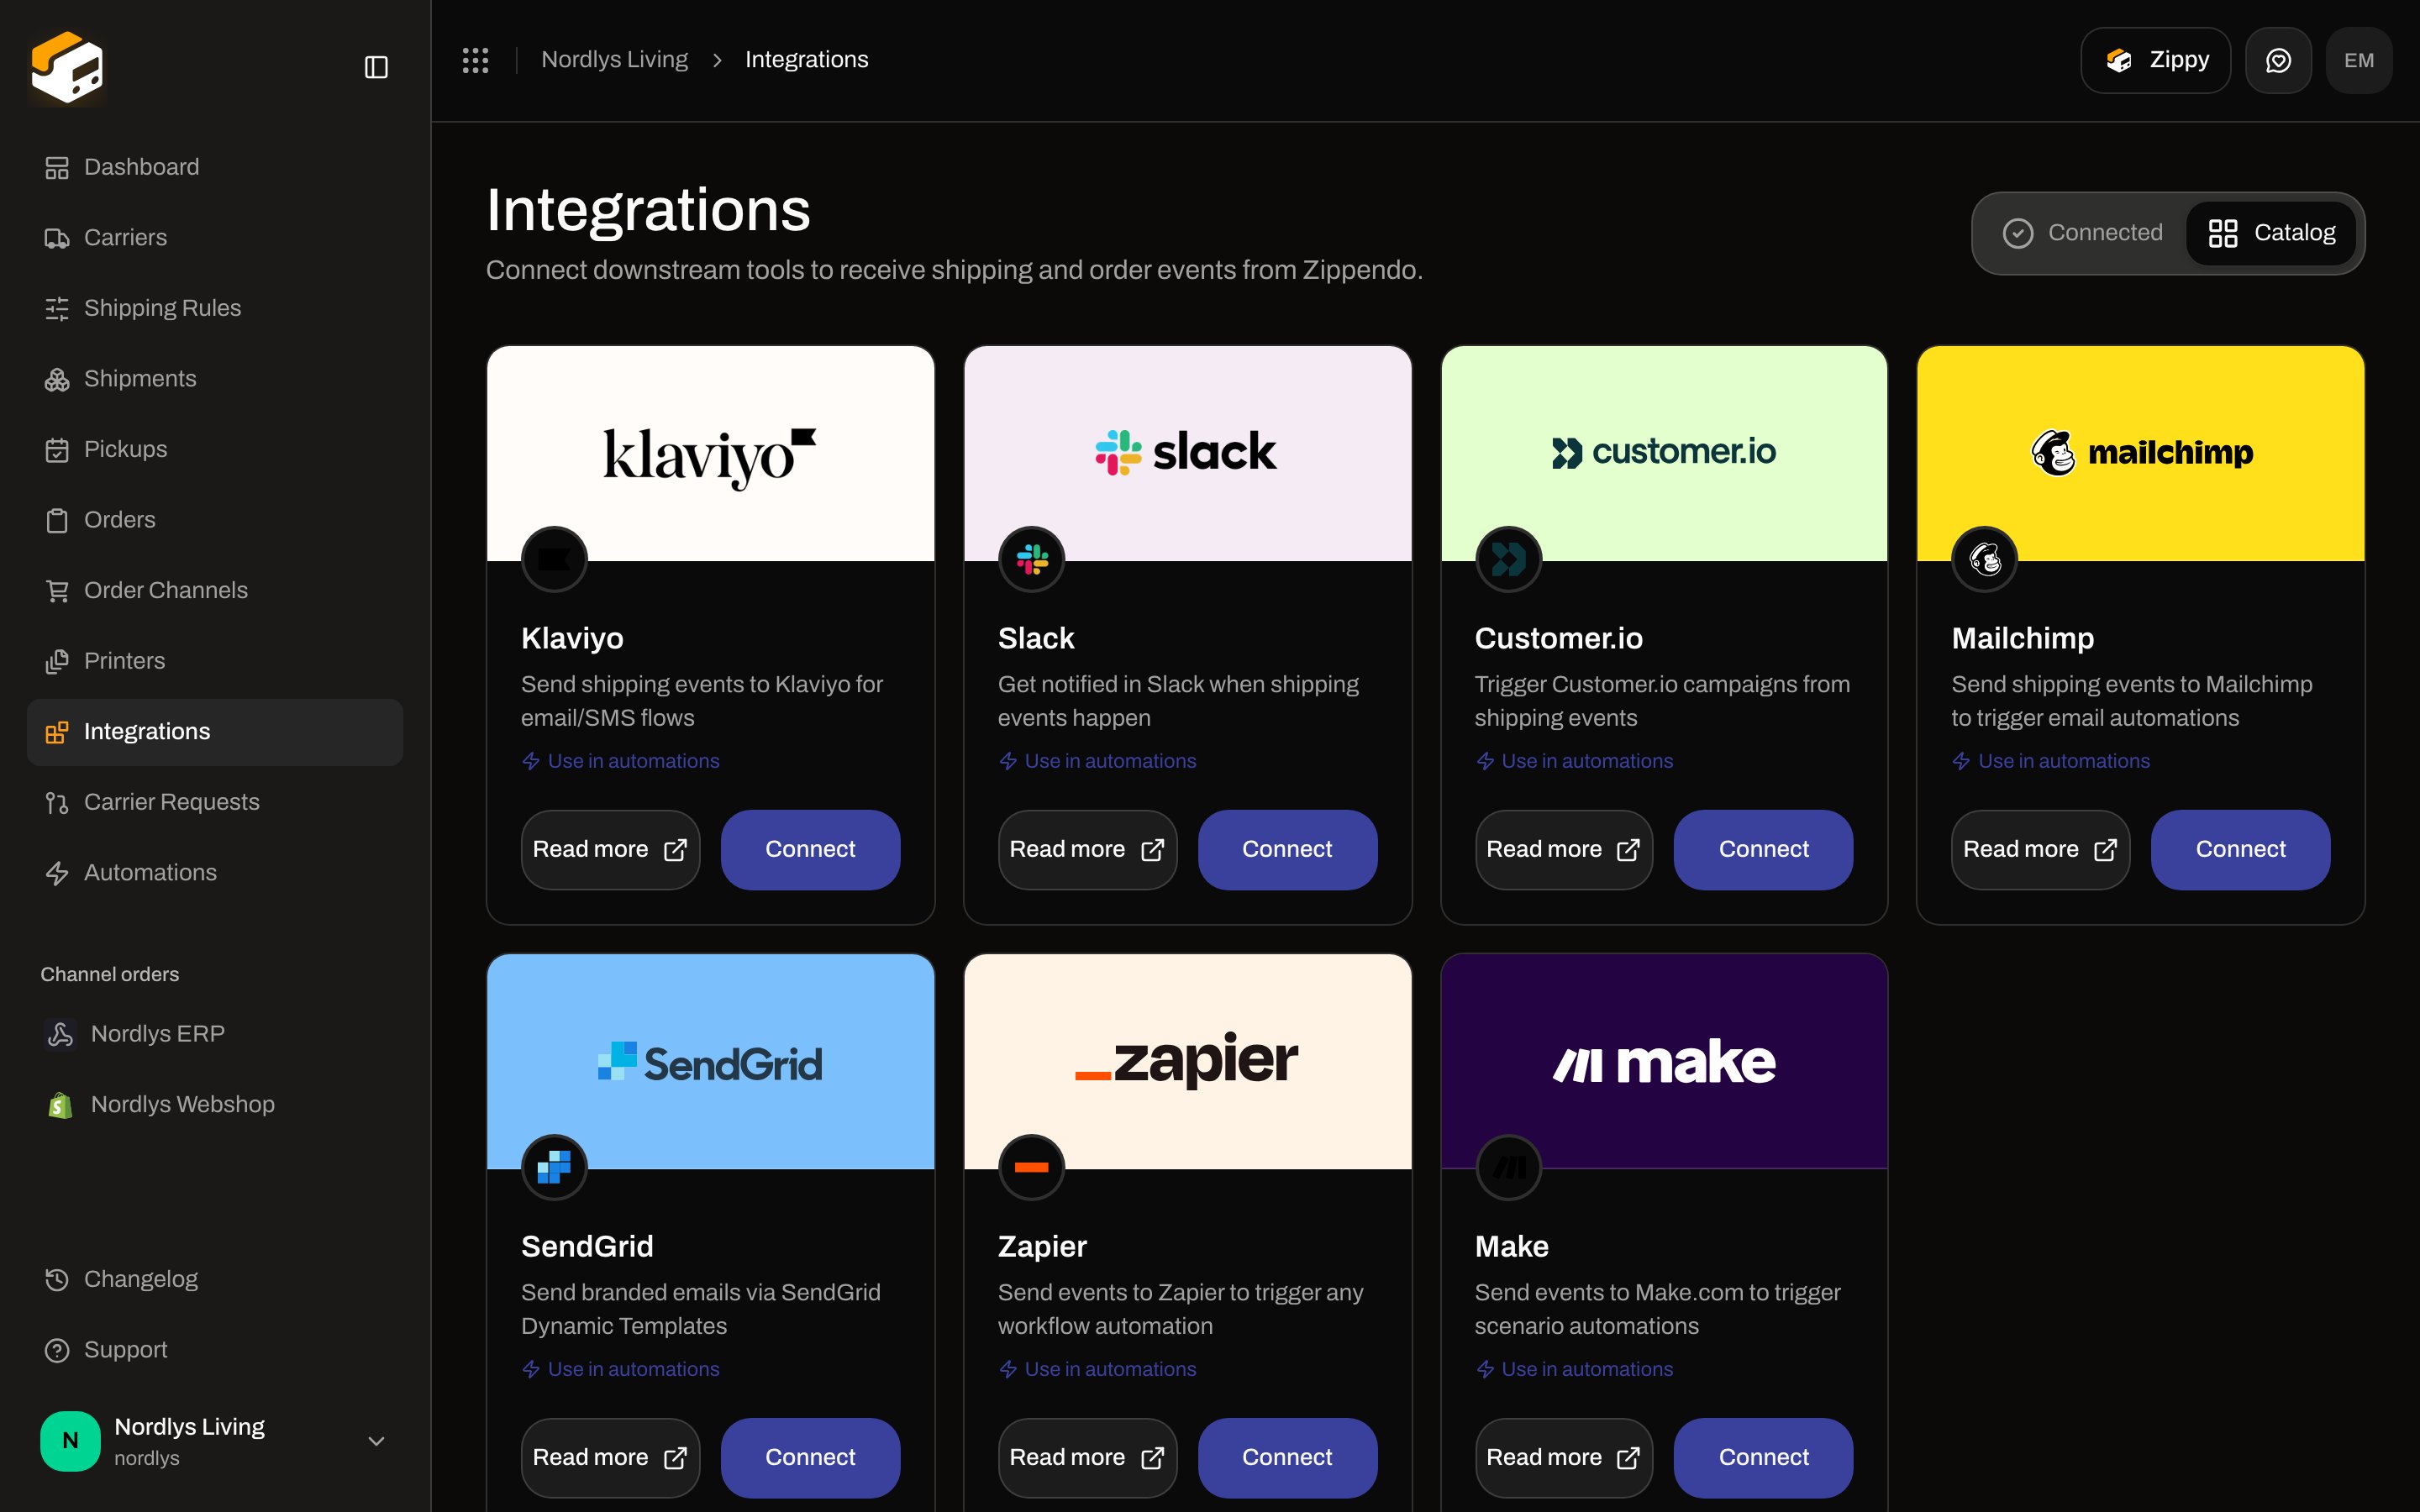
**Integrations** is downstream tools (Klaviyo, Slack, Customer.io, and others) — not store channels. Description: **Connect downstream tools to receive shipping and order events from Zippendo.** Those events are typically fired from **Automations**.
### Integrations
**Integrations** is downstream tools (Klaviyo, Slack, Customer.io, and others) — not store channels. Description: **Connect downstream tools to receive shipping and order events from Zippendo.** Those events are typically fired from **Automations**.
 ### Automations
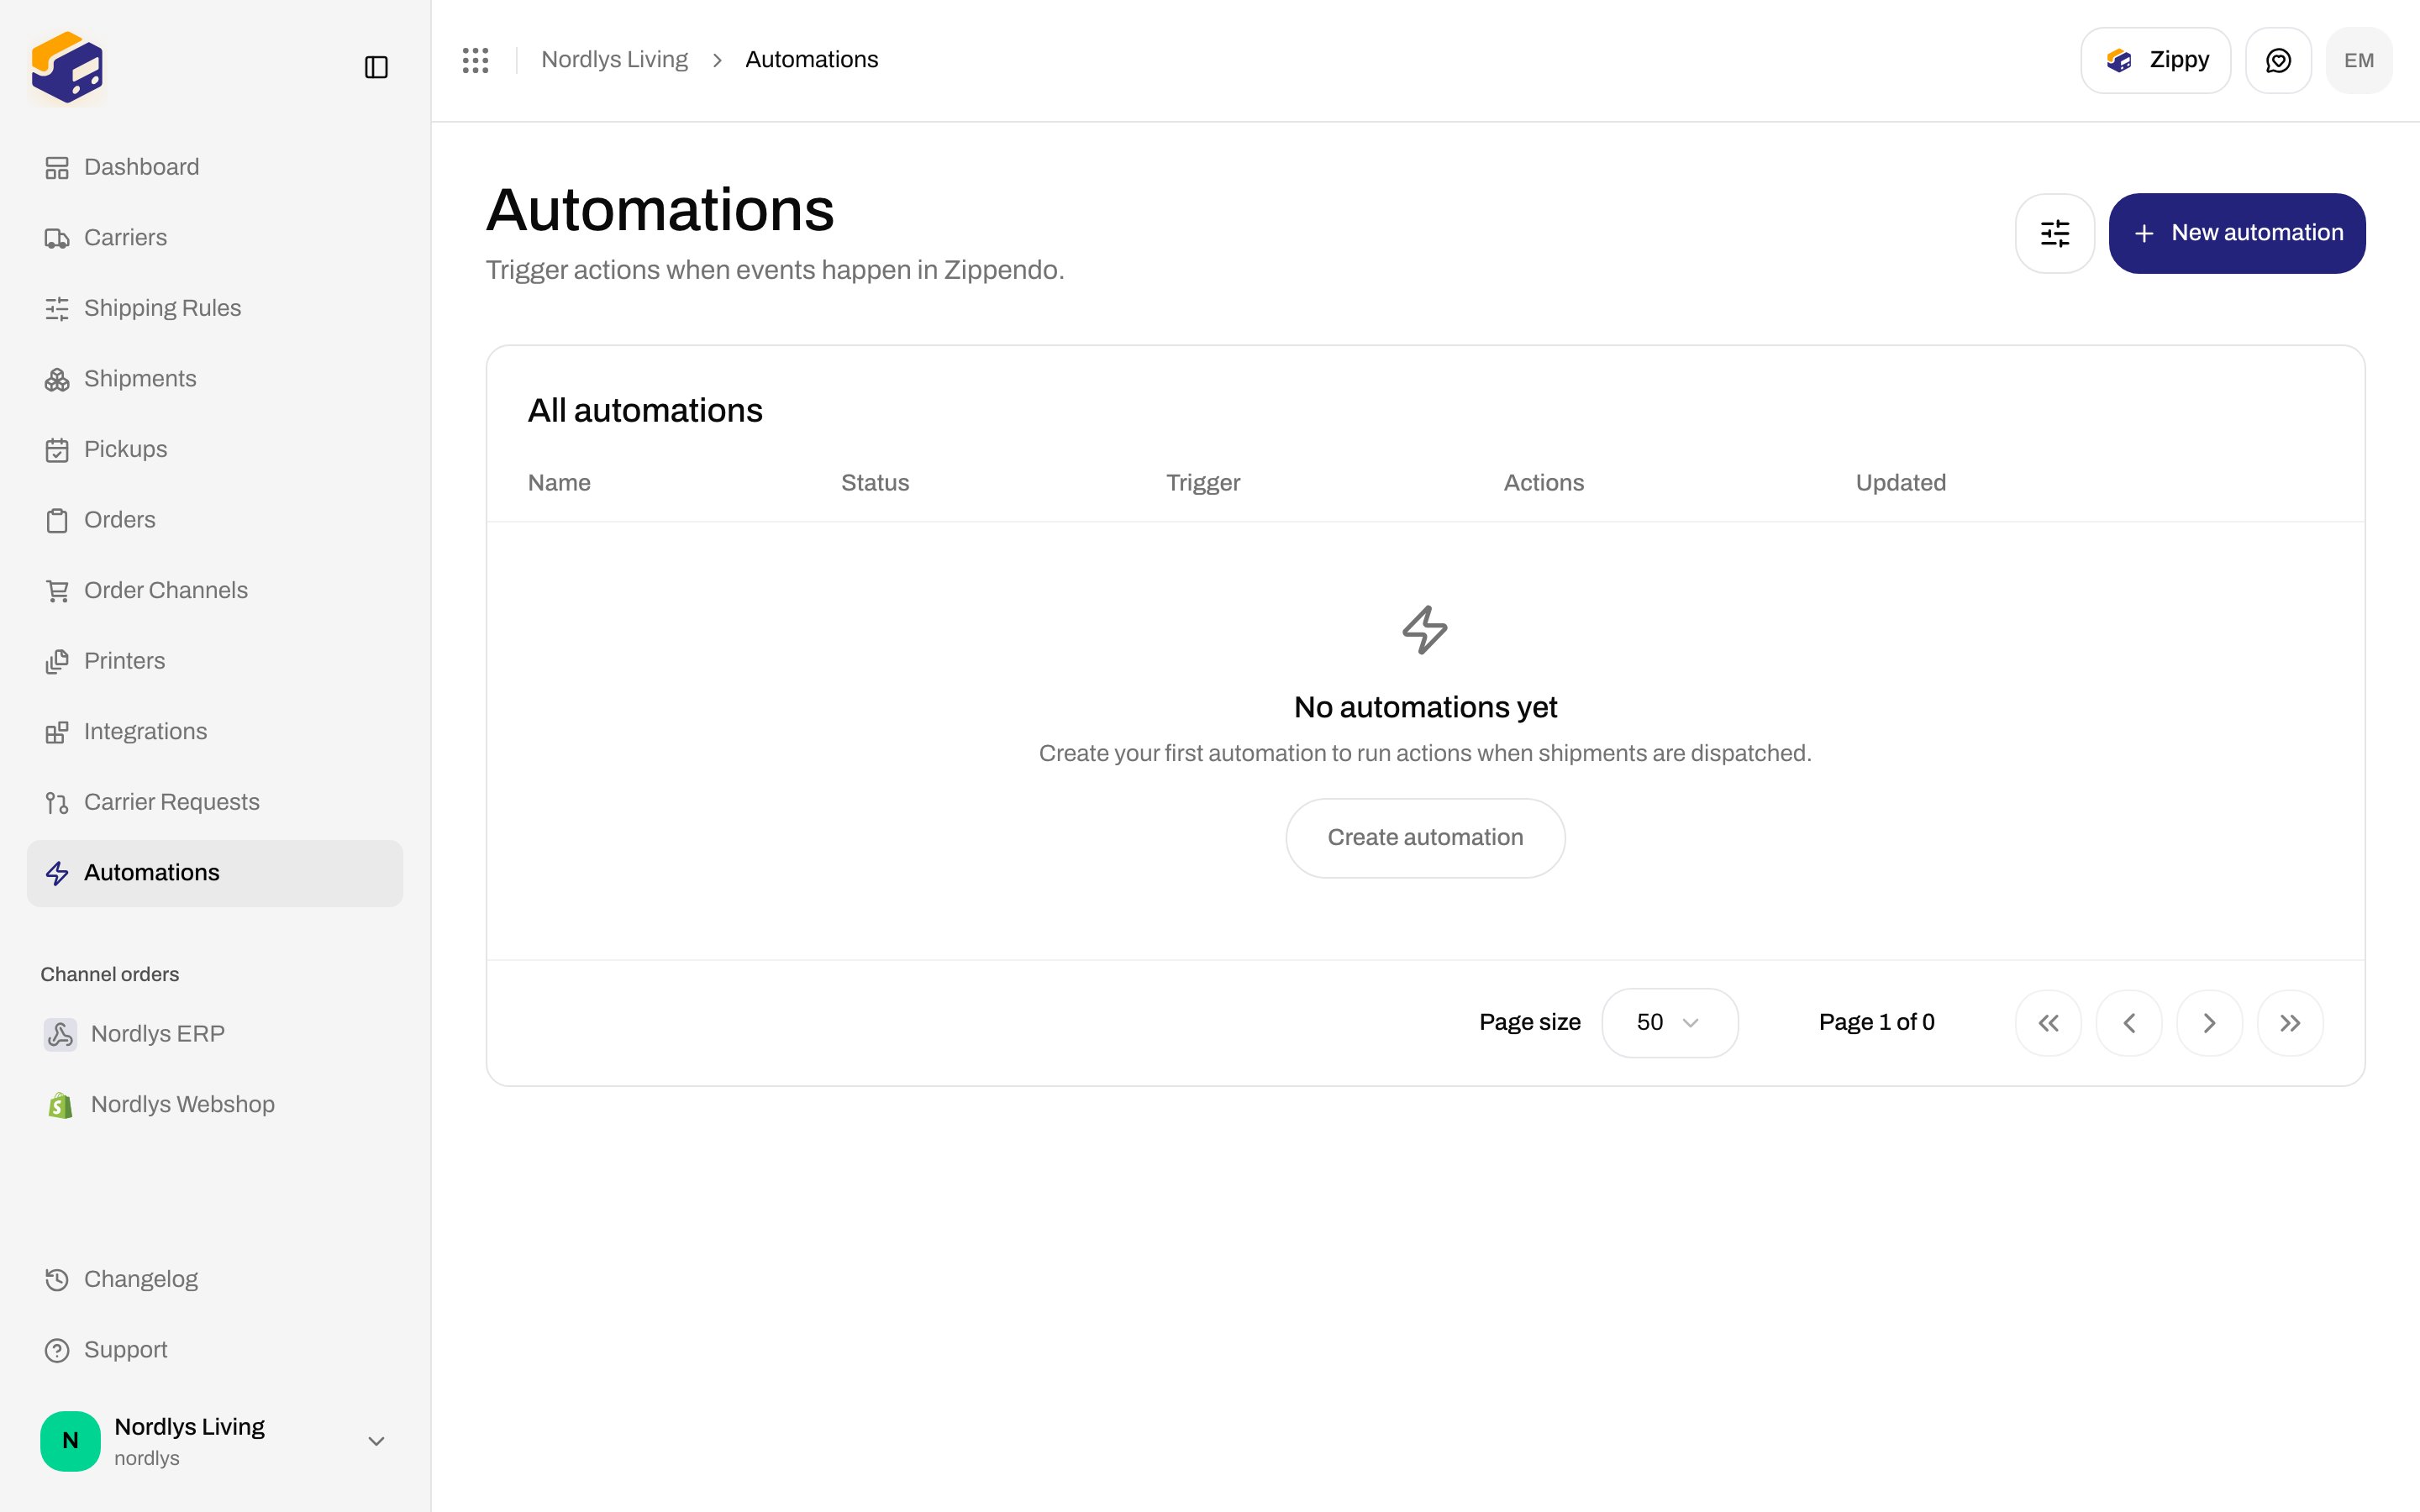
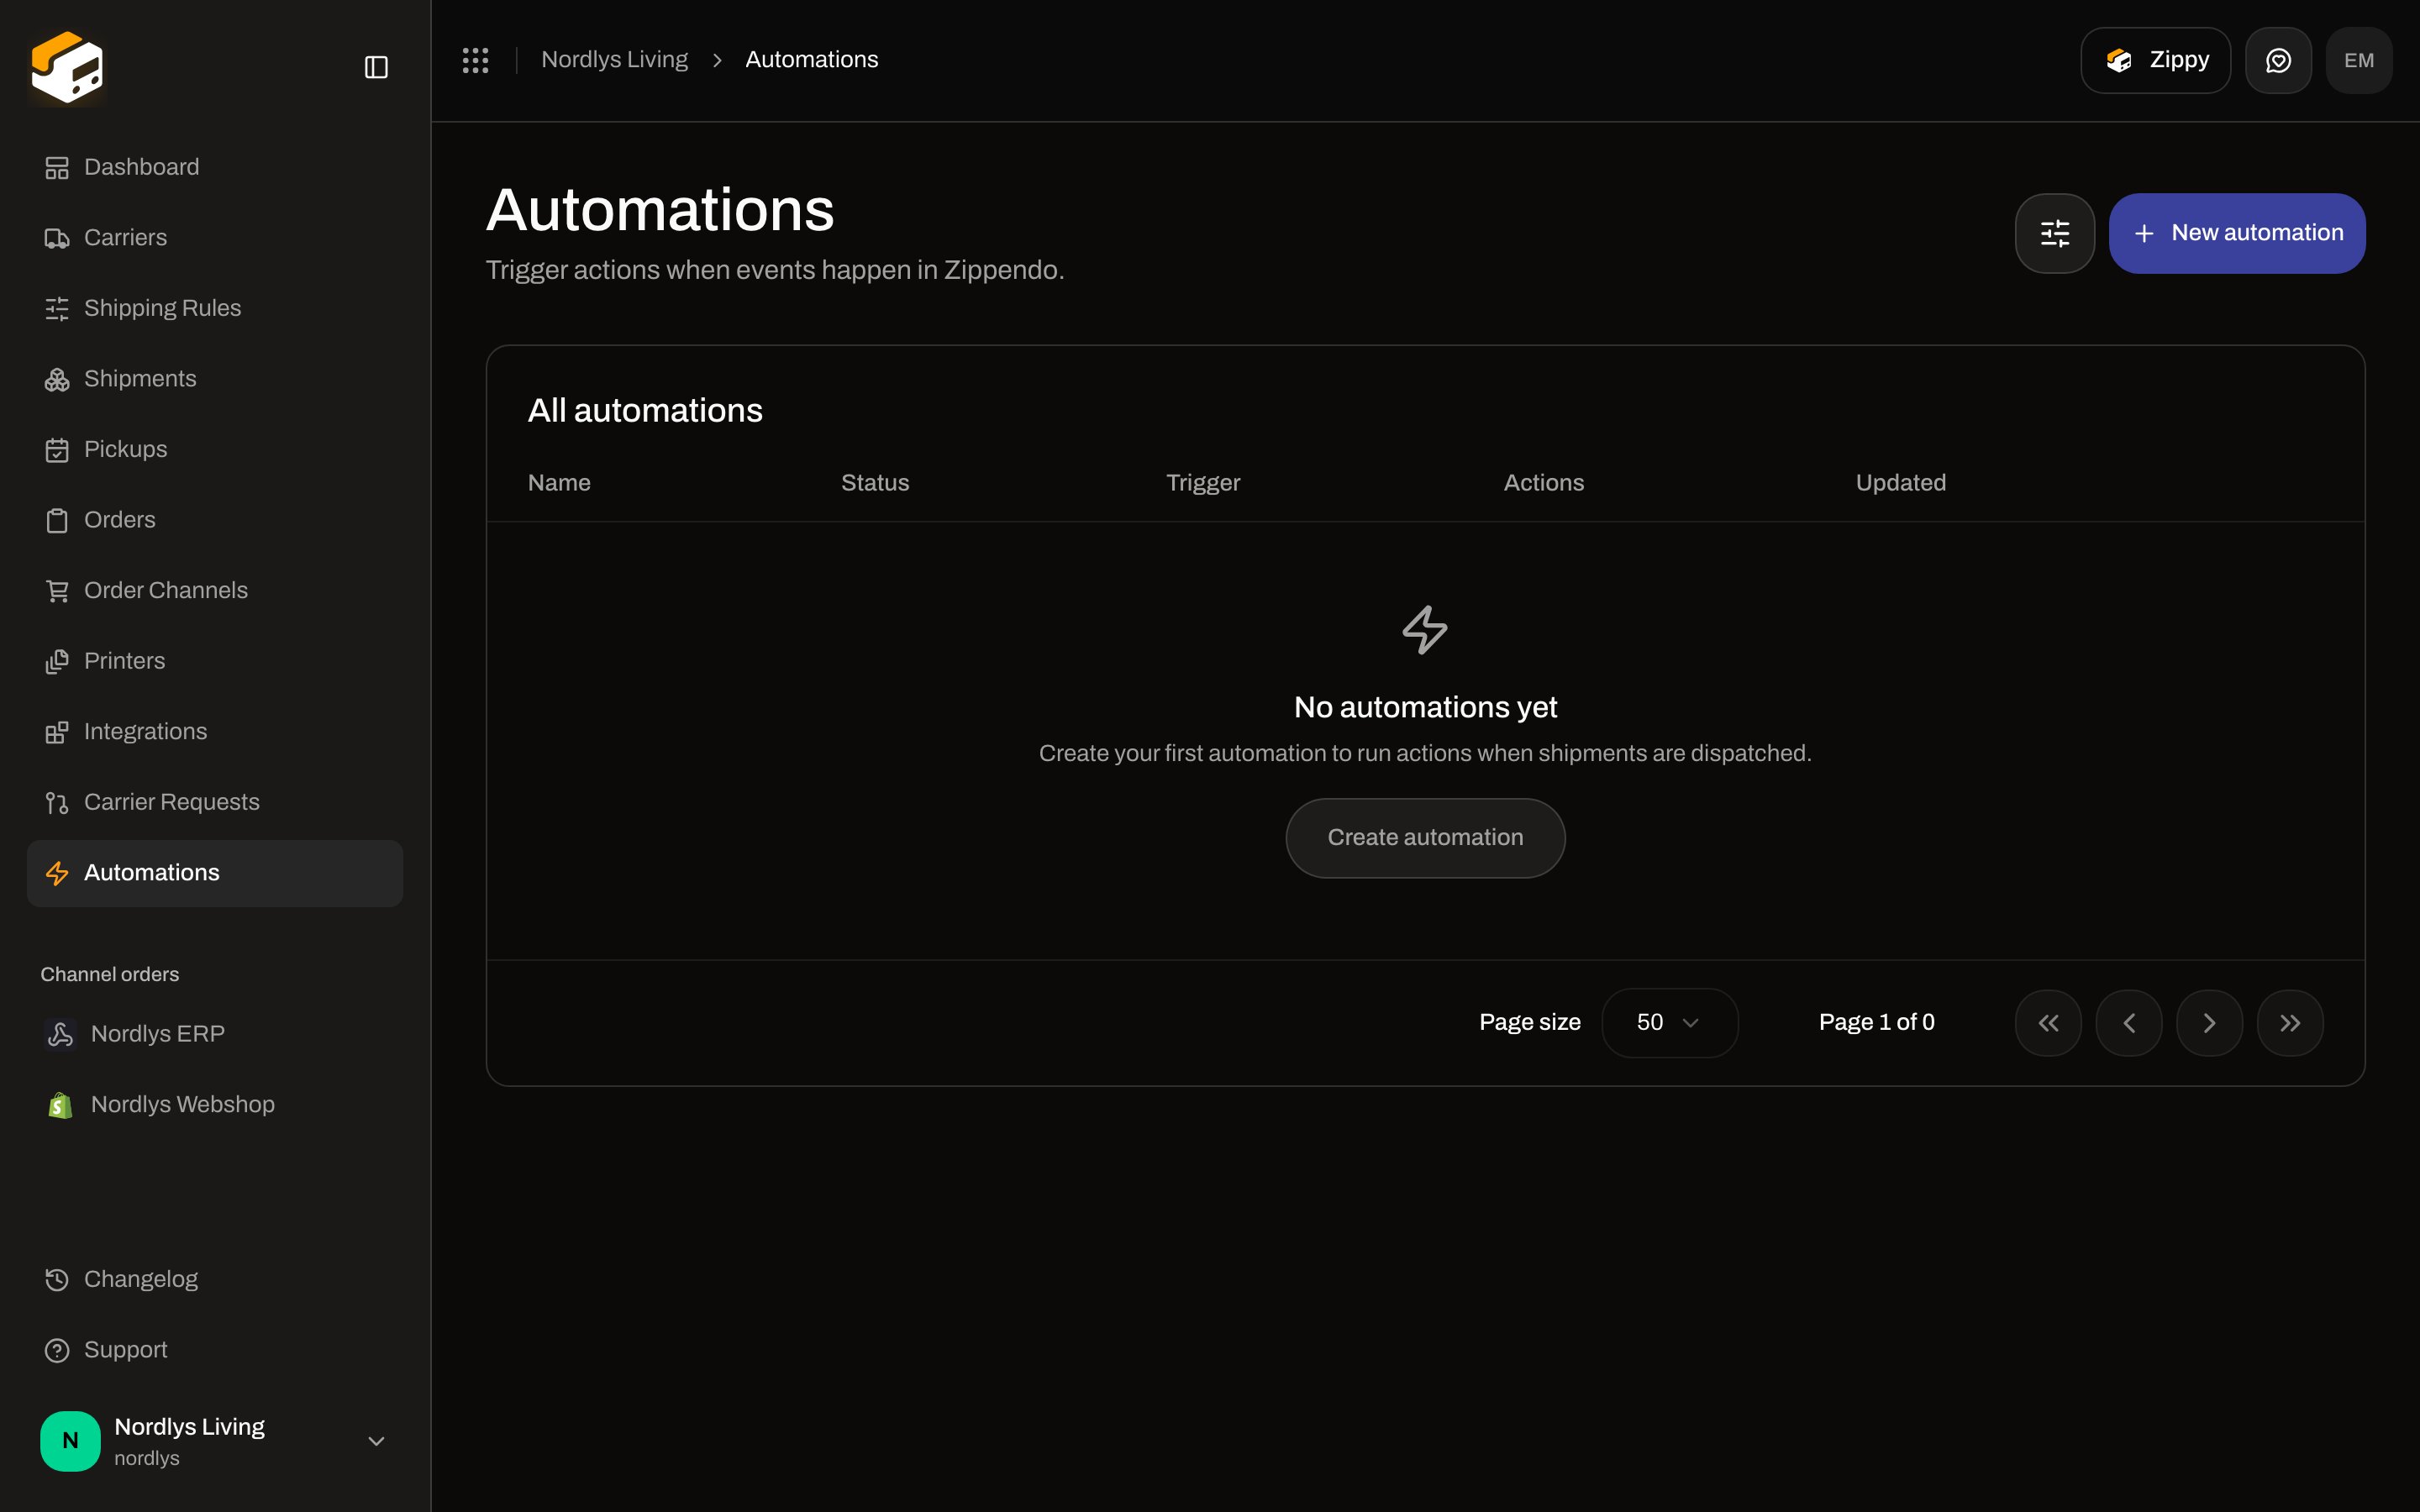
**Automations** — **Trigger actions when events happen in Zippendo.** Event-driven workflows (for example, apply a rule when a shipment is created). Not the same as shipping rules.
### Automations
**Automations** — **Trigger actions when events happen in Zippendo.** Event-driven workflows (for example, apply a rule when a shipment is created). Not the same as shipping rules.
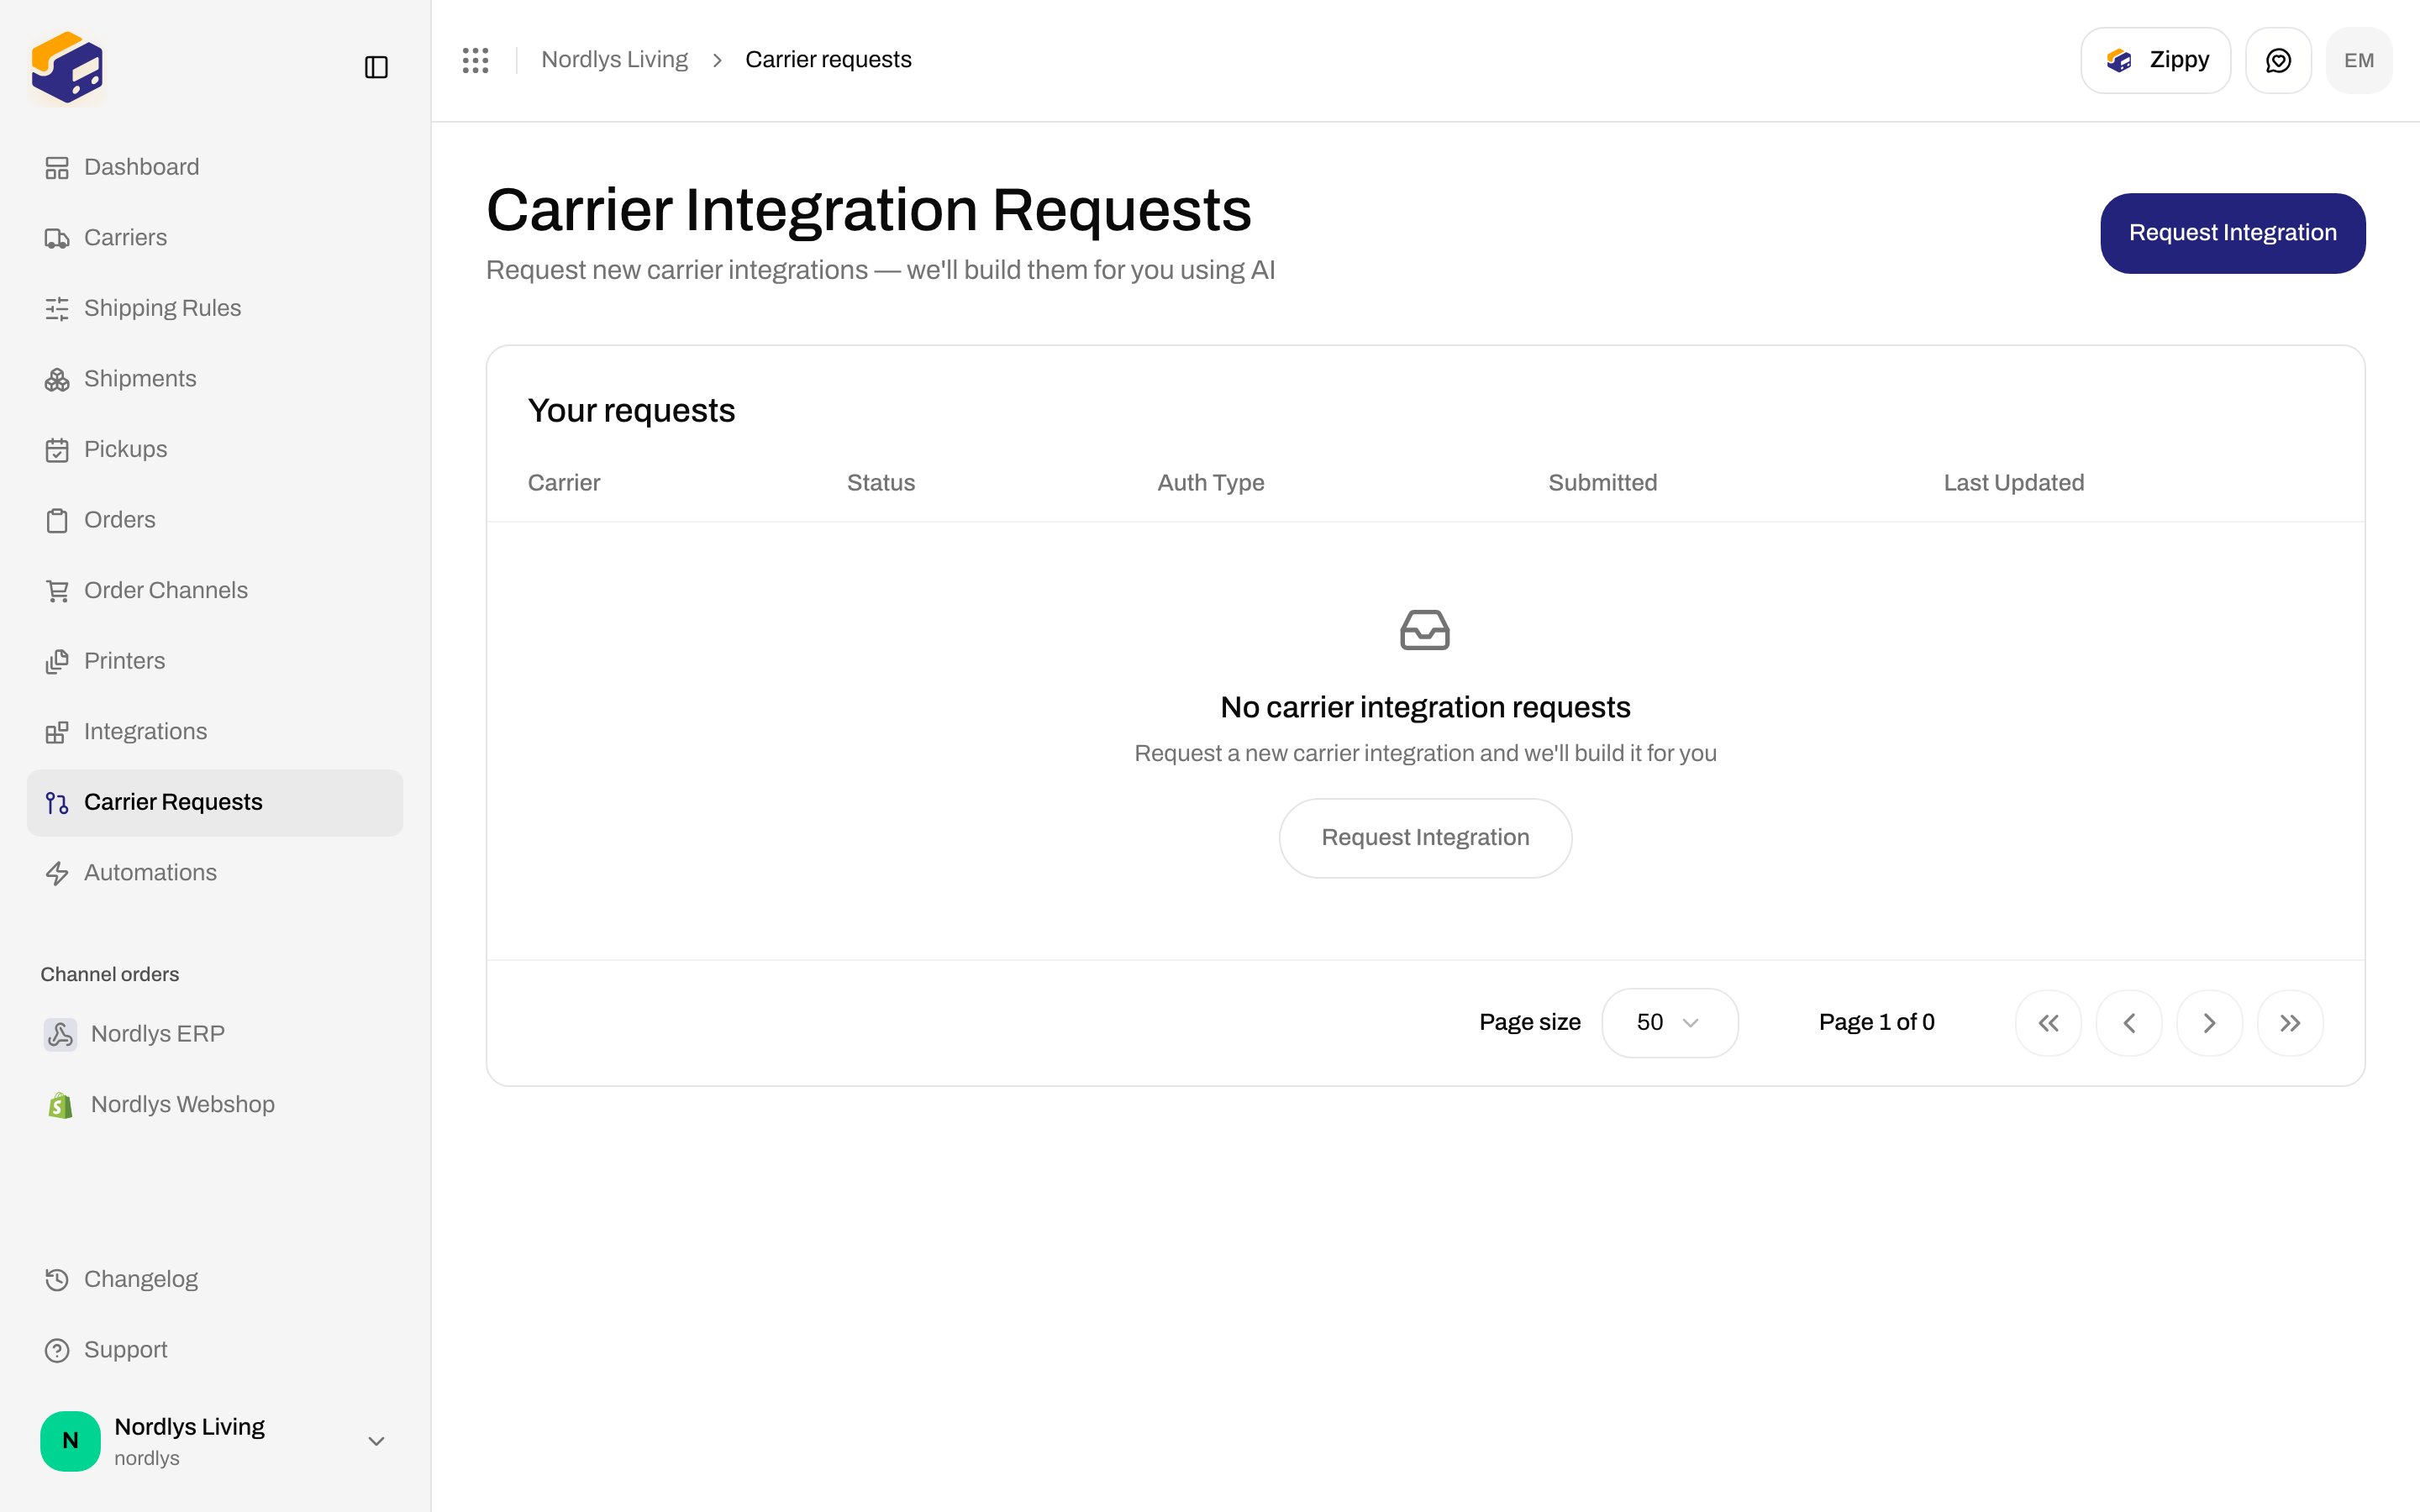
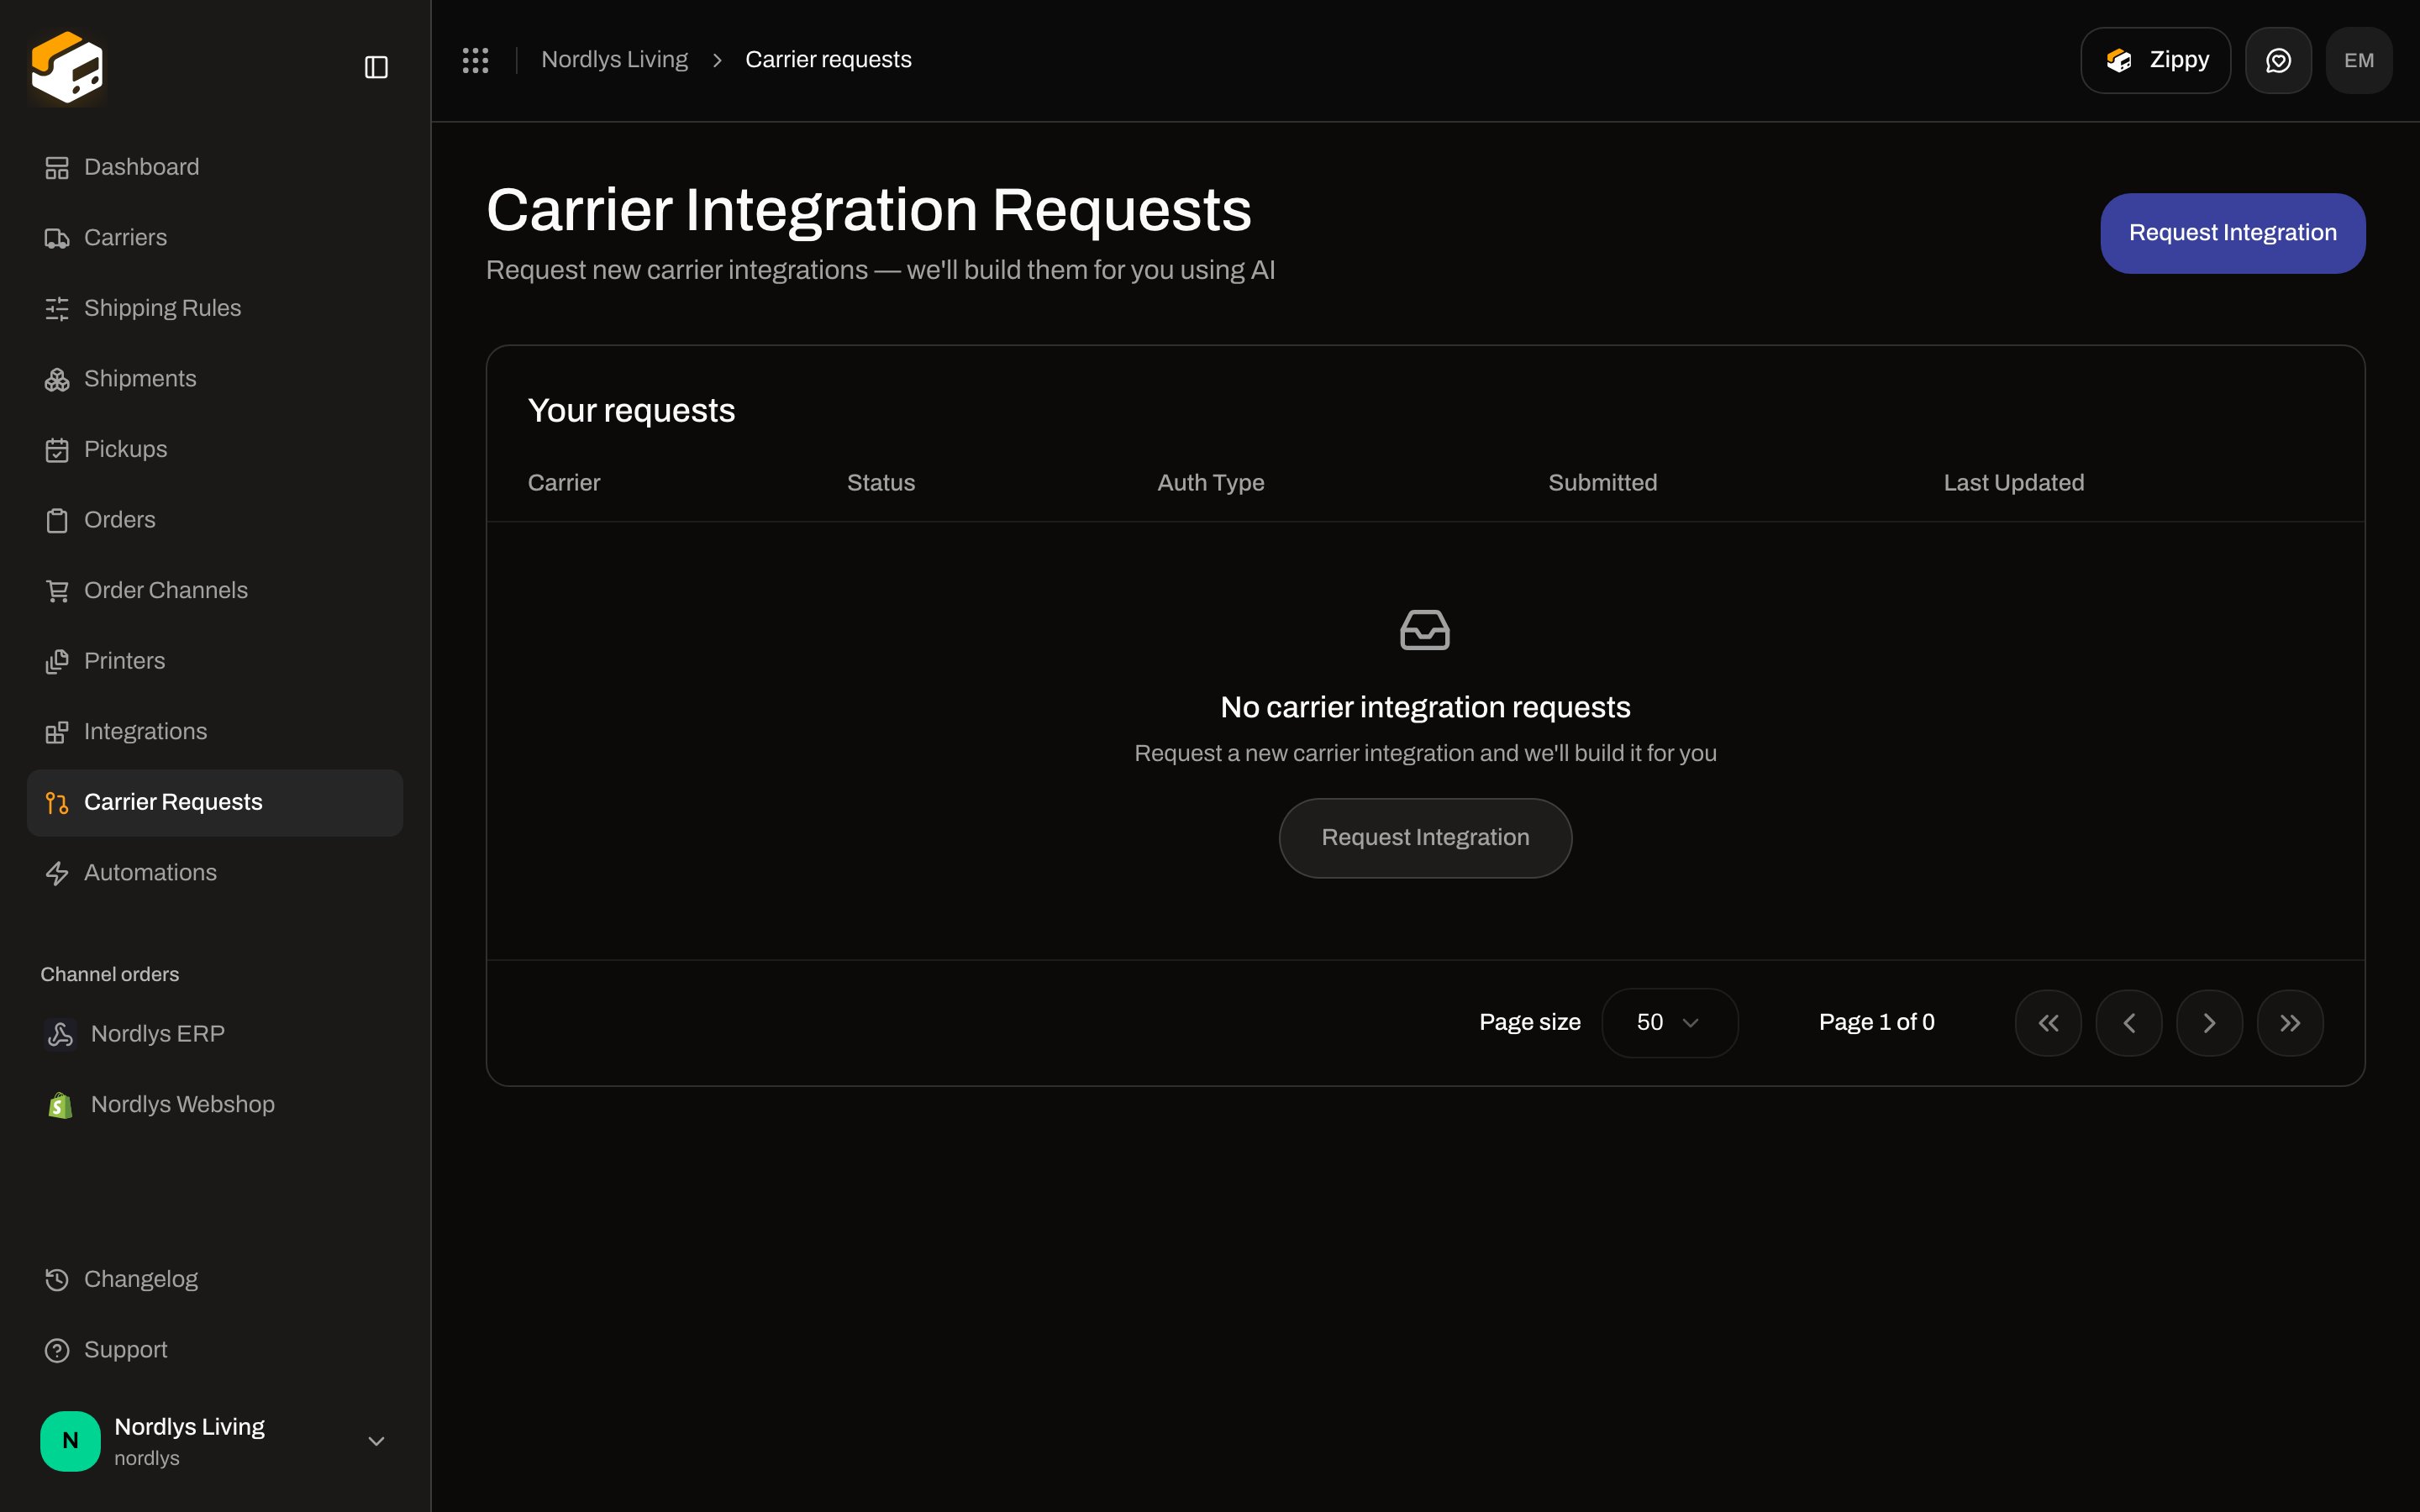
 ### Carrier Requests
**Carrier Integration Requests** — **Request new carrier integrations — we'll build them for you using AI**. Use this when the carrier you need is not on **All Carriers**.
### Carrier Requests
**Carrier Integration Requests** — **Request new carrier integrations — we'll build them for you using AI**. Use this when the carrier you need is not on **All Carriers**.
 ### Settings
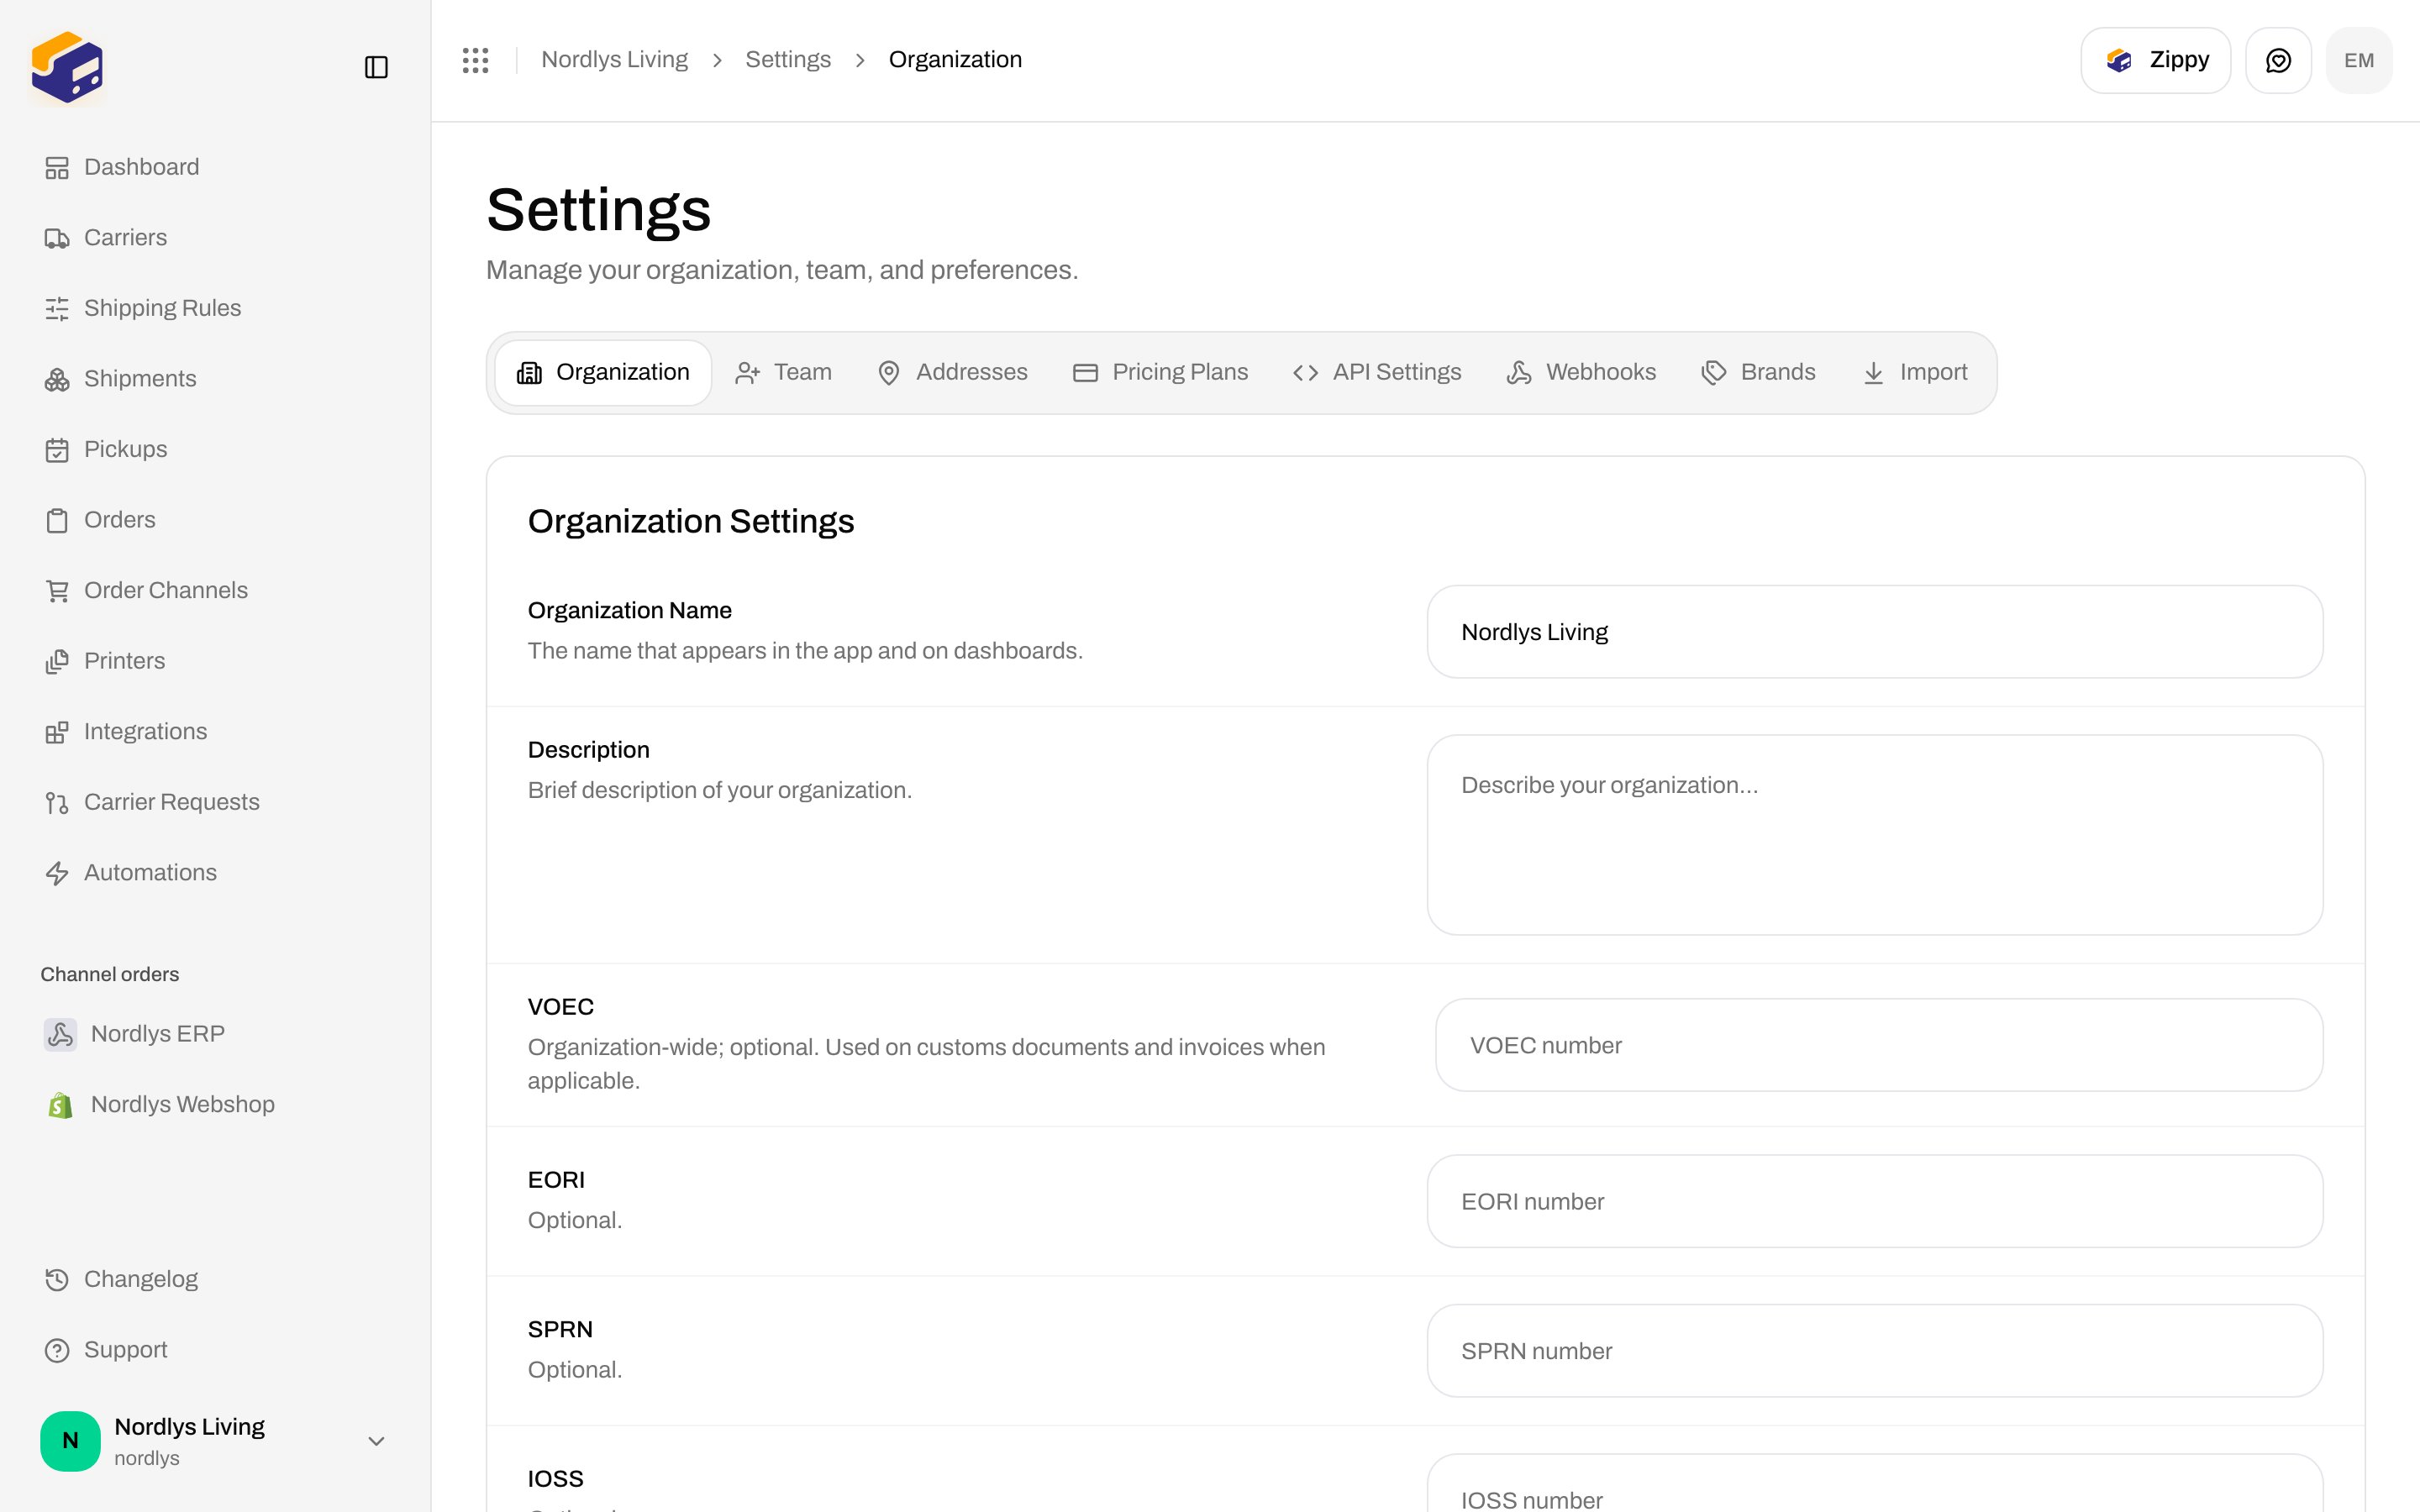
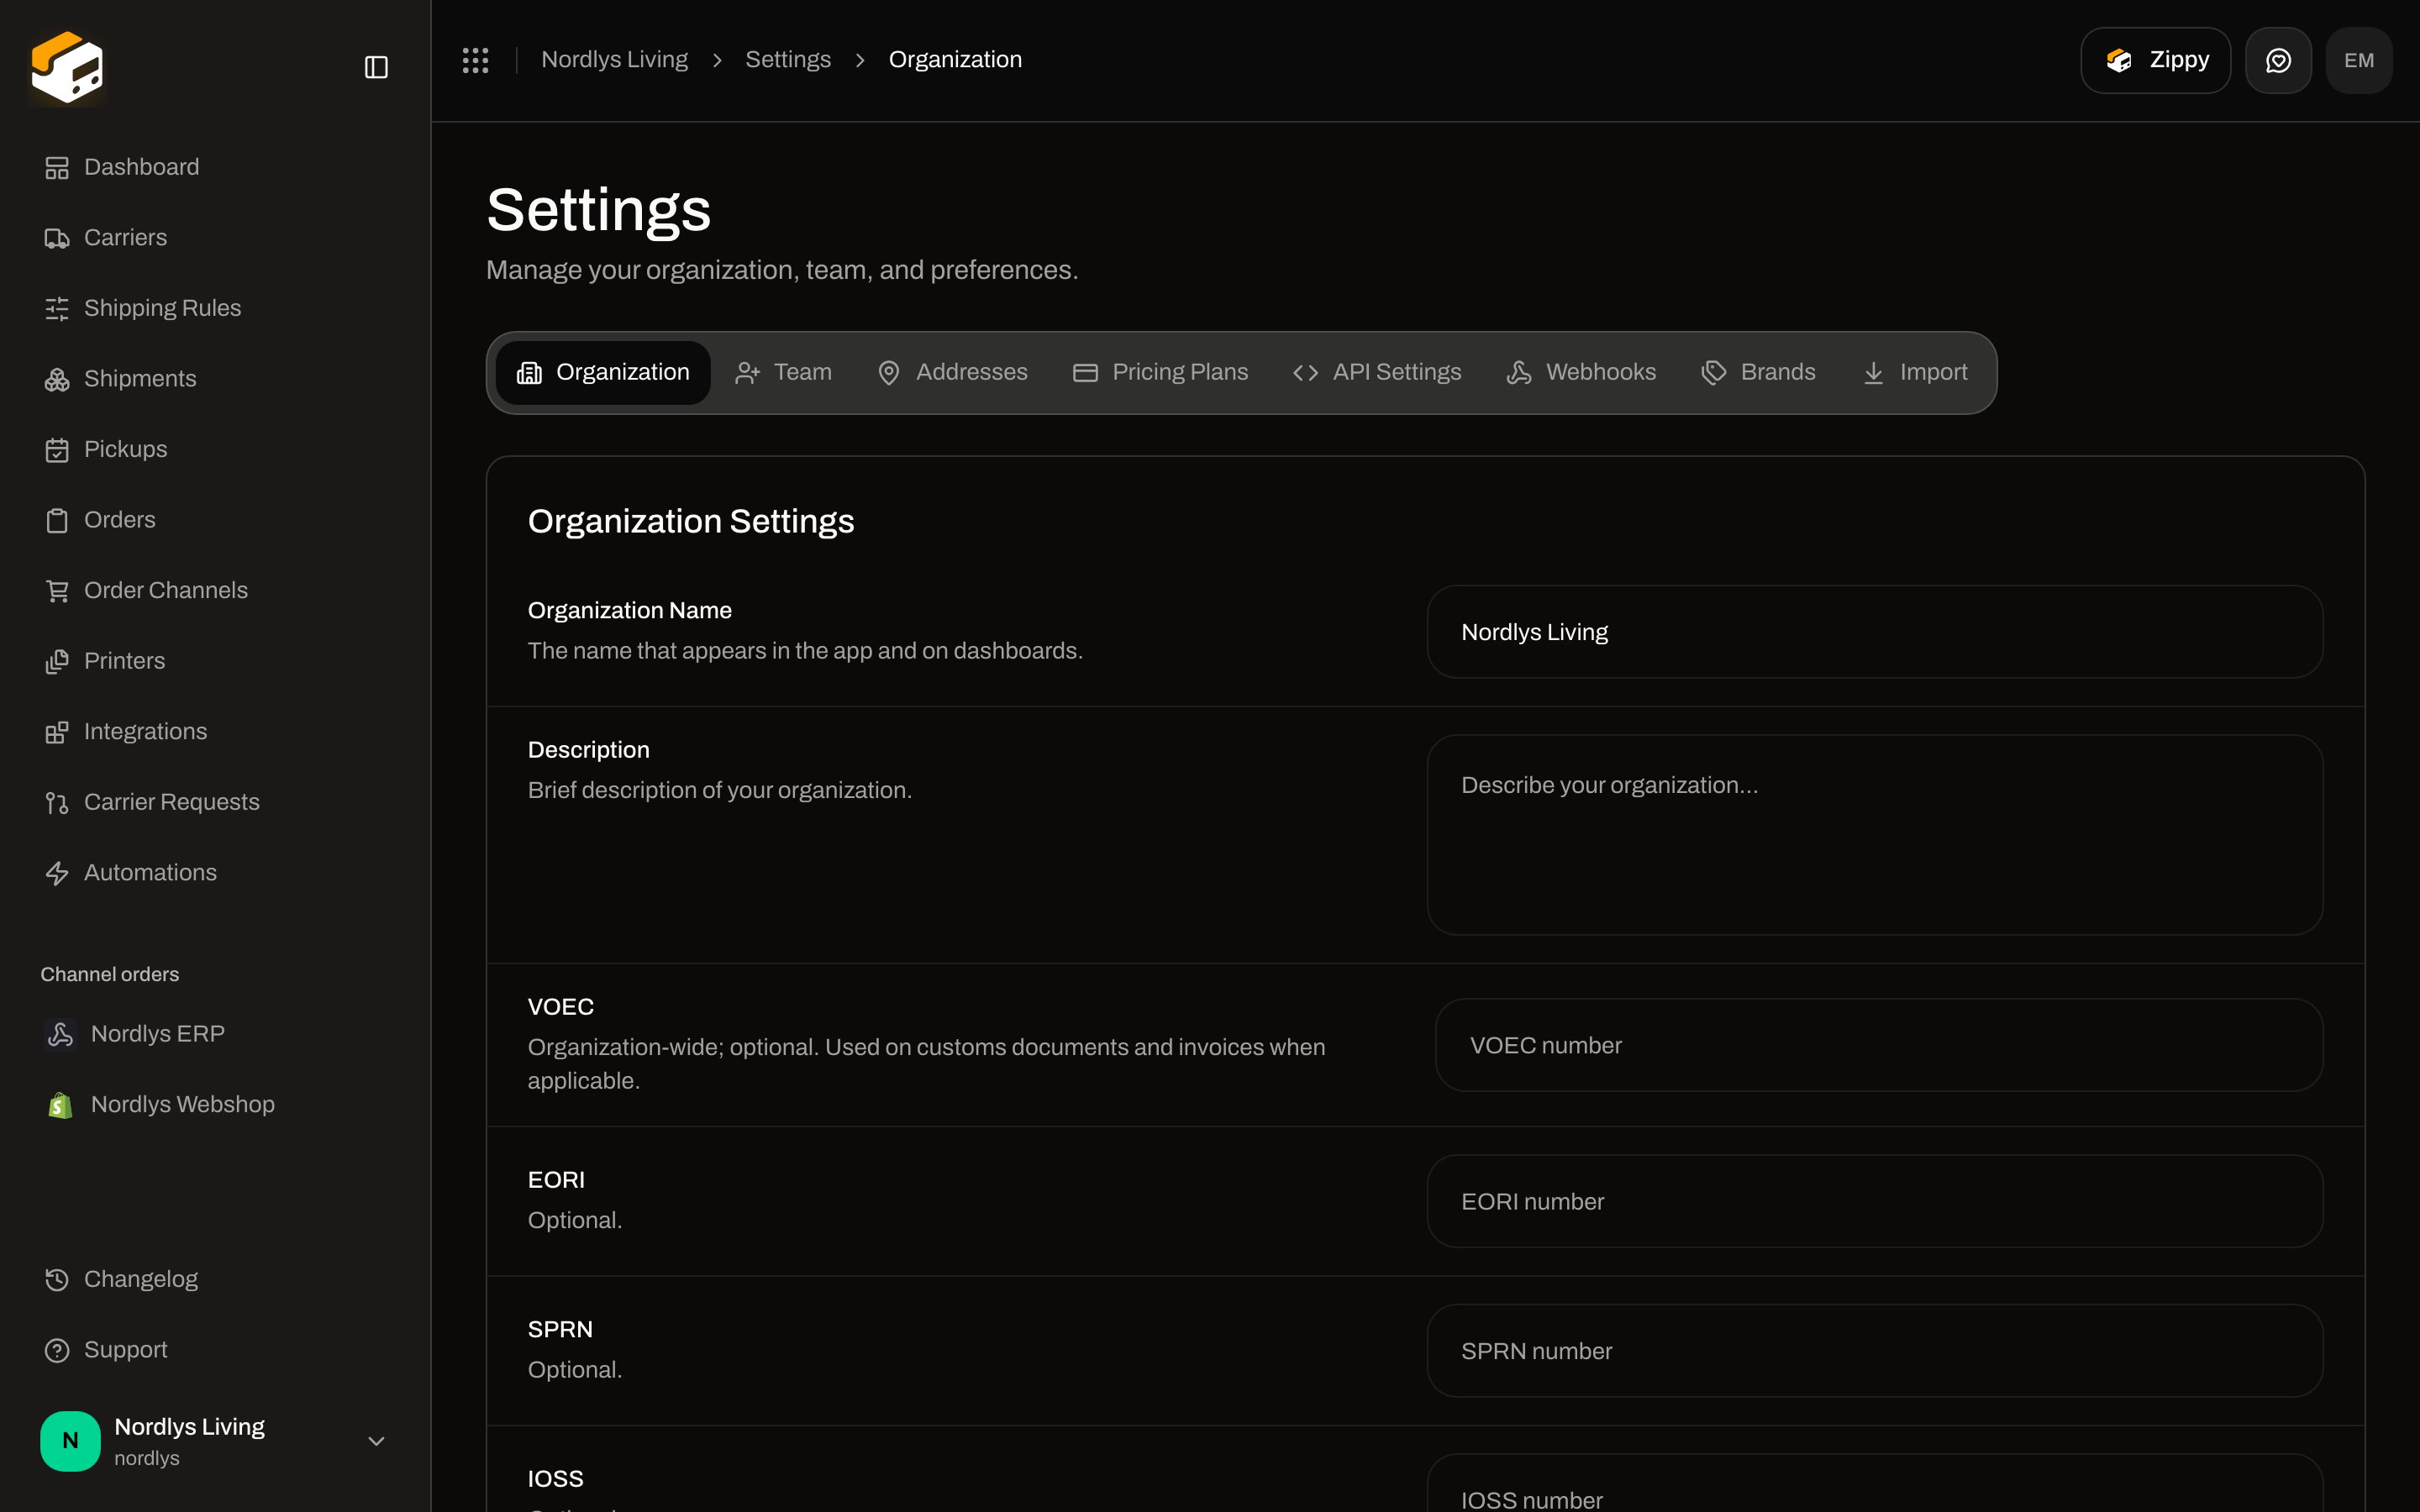
**Manage** opens **Settings**. **Organization** is the display name for the workspace, plus optional **VOEC**, **EORI**, **SPRN**, and **IOSS** identifiers used on customs documents.
### Settings
**Manage** opens **Settings**. **Organization** is the display name for the workspace, plus optional **VOEC**, **EORI**, **SPRN**, and **IOSS** identifiers used on customs documents.
 Team, brands, API tokens, and webhooks: [Settings, team, and brands](/docs/tutorials/settings-team-brands).
The sidebar footer also has **Changelog** and **Support**. **Zippy** in the header is in-app help — it does not replace these tutorials.
## You're ready
You can book a label when you have a **Sender** address and a connected carrier. Everything else on this page is optional until the volume justifies it.
| Done when | Next tutorial |
| ------------------------------ | ------------------------------------------------------------------------------------------------------------------------------------------ |
| You understand the dashboard | [Dashboard](/docs/tutorials/dashboard) |
| A carrier is connected | [Carriers](/docs/tutorials/carriers) |
| You want a label today | [Create a shipment](/docs/tutorials/create-a-shipment) → [Labels and printing](/docs/tutorials/labels-printing) |
| Orders should sync in | [Connect Shopify](/docs/tutorials/connect-shopify) or [Connect order channels](/docs/tutorials/connect-order-channels) → [Orders](/docs/tutorials/orders) |
| The same product every time | [Shipping rules](/docs/tutorials/shipping-rules) |
| Shoppers should see live rates | [Checkout](/docs/tutorials/checkout) |
| You need a return label | [Returns](/docs/tutorials/returns) |
| Teammates or extra brands | [Settings, team, and brands](/docs/tutorials/settings-team-brands) |
Stats, charts, and jumps into orders and shipments.
Book a parcel from Shipments or from an order.
Download, print, or auto-print PDF and ZPL labels.
Follow a shipment after dispatch.
Connect PostNord, GLS, DHL, and others.
Browse synced orders and create a shipment from one.
Install Zippendo on a Shopify store.
WooCommerce, custom channels, and more than one store.
Live carrier rates and pickup points at checkout.
Route orders by weight, destination, channel, and brand.
Inbound rules and return shipments from a dispatched outbound.
Invites, roles, and more than one consumer label.
Field-level: [Sender addresses](/docs/how-to/sender-addresses) · [Ask Zippy](/docs/how-to/zippy-ai) · [Switch organization and brand](/docs/how-to/switch-organization-and-brand)
Team, brands, API tokens, and webhooks: [Settings, team, and brands](/docs/tutorials/settings-team-brands).
The sidebar footer also has **Changelog** and **Support**. **Zippy** in the header is in-app help — it does not replace these tutorials.
## You're ready
You can book a label when you have a **Sender** address and a connected carrier. Everything else on this page is optional until the volume justifies it.
| Done when | Next tutorial |
| ------------------------------ | ------------------------------------------------------------------------------------------------------------------------------------------ |
| You understand the dashboard | [Dashboard](/docs/tutorials/dashboard) |
| A carrier is connected | [Carriers](/docs/tutorials/carriers) |
| You want a label today | [Create a shipment](/docs/tutorials/create-a-shipment) → [Labels and printing](/docs/tutorials/labels-printing) |
| Orders should sync in | [Connect Shopify](/docs/tutorials/connect-shopify) or [Connect order channels](/docs/tutorials/connect-order-channels) → [Orders](/docs/tutorials/orders) |
| The same product every time | [Shipping rules](/docs/tutorials/shipping-rules) |
| Shoppers should see live rates | [Checkout](/docs/tutorials/checkout) |
| You need a return label | [Returns](/docs/tutorials/returns) |
| Teammates or extra brands | [Settings, team, and brands](/docs/tutorials/settings-team-brands) |
Stats, charts, and jumps into orders and shipments.
Book a parcel from Shipments or from an order.
Download, print, or auto-print PDF and ZPL labels.
Follow a shipment after dispatch.
Connect PostNord, GLS, DHL, and others.
Browse synced orders and create a shipment from one.
Install Zippendo on a Shopify store.
WooCommerce, custom channels, and more than one store.
Live carrier rates and pickup points at checkout.
Route orders by weight, destination, channel, and brand.
Inbound rules and return shipments from a dispatched outbound.
Invites, roles, and more than one consumer label.
Field-level: [Sender addresses](/docs/how-to/sender-addresses) · [Ask Zippy](/docs/how-to/zippy-ai) · [Switch organization and brand](/docs/how-to/switch-organization-and-brand)