> ## Documentation Index
> Fetch the complete documentation index at: https://www.zippendo.com/docs/llms.txt
> Use this file to discover all available pages before exploring further.
# Create a shipment
> Create a shipment from the Shipments list or from an order — addresses, parcels, carrier product, then send the label.
A **shipment** is the parcel (or set of parcels) you book with a carrier. This walkthrough covers both ways to create one in the Zippendo client: a standalone shipment you type in yourself, and a shipment created from a synced order.
Creating a shipment does **not** buy the label. The new shipment is saved as **Pending**. You book it with the carrier in a second step — **Send Shipment**. That step is covered here and in [Labels and printing](/docs/tutorials/labels-printing).
You need at least one [sender address](/docs/settings/sender-addresses) and one [connected carrier](/docs/tutorials/carriers) before you can create a shipment. If either is missing, the form or modal tells you — add them first.
## Where to create a shipment
There is no **Create shipment** button on the dashboard itself. From the dashboard you open **Shipments** in the sidebar, or click **Total shipments** / **In transit** to jump to the list.
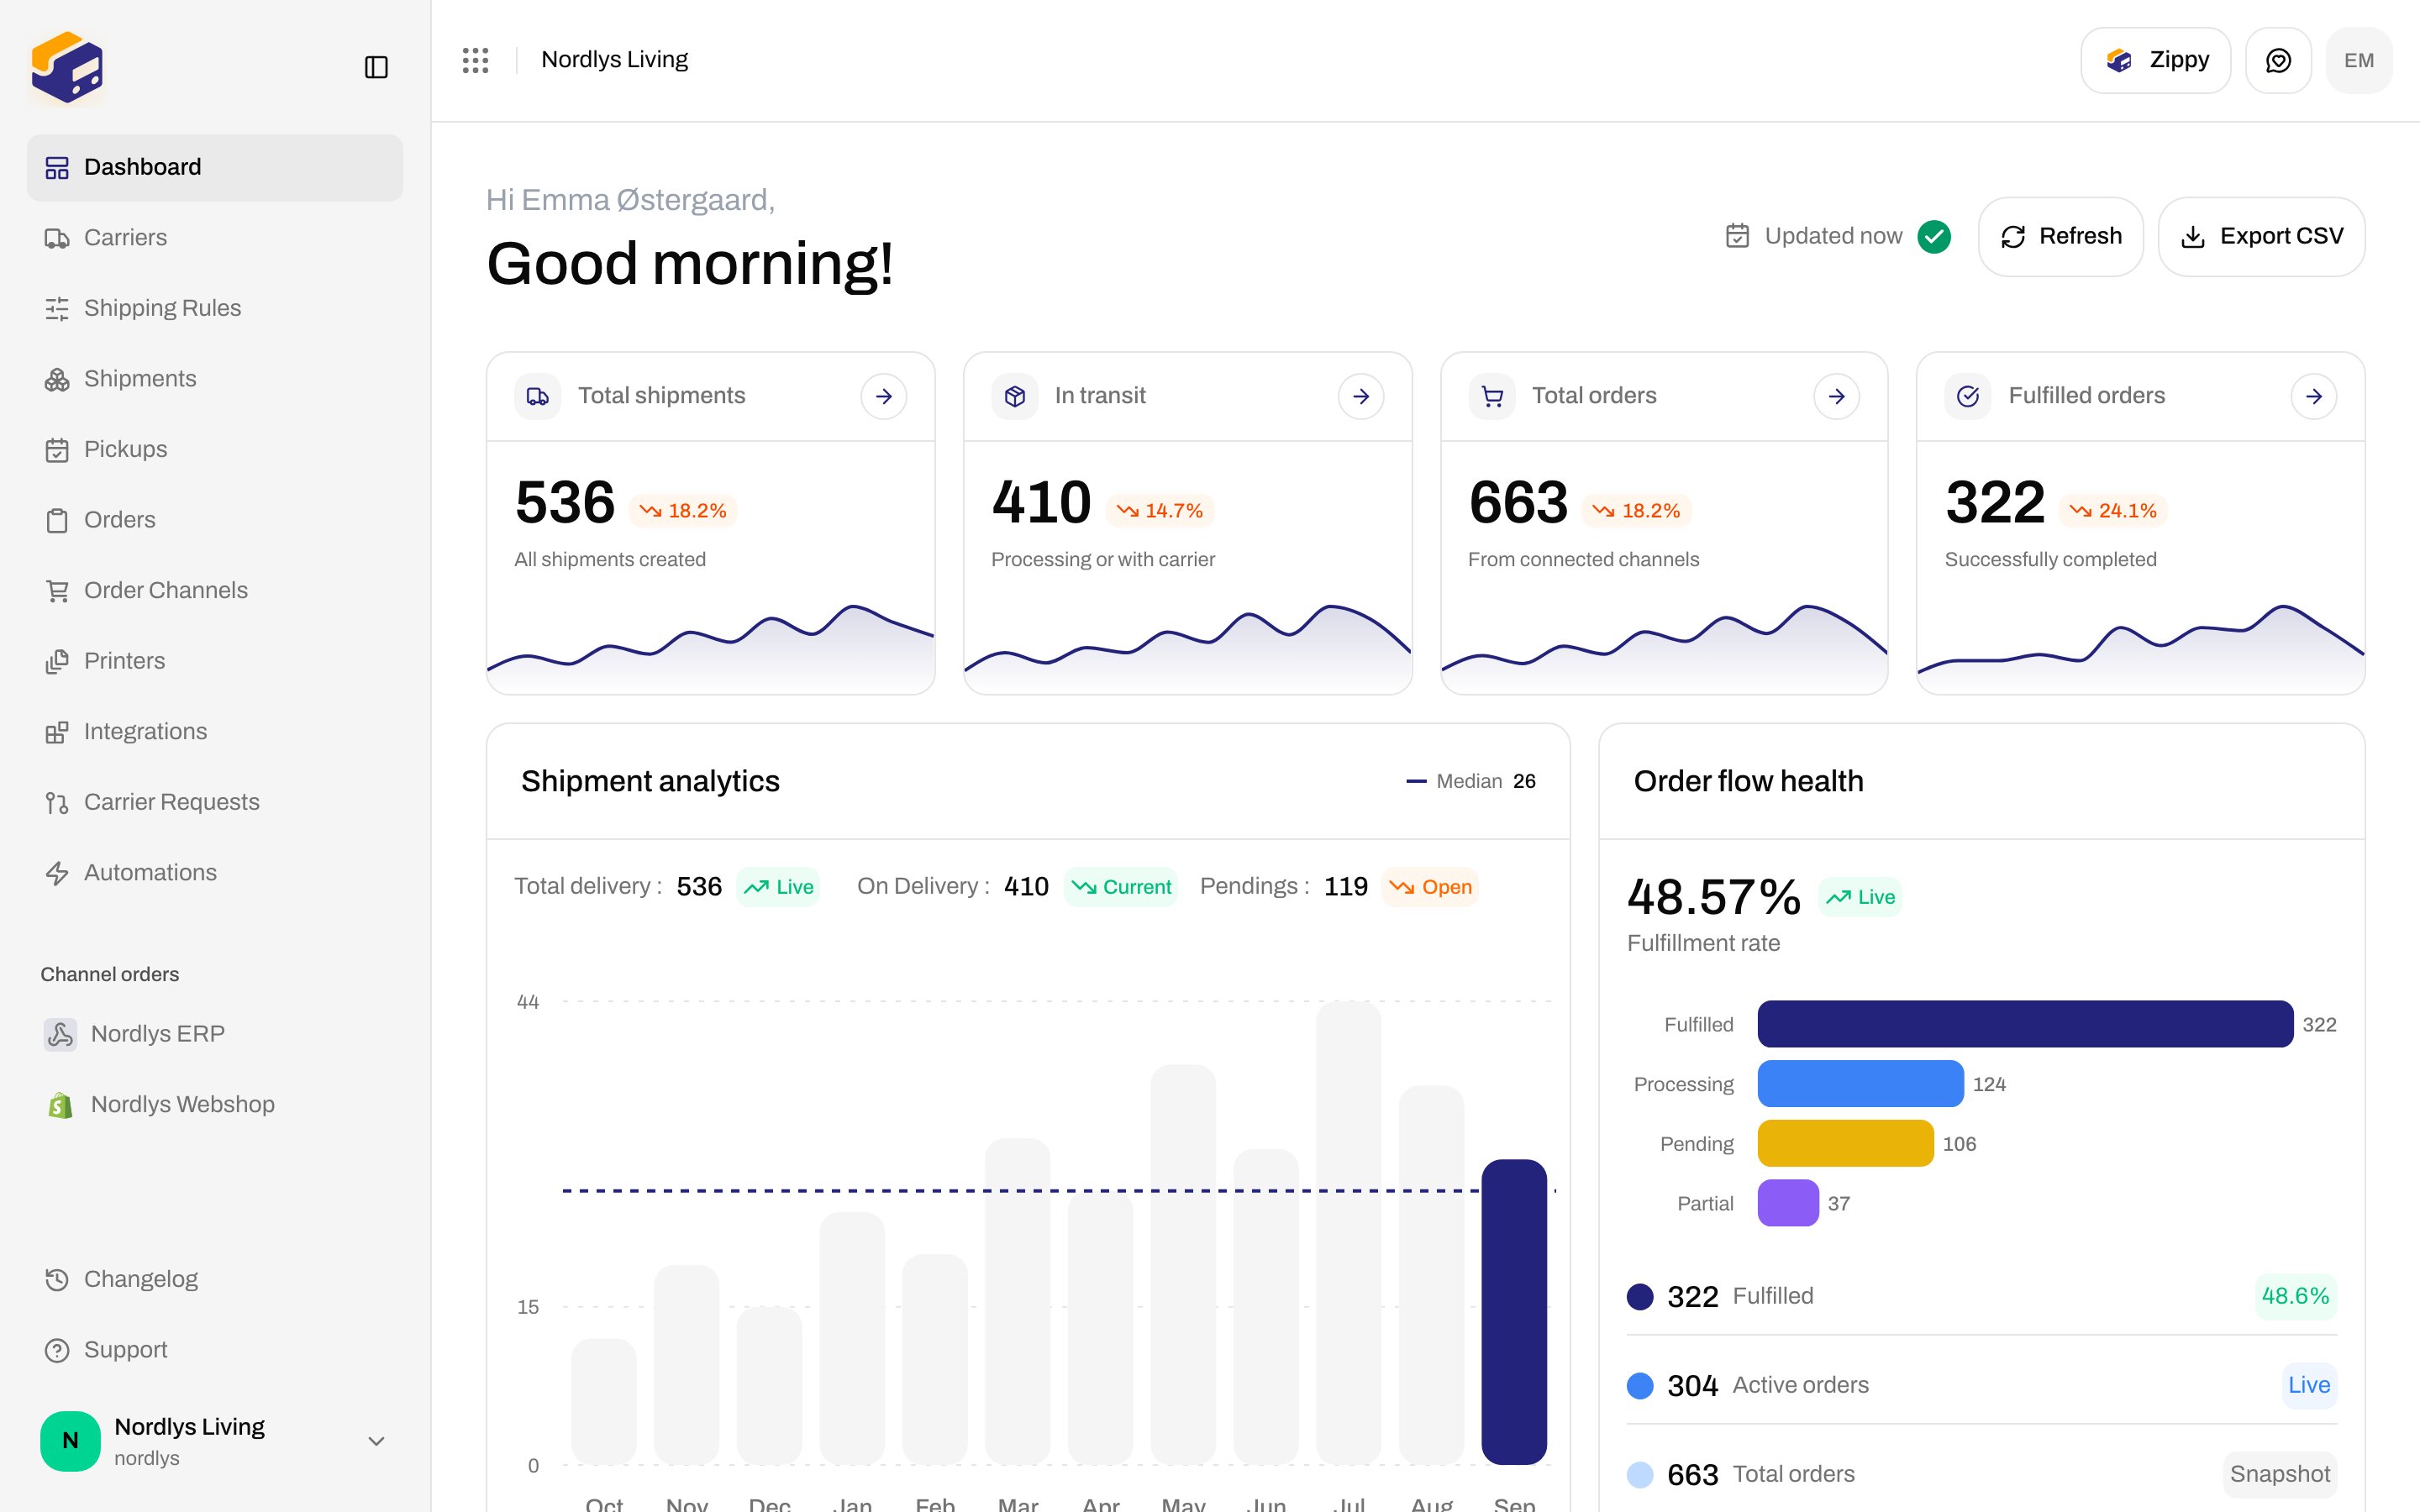
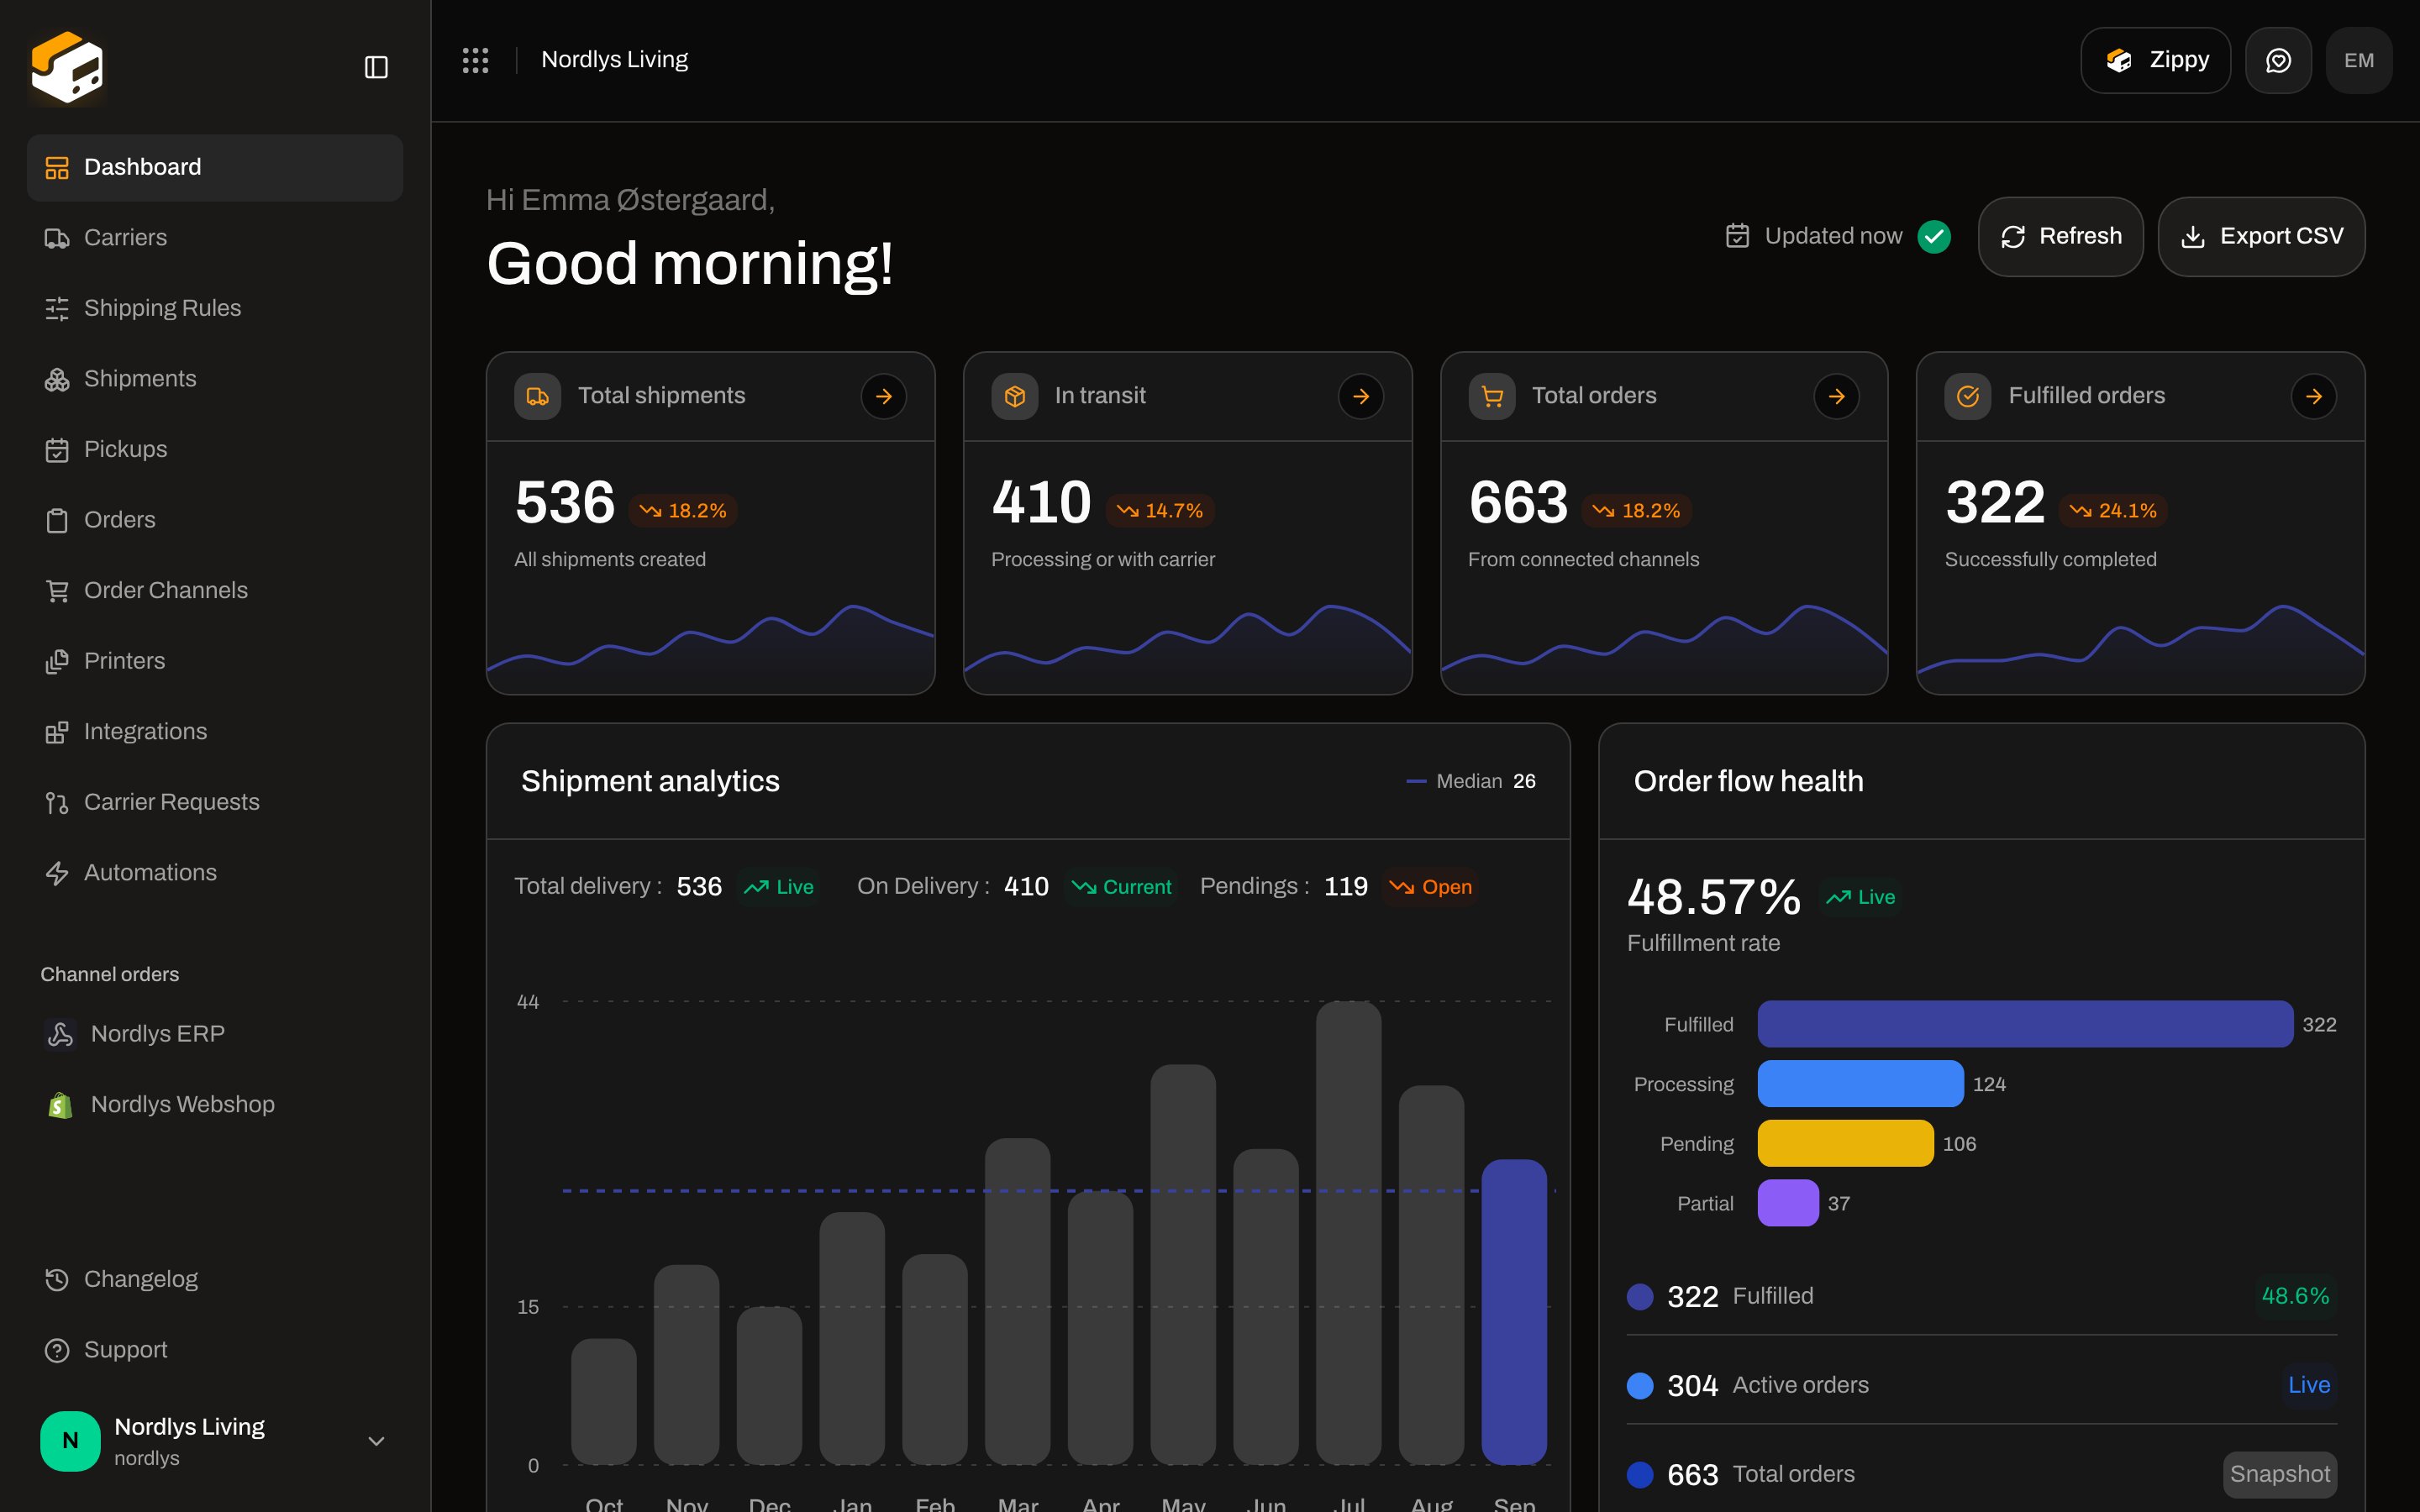 Use one of these entry points:
| Starting from | What you click |
| ----------------------------------------------- | -------------------------------------------------------- |
| **Shipments** list | **Create shipment** in the page header |
| Empty **Shipments** list | **Create Shipment** in the empty state |
| **Orders** list | **Create Shipment** on a pending or processing order row |
| Order detail (no shipments yet) | **Create Shipment** in the page header |
| Order **Shipments** tab (already has shipments) | **Add Shipment** |
Use one of these entry points:
| Starting from | What you click |
| ----------------------------------------------- | -------------------------------------------------------- |
| **Shipments** list | **Create shipment** in the page header |
| Empty **Shipments** list | **Create Shipment** in the empty state |
| **Orders** list | **Create Shipment** on a pending or processing order row |
| Order detail (no shipments yet) | **Create Shipment** in the page header |
| Order **Shipments** tab (already has shipments) | **Add Shipment** |
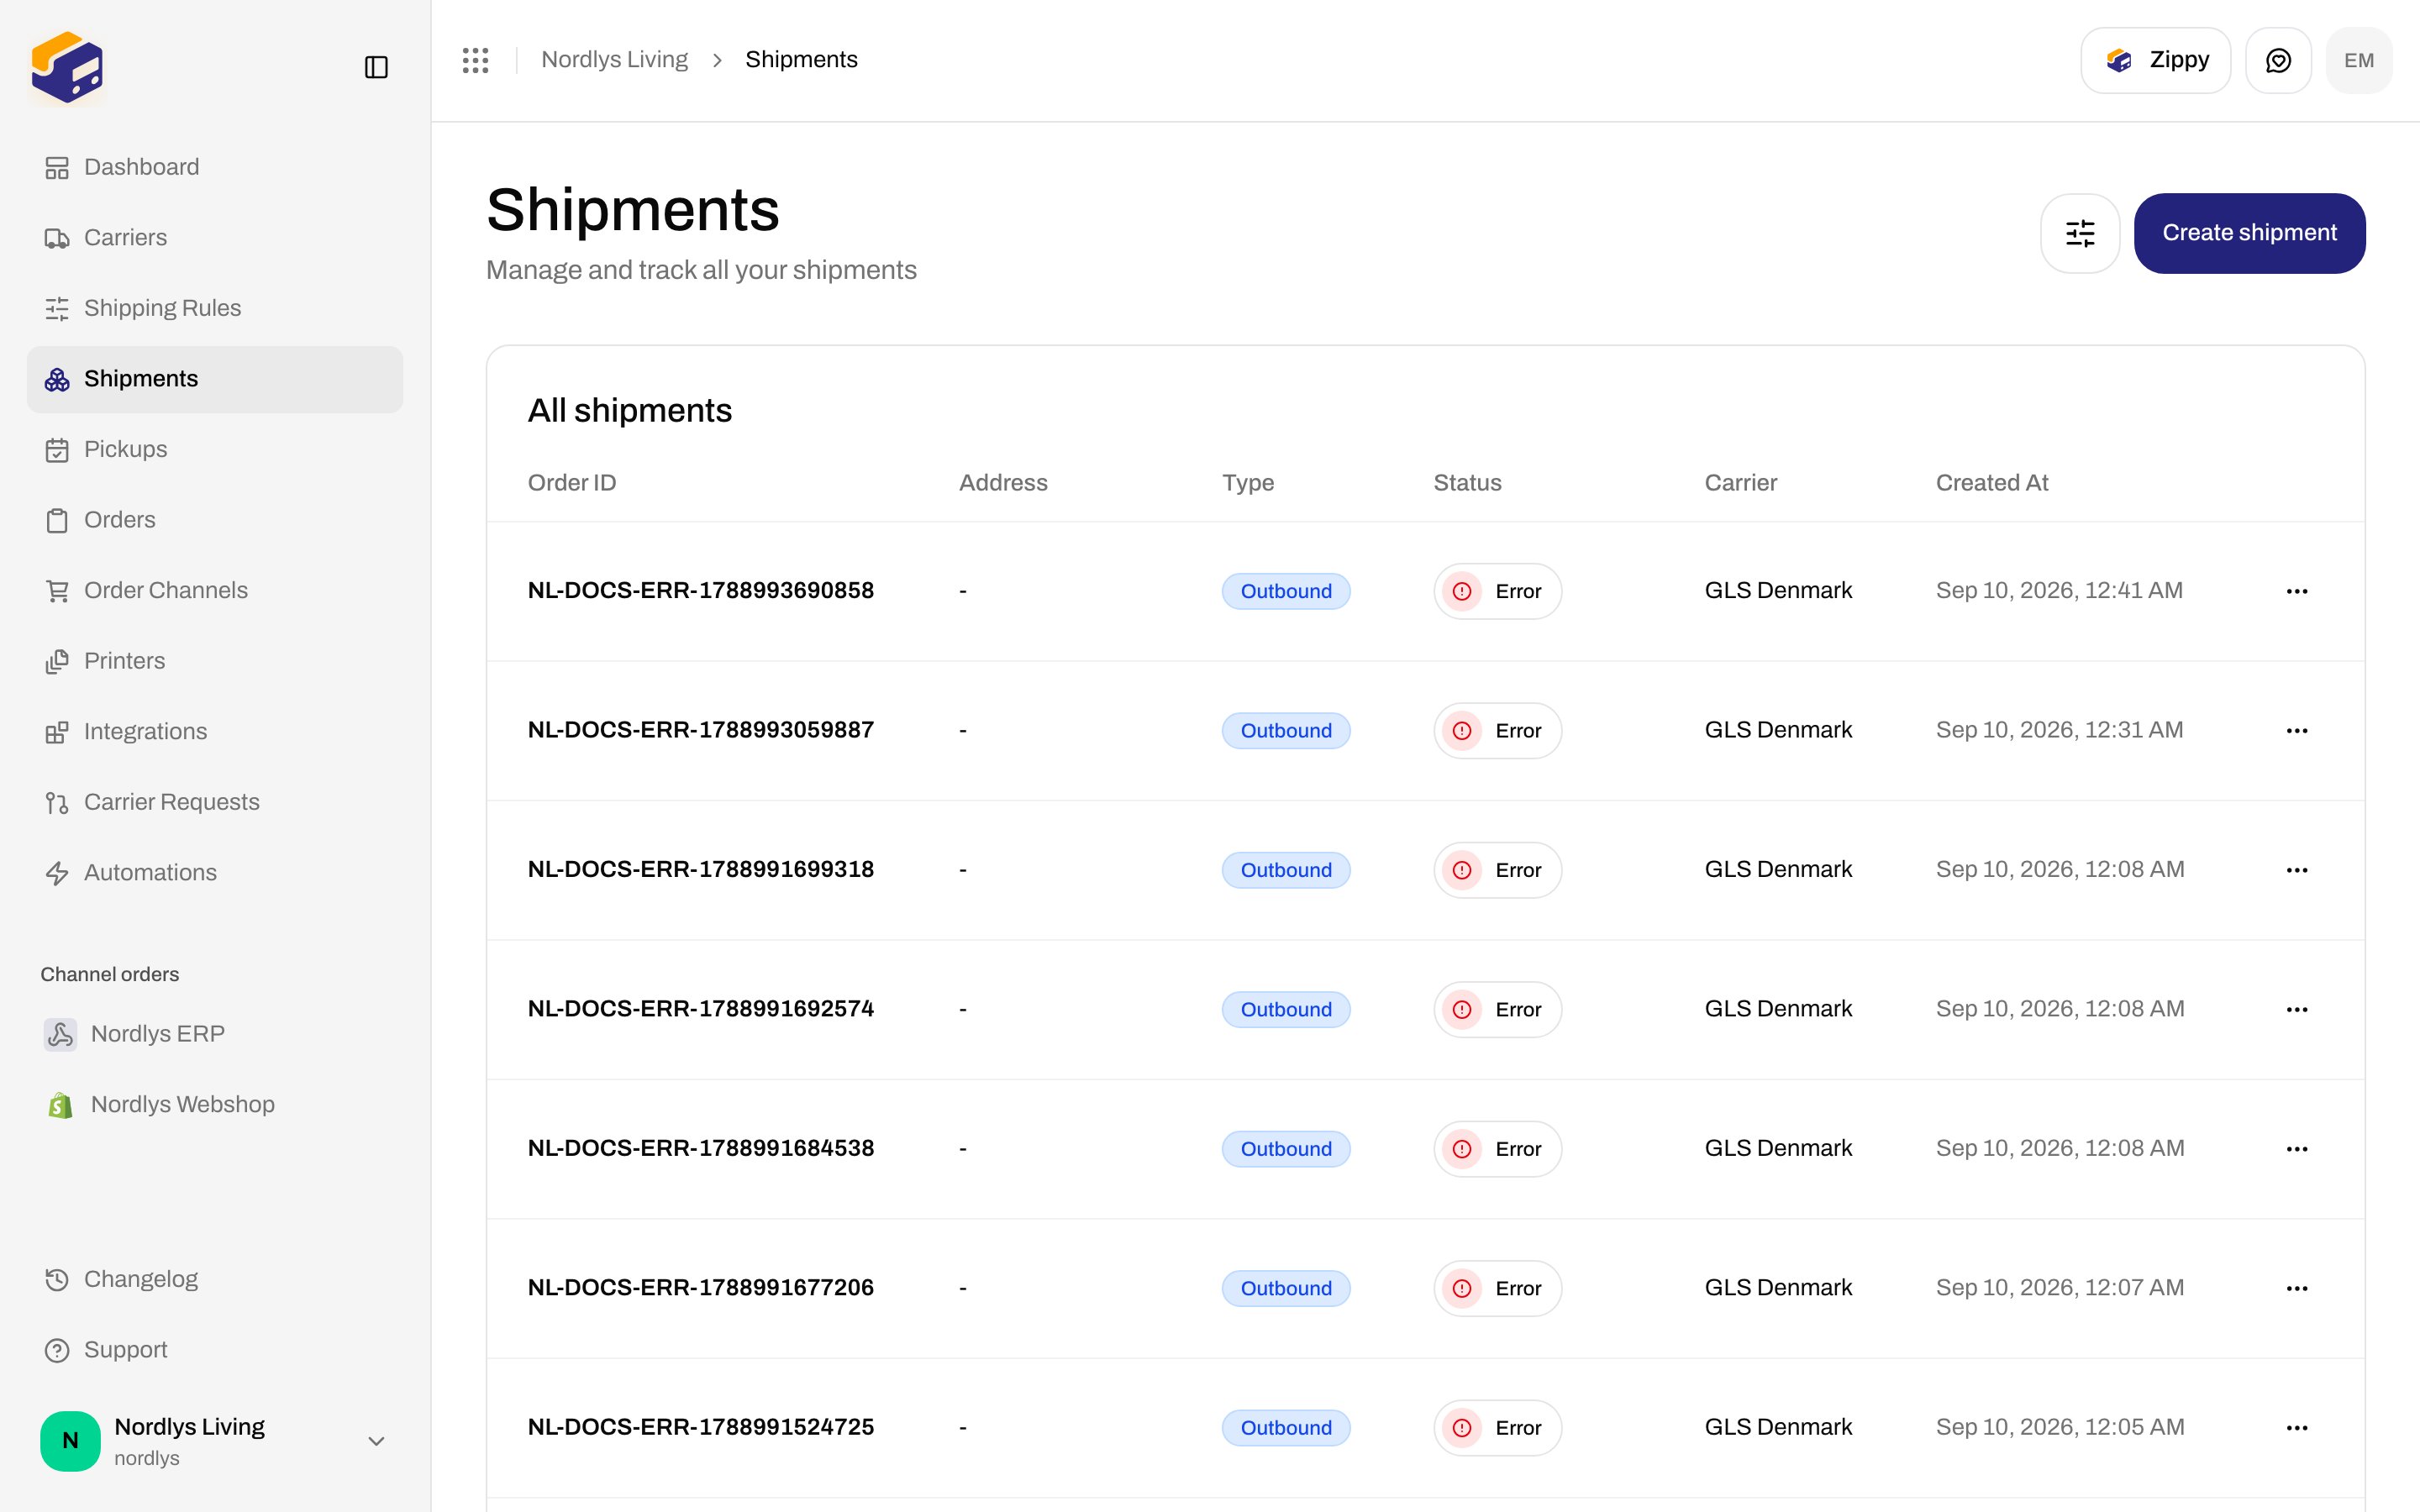
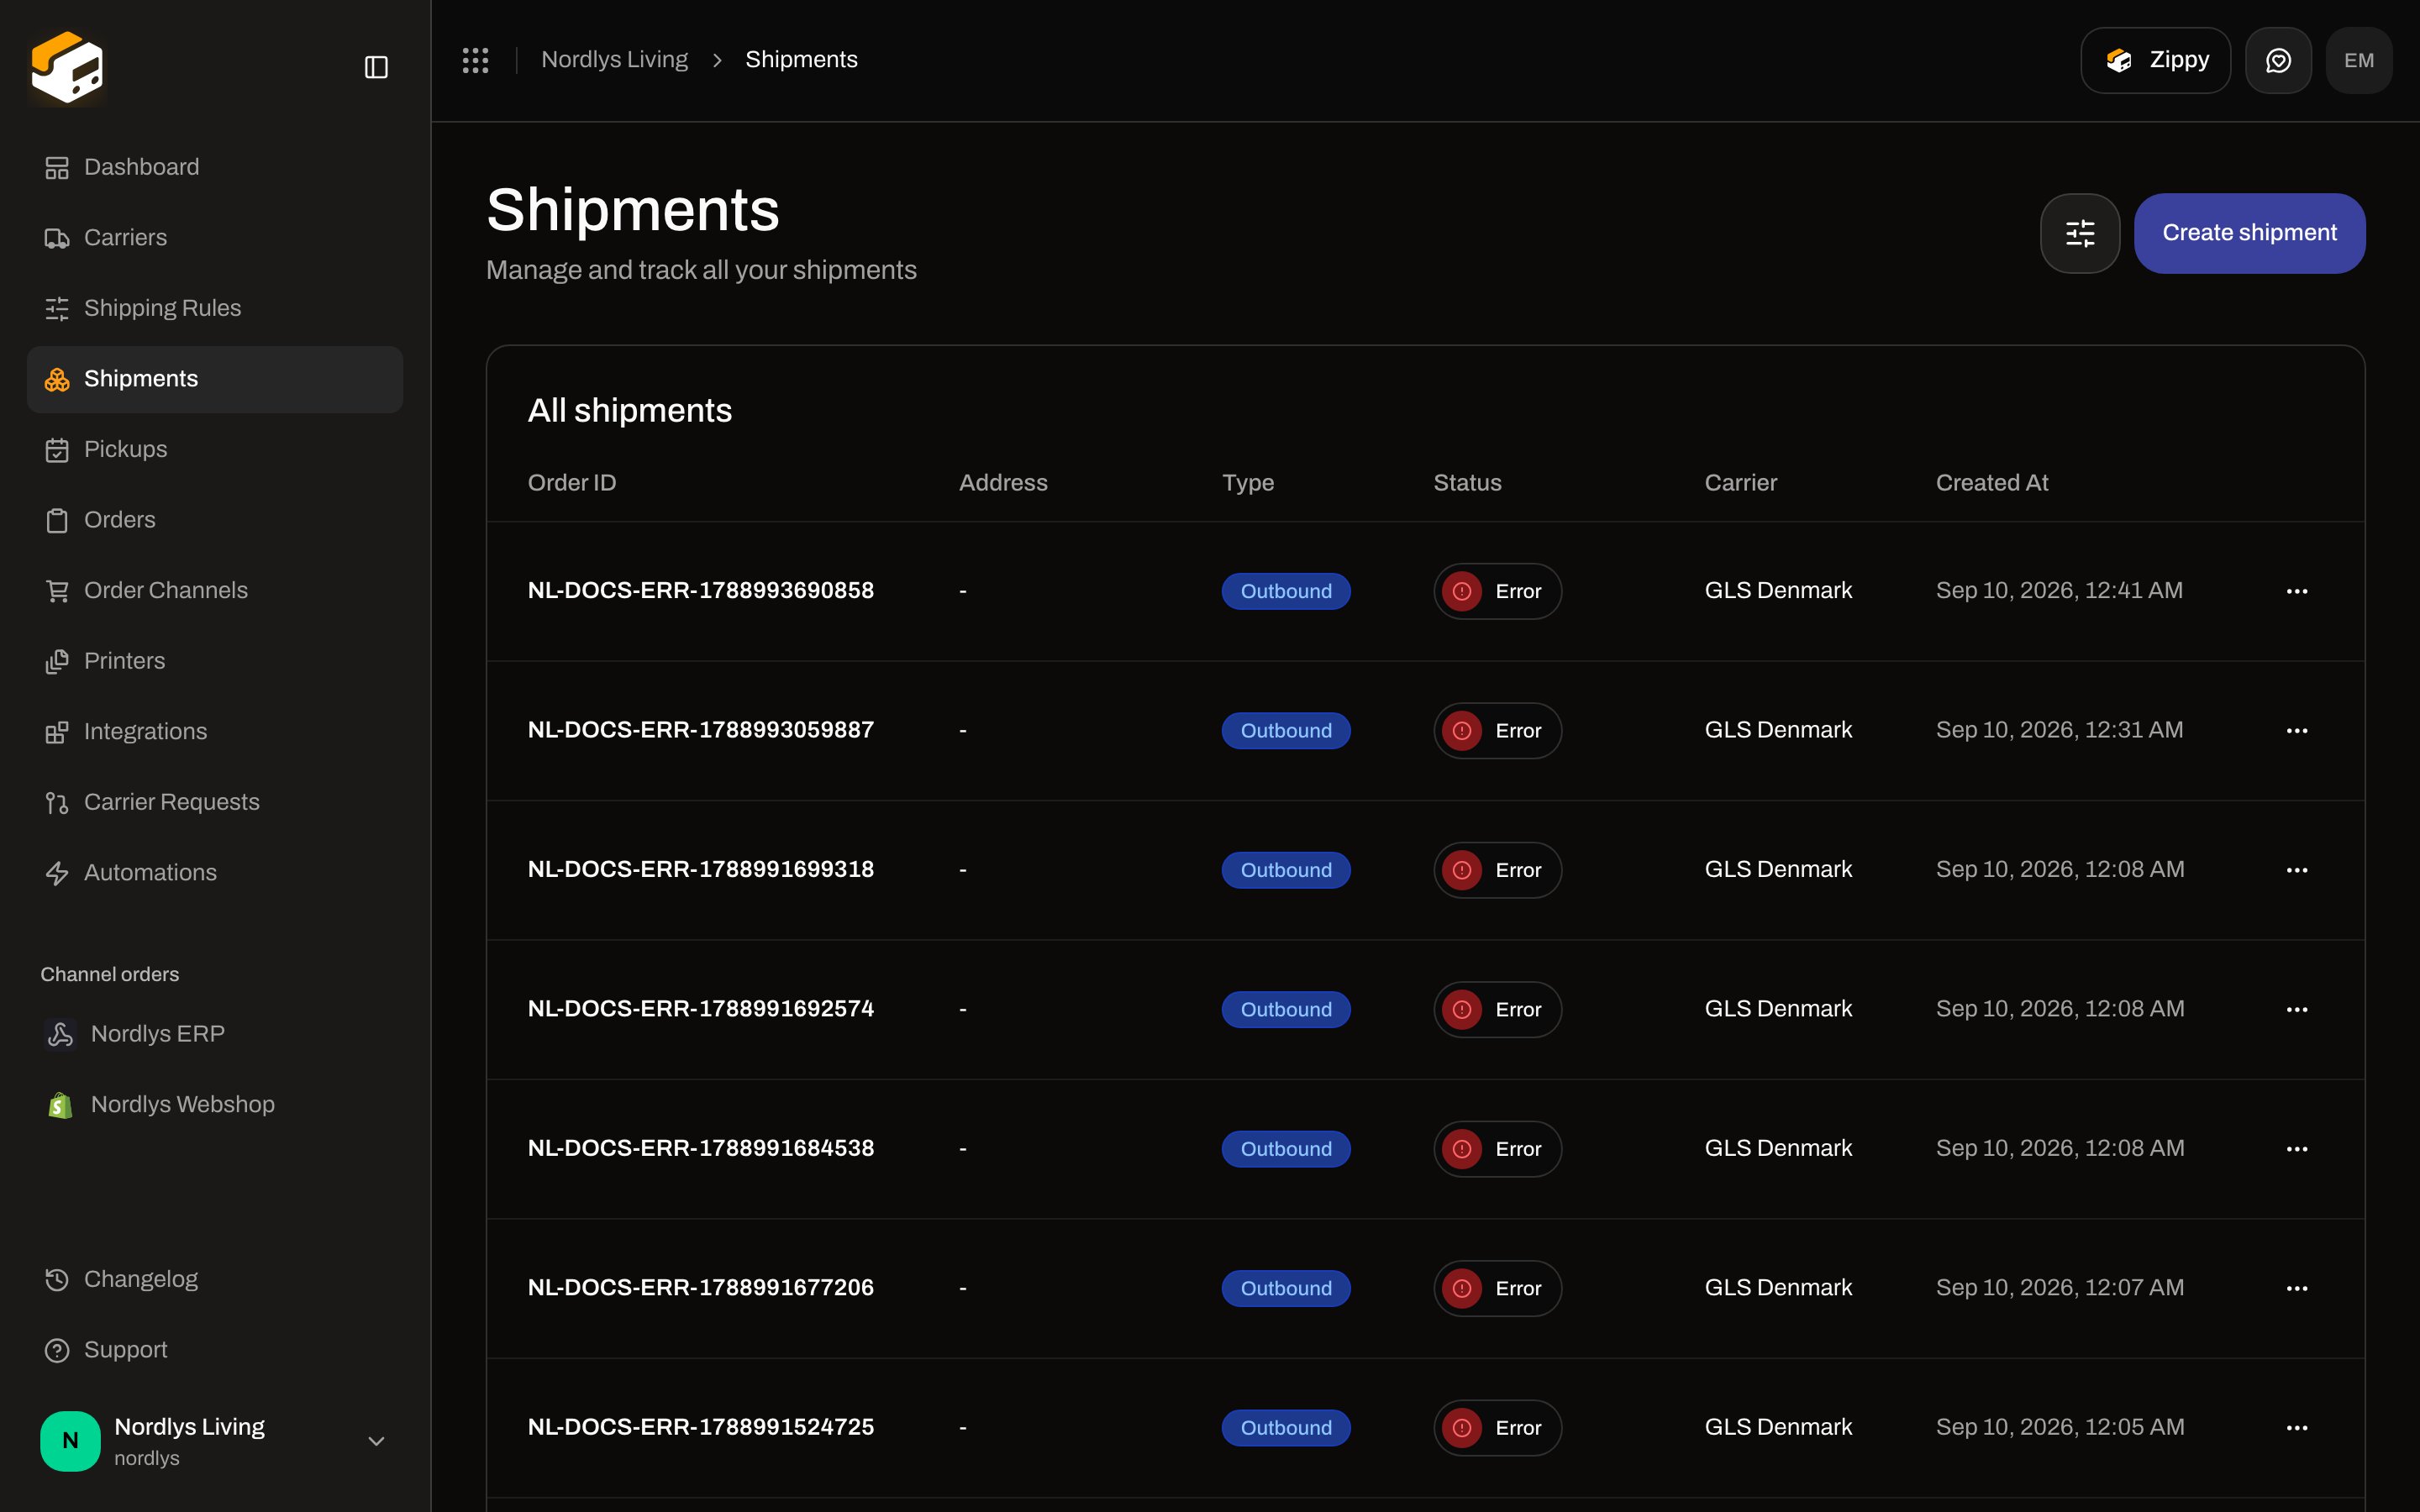 Creating from an order is faster: Zippendo copies the customer, shipping address, and order lines. A standalone shipment is for ad-hoc sends, samples, or anything that never lived as an order.
## Before you start
* **Sender address** — Settings → Sender (the “from” on the label).
* **Carrier** — at least one connected under **Carriers**. Products come from that carrier (for example GLS PrivateDelivery or PostNord MyPack).
* **Order channel** — optional. Skip it if you are creating a standalone shipment.
You do not pick a live price on this screen. The create form asks for **carrier** and **product**, not a rate quote. Checkout rates are a separate flow — see [Checkout](/docs/tutorials/checkout) and the [shipping quotes quickstart](/docs/quickstarts/shipping-quotes).
## Create a standalone shipment
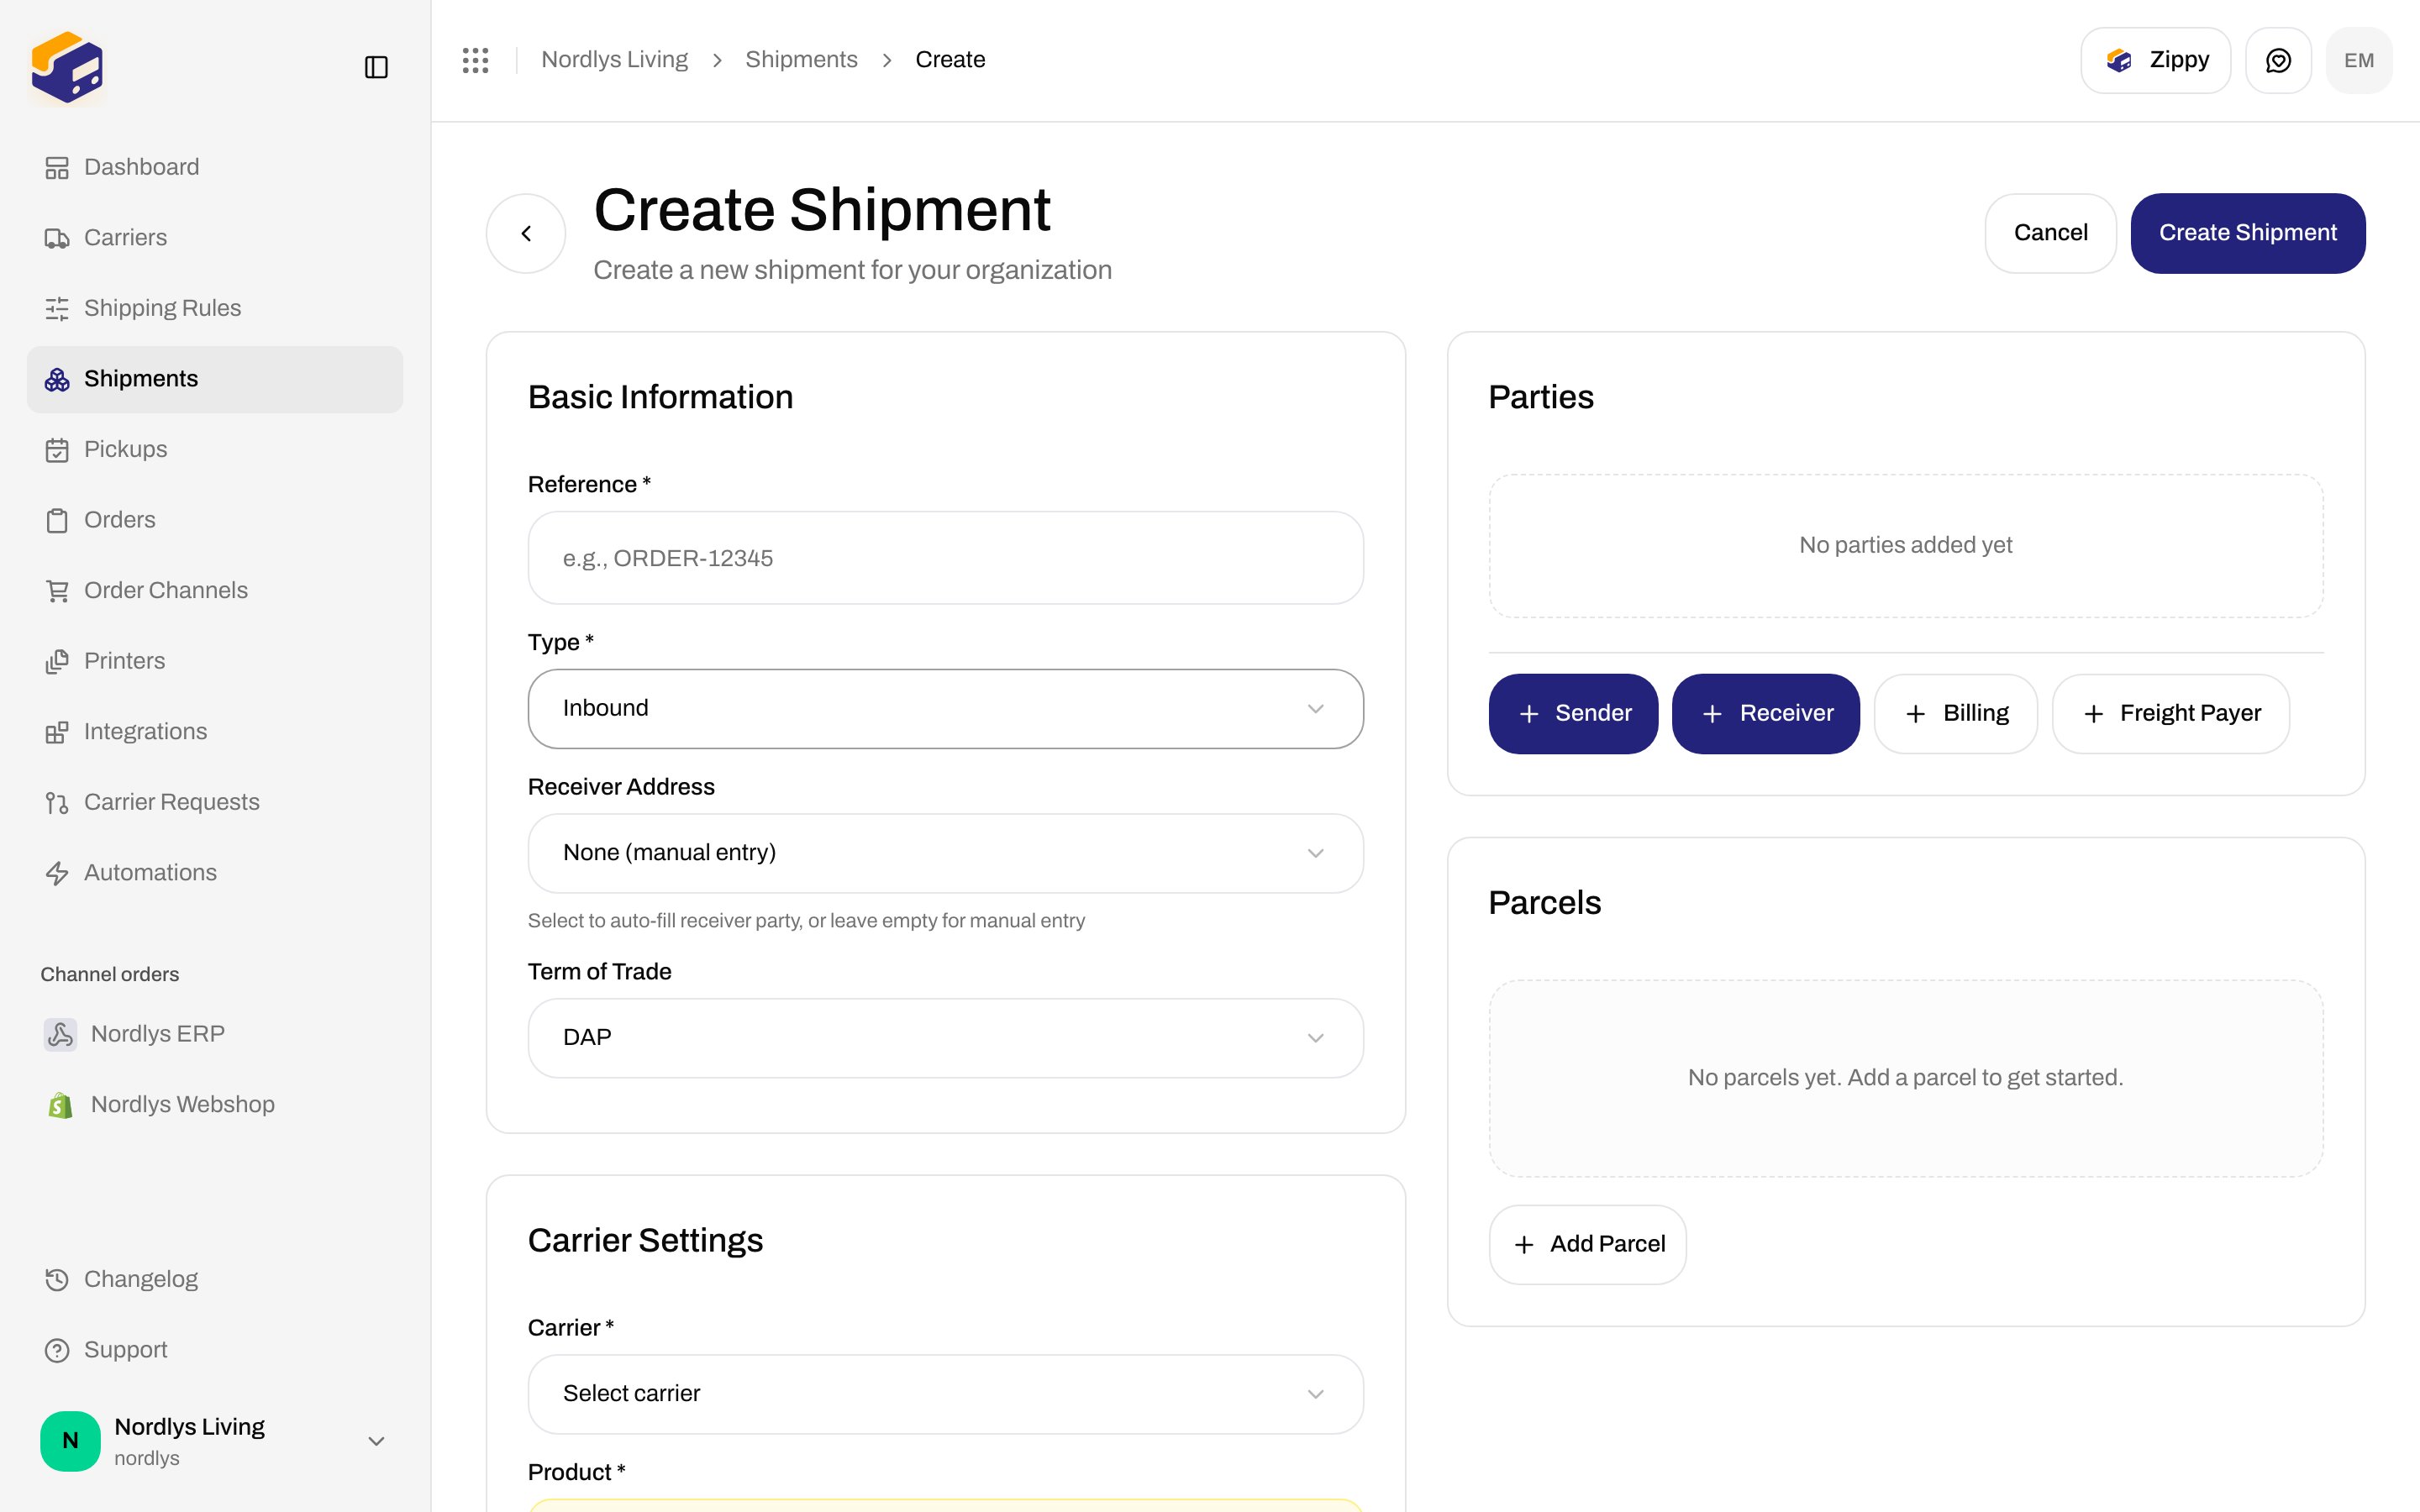
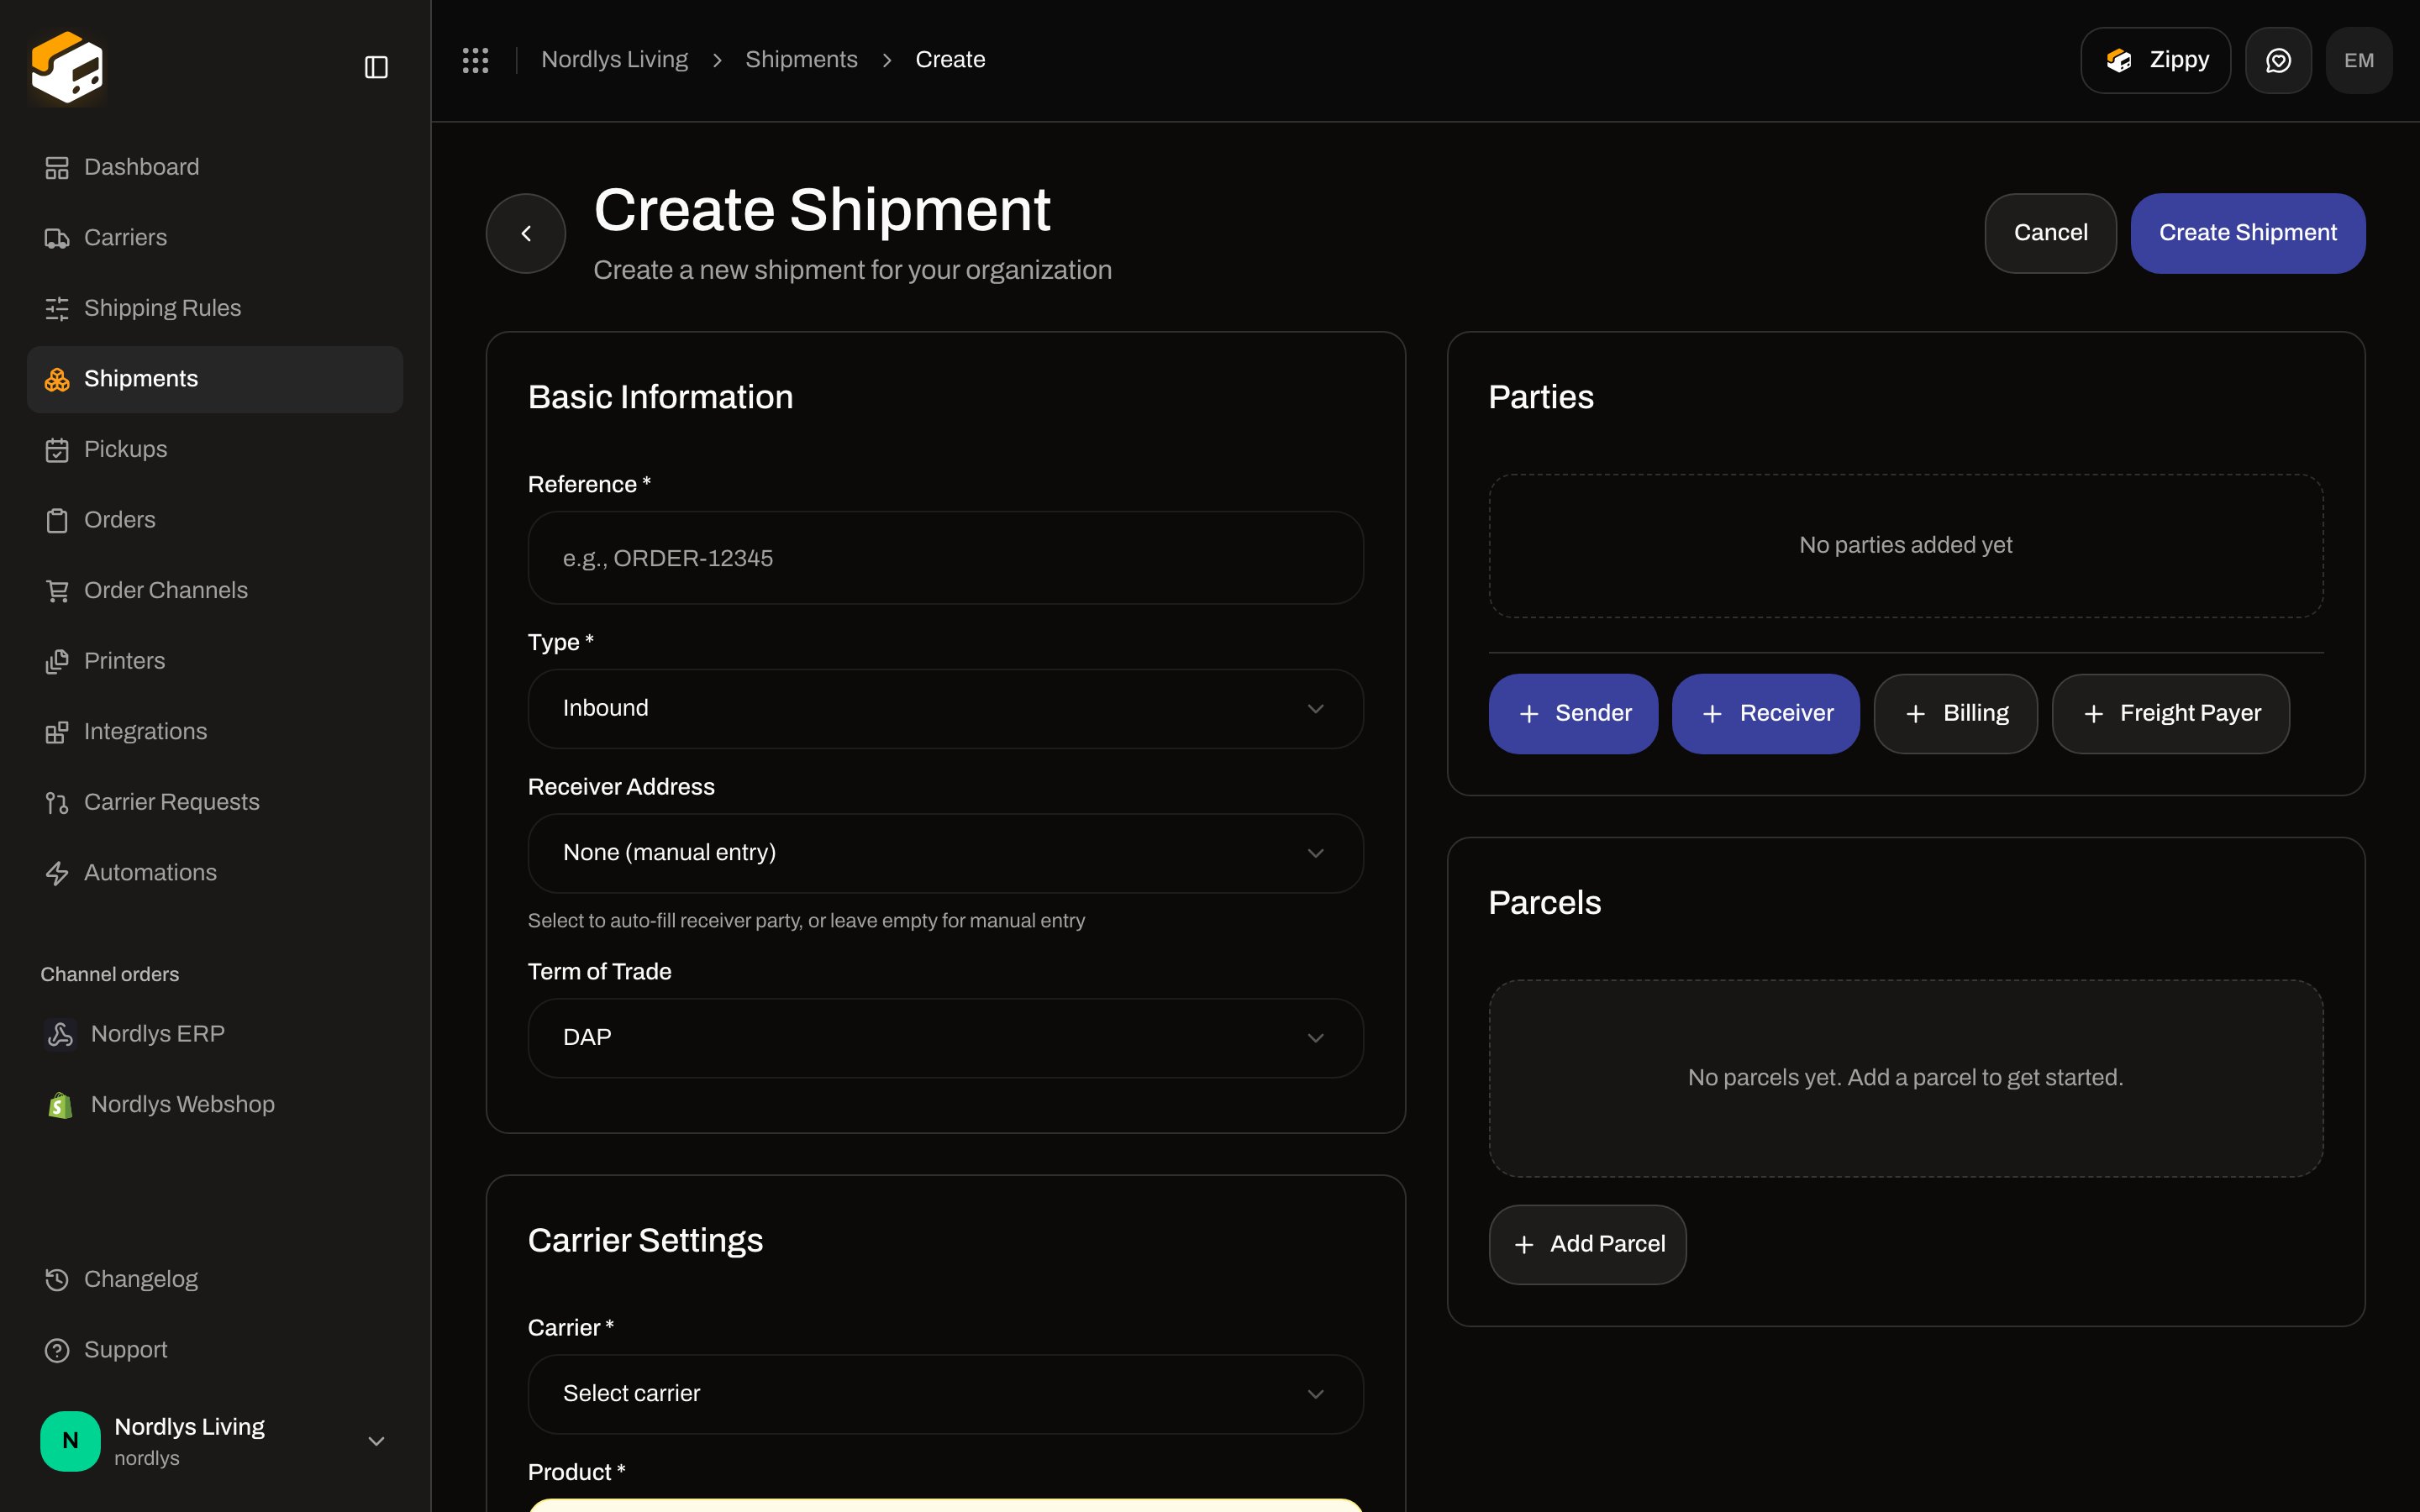
Open **Shipments → Create shipment**. The page title is **Create Shipment**. Two columns hold the form: settings on the left, **Parties** and **Parcels** on the right.
Creating from an order is faster: Zippendo copies the customer, shipping address, and order lines. A standalone shipment is for ad-hoc sends, samples, or anything that never lived as an order.
## Before you start
* **Sender address** — Settings → Sender (the “from” on the label).
* **Carrier** — at least one connected under **Carriers**. Products come from that carrier (for example GLS PrivateDelivery or PostNord MyPack).
* **Order channel** — optional. Skip it if you are creating a standalone shipment.
You do not pick a live price on this screen. The create form asks for **carrier** and **product**, not a rate quote. Checkout rates are a separate flow — see [Checkout](/docs/tutorials/checkout) and the [shipping quotes quickstart](/docs/quickstarts/shipping-quotes).
## Create a standalone shipment
Open **Shipments → Create shipment**. The page title is **Create Shipment**. Two columns hold the form: settings on the left, **Parties** and **Parcels** on the right.
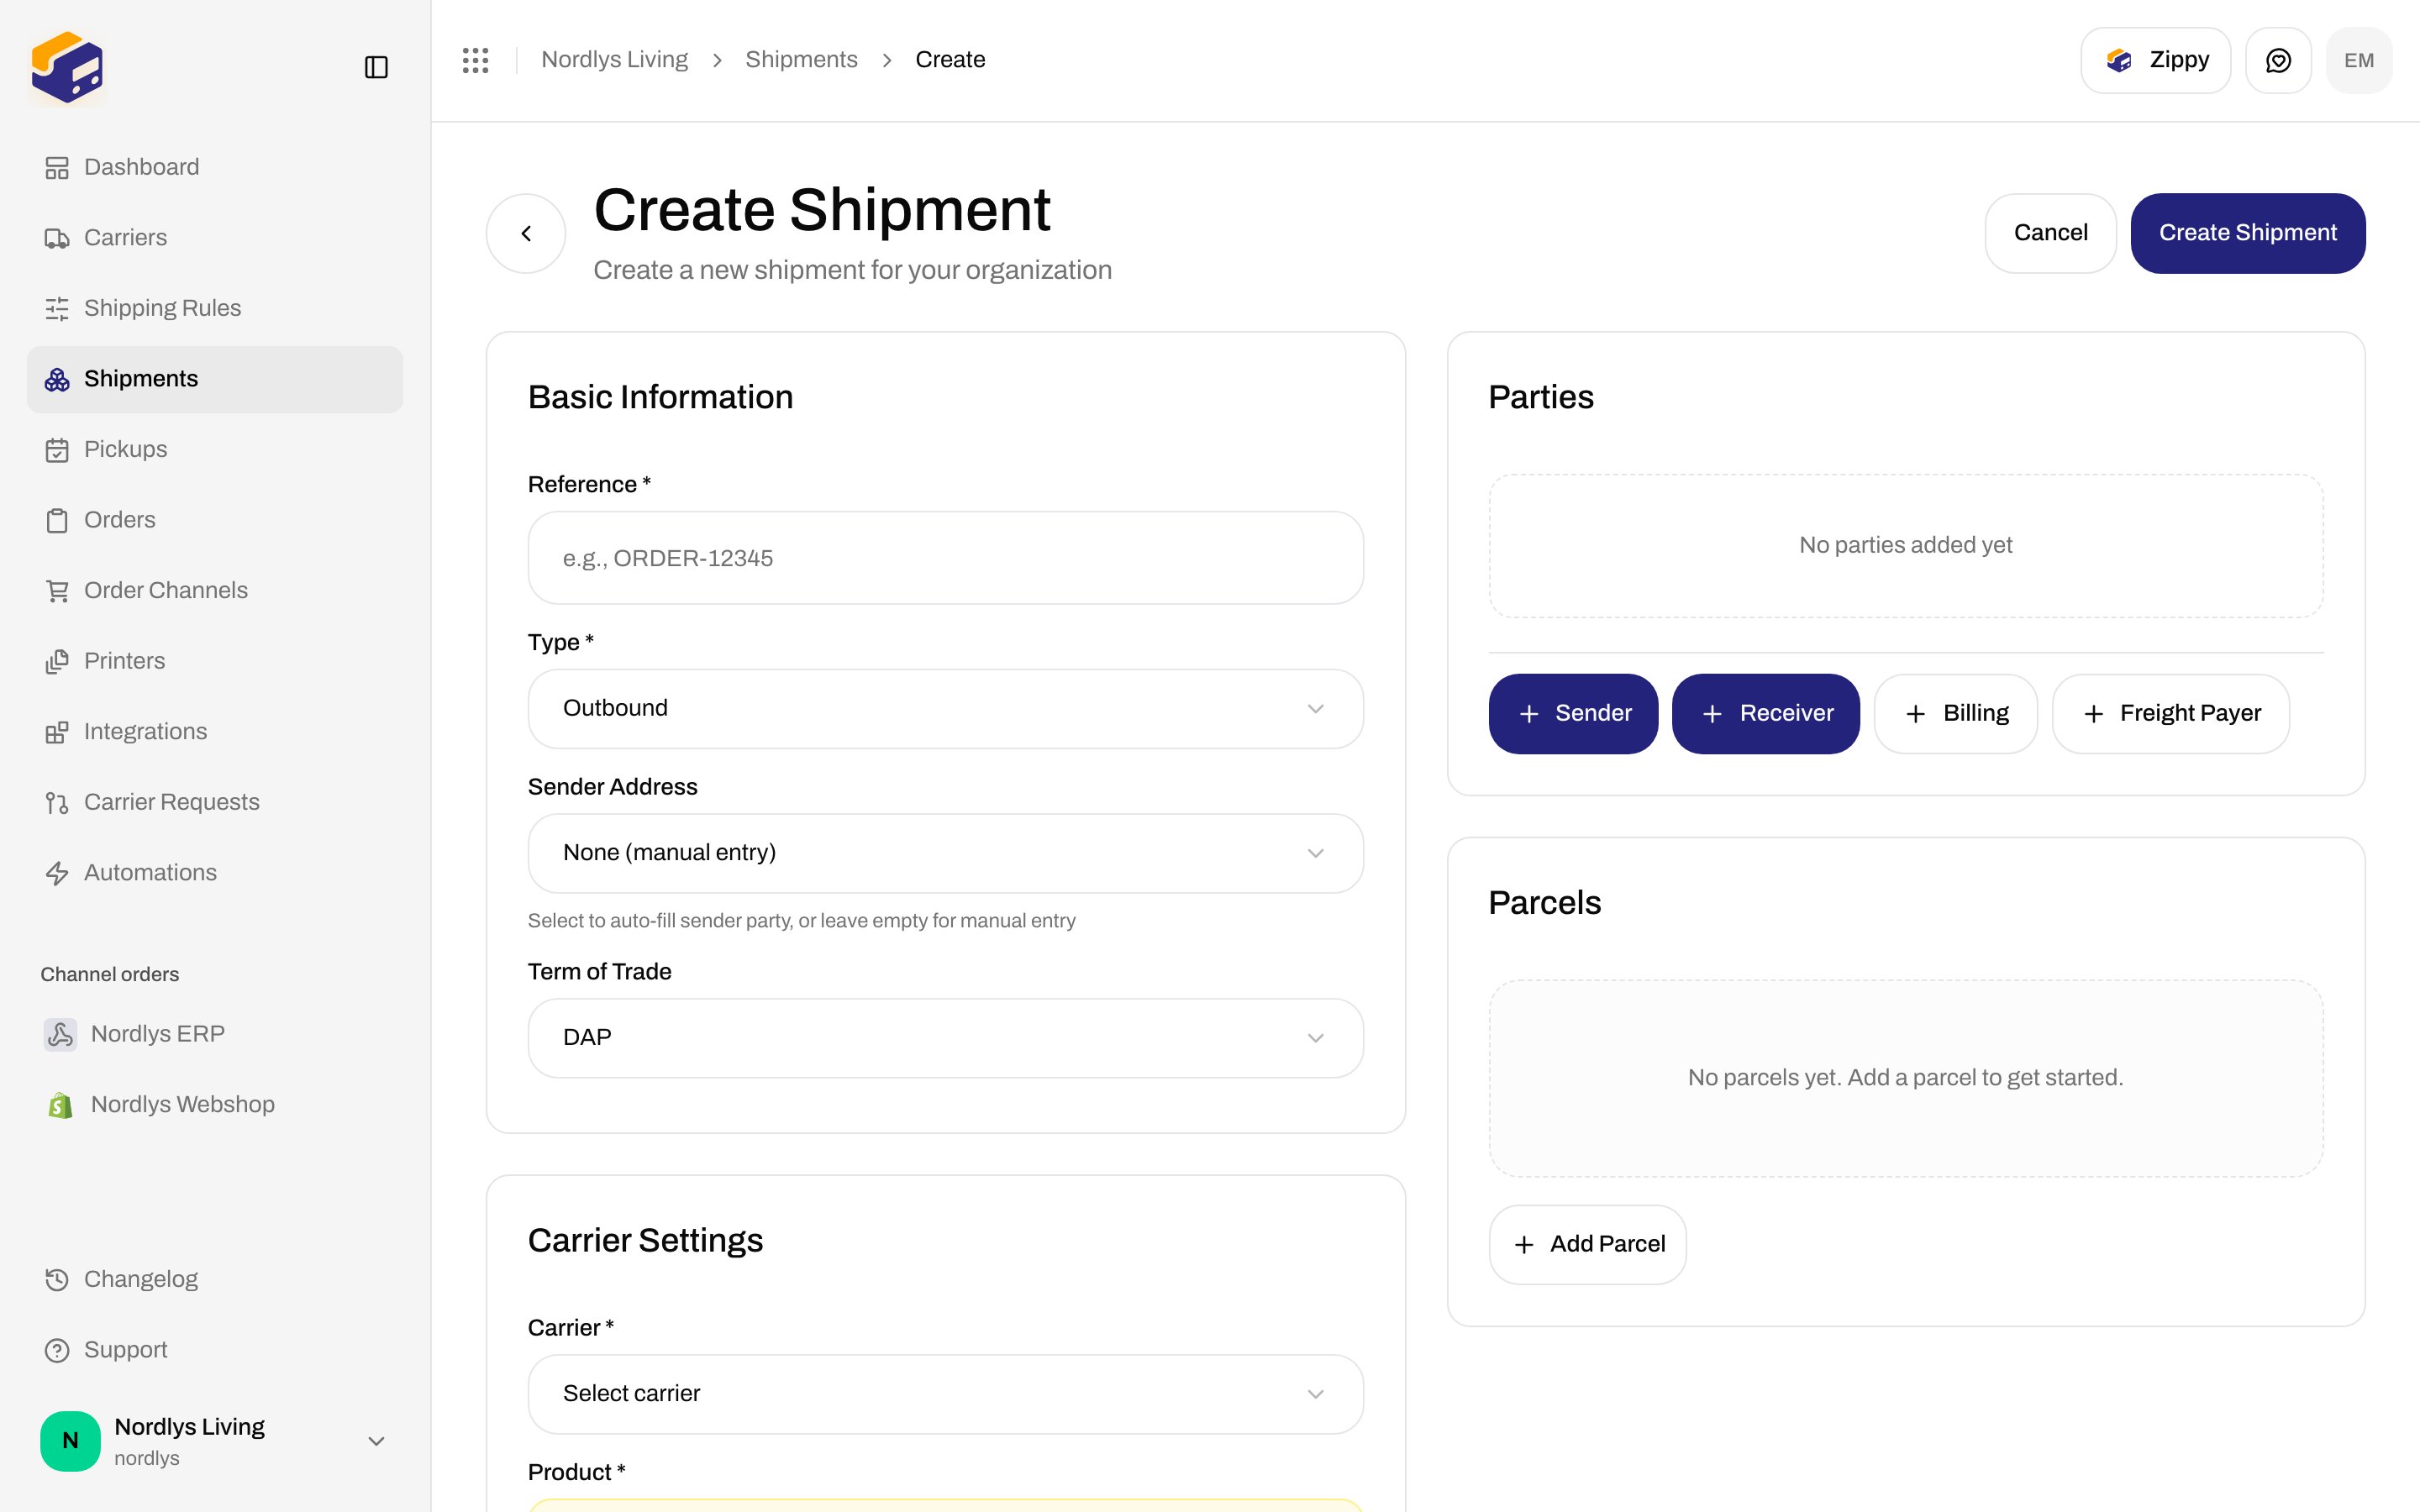
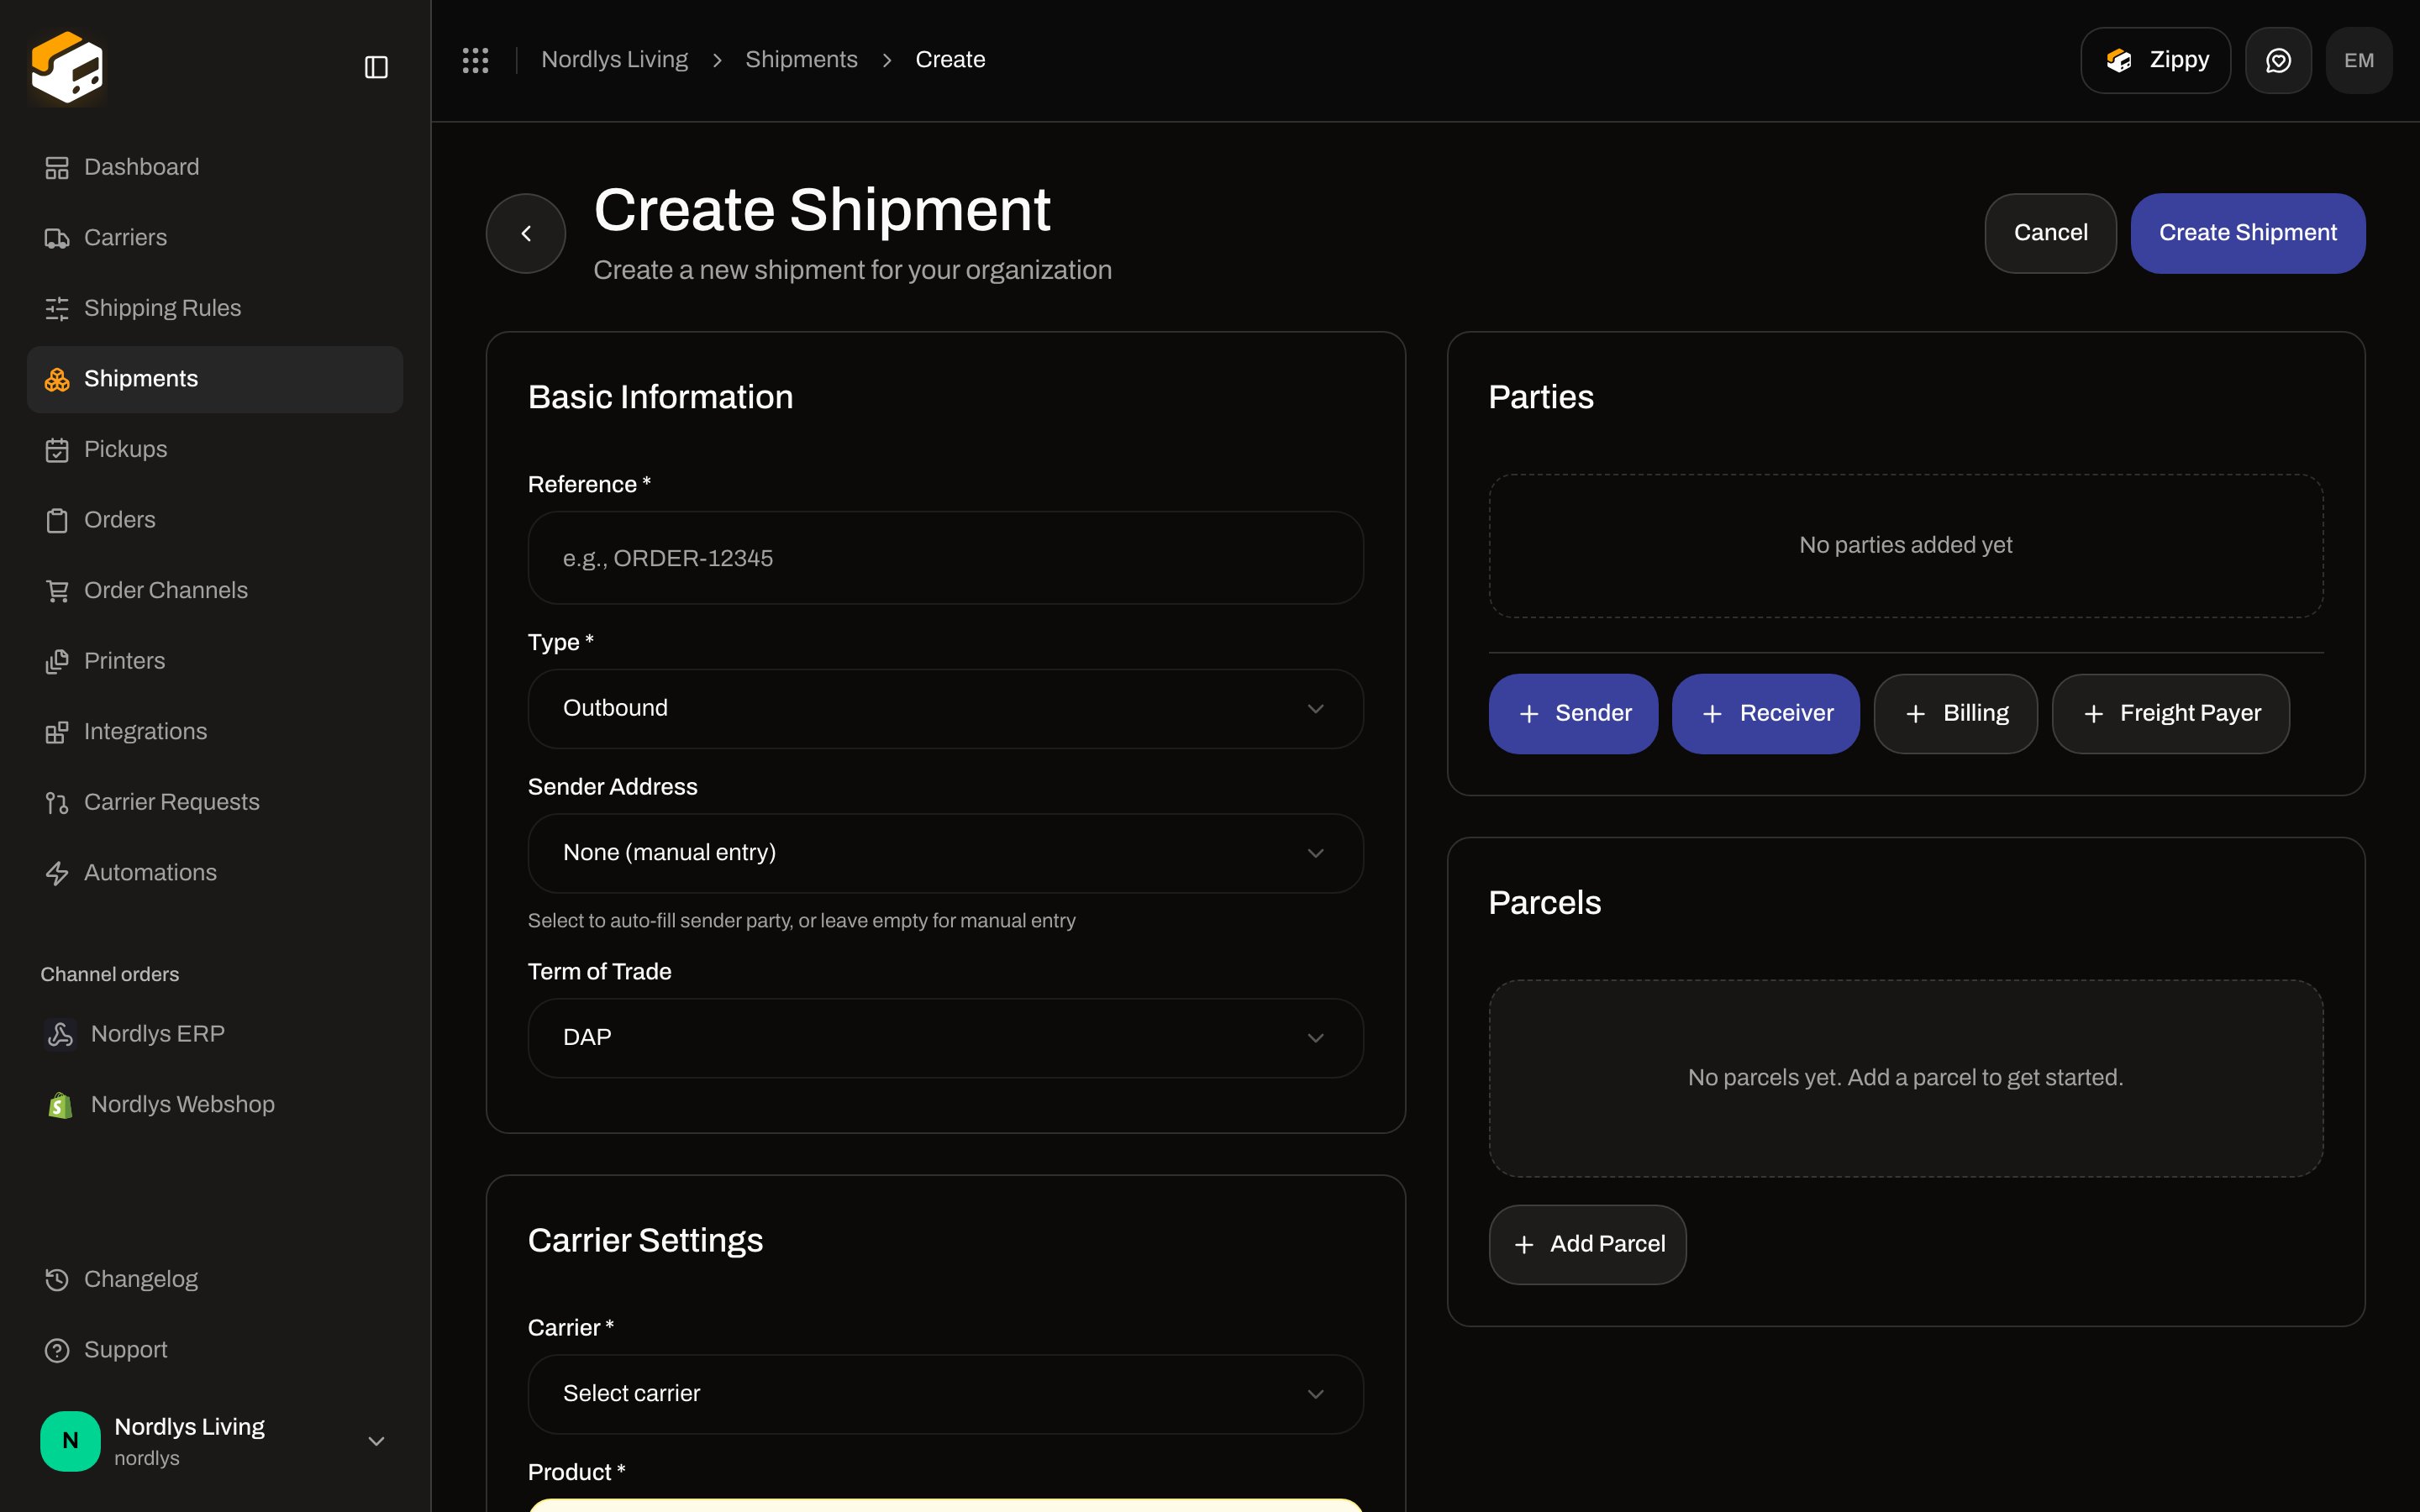 Fill in **Reference \*** (for example `ORDER-12345` — required). Set **Type \*** to **Outbound** (to a customer) or **Inbound** (a return coming back to you).
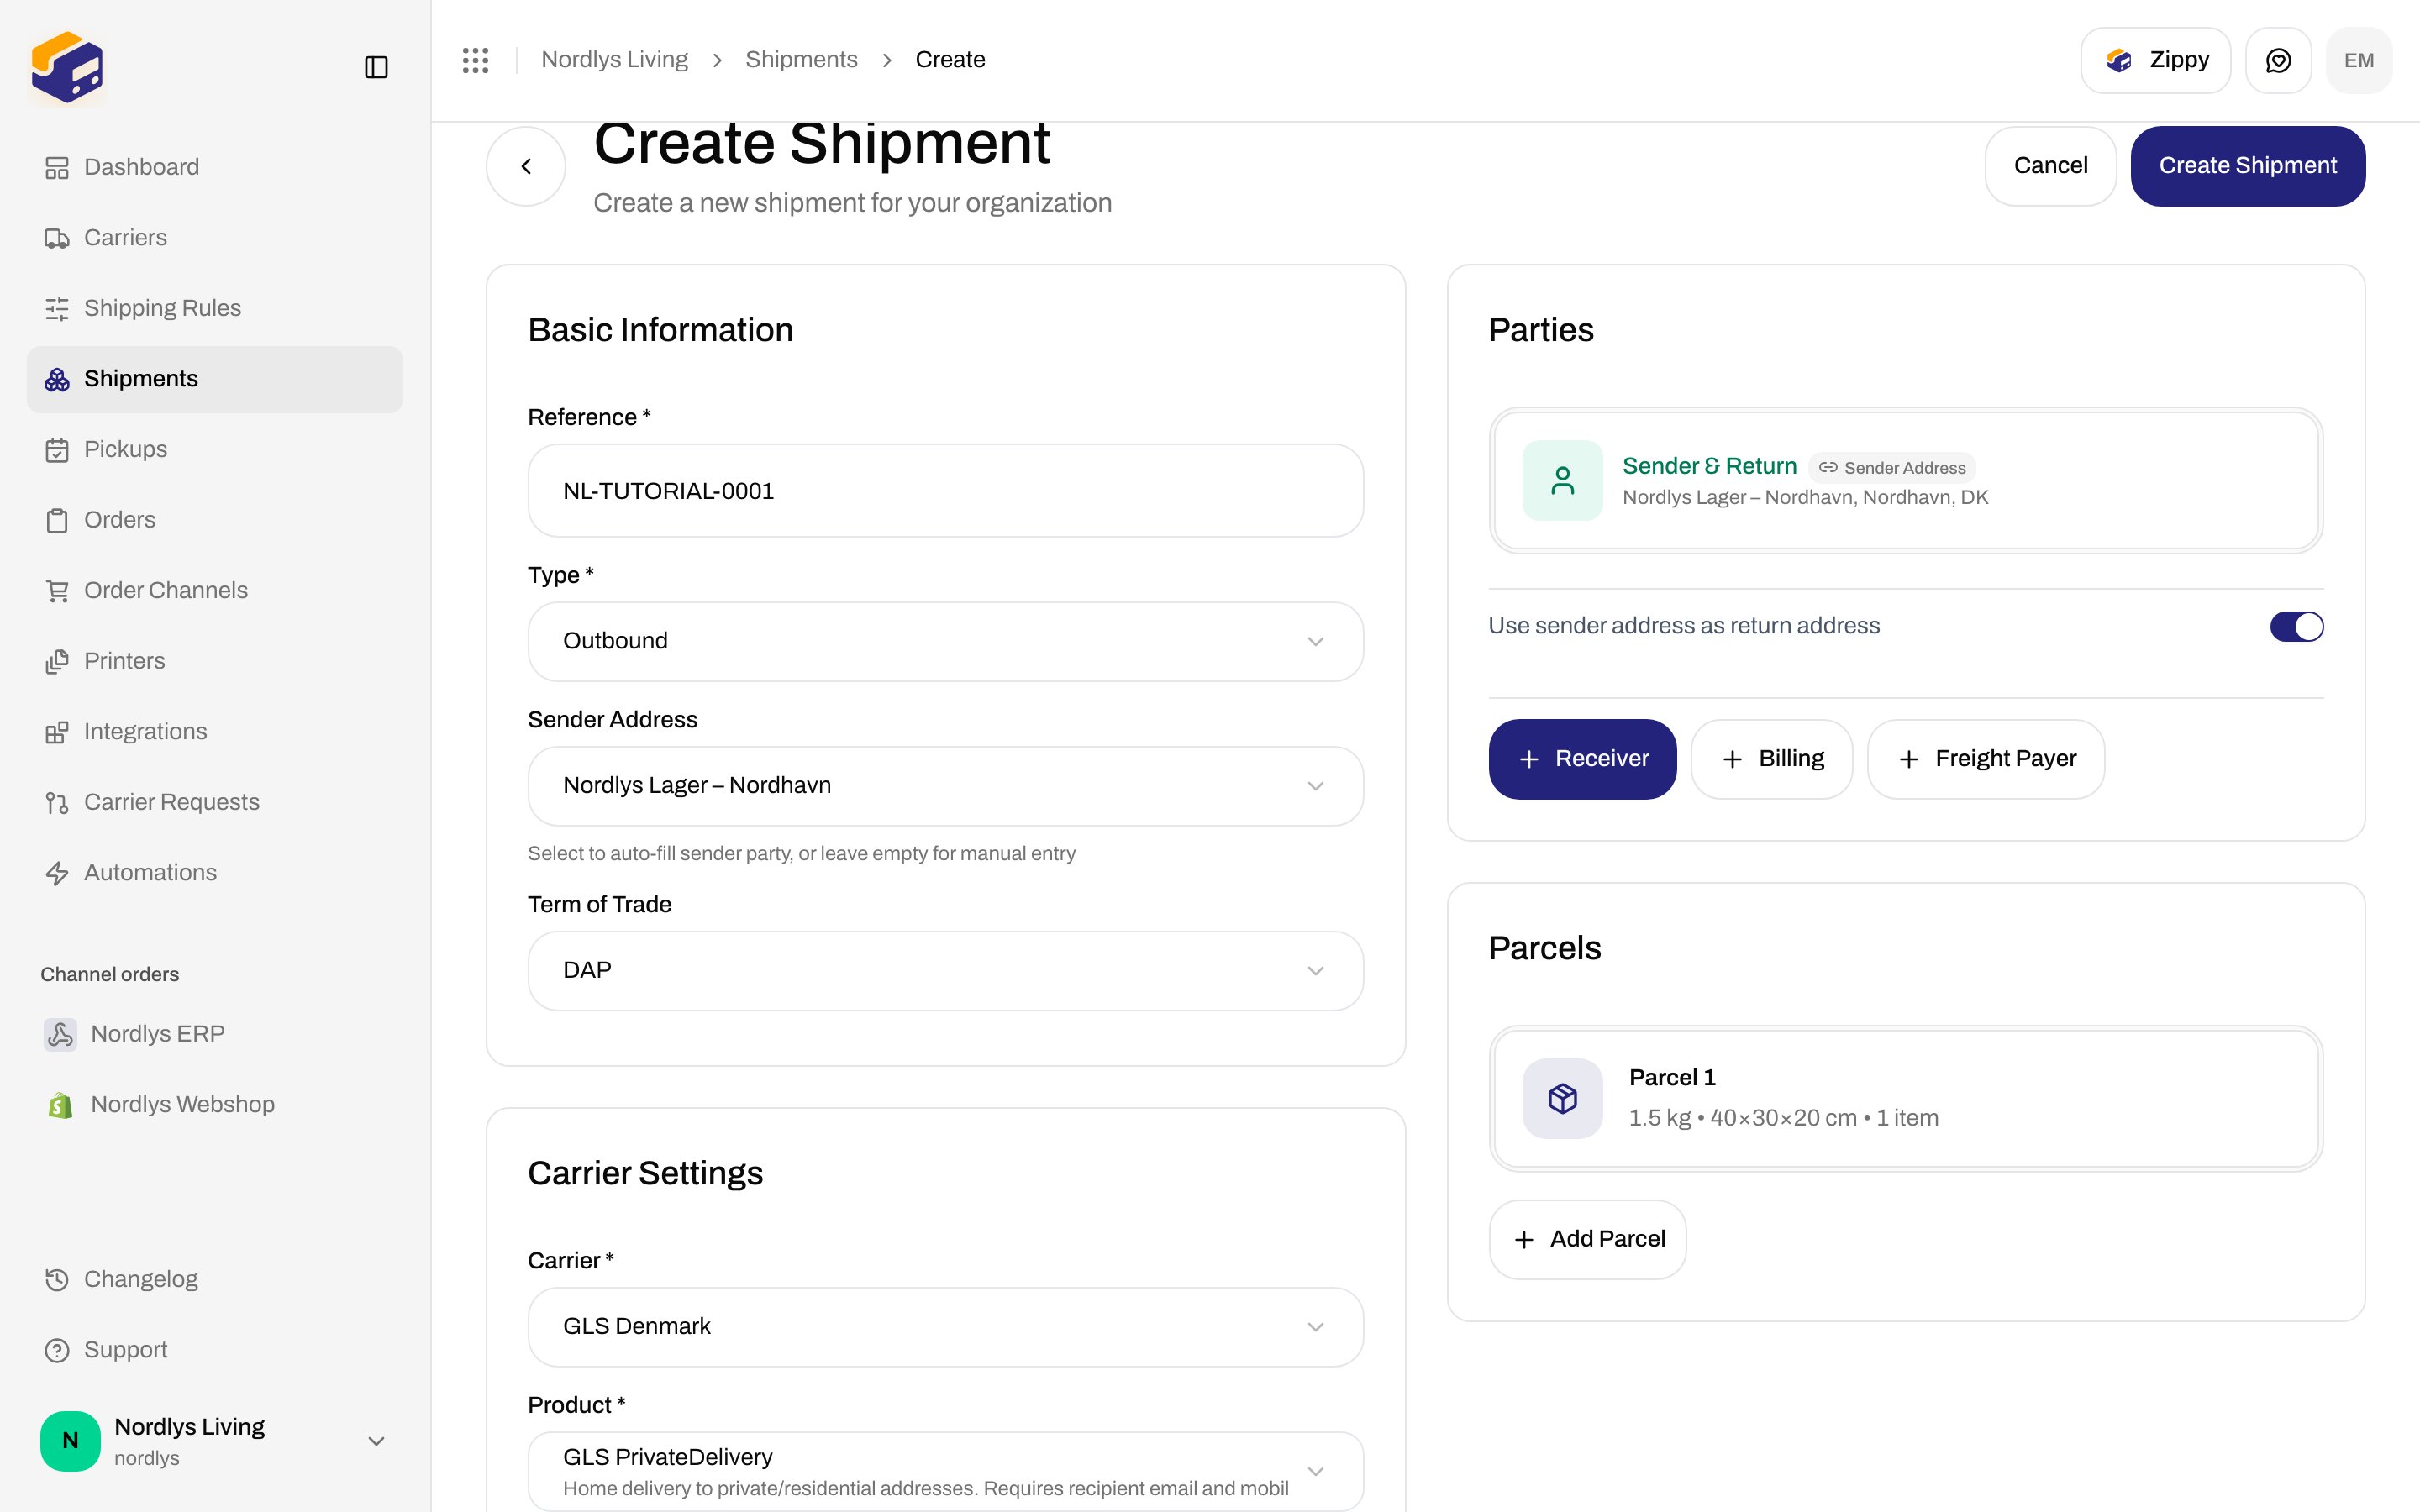
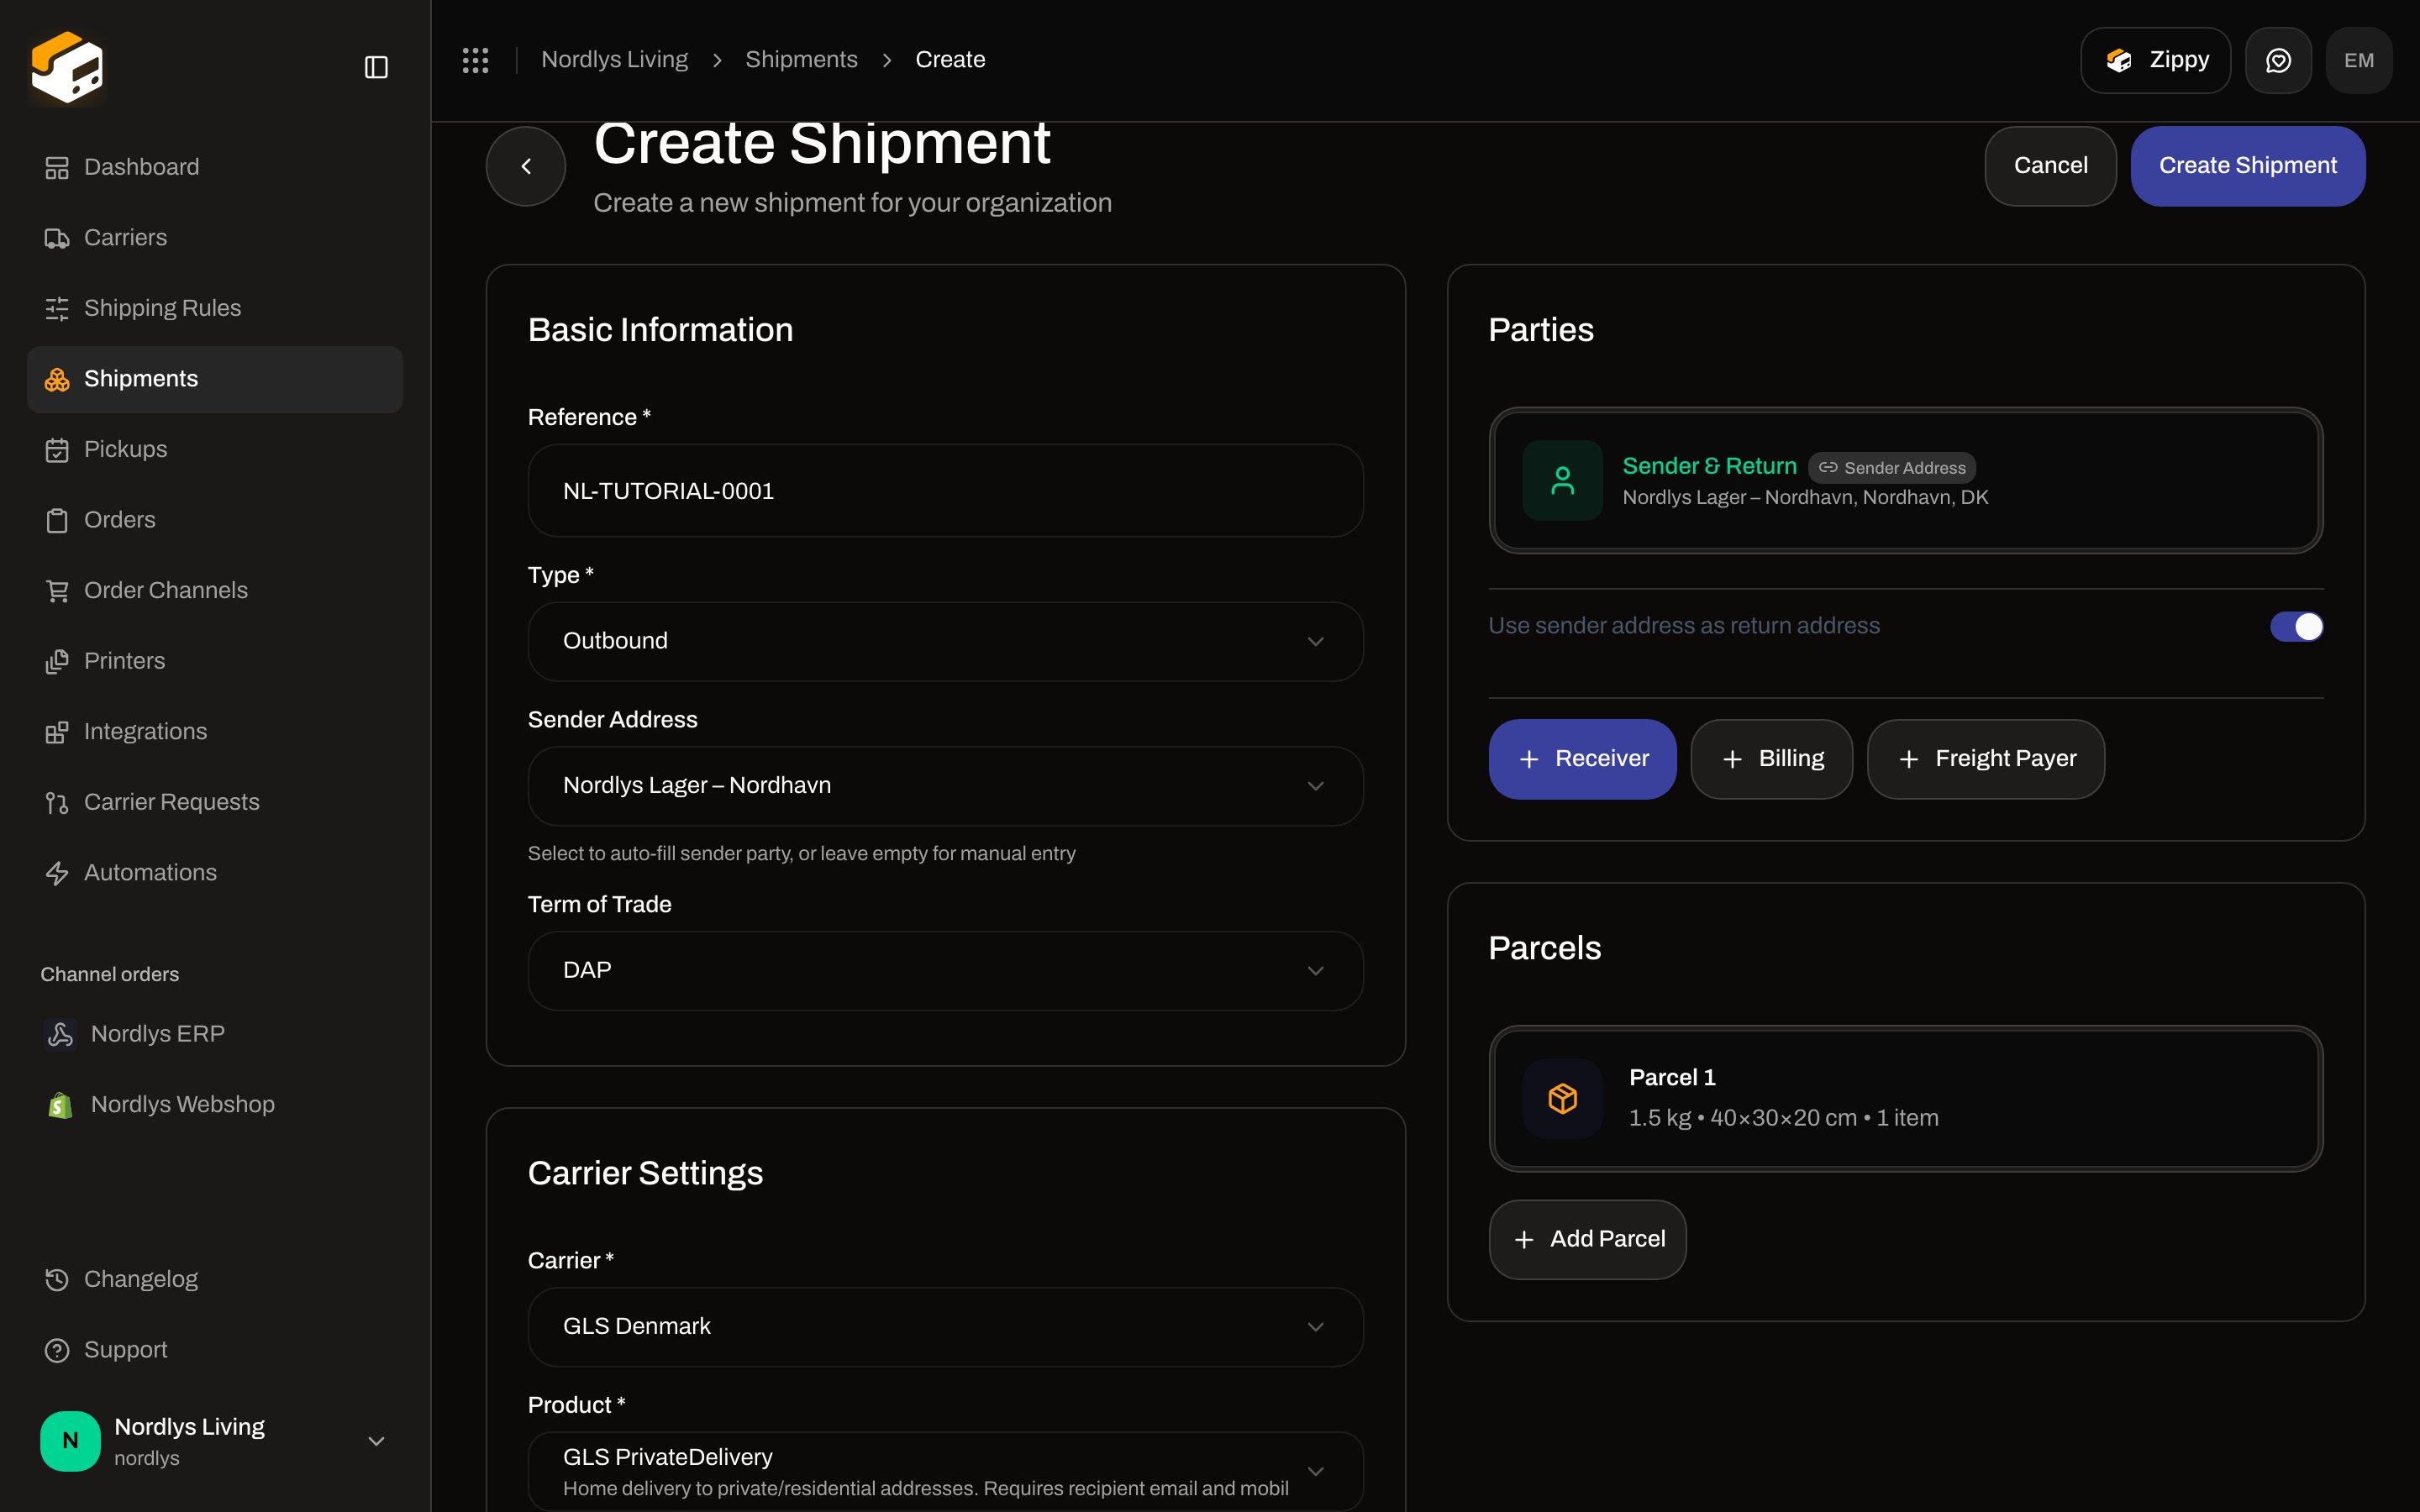
Choose a **Sender Address** to auto-fill the sender party, or leave **None (manual entry)** and type the sender in **Parties**. **Term of Trade** defaults to **DAP**. Change it when customs needs a different Incoterm.
Choose **Carrier \***, then **Product \***. The product list is filtered by type: outbound products for **Outbound**, inbound products for **Inbound**. After you pick a product, Zippendo may show:
* A **weight range** for that product (for example 0.1–31.5 kg).
* **Services** you can toggle (notification email, pickup, and similar).
* **Additional Options** required by that product.
You must have both a **Sender** and a **Receiver**. Selecting a sender address fills the sender for you.
Optionally add **Billing**, **Return**, or **Freight Payer**. Use the switches **Use receiver address as billing address** and **Use sender address as return address** when those addresses are the same.
Click **Add Parcel**. The **Edit Parcel** dialog opens. Enter **Weight \***, **Weight Unit \***, and **Dimensions (cm) \*** (length, width, height). Add at least one **order line** (SKU is optional; quantity must be at least 1). Click **Save**.
Repeat **Add Parcel** for a multi-parcel shipment. Each parcel gets its own label when you send.
**Printer Settings** — pick a label printer and a document printer so labels print when you send. Leave **None** to download later.
**Pickup Details** — appears only if you enable a **pickup** service. Enter **Pickup Date \***, **Time Window \***, and optional instructions.
**Drop Point** — appears only if the product is a service-point product (for example **GLS ShopDelivery**). You must add a complete receiver address first, then **Select Service Point**.
Click **Create Shipment** in the header. A toast confirms **Shipment created successfully**, and a completion dialog offers **View Shipments**. The shipment is **Pending** — it is not booked with the carrier yet.
Fill in **Reference \*** (for example `ORDER-12345` — required). Set **Type \*** to **Outbound** (to a customer) or **Inbound** (a return coming back to you).
Choose a **Sender Address** to auto-fill the sender party, or leave **None (manual entry)** and type the sender in **Parties**. **Term of Trade** defaults to **DAP**. Change it when customs needs a different Incoterm.
Choose **Carrier \***, then **Product \***. The product list is filtered by type: outbound products for **Outbound**, inbound products for **Inbound**. After you pick a product, Zippendo may show:
* A **weight range** for that product (for example 0.1–31.5 kg).
* **Services** you can toggle (notification email, pickup, and similar).
* **Additional Options** required by that product.
You must have both a **Sender** and a **Receiver**. Selecting a sender address fills the sender for you.
Optionally add **Billing**, **Return**, or **Freight Payer**. Use the switches **Use receiver address as billing address** and **Use sender address as return address** when those addresses are the same.
Click **Add Parcel**. The **Edit Parcel** dialog opens. Enter **Weight \***, **Weight Unit \***, and **Dimensions (cm) \*** (length, width, height). Add at least one **order line** (SKU is optional; quantity must be at least 1). Click **Save**.
Repeat **Add Parcel** for a multi-parcel shipment. Each parcel gets its own label when you send.
**Printer Settings** — pick a label printer and a document printer so labels print when you send. Leave **None** to download later.
**Pickup Details** — appears only if you enable a **pickup** service. Enter **Pickup Date \***, **Time Window \***, and optional instructions.
**Drop Point** — appears only if the product is a service-point product (for example **GLS ShopDelivery**). You must add a complete receiver address first, then **Select Service Point**.
Click **Create Shipment** in the header. A toast confirms **Shipment created successfully**, and a completion dialog offers **View Shipments**. The shipment is **Pending** — it is not booked with the carrier yet.
 ### Required fields
| Area | Required |
| ------------------------------------------------- | -------------------------------------------------------------------- |
| **Reference** | Yes, on a standalone shipment |
| **Type** | Yes — **Outbound** or **Inbound** |
| **Carrier** and **Product** | Yes |
| **Sender** and **Receiver** parties | Yes — name, address line 1, postal code, city, 2-letter country code |
| **Parcels** | At least one parcel with at least one order line |
| **Service Point** | Yes, when the product is a pickup-point / shop product |
| **Pickup Date** and **Time Window** | Yes, when the pickup service is selected |
| Sender address, printers, extra parties, services | Optional |
Email and phone on a party are optional. Carriers often still want a phone on the receiver for notifications.
### Choosing a carrier product
After you pick a carrier, open **Product \*** and choose the service you sell — home delivery, shop / parcel shop, express, or a return product on inbound shipments.
### Required fields
| Area | Required |
| ------------------------------------------------- | -------------------------------------------------------------------- |
| **Reference** | Yes, on a standalone shipment |
| **Type** | Yes — **Outbound** or **Inbound** |
| **Carrier** and **Product** | Yes |
| **Sender** and **Receiver** parties | Yes — name, address line 1, postal code, city, 2-letter country code |
| **Parcels** | At least one parcel with at least one order line |
| **Service Point** | Yes, when the product is a pickup-point / shop product |
| **Pickup Date** and **Time Window** | Yes, when the pickup service is selected |
| Sender address, printers, extra parties, services | Optional |
Email and phone on a party are optional. Carriers often still want a phone on the receiver for notifications.
### Choosing a carrier product
After you pick a carrier, open **Product \*** and choose the service you sell — home delivery, shop / parcel shop, express, or a return product on inbound shipments.
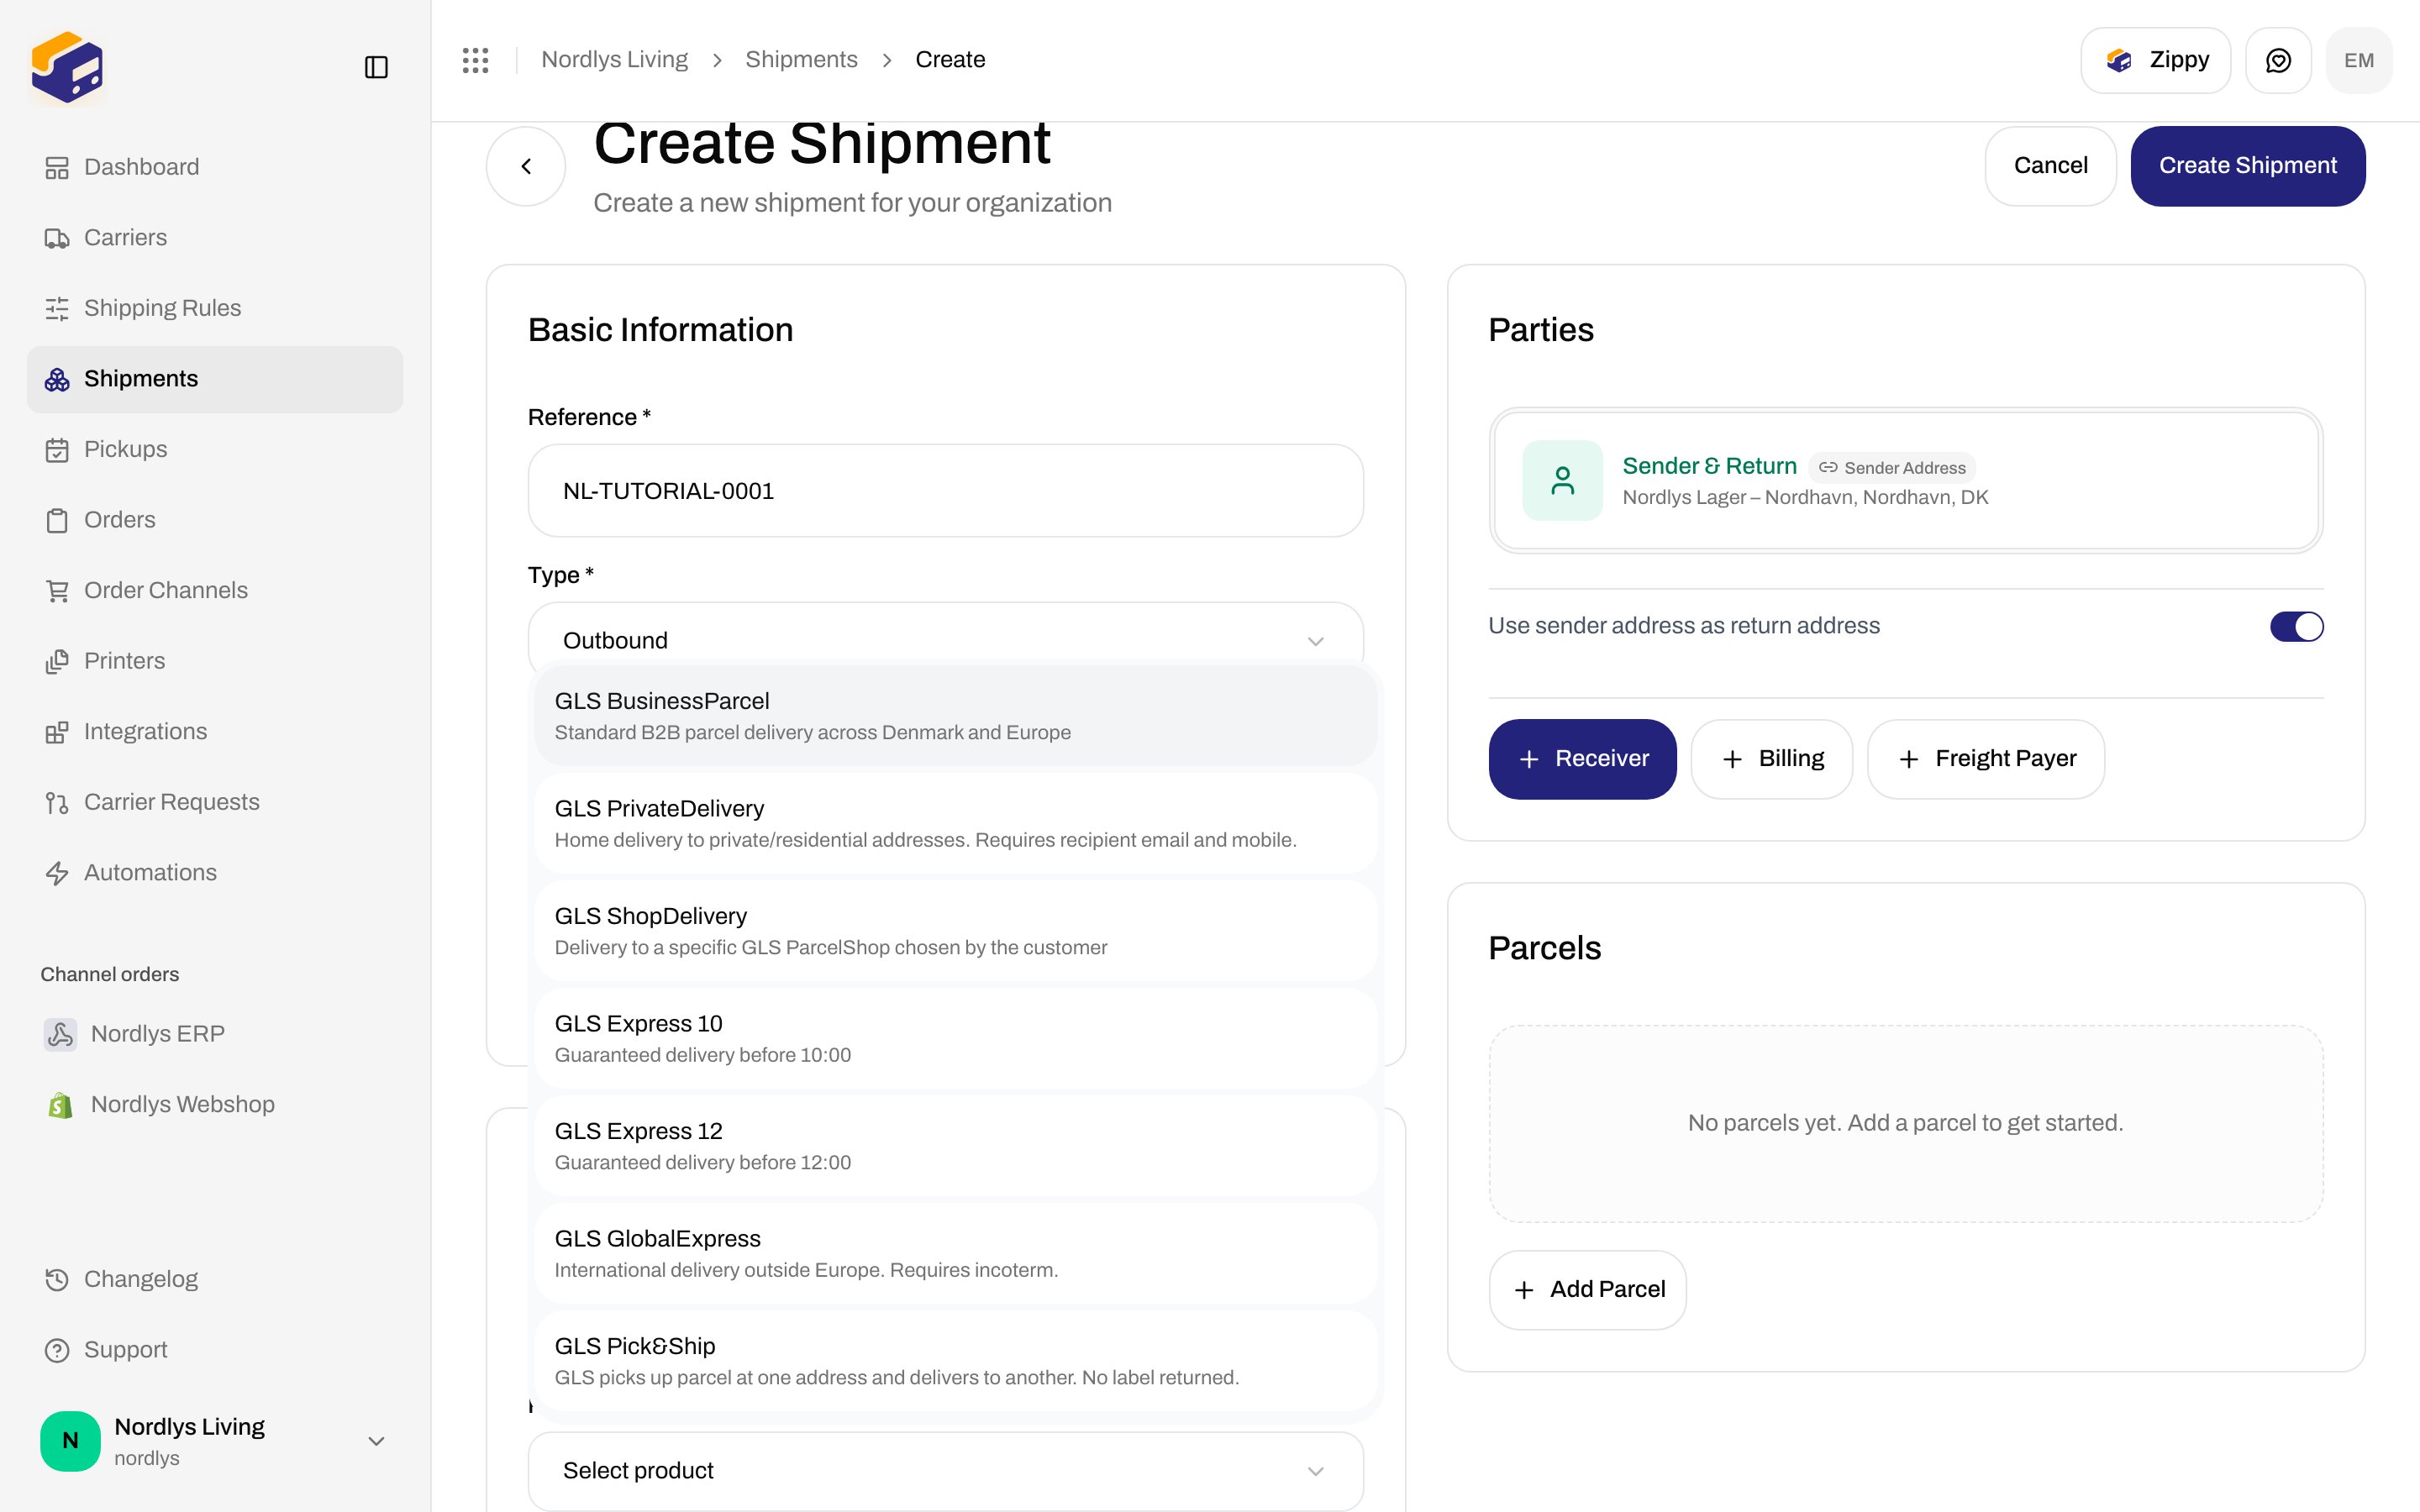
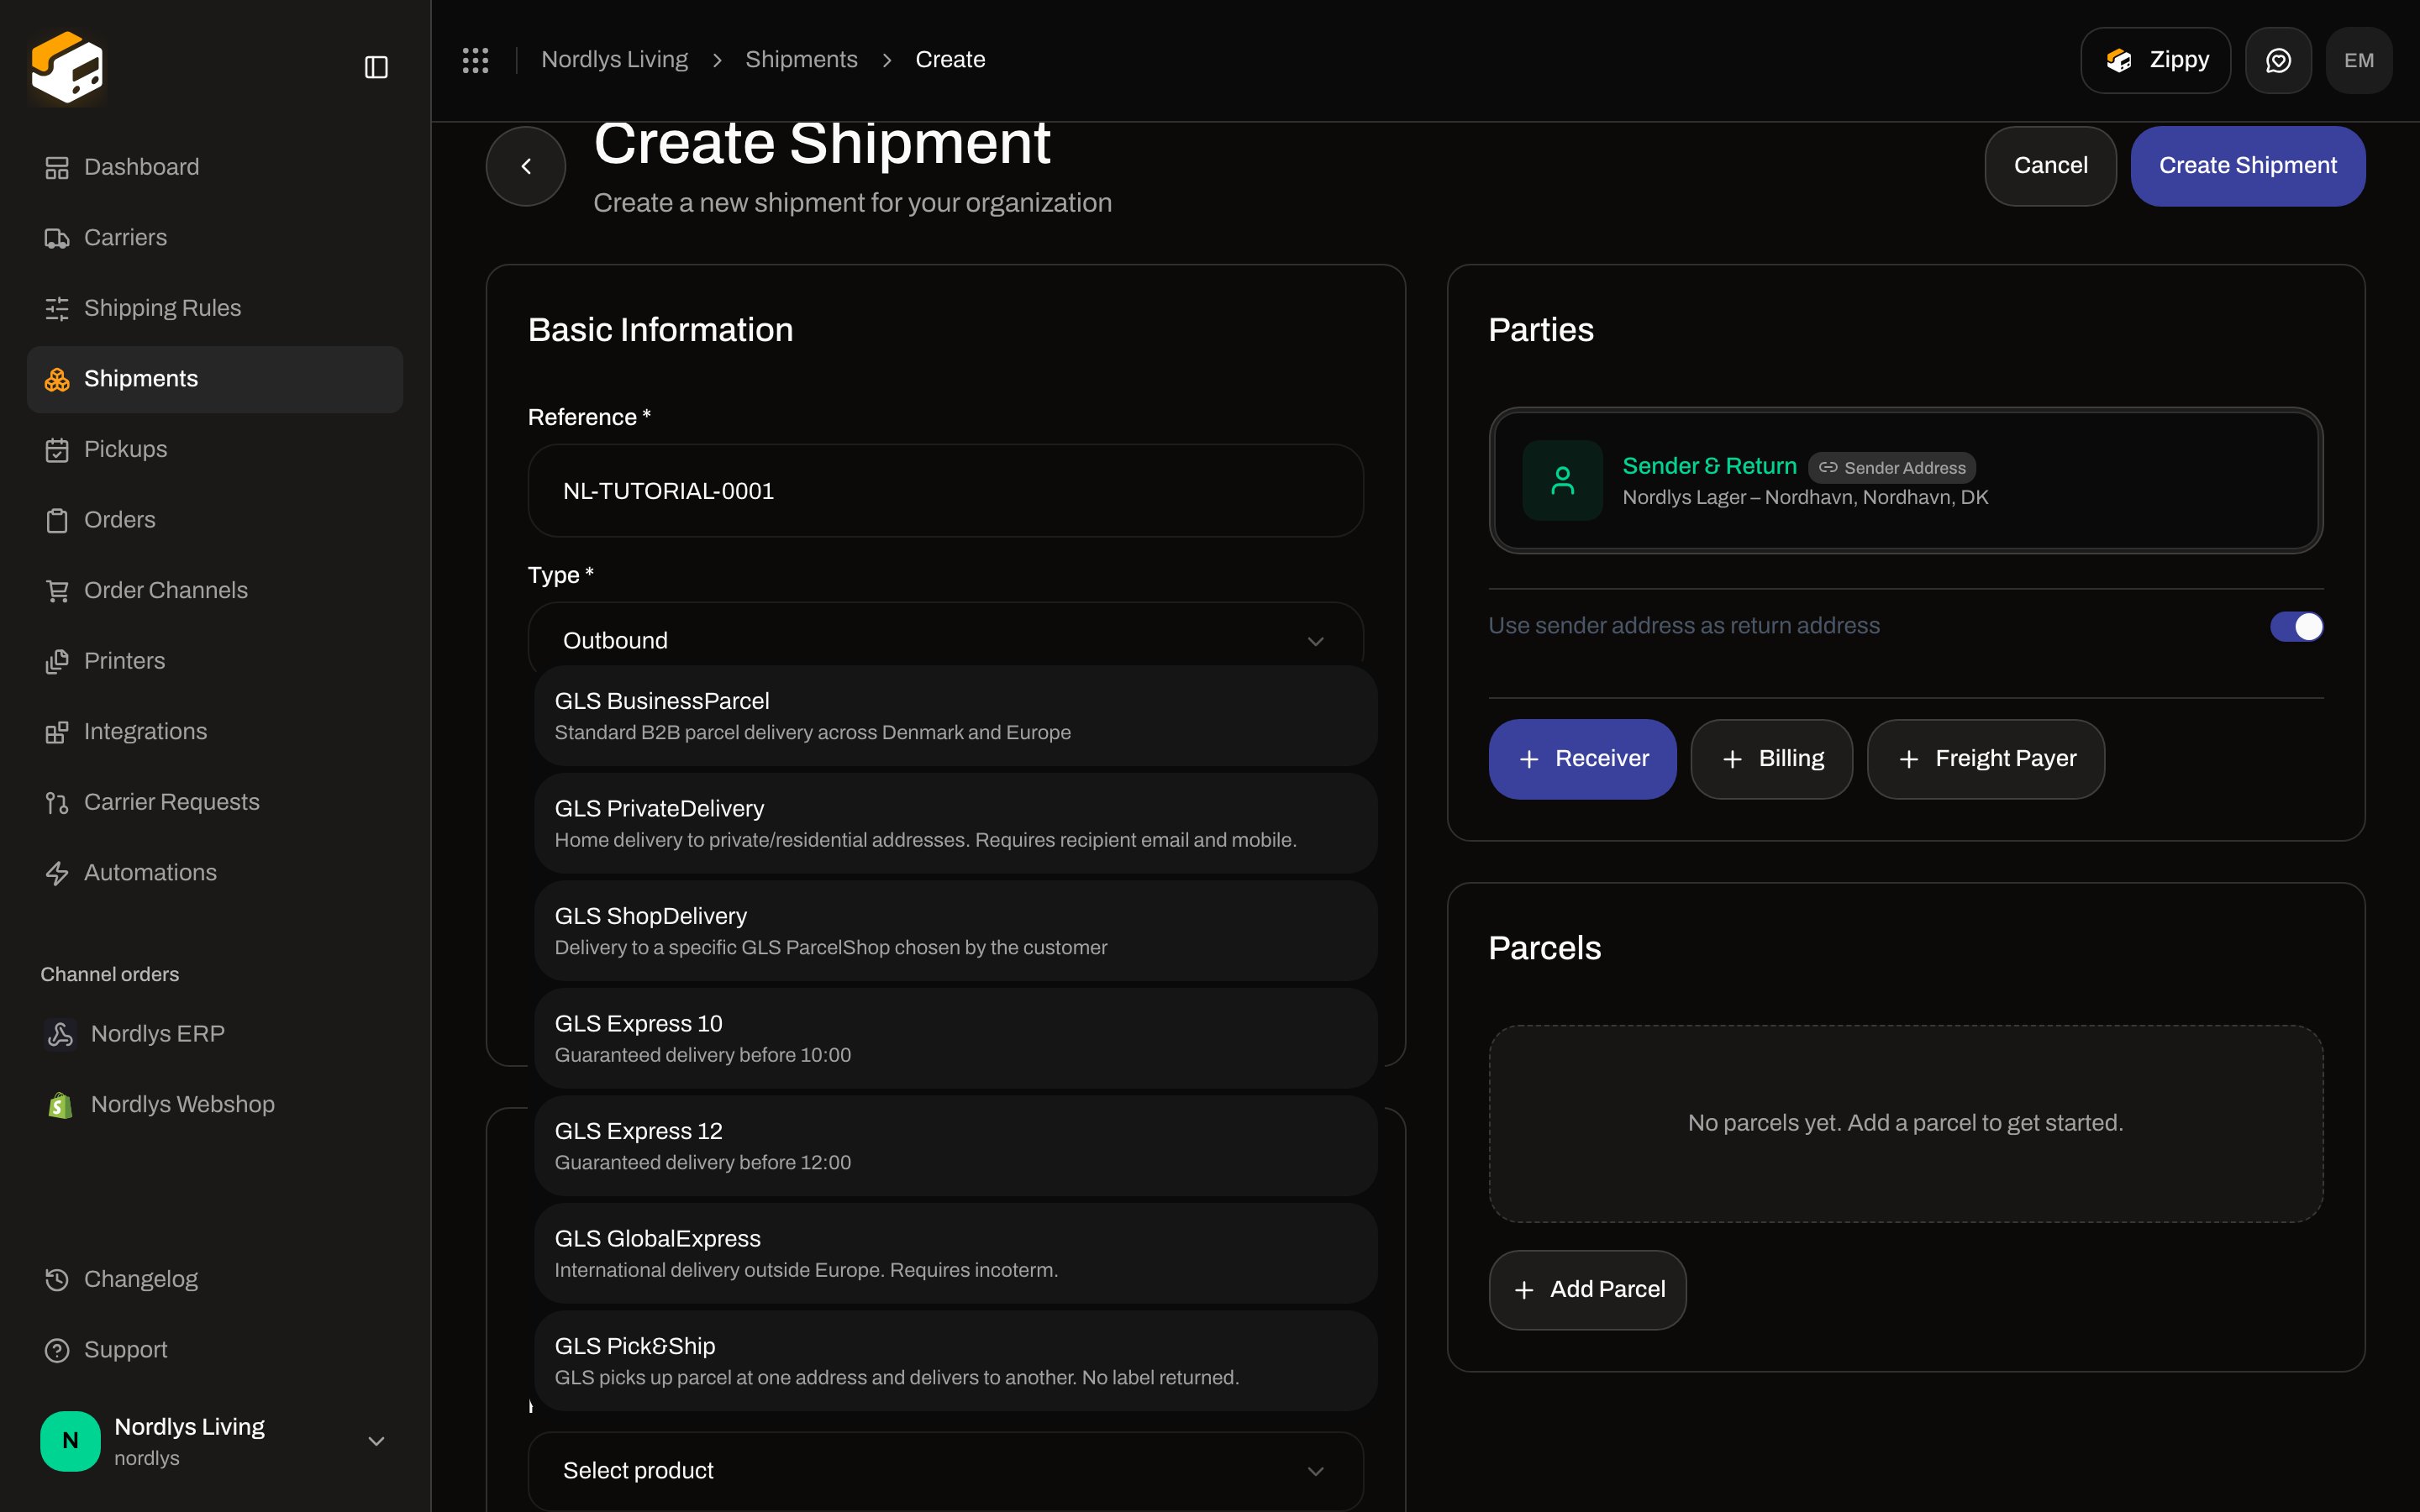 The dropdown shows the product name and a short description. It does **not** show a live price. If no products match the current type, Zippendo shows **No products available** (or that none of the carrier’s products match **Inbound** / **Outbound**).
[Shipping rules](/docs/tutorials/shipping-rules) can pre-select carrier and product so you do not pick them by hand every time — especially when you create from an order.
### Parcels, items, and customs
Click **Add Parcel** to open **Add Parcel**. Weight, dimensions, and **Order Lines** live here.
The dropdown shows the product name and a short description. It does **not** show a live price. If no products match the current type, Zippendo shows **No products available** (or that none of the carrier’s products match **Inbound** / **Outbound**).
[Shipping rules](/docs/tutorials/shipping-rules) can pre-select carrier and product so you do not pick them by hand every time — especially when you create from an order.
### Parcels, items, and customs
Click **Add Parcel** to open **Add Parcel**. Weight, dimensions, and **Order Lines** live here.
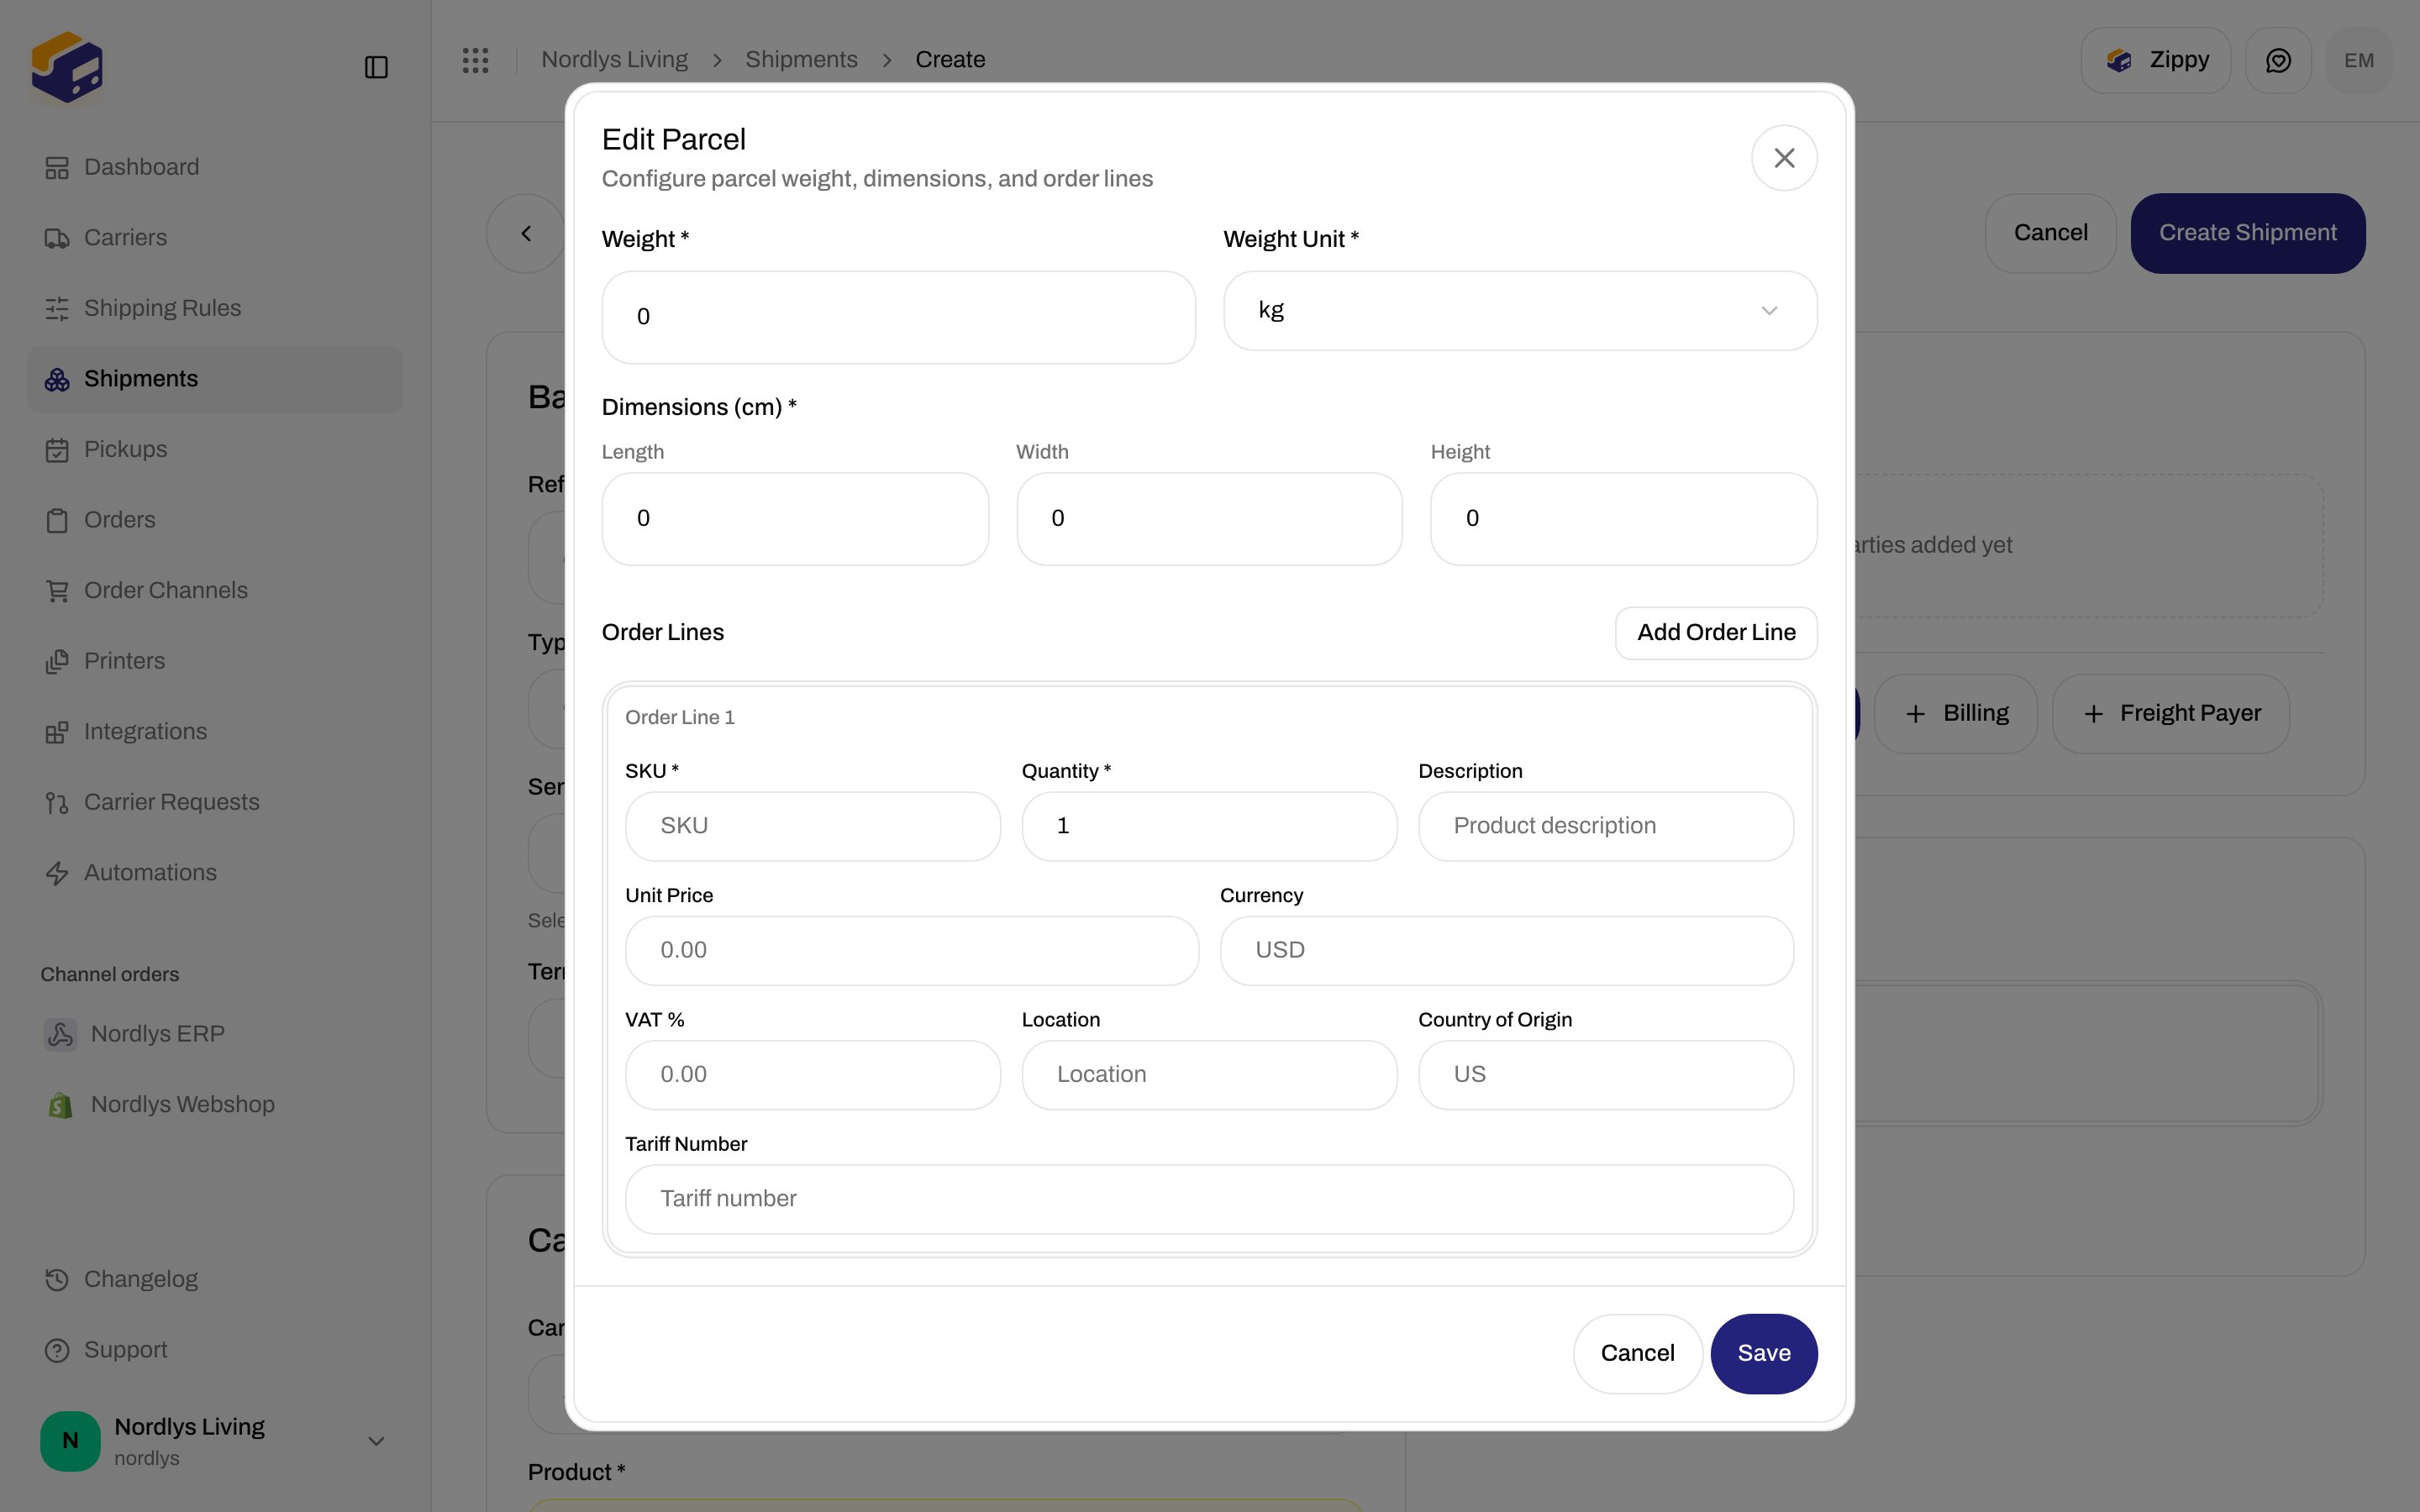
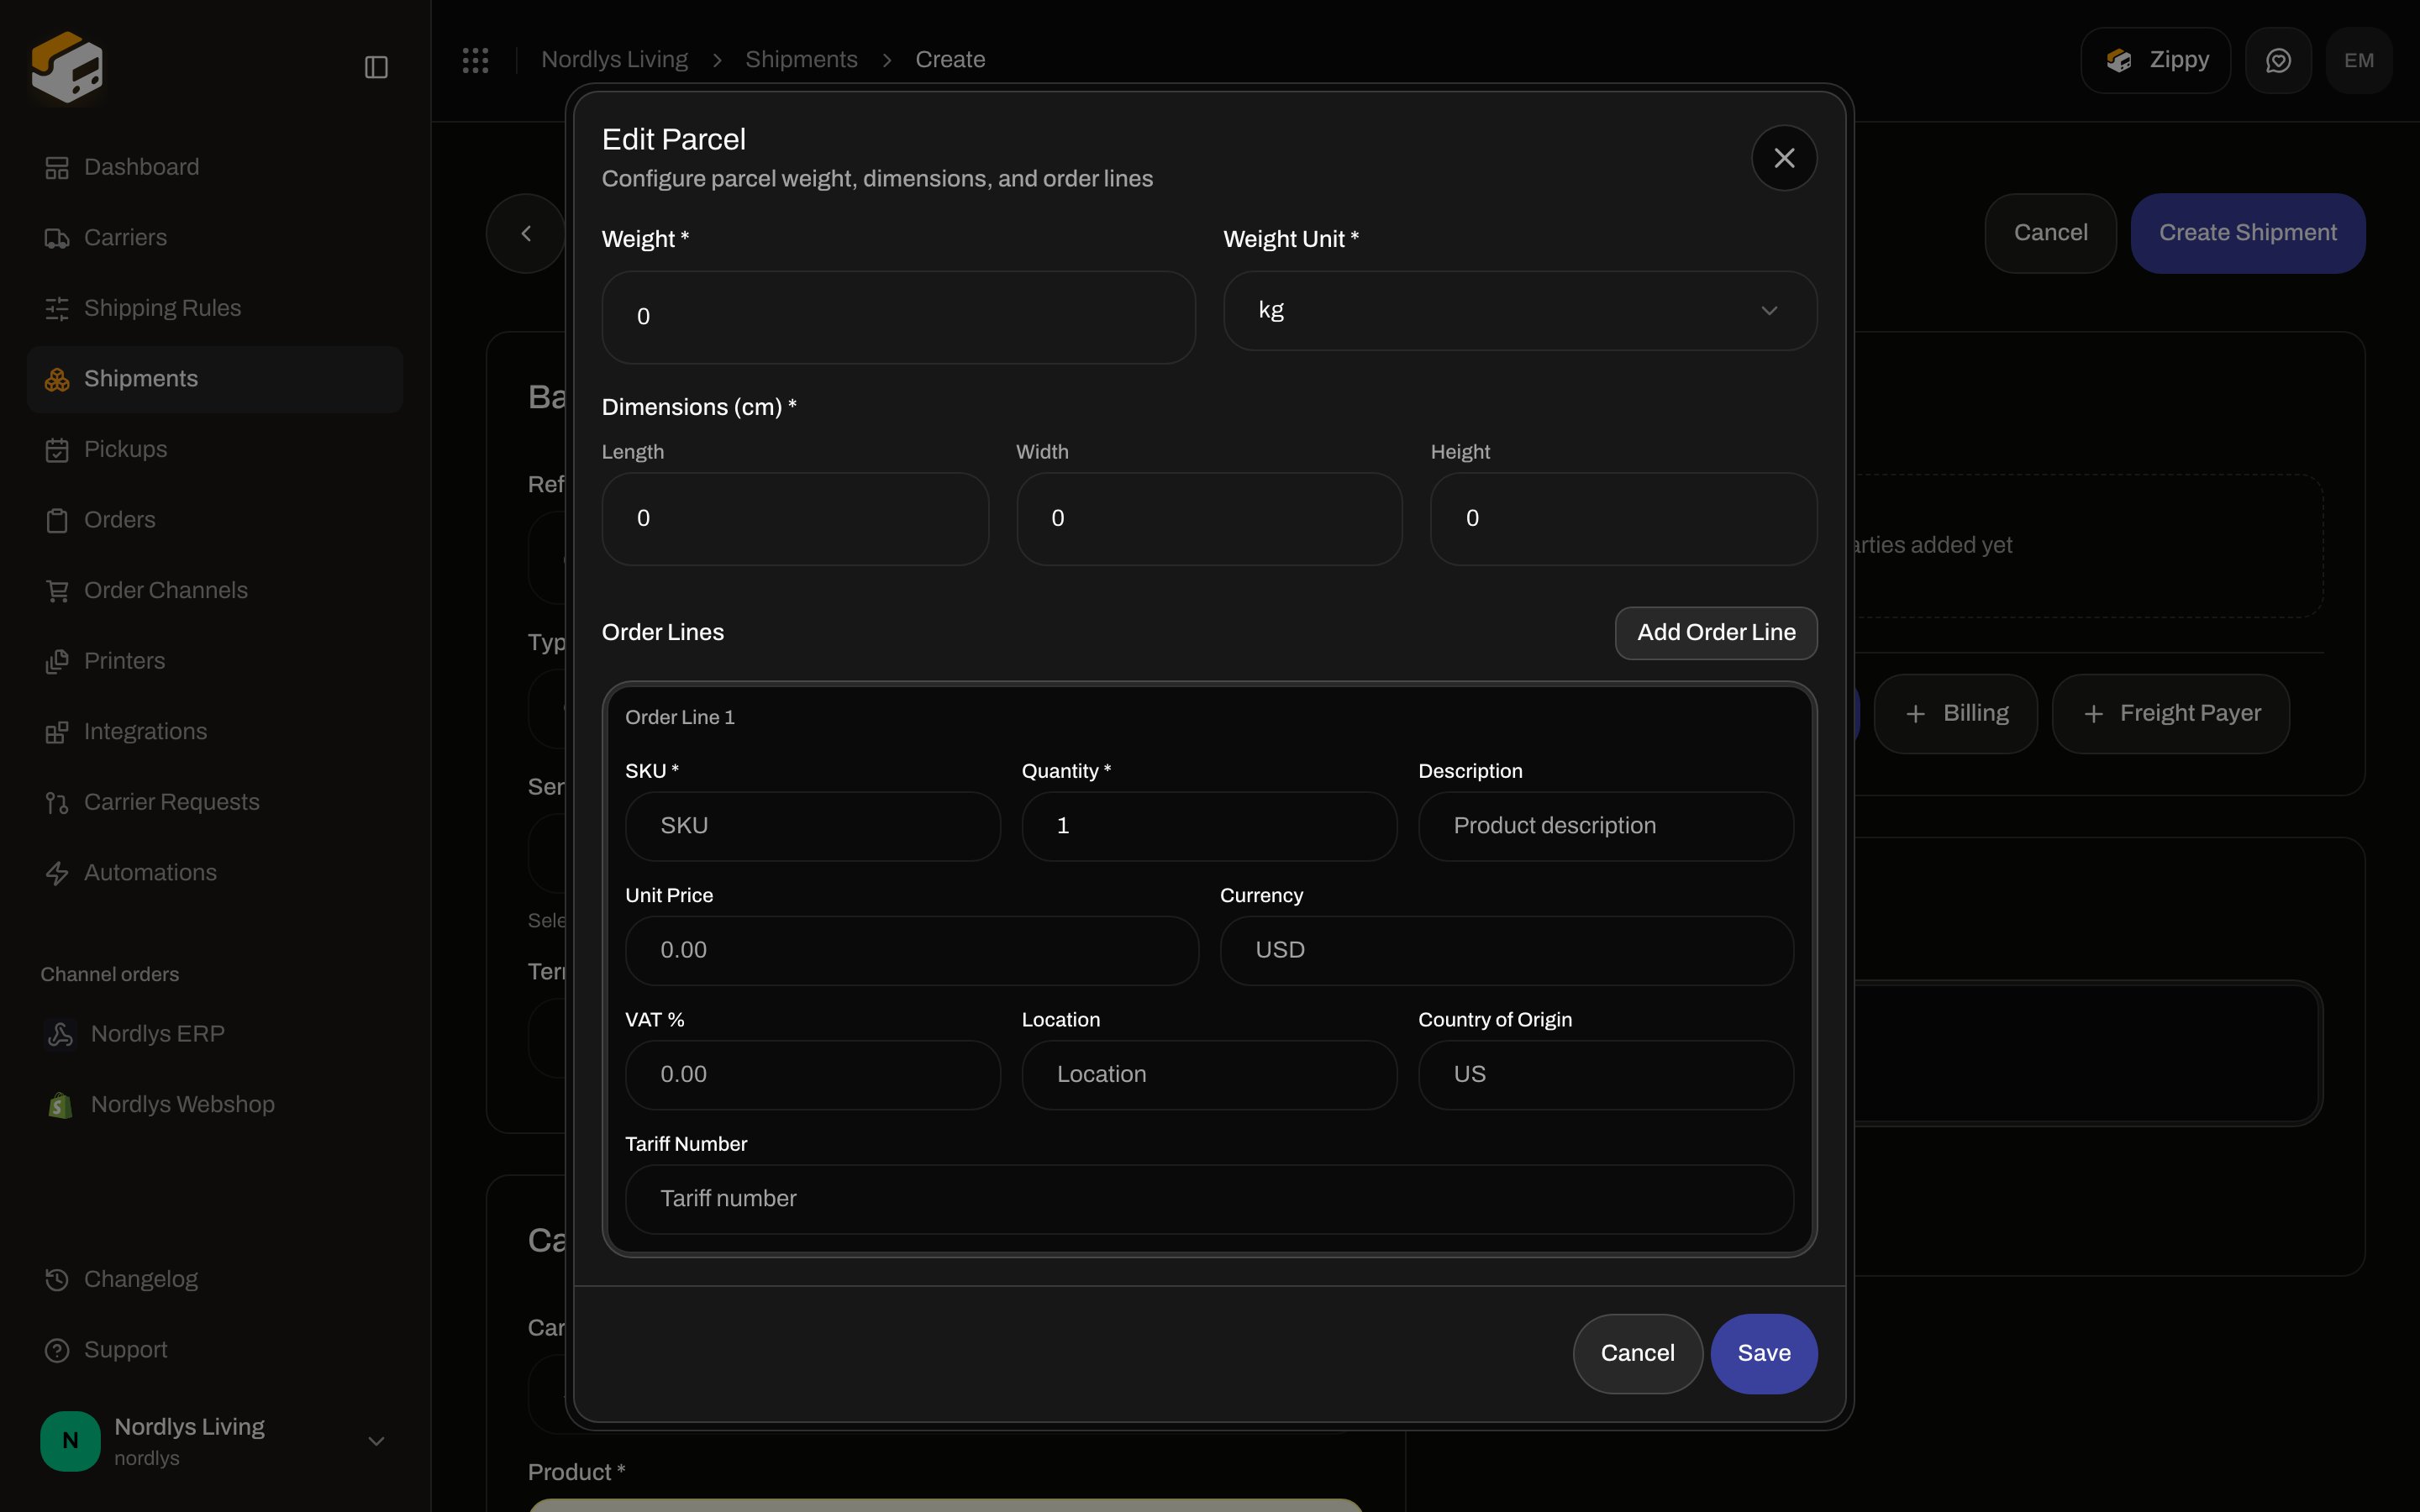 For each order line you can set **SKU**, **Quantity \***, **Description**, **Unit Price**, **Currency**, **VAT %**, **Location**, **Country of Origin**, and **Tariff Number**. Country of origin and tariff number matter for international / customs shipments. **Term of Trade** on Basic Information is the Incoterm printed with those documents.
Click **Add Order Line** if one parcel holds more than one SKU. Click **Add Parcel** again for a second box.
Split and redistribute happen **after** the shipment exists, not on this form. On a **Draft** or **Pending** shipment you can **Split Shipment** (move lines to a new shipment) or **Redistribute Parcels** (move lines between boxes). See [Split shipment](/docs/shipments/split-shipment).
## Create from an existing order
Use this when the order already has the customer, address, and lines. Open **Orders**, then the order.
For each order line you can set **SKU**, **Quantity \***, **Description**, **Unit Price**, **Currency**, **VAT %**, **Location**, **Country of Origin**, and **Tariff Number**. Country of origin and tariff number matter for international / customs shipments. **Term of Trade** on Basic Information is the Incoterm printed with those documents.
Click **Add Order Line** if one parcel holds more than one SKU. Click **Add Parcel** again for a second box.
Split and redistribute happen **after** the shipment exists, not on this form. On a **Draft** or **Pending** shipment you can **Split Shipment** (move lines to a new shipment) or **Redistribute Parcels** (move lines between boxes). See [Split shipment](/docs/shipments/split-shipment).
## Create from an existing order
Use this when the order already has the customer, address, and lines. Open **Orders**, then the order.
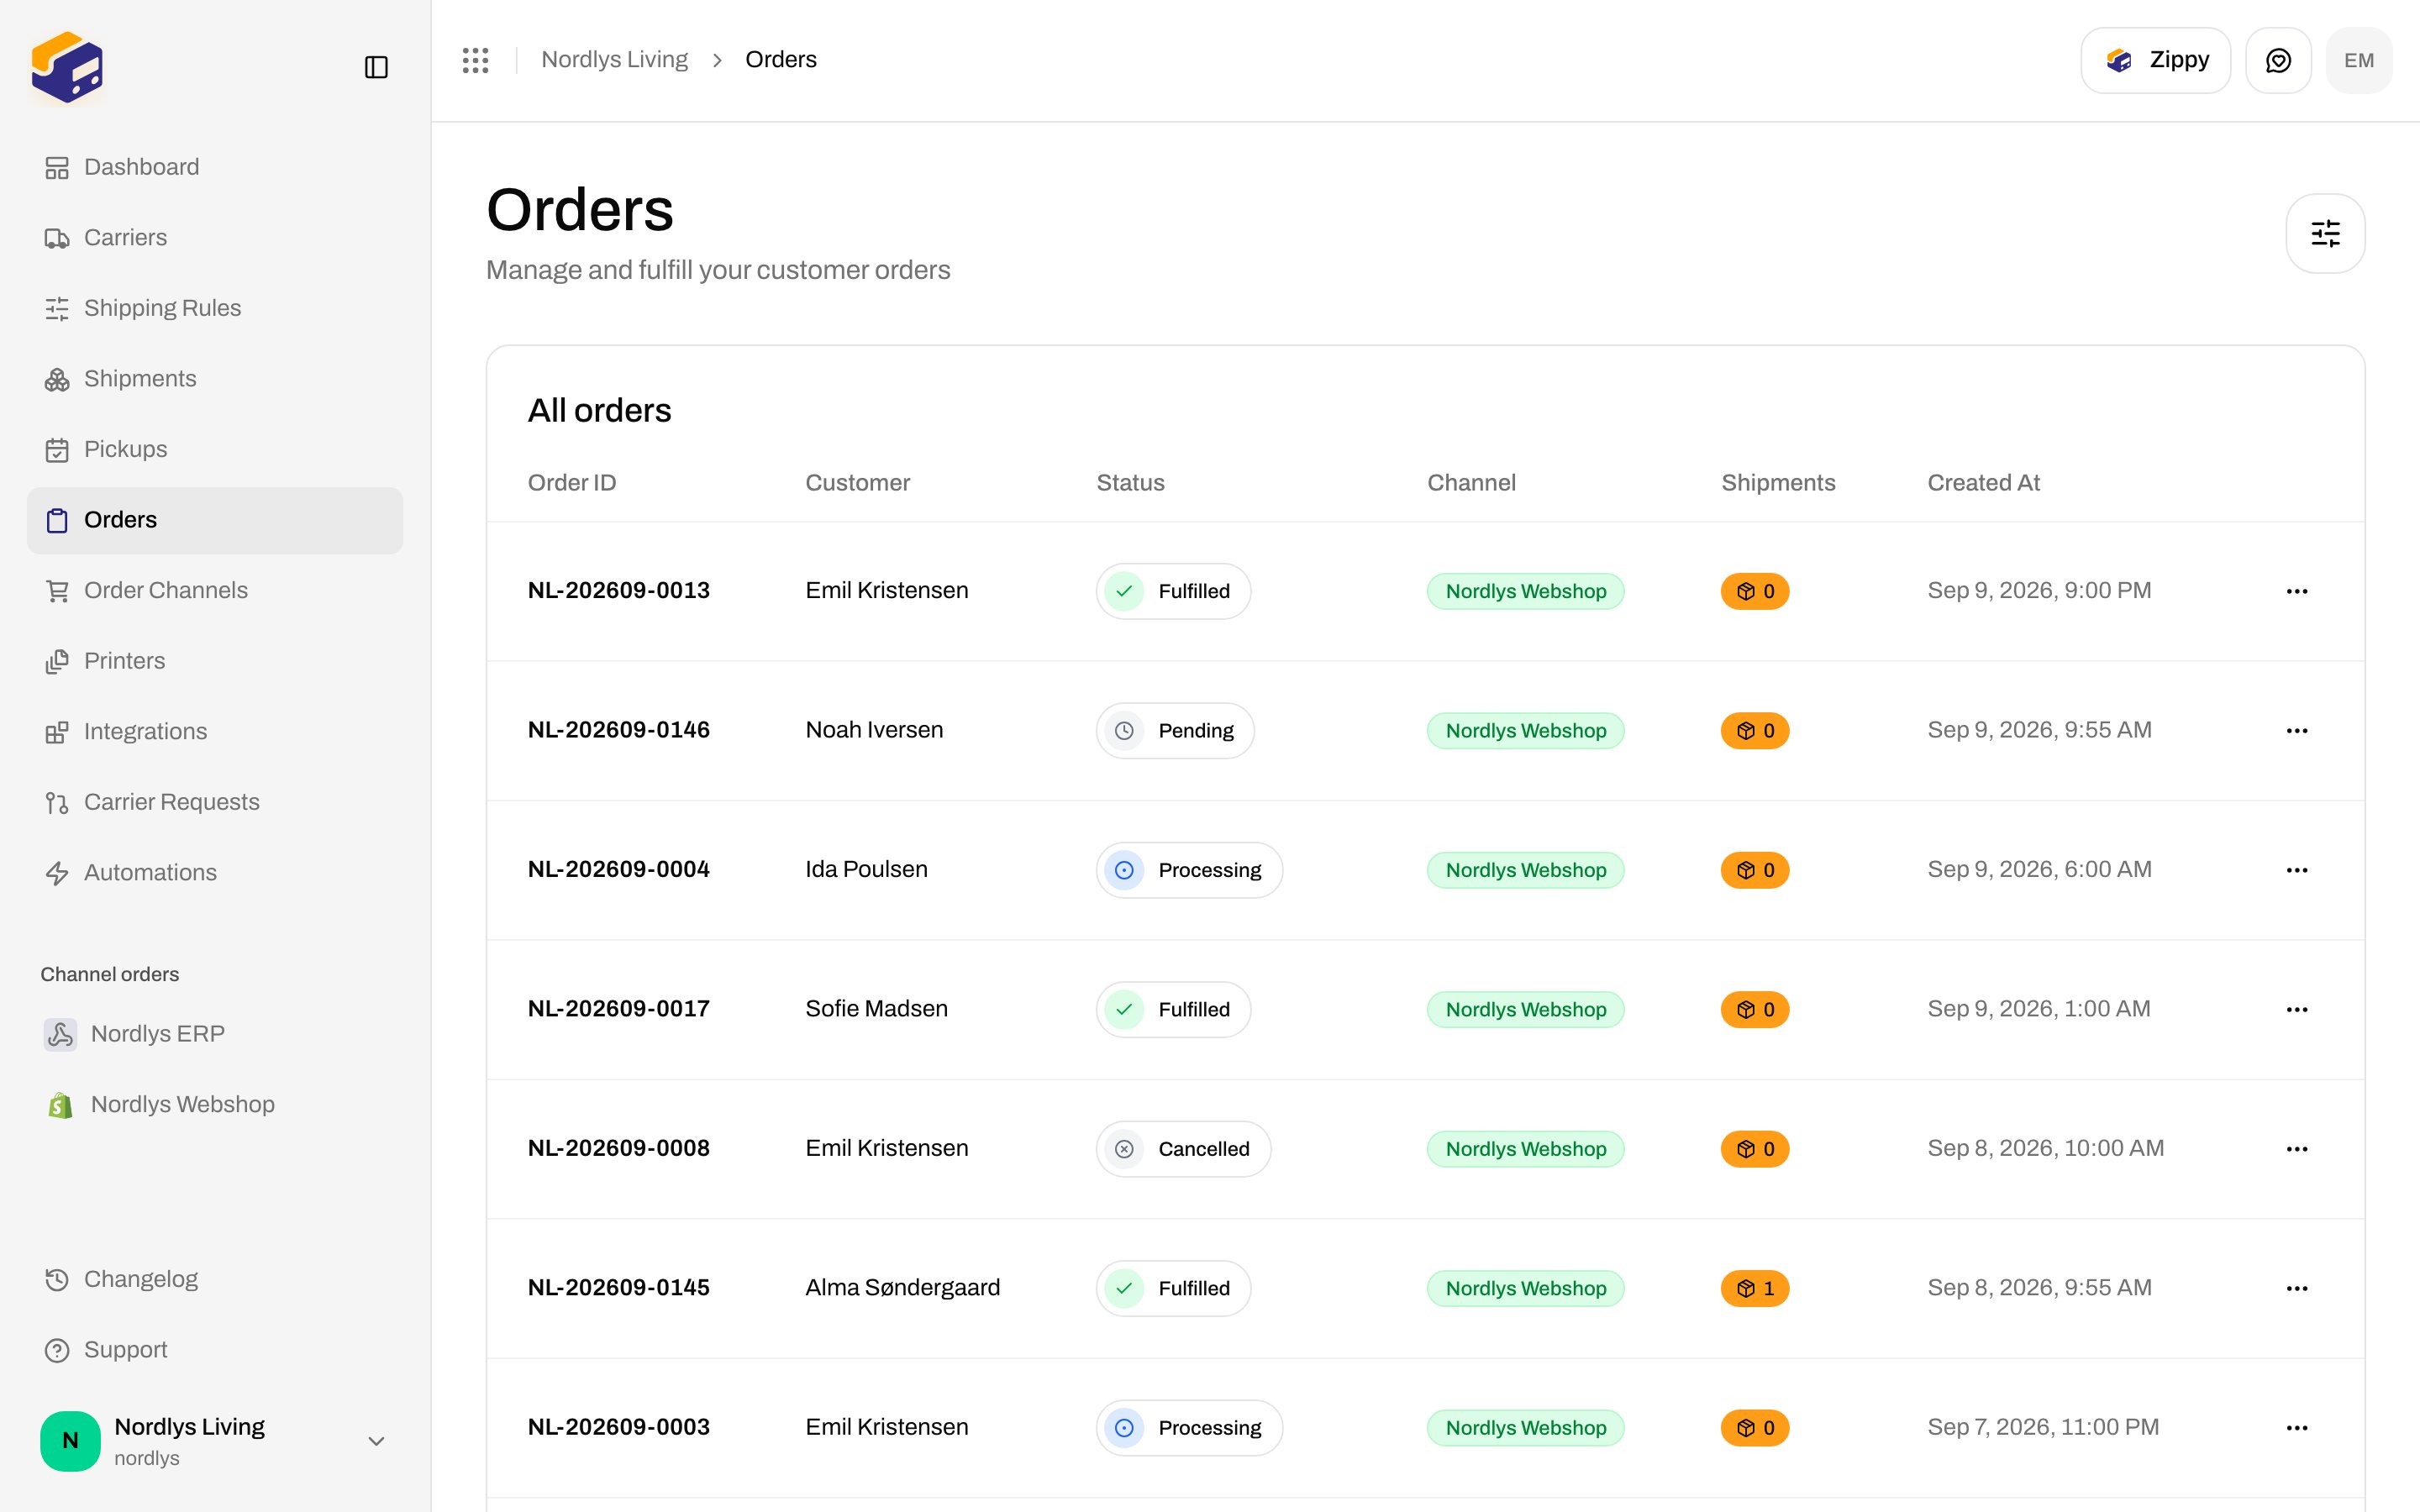
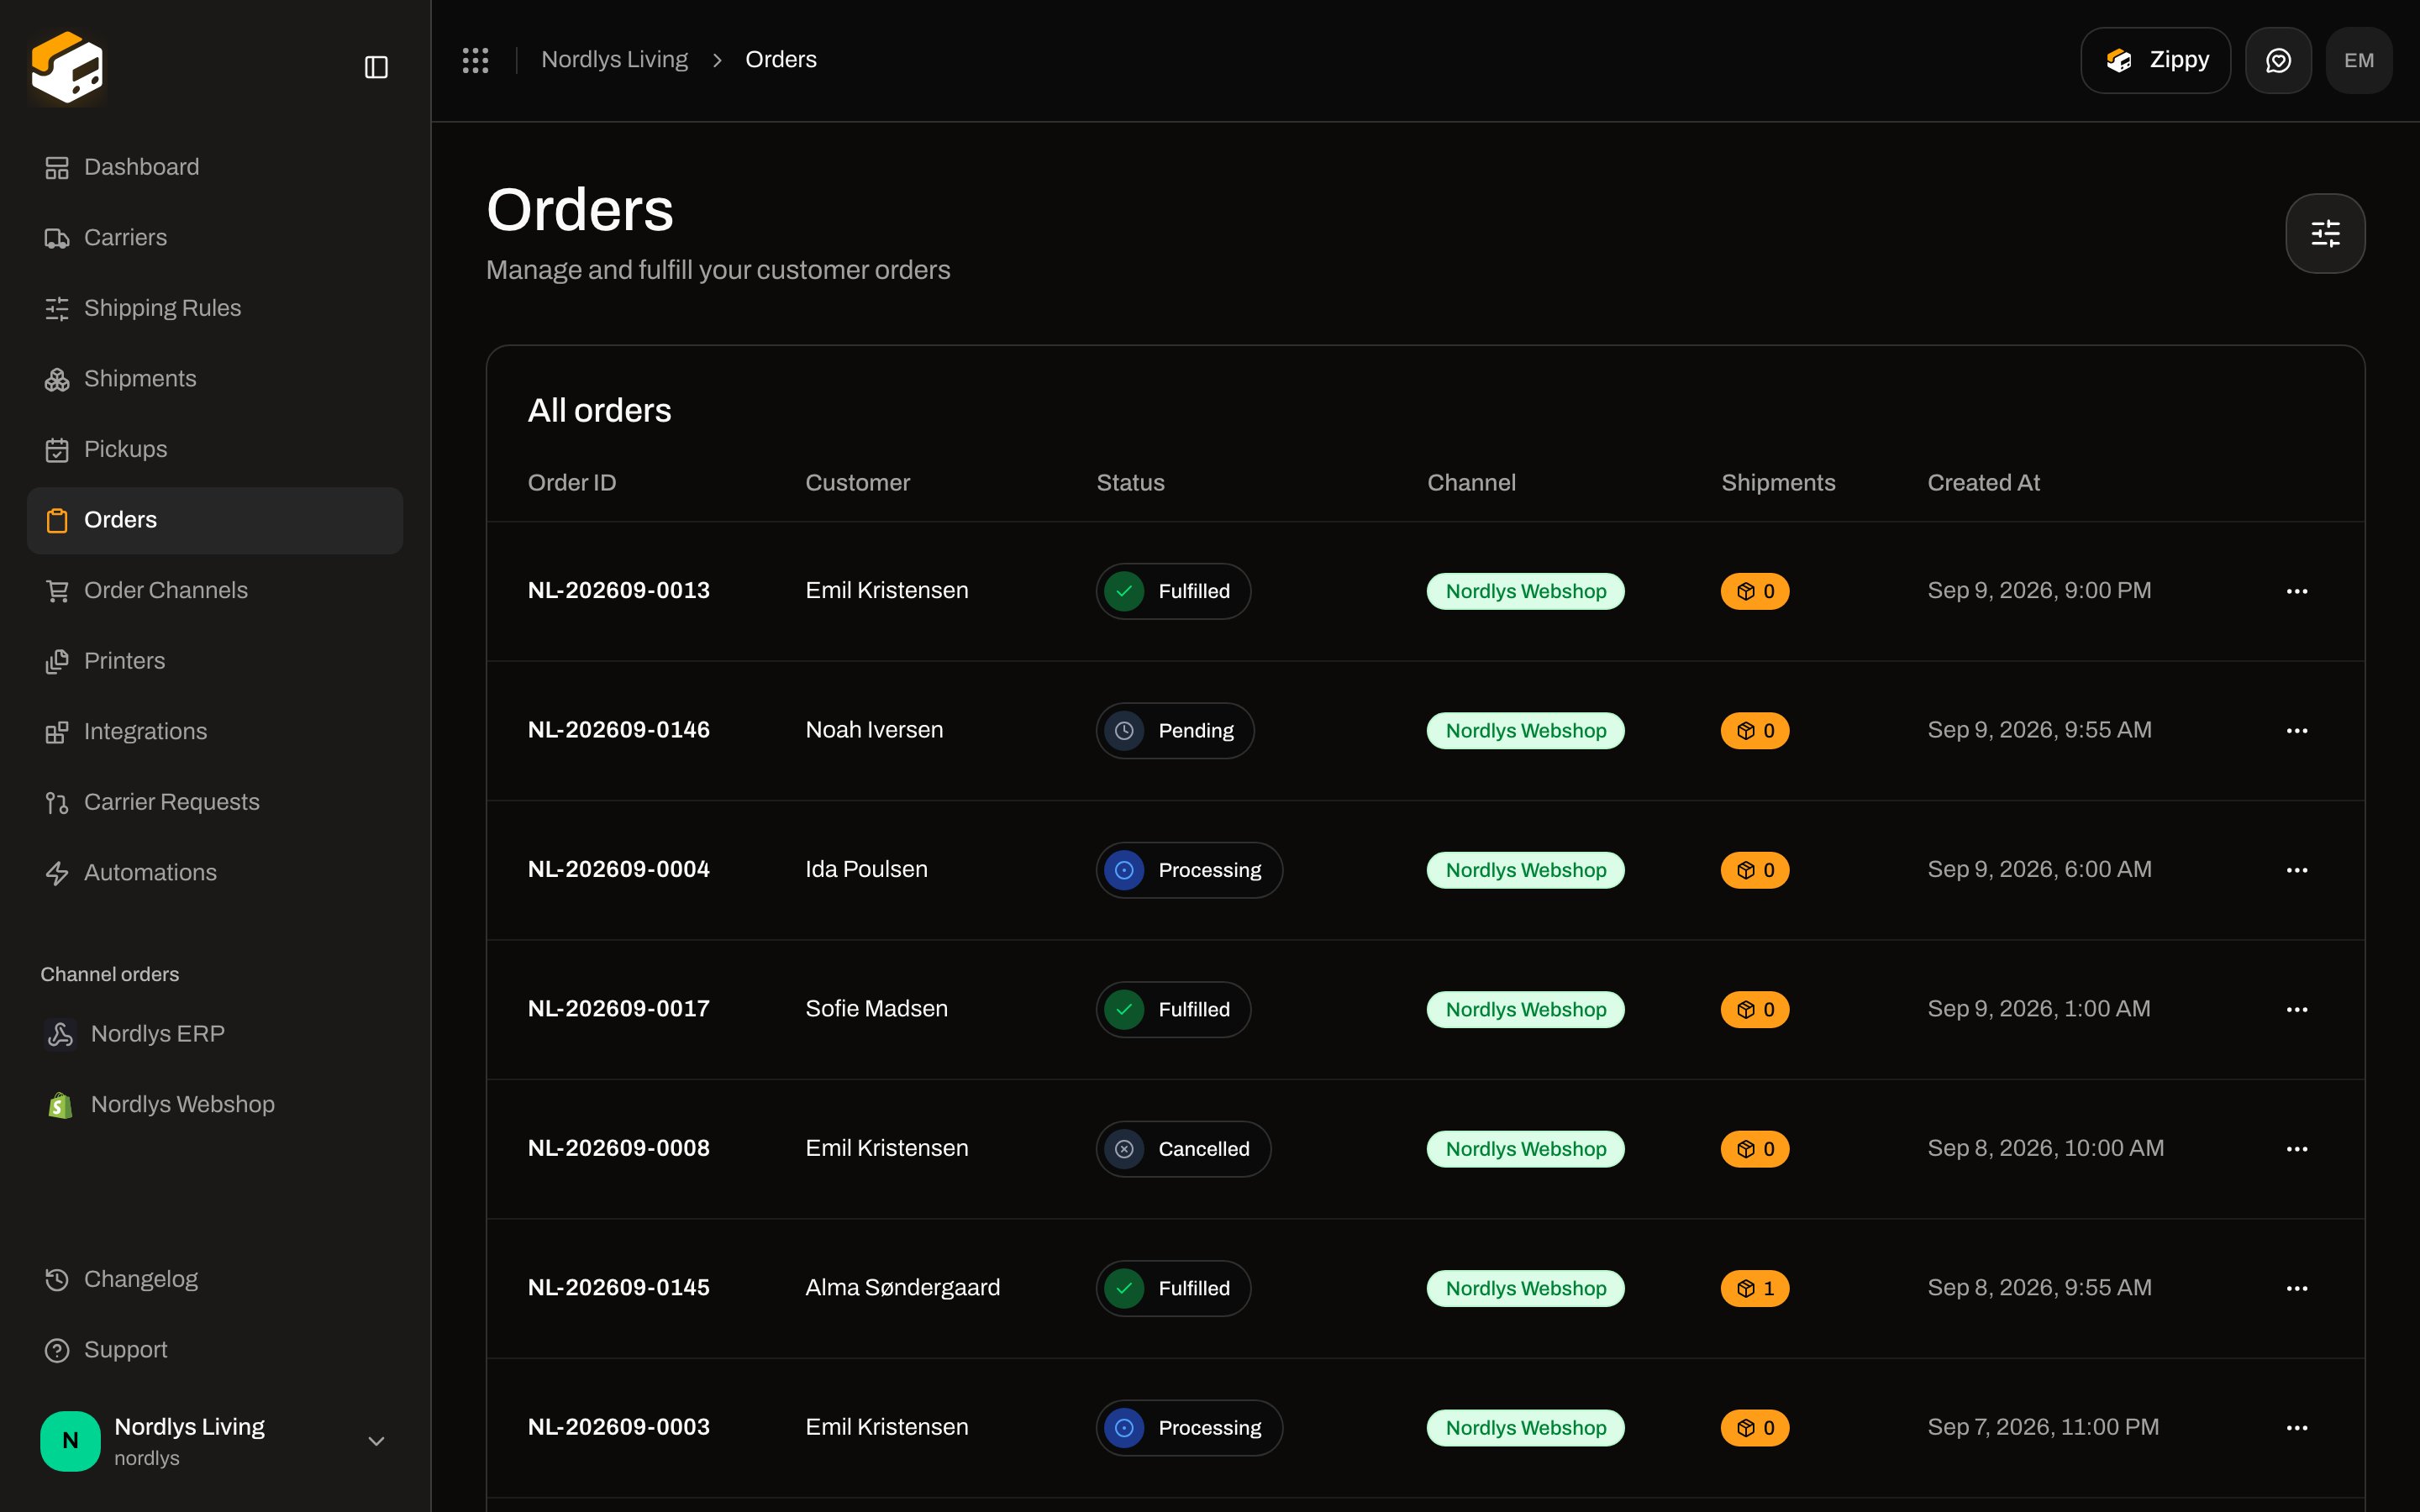 You can only create a shipment when the order is **not** **Fulfilled** or **Cancelled**. If those statuses apply, **Create Shipment** is hidden.
Click the order (or **Create Shipment** on the row). On a brand-new order the header action is **Create Shipment**.
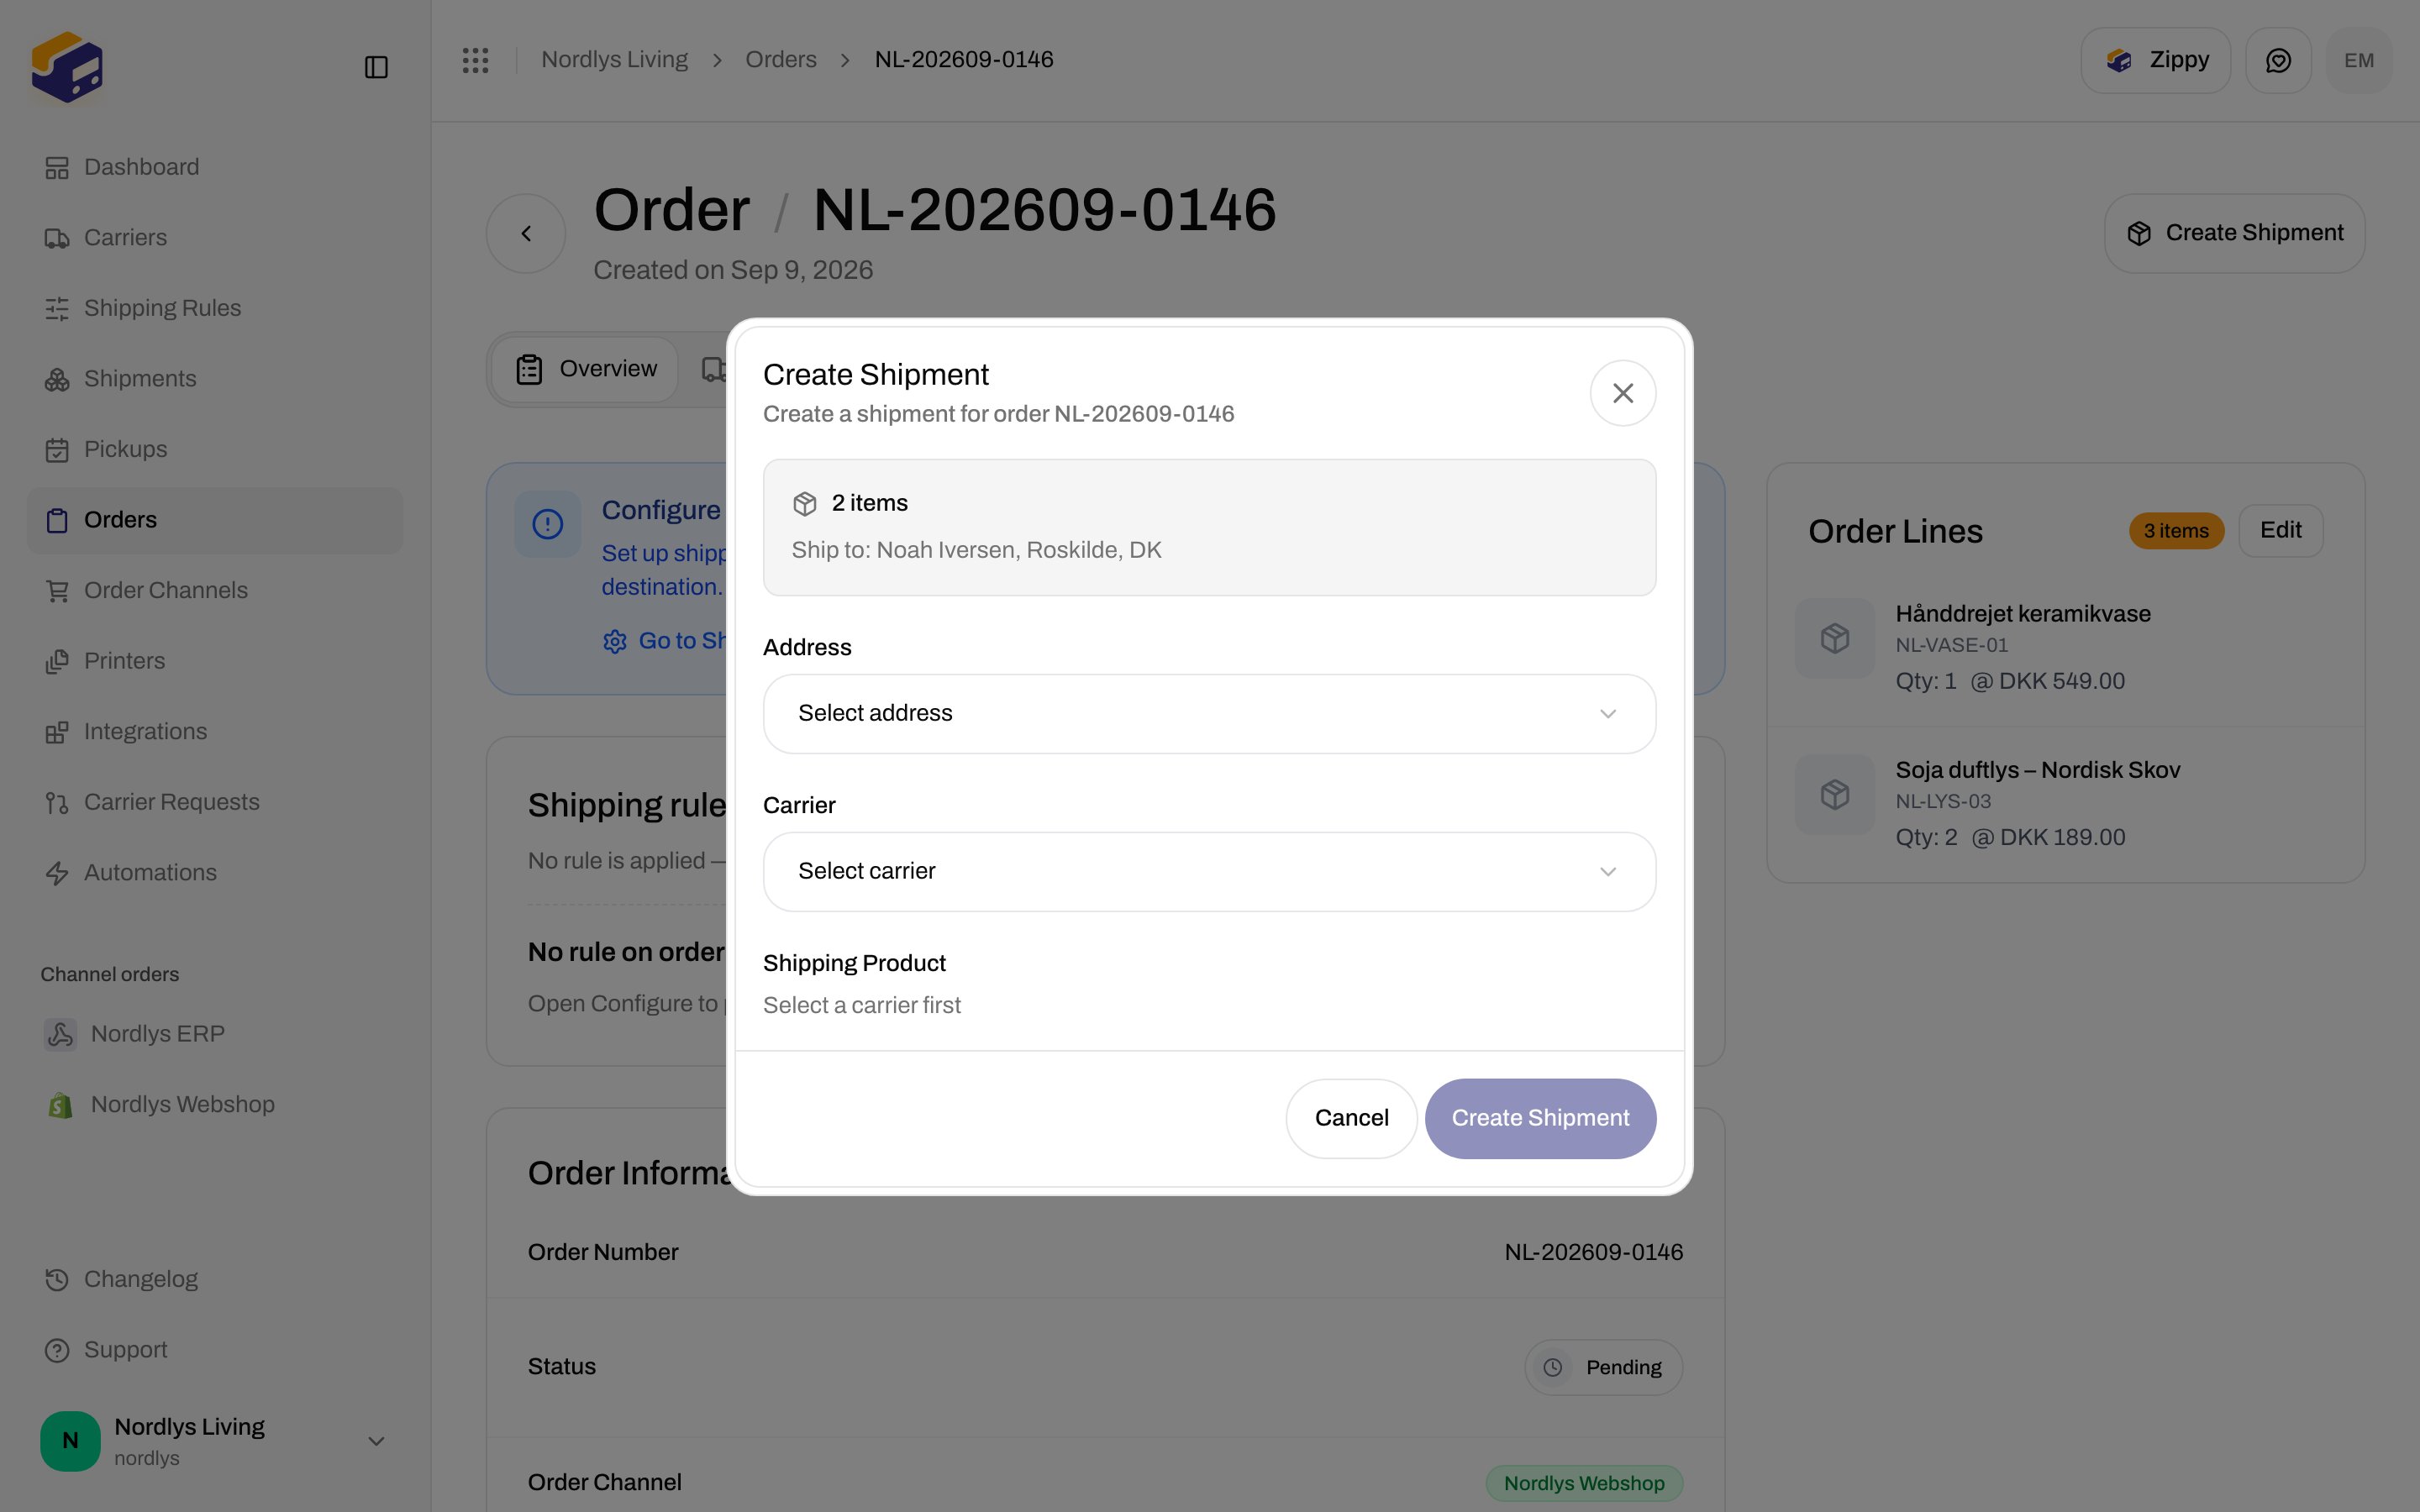
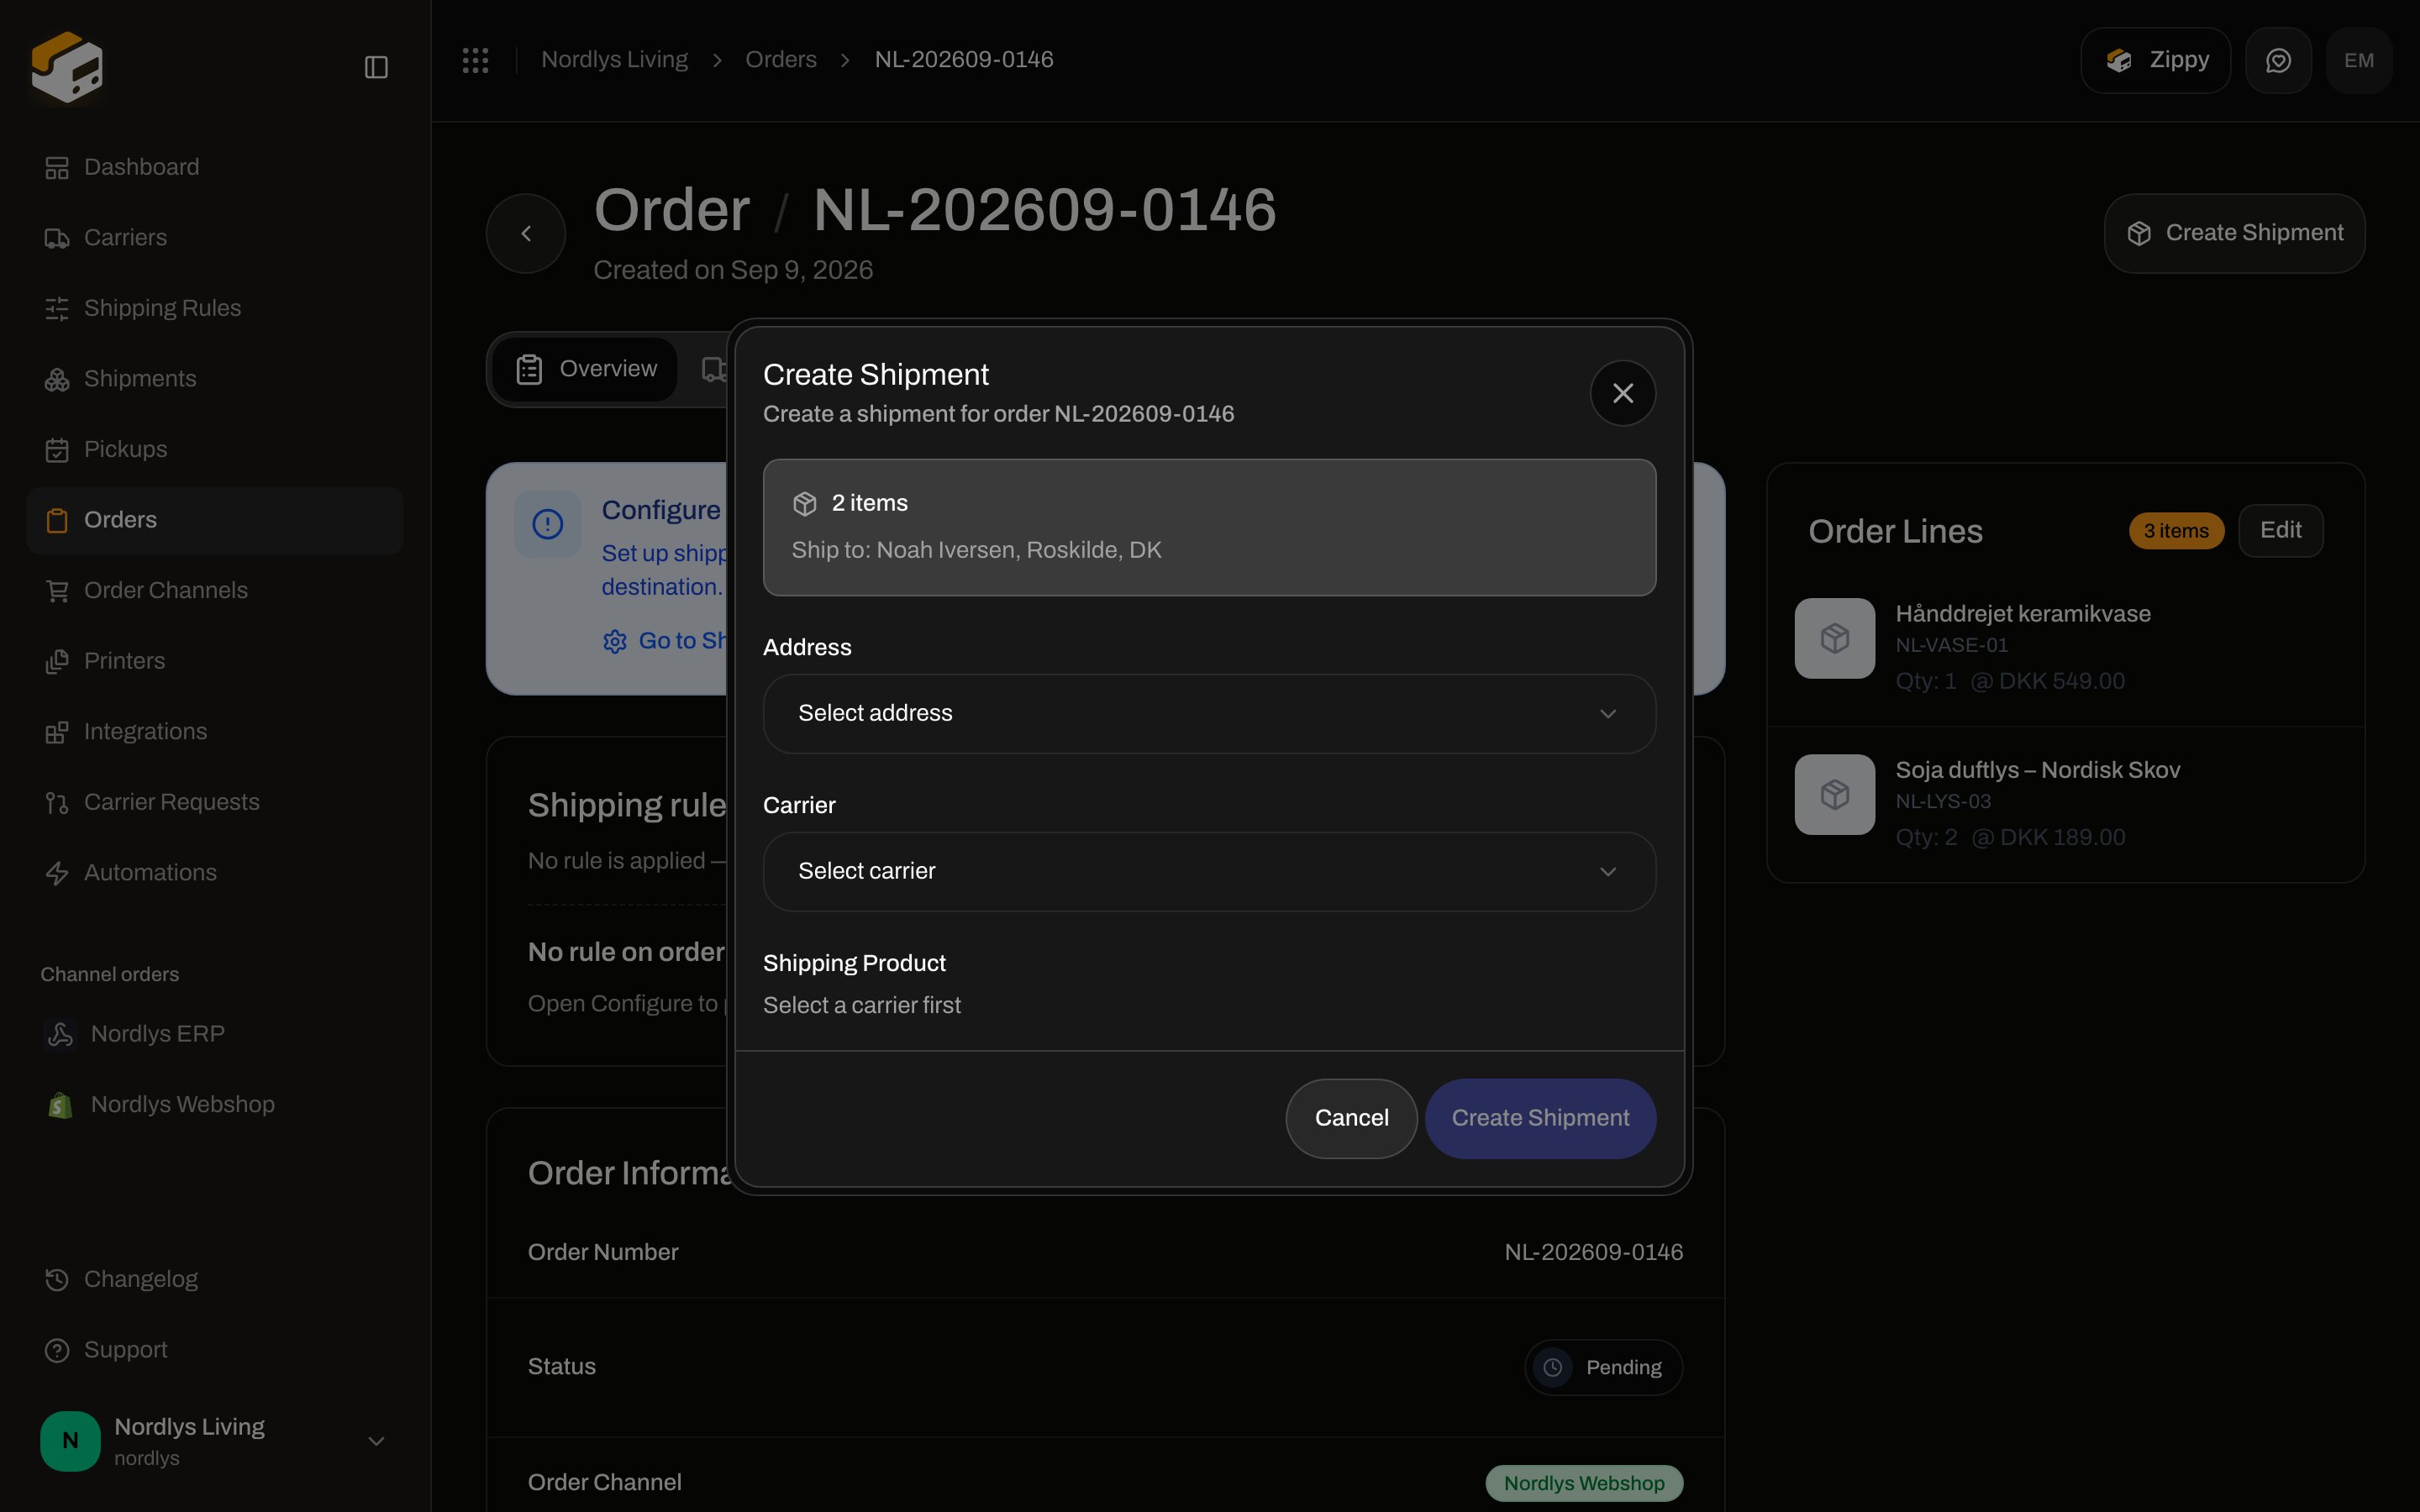
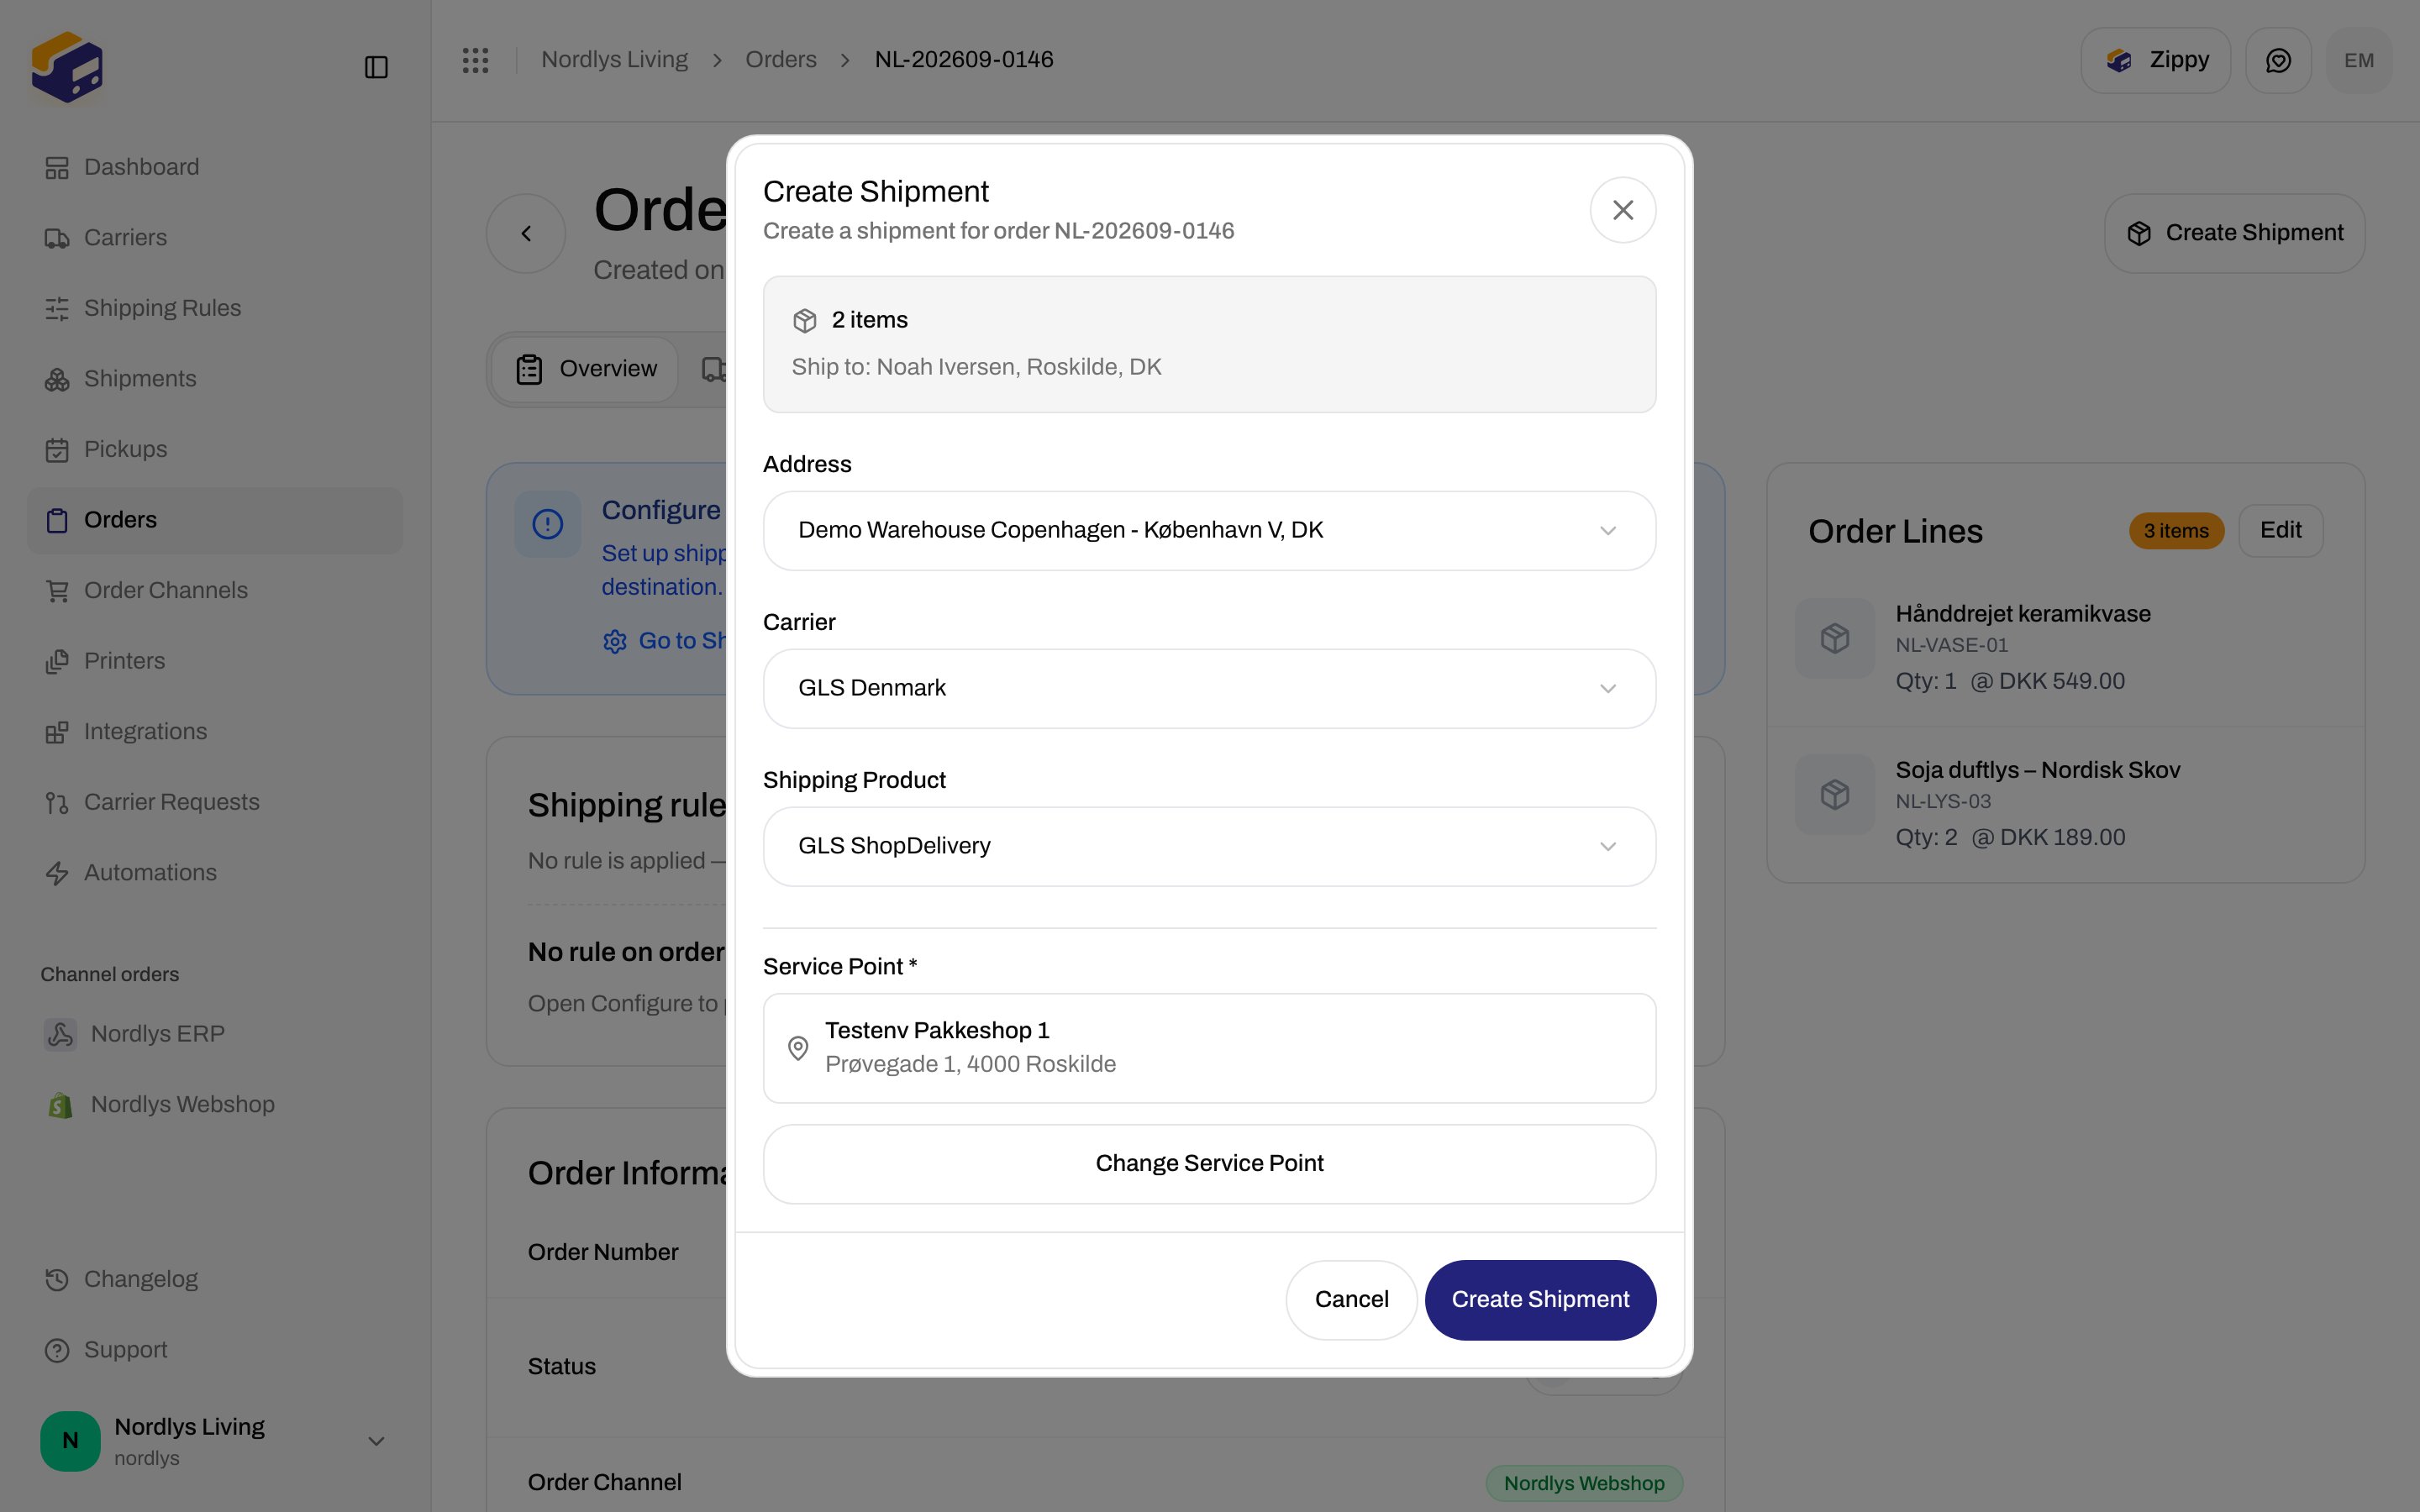
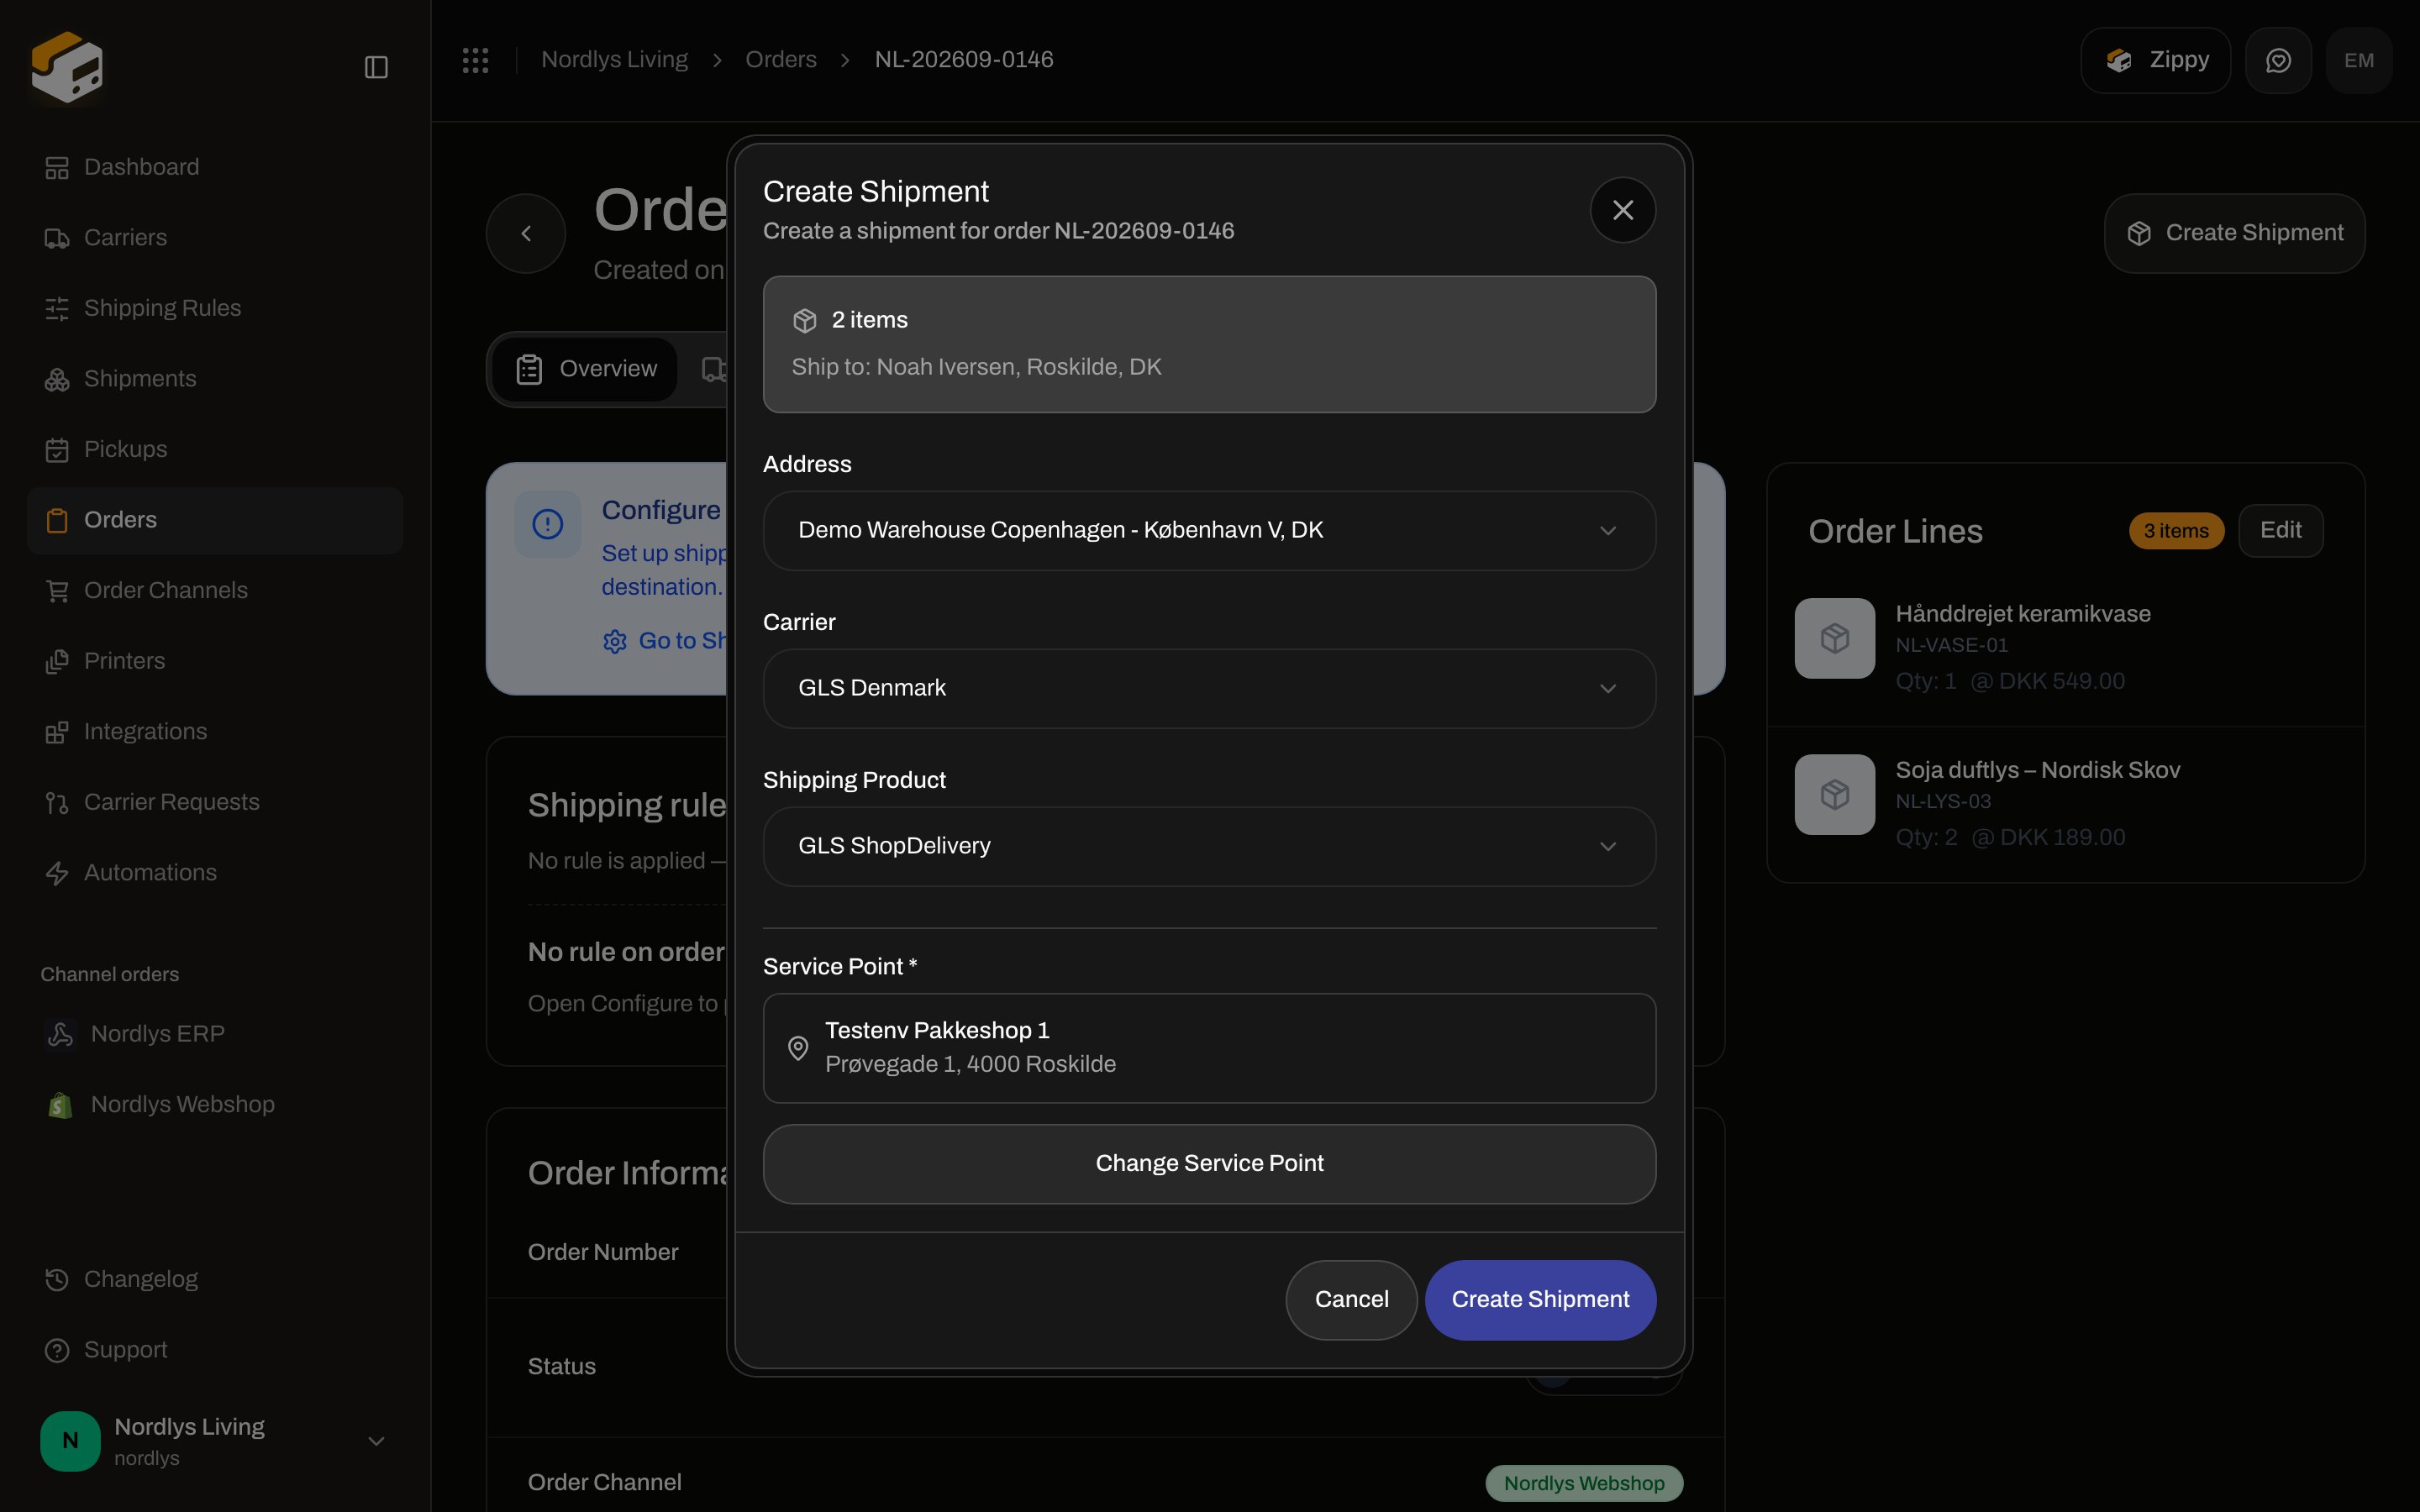
The **Create Shipment** modal opens with the item count and **Ship to:** name, city, and country from the order.
**If the order has a shipping rule:** Zippendo uses that rule’s carrier, product, services, and sender address. Click **Configure carrier manually instead** to override.
**If there is no rule:** select **Address**, **Carrier**, and **Shipping Product**.
Shop / pickup-point products show **Service Point \***. Click **Select Service Point**, pick a point near the receiver, then **Confirm Selection**.
Confirm. Parties and parcels come from the order — you do not retype them. The shipment is linked to the order and appears on the **Shipments** tab.
You can only create a shipment when the order is **not** **Fulfilled** or **Cancelled**. If those statuses apply, **Create Shipment** is hidden.
Click the order (or **Create Shipment** on the row). On a brand-new order the header action is **Create Shipment**.
The **Create Shipment** modal opens with the item count and **Ship to:** name, city, and country from the order.
**If the order has a shipping rule:** Zippendo uses that rule’s carrier, product, services, and sender address. Click **Configure carrier manually instead** to override.
**If there is no rule:** select **Address**, **Carrier**, and **Shipping Product**.
Shop / pickup-point products show **Service Point \***. Click **Select Service Point**, pick a point near the receiver, then **Confirm Selection**.
Confirm. Parties and parcels come from the order — you do not retype them. The shipment is linked to the order and appears on the **Shipments** tab.
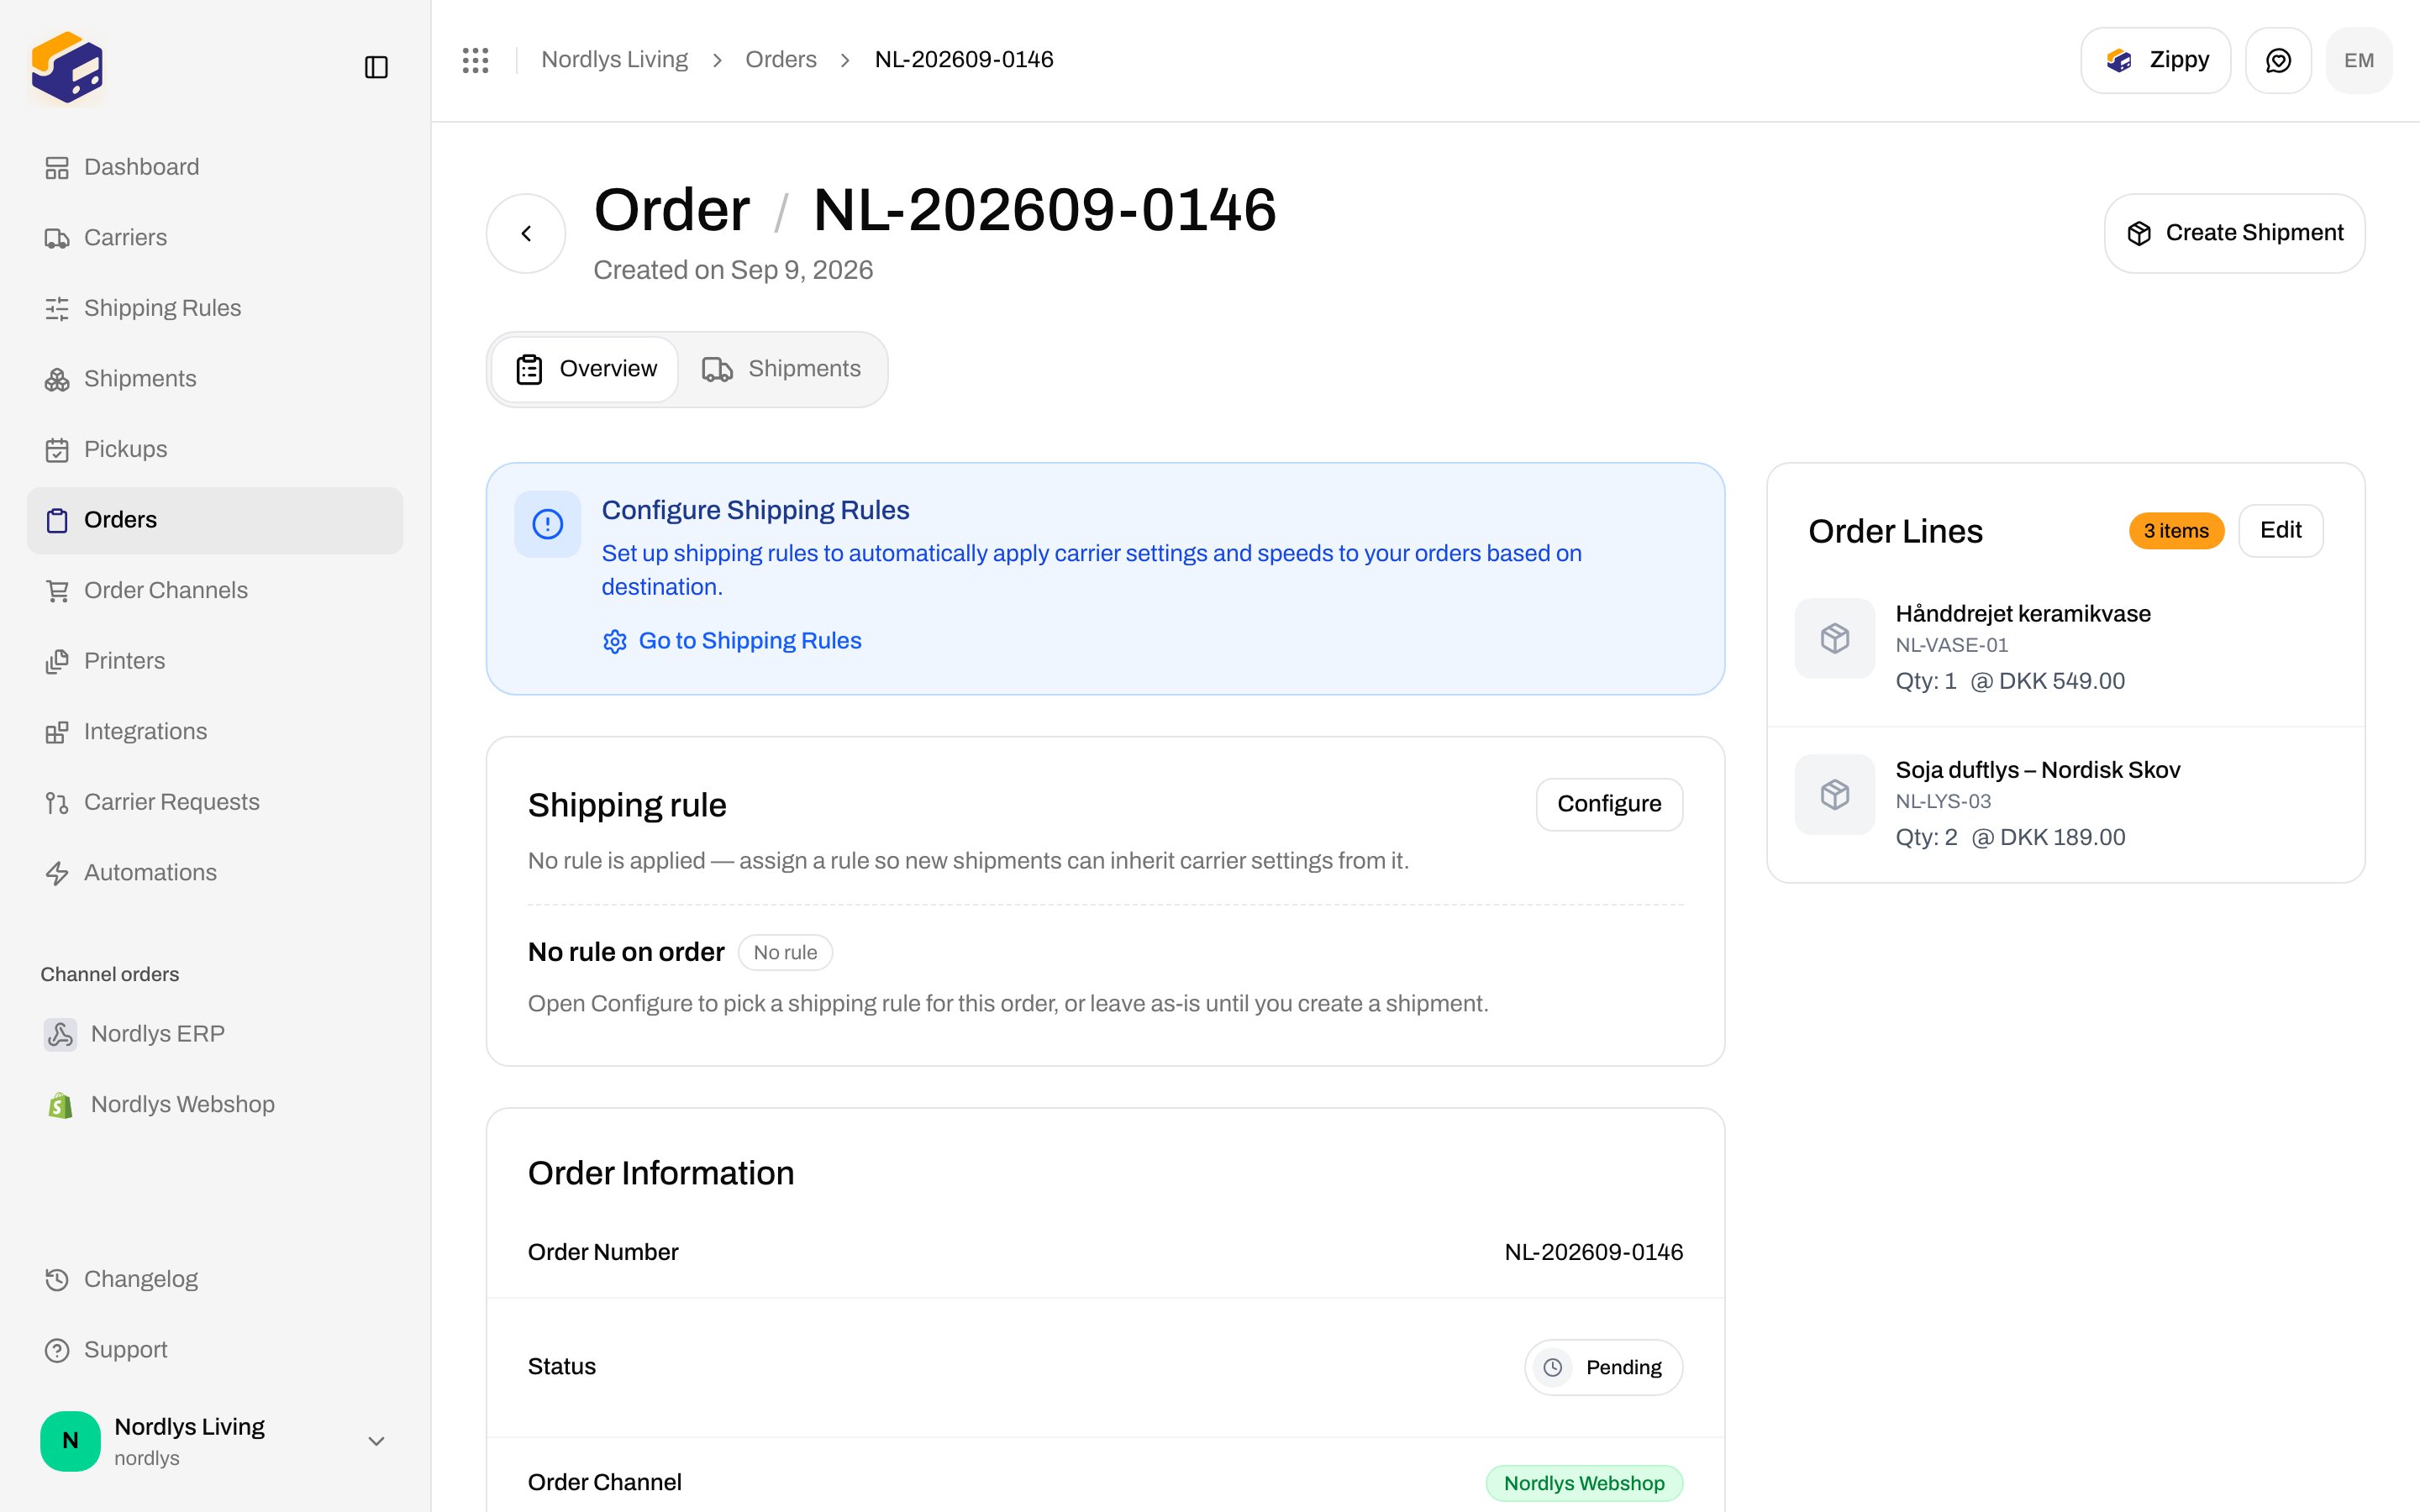
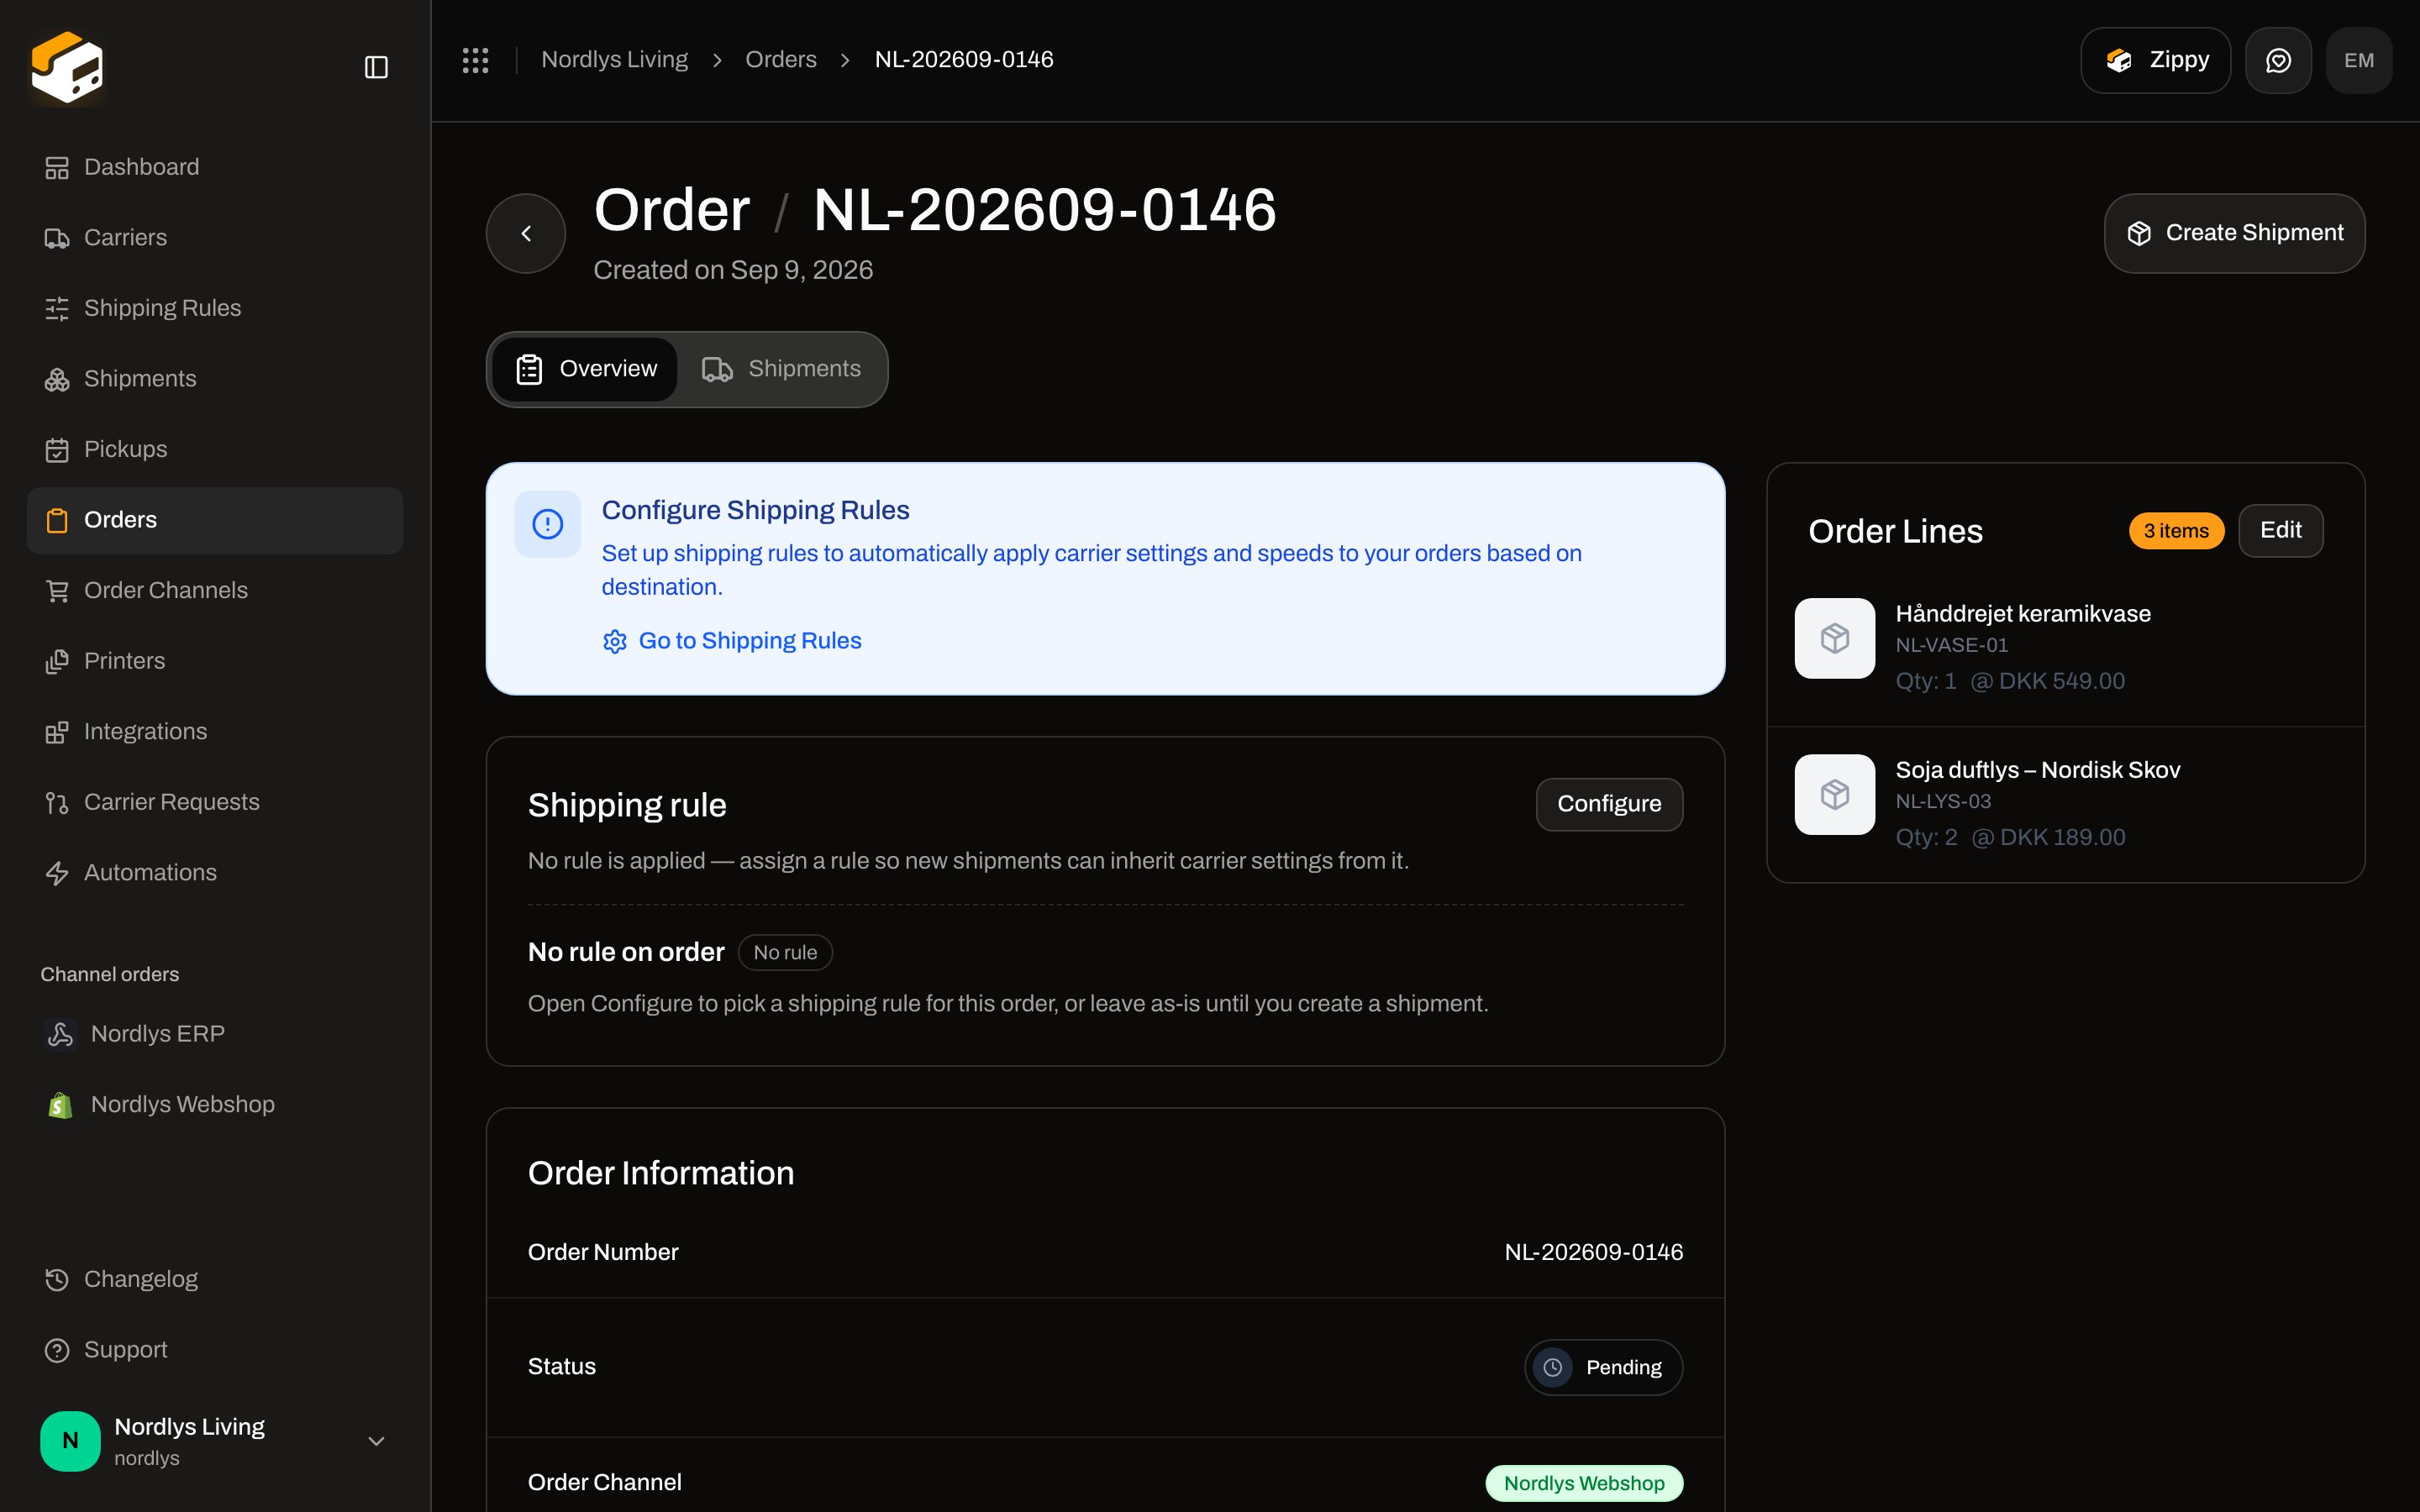
 After the first shipment exists, the header action becomes **Send order** (books every **Pending** or **Error** shipment on that order). To add another shipment — a split, a second box, a later dispatch — open the **Shipments** tab and click **Add Shipment**.
Assign a shipping rule on the order first if you ship the same way every time. The create modal then uses the rule in one click. See [Shipping rules](/docs/tutorials/shipping-rules).
### Standalone vs from an order
| | Standalone (**Shipments → Create shipment**) | From an order |
| ------------------- | -------------------------------------------- | --------------------------------------------- |
| Recipient and items | You enter **Parties** and **Parcels** | Copied from the order |
| Reference | You type it | Taken from the order |
| Carrier / product | You pick them (or a rule, via the API) | Manual pick, or the order’s shipping rule |
| Linked to an order | No | Yes — listed on the order’s **Shipments** tab |
| Best for | Ad-hoc sends, samples, warehouse transfers | Day-to-day fulfilment |
## Service points and pickup
Some products deliver to a parcel shop or locker instead of the door. In the app that is a **Drop Point** / **Service Point**.
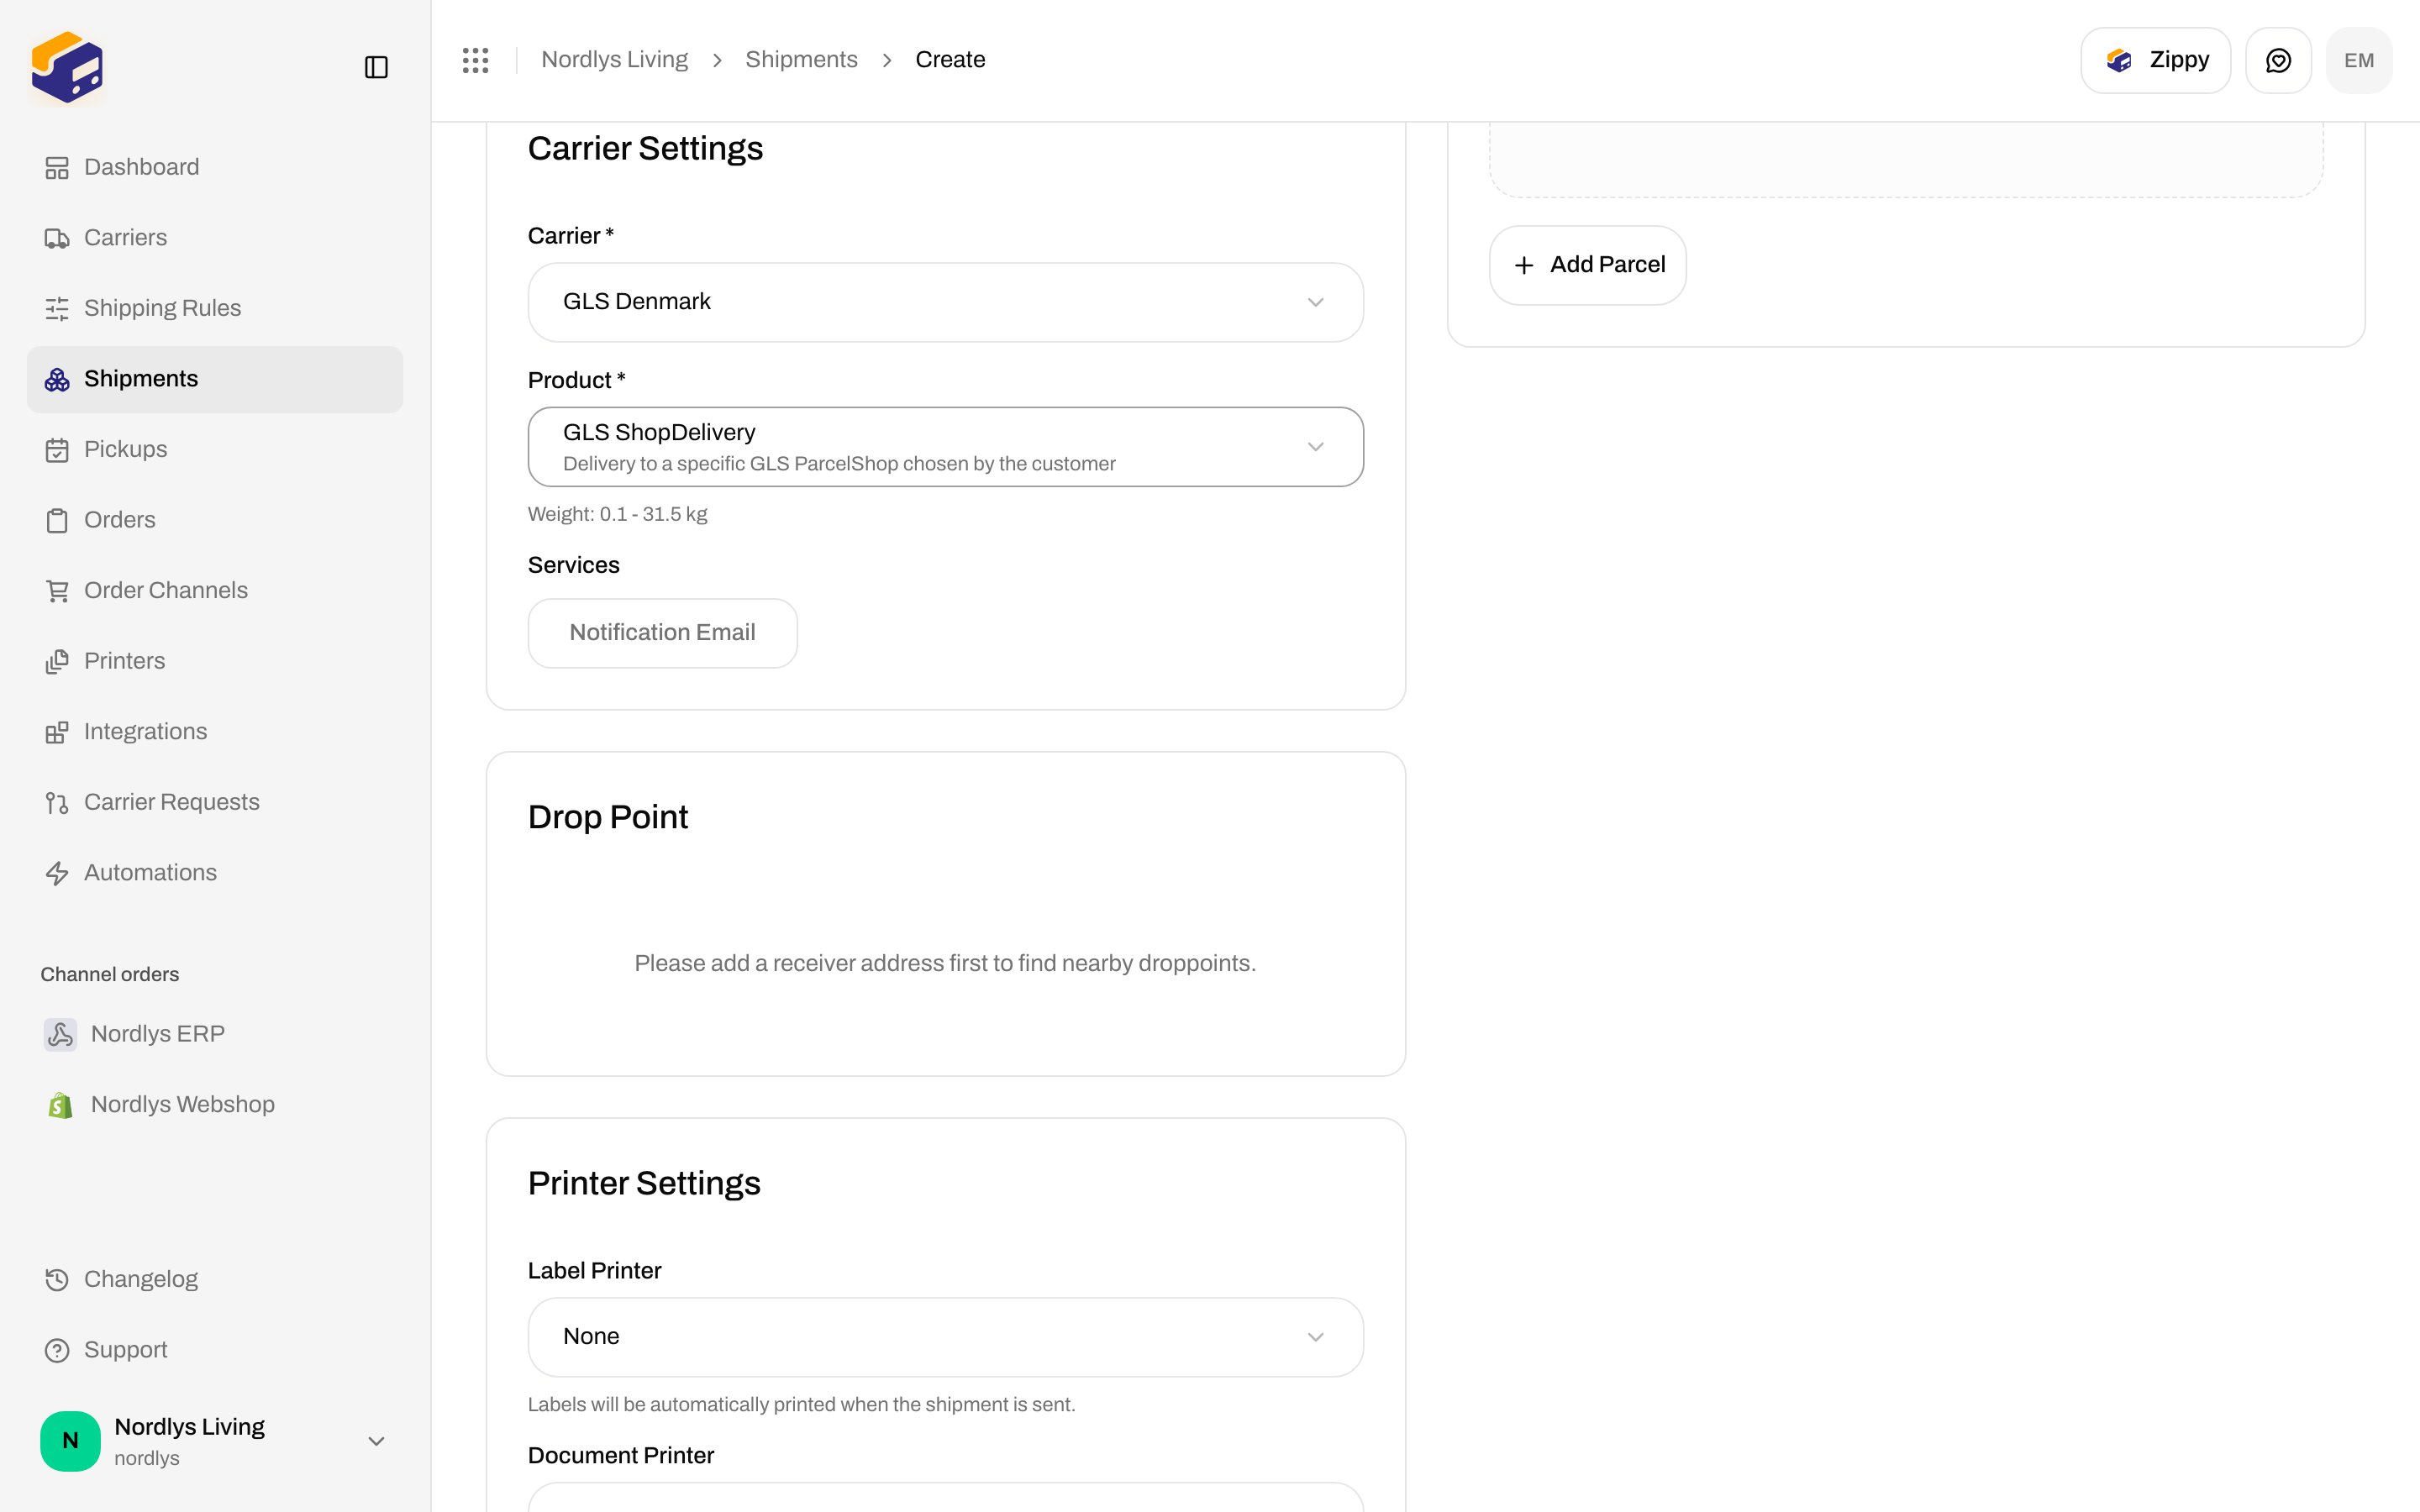
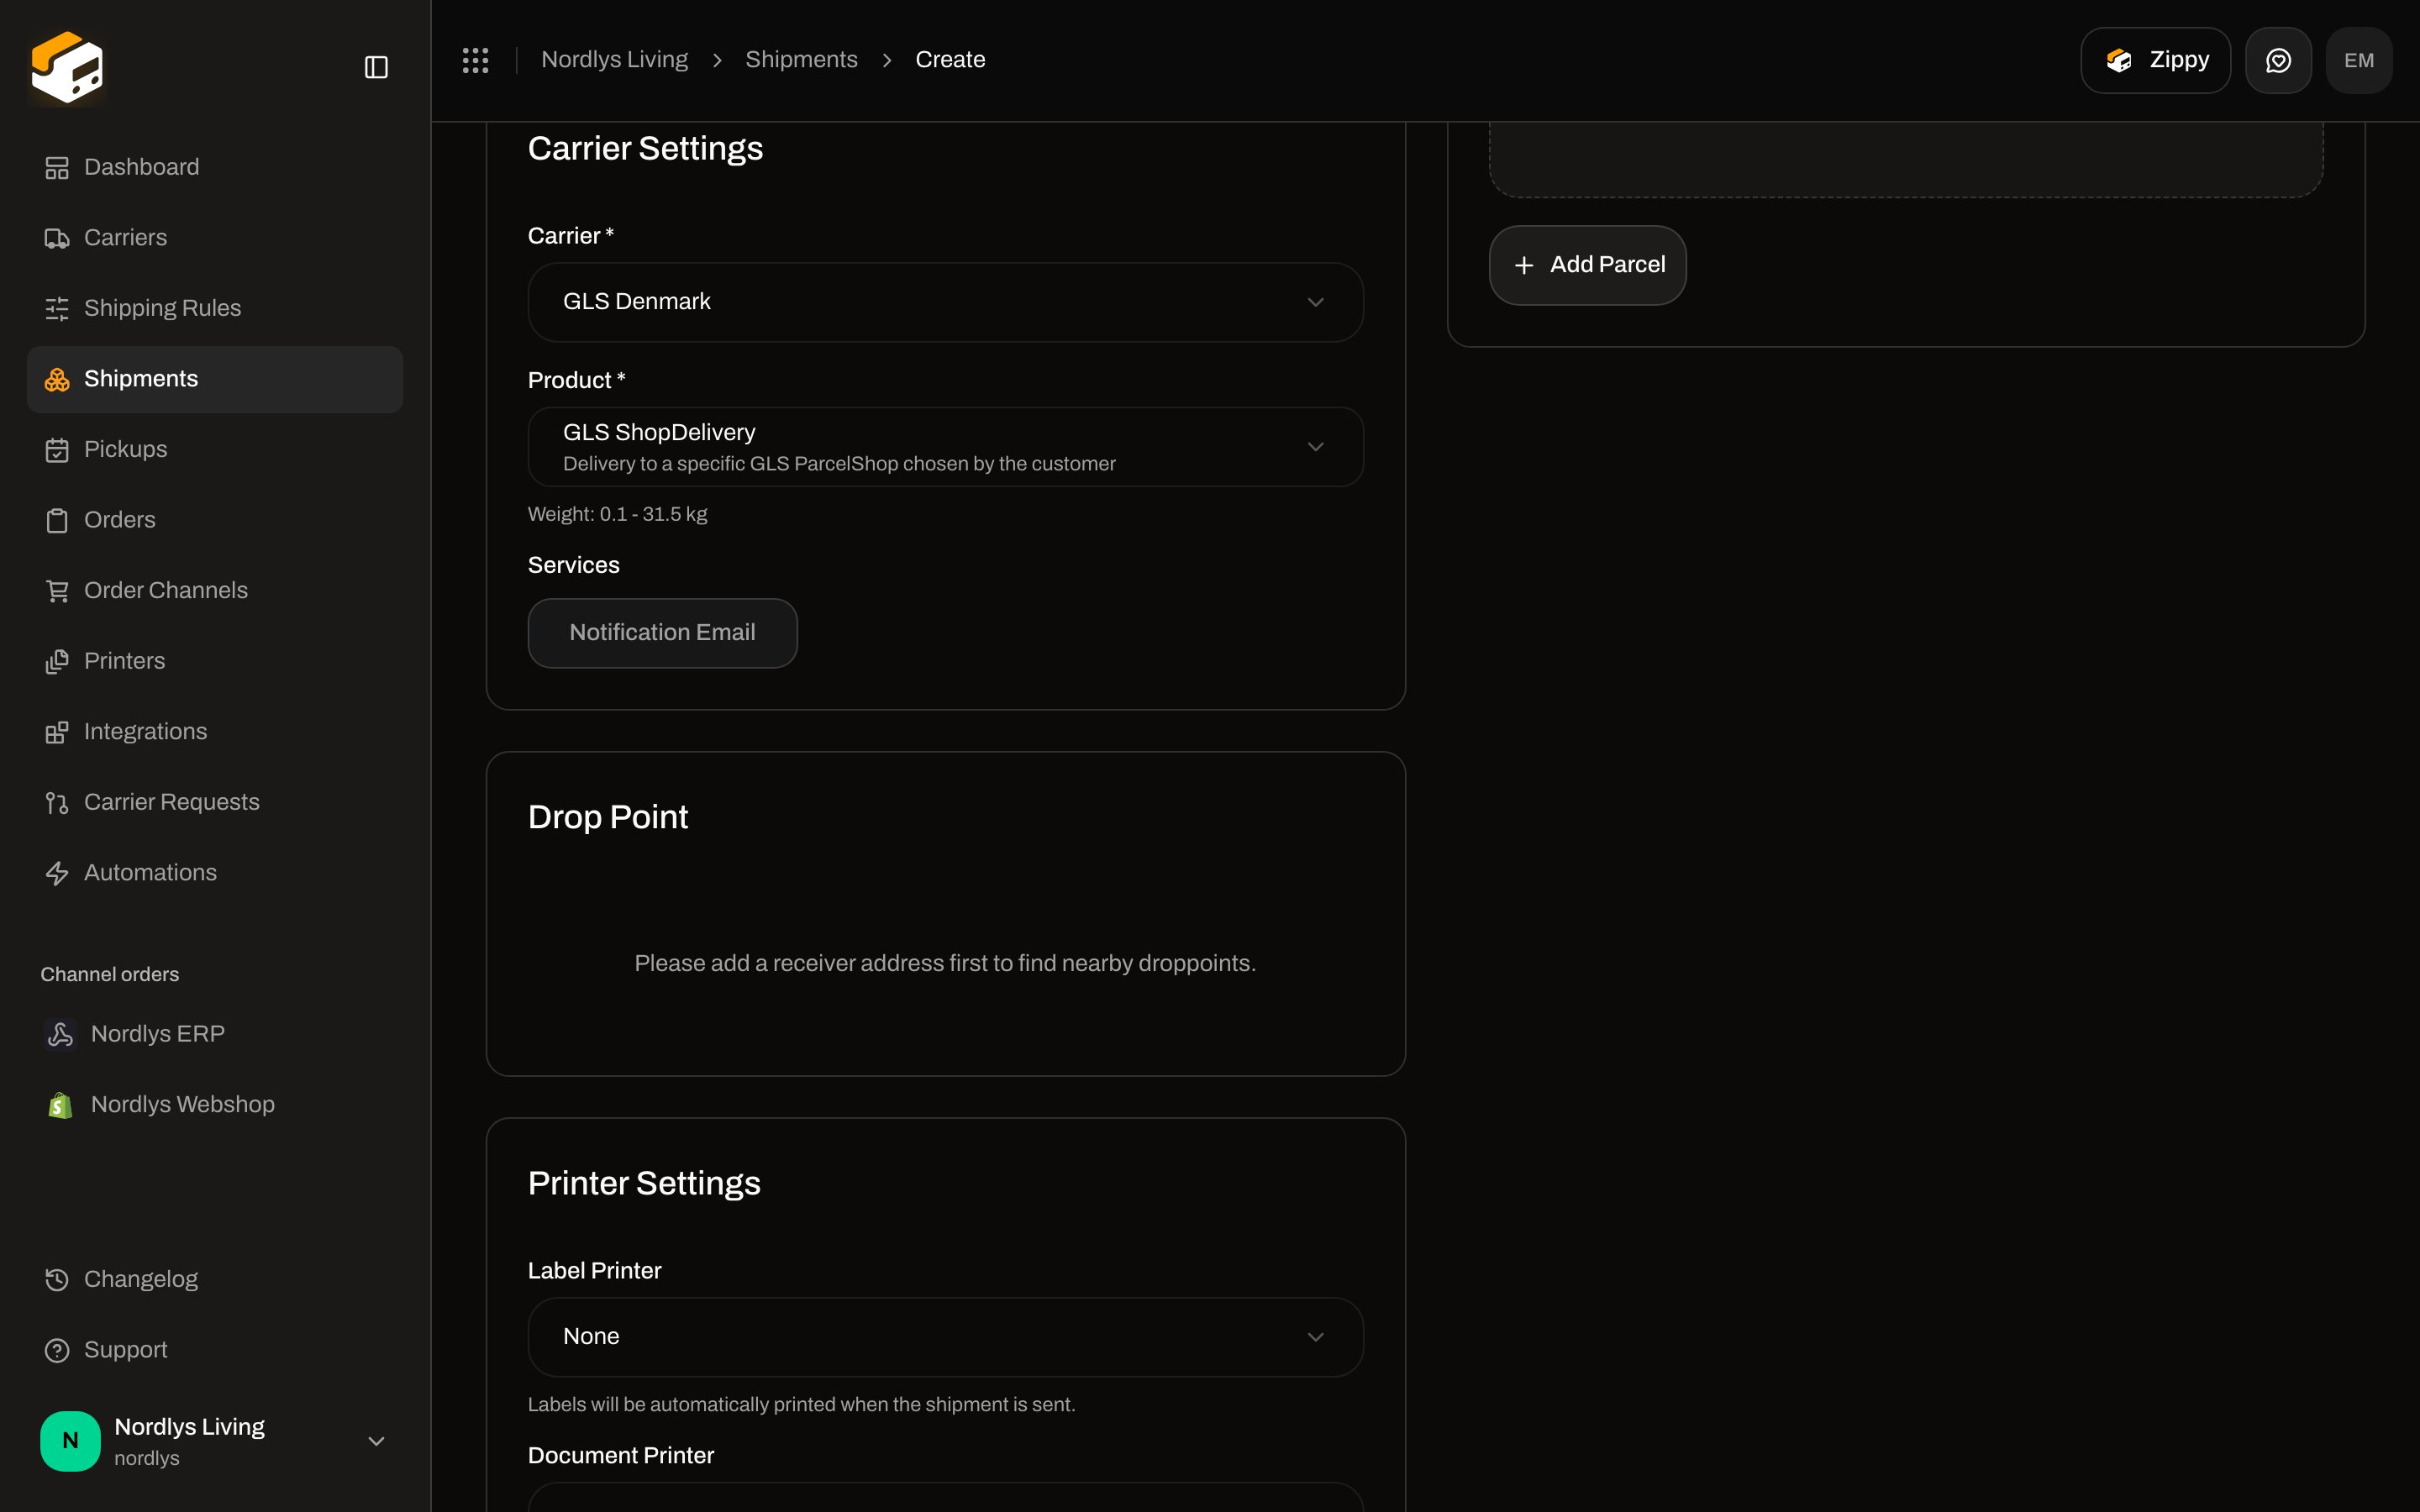
On the standalone form, pick a service-point product (for example **GLS ShopDelivery**). The **Drop Point** card appears. It stays empty until the receiver has address, postal code, city, and country.
After the first shipment exists, the header action becomes **Send order** (books every **Pending** or **Error** shipment on that order). To add another shipment — a split, a second box, a later dispatch — open the **Shipments** tab and click **Add Shipment**.
Assign a shipping rule on the order first if you ship the same way every time. The create modal then uses the rule in one click. See [Shipping rules](/docs/tutorials/shipping-rules).
### Standalone vs from an order
| | Standalone (**Shipments → Create shipment**) | From an order |
| ------------------- | -------------------------------------------- | --------------------------------------------- |
| Recipient and items | You enter **Parties** and **Parcels** | Copied from the order |
| Reference | You type it | Taken from the order |
| Carrier / product | You pick them (or a rule, via the API) | Manual pick, or the order’s shipping rule |
| Linked to an order | No | Yes — listed on the order’s **Shipments** tab |
| Best for | Ad-hoc sends, samples, warehouse transfers | Day-to-day fulfilment |
## Service points and pickup
Some products deliver to a parcel shop or locker instead of the door. In the app that is a **Drop Point** / **Service Point**.
On the standalone form, pick a service-point product (for example **GLS ShopDelivery**). The **Drop Point** card appears. It stays empty until the receiver has address, postal code, city, and country.
 From an order, the same requirement appears in the modal as **Service Point \***. Zippendo often fills the nearest point automatically. Use **Change Service Point** to pick another. **Create Shipment** stays disabled until a point is selected.
 If search fails or returns nothing, check the receiver address and try **Retry**. More on this flow: [Droppoint search](/docs/shipments/droppoint-search).
**Pickup** (the carrier collects from you) is a service on some products, not the same as a drop point. Enabling **pickup** opens **Pickup Details**: date, time window (morning, afternoon, evening, all day, or custom), and optional instructions. You can also [schedule a pickup](/docs/pickups/scheduling-a-pickup) later for dispatched shipments.
## Outbound vs inbound (returns)
**Type** on the create form is **Outbound** or **Inbound**.
If search fails or returns nothing, check the receiver address and try **Retry**. More on this flow: [Droppoint search](/docs/shipments/droppoint-search).
**Pickup** (the carrier collects from you) is a service on some products, not the same as a drop point. Enabling **pickup** opens **Pickup Details**: date, time window (morning, afternoon, evening, all day, or custom), and optional instructions. You can also [schedule a pickup](/docs/pickups/scheduling-a-pickup) later for dispatched shipments.
## Outbound vs inbound (returns)
**Type** on the create form is **Outbound** or **Inbound**.
 * **Outbound** — you send to the customer. The selected address fills the **Sender**. Products such as GLS PrivateDelivery appear.
* **Inbound** — the parcel comes back to you. The selected address fills the **Receiver** (your warehouse). Only inbound products appear (for example **GLS ShopReturn**). Addresses must include the **return** address type.
The order **Create Shipment** modal always creates an **outbound** shipment. For a return after delivery, open the dispatched shipment and use **Create Return Shipment** (needs a return shipping rule). That flow is in [Returns](/docs/tutorials/returns).
## Validation errors
If something is missing, **Create Shipment** does not save. The first problem appears as a toast; party errors can also show in a **Validation errors** banner.
* **Outbound** — you send to the customer. The selected address fills the **Sender**. Products such as GLS PrivateDelivery appear.
* **Inbound** — the parcel comes back to you. The selected address fills the **Receiver** (your warehouse). Only inbound products appear (for example **GLS ShopReturn**). Addresses must include the **return** address type.
The order **Create Shipment** modal always creates an **outbound** shipment. For a return after delivery, open the dispatched shipment and use **Create Return Shipment** (needs a return shipping rule). That flow is in [Returns](/docs/tutorials/returns).
## Validation errors
If something is missing, **Create Shipment** does not save. The first problem appears as a toast; party errors can also show in a **Validation errors** banner.
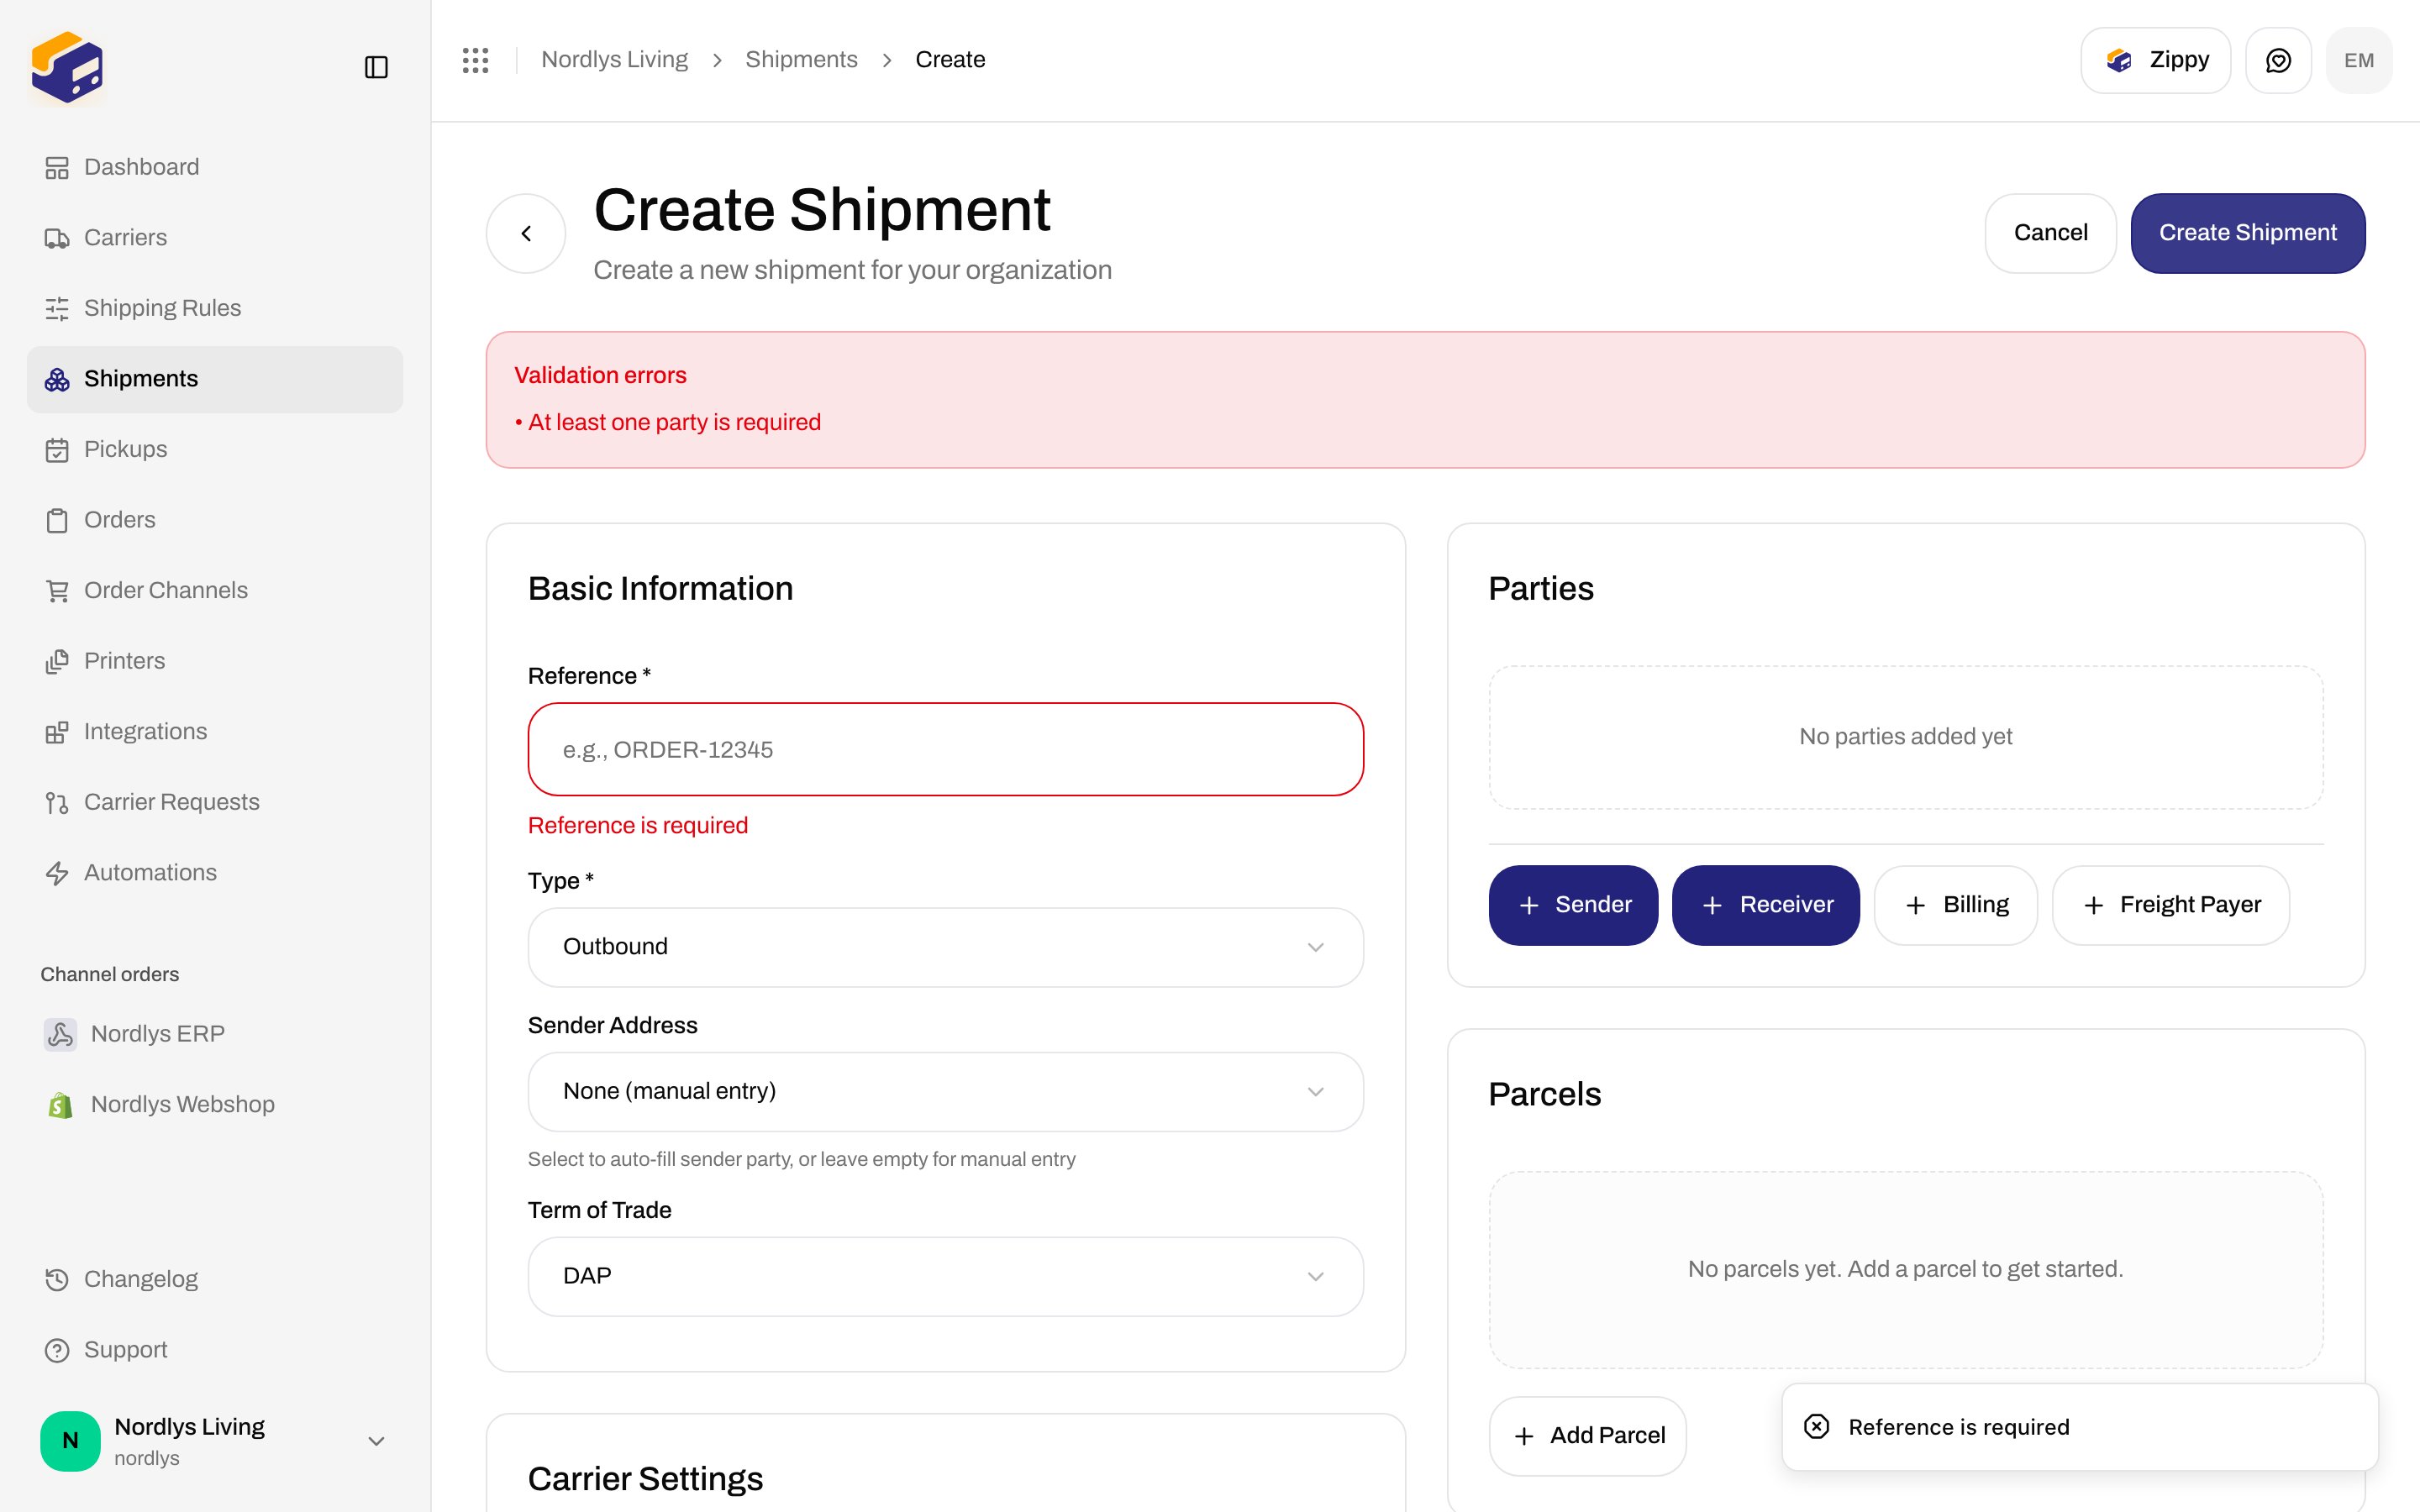
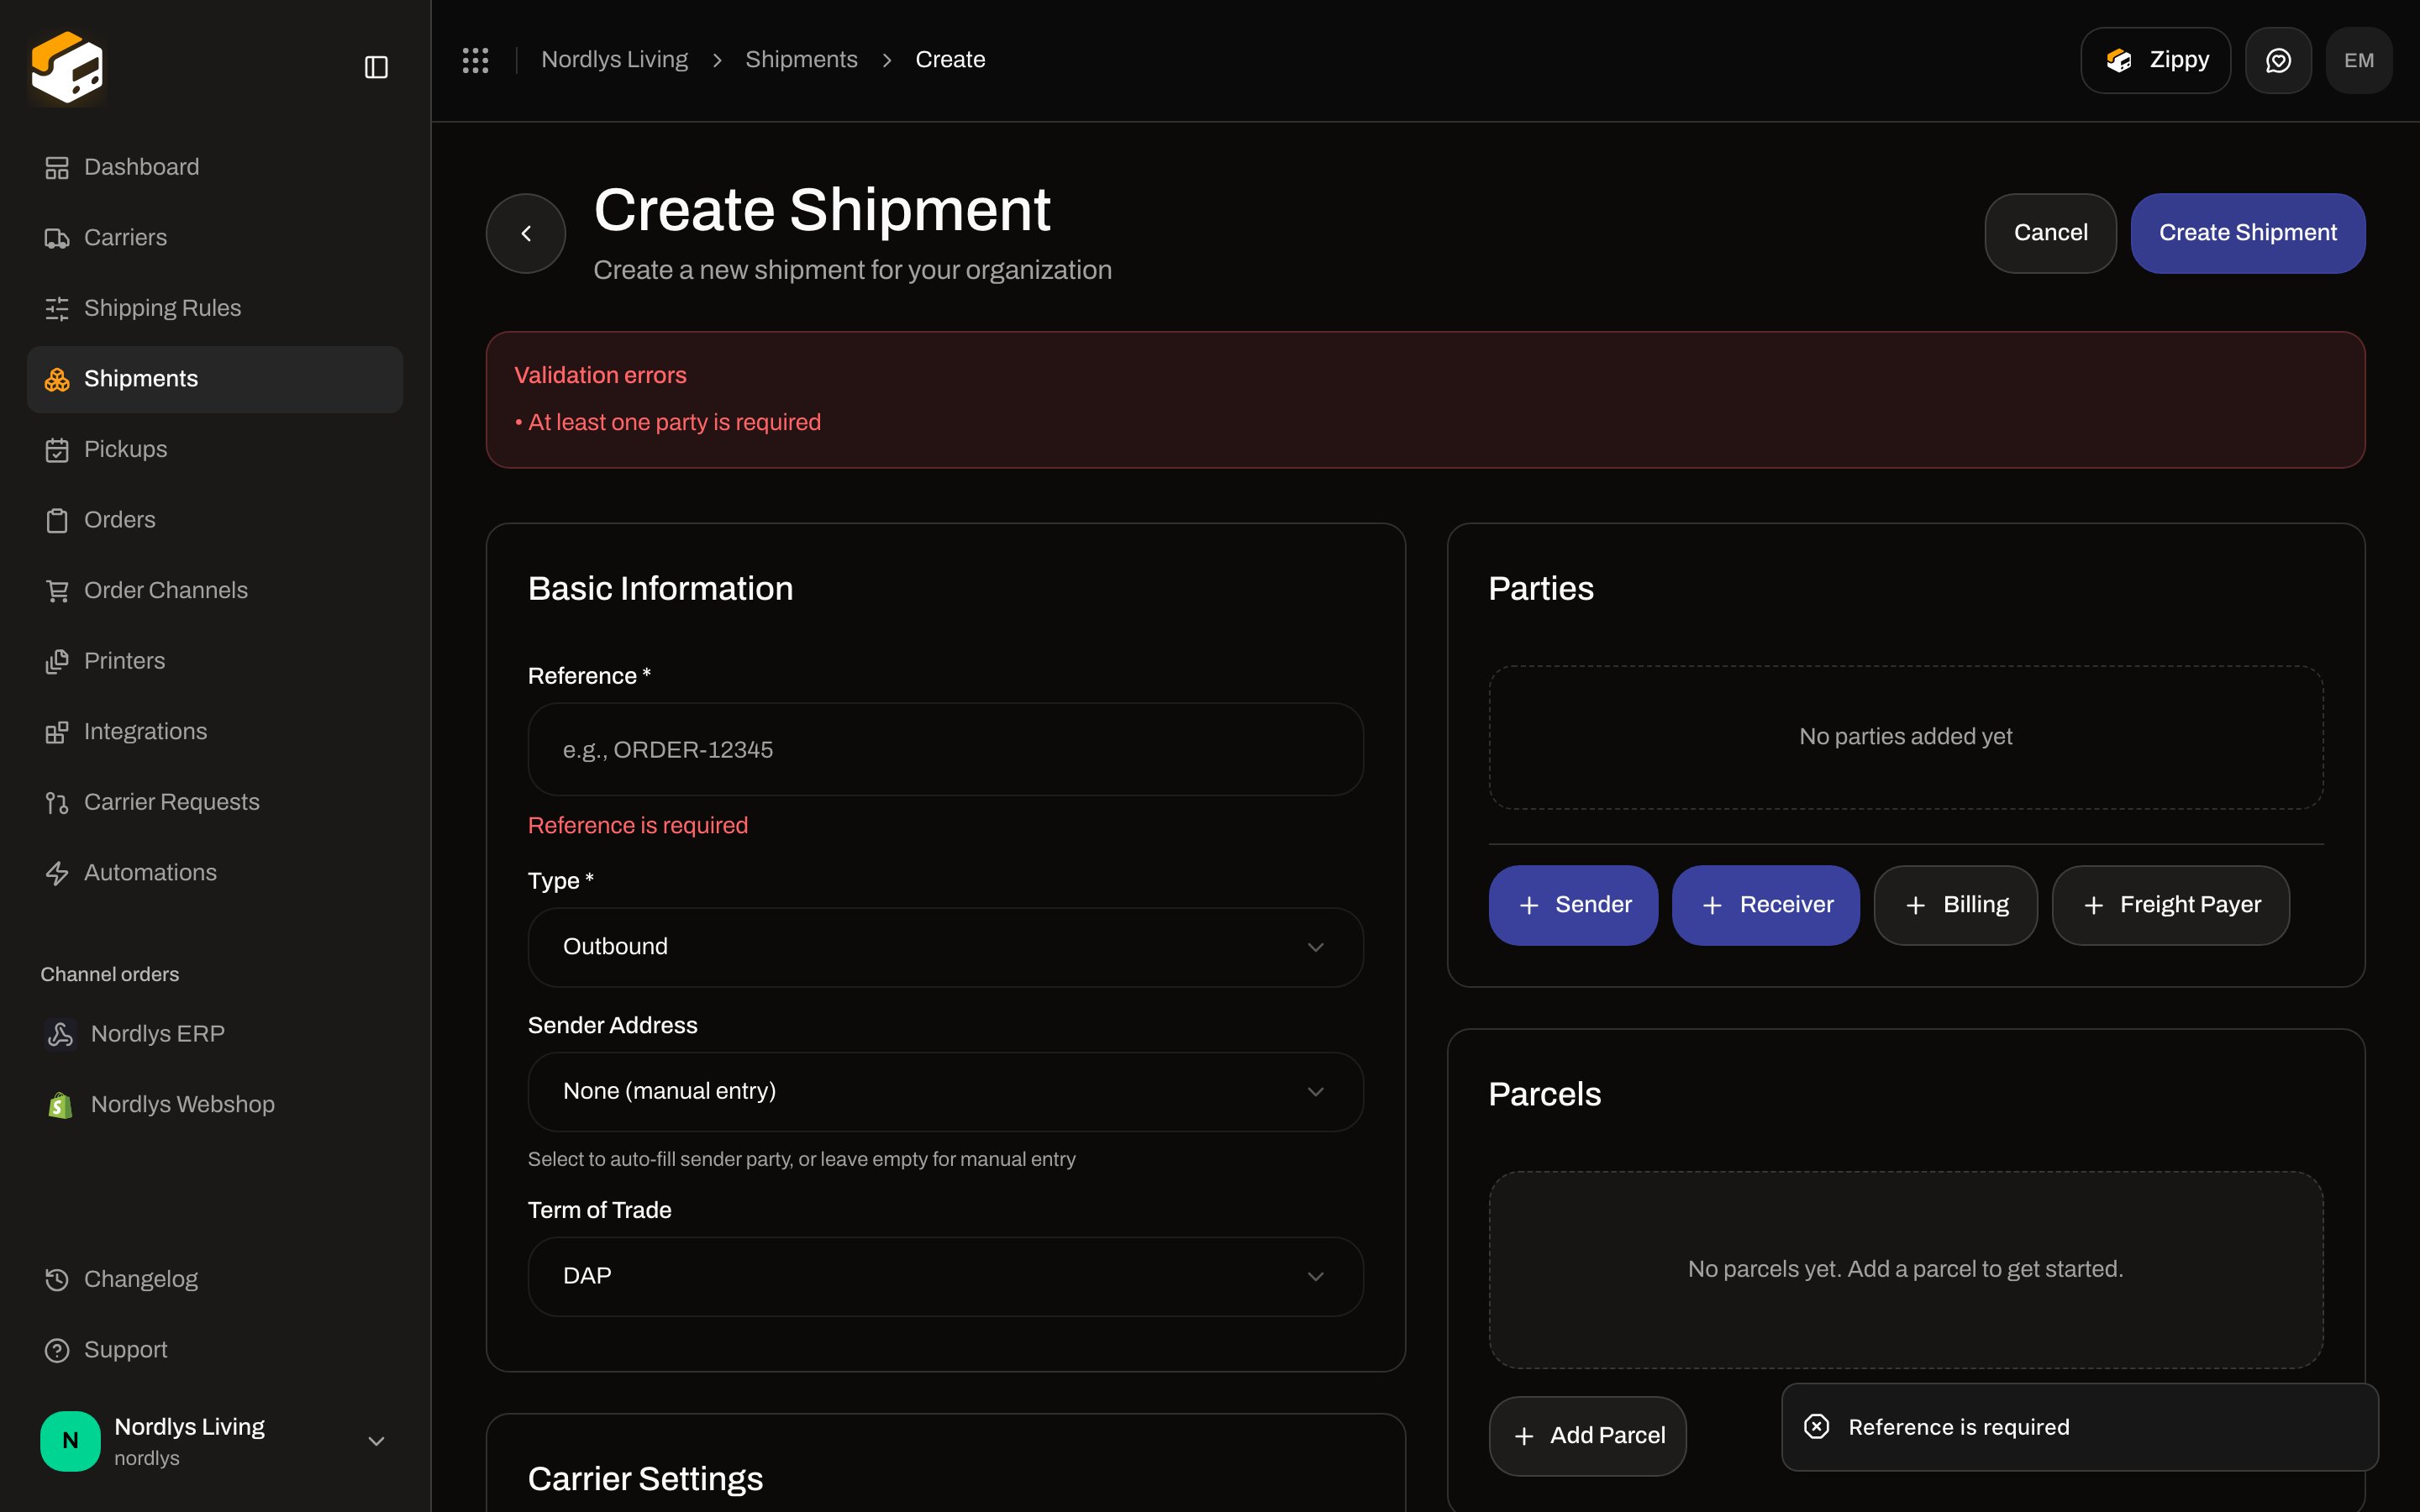 Common messages and how to fix them:
| Message | What to do |
| ----------------------------------------------------------------- | ------------------------------------------------------------- |
| **Reference is required** | Fill **Reference \*** |
| **Carrier is required** / **Product ID is required** | Choose carrier, then product |
| **A sender party is required** / **A receiver party is required** | Add both parties, or pick a sender address and add a receiver |
| **At least one parcel is required** | Click **Add Parcel** and save it |
| **At least one order line is required** | Add a line on the parcel (quantity ≥ 1) |
| **Name / Address line 1 / Postal code / City is required** | Complete the party address |
| **Country code must be 2 characters** | Use `DK`, `SE`, `DE`, not “Denmark” |
| **Please add a receiver address first to find nearby droppoints** | Finish the receiver, then select a service point |
| **No addresses configured** / **No carriers configured** | Add a sender address and connect a carrier |
On the order modal, **Create Shipment** stays disabled until address, carrier, and product are set (or a shipping rule is used) and a service point is selected when required.
## Save vs send (buying a label)
There is no **Save draft** button on the create form. **Create Shipment** writes the shipment as **Pending**. That is your saved draft in practice: you can still edit addresses, carrier, parcels, and printers.
**Send Shipment** is a separate, paid / contracted action. It books the shipment with the carrier, generates the label, and (if printers are set) can print automatically.
**Send Shipment** and **Send order** book labels with your carrier account. That can incur carrier charges and use Zippendo label credits. Do not send until the address, weight, and product are correct. You cannot edit a shipment the same way after it is **Dispatched**.
Common messages and how to fix them:
| Message | What to do |
| ----------------------------------------------------------------- | ------------------------------------------------------------- |
| **Reference is required** | Fill **Reference \*** |
| **Carrier is required** / **Product ID is required** | Choose carrier, then product |
| **A sender party is required** / **A receiver party is required** | Add both parties, or pick a sender address and add a receiver |
| **At least one parcel is required** | Click **Add Parcel** and save it |
| **At least one order line is required** | Add a line on the parcel (quantity ≥ 1) |
| **Name / Address line 1 / Postal code / City is required** | Complete the party address |
| **Country code must be 2 characters** | Use `DK`, `SE`, `DE`, not “Denmark” |
| **Please add a receiver address first to find nearby droppoints** | Finish the receiver, then select a service point |
| **No addresses configured** / **No carriers configured** | Add a sender address and connect a carrier |
On the order modal, **Create Shipment** stays disabled until address, carrier, and product are set (or a shipping rule is used) and a service point is selected when required.
## Save vs send (buying a label)
There is no **Save draft** button on the create form. **Create Shipment** writes the shipment as **Pending**. That is your saved draft in practice: you can still edit addresses, carrier, parcels, and printers.
**Send Shipment** is a separate, paid / contracted action. It books the shipment with the carrier, generates the label, and (if printers are set) can print automatically.
**Send Shipment** and **Send order** book labels with your carrier account. That can incur carrier charges and use Zippendo label credits. Do not send until the address, weight, and product are correct. You cannot edit a shipment the same way after it is **Dispatched**.
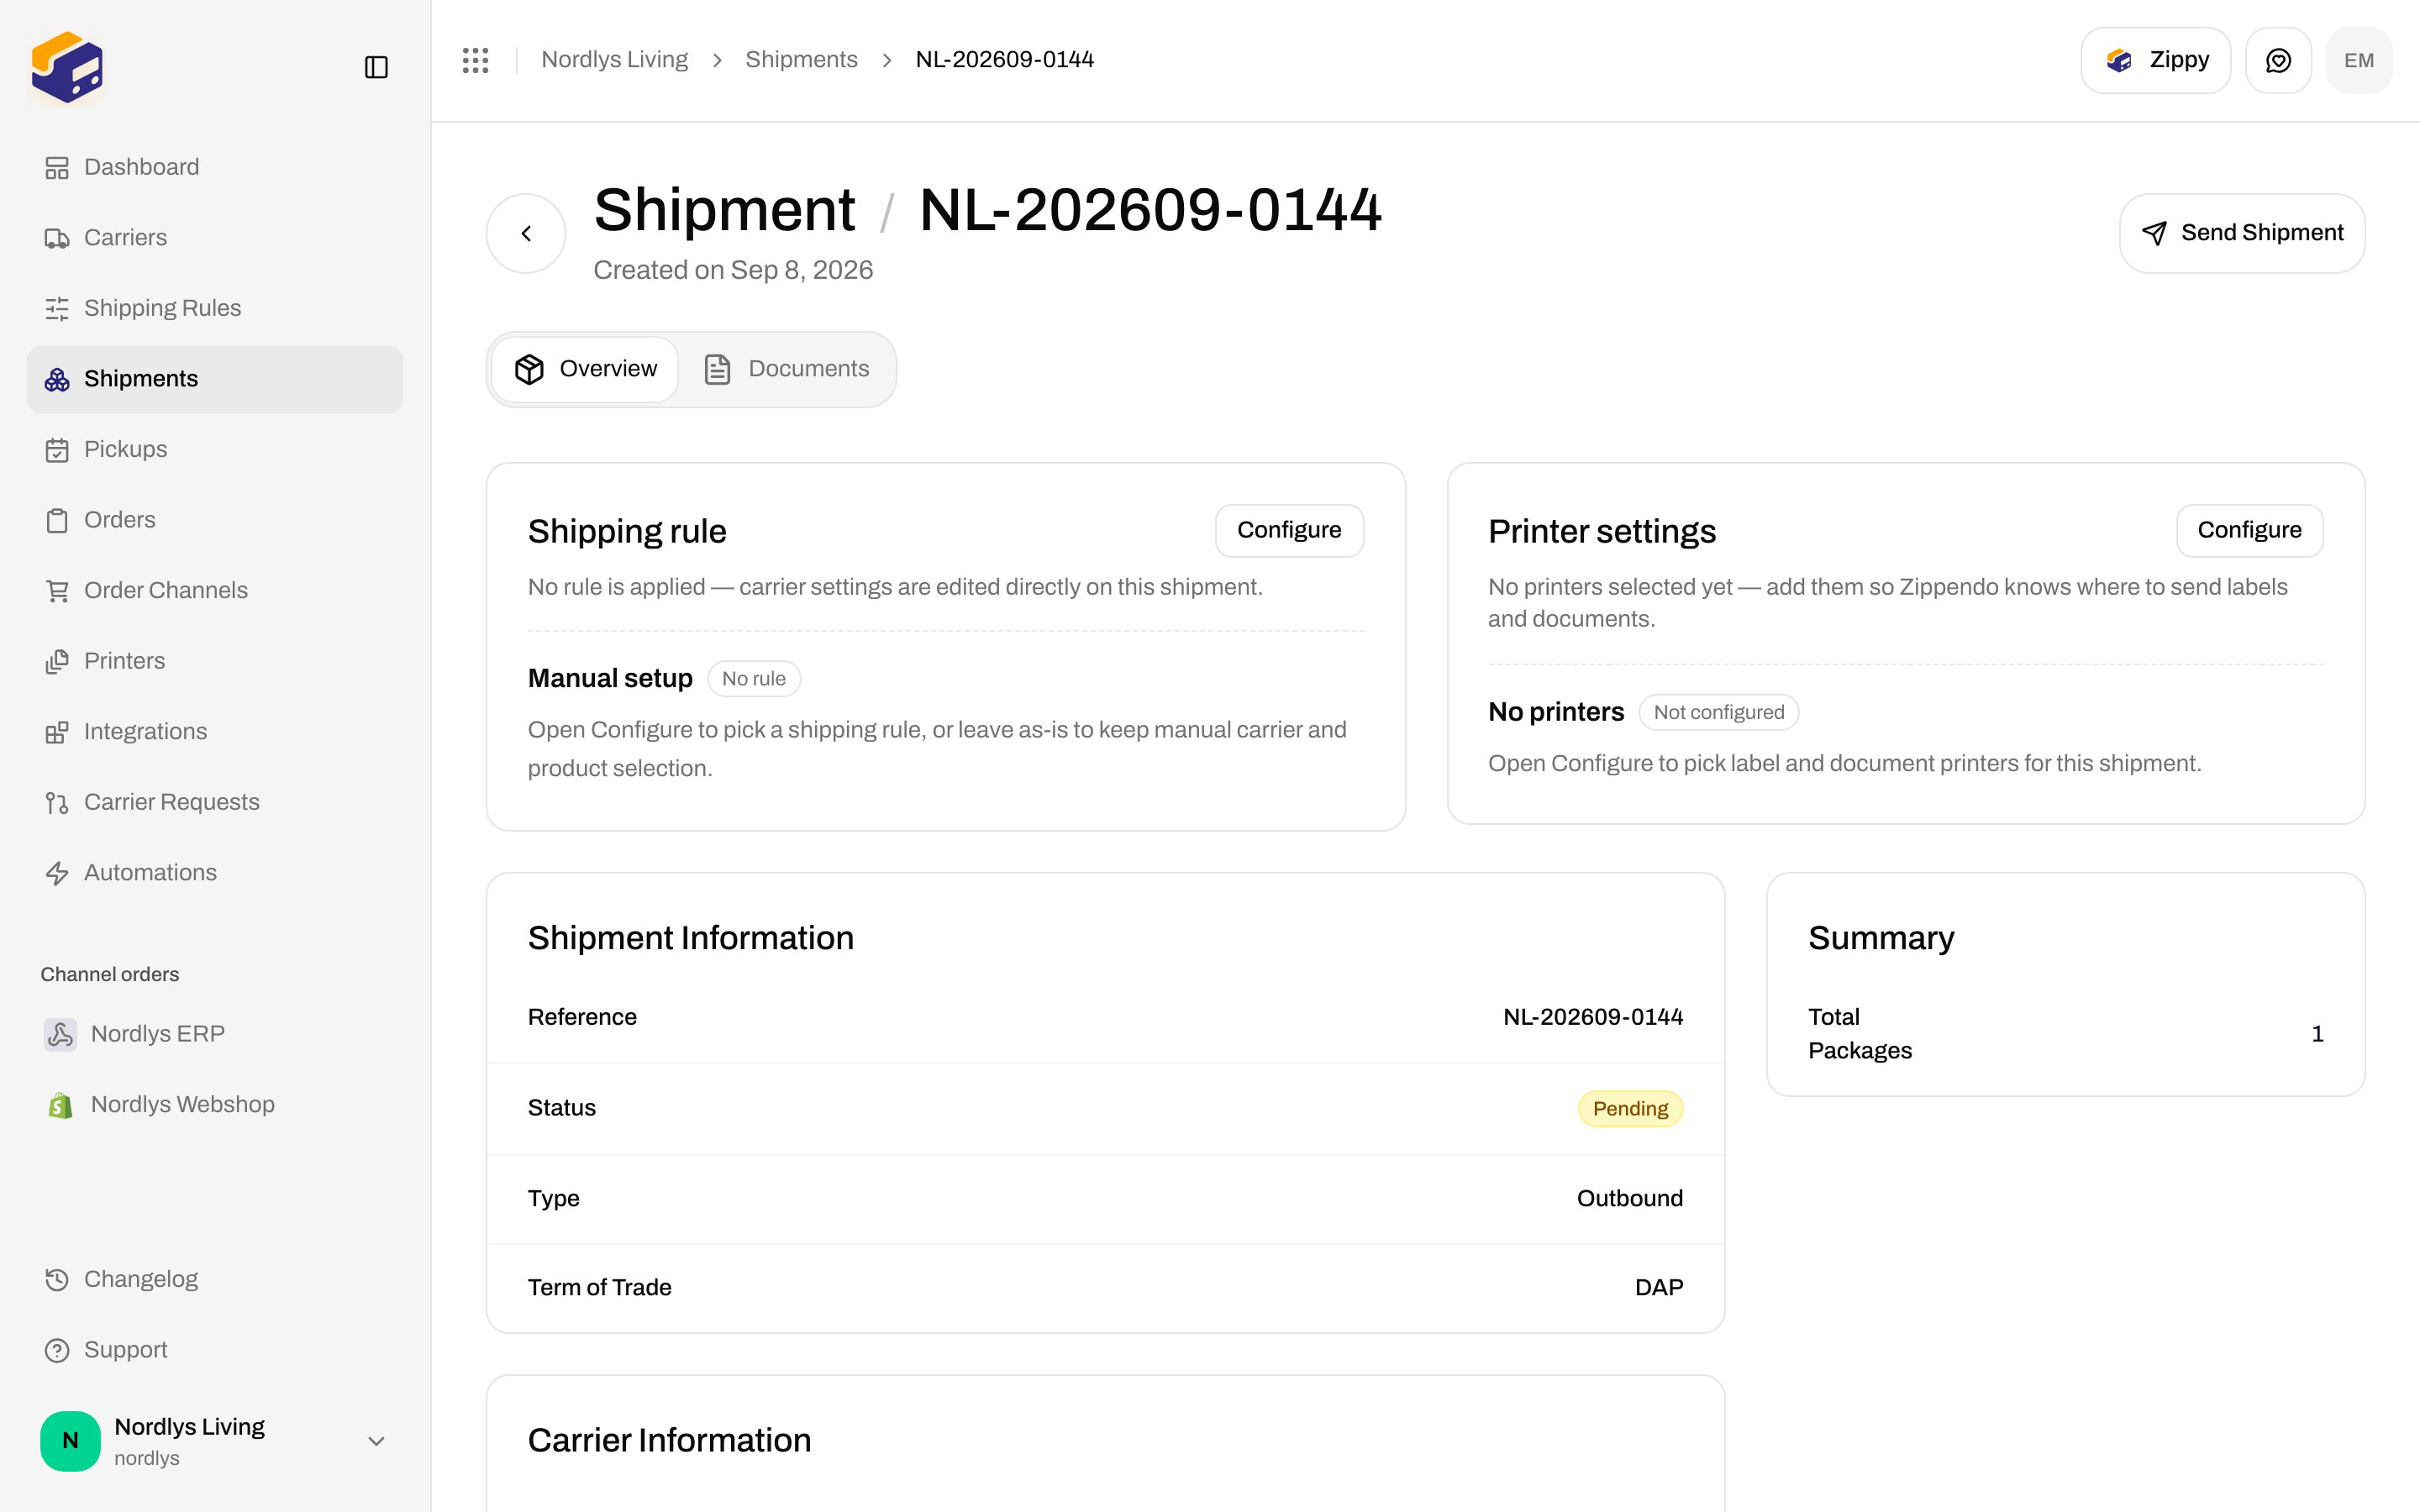
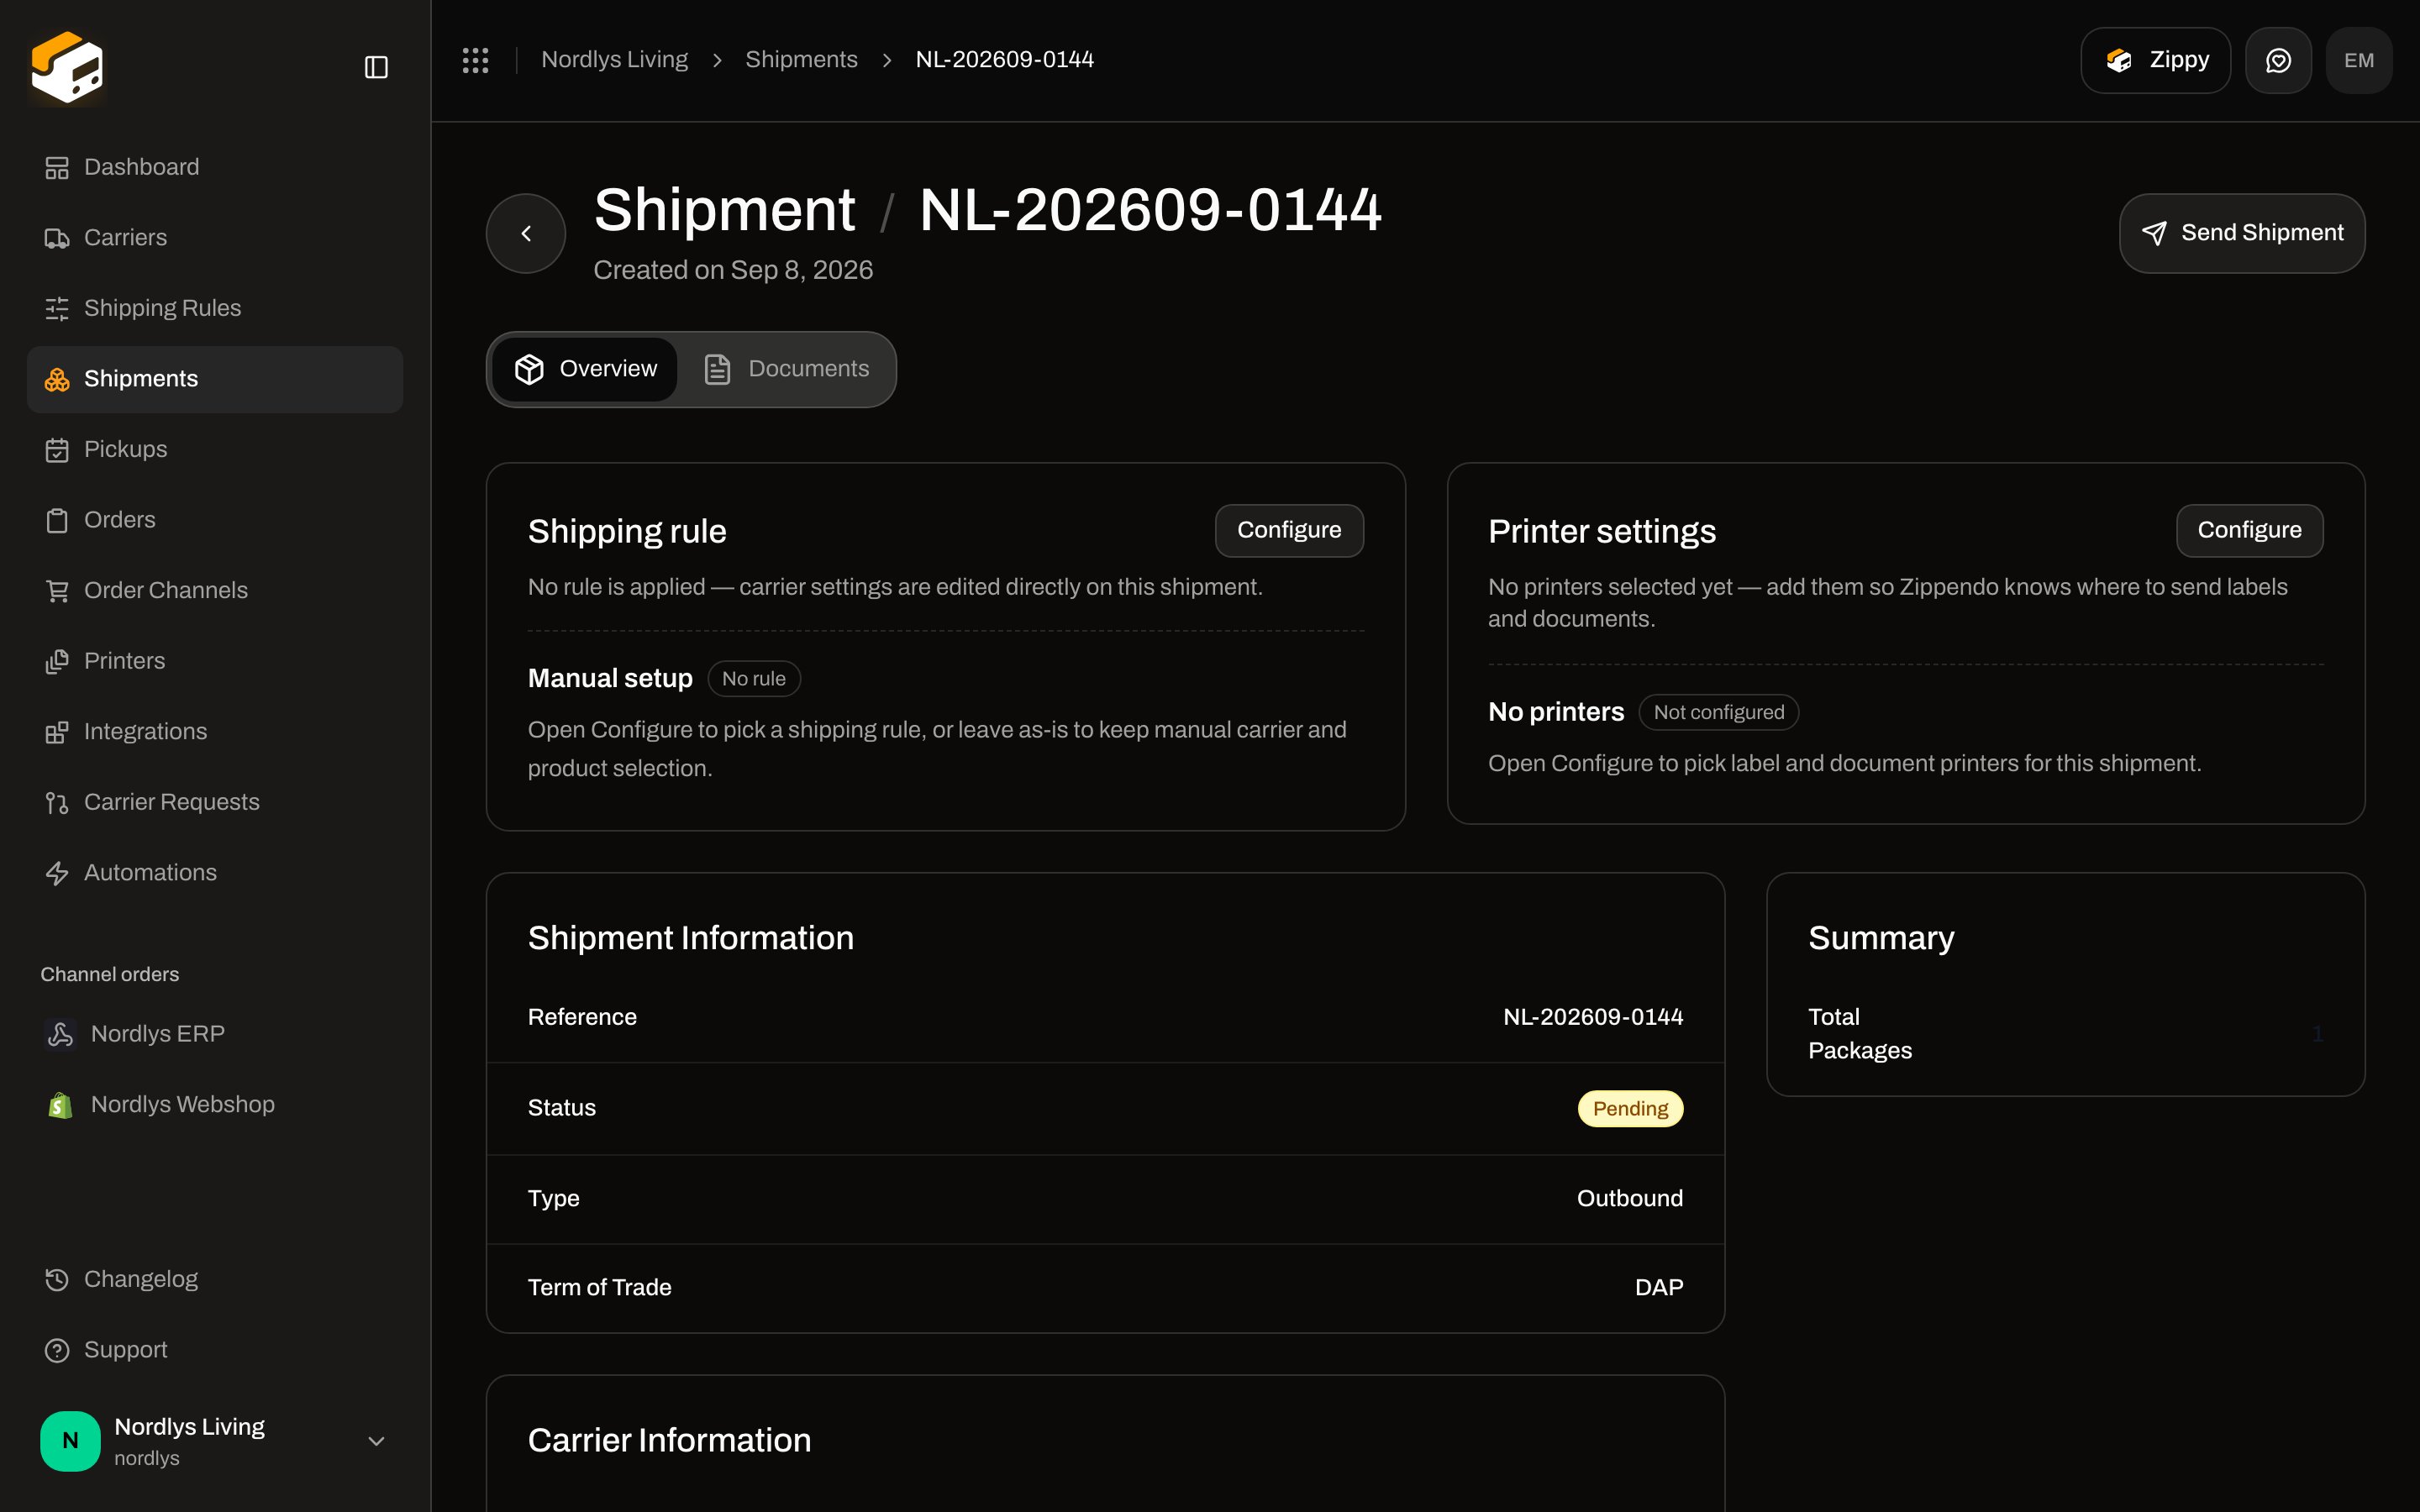 From **View Shipments**, the **Shipments** list, or the order’s **Shipments** tab.
Confirm parties, product, parcels, and (if needed) service point. Fix anything while status is **Pending**, **Draft**, or **Error**.
Click **Send Shipment**. On **Error**, the same button reads **Retry Send**. A successful send moves the status to **Dispatched** and adds documents.
On the order, **Send order** sends every sendable shipment at once. Next steps: [Labels and printing](/docs/tutorials/labels-printing) and [Tracking](/docs/tutorials/tracking).
## After you create
The shipment appears on **Shipments** (filter by reference or tracking number). If it is tied to an order, it also appears on that order’s **Shipments** tab.
Statuses you will see (full list: [Shipment statuses](/docs/shipments/shipment-statuses)):
| Status | Meaning |
| --------------------- | ----------------------------------------------------------------------------------------------------------------------------------------- |
| **Draft** | Saved but not ready to send. You can still edit and split. The create form does not use this button — new shipments start as **Pending**. |
| **Pending** | Created, not yet booked. Click **Send Shipment**. |
| **Processing** | Being booked or labelled with the carrier. |
| **Dispatched** | Booked and handed to the carrier (or in transit / delivered). |
| **Partly Dispatched** | Some parcels sent, others not. |
| **On Hold** | Paused by an automation (**Set Shipment On Hold**). There is no Hold button on shipment detail. |
| **Error** | Booking failed. Read the error, fix the data, click **Retry Send**. |
| **Cancelled** | No longer active. Create a new shipment to send the same contents. |
You are done creating when the shipment is on the list as **Pending** (or **Error** if the carrier rejected a later send). Printing and tracking start after **Send Shipment**.
## If something is missing
* **Missing address** — standalone: pick a sender address or add parties by hand. From an order: the order must have a shipping address; add your warehouse under Settings → Sender.
* **Customs** — set **Term of Trade**, and on each line **Country of Origin** plus **Tariff Number**. Documents such as a customs invoice appear after send when the carrier requires them.
* **Pickup points** — complete the receiver, pick a shop product, then **Select Service Point**.
* **Returns vs outbound** — use **Type → Inbound** for a manual return label, or **Create Return Shipment** on a dispatched outbound shipment. See [Returns](/docs/tutorials/returns).
## Next
Download, print, or auto-print the label after you send.
Follow the shipment after it is dispatched.
Pre-select carrier and product so create-from-order is one click.
What each status means and what to do next.
Field-level: [Send a shipment](/docs/how-to/send-a-shipment) · [Shipment parties](/docs/how-to/shipment-parties) · [Pick a service point](/docs/how-to/pick-a-service-point) · [Customs and documents](/docs/how-to/customs-and-documents)
From **View Shipments**, the **Shipments** list, or the order’s **Shipments** tab.
Confirm parties, product, parcels, and (if needed) service point. Fix anything while status is **Pending**, **Draft**, or **Error**.
Click **Send Shipment**. On **Error**, the same button reads **Retry Send**. A successful send moves the status to **Dispatched** and adds documents.
On the order, **Send order** sends every sendable shipment at once. Next steps: [Labels and printing](/docs/tutorials/labels-printing) and [Tracking](/docs/tutorials/tracking).
## After you create
The shipment appears on **Shipments** (filter by reference or tracking number). If it is tied to an order, it also appears on that order’s **Shipments** tab.
Statuses you will see (full list: [Shipment statuses](/docs/shipments/shipment-statuses)):
| Status | Meaning |
| --------------------- | ----------------------------------------------------------------------------------------------------------------------------------------- |
| **Draft** | Saved but not ready to send. You can still edit and split. The create form does not use this button — new shipments start as **Pending**. |
| **Pending** | Created, not yet booked. Click **Send Shipment**. |
| **Processing** | Being booked or labelled with the carrier. |
| **Dispatched** | Booked and handed to the carrier (or in transit / delivered). |
| **Partly Dispatched** | Some parcels sent, others not. |
| **On Hold** | Paused by an automation (**Set Shipment On Hold**). There is no Hold button on shipment detail. |
| **Error** | Booking failed. Read the error, fix the data, click **Retry Send**. |
| **Cancelled** | No longer active. Create a new shipment to send the same contents. |
You are done creating when the shipment is on the list as **Pending** (or **Error** if the carrier rejected a later send). Printing and tracking start after **Send Shipment**.
## If something is missing
* **Missing address** — standalone: pick a sender address or add parties by hand. From an order: the order must have a shipping address; add your warehouse under Settings → Sender.
* **Customs** — set **Term of Trade**, and on each line **Country of Origin** plus **Tariff Number**. Documents such as a customs invoice appear after send when the carrier requires them.
* **Pickup points** — complete the receiver, pick a shop product, then **Select Service Point**.
* **Returns vs outbound** — use **Type → Inbound** for a manual return label, or **Create Return Shipment** on a dispatched outbound shipment. See [Returns](/docs/tutorials/returns).
## Next
Download, print, or auto-print the label after you send.
Follow the shipment after it is dispatched.
Pre-select carrier and product so create-from-order is one click.
What each status means and what to do next.
Field-level: [Send a shipment](/docs/how-to/send-a-shipment) · [Shipment parties](/docs/how-to/shipment-parties) · [Pick a service point](/docs/how-to/pick-a-service-point) · [Customs and documents](/docs/how-to/customs-and-documents)