> ## Documentation Index
> Fetch the complete documentation index at: https://www.zippendo.com/docs/llms.txt
> Use this file to discover all available pages before exploring further.
# Connect PeakWMS
> Set up Zippendo as the shipping label provider for your PeakWMS warehouse, step by step with screenshots — from the first click in Zippendo to the first label printed at the packing table.
When your warehouse runs [PeakWMS](https://peakwms.com), the packers never have to open Zippendo. They pack a parcel in PeakWMS, PeakWMS asks Zippendo for the shipping label, and the label comes out of the printer at the packing table. Zippendo books the carrier, keeps the tracking and shows the shipment under **Shipments** like any other.
This tutorial walks the Zippendo side of that setup with screenshots. The reference page [PeakWMS](/docs/integrations/peakwms) covers every PeakWMS field and what to do when something goes wrong.
Nothing is installed in PeakWMS. You create a connection in Zippendo, copy a key and a few web addresses into PeakWMS, and tell PeakWMS which shipping service each Host ID means. About twenty minutes, once.
## Before you start
* You can edit settings in PeakWMS, and you know where its **Forwarders** live.
* Your webshop is connected to Zippendo and checkout already shows Zippendo shipping options. See [Connect order channels](/docs/tutorials/connect-order-channels).
* At least one [shipping rule](/docs/tutorials/shipping-rules) exists in Zippendo.
## 1. Open Warehouse Systems
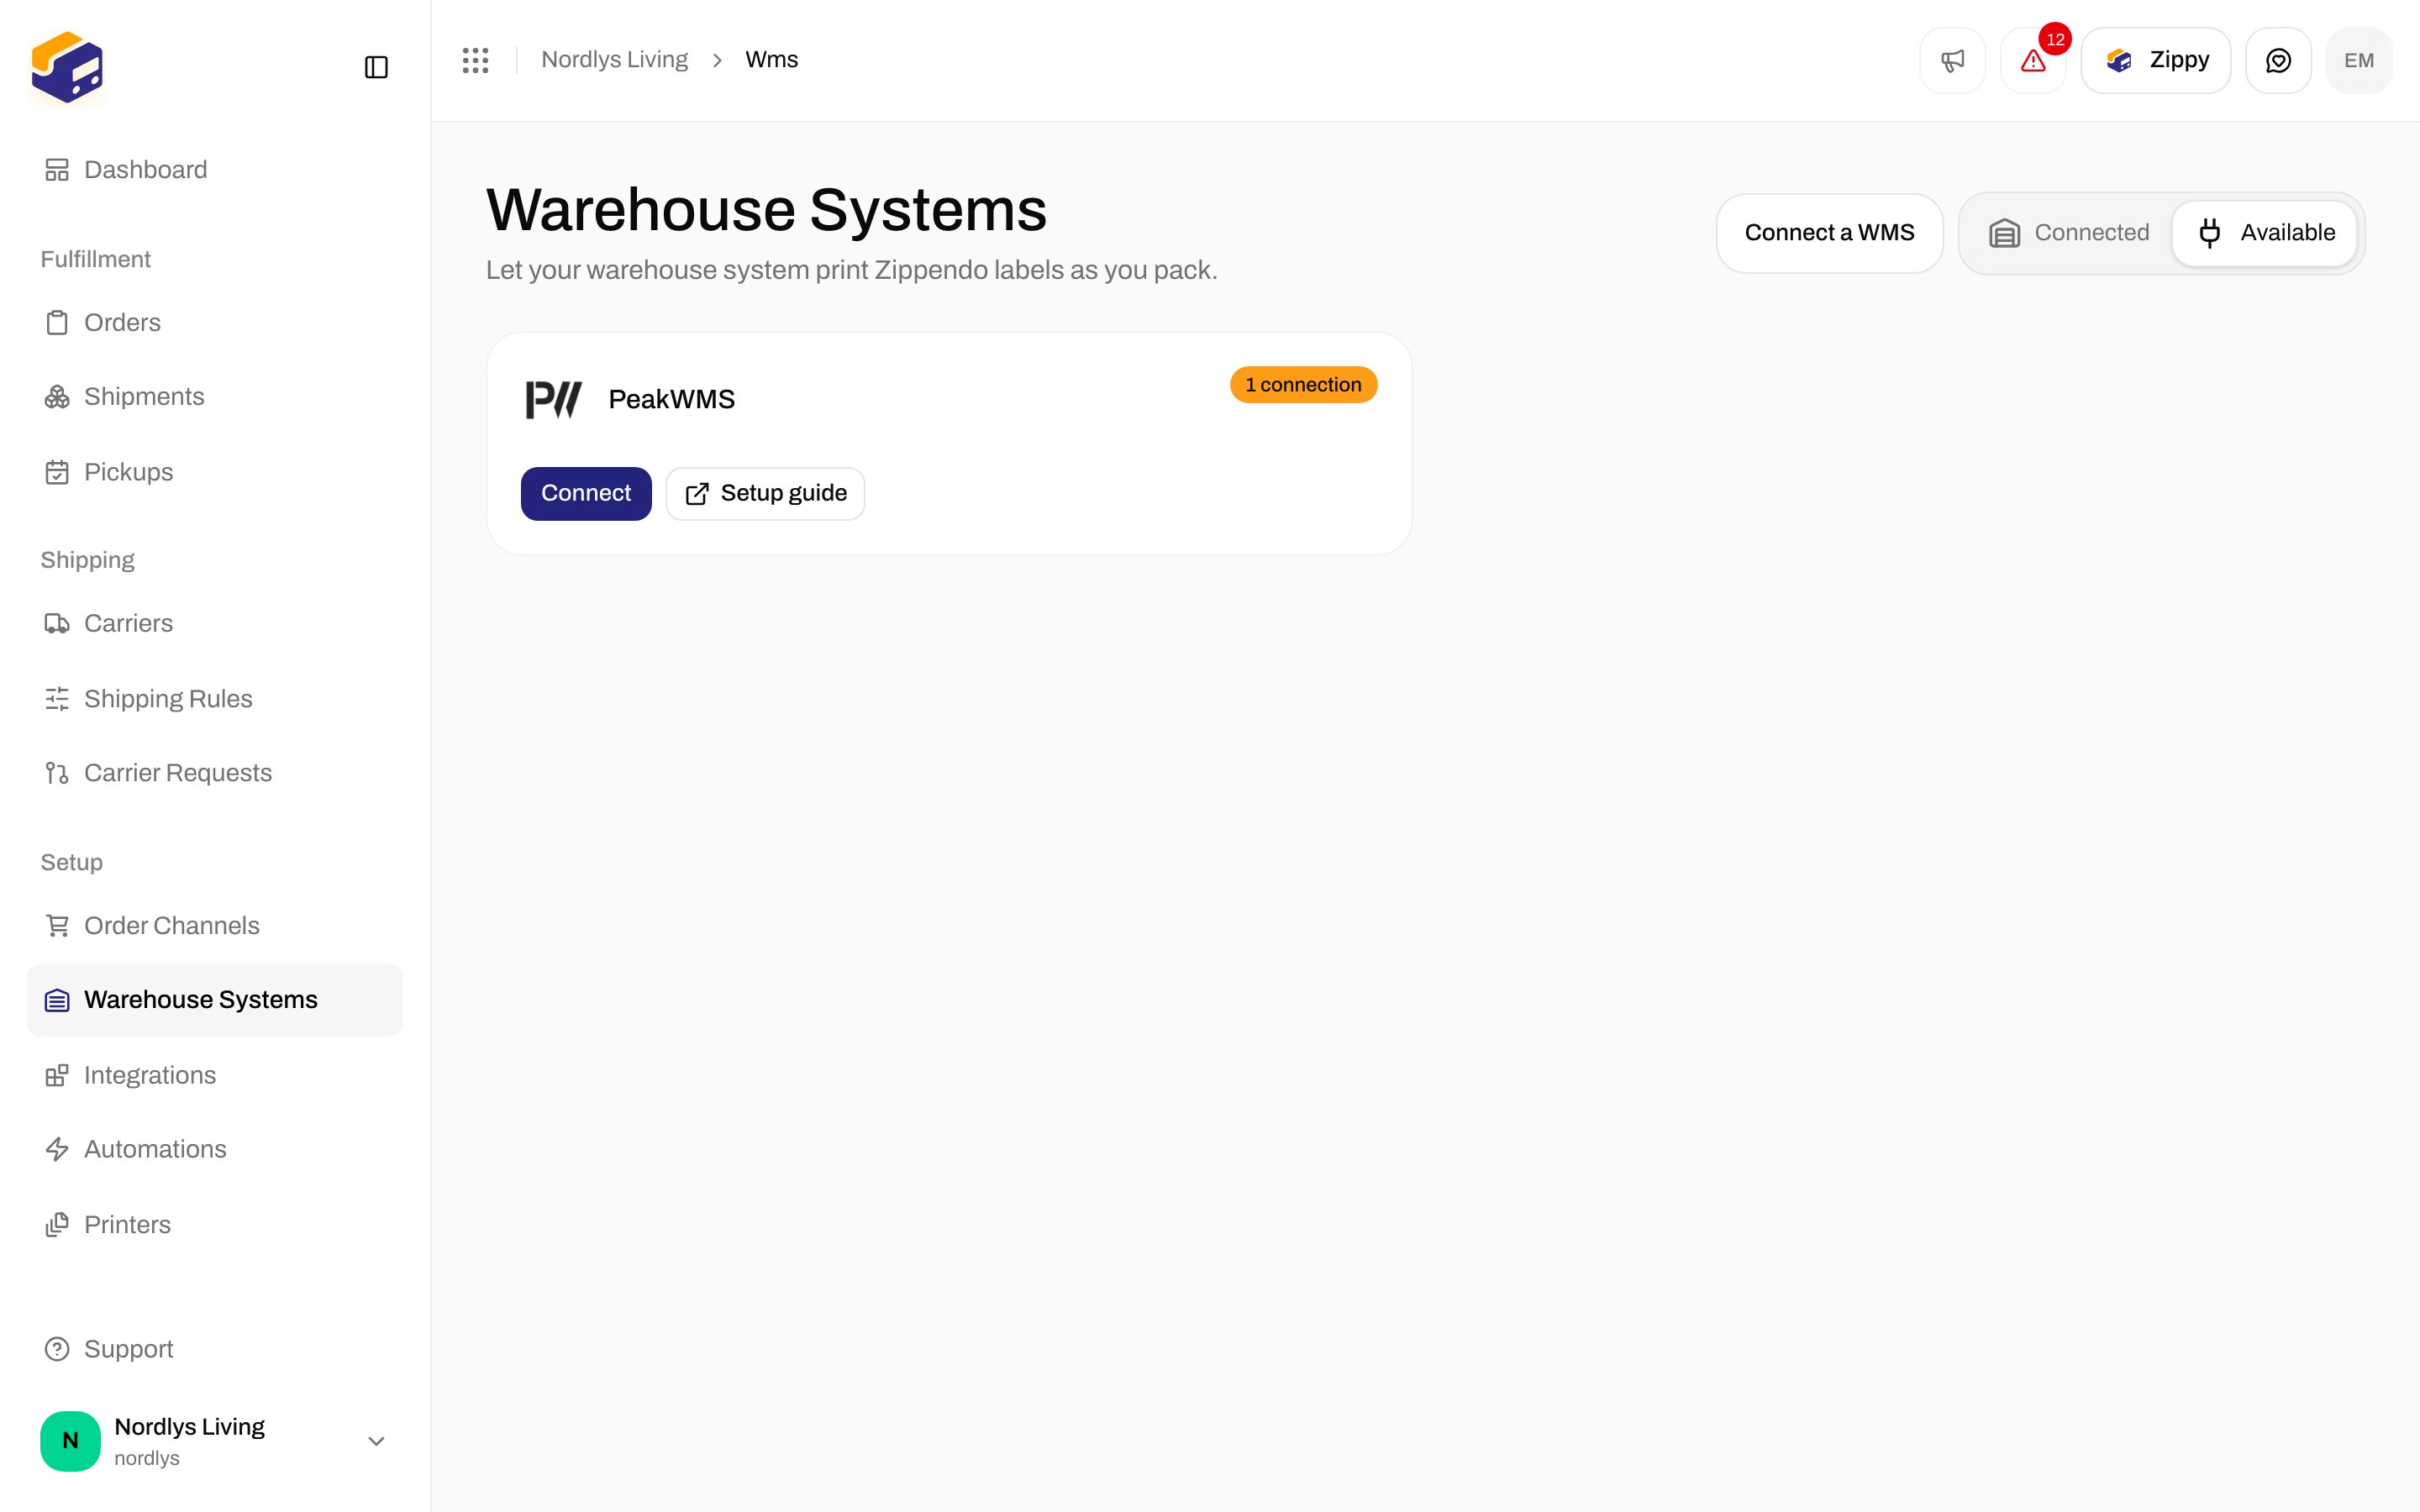
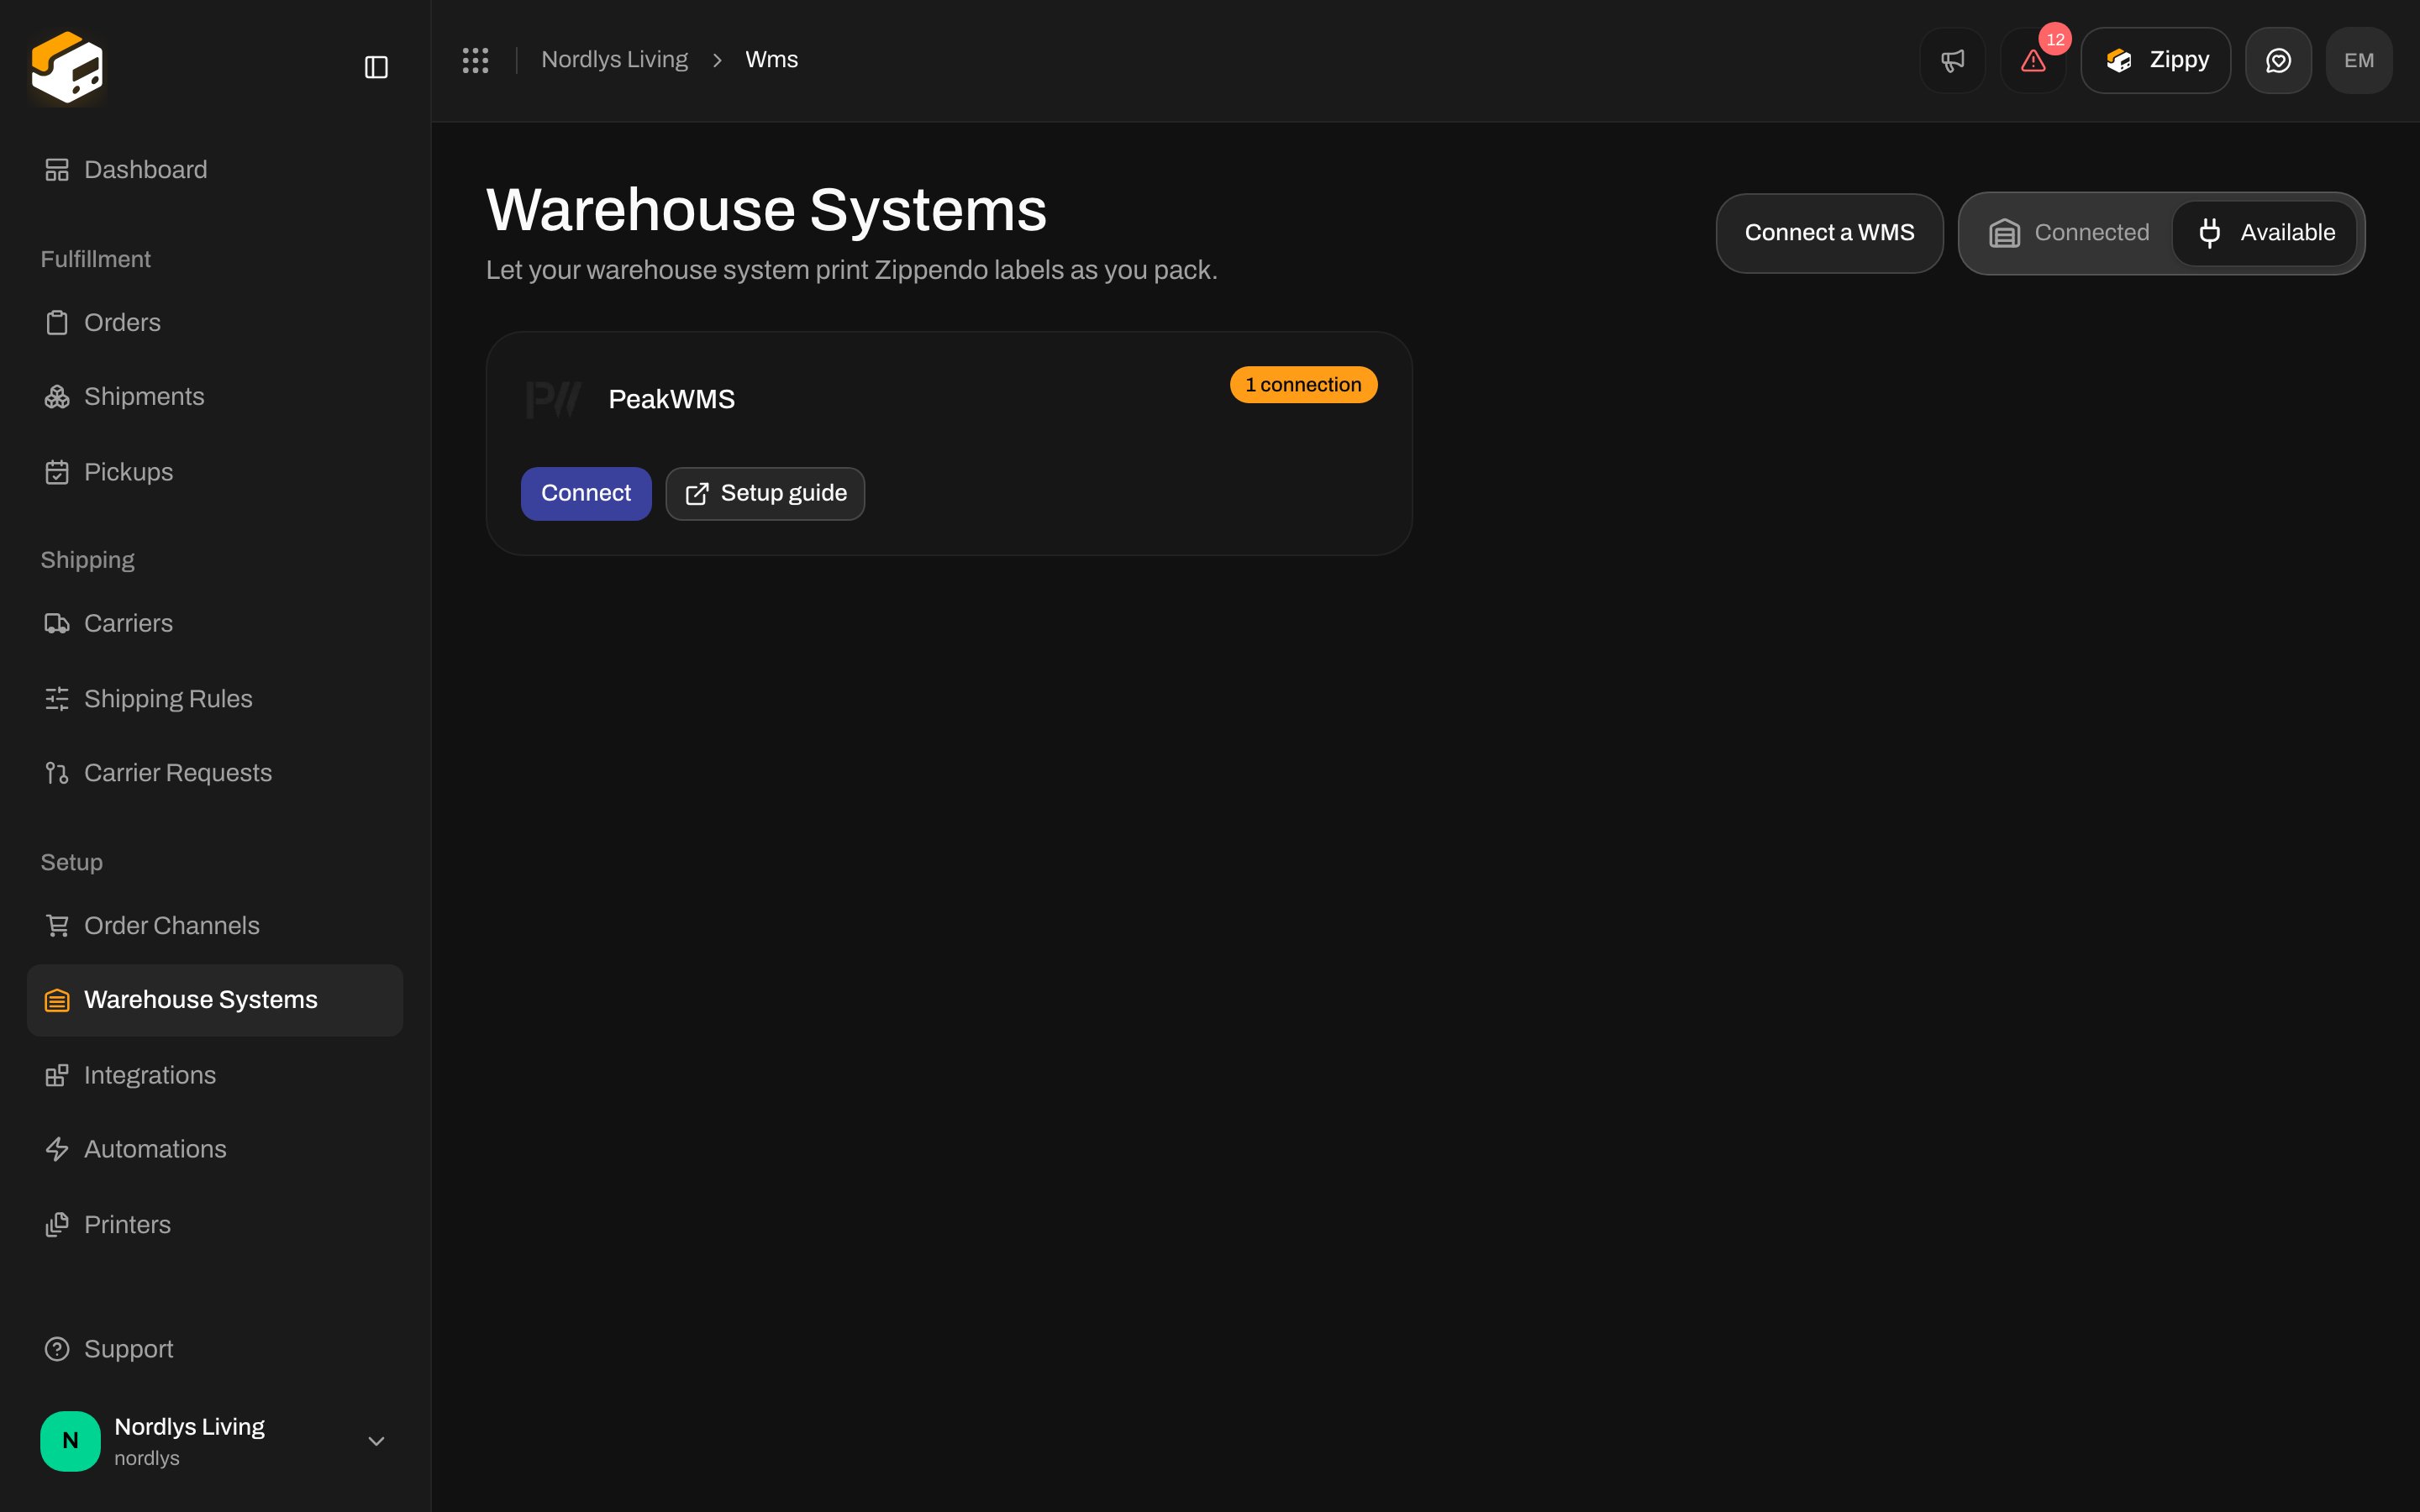
In the sidebar, click **Warehouse Systems**. The **Available** tab lists the warehouse systems Zippendo can receive label requests from. PeakWMS is there with a **Connect** button and a link to the setup guide.
 ## 2. Create the connection
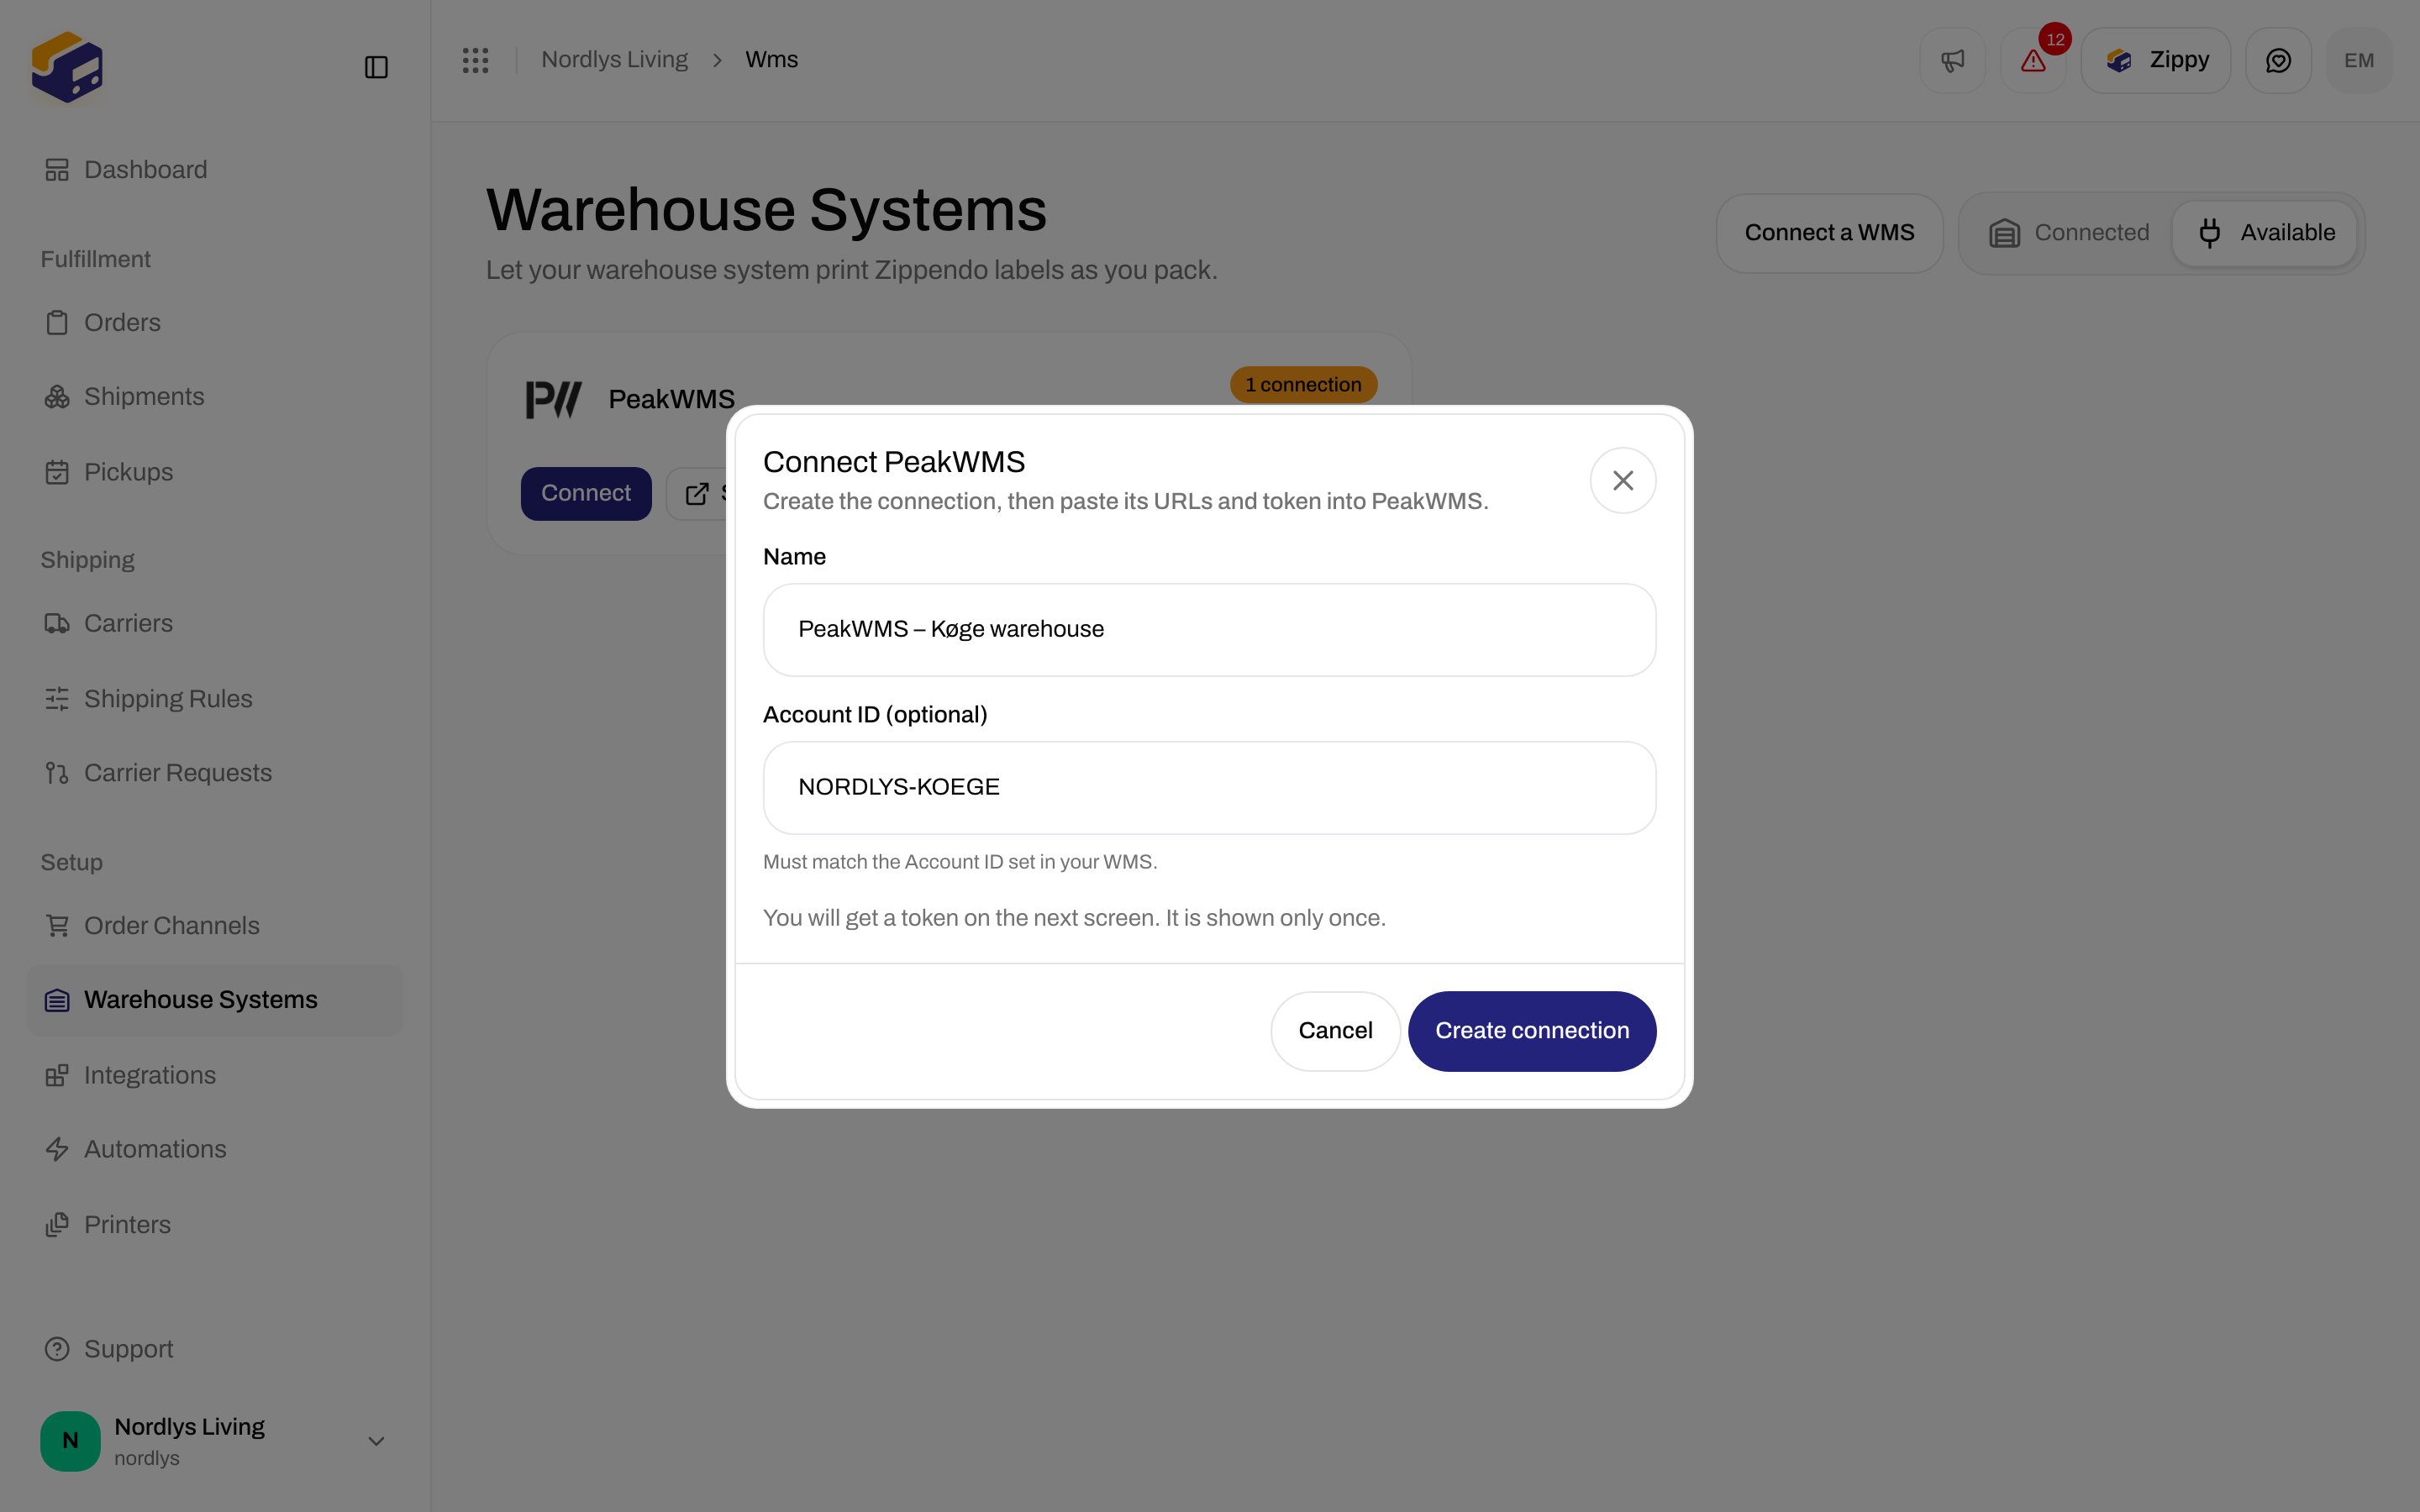
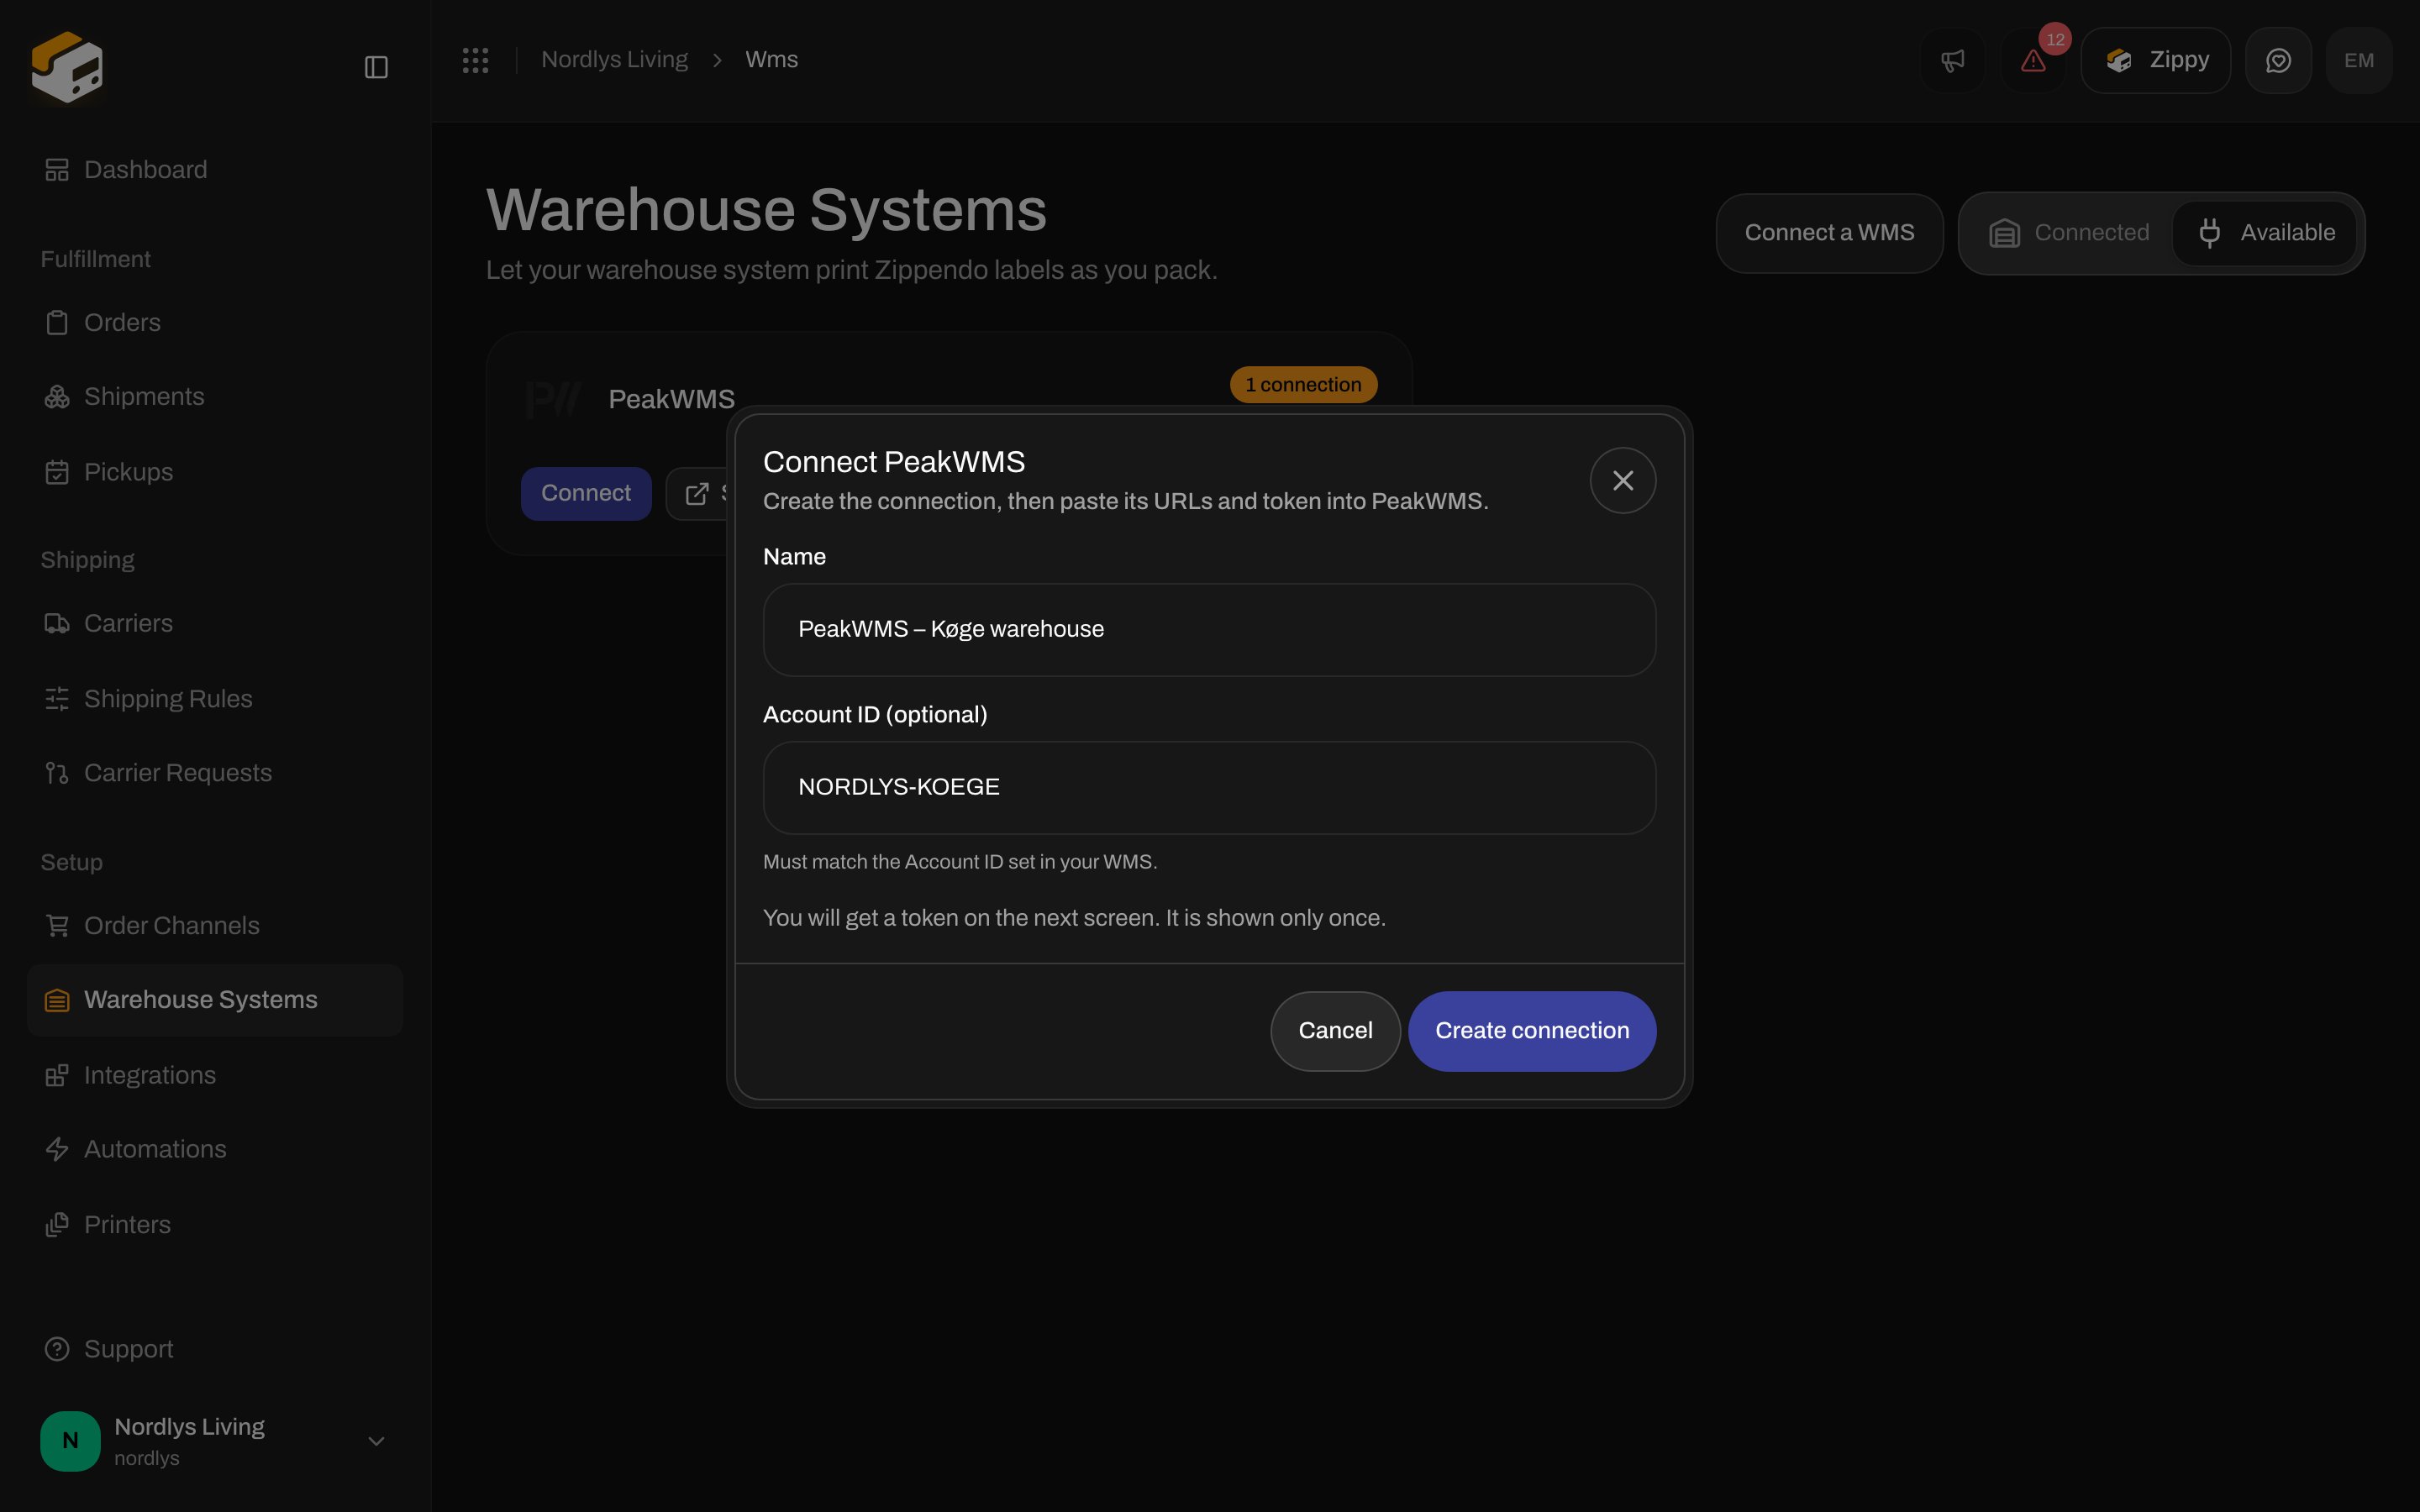
A small dialog asks for a **Name** and an optional **Account ID**.
Something like "PeakWMS – Køge warehouse". If you run several warehouses, make one connection per warehouse and name each after its site, so the request log later tells you which one had a problem.
If you plan to type an Account ID into PeakWMS, type the same value here. It is a safety net: when the two do not match, Zippendo refuses the request instead of printing a label with the wrong return address on it. You can leave it empty.
## 2. Create the connection
A small dialog asks for a **Name** and an optional **Account ID**.
Something like "PeakWMS – Køge warehouse". If you run several warehouses, make one connection per warehouse and name each after its site, so the request log later tells you which one had a problem.
If you plan to type an Account ID into PeakWMS, type the same value here. It is a safety net: when the two do not match, Zippendo refuses the request instead of printing a label with the wrong return address on it. You can leave it empty.
 Zippendo opens the new connection's page.
## 3. Copy the key while it is on screen
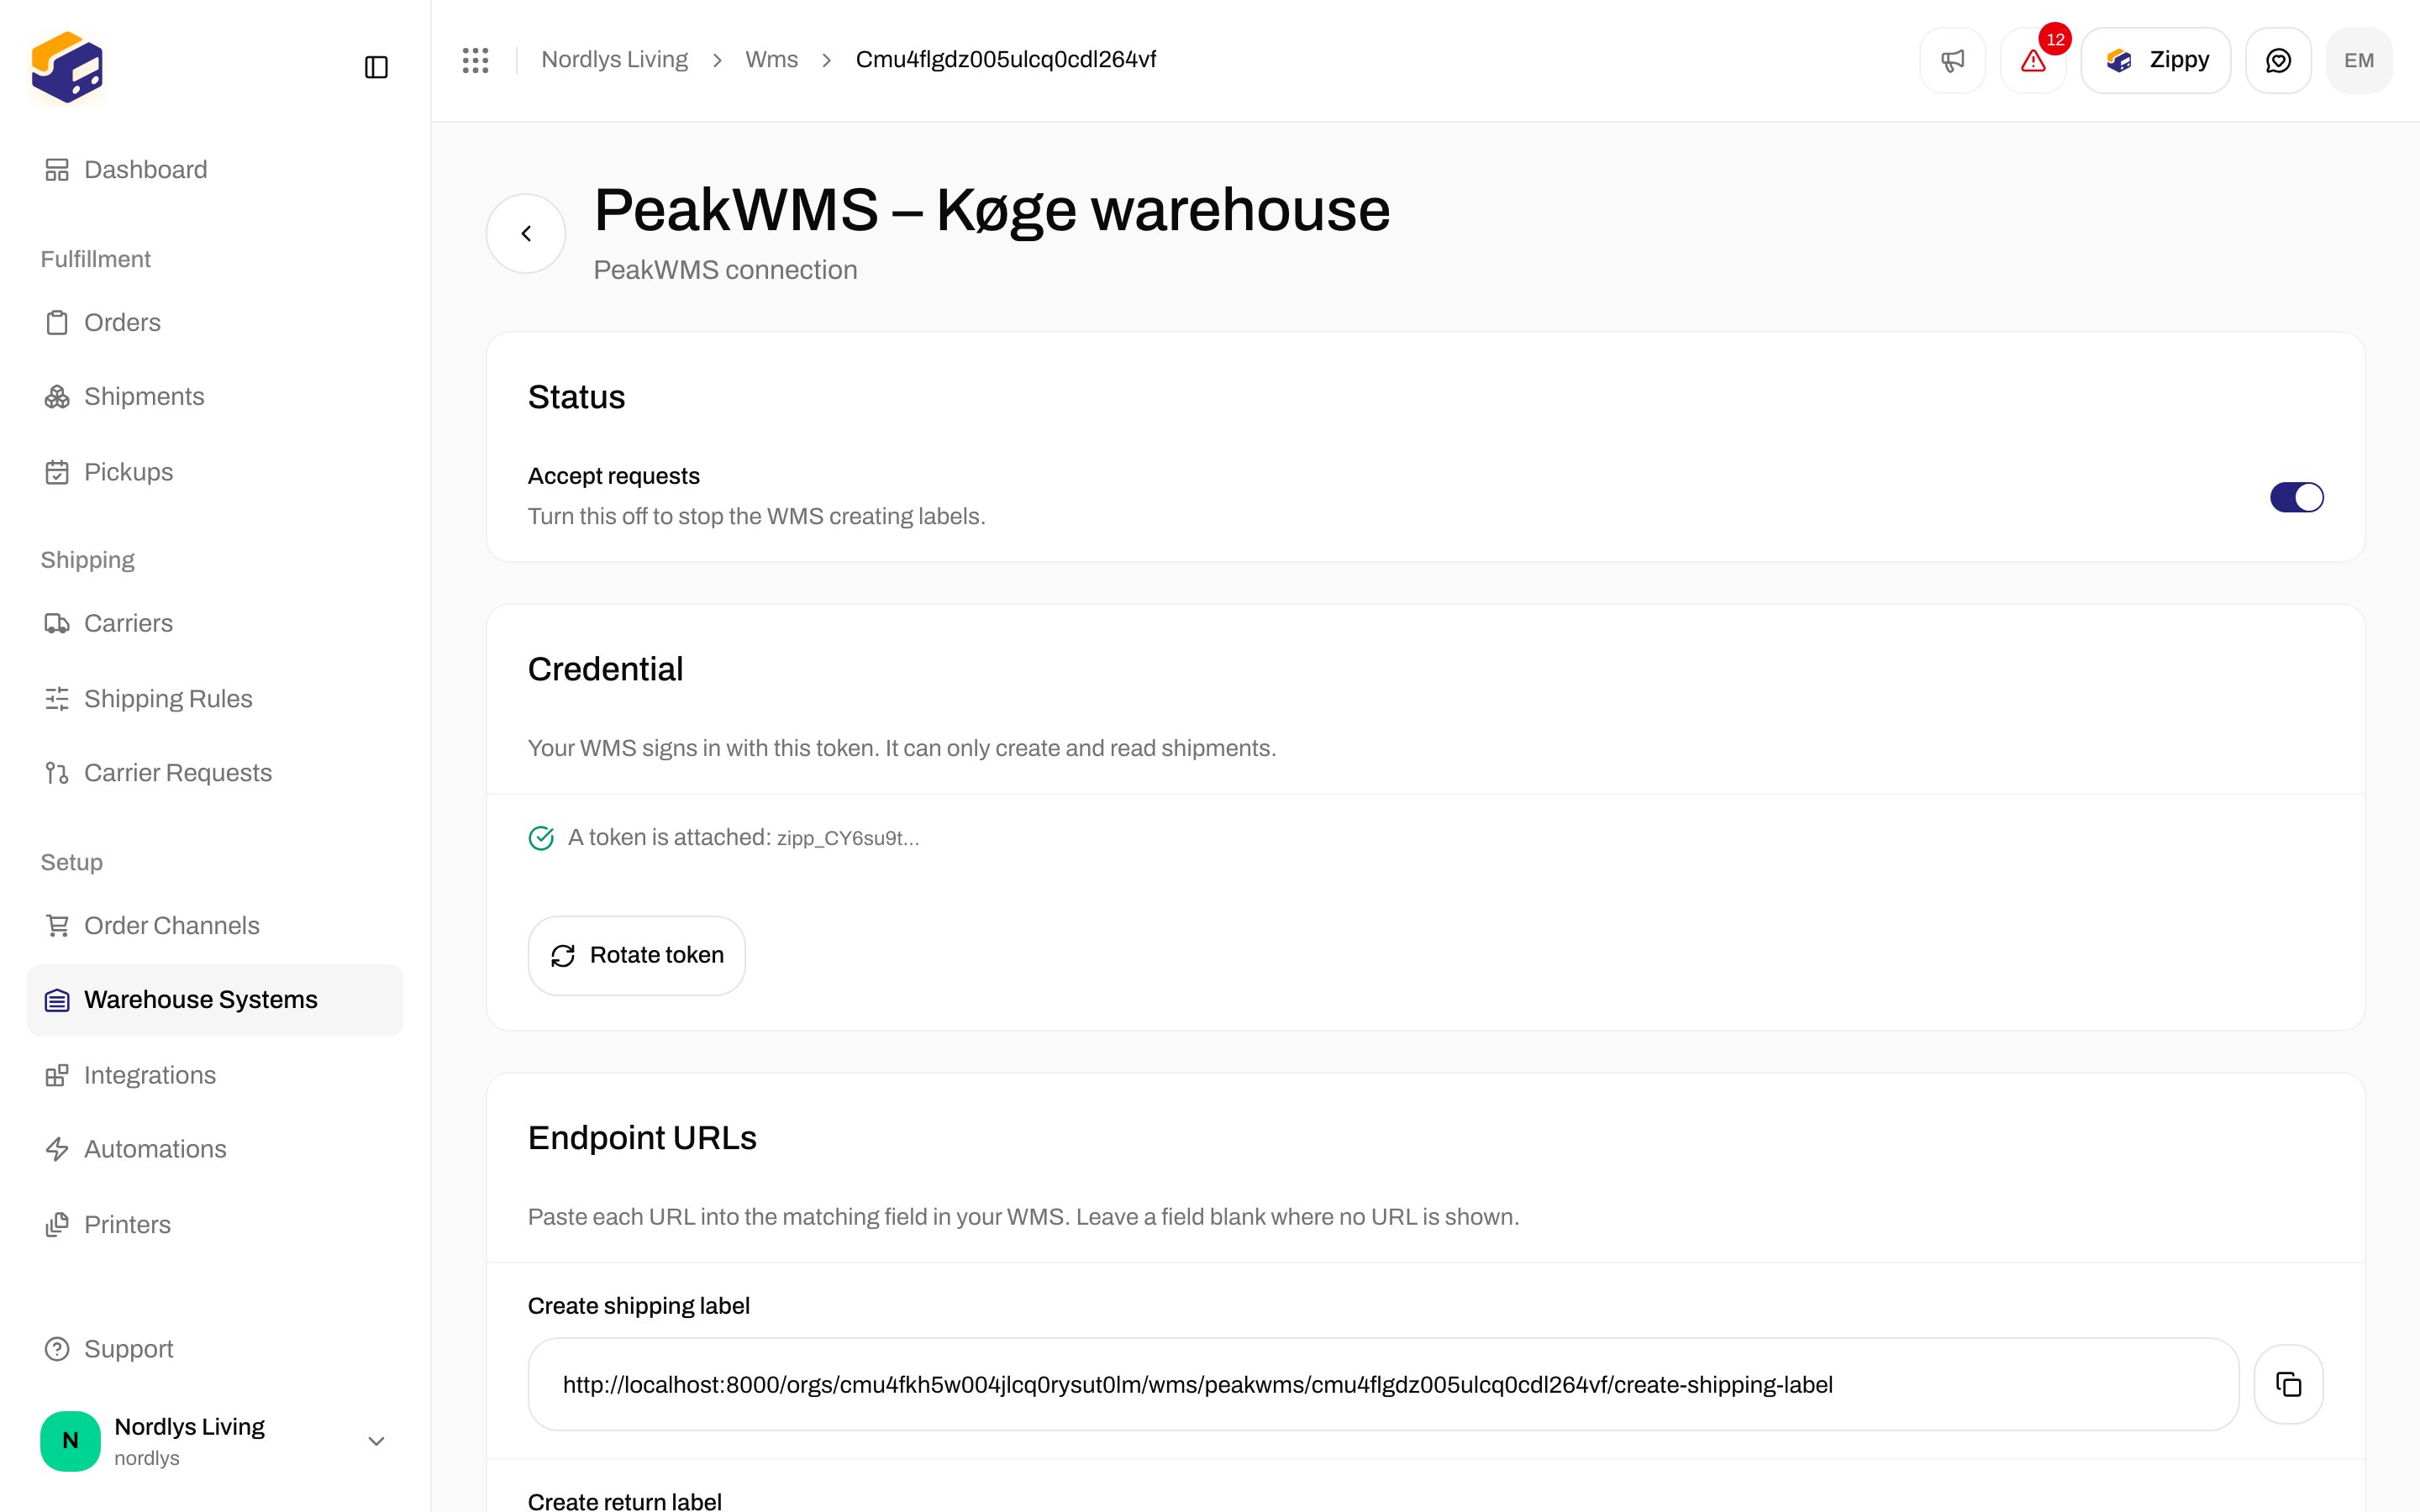
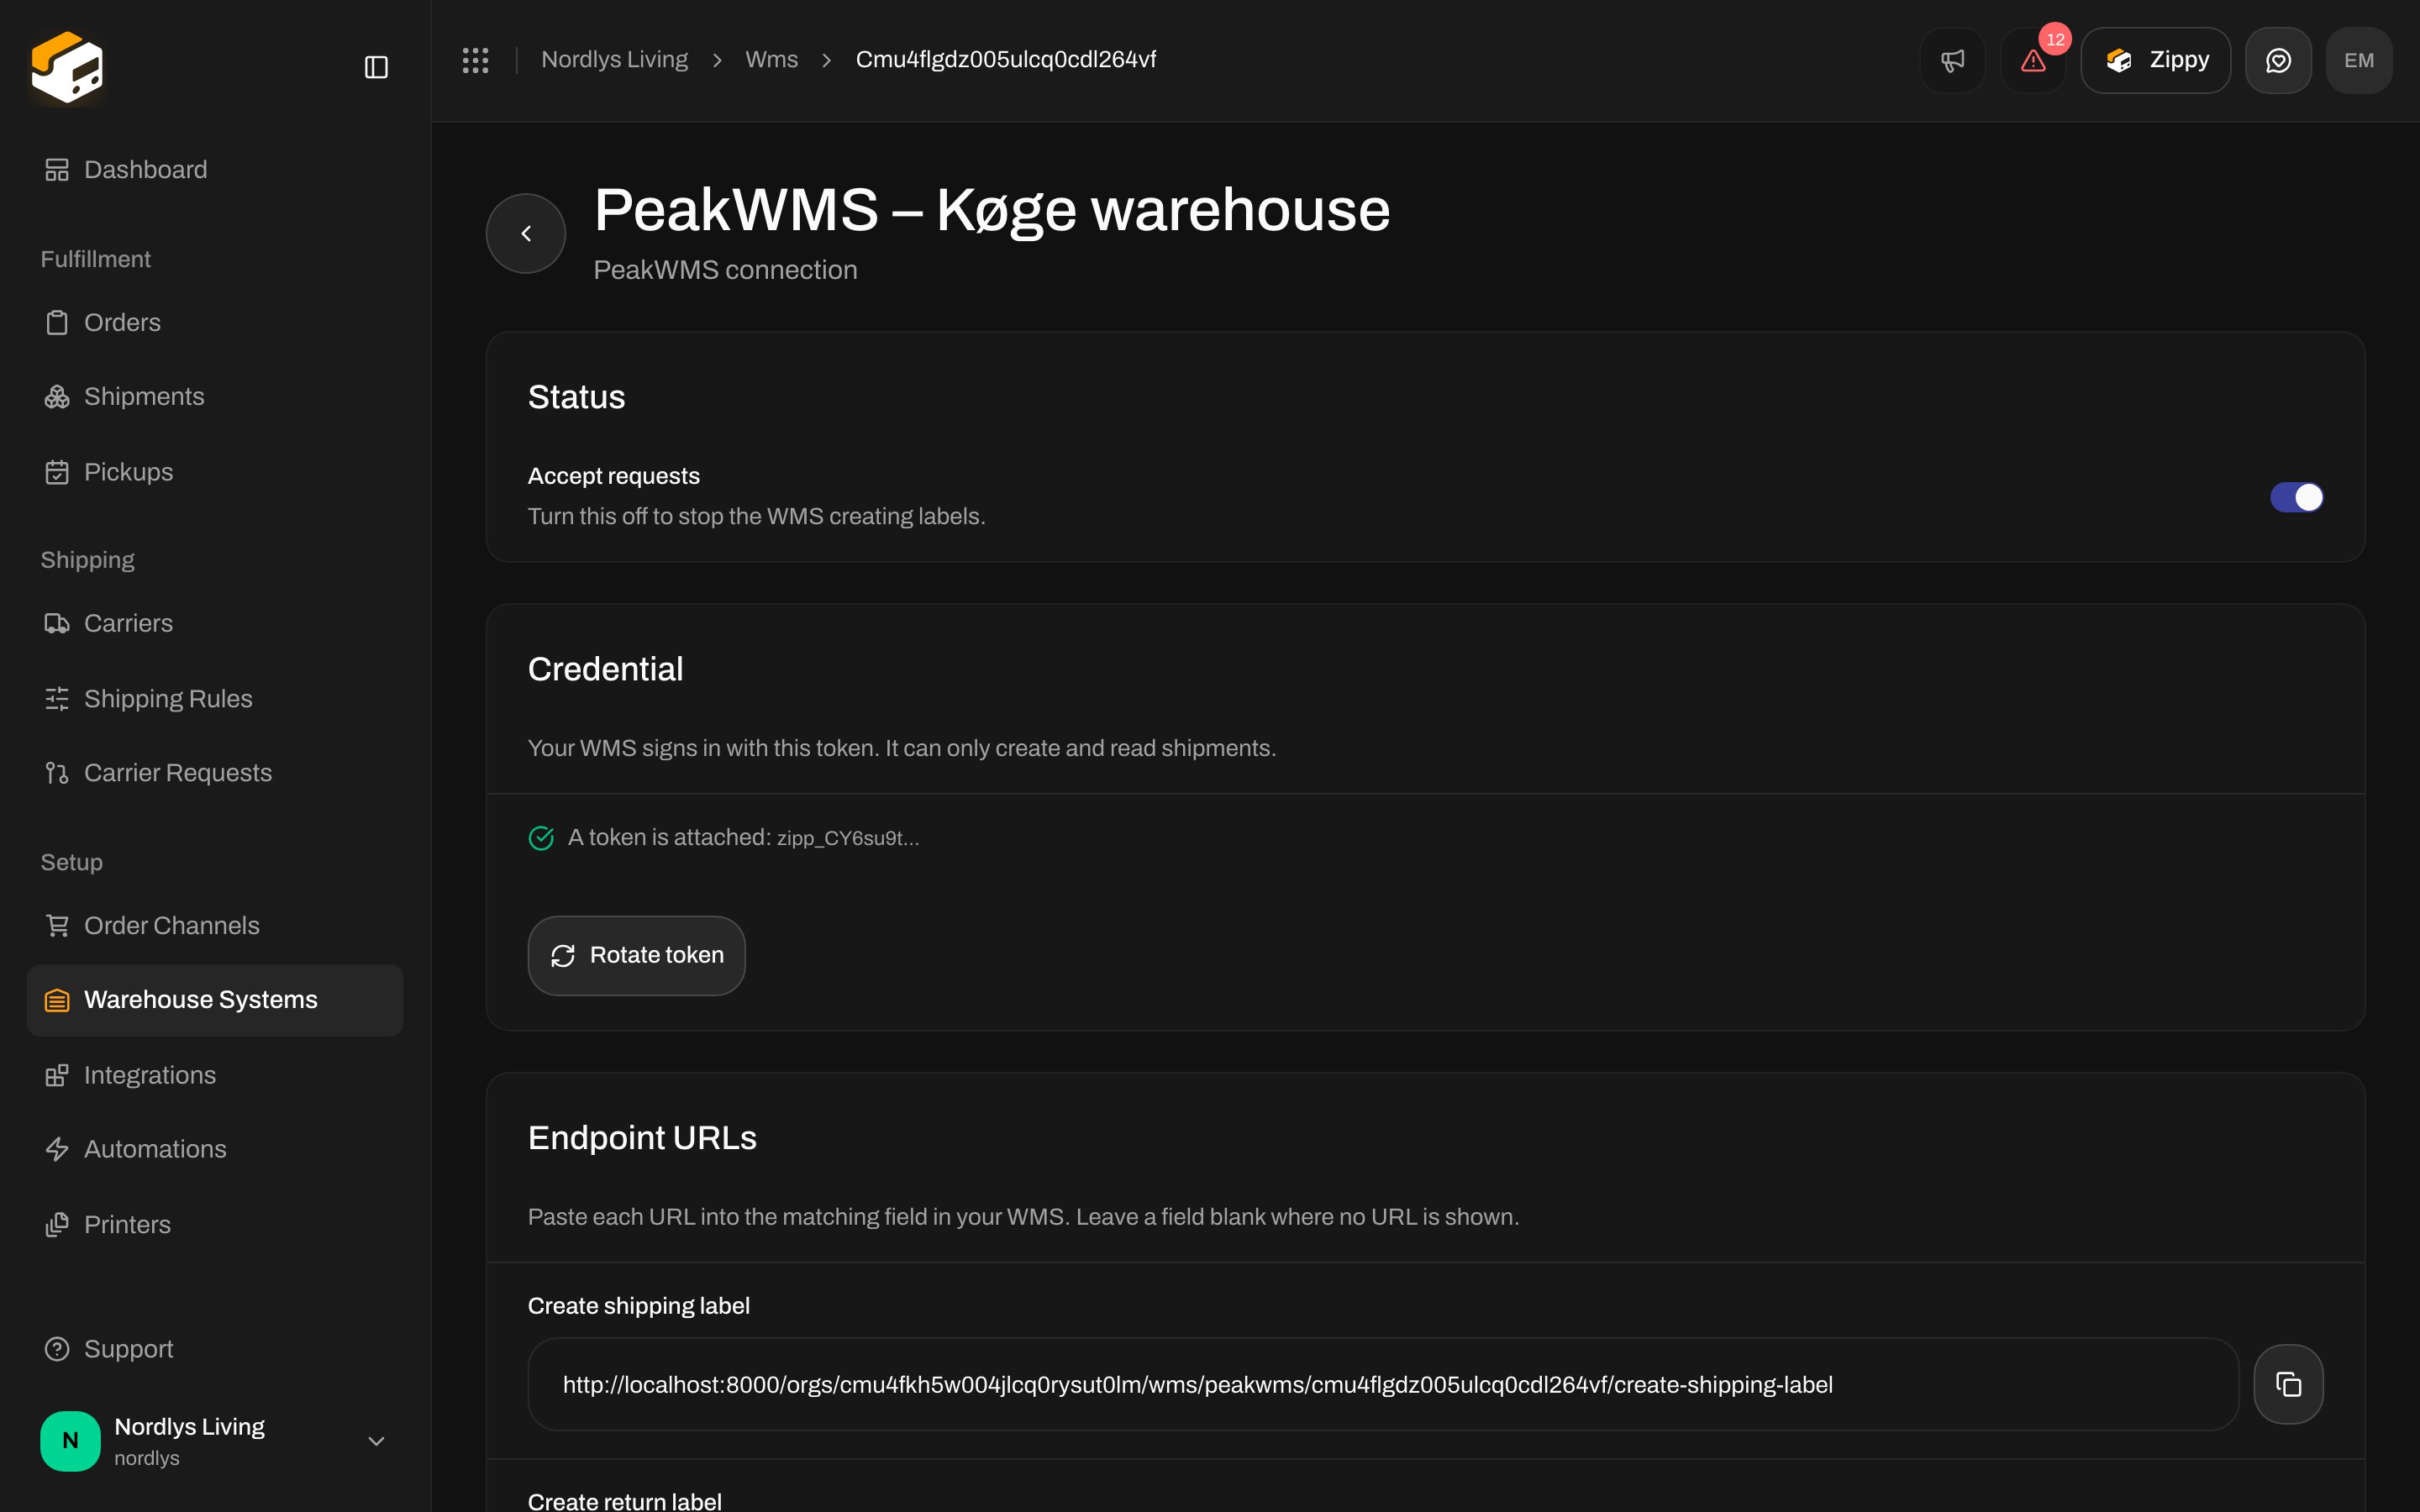
The connection page shows the **API token** exactly once, right after you create the connection. Click **Copy token** now and paste it somewhere safe until you have put it into PeakWMS.
Zippendo opens the new connection's page.
## 3. Copy the key while it is on screen
The connection page shows the **API token** exactly once, right after you create the connection. Click **Copy token** now and paste it somewhere safe until you have put it into PeakWMS.
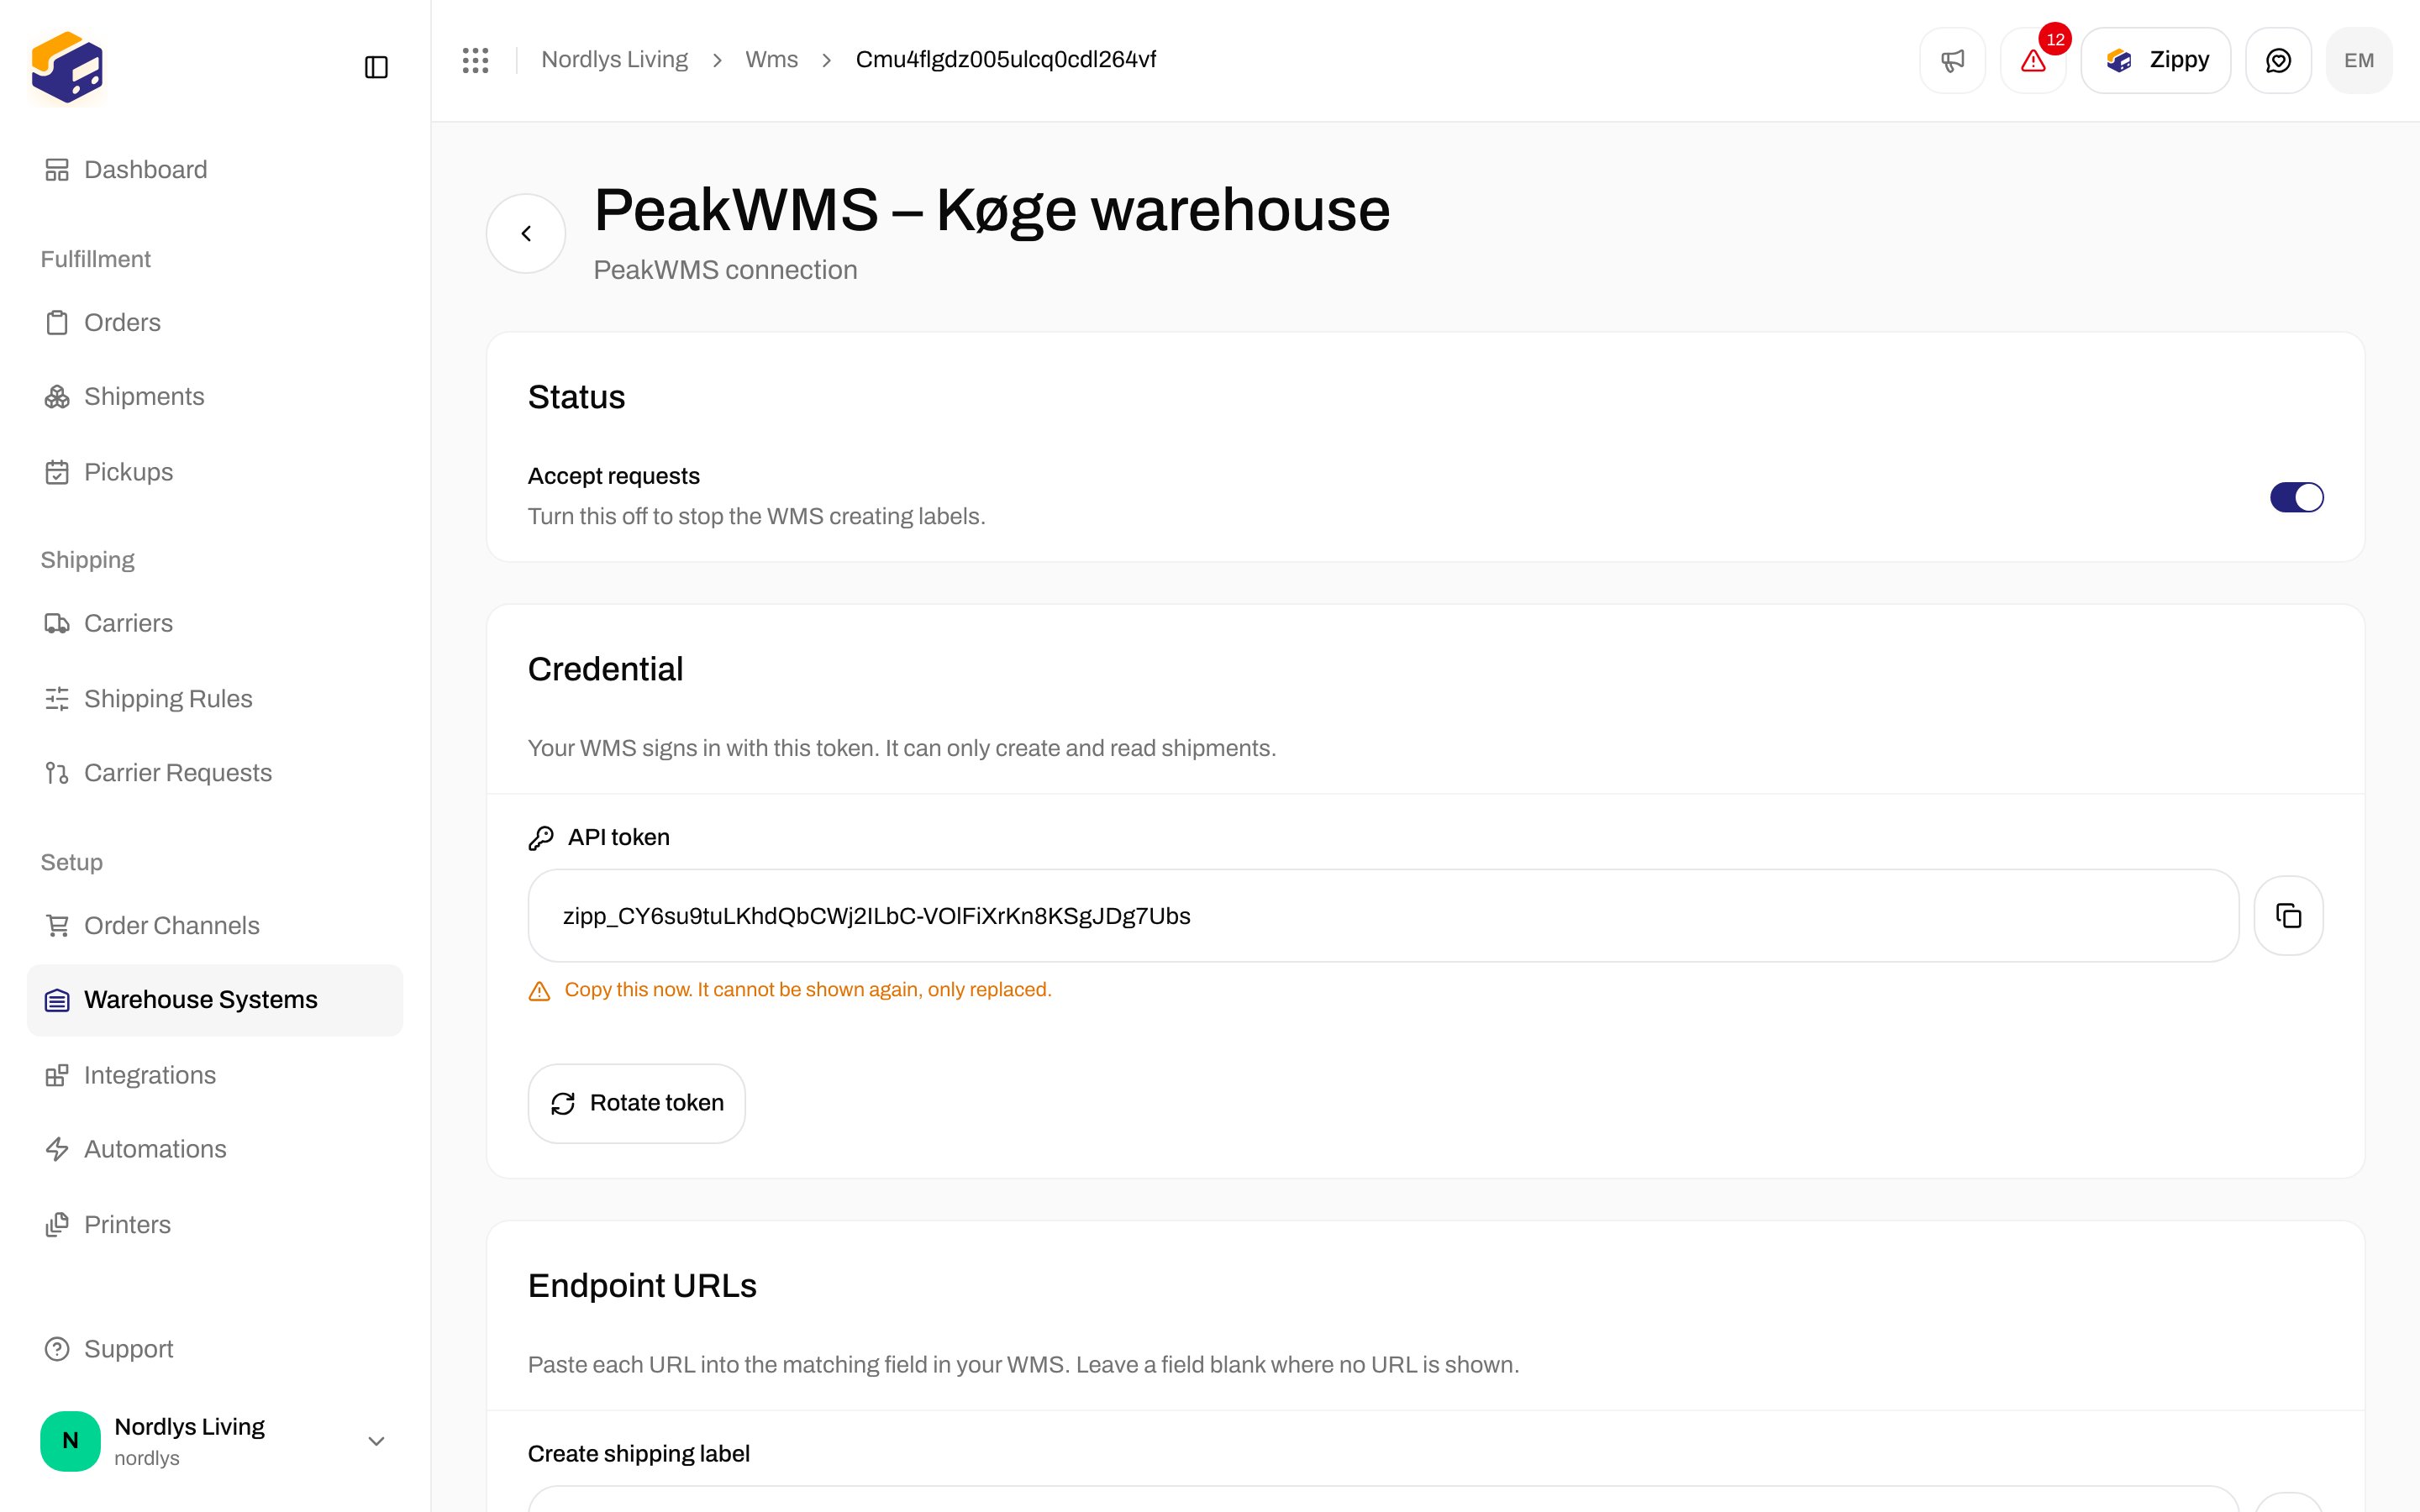
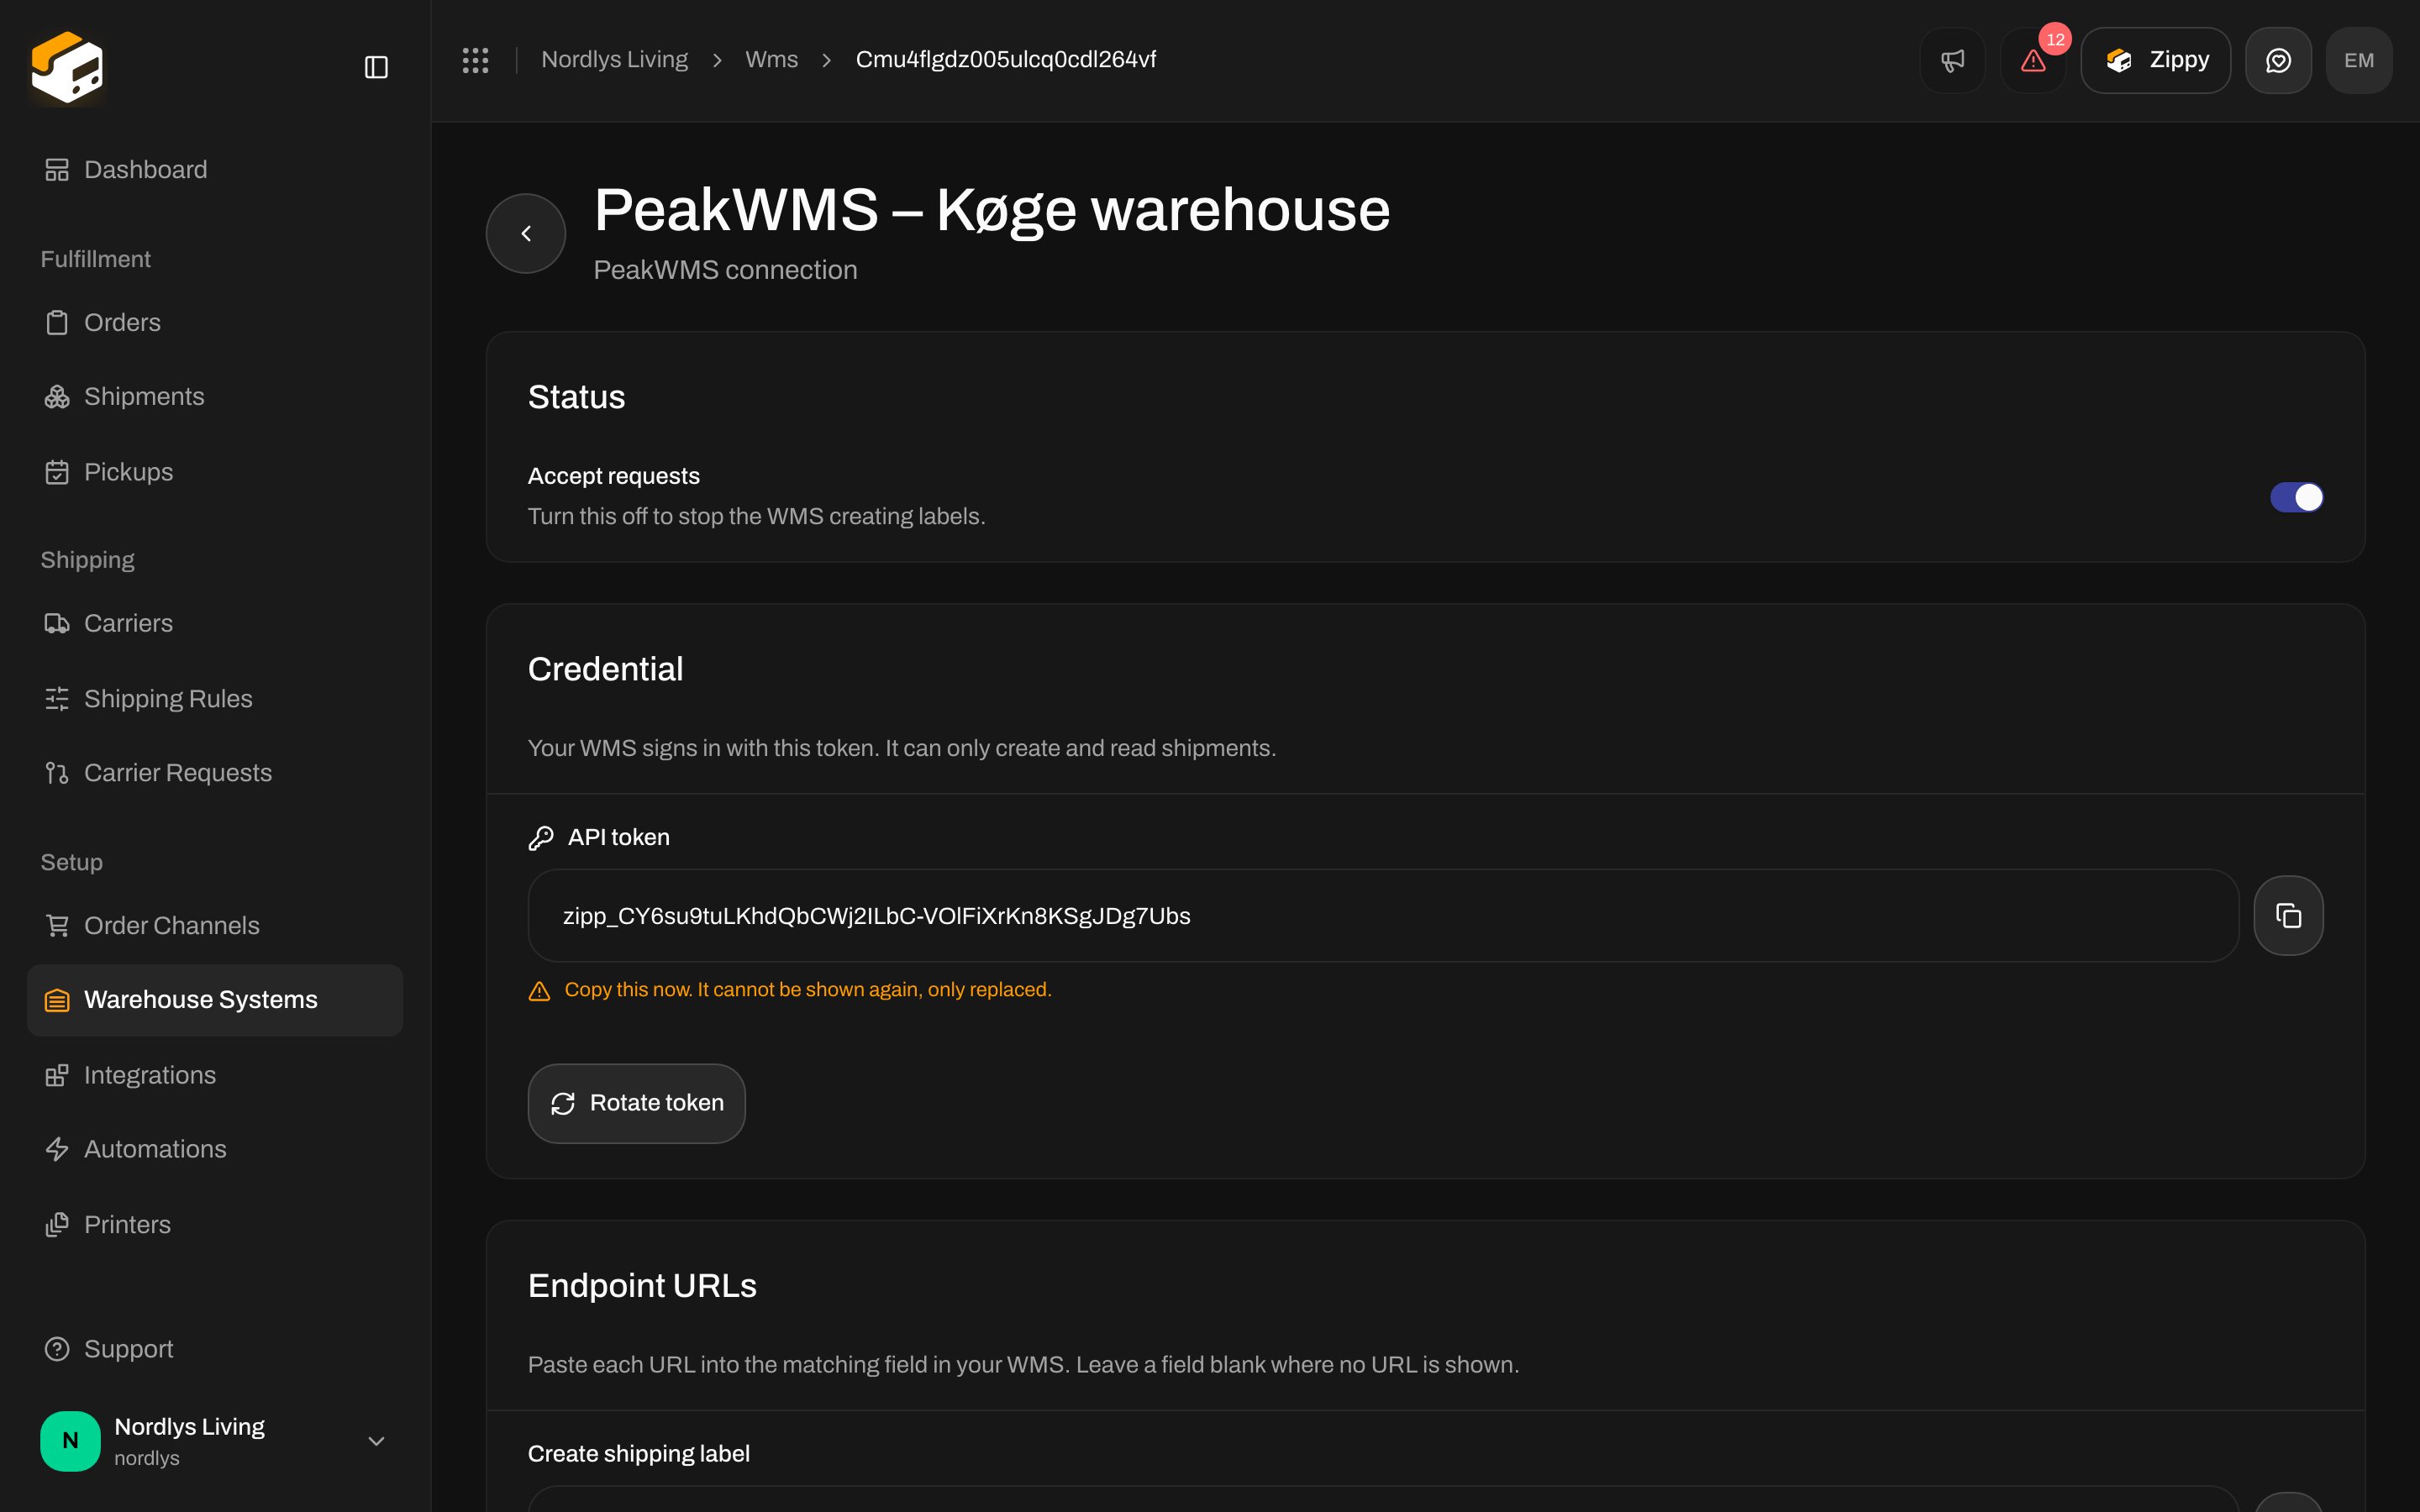 If you close the page without copying, the token cannot be shown again. Click **Rotate token** to get a new one. The old one stops working the moment you do, so PeakWMS needs the new token before packers can print again.
The token only lets PeakWMS create and read shipments. It cannot see your carrier accounts, addresses, orders or billing.
## 4. Copy the web addresses into PeakWMS
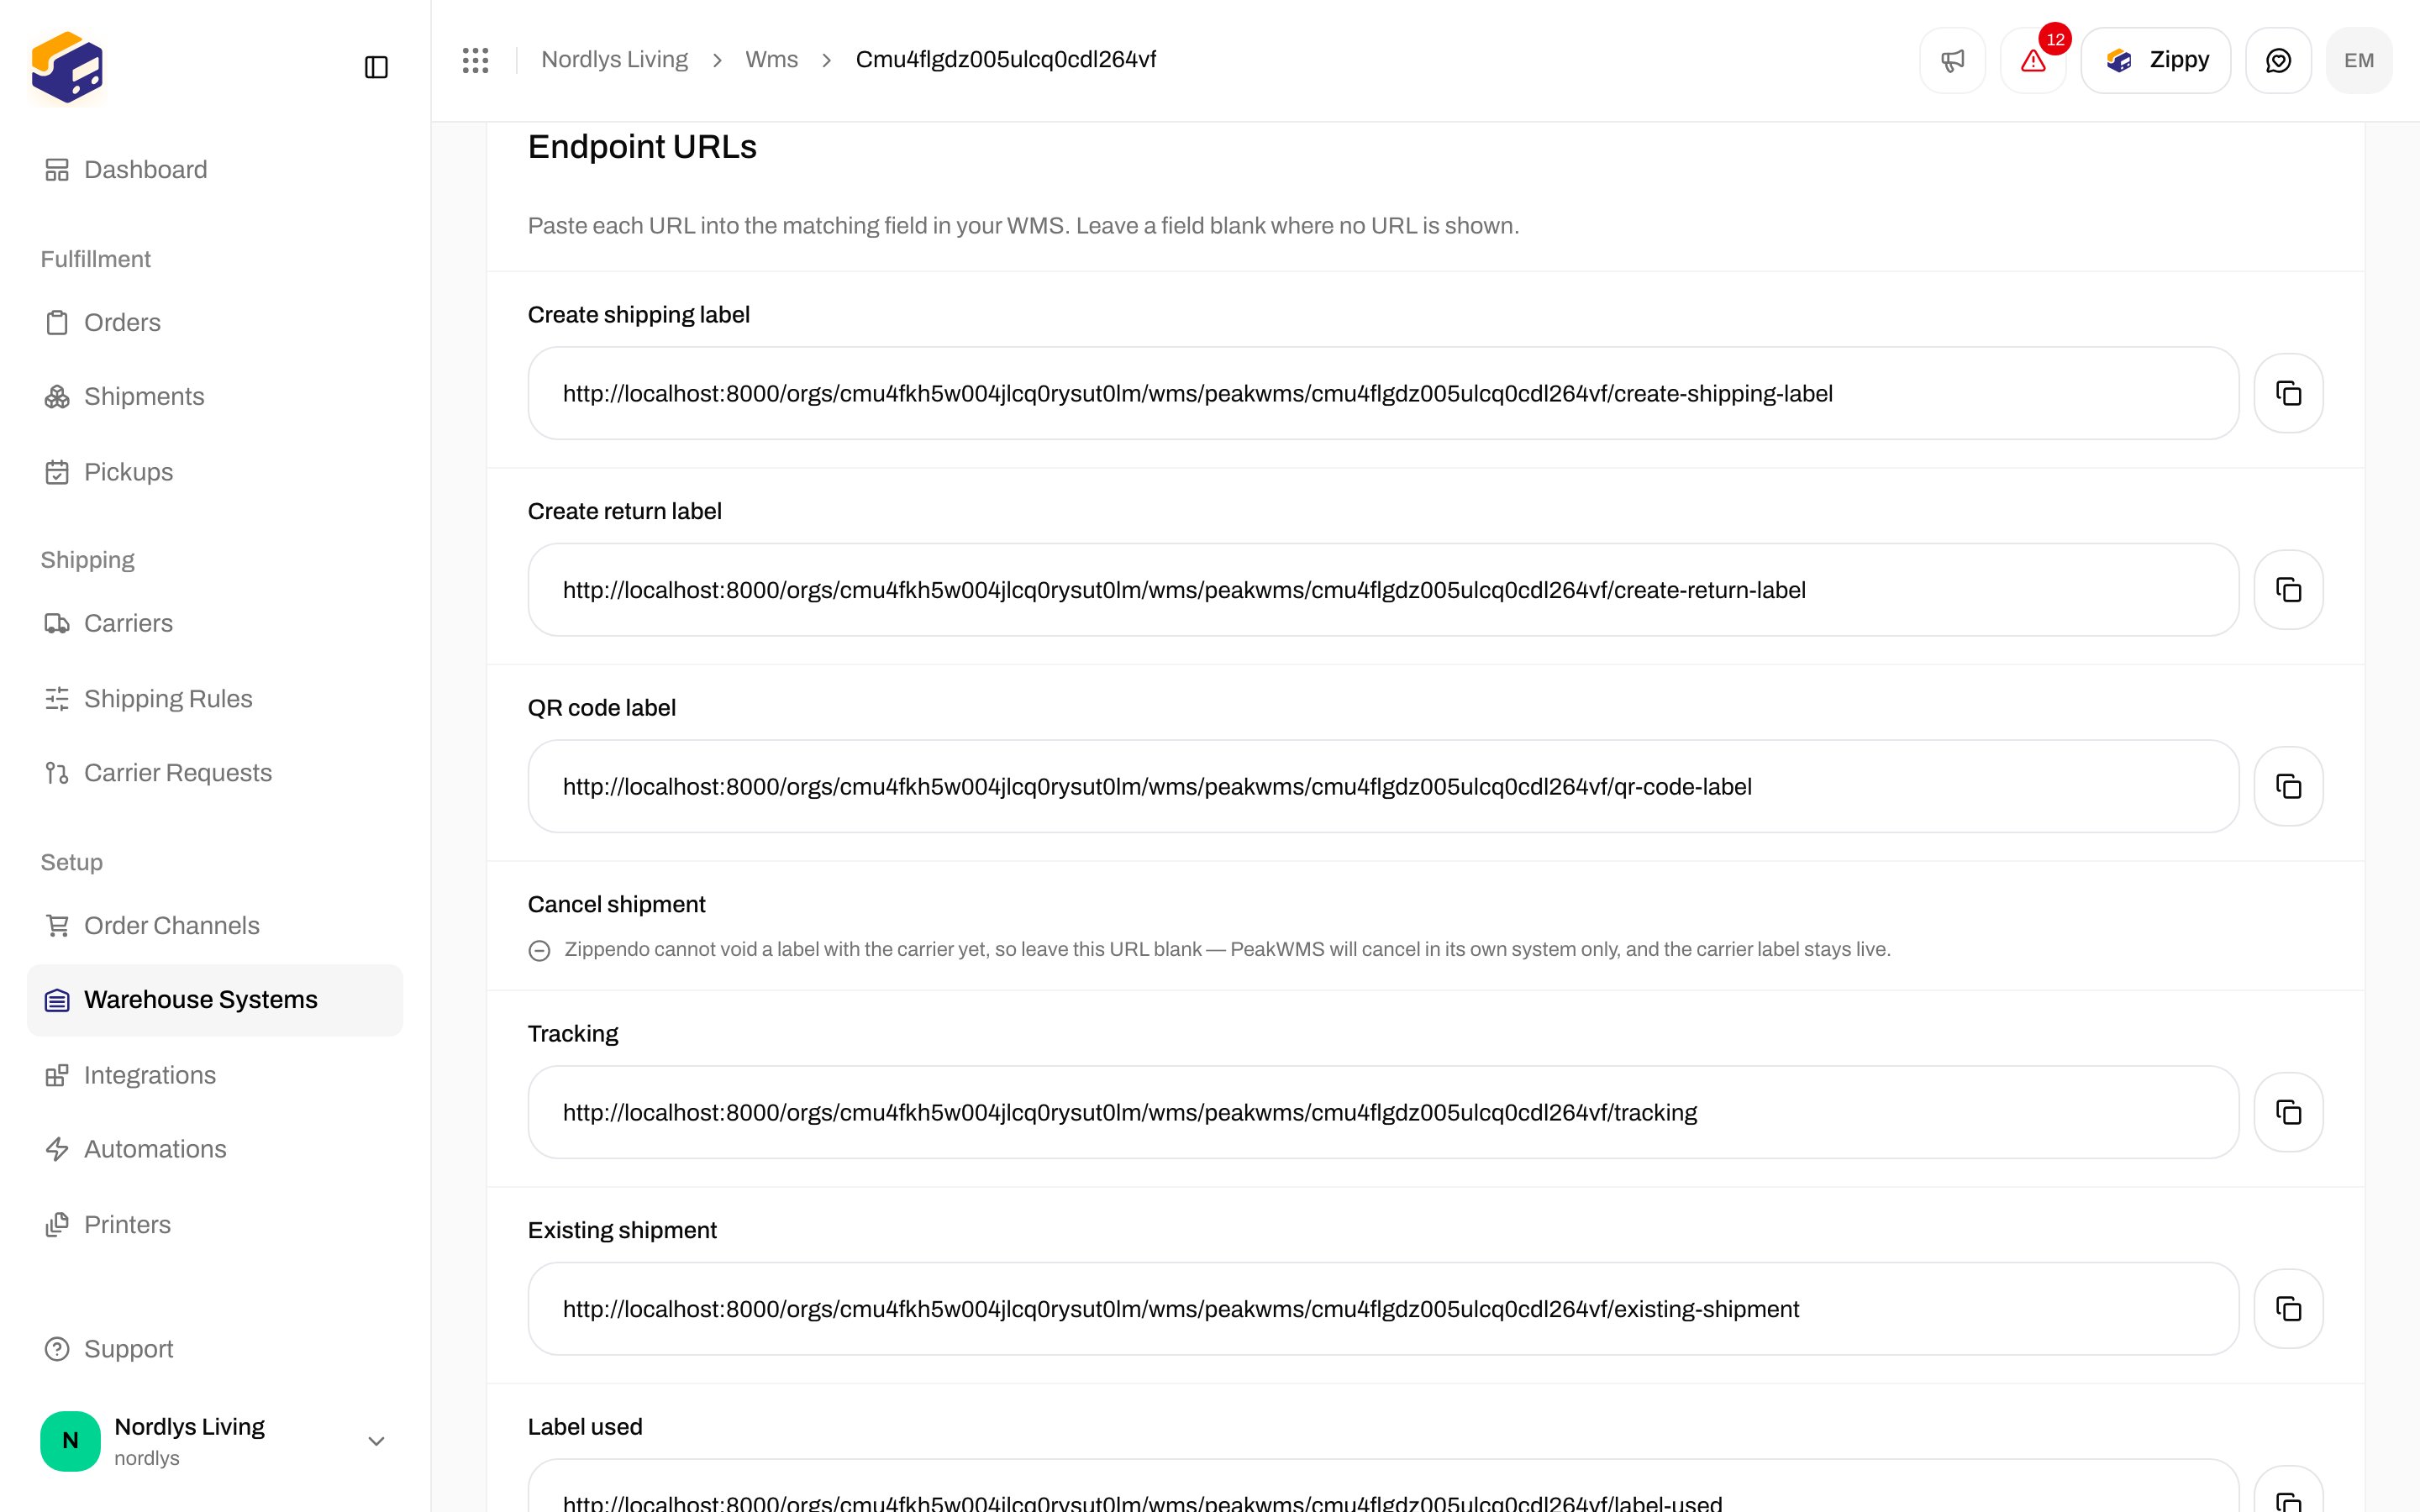
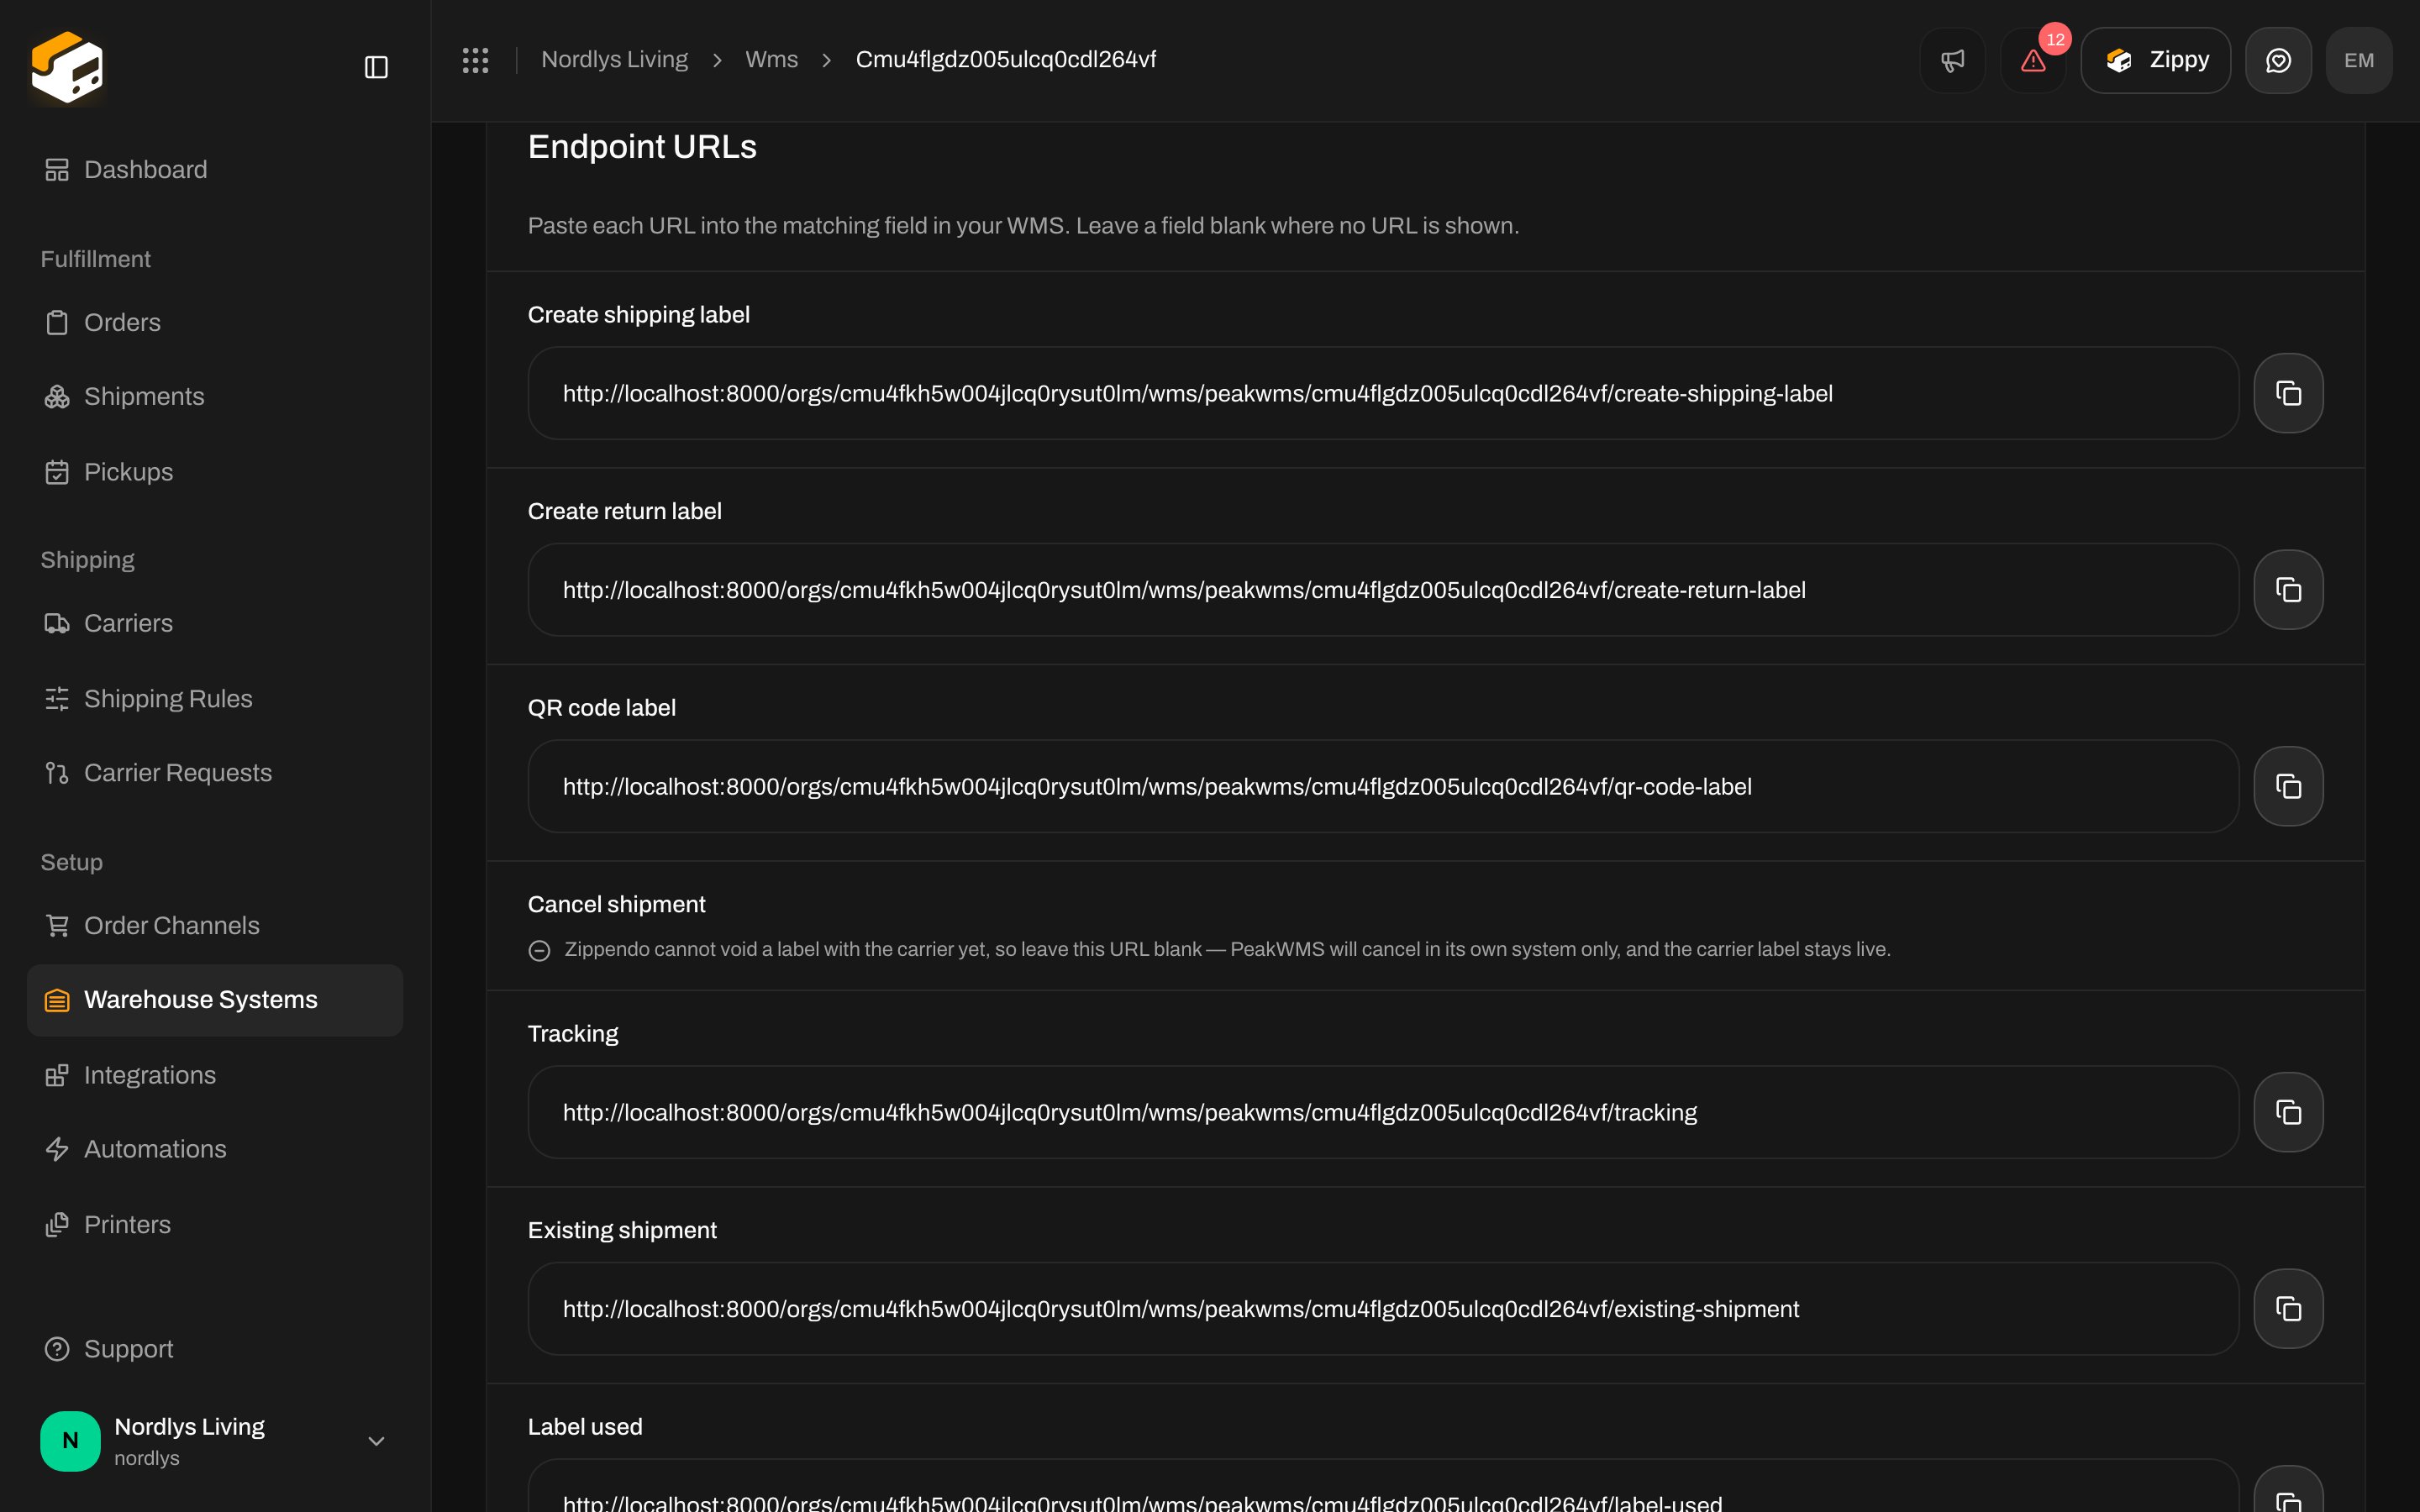
Below the credential, **Endpoint URLs** lists one web address per thing PeakWMS can ask Zippendo to do. Each has its own **Copy URL** button.
If you close the page without copying, the token cannot be shown again. Click **Rotate token** to get a new one. The old one stops working the moment you do, so PeakWMS needs the new token before packers can print again.
The token only lets PeakWMS create and read shipments. It cannot see your carrier accounts, addresses, orders or billing.
## 4. Copy the web addresses into PeakWMS
Below the credential, **Endpoint URLs** lists one web address per thing PeakWMS can ask Zippendo to do. Each has its own **Copy URL** button.
 Now switch to PeakWMS. Everything in this step happens there, on a new forwarder:
In PeakWMS, add a new **Forwarder** and set **Provider** to **Generic**. If you cannot find the screen, PeakWMS's own [help centre](https://help.peakwms.com/support/solutions) walks through it; the setup is the same whichever shipping company you use.
Copy each address from Zippendo into the PeakWMS field with the same name: **Create shipping label** (required), **Tracking** (recommended), and the optional ones you want, such as **Create return label**, **QR code label**, **Existing shipment** and **Label used**. Leave **Cancel shipment** empty; Zippendo shows no address for it on purpose, because it cannot cancel a label with the carrier.
**API key** is the token you copied in step 3. **Auth scheme** is **Bearer**. **Account ID** is the value you typed in Zippendo in step 2, if you used one.
The full field-by-field table for the forwarder, including which fields are optional, is on the [PeakWMS](/docs/integrations/peakwms#2-put-them-into-peakwms) page.
## 5. Set the Host ID on each shipping method in PeakWMS
In PeakWMS, every shipping method carries a **Host ID**. That is how PeakWMS tells Zippendo which carrier and service to use when a parcel is packed. You set it in PeakWMS, on the shipping method itself, not in Zippendo.
When your webshop is connected to Zippendo, every order carries the shipping method the customer picked as a code that looks like `postnord:PNL13:rule_01HZX9K2QF`. Place a test order in your webshop, open it, and copy that code from the shipping method.
Open the matching shipping method in PeakWMS and paste the code into its **Host ID** field. Repeat for each shipping method your webshop offers. Zippendo recognises these codes on its own; there is nothing to configure in Zippendo for them.
When the customer chose a pickup point, the code on the order ends with a bar and the pickup point, like `postnord:PNL13:rule_01HZX9K2QF|1234567`. Paste only the part **before** the bar as the Host ID. PeakWMS splits the code there itself and passes the pickup point on to Zippendo, so one Host ID covers every pickup point.
If a Host ID never matches, or the wrong carrier keeps being used, check whether your orders carry a field called `peak_shipping_code`, often left behind by a shipping app you used before. PeakWMS reads that field first and ignores the code Zippendo puts on the order. Whoever looks after your webshop can empty it.
### Using your own Host IDs instead
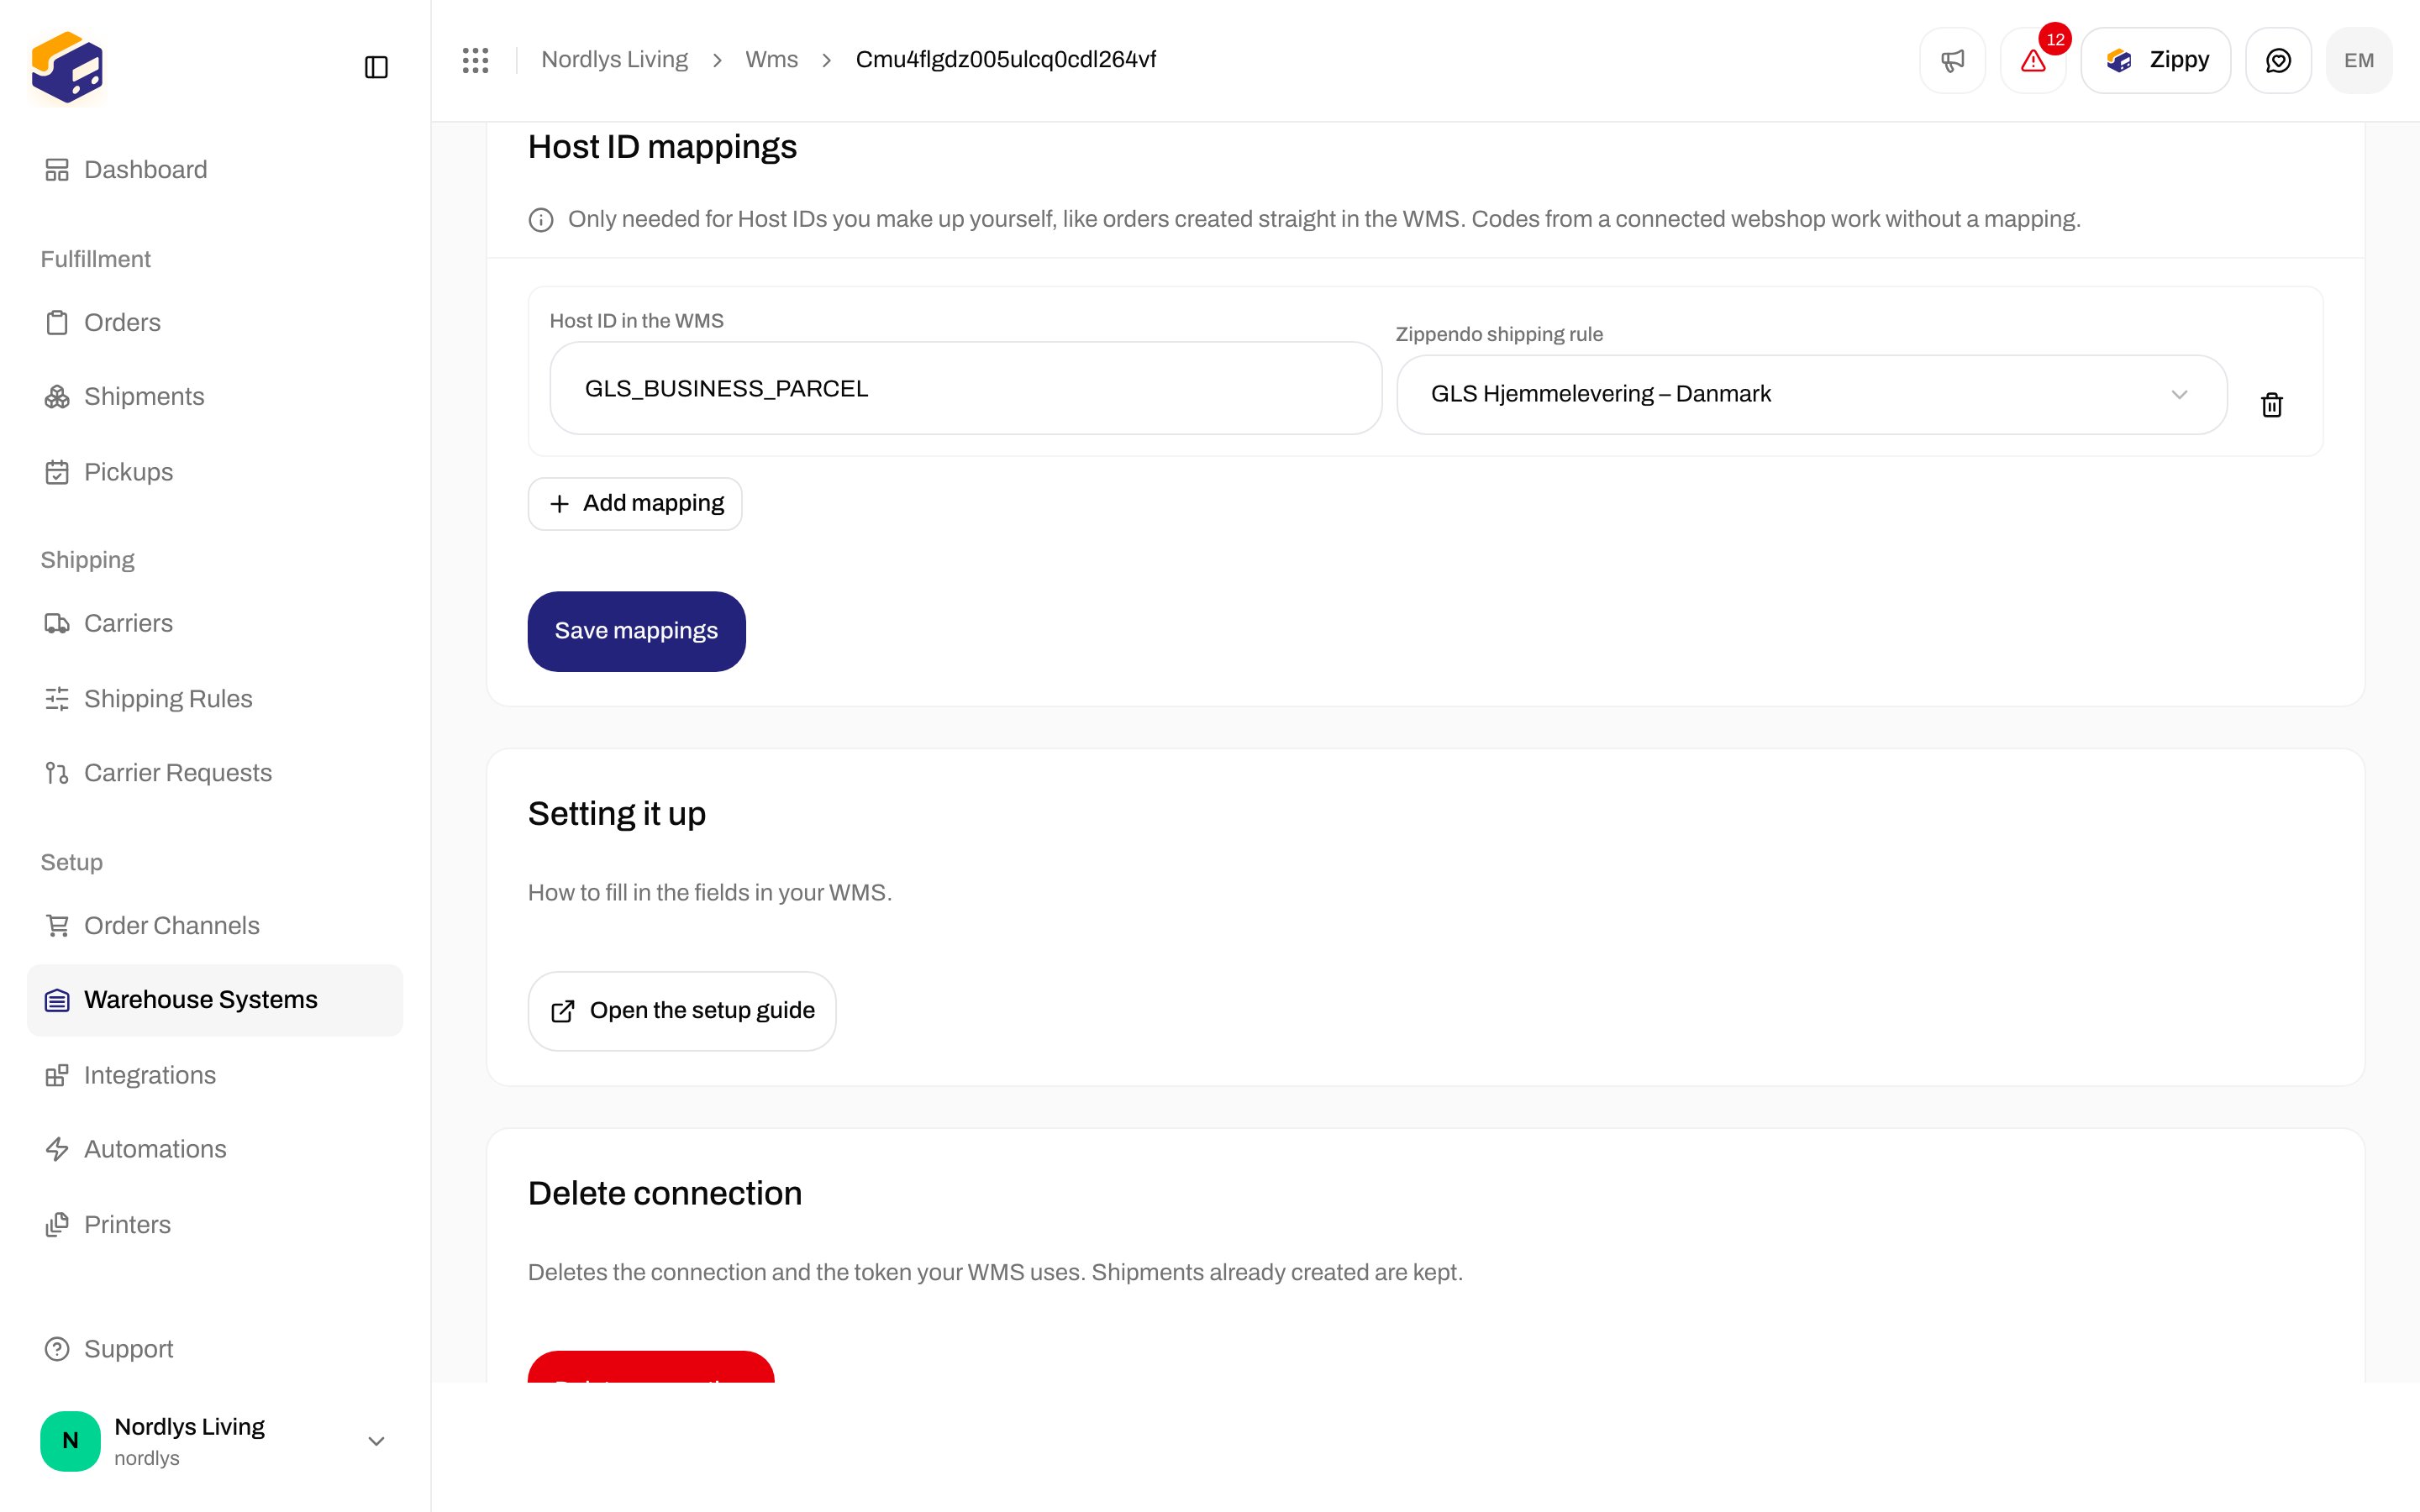
You only need anything in Zippendo when the Host ID is a code of your own making rather than the one from a webshop order. That is the case when orders are typed straight into PeakWMS, or when you prefer codes like `GLS_BUSINESS_PARCEL`. Then, in Zippendo, open the connection and add a **Host ID mapping**: your code on the left, the Zippendo shipping rule it should use on the right. Click **Save mappings** when the rows are complete; a row without a shipping rule cannot be saved.
Now switch to PeakWMS. Everything in this step happens there, on a new forwarder:
In PeakWMS, add a new **Forwarder** and set **Provider** to **Generic**. If you cannot find the screen, PeakWMS's own [help centre](https://help.peakwms.com/support/solutions) walks through it; the setup is the same whichever shipping company you use.
Copy each address from Zippendo into the PeakWMS field with the same name: **Create shipping label** (required), **Tracking** (recommended), and the optional ones you want, such as **Create return label**, **QR code label**, **Existing shipment** and **Label used**. Leave **Cancel shipment** empty; Zippendo shows no address for it on purpose, because it cannot cancel a label with the carrier.
**API key** is the token you copied in step 3. **Auth scheme** is **Bearer**. **Account ID** is the value you typed in Zippendo in step 2, if you used one.
The full field-by-field table for the forwarder, including which fields are optional, is on the [PeakWMS](/docs/integrations/peakwms#2-put-them-into-peakwms) page.
## 5. Set the Host ID on each shipping method in PeakWMS
In PeakWMS, every shipping method carries a **Host ID**. That is how PeakWMS tells Zippendo which carrier and service to use when a parcel is packed. You set it in PeakWMS, on the shipping method itself, not in Zippendo.
When your webshop is connected to Zippendo, every order carries the shipping method the customer picked as a code that looks like `postnord:PNL13:rule_01HZX9K2QF`. Place a test order in your webshop, open it, and copy that code from the shipping method.
Open the matching shipping method in PeakWMS and paste the code into its **Host ID** field. Repeat for each shipping method your webshop offers. Zippendo recognises these codes on its own; there is nothing to configure in Zippendo for them.
When the customer chose a pickup point, the code on the order ends with a bar and the pickup point, like `postnord:PNL13:rule_01HZX9K2QF|1234567`. Paste only the part **before** the bar as the Host ID. PeakWMS splits the code there itself and passes the pickup point on to Zippendo, so one Host ID covers every pickup point.
If a Host ID never matches, or the wrong carrier keeps being used, check whether your orders carry a field called `peak_shipping_code`, often left behind by a shipping app you used before. PeakWMS reads that field first and ignores the code Zippendo puts on the order. Whoever looks after your webshop can empty it.
### Using your own Host IDs instead
You only need anything in Zippendo when the Host ID is a code of your own making rather than the one from a webshop order. That is the case when orders are typed straight into PeakWMS, or when you prefer codes like `GLS_BUSINESS_PARCEL`. Then, in Zippendo, open the connection and add a **Host ID mapping**: your code on the left, the Zippendo shipping rule it should use on the right. Click **Save mappings** when the rows are complete; a row without a shipping rule cannot be saved.
 ## 6. Stop importing orders from that store
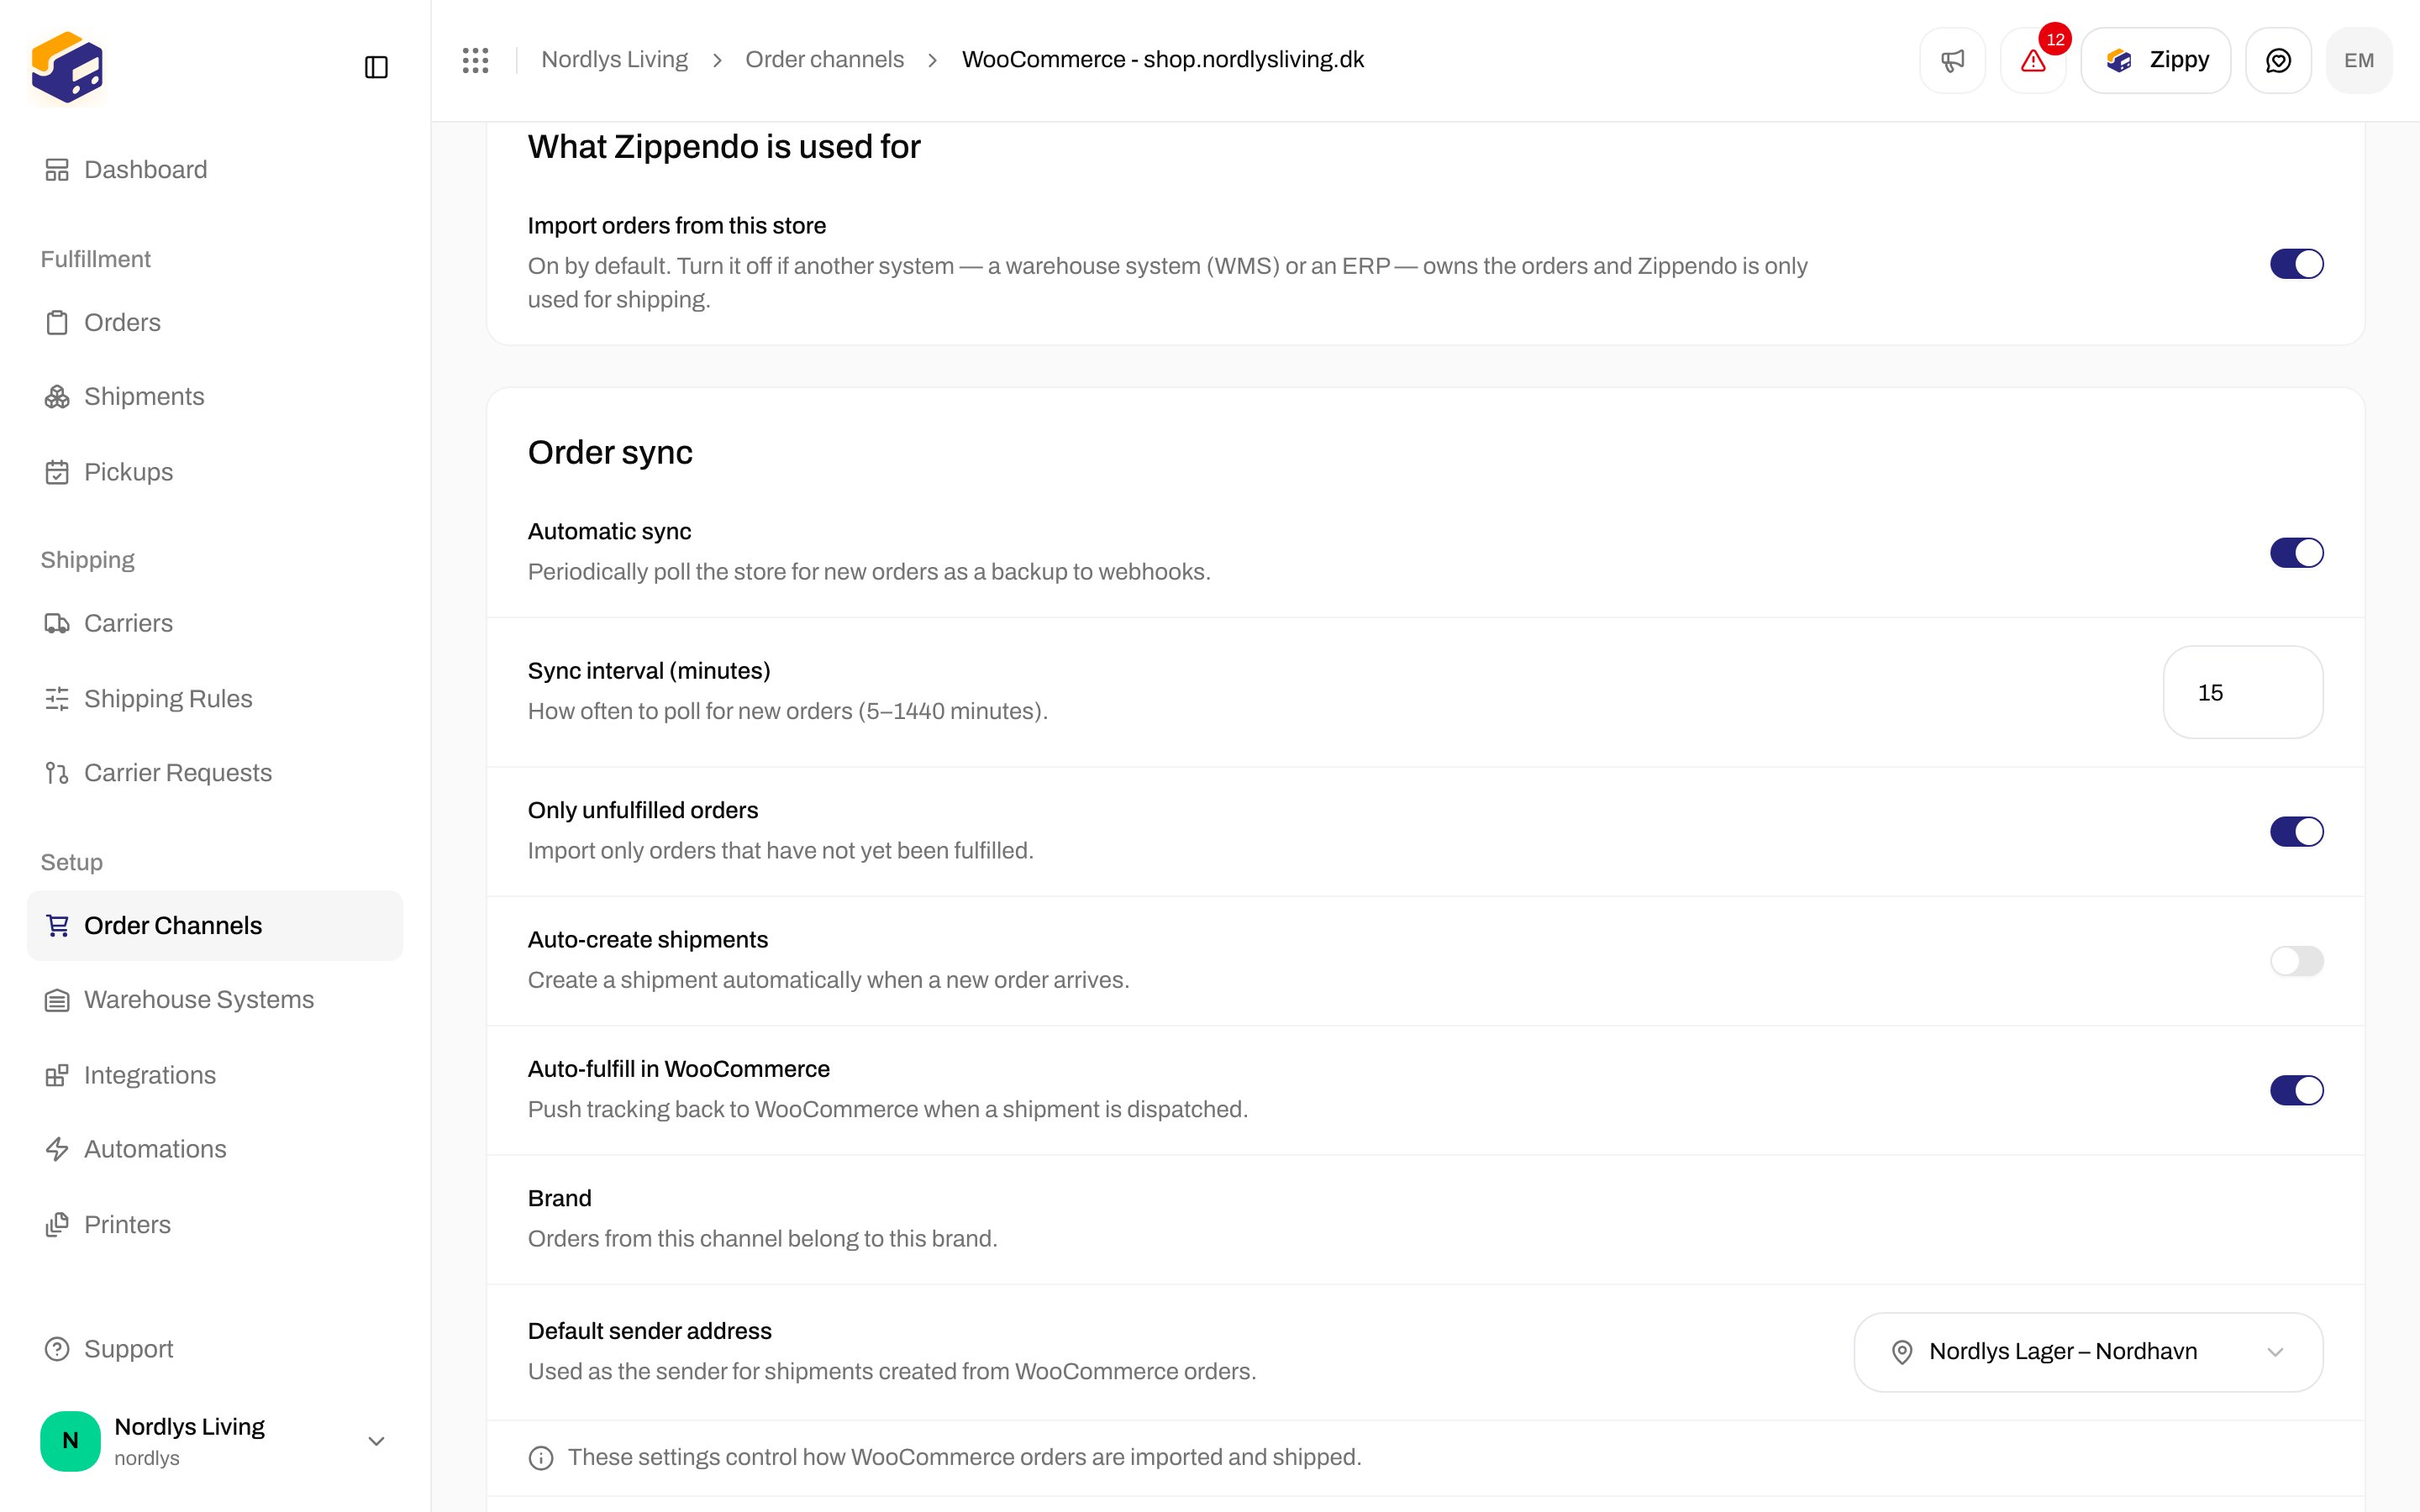
PeakWMS now owns the orders. If Zippendo kept importing them too, both systems would create shipments for the same order, and you would pay for two labels. Open **Order channels**, open the store, and under **What Zippendo is used for** turn off **Import orders from this store**.
## 6. Stop importing orders from that store
PeakWMS now owns the orders. If Zippendo kept importing them too, both systems would create shipments for the same order, and you would pay for two labels. Open **Order channels**, open the store, and under **What Zippendo is used for** turn off **Import orders from this store**.
 Shipping prices and pickup-point selection at checkout keep working exactly as before. Only the order import stops, and Zippendo no longer marks orders as shipped in your webshop, since PeakWMS does that now.
## 7. Check it works
Pack one order in your PeakWMS test environment and look at three things: the label prints and shows the carrier you expected, the parcel appears under **Shipments** in Zippendo, and tracking shows up on the order in PeakWMS. Then swap the addresses in PeakWMS to your live setup.
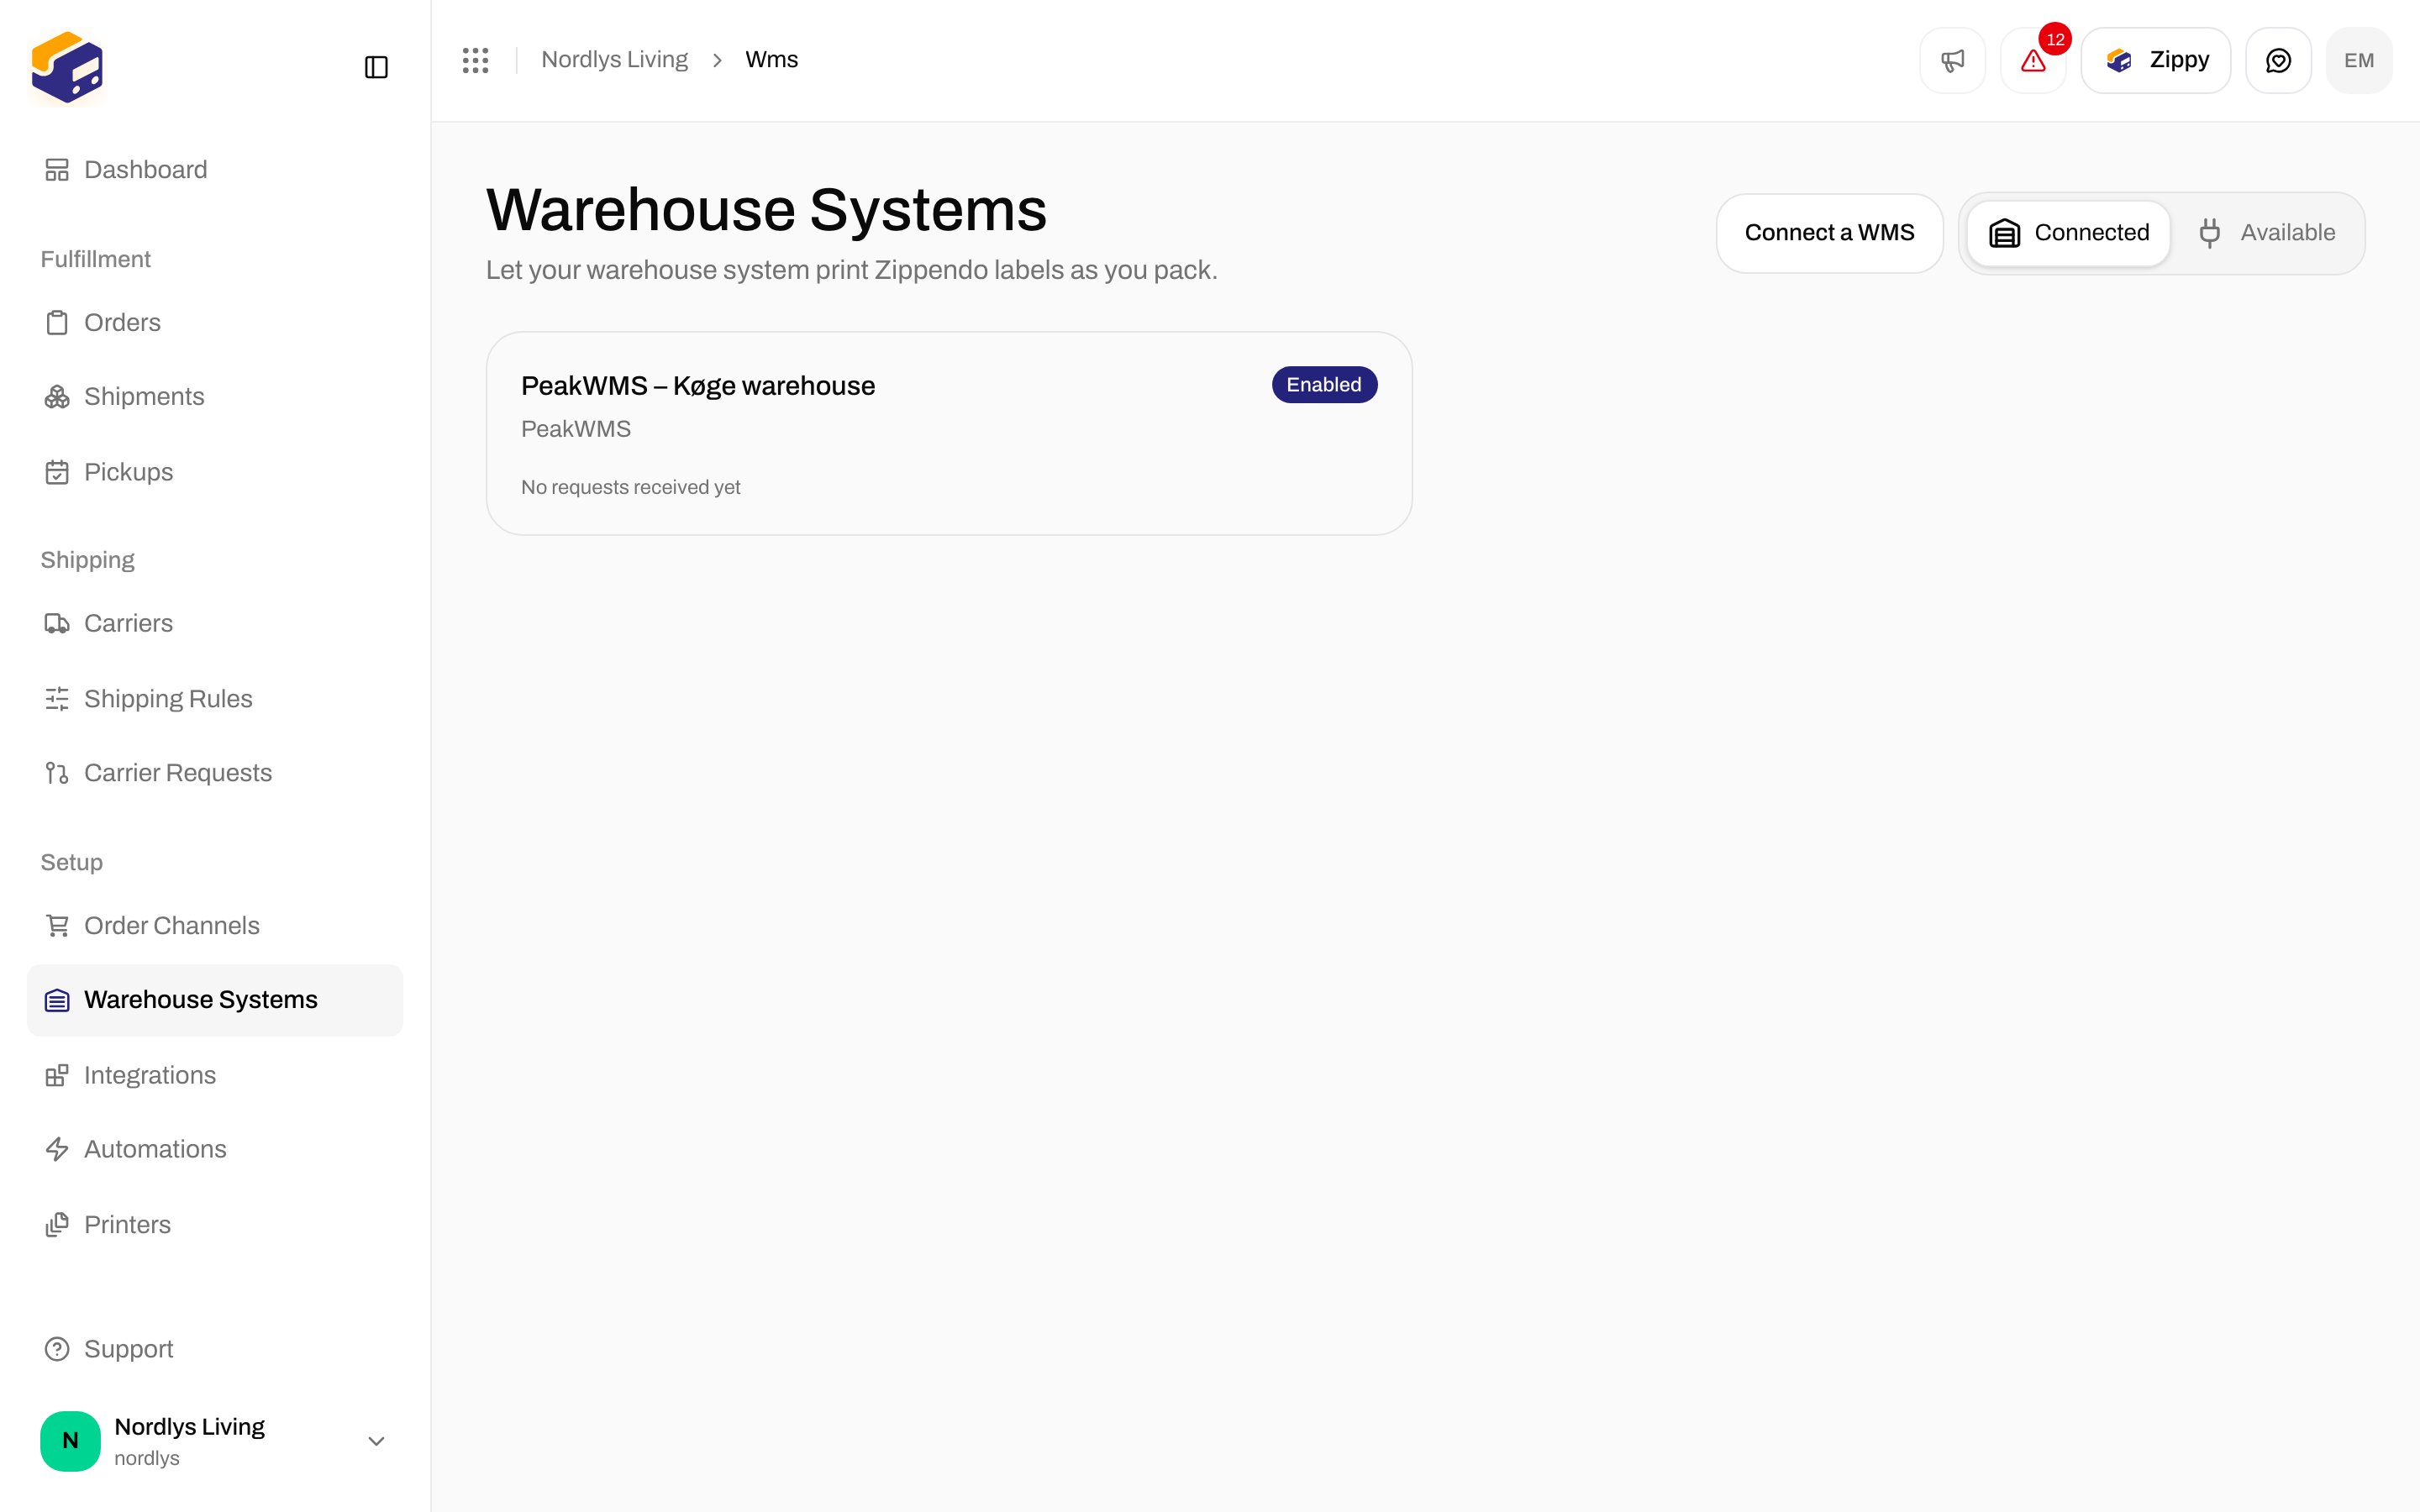
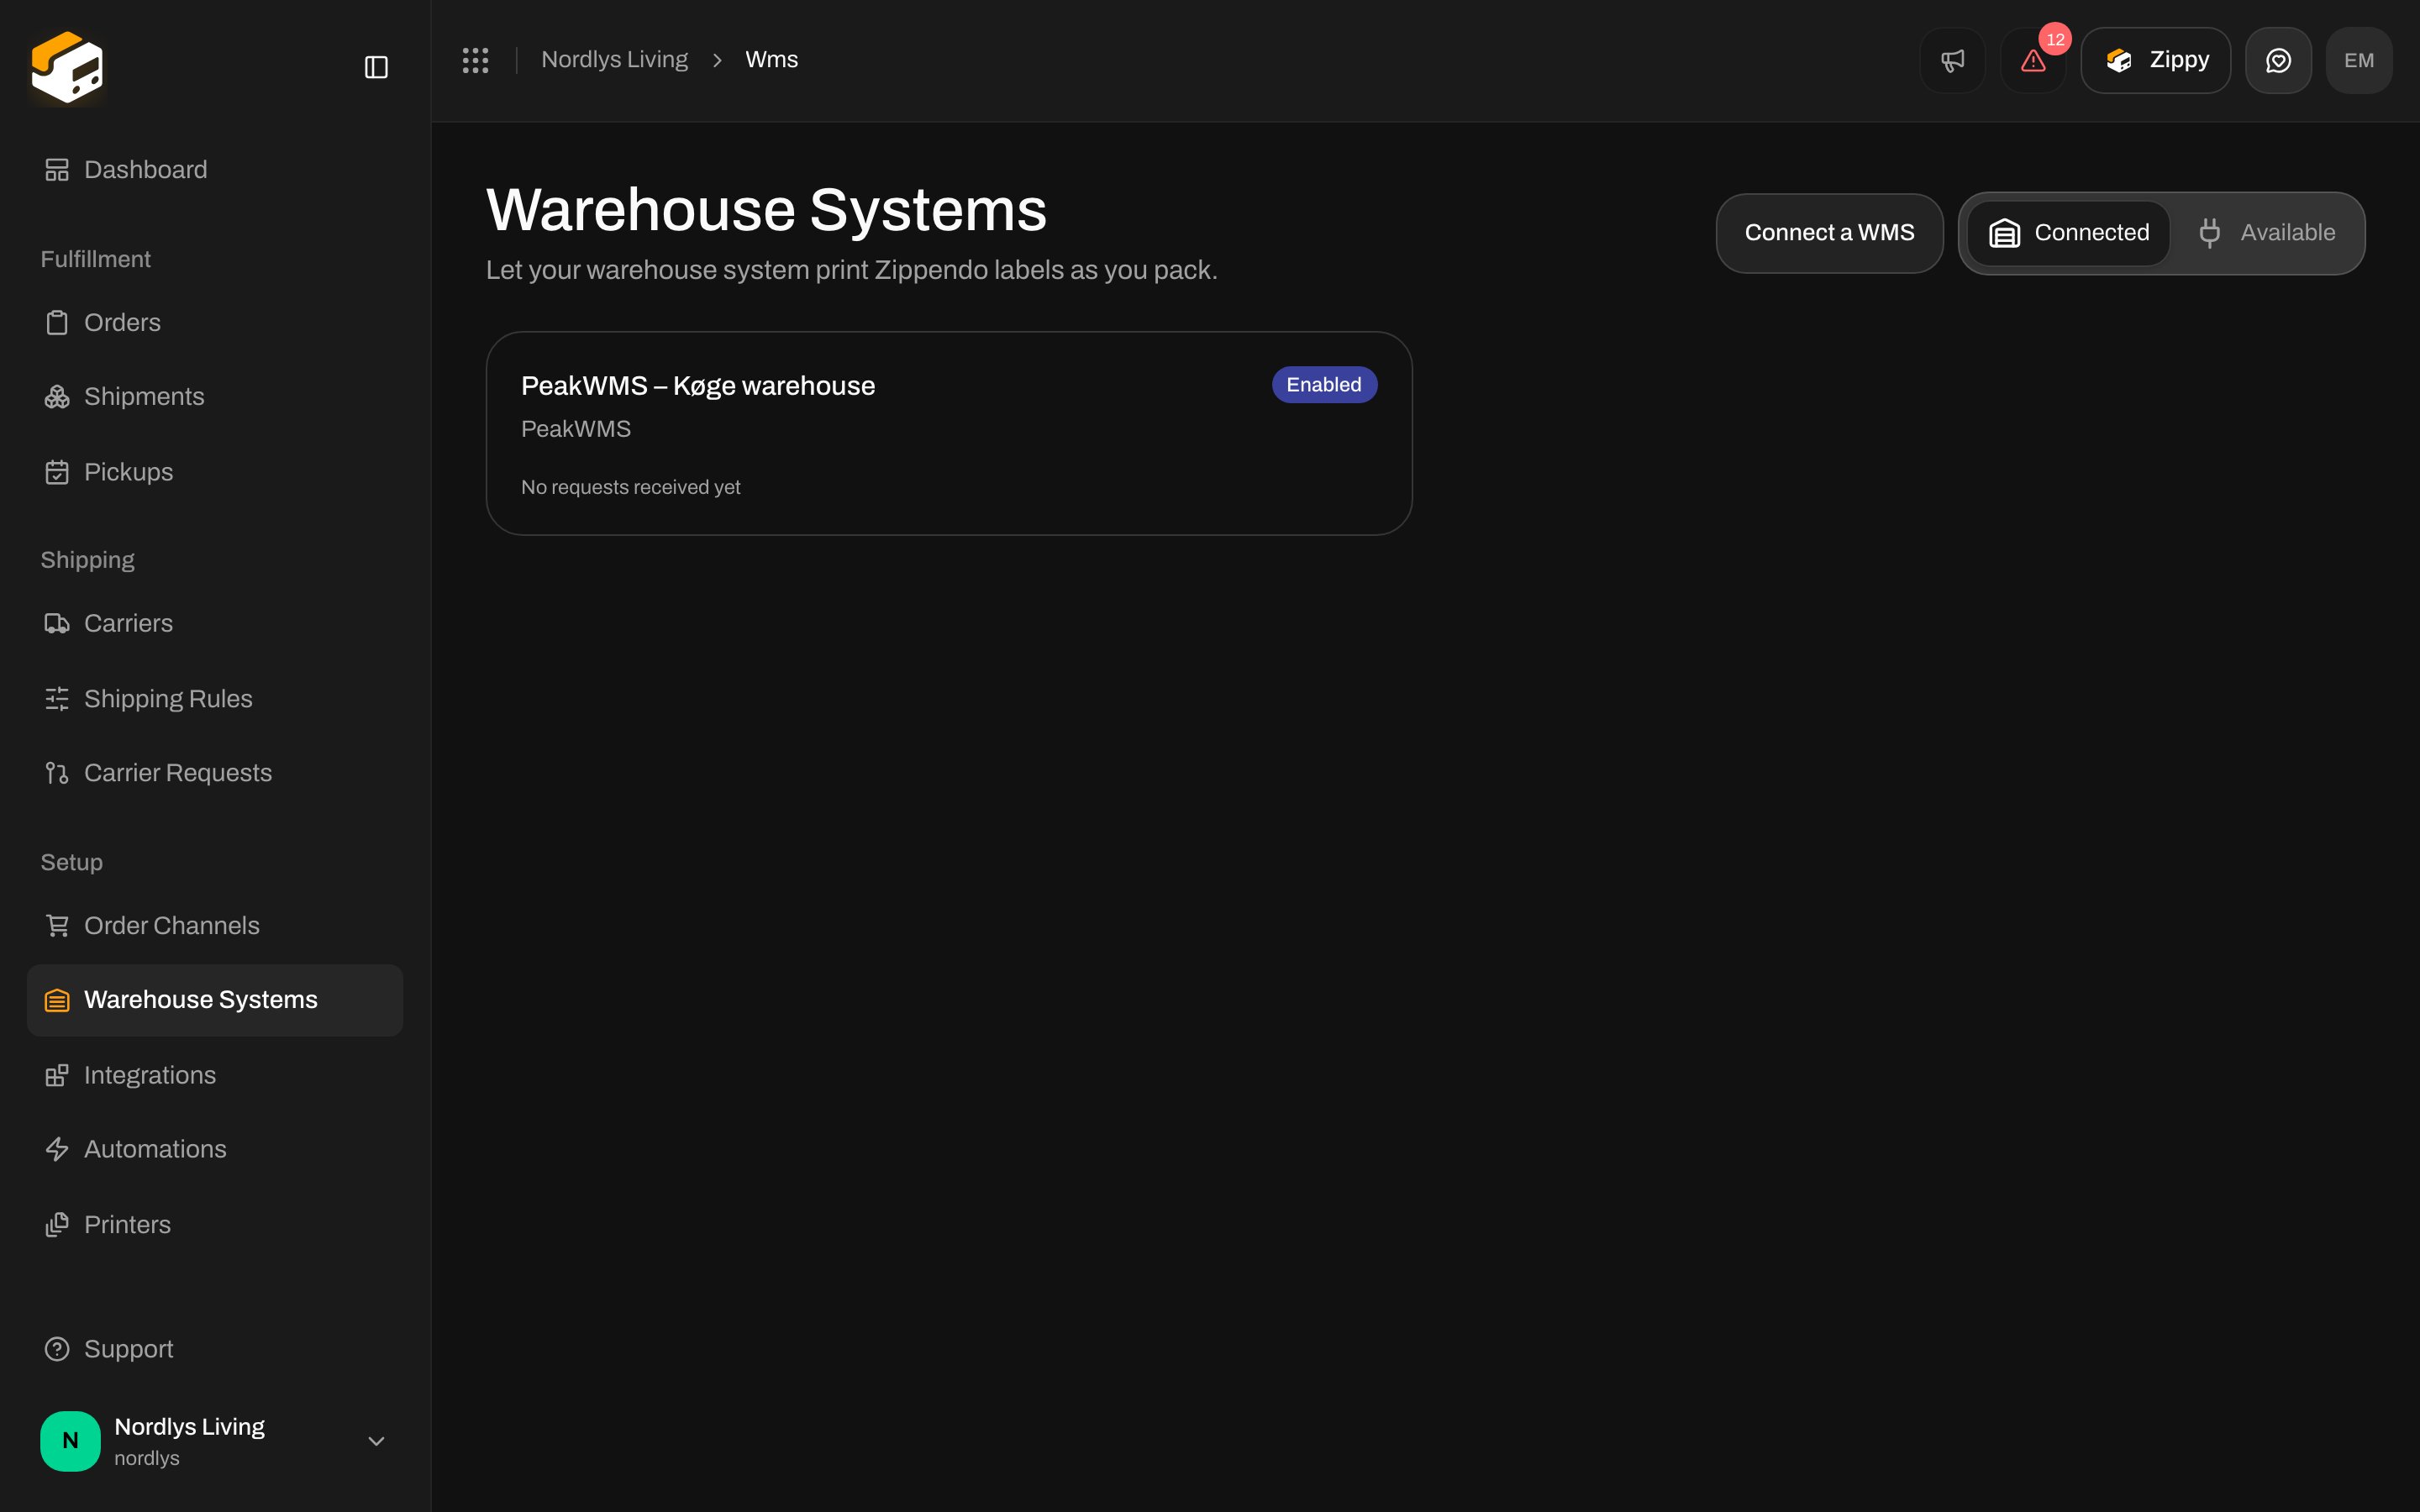
Back on **Warehouse Systems**, the **Connected** tab shows every connection with when PeakWMS last asked for something, or the most recent failure in plain words.
Shipping prices and pickup-point selection at checkout keep working exactly as before. Only the order import stops, and Zippendo no longer marks orders as shipped in your webshop, since PeakWMS does that now.
## 7. Check it works
Pack one order in your PeakWMS test environment and look at three things: the label prints and shows the carrier you expected, the parcel appears under **Shipments** in Zippendo, and tracking shows up on the order in PeakWMS. Then swap the addresses in PeakWMS to your live setup.
Back on **Warehouse Systems**, the **Connected** tab shows every connection with when PeakWMS last asked for something, or the most recent failure in plain words.
 ## Pausing or removing the connection
Open the connection and turn off **Accept requests** to stop PeakWMS creating labels without deleting anything. Turn it back on when you are ready. **Delete connection** at the bottom removes the connection and its token for good. Shipments that were already created stay where they are.
## Pausing or removing the connection
Open the connection and turn off **Accept requests** to stop PeakWMS creating labels without deleting anything. Turn it back on when you are ready. **Delete connection** at the bottom removes the connection and its token for good. Shipments that were already created stay where they are.
 ## Good to know
* A packer who packs the same order twice does not get two labels. Zippendo hands back the label it already made.
* Return labels work the same way. Zippendo always prints your warehouse address from the shipping rule, so the label is right even if PeakWMS has a different address on file.
* Dangerous goods are refused rather than shipped without the required paperwork. Send those through a different setup in PeakWMS.
## Related
* [PeakWMS](/docs/integrations/peakwms) for every PeakWMS field, the Host ID rules and the error messages
* [Shipping rules](/docs/tutorials/shipping-rules) for the rules a Host ID points at
* [Order channel settings](/docs/how-to/order-channel-settings) for the store switches
## Good to know
* A packer who packs the same order twice does not get two labels. Zippendo hands back the label it already made.
* Return labels work the same way. Zippendo always prints your warehouse address from the shipping rule, so the label is right even if PeakWMS has a different address on file.
* Dangerous goods are refused rather than shipped without the required paperwork. Send those through a different setup in PeakWMS.
## Related
* [PeakWMS](/docs/integrations/peakwms) for every PeakWMS field, the Host ID rules and the error messages
* [Shipping rules](/docs/tutorials/shipping-rules) for the rules a Host ID points at
* [Order channel settings](/docs/how-to/order-channel-settings) for the store switches