> ## Documentation Index
> Fetch the complete documentation index at: https://www.zippendo.com/docs/llms.txt
> Use this file to discover all available pages before exploring further.
# Connect order channels
> Connect WooCommerce or a custom channel so store and ERP orders appear in Zippendo.
An **order channel** is where your orders come from. Zippendo does not create store orders on its own — it imports them from a connected channel so you can create shipments in one place.
This walkthrough covers every channel you can add from **Order Channels** in the client, except Shopify. Shopify installs from the App Store and finishes in a different flow — follow [Connect Shopify](/docs/tutorials/connect-shopify) for that.
You can create shipments without a channel. Connect one when you want store or ERP orders to land under **Orders** instead of typing each address by hand.
## What an order channel is
A channel is a named connection on your organization. After it is connected and **Active**:
* New orders from that source appear under **Orders**.
* The channel name is listed in the sidebar under **Channel orders**, so you can open that store’s orders in one click.
* Opening an order shows the **Order Channel**, customer, address, and lines. Use **Create Shipment** (or **Send order** if a shipment already exists) to fulfil it.
If your organization uses [brands](/docs/settings/brands), assign a **Brand** on the channel after you connect. Orders synced from that channel — and the shipments made from them — belong to that brand. Unassigned channels stay organization-wide. The WooCommerce and custom connect flows do not ask for a brand up front.
## Supported channels in the app
Open **Order Channels** from the sidebar. The page title is **Order Channels**. The subtitle is **Connect your e-commerce platforms to import orders automatically**.
Two tabs sit in the header (they are URL state — `?tab=`):
| Tab | What it shows |
| -------------------------- | ------------------------------------------------------------------------------------------------------------------------------------------------------------ |
| **Connected stores** | Shopify installations, WooCommerce stores, and custom channels you already added. Leftover rows from a removed store appear under **Disconnected channels**. |
| **Available integrations** | The three connect cards Zippendo offers. |
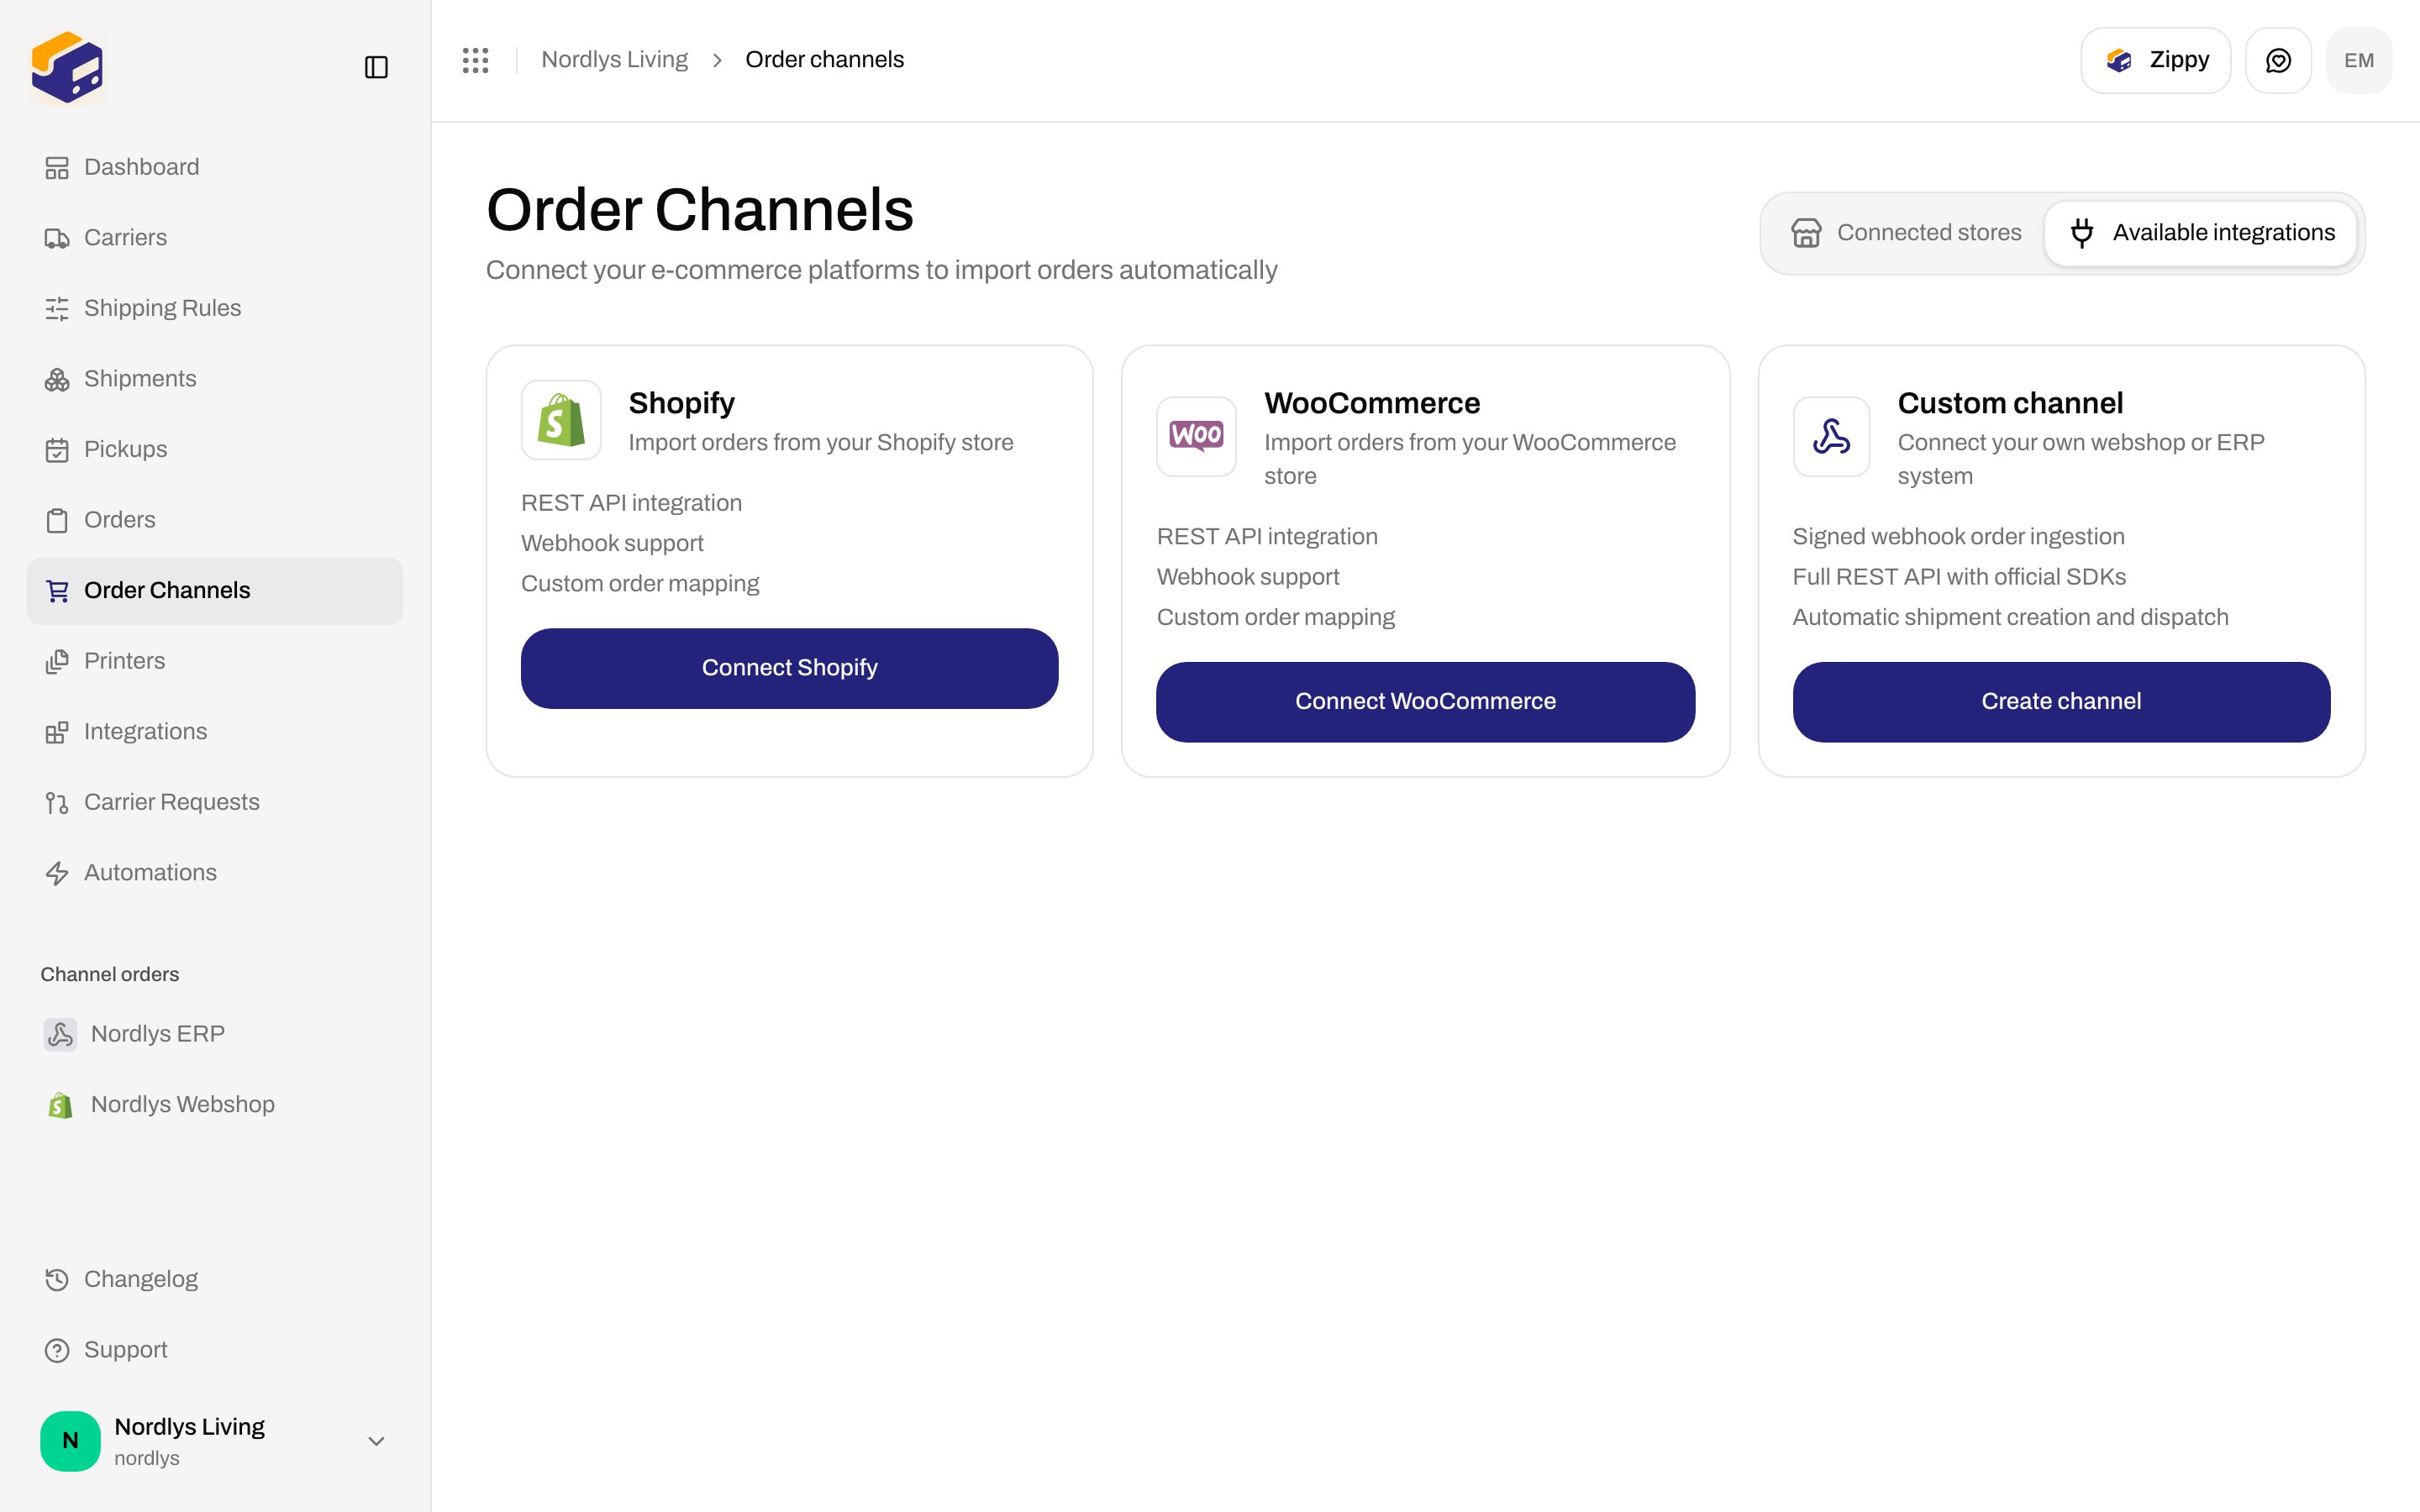
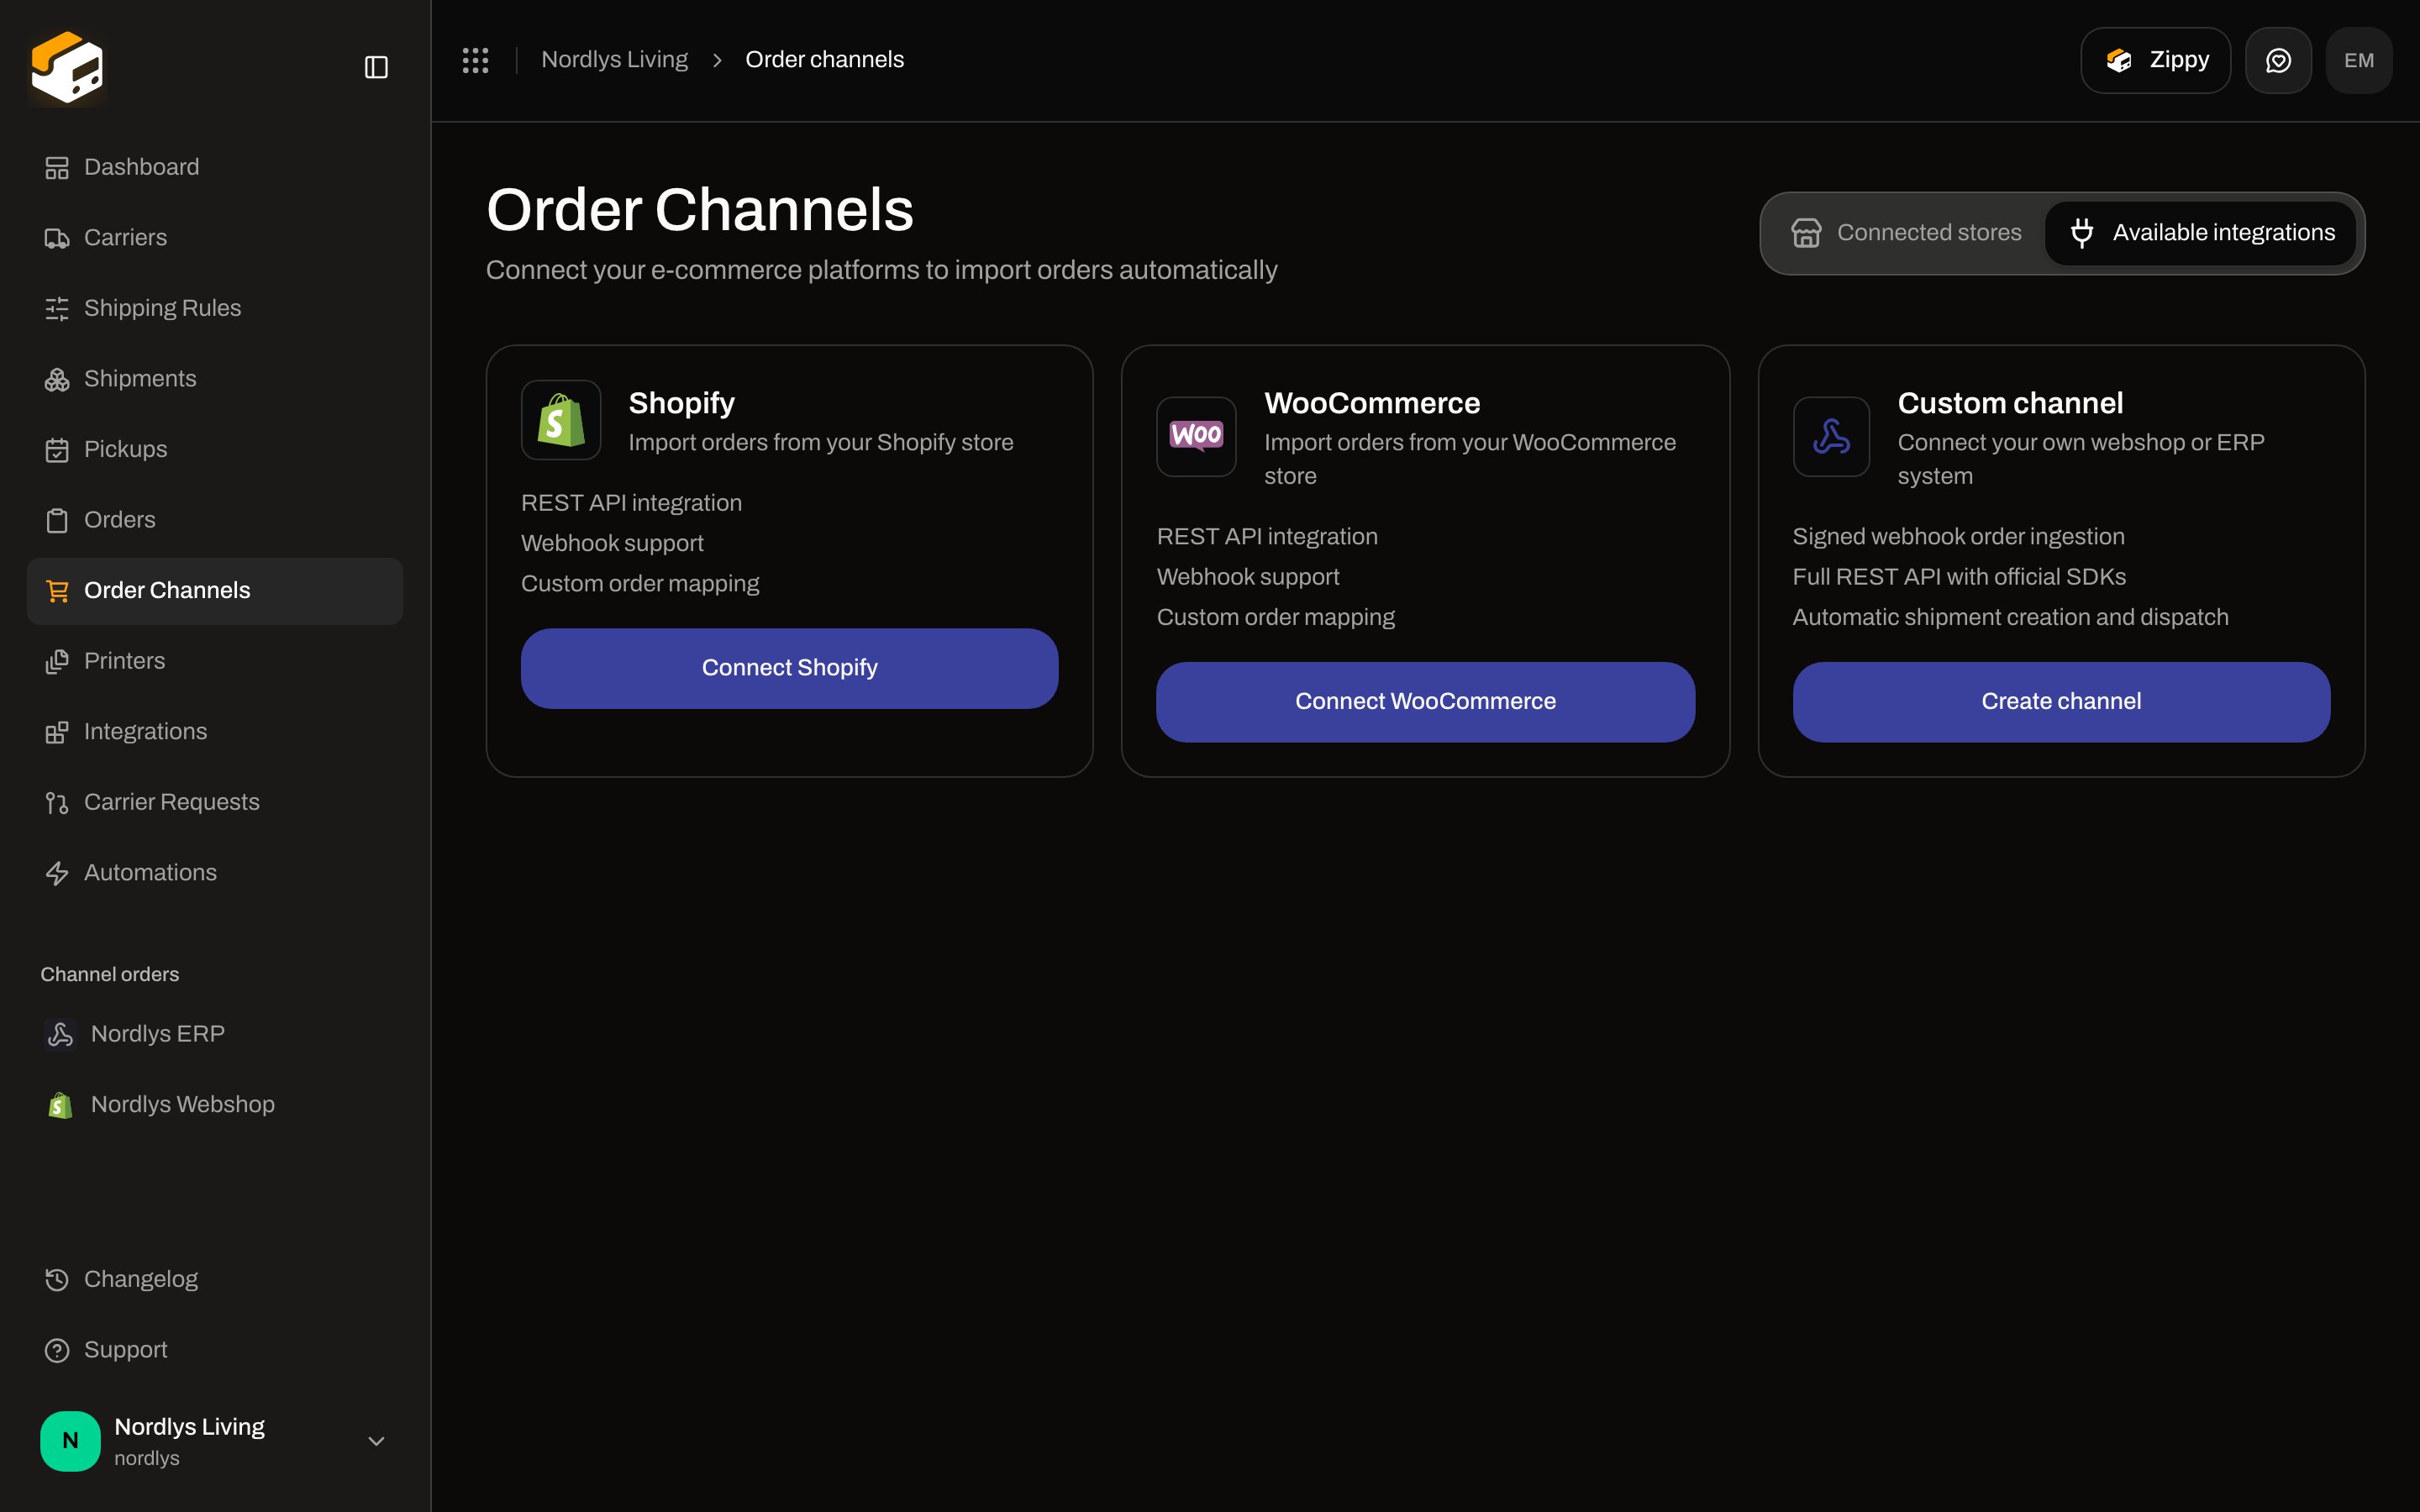 Those cards are the full catalog. There is no separate “webshop” or “API” card. A webshop or ERP you built yourself uses **Custom channel**. Creating orders through the REST API also uses a channel you already created (usually custom).
| Card | Button | Features shown on the card |
| ------------------ | ----------------------- | ---------------------------------------------------------------------------------------------------------- |
| **Shopify** | **Connect Shopify** | REST API integration, Webhook support, Custom order mapping |
| **WooCommerce** | **Connect WooCommerce** | REST API integration, Webhook support, Custom order mapping |
| **Custom channel** | **Create channel** | Signed webhook order ingestion, Full REST API with official SDKs, Automatic shipment creation and dispatch |
Shopify: [Connect Shopify](/docs/tutorials/connect-shopify). The rest of this page is WooCommerce and custom.
Those cards are the full catalog. There is no separate “webshop” or “API” card. A webshop or ERP you built yourself uses **Custom channel**. Creating orders through the REST API also uses a channel you already created (usually custom).
| Card | Button | Features shown on the card |
| ------------------ | ----------------------- | ---------------------------------------------------------------------------------------------------------- |
| **Shopify** | **Connect Shopify** | REST API integration, Webhook support, Custom order mapping |
| **WooCommerce** | **Connect WooCommerce** | REST API integration, Webhook support, Custom order mapping |
| **Custom channel** | **Create channel** | Signed webhook order ingestion, Full REST API with official SDKs, Automatic shipment creation and dispatch |
Shopify: [Connect Shopify](/docs/tutorials/connect-shopify). The rest of this page is WooCommerce and custom.
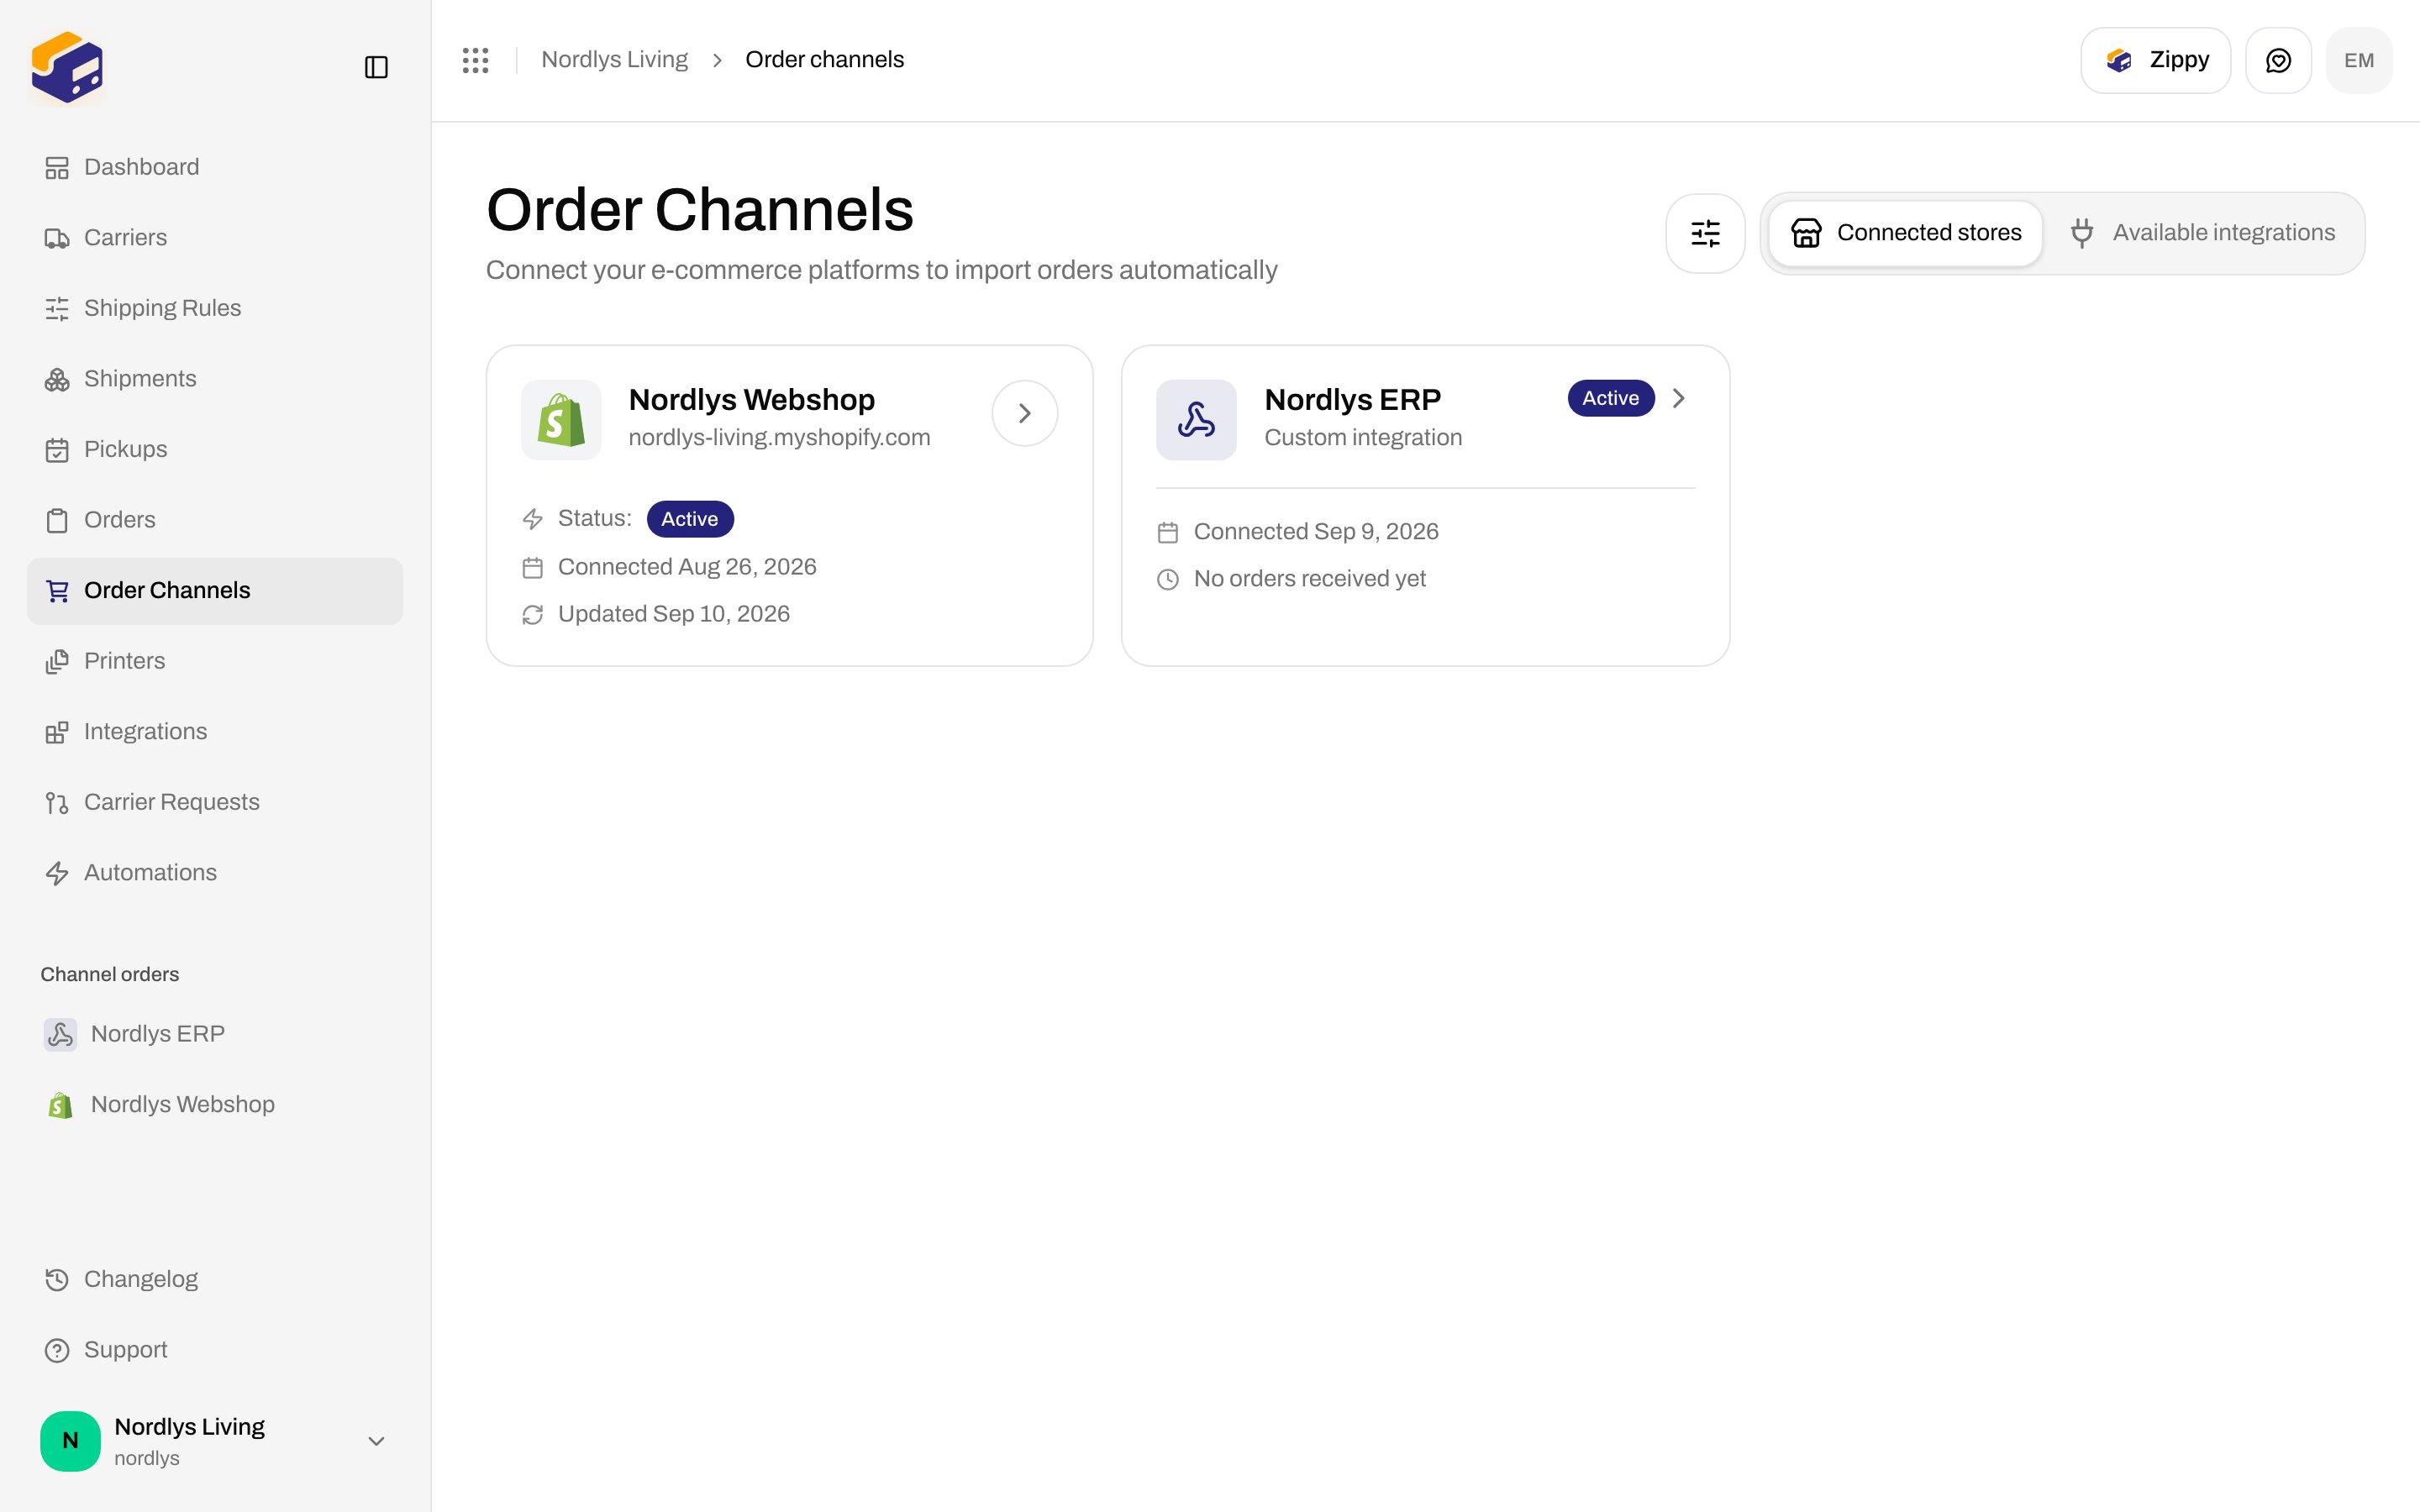
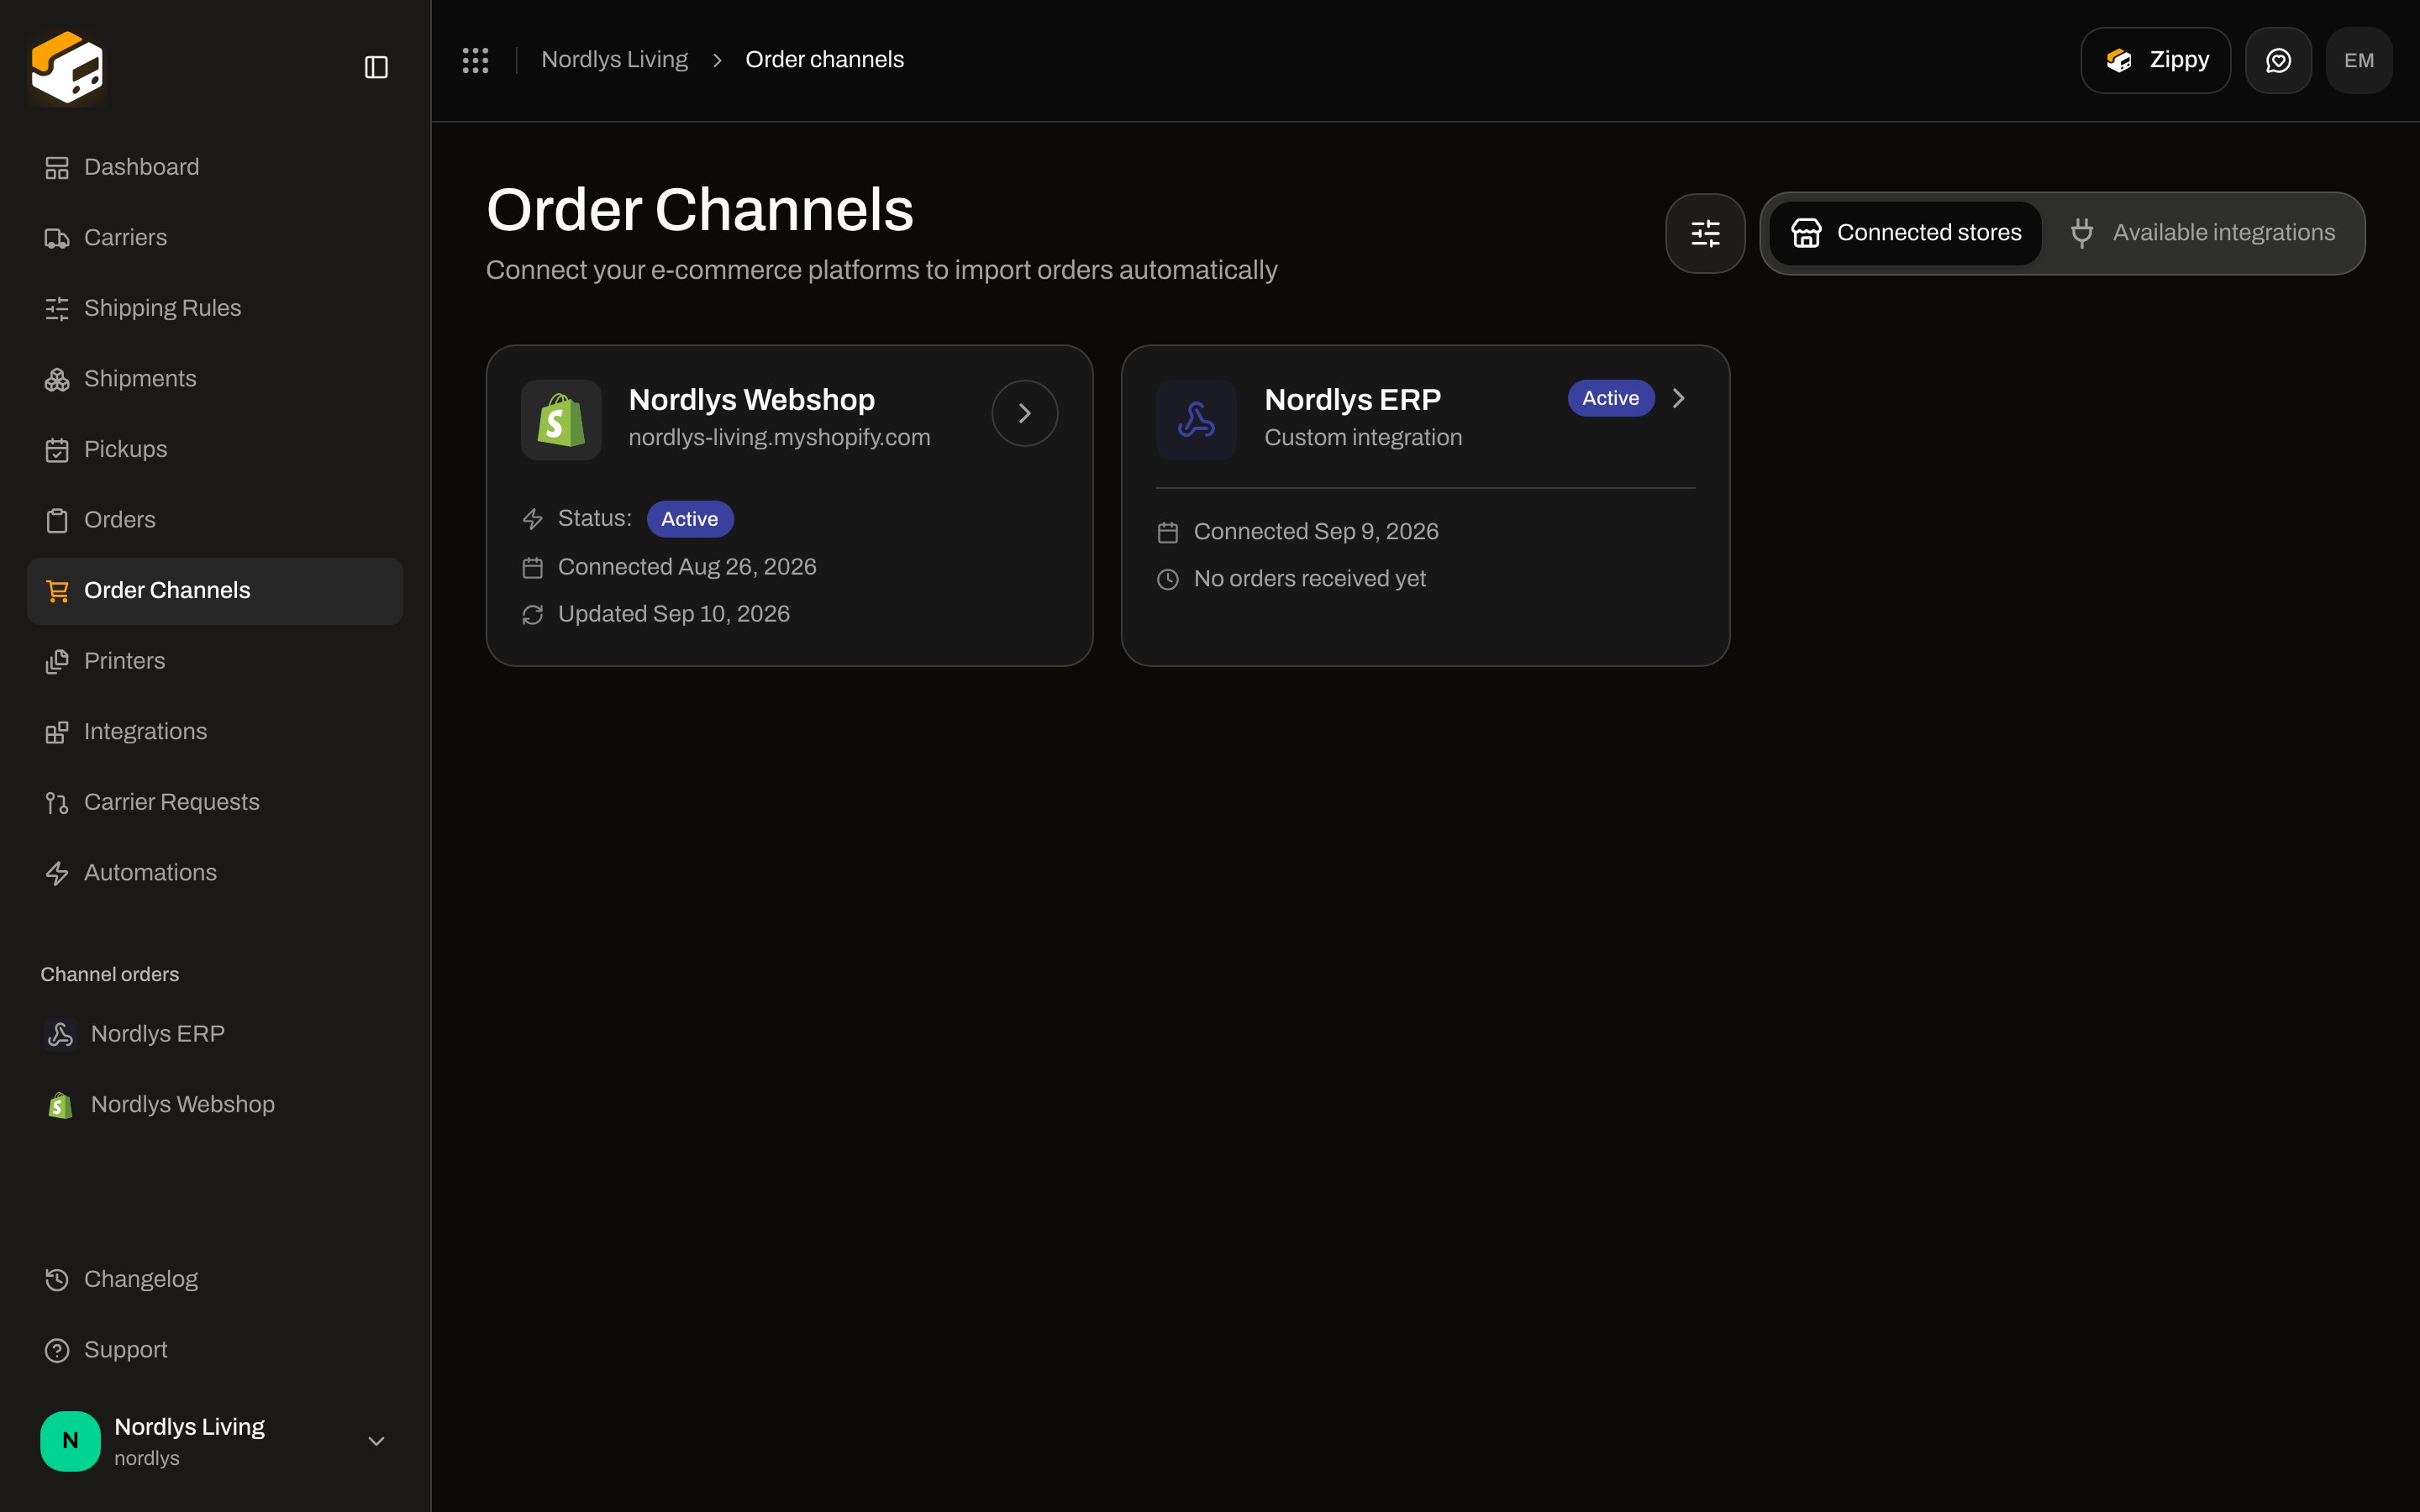 A live custom card shows **Custom integration**, an **Active** or **Disabled** badge, **Connected** date, and either **Last order received** or **No orders received yet**. Click the card to open settings.
**Disconnected channels** are leftovers from a removed store. They have no settings page. The subtitle is **No active integration**. Use **Remove** if you no longer need the row — that also deletes orders imported under it.
If **Connected stores** is empty, you see **No stores connected** and a **Connect Shopify** button, plus **Browse available integrations**.
## Connect WooCommerce
One-click connect is the default. You enter your store URL, approve the connection on your own store, and WooCommerce generates the REST API keys. Prefer to paste keys you created in wp-admin? Use **Enter API keys manually** in the same modal.
### Before you start
* WooCommerce admin access.
* The store reachable over **HTTPS** for one-click connect. If the store is not on HTTPS, use the API keys step.
* At least one sender address under **Settings → Sender** if you want a **Default Address** on the channel (used as the sender on shipments created from this store). You can skip it and set it later.
### One-click connect
Go to **Order Channels** and open the **Available integrations** tab.
The **Connect WooCommerce Store** modal opens on step **1 of 2 · One-click**. The subtitle is **Connect in one click — you approve the connection on your own store**.
Type the full store URL (placeholder `https://mystore.dk`). Optionally choose a **Default Address**. The help text explains that Zippendo sends you to the store to approve the connection.
You leave Zippendo and land on your store’s WooCommerce authorization screen. Approve **read/write** access. WooCommerce creates the keys and sends you back.
A live custom card shows **Custom integration**, an **Active** or **Disabled** badge, **Connected** date, and either **Last order received** or **No orders received yet**. Click the card to open settings.
**Disconnected channels** are leftovers from a removed store. They have no settings page. The subtitle is **No active integration**. Use **Remove** if you no longer need the row — that also deletes orders imported under it.
If **Connected stores** is empty, you see **No stores connected** and a **Connect Shopify** button, plus **Browse available integrations**.
## Connect WooCommerce
One-click connect is the default. You enter your store URL, approve the connection on your own store, and WooCommerce generates the REST API keys. Prefer to paste keys you created in wp-admin? Use **Enter API keys manually** in the same modal.
### Before you start
* WooCommerce admin access.
* The store reachable over **HTTPS** for one-click connect. If the store is not on HTTPS, use the API keys step.
* At least one sender address under **Settings → Sender** if you want a **Default Address** on the channel (used as the sender on shipments created from this store). You can skip it and set it later.
### One-click connect
Go to **Order Channels** and open the **Available integrations** tab.
The **Connect WooCommerce Store** modal opens on step **1 of 2 · One-click**. The subtitle is **Connect in one click — you approve the connection on your own store**.
Type the full store URL (placeholder `https://mystore.dk`). Optionally choose a **Default Address**. The help text explains that Zippendo sends you to the store to approve the connection.
You leave Zippendo and land on your store’s WooCommerce authorization screen. Approve **read/write** access. WooCommerce creates the keys and sends you back.
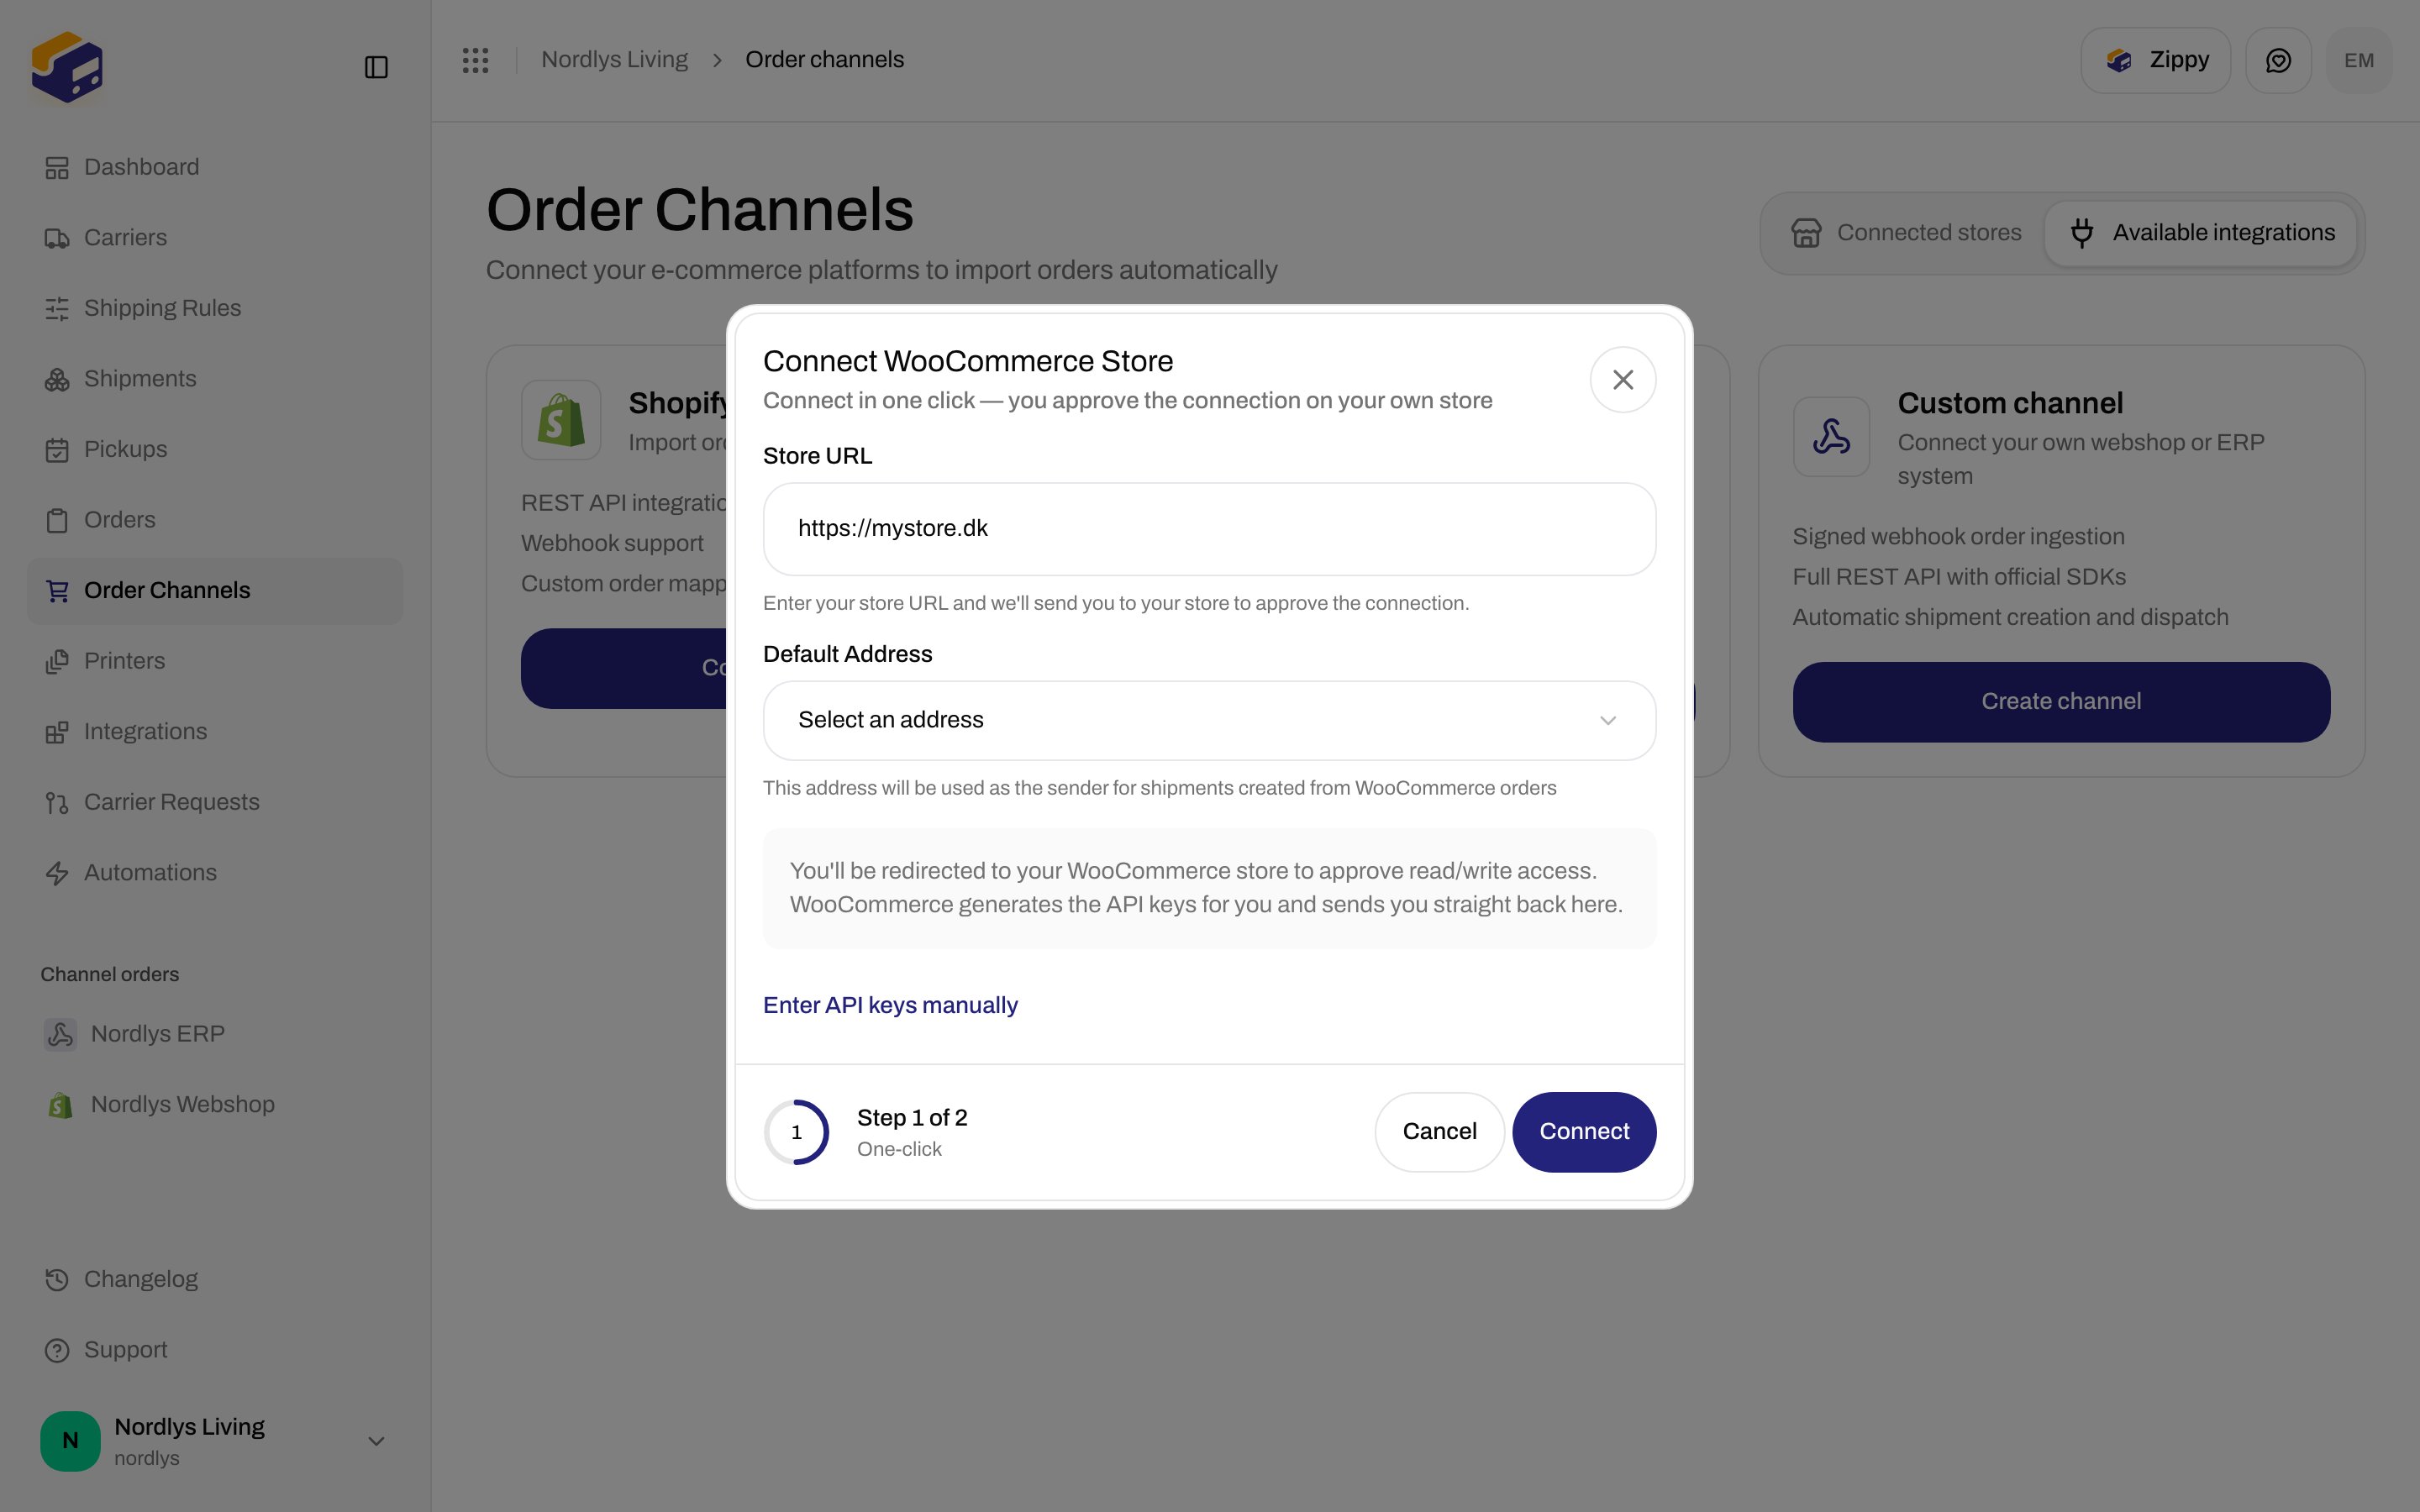
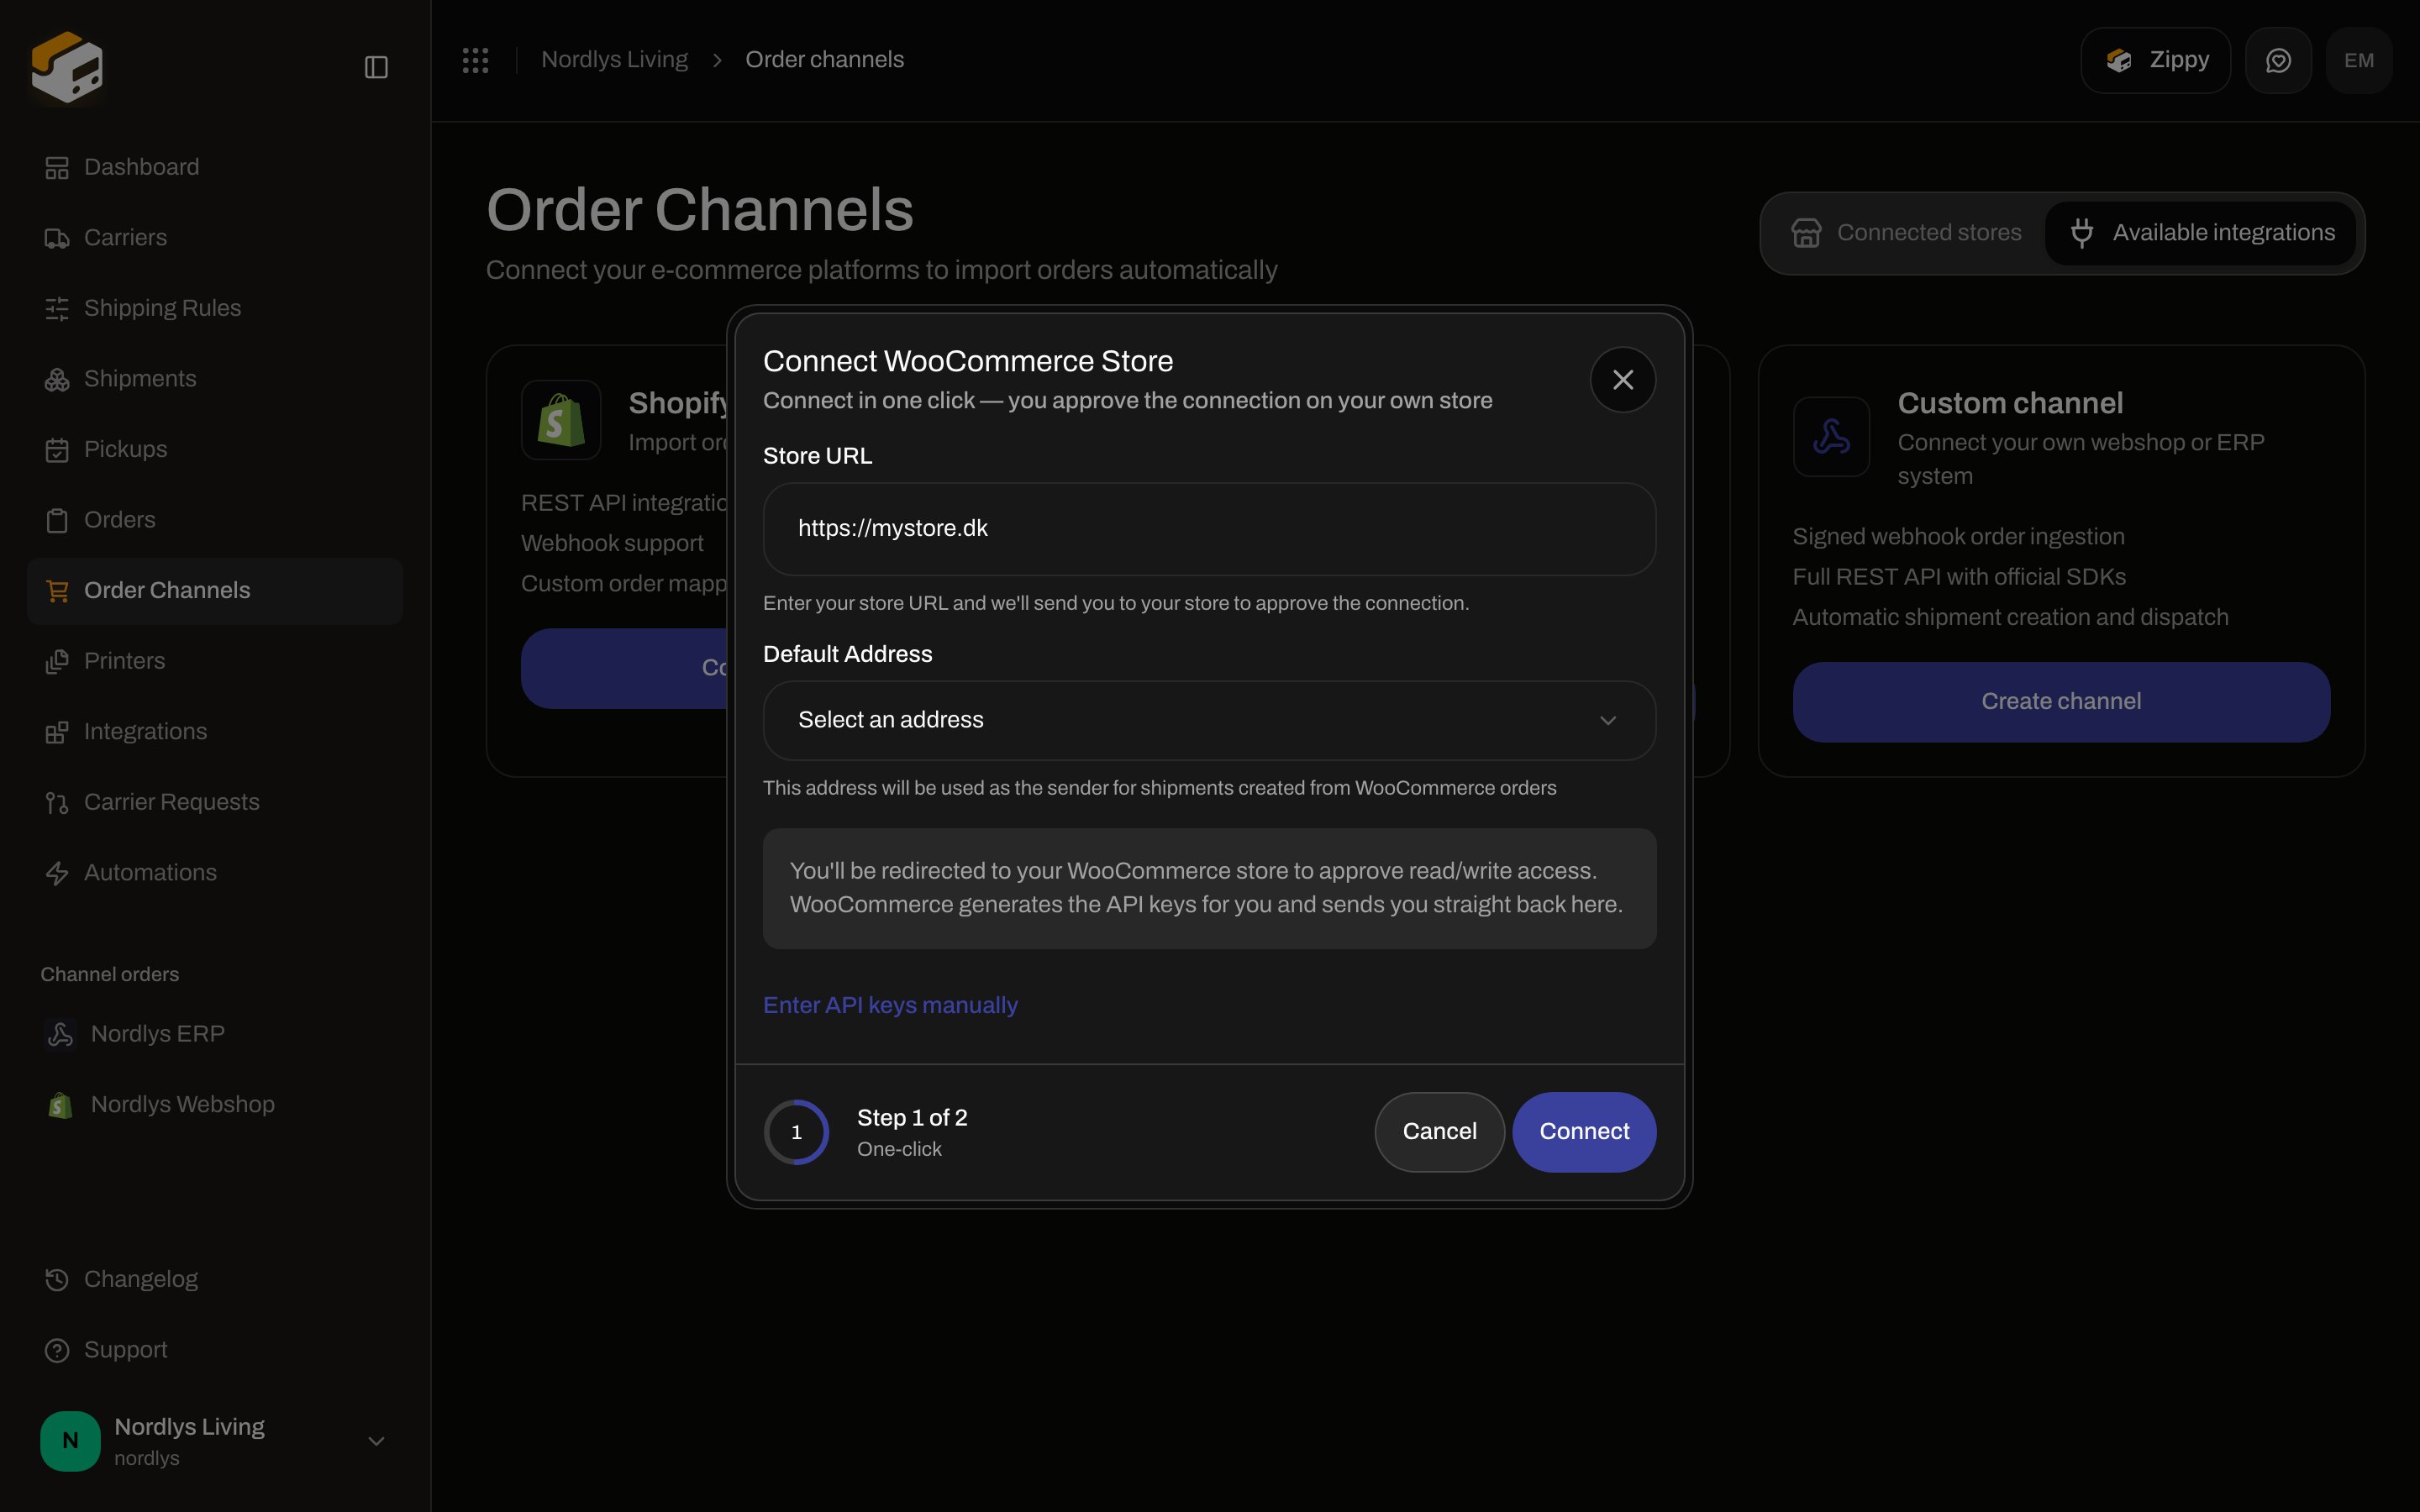 Back in Zippendo you should see the toast **WooCommerce store connected!** with **Webhooks have been set up for real-time order sync.** The store appears under **Connected stores**.
One-click connect redirects to your store. Do not close that tab until WooCommerce sends you back. A **Read/Write** grant is required — a read-only key can import orders but cannot push tracking back.
### Enter API keys manually
Use this when you already have keys, or one-click cannot reach the store.
In wp-admin go to **WooCommerce → Settings → Advanced → REST API** and click **Add Key**. Set permissions to **Read/Write**. Copy the **Consumer Key** and **Consumer Secret** — the secret is shown only once.
In **Connect WooCommerce Store**, click **Enter API keys manually**. The modal moves to step **2 of 2 · API keys**. The subtitle is **Enter the REST API keys you generated in WooCommerce**.
Optionally set **Default Address**. The modal repeats the four wp-admin steps under **How to get API Keys**.
Zippendo probes the keys against the store before it saves the channel. On success the store appears under **Connected stores**.
Back in Zippendo you should see the toast **WooCommerce store connected!** with **Webhooks have been set up for real-time order sync.** The store appears under **Connected stores**.
One-click connect redirects to your store. Do not close that tab until WooCommerce sends you back. A **Read/Write** grant is required — a read-only key can import orders but cannot push tracking back.
### Enter API keys manually
Use this when you already have keys, or one-click cannot reach the store.
In wp-admin go to **WooCommerce → Settings → Advanced → REST API** and click **Add Key**. Set permissions to **Read/Write**. Copy the **Consumer Key** and **Consumer Secret** — the secret is shown only once.
In **Connect WooCommerce Store**, click **Enter API keys manually**. The modal moves to step **2 of 2 · API keys**. The subtitle is **Enter the REST API keys you generated in WooCommerce**.
Optionally set **Default Address**. The modal repeats the four wp-admin steps under **How to get API Keys**.
Zippendo probes the keys against the store before it saves the channel. On success the store appears under **Connected stores**.
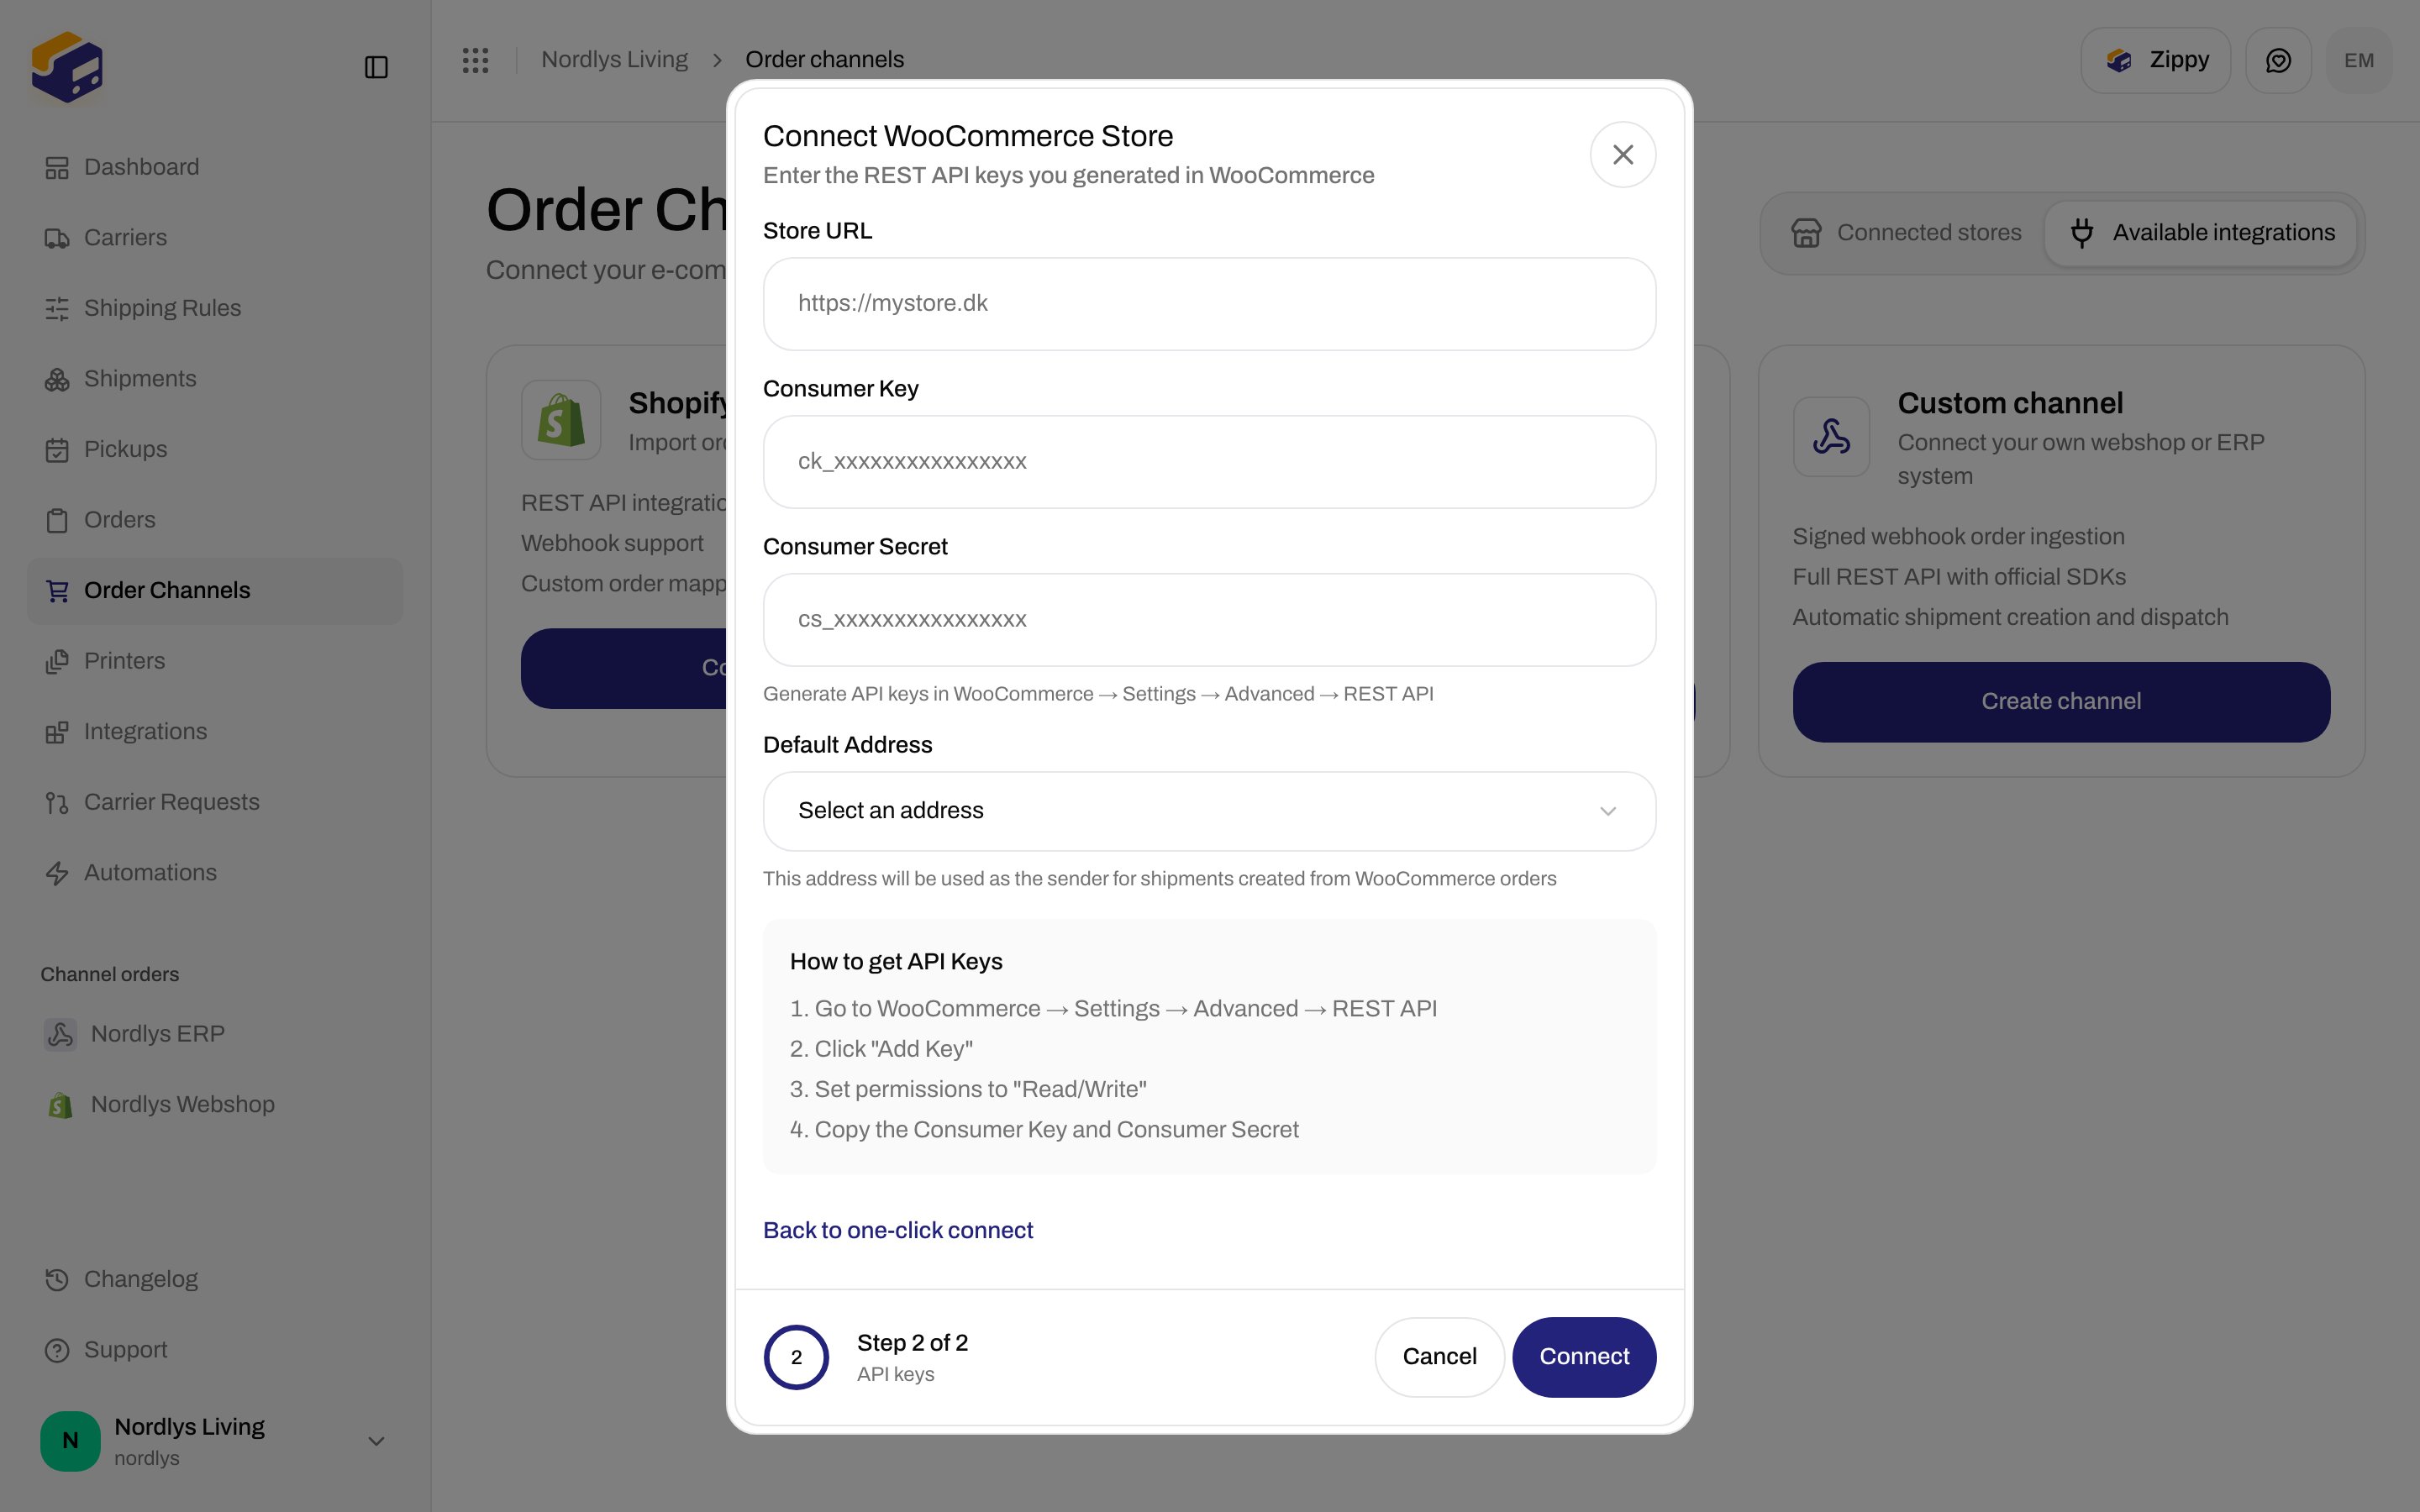
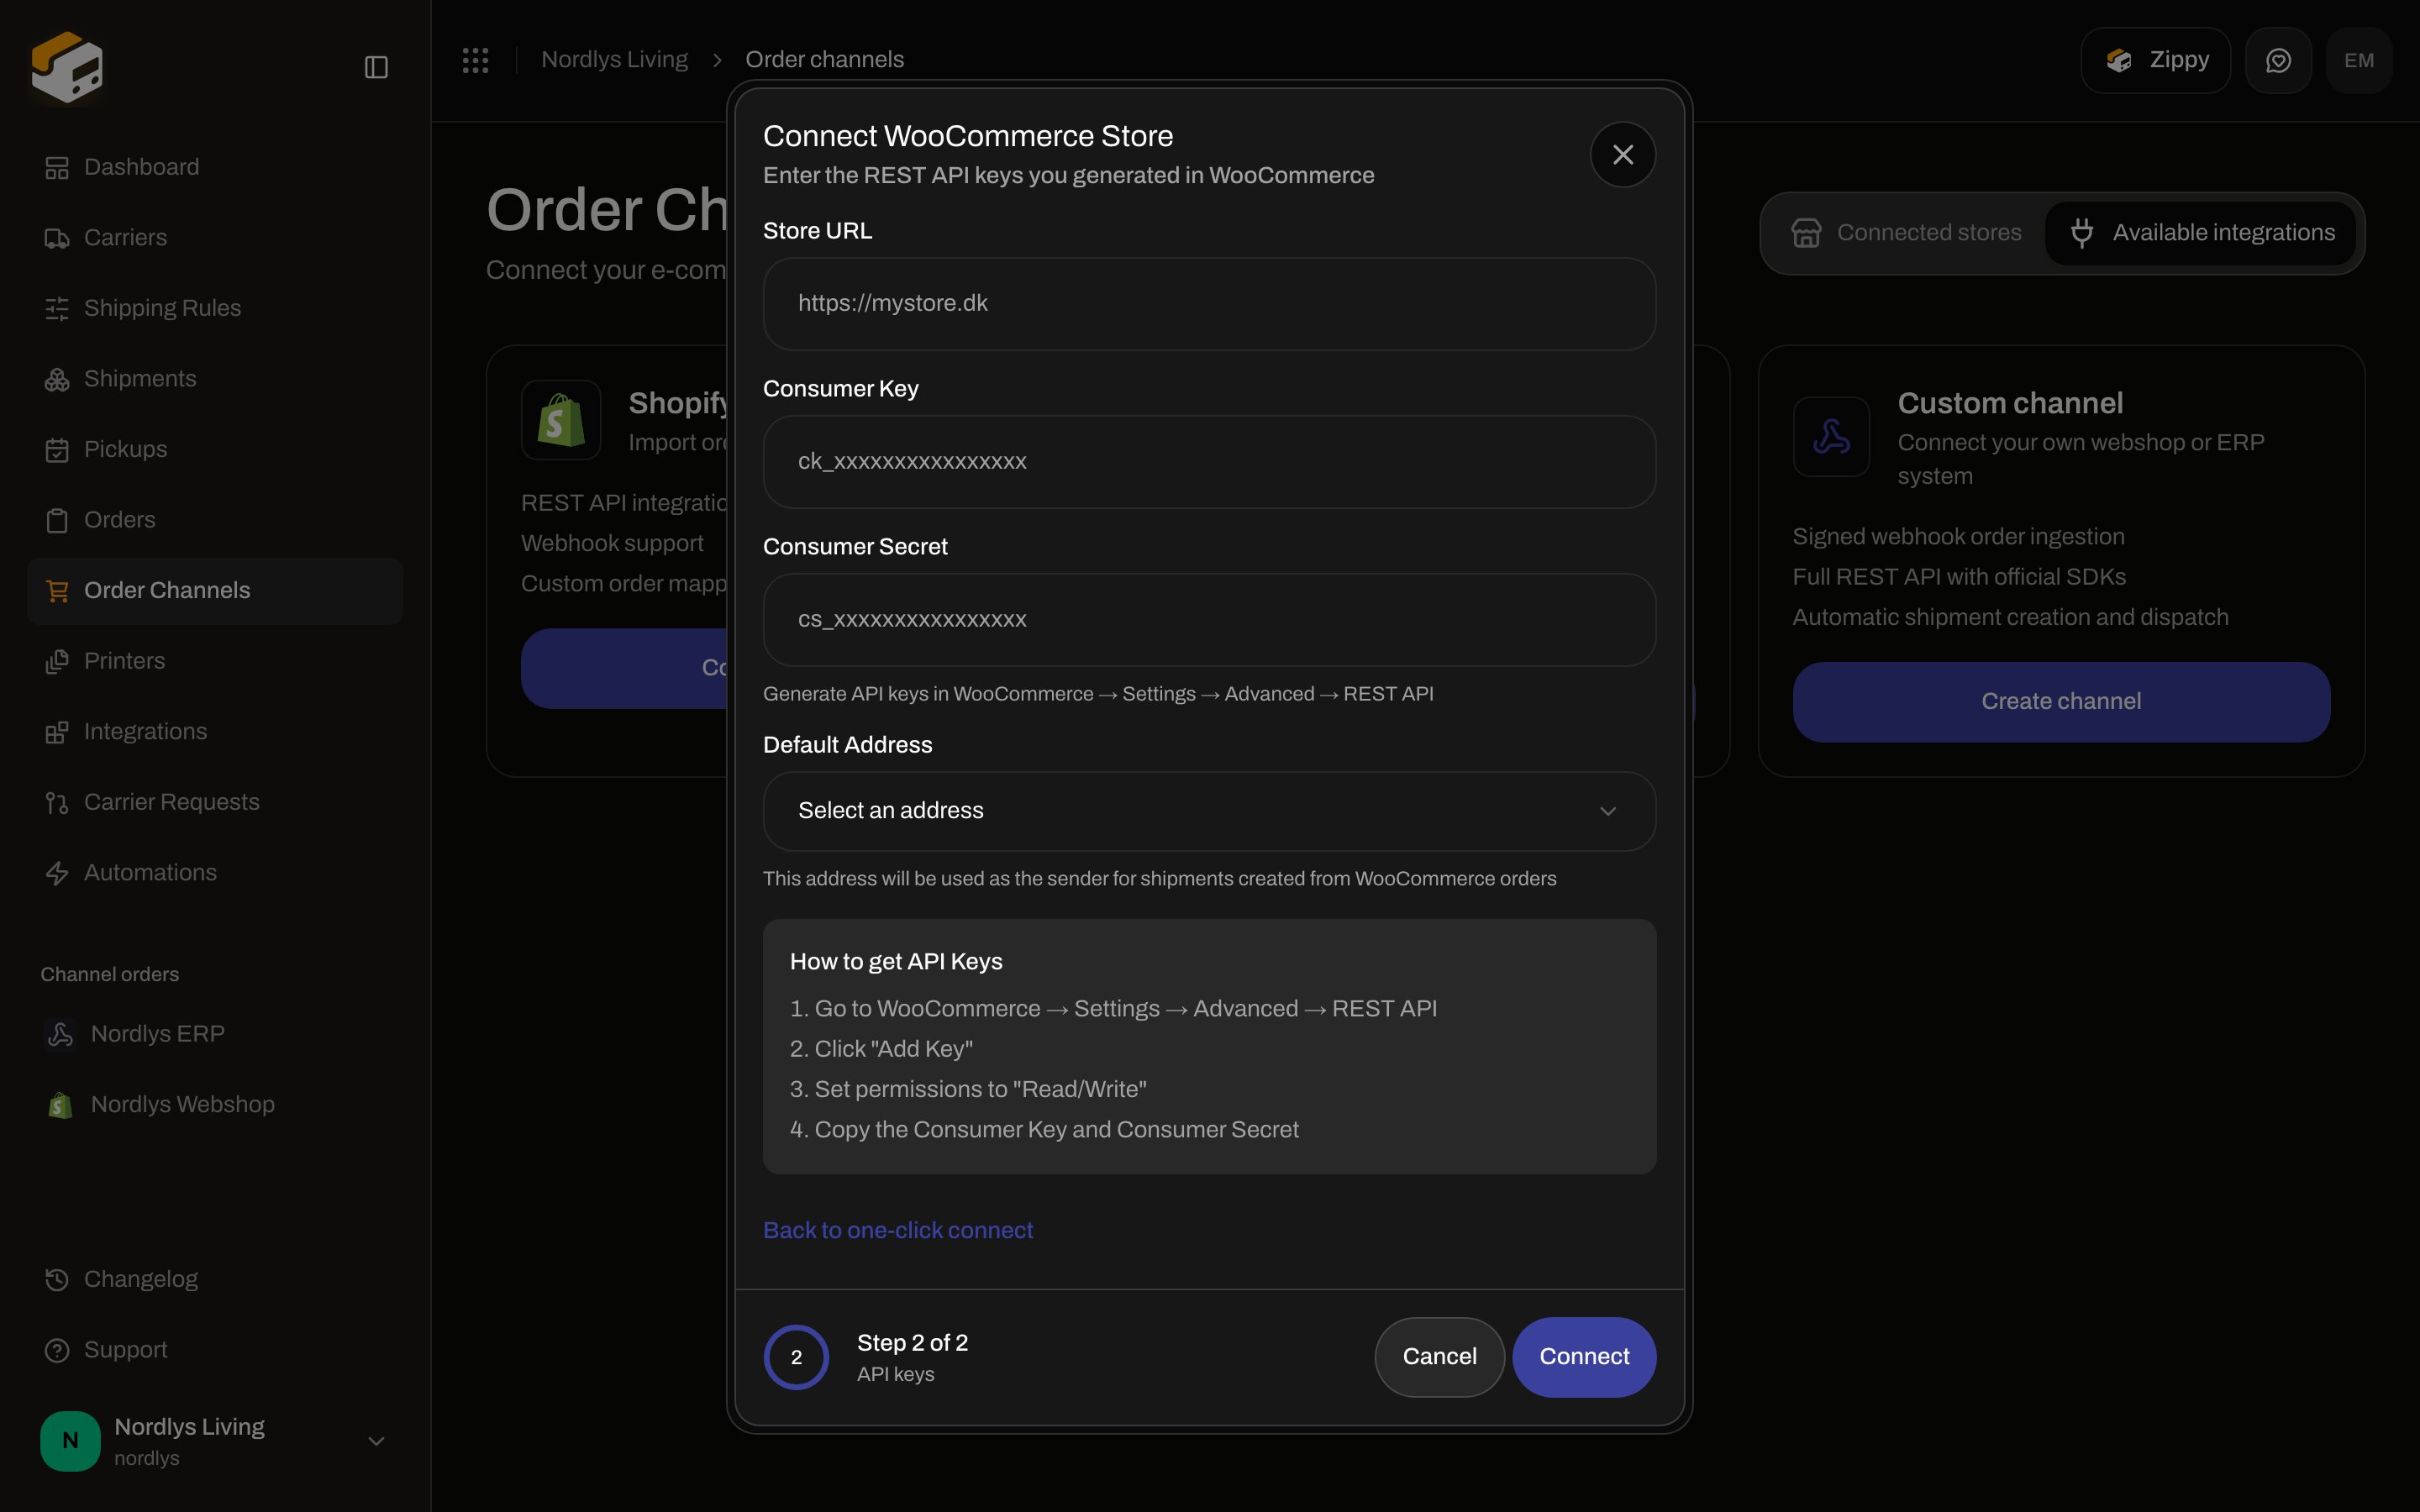 Use **Back to one-click connect** if you change your mind. The URL and address you already typed are carried over.
### WooCommerce settings after connect
Open the store from **Connected stores**. The header description is the store URL (or **WooCommerce store settings**). **WooCommerce admin** opens `{store}/wp-admin` in a new tab.
Two tabs (these are on the settings page, not in the URL):
**Orders & checkout**
* **Automatic sync** — periodically poll the store for new orders as a backup to webhooks.
* **Sync interval (minutes)** — 5–1440.
* **Only unfulfilled orders** — import only orders that are not yet fulfilled.
* **Auto-create shipments** — create a shipment when a new order arrives.
* **Auto-fulfill in WooCommerce** — on by default. Pushes tracking back to WooCommerce when you dispatch a shipment.
* **Brand** — orders from this channel belong to this brand.
* **Default sender address** — sender for shipments created from WooCommerce orders.
* **Save changes** after you edit the draft.
* **Checkout token** — for the [WooCommerce checkout plugin](/docs/order-channels/woocommerce-checkout-plugin). **Generate token** / **Rotate token** / **Revoke**. The plaintext token is shown once.
**Connection**
* **Store URL**, **Status** (**Active** / **Disabled**), **Last sync** (or **Never**).
* **Test connection** — verify the stored keys still reach the store.
* **Webhooks** — WooCommerce order hooks and their status (**Active** or **Disabled by WooCommerce**). WooCommerce turns a hook off after repeated delivery failures. **Re-register** recreates them.
* **Danger zone** — **Disconnect** removes the channel and its webhooks. Orders already in Zippendo stay.
There is no enable/disable switch on the WooCommerce screen. **Status** is a badge. To stop importing, **Disconnect**.
Field-level notes and checkout plugin install: [Connecting WooCommerce](/docs/order-channels/connecting-woocommerce) and [WooCommerce checkout plugin](/docs/order-channels/woocommerce-checkout-plugin).
## Create a custom channel
Use **Custom channel** for a webshop, ERP, or WMS Zippendo does not have a one-click integration for. Orders arrive as signed pushes to an **Ingest URL**, or through `POST /orgs/{orgId}/orders` with an [API token](/docs/settings/api-settings). Tracking goes back out through [org webhooks](/docs/settings/webhooks) (`shipment.dispatched`, `tracking.updated`), not a per-channel callback.
Go to **Order Channels → Available integrations**.
The **Create custom channel** modal opens. Subtitle: **A channel for your own webshop or ERP integration.**
Example placeholder: `e.g. My webshop`. If your organization has brands, a **Brand** picker is shown.
Zippendo creates the channel and opens its settings. Toast: **Order channel created successfully**.
Use **Back to one-click connect** if you change your mind. The URL and address you already typed are carried over.
### WooCommerce settings after connect
Open the store from **Connected stores**. The header description is the store URL (or **WooCommerce store settings**). **WooCommerce admin** opens `{store}/wp-admin` in a new tab.
Two tabs (these are on the settings page, not in the URL):
**Orders & checkout**
* **Automatic sync** — periodically poll the store for new orders as a backup to webhooks.
* **Sync interval (minutes)** — 5–1440.
* **Only unfulfilled orders** — import only orders that are not yet fulfilled.
* **Auto-create shipments** — create a shipment when a new order arrives.
* **Auto-fulfill in WooCommerce** — on by default. Pushes tracking back to WooCommerce when you dispatch a shipment.
* **Brand** — orders from this channel belong to this brand.
* **Default sender address** — sender for shipments created from WooCommerce orders.
* **Save changes** after you edit the draft.
* **Checkout token** — for the [WooCommerce checkout plugin](/docs/order-channels/woocommerce-checkout-plugin). **Generate token** / **Rotate token** / **Revoke**. The plaintext token is shown once.
**Connection**
* **Store URL**, **Status** (**Active** / **Disabled**), **Last sync** (or **Never**).
* **Test connection** — verify the stored keys still reach the store.
* **Webhooks** — WooCommerce order hooks and their status (**Active** or **Disabled by WooCommerce**). WooCommerce turns a hook off after repeated delivery failures. **Re-register** recreates them.
* **Danger zone** — **Disconnect** removes the channel and its webhooks. Orders already in Zippendo stay.
There is no enable/disable switch on the WooCommerce screen. **Status** is a badge. To stop importing, **Disconnect**.
Field-level notes and checkout plugin install: [Connecting WooCommerce](/docs/order-channels/connecting-woocommerce) and [WooCommerce checkout plugin](/docs/order-channels/woocommerce-checkout-plugin).
## Create a custom channel
Use **Custom channel** for a webshop, ERP, or WMS Zippendo does not have a one-click integration for. Orders arrive as signed pushes to an **Ingest URL**, or through `POST /orgs/{orgId}/orders` with an [API token](/docs/settings/api-settings). Tracking goes back out through [org webhooks](/docs/settings/webhooks) (`shipment.dispatched`, `tracking.updated`), not a per-channel callback.
Go to **Order Channels → Available integrations**.
The **Create custom channel** modal opens. Subtitle: **A channel for your own webshop or ERP integration.**
Example placeholder: `e.g. My webshop`. If your organization has brands, a **Brand** picker is shown.
Zippendo creates the channel and opens its settings. Toast: **Order channel created successfully**.
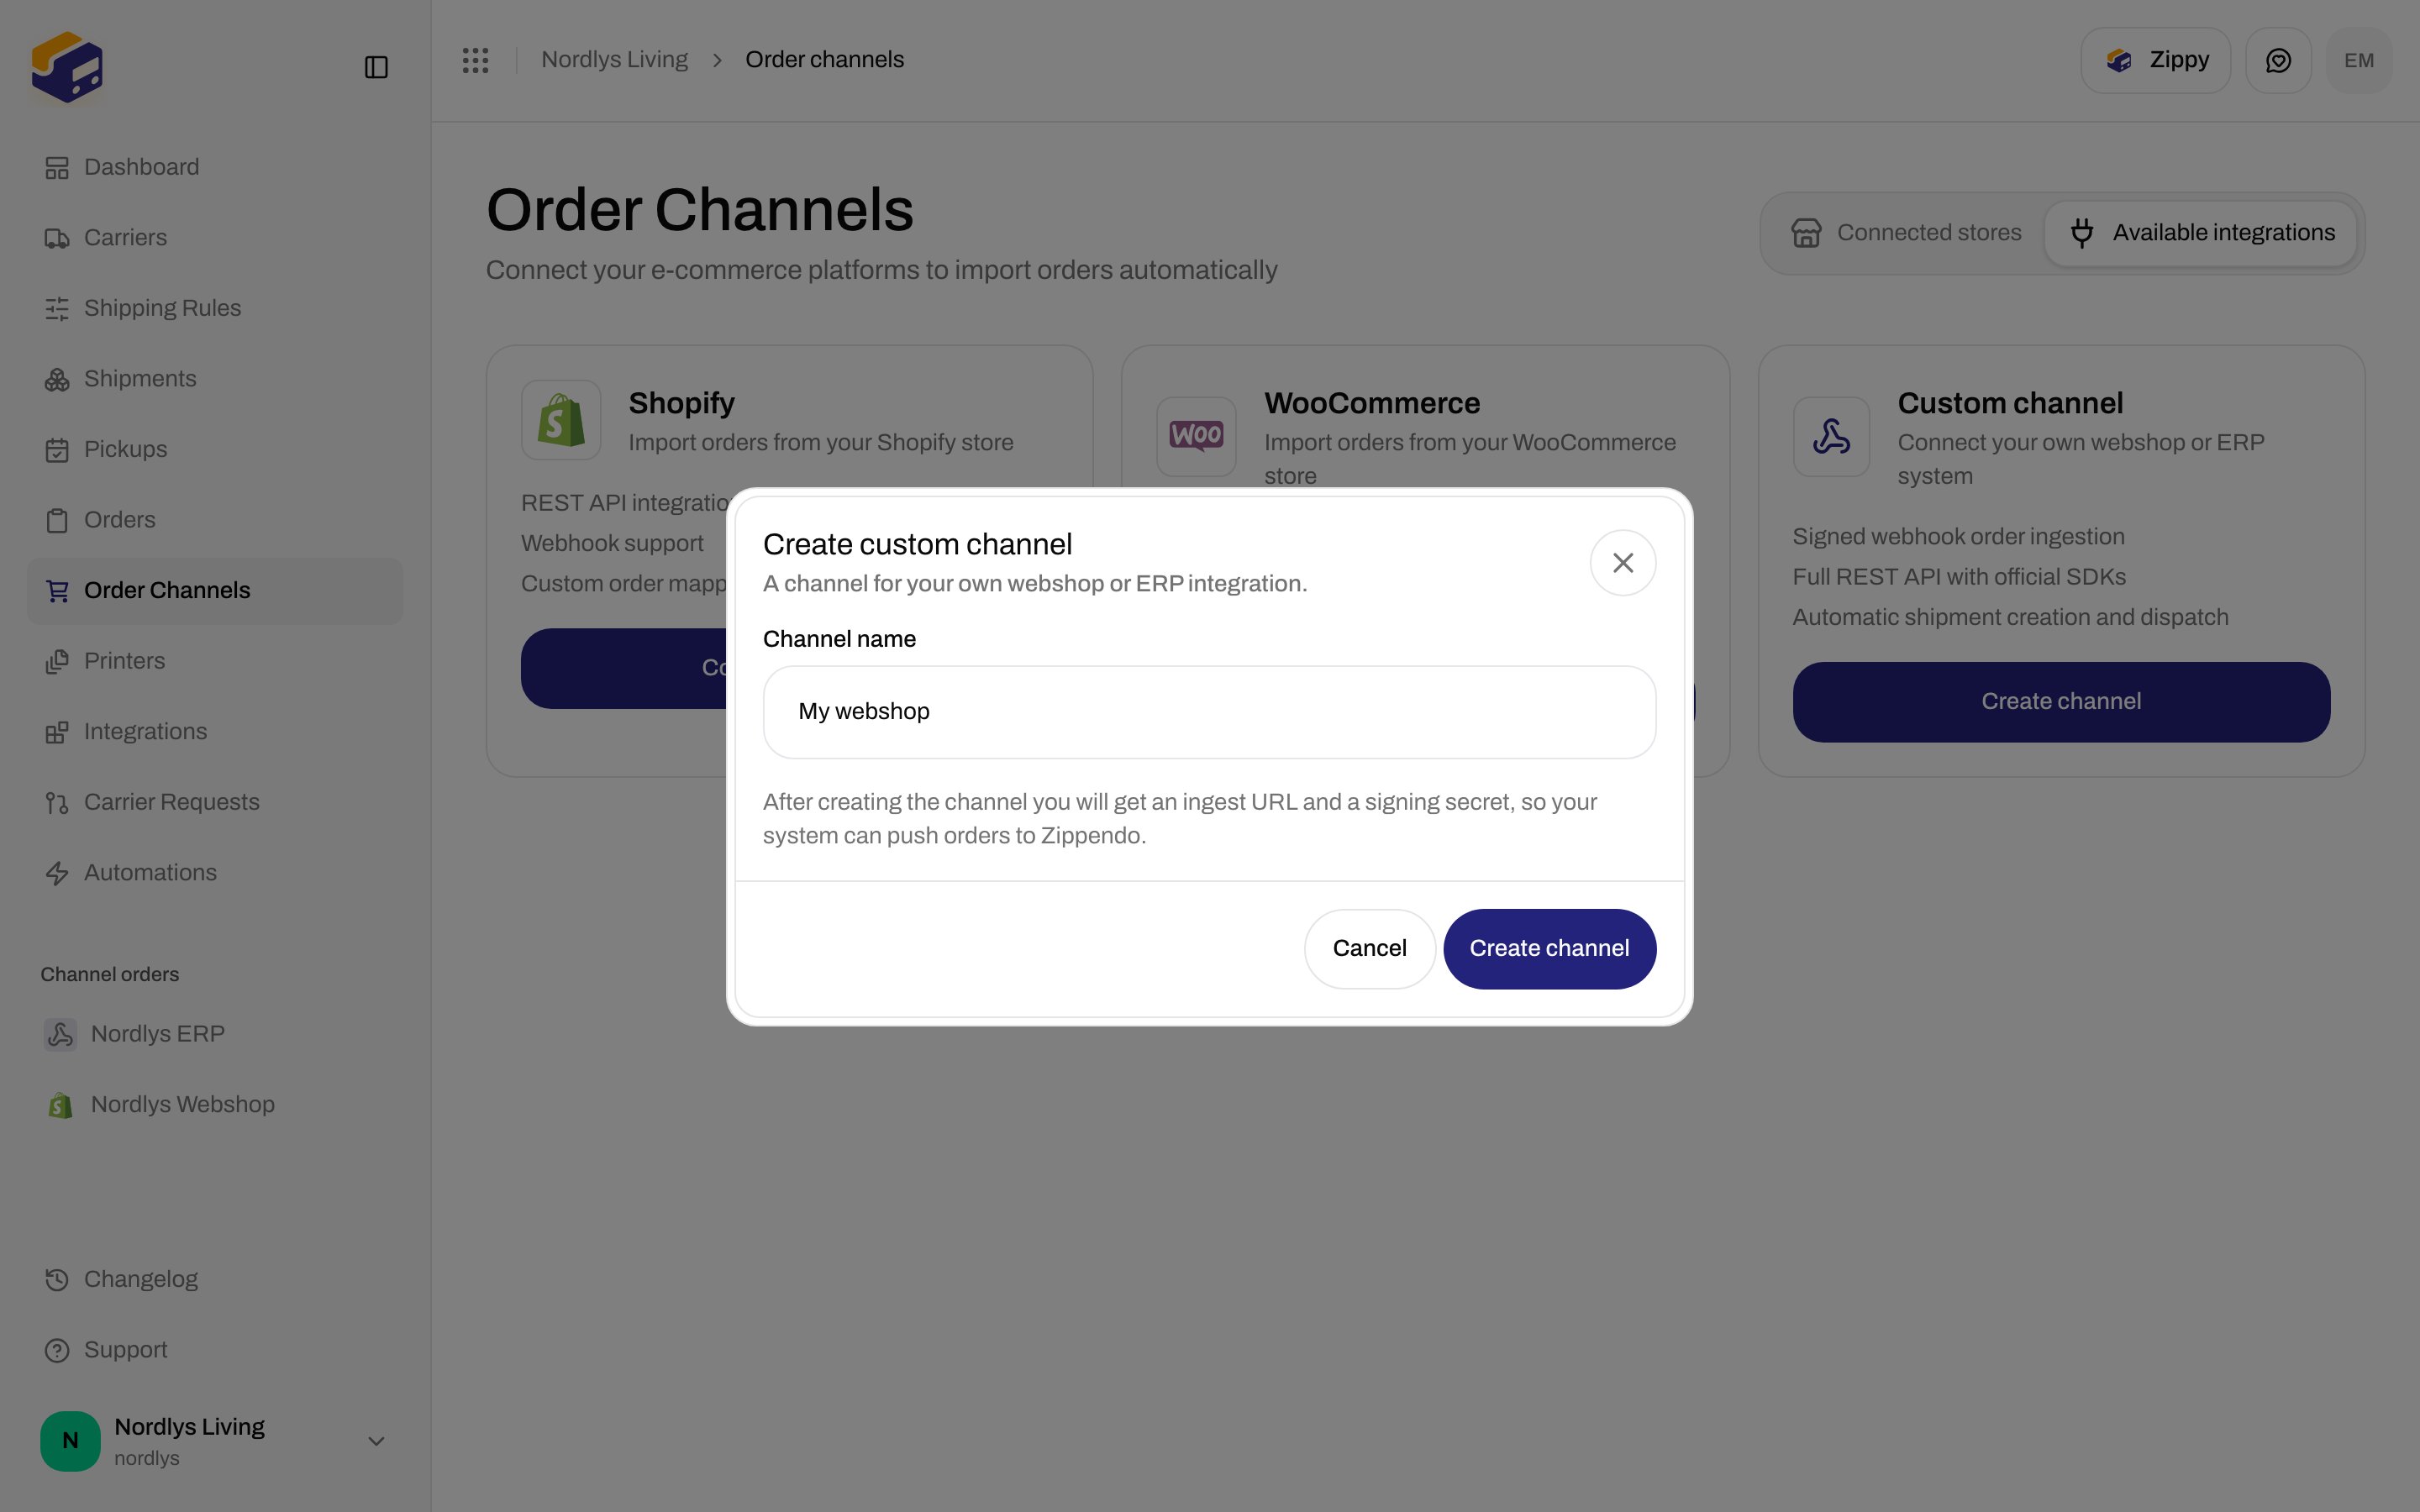
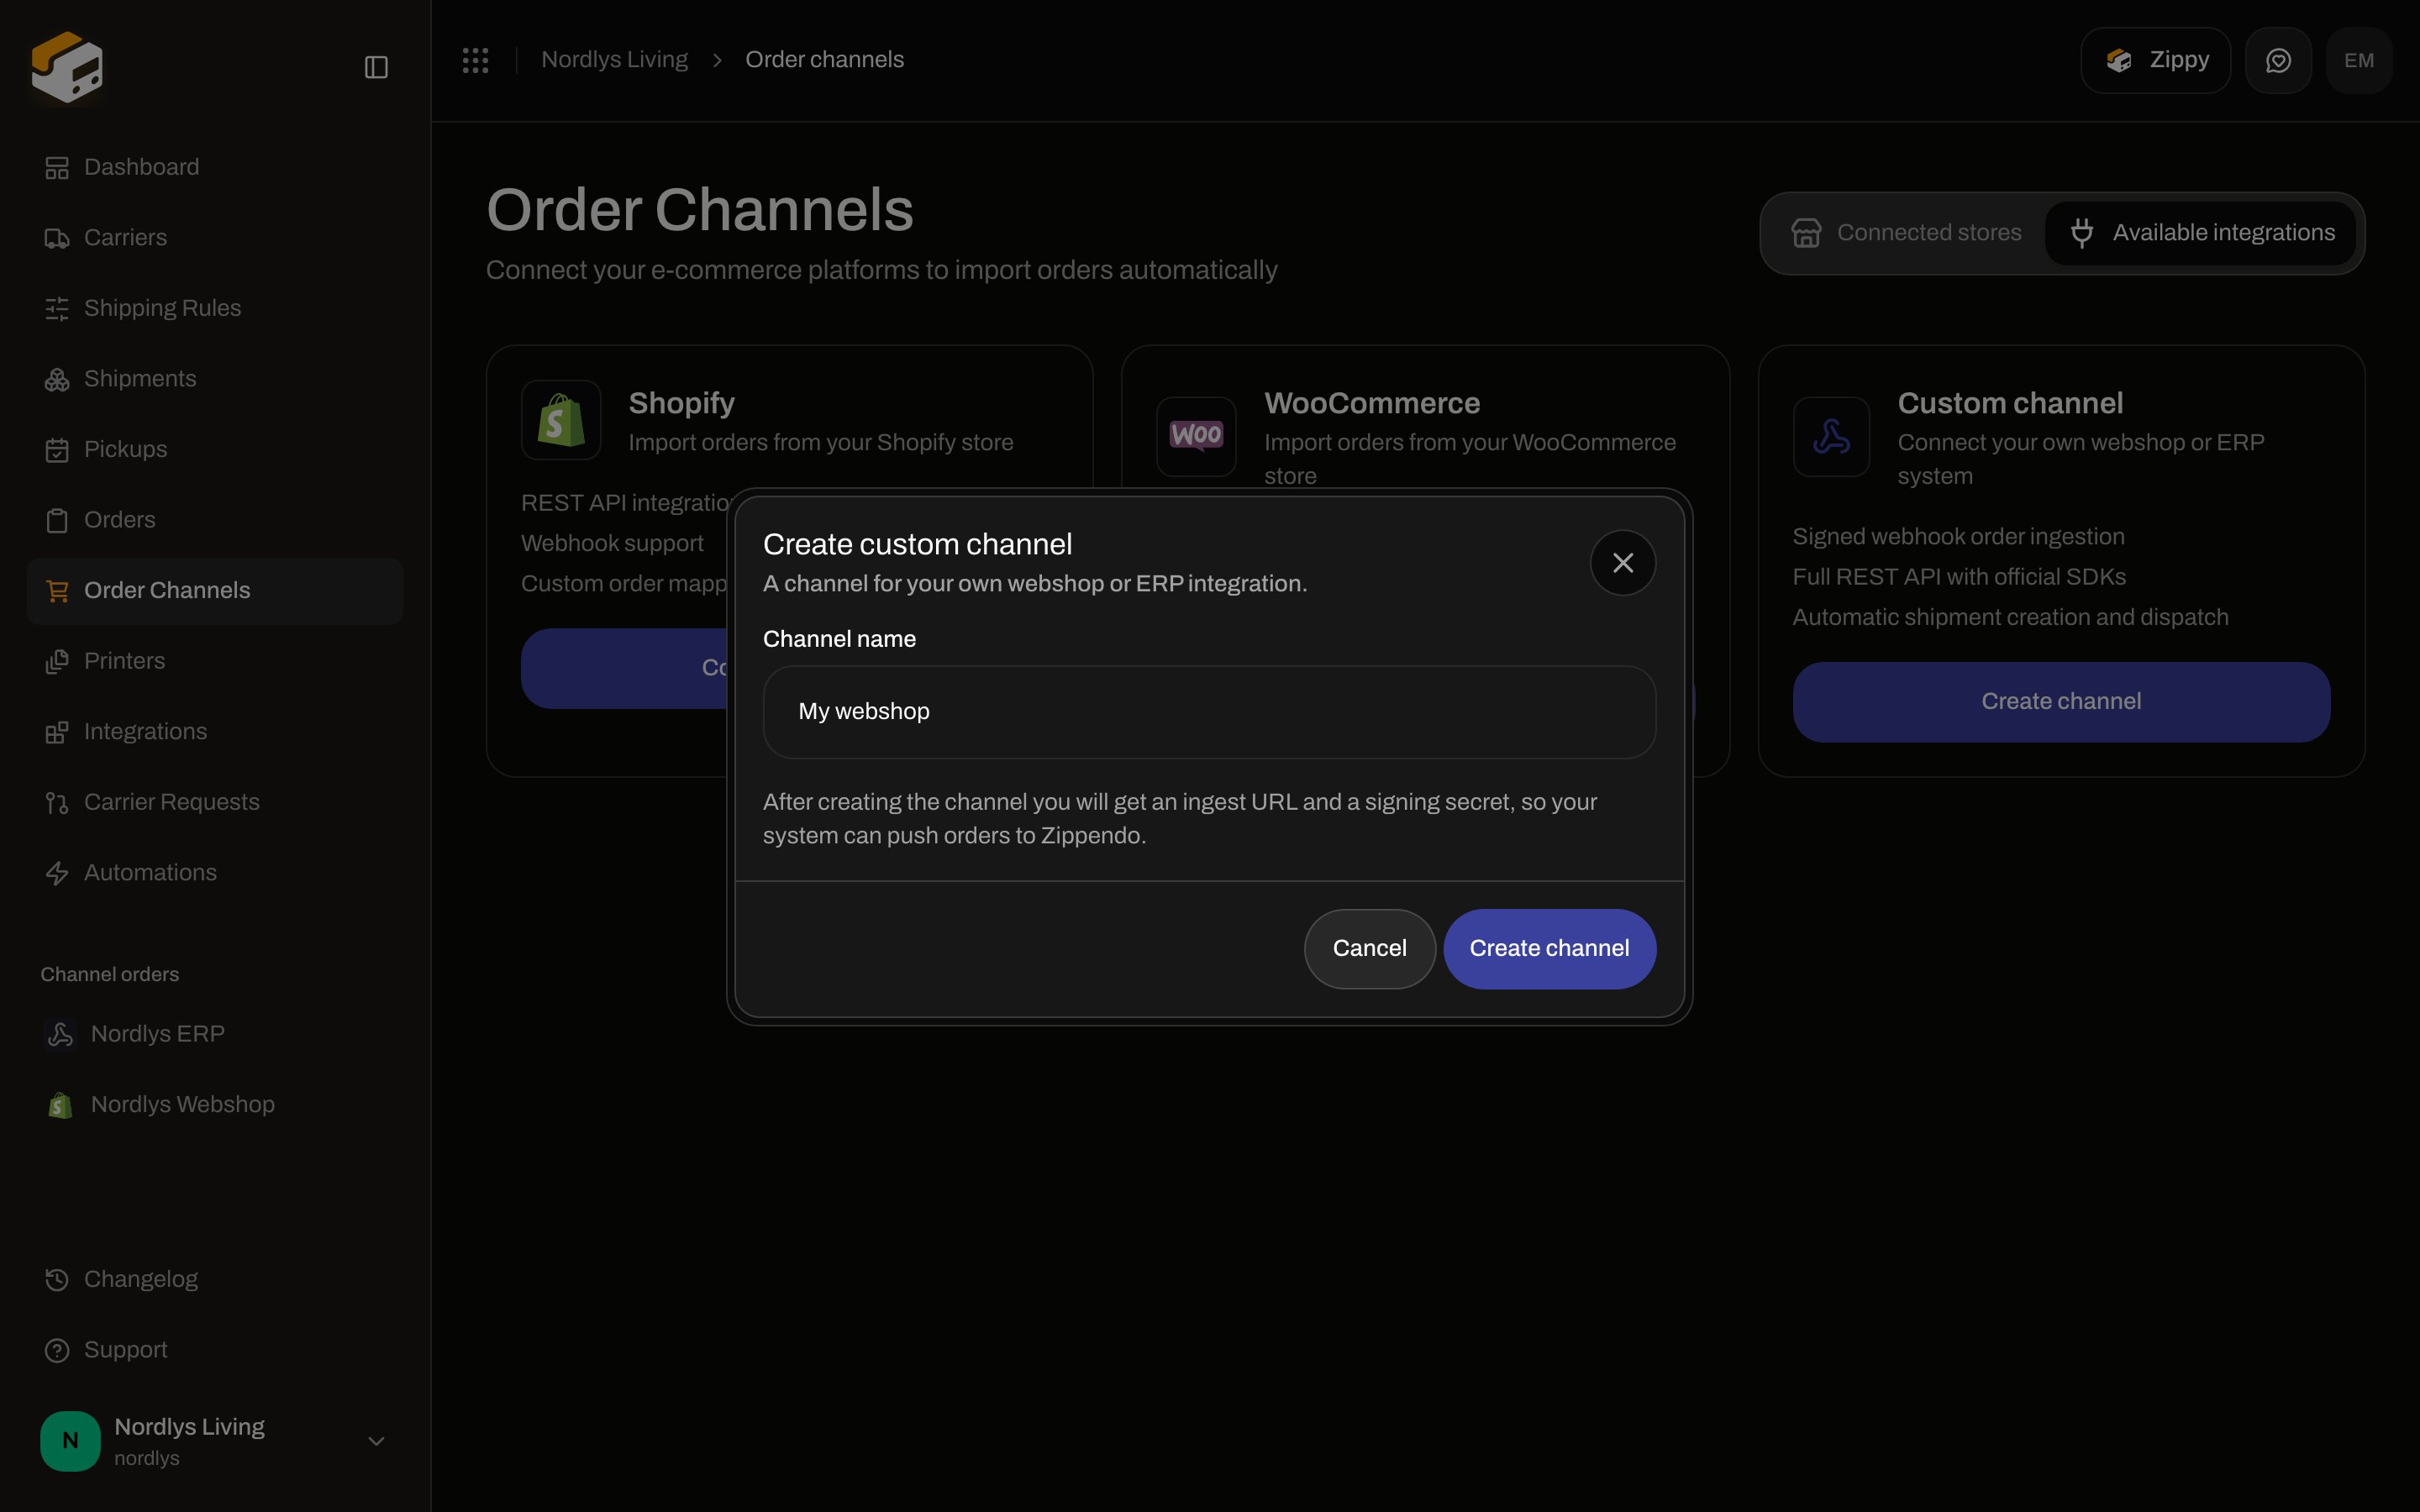 The hint on the modal is accurate: after create you get an ingest URL and a signing secret so your system can push orders.
### Custom channel settings
The settings header uses the channel name. Description: **Your own integration: push orders to the ingest URL, or use the API and SDKs.** **View documentation** opens the [custom channels](/docs/order-channels/custom-channels) reference.
The hint on the modal is accurate: after create you get an ingest URL and a signing secret so your system can push orders.
### Custom channel settings
The settings header uses the channel name. Description: **Your own integration: push orders to the ingest URL, or use the API and SDKs.** **View documentation** opens the [custom channels](/docs/order-channels/custom-channels) reference.
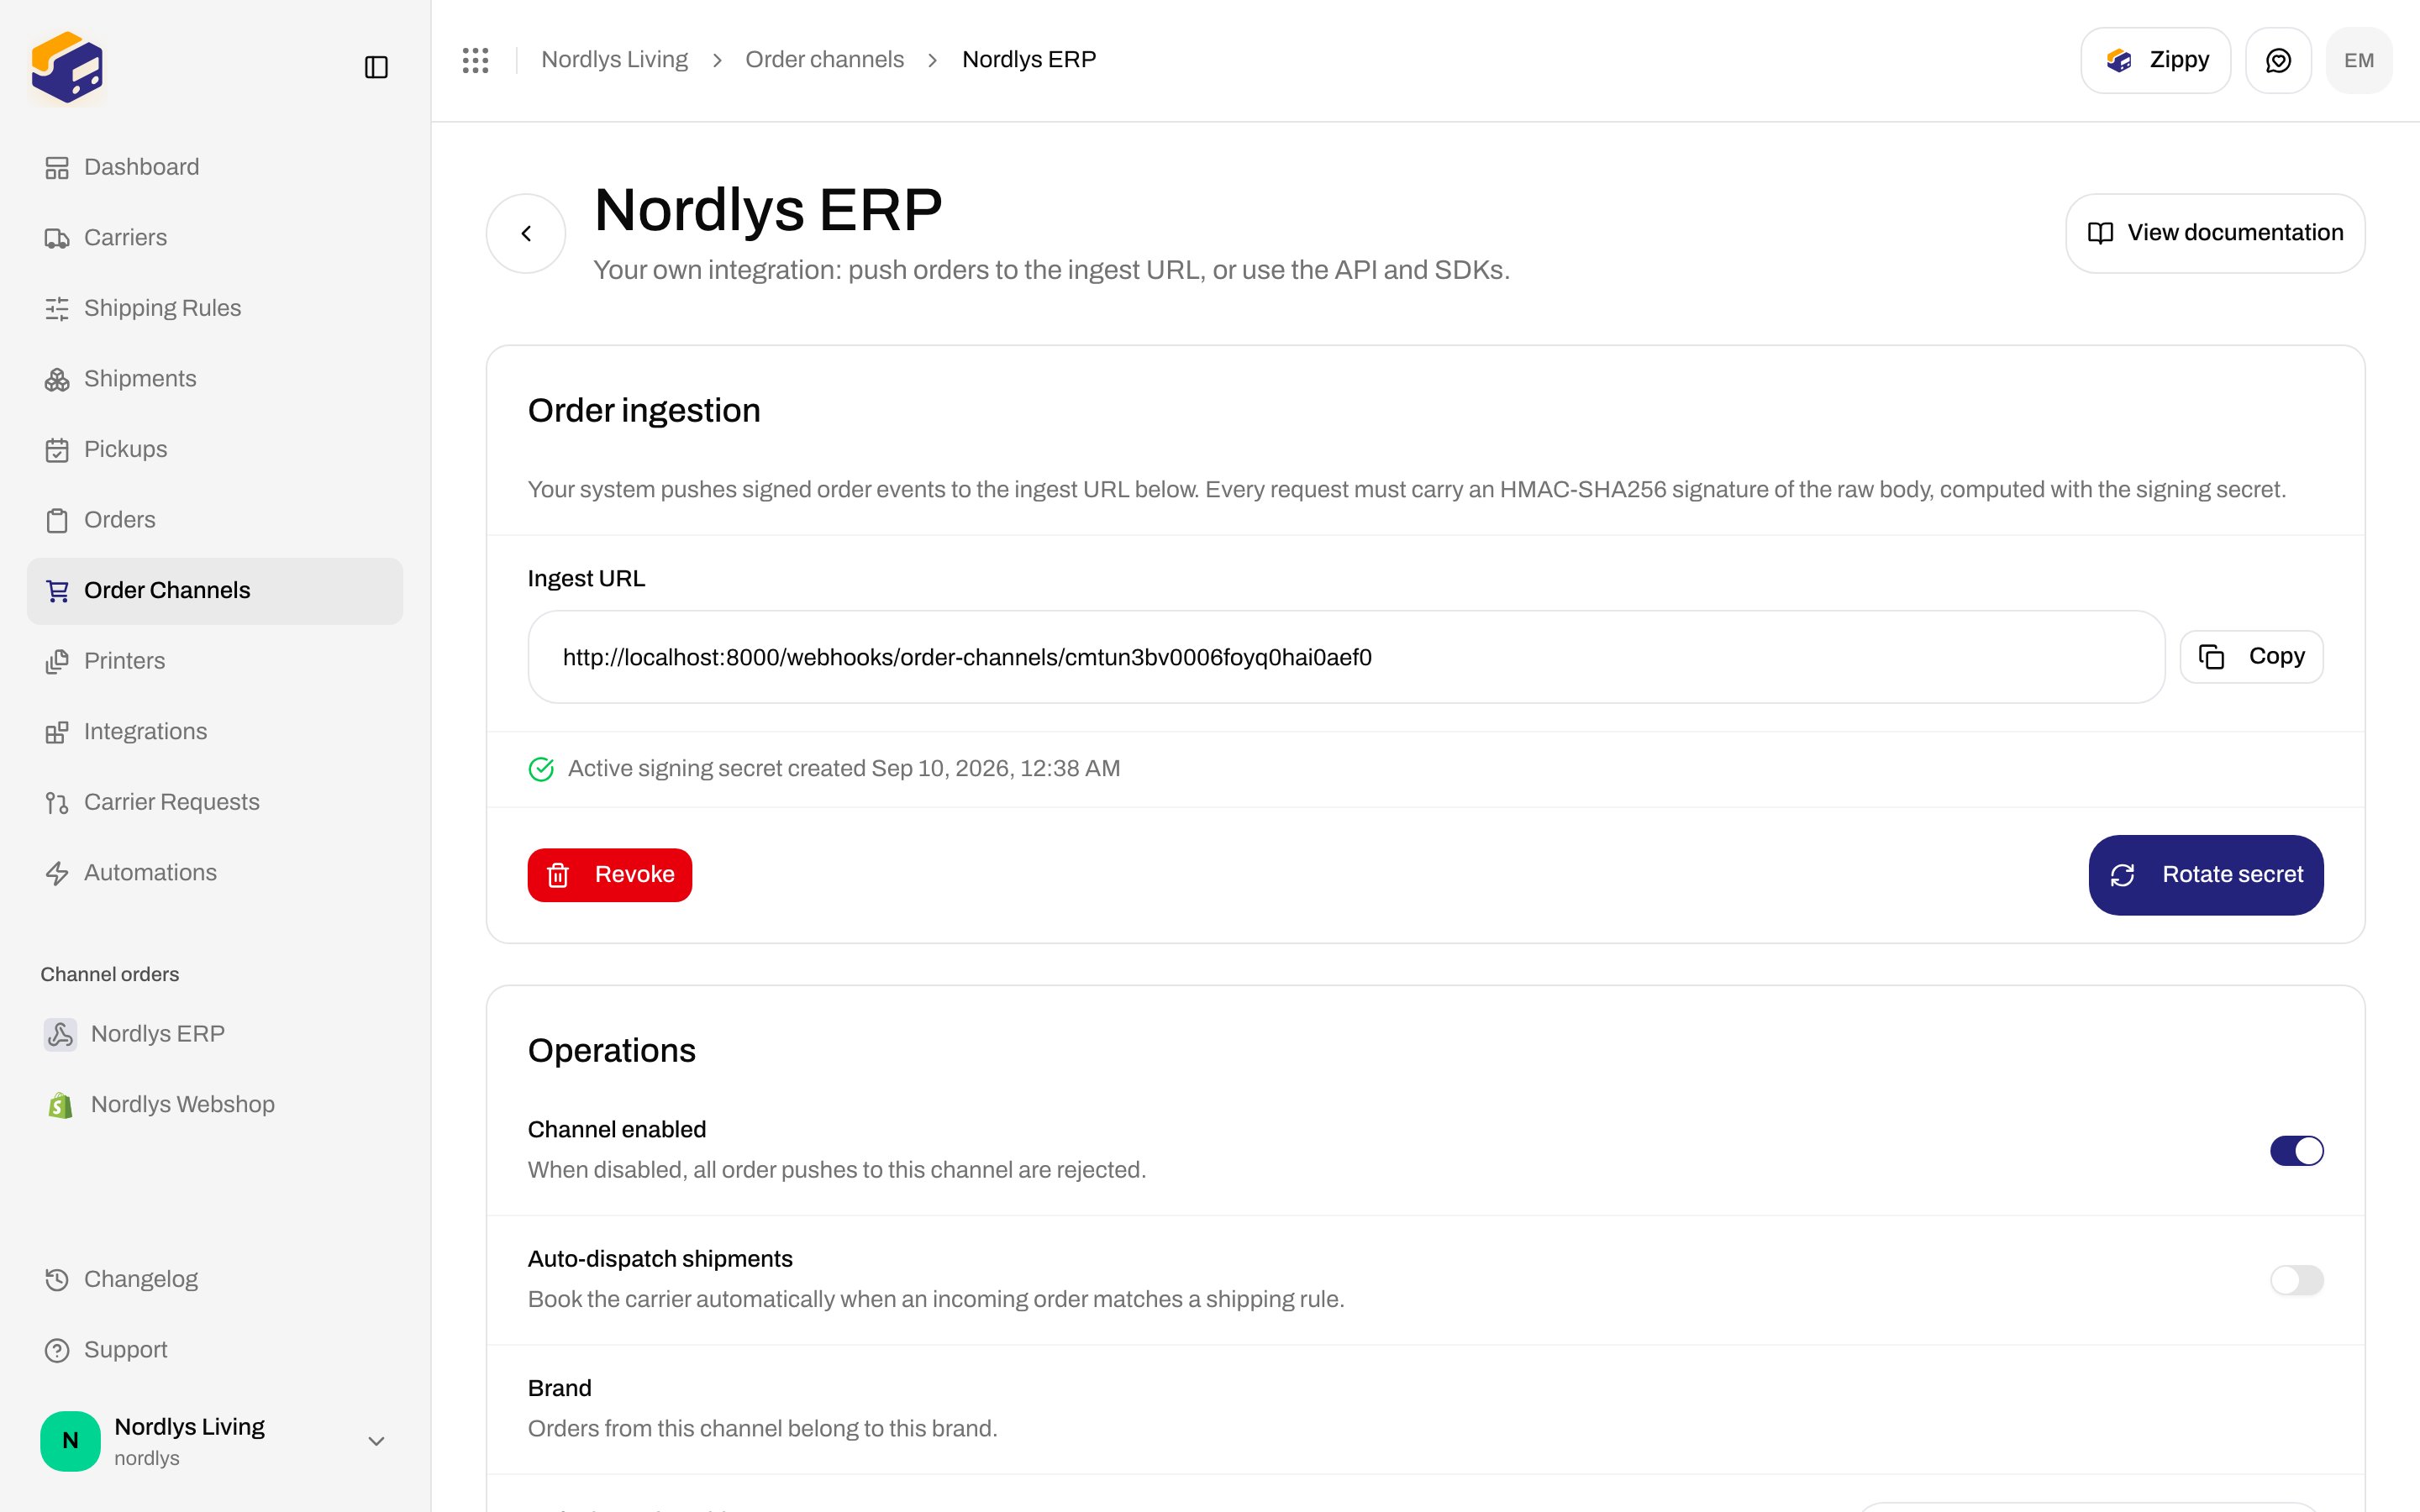
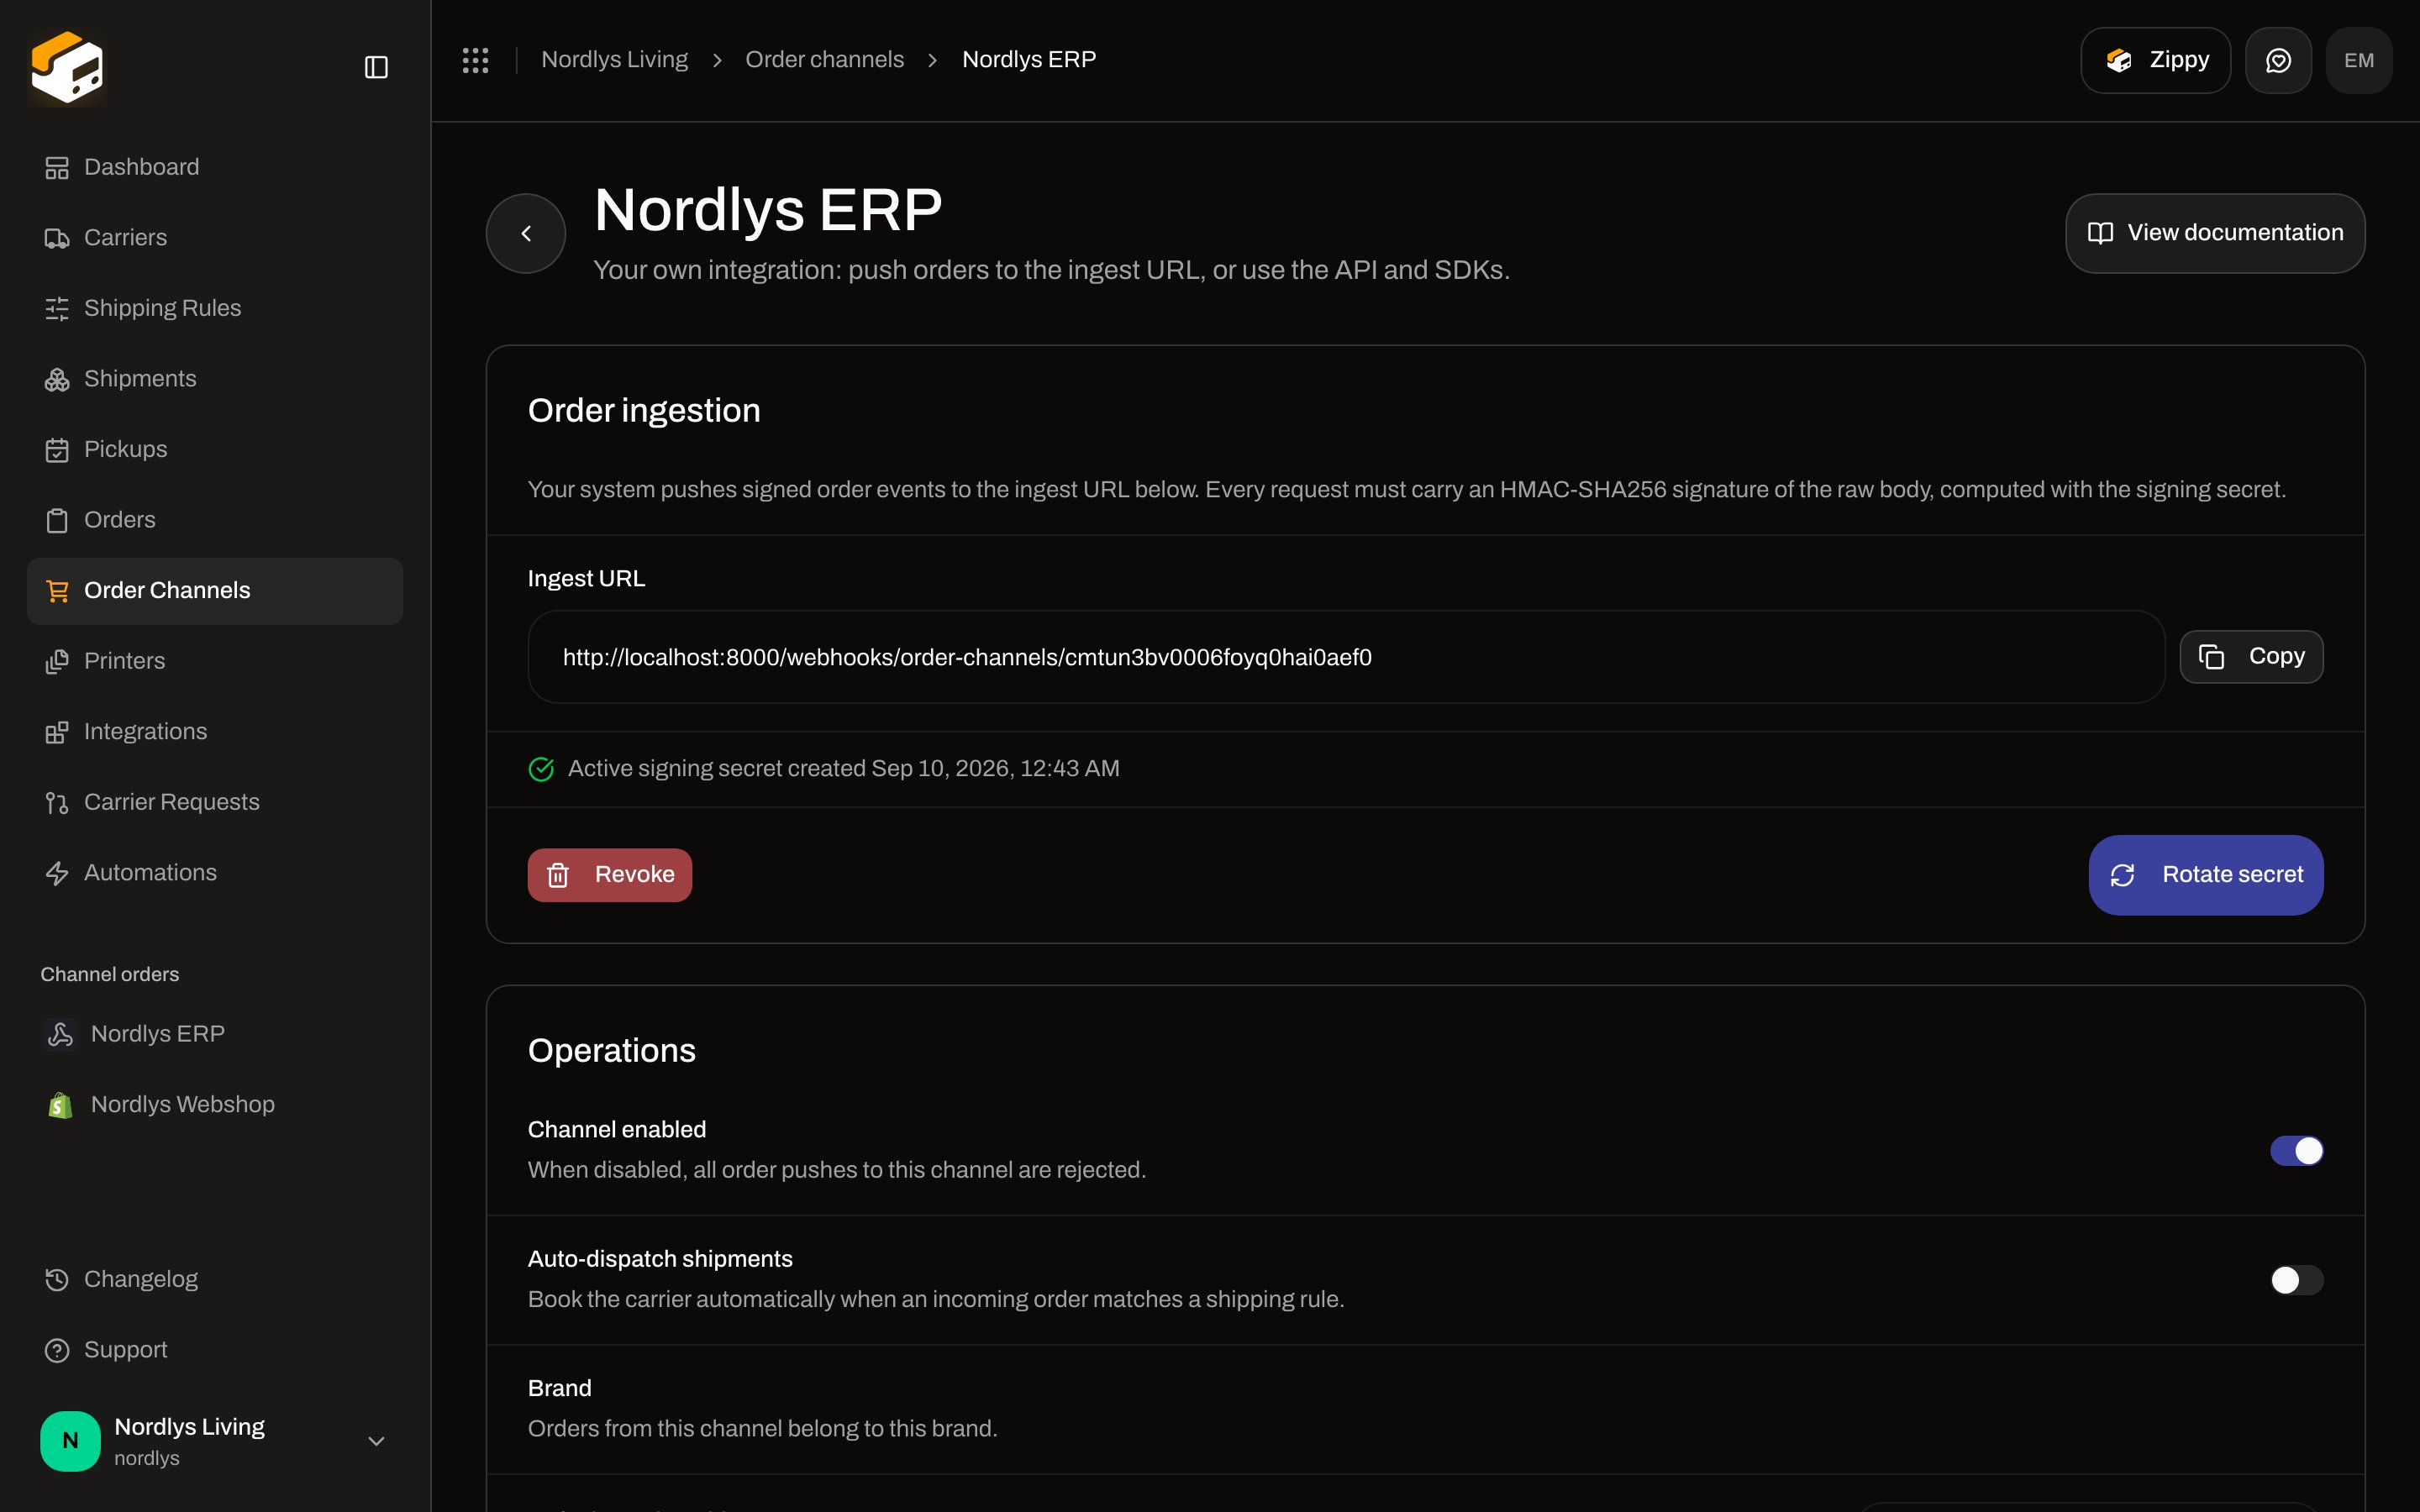 **Order ingestion**
* Every push must include an HMAC-SHA256 signature of the raw body, keyed with the signing secret.
* **Ingest URL** — copy **your** URL from this field. Production looks like `https://api.zippendo.com/webhooks/order-channels/{channelId}`. Screenshots in this tutorial were taken against a local docs environment, so the host may show `localhost` — do not paste that into a live shop.
* **Generate secret** the first time, then **Rotate secret** / **Revoke**.
* After a generate or rotate, Zippendo shows the secret once: **Copy the secret now — it is only shown once.**
**Order ingestion**
* Every push must include an HMAC-SHA256 signature of the raw body, keyed with the signing secret.
* **Ingest URL** — copy **your** URL from this field. Production looks like `https://api.zippendo.com/webhooks/order-channels/{channelId}`. Screenshots in this tutorial were taken against a local docs environment, so the host may show `localhost` — do not paste that into a live shop.
* **Generate secret** the first time, then **Rotate secret** / **Revoke**.
* After a generate or rotate, Zippendo shows the secret once: **Copy the secret now — it is only shown once.**
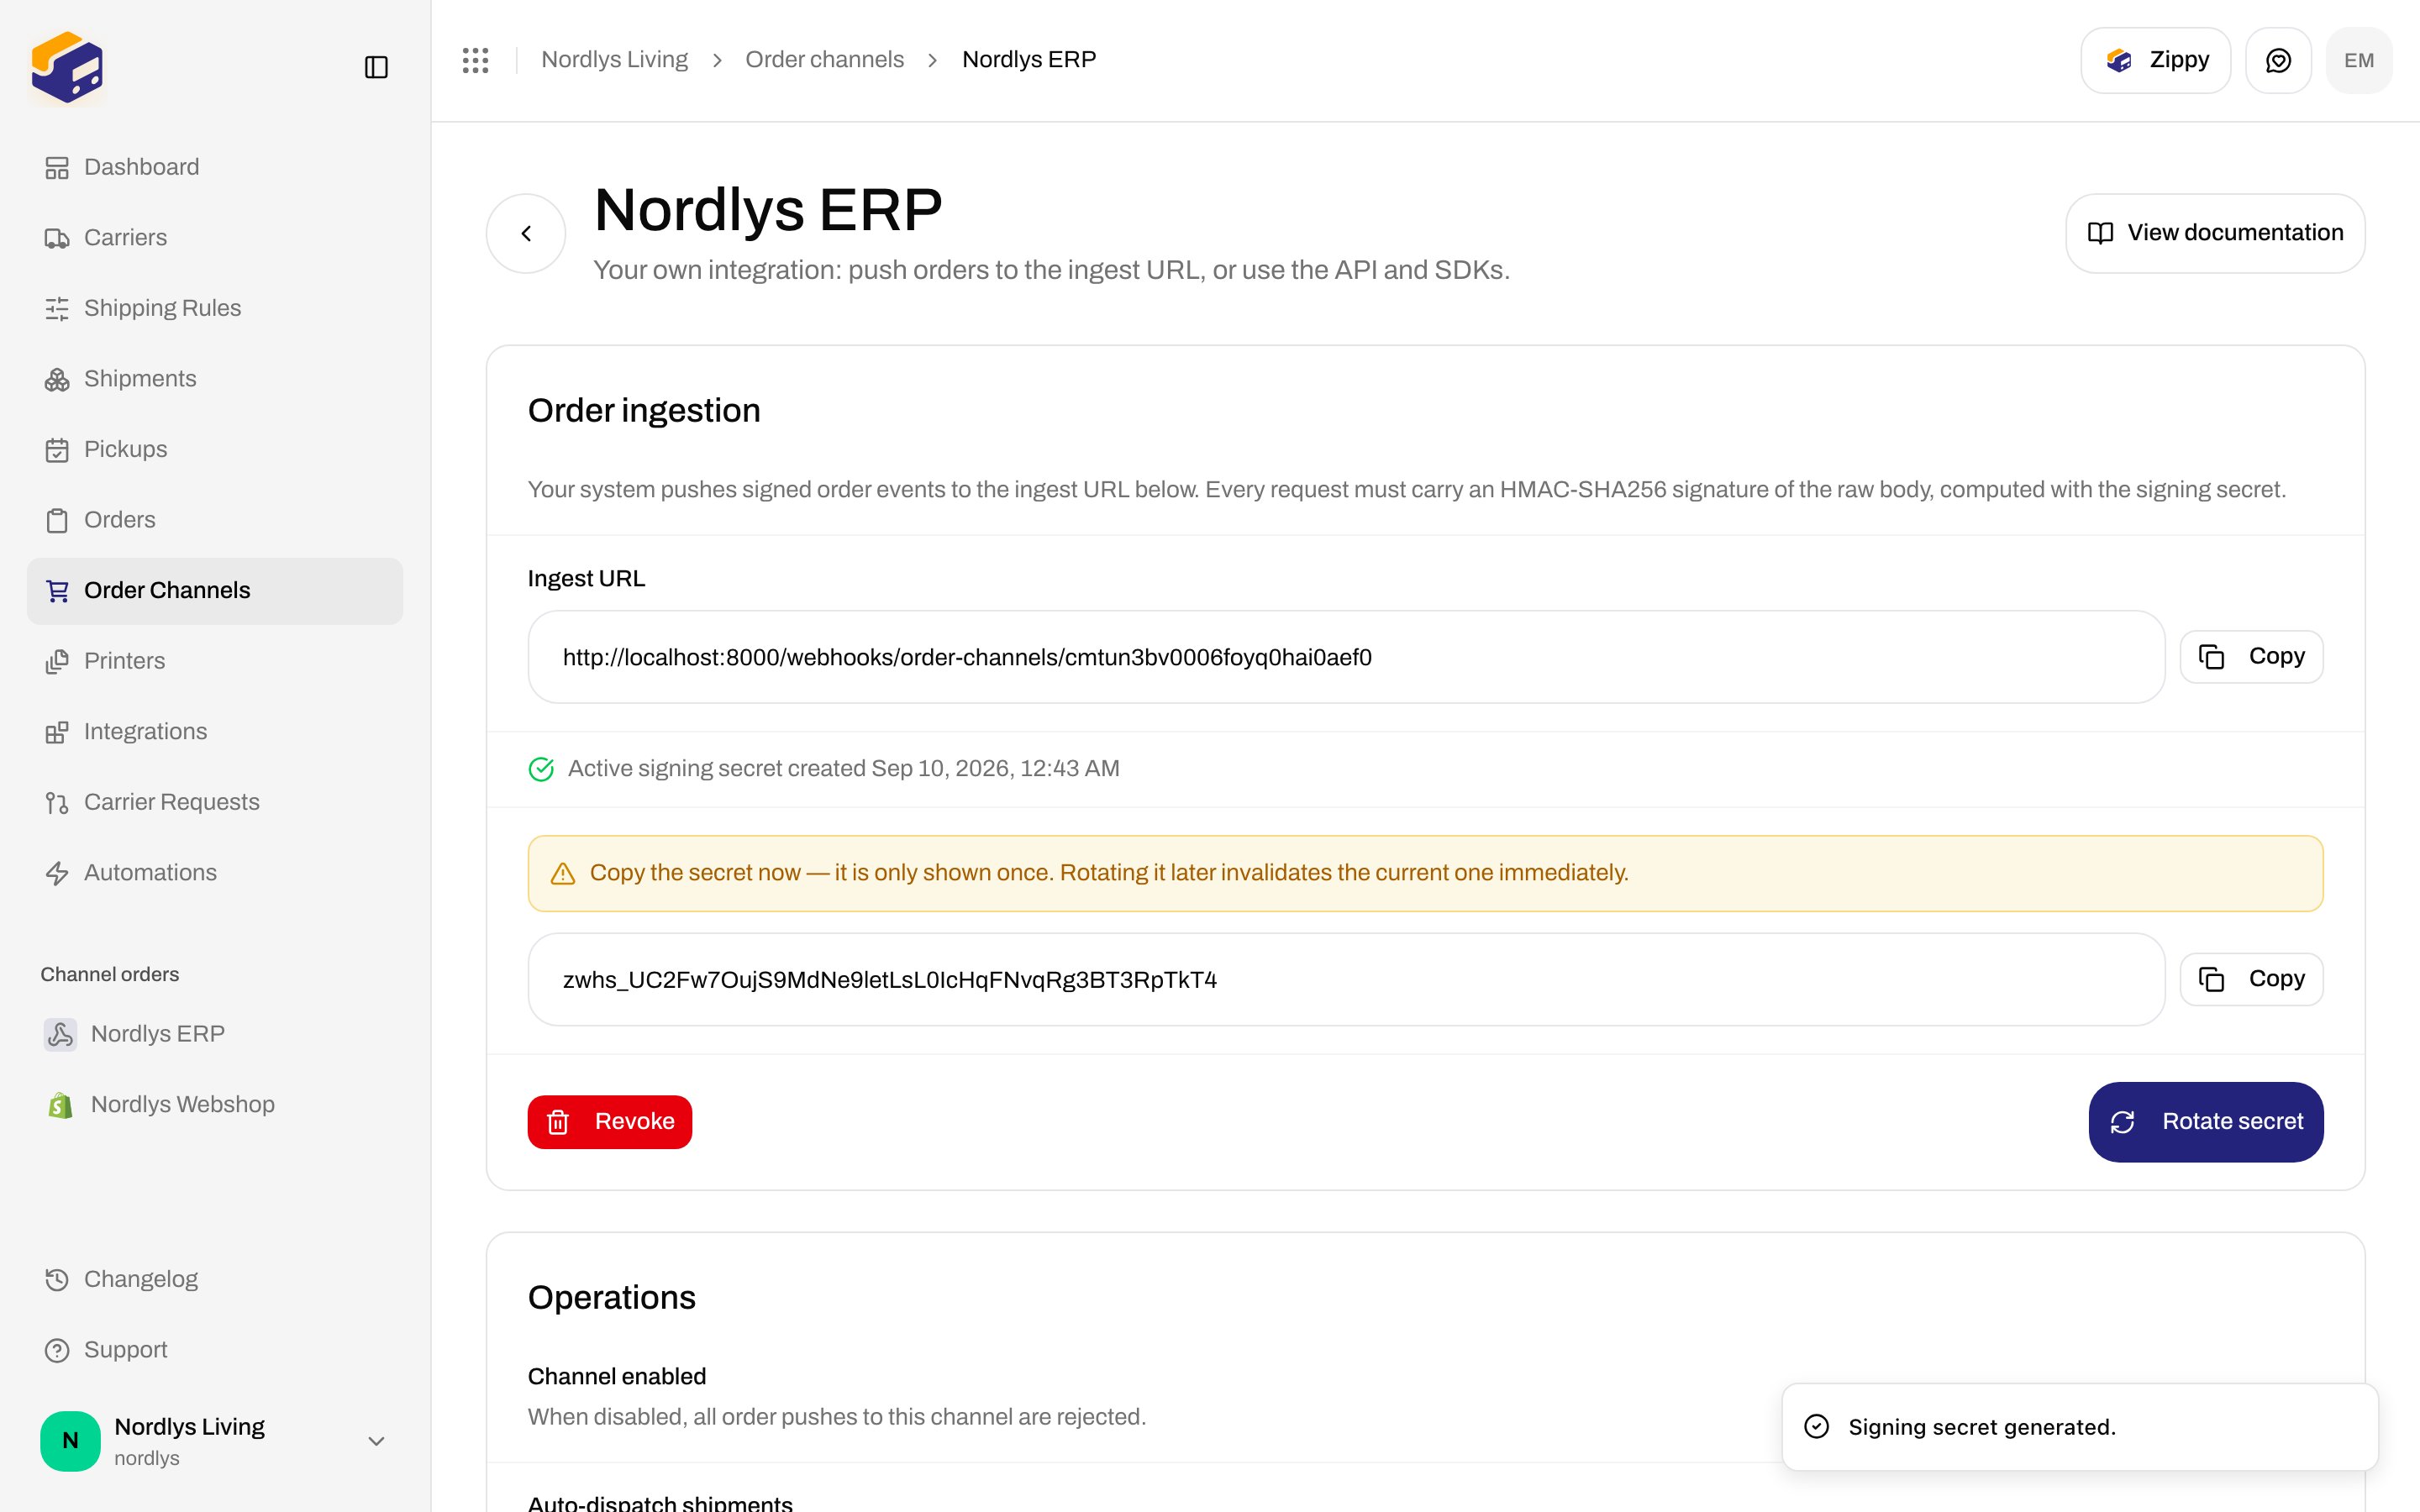
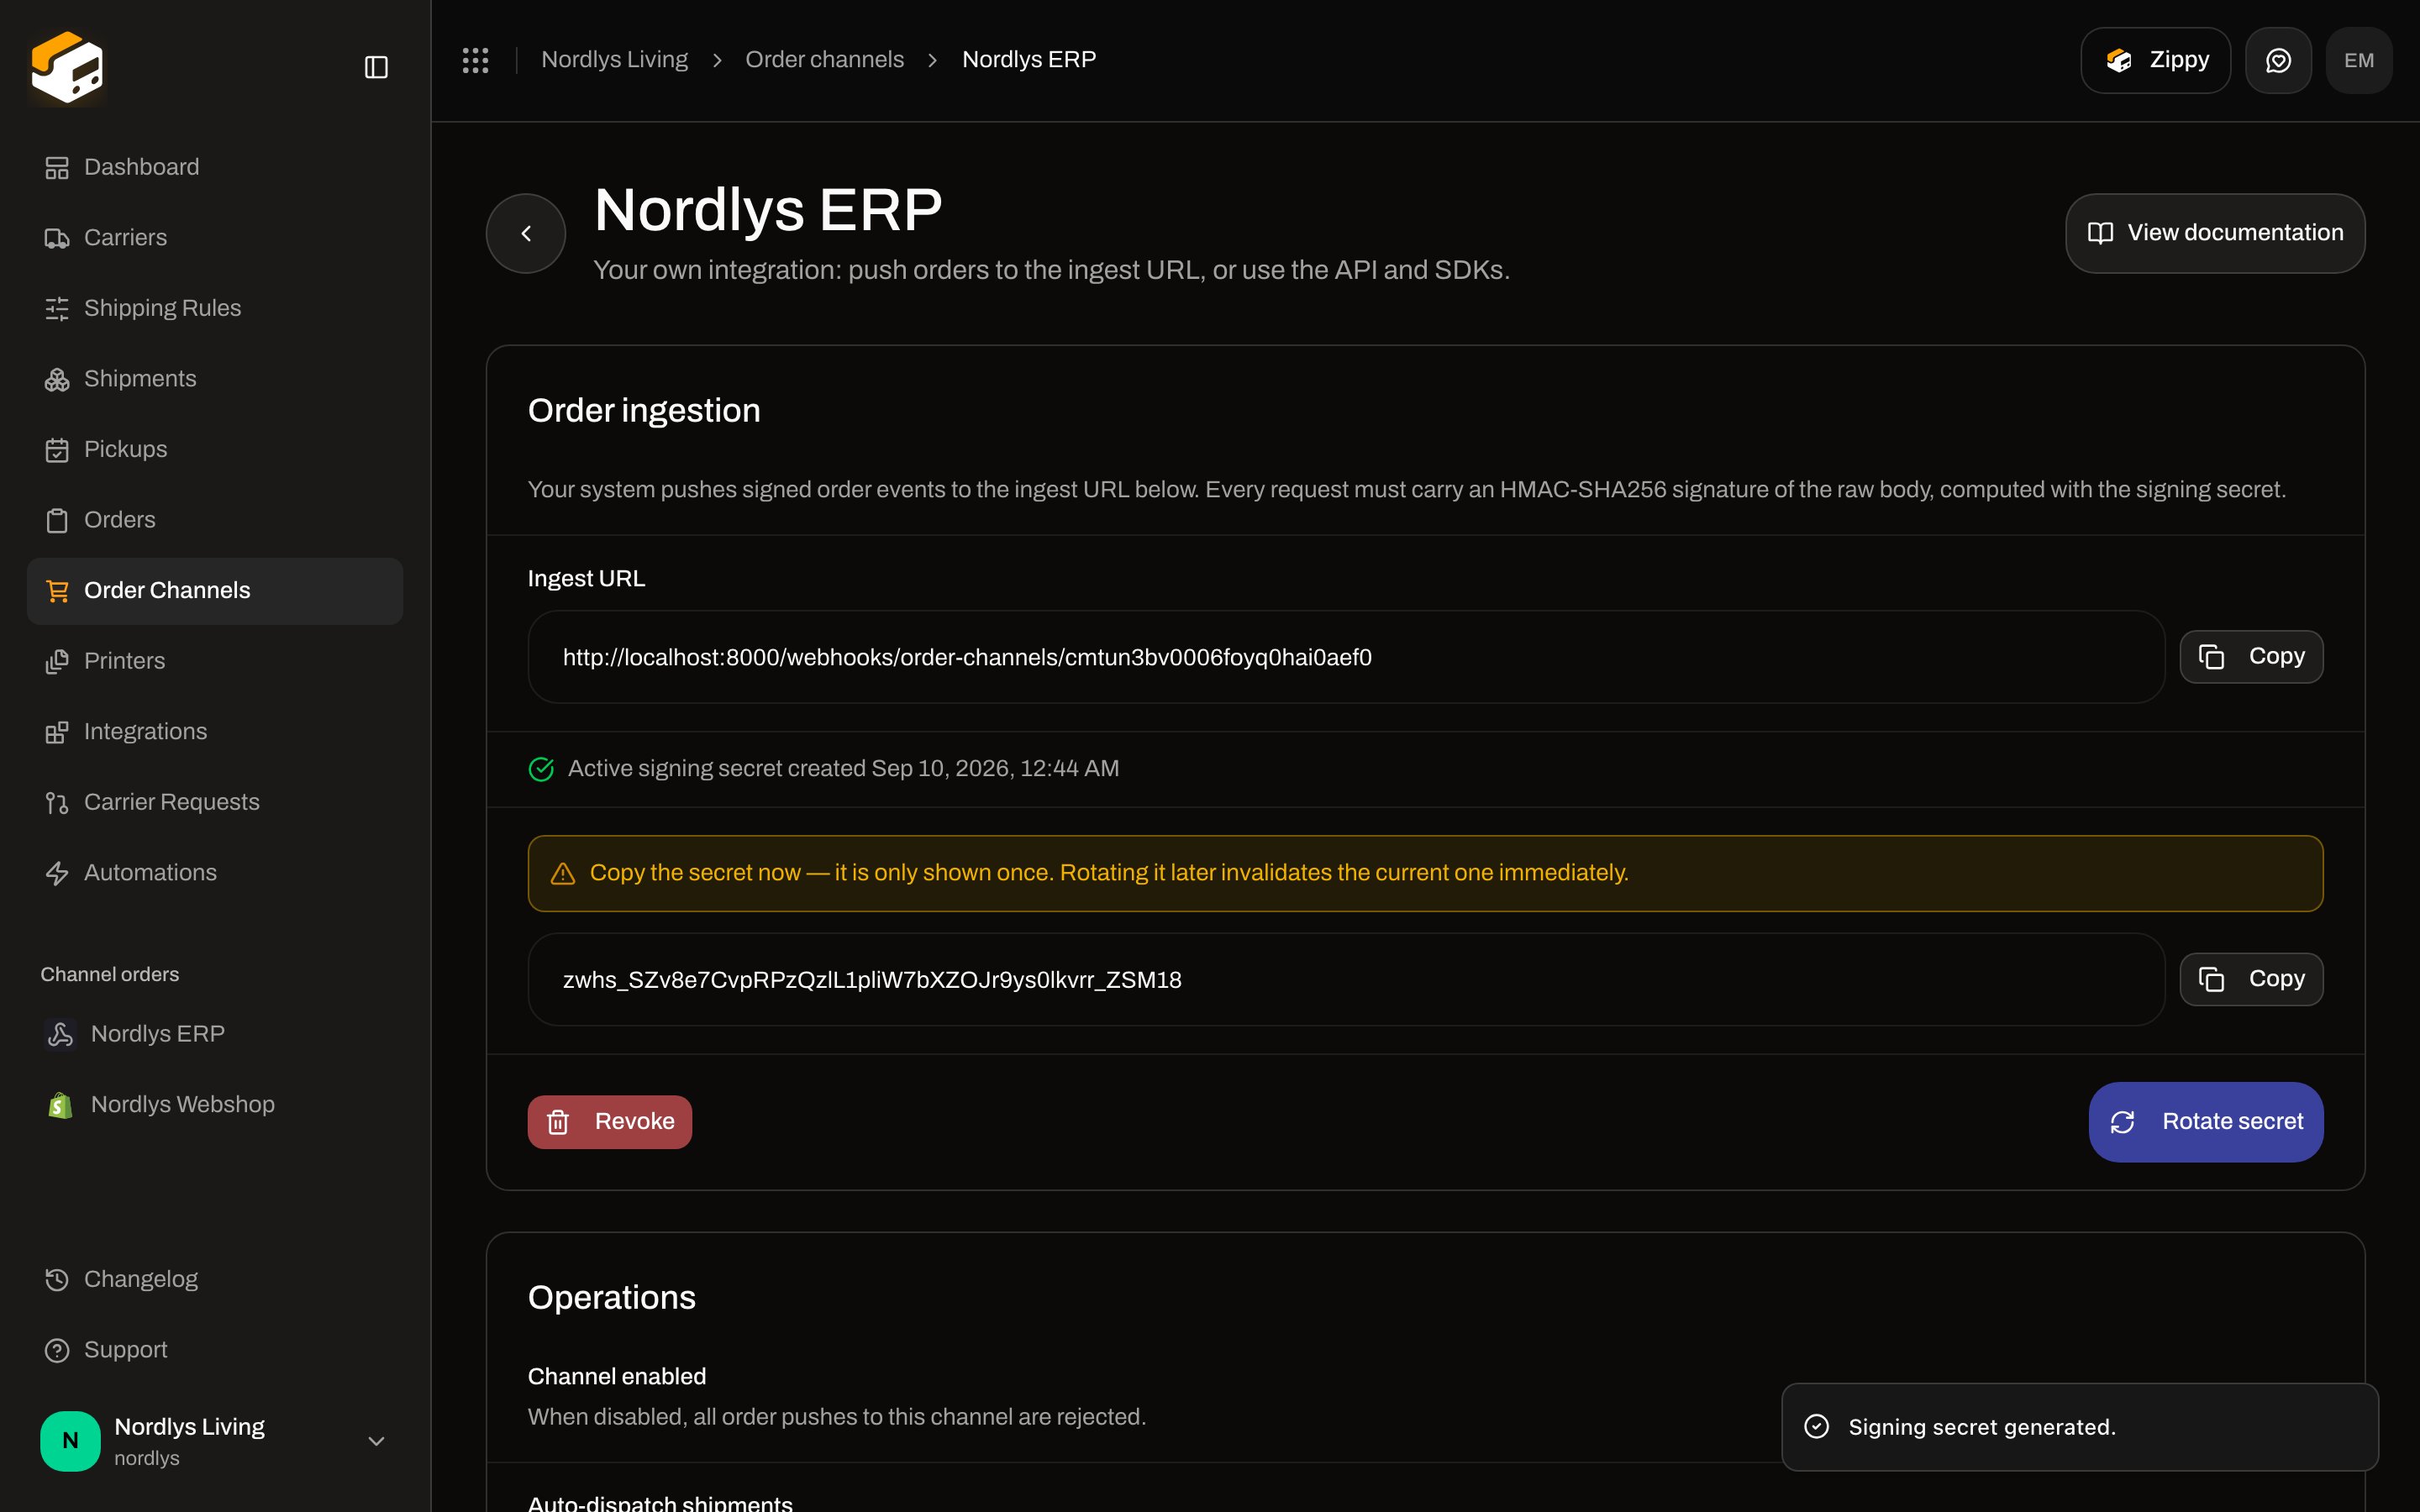 The **Ingest URL** in screenshots may show `http://localhost:8000/…` because these docs were captured against a local environment. Copy the URL from **your** channel settings, not from the screenshot.
Rotating invalidates the old secret immediately. Revoking rejects every push until you generate a new secret.
Required headers on each push: `X-Zippendo-Topic` (`order.created`, `order.updated`, `order.cancelled`, or `ping`) and `X-Zippendo-Signature`. Payload, status codes, and a `ping` connectivity test are in [Custom channels](/docs/order-channels/custom-channels).
**Operations**
| Setting | What it does |
| --------------------------- | -------------------------------------------------------------------------------------------- |
| **Channel enabled** | When off, all order pushes to this channel are rejected. This is the enable/disable control. |
| **Auto-dispatch shipments** | Book the carrier automatically when an incoming order matches a shipping rule. |
| **Brand** | Orders from this channel belong to this brand. |
| **Default sender address** | Used for shipments when no shipping rule matches. |
| **Last order received** | Timestamp, or **Never**. |
Click **Save changes** after you edit auto-dispatch or the default address. **Channel enabled** and **Brand** save as soon as you toggle them.
**Danger zone** — **Delete** removes the channel. The ingest URL stops accepting orders immediately.
## Other ways orders get in
The catalog is only Shopify, WooCommerce, and Custom channel. These are the other paths that still use a channel row:
* **REST API / SDKs** — `POST /orgs/{orgId}/orders` with `orderChannelId` set to a custom (or other) channel. Duplicate `externalId` on the same channel returns `409 ORDER_EXISTS`. See [Custom channels](/docs/order-channels/custom-channels) and the [REST API quickstart](/docs/quickstarts/rest-api).
* **Manual / leftover rows** — a `manual` channel has no connect card and no settings screen. It shows under **Disconnected channels** if nothing else represents it (for example after a store was removed). **Remove** cleans it up.
* **Sidebar → Channel orders** — not a fourth channel type. It lists the channels you already have so you can filter **Orders** to one store.
There is no user-facing “enable webhooks” toggle for custom ingest. Minting a signing secret is what turns ingest on. Org-level outbound webhooks (tracking back to your system) live under **Settings → Webhooks**, not on the channel.
## How orders appear after connecting
WooCommerce: webhooks fire on create/update/cancel, and Zippendo also polls on the interval you set (**Automatic sync**). Custom: your system pushes, or you create the order via the API. Either way the list is the same.
The **Ingest URL** in screenshots may show `http://localhost:8000/…` because these docs were captured against a local environment. Copy the URL from **your** channel settings, not from the screenshot.
Rotating invalidates the old secret immediately. Revoking rejects every push until you generate a new secret.
Required headers on each push: `X-Zippendo-Topic` (`order.created`, `order.updated`, `order.cancelled`, or `ping`) and `X-Zippendo-Signature`. Payload, status codes, and a `ping` connectivity test are in [Custom channels](/docs/order-channels/custom-channels).
**Operations**
| Setting | What it does |
| --------------------------- | -------------------------------------------------------------------------------------------- |
| **Channel enabled** | When off, all order pushes to this channel are rejected. This is the enable/disable control. |
| **Auto-dispatch shipments** | Book the carrier automatically when an incoming order matches a shipping rule. |
| **Brand** | Orders from this channel belong to this brand. |
| **Default sender address** | Used for shipments when no shipping rule matches. |
| **Last order received** | Timestamp, or **Never**. |
Click **Save changes** after you edit auto-dispatch or the default address. **Channel enabled** and **Brand** save as soon as you toggle them.
**Danger zone** — **Delete** removes the channel. The ingest URL stops accepting orders immediately.
## Other ways orders get in
The catalog is only Shopify, WooCommerce, and Custom channel. These are the other paths that still use a channel row:
* **REST API / SDKs** — `POST /orgs/{orgId}/orders` with `orderChannelId` set to a custom (or other) channel. Duplicate `externalId` on the same channel returns `409 ORDER_EXISTS`. See [Custom channels](/docs/order-channels/custom-channels) and the [REST API quickstart](/docs/quickstarts/rest-api).
* **Manual / leftover rows** — a `manual` channel has no connect card and no settings screen. It shows under **Disconnected channels** if nothing else represents it (for example after a store was removed). **Remove** cleans it up.
* **Sidebar → Channel orders** — not a fourth channel type. It lists the channels you already have so you can filter **Orders** to one store.
There is no user-facing “enable webhooks” toggle for custom ingest. Minting a signing secret is what turns ingest on. Org-level outbound webhooks (tracking back to your system) live under **Settings → Webhooks**, not on the channel.
## How orders appear after connecting
WooCommerce: webhooks fire on create/update/cancel, and Zippendo also polls on the interval you set (**Automatic sync**). Custom: your system pushes, or you create the order via the API. Either way the list is the same.
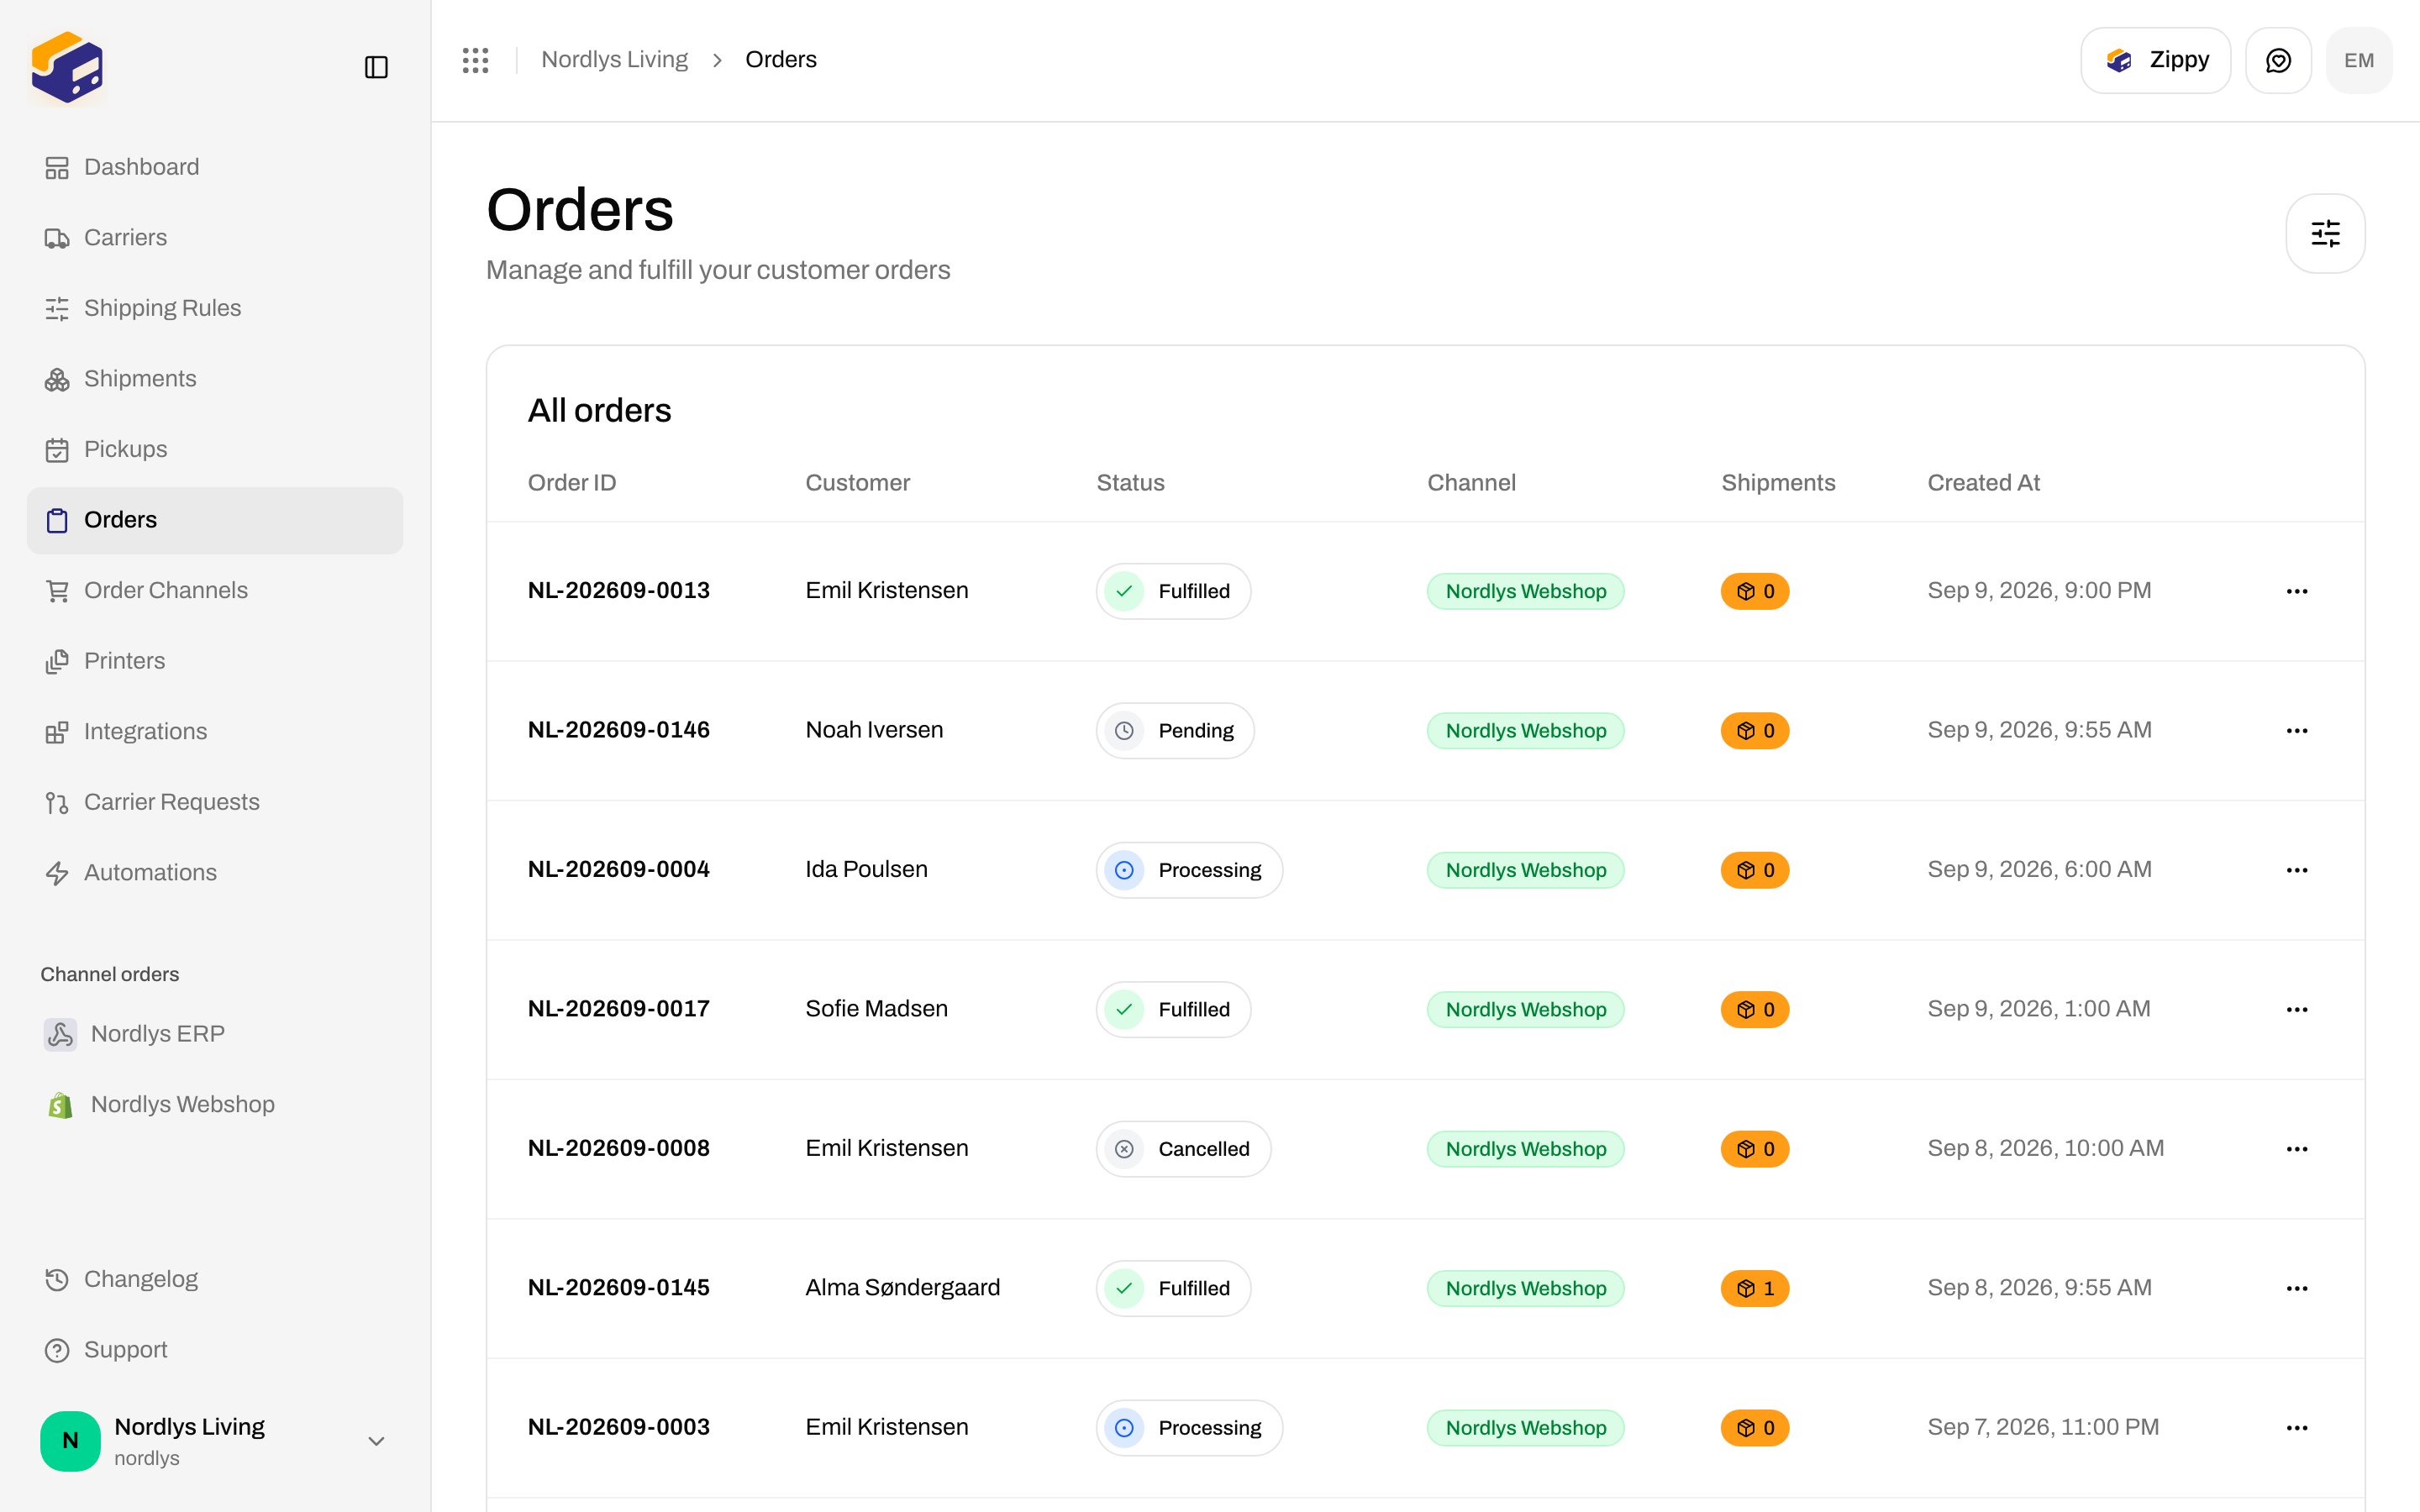
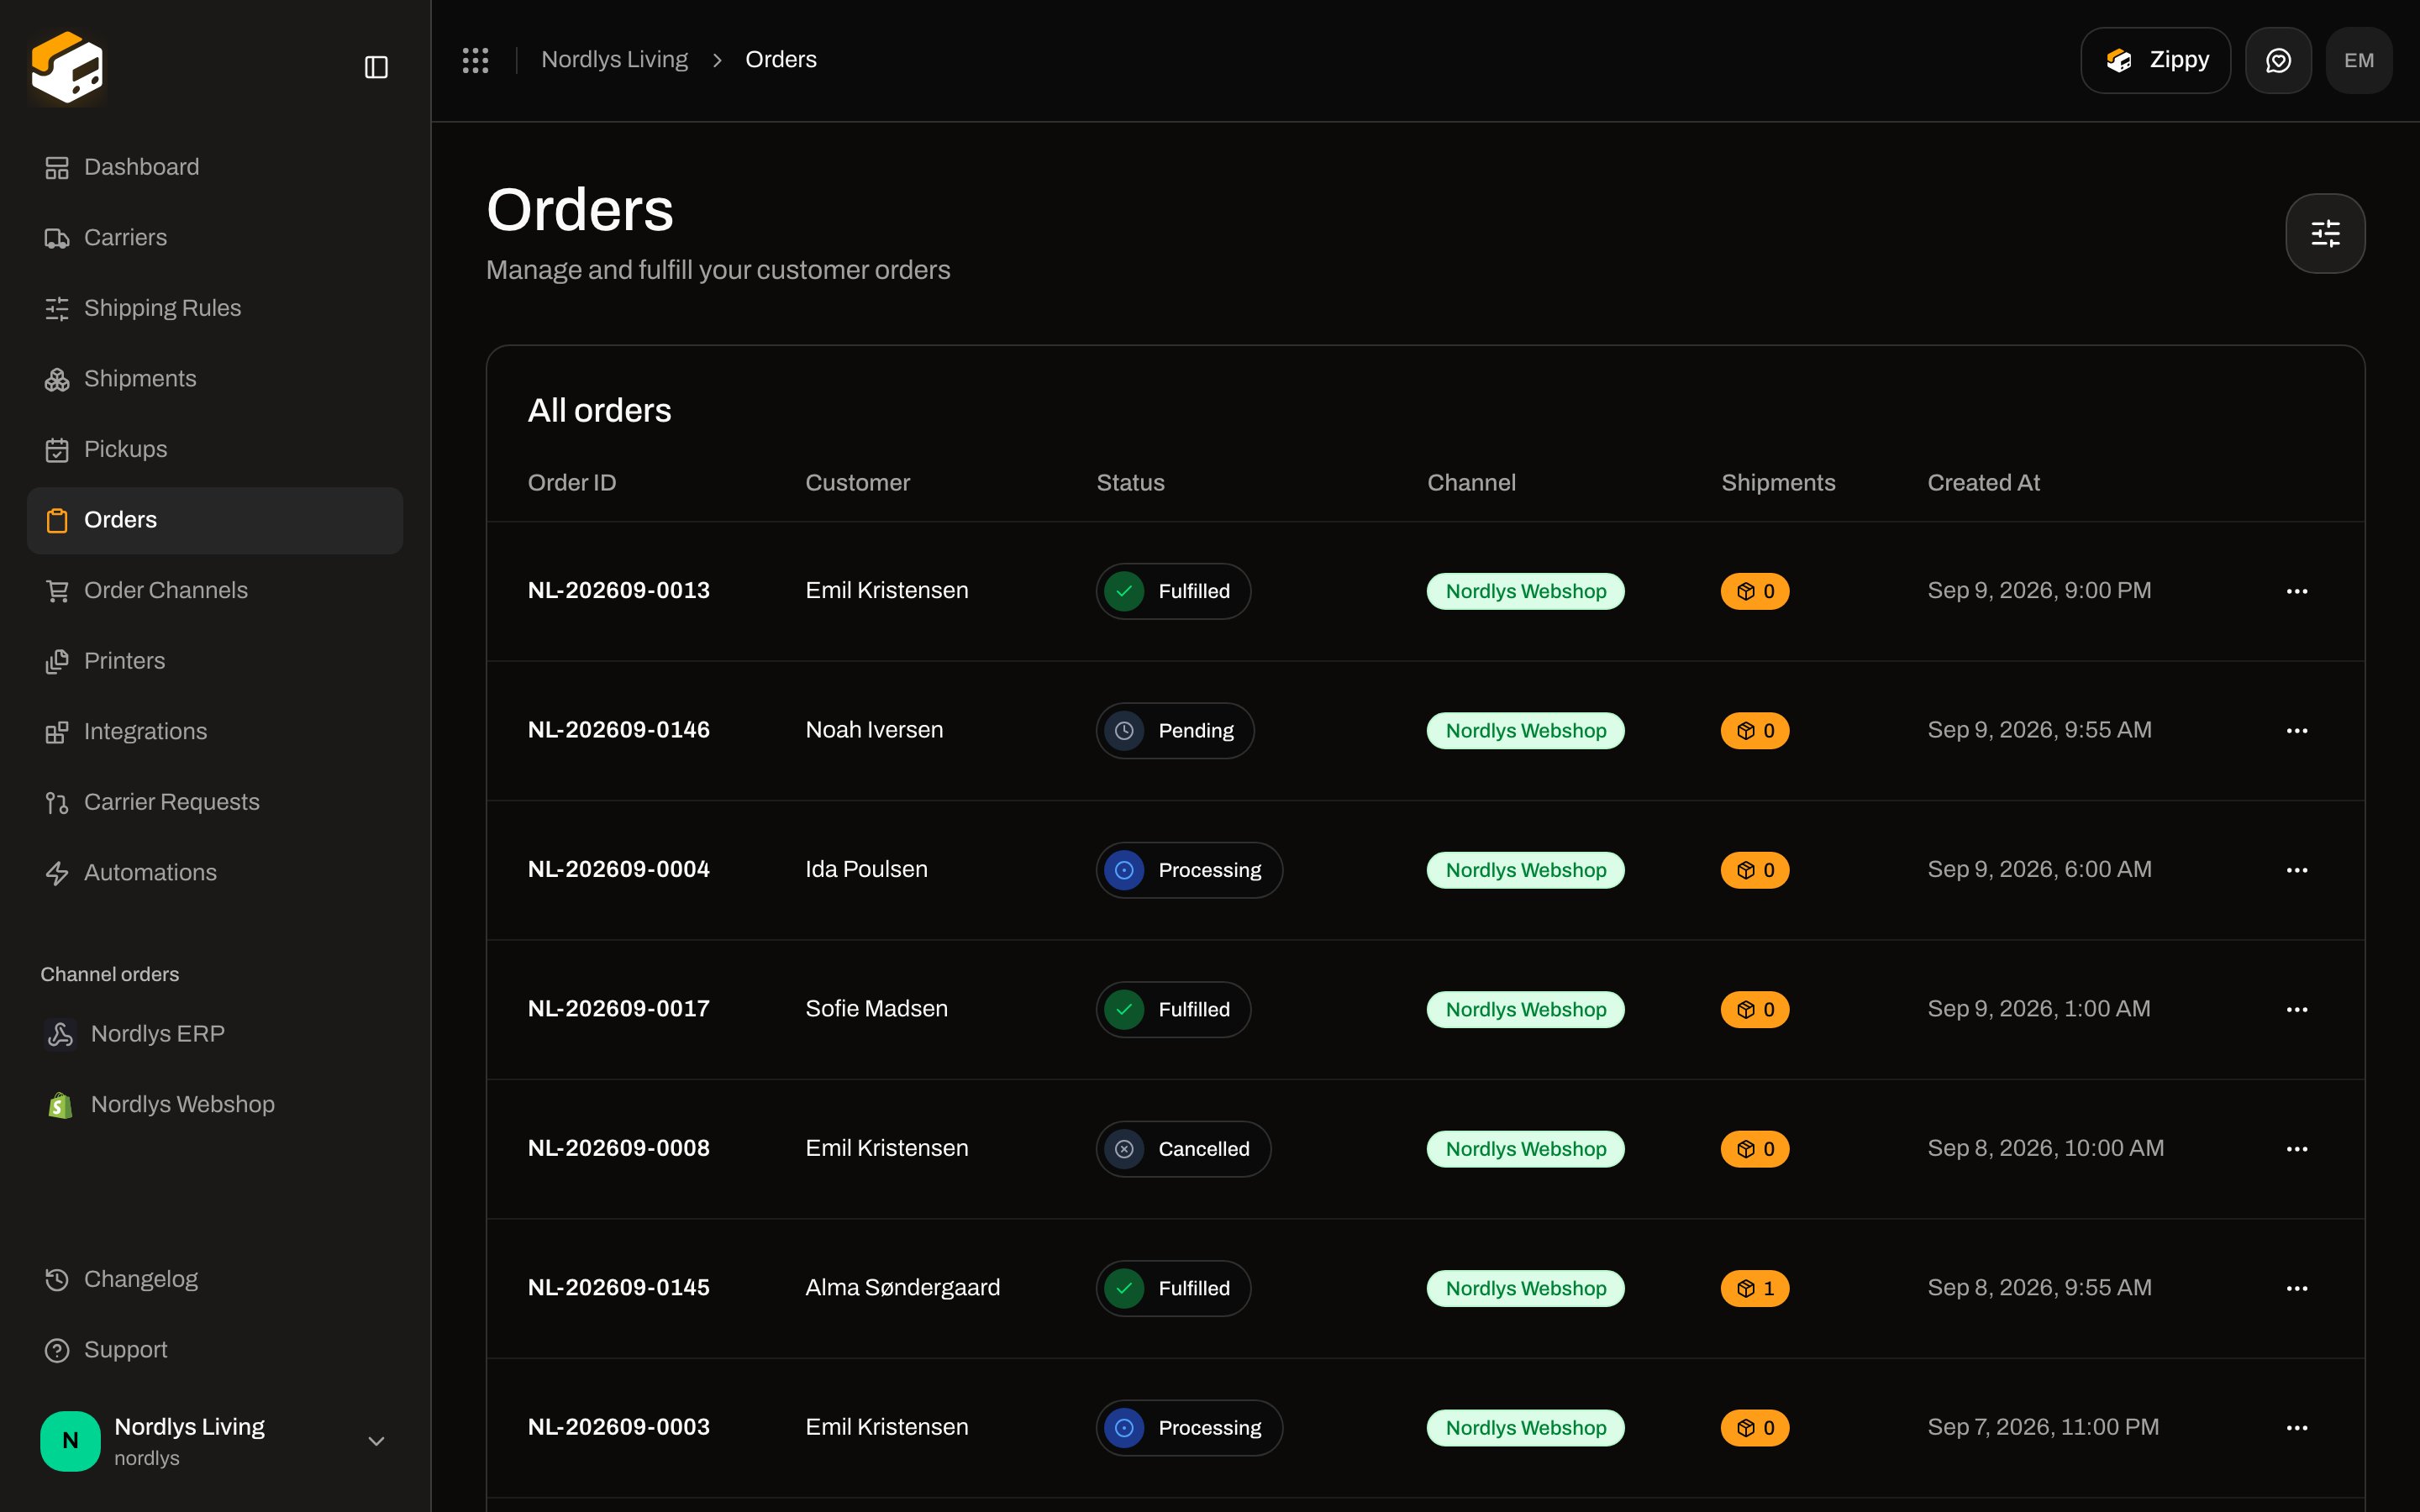 Columns: **Order ID**, **Customer**, **Status**, **Channel**, **Shipments**, **Created At**. Status values you will see include **Pending**, **Processing**, **Fulfilled**, and **Cancelled**.
Open a row to see **Order Information** (order number, status, **Order Channel**, total), customer, shipping address, lines, and the **Shipments** tab.
Columns: **Order ID**, **Customer**, **Status**, **Channel**, **Shipments**, **Created At**. Status values you will see include **Pending**, **Processing**, **Fulfilled**, and **Cancelled**.
Open a row to see **Order Information** (order number, status, **Order Channel**, total), customer, shipping address, lines, and the **Shipments** tab.
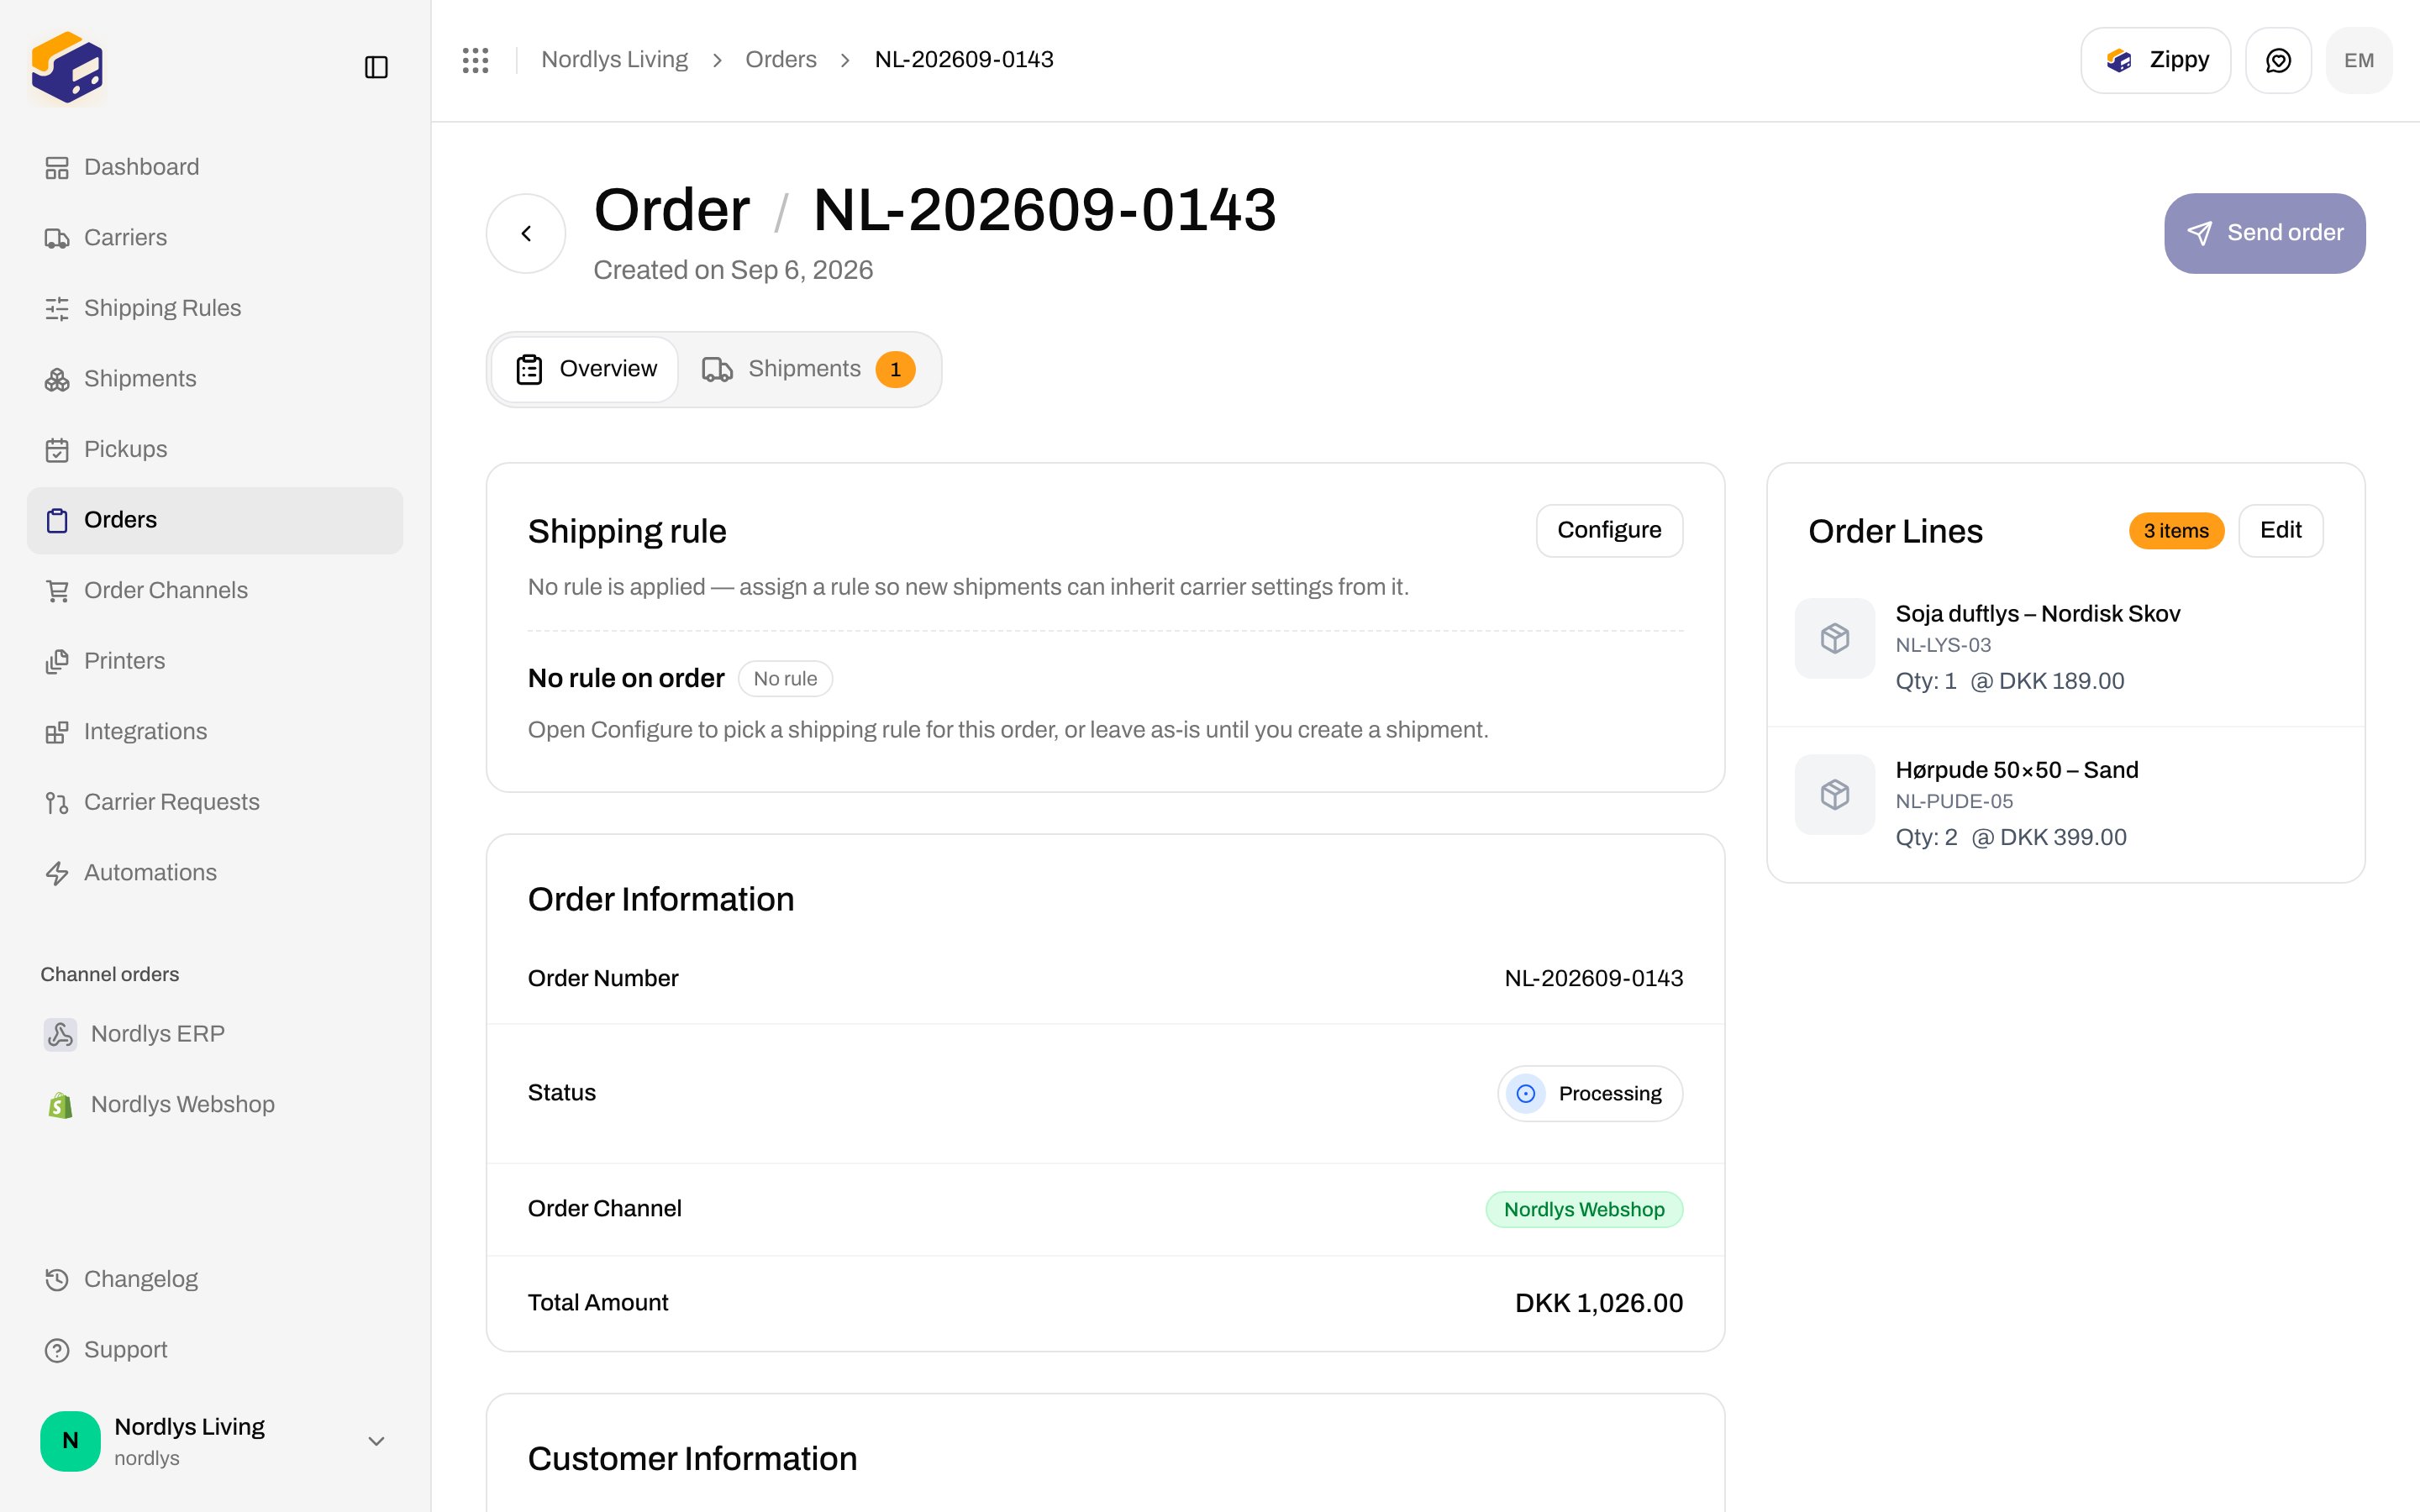
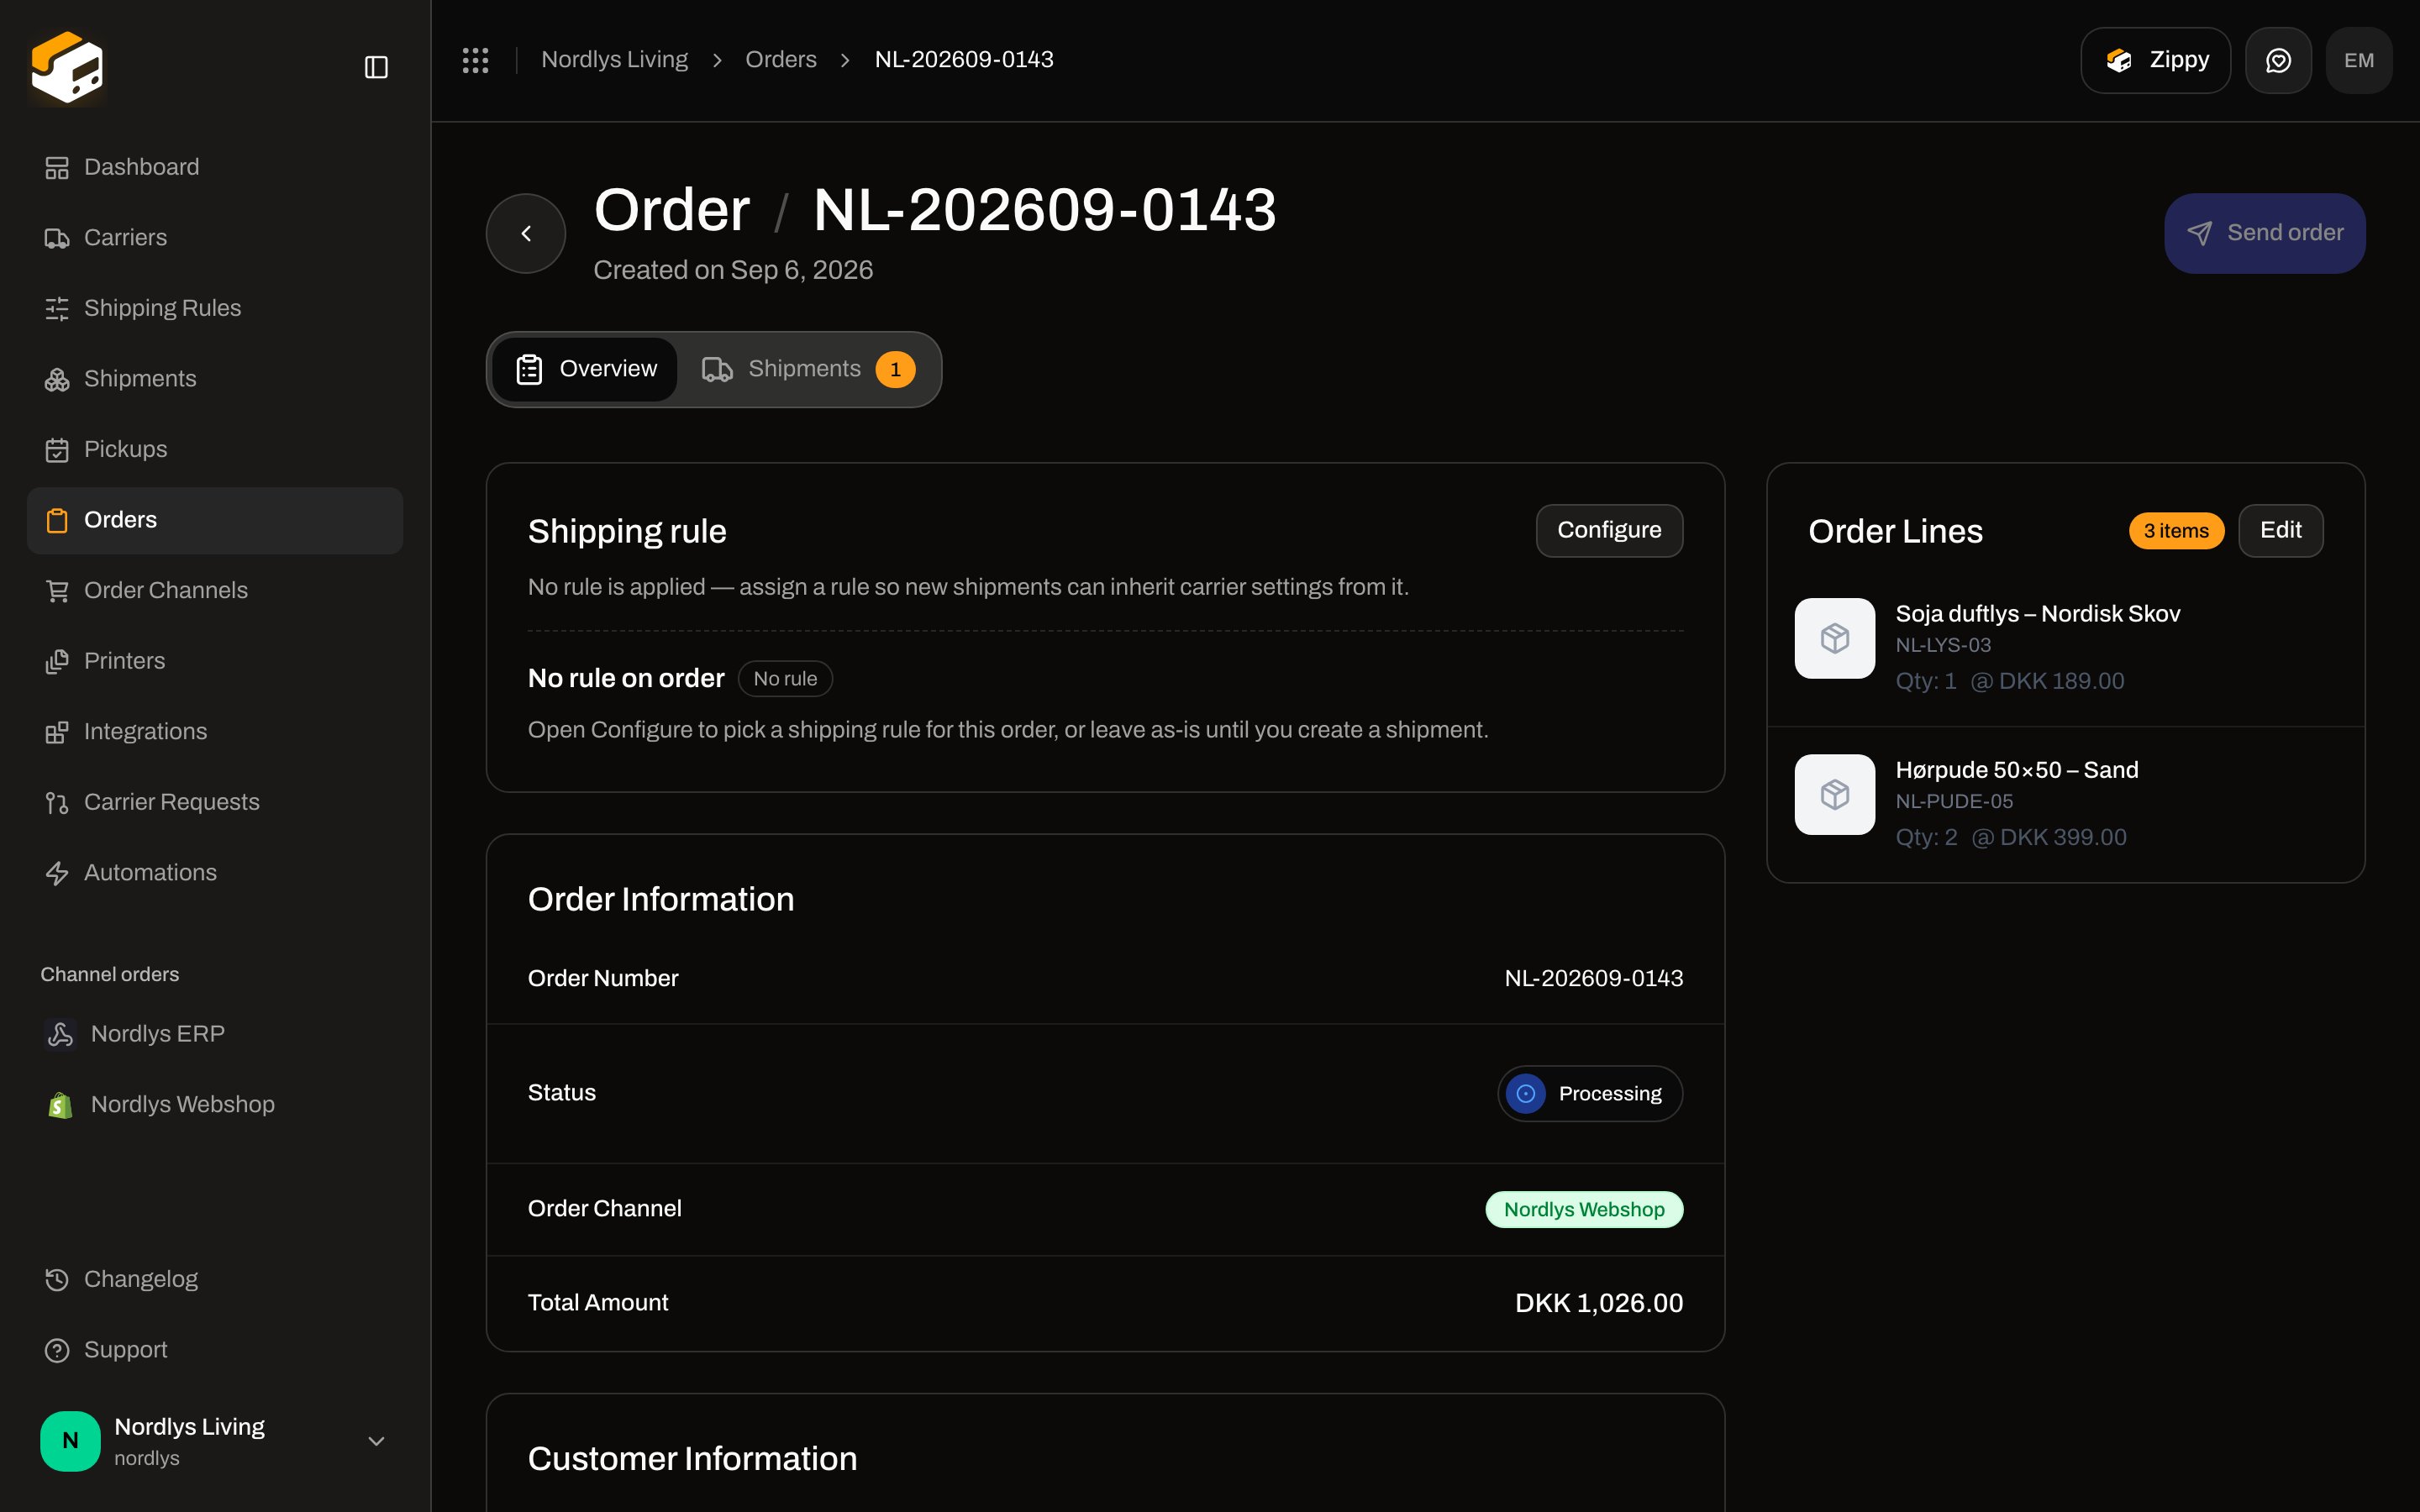 * No shipment yet, and the order is not fulfilled or cancelled: header action is **Create Shipment**.
* A shipment is already attached and ready: header action is **Send order**.
* **Shipments** tab lists existing shipments or **No shipments yet**.
Creating the shipment itself is [Create a shipment](/docs/tutorials/create-a-shipment). Browsing and filters: [Orders](/docs/tutorials/orders).
Click the channel name under **Channel orders** in the sidebar to see only that channel’s orders. The list description becomes **Showing orders from** plus the channel name.
## Troubleshooting
| What you see | What to check |
| ------------------------------------------------------- | --------------------------------------------------------------------------------------------------------------------------------------------------------------------------------------------------------------------------------------------- |
| **No stores connected** | You are on **Connected stores** with nothing live. Open **Available integrations**. |
| WooCommerce one-click fails | Store must be `https://`. Security plugins or the host may block `wc-auth` or the REST API. Use **Enter API keys manually**. |
| **Failed to connect WooCommerce store** / keys rejected | Consumer Key and Secret must be a matching **Read/Write** pair. Regenerate in WooCommerce if needed. |
| WooCommerce connected but no new orders | Channel card is **Active**. **Orders & checkout**: **Only unfulfilled orders** may skip the order. **Connection**: **Last sync**, **Test connection**, webhook status. WooCommerce disables a hook after repeated failures — **Re-register**. |
| Custom pushes return `401` | No secret yet, wrong secret after rotate, or missing `X-Zippendo-Signature`. Generate a secret and sign the raw body. |
| Custom pushes return `400` | Missing/unknown `X-Zippendo-Topic`, or the payload failed validation (`externalId`, `orderNumber`, `orderLines`). |
| Custom **Channel enabled** is off | All pushes are rejected until you turn it back on. |
| Orders list empty after connect | Confirm the toast succeeded and you are in the same organization. WooCommerce sync is near-real-time plus polling; custom orders appear only after a successful push or API create. |
| **Disconnected channels** | Leftover from a removed store. **Remove** if you do not need the imported orders. |
| Shopify | This page does not cover install or disconnect. Use [Connect Shopify](/docs/tutorials/connect-shopify). |
More on late imports: [Order sync delays](/docs/knowledge-base/order-sync-delays).
## Next steps
App Store install and what happens after Shopify redirects back.
Filter the list, open an order, and create a shipment from it.
Ingest payload, headers, and the REST alternative.
Live rates and pickup points at checkout (needs a checkout token).
Field-level: [Connect WooCommerce](/docs/how-to/connect-woocommerce) · [Custom channel API](/docs/how-to/custom-channel-api) · [Order channel settings](/docs/how-to/order-channel-settings)
* No shipment yet, and the order is not fulfilled or cancelled: header action is **Create Shipment**.
* A shipment is already attached and ready: header action is **Send order**.
* **Shipments** tab lists existing shipments or **No shipments yet**.
Creating the shipment itself is [Create a shipment](/docs/tutorials/create-a-shipment). Browsing and filters: [Orders](/docs/tutorials/orders).
Click the channel name under **Channel orders** in the sidebar to see only that channel’s orders. The list description becomes **Showing orders from** plus the channel name.
## Troubleshooting
| What you see | What to check |
| ------------------------------------------------------- | --------------------------------------------------------------------------------------------------------------------------------------------------------------------------------------------------------------------------------------------- |
| **No stores connected** | You are on **Connected stores** with nothing live. Open **Available integrations**. |
| WooCommerce one-click fails | Store must be `https://`. Security plugins or the host may block `wc-auth` or the REST API. Use **Enter API keys manually**. |
| **Failed to connect WooCommerce store** / keys rejected | Consumer Key and Secret must be a matching **Read/Write** pair. Regenerate in WooCommerce if needed. |
| WooCommerce connected but no new orders | Channel card is **Active**. **Orders & checkout**: **Only unfulfilled orders** may skip the order. **Connection**: **Last sync**, **Test connection**, webhook status. WooCommerce disables a hook after repeated failures — **Re-register**. |
| Custom pushes return `401` | No secret yet, wrong secret after rotate, or missing `X-Zippendo-Signature`. Generate a secret and sign the raw body. |
| Custom pushes return `400` | Missing/unknown `X-Zippendo-Topic`, or the payload failed validation (`externalId`, `orderNumber`, `orderLines`). |
| Custom **Channel enabled** is off | All pushes are rejected until you turn it back on. |
| Orders list empty after connect | Confirm the toast succeeded and you are in the same organization. WooCommerce sync is near-real-time plus polling; custom orders appear only after a successful push or API create. |
| **Disconnected channels** | Leftover from a removed store. **Remove** if you do not need the imported orders. |
| Shopify | This page does not cover install or disconnect. Use [Connect Shopify](/docs/tutorials/connect-shopify). |
More on late imports: [Order sync delays](/docs/knowledge-base/order-sync-delays).
## Next steps
App Store install and what happens after Shopify redirects back.
Filter the list, open an order, and create a shipment from it.
Ingest payload, headers, and the REST alternative.
Live rates and pickup points at checkout (needs a checkout token).
Field-level: [Connect WooCommerce](/docs/how-to/connect-woocommerce) · [Custom channel API](/docs/how-to/custom-channel-api) · [Order channel settings](/docs/how-to/order-channel-settings)