> ## Documentation Index
> Fetch the complete documentation index at: https://www.zippendo.com/docs/llms.txt
> Use this file to discover all available pages before exploring further.
# Carriers
> Connect carriers in Zippendo and manage products, credentials, and test mode.
A **carrier** is a shipping company you book labels with — GLS, PostNord, Bring, and the rest of the catalog. Connecting one stores that account’s credentials on your organization so you can pick its **products** when you [create a shipment](/docs/tutorials/create-a-shipment).
This walkthrough uses the **Carriers** screen in the client. For the catalog list and credential notes, see [Supported carriers](/docs/carriers/supported-carriers) and [Adding and managing carriers](/docs/carriers/adding-and-managing-carriers).
You do **not** pick a sender address on the connect form. Add at least one [sender address](/docs/settings/sender-addresses) before you create a shipment — the address is chosen on the shipment, not on the carrier.
## My Carriers
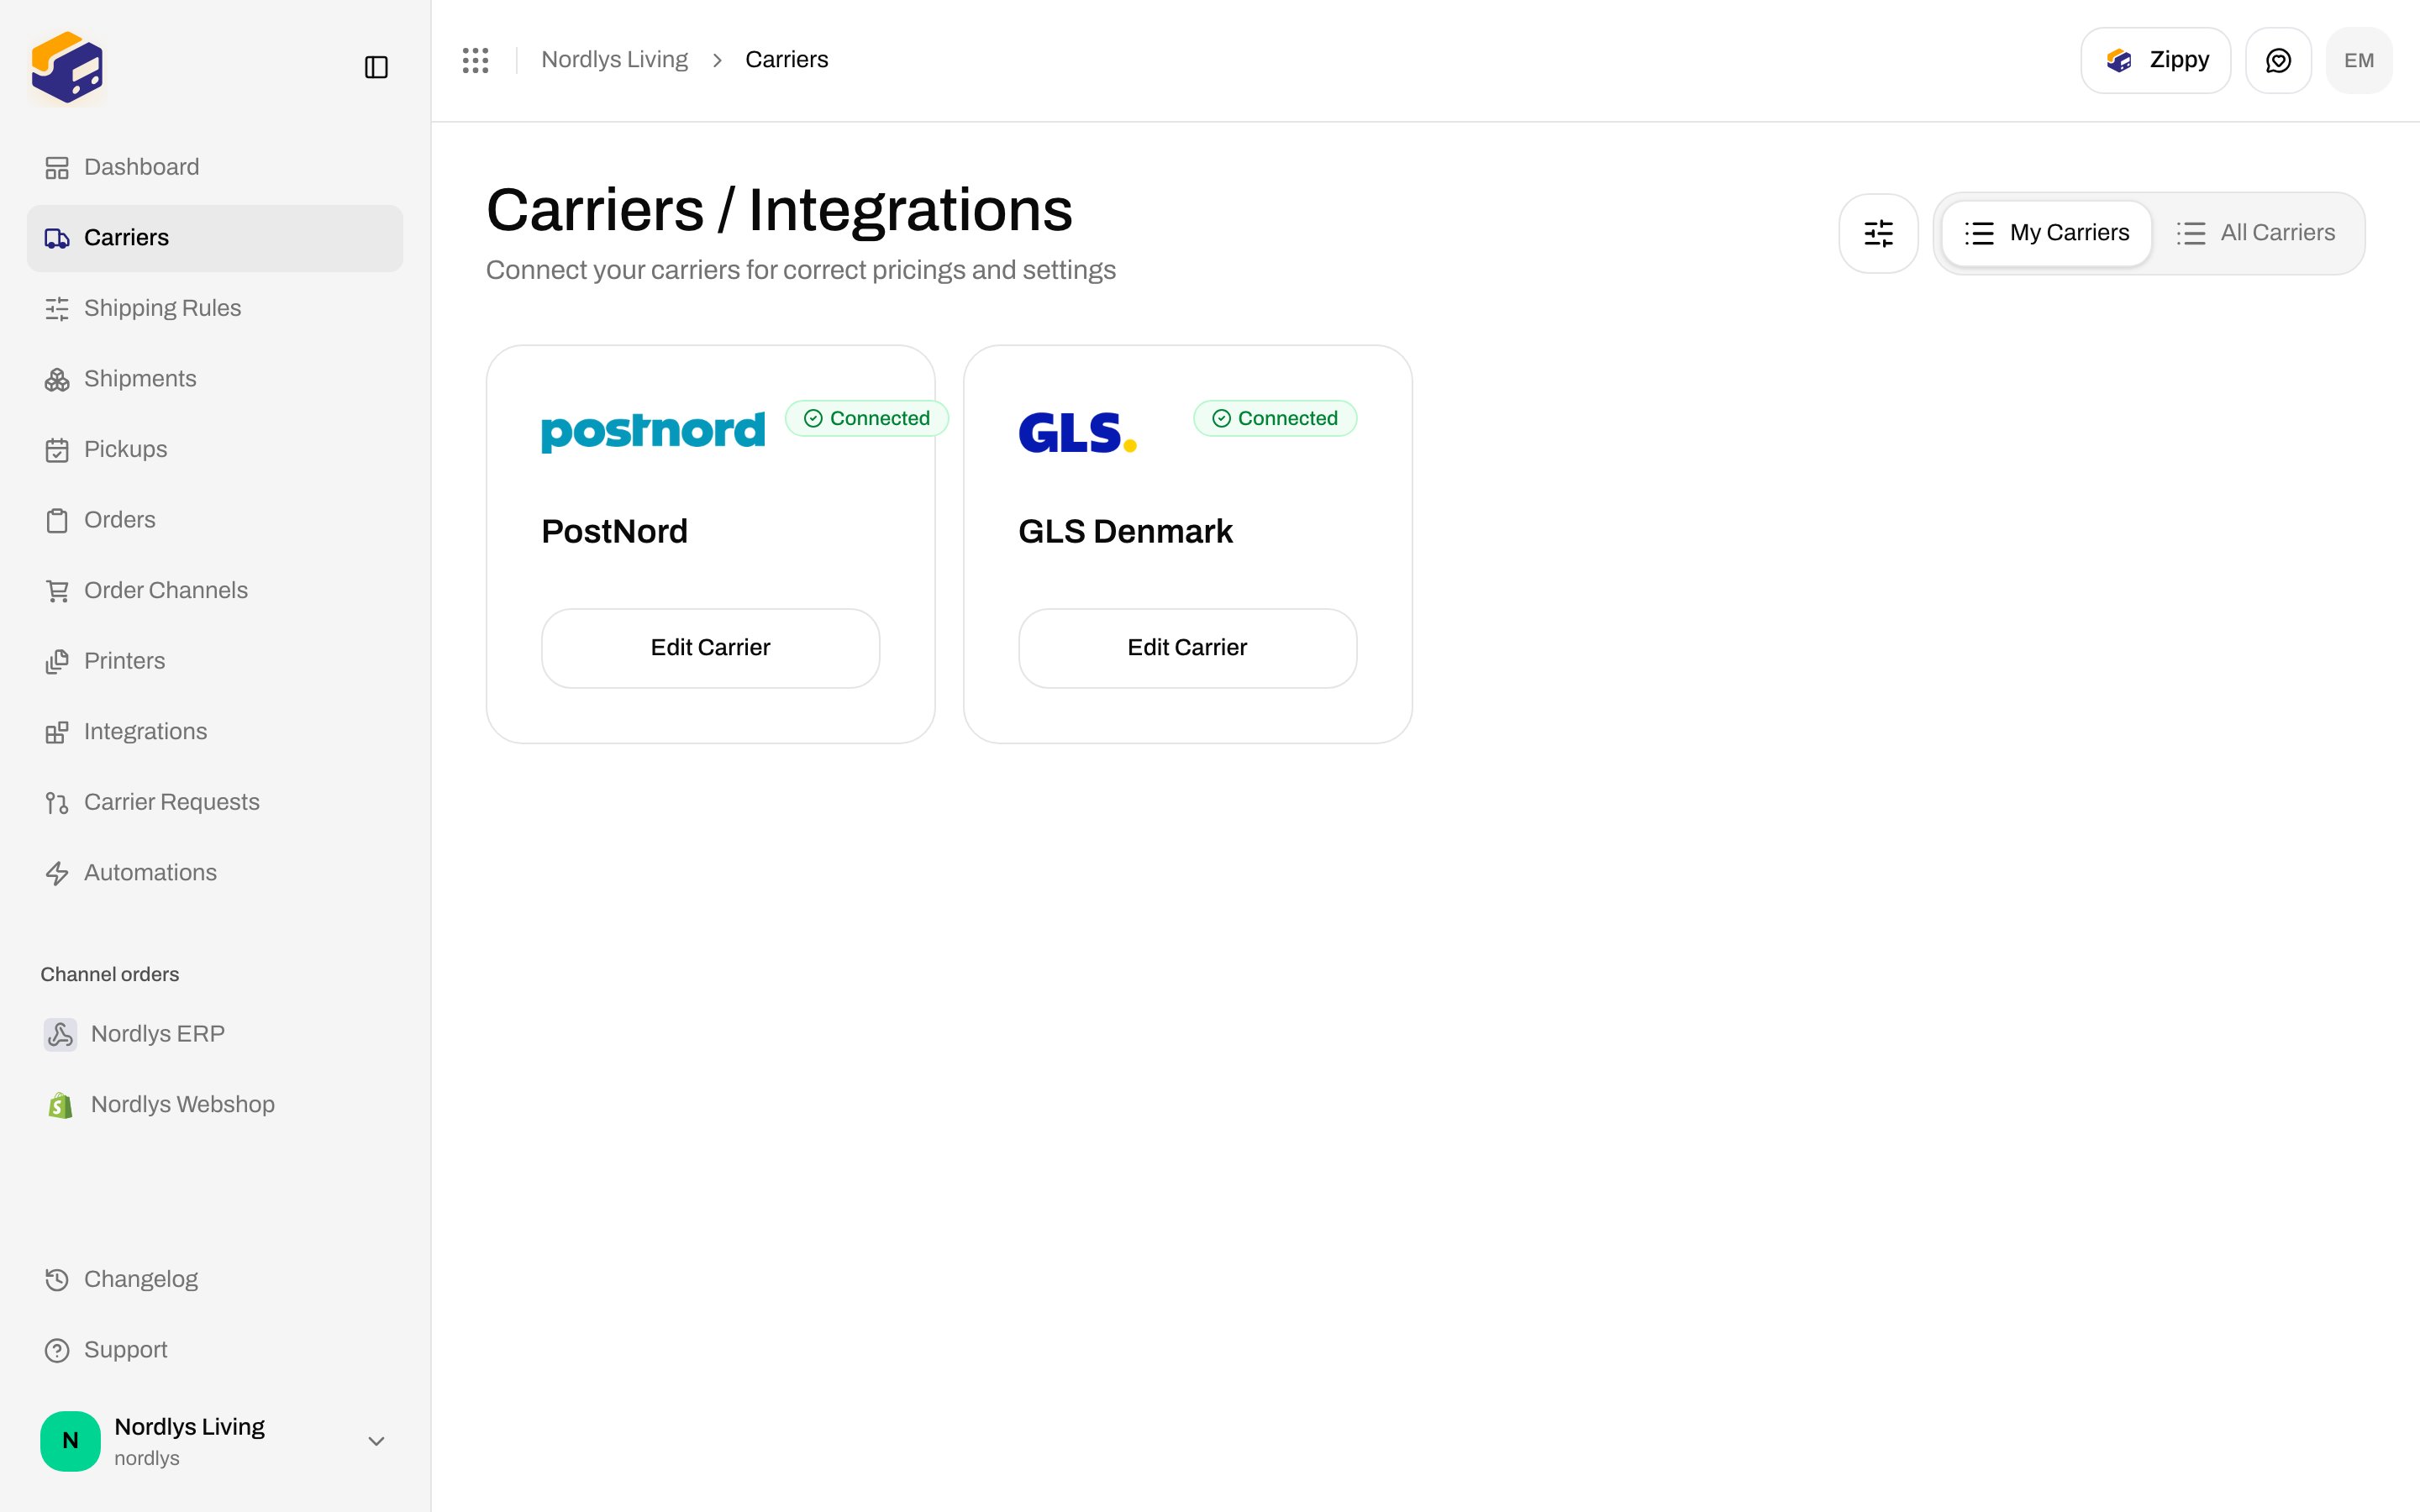
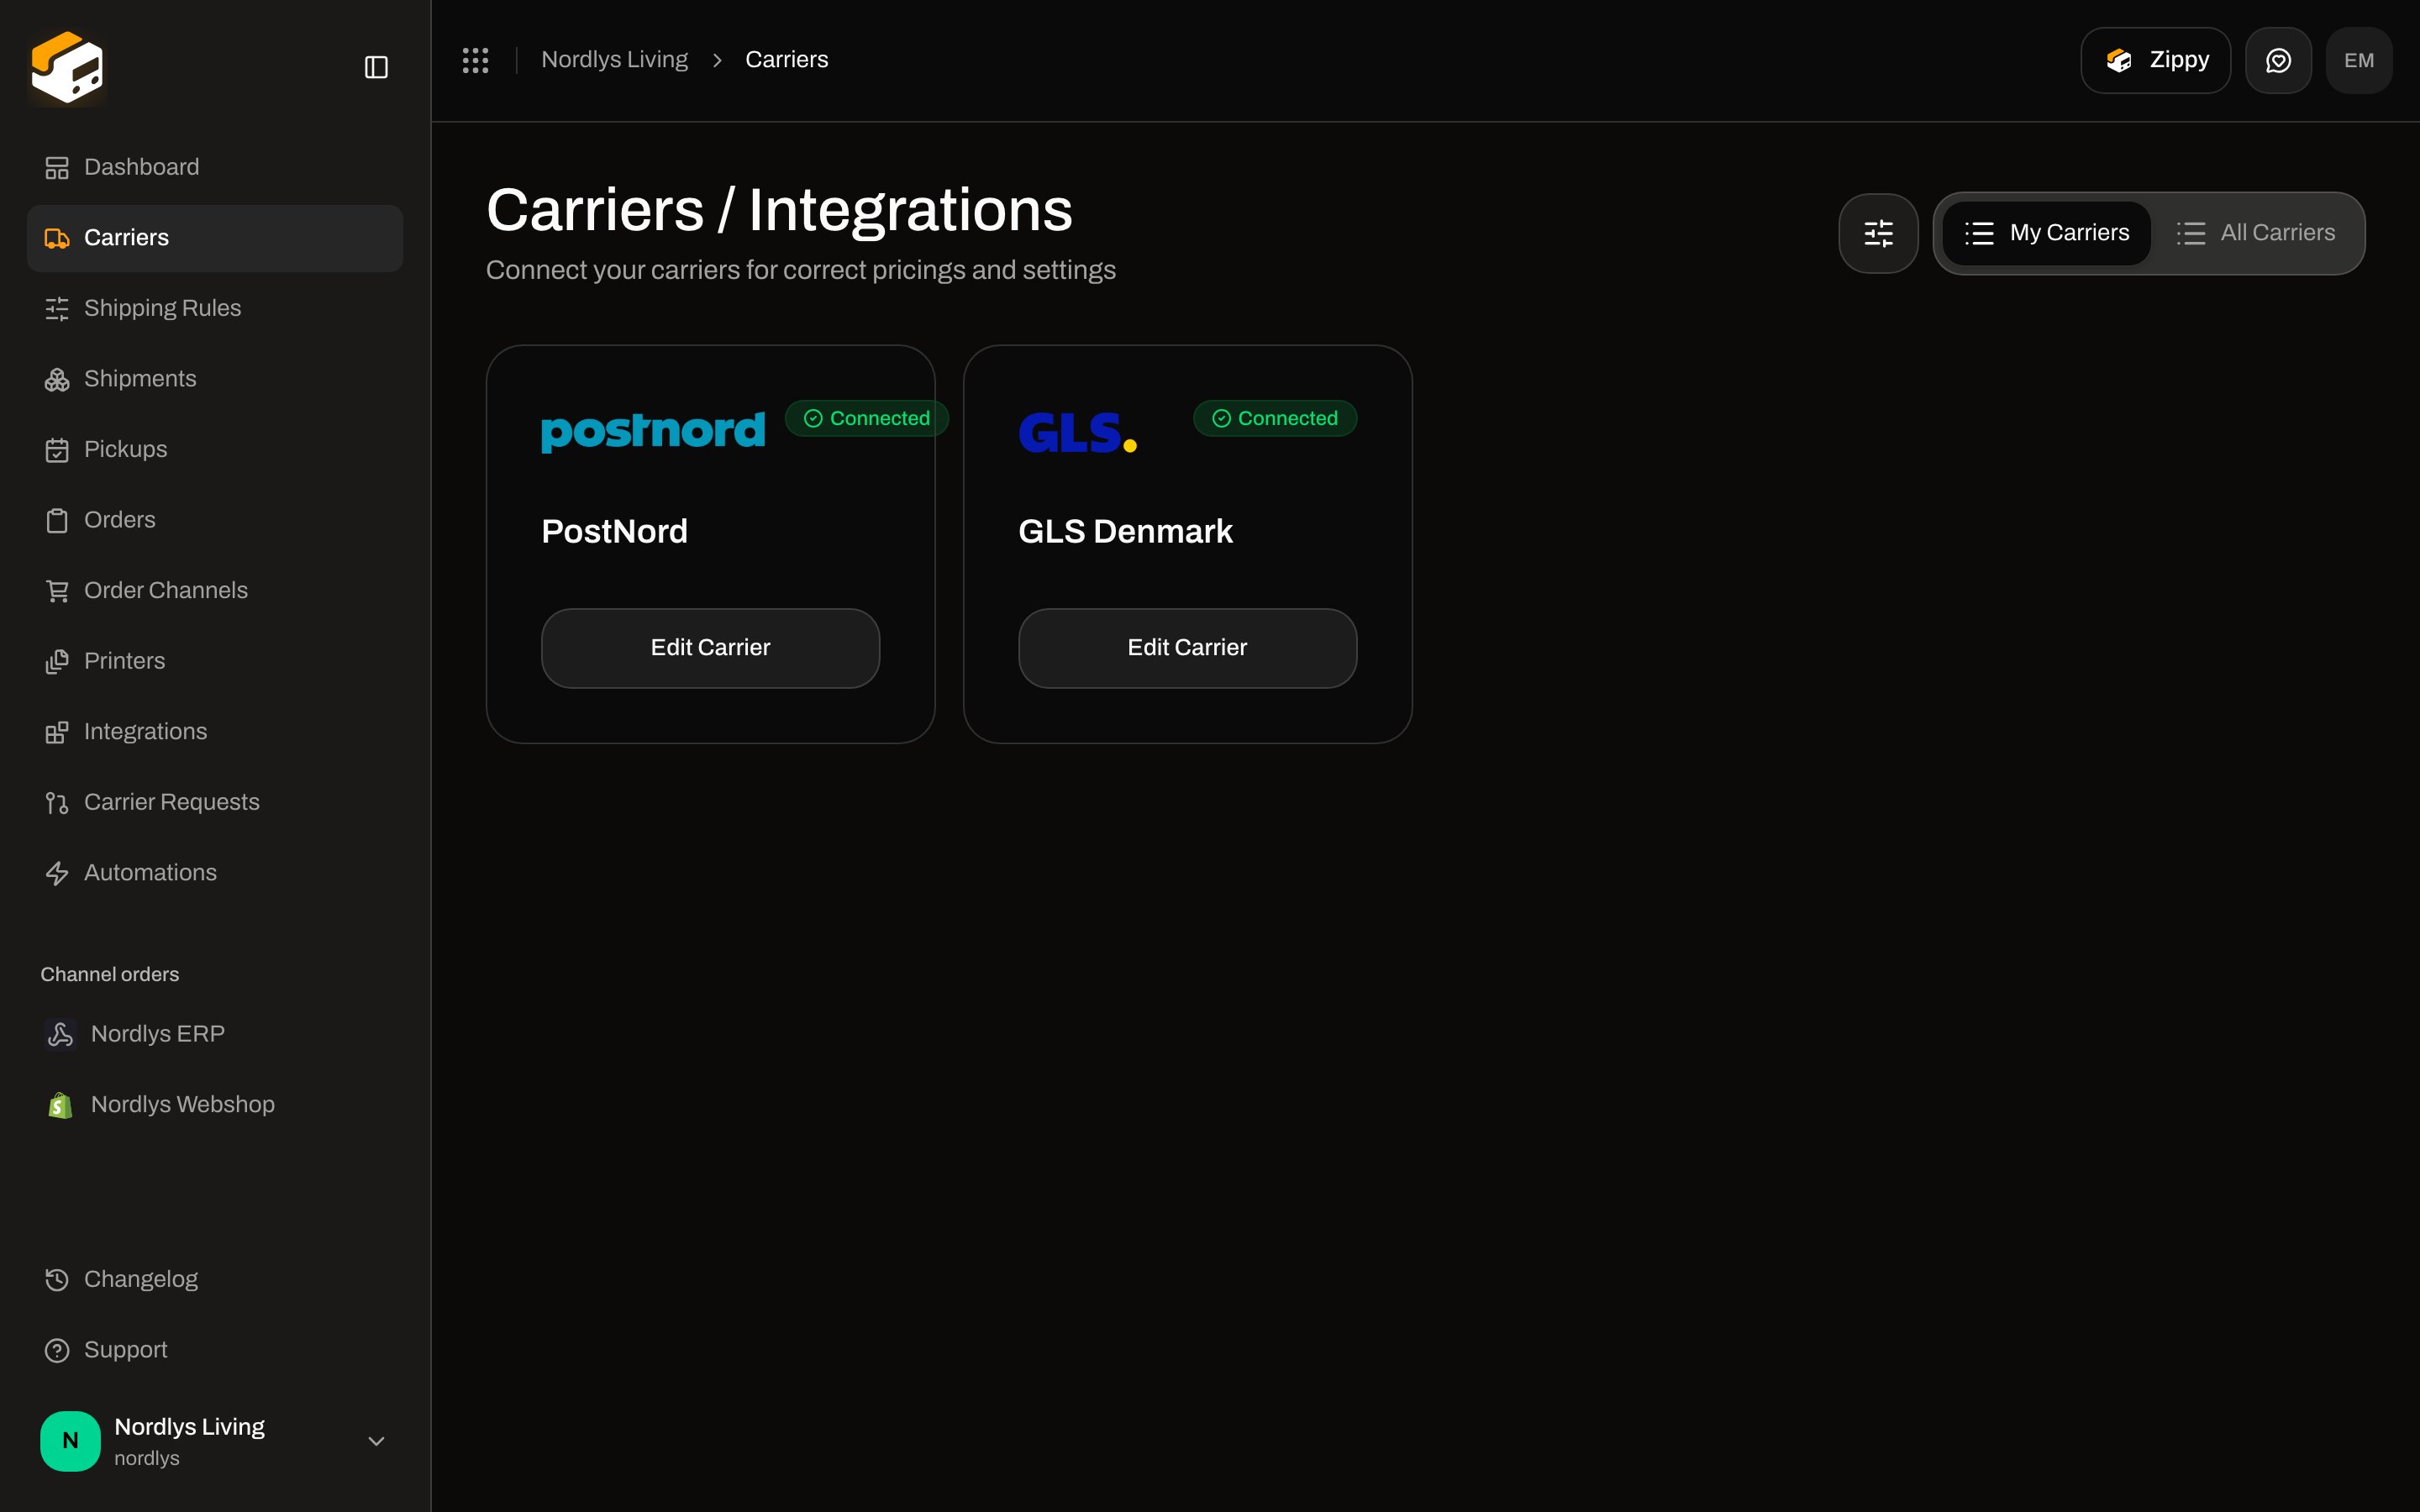
Open **Carriers** in the sidebar. The page title is **Carriers / Integrations**. Two tabs sit in the header:
* **My Carriers** — accounts you have already connected (`?tab=my-carriers`).
* **All Carriers** — the catalog you can connect from (`?tab=all-carriers`).
Each connected card shows the carrier logo, the name you gave the connection, a **Connected** badge, and **Edit Carrier**.
 If you have not connected anyone yet, the tab shows **No carriers yet** and a **Browse Carriers** button that switches you to **All Carriers**.
You can connect the same carrier type more than once (for example two GLS accounts) as long as each connection has its own name and credentials.
## All Carriers
Switch to **All Carriers** to see the catalog. The count above the grid is the number of integrations available today.
If you have not connected anyone yet, the tab shows **No carriers yet** and a **Browse Carriers** button that switches you to **All Carriers**.
You can connect the same carrier type more than once (for example two GLS accounts) as long as each connection has its own name and credentials.
## All Carriers
Switch to **All Carriers** to see the catalog. The count above the grid is the number of integrations available today.
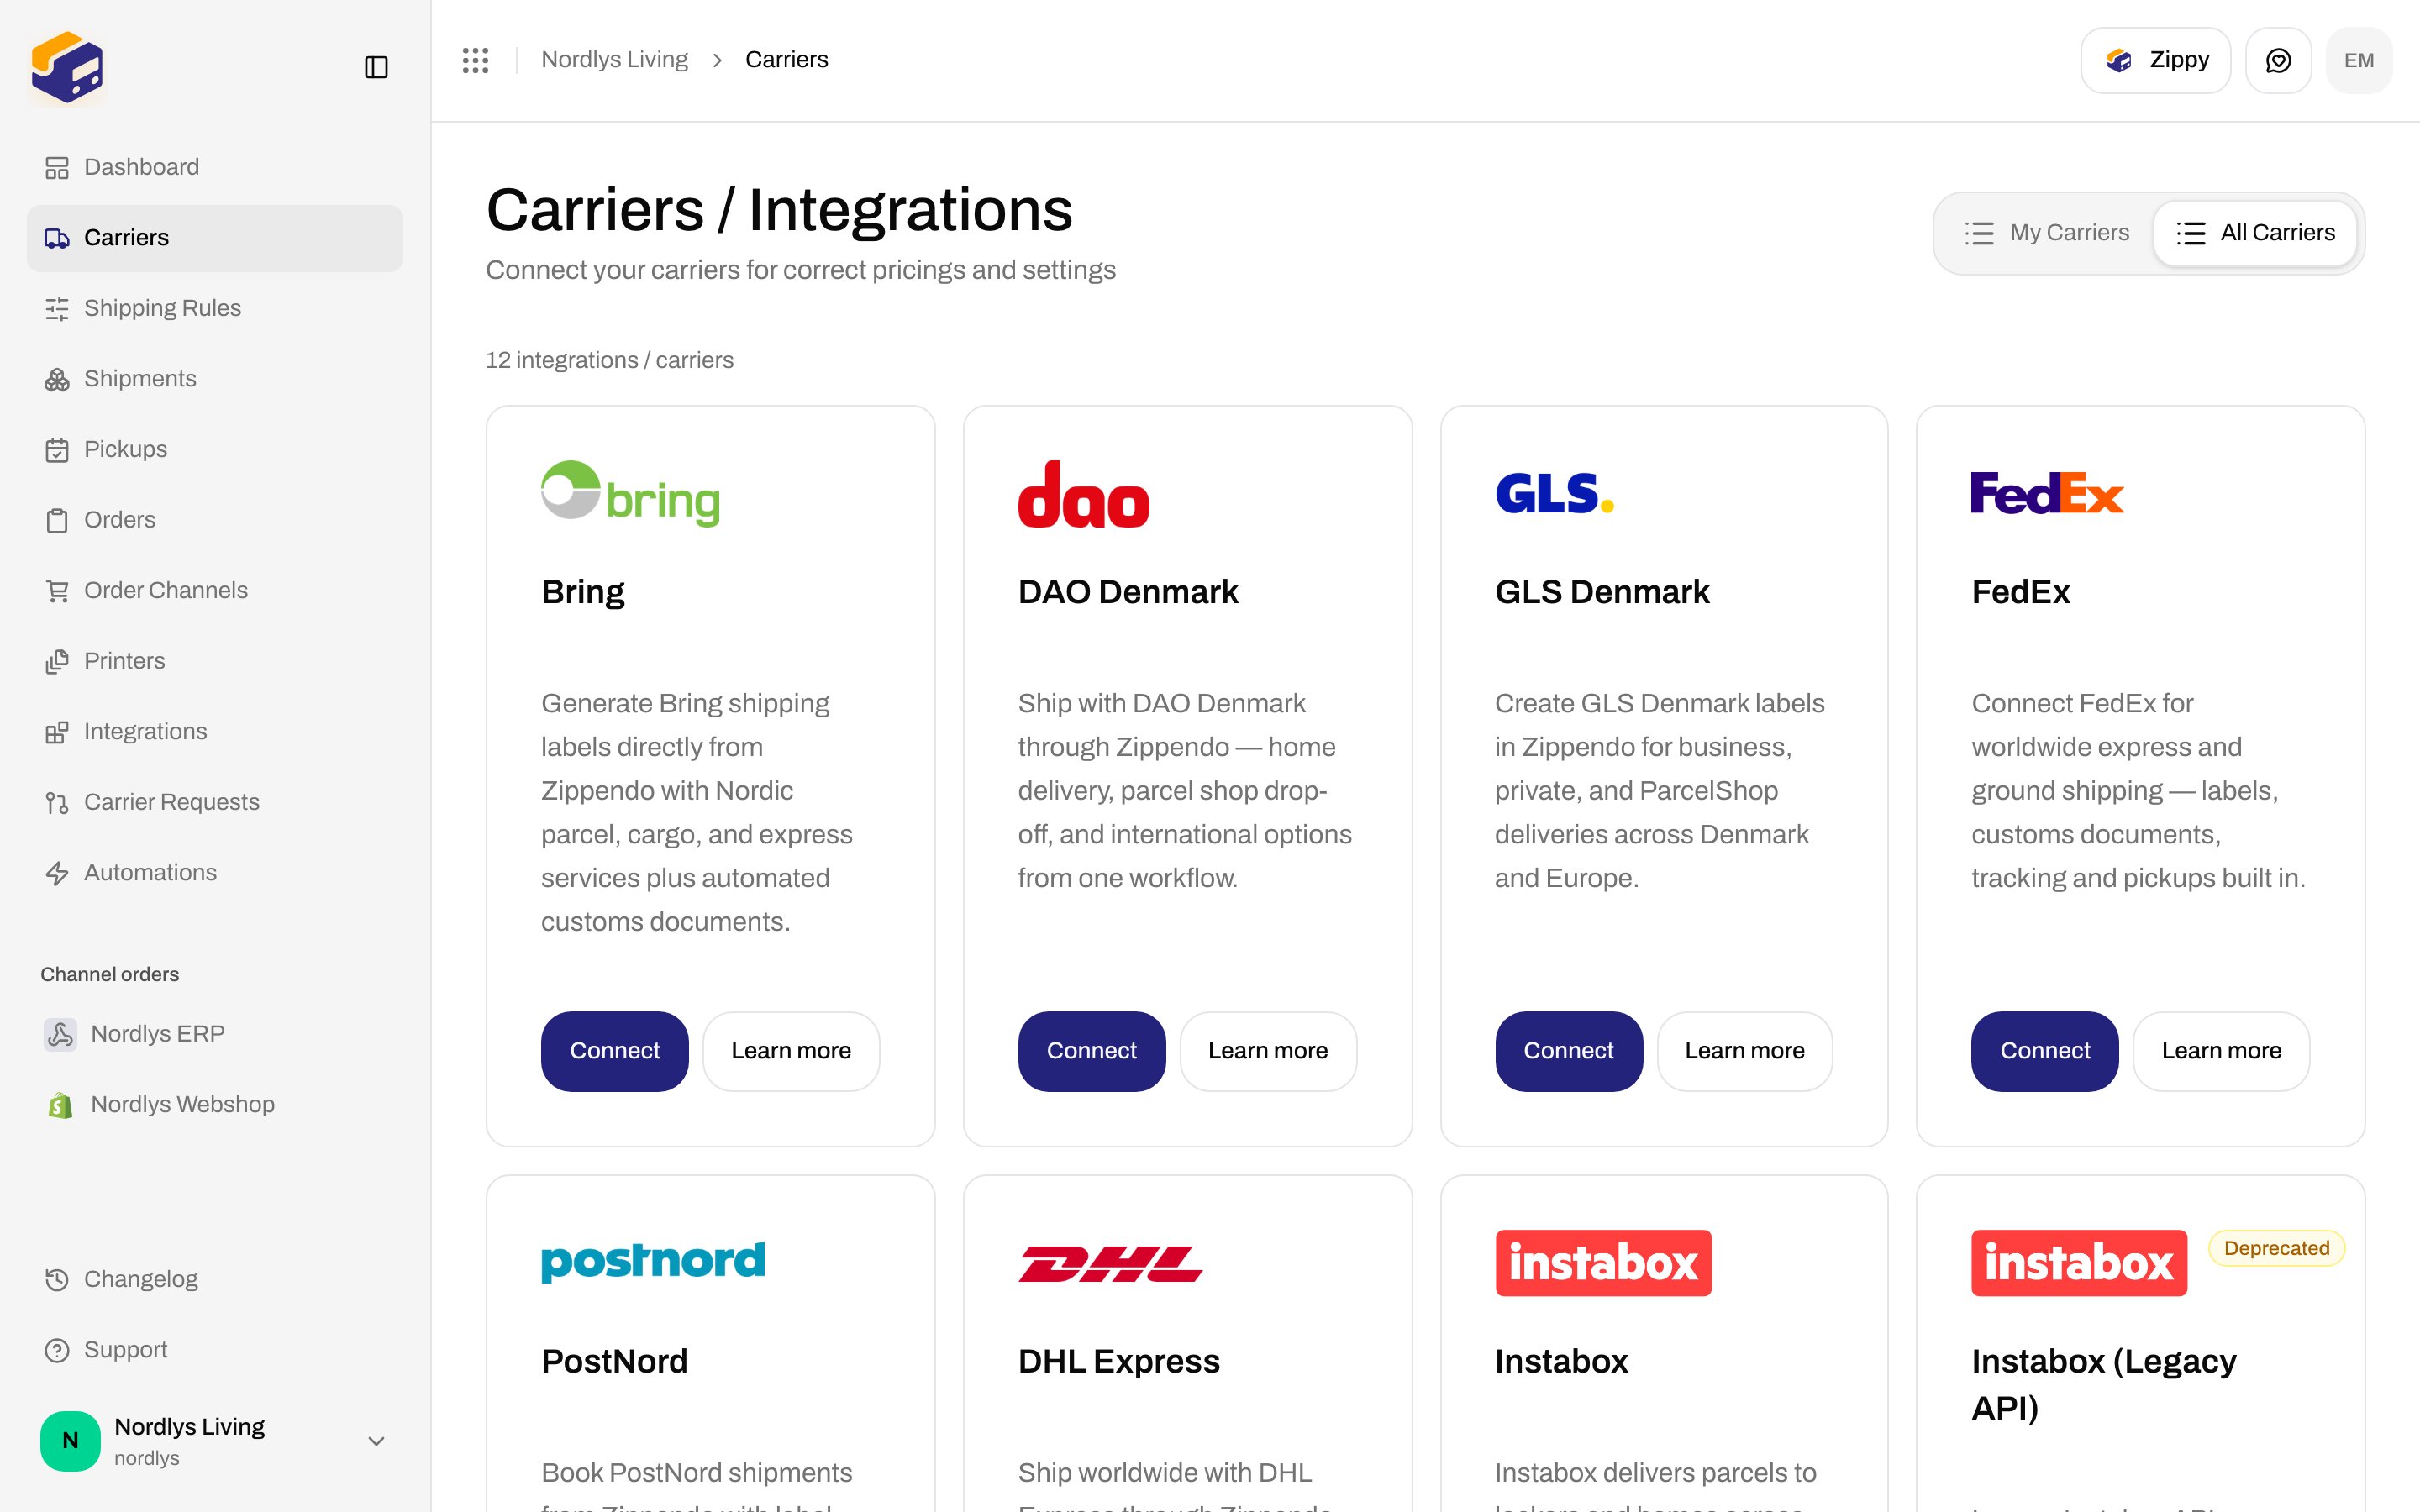
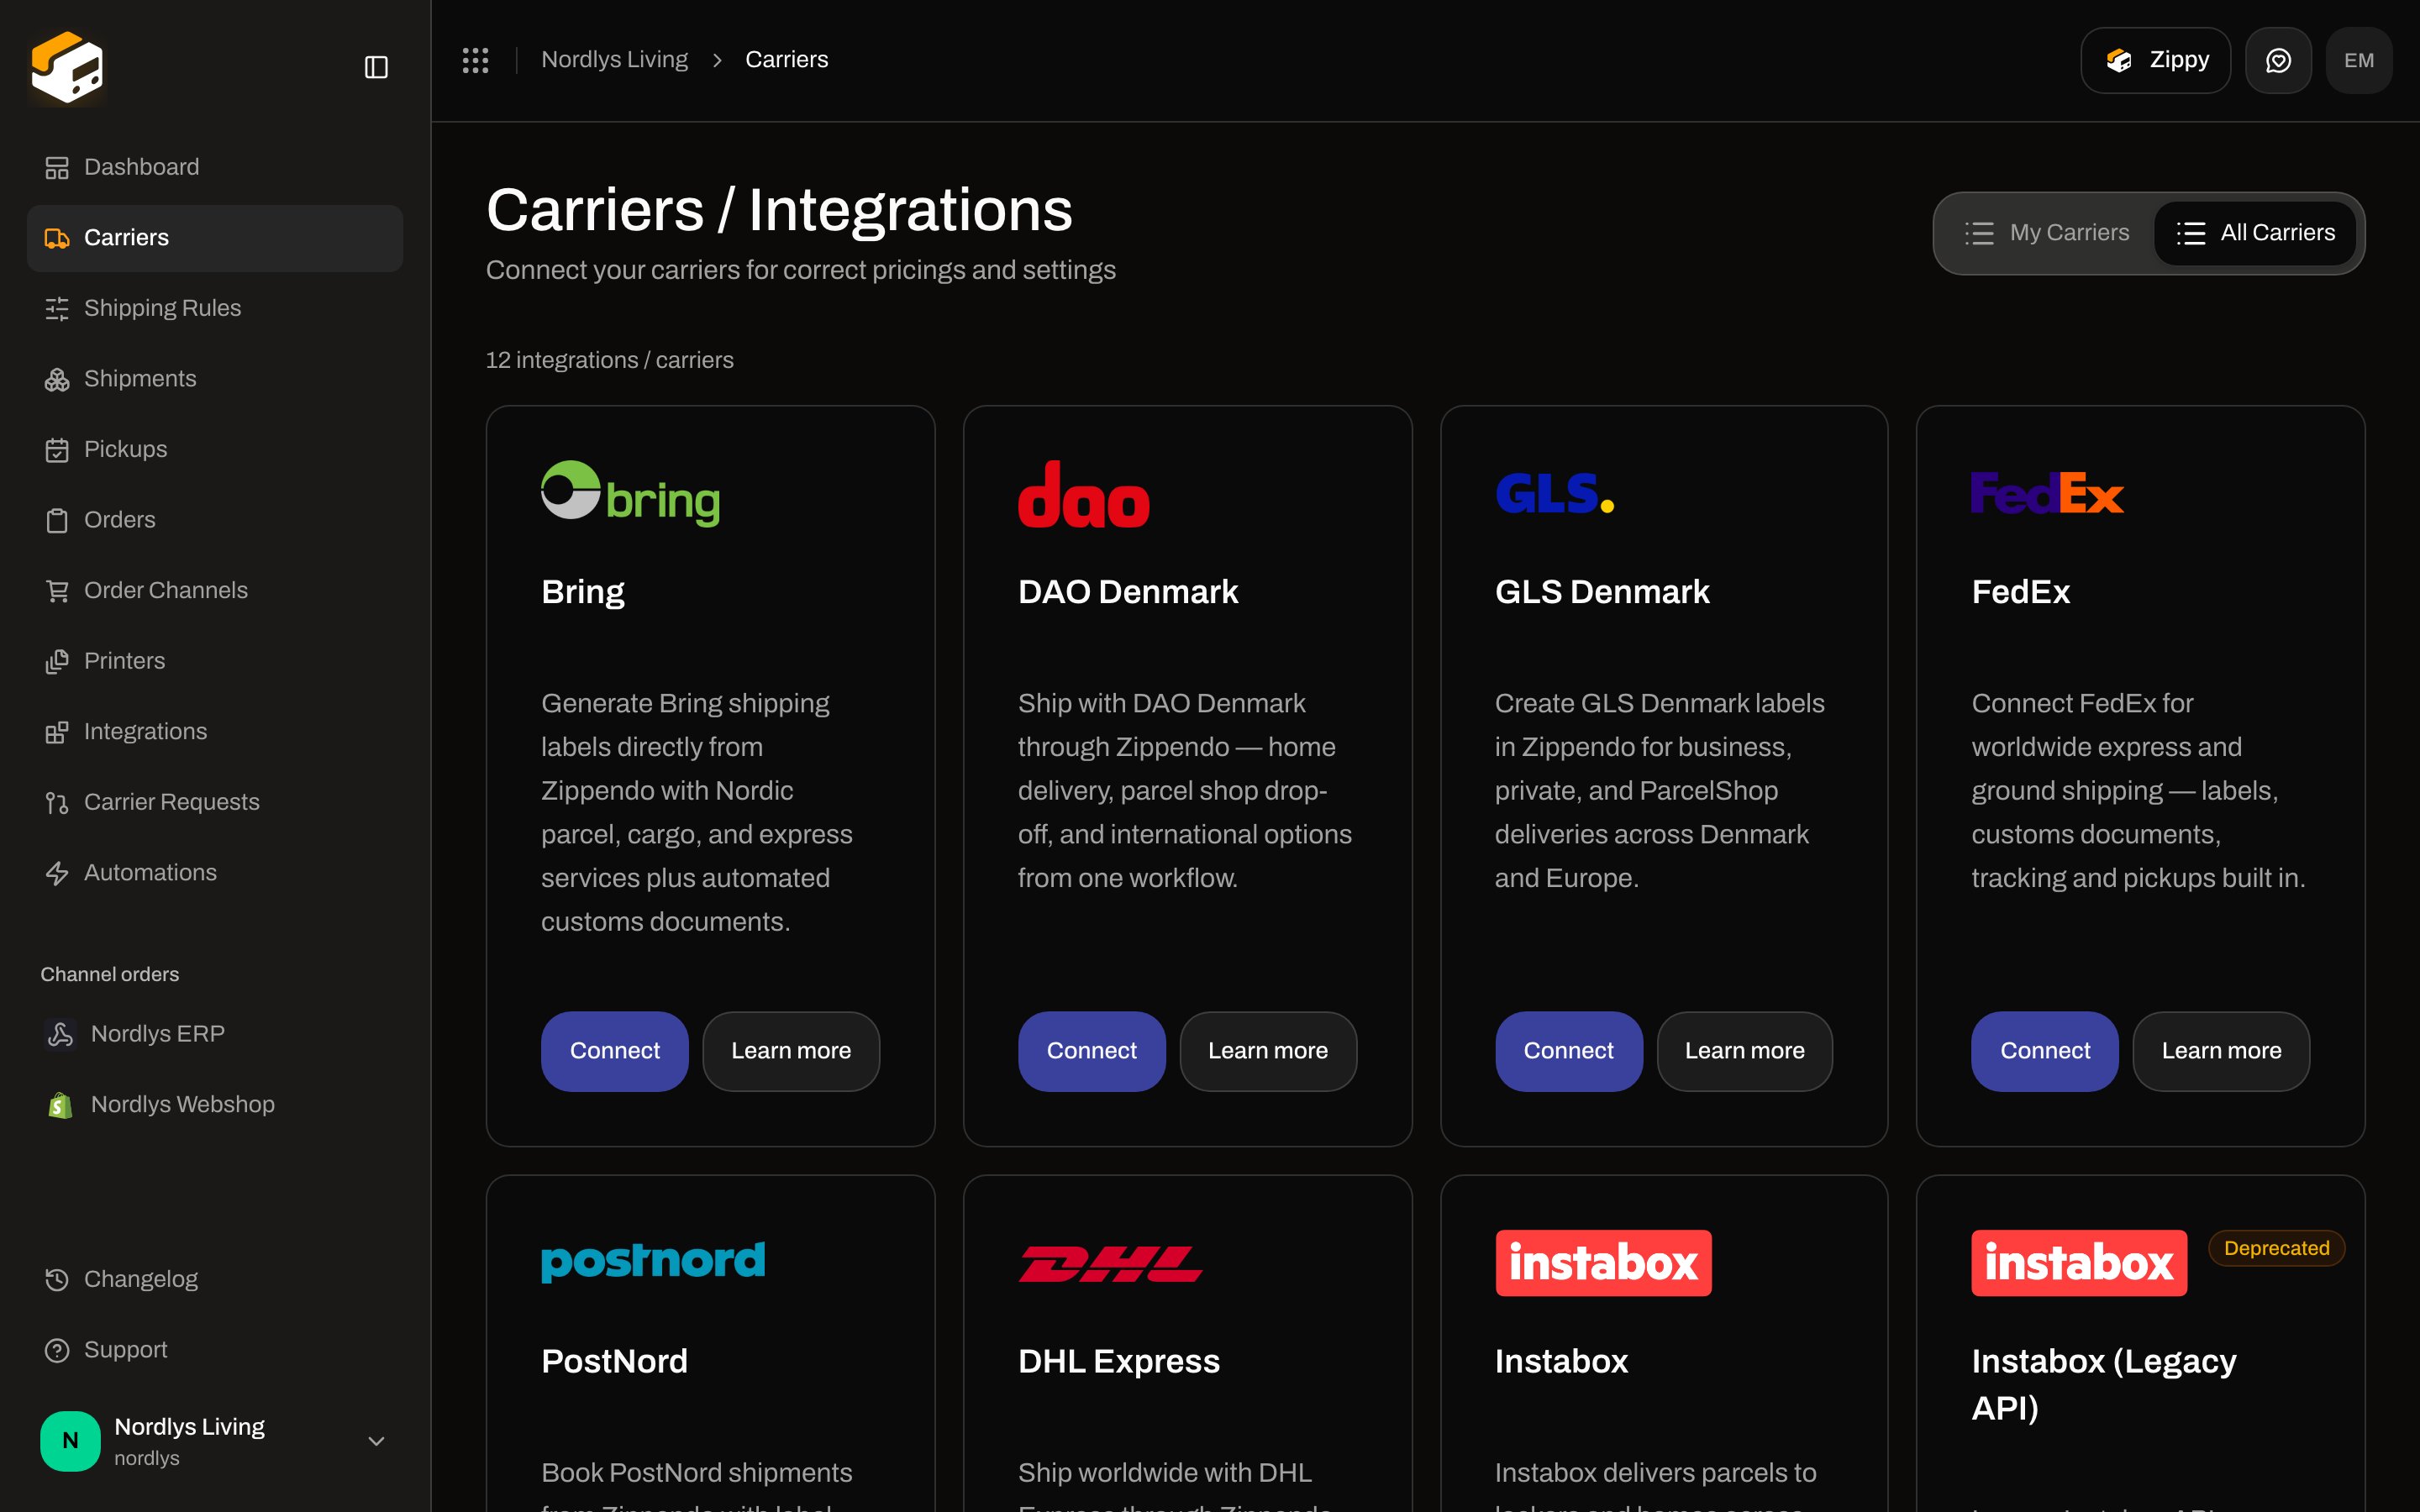 Each card has:
* A short description of what the integration books.
* **Connect** — opens **Create new carrier**.
* **Learn more** — the carrier’s public site.
Some cards are marked **Deprecated** (for example an older Instabox API). Prefer the current integration unless you still need the legacy one.
The grid is the source of truth for what you can connect. [Supported carriers](/docs/carriers/supported-carriers) is the same list in documentation form.
## Connect a carrier
Go to **Carriers → All Carriers**.
Find the carrier (for example **Bring**) and click **Connect**.
The dialog title is **Create new carrier**. **Carrier name \*** is required. It defaults to the catalog name; change it if you will connect the same carrier twice.
**Required Fields** must be completed before **Create** is enabled. **Optional Fields** are extras the carrier accepts — customer numbers, return customer numbers, and **Sandbox Mode**.
Click **Create**. A toast confirms **Carrier created successfully**, and the connection appears under **My Carriers**.
Each card has:
* A short description of what the integration books.
* **Connect** — opens **Create new carrier**.
* **Learn more** — the carrier’s public site.
Some cards are marked **Deprecated** (for example an older Instabox API). Prefer the current integration unless you still need the legacy one.
The grid is the source of truth for what you can connect. [Supported carriers](/docs/carriers/supported-carriers) is the same list in documentation form.
## Connect a carrier
Go to **Carriers → All Carriers**.
Find the carrier (for example **Bring**) and click **Connect**.
The dialog title is **Create new carrier**. **Carrier name \*** is required. It defaults to the catalog name; change it if you will connect the same carrier twice.
**Required Fields** must be completed before **Create** is enabled. **Optional Fields** are extras the carrier accepts — customer numbers, return customer numbers, and **Sandbox Mode**.
Click **Create**. A toast confirms **Carrier created successfully**, and the connection appears under **My Carriers**.
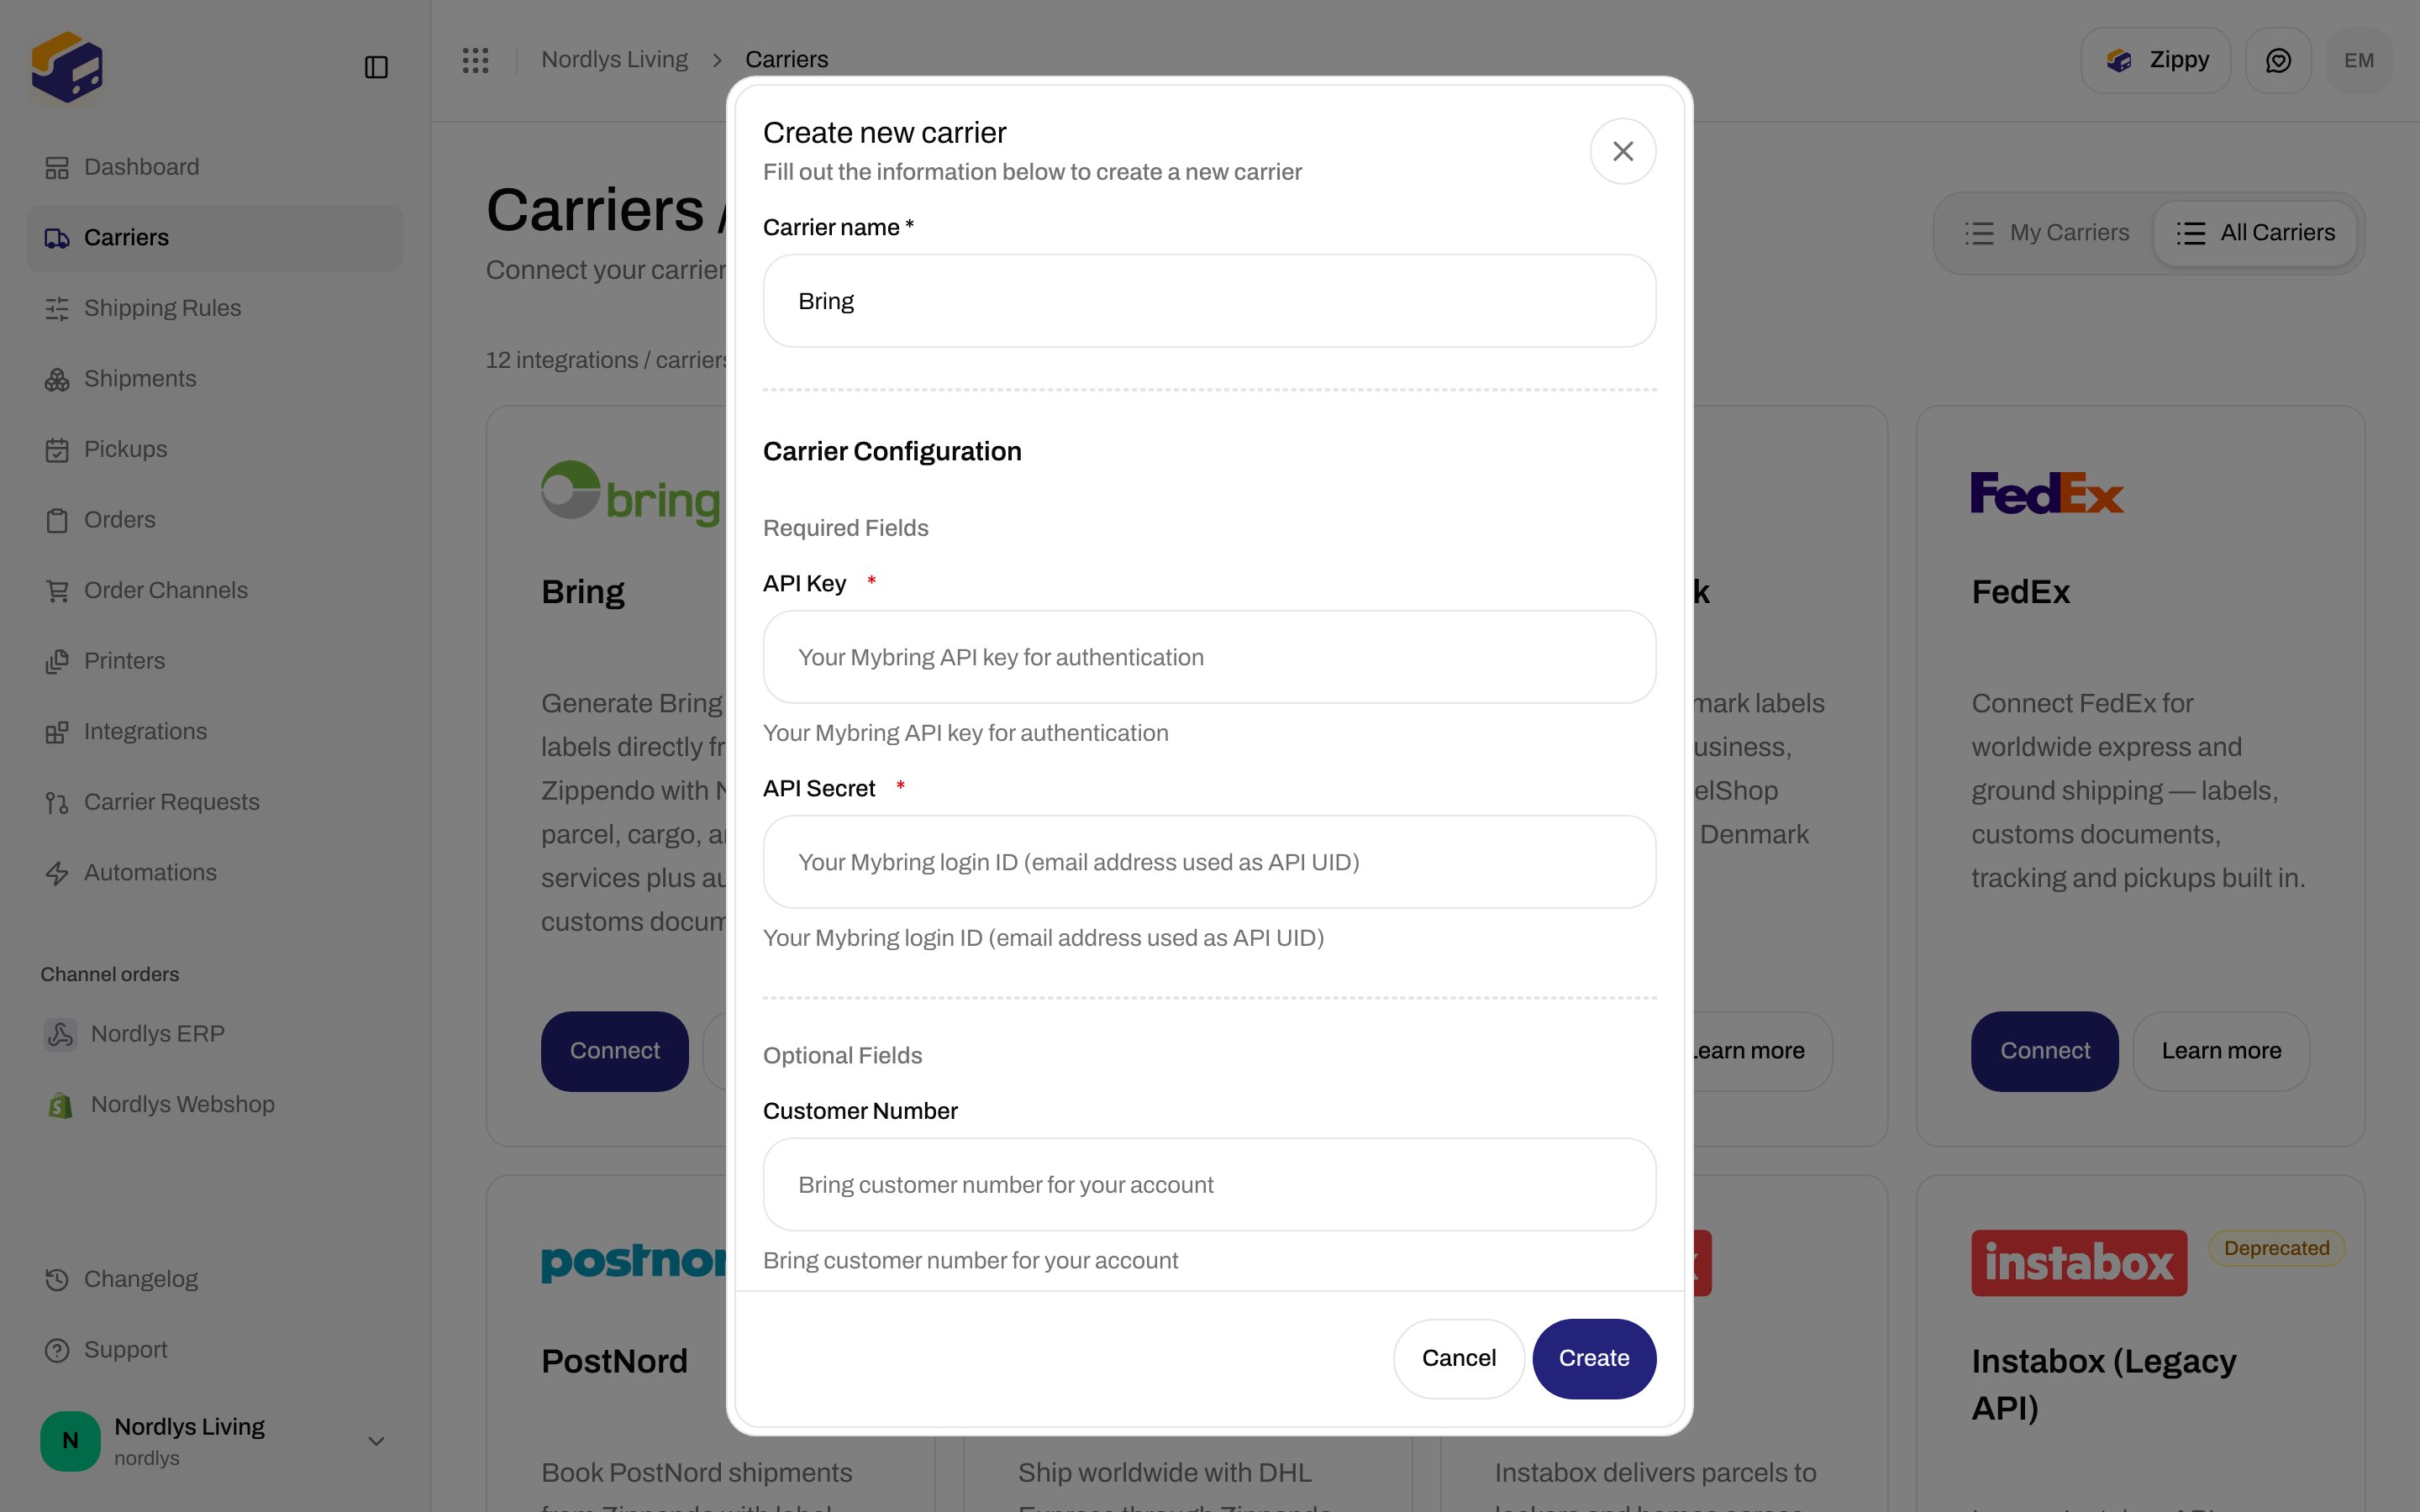
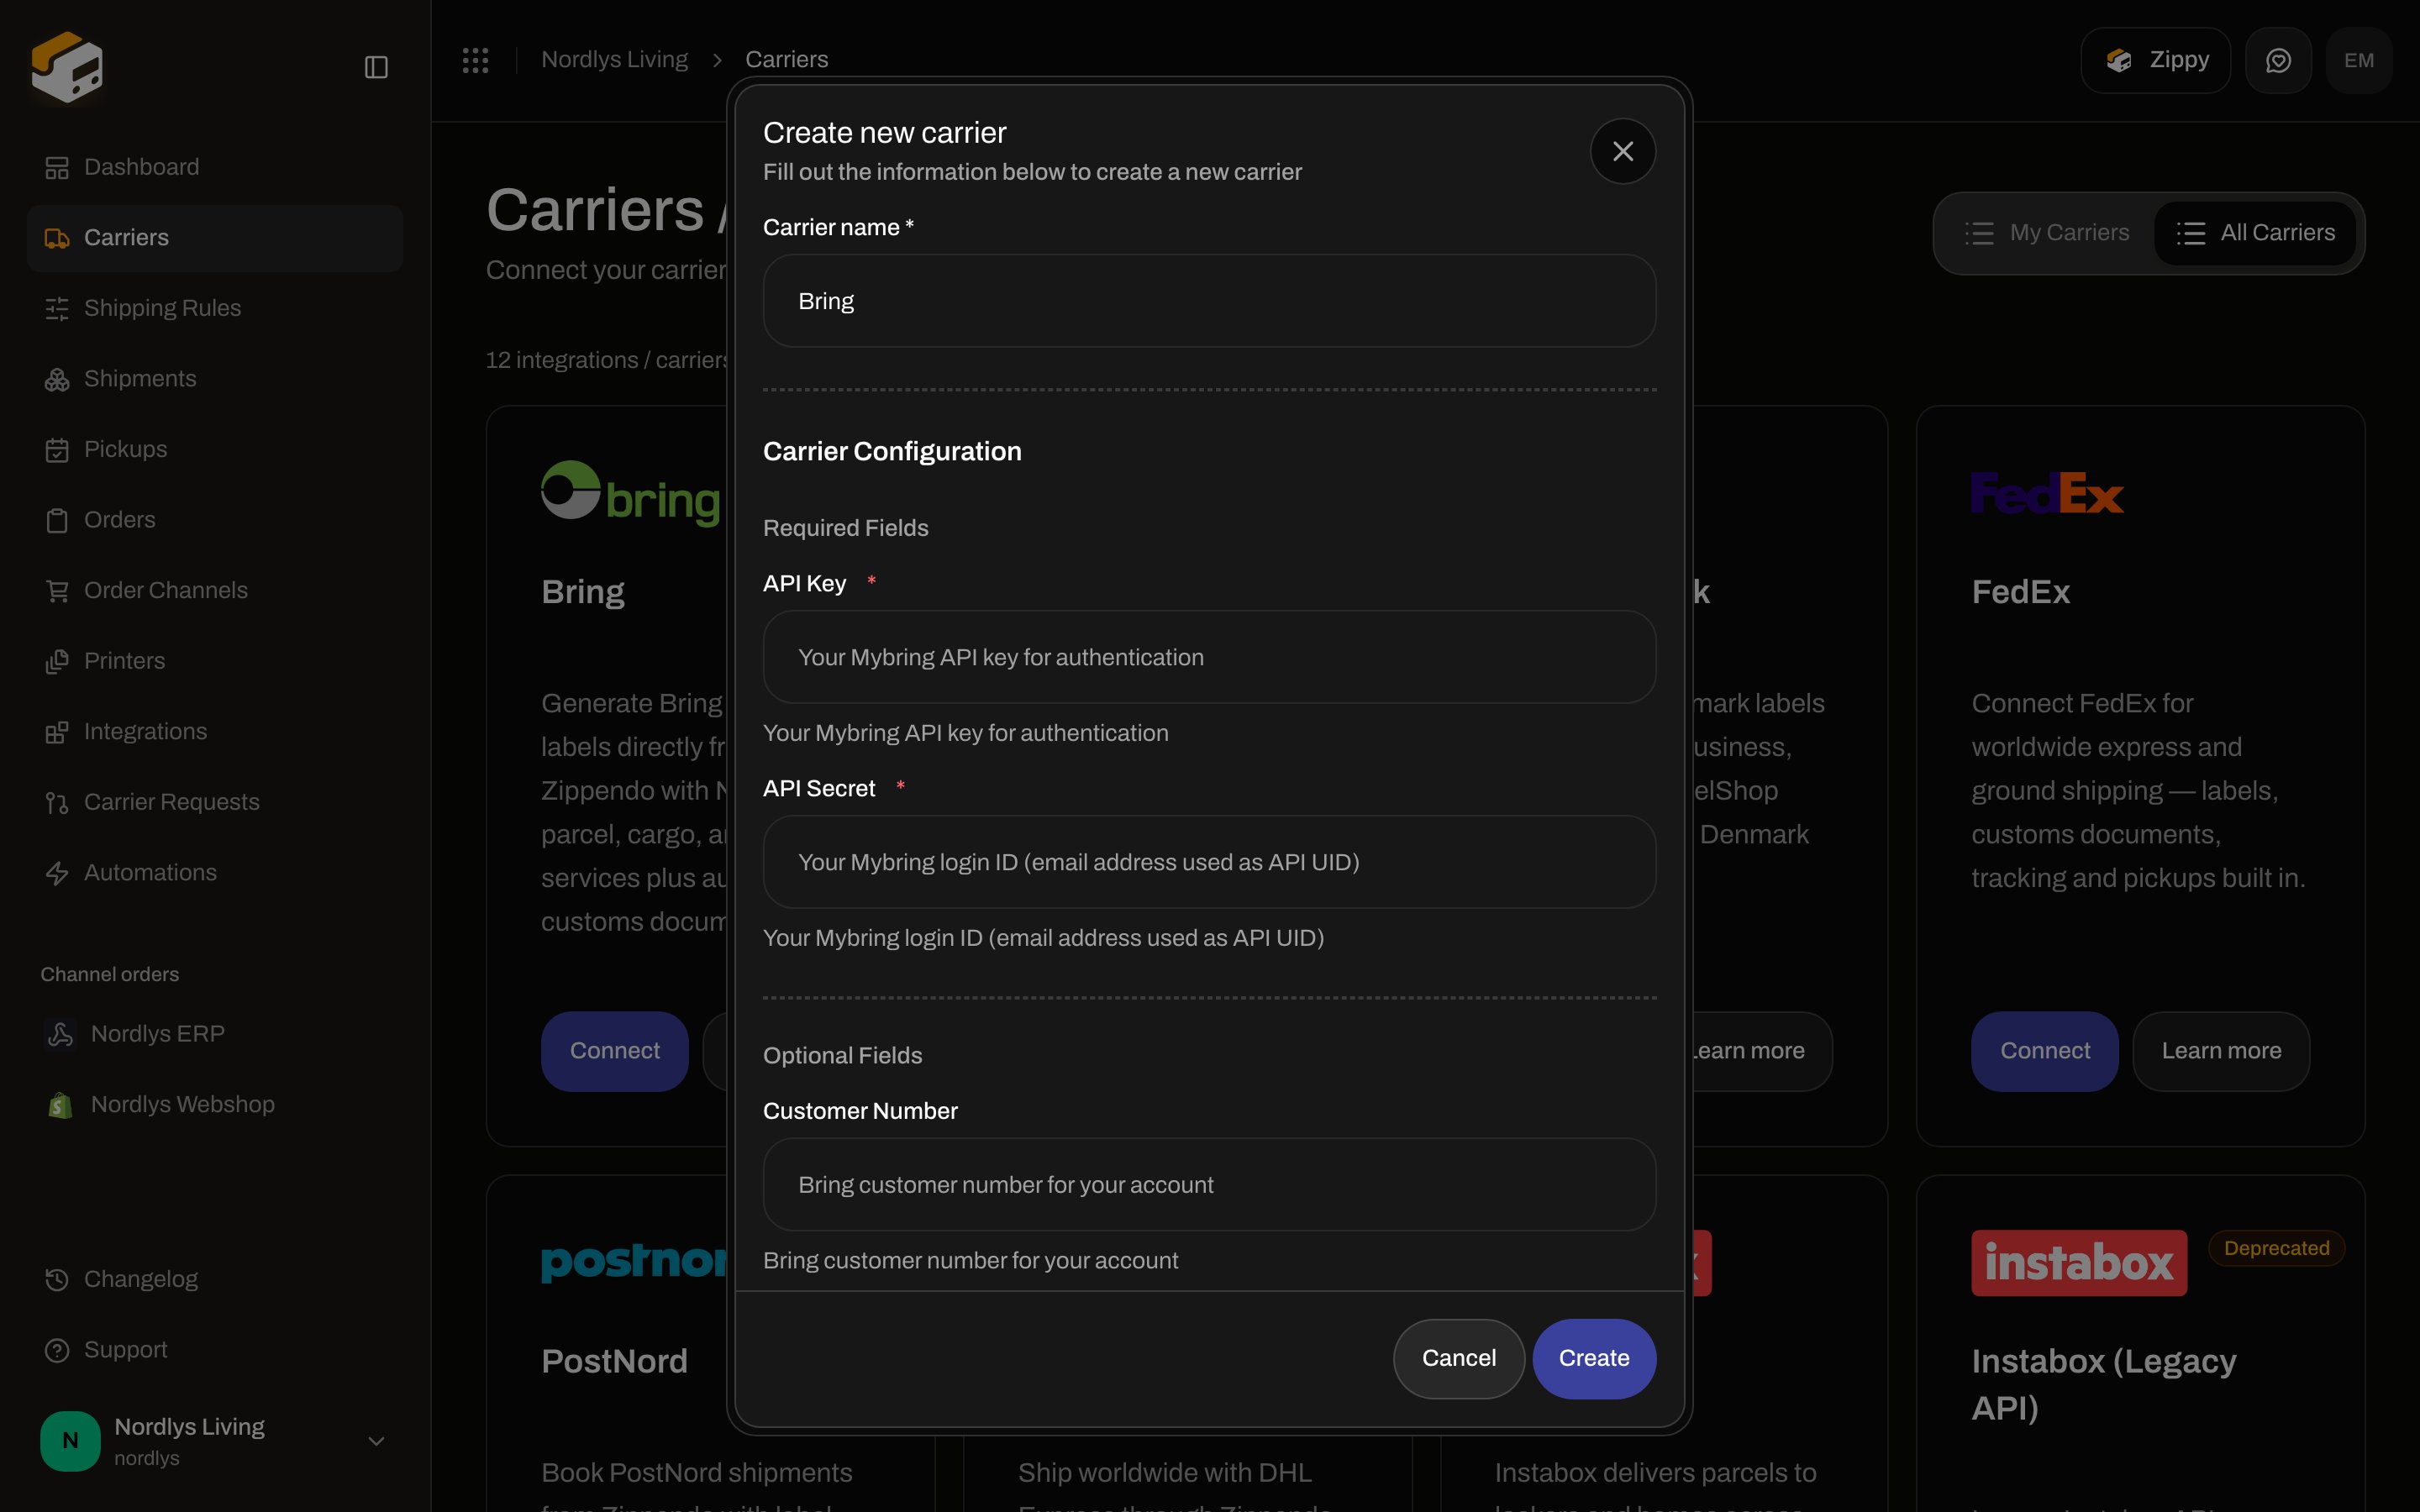 There is **no sender-address picker** on this dialog. Scroll **Optional Fields** for extras that sit below the fold (Bring’s **Return Customer Number** and **Sandbox Mode**).
### Credentials by carrier
The form is generated from that carrier’s config. Typical fields:
| Carrier | Required | Optional |
| --------------- | ---------------------------------------------------------------------- | ----------------------------------------------------------------- |
| **GLS Denmark** | **Login Name**, **Password**, **Customer ID**, **Contact ID** | **Sandbox Mode** |
| **Bring** | **API Key**, **API Secret** | **Customer Number**, **Return Customer Number**, **Sandbox Mode** |
| **PostNord** | **Customer Number**, **Country** (Denmark, Sweden, Norway, or Finland) | **Return Customer Number**, **Sandbox Mode** |
**Sandbox Mode** books against the carrier’s test environment. Leave it off for live labels.
If your organization has [brands](/docs/tutorials/settings-team-brands), a **Brand** field appears on this dialog and on the edit page. Assigning a brand means only that brand can use the connection. Leave it unset for an organization-wide carrier. The field is hidden when you have no brands.
If **Create** fails, check required fields and that keys have no extra spaces. Auth errors after you send a shipment are covered in [Carrier authentication failures](/docs/knowledge-base/carrier-authentication-failures).
## Edit a carrier
On **My Carriers**, click **Edit Carrier**. The page title is **Edit your carrier**.
There is **no sender-address picker** on this dialog. Scroll **Optional Fields** for extras that sit below the fold (Bring’s **Return Customer Number** and **Sandbox Mode**).
### Credentials by carrier
The form is generated from that carrier’s config. Typical fields:
| Carrier | Required | Optional |
| --------------- | ---------------------------------------------------------------------- | ----------------------------------------------------------------- |
| **GLS Denmark** | **Login Name**, **Password**, **Customer ID**, **Contact ID** | **Sandbox Mode** |
| **Bring** | **API Key**, **API Secret** | **Customer Number**, **Return Customer Number**, **Sandbox Mode** |
| **PostNord** | **Customer Number**, **Country** (Denmark, Sweden, Norway, or Finland) | **Return Customer Number**, **Sandbox Mode** |
**Sandbox Mode** books against the carrier’s test environment. Leave it off for live labels.
If your organization has [brands](/docs/tutorials/settings-team-brands), a **Brand** field appears on this dialog and on the edit page. Assigning a brand means only that brand can use the connection. Leave it unset for an organization-wide carrier. The field is hidden when you have no brands.
If **Create** fails, check required fields and that keys have no extra spaces. Auth errors after you send a shipment are covered in [Carrier authentication failures](/docs/knowledge-base/carrier-authentication-failures).
## Edit a carrier
On **My Carriers**, click **Edit Carrier**. The page title is **Edit your carrier**.
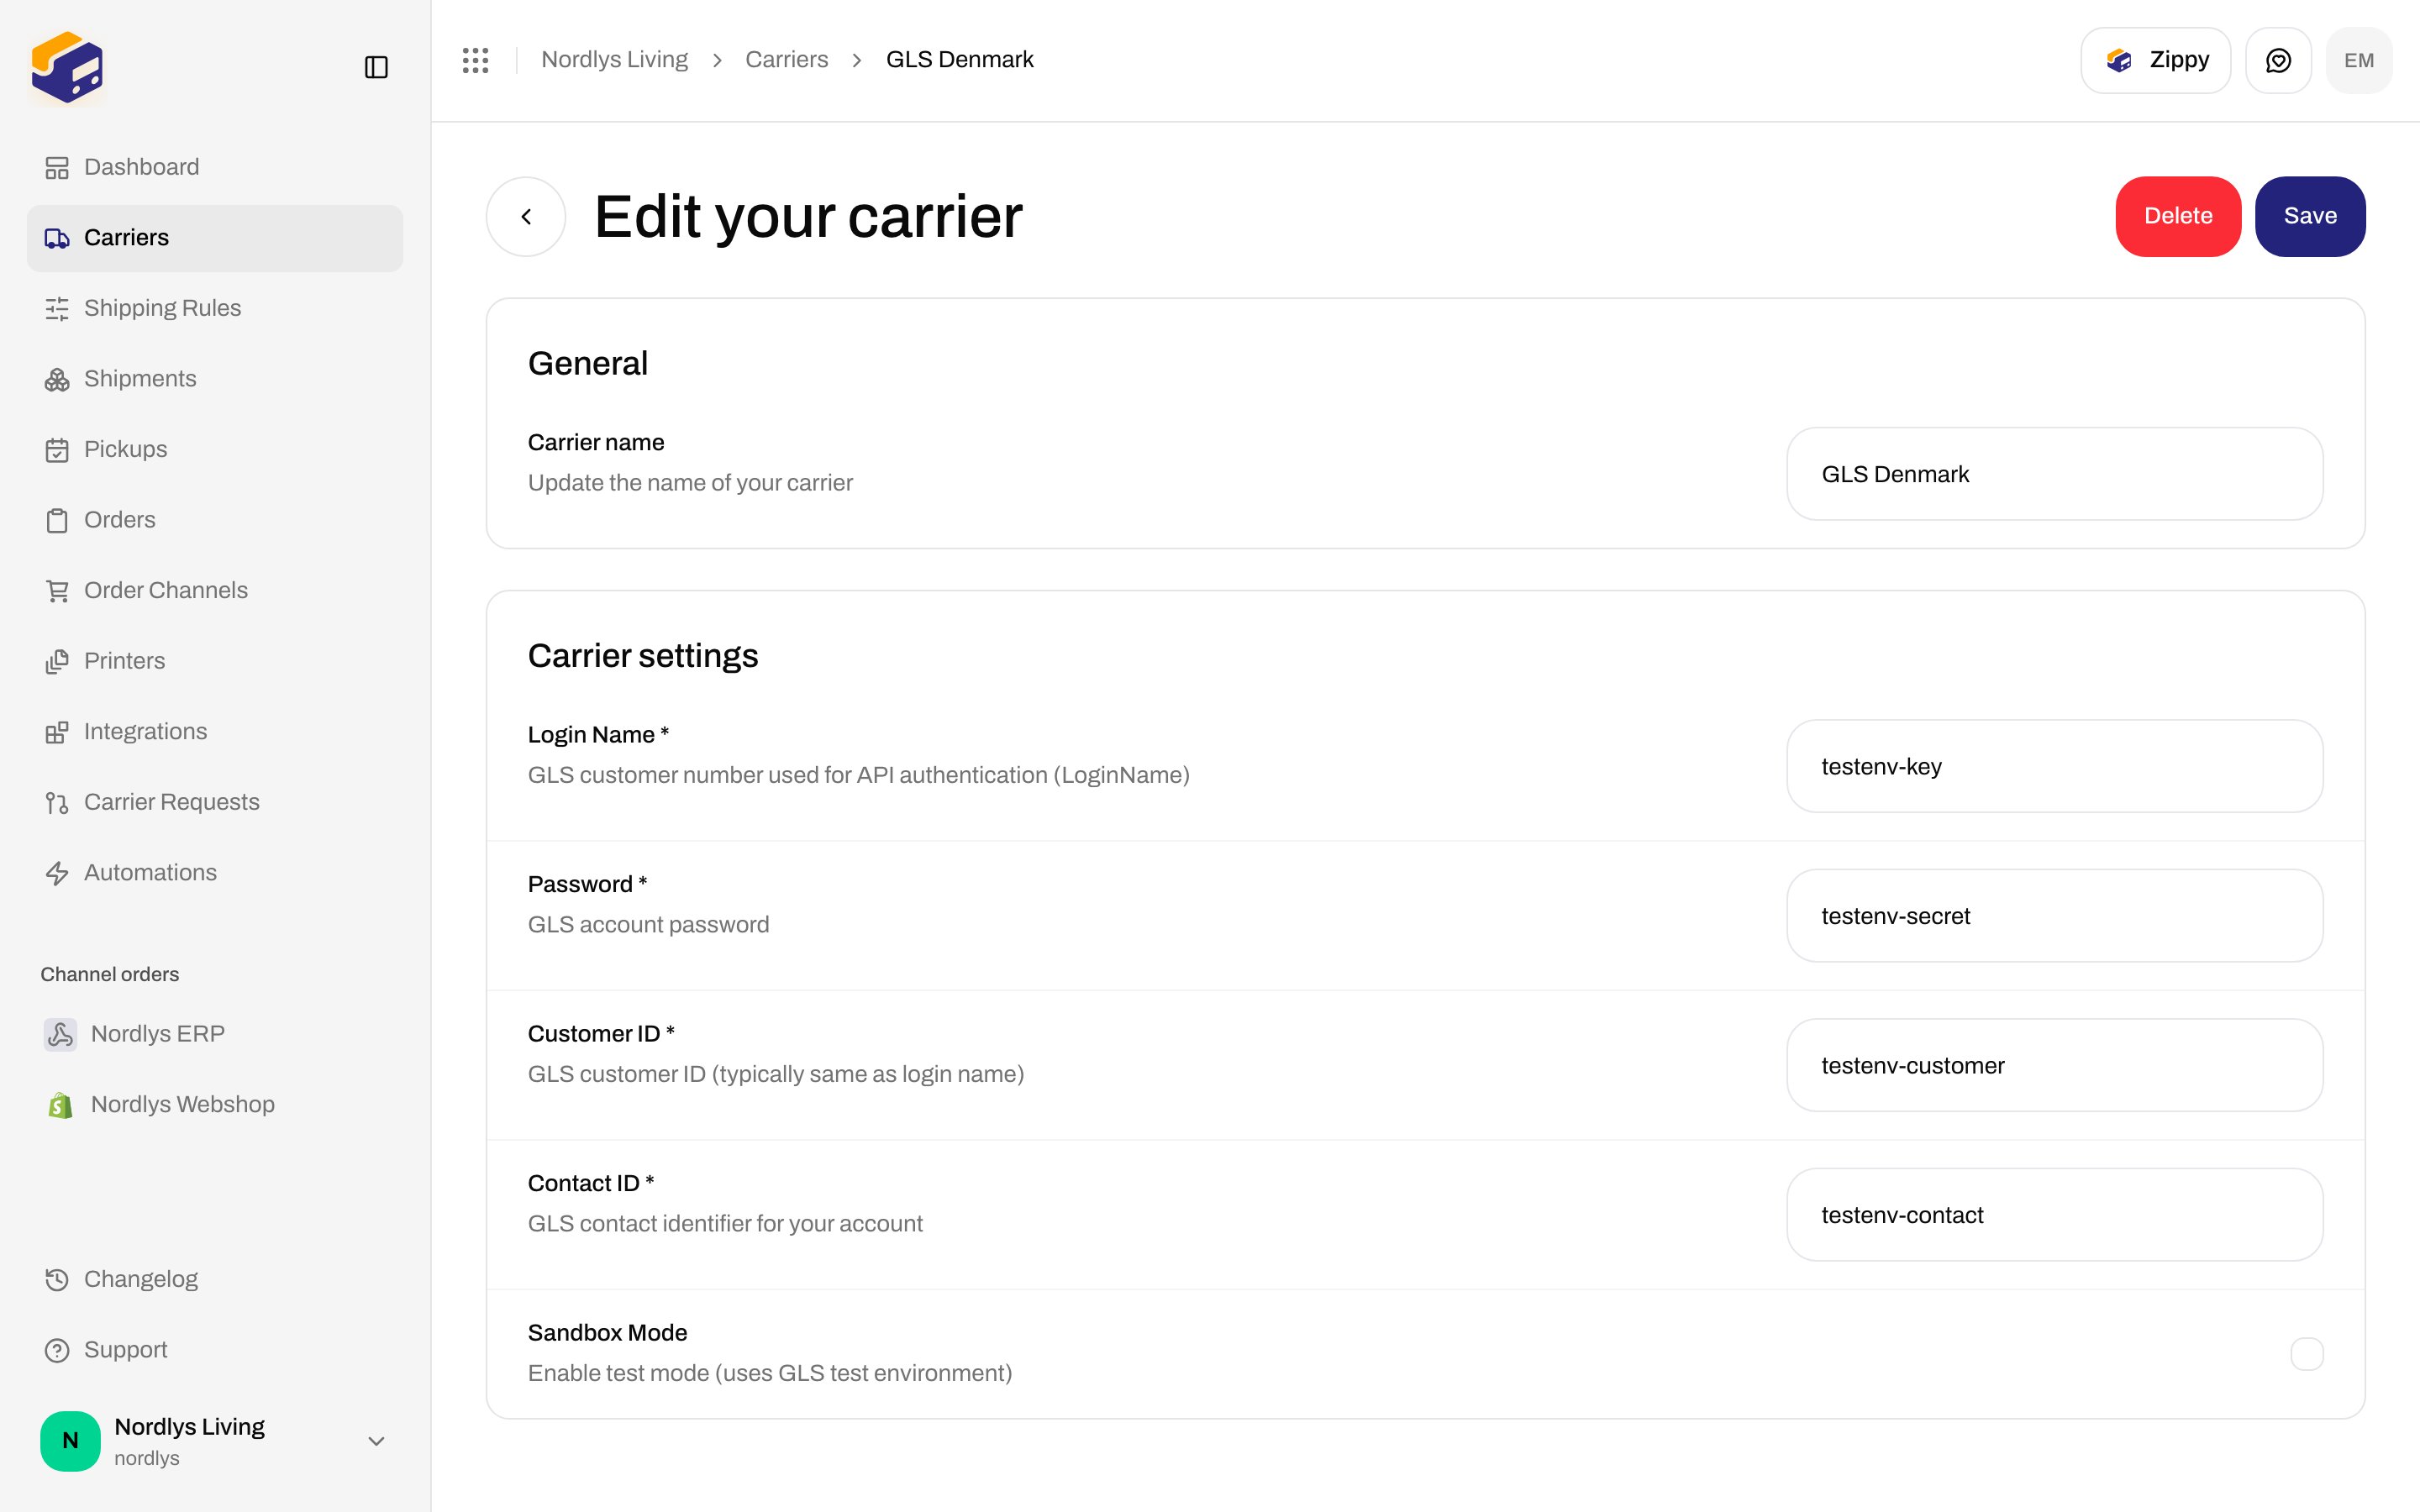
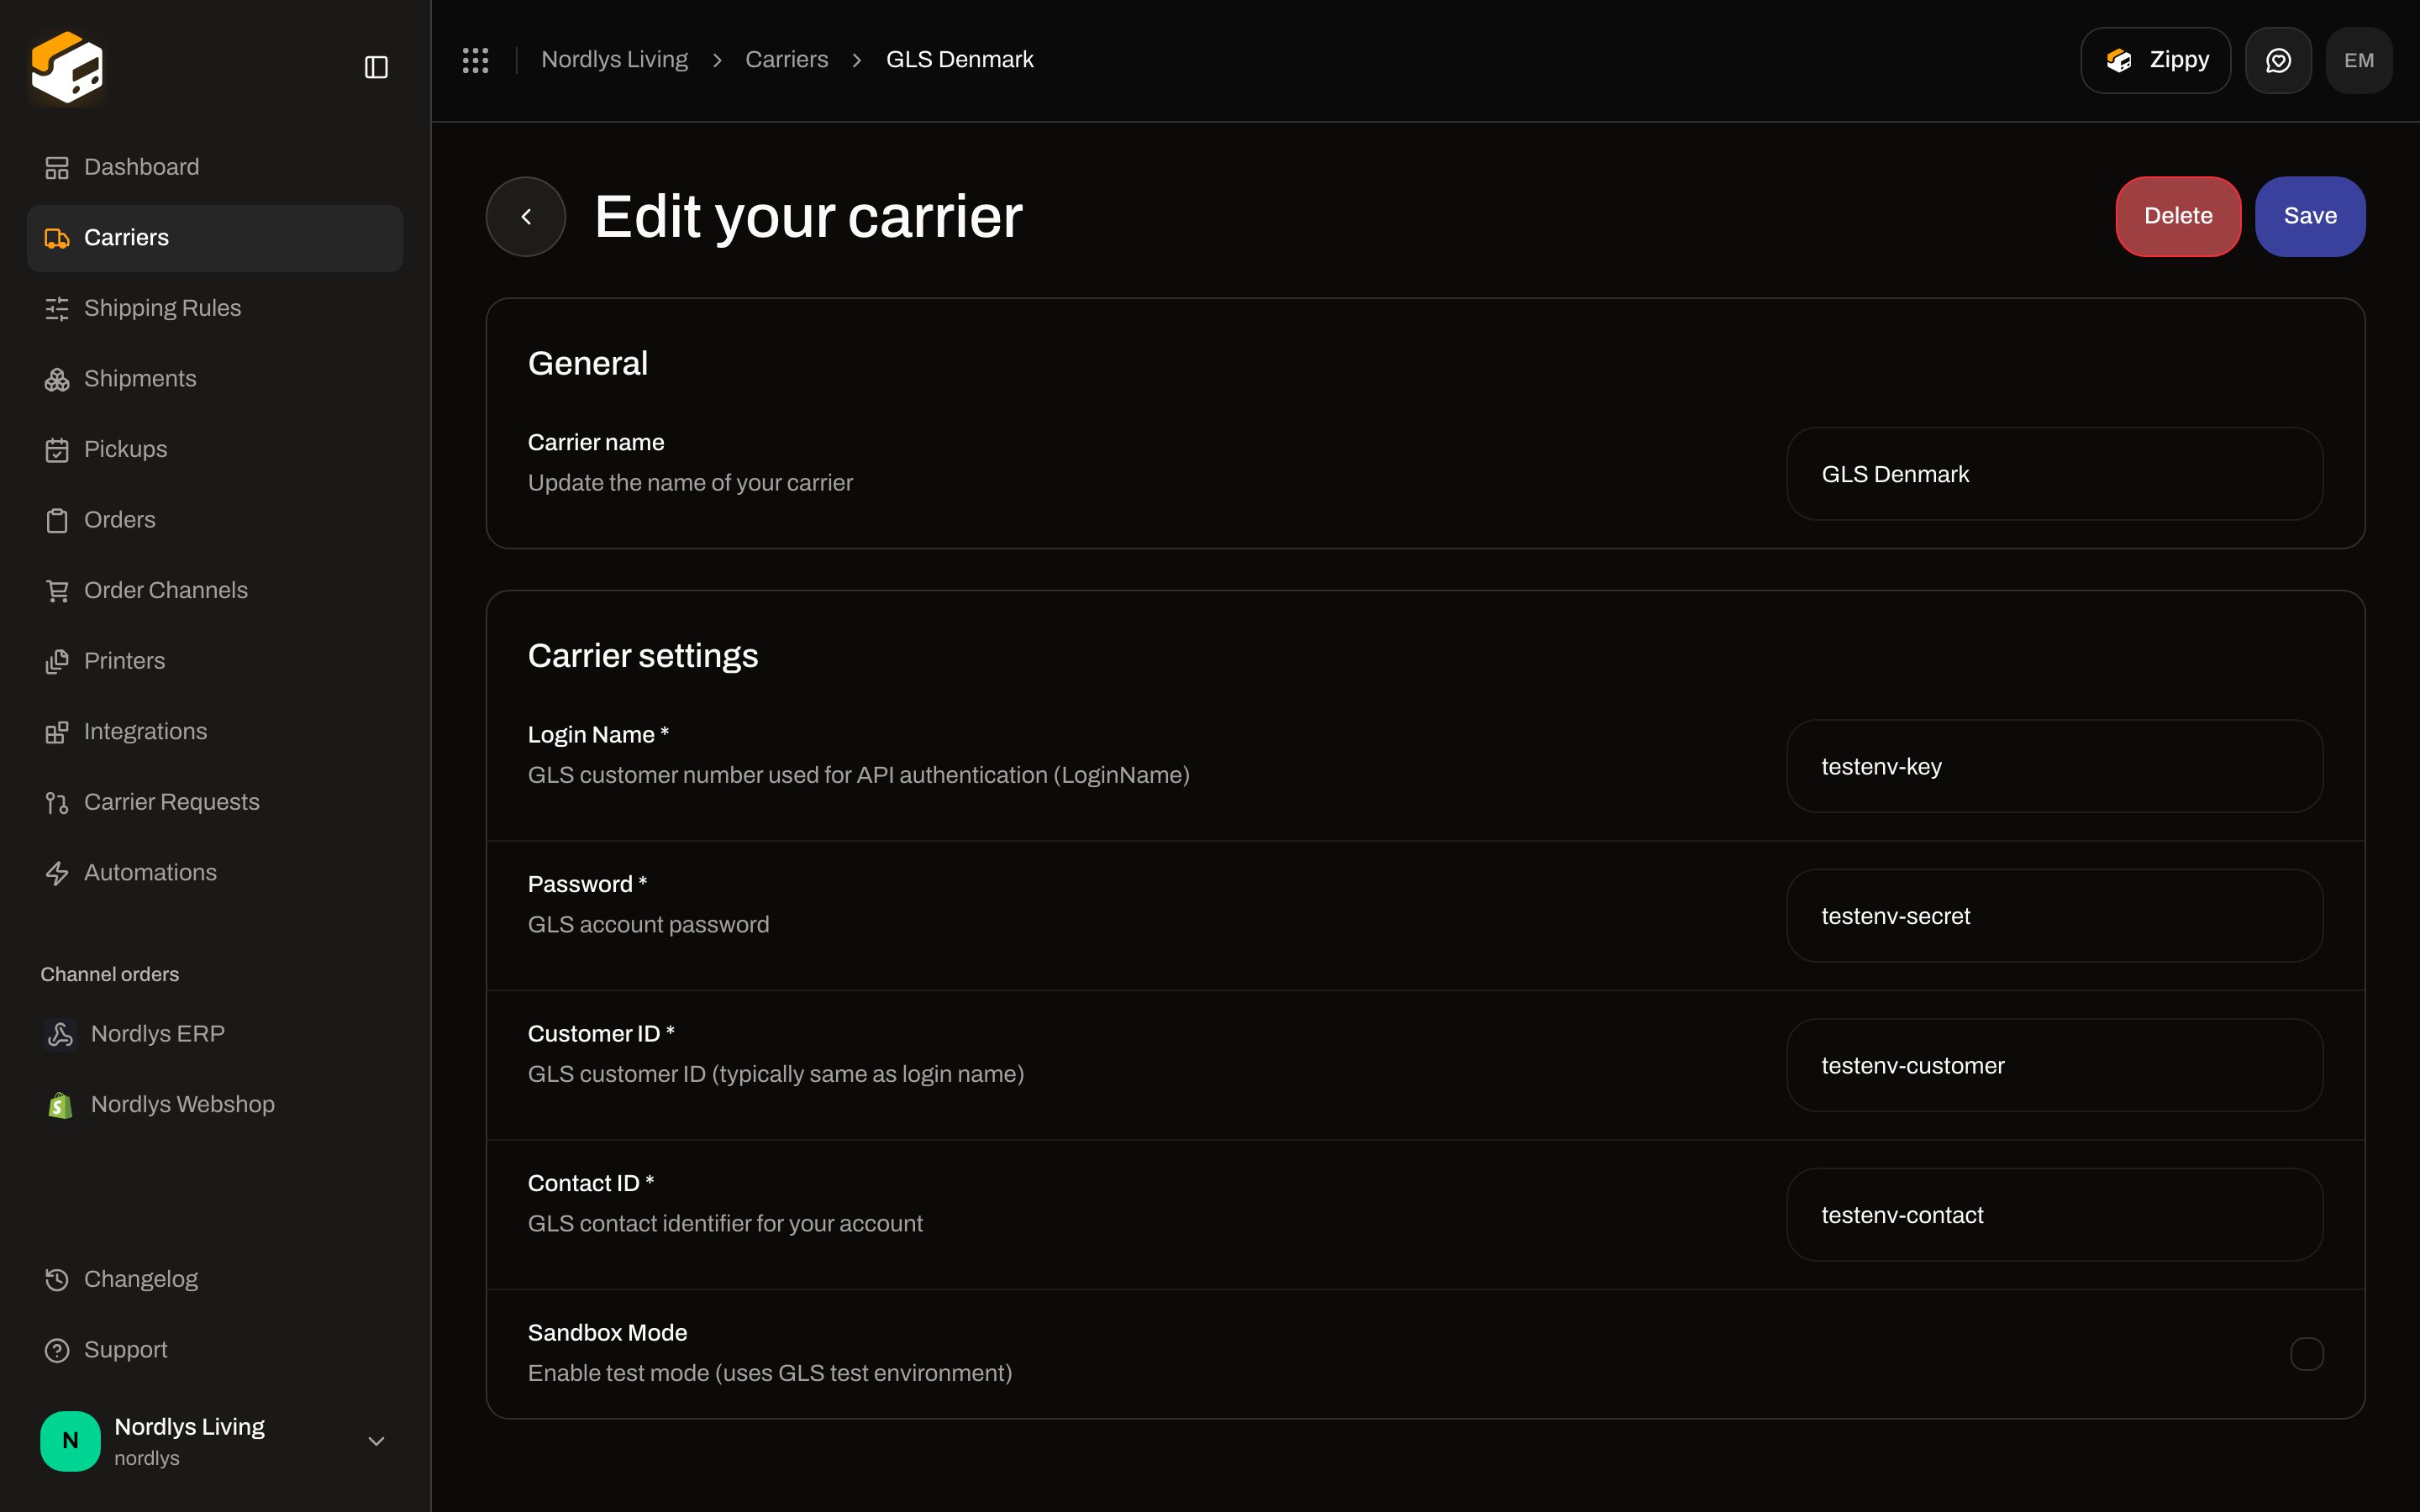 Two cards:
* **General** — **Carrier name**, and **Brand** if the organization has brands.
* **Carrier settings** — the same dynamic fields as connect (credentials plus **Sandbox Mode**).
Header actions are **Delete** and **Save**. Saving shows **Carrier updated successfully**.
This page does **not** include ZPL, cancel-at-carrier, or print-on-error toggles. Those are not carrier-form settings. Label format and printers live on the shipment and under [Printers](/docs/tutorials/labels-printing).
## Products
Connecting a carrier does not pick a product. Products appear when you create a shipment, under **Carrier Settings**: choose **Carrier \***, then **Product \***.
Two cards:
* **General** — **Carrier name**, and **Brand** if the organization has brands.
* **Carrier settings** — the same dynamic fields as connect (credentials plus **Sandbox Mode**).
Header actions are **Delete** and **Save**. Saving shows **Carrier updated successfully**.
This page does **not** include ZPL, cancel-at-carrier, or print-on-error toggles. Those are not carrier-form settings. Label format and printers live on the shipment and under [Printers](/docs/tutorials/labels-printing).
## Products
Connecting a carrier does not pick a product. Products appear when you create a shipment, under **Carrier Settings**: choose **Carrier \***, then **Product \***.
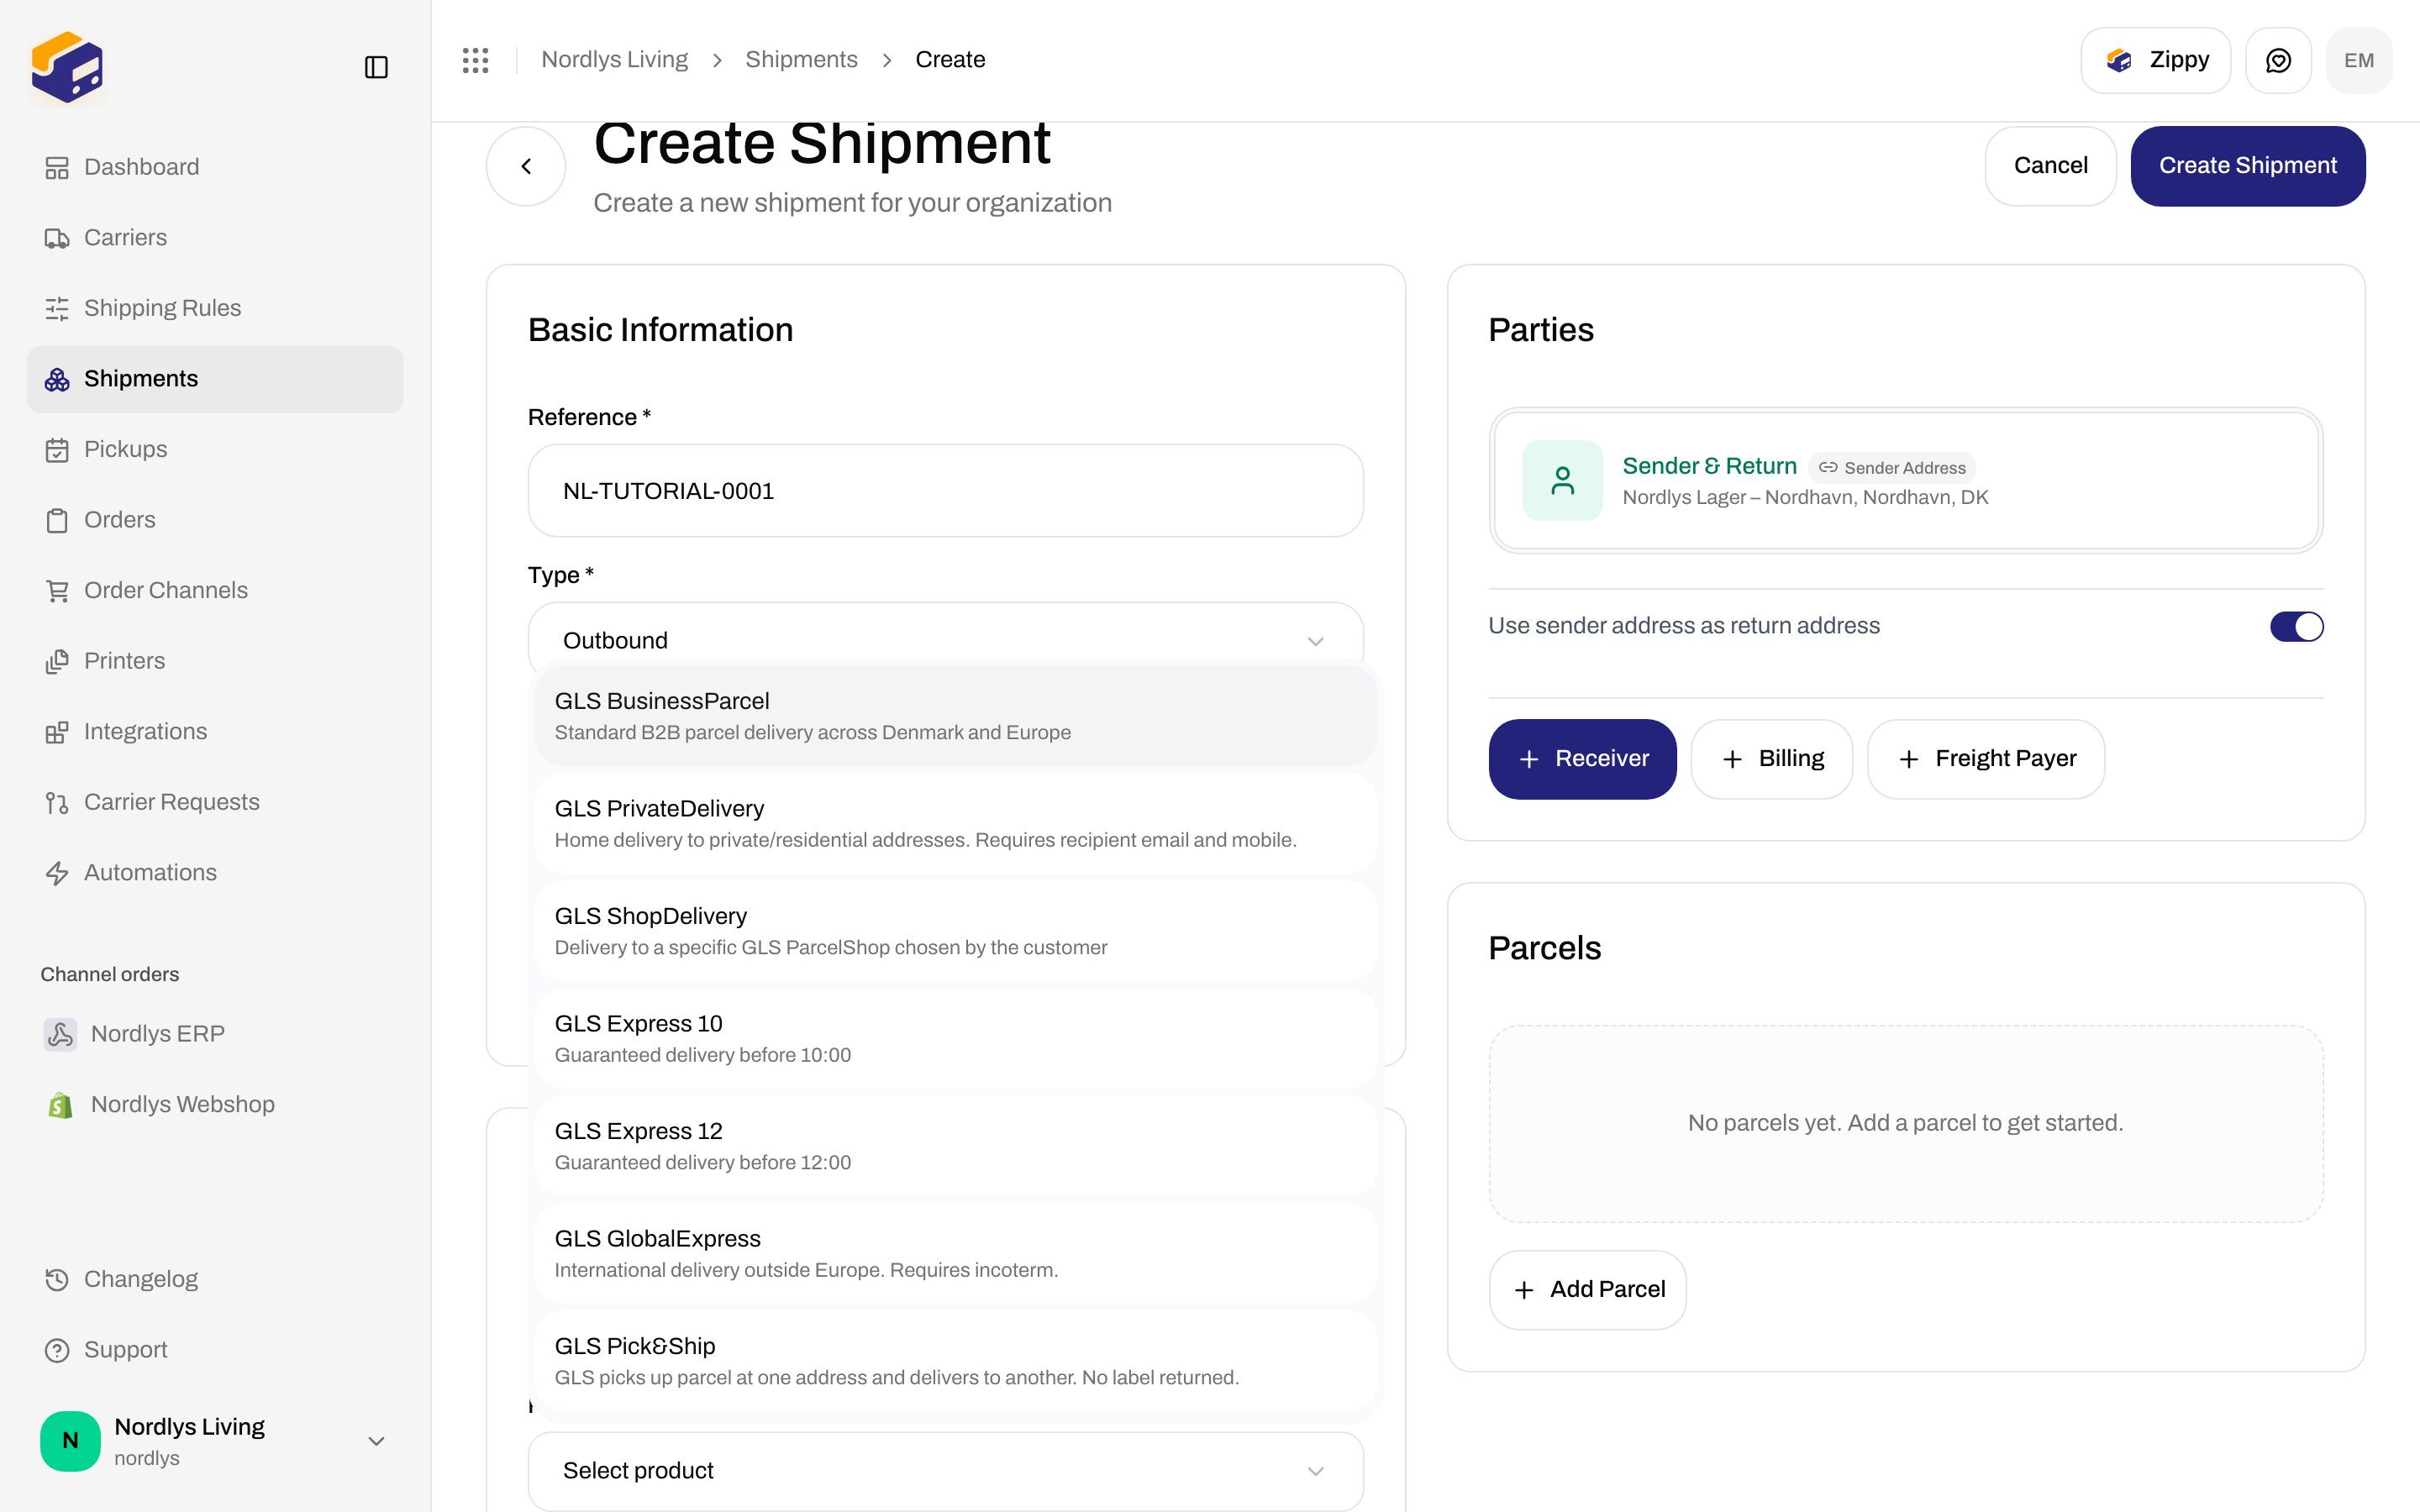
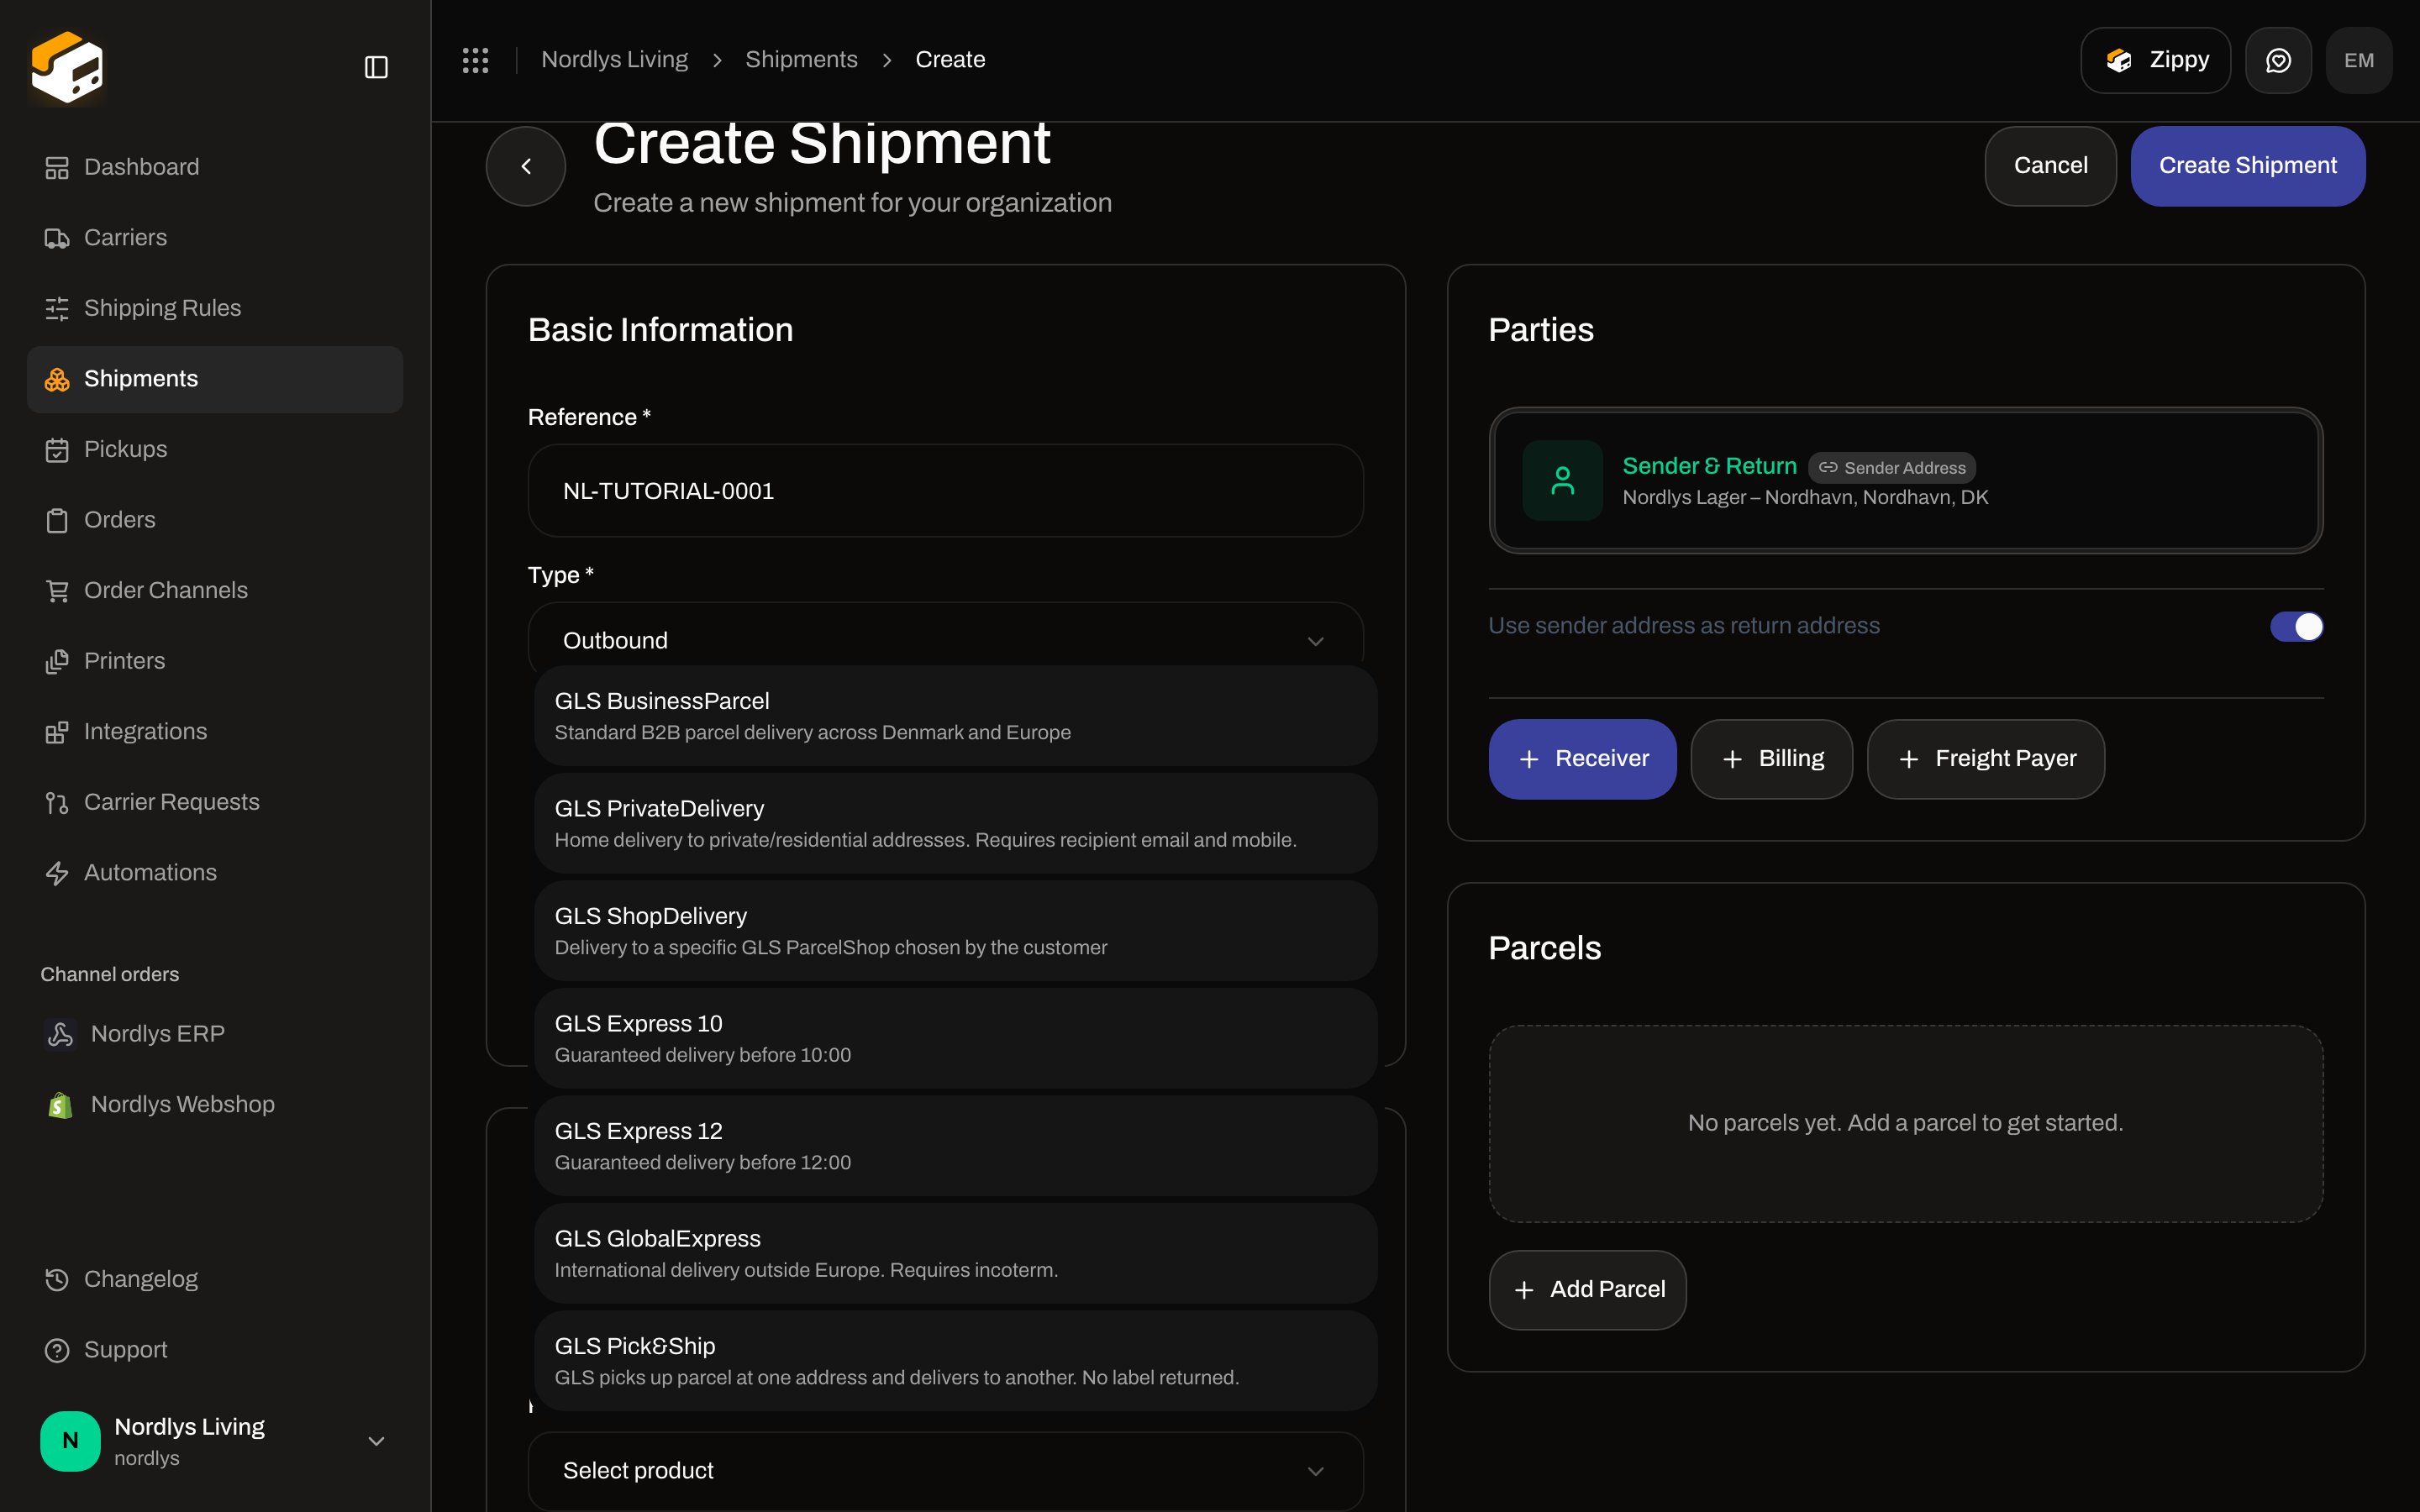 The list is filtered by shipment **Type**: outbound products for **Outbound**, return products for **Inbound**. Each option shows a short description. It does **not** show a live price.
After you pick a product, Zippendo may show a **weight range**, **Services** (for example **Notification Email**), and extra options that product requires.
[Shipping rules](/docs/tutorials/shipping-rules) can pre-select carrier and product so you do not pick them by hand every time. The full create flow is in [Create a shipment](/docs/tutorials/create-a-shipment) and [Creating a shipment](/docs/shipments/creating-a-shipment).
## Service points (drop points)
Some products deliver to a parcel shop or locker instead of the door. In the app that is **Drop Point** / **Service Point**. **GLS ShopDelivery** is one of those products.
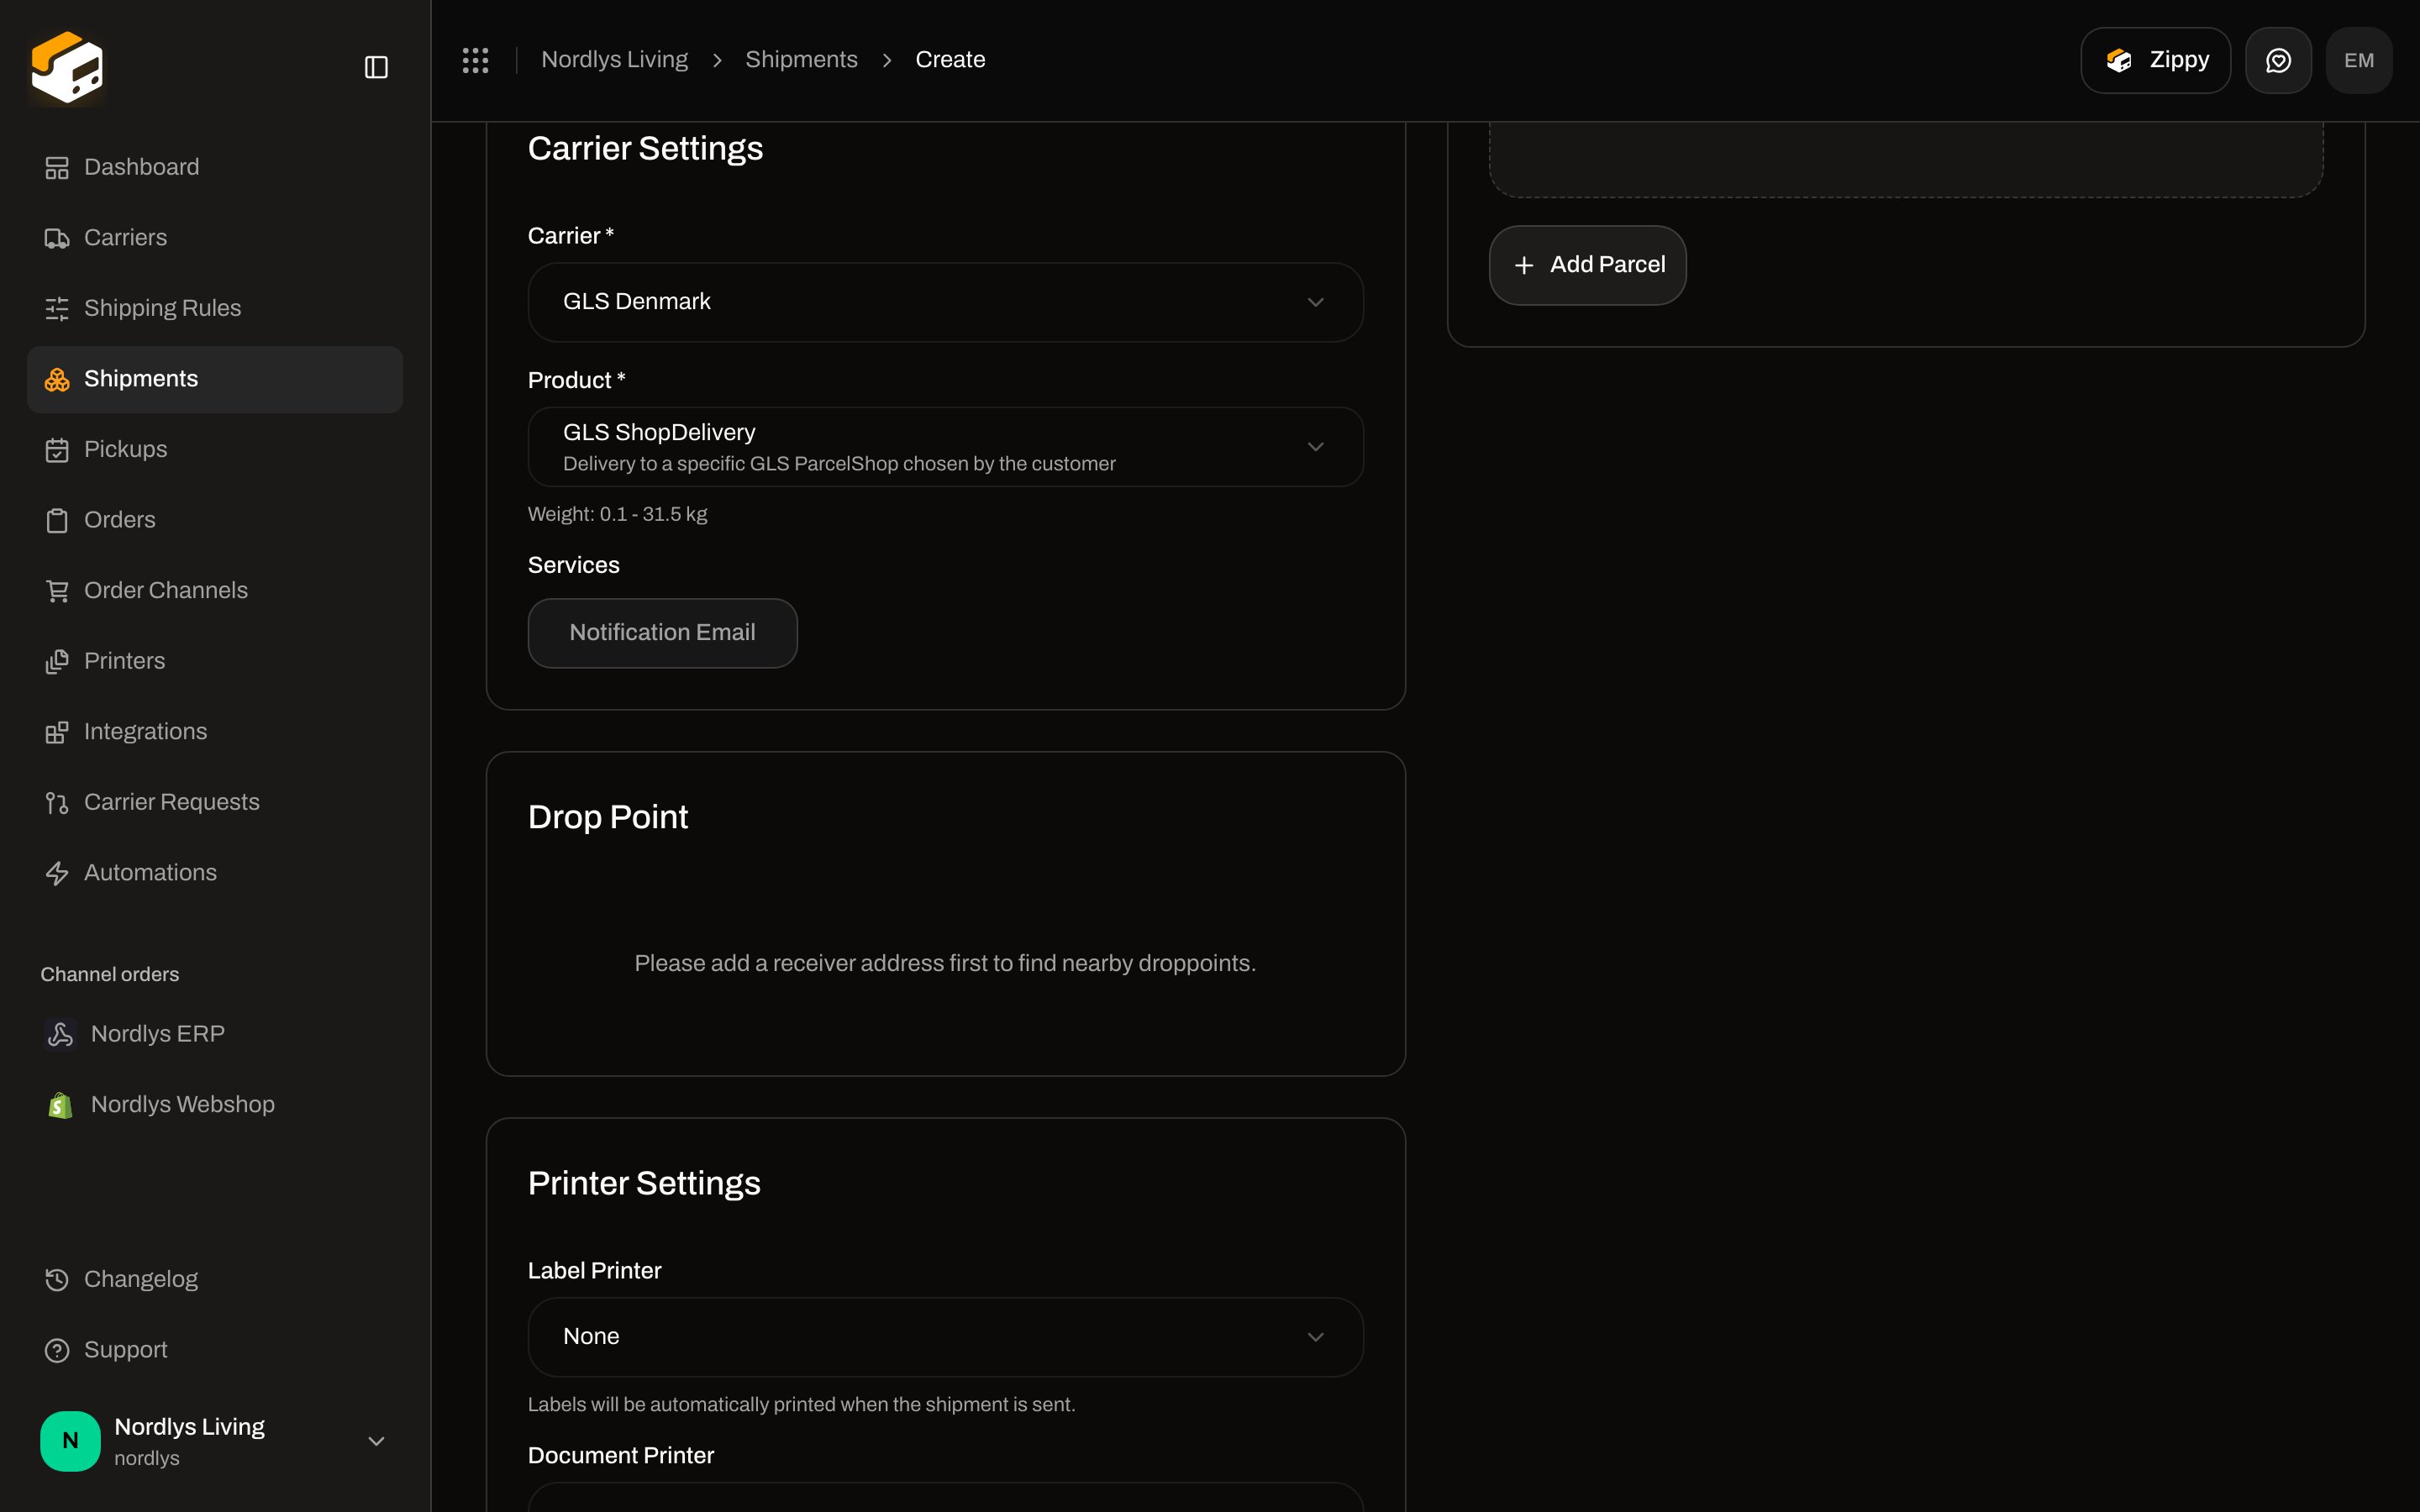
Pick the shop product. The **Drop Point** card appears under **Carrier Settings**. Until the receiver has address, postal code, city, and country, it shows **Please add a receiver address first to find nearby droppoints.**
The list is filtered by shipment **Type**: outbound products for **Outbound**, return products for **Inbound**. Each option shows a short description. It does **not** show a live price.
After you pick a product, Zippendo may show a **weight range**, **Services** (for example **Notification Email**), and extra options that product requires.
[Shipping rules](/docs/tutorials/shipping-rules) can pre-select carrier and product so you do not pick them by hand every time. The full create flow is in [Create a shipment](/docs/tutorials/create-a-shipment) and [Creating a shipment](/docs/shipments/creating-a-shipment).
## Service points (drop points)
Some products deliver to a parcel shop or locker instead of the door. In the app that is **Drop Point** / **Service Point**. **GLS ShopDelivery** is one of those products.
Pick the shop product. The **Drop Point** card appears under **Carrier Settings**. Until the receiver has address, postal code, city, and country, it shows **Please add a receiver address first to find nearby droppoints.**
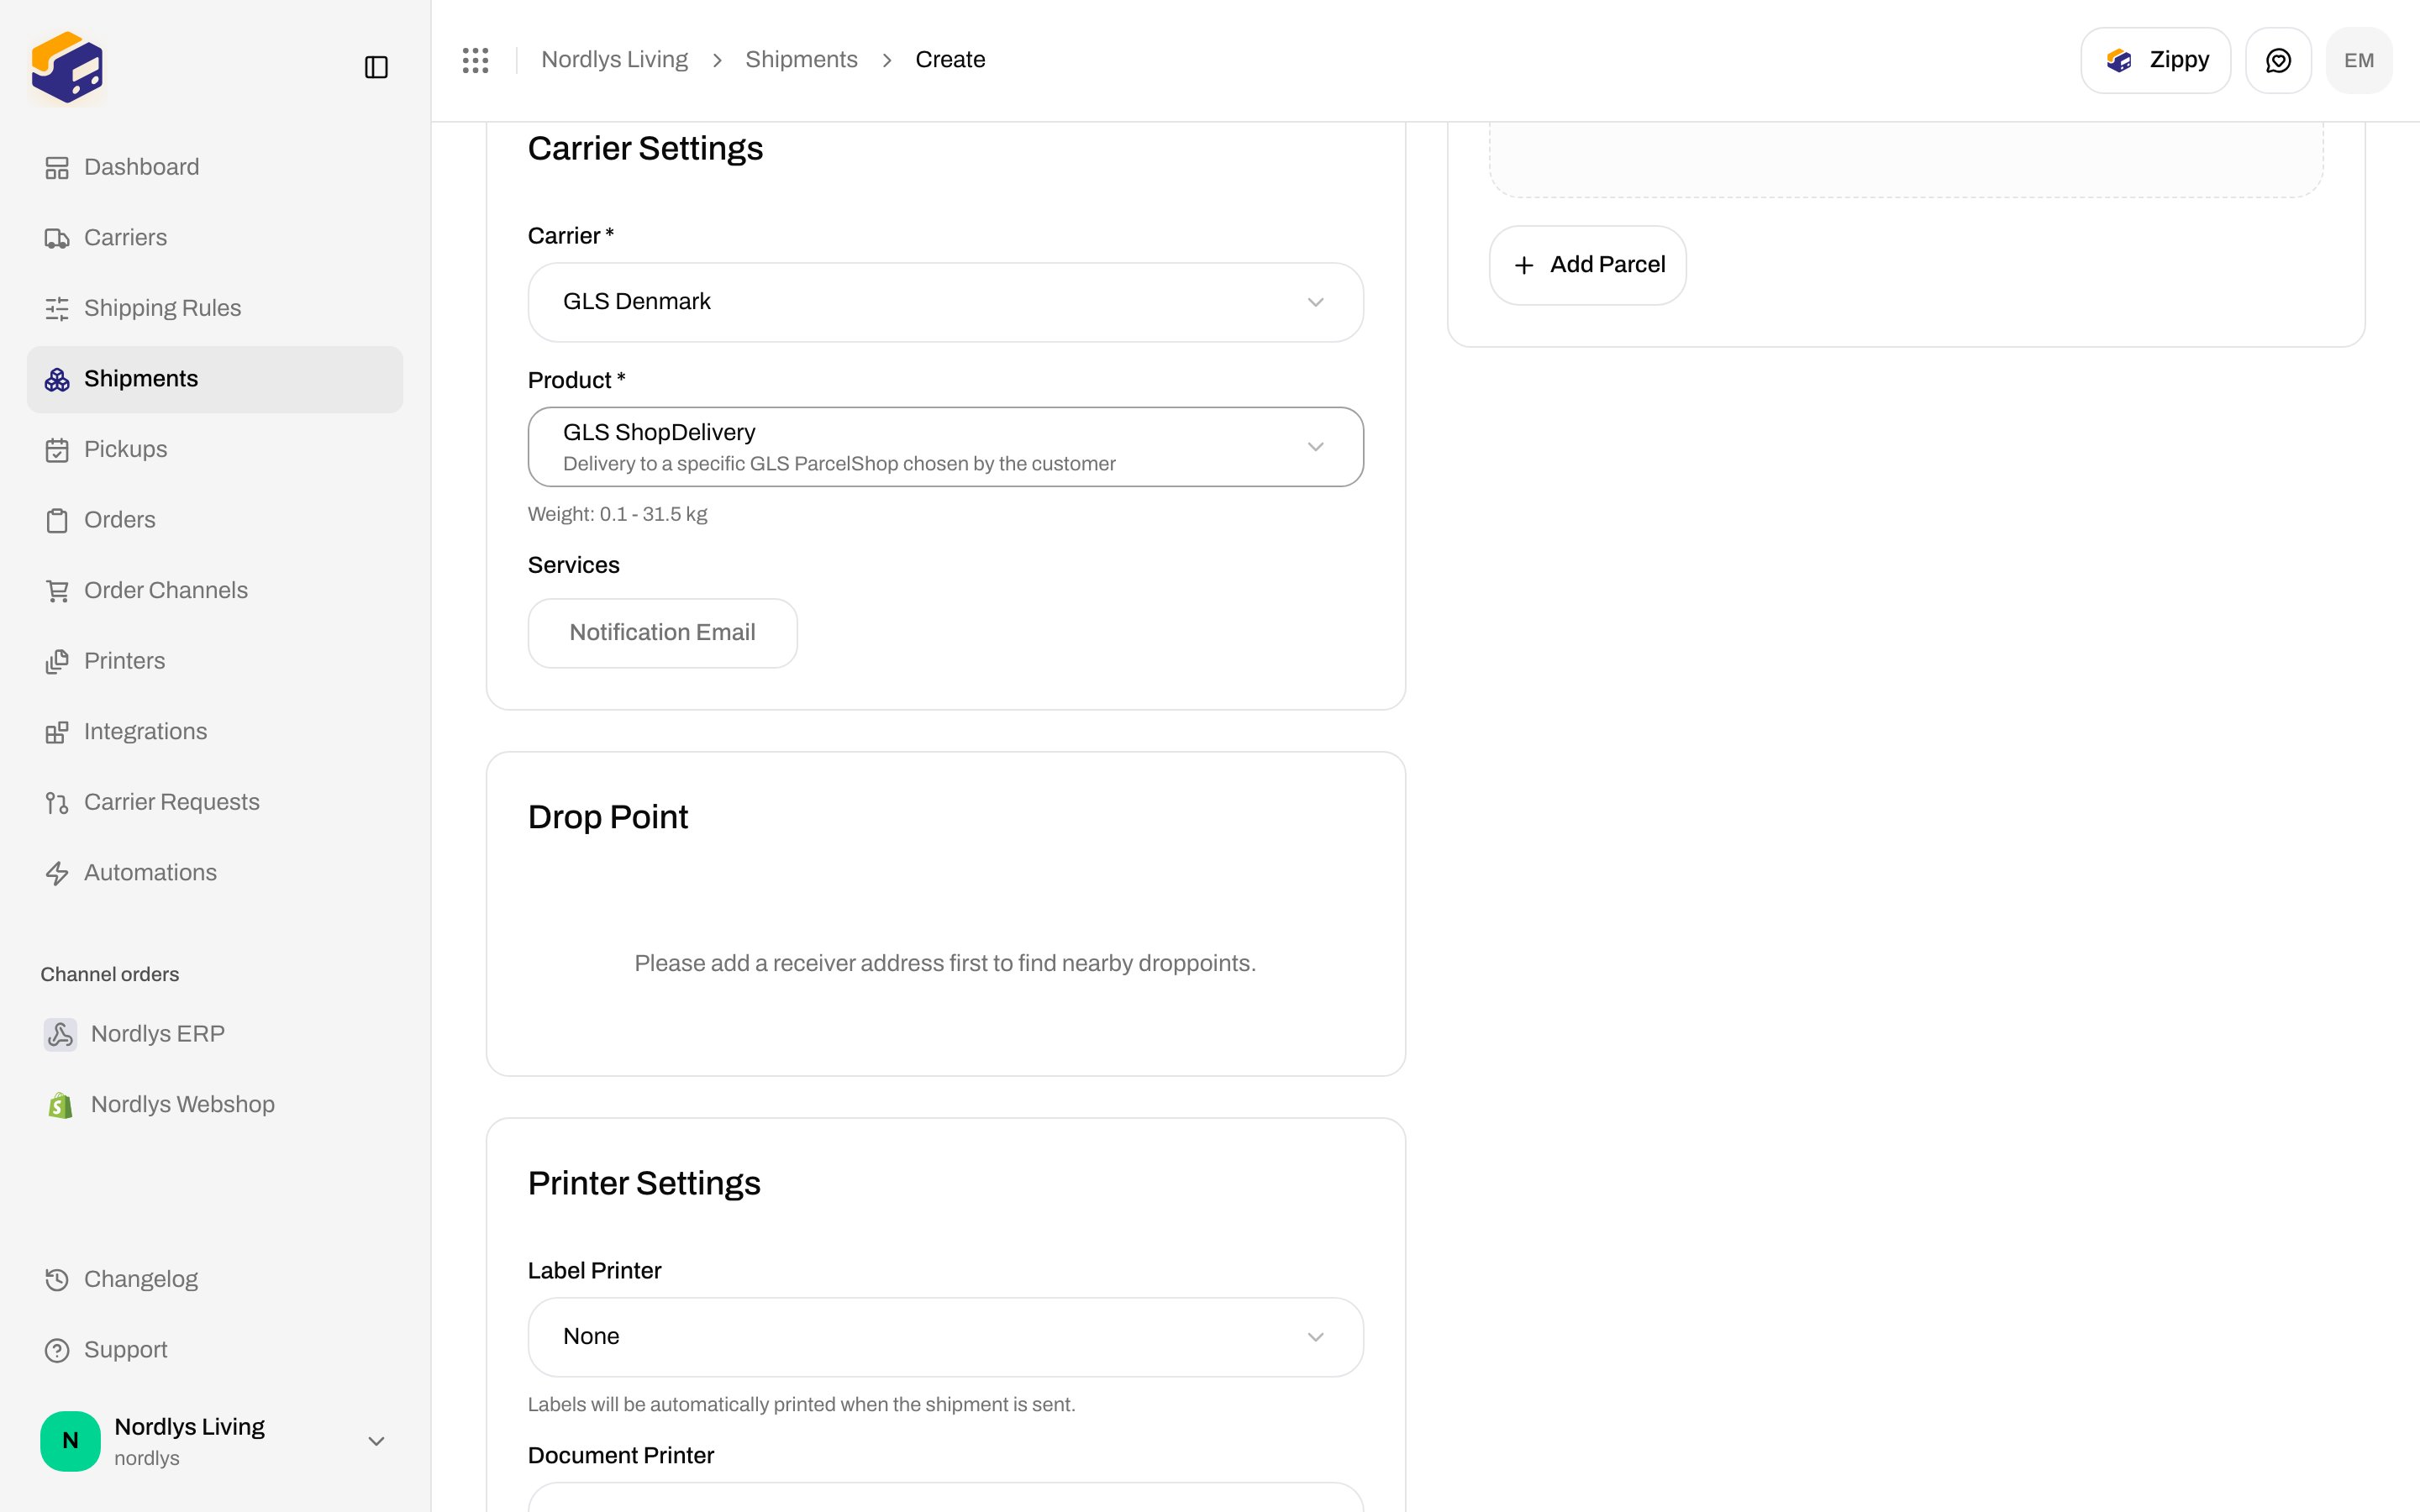
 Click **Receiver**, fill name, address line 1, postal code, city, and a 2-letter country code, then save.
The **Drop Point** card searches nearby shops. Click **Select Service Point** (or **Change Service Point** if one is already filled).
The **Select Service Point** dialog lists points with distance and a map. Choose one and click **Confirm Selection**.
Click **Receiver**, fill name, address line 1, postal code, city, and a 2-letter country code, then save.
The **Drop Point** card searches nearby shops. Click **Select Service Point** (or **Change Service Point** if one is already filled).
The **Select Service Point** dialog lists points with distance and a map. Choose one and click **Confirm Selection**.
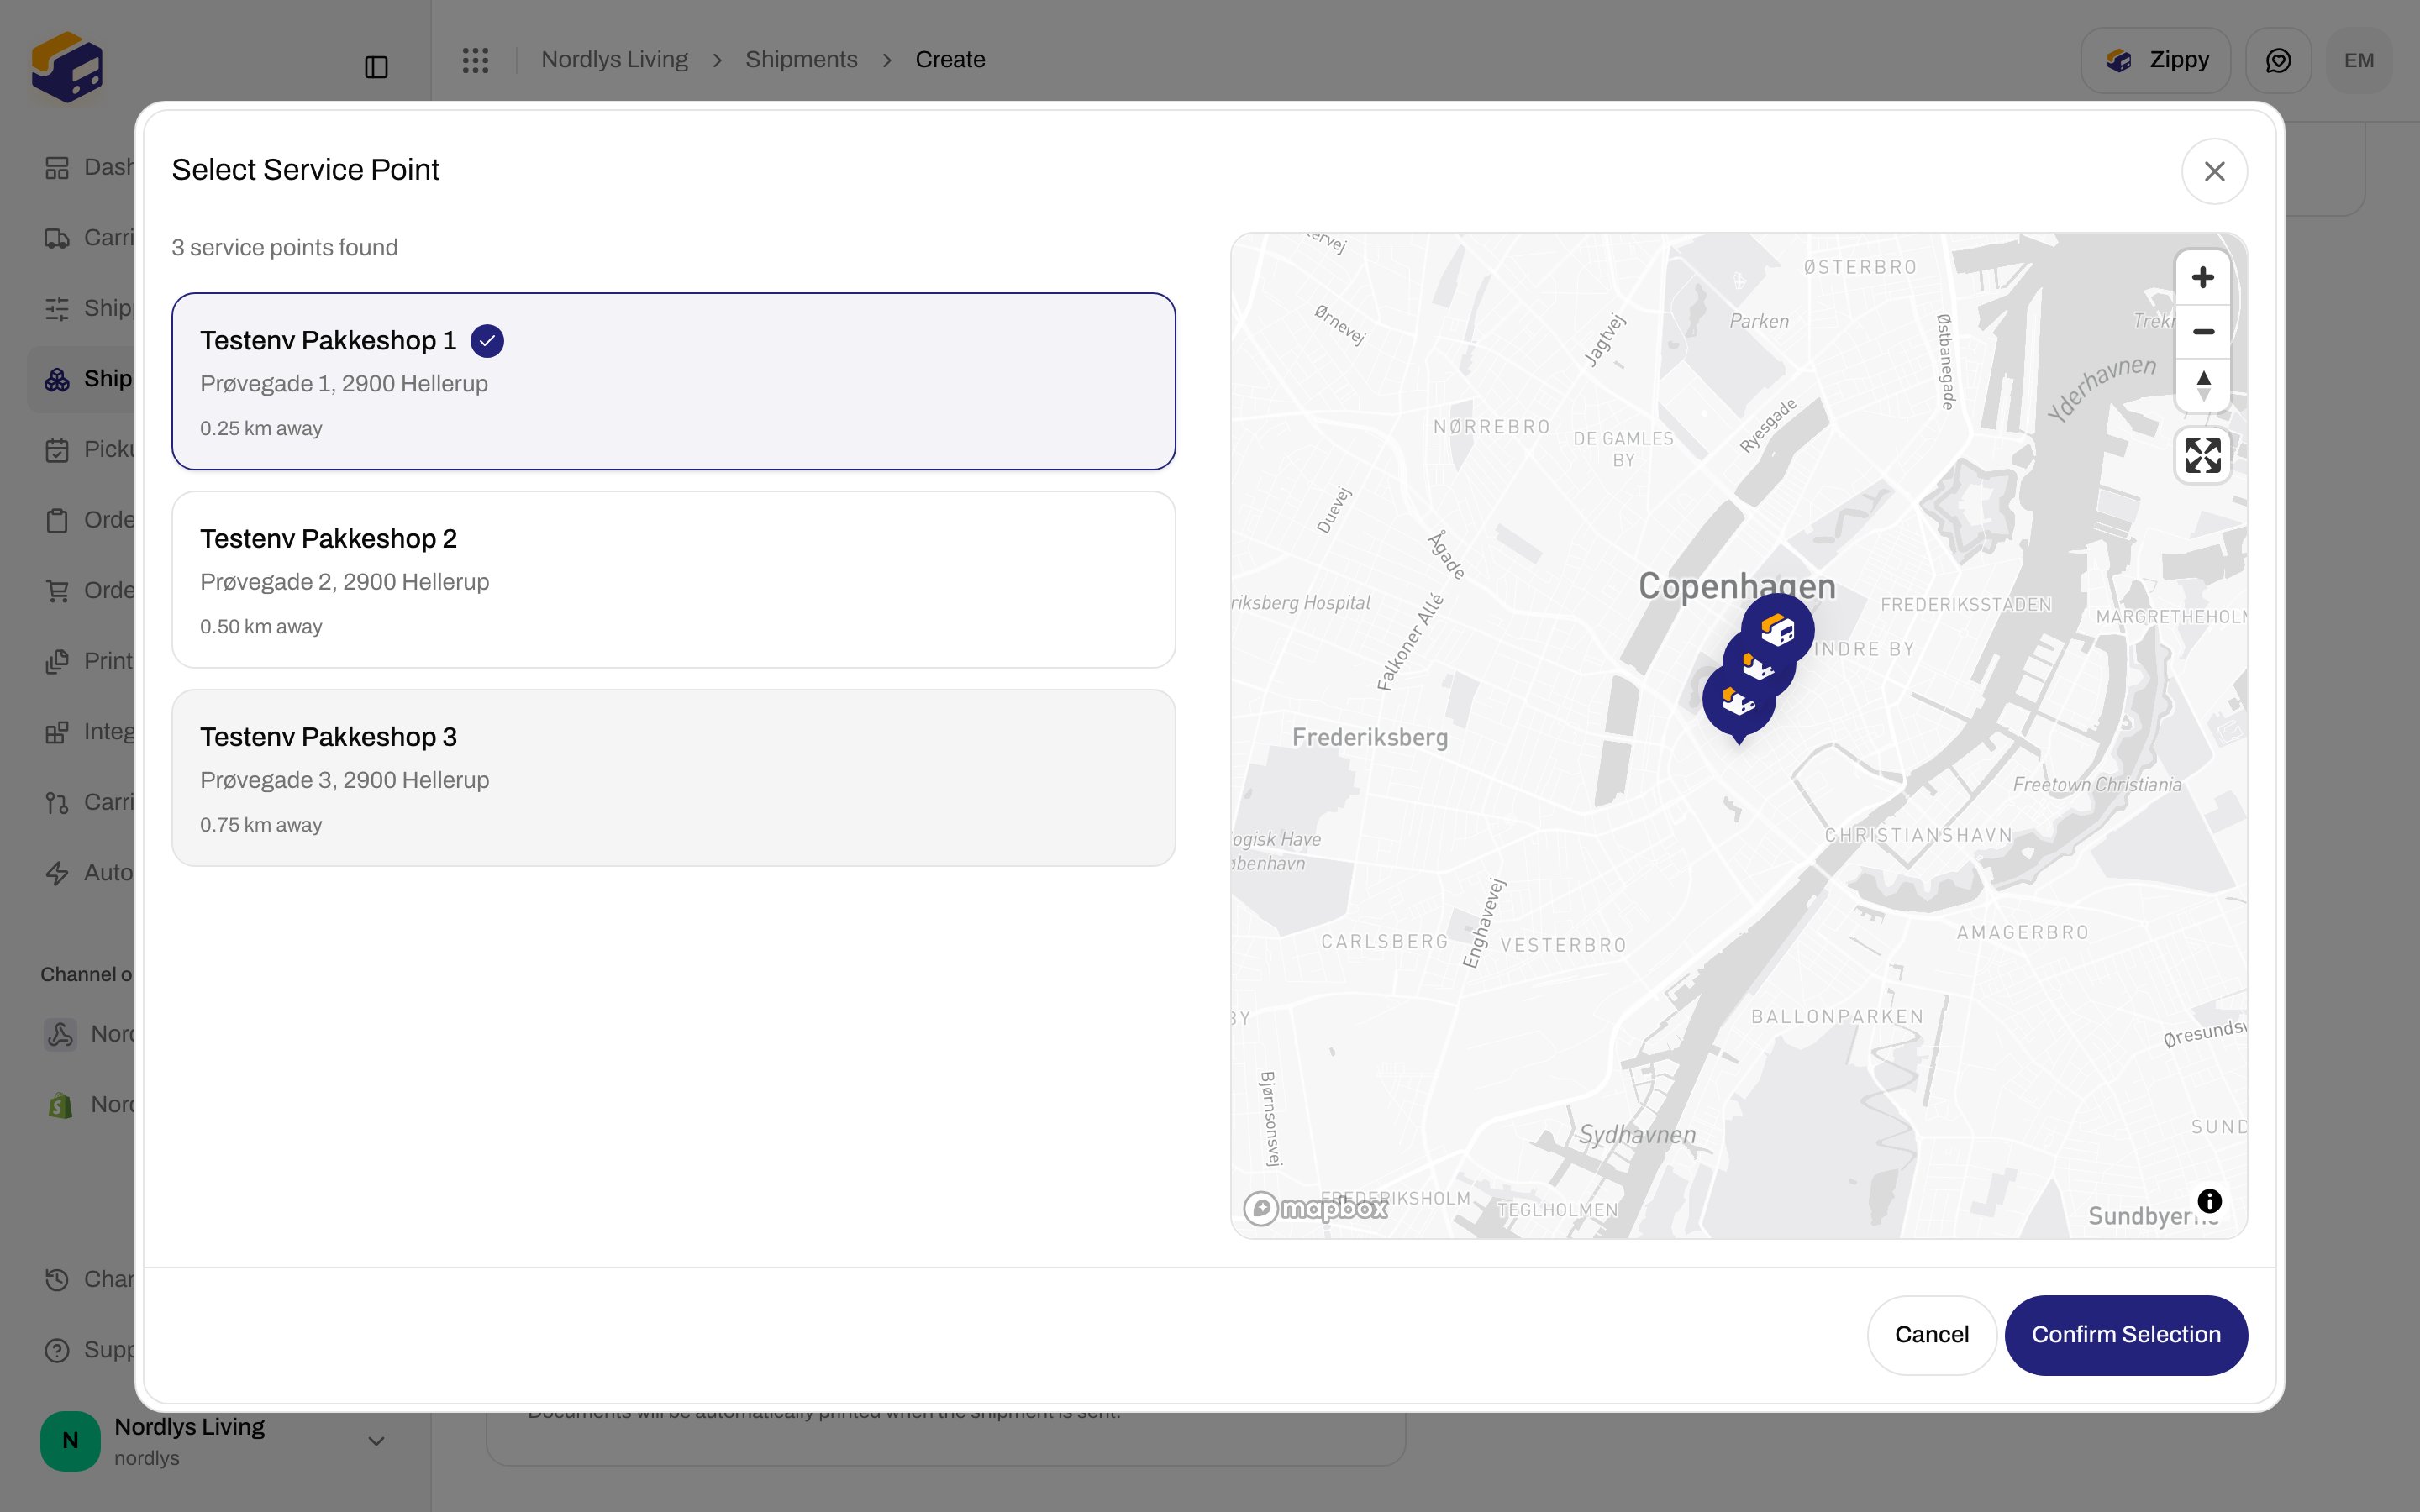
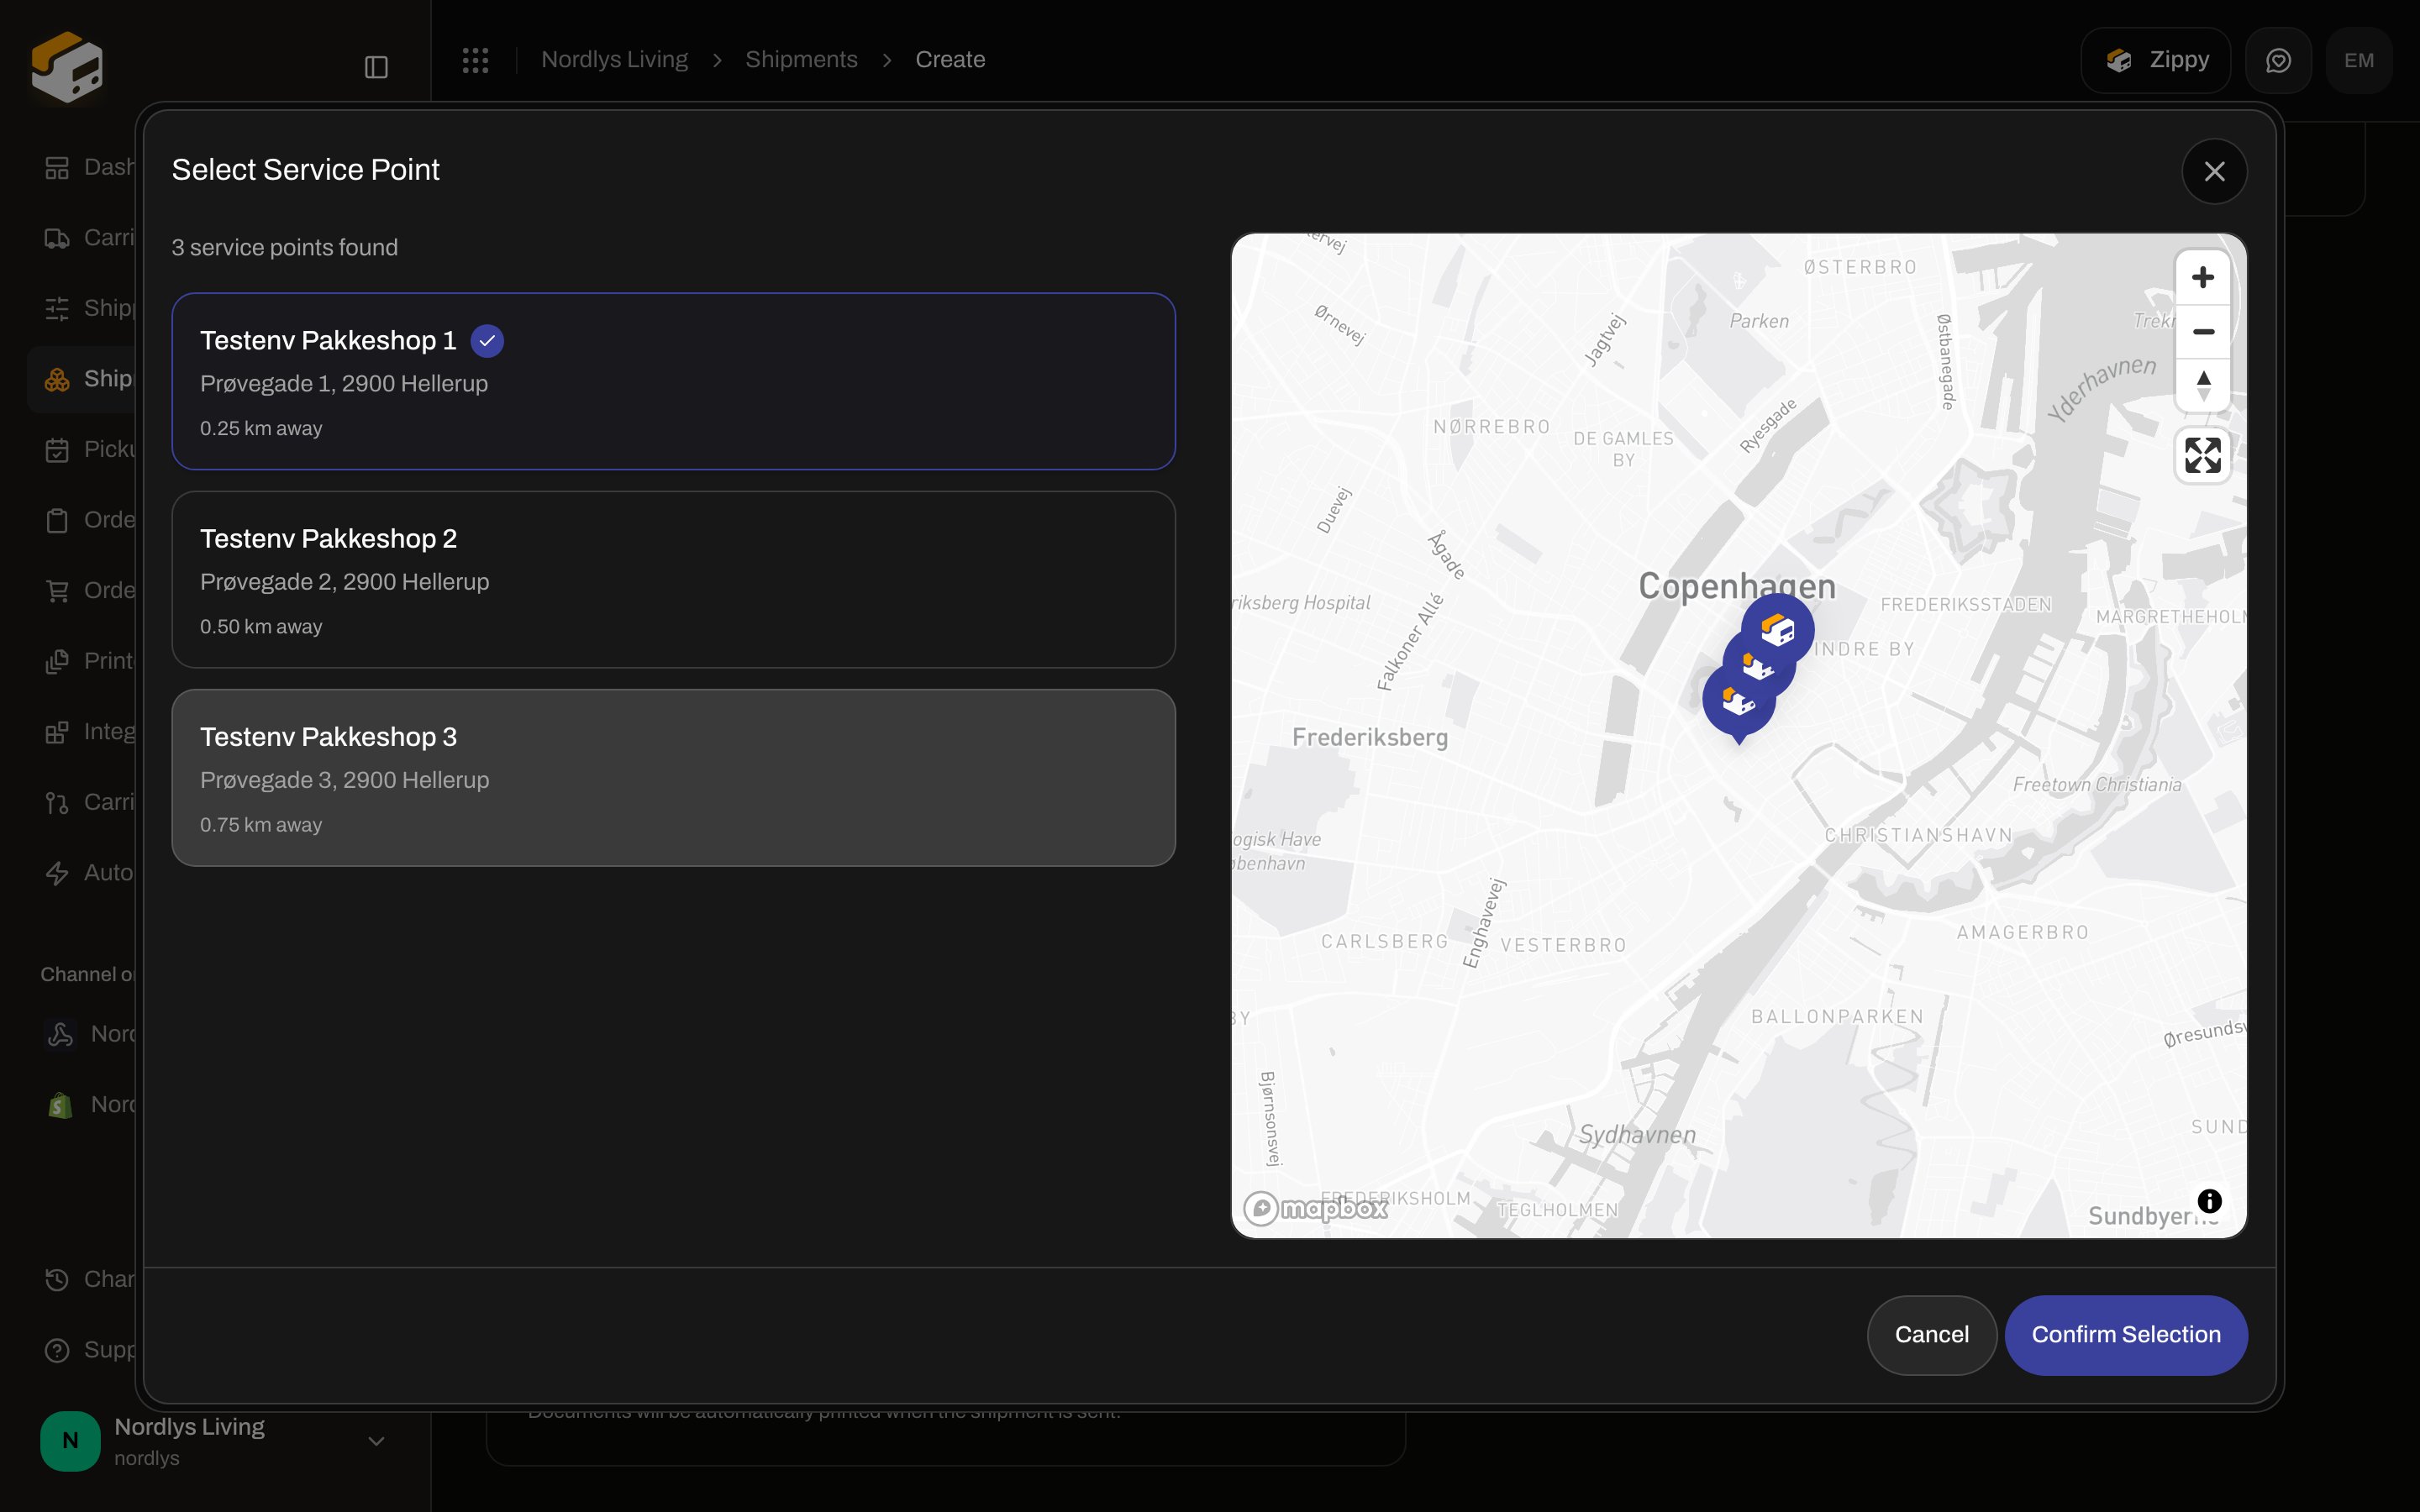 You cannot create the shipment until a service point is selected on a shop product. If search returns nothing, check the receiver address and use **Retry**. More detail: [Droppoint search](/docs/shipments/droppoint-search).
**Pickup** (the carrier collects from you) is a different thing — a **service** on some products, or a later [scheduled pickup](/docs/pickups/scheduling-a-pickup). It is not the Drop Point card.
## Request a missing carrier
If the catalog does not include the carrier you need, open **Carrier Requests** in the sidebar. The page title is **Carrier Integration Requests**. This is a request queue, not a health dashboard.
You cannot create the shipment until a service point is selected on a shop product. If search returns nothing, check the receiver address and use **Retry**. More detail: [Droppoint search](/docs/shipments/droppoint-search).
**Pickup** (the carrier collects from you) is a different thing — a **service** on some products, or a later [scheduled pickup](/docs/pickups/scheduling-a-pickup). It is not the Drop Point card.
## Request a missing carrier
If the catalog does not include the carrier you need, open **Carrier Requests** in the sidebar. The page title is **Carrier Integration Requests**. This is a request queue, not a health dashboard.
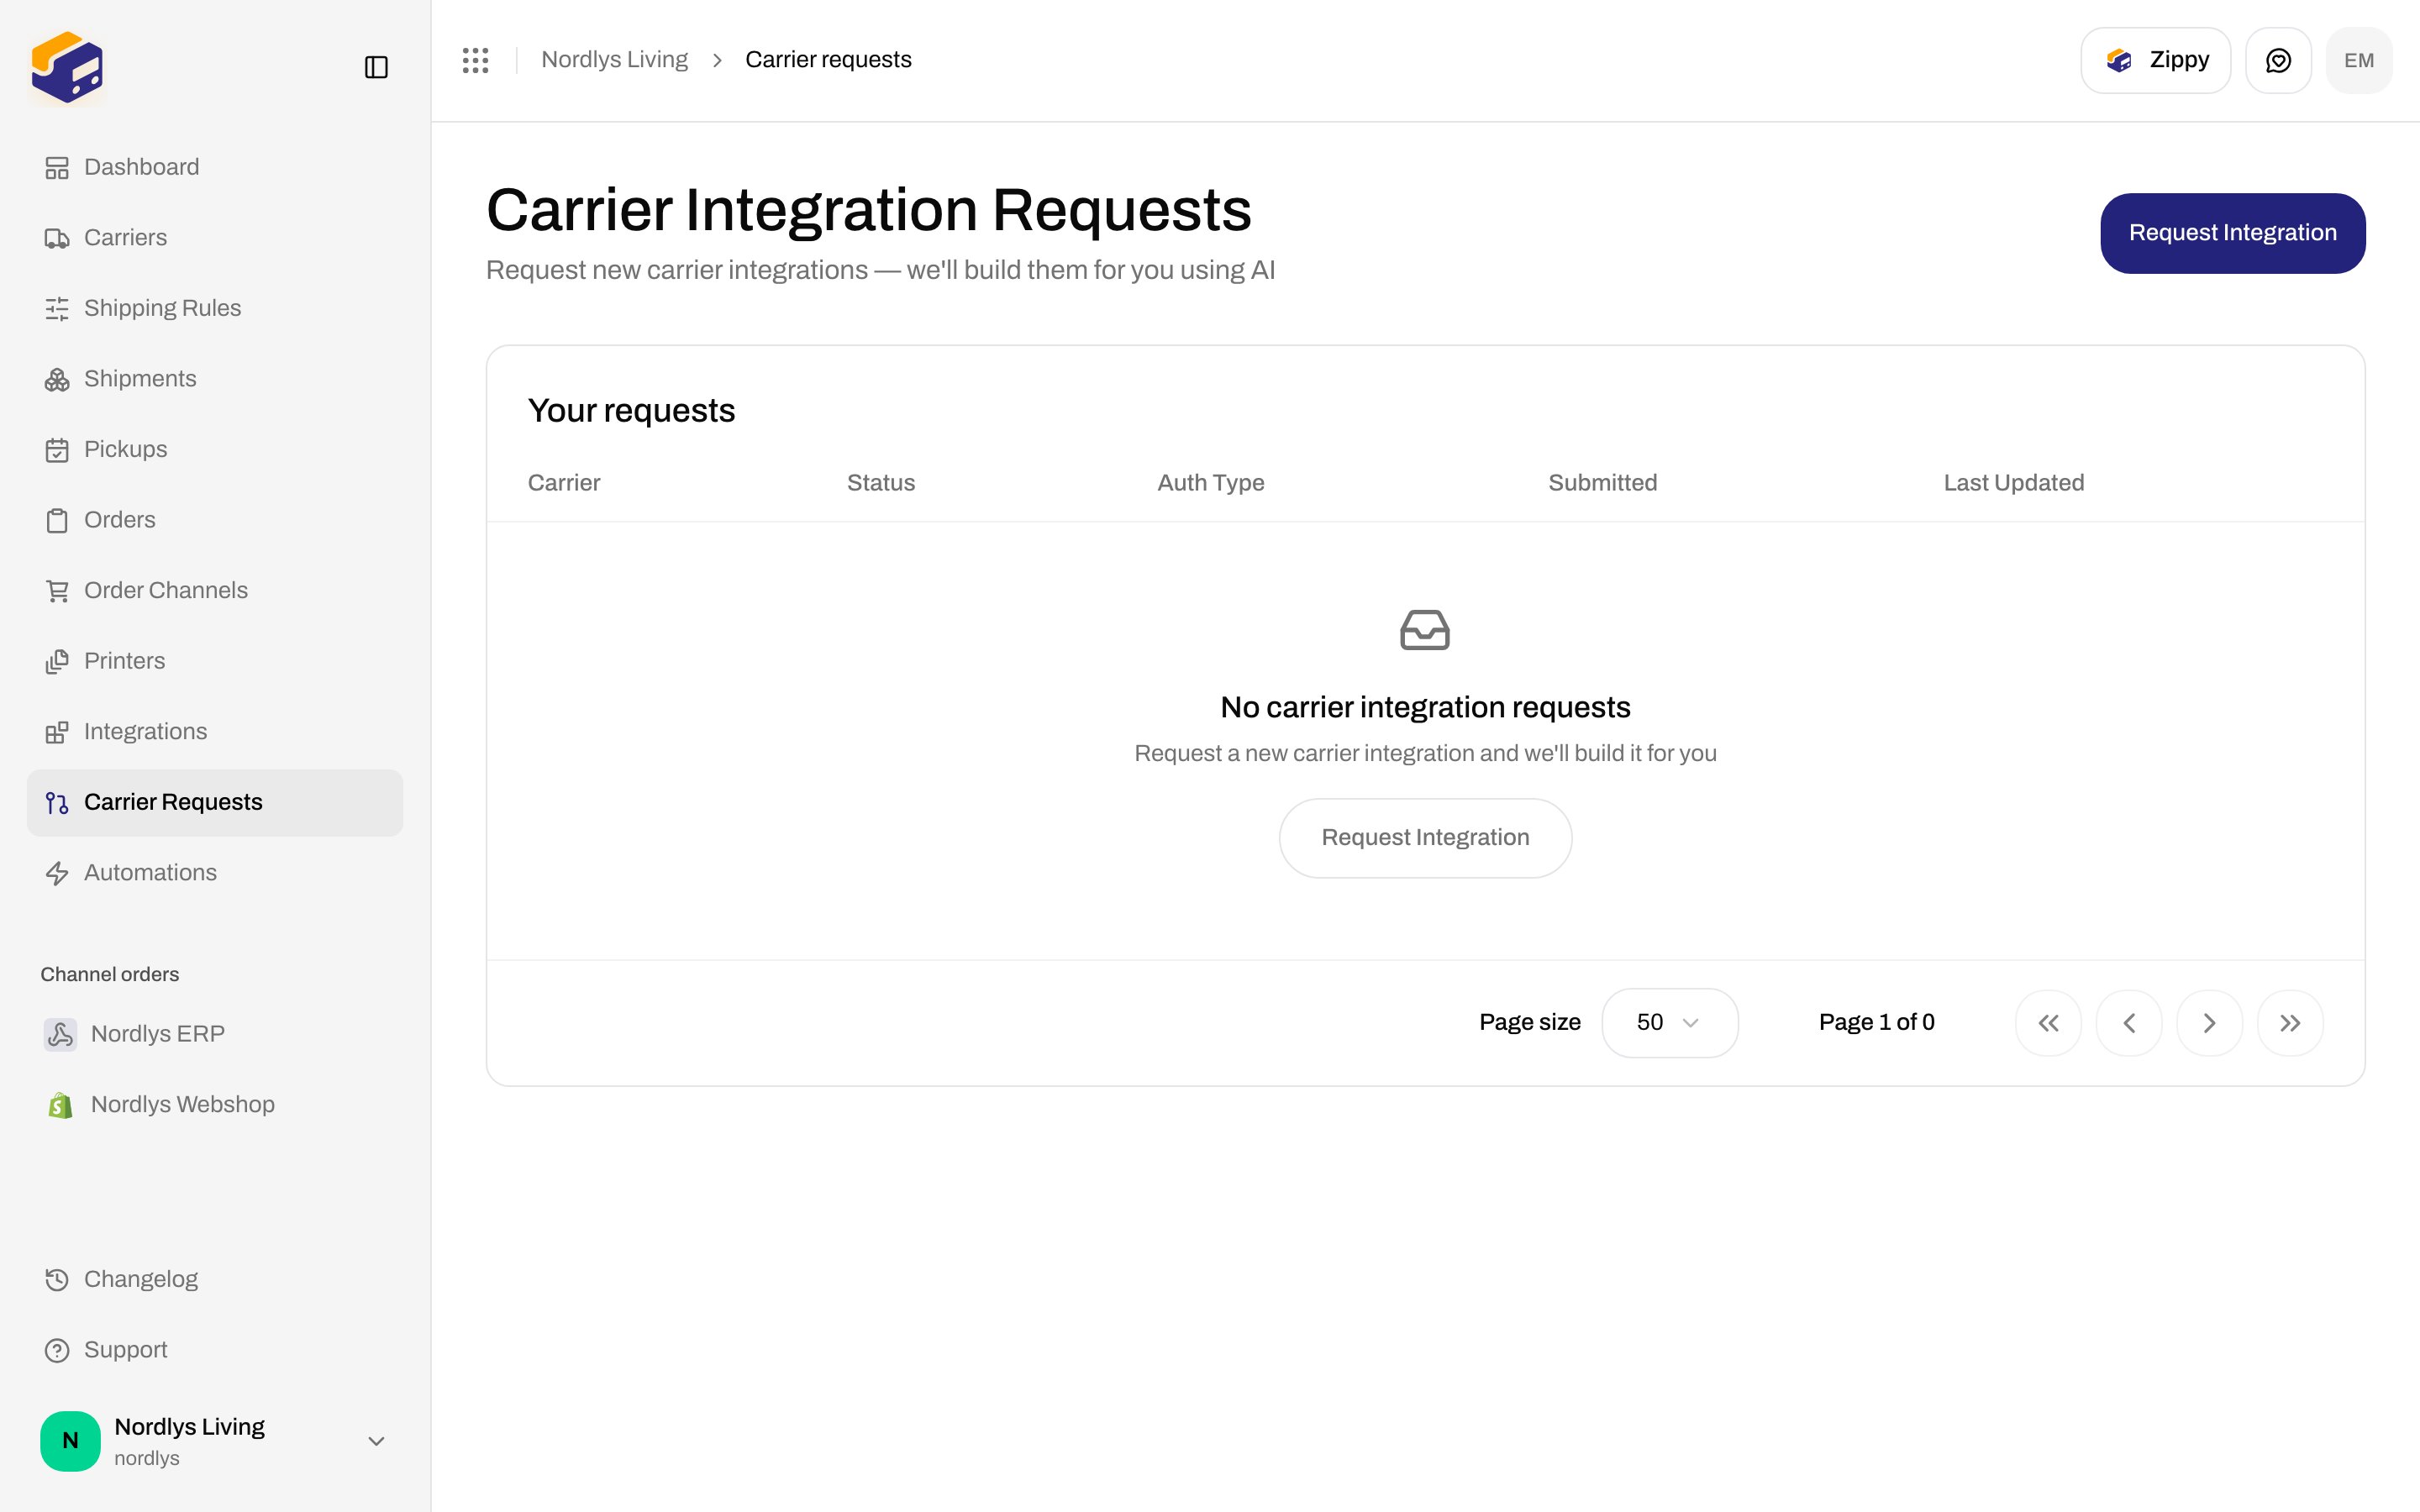
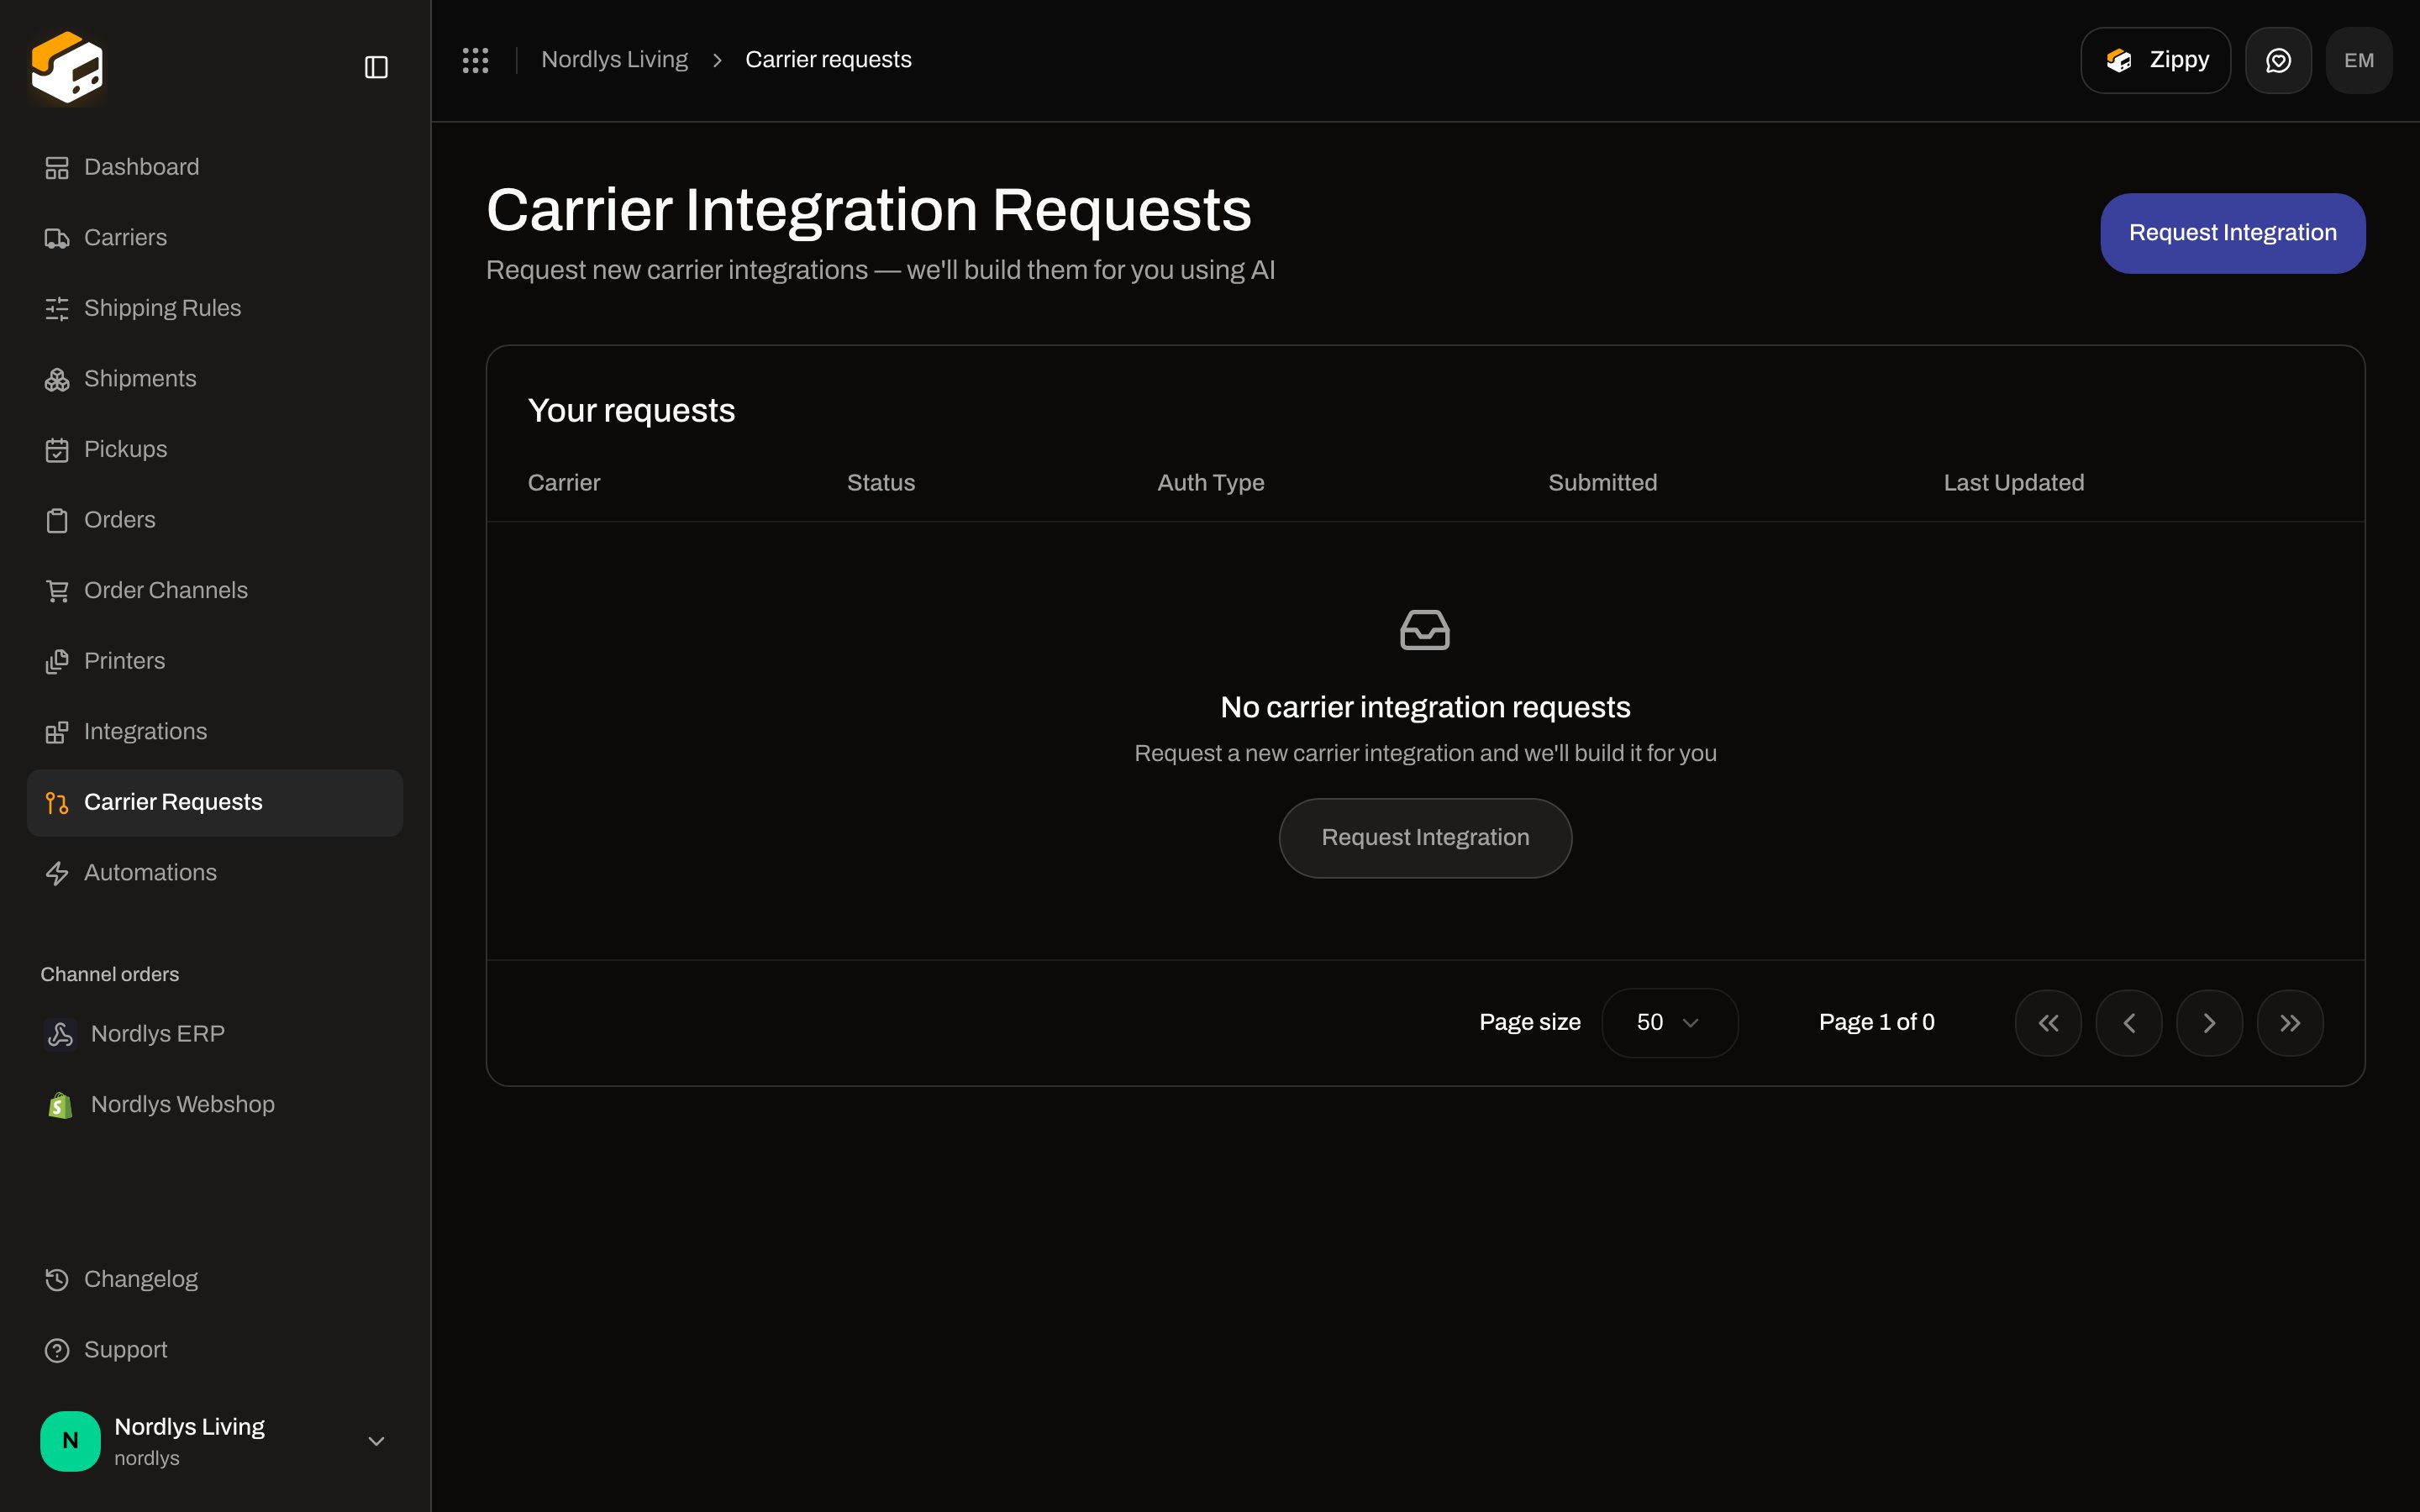 Click **Request Integration** in the header or the empty state.
The **Request carrier integration** dialog asks for **Carrier Name**, optional website and docs URLs, **Authentication Type** (API Key, OAuth 2.0, Basic Auth, or Custom), test credentials, and **Notes**.
Zippendo tracks the request under **Your requests** with **Carrier**, **Status**, **Auth Type**, **Submitted**, and **Last Updated**.
Statuses include **Pending**, **Approved**, **In Progress**, **Awaiting Review**, **Completed**, **Released**, **Rejected**, and **Failed**.
## Delete a carrier
On **Edit your carrier**, click **Delete**. Confirm in the **Delete Carrier** dialog.
Click **Request Integration** in the header or the empty state.
The **Request carrier integration** dialog asks for **Carrier Name**, optional website and docs URLs, **Authentication Type** (API Key, OAuth 2.0, Basic Auth, or Custom), test credentials, and **Notes**.
Zippendo tracks the request under **Your requests** with **Carrier**, **Status**, **Auth Type**, **Submitted**, and **Last Updated**.
Statuses include **Pending**, **Approved**, **In Progress**, **Awaiting Review**, **Completed**, **Released**, **Rejected**, and **Failed**.
## Delete a carrier
On **Edit your carrier**, click **Delete**. Confirm in the **Delete Carrier** dialog.
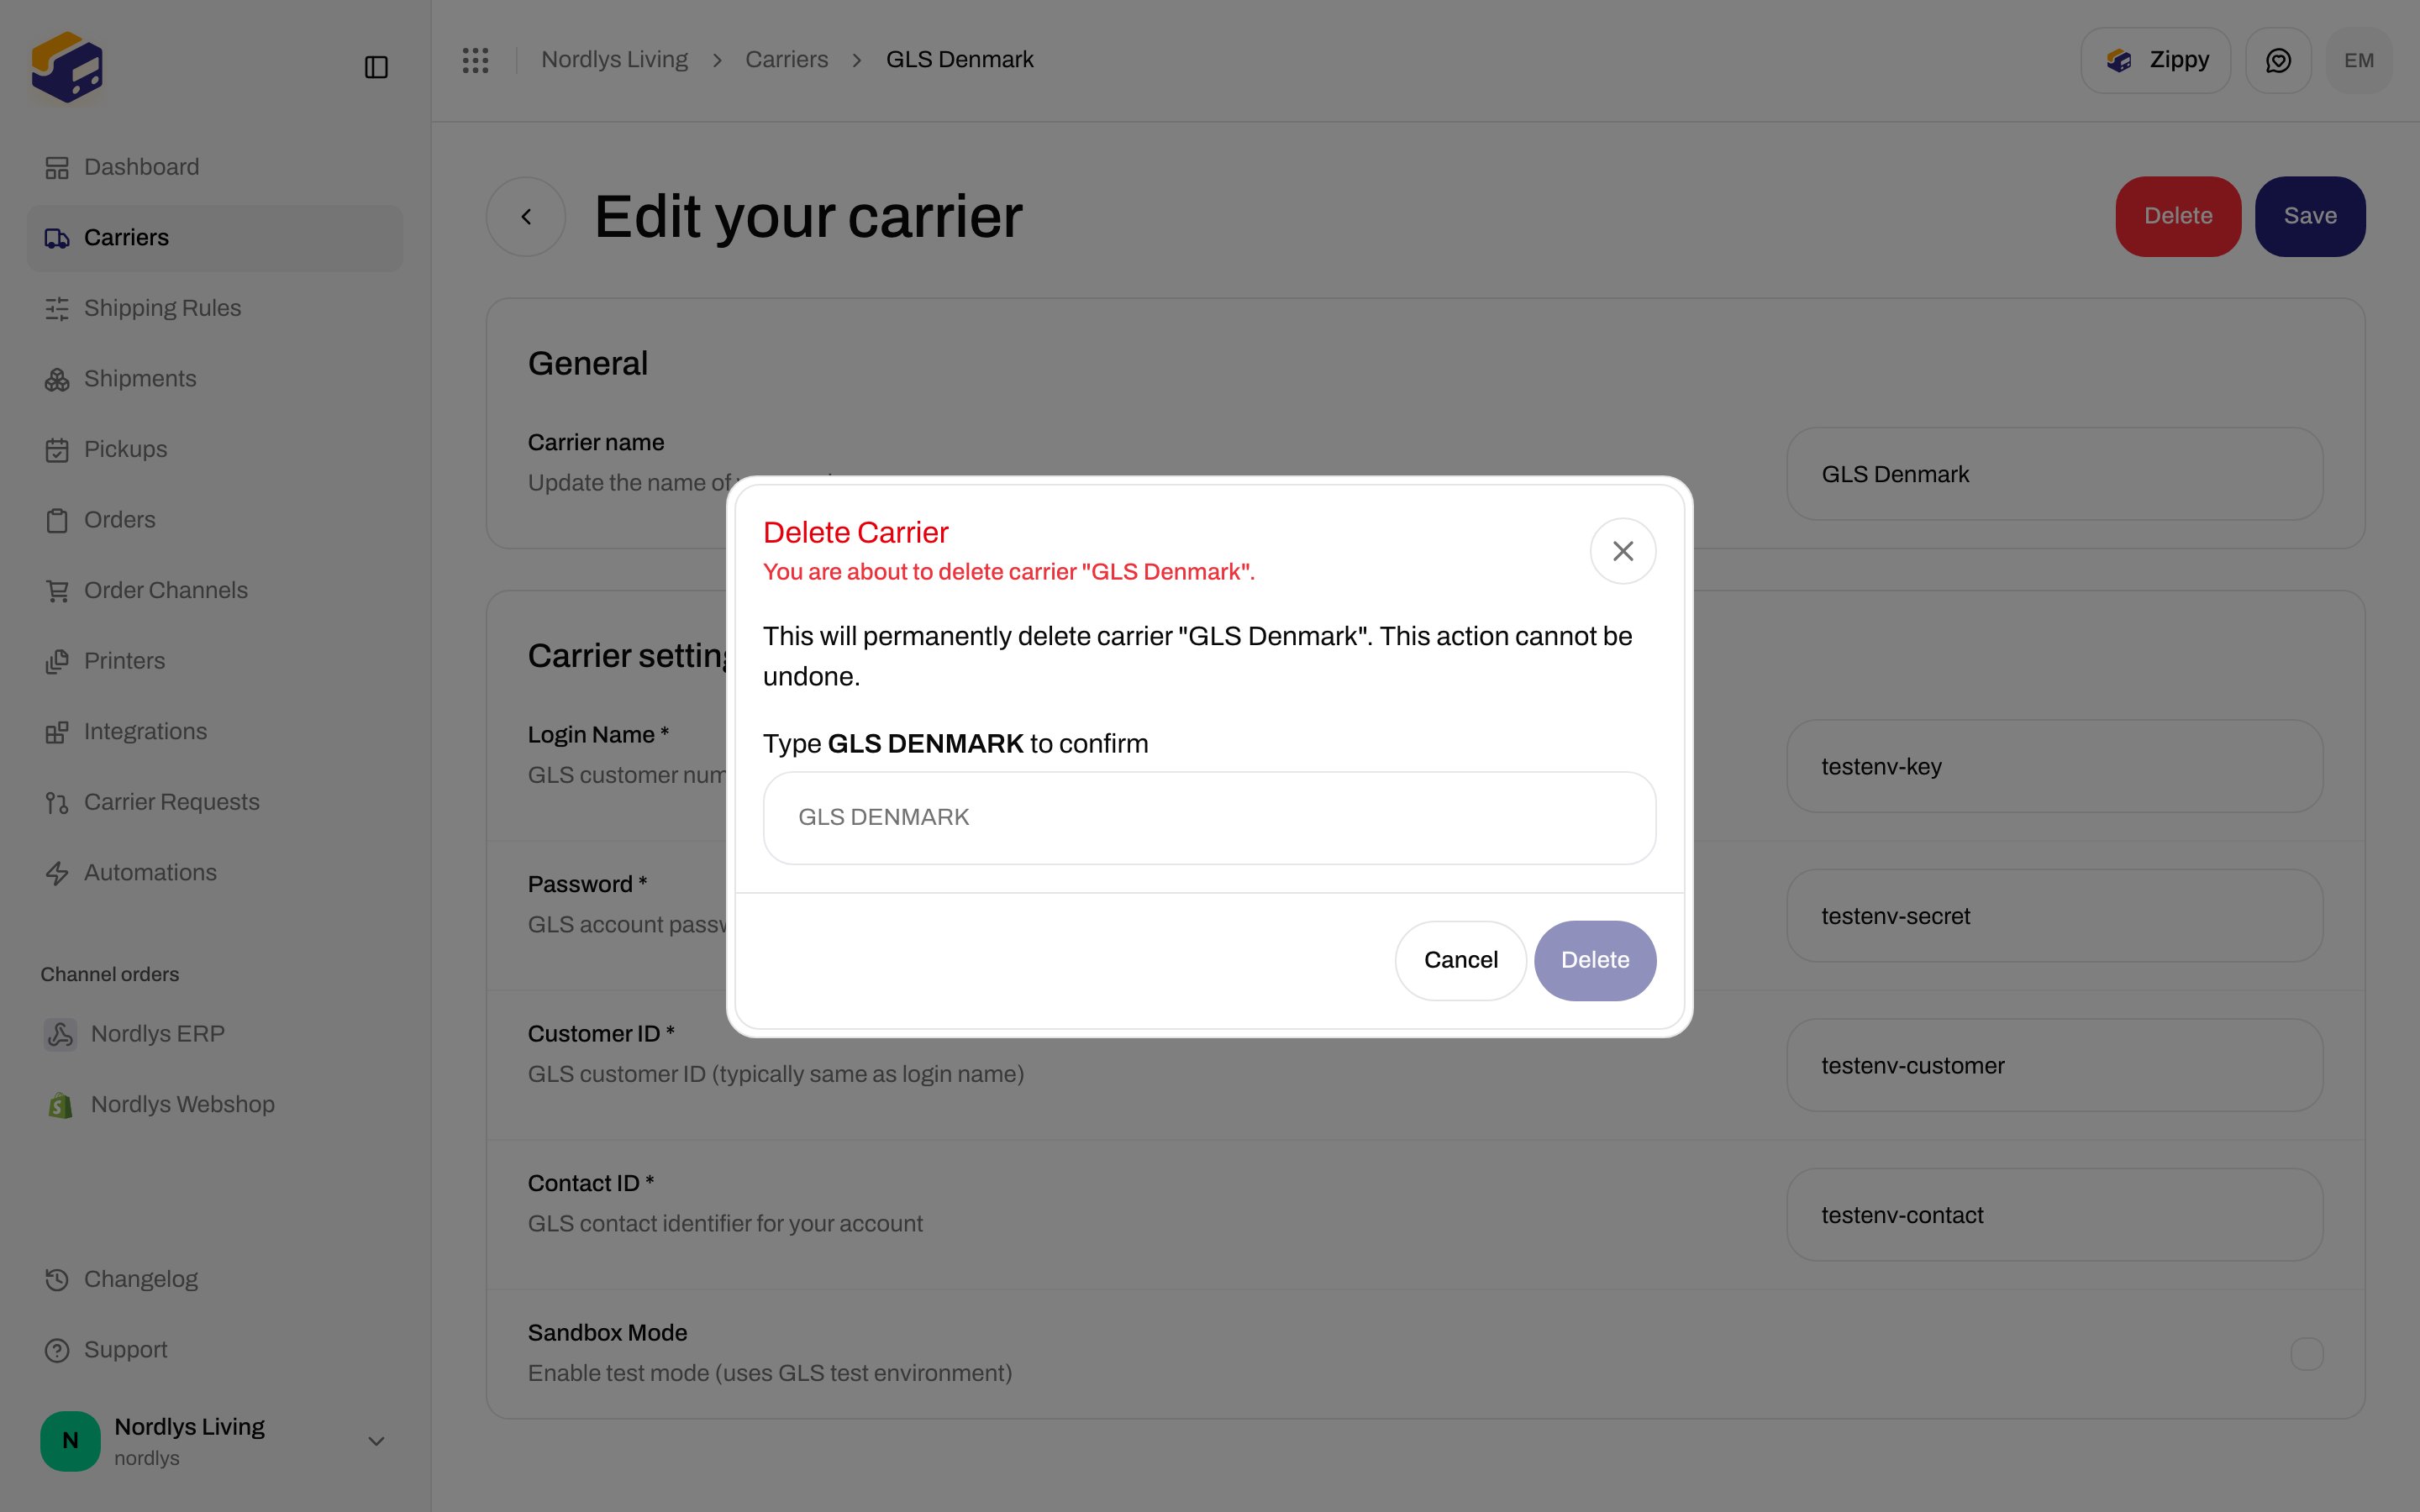
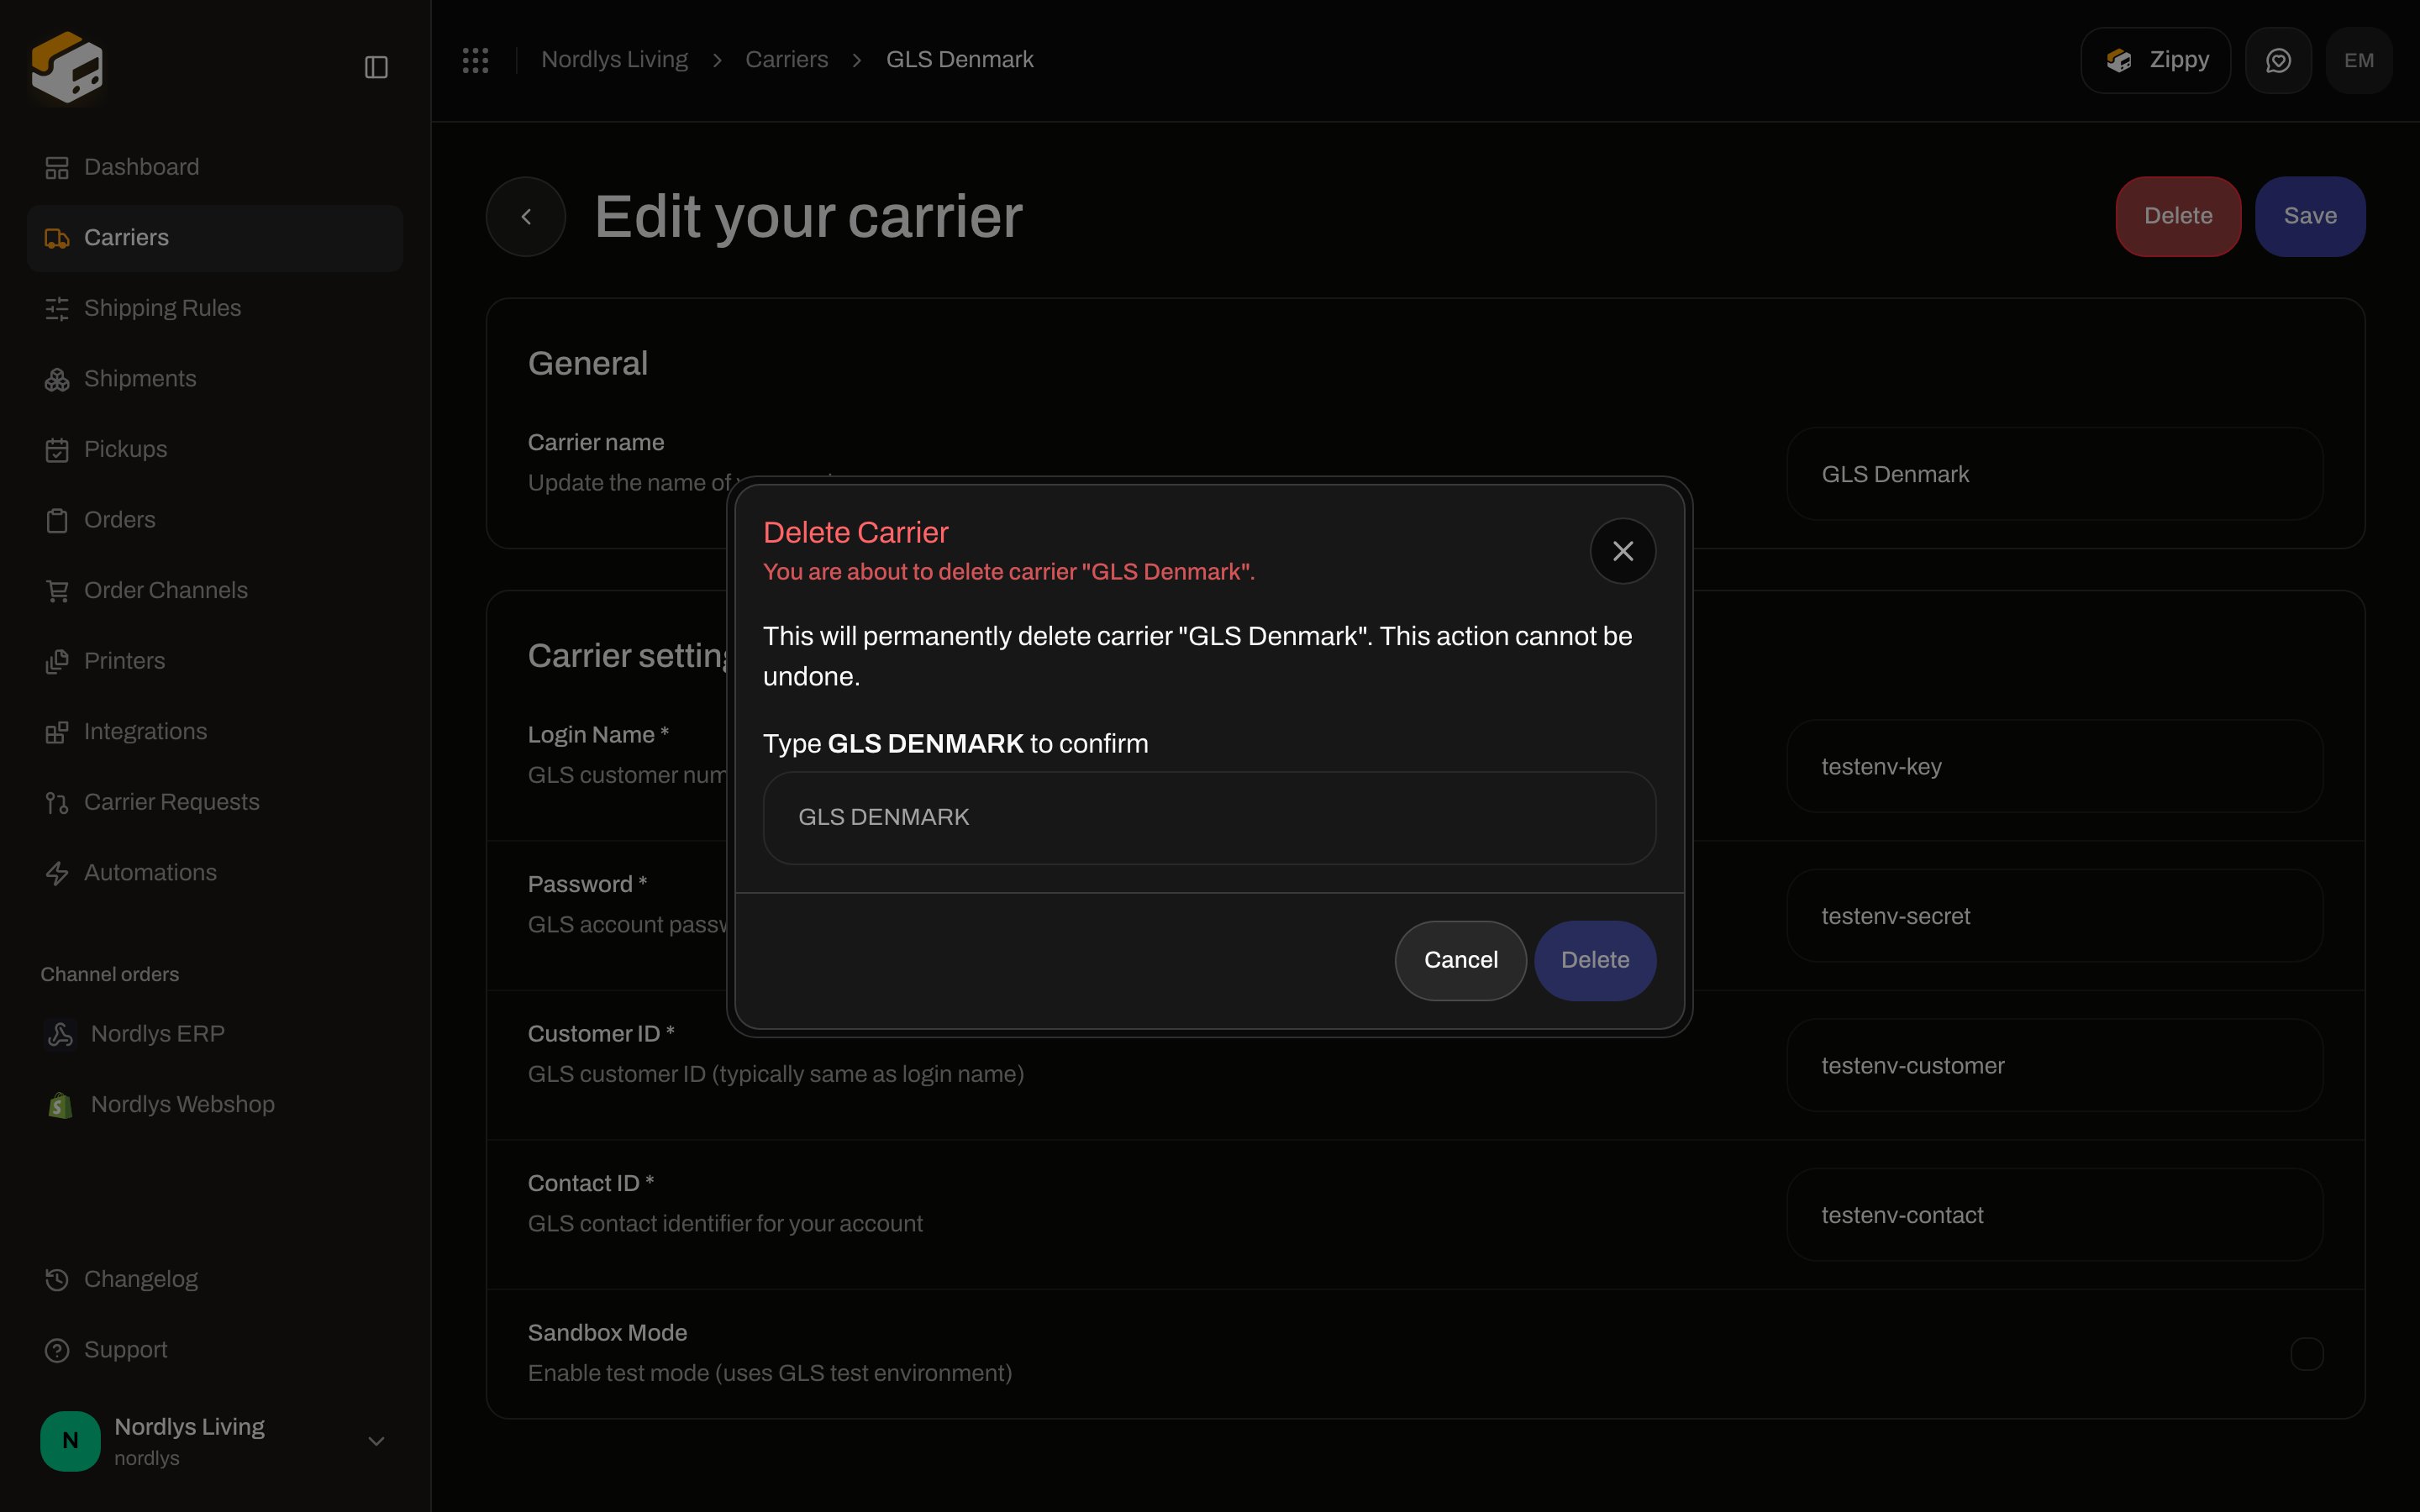 The copy is **This will permanently delete carrier "{{name}}". This action cannot be undone.** Type the carrier name in **uppercase** to enable **Delete**. A toast confirms **Carrier deleted successfully**.
Disconnecting is safe if you need to reconnect with corrected credentials. Shipments already booked with that account keep their labels and tracking.
## When a send fails
There is no separate carrier-health screen in the client. If **Send Shipment** fails:
* The shipment shows a **Shipment failed to send** banner on the overview, with the localized error and **Request Logs**.
* Open the shipment’s request logs for the carrier response.
* Re-check **Edit your carrier** — wrong keys, mixed sandbox/live credentials, or an expired password are the usual causes.
See [Carrier authentication failures](/docs/knowledge-base/carrier-authentication-failures) and [Labels not generating](/docs/knowledge-base/labels-not-generating).
## Next steps
Pick carrier and product, then send.
Book the label and print it.
Pre-select carrier and product from order data.
Assign a carrier to a brand.
Field-level: [Carrier credentials](/docs/how-to/carrier-credentials) · [Sandbox mode](/docs/how-to/sandbox-mode) · [Products and services](/docs/how-to/carrier-products-and-services) · [Request a carrier](/docs/how-to/request-carrier-integration)
The copy is **This will permanently delete carrier "{{name}}". This action cannot be undone.** Type the carrier name in **uppercase** to enable **Delete**. A toast confirms **Carrier deleted successfully**.
Disconnecting is safe if you need to reconnect with corrected credentials. Shipments already booked with that account keep their labels and tracking.
## When a send fails
There is no separate carrier-health screen in the client. If **Send Shipment** fails:
* The shipment shows a **Shipment failed to send** banner on the overview, with the localized error and **Request Logs**.
* Open the shipment’s request logs for the carrier response.
* Re-check **Edit your carrier** — wrong keys, mixed sandbox/live credentials, or an expired password are the usual causes.
See [Carrier authentication failures](/docs/knowledge-base/carrier-authentication-failures) and [Labels not generating](/docs/knowledge-base/labels-not-generating).
## Next steps
Pick carrier and product, then send.
Book the label and print it.
Pre-select carrier and product from order data.
Assign a carrier to a brand.
Field-level: [Carrier credentials](/docs/how-to/carrier-credentials) · [Sandbox mode](/docs/how-to/sandbox-mode) · [Products and services](/docs/how-to/carrier-products-and-services) · [Request a carrier](/docs/how-to/request-carrier-integration)