> ## Documentation Index
> Fetch the complete documentation index at: https://www.zippendo.com/docs/llms.txt
> Use this file to discover all available pages before exploring further.
# Platform tutorials
> Guided walkthroughs of the Zippendo dashboard — from first login to labels, tracking, checkout, and team setup.
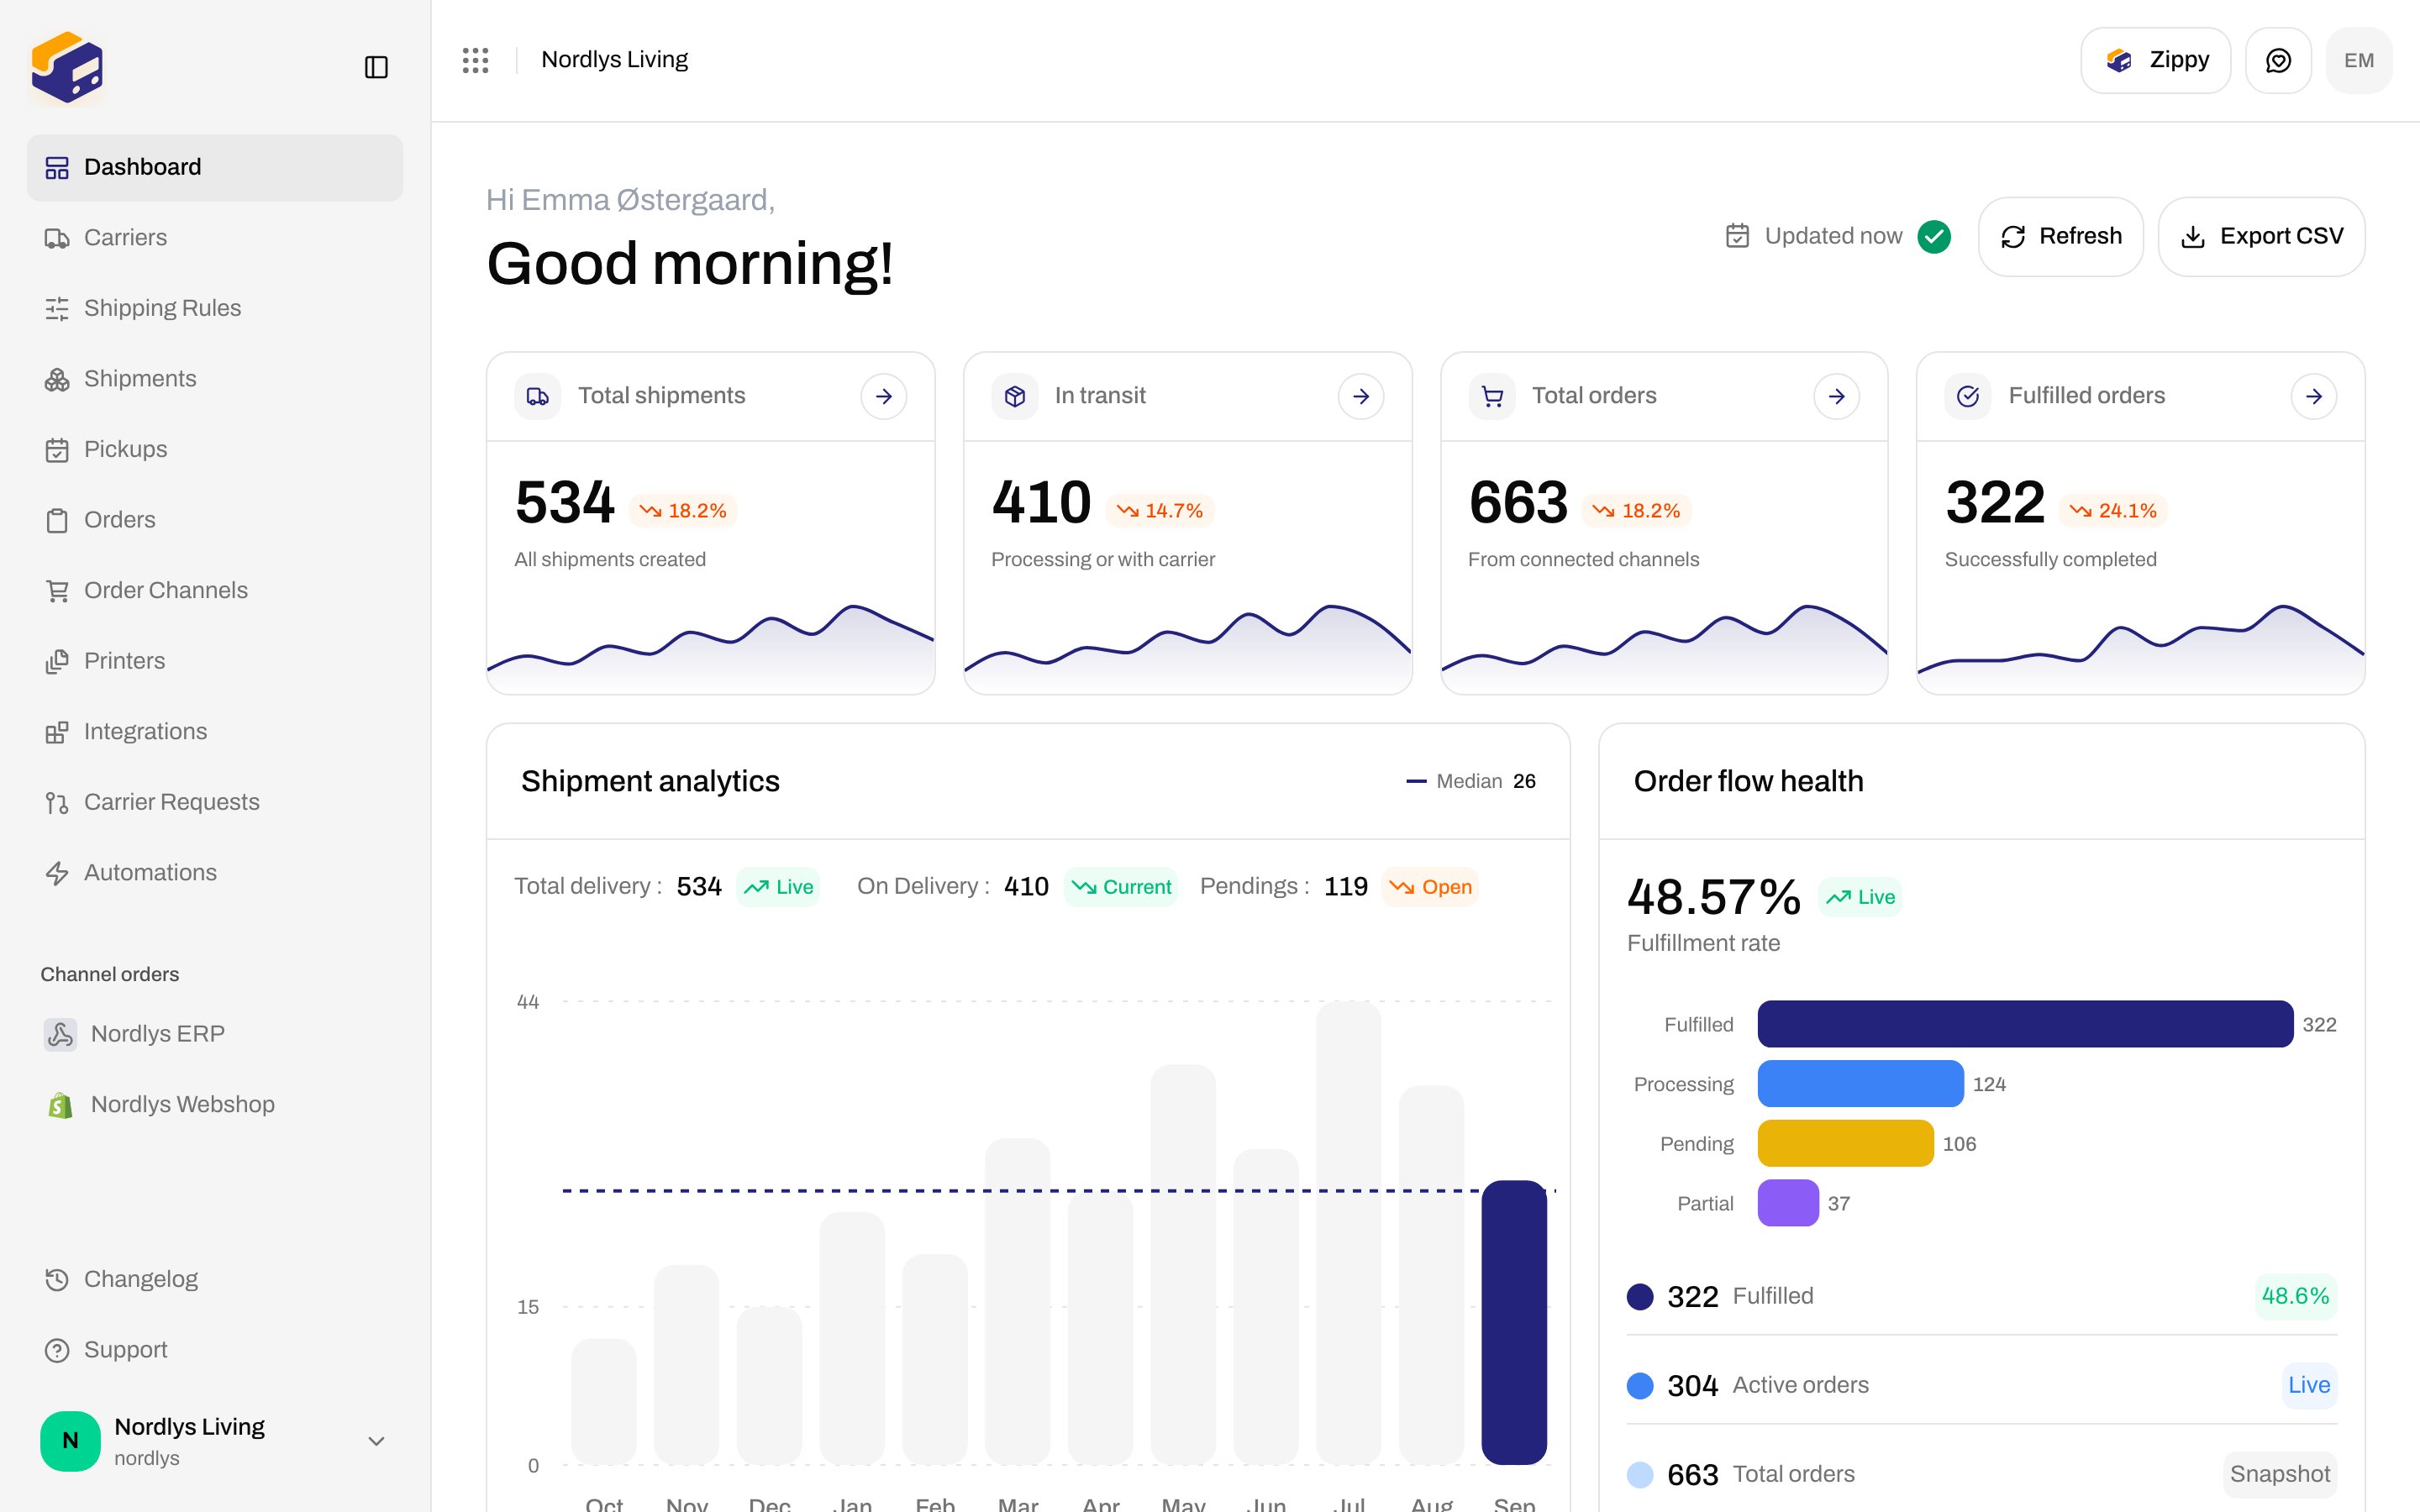
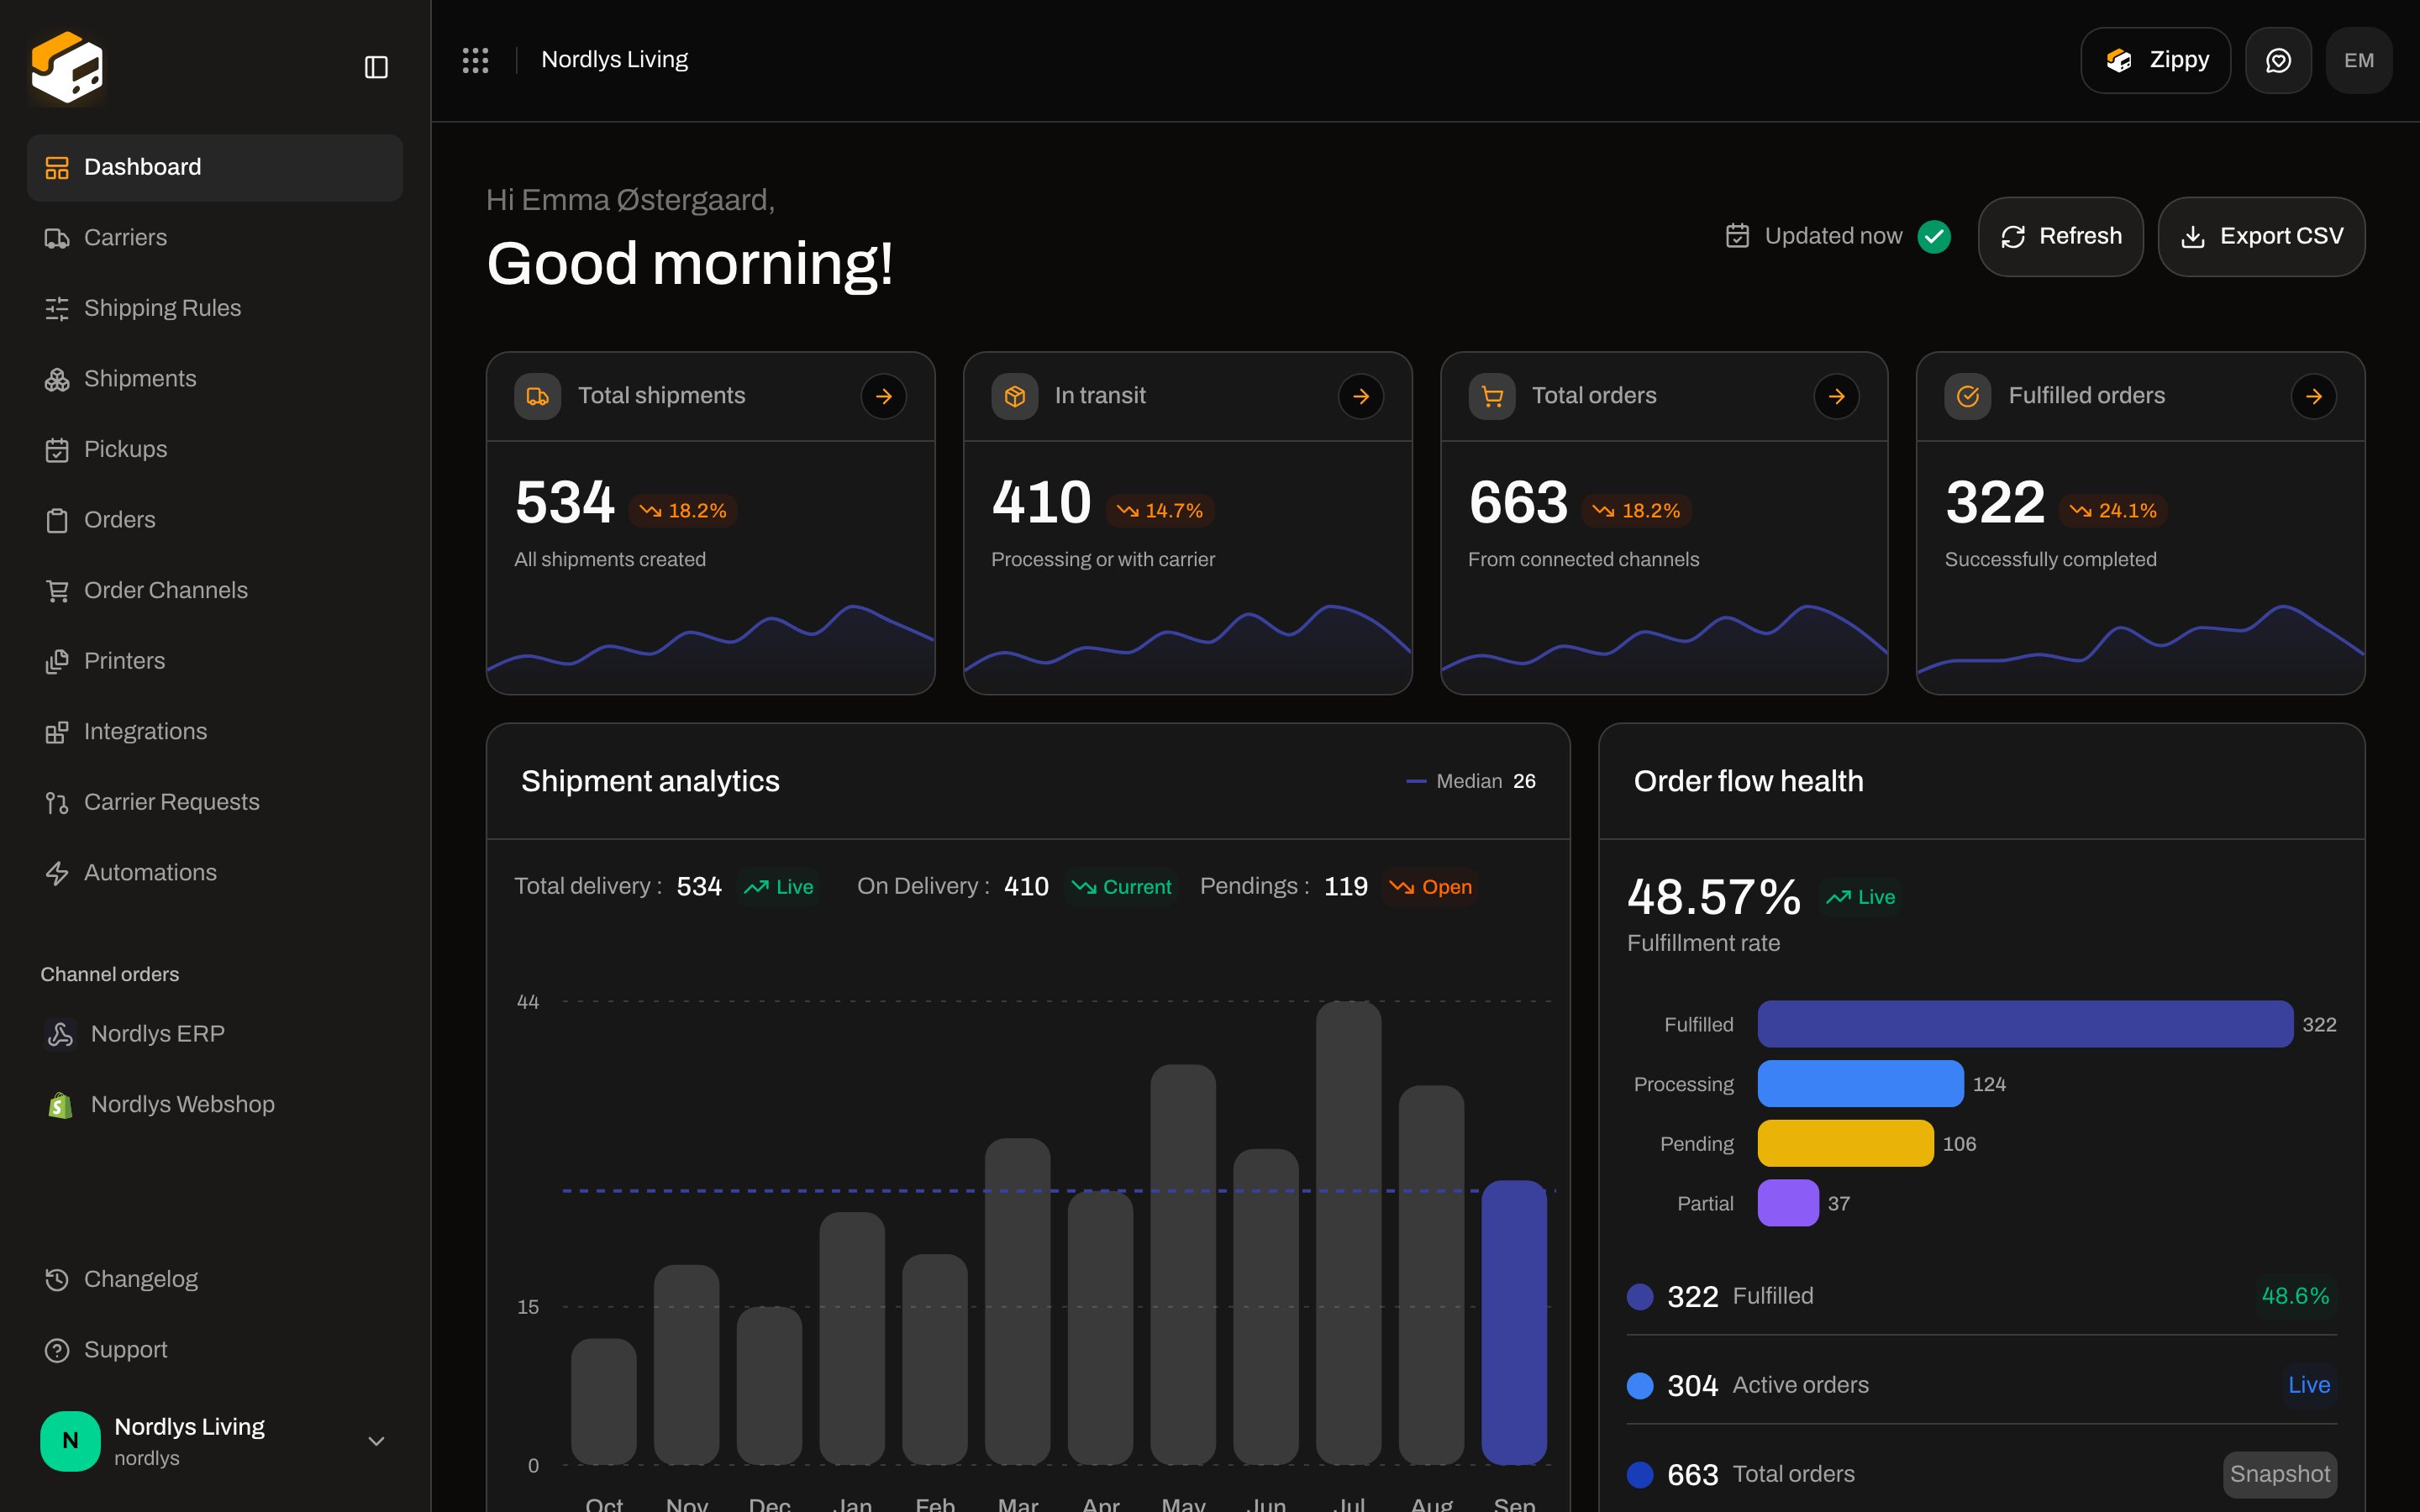
Zippendo is a shipping and fulfilment hub for e-commerce teams. You connect the carriers you already use, sync orders from your store, create labels, and keep tracking in one dashboard — instead of logging into each carrier portal.
These tutorials are **click-through walkthroughs of the Zippendo client** ([app.zippendo.com](https://app.zippendo.com)). They show the screens you open, the buttons you click, and the result you should see. Use them when you want to learn the product by doing the work, not when you need a field-level reference.
 ## What Zippendo is for
Most teams run day-to-day fulfilment in the dashboard:
1. **Connect a carrier** (PostNord, GLS, DHL, Bring, and others) so pricing, labels, and tracking use your real account.
2. **Add a sender address** — the “from” address printed on labels.
3. **Create a shipment** manually, or from a synced store order.
4. **Print or download the label**, hand the parcel to the carrier, and follow tracking as the status moves to dispatched.
You can stop there. When you are ready, Zippendo also covers:
* **Order channels** — Shopify, WooCommerce, or a custom channel so orders appear under **Orders** without copy-paste.
* **Shipping rules** — pick carrier and product from weight, destination, channel, and similar conditions.
* **Checkout rates** — show those rules as live shipping options in Shopify or WooCommerce checkout (including pickup points).
* **Returns** — create a return shipment from a dispatched outbound one when a return rule is configured.
* **Brands, team, and printers** — separate consumer labels, invite colleagues, and auto-print when a shipment is sent.
You do not need every feature on day one. Start with one carrier and a manual shipment, then add channels and rules when the volume justifies it.
These tutorials walk the **dashboard**. If you fulfil from your own WMS, ERP, or checkout, start with the [REST API quickstart](/docs/quickstarts/rest-api) and [webhooks](/docs/quickstarts/webhooks) instead, then come back here for the screens your ops team will still use.
## How to use this series
Each tutorial is a single job (connect Shopify, print a label, invite a teammate). Read them in order if you are new; skip to the one that matches the screen you are on if you already ship.
**Suggested path for a new workspace**
[Getting started](/docs/tutorials/getting-started) covers sign-in, the onboarding checklist, and your first sender address. [Dashboard](/docs/tutorials/dashboard) shows where everything lives after you land in the app.
[Carriers](/docs/tutorials/carriers) → [Create a shipment](/docs/tutorials/create-a-shipment) → [Labels and printing](/docs/tutorials/labels-printing) → [Tracking](/docs/tutorials/tracking). That is the core loop: connect, book, print, follow.
[Connect Shopify](/docs/tutorials/connect-shopify) or [Connect order channels](/docs/tutorials/connect-order-channels) so orders sync in. Then use [Orders](/docs/tutorials/orders) to fulfil from the order instead of retyping the address.
[Shipping rules](/docs/tutorials/shipping-rules) choose the product for you. [Checkout](/docs/tutorials/checkout) shows those options to shoppers. [Returns](/docs/tutorials/returns) covers sending a parcel back.
[Settings, team, and brands](/docs/tutorials/settings-team-brands) is for invites, roles, and running more than one consumer label in the same organization.
You need at least one **sender address** and one **connected carrier** before you can create a shipment. Everything else in this series is optional until you need it.
**Tutorials vs the rest of the docs**
| Section | Use it when |
| ------------------------ | ---------------------------------------------------------------------------------- |
| **Tutorials** (this tab) | You want a guided path through the app, with screenshots of each step. |
| **How-to** | You need every field, toggle, and empty state on one screen (`/how-to/…`). |
| **Documentation** | You need the full reference for a screen, status, or setting. |
| **Knowledge base** | Something is already broken (orders not syncing, labels missing, printer offline). |
| **API Reference** | You are integrating Zippendo into your own stack. |
When a tutorial mentions a control, it should link to the matching [how-to](/docs/how-to). Statuses and reference stay in Documentation. You do not have to read both; follow the tutorial, then open the how-to if a field is unclear. Example pairs: [Create a shipment](/docs/tutorials/create-a-shipment) ↔ [Send a shipment](/docs/how-to/send-a-shipment), [Labels and printing](/docs/tutorials/labels-printing) ↔ [Printer jobs](/docs/how-to/printer-jobs), [Dashboard](/docs/tutorials/dashboard) ↔ [Ask Zippy](/docs/how-to/zippy-ai).
## Getting started
Create your account, complete onboarding, and add the sender address labels need.
Lifetime stats, shipment analytics, recent cargo, and jumps into orders.
## Shipments and labels
Book a parcel from **Shipments** or from an order: carrier, product, parties, and parcels.
Download, print, or auto-print shipping labels (PDF or ZPL).
Follow a shipment after dispatch and read what each status means.
Connect PostNord, GLS, DHL, and others; manage products and test mode.
## Orders and channels
Browse synced orders, open an order, and create a shipment from it.
Install Zippendo on a Shopify store and confirm orders sync into the dashboard.
WooCommerce, custom channels, and managing more than one store.
Show live carrier rates and pickup points at Shopify or WooCommerce checkout.
## Automation
Route orders to a carrier product by weight, destination, channel, and brand.
Create a return shipment from a dispatched outbound shipment.
## Account
Organization settings, invites and roles, and separate brands on one bill.
## If you already know the destination
* First label today → [Getting started](/docs/tutorials/getting-started), then [Create a shipment](/docs/tutorials/create-a-shipment).
* Shopify store already live → [Connect Shopify](/docs/tutorials/connect-shopify).
* Same destination, same product, every time → [Shipping rules](/docs/tutorials/shipping-rules).
* Shoppers should see real rates at checkout → [Checkout](/docs/tutorials/checkout).
* Labels should hit the printer without a click → [Labels and printing](/docs/tutorials/labels-printing) and the auto-print section of [Shipping rules](/docs/tutorials/shipping-rules).
Prefer a short checklist without screenshots? Use the [onboarding checklist](/docs/getting-started/onboarding-checklist). For a one-page product summary, see [What is Zippendo?](/docs/getting-started/what-is-zippendo).
## What Zippendo is for
Most teams run day-to-day fulfilment in the dashboard:
1. **Connect a carrier** (PostNord, GLS, DHL, Bring, and others) so pricing, labels, and tracking use your real account.
2. **Add a sender address** — the “from” address printed on labels.
3. **Create a shipment** manually, or from a synced store order.
4. **Print or download the label**, hand the parcel to the carrier, and follow tracking as the status moves to dispatched.
You can stop there. When you are ready, Zippendo also covers:
* **Order channels** — Shopify, WooCommerce, or a custom channel so orders appear under **Orders** without copy-paste.
* **Shipping rules** — pick carrier and product from weight, destination, channel, and similar conditions.
* **Checkout rates** — show those rules as live shipping options in Shopify or WooCommerce checkout (including pickup points).
* **Returns** — create a return shipment from a dispatched outbound one when a return rule is configured.
* **Brands, team, and printers** — separate consumer labels, invite colleagues, and auto-print when a shipment is sent.
You do not need every feature on day one. Start with one carrier and a manual shipment, then add channels and rules when the volume justifies it.
These tutorials walk the **dashboard**. If you fulfil from your own WMS, ERP, or checkout, start with the [REST API quickstart](/docs/quickstarts/rest-api) and [webhooks](/docs/quickstarts/webhooks) instead, then come back here for the screens your ops team will still use.
## How to use this series
Each tutorial is a single job (connect Shopify, print a label, invite a teammate). Read them in order if you are new; skip to the one that matches the screen you are on if you already ship.
**Suggested path for a new workspace**
[Getting started](/docs/tutorials/getting-started) covers sign-in, the onboarding checklist, and your first sender address. [Dashboard](/docs/tutorials/dashboard) shows where everything lives after you land in the app.
[Carriers](/docs/tutorials/carriers) → [Create a shipment](/docs/tutorials/create-a-shipment) → [Labels and printing](/docs/tutorials/labels-printing) → [Tracking](/docs/tutorials/tracking). That is the core loop: connect, book, print, follow.
[Connect Shopify](/docs/tutorials/connect-shopify) or [Connect order channels](/docs/tutorials/connect-order-channels) so orders sync in. Then use [Orders](/docs/tutorials/orders) to fulfil from the order instead of retyping the address.
[Shipping rules](/docs/tutorials/shipping-rules) choose the product for you. [Checkout](/docs/tutorials/checkout) shows those options to shoppers. [Returns](/docs/tutorials/returns) covers sending a parcel back.
[Settings, team, and brands](/docs/tutorials/settings-team-brands) is for invites, roles, and running more than one consumer label in the same organization.
You need at least one **sender address** and one **connected carrier** before you can create a shipment. Everything else in this series is optional until you need it.
**Tutorials vs the rest of the docs**
| Section | Use it when |
| ------------------------ | ---------------------------------------------------------------------------------- |
| **Tutorials** (this tab) | You want a guided path through the app, with screenshots of each step. |
| **How-to** | You need every field, toggle, and empty state on one screen (`/how-to/…`). |
| **Documentation** | You need the full reference for a screen, status, or setting. |
| **Knowledge base** | Something is already broken (orders not syncing, labels missing, printer offline). |
| **API Reference** | You are integrating Zippendo into your own stack. |
When a tutorial mentions a control, it should link to the matching [how-to](/docs/how-to). Statuses and reference stay in Documentation. You do not have to read both; follow the tutorial, then open the how-to if a field is unclear. Example pairs: [Create a shipment](/docs/tutorials/create-a-shipment) ↔ [Send a shipment](/docs/how-to/send-a-shipment), [Labels and printing](/docs/tutorials/labels-printing) ↔ [Printer jobs](/docs/how-to/printer-jobs), [Dashboard](/docs/tutorials/dashboard) ↔ [Ask Zippy](/docs/how-to/zippy-ai).
## Getting started
Create your account, complete onboarding, and add the sender address labels need.
Lifetime stats, shipment analytics, recent cargo, and jumps into orders.
## Shipments and labels
Book a parcel from **Shipments** or from an order: carrier, product, parties, and parcels.
Download, print, or auto-print shipping labels (PDF or ZPL).
Follow a shipment after dispatch and read what each status means.
Connect PostNord, GLS, DHL, and others; manage products and test mode.
## Orders and channels
Browse synced orders, open an order, and create a shipment from it.
Install Zippendo on a Shopify store and confirm orders sync into the dashboard.
WooCommerce, custom channels, and managing more than one store.
Show live carrier rates and pickup points at Shopify or WooCommerce checkout.
## Automation
Route orders to a carrier product by weight, destination, channel, and brand.
Create a return shipment from a dispatched outbound shipment.
## Account
Organization settings, invites and roles, and separate brands on one bill.
## If you already know the destination
* First label today → [Getting started](/docs/tutorials/getting-started), then [Create a shipment](/docs/tutorials/create-a-shipment).
* Shopify store already live → [Connect Shopify](/docs/tutorials/connect-shopify).
* Same destination, same product, every time → [Shipping rules](/docs/tutorials/shipping-rules).
* Shoppers should see real rates at checkout → [Checkout](/docs/tutorials/checkout).
* Labels should hit the printer without a click → [Labels and printing](/docs/tutorials/labels-printing) and the auto-print section of [Shipping rules](/docs/tutorials/shipping-rules).
Prefer a short checklist without screenshots? Use the [onboarding checklist](/docs/getting-started/onboarding-checklist). For a one-page product summary, see [What is Zippendo?](/docs/getting-started/what-is-zippendo).