> ## Documentation Index
> Fetch the complete documentation index at: https://www.zippendo.com/docs/llms.txt
> Use this file to discover all available pages before exploring further.
# Invite team members
> Invite a colleague by email from Settings → Team, optionally assign a custom role, restrict them to a brand, and revoke a pending invitation.
Invite people from **Settings → Team**. The journey walkthrough is [Settings, team, and brands](/docs/tutorials/settings-team-brands). Custom roles and permission checkboxes are on [Roles and permissions](/docs/how-to/roles-and-permissions). Switching organizations is on [Switch organization and brand](/docs/how-to/switch-organization-and-brand).
There is no **Resend** button on Team. Pending invitations can be **revoked**. To send another invitation, revoke the pending one, then use **Invite** again.
## Where it lives
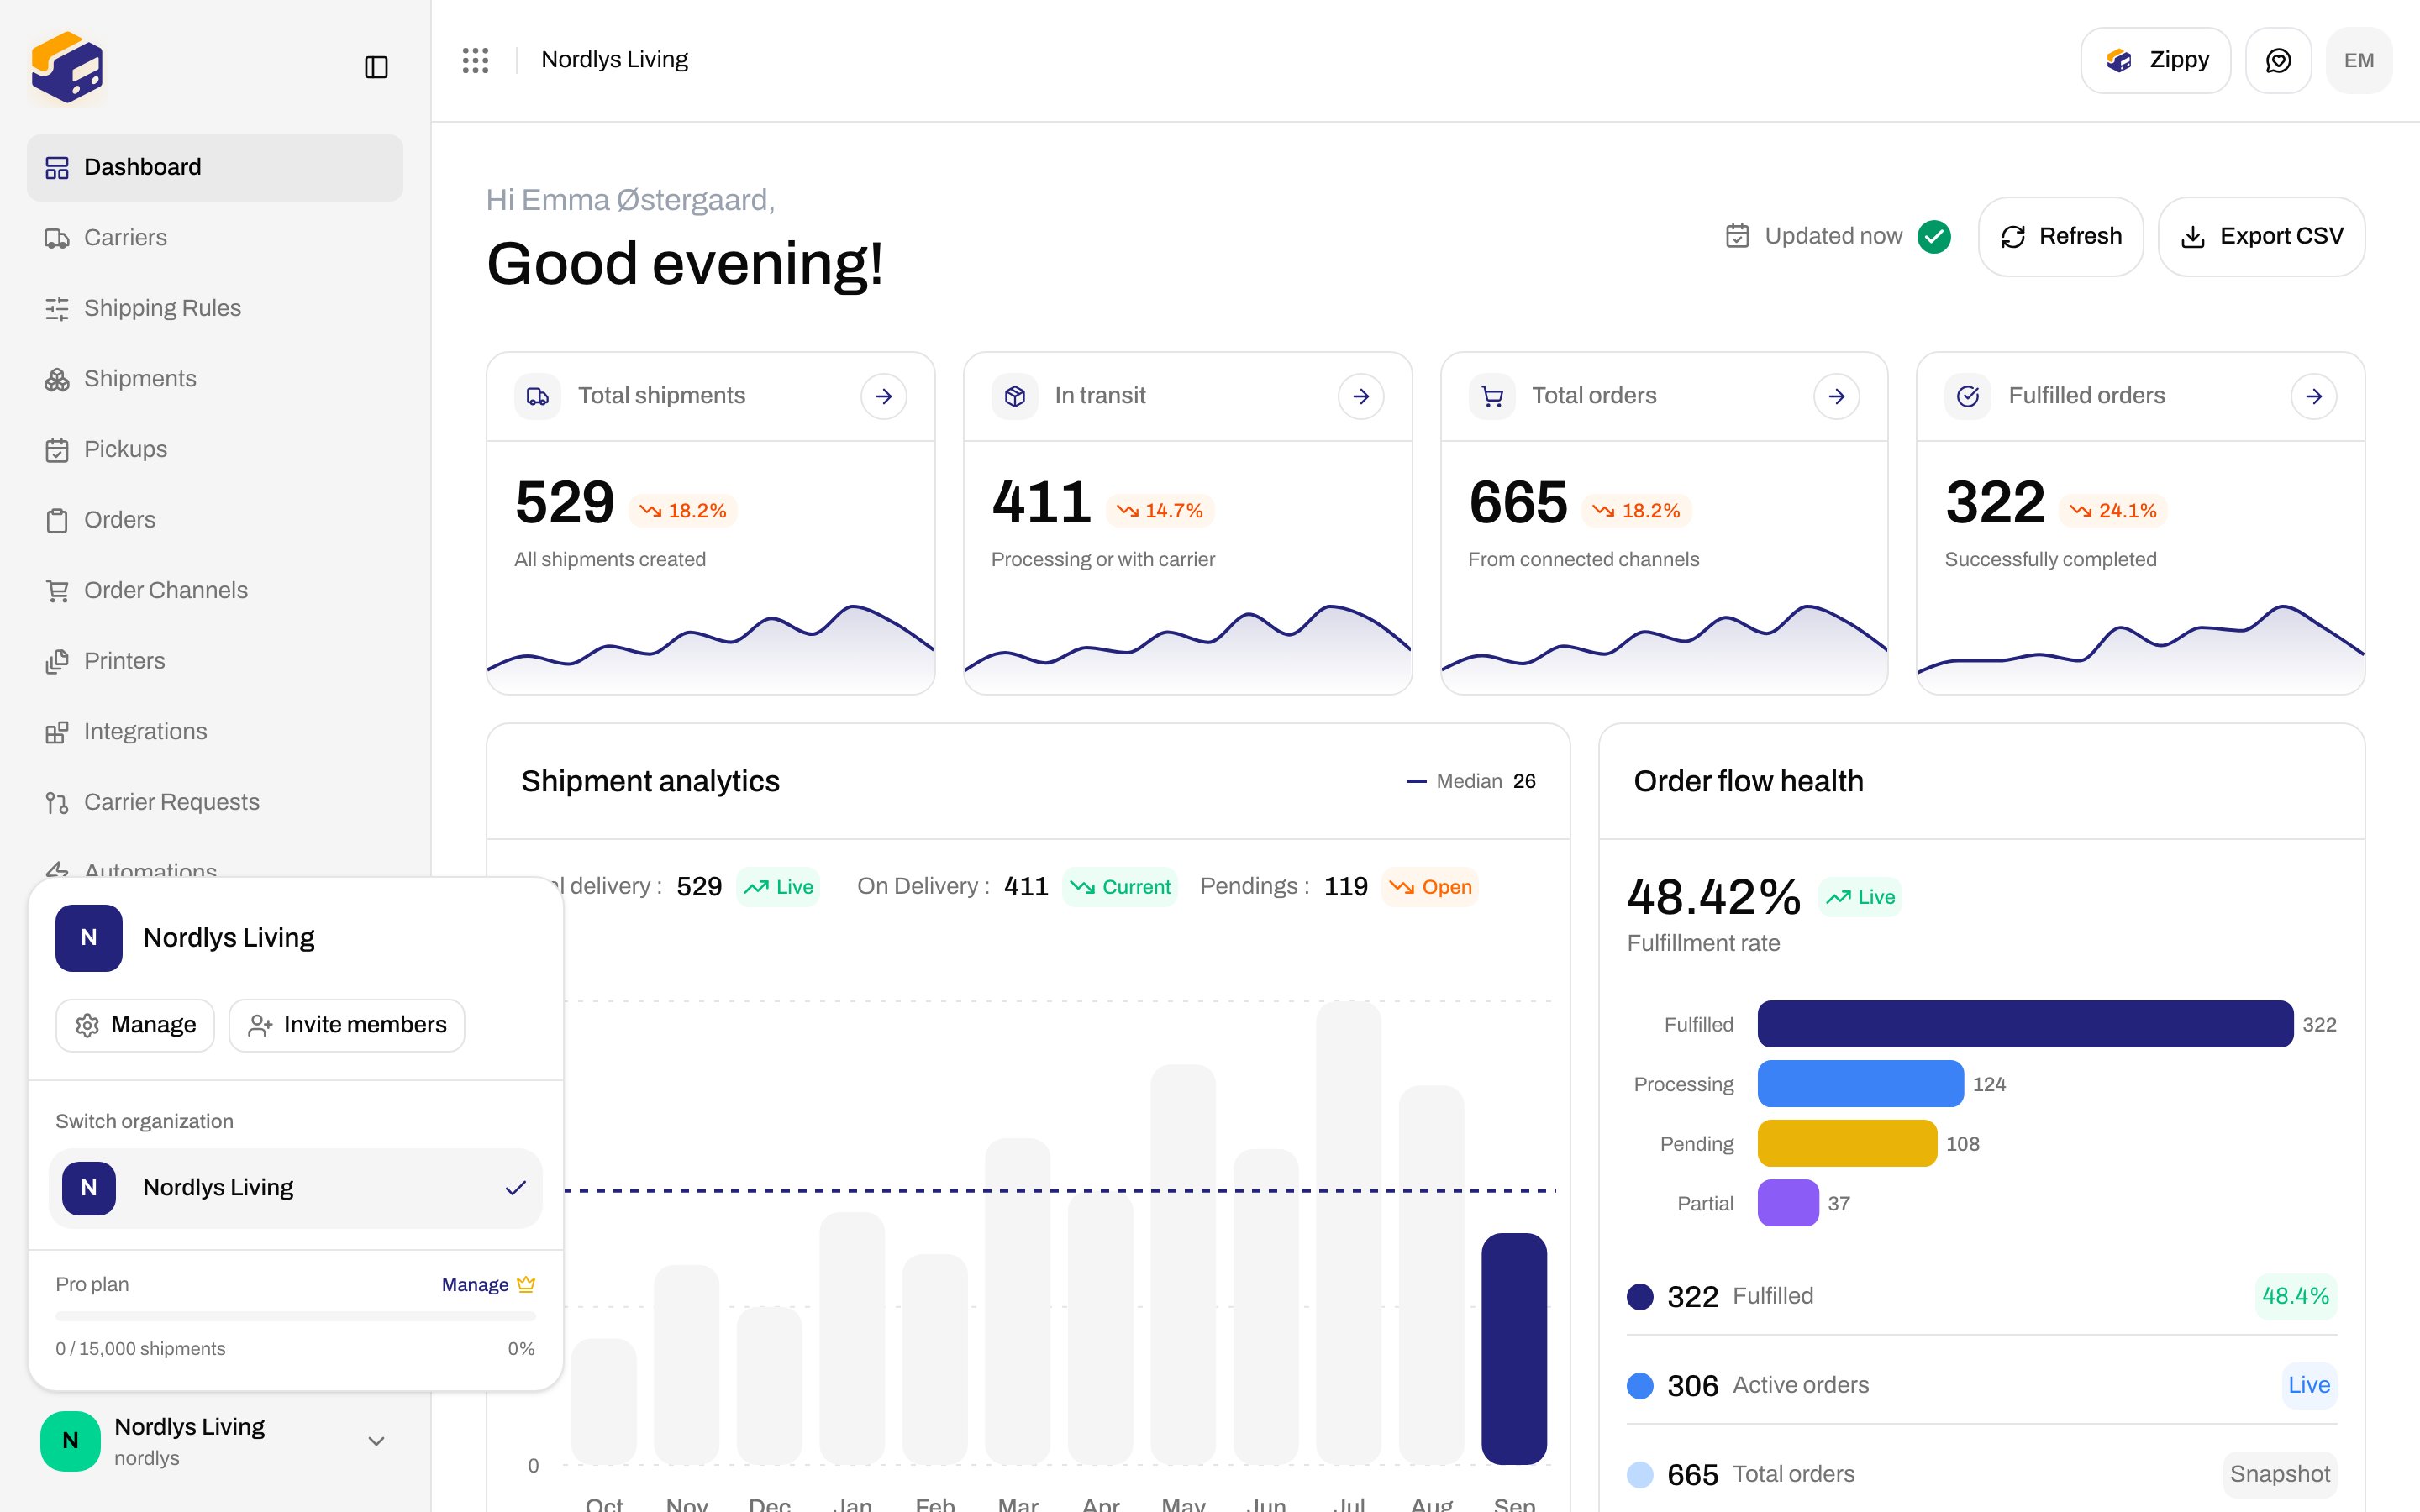
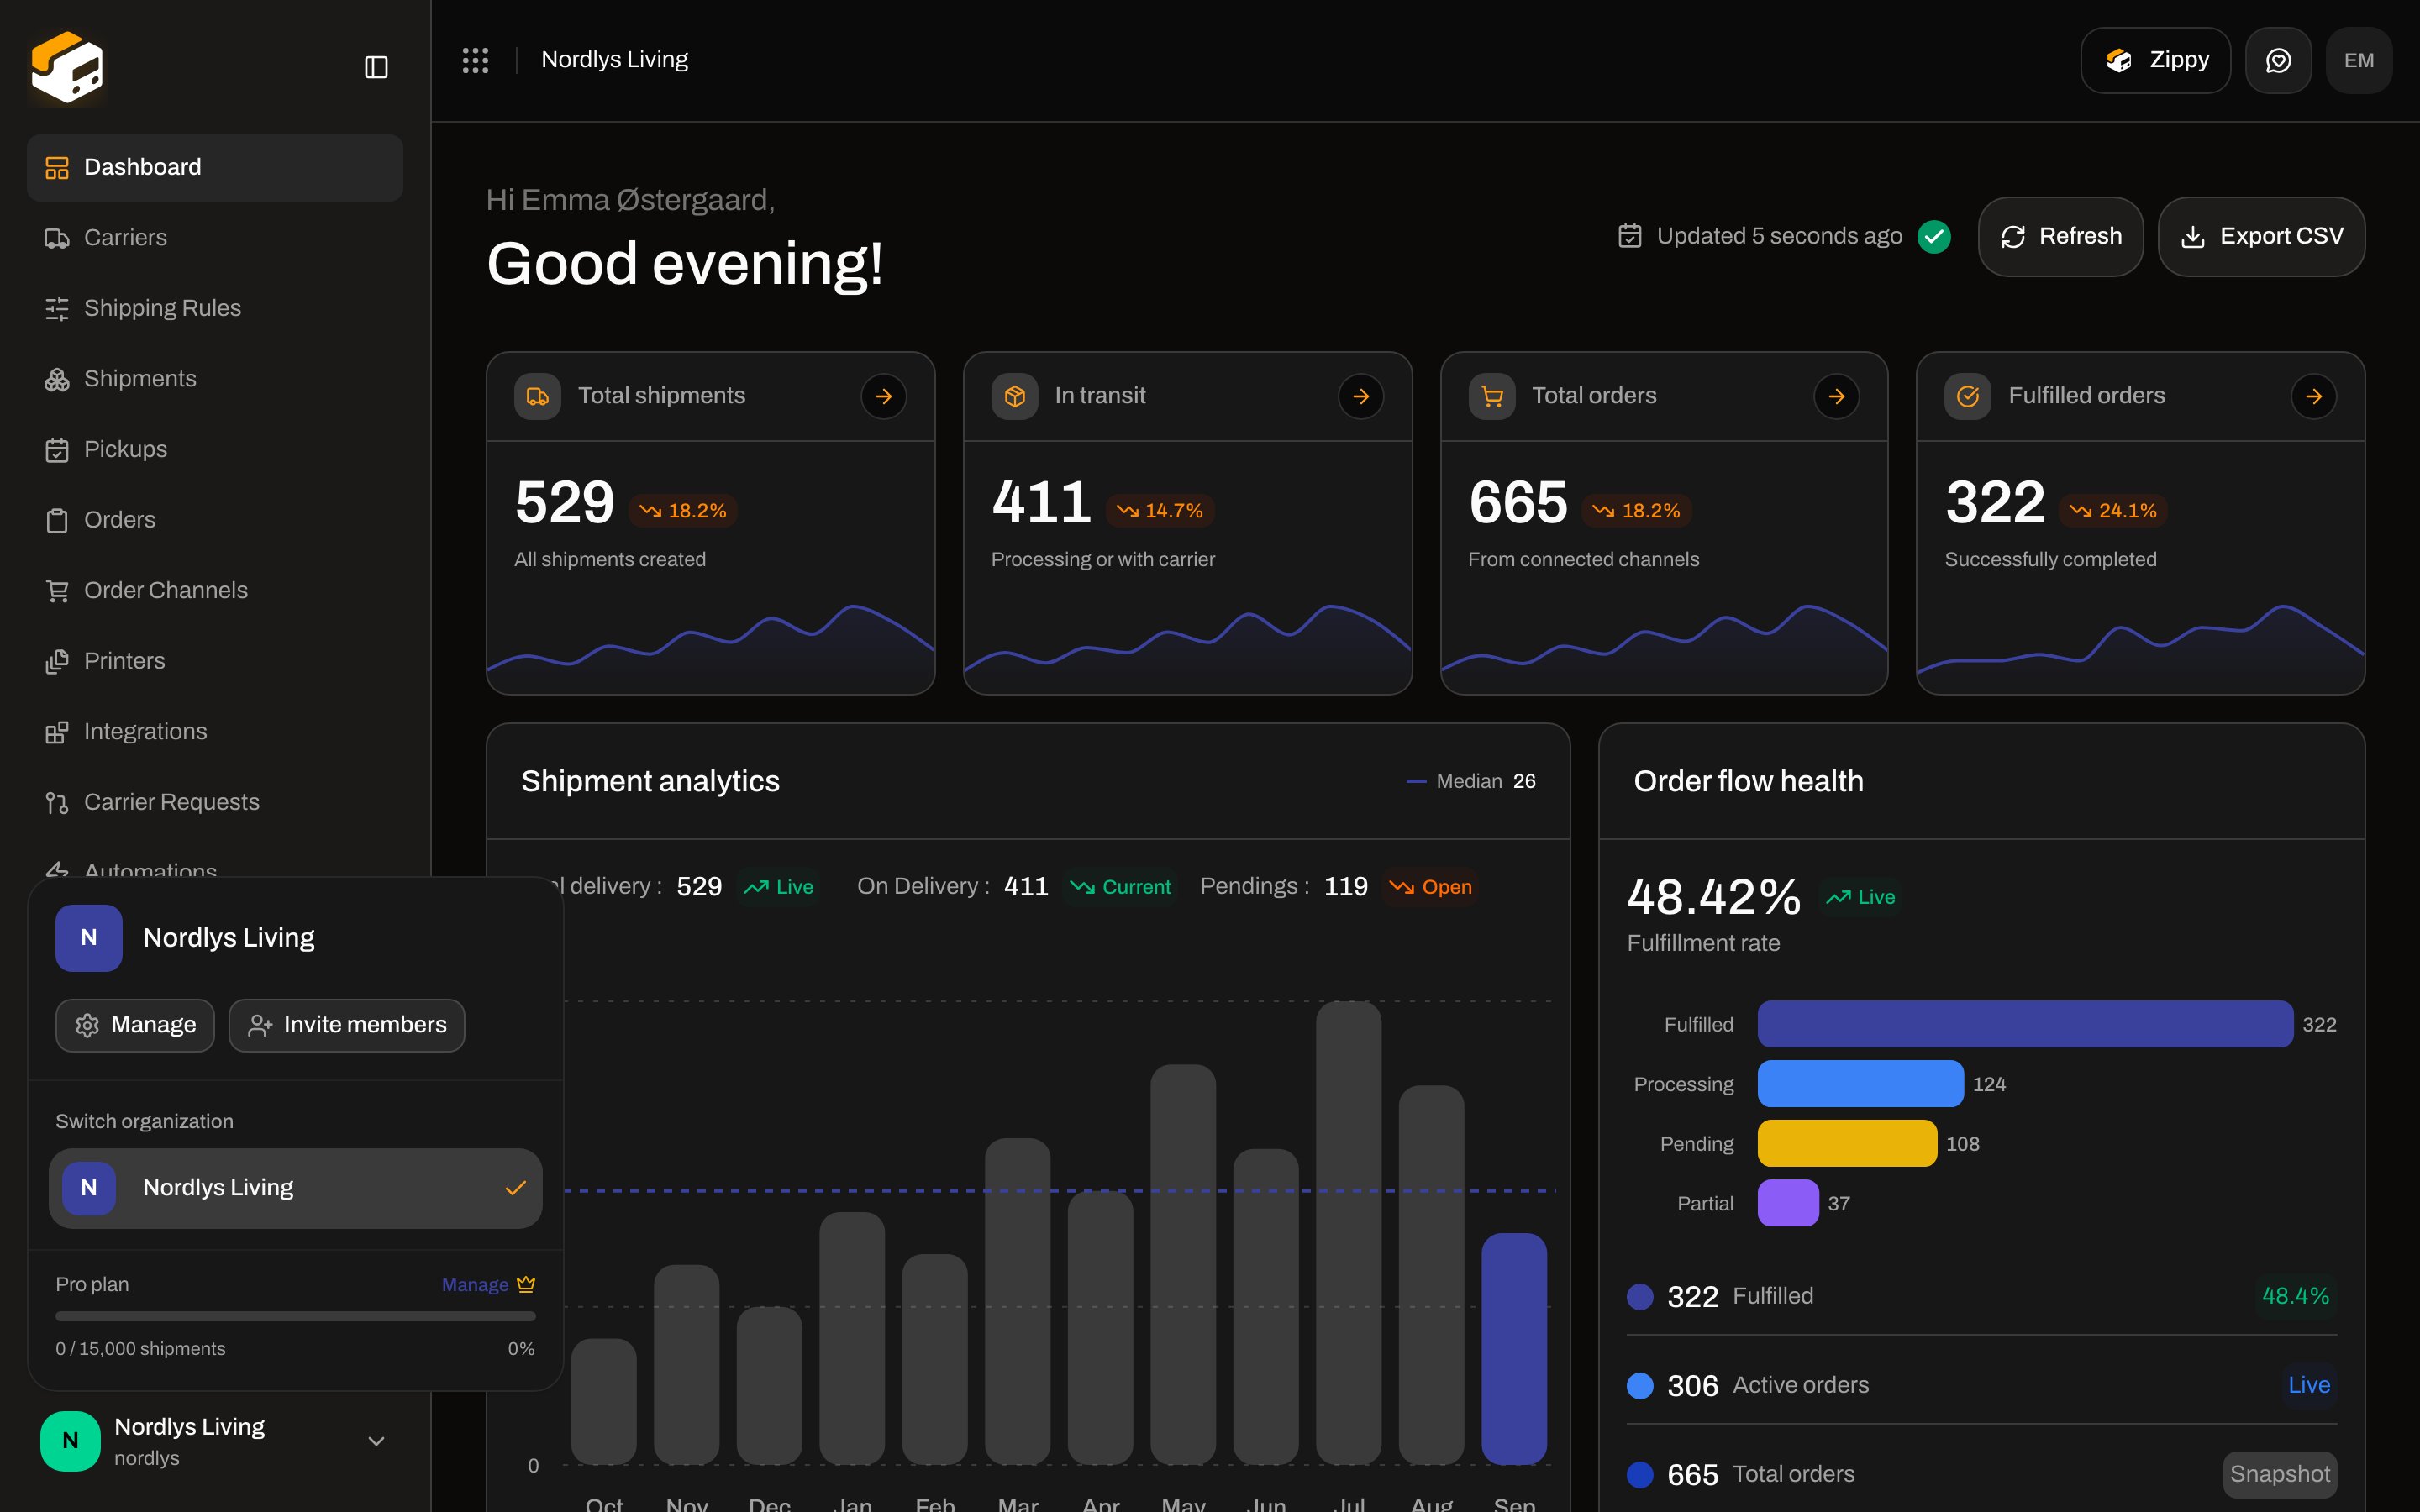
Settings is not a sidebar item. Open the **organization switcher** at the bottom of the sidebar, then:
* **Invite members** — goes straight to **Team** (`/{slug}/dashboard/settings/team`).
* **Manage** — opens **Organization**; switch to the **Team** tab.
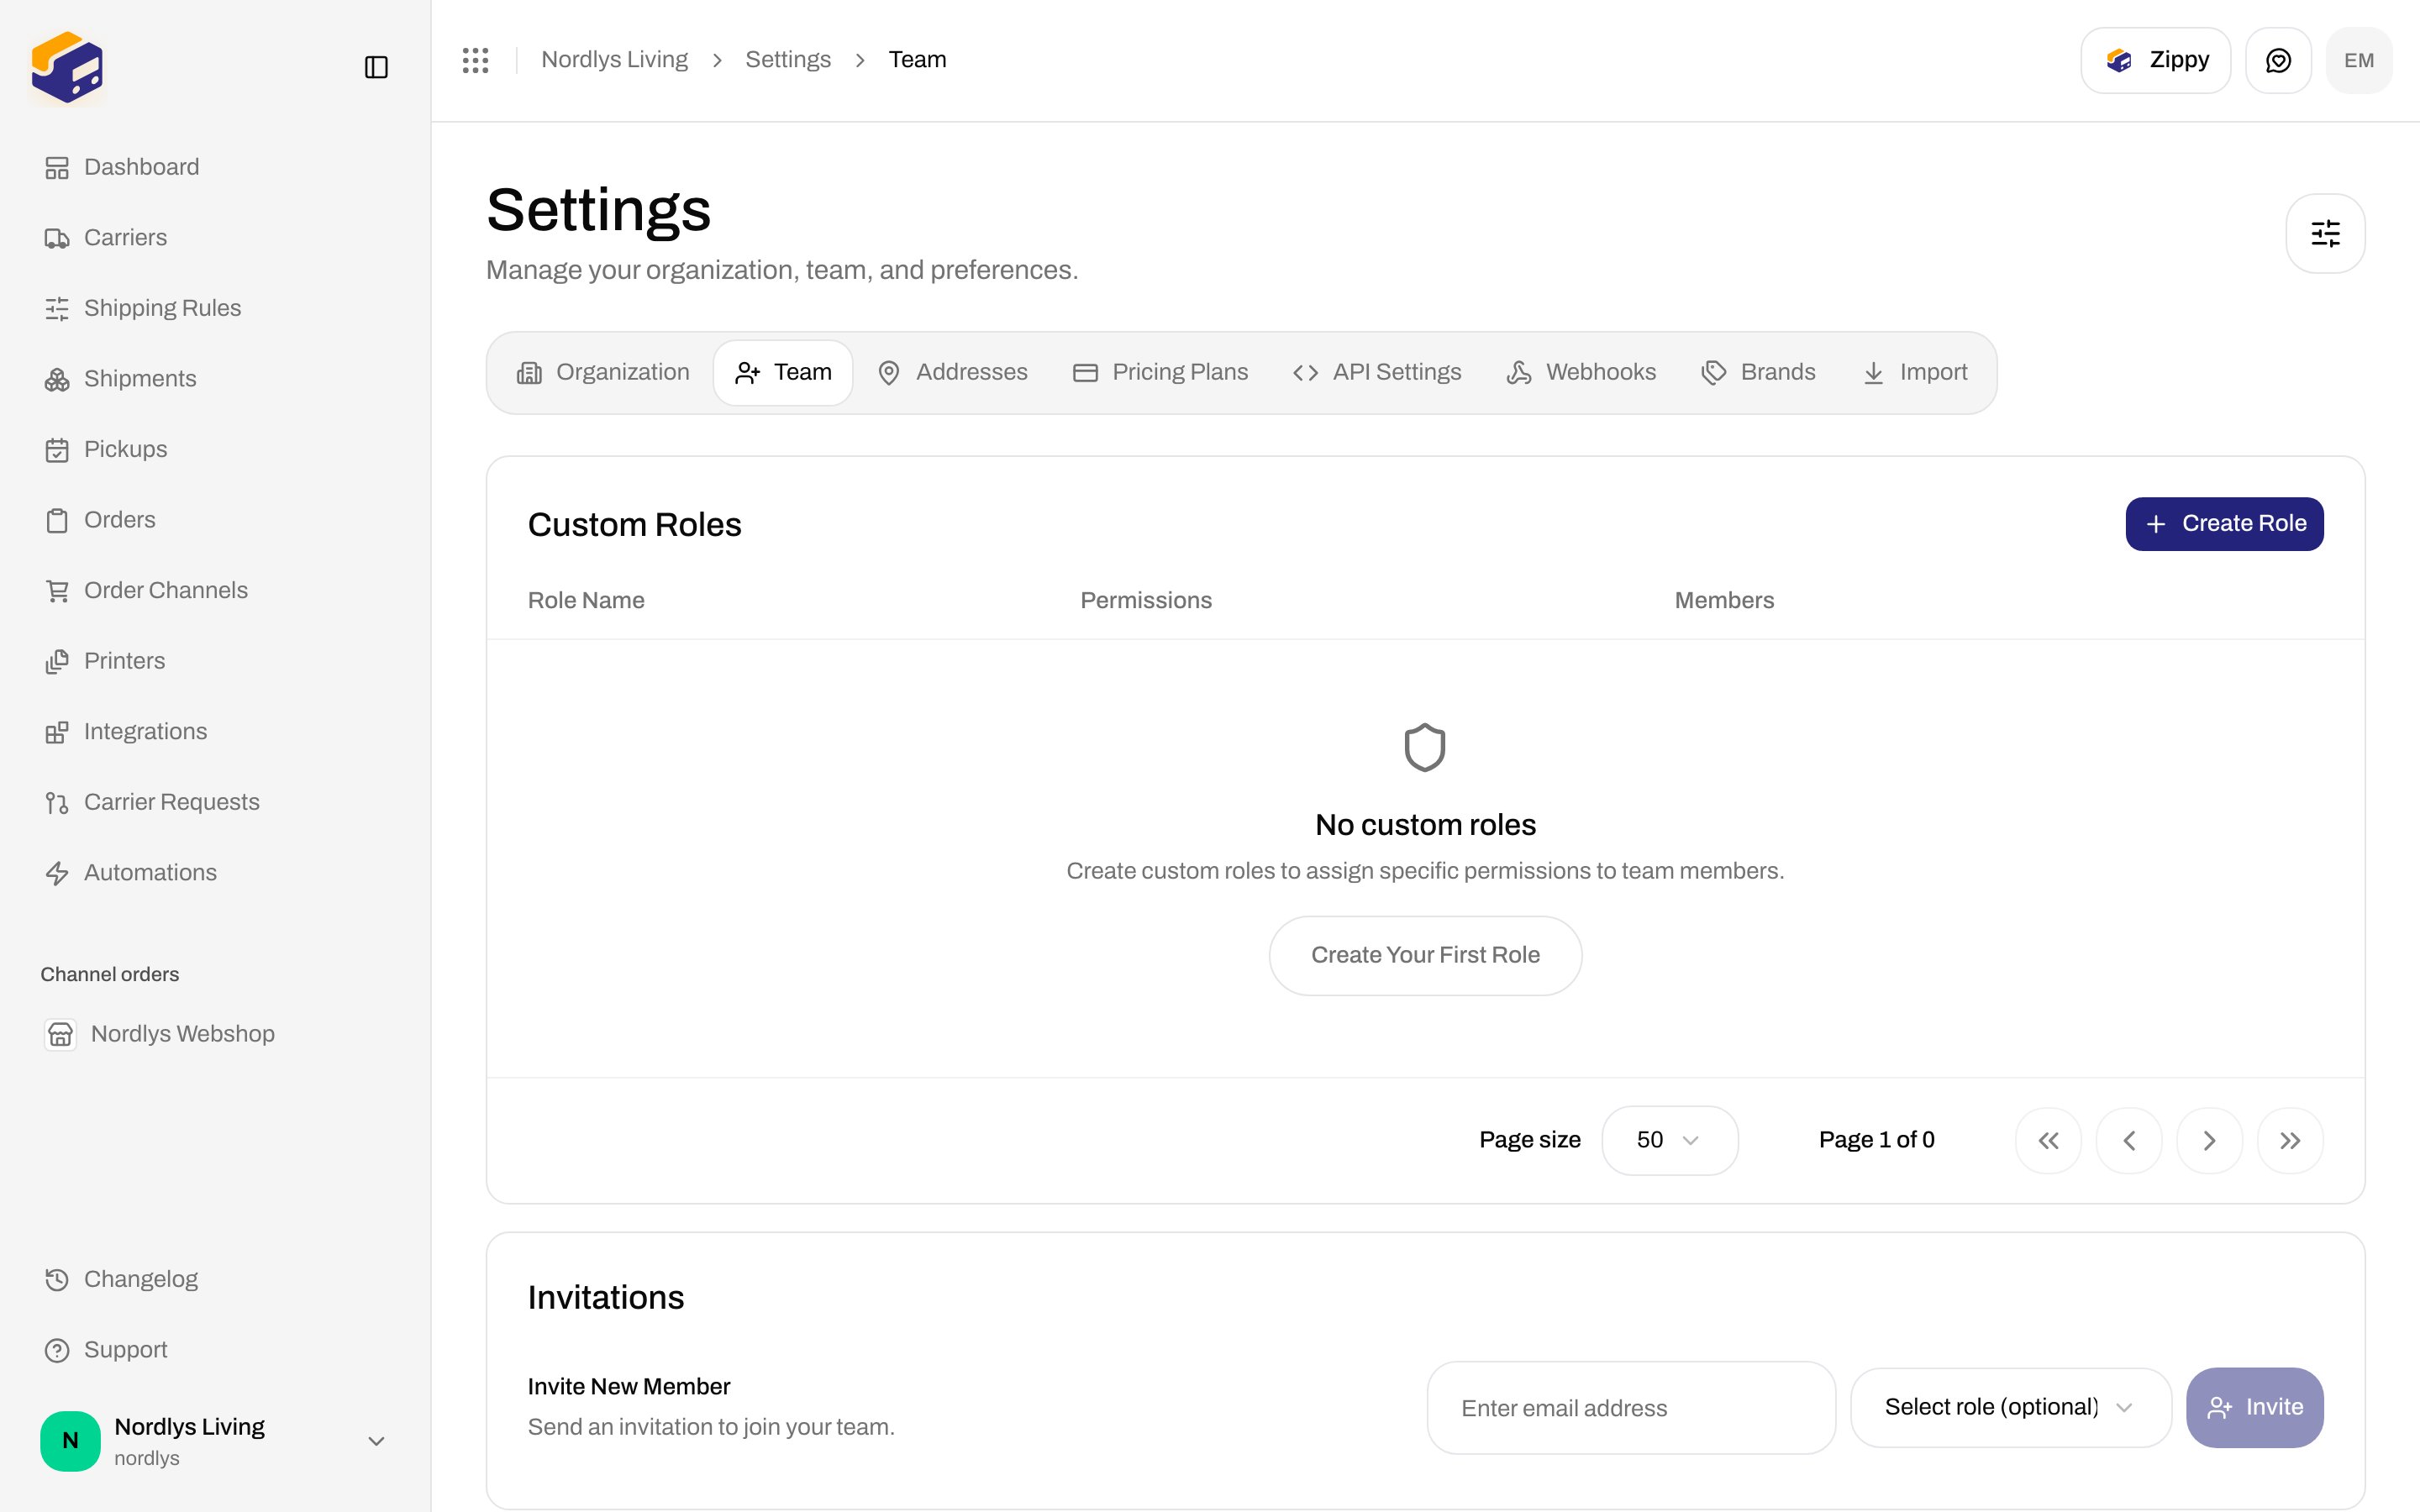
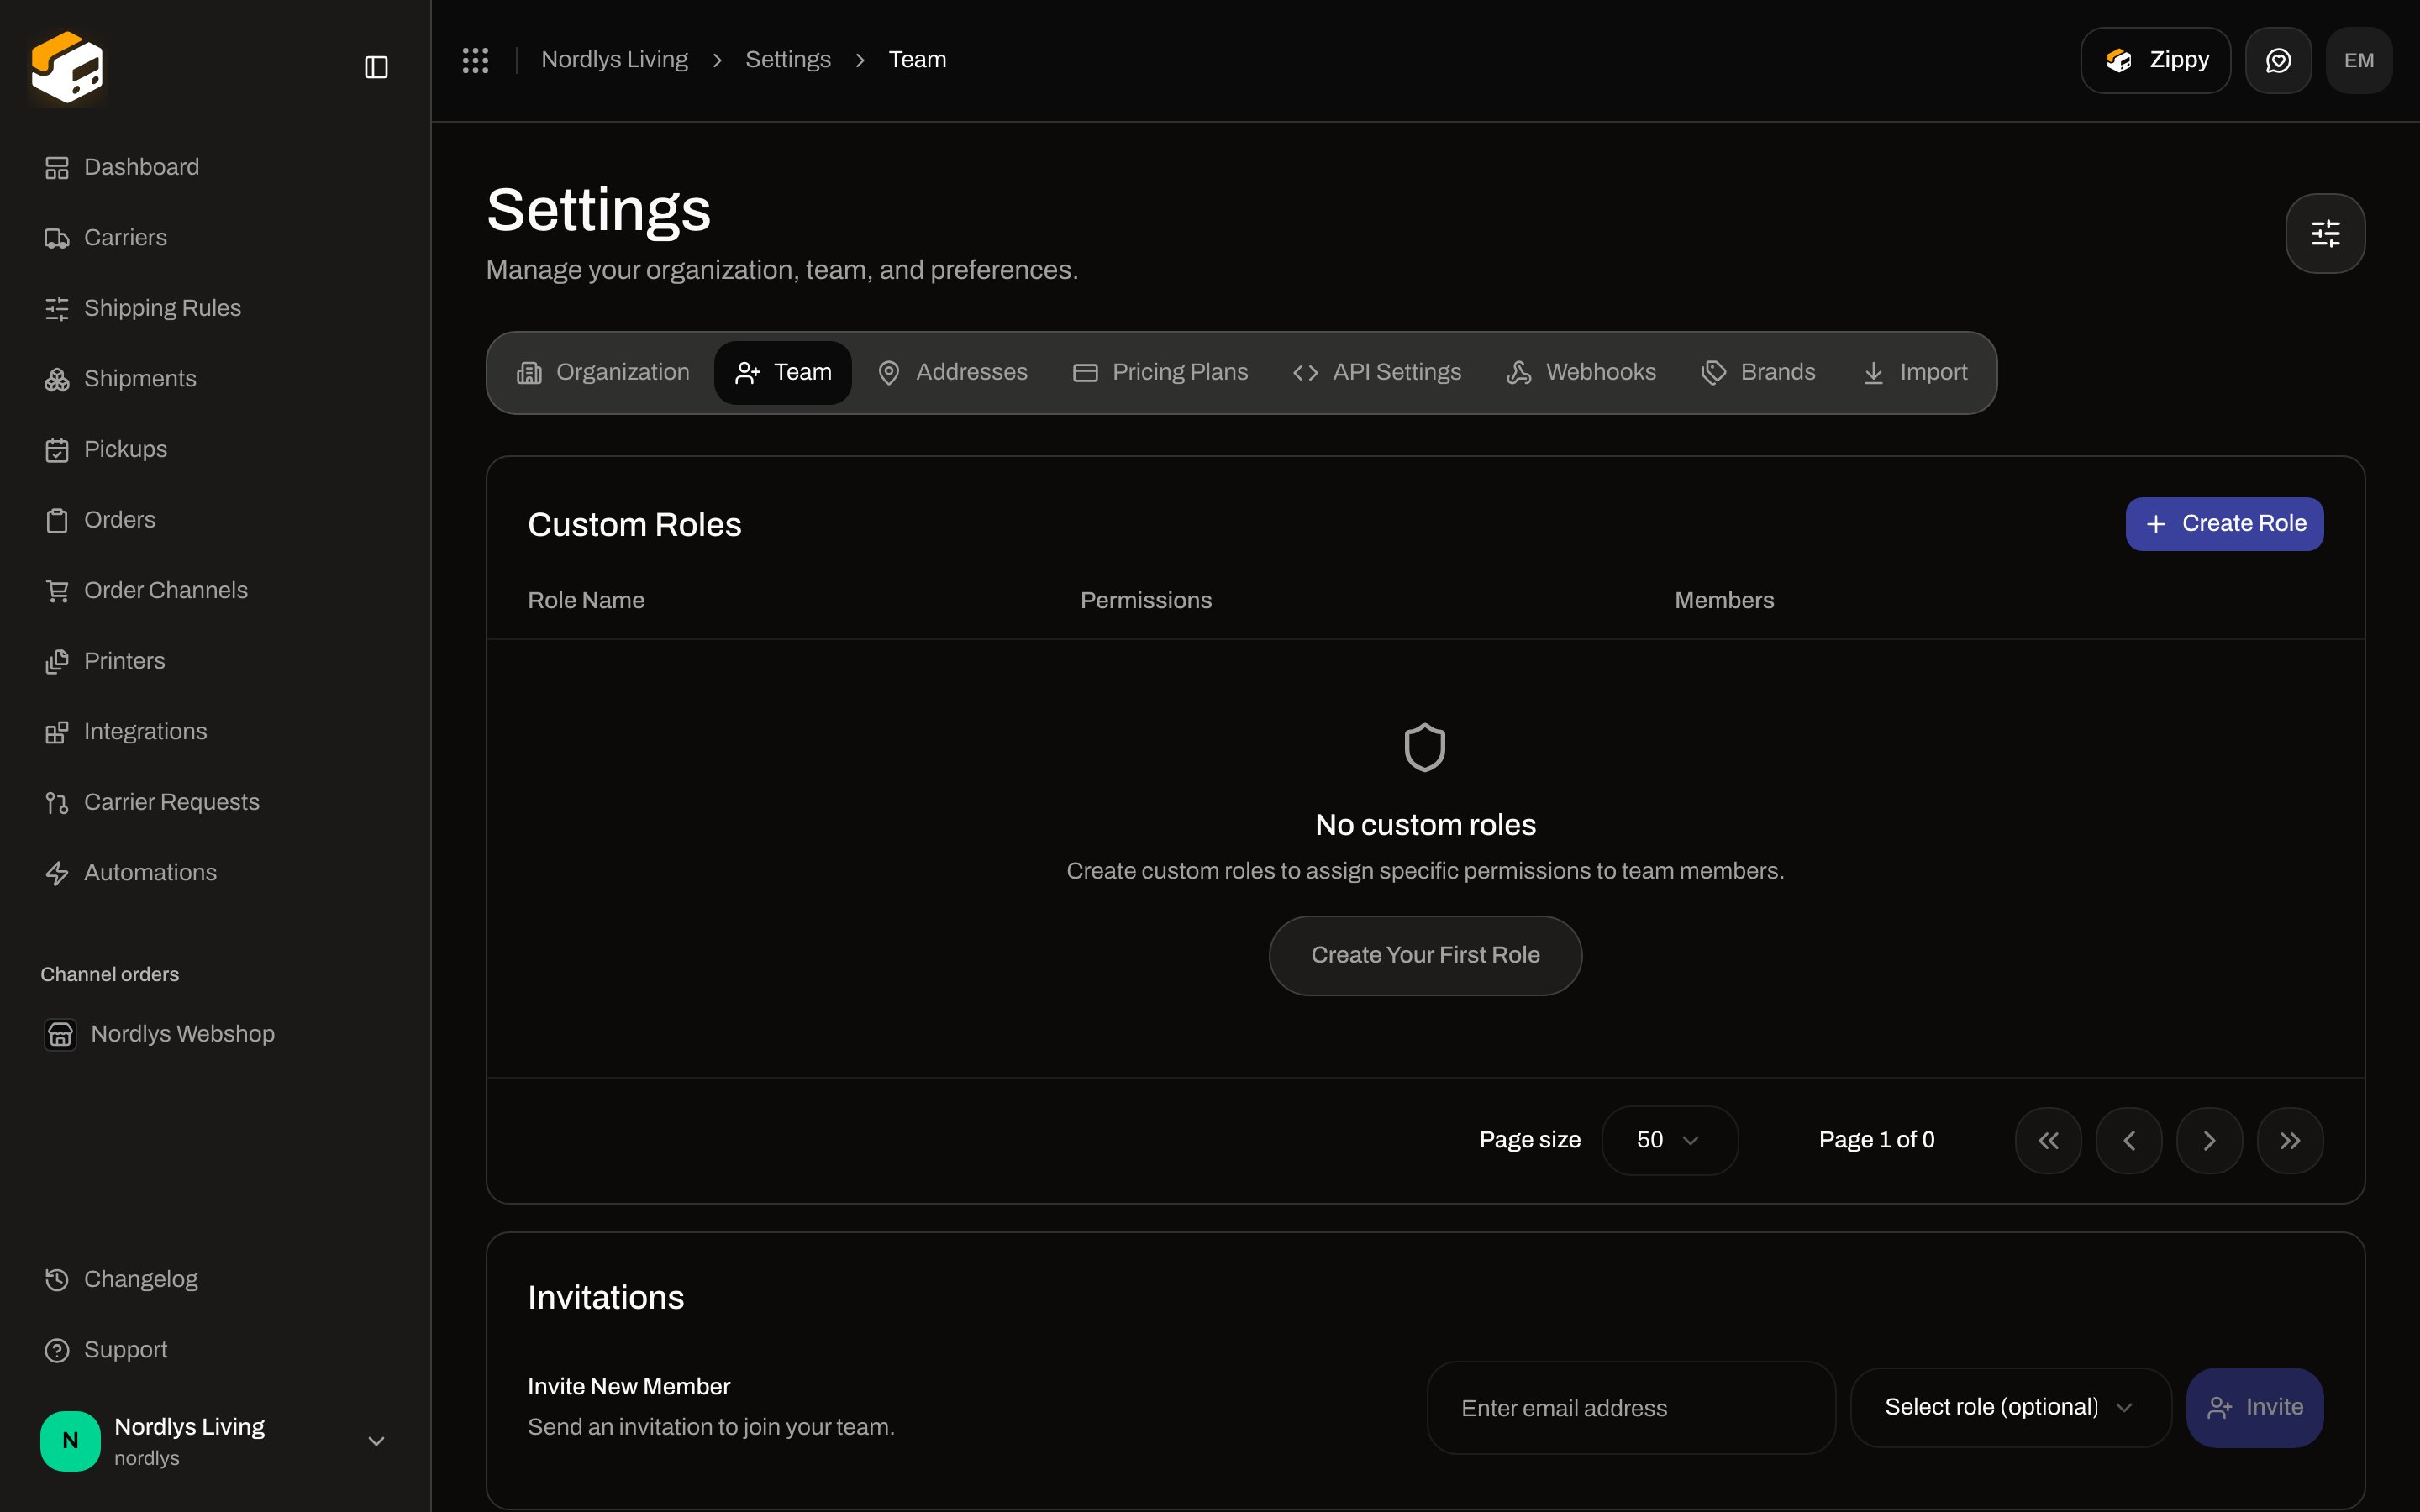
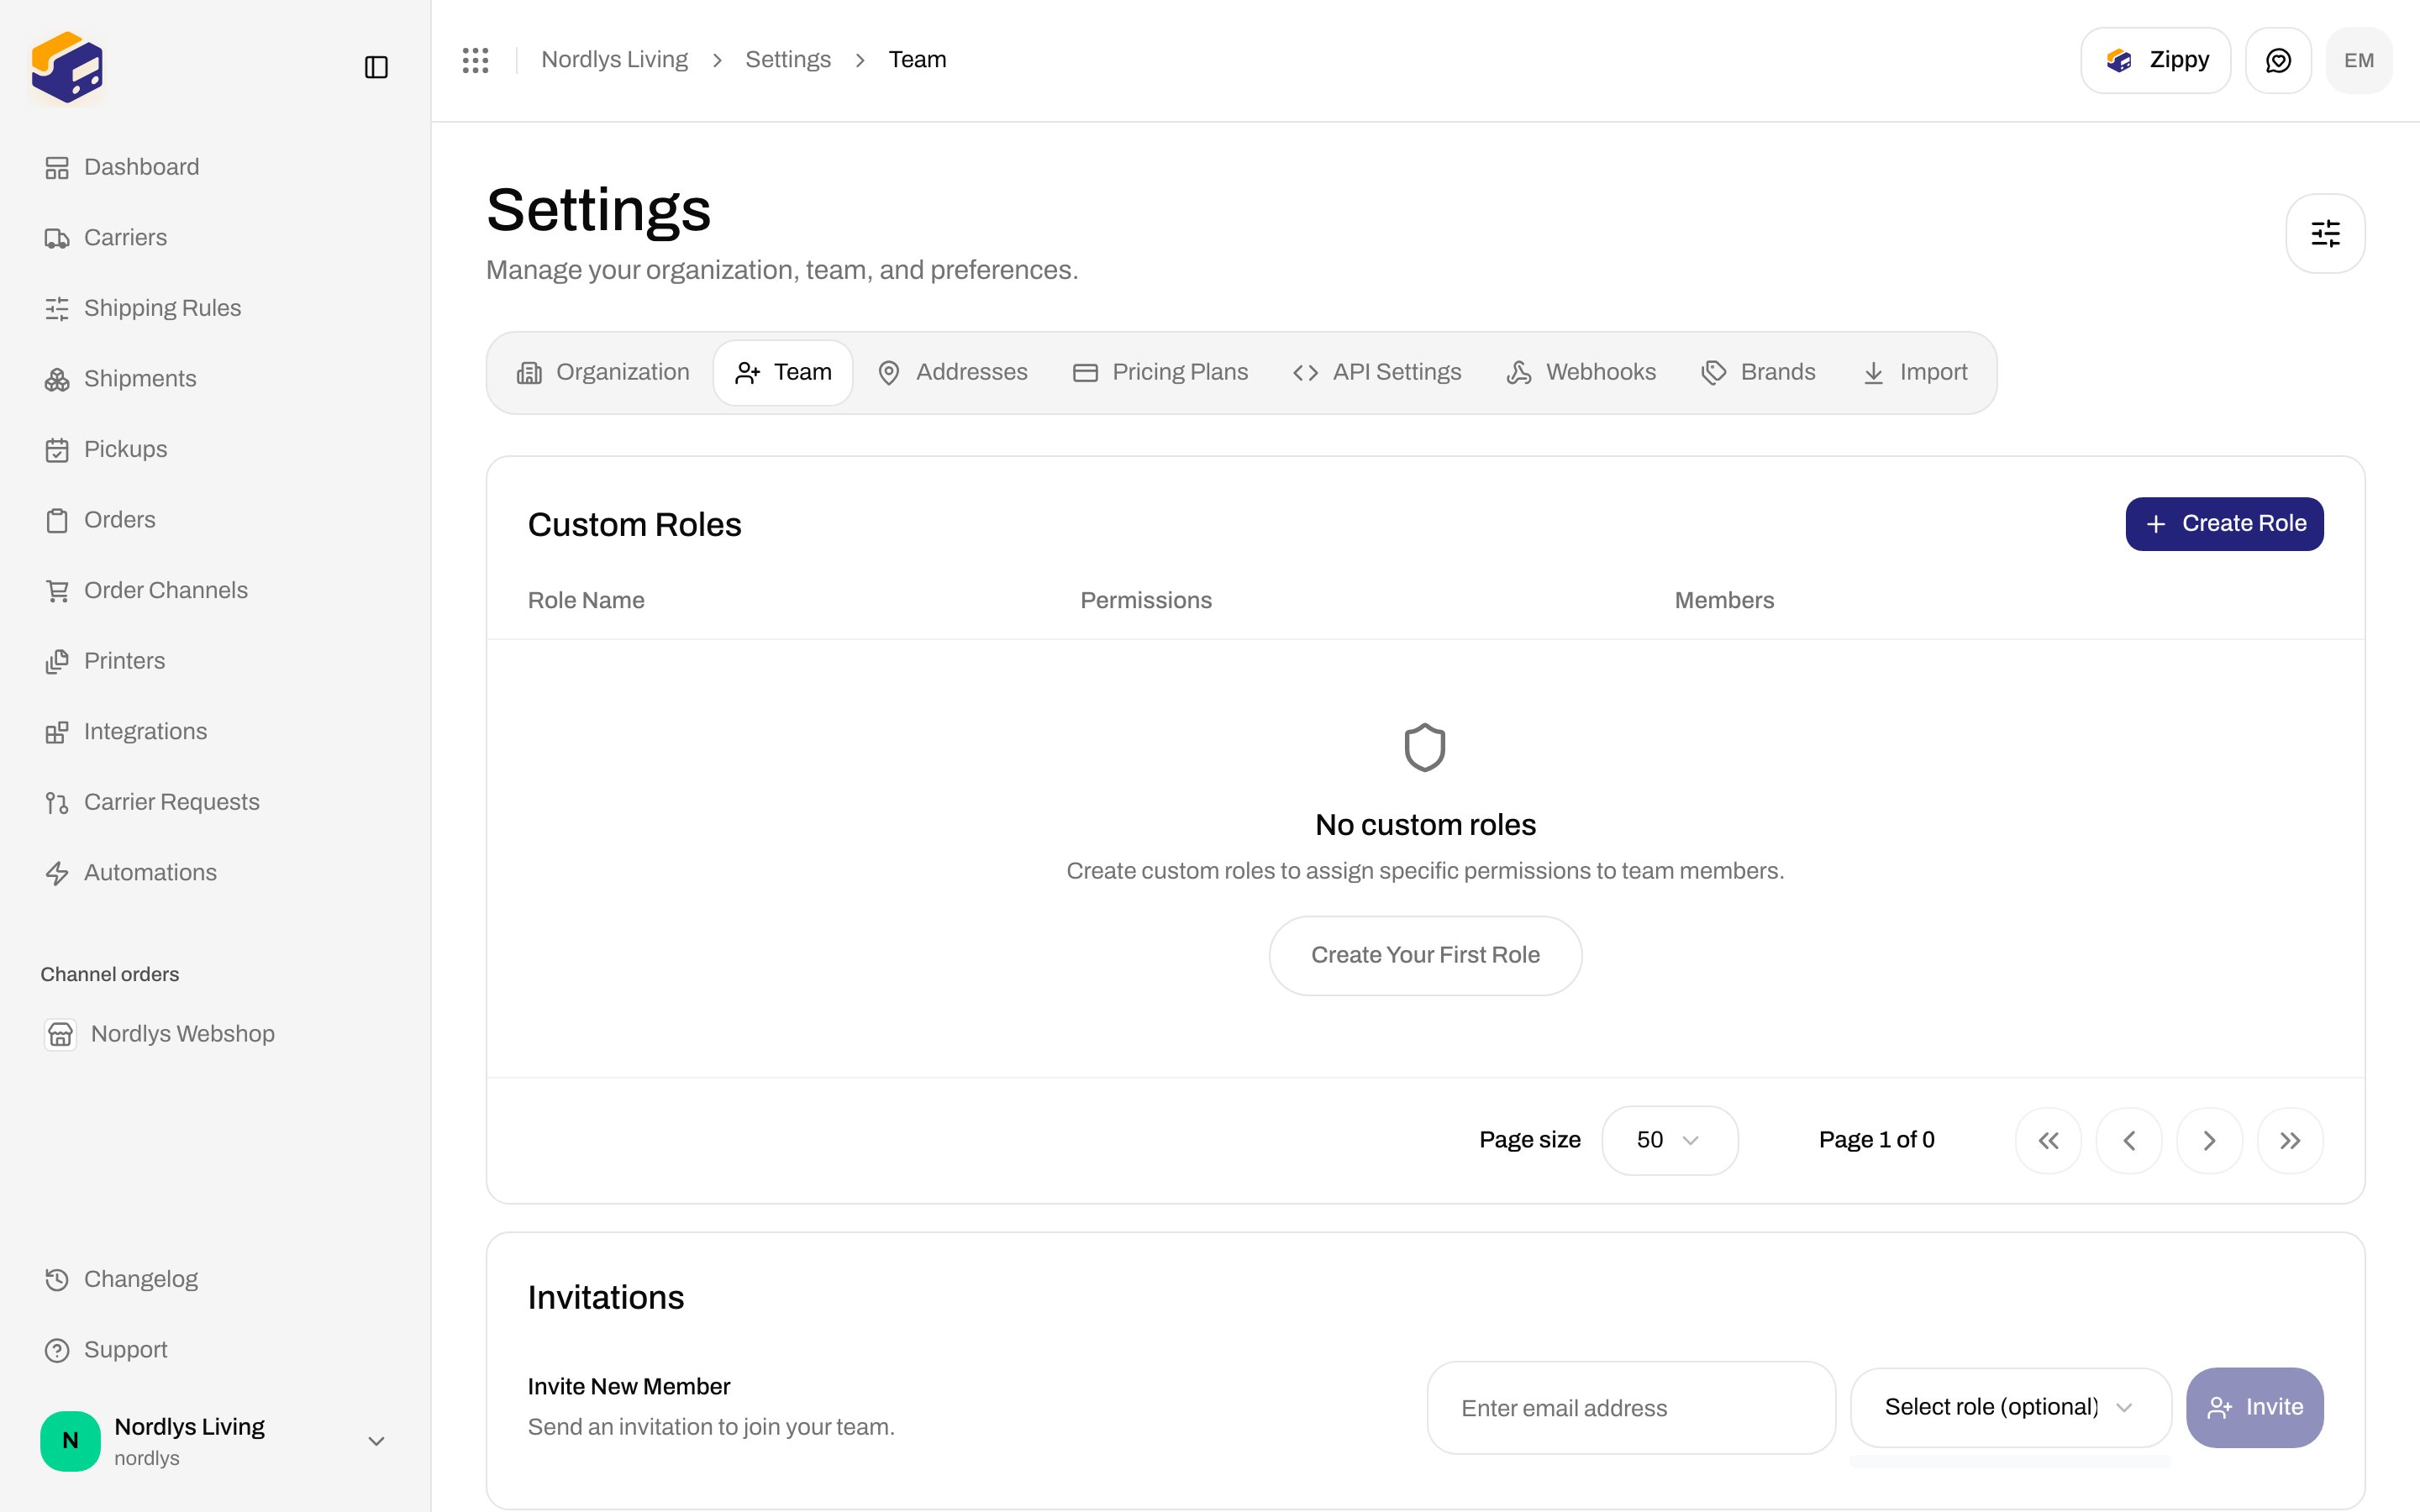
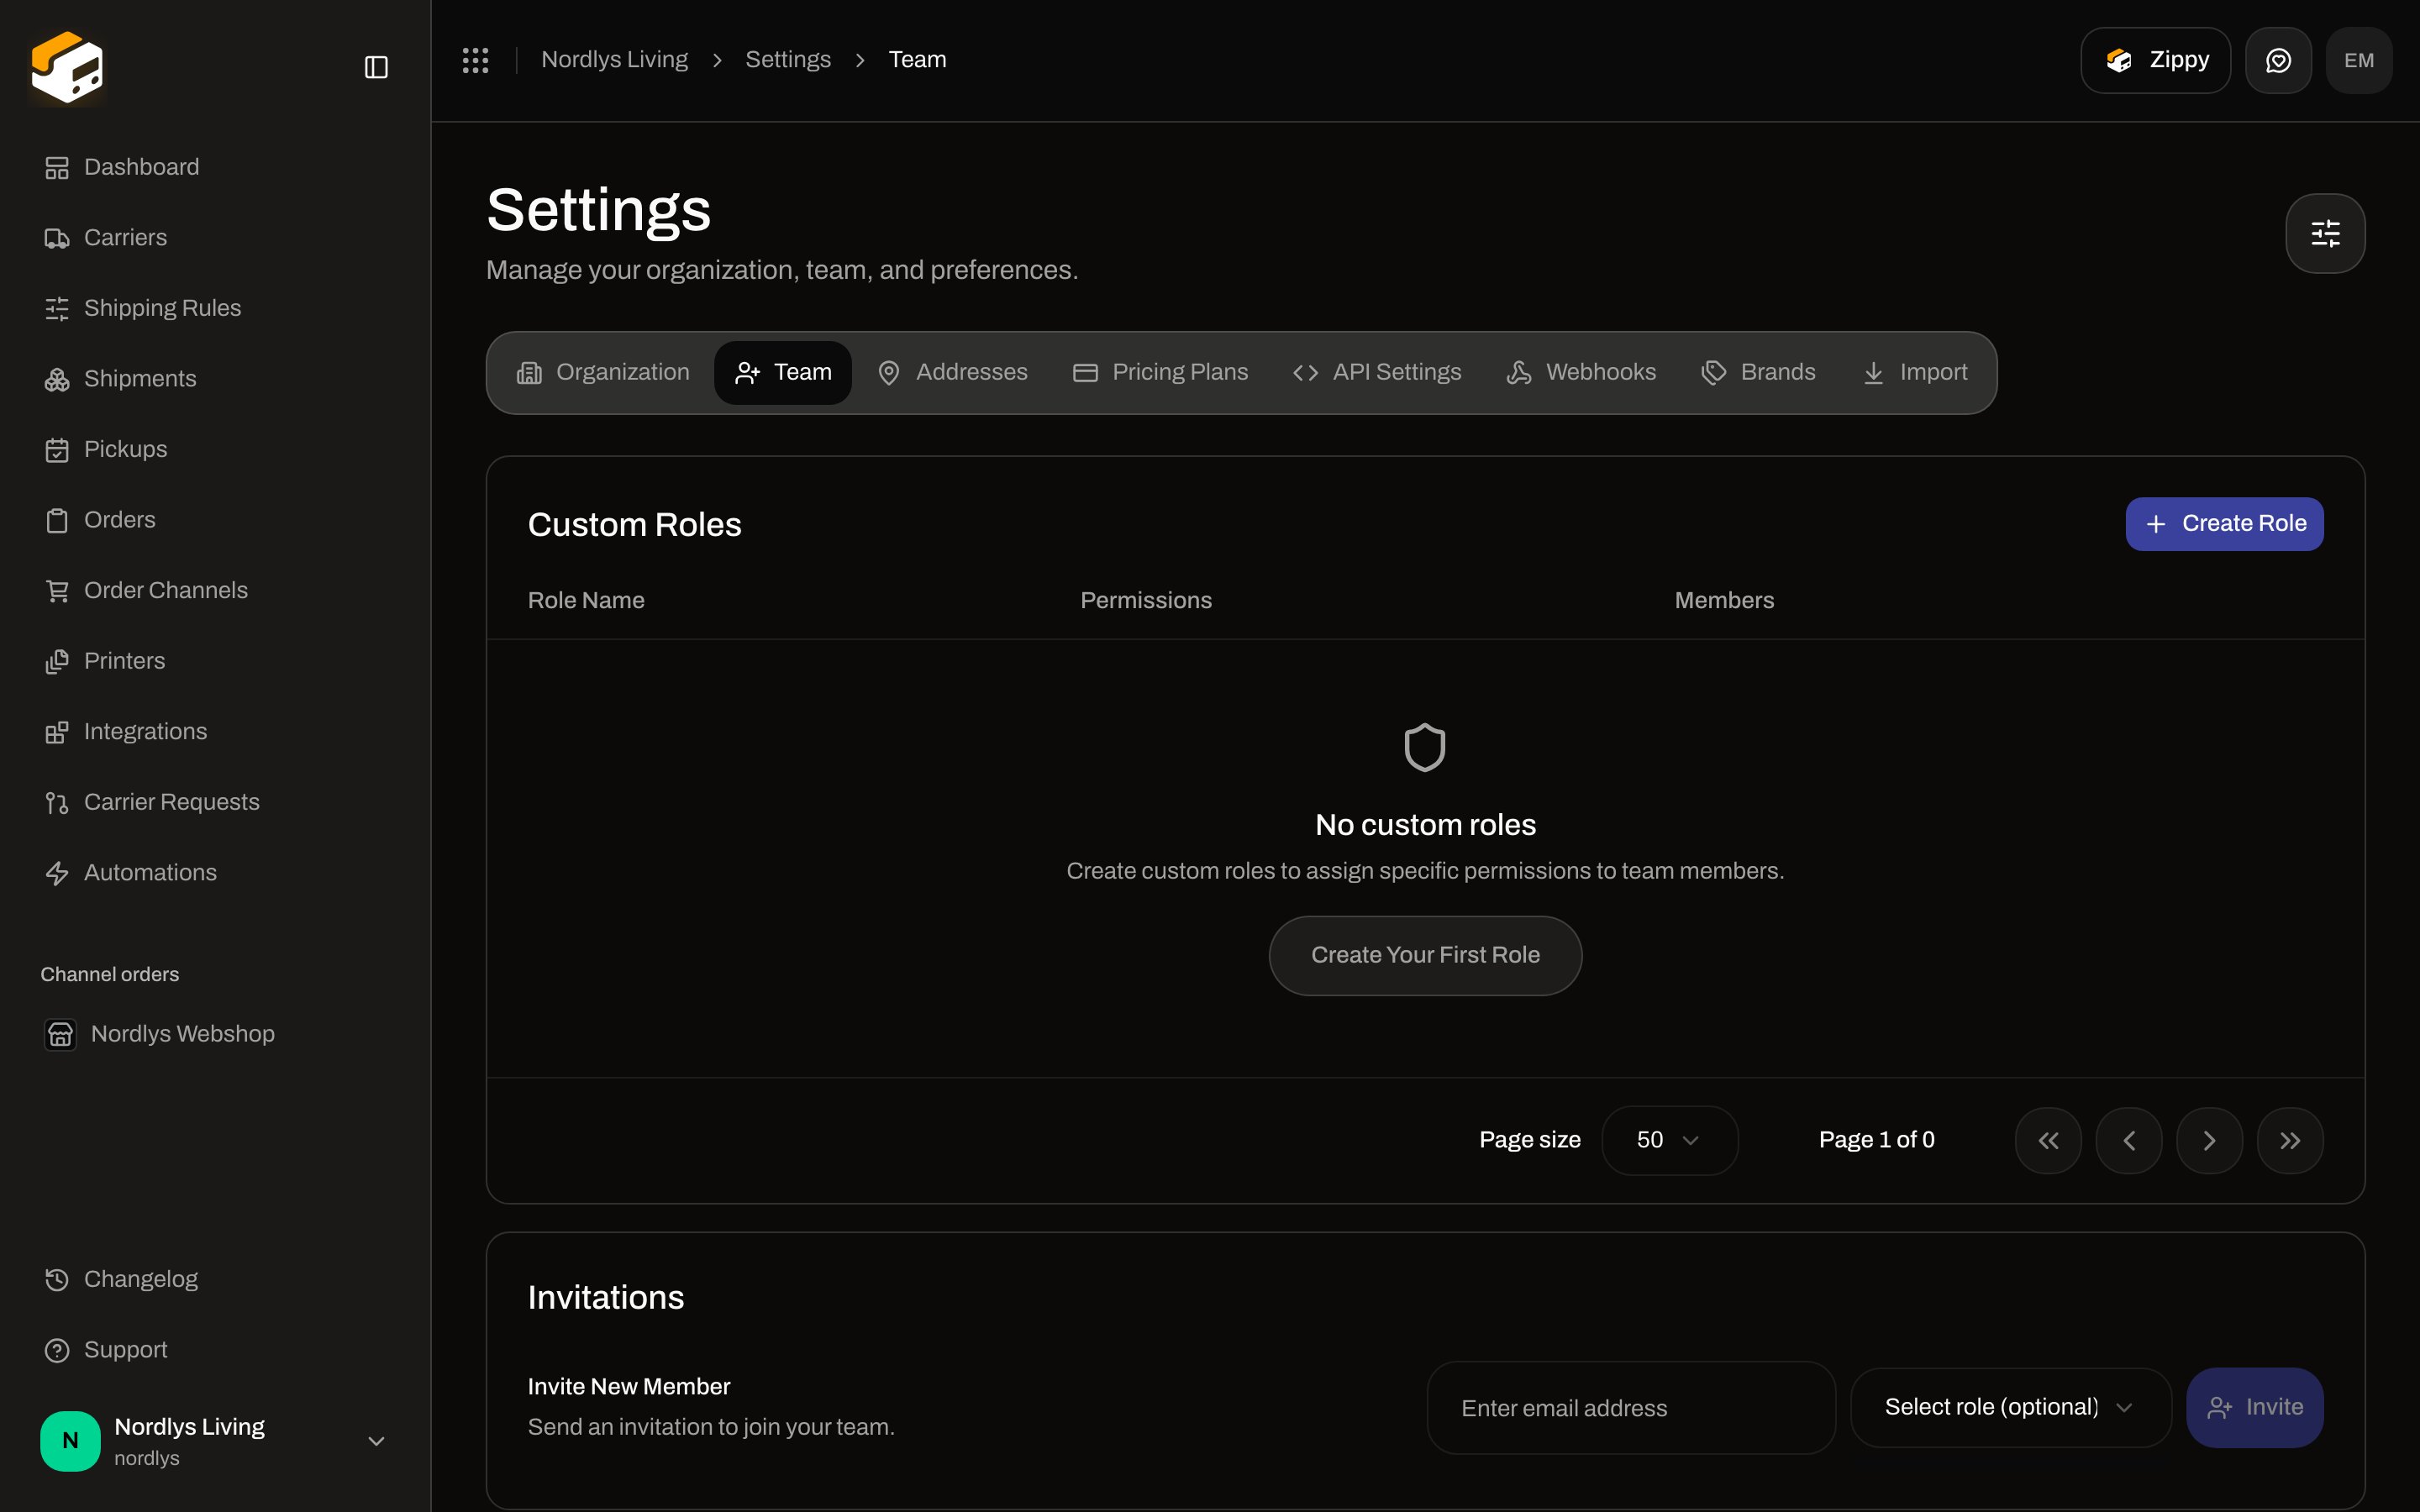
 The page title is **Settings**. Description: **Manage your organization, team, and preferences.** Tabs, in order: **Organization**, **Team**, **Addresses**, **Pricing Plans**, **API Settings**, **Webhooks**, **Brands**, **Import**.
You must verify your email before inviting. Profile shows **Email Verification Required** with **Please verify your email address to access all features, including inviting team members.** See [Profile, language, and 2FA](/docs/how-to/profile-and-security). If the API refuses, the toast is **Please verify your email address to continue.** (`AUTH_EMAIL_NOT_VERIFIED`).
## Invite New Member
**Custom Roles** sits first on the page. The **Invitations** block is next. Row title: **Invite New Member**. Description: **Send an invitation to join your team.**
The page title is **Settings**. Description: **Manage your organization, team, and preferences.** Tabs, in order: **Organization**, **Team**, **Addresses**, **Pricing Plans**, **API Settings**, **Webhooks**, **Brands**, **Import**.
You must verify your email before inviting. Profile shows **Email Verification Required** with **Please verify your email address to access all features, including inviting team members.** See [Profile, language, and 2FA](/docs/how-to/profile-and-security). If the API refuses, the toast is **Please verify your email address to continue.** (`AUTH_EMAIL_NOT_VERIFIED`).
## Invite New Member
**Custom Roles** sits first on the page. The **Invitations** block is next. Row title: **Invite New Member**. Description: **Send an invitation to join your team.**
 | Control | Required | What it is |
| ------------------------------------------- | -------- | ------------------------------------------------------------------------------------------------------------------------------------------------------------------------------------------------------- |
| Email (placeholder **Enter email address**) | Yes | Email input (`type="email"`). **Invite** stays disabled until this field has a value. The API requires a valid email. |
| **Select role (optional)** | No | Dropdown of your [custom roles](/docs/how-to/roles-and-permissions). Leave empty so they join with **No role**. |
| **Restrict the invitee to a brand** | No | Shown only if the organization already has brands. Options: **No brand (organization-wide)** (default) plus each active brand name. A restricted invitee only sees that brand’s data after they accept. |
| **Invite** | — | Sends the invitation. While the request runs, the button reads **Sending…**. |
Type the address in **Enter email address**.
Open **Select role (optional)** and choose a custom role, or leave it empty.
If the brand picker is visible, leave **No brand (organization-wide)** unless they should be locked to one brand.
Click **Invite**. They receive an email. Until they accept, they appear in **Team Members** as pending.
Success toast: **Invitation sent successfully**. Failure fallback: **Failed to send invitation**. API codes the form surfaces:
| Code | Toast |
| ------------------------- | ------------------------------------------------------------- |
| `INVITATION_ALREADY_SENT` | **An active invitation has already been sent to this email.** |
| `MEMBER_EXISTS` | **This user is already a member of the organization.** |
| `INVITATION_EMAIL_FAILED` | **Failed to send the invitation email.** |
| `RESOURCE_LIMIT_REACHED` | **You have reached your plan limit for this resource.** |
| `AUTH_EMAIL_NOT_VERIFIED` | **Please verify your email address to continue.** |
A brand-locked member can only invite into their own brand. See [Create a brand](/docs/how-to/create-a-brand).
Plan ceilings for **Team members** are on [Billing and usage](/docs/how-to/billing-and-usage).
## Team Members
**Team Members** lists accepted members and pending invitations together. The header shows a count, for example **Team Members (1)**, plus a badge: **N Active** or **N Active, M Pending**.
The header **Search** filter (placeholder **Search…**) narrows both members and pending invites by name or email. See [Search and filters](/docs/how-to/search-and-filters).
| Column | Pending invitation | Active member |
| --------------------- | -------------------------------------------------------------------------------------------------------------------- | ------------------------------------------------------------------------------------------------ |
| **Name & Email** | Email, plus an **Invited** badge | Name, email, and **You** on your own row |
| **Role** | Badge with the assigned custom role, or **No role** (not editable until they join) | Dropdown: **No role** plus every custom role. Your own row is read-only. |
| **Restrict to brand** | Shown only when brands exist. Displays the brand the invite was sent for; the control is disabled until they accept. | Editable dropdown (**No brand (organization-wide)** or a brand). Your own row is read-only text. |
| **Status** | **Pending** | **Active** |
| Actions menu | **Revoke Invitation** | **Remove Member**. Hidden on your own row. |
Your own row is marked **You**. You cannot change your role, restrict yourself to a brand, or remove yourself.
The table can also show **Inactive**. **Pending Approval** and **Approve** exist in the column code but are not wired on this screen — they do not appear.
Role-update toasts: **Member role updated successfully** / **Failed to update member role**.
## Revoke a pending invitation
On a pending (**Invited**) row, open the actions menu and click **Revoke Invitation**.
The dialog title is **Revoke Invitation**. Copy: **Are you sure you want to revoke the invitation sent to \{email}? This action cannot be undone.**
Type **DELETE** (the confirm field). **Revoke** stays disabled until it matches. Tooltip: **Type "DELETE" to confirm.**
Success toast: **Invitation revoked successfully**. Failure: **Failed to revoke invitation**.
There is no resend action on this screen. After a revoke, send a new invite from **Invite New Member**.
To remove someone who already joined, see [Danger zone](/docs/how-to/danger-zone).
## Related
* [Roles and permissions](/docs/how-to/roles-and-permissions) — create the custom role before you invite.
* [Create a brand](/docs/how-to/create-a-brand) — brand restriction on the invite.
* [Switch organization and brand](/docs/how-to/switch-organization-and-brand) — **Invite members** and **Manage**.
* [Billing and usage](/docs/how-to/billing-and-usage) — team member plan limit.
* [Team and invitations](/docs/settings/team) — documentation for this tab.
| Control | Required | What it is |
| ------------------------------------------- | -------- | ------------------------------------------------------------------------------------------------------------------------------------------------------------------------------------------------------- |
| Email (placeholder **Enter email address**) | Yes | Email input (`type="email"`). **Invite** stays disabled until this field has a value. The API requires a valid email. |
| **Select role (optional)** | No | Dropdown of your [custom roles](/docs/how-to/roles-and-permissions). Leave empty so they join with **No role**. |
| **Restrict the invitee to a brand** | No | Shown only if the organization already has brands. Options: **No brand (organization-wide)** (default) plus each active brand name. A restricted invitee only sees that brand’s data after they accept. |
| **Invite** | — | Sends the invitation. While the request runs, the button reads **Sending…**. |
Type the address in **Enter email address**.
Open **Select role (optional)** and choose a custom role, or leave it empty.
If the brand picker is visible, leave **No brand (organization-wide)** unless they should be locked to one brand.
Click **Invite**. They receive an email. Until they accept, they appear in **Team Members** as pending.
Success toast: **Invitation sent successfully**. Failure fallback: **Failed to send invitation**. API codes the form surfaces:
| Code | Toast |
| ------------------------- | ------------------------------------------------------------- |
| `INVITATION_ALREADY_SENT` | **An active invitation has already been sent to this email.** |
| `MEMBER_EXISTS` | **This user is already a member of the organization.** |
| `INVITATION_EMAIL_FAILED` | **Failed to send the invitation email.** |
| `RESOURCE_LIMIT_REACHED` | **You have reached your plan limit for this resource.** |
| `AUTH_EMAIL_NOT_VERIFIED` | **Please verify your email address to continue.** |
A brand-locked member can only invite into their own brand. See [Create a brand](/docs/how-to/create-a-brand).
Plan ceilings for **Team members** are on [Billing and usage](/docs/how-to/billing-and-usage).
## Team Members
**Team Members** lists accepted members and pending invitations together. The header shows a count, for example **Team Members (1)**, plus a badge: **N Active** or **N Active, M Pending**.
The header **Search** filter (placeholder **Search…**) narrows both members and pending invites by name or email. See [Search and filters](/docs/how-to/search-and-filters).
| Column | Pending invitation | Active member |
| --------------------- | -------------------------------------------------------------------------------------------------------------------- | ------------------------------------------------------------------------------------------------ |
| **Name & Email** | Email, plus an **Invited** badge | Name, email, and **You** on your own row |
| **Role** | Badge with the assigned custom role, or **No role** (not editable until they join) | Dropdown: **No role** plus every custom role. Your own row is read-only. |
| **Restrict to brand** | Shown only when brands exist. Displays the brand the invite was sent for; the control is disabled until they accept. | Editable dropdown (**No brand (organization-wide)** or a brand). Your own row is read-only text. |
| **Status** | **Pending** | **Active** |
| Actions menu | **Revoke Invitation** | **Remove Member**. Hidden on your own row. |
Your own row is marked **You**. You cannot change your role, restrict yourself to a brand, or remove yourself.
The table can also show **Inactive**. **Pending Approval** and **Approve** exist in the column code but are not wired on this screen — they do not appear.
Role-update toasts: **Member role updated successfully** / **Failed to update member role**.
## Revoke a pending invitation
On a pending (**Invited**) row, open the actions menu and click **Revoke Invitation**.
The dialog title is **Revoke Invitation**. Copy: **Are you sure you want to revoke the invitation sent to \{email}? This action cannot be undone.**
Type **DELETE** (the confirm field). **Revoke** stays disabled until it matches. Tooltip: **Type "DELETE" to confirm.**
Success toast: **Invitation revoked successfully**. Failure: **Failed to revoke invitation**.
There is no resend action on this screen. After a revoke, send a new invite from **Invite New Member**.
To remove someone who already joined, see [Danger zone](/docs/how-to/danger-zone).
## Related
* [Roles and permissions](/docs/how-to/roles-and-permissions) — create the custom role before you invite.
* [Create a brand](/docs/how-to/create-a-brand) — brand restriction on the invite.
* [Switch organization and brand](/docs/how-to/switch-organization-and-brand) — **Invite members** and **Manage**.
* [Billing and usage](/docs/how-to/billing-and-usage) — team member plan limit.
* [Team and invitations](/docs/settings/team) — documentation for this tab.